Uncredited photos on this page taken by: Nathan Holth. Unless stated in a caption, all photos are Copyright with All Rights Reserved. Learn about reuse of our photos.
![]()

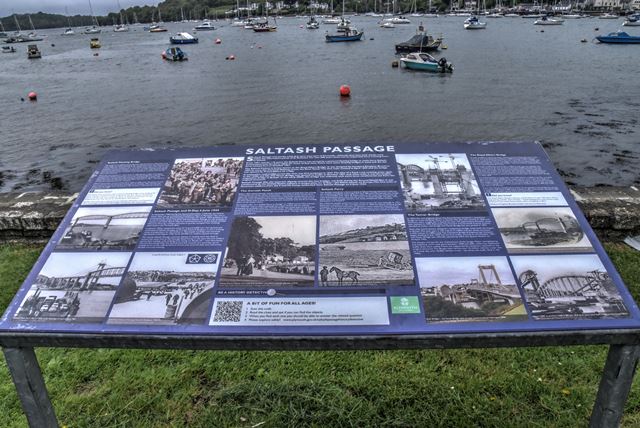


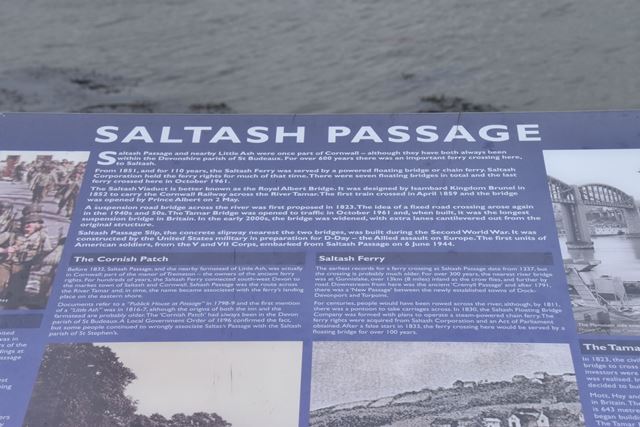


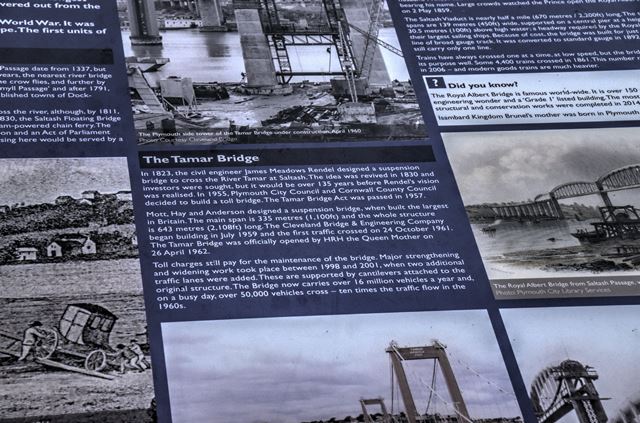
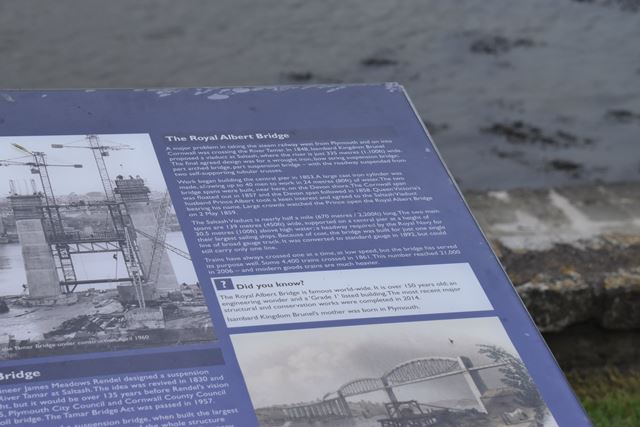


Saltash Passage interpretive signage that includes discussion of bridge in Portsmouth.
![]()

Statue of Isambard Kingdom Brunel in Saltash.
![]()

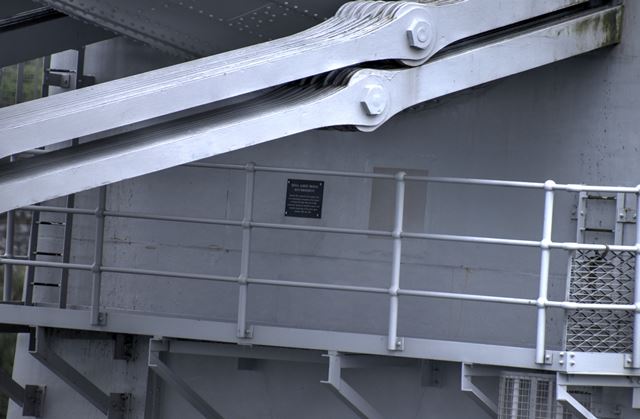


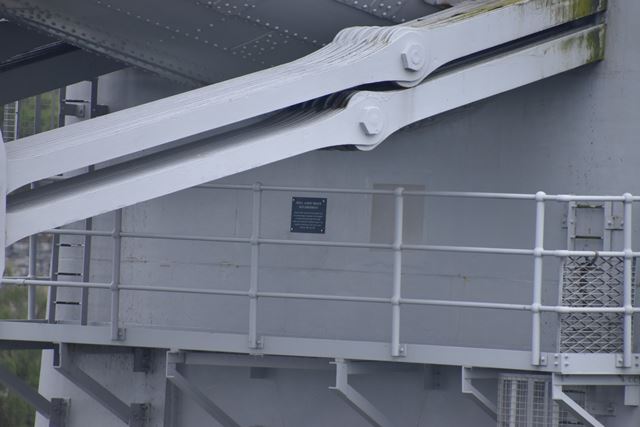

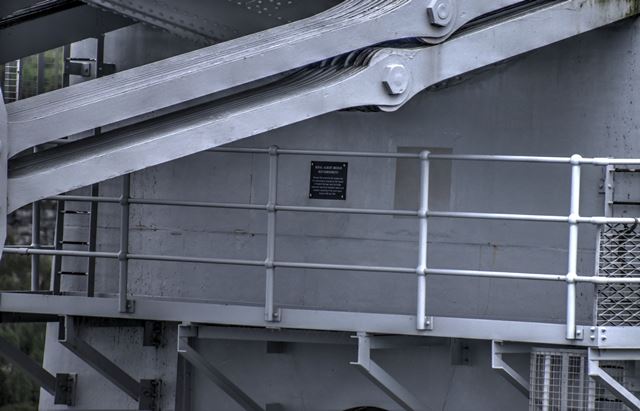


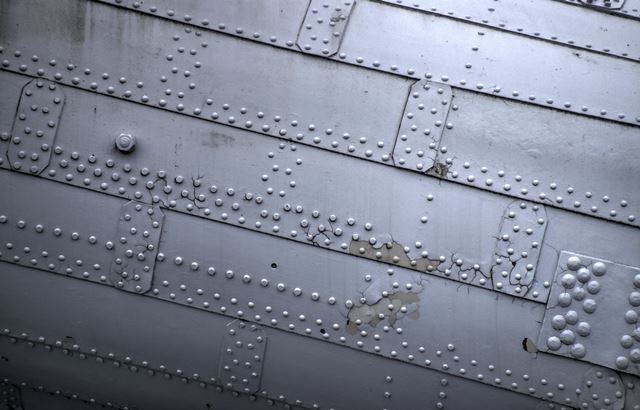
Hidden on the back of a main span portal is a small plaque. It reads: "ROYAL ALBERT BRIDGE REFURBISHMENT Network Rail preserved this sample area of archaeological purposes at the request of English Heritage when the bridge underwent significant repairs and complete repainting of the main spans between 2010 and 2014."
![]()


Mural on building in Saltash which shows bridge.
![]()


Sand Quay interpretive signage in Plymouth.
![]()


United States Navy sign near bridge in Portsmouth.
![]()


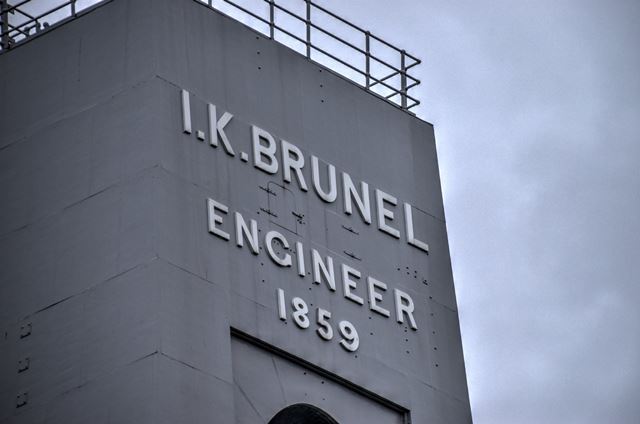
East portal.
![]()
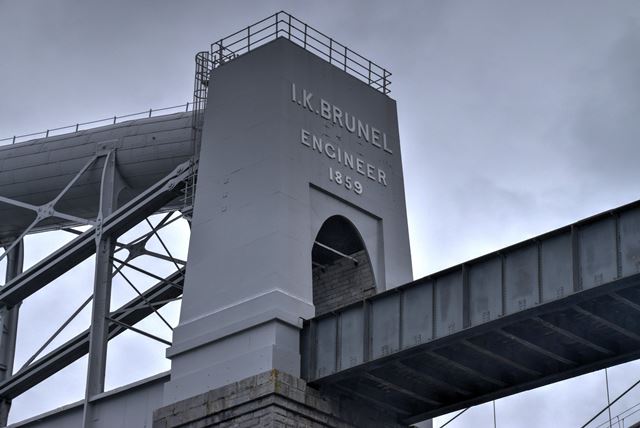
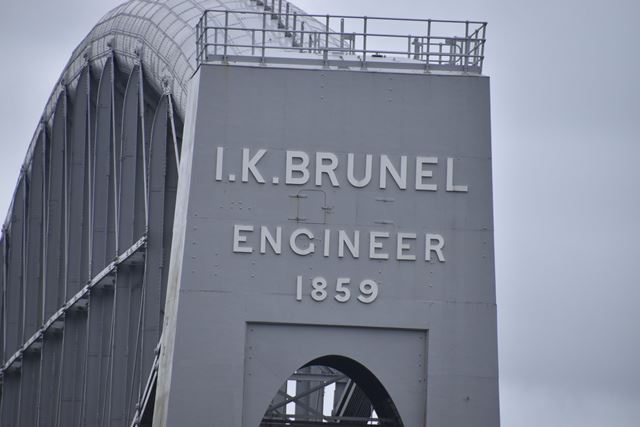
End portal details.
![]()


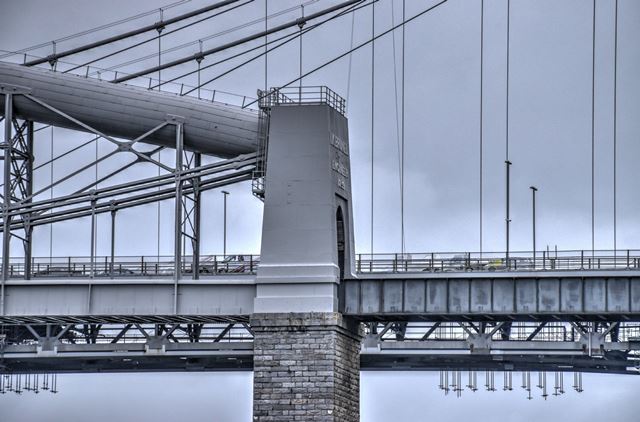
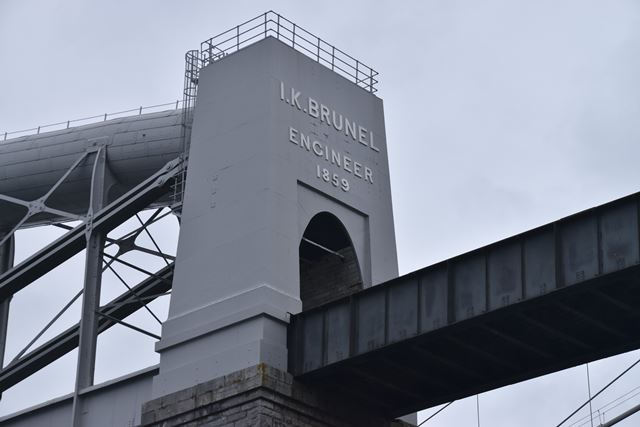
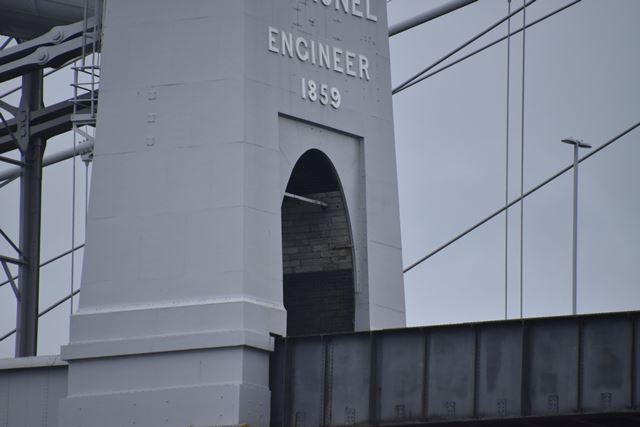
Middle portal details.
![]()
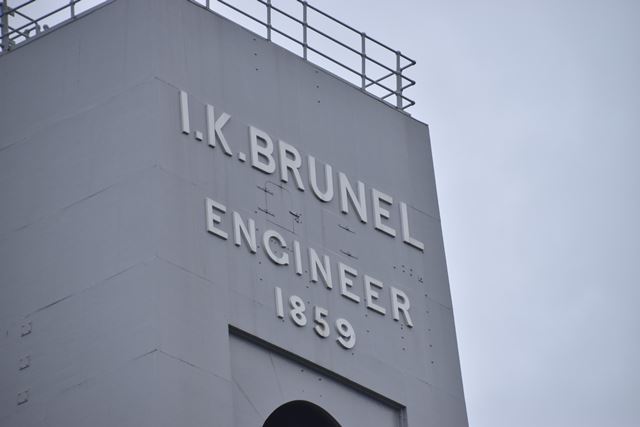

Sign on bridge portal.
![]()


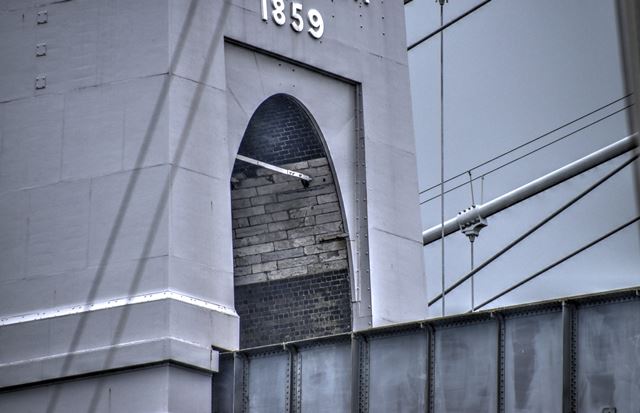


Views showing interior of archway of portal.
![]()


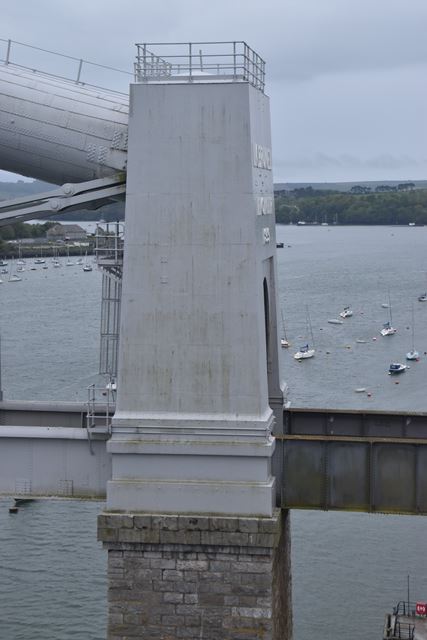
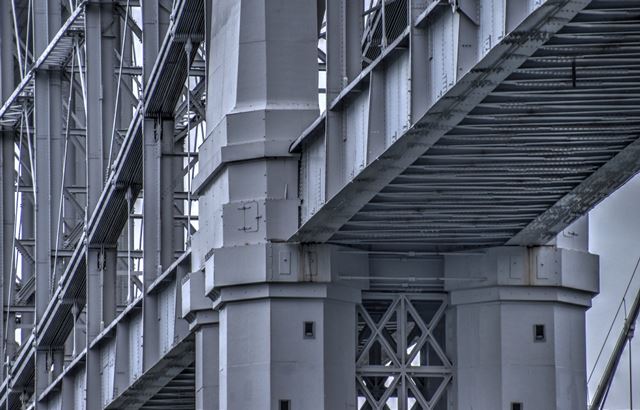
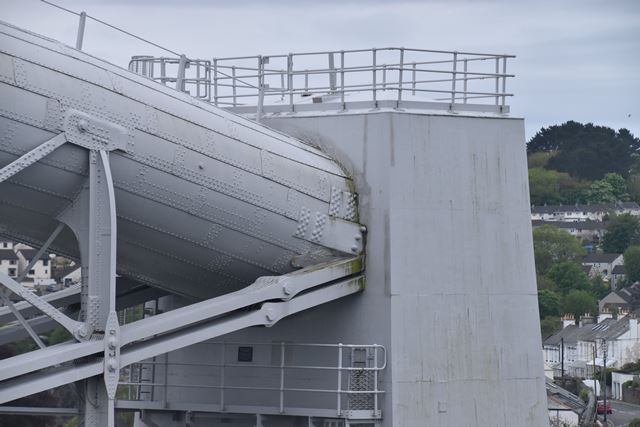
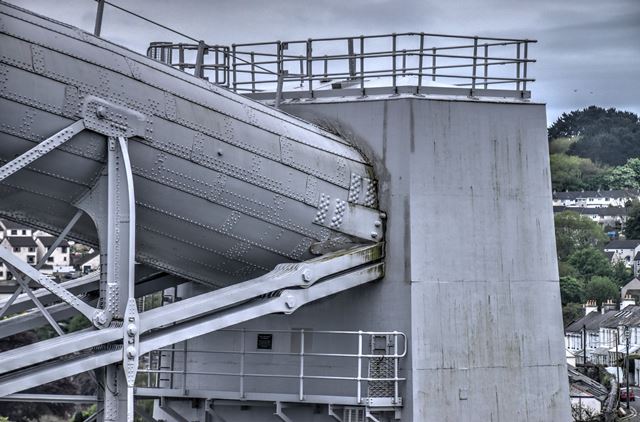
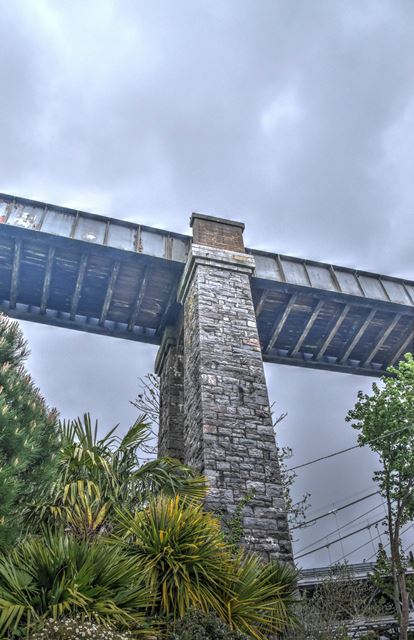
Main span end pier.
![]()
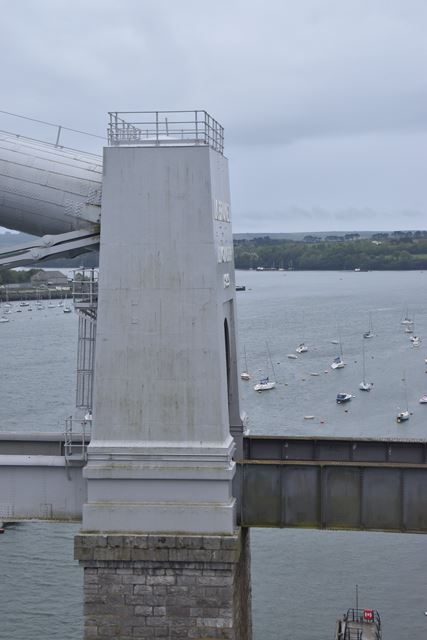
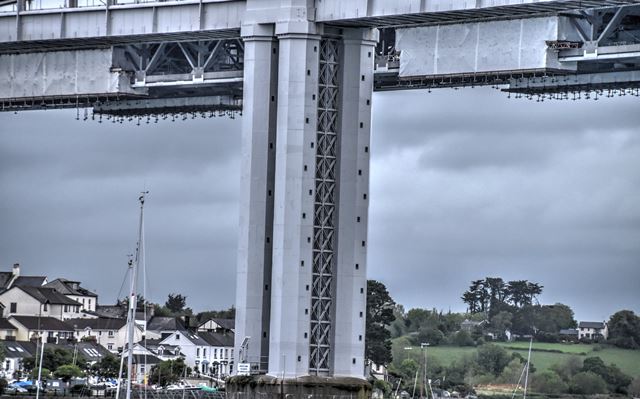
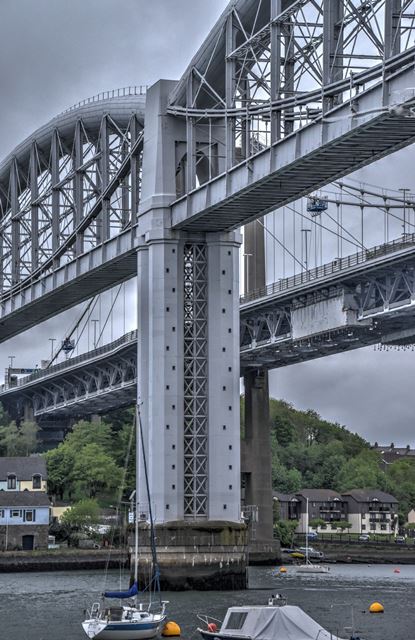
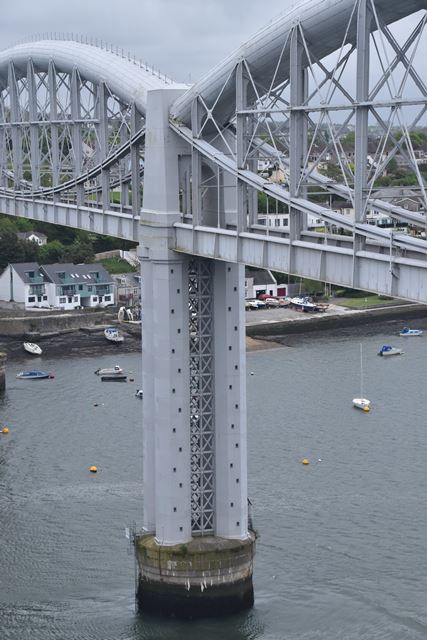
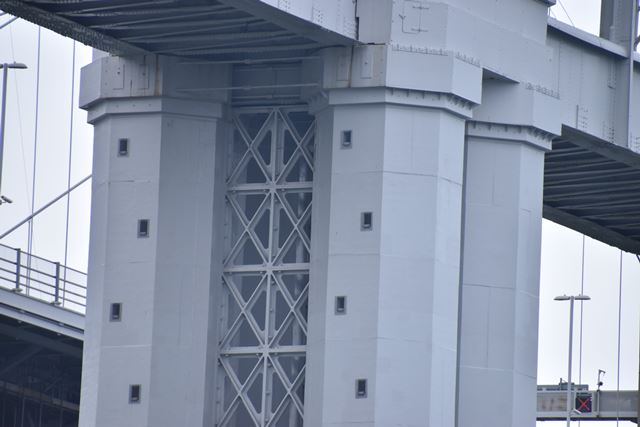
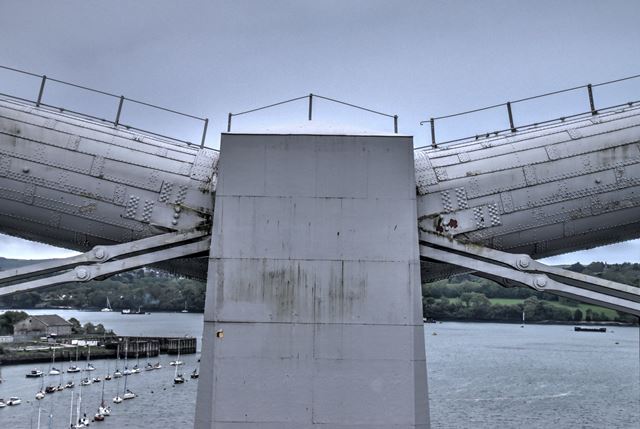
Center pier.
![]()


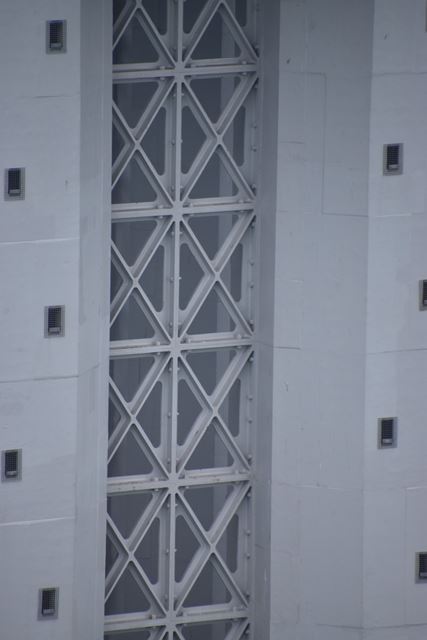


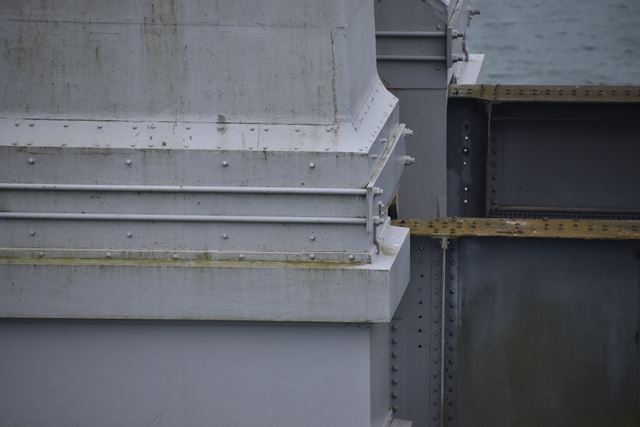
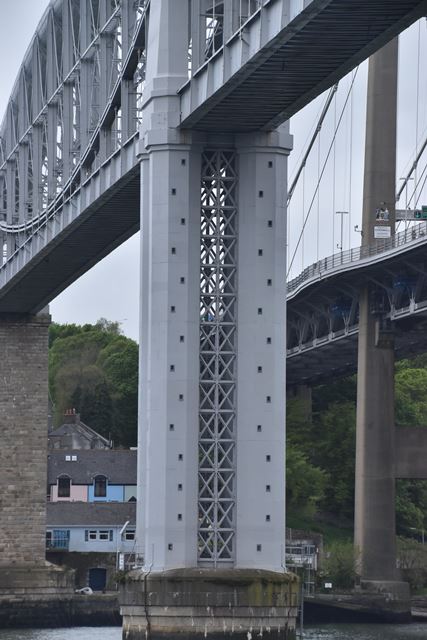
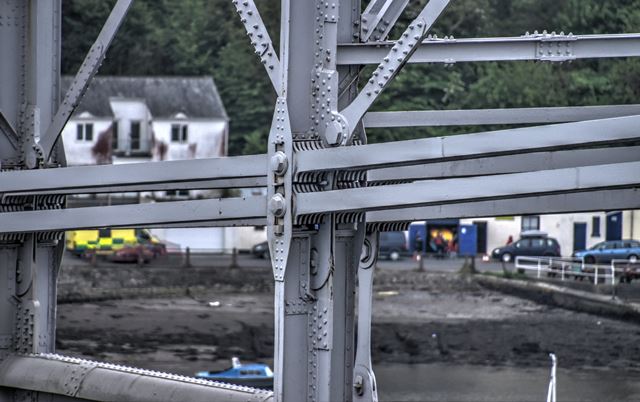
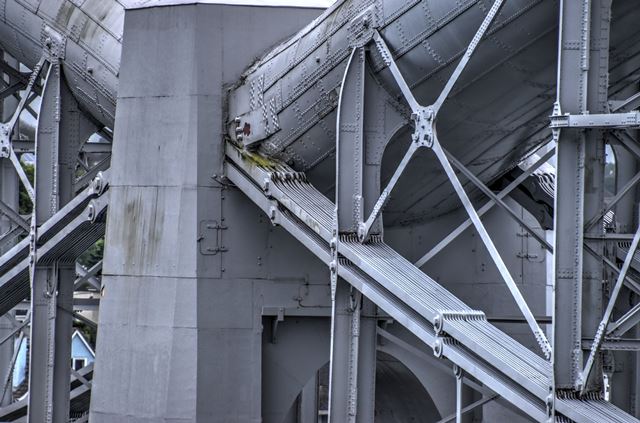
Center pier details.
![]()


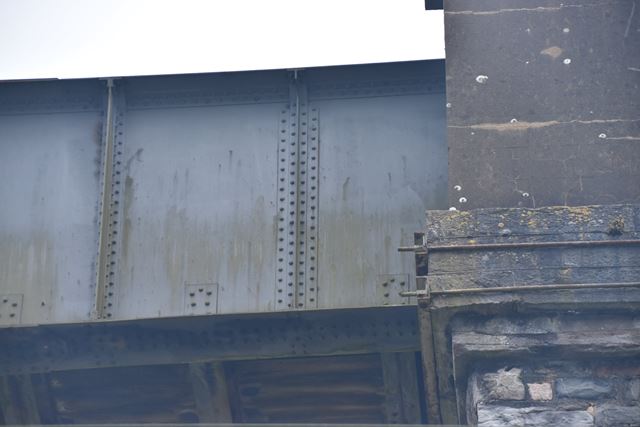


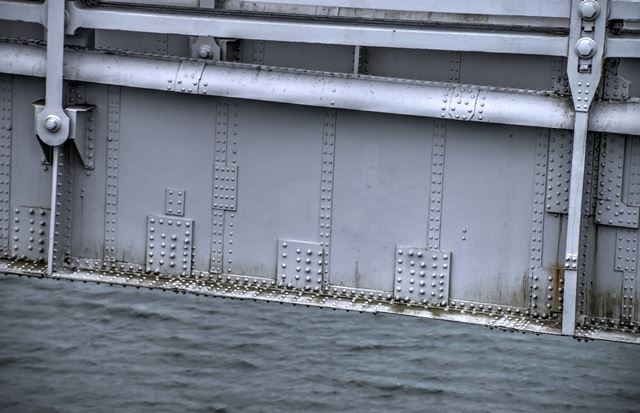
Approach span girder details.
![]()


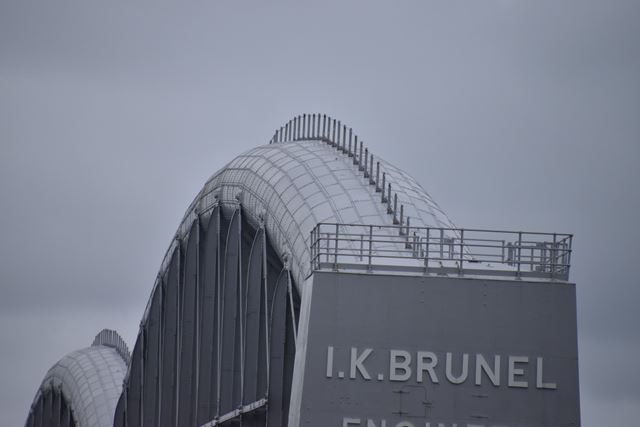

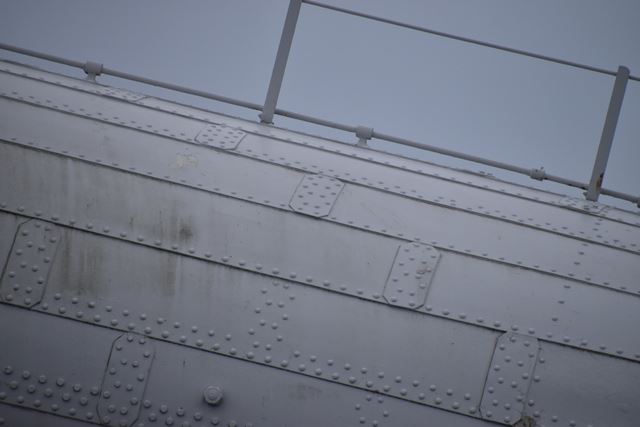
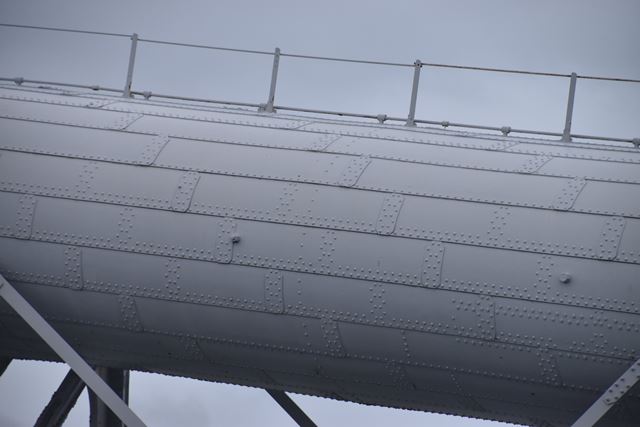
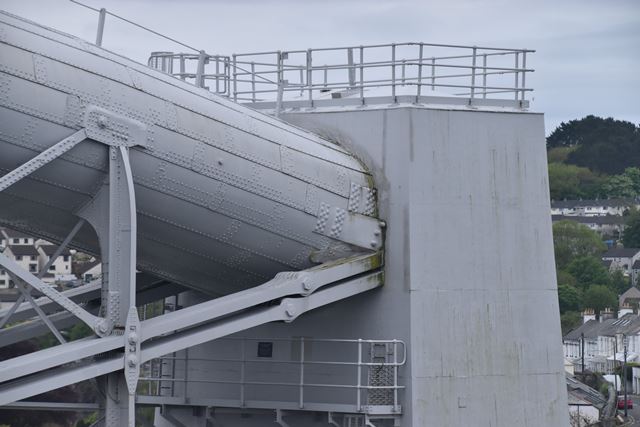
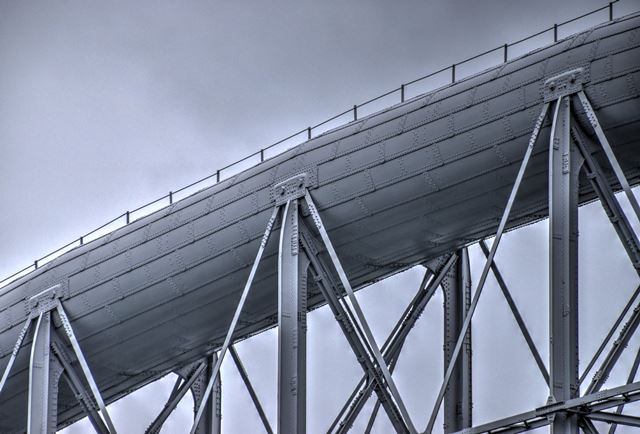
Distant view of top chord.
![]()

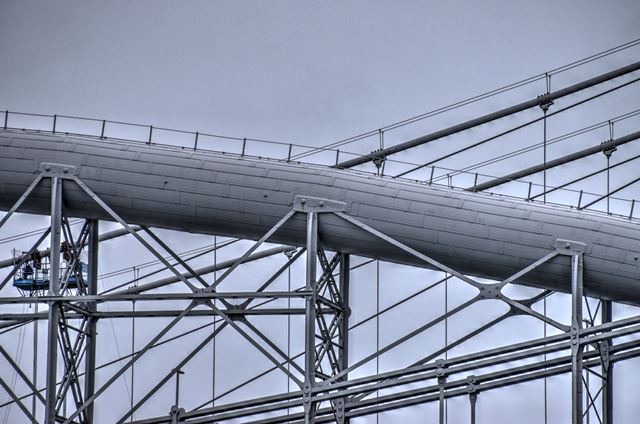


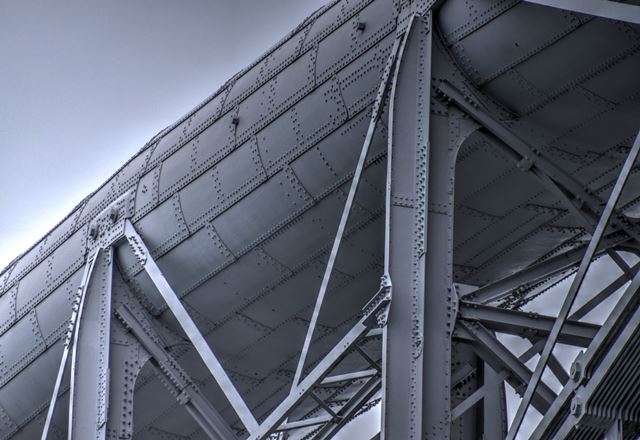
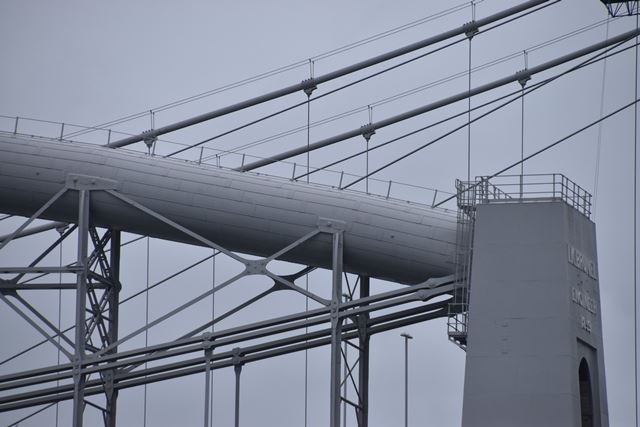
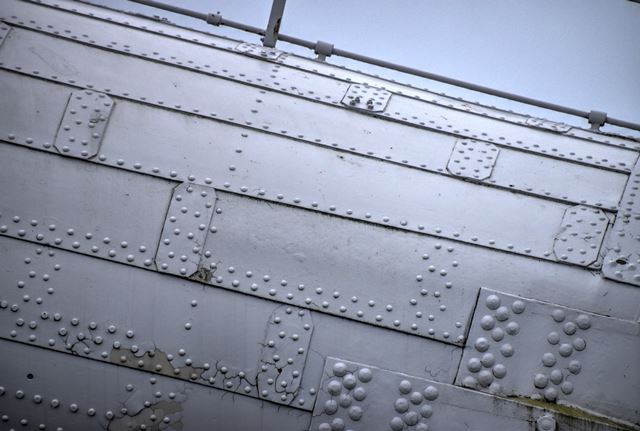
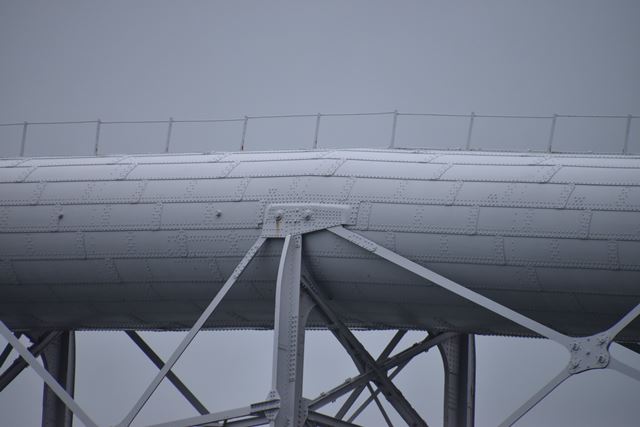
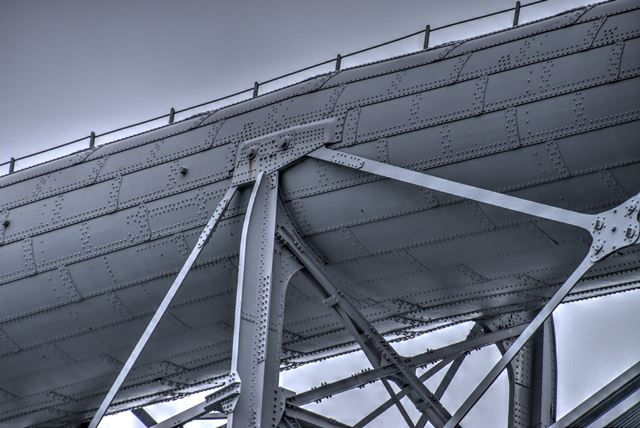
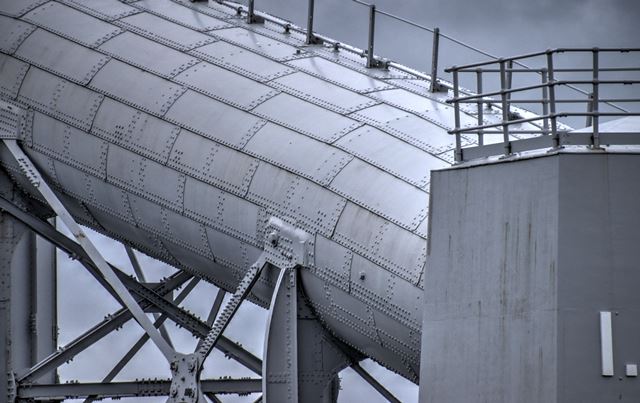
Top chord overview.
![]()

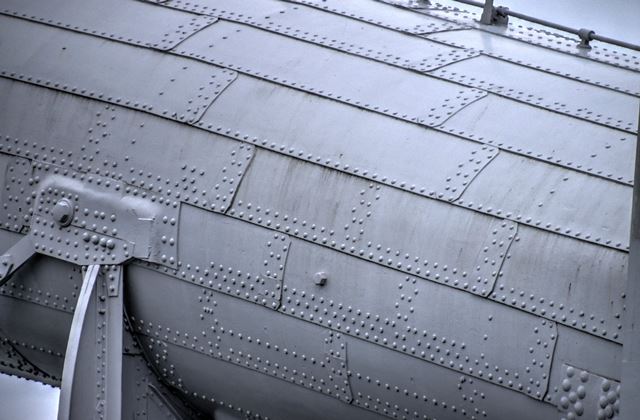
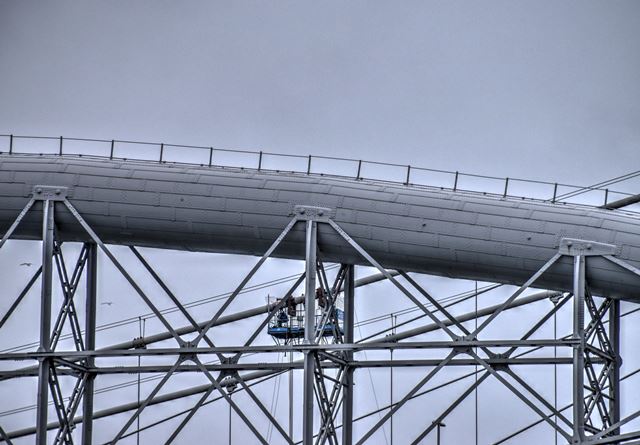
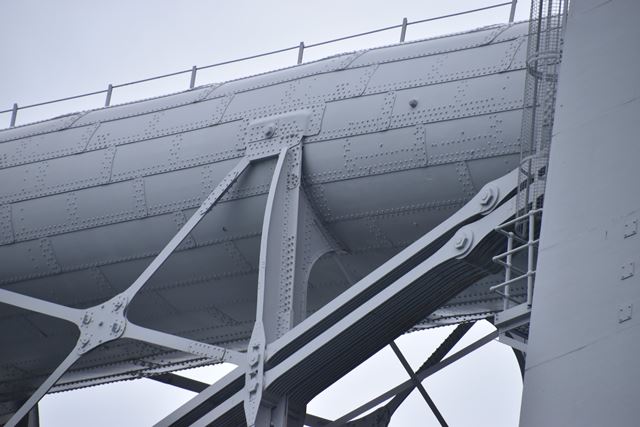
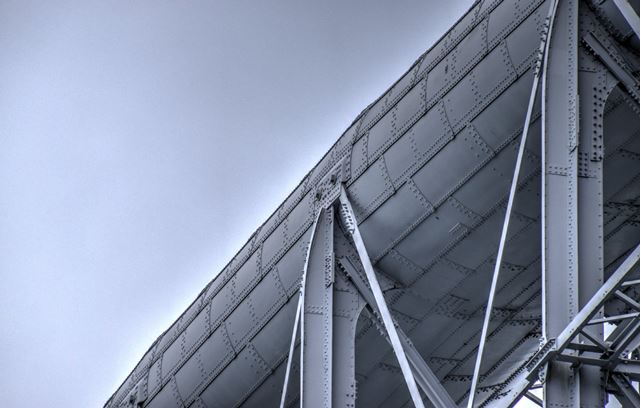
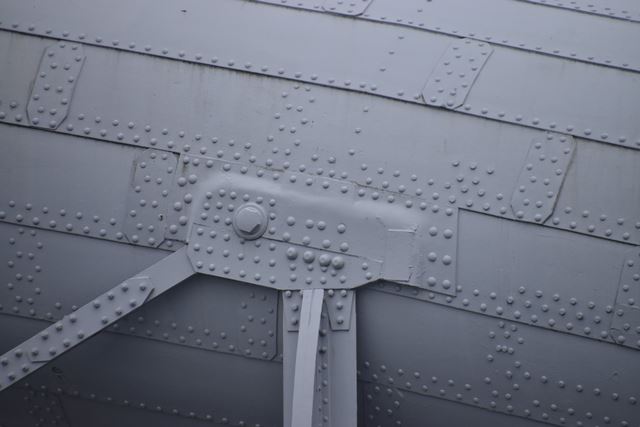
Top chord detail, with large bolt for interior bracing visible in lower center of photo.
![]()


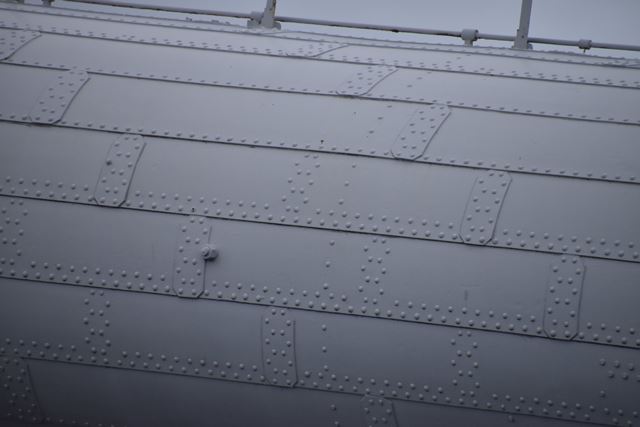

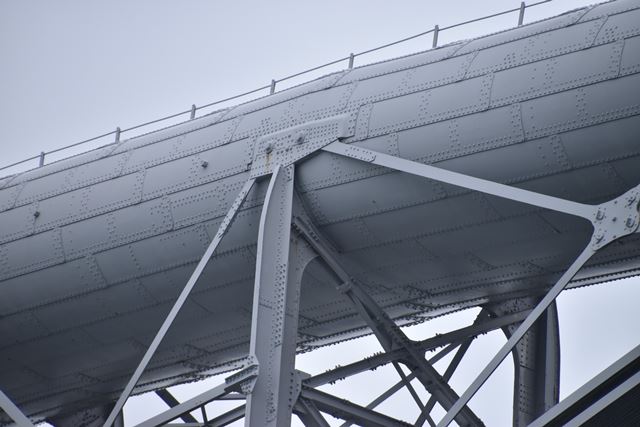
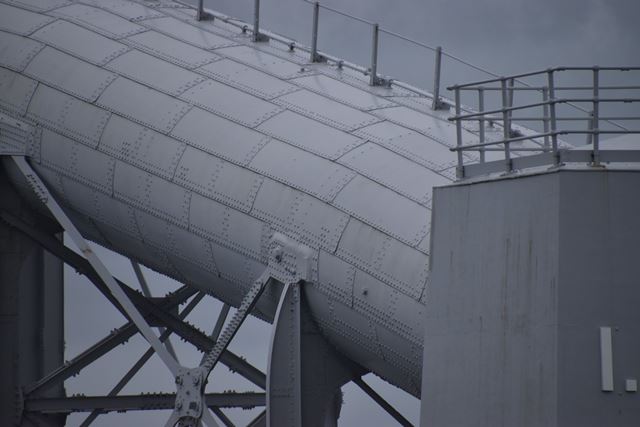
Top chord detail, with large bolt for interior bracing visible at left of photo.
![]()


Top chord detail.
![]()
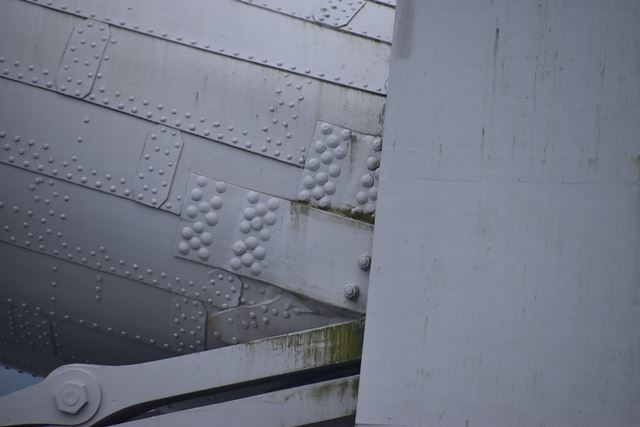


Top chord detail at portal.
![]()


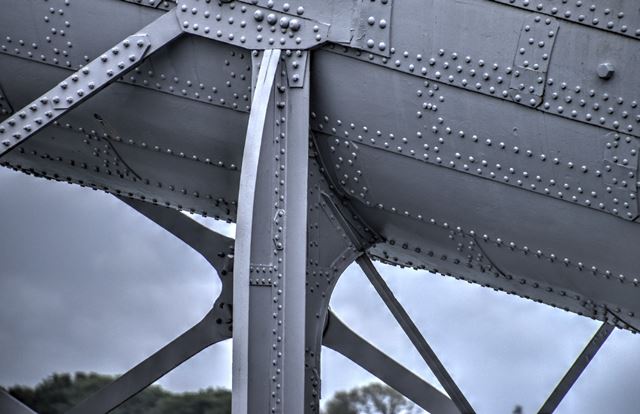
Top chord connections.
![]()


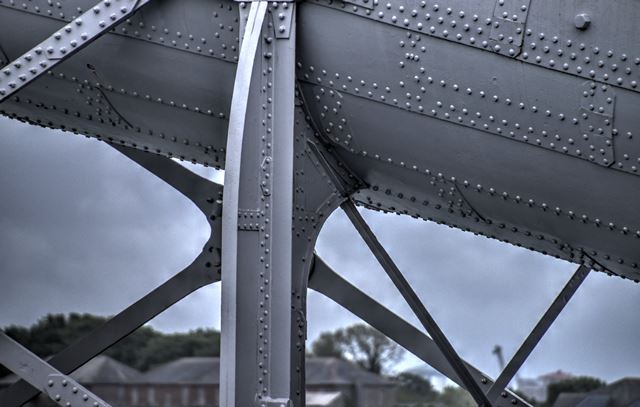


Top chord connections, detail views.
![]()


Bottom chord connections to vertical members.
![]()
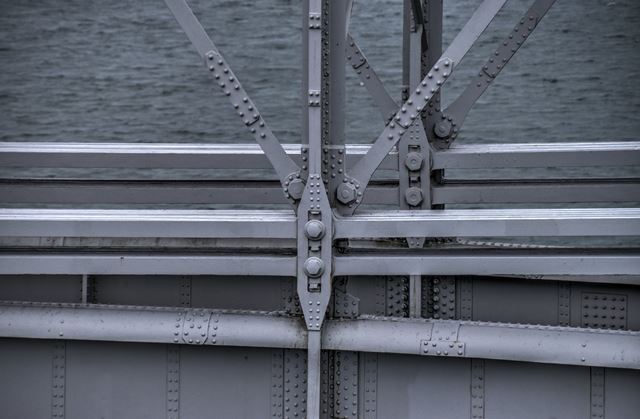
Bottom chord connections to vertical members, detail views.
![]()


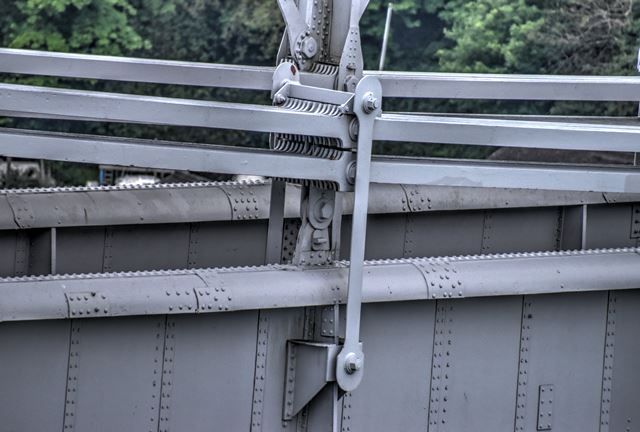


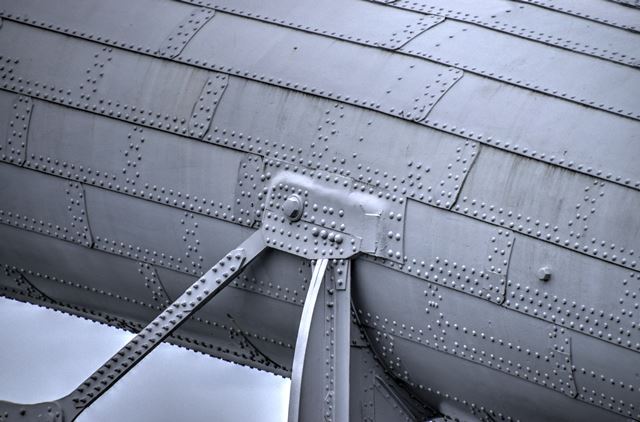
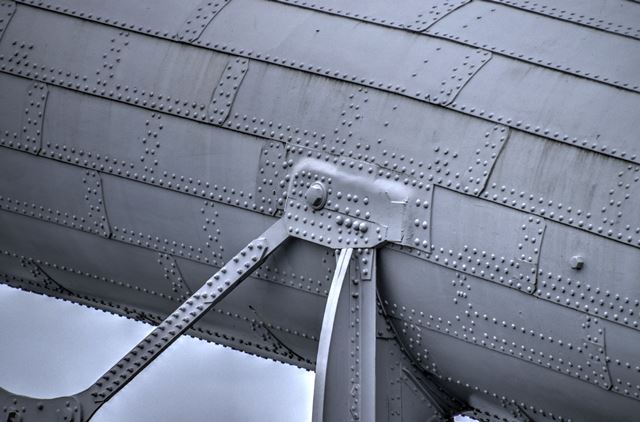
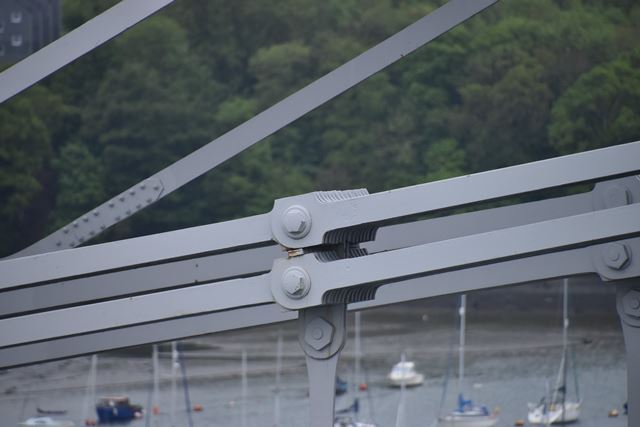
Bottom chord connections to eyebar hangers.
![]()


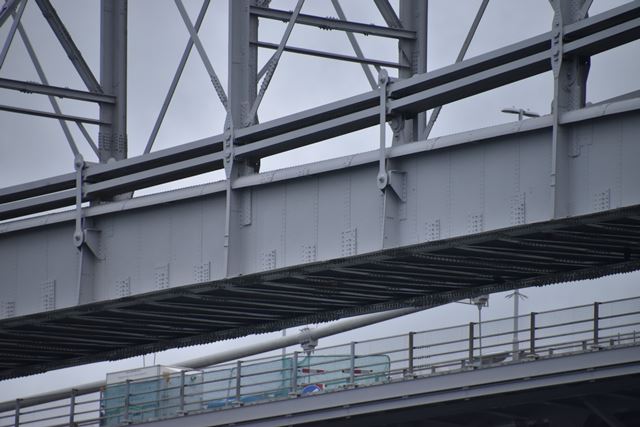
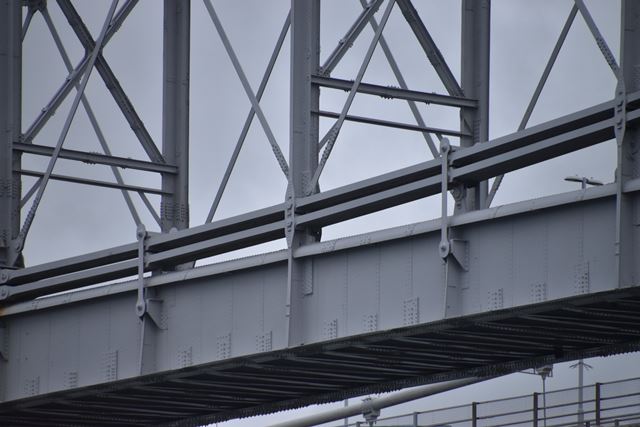
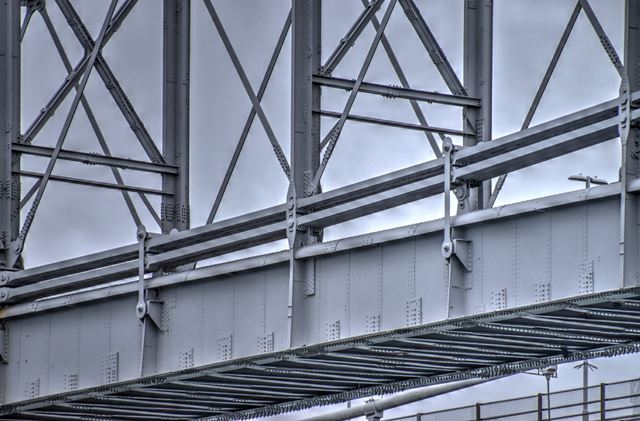
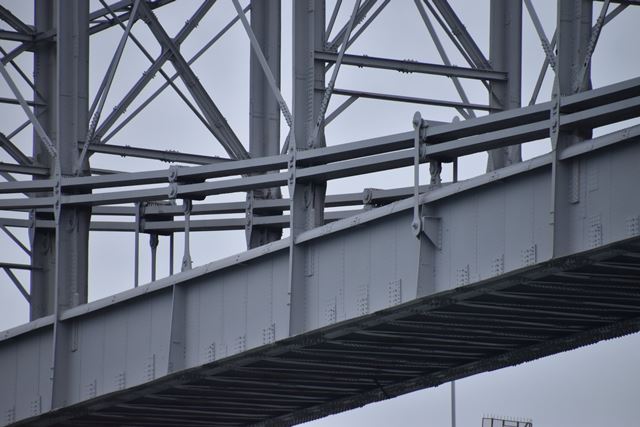


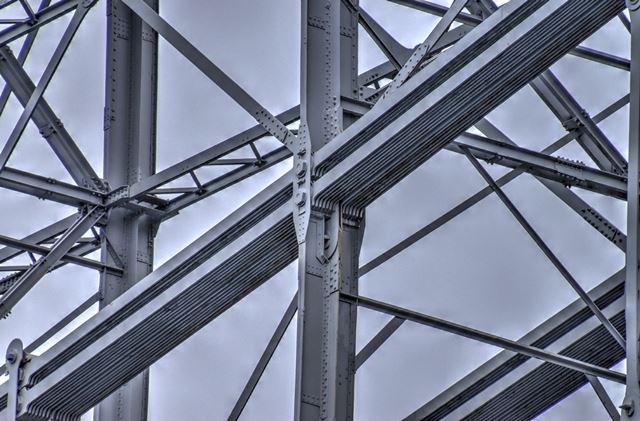
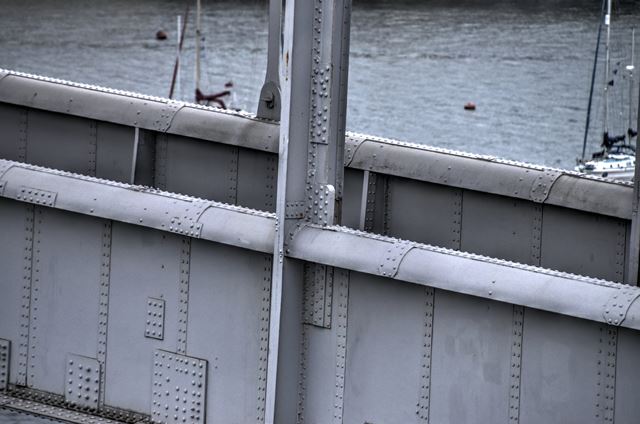
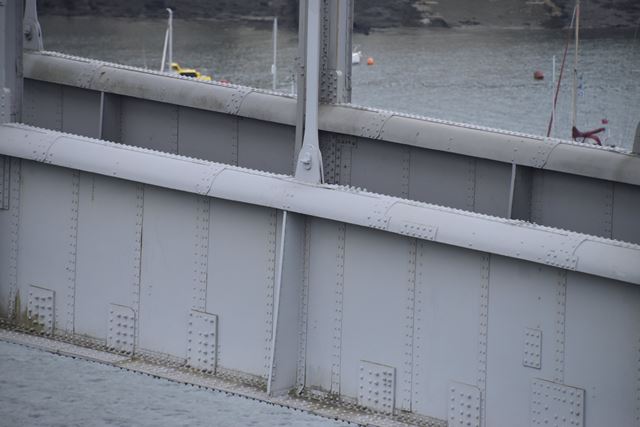
Deck girder and hanger connections.
![]()


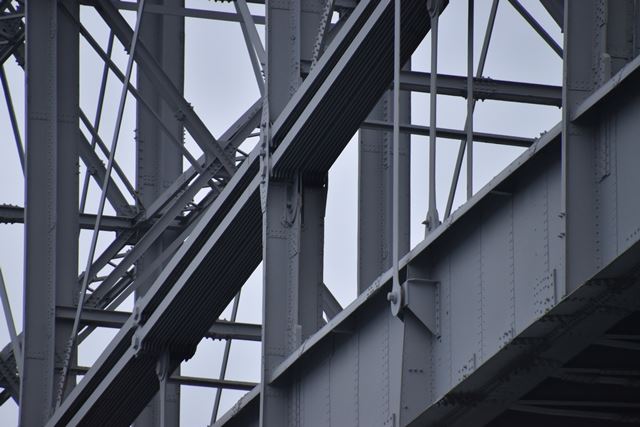
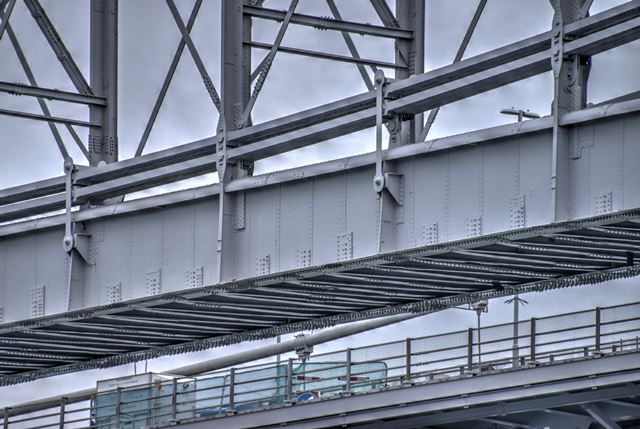
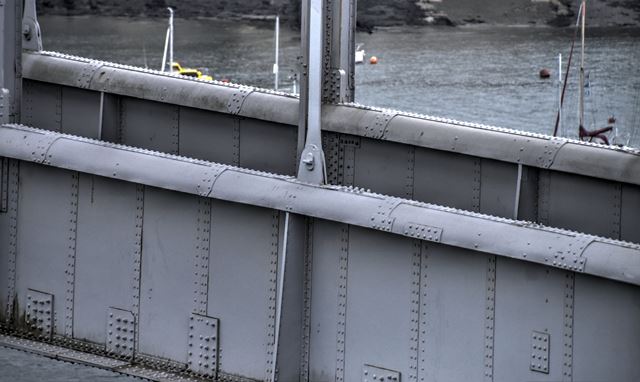
Deck girder details.
![]()
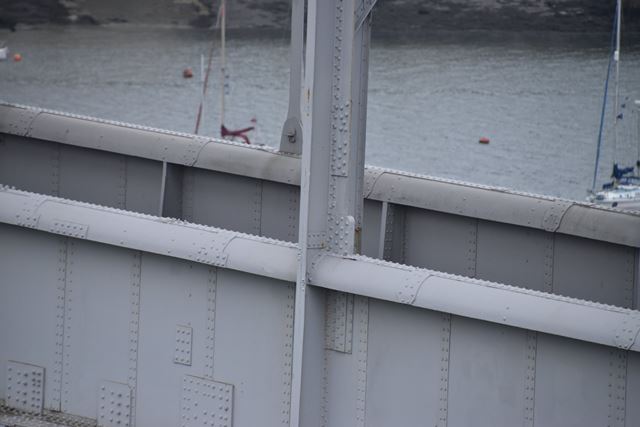
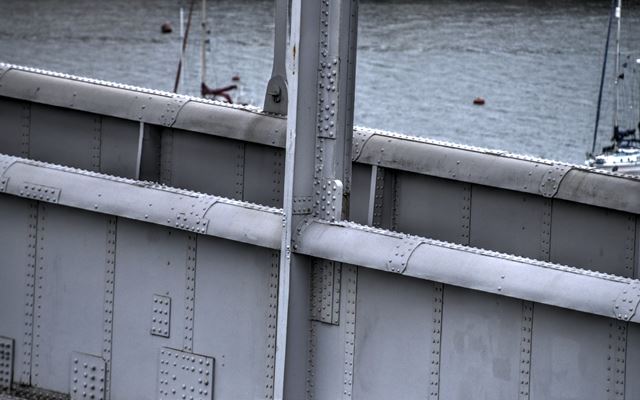


Deck girder and hanger connections, detail views of riveted vertical member connections.
![]()

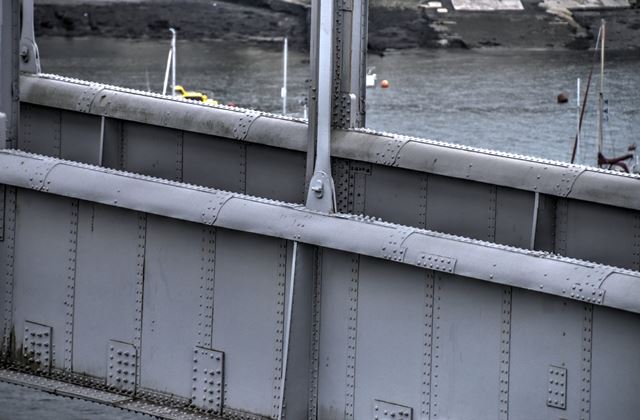


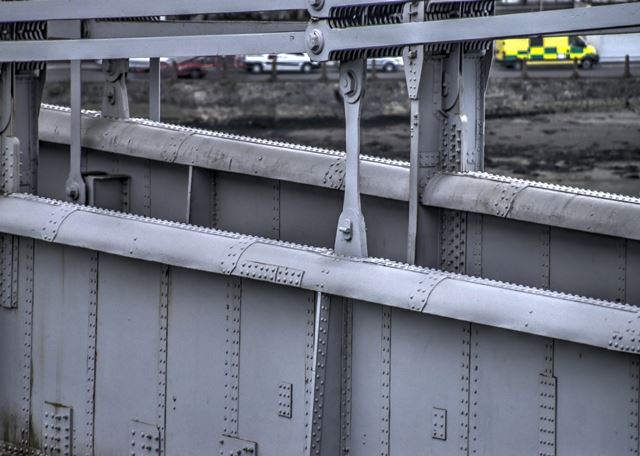


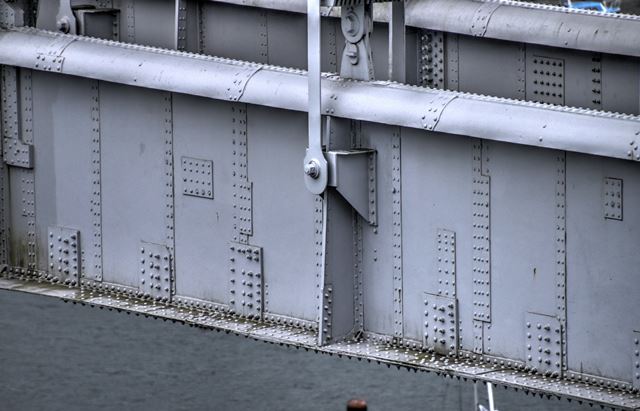


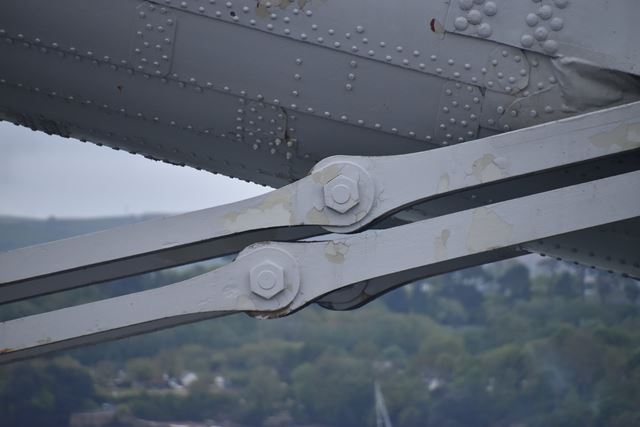
Deck girder and hanger connections, detail views of eyebar connections.
![]()


Bottom chord eyebar chain.
![]()
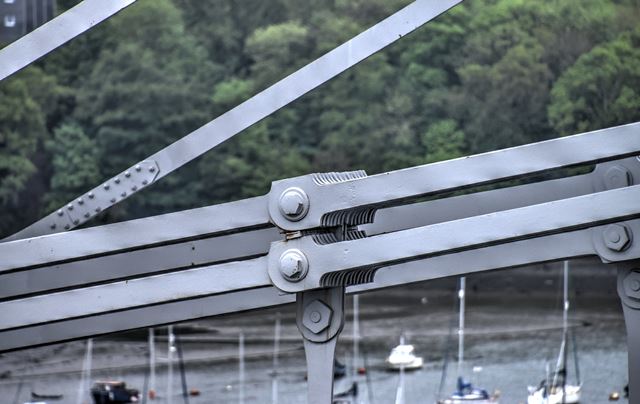


Bottom chord eyebar chain pin connections.
![]()


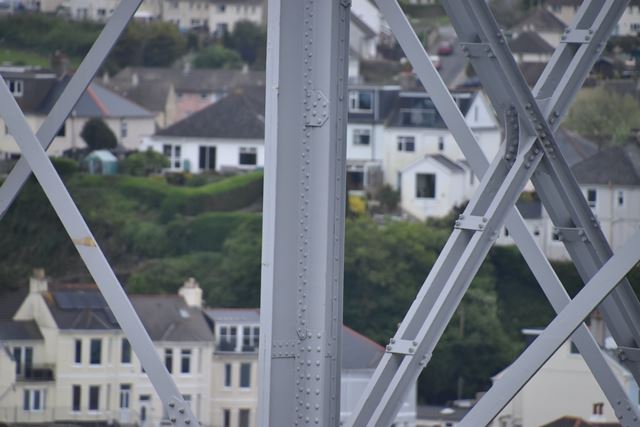

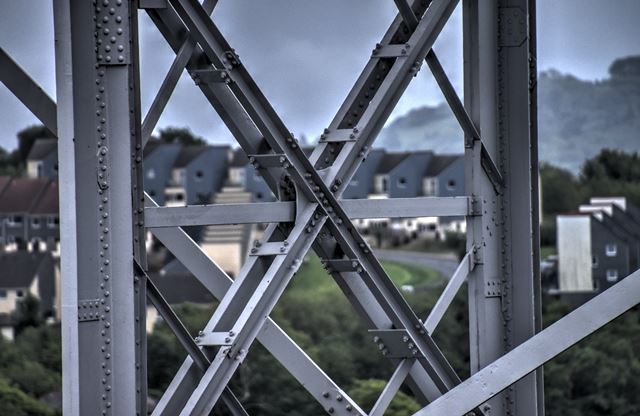
Vertical members.
![]()

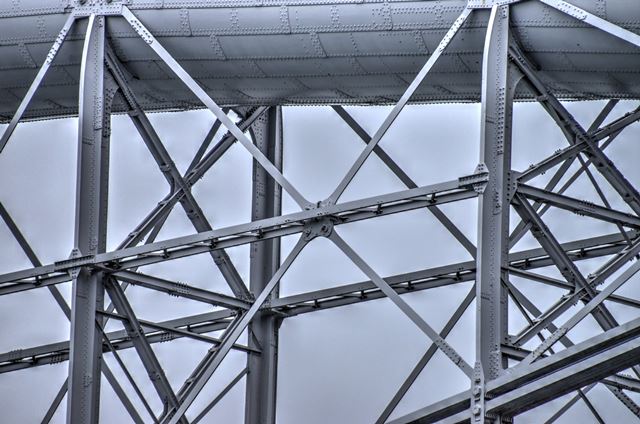


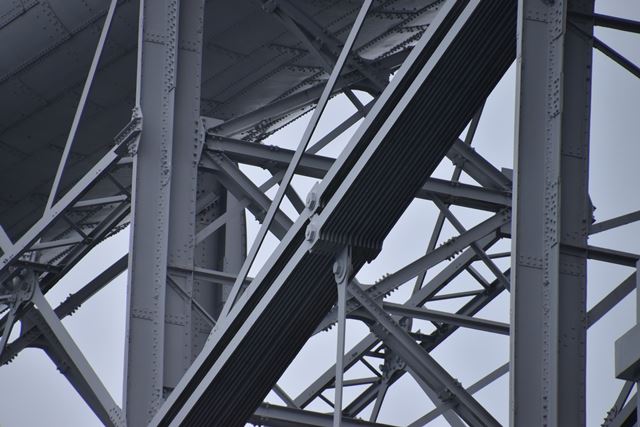
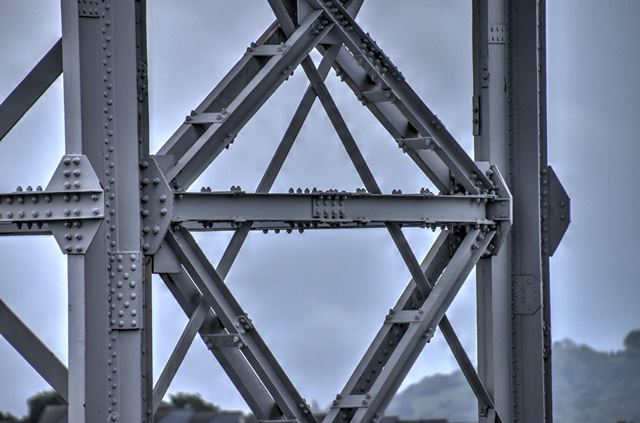
Diagonal members.
![]()

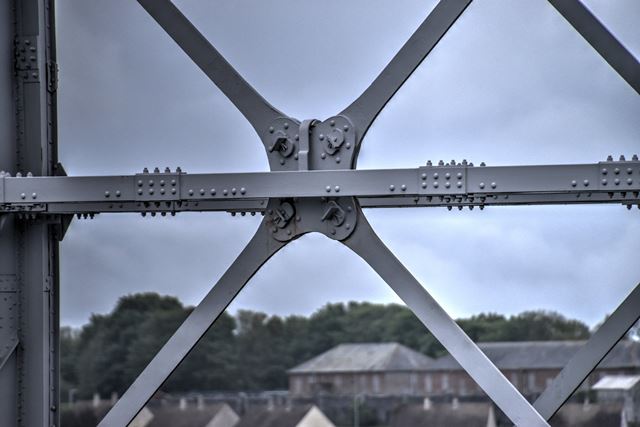


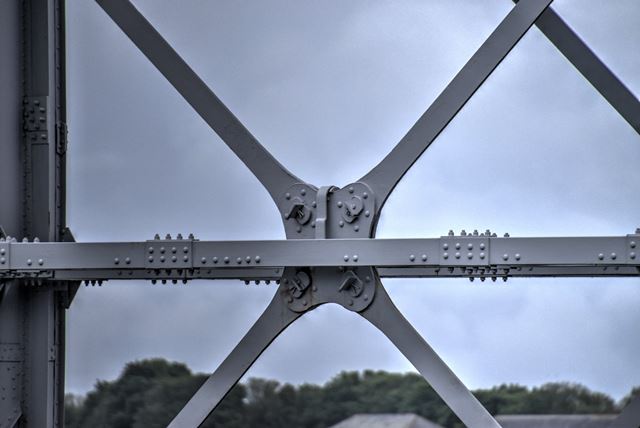

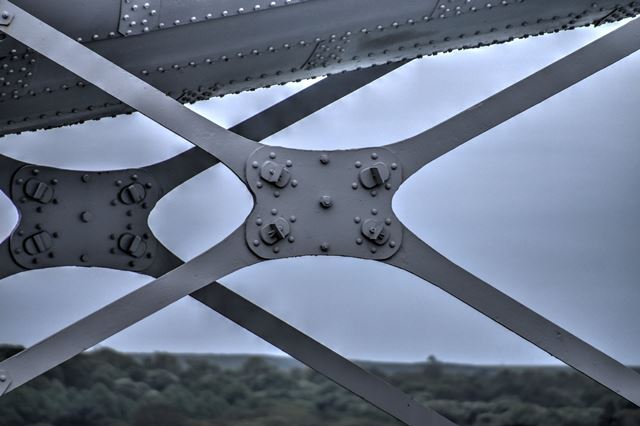
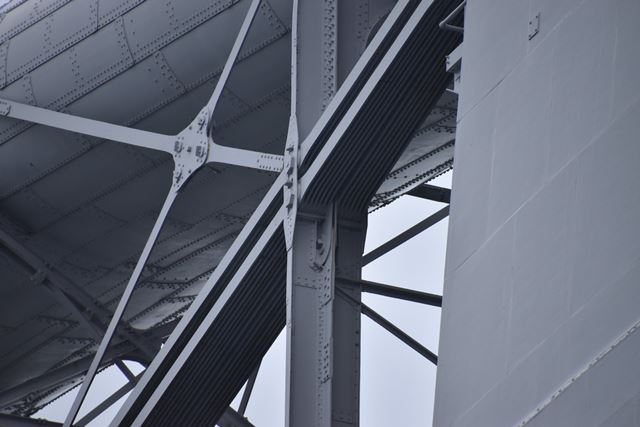
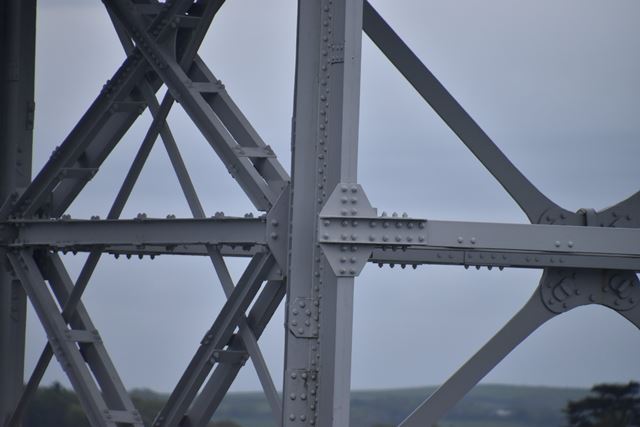
Diagonal member intersection detail.
![]()

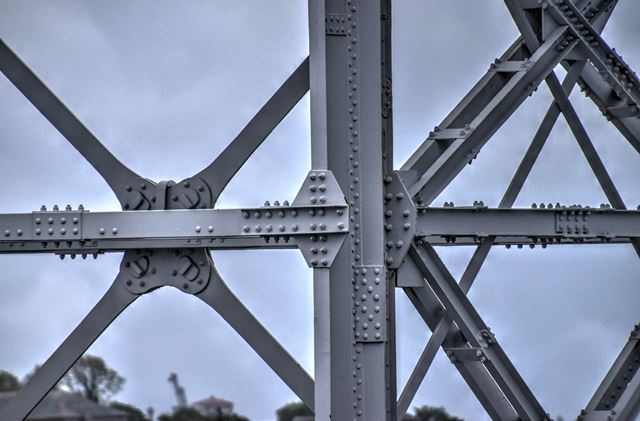


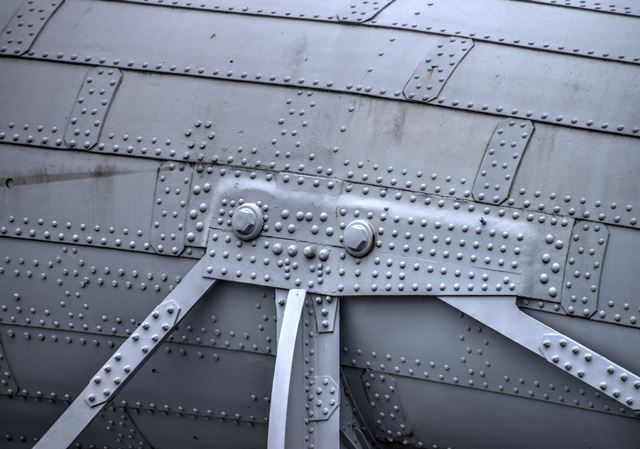
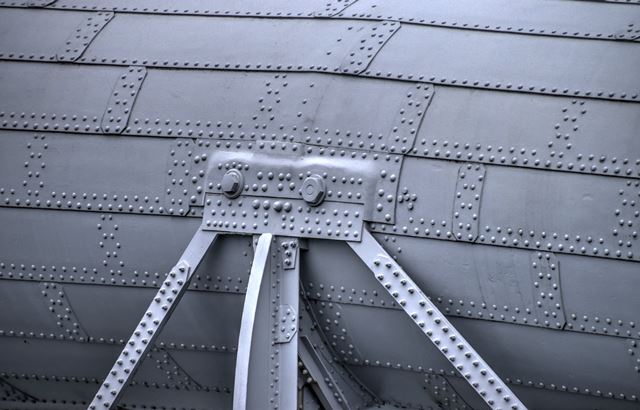
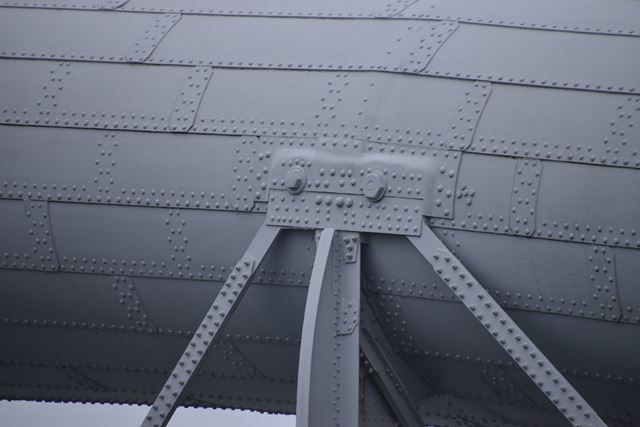
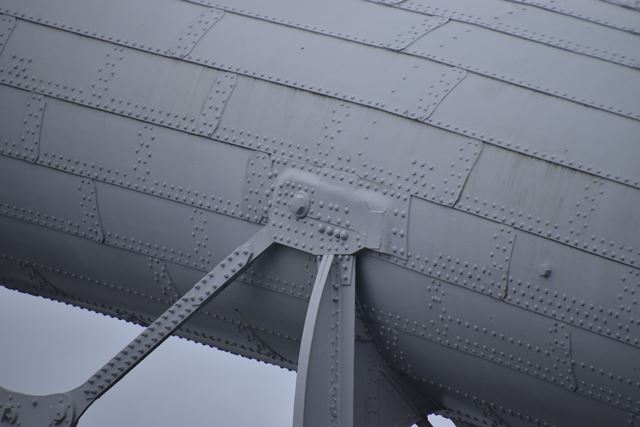
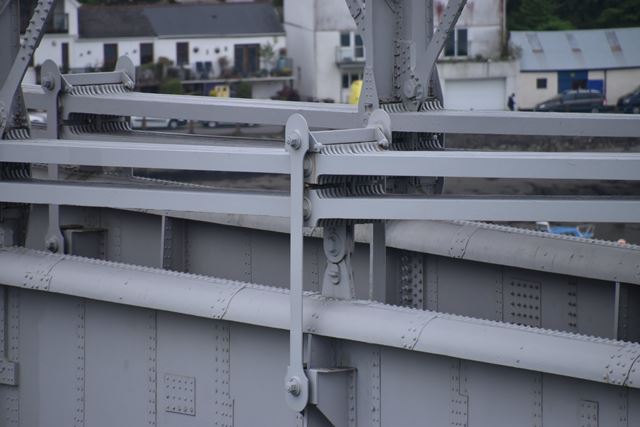
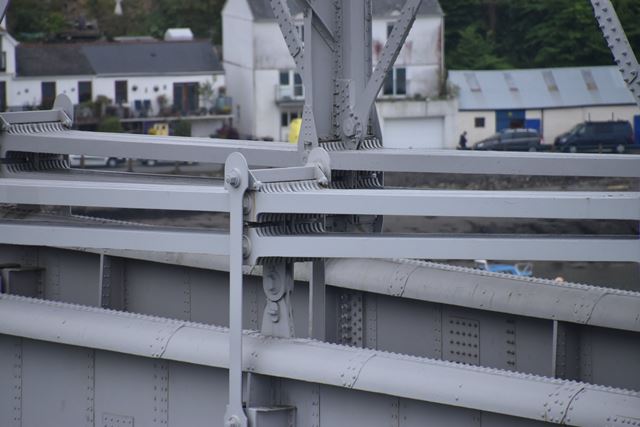
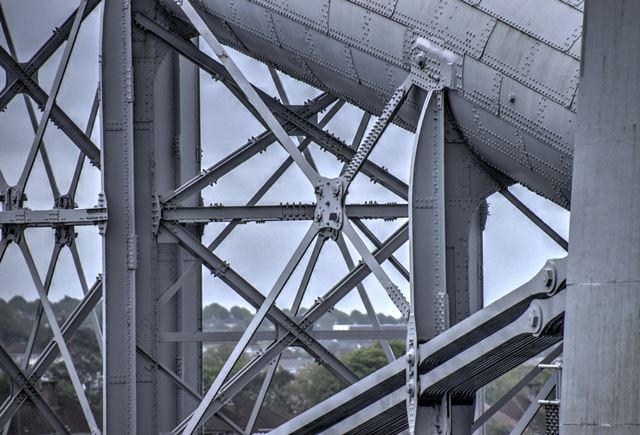
Sway bracing and connections to vertical members.
![]()
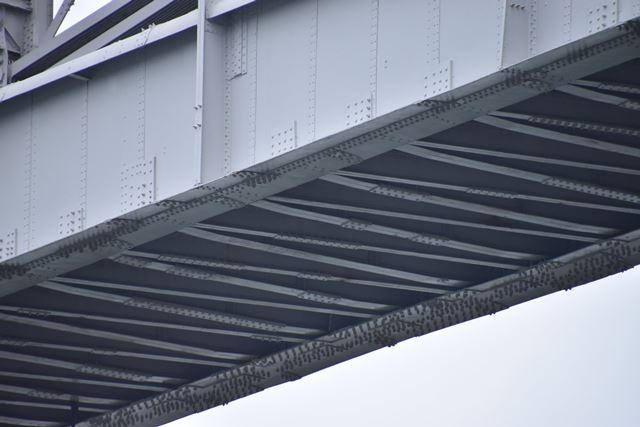

View of floorbeams. The ones that run at an angle are the original floorbeams and were Brunel's design, the perpendicular ones were added at a later date.
![]()
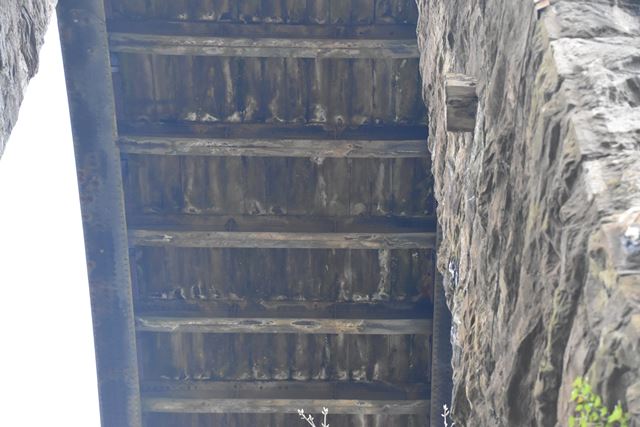


Approach span floorbeams.
![]()

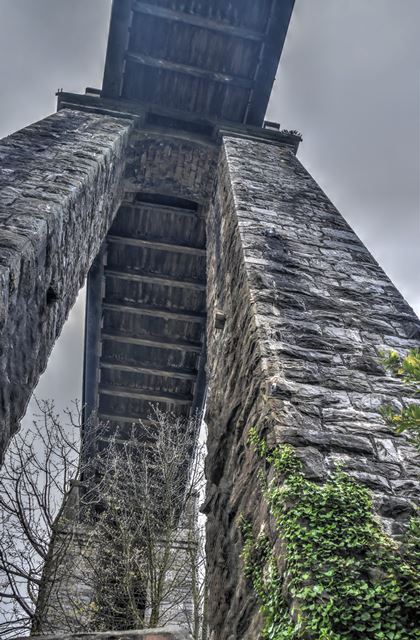

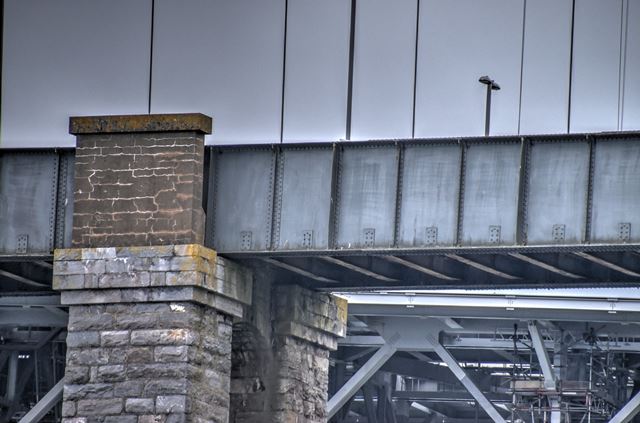
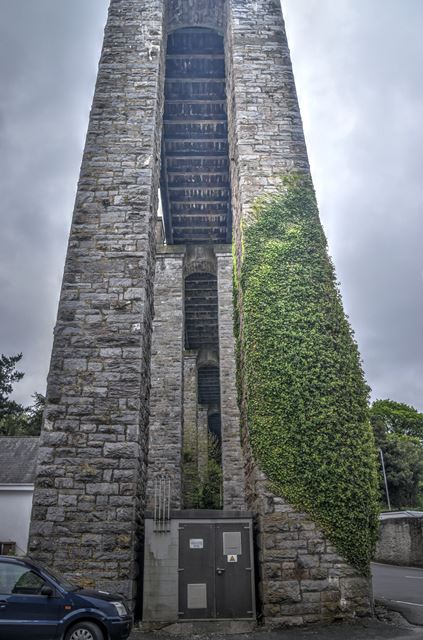
Western approach piers.
![]()


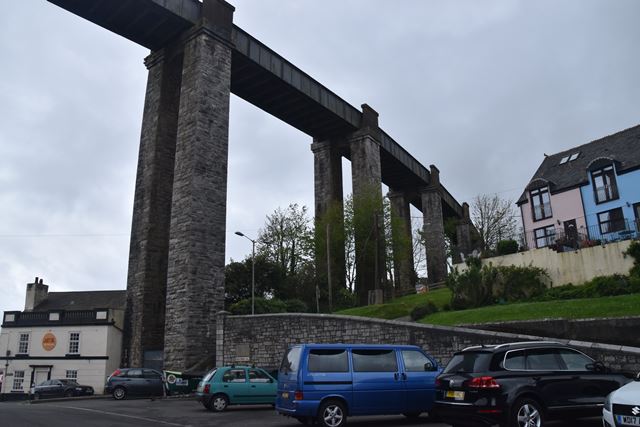
Eastern approach piers.
![]()


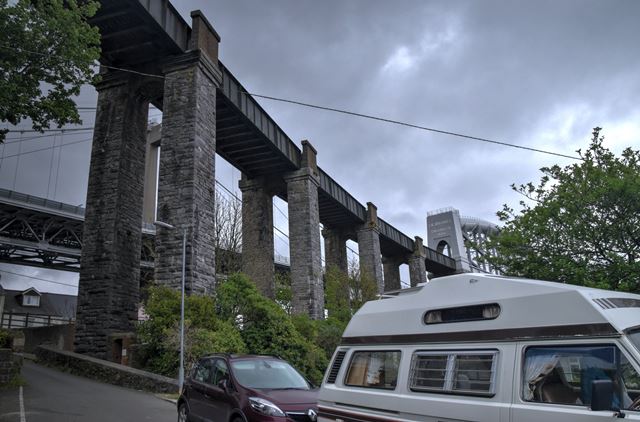
West approach elevation from southwest quadrant.
![]()


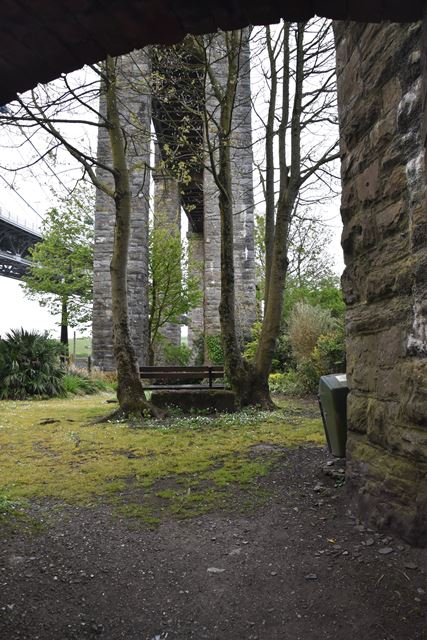
View beside west approach spans from southwest quadrant.
![]()


Western approach piers.
![]()
![]()

![]()