Uncredited photos on this page taken by: Nathan Holth. Unless stated in a caption, all photos are Copyright with All Rights Reserved. Learn about reuse of our photos.
![]()
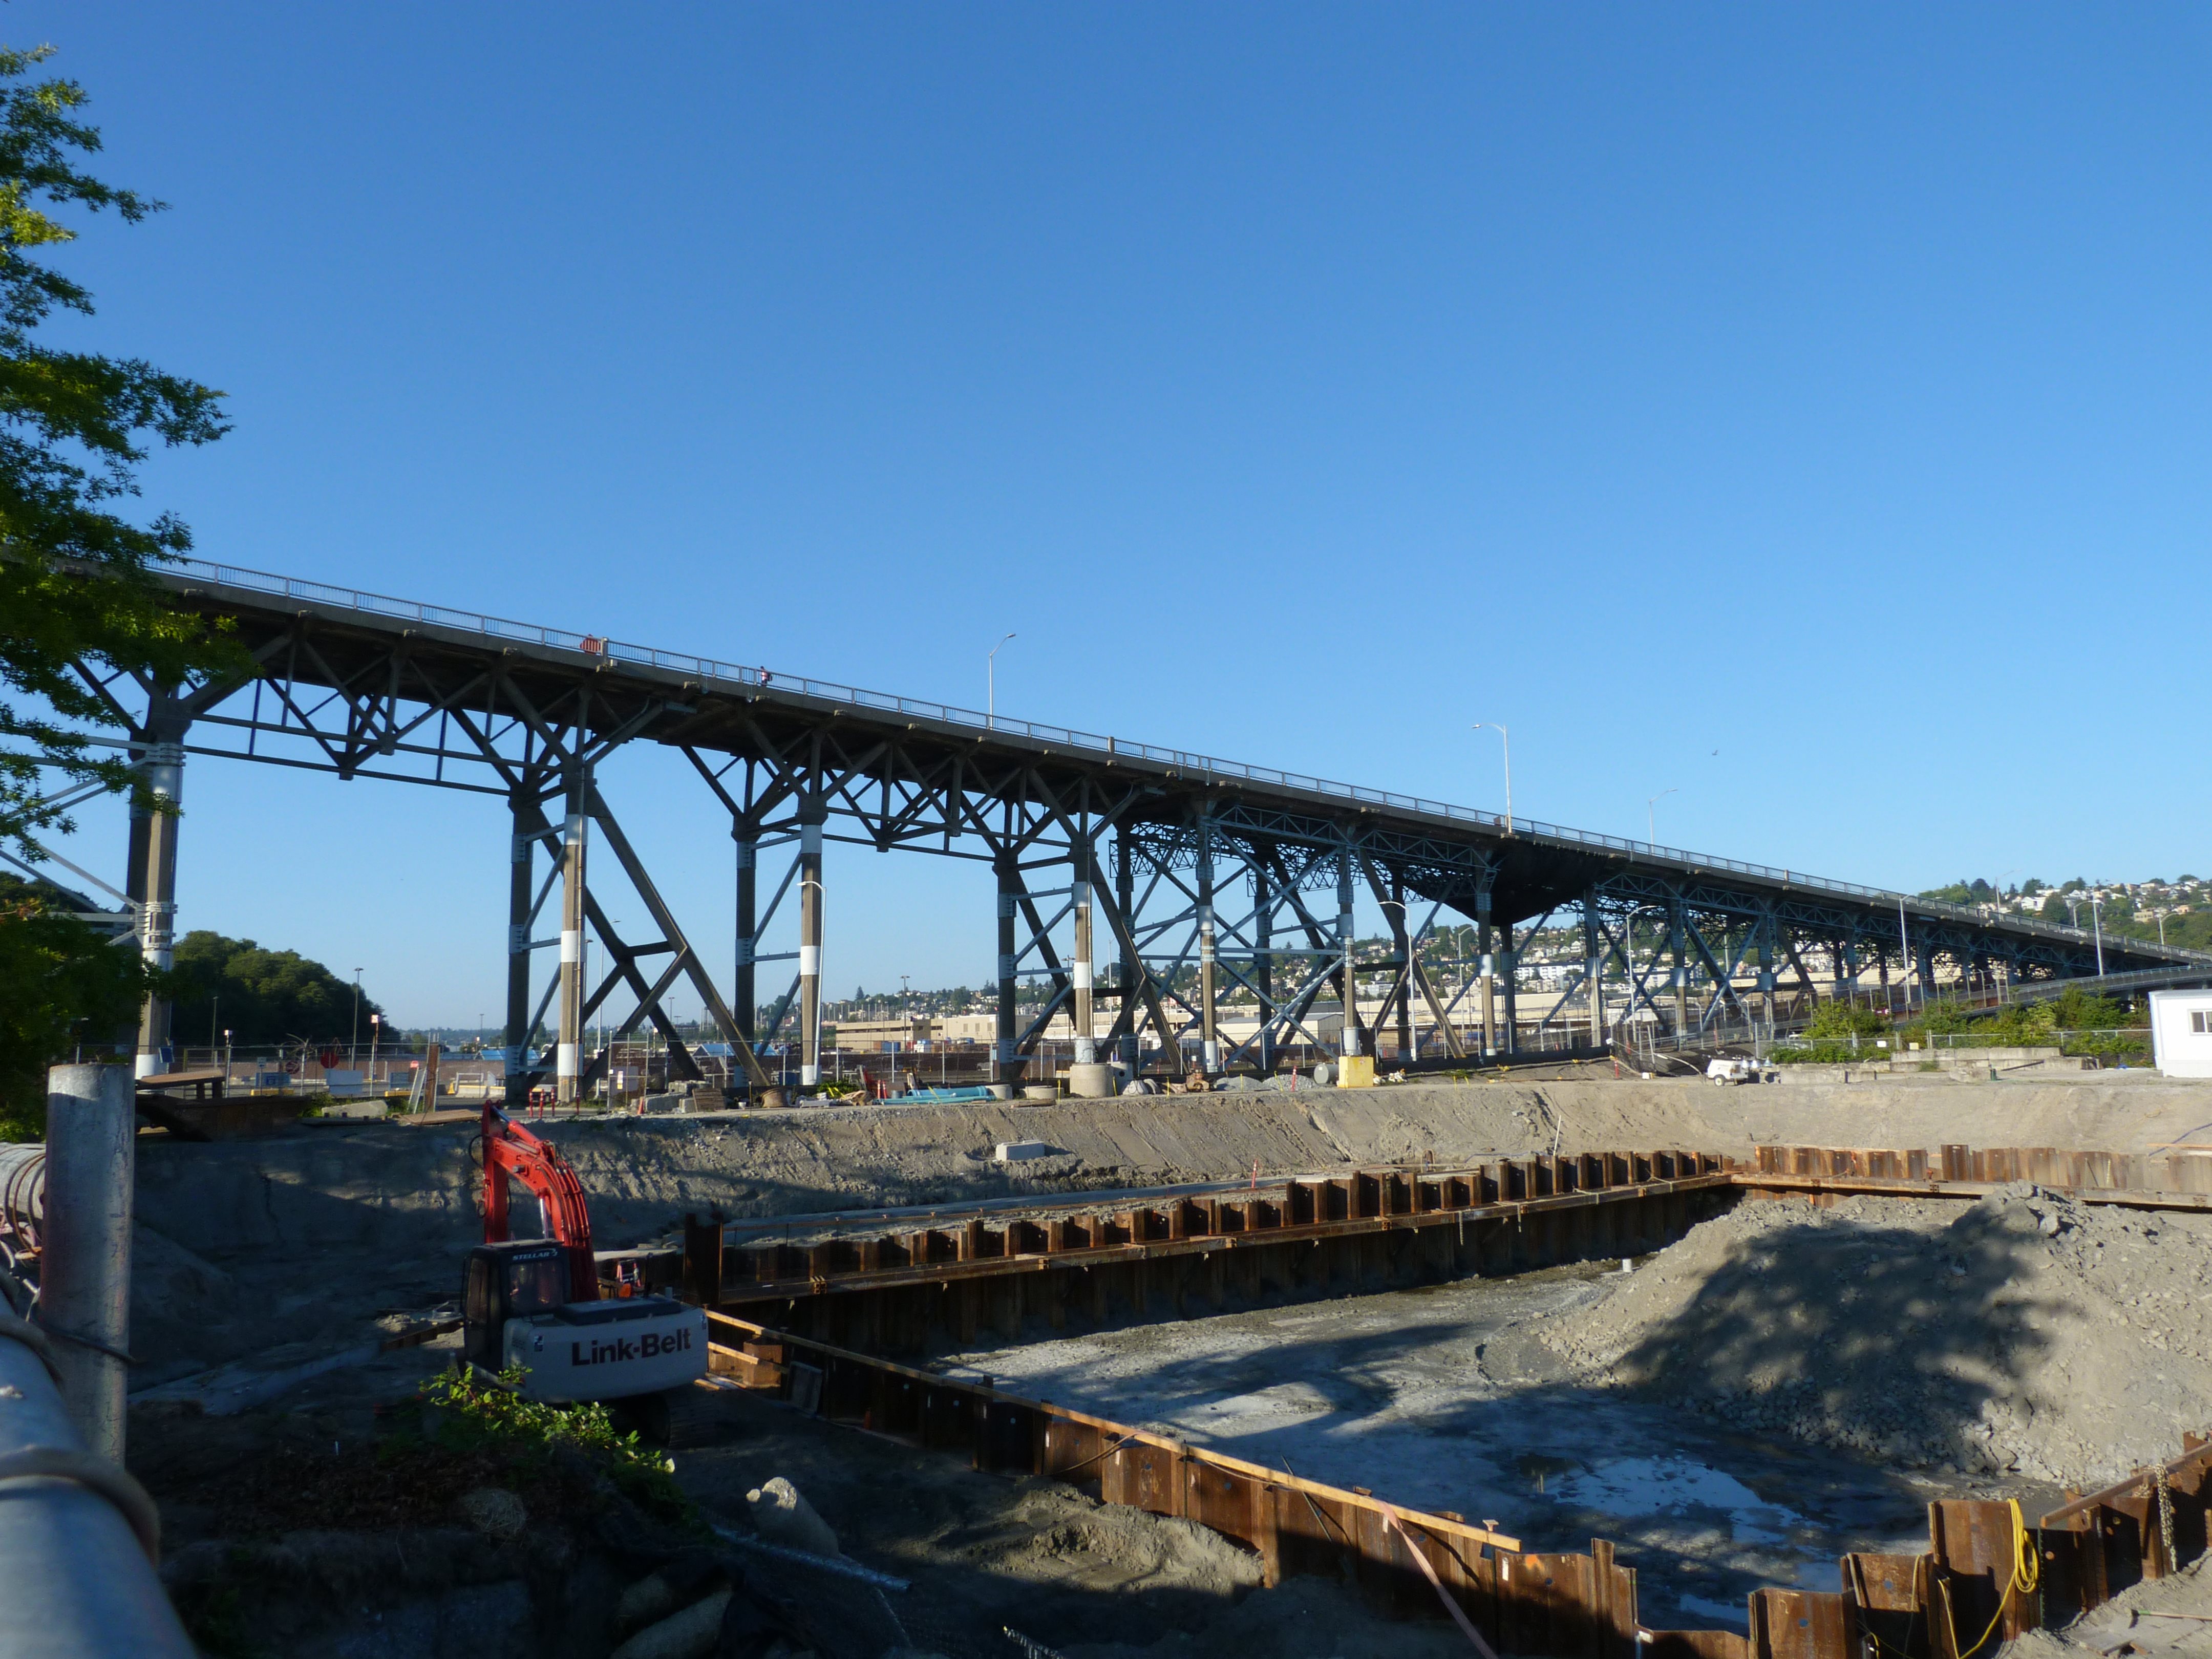
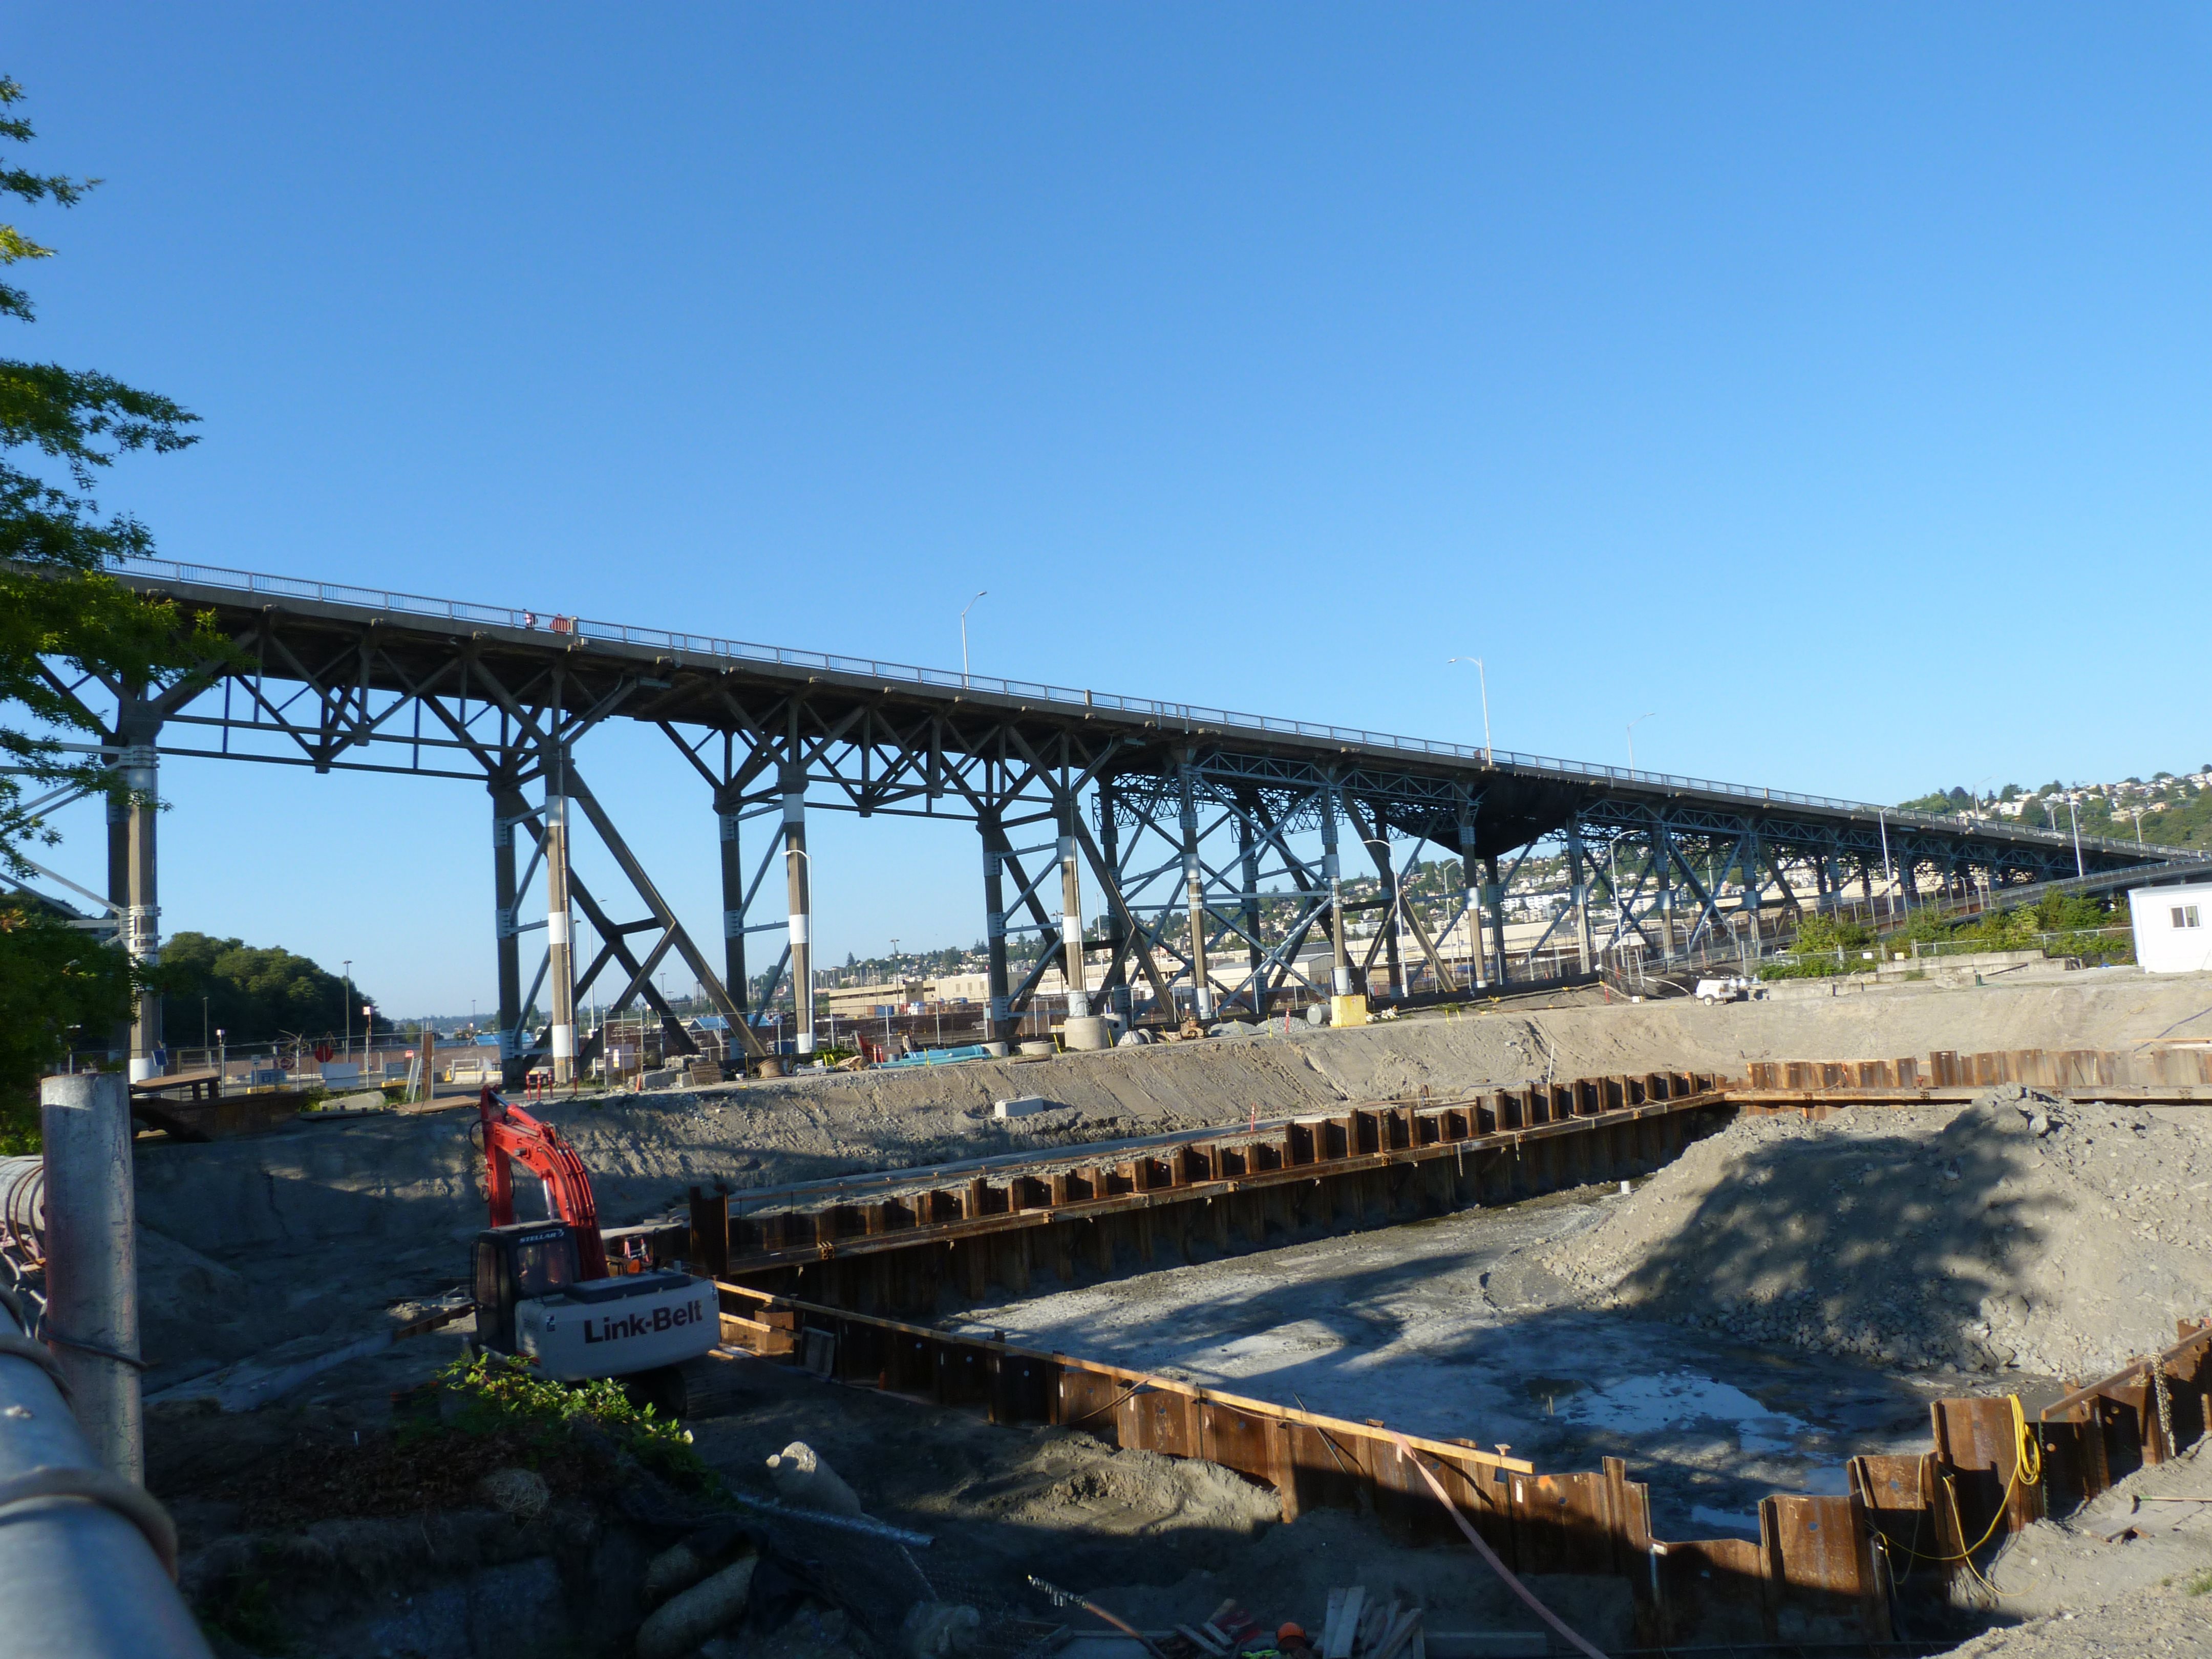
South elevation of deck truss spans.
![]()

HDR Photos: South elevation of deck truss spans.
![]()

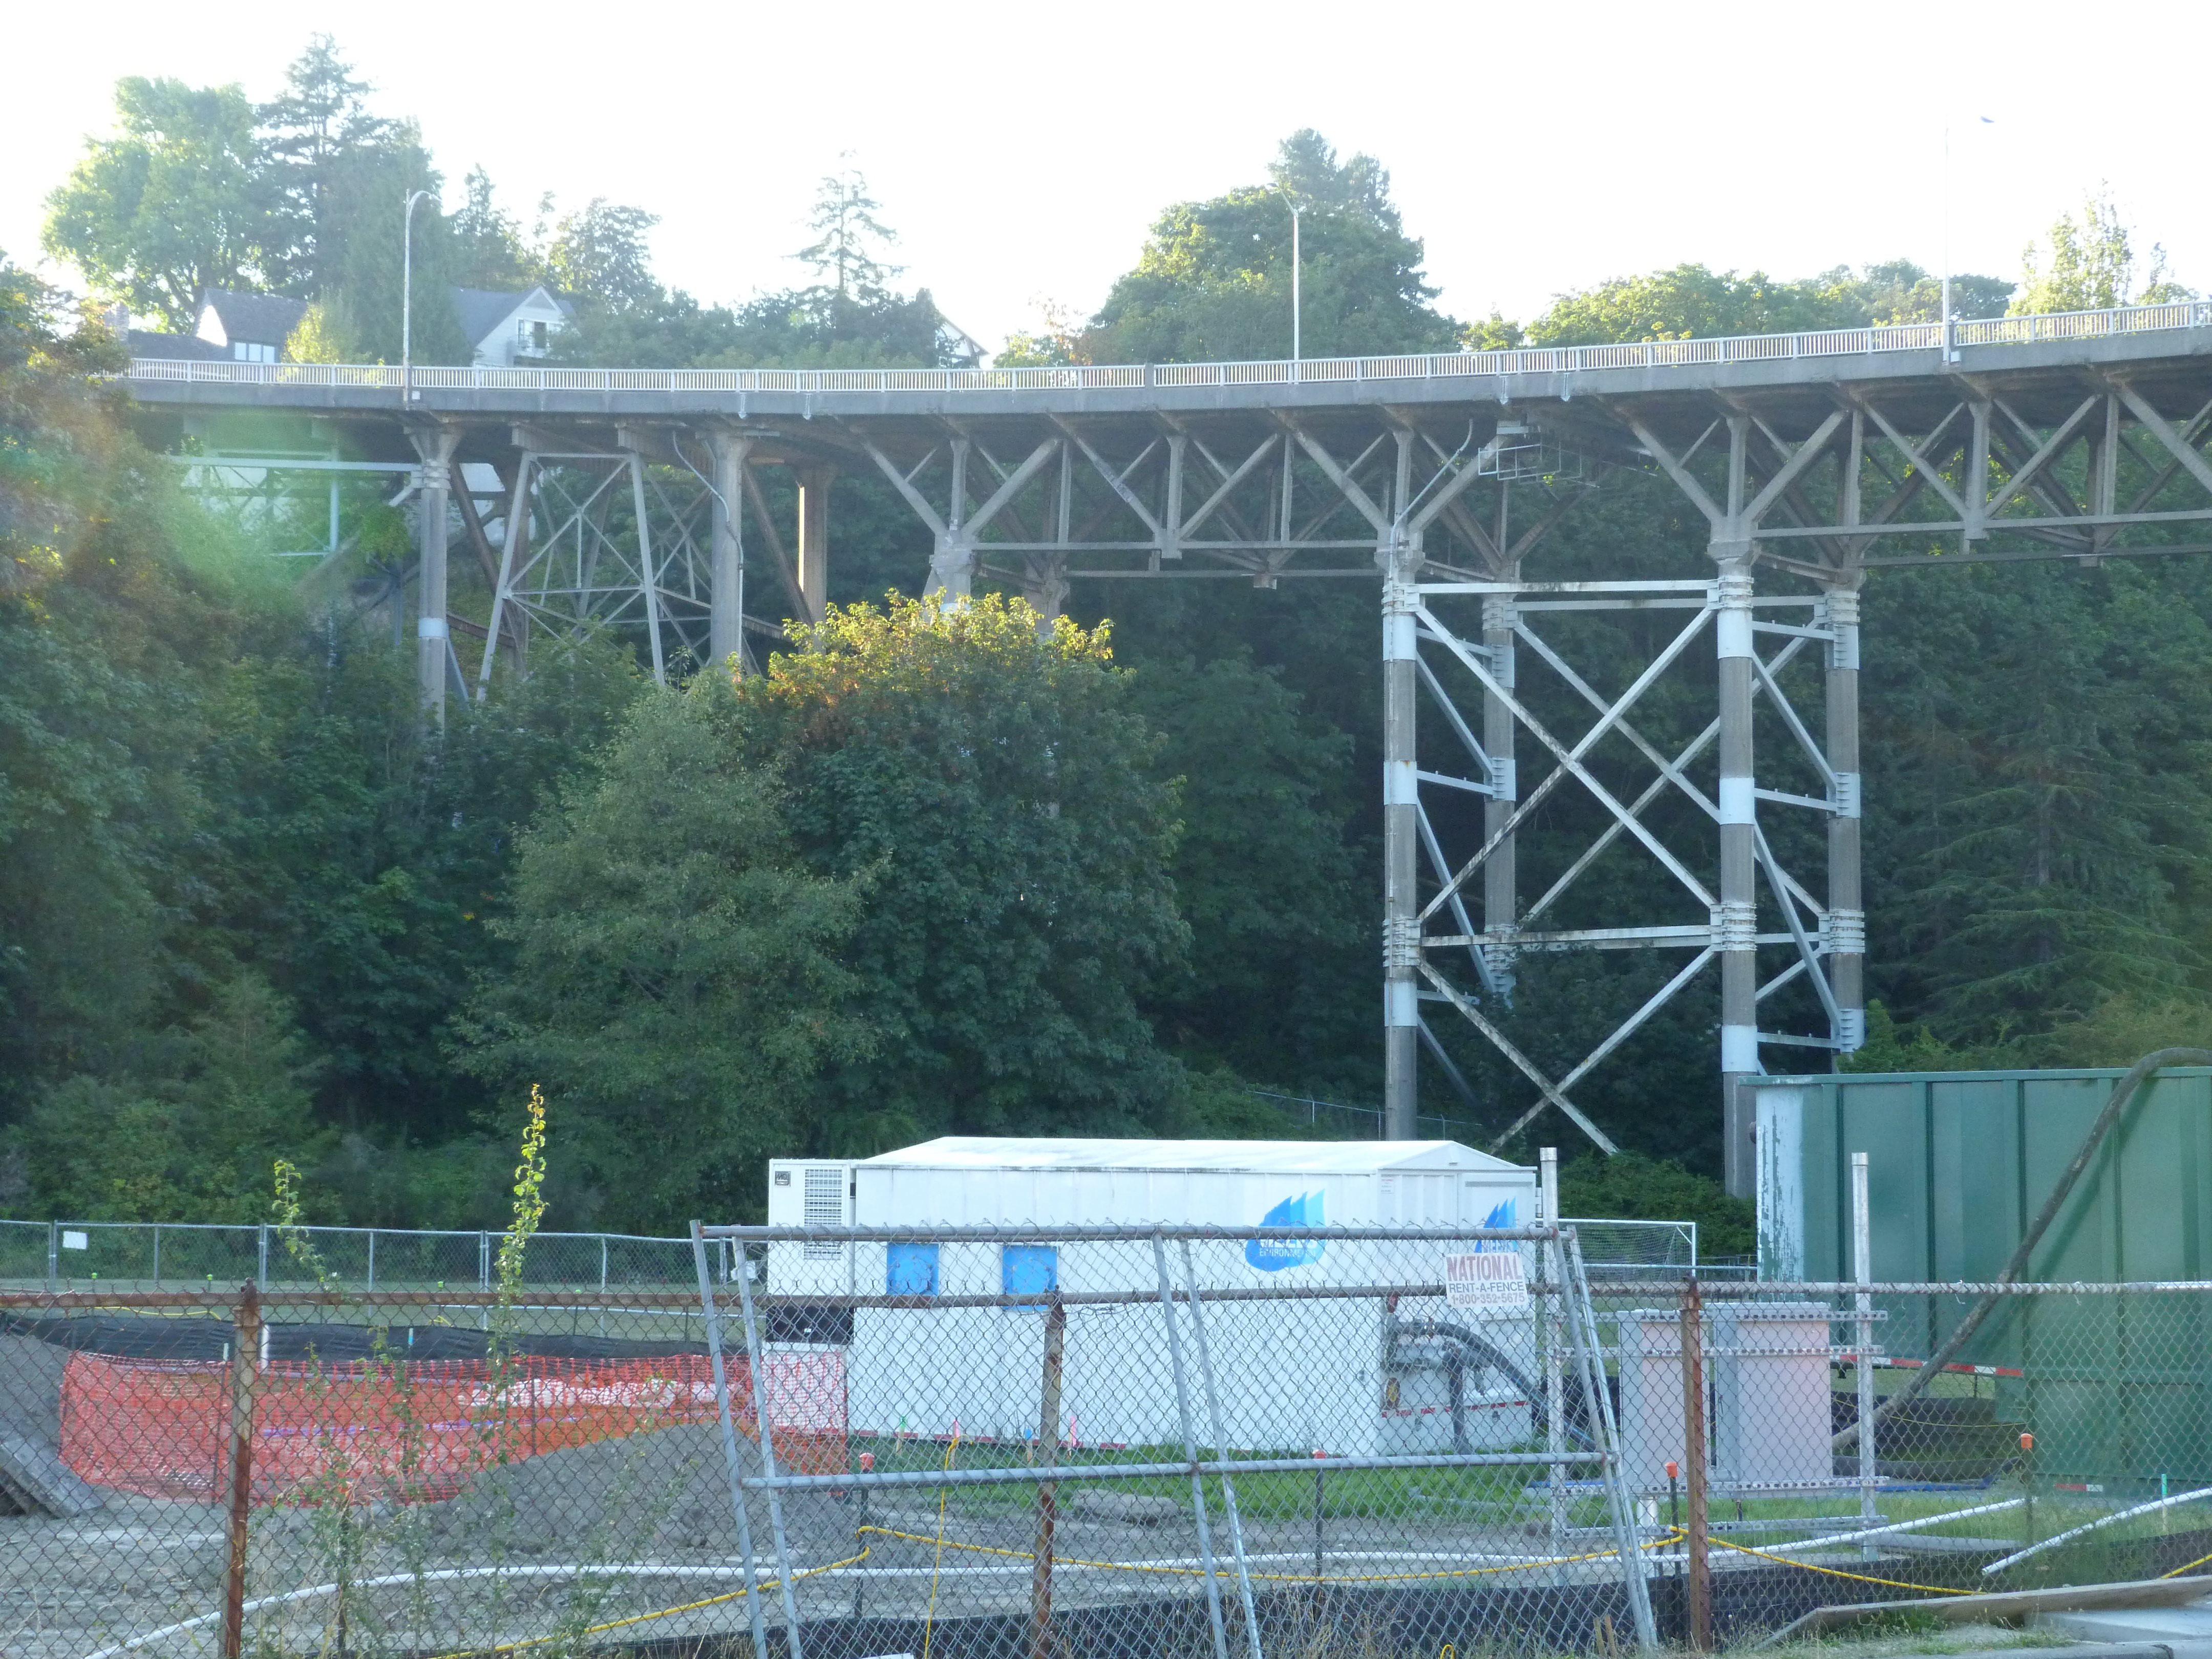
South elevation of the northern end of the bridge.
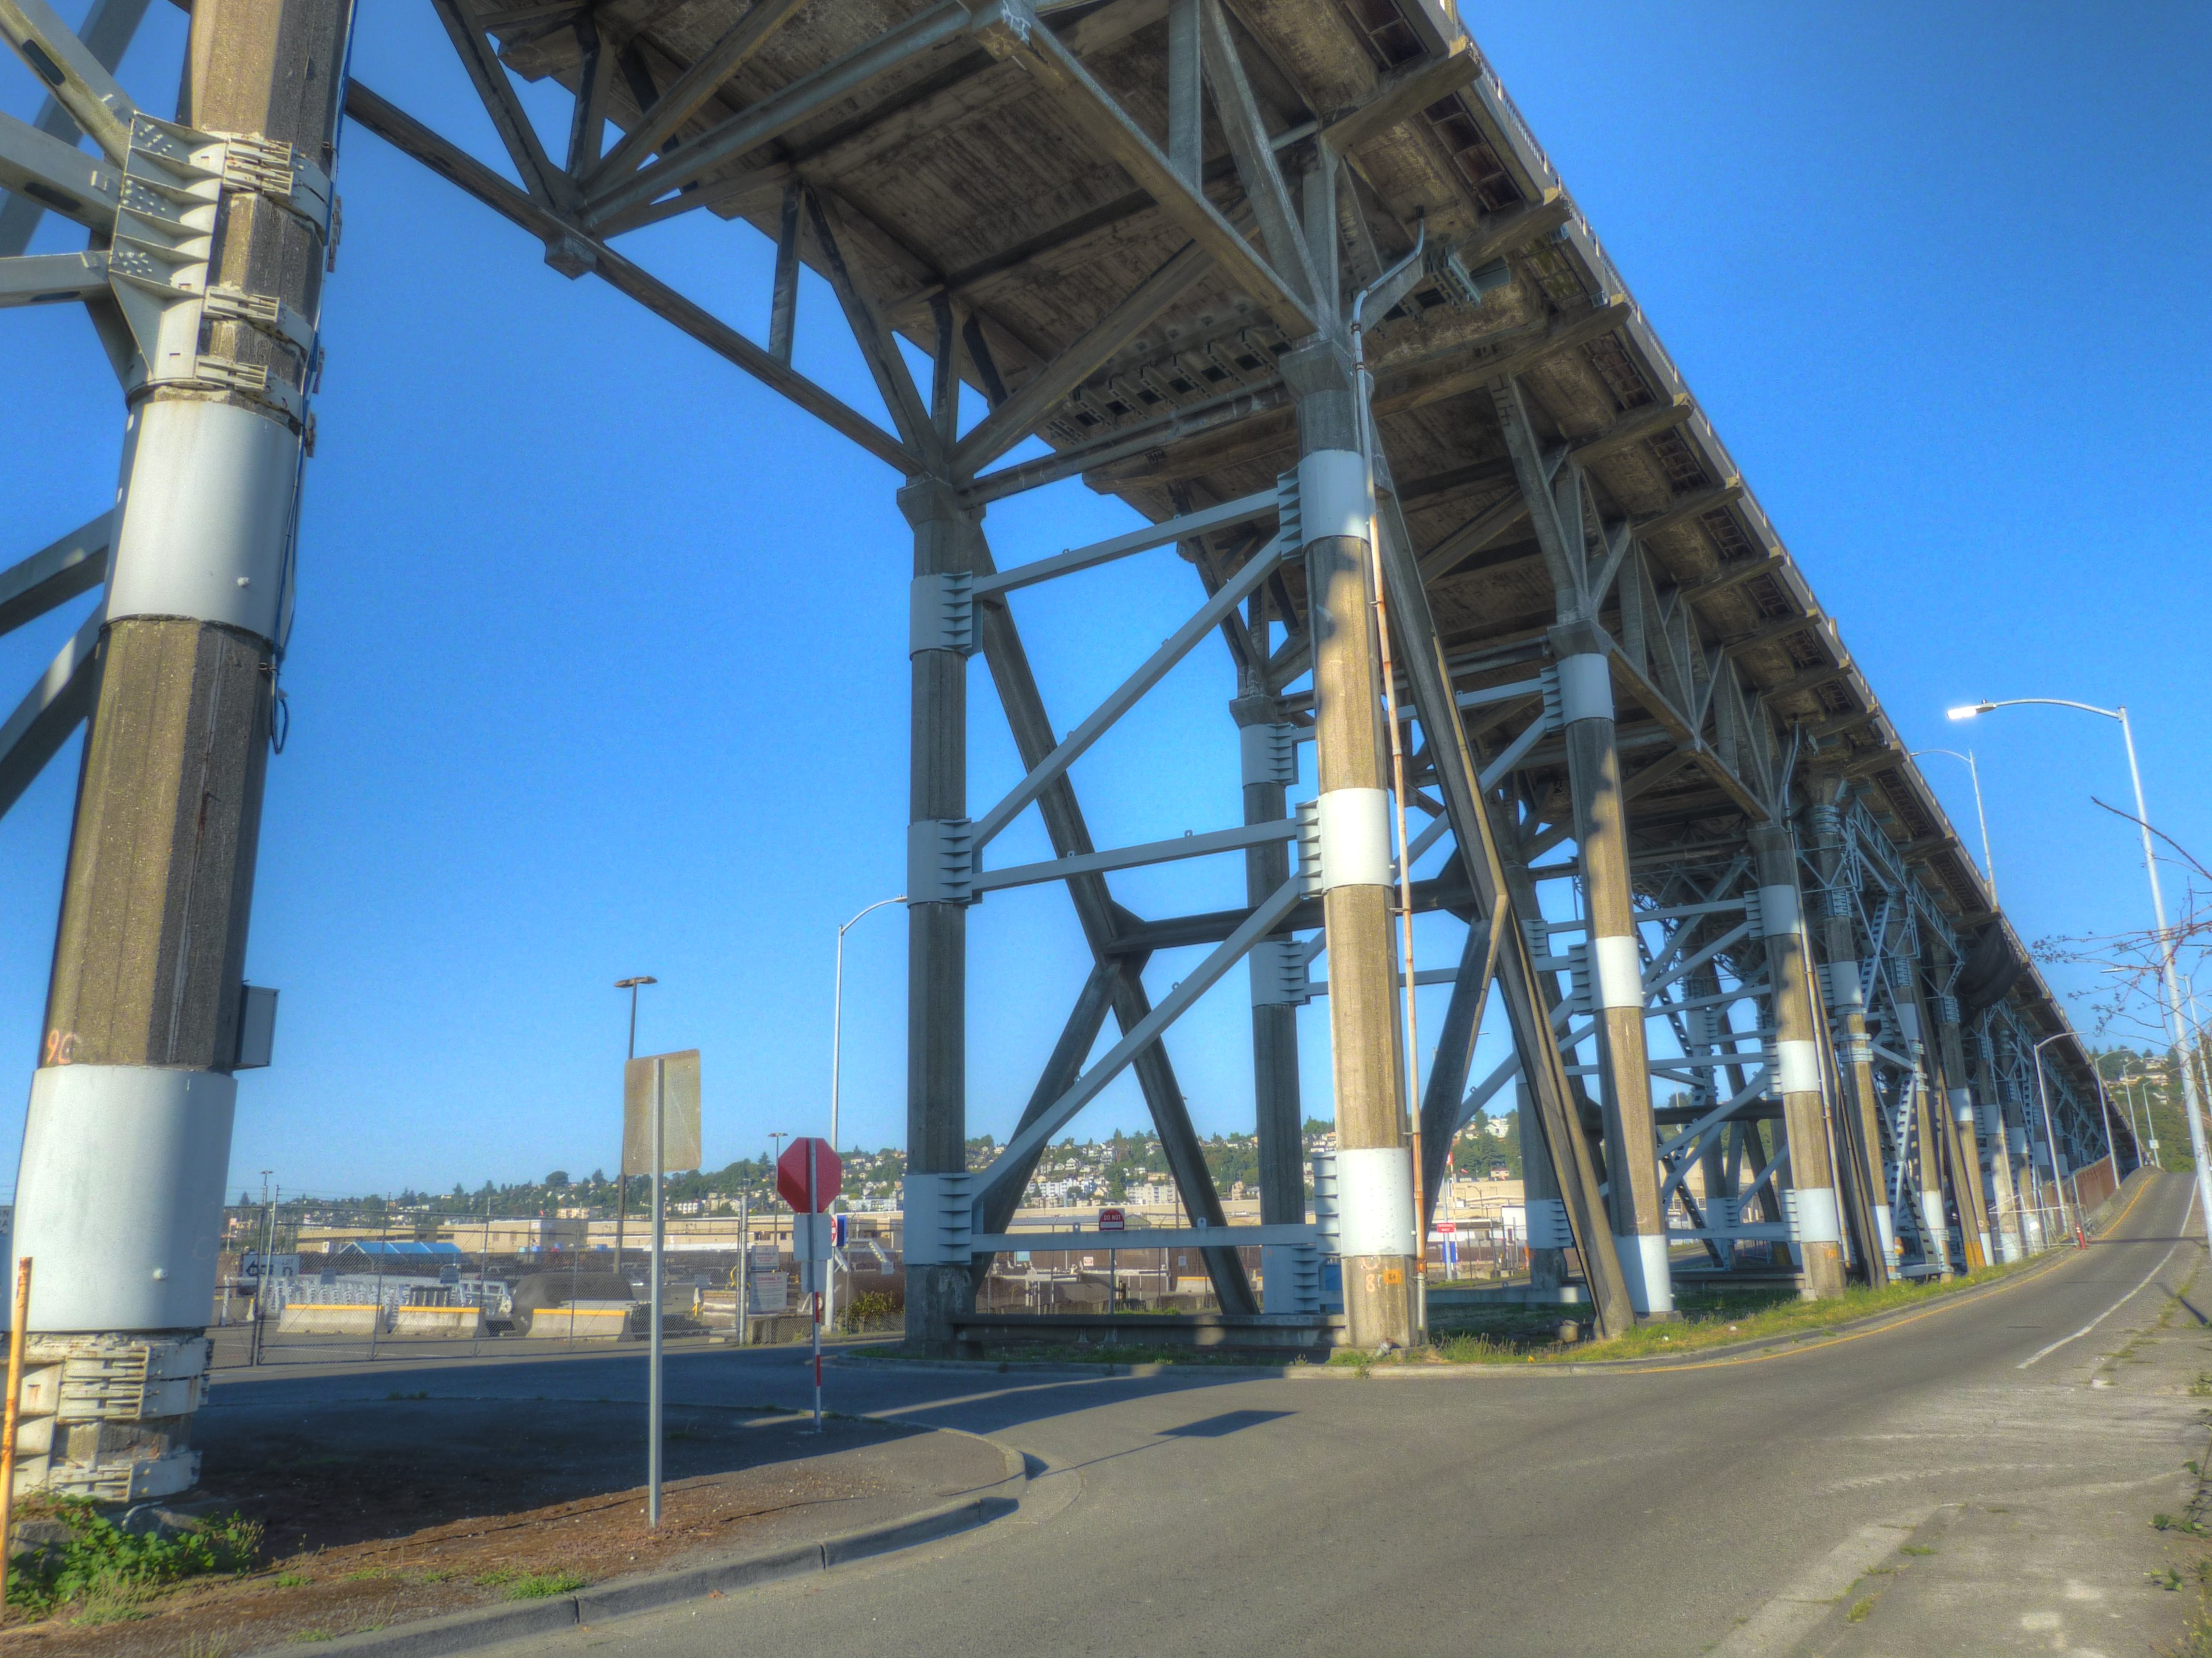
![]()
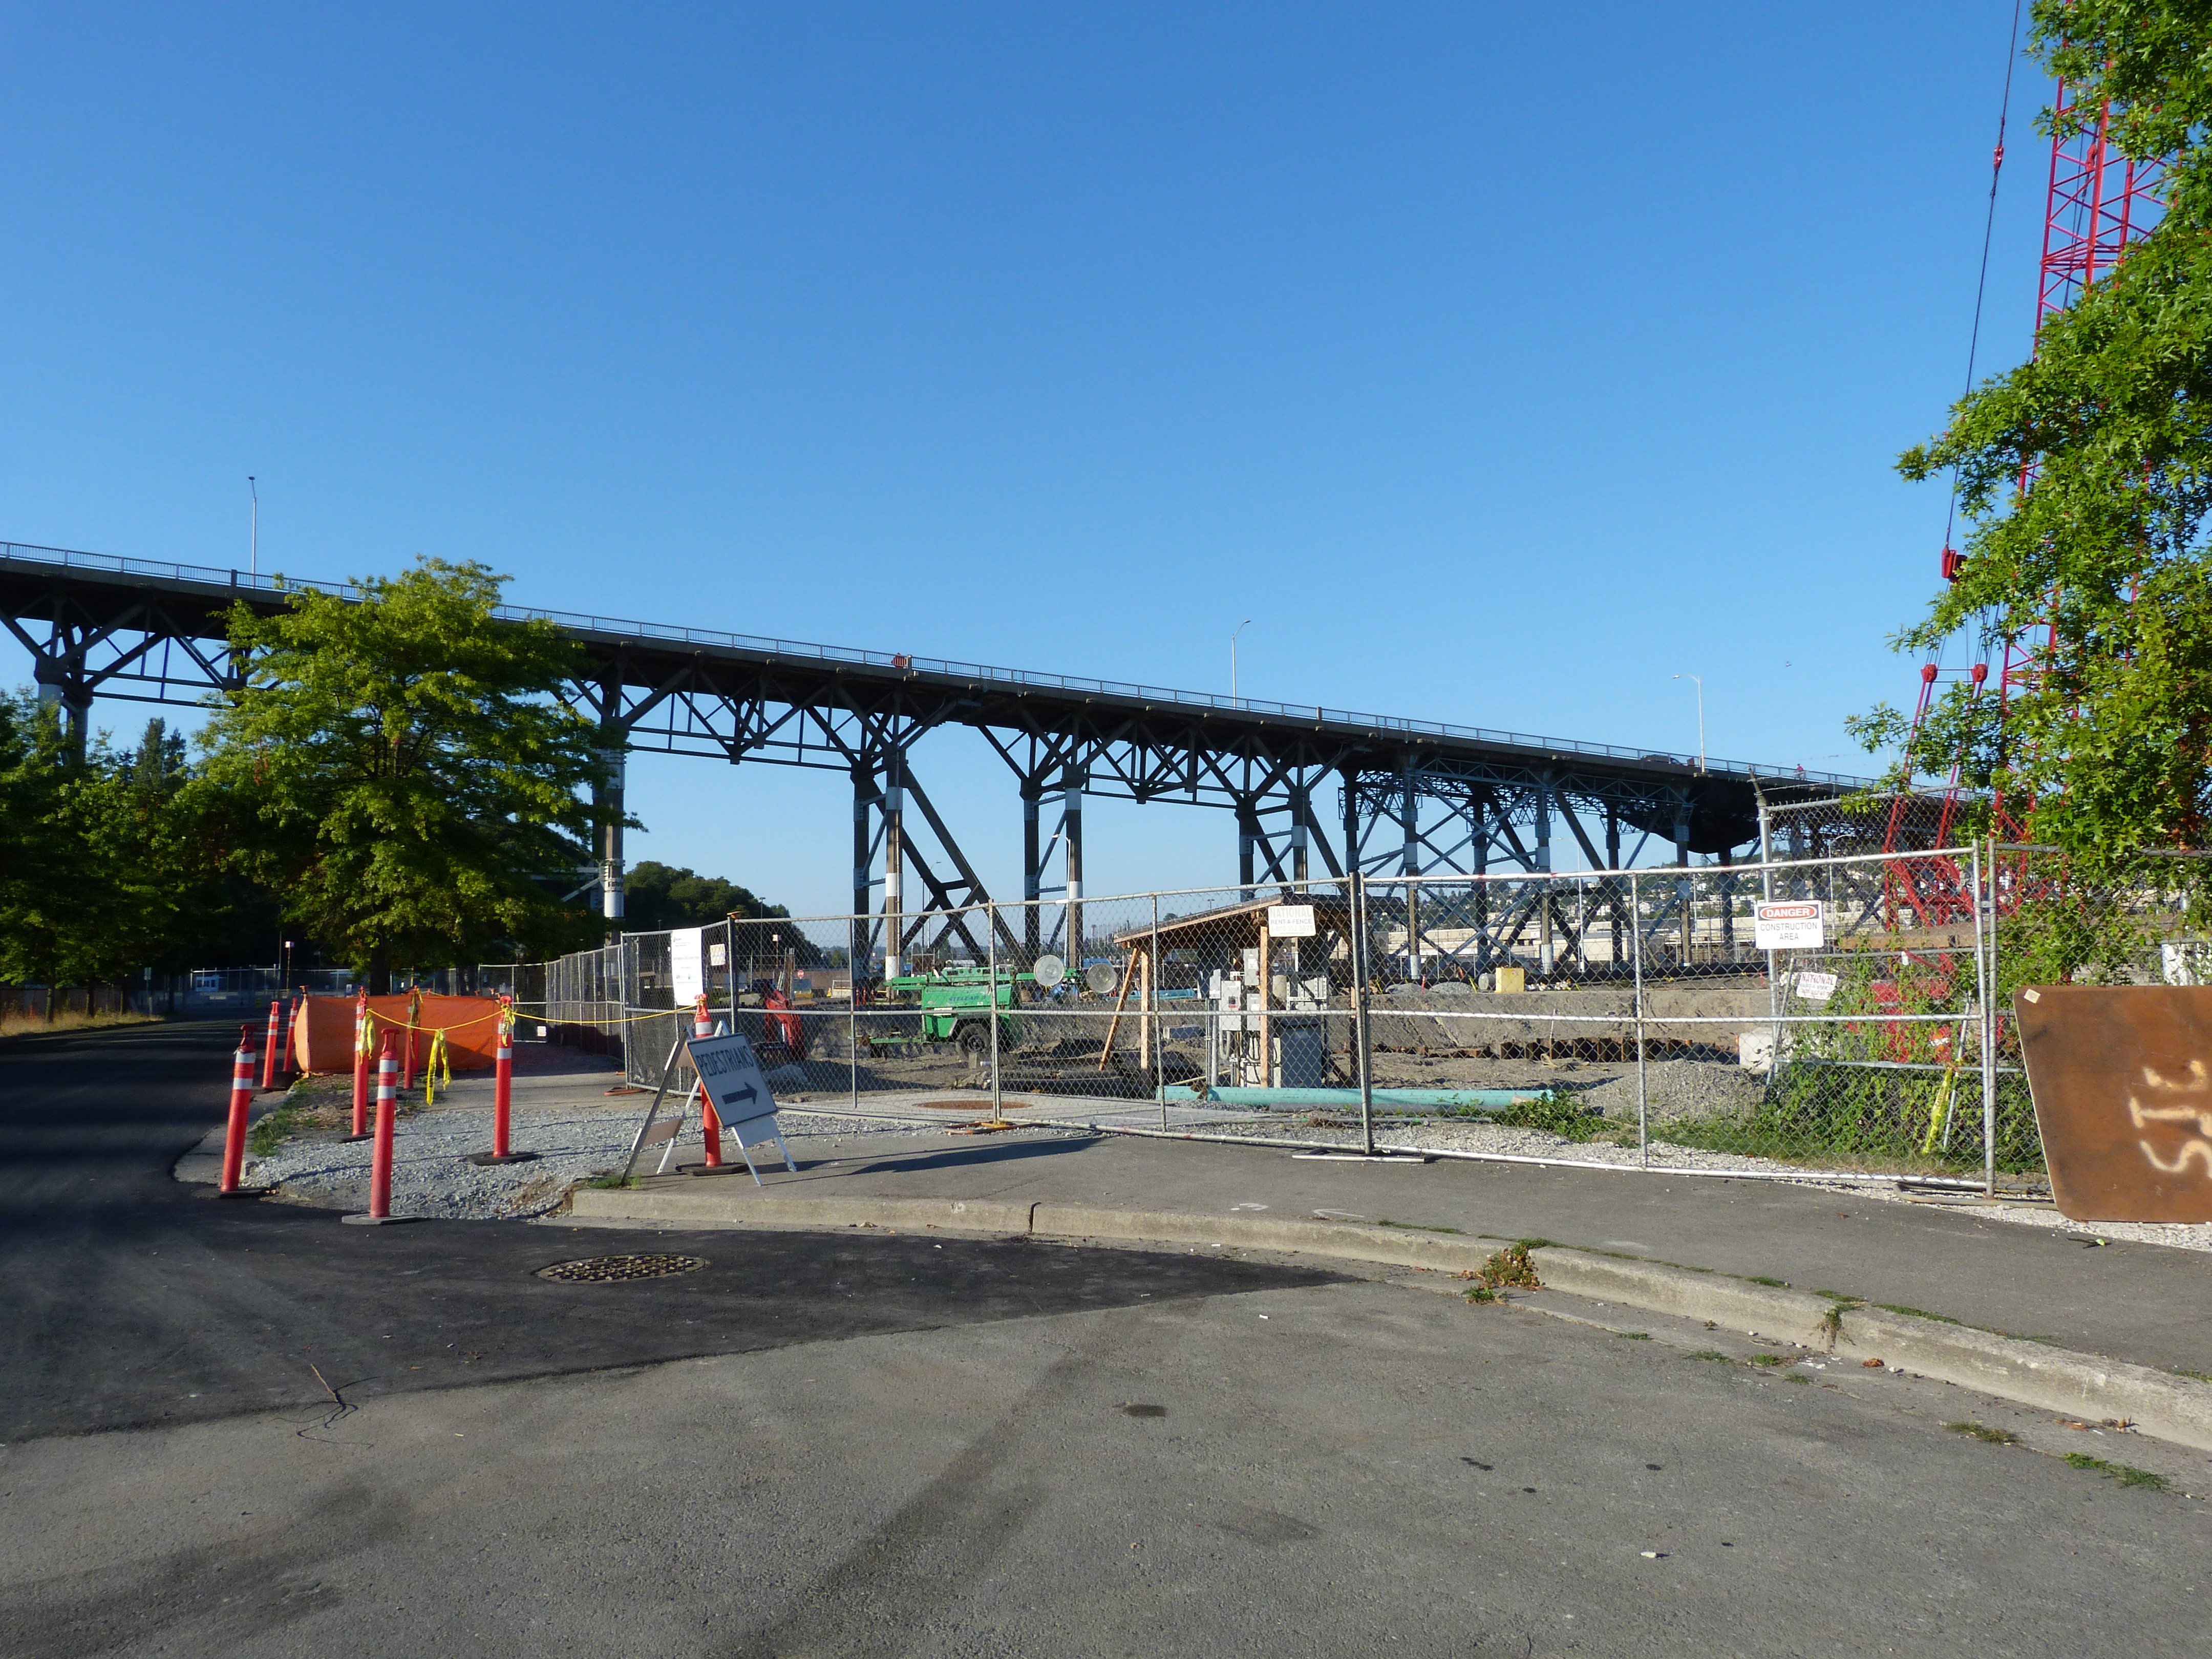
View beside eastern portion of deck truss spans. Looking northeast.
![]()


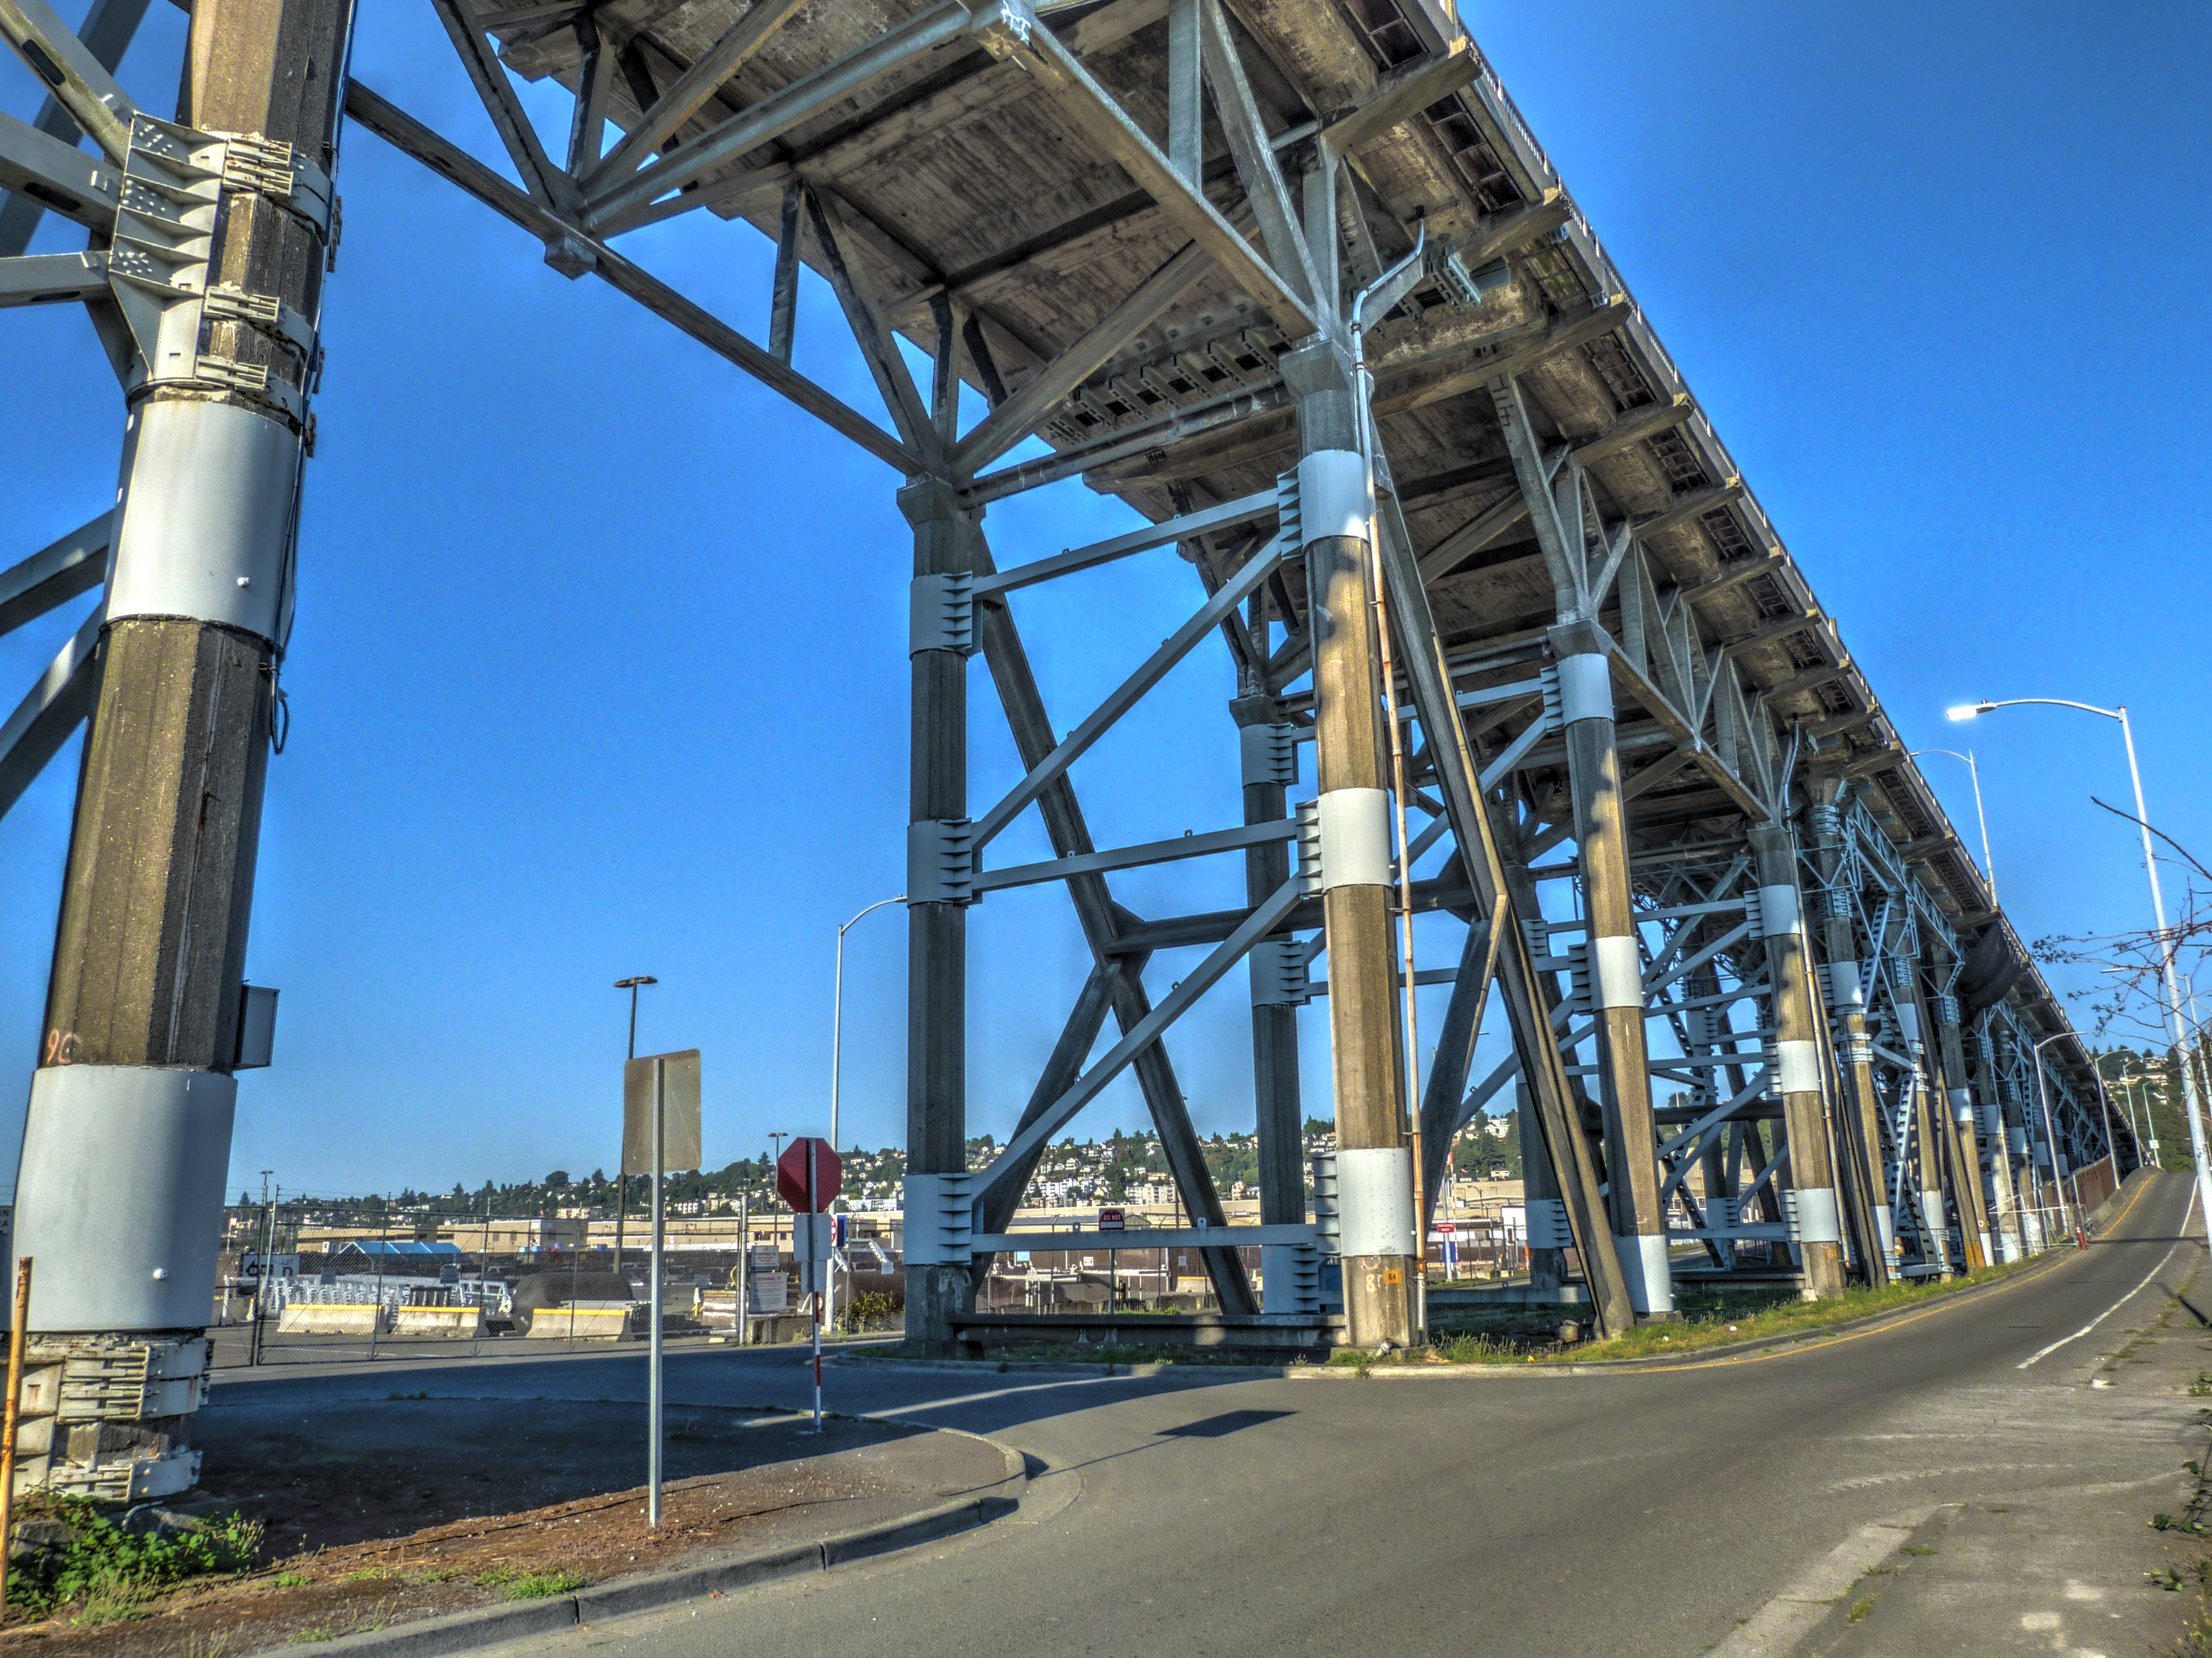
HDR Photos: View beside eastern portion of deck truss spans. Looking northeast.
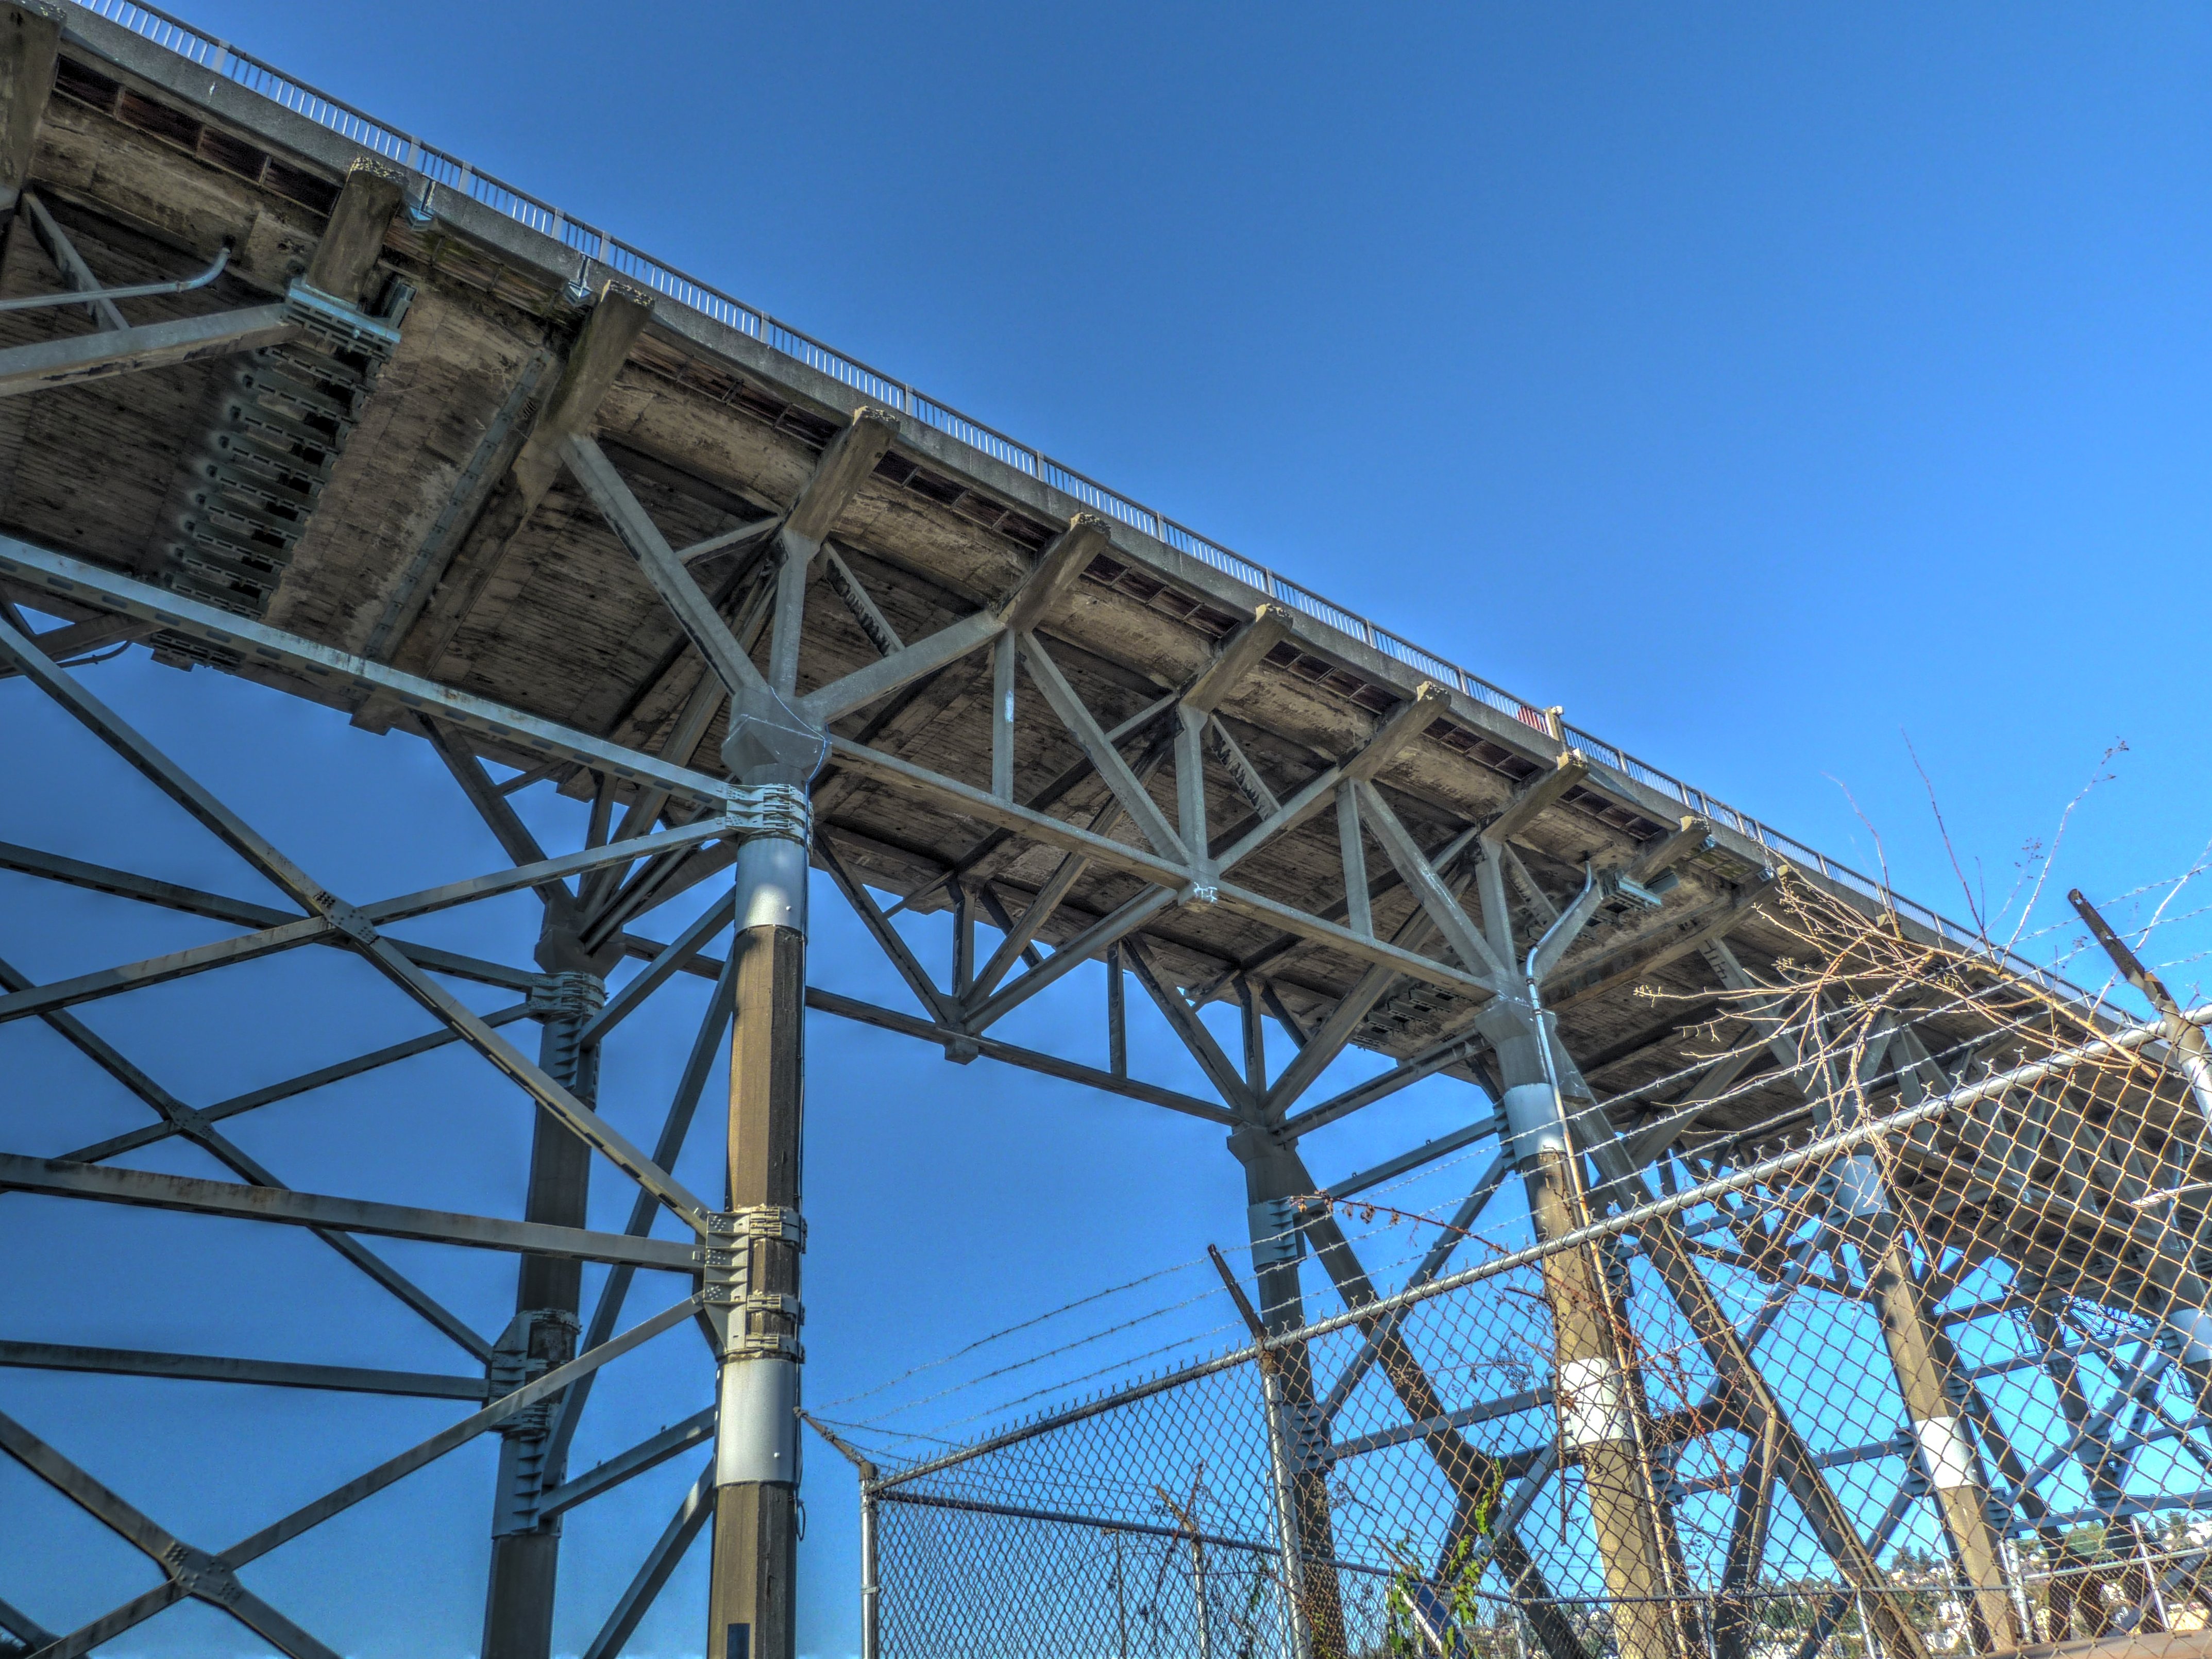
![]()


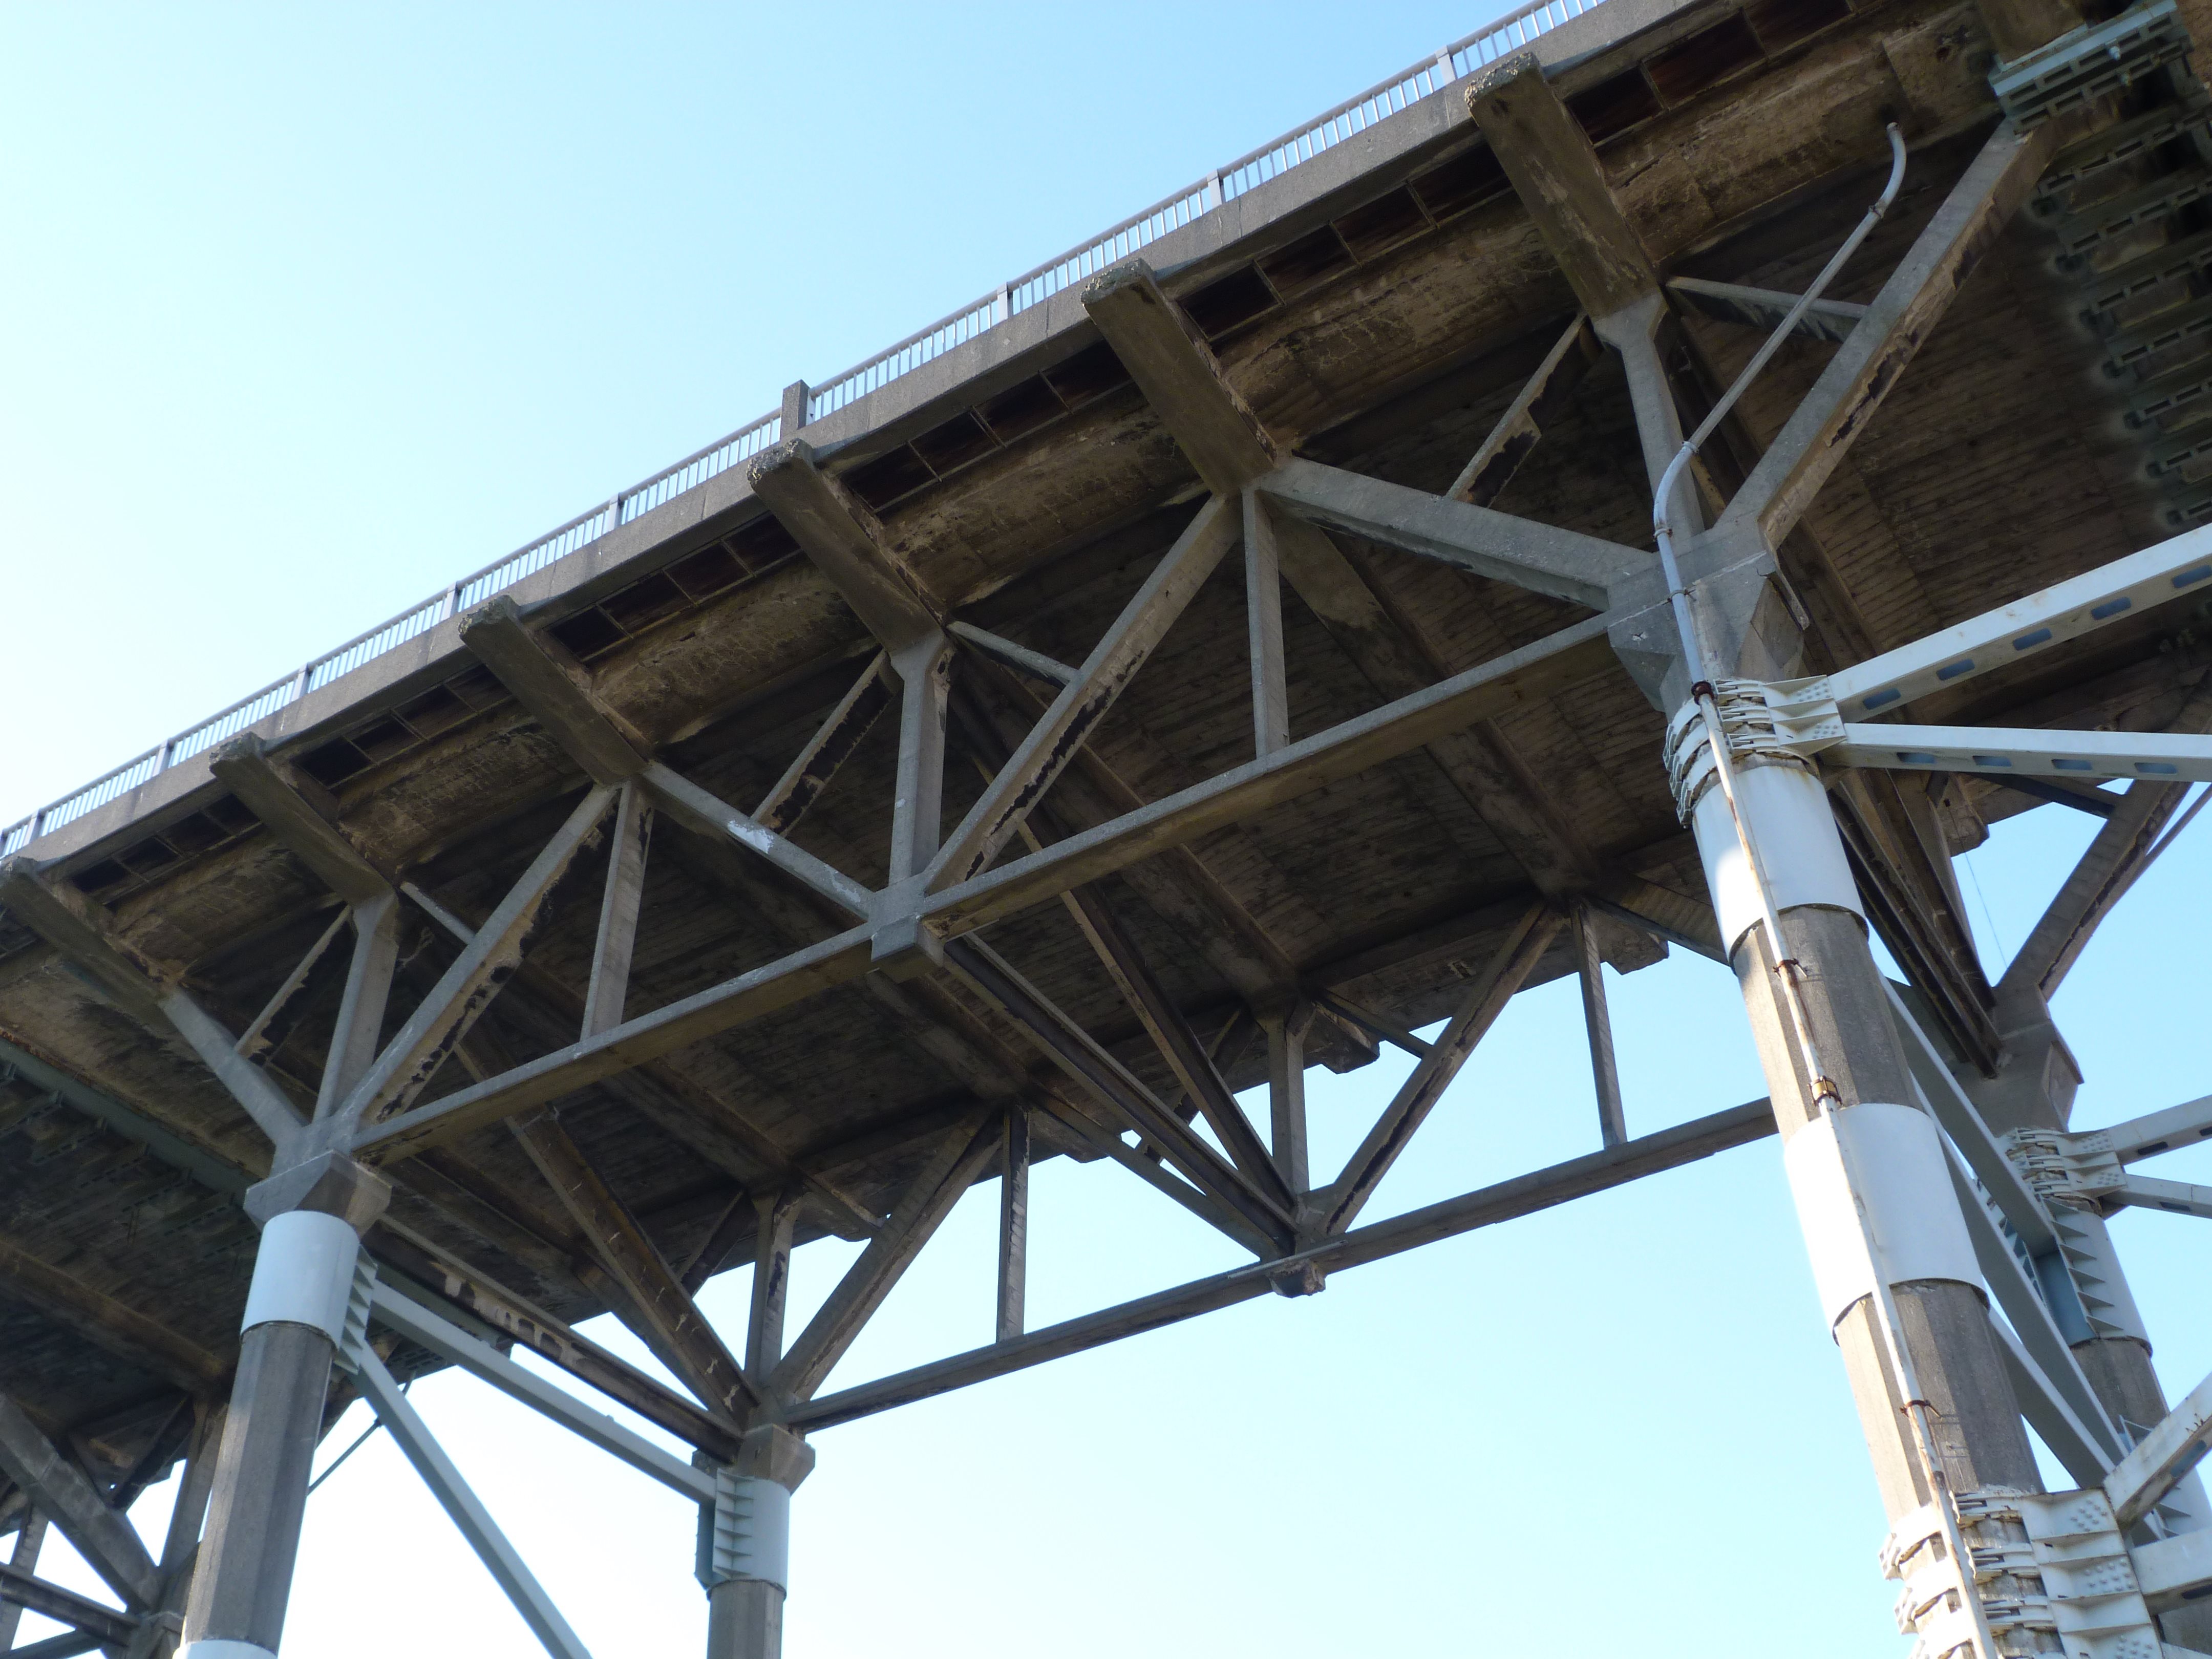
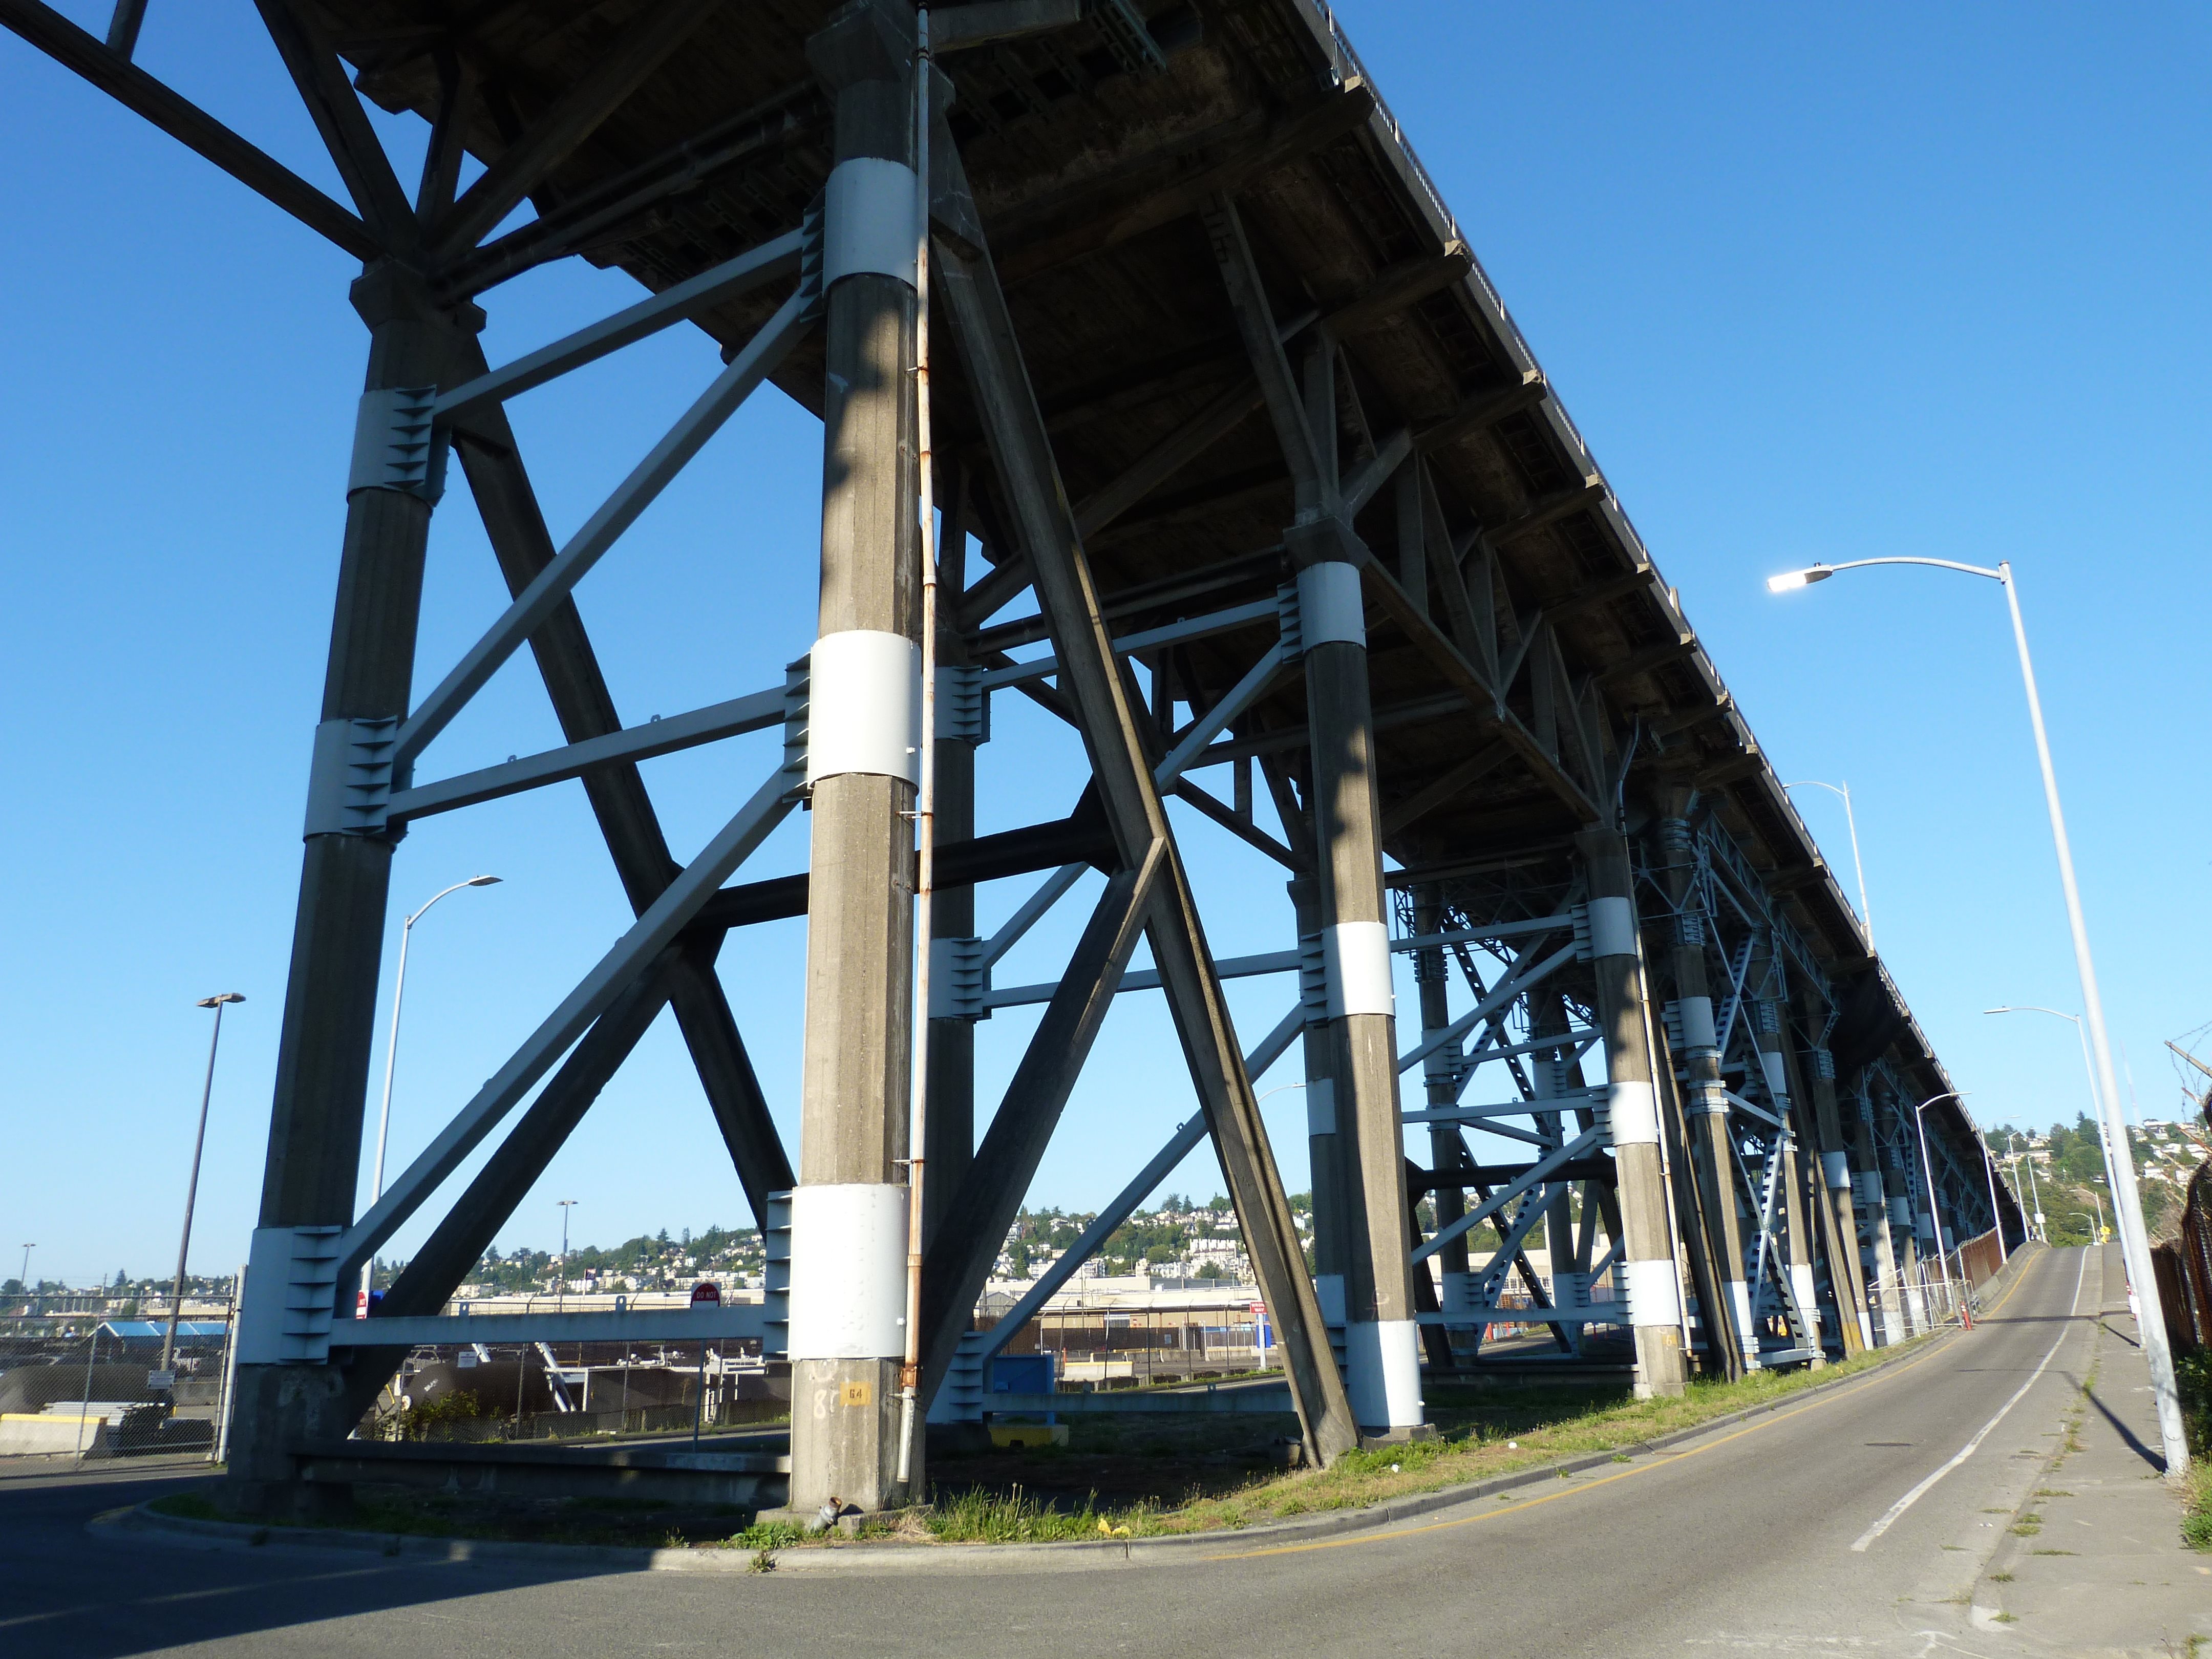
Looking up at a deck truss span.
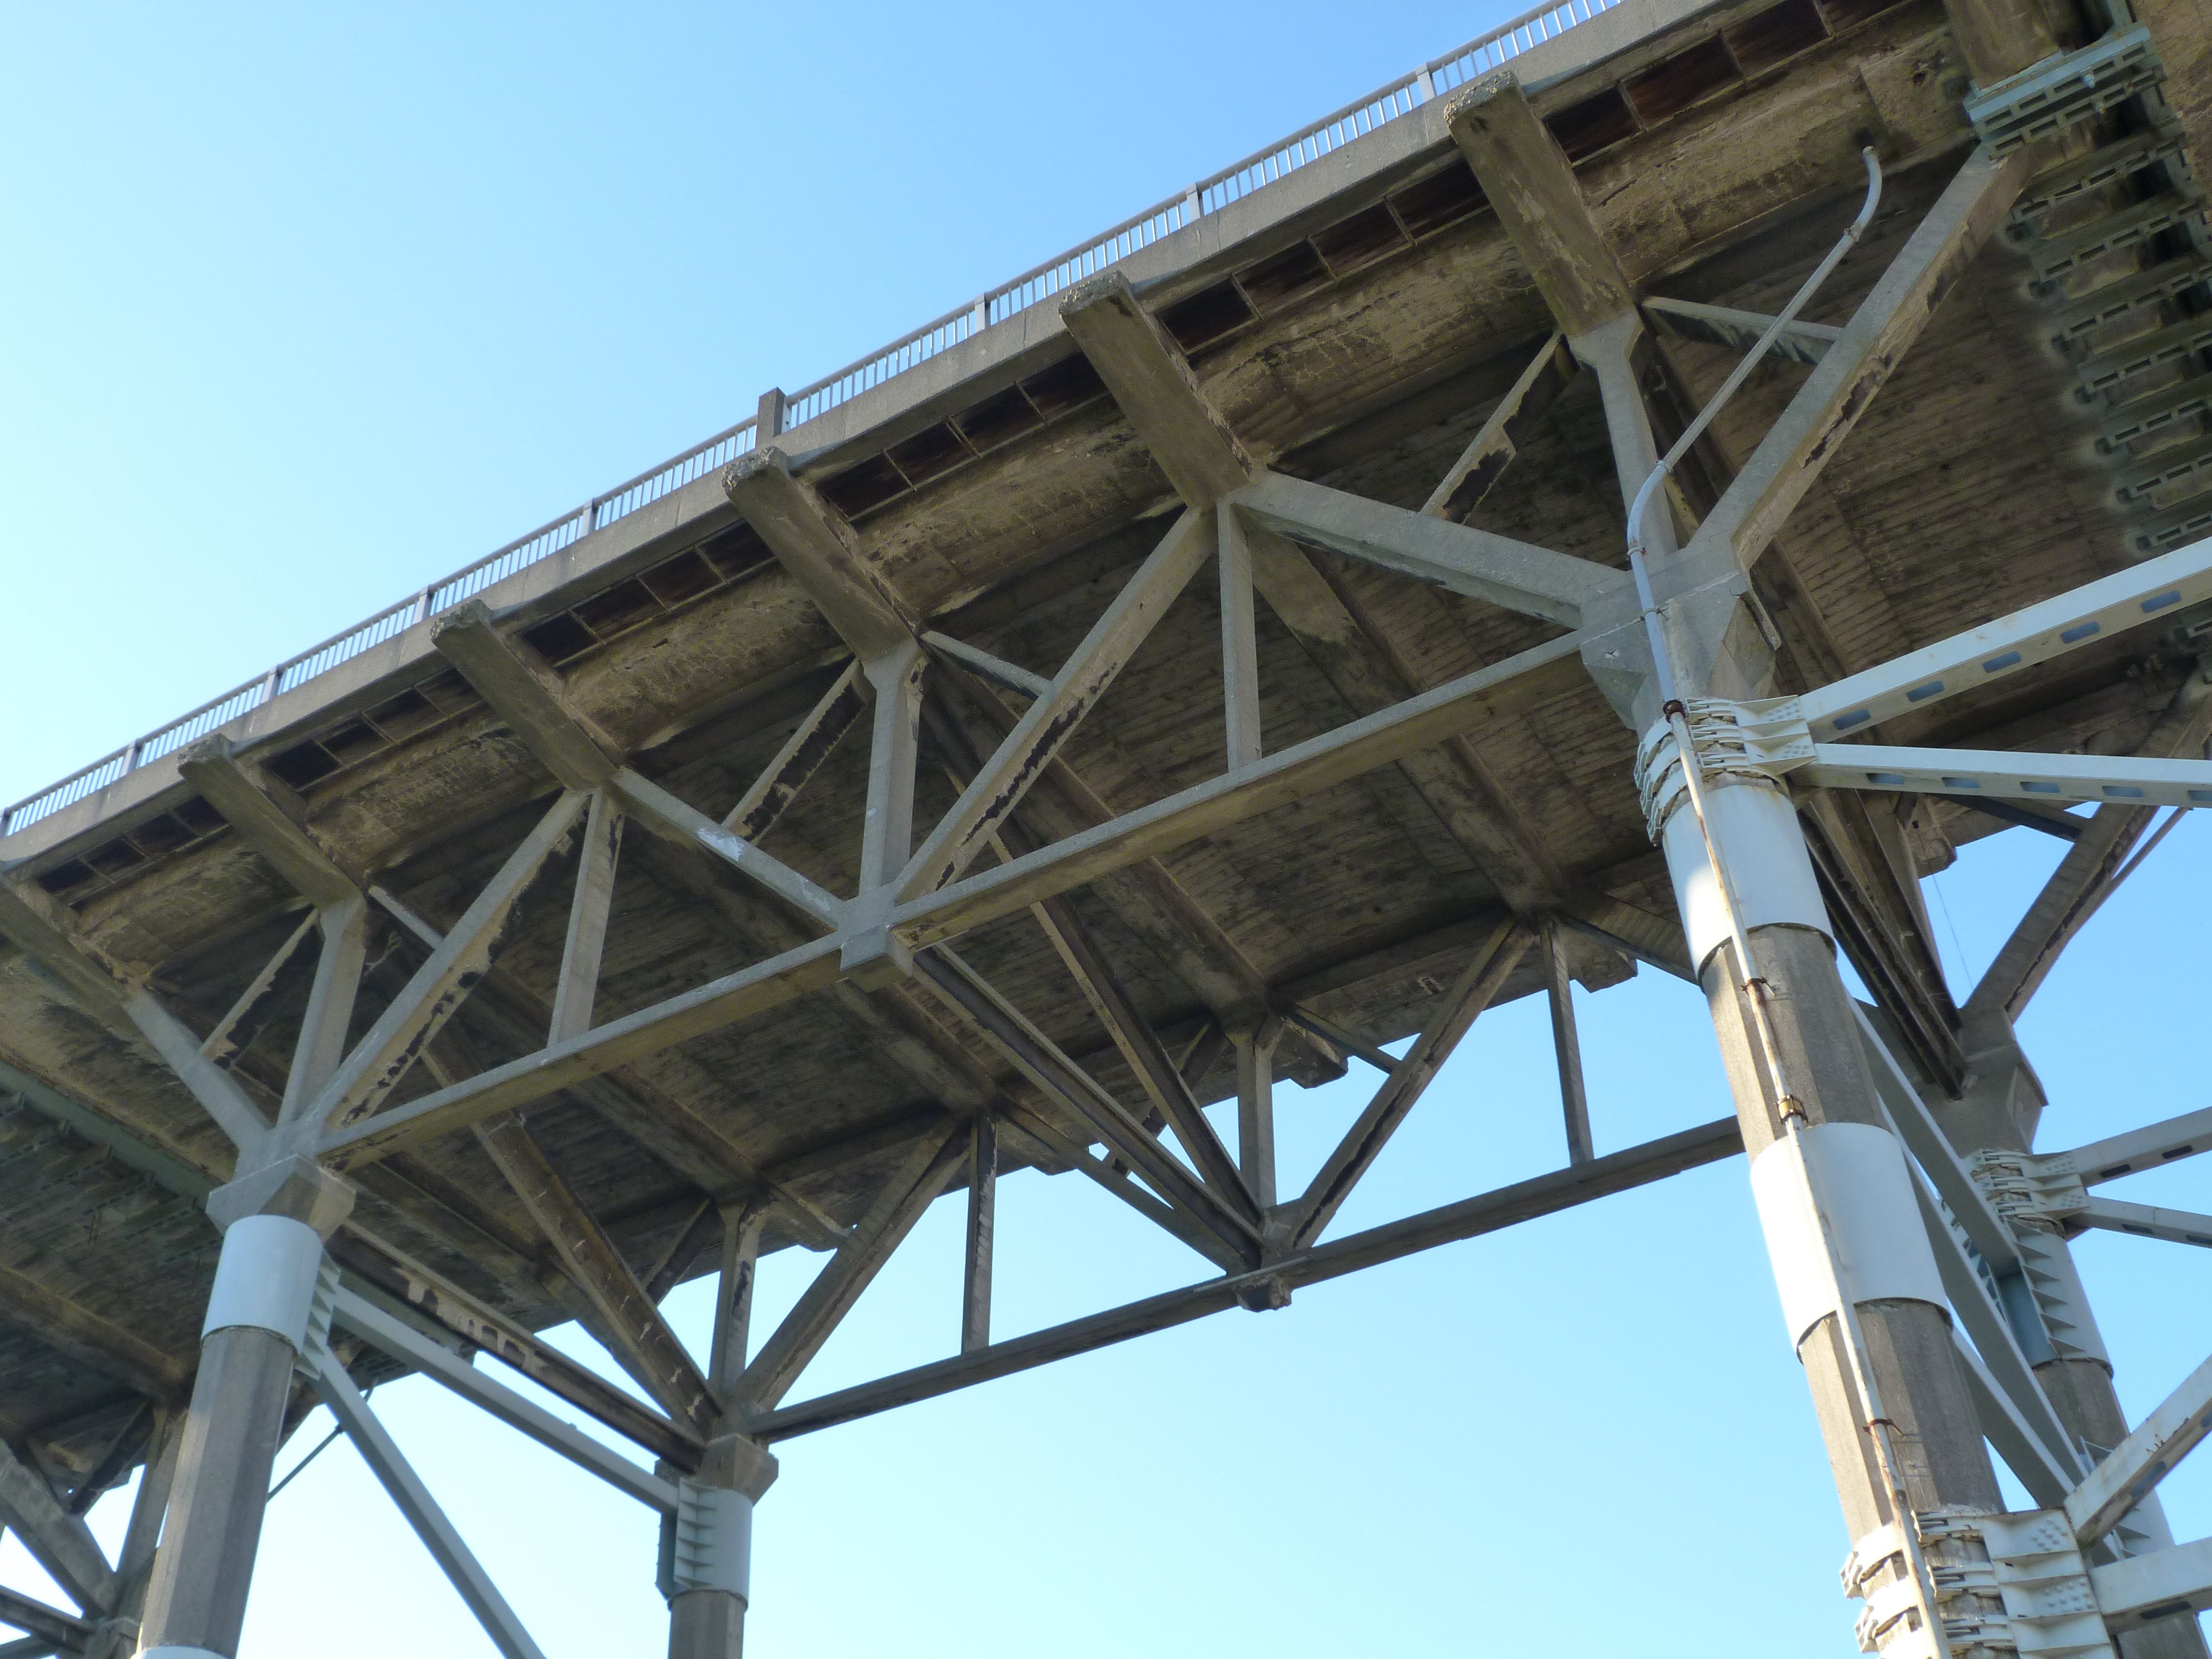
![]()


HDR Photos: Looking up at a deck truss span.
![]()
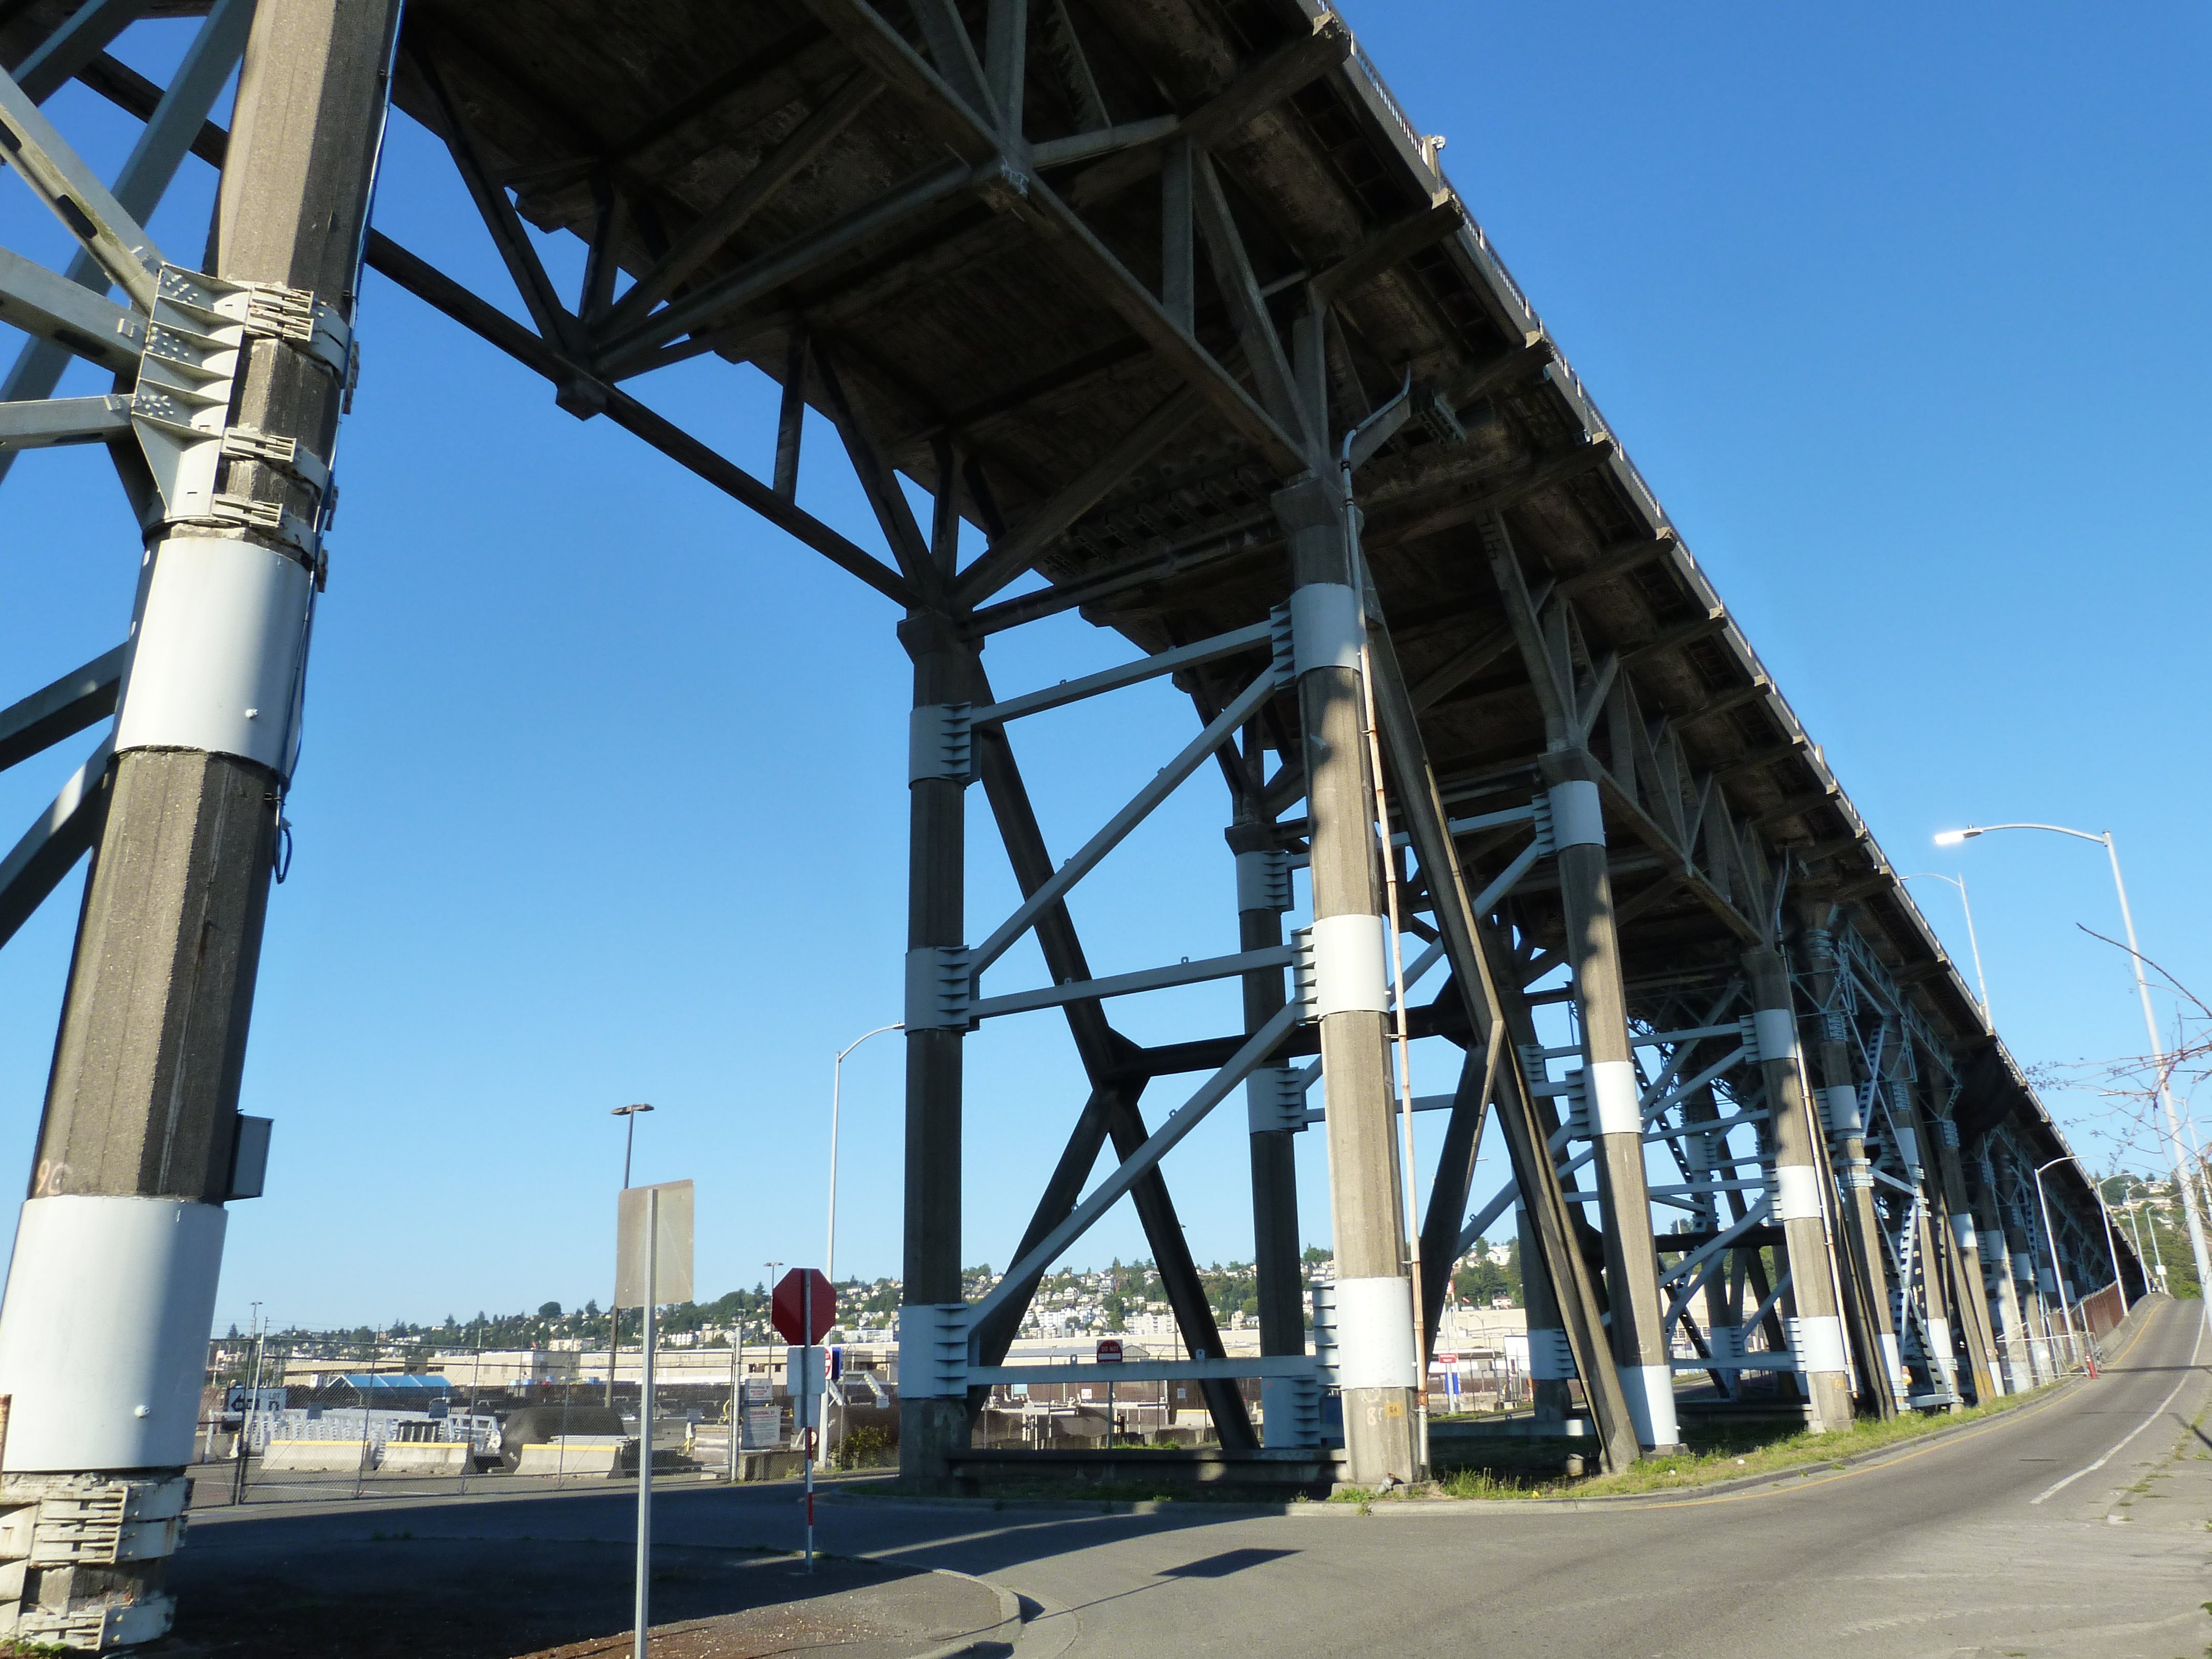
Views of deck truss spans.
![]()
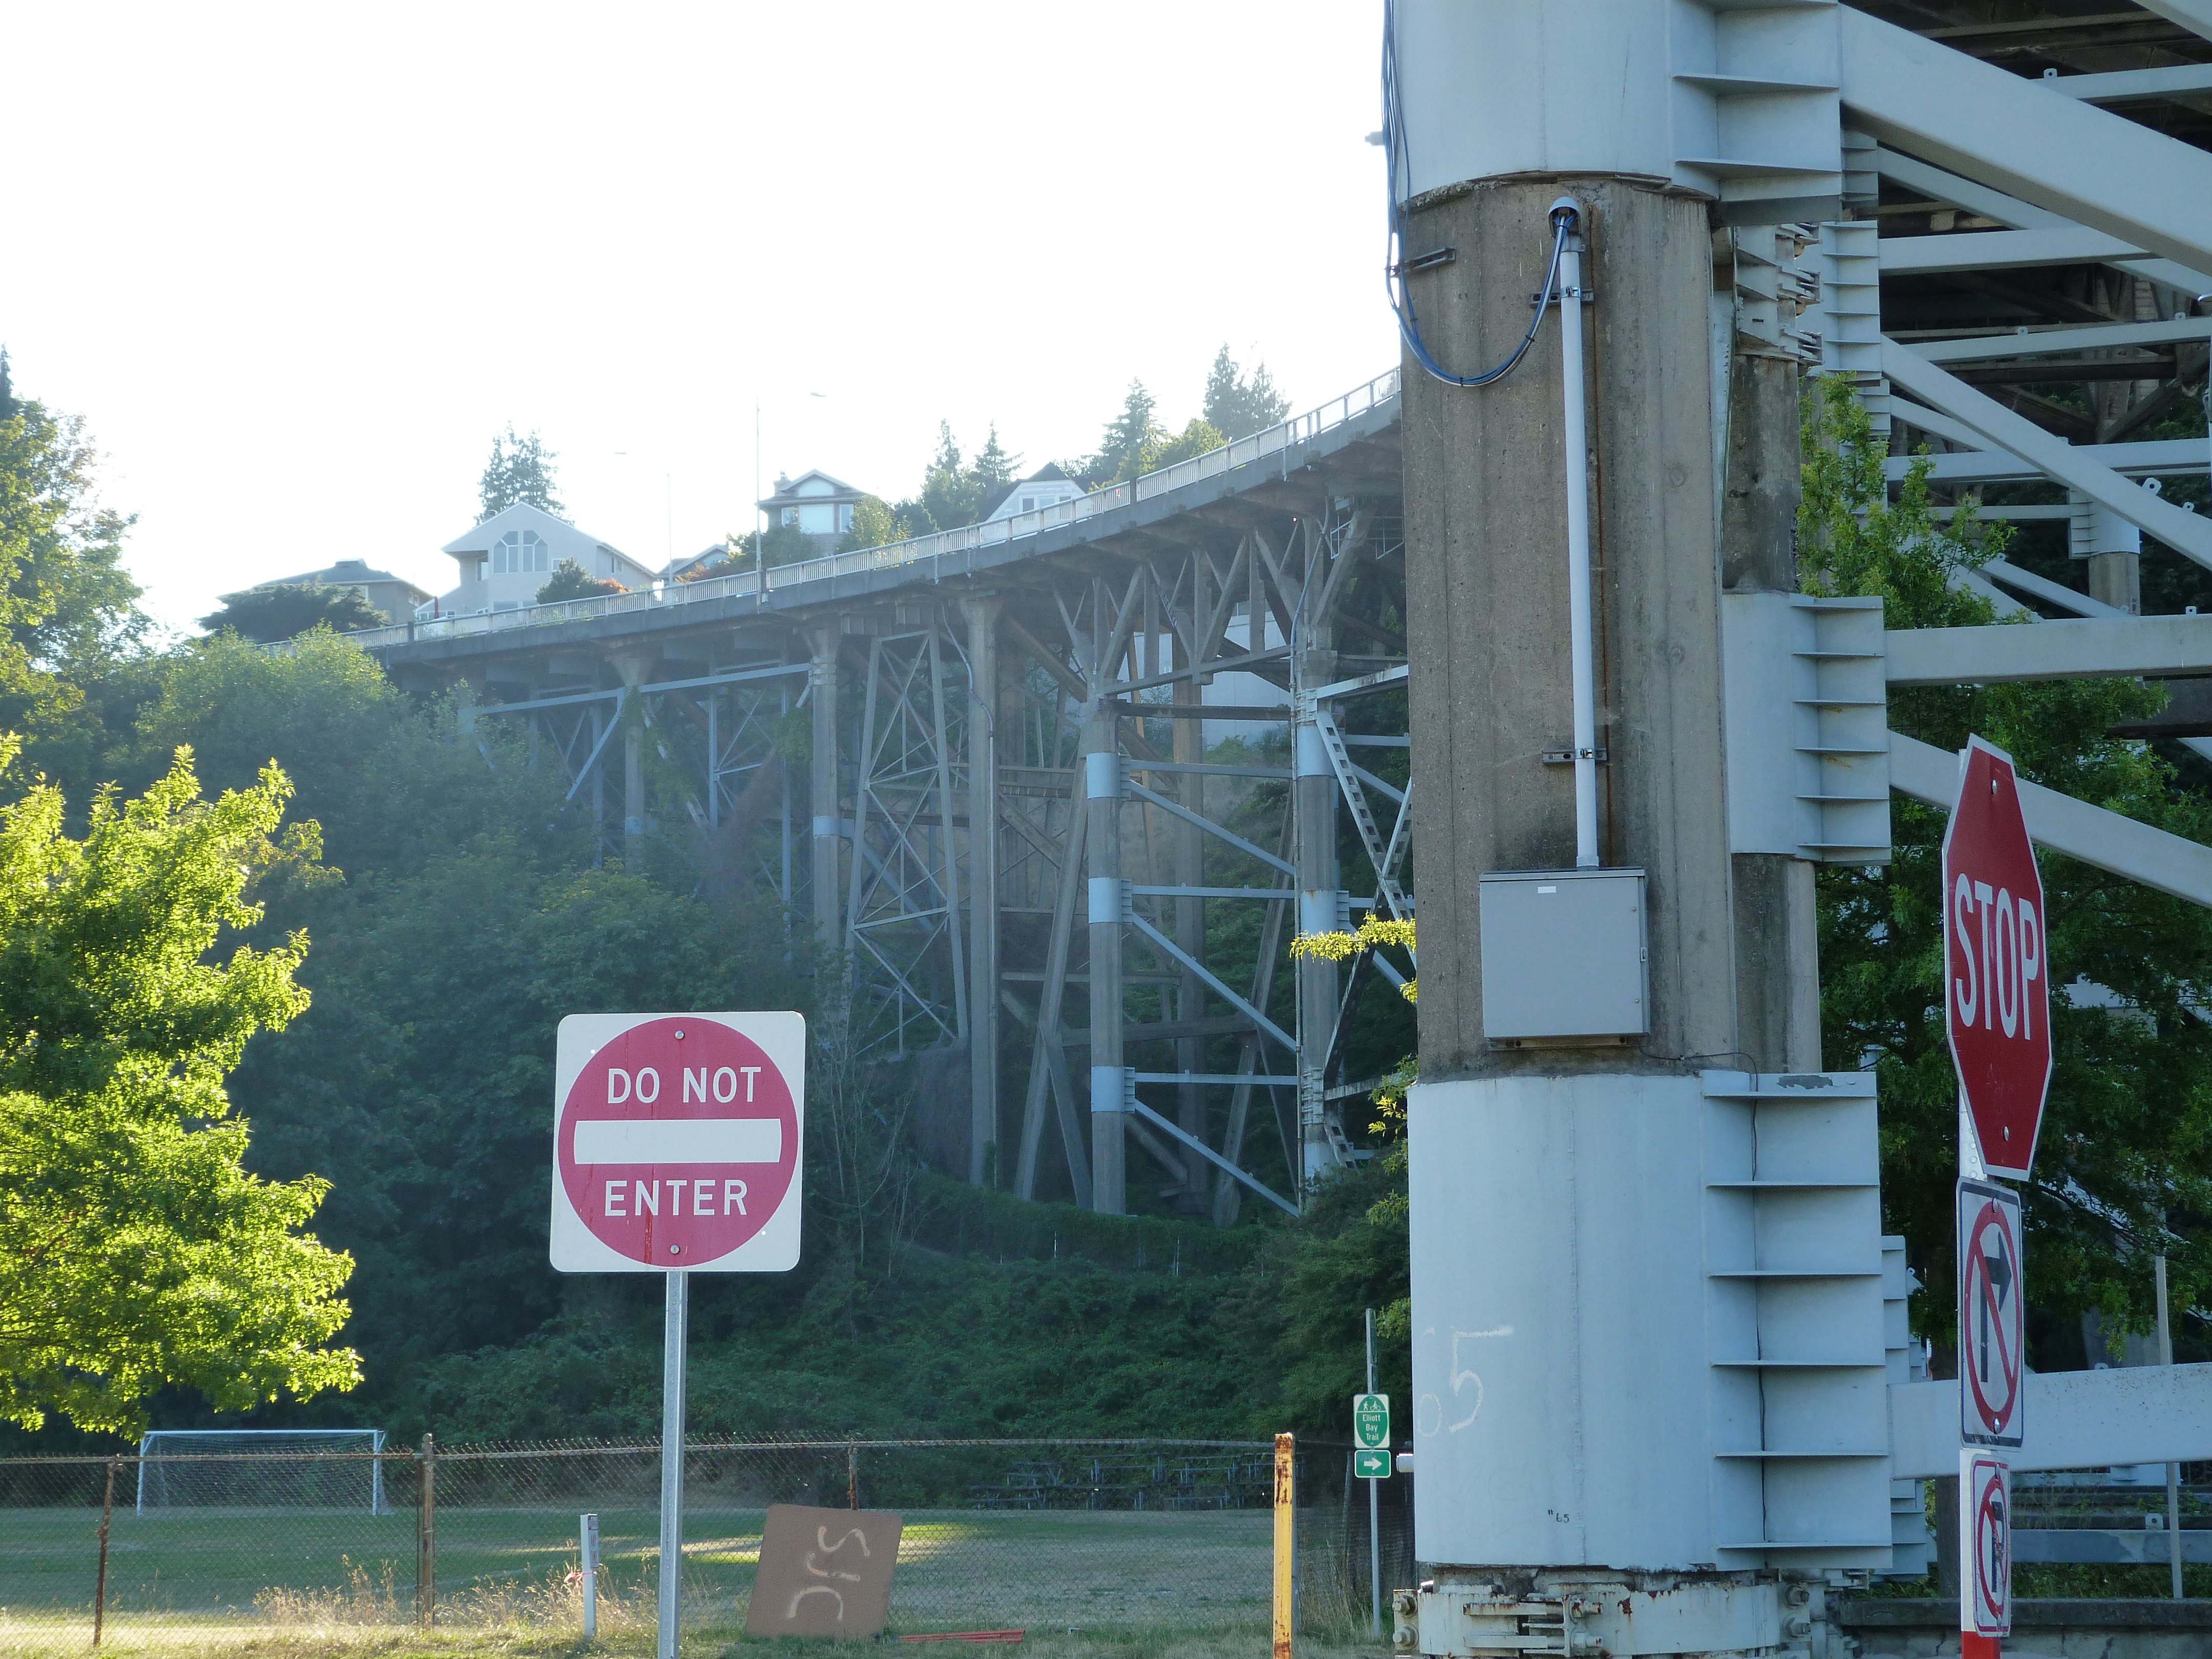
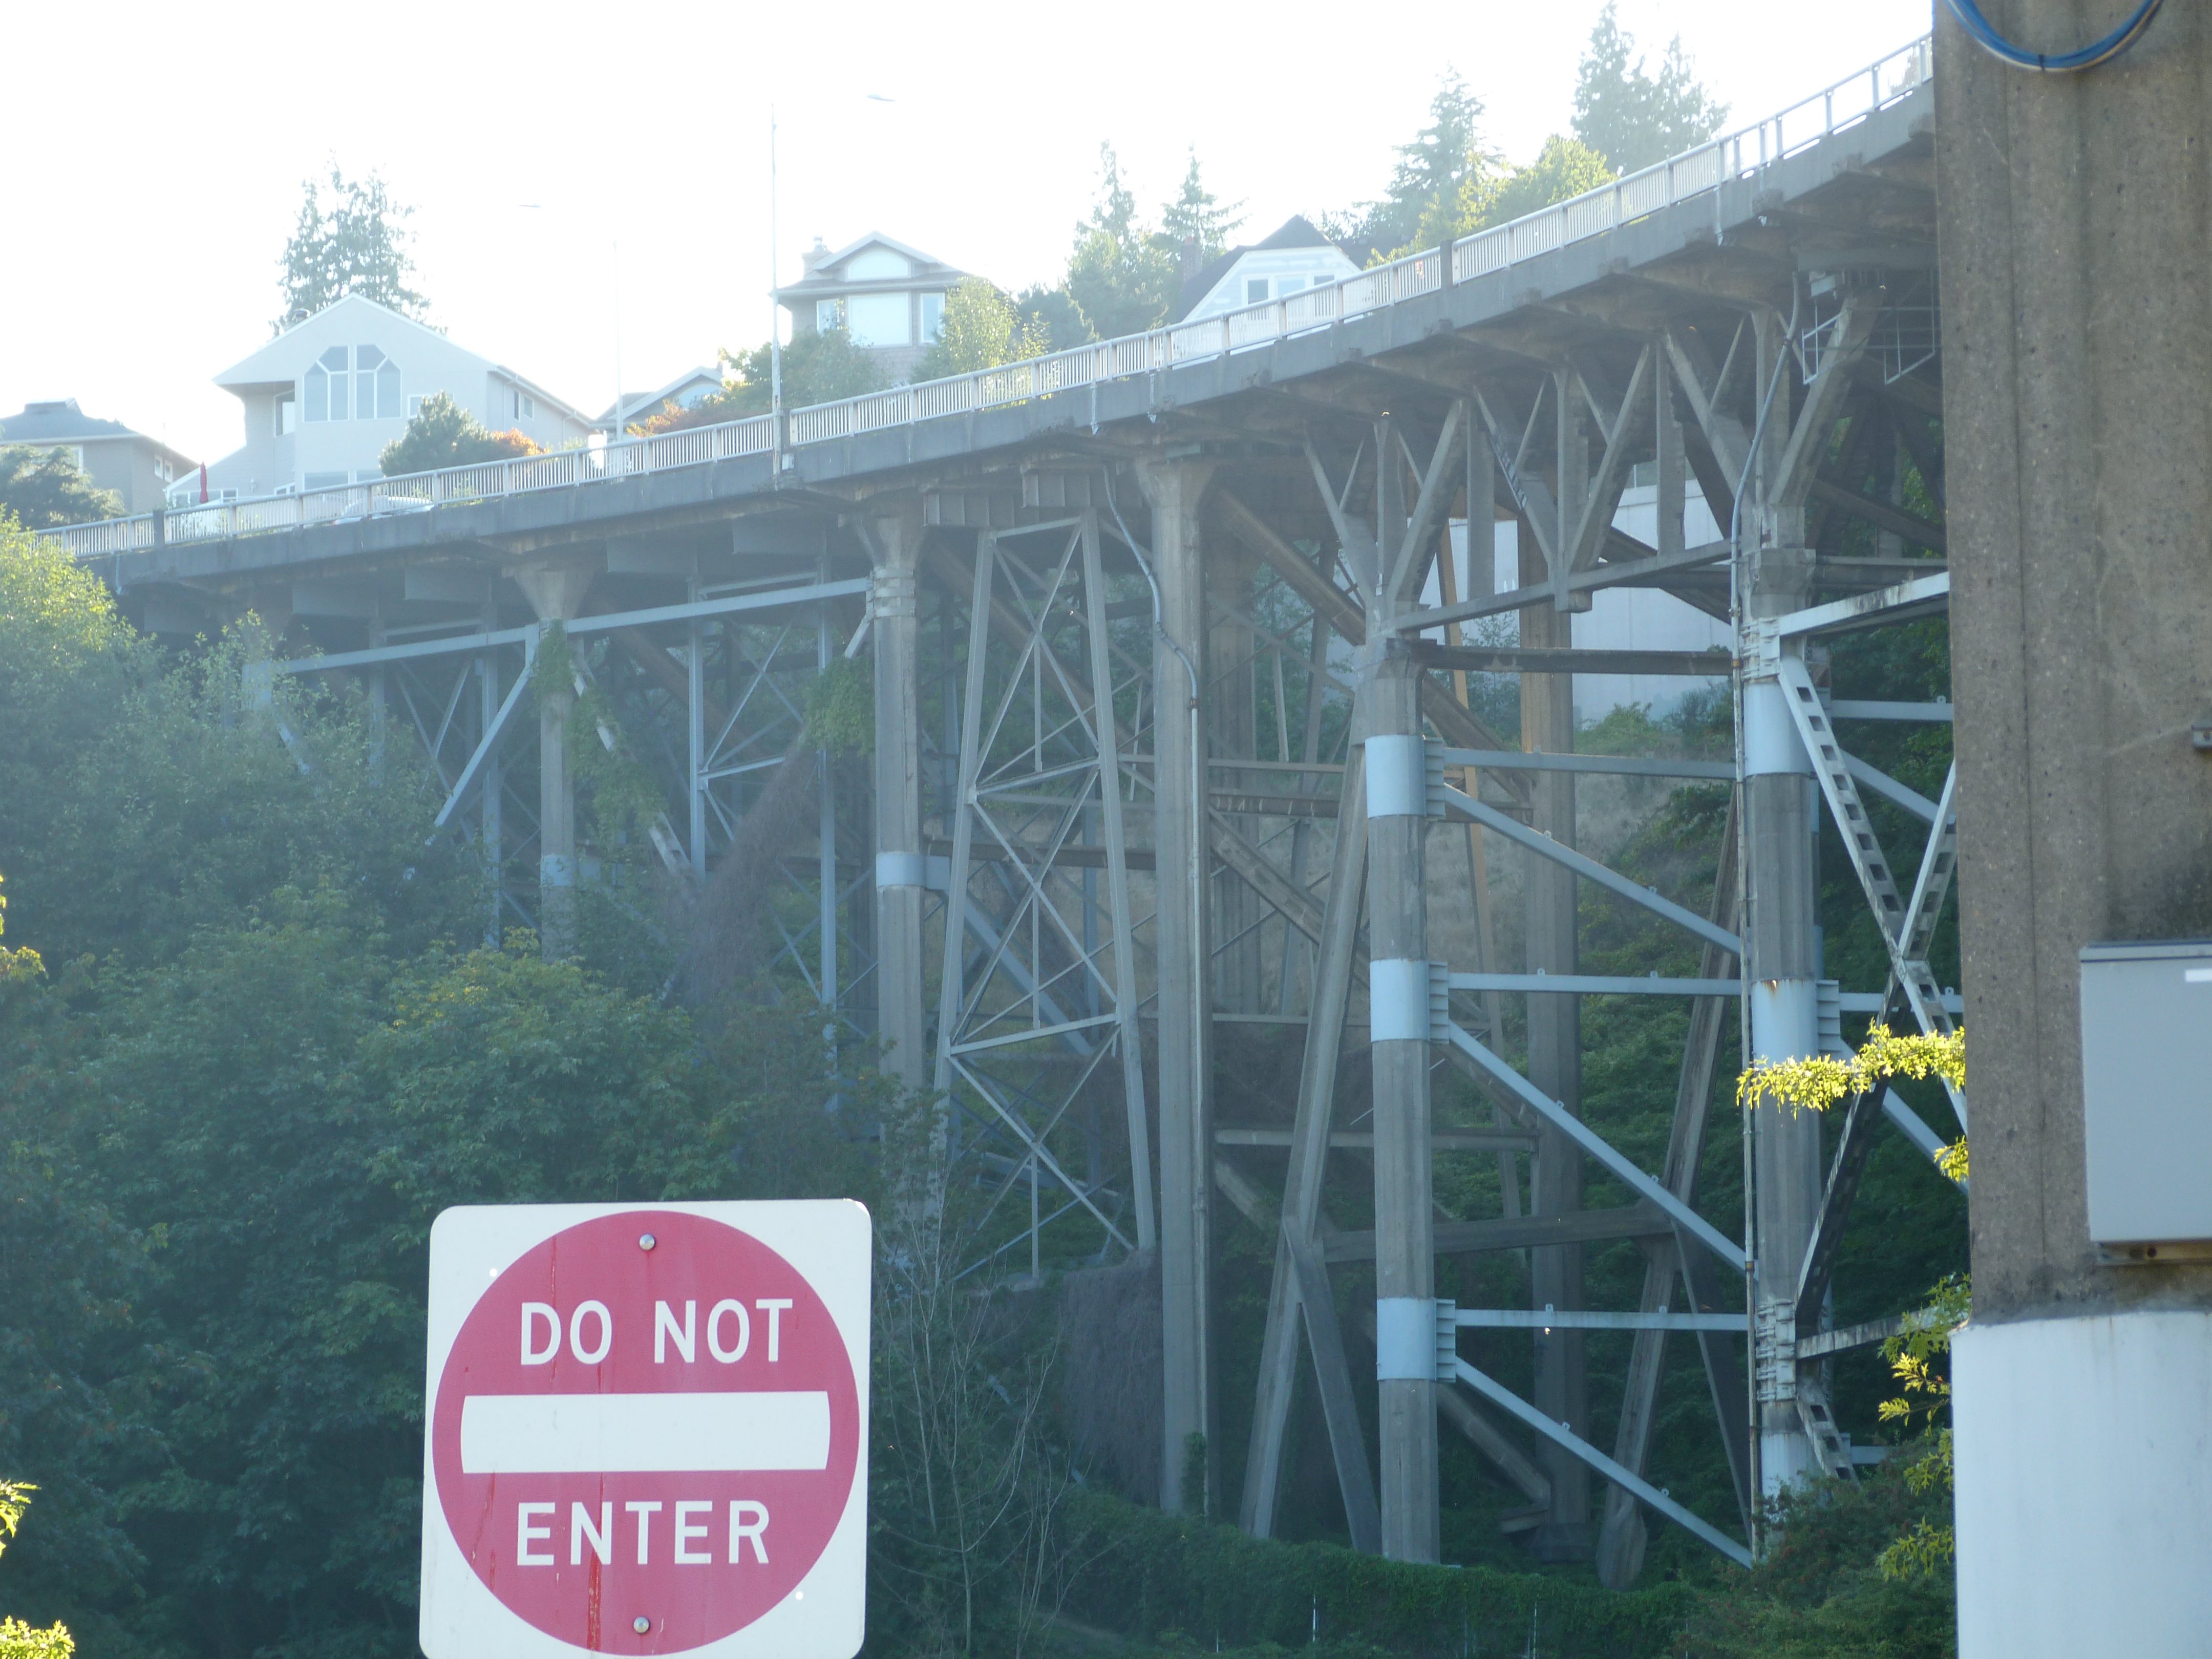

View beside bridge looking west at the western end of the bridge.
![]()

View from southwest quadrant looking at the eastern half of the bridge.
![]()

View of span over railroad from southeast quadrant.
![]()


View looking east at the eastern approach spans.
![]()


Eastern approach spans.
![]()
Views beside bridge showing overall bridge from southeast quadrant.
![]()
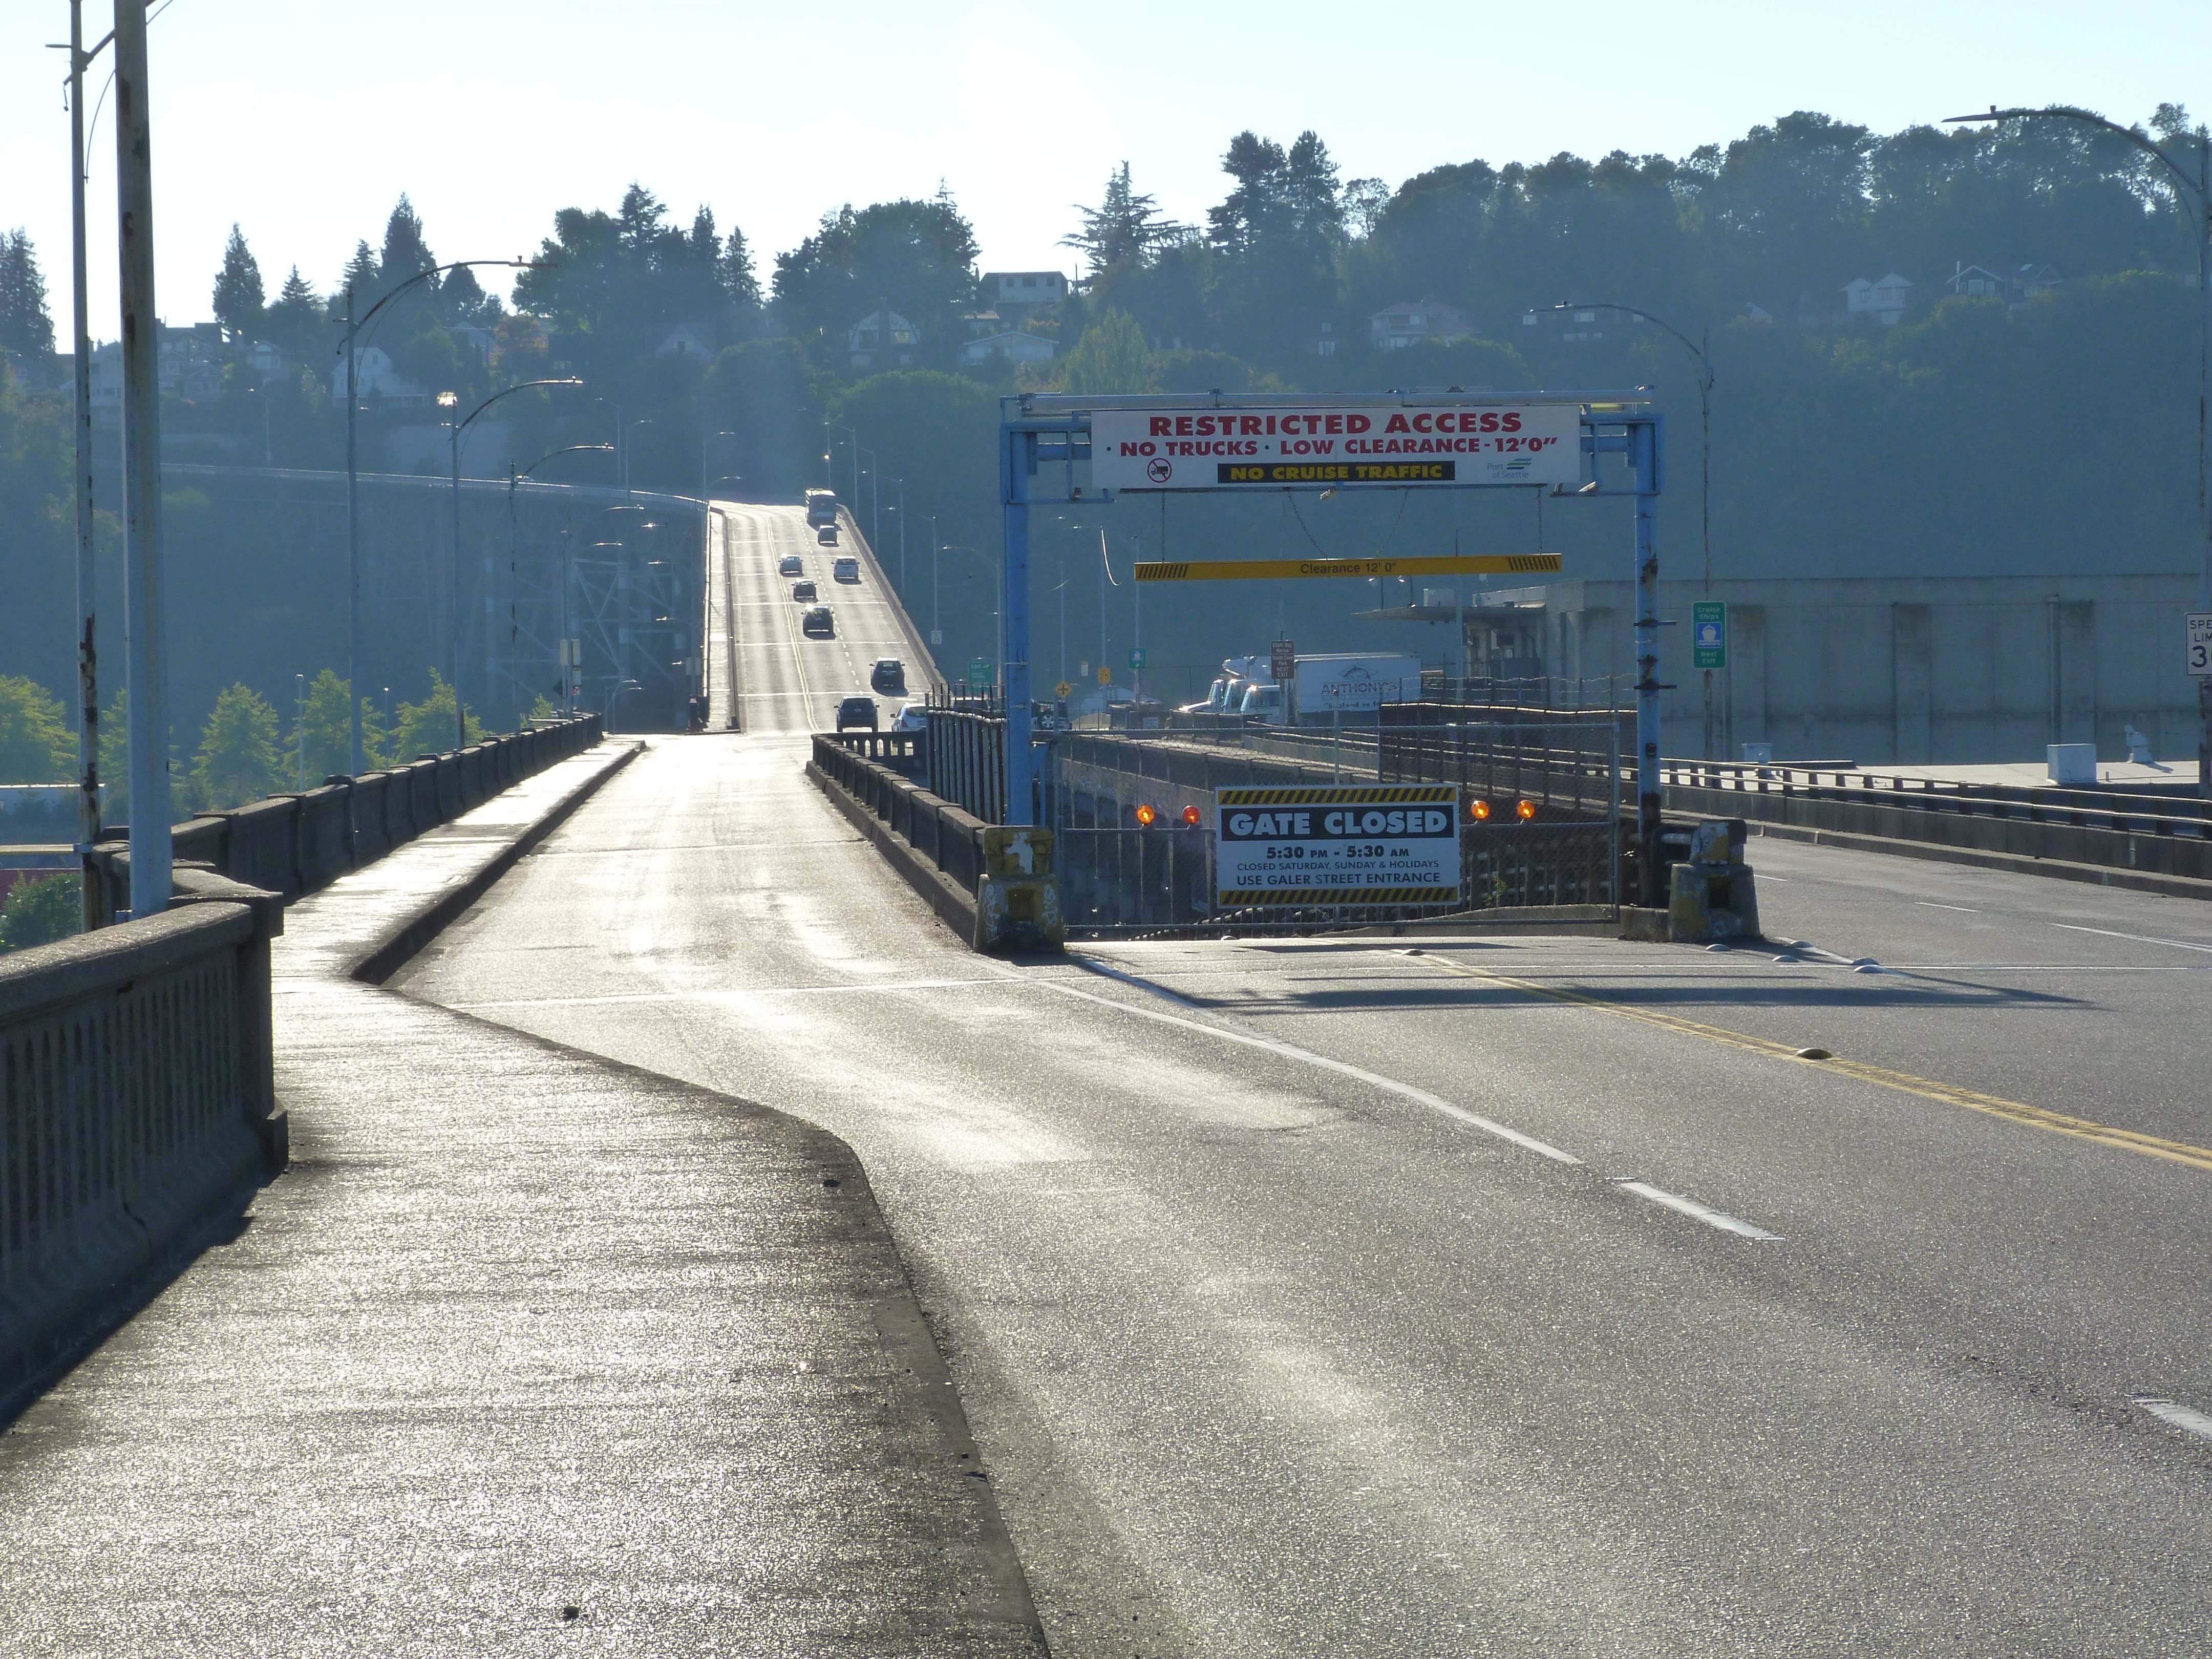
View on eastern end of bridge looking west.
![]()

Eastern ramp.
![]()


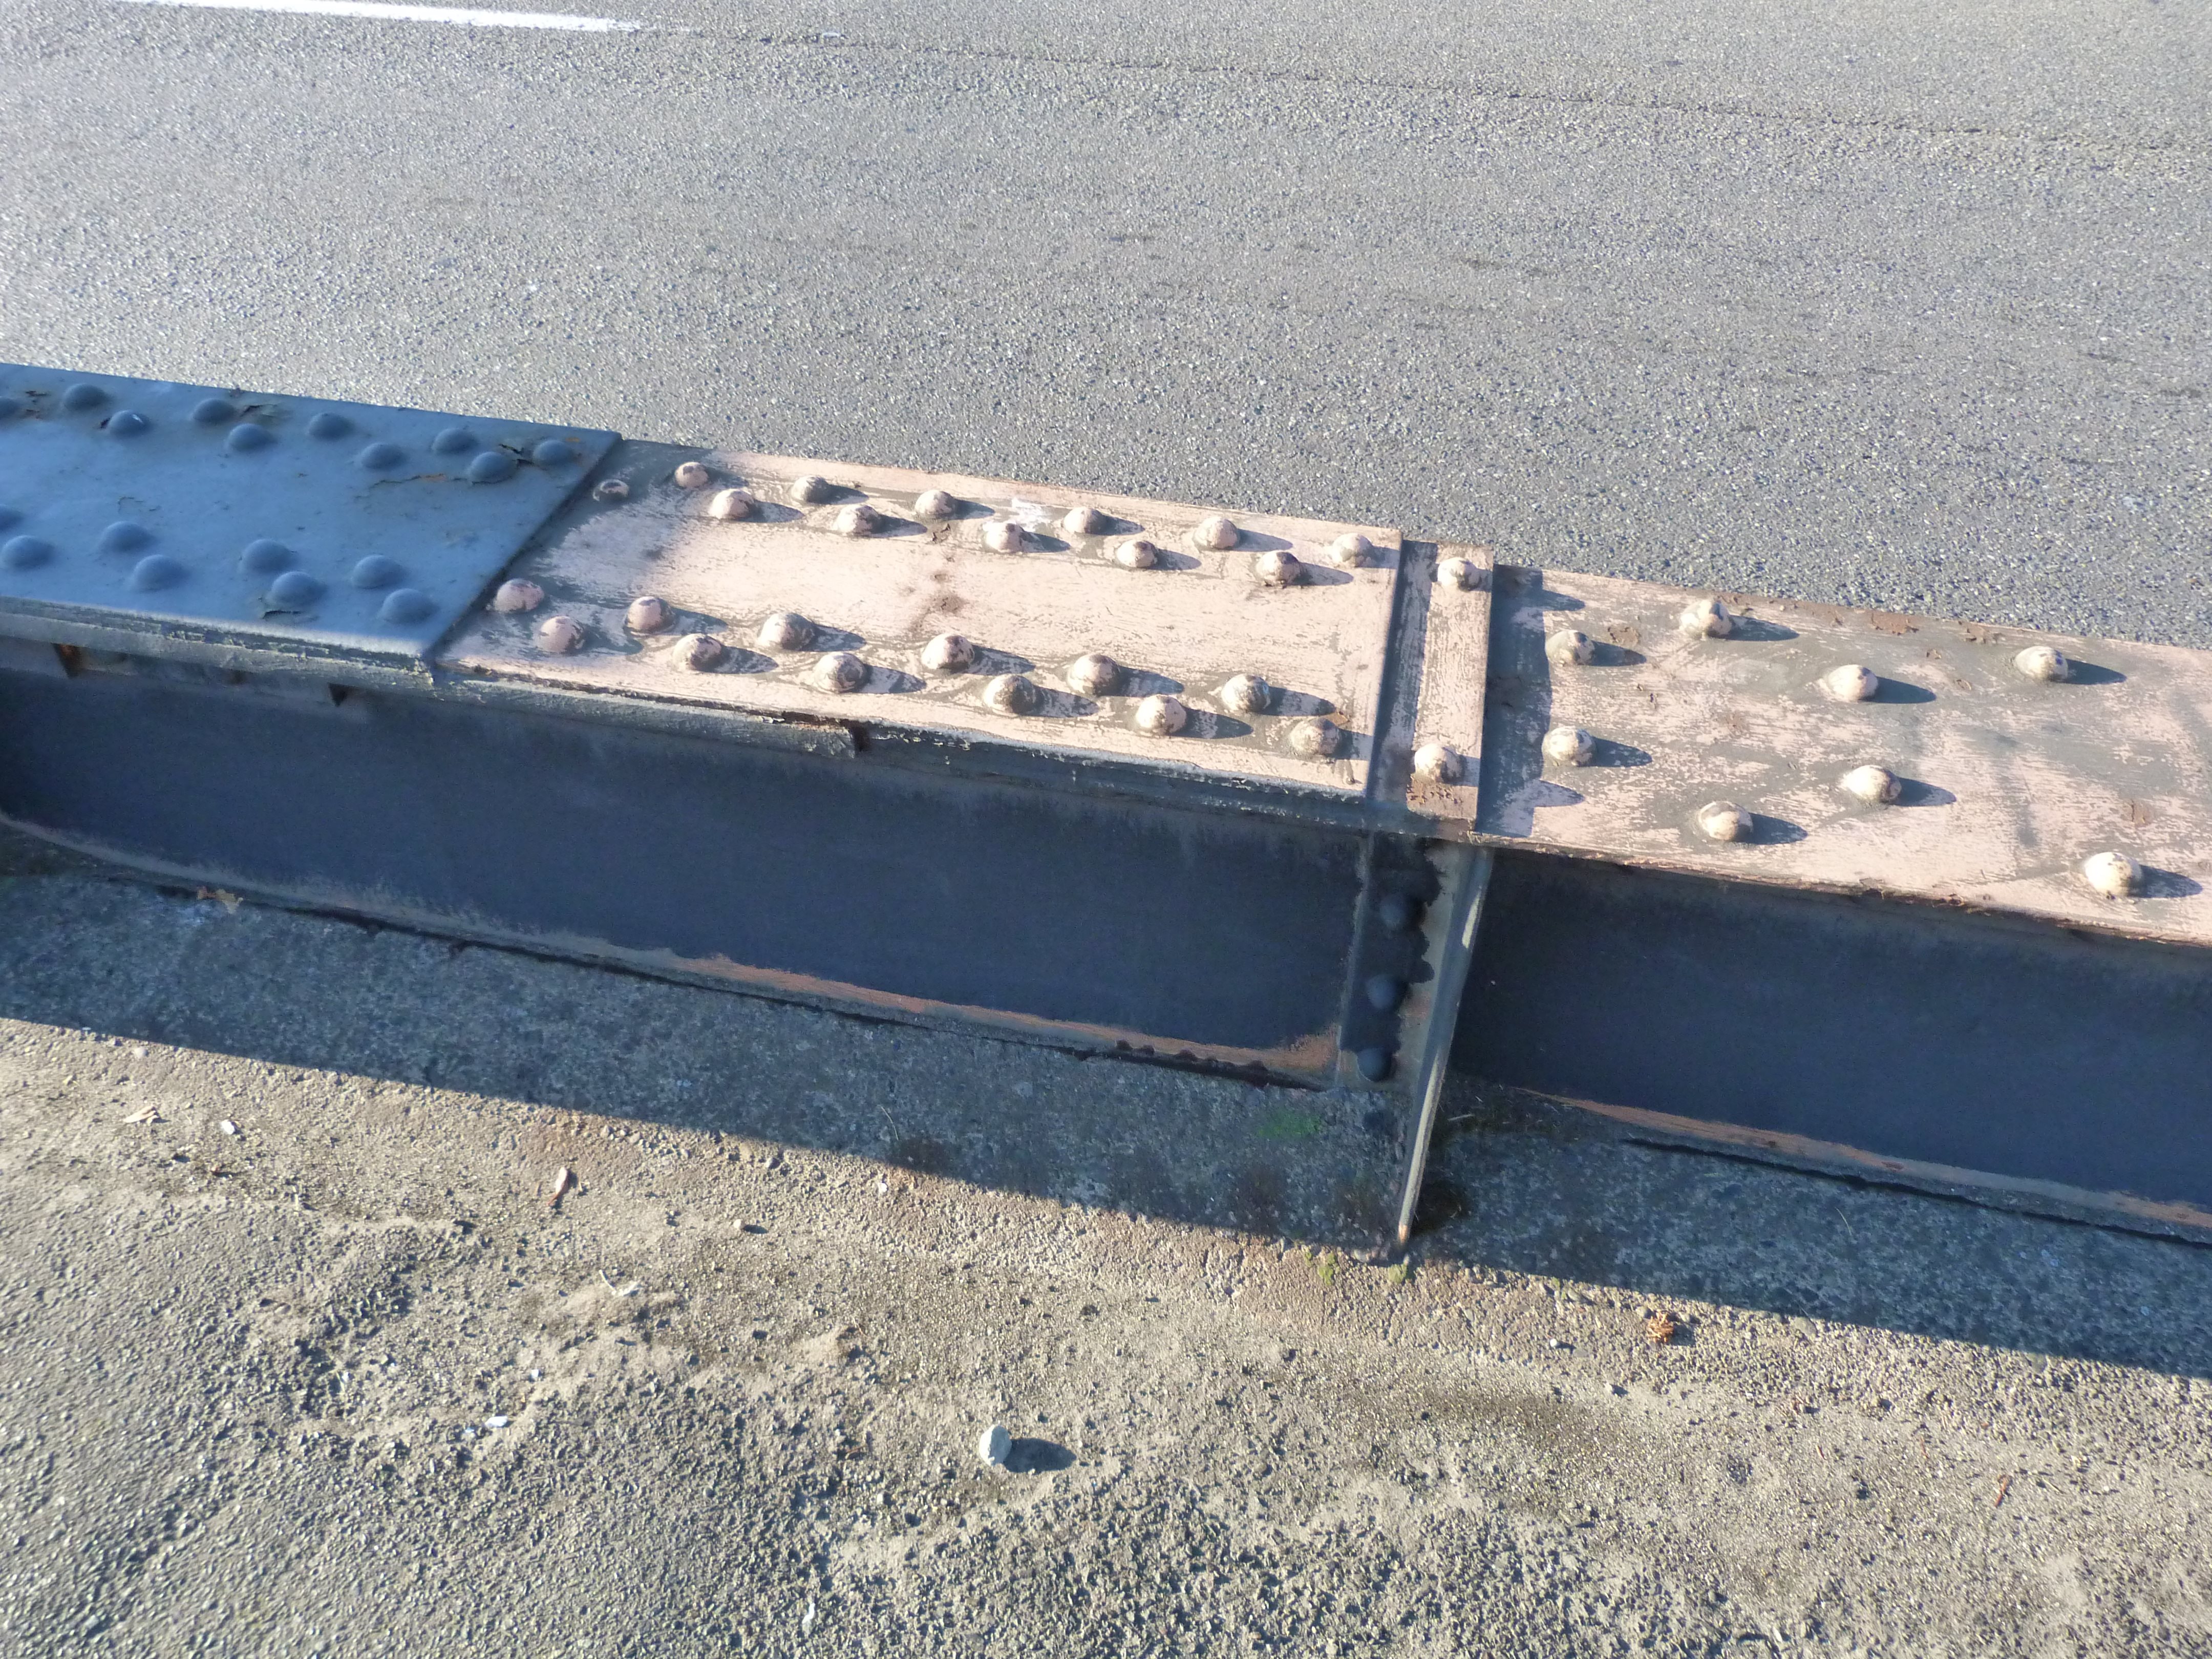
Top chord connections.
![]()

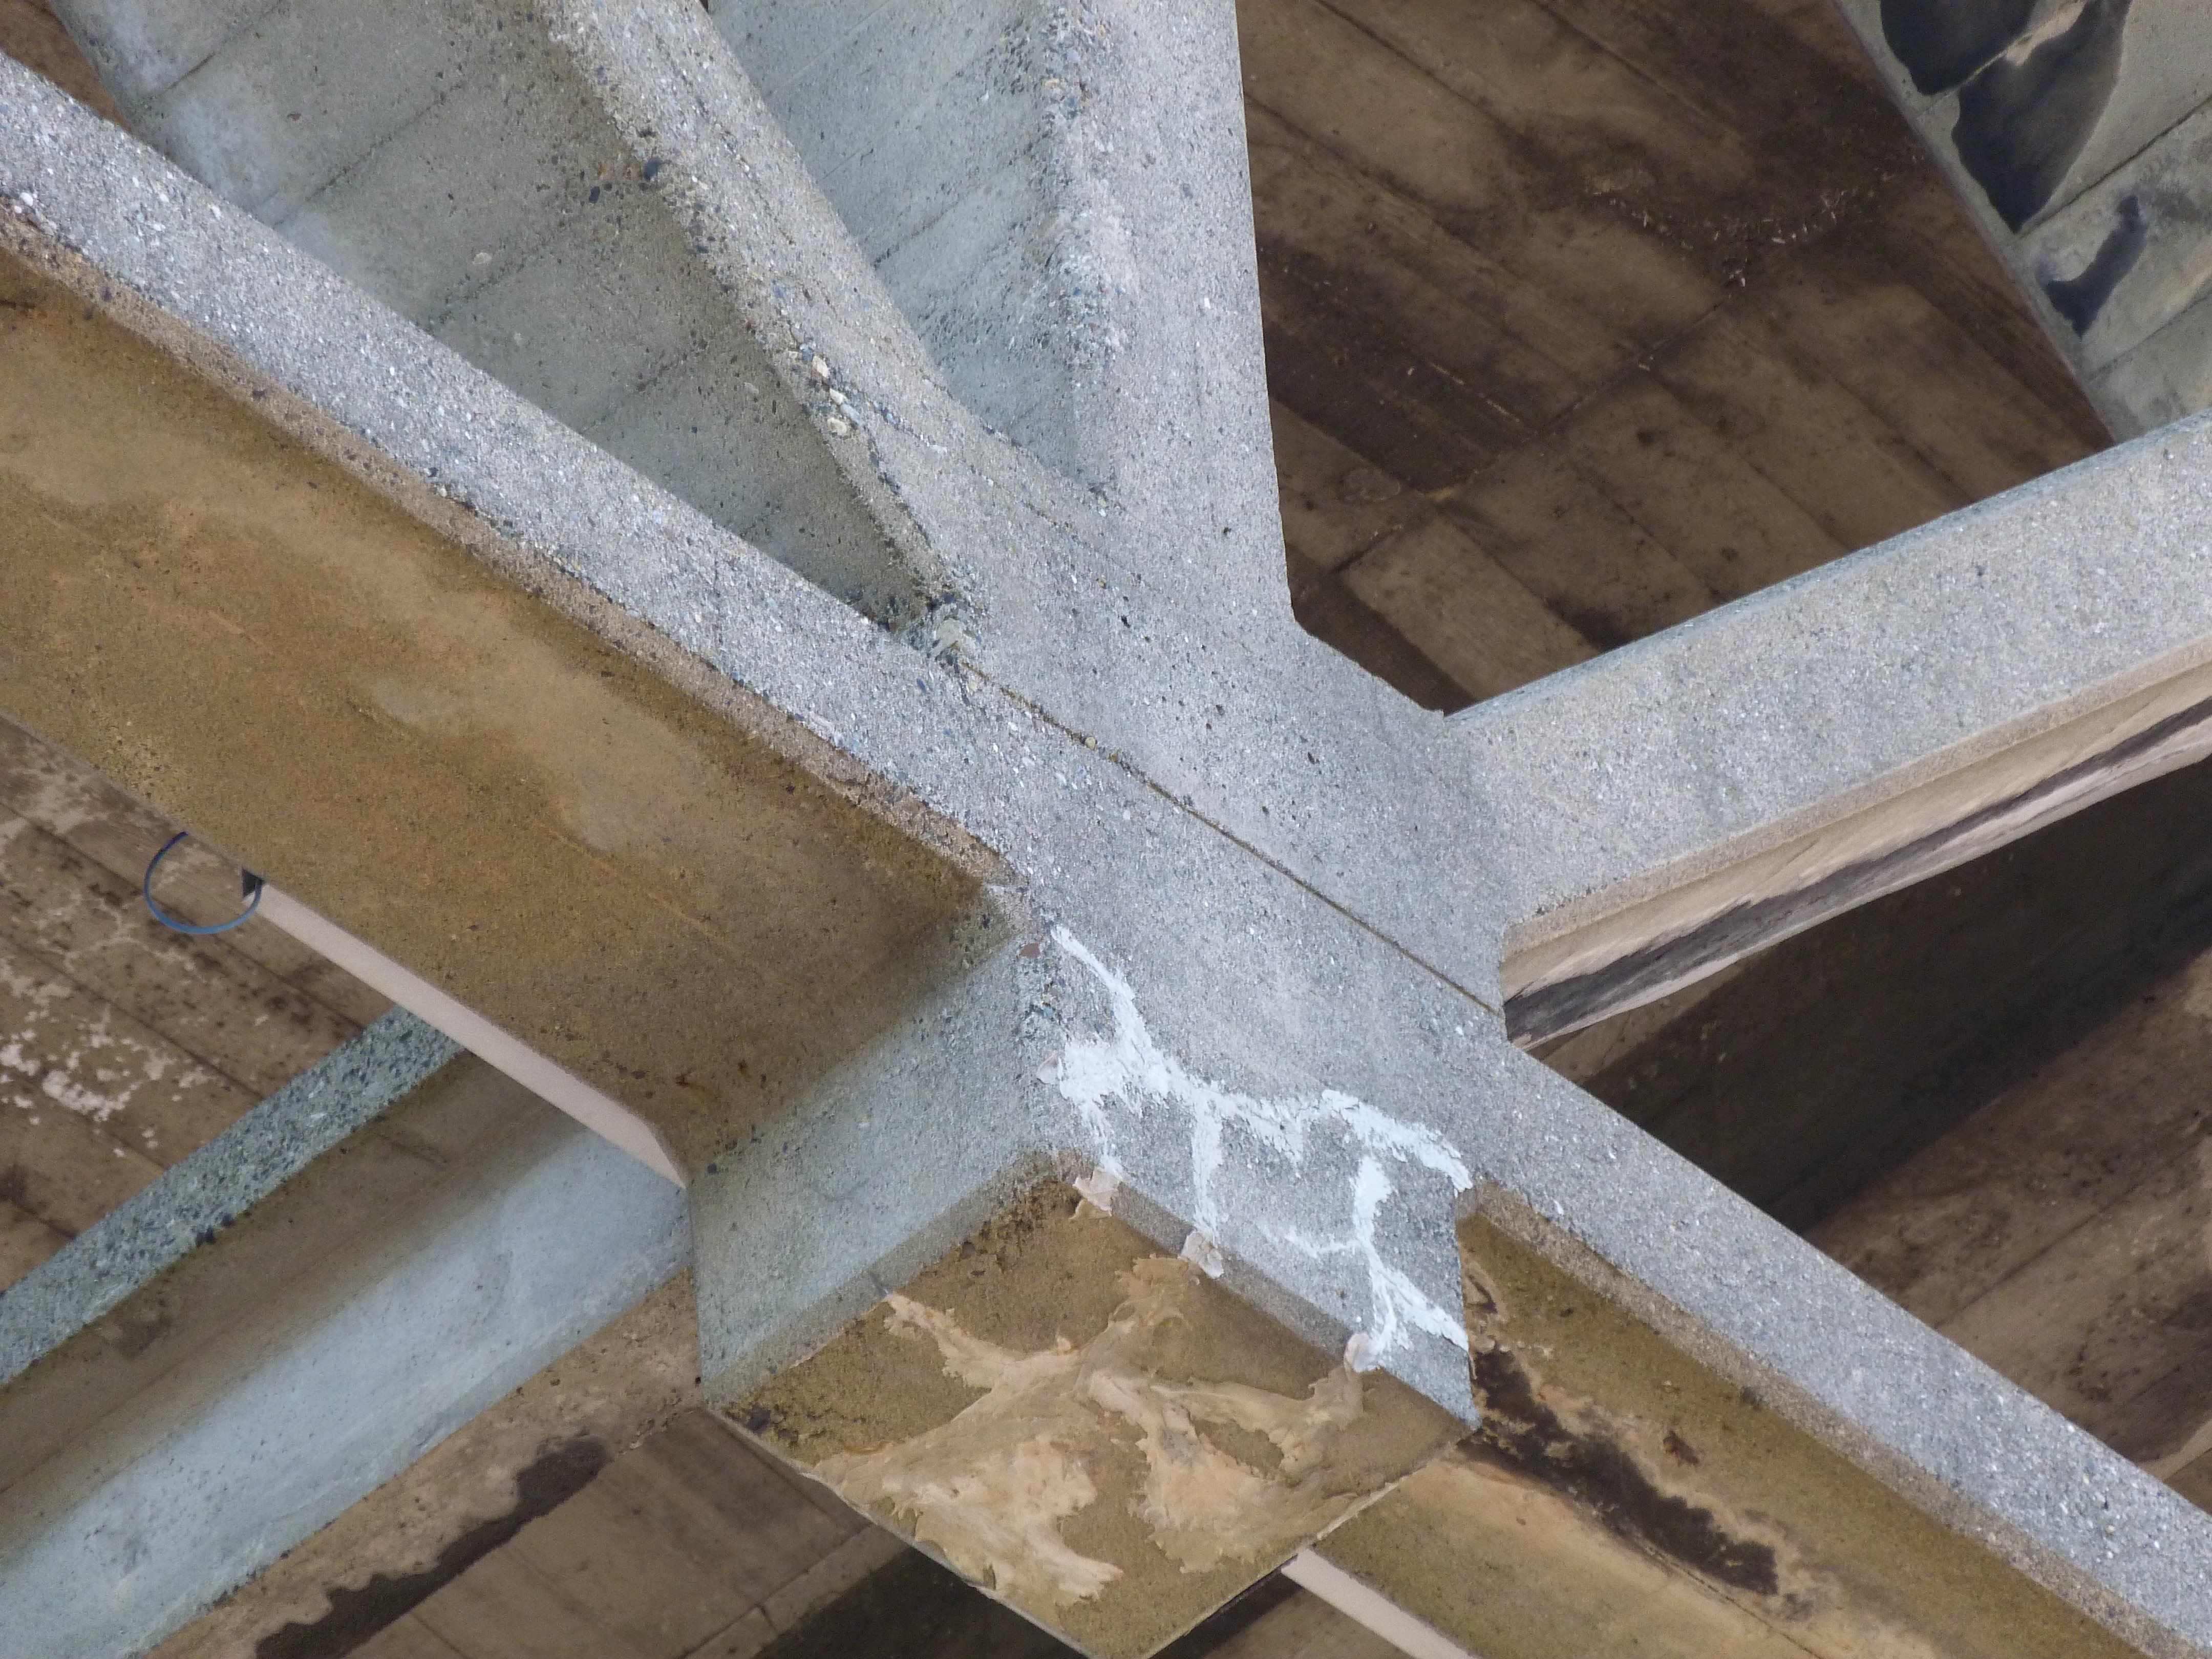


Bottom chord connections.
![]()

Truss member details.
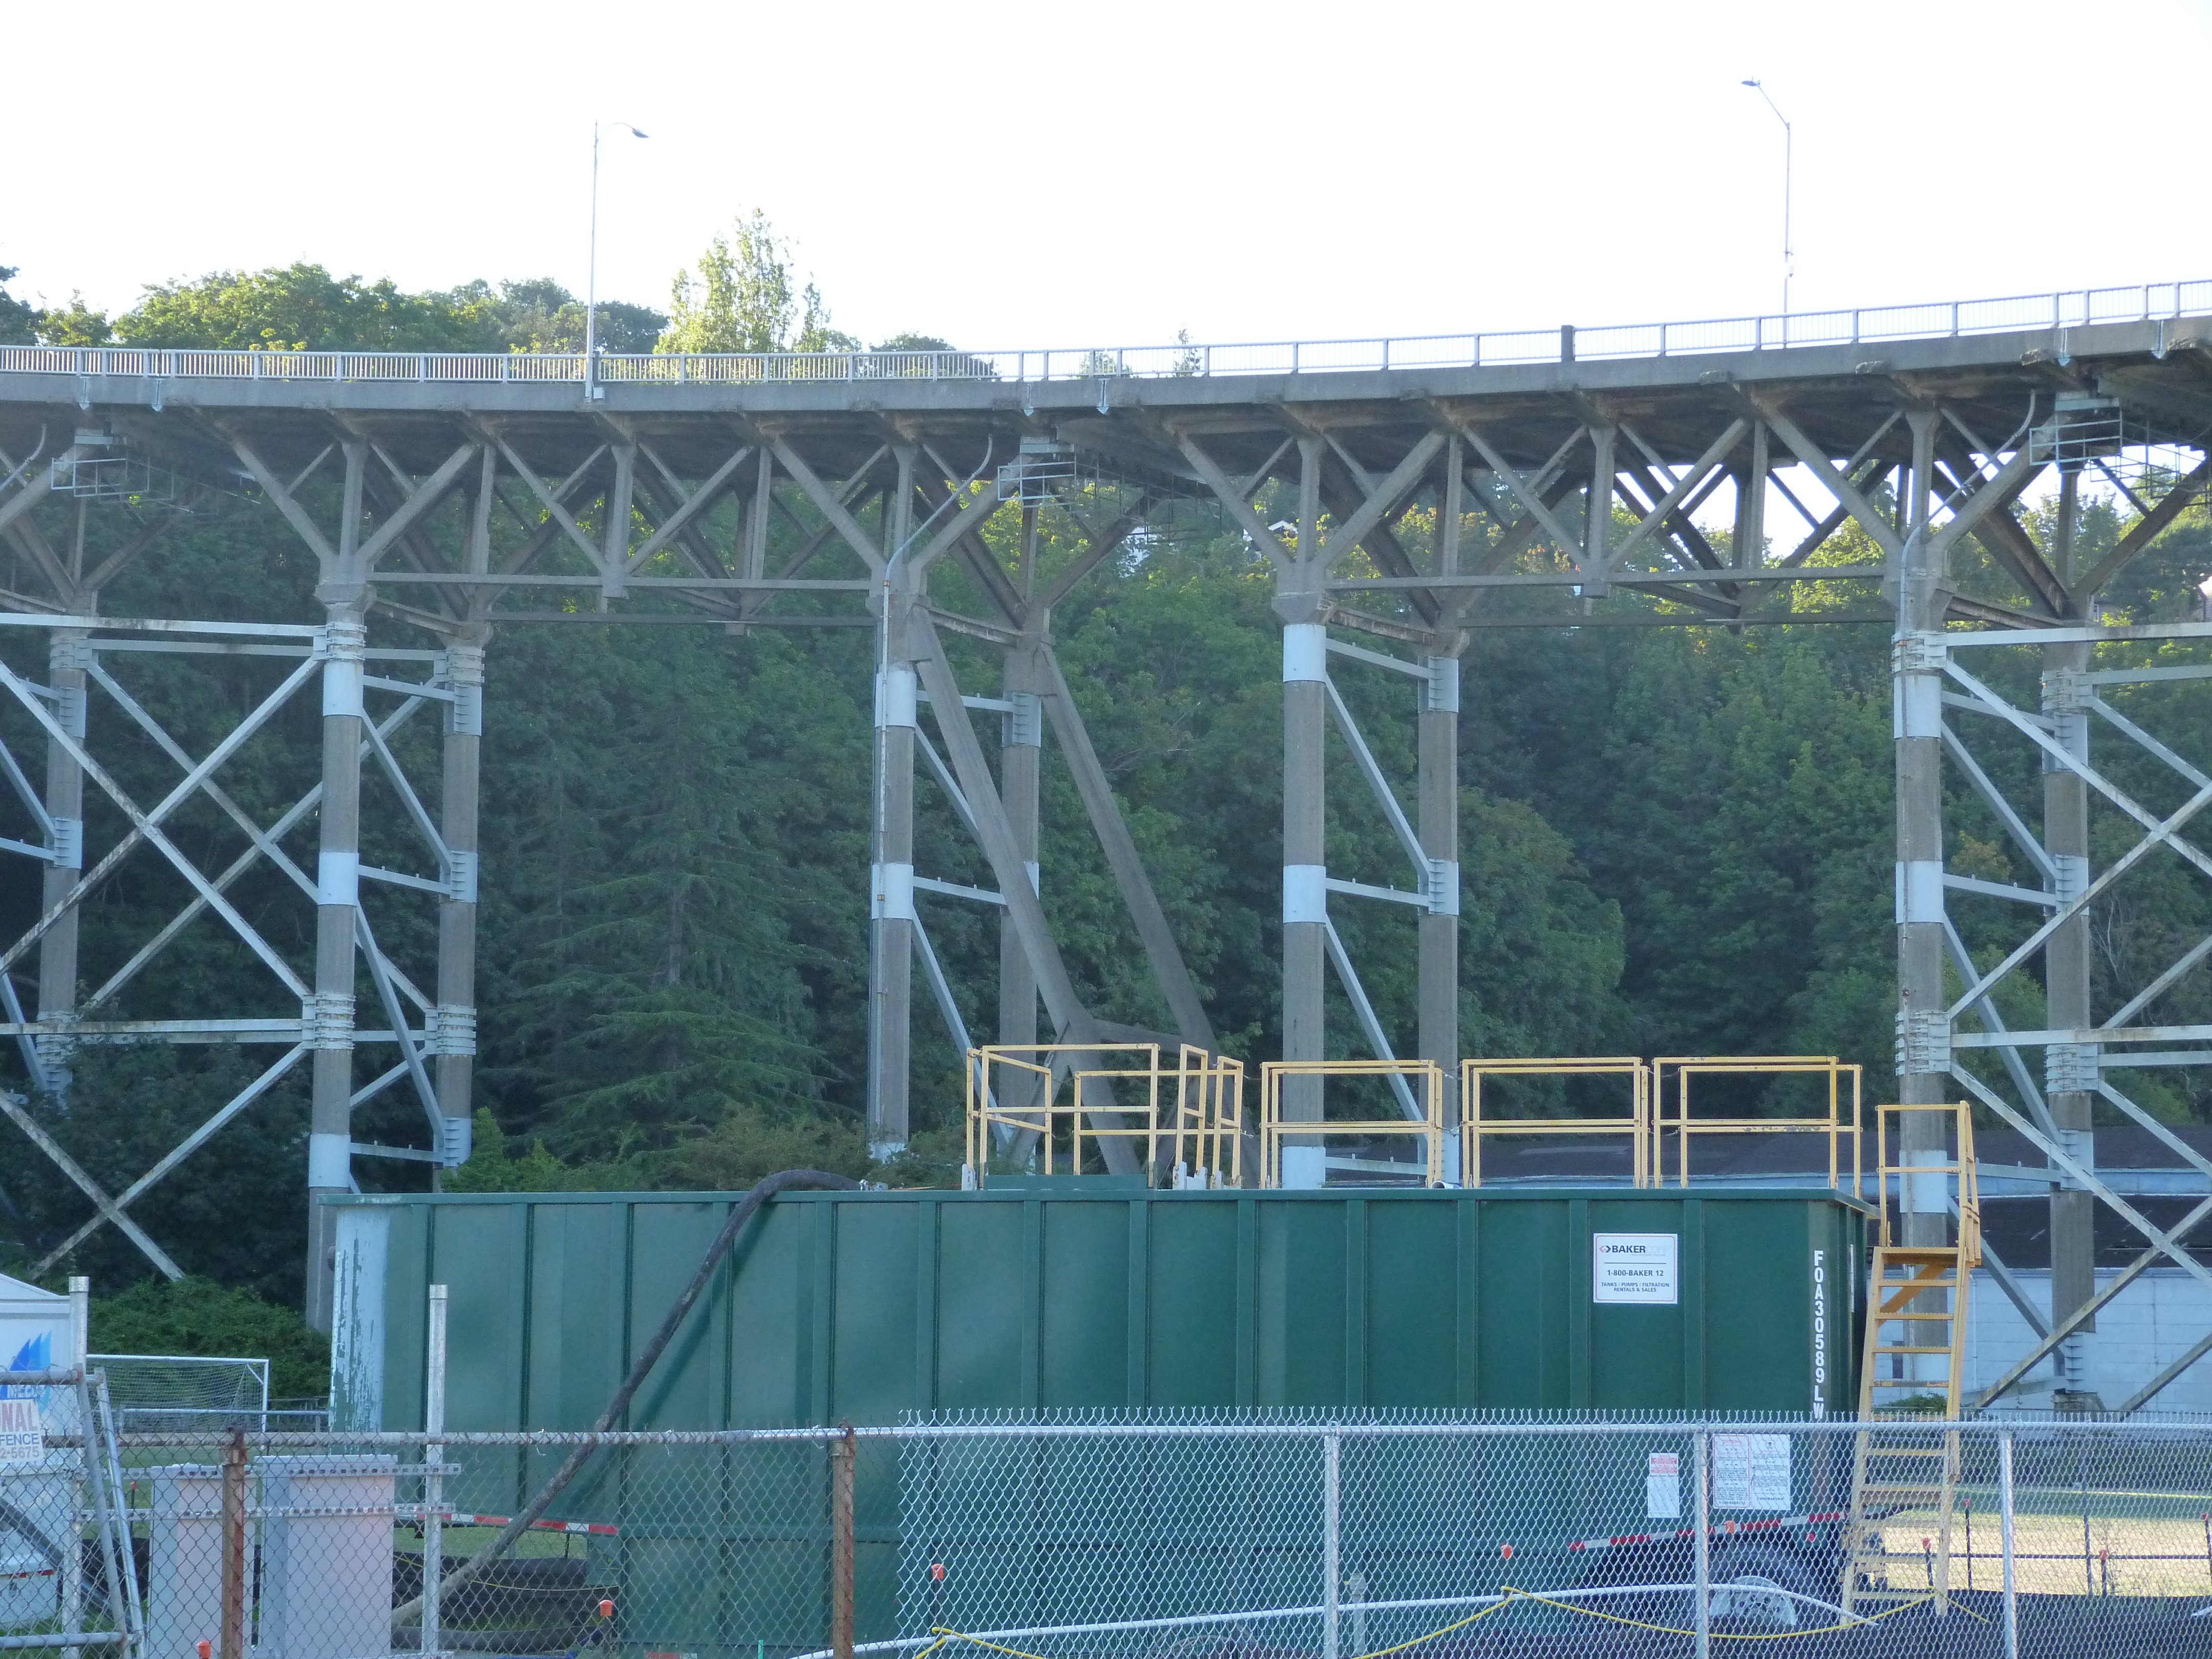
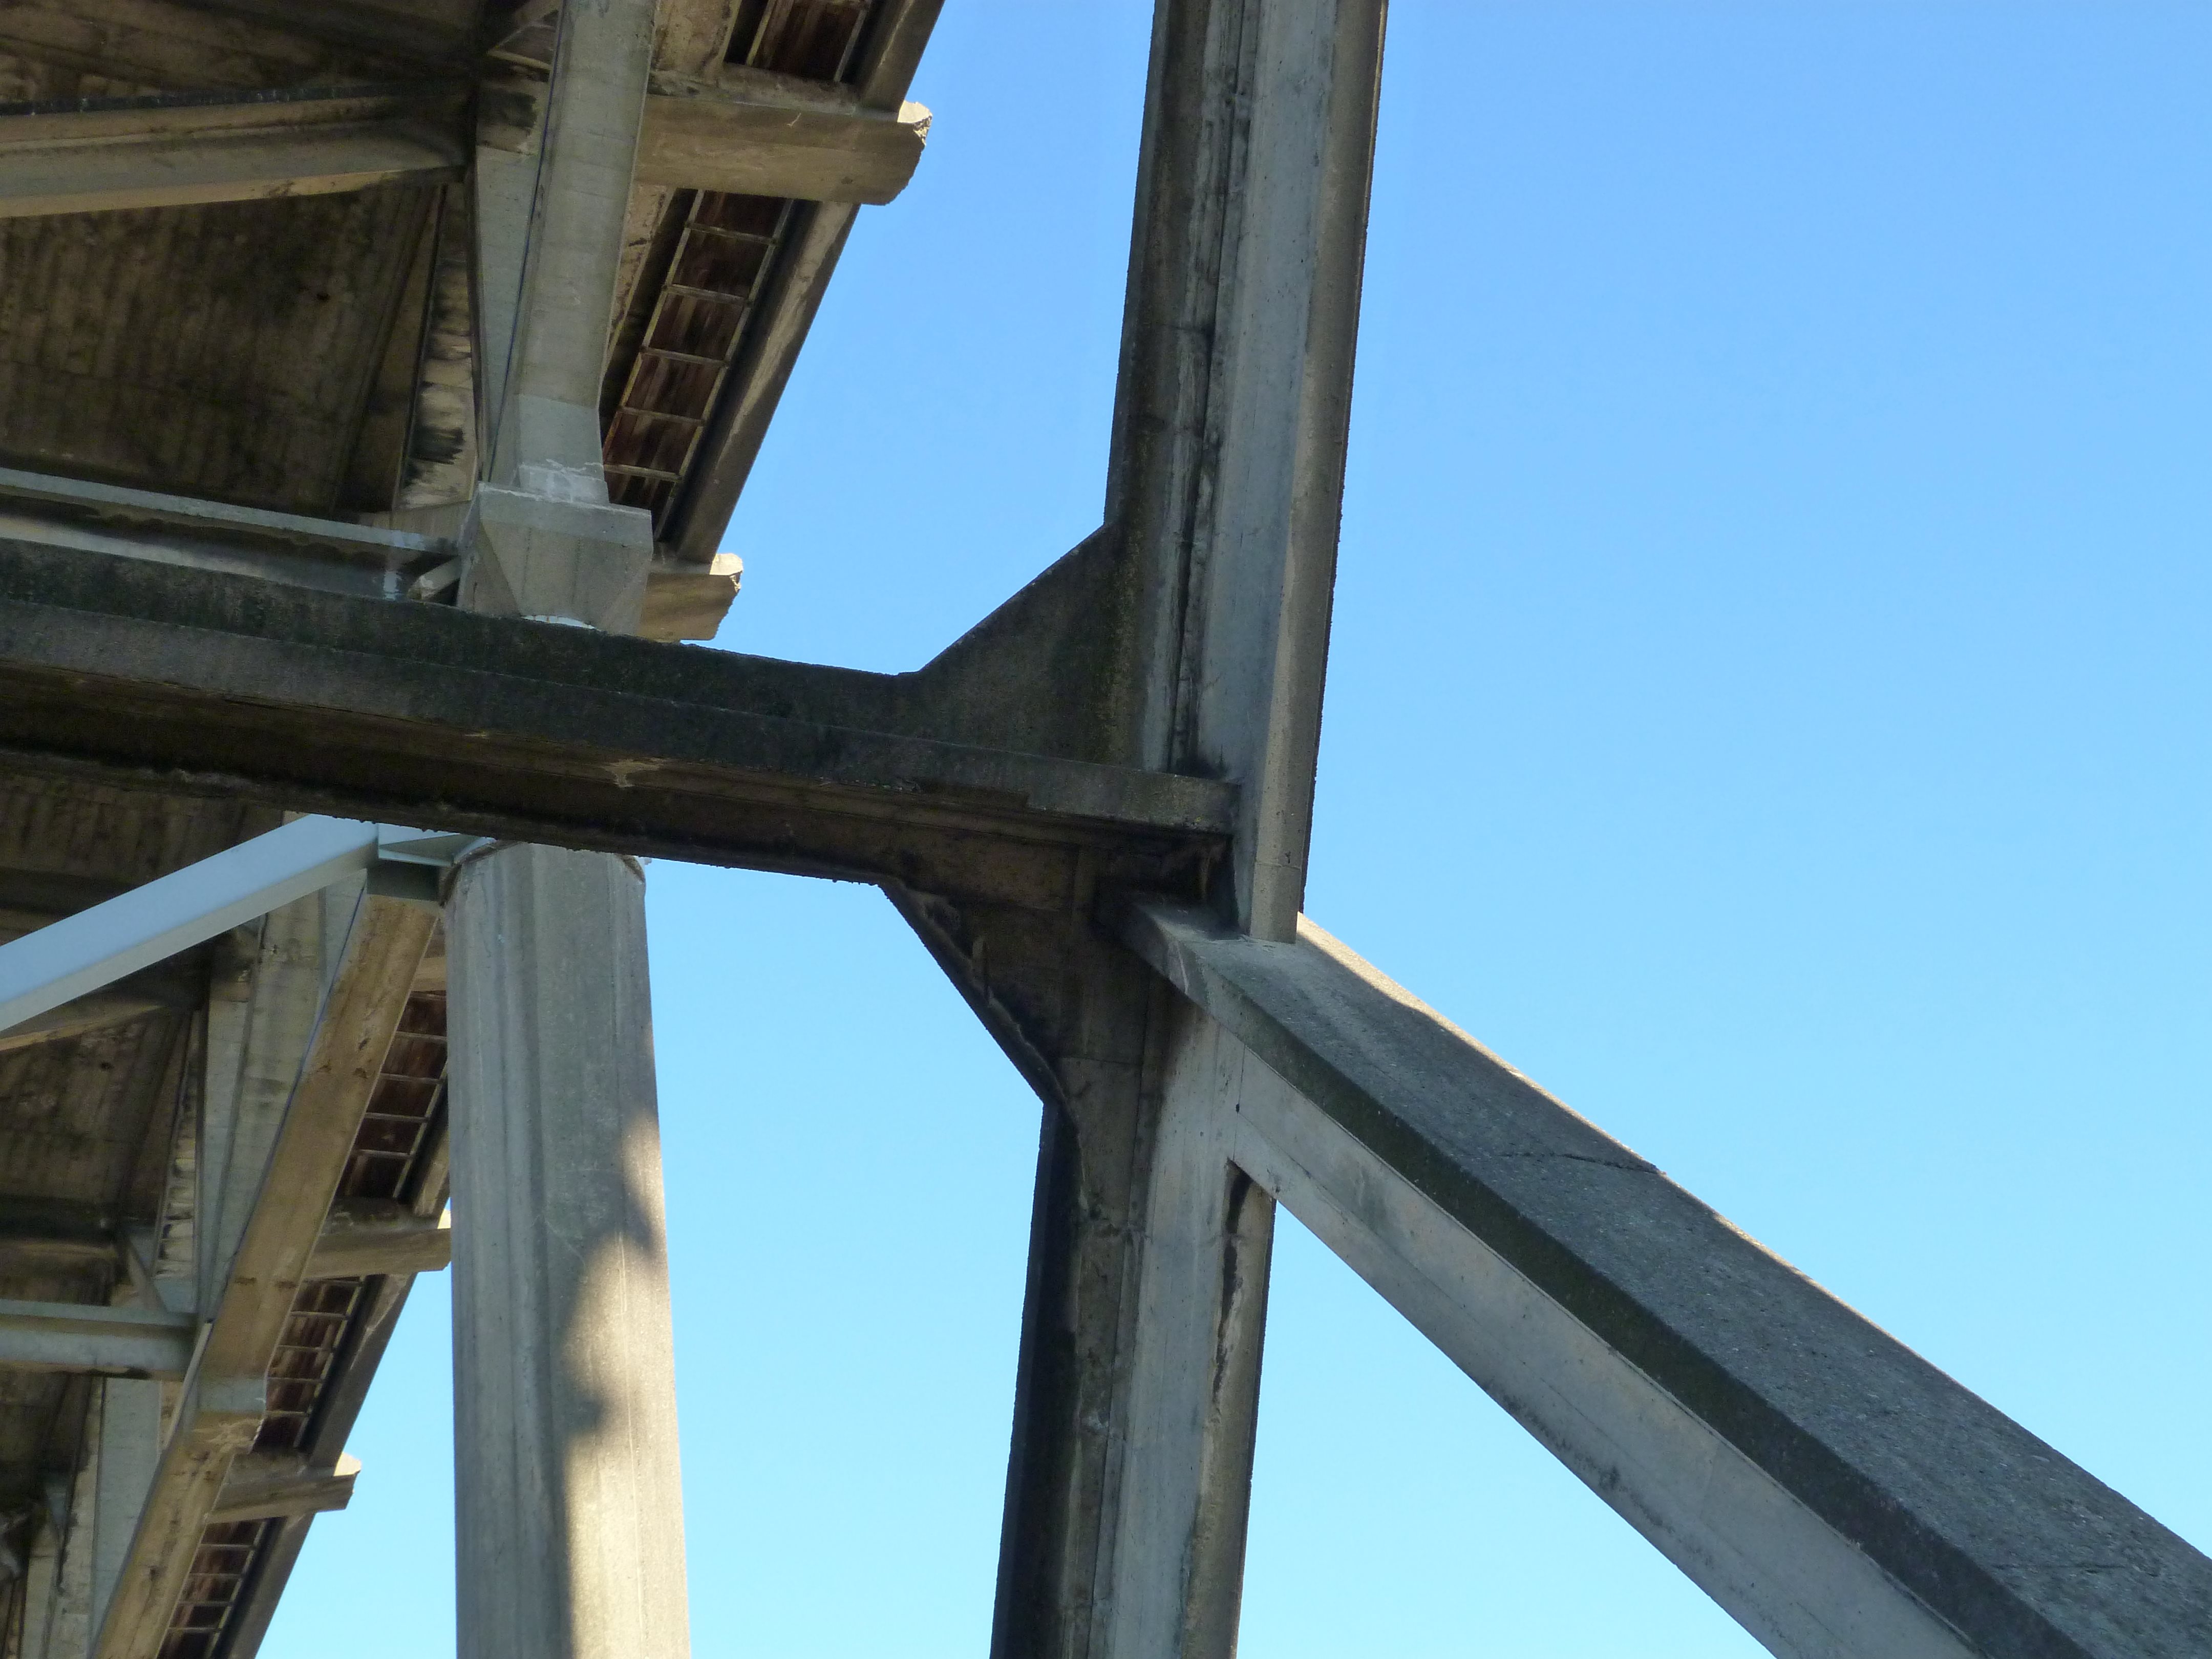
![]()
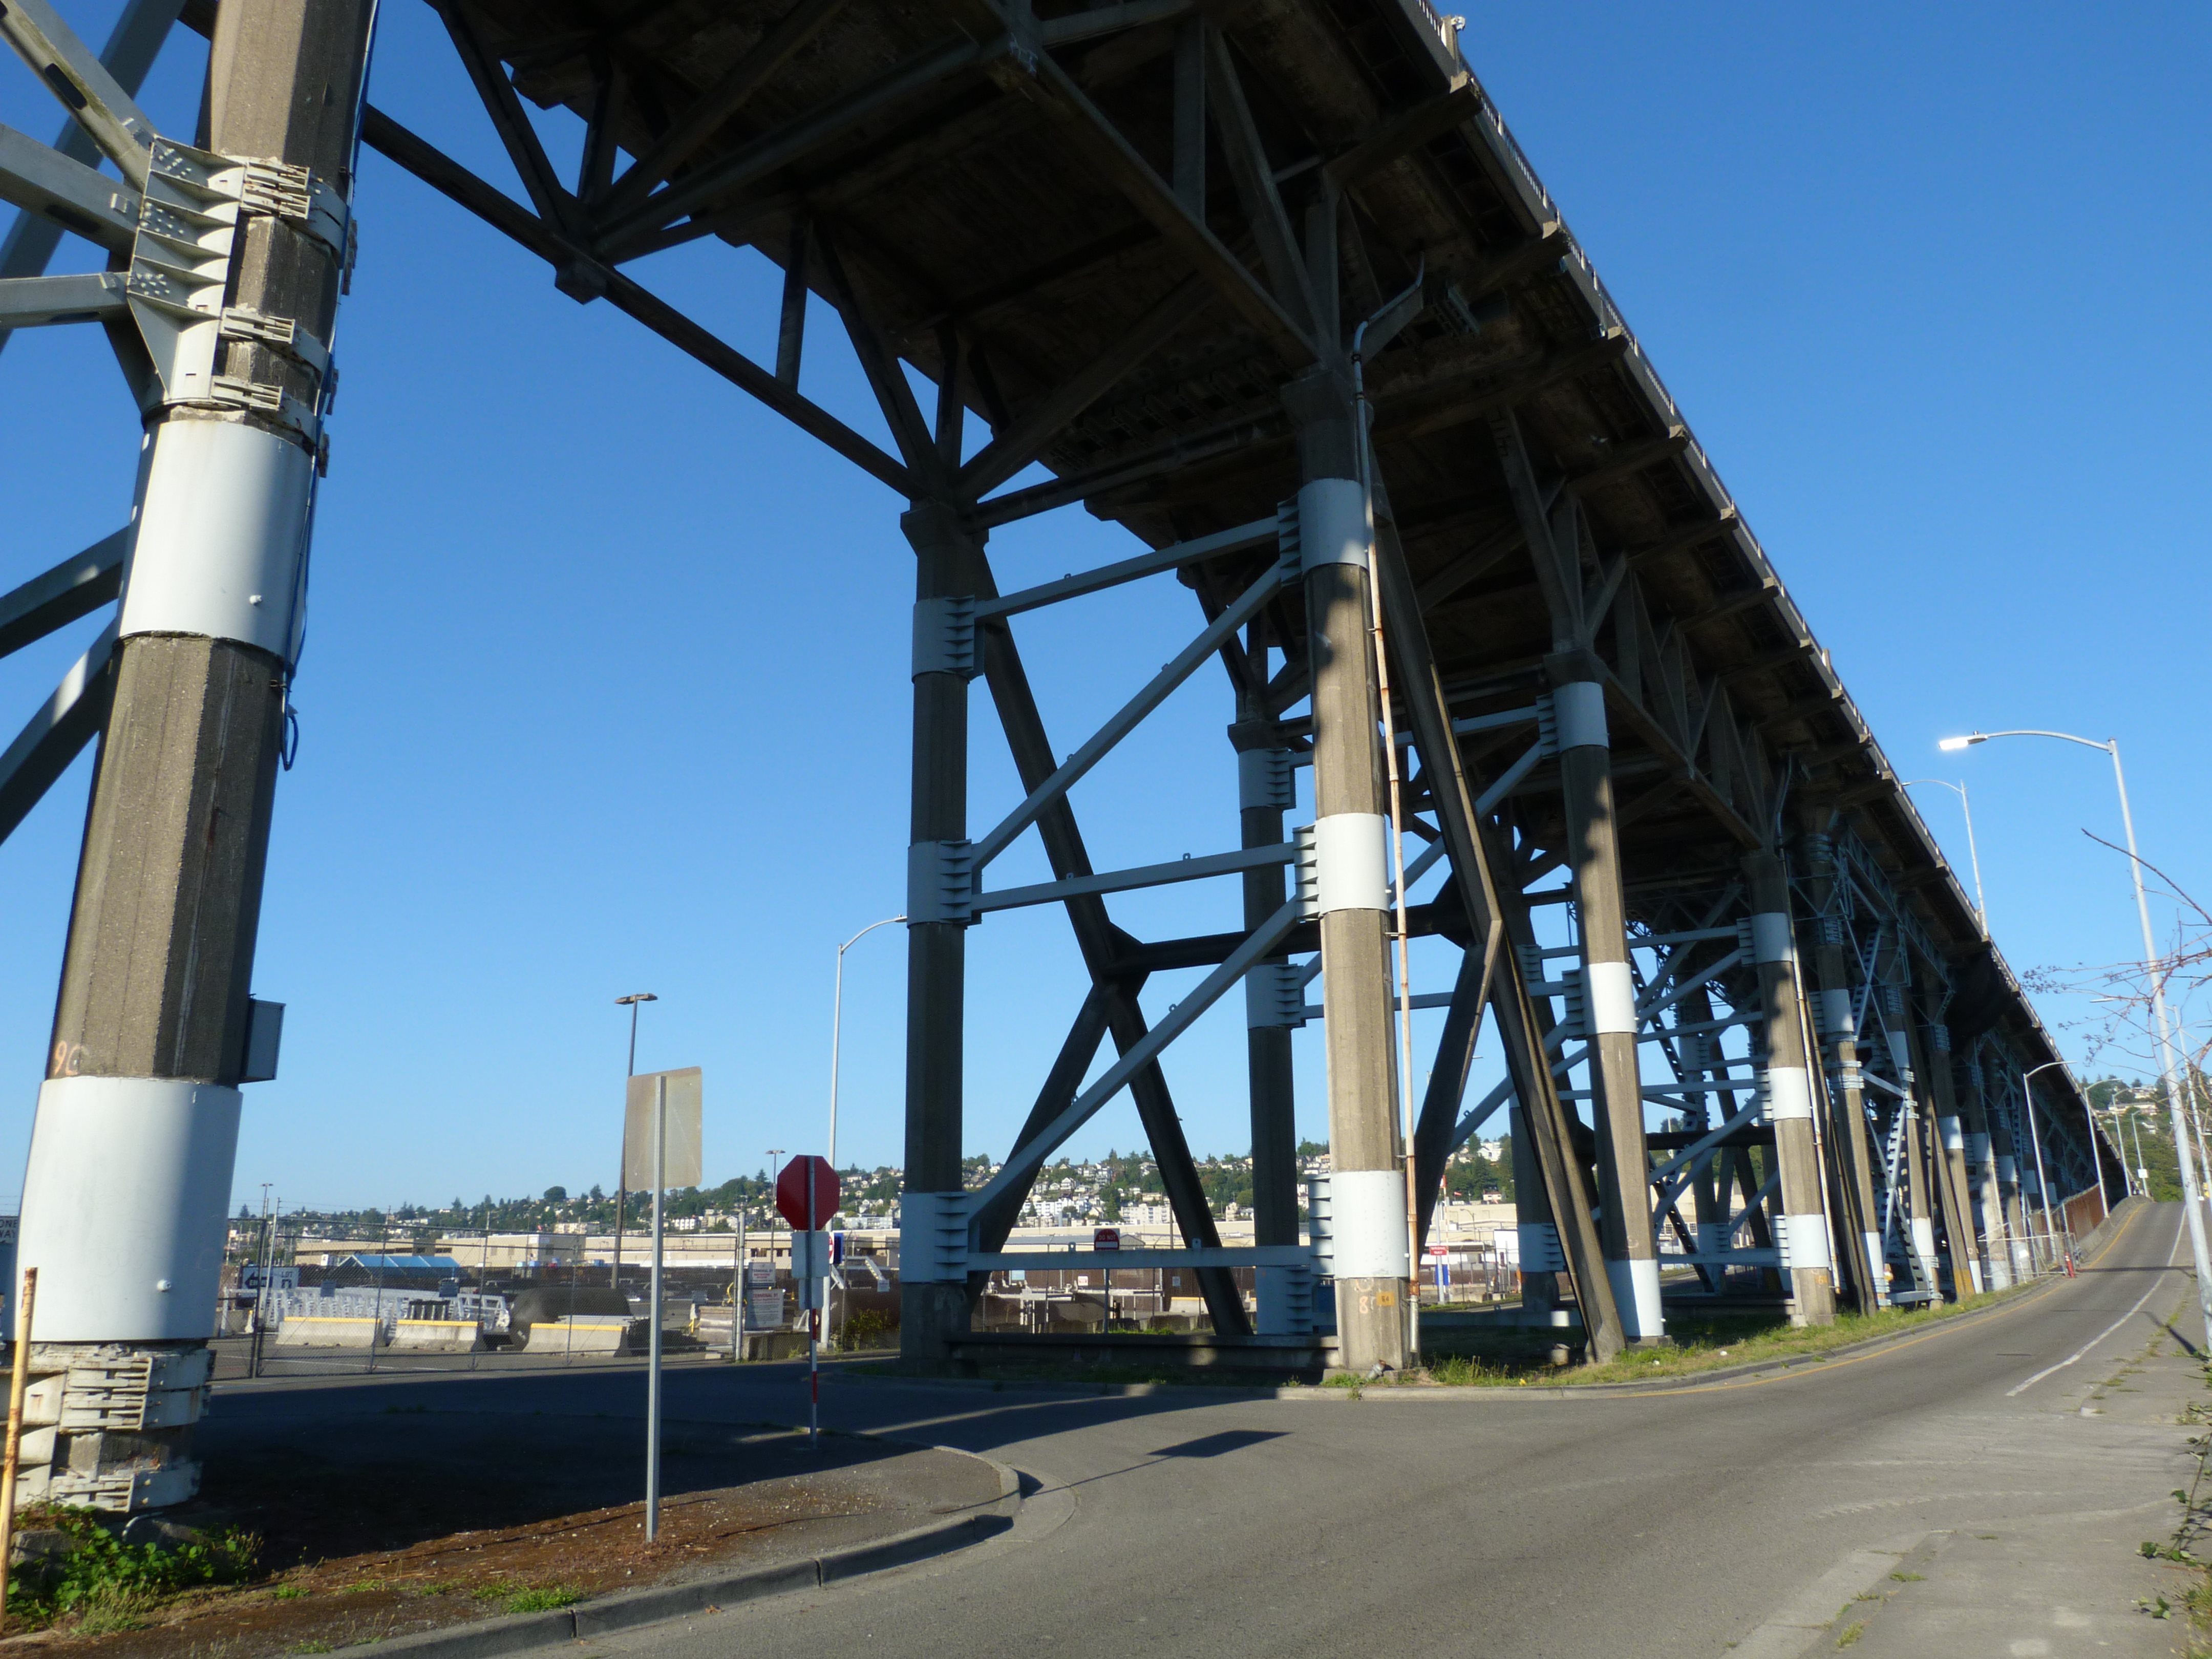
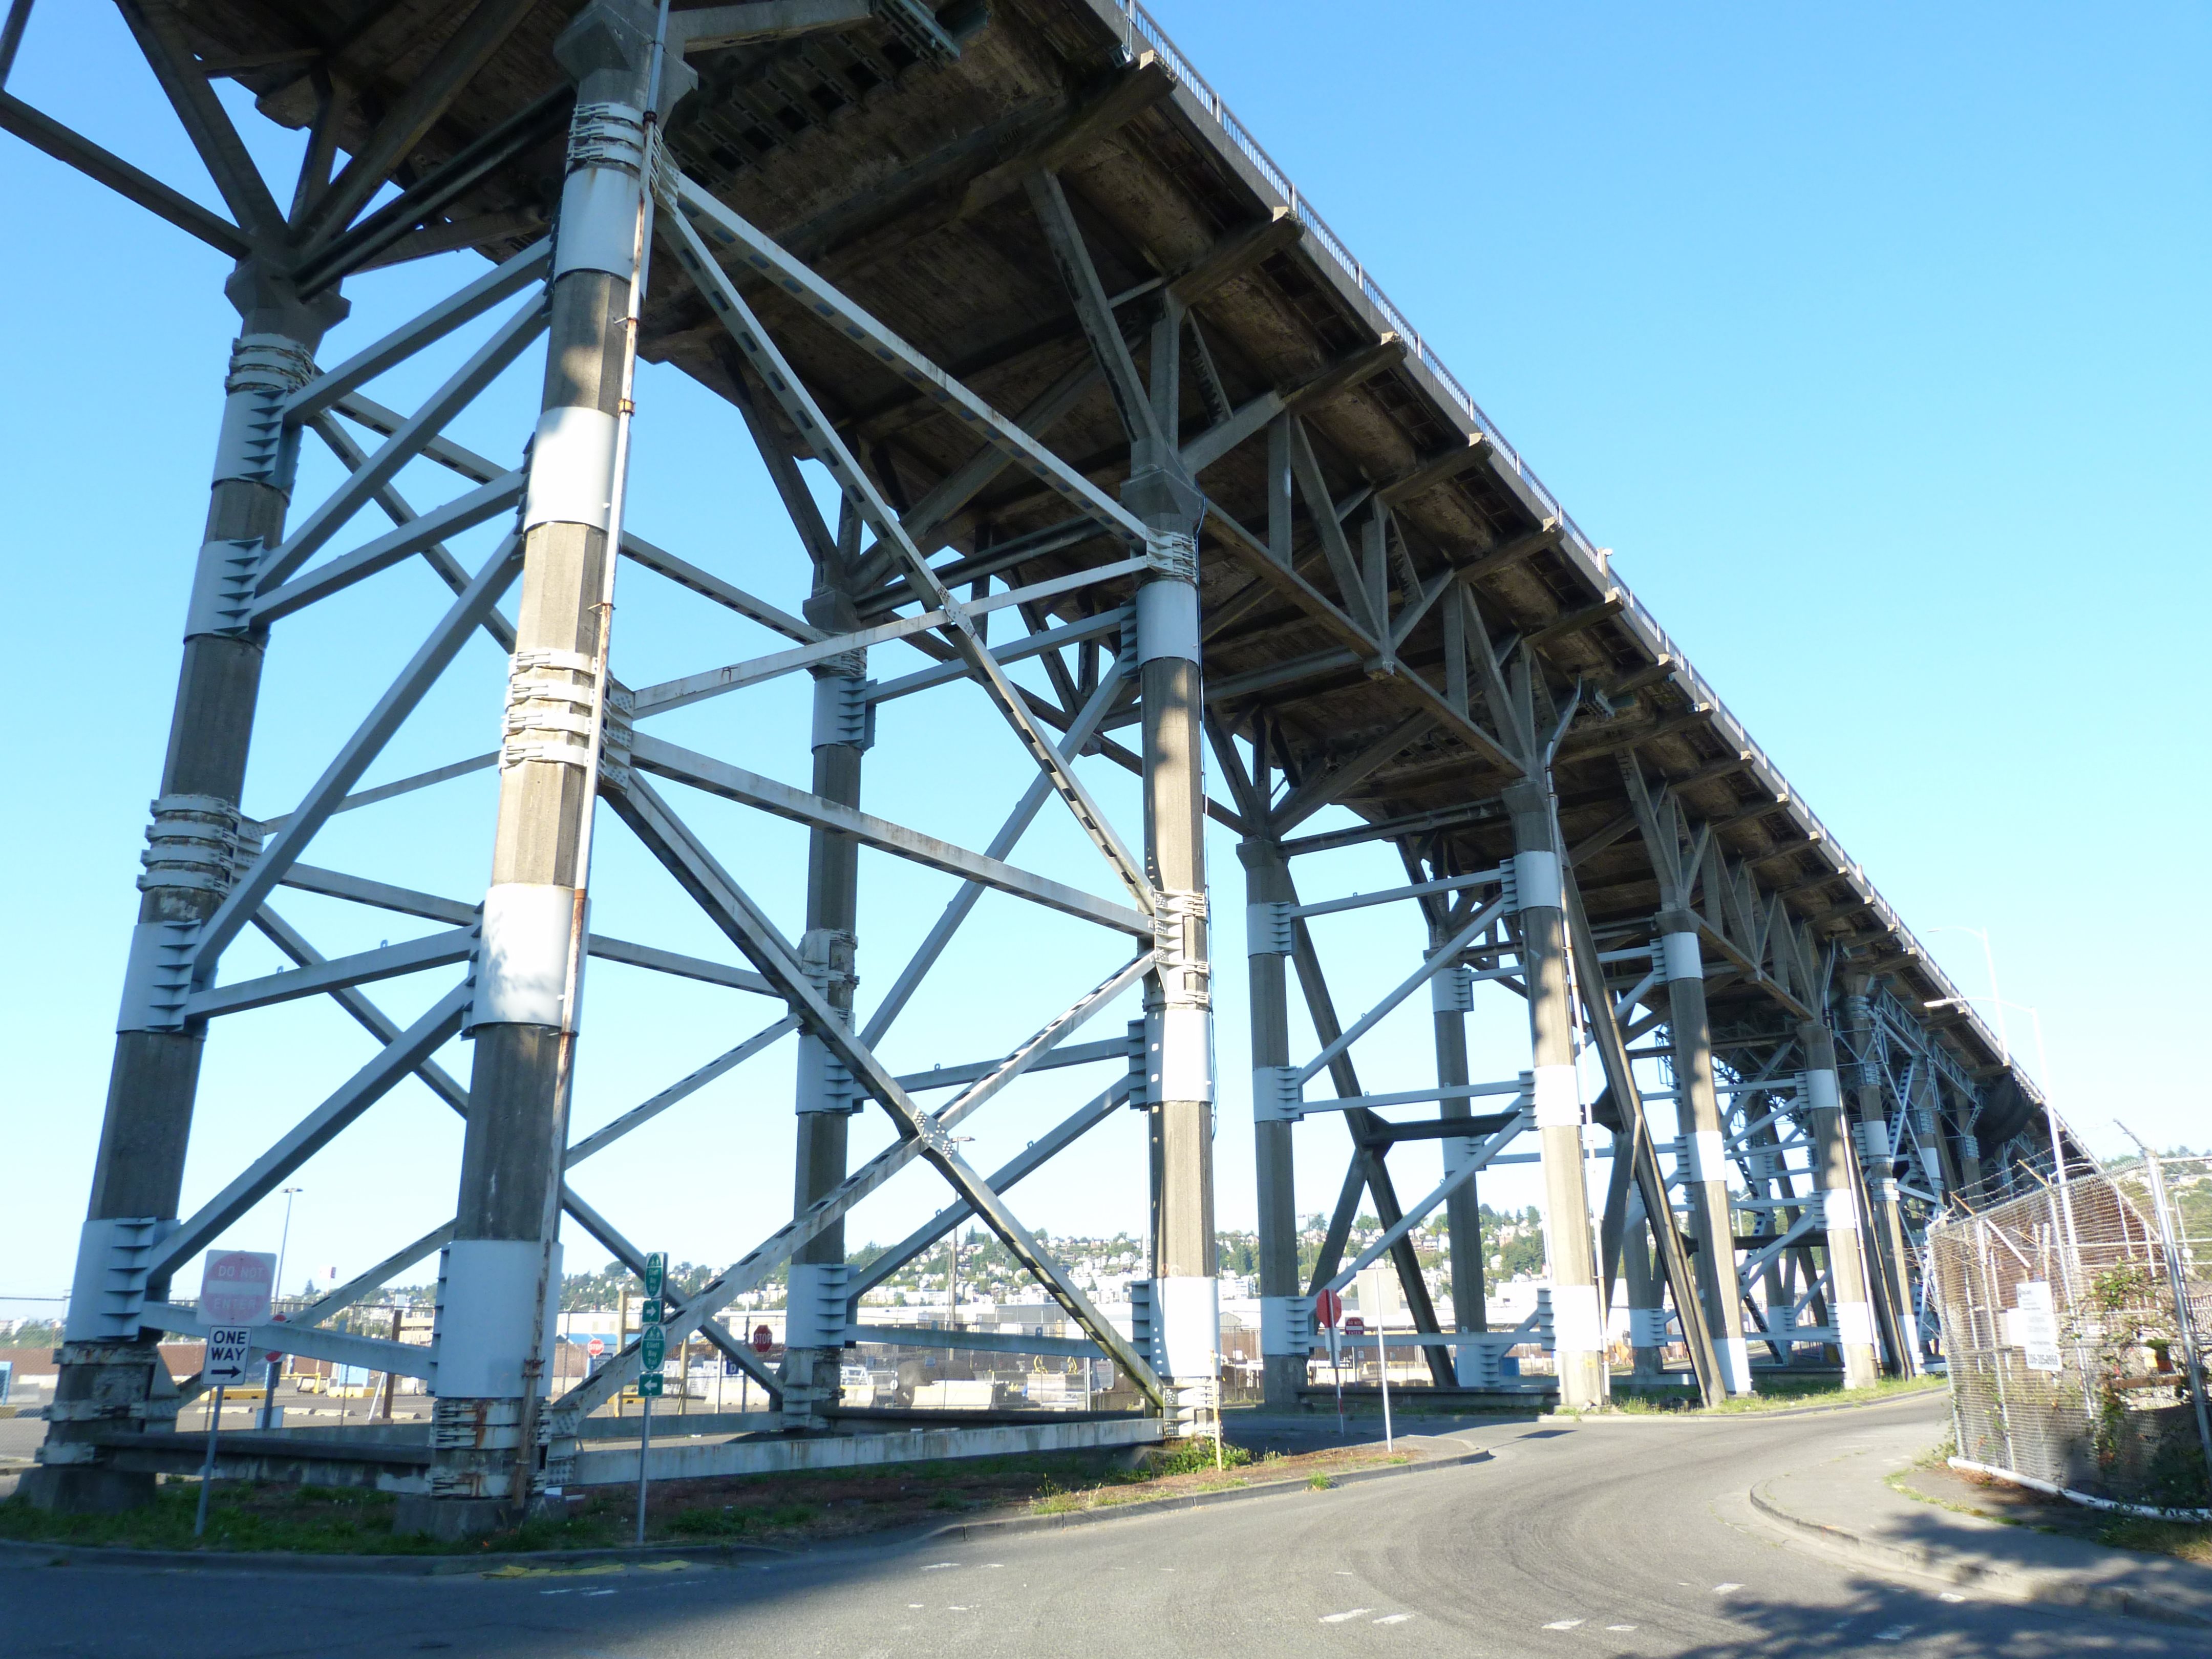
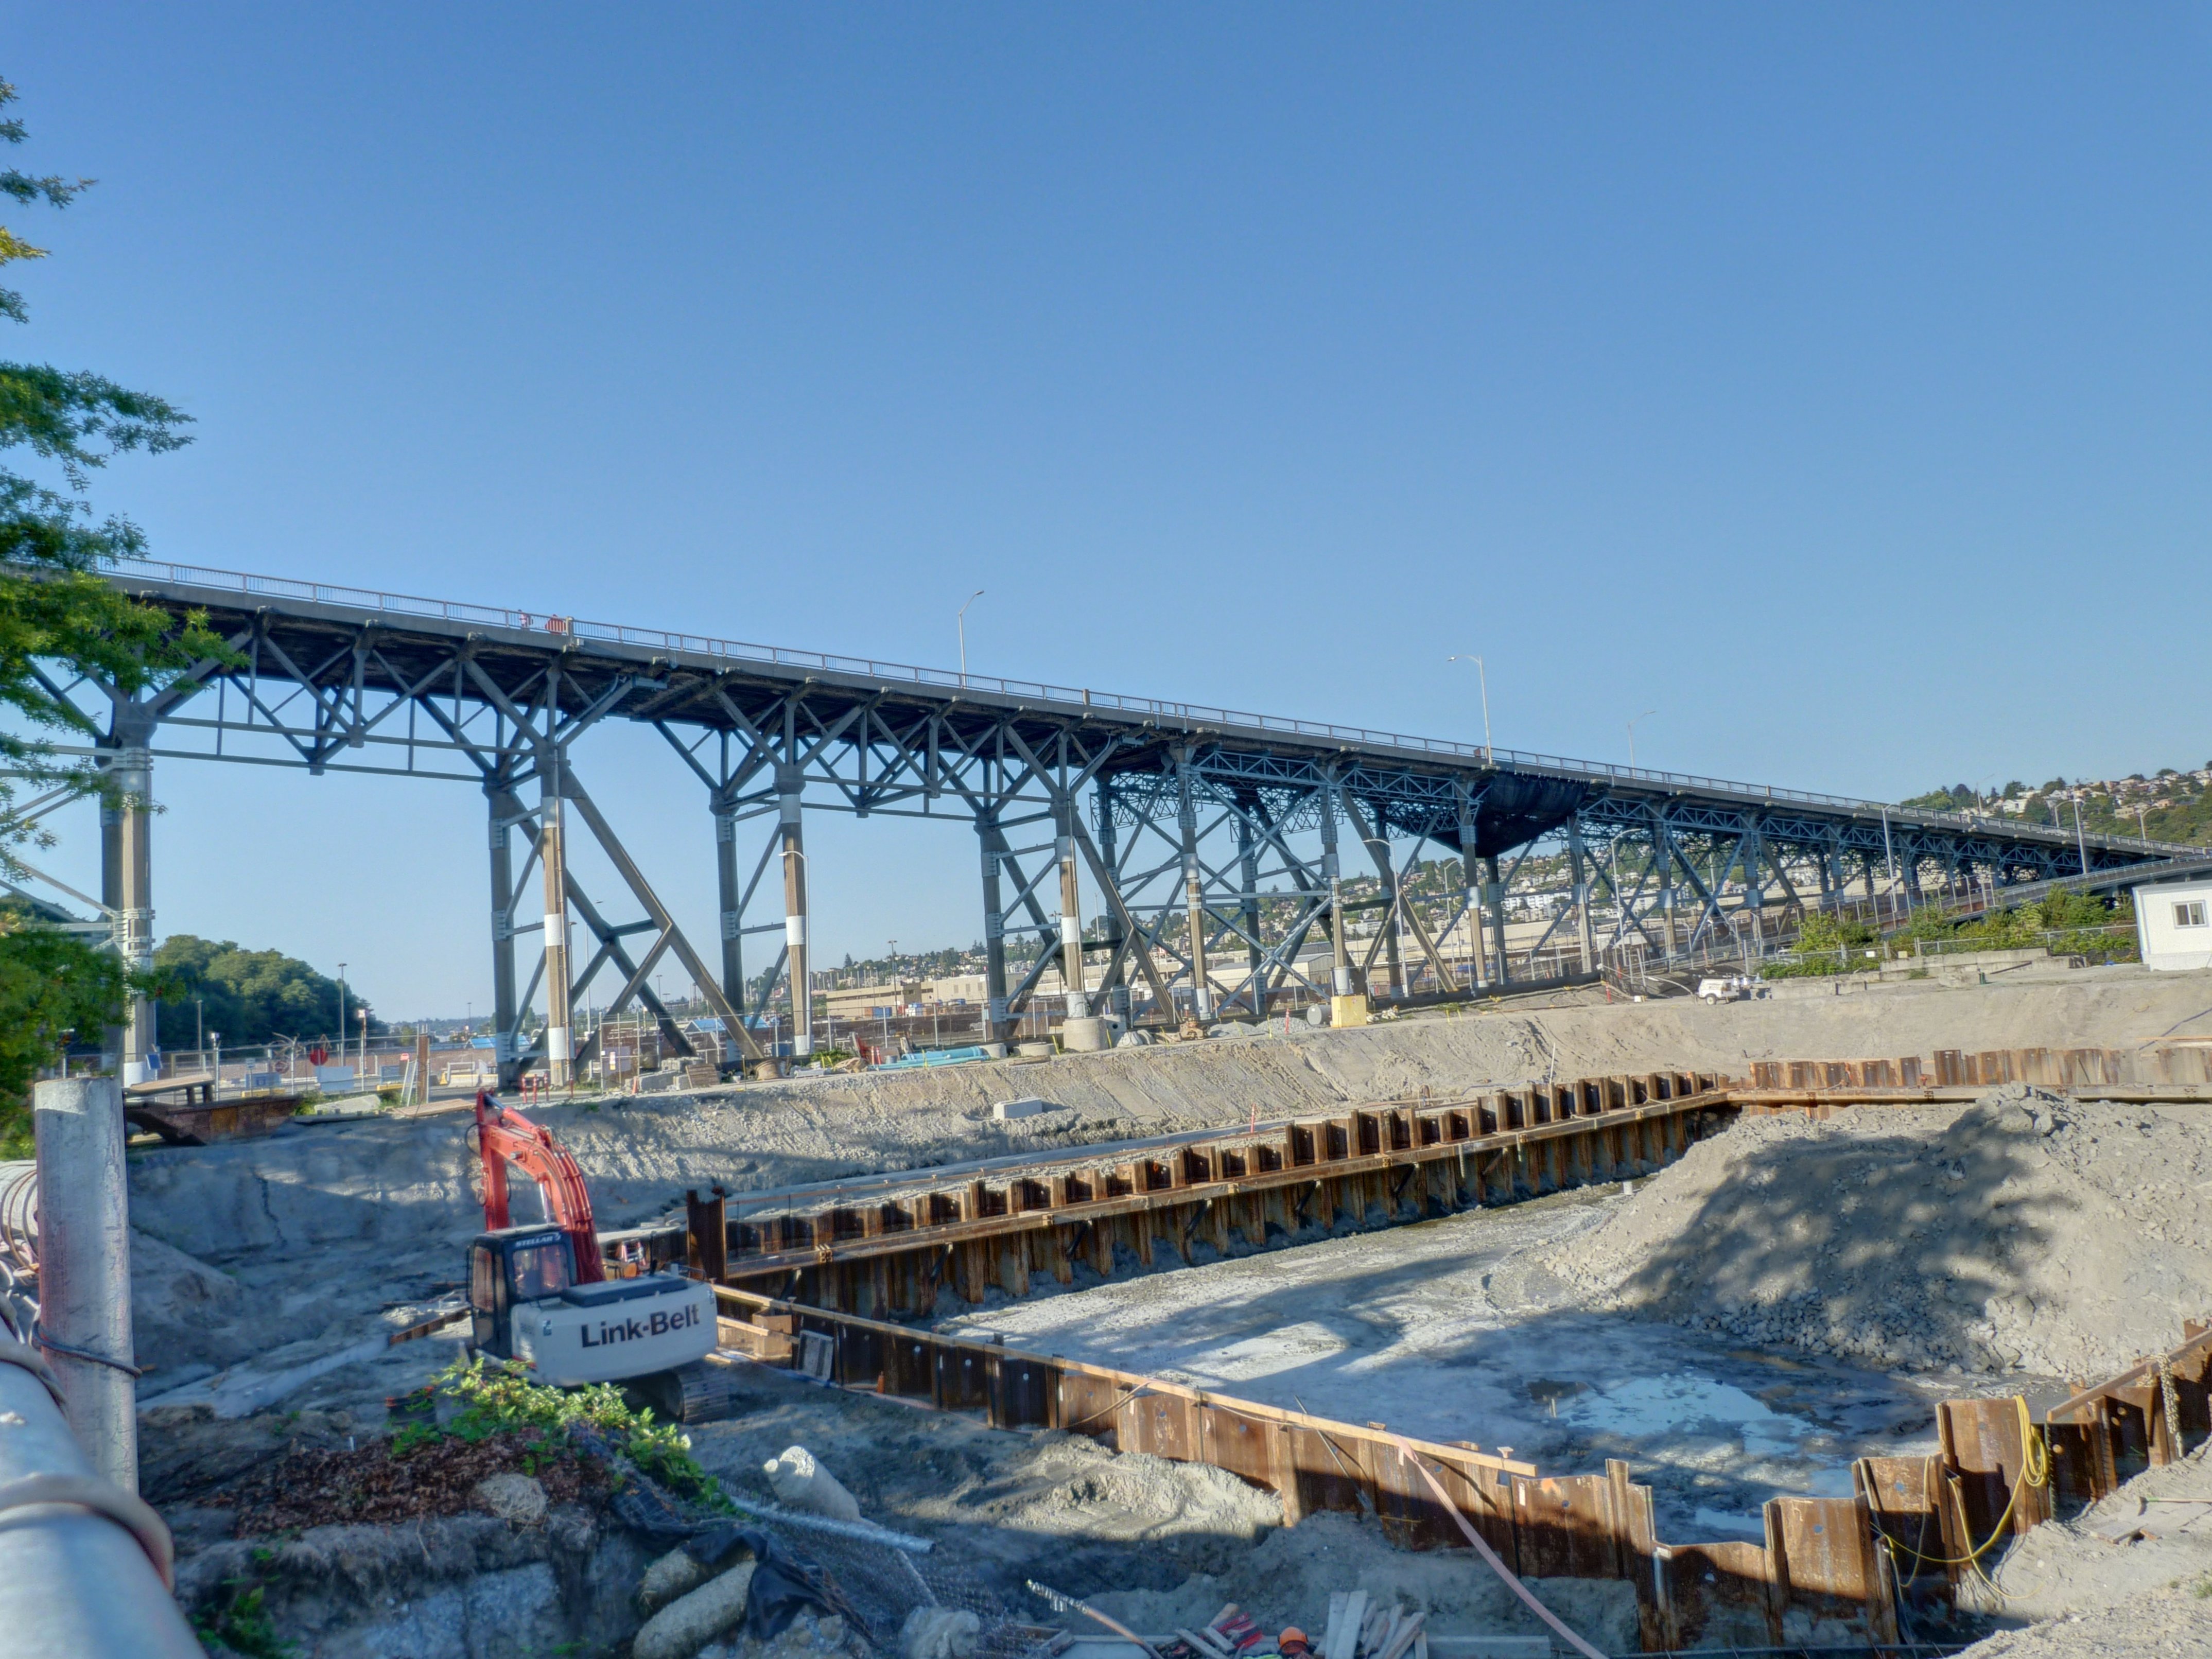
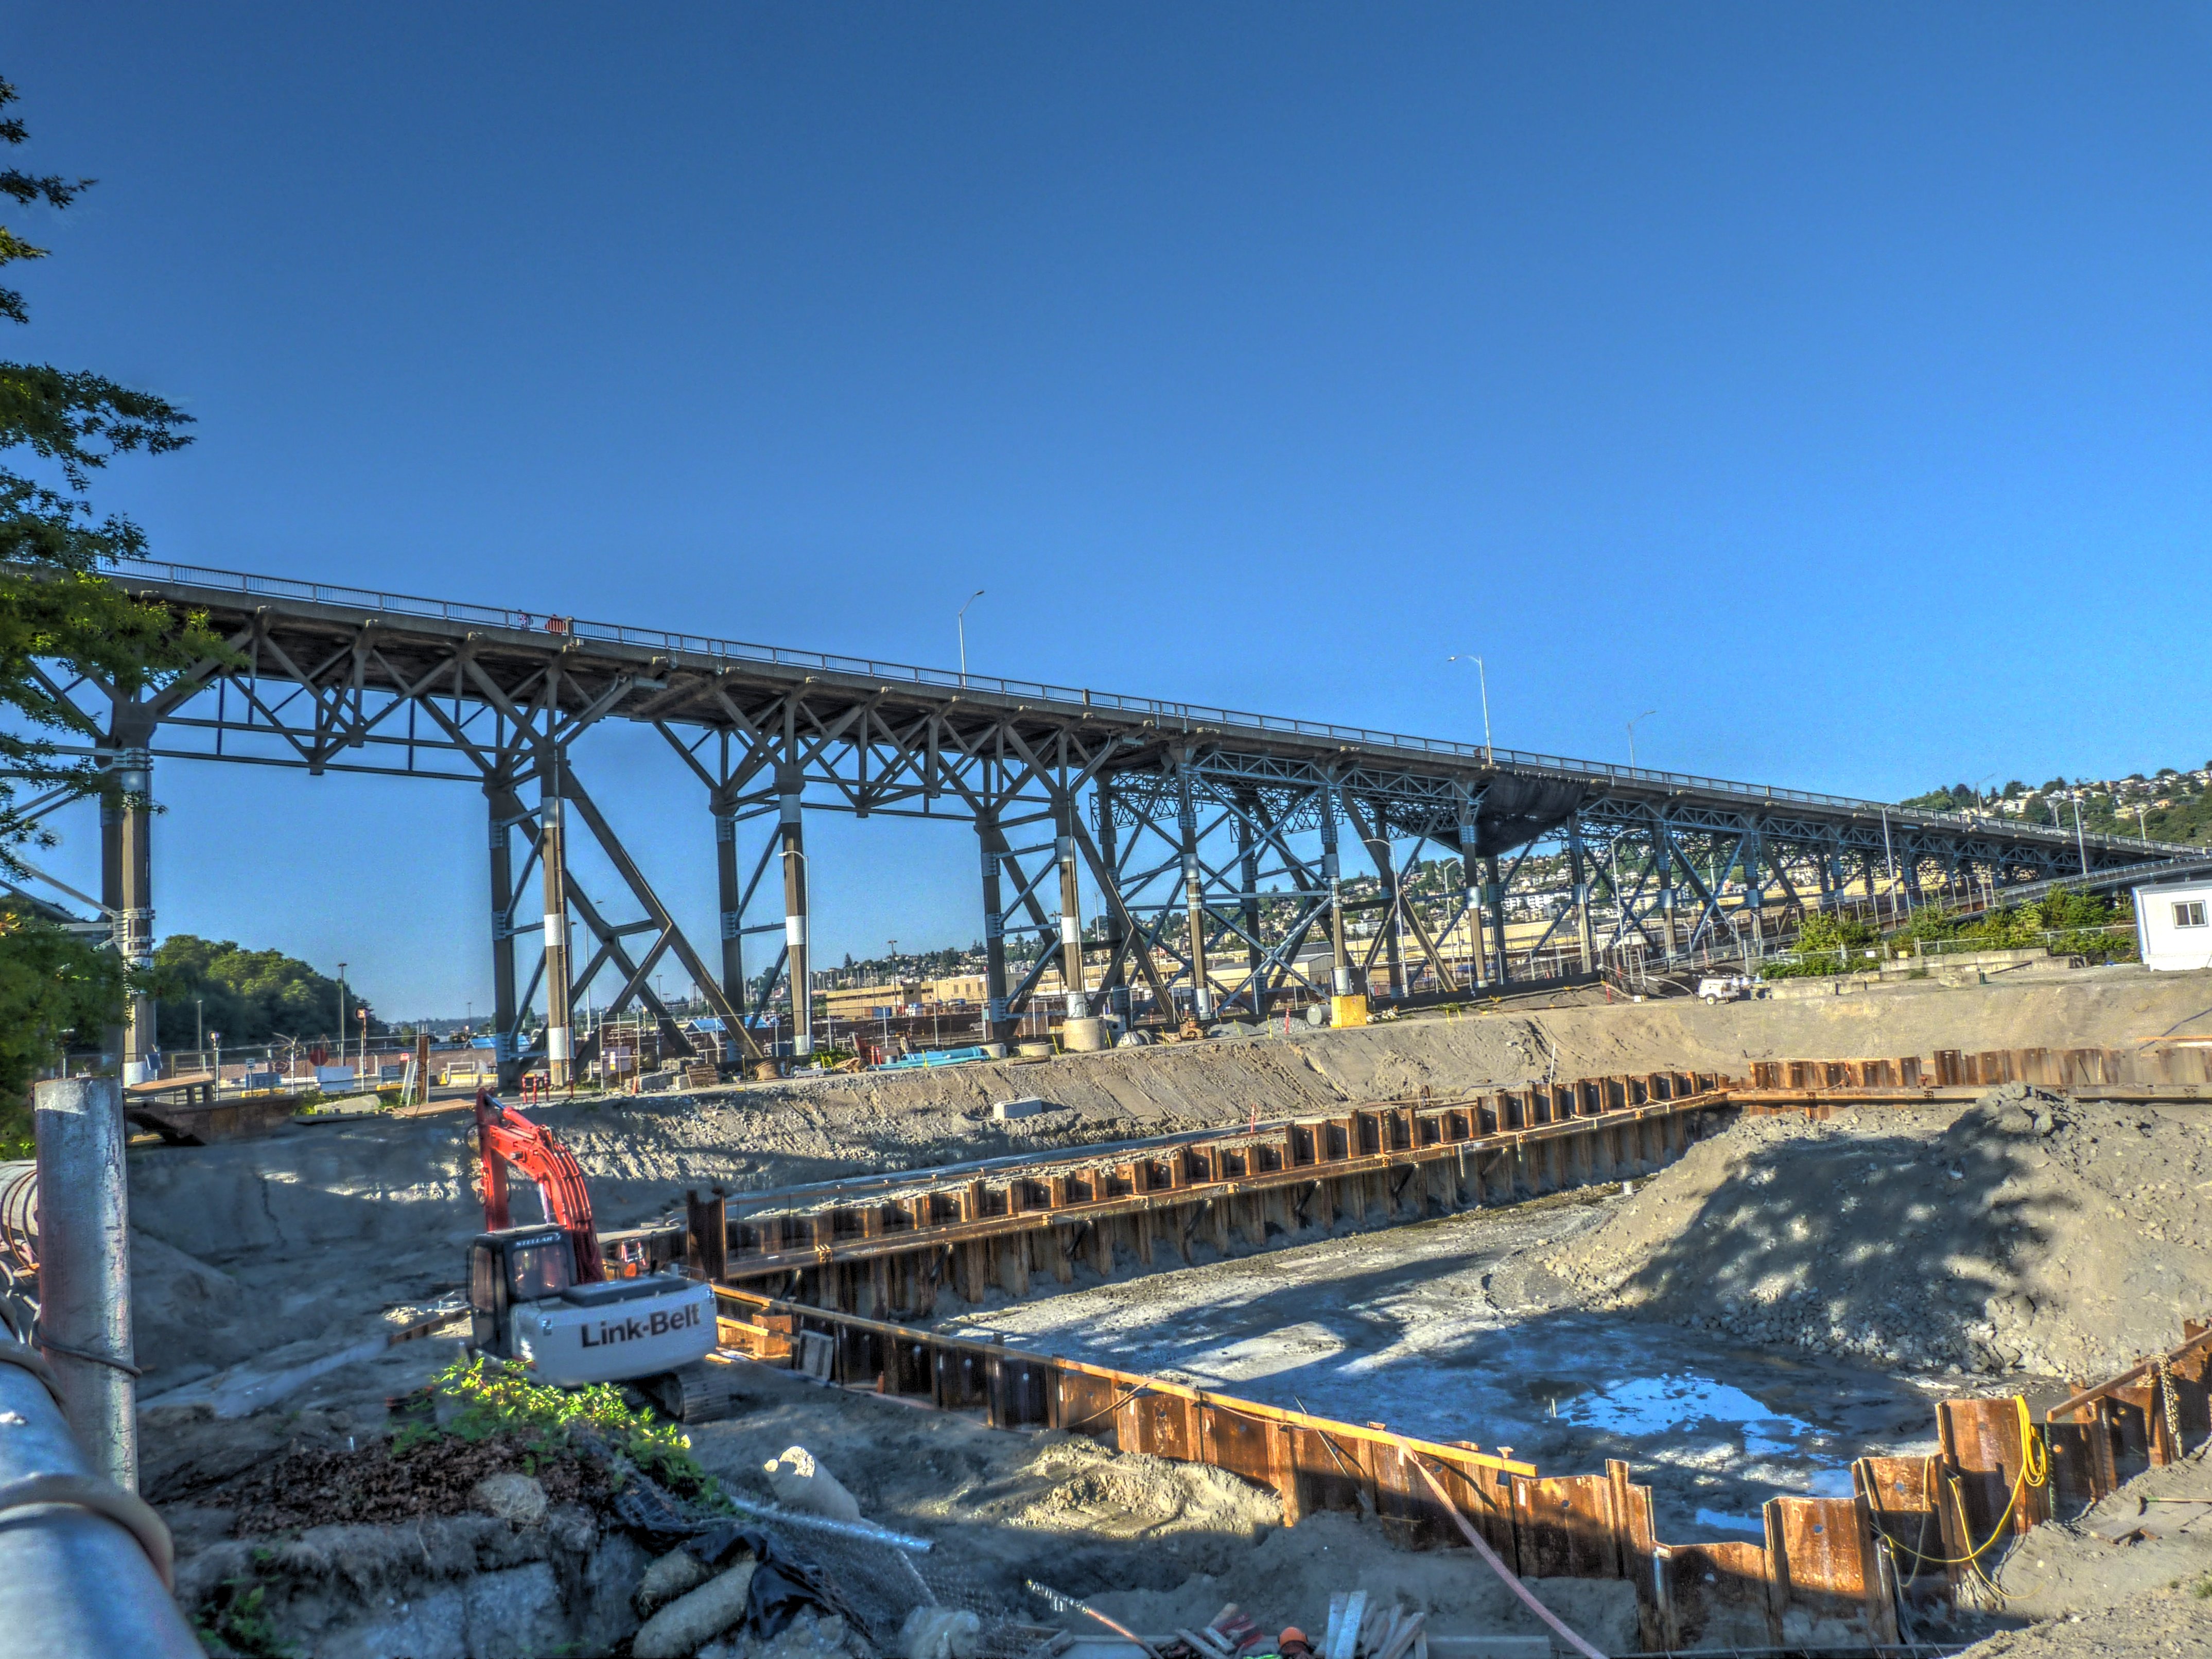
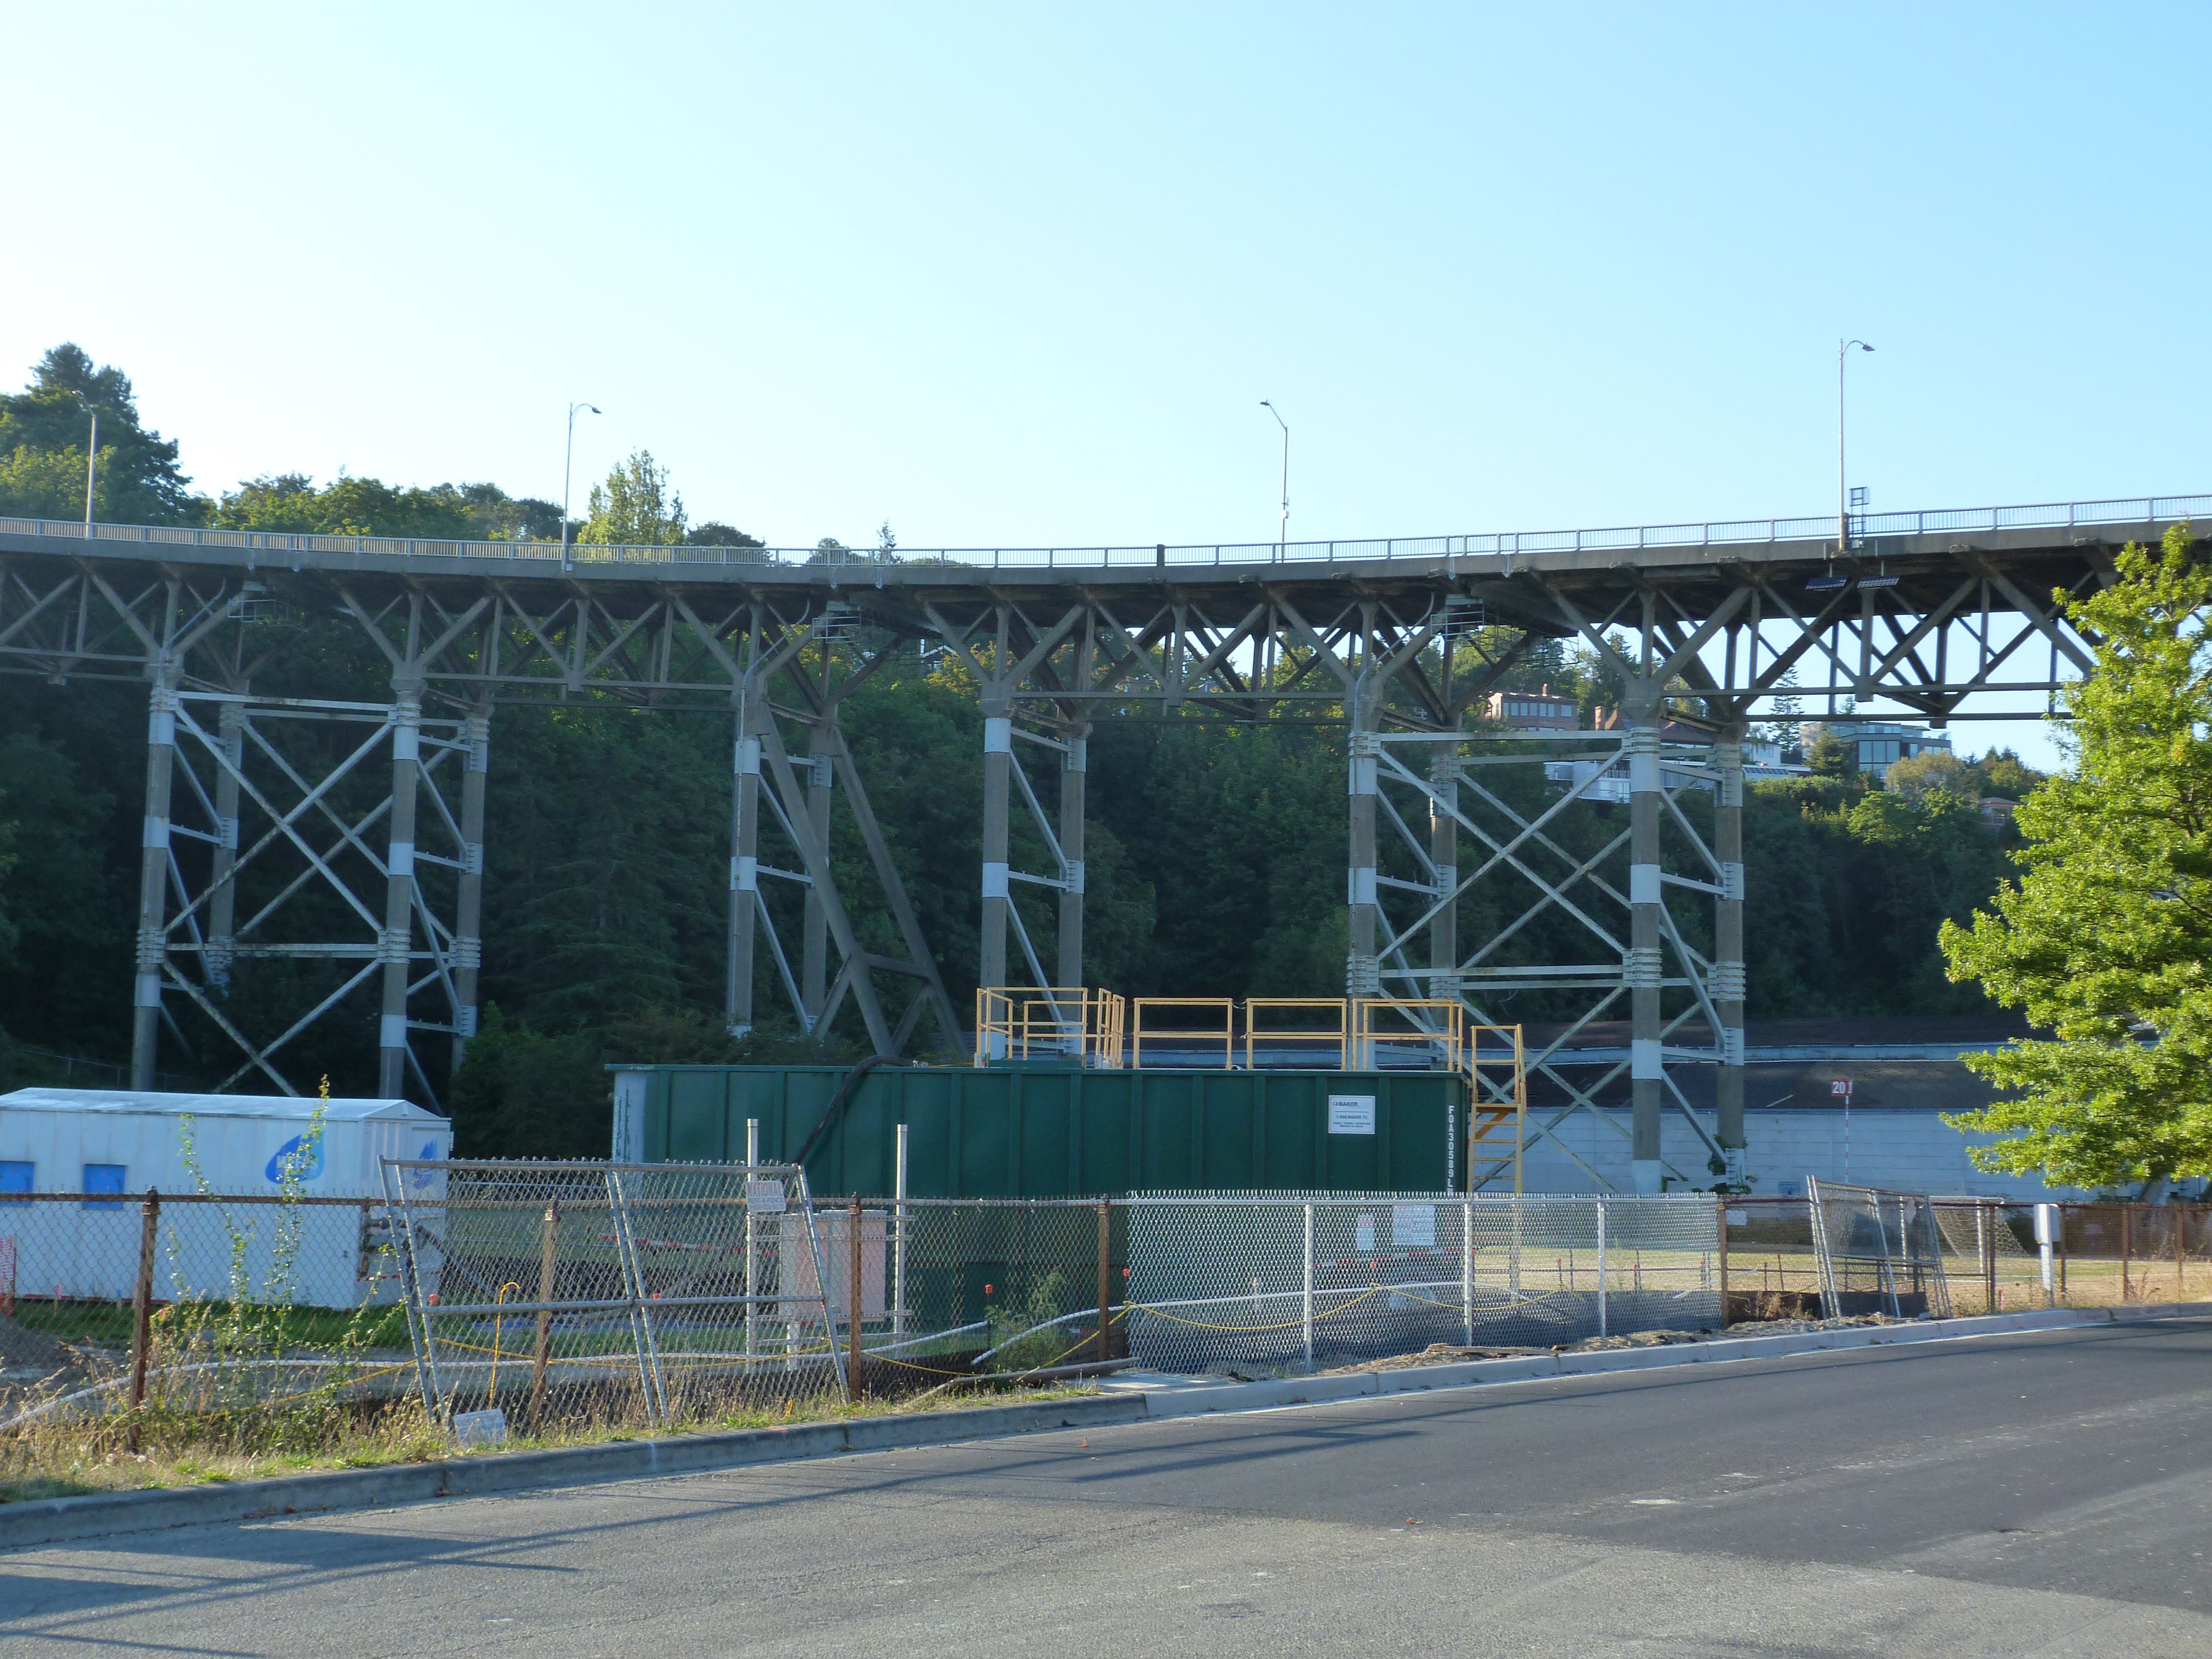
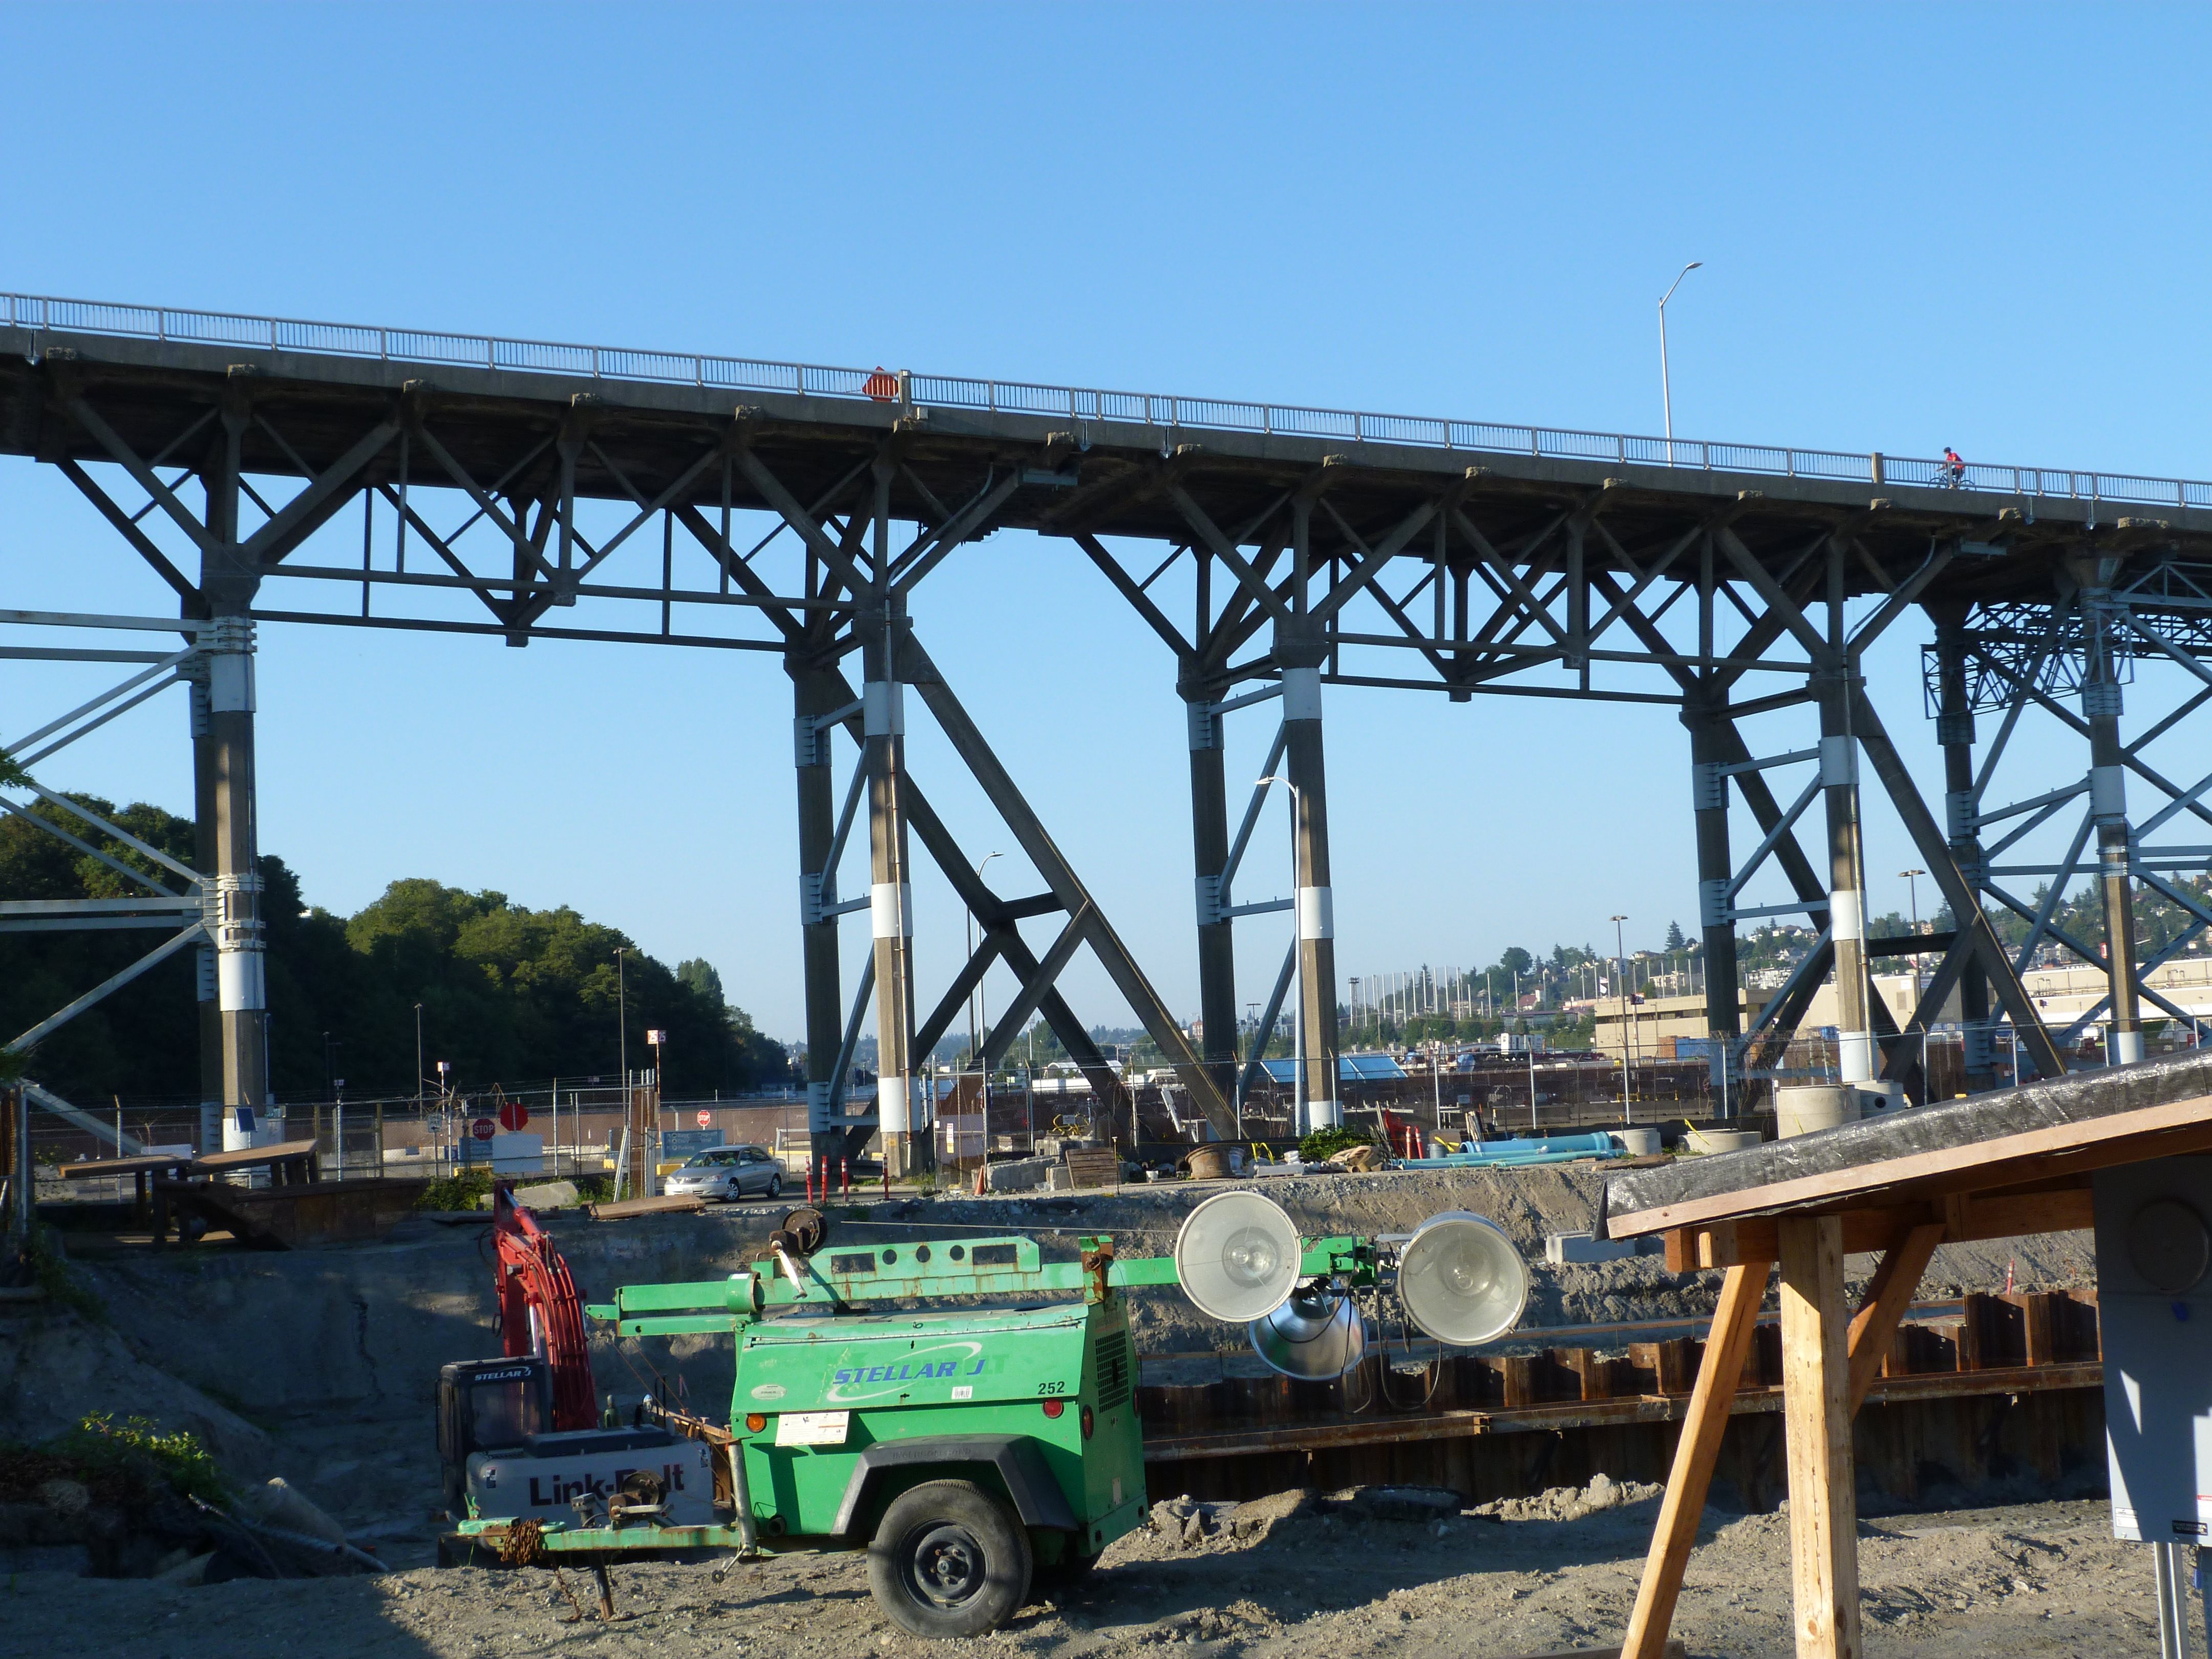
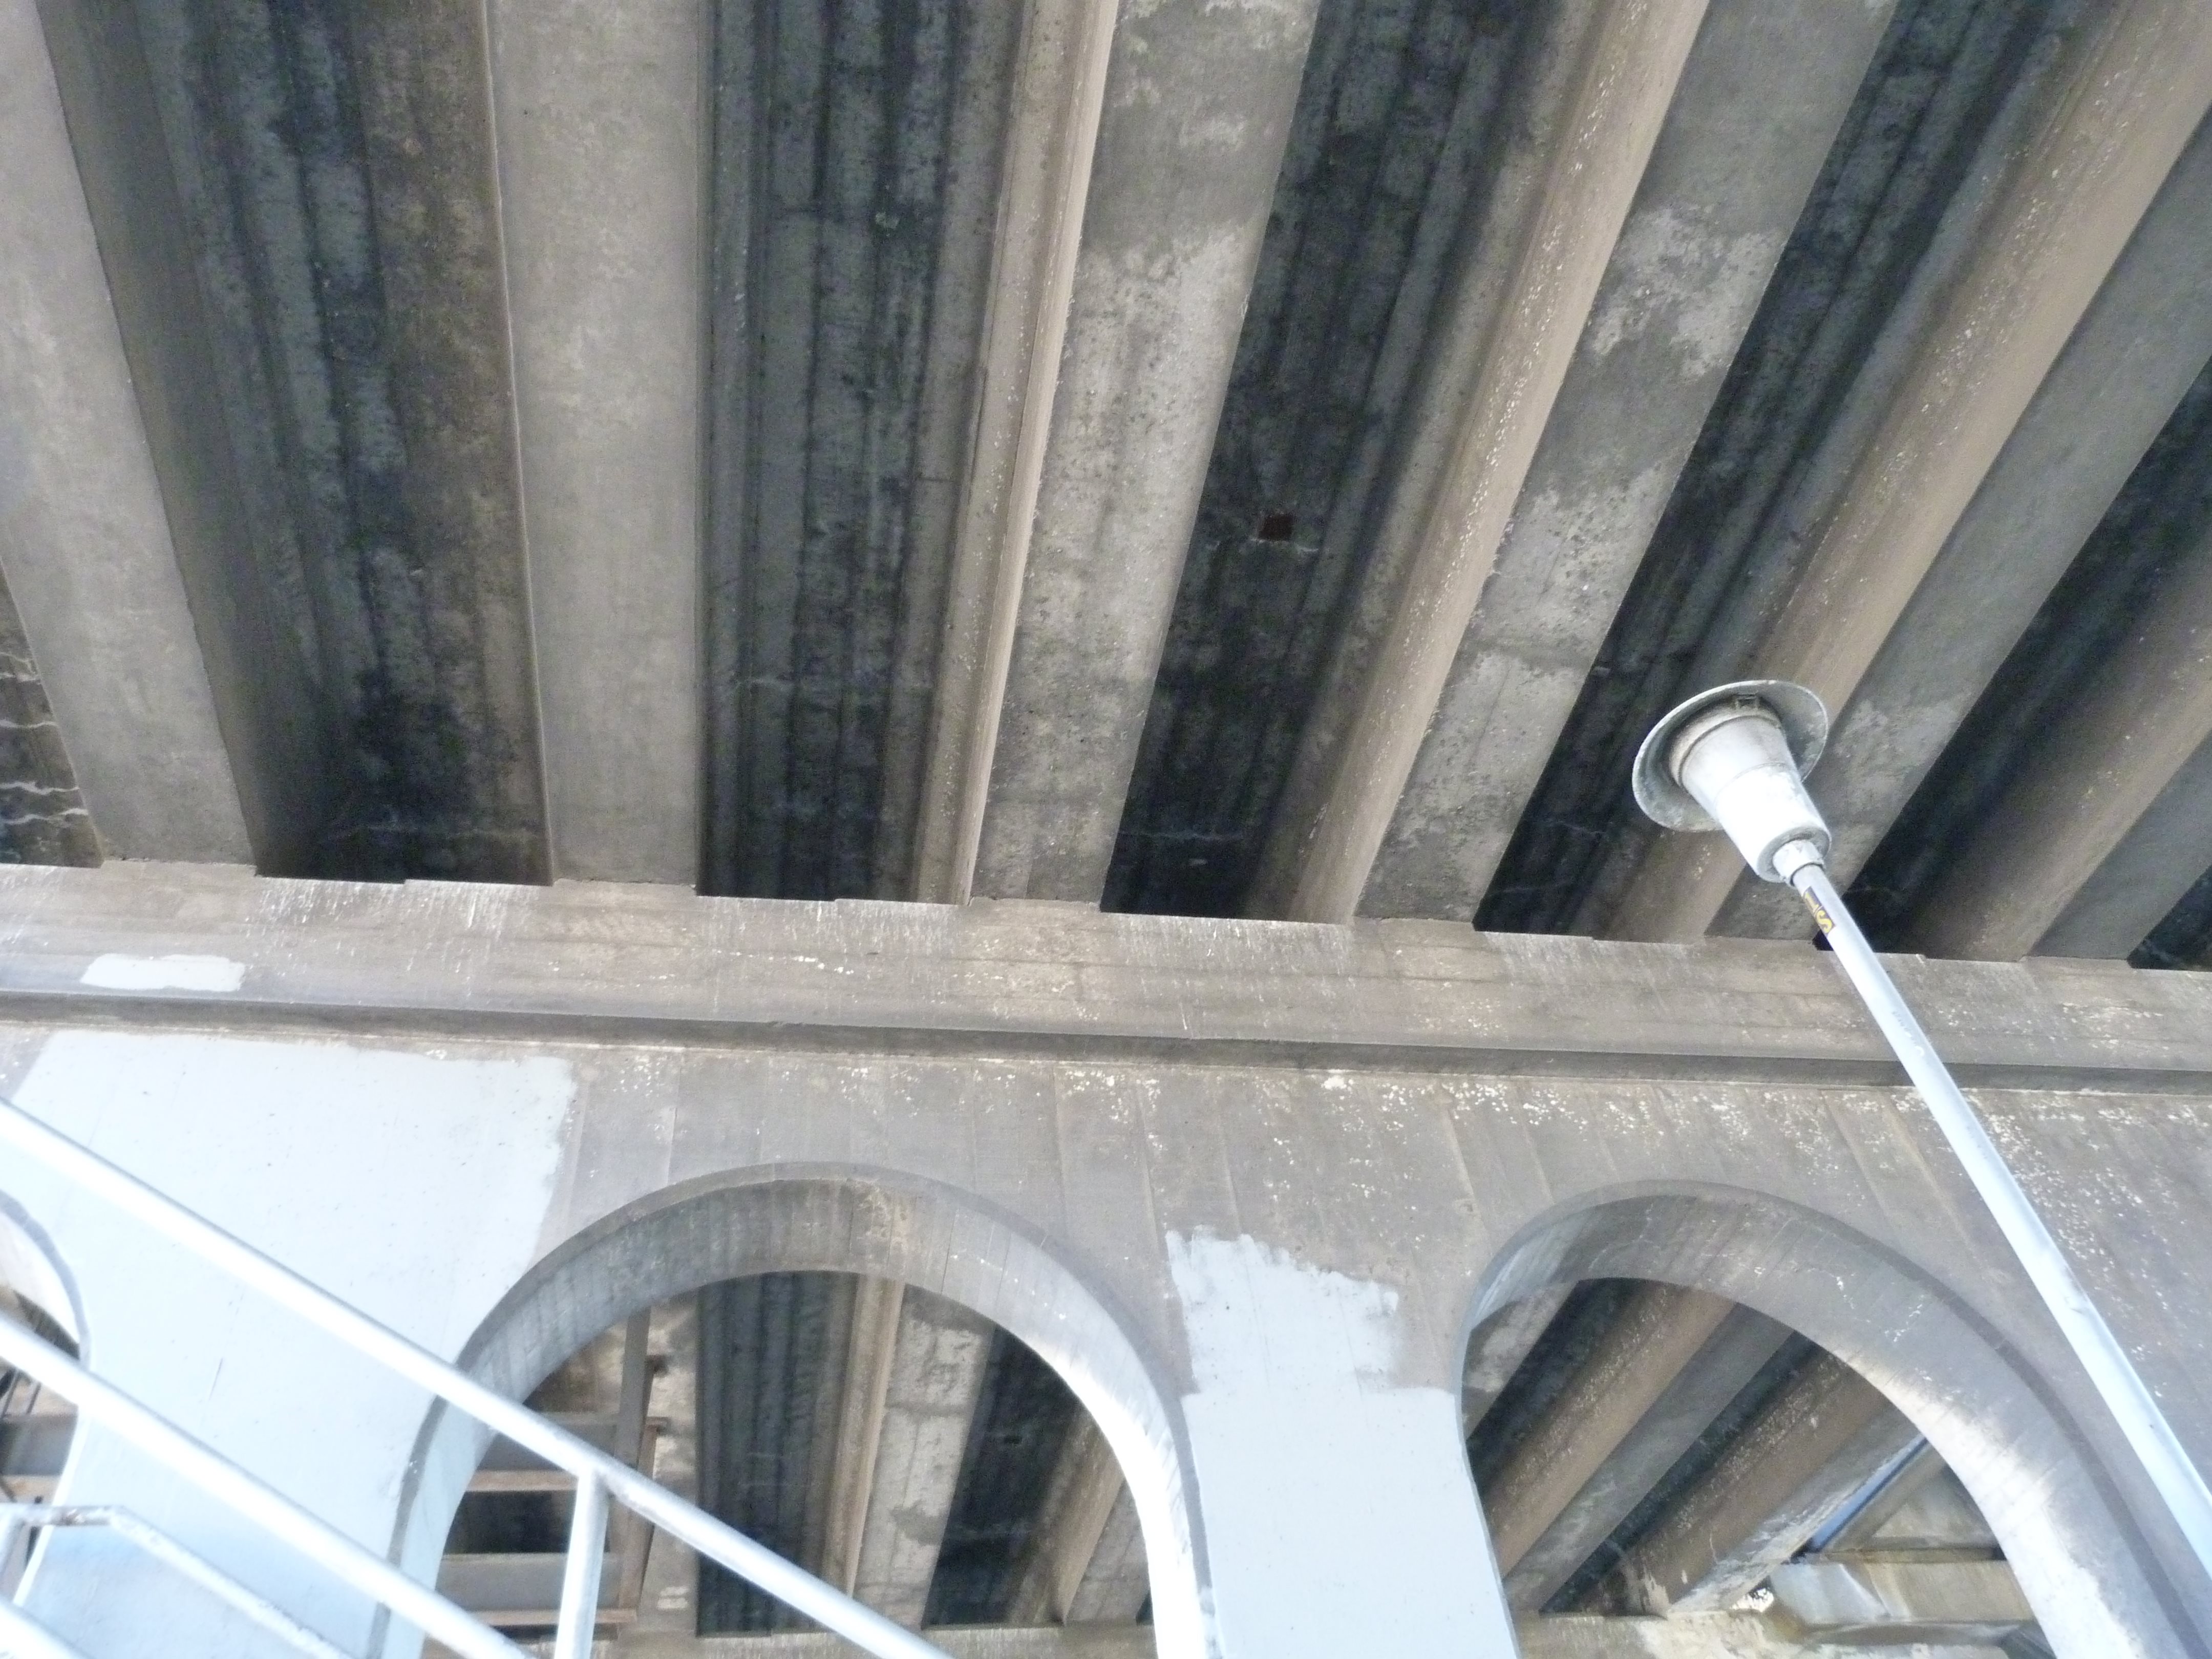
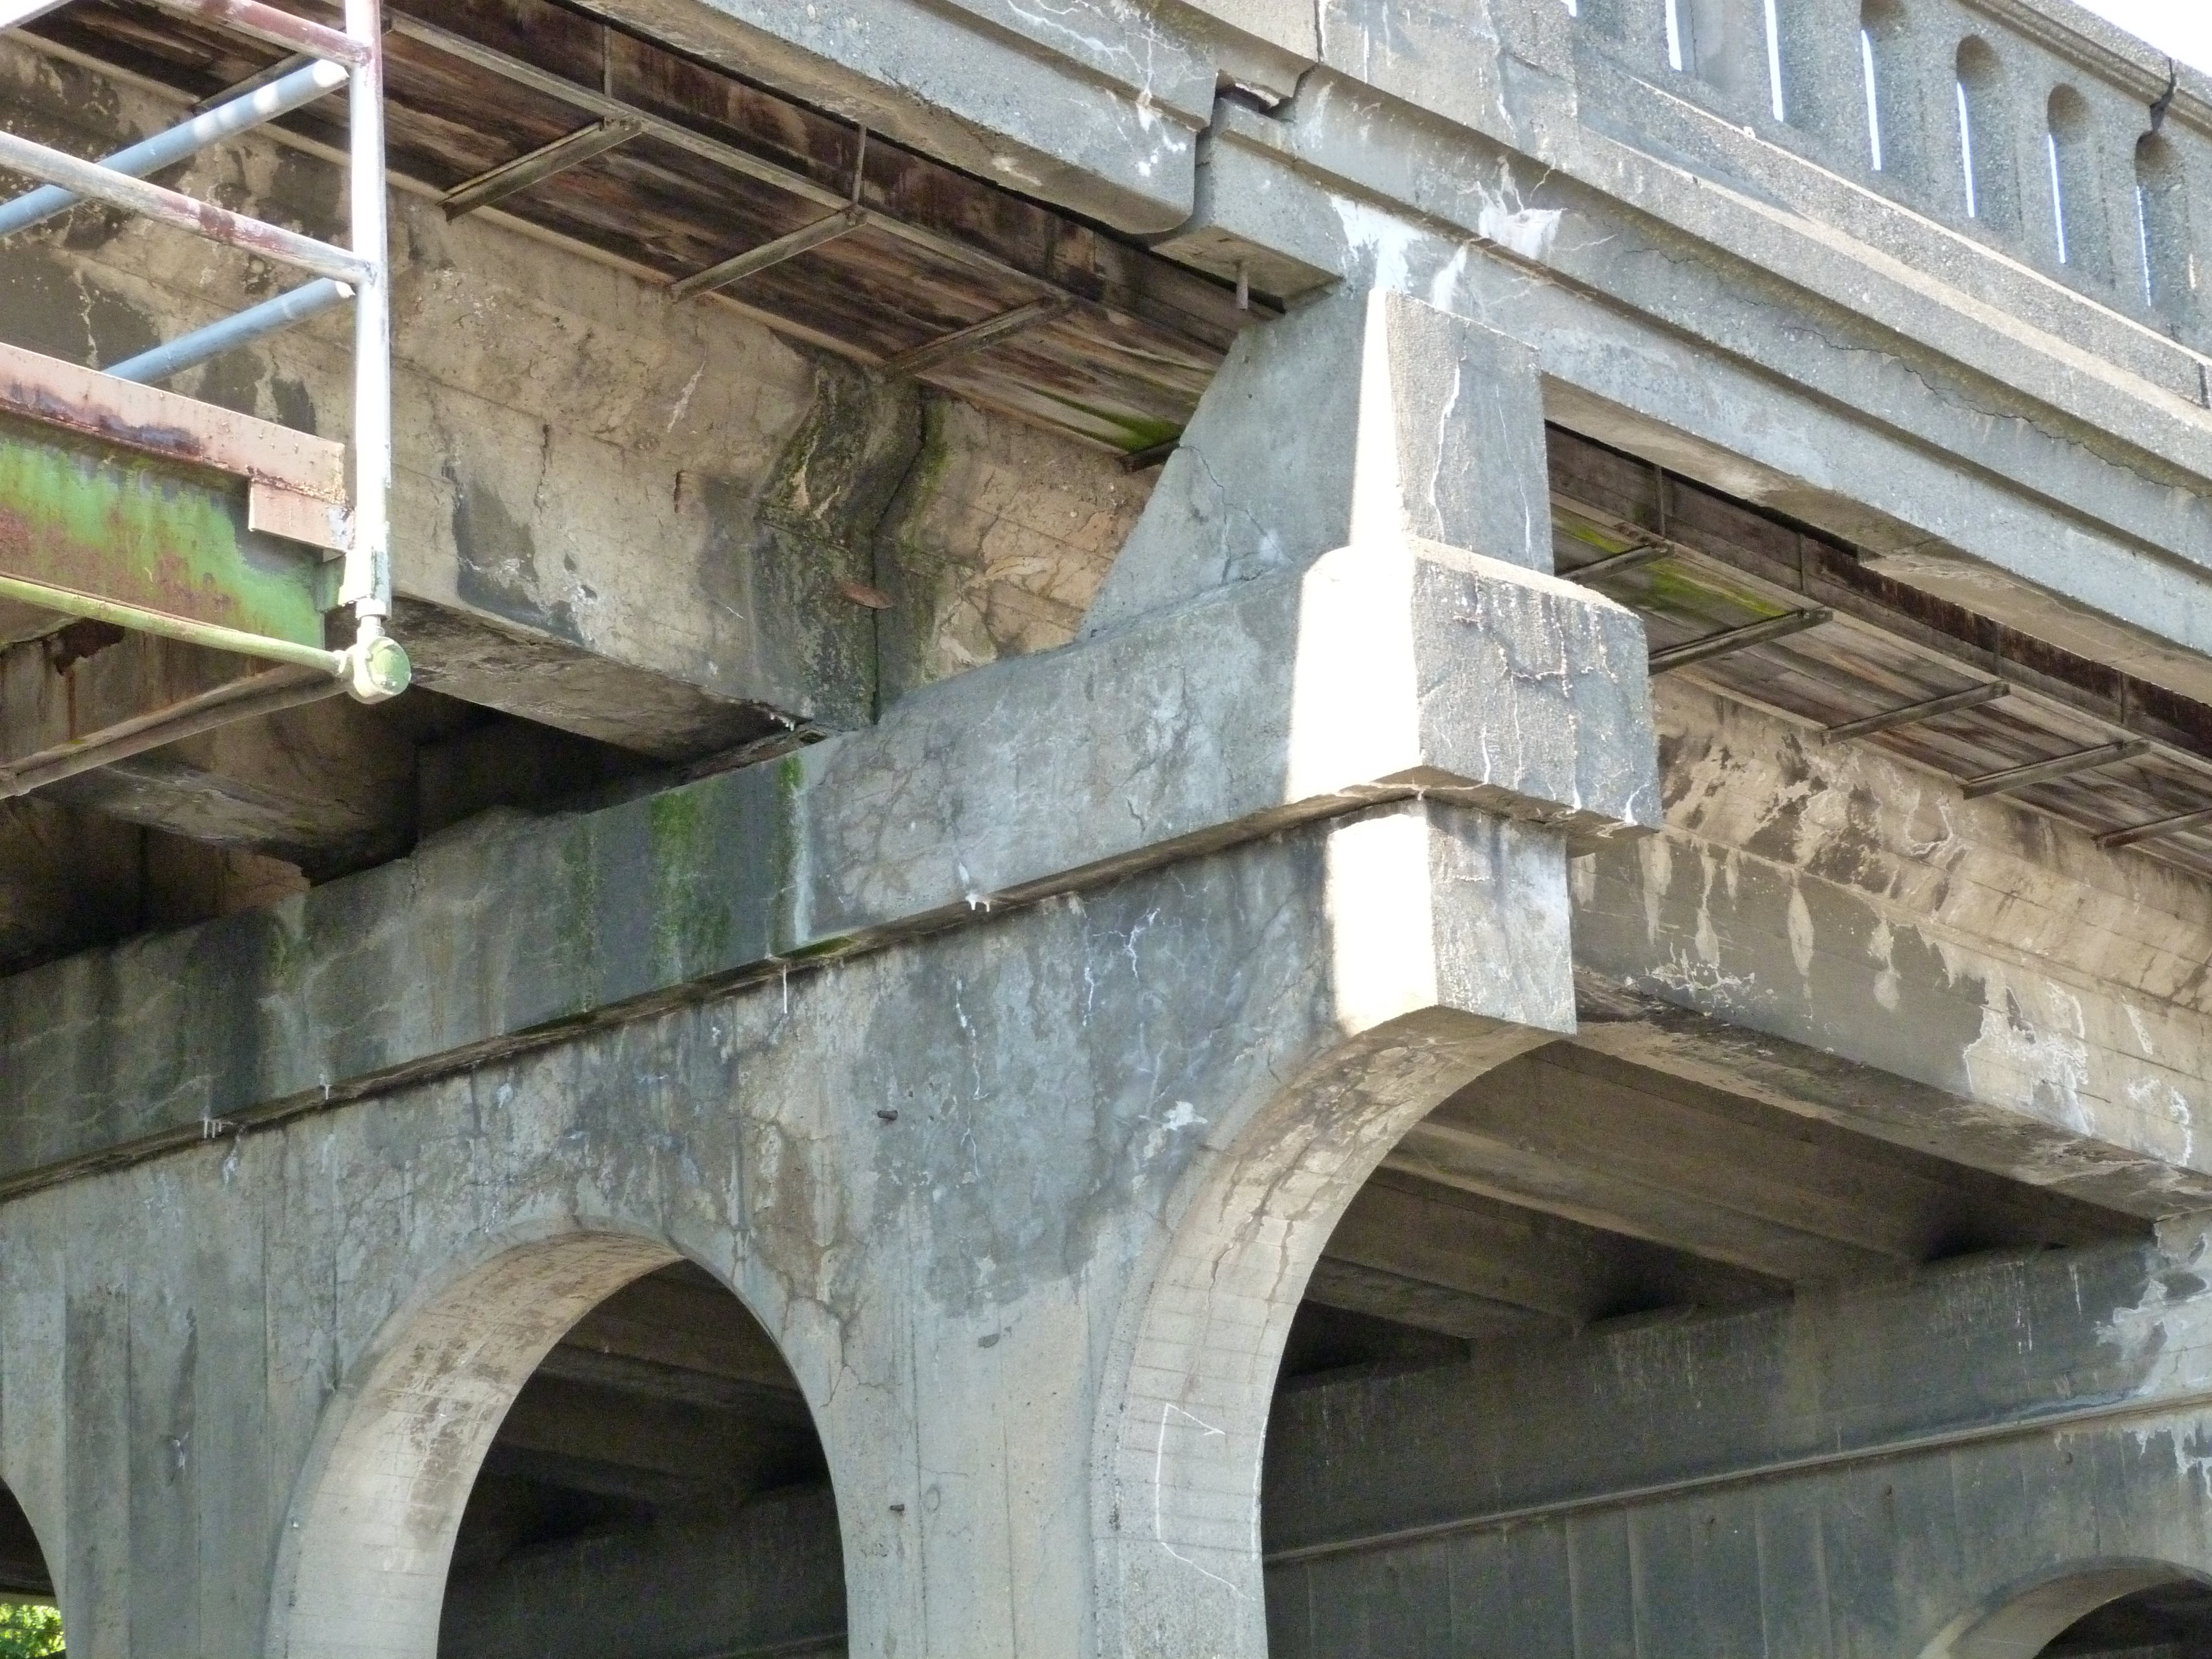
Concrete bents under deck truss spans.
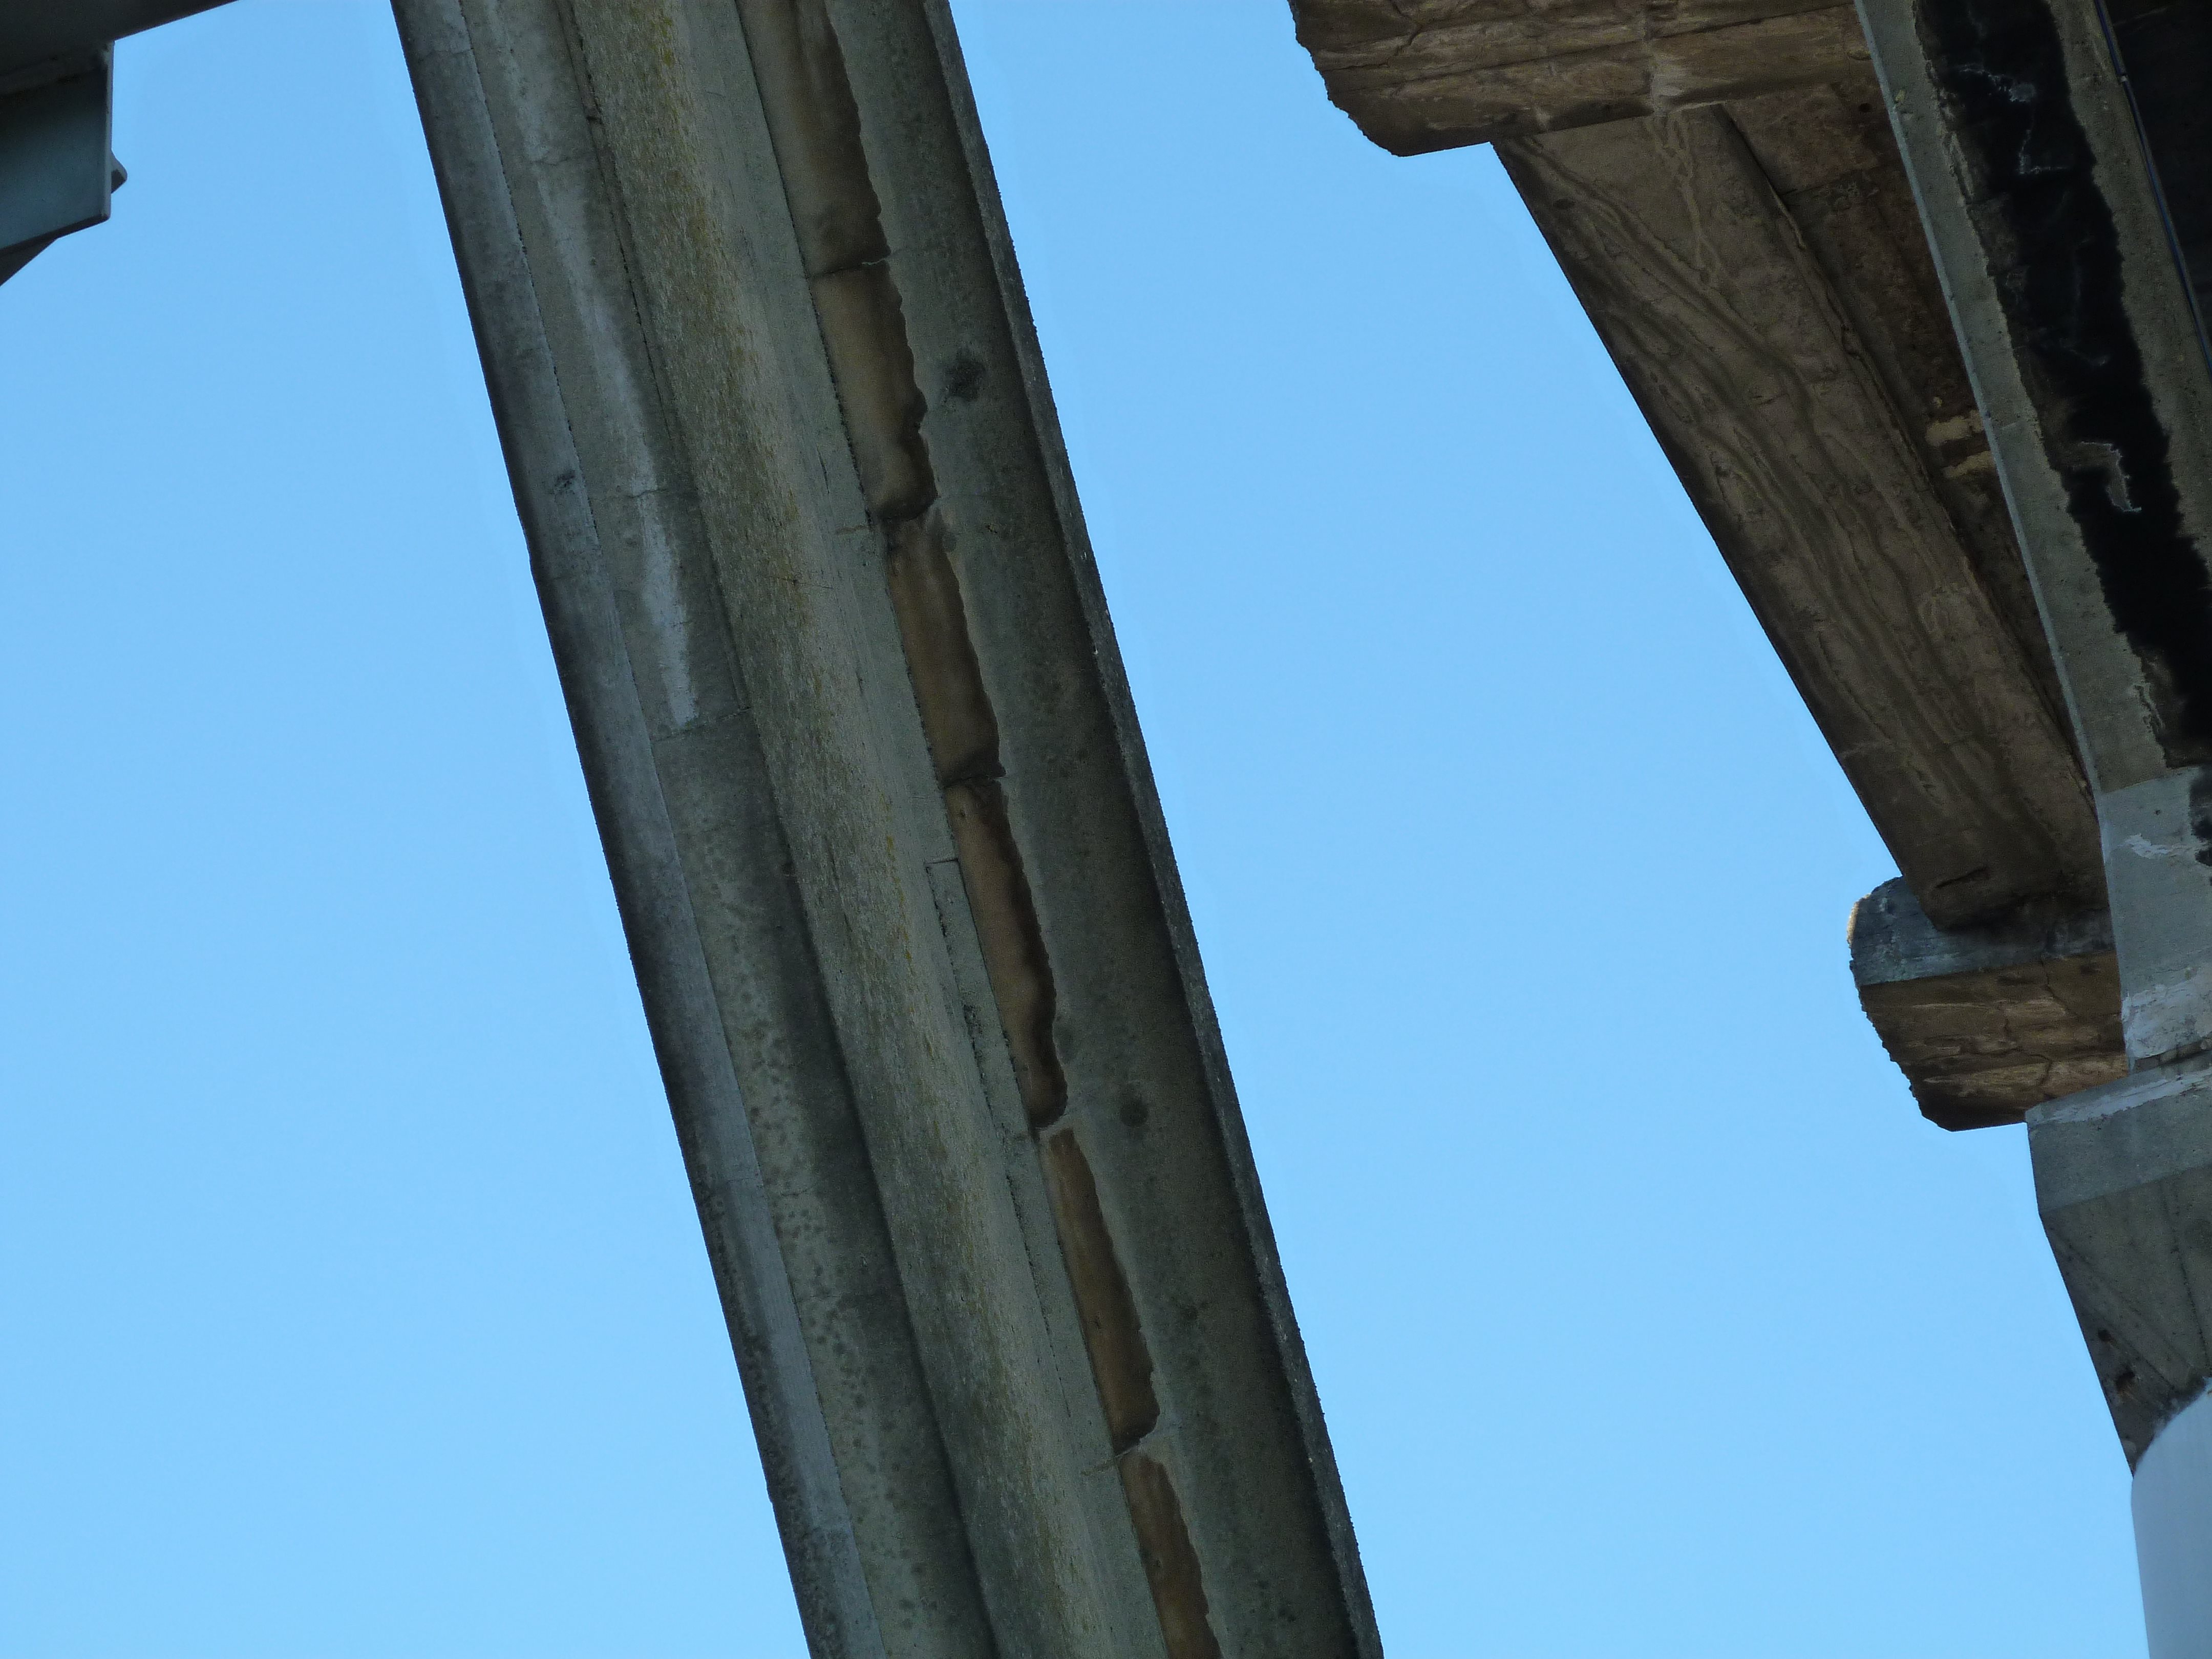
![]()
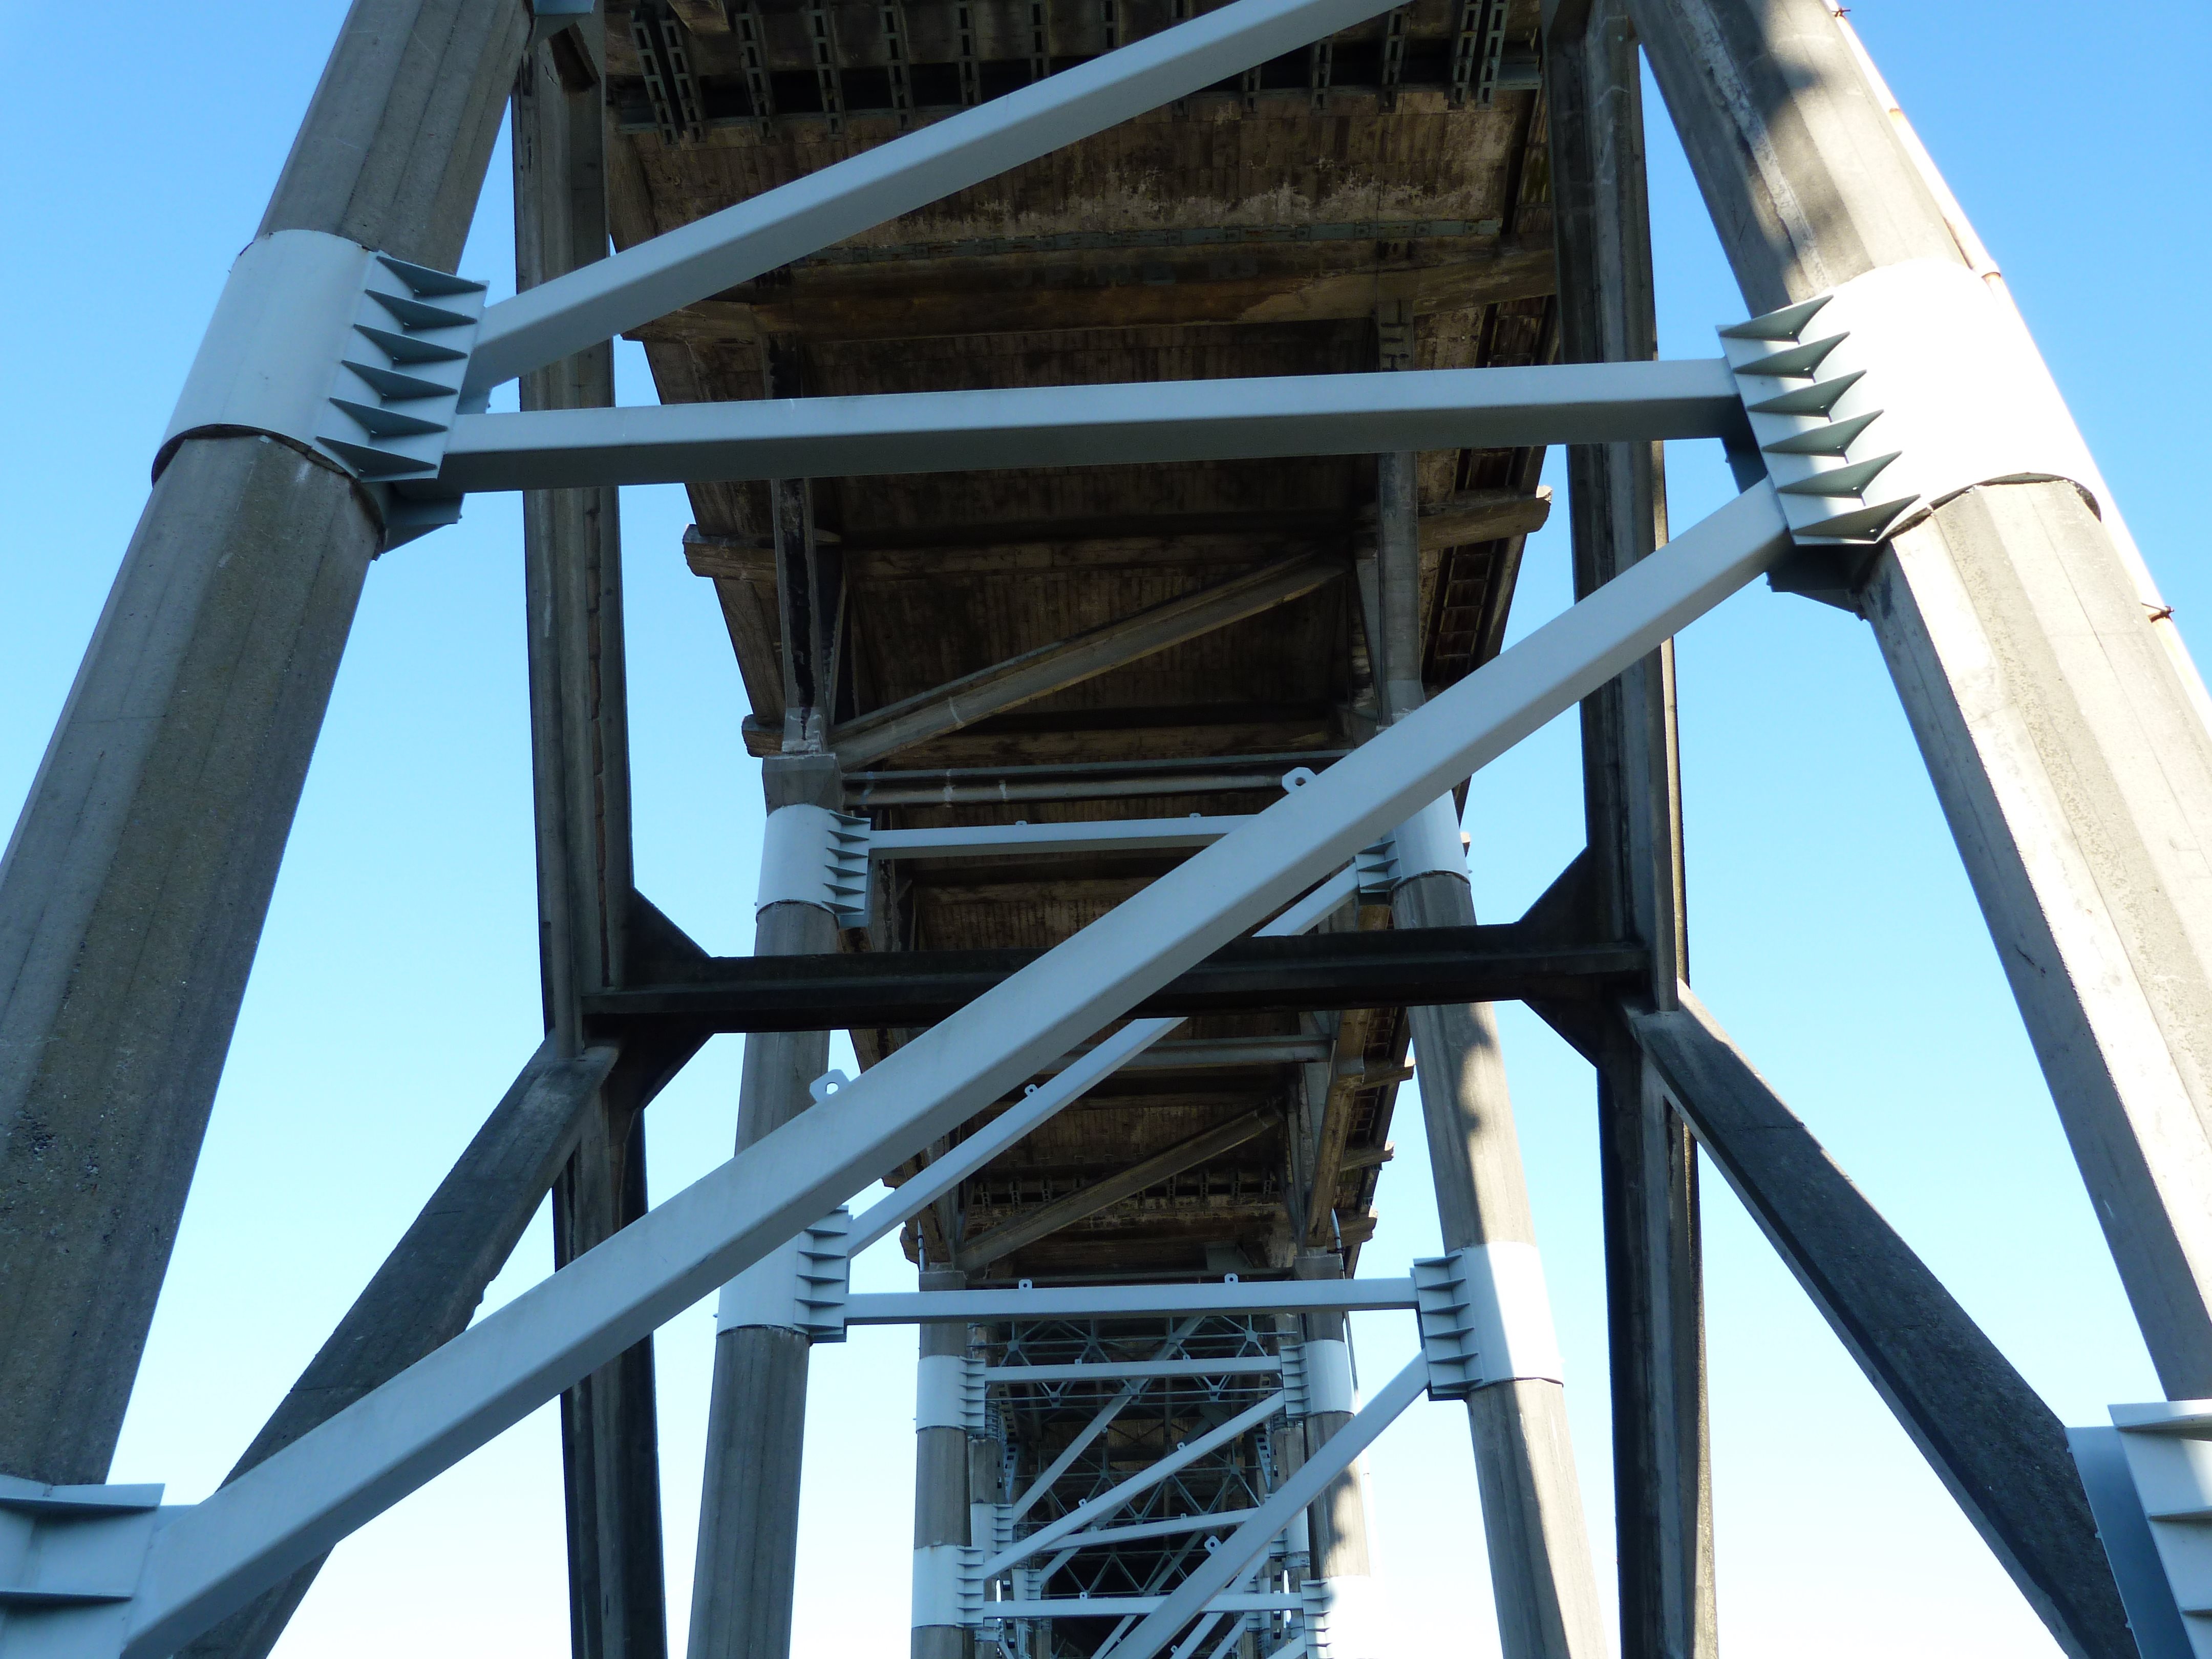
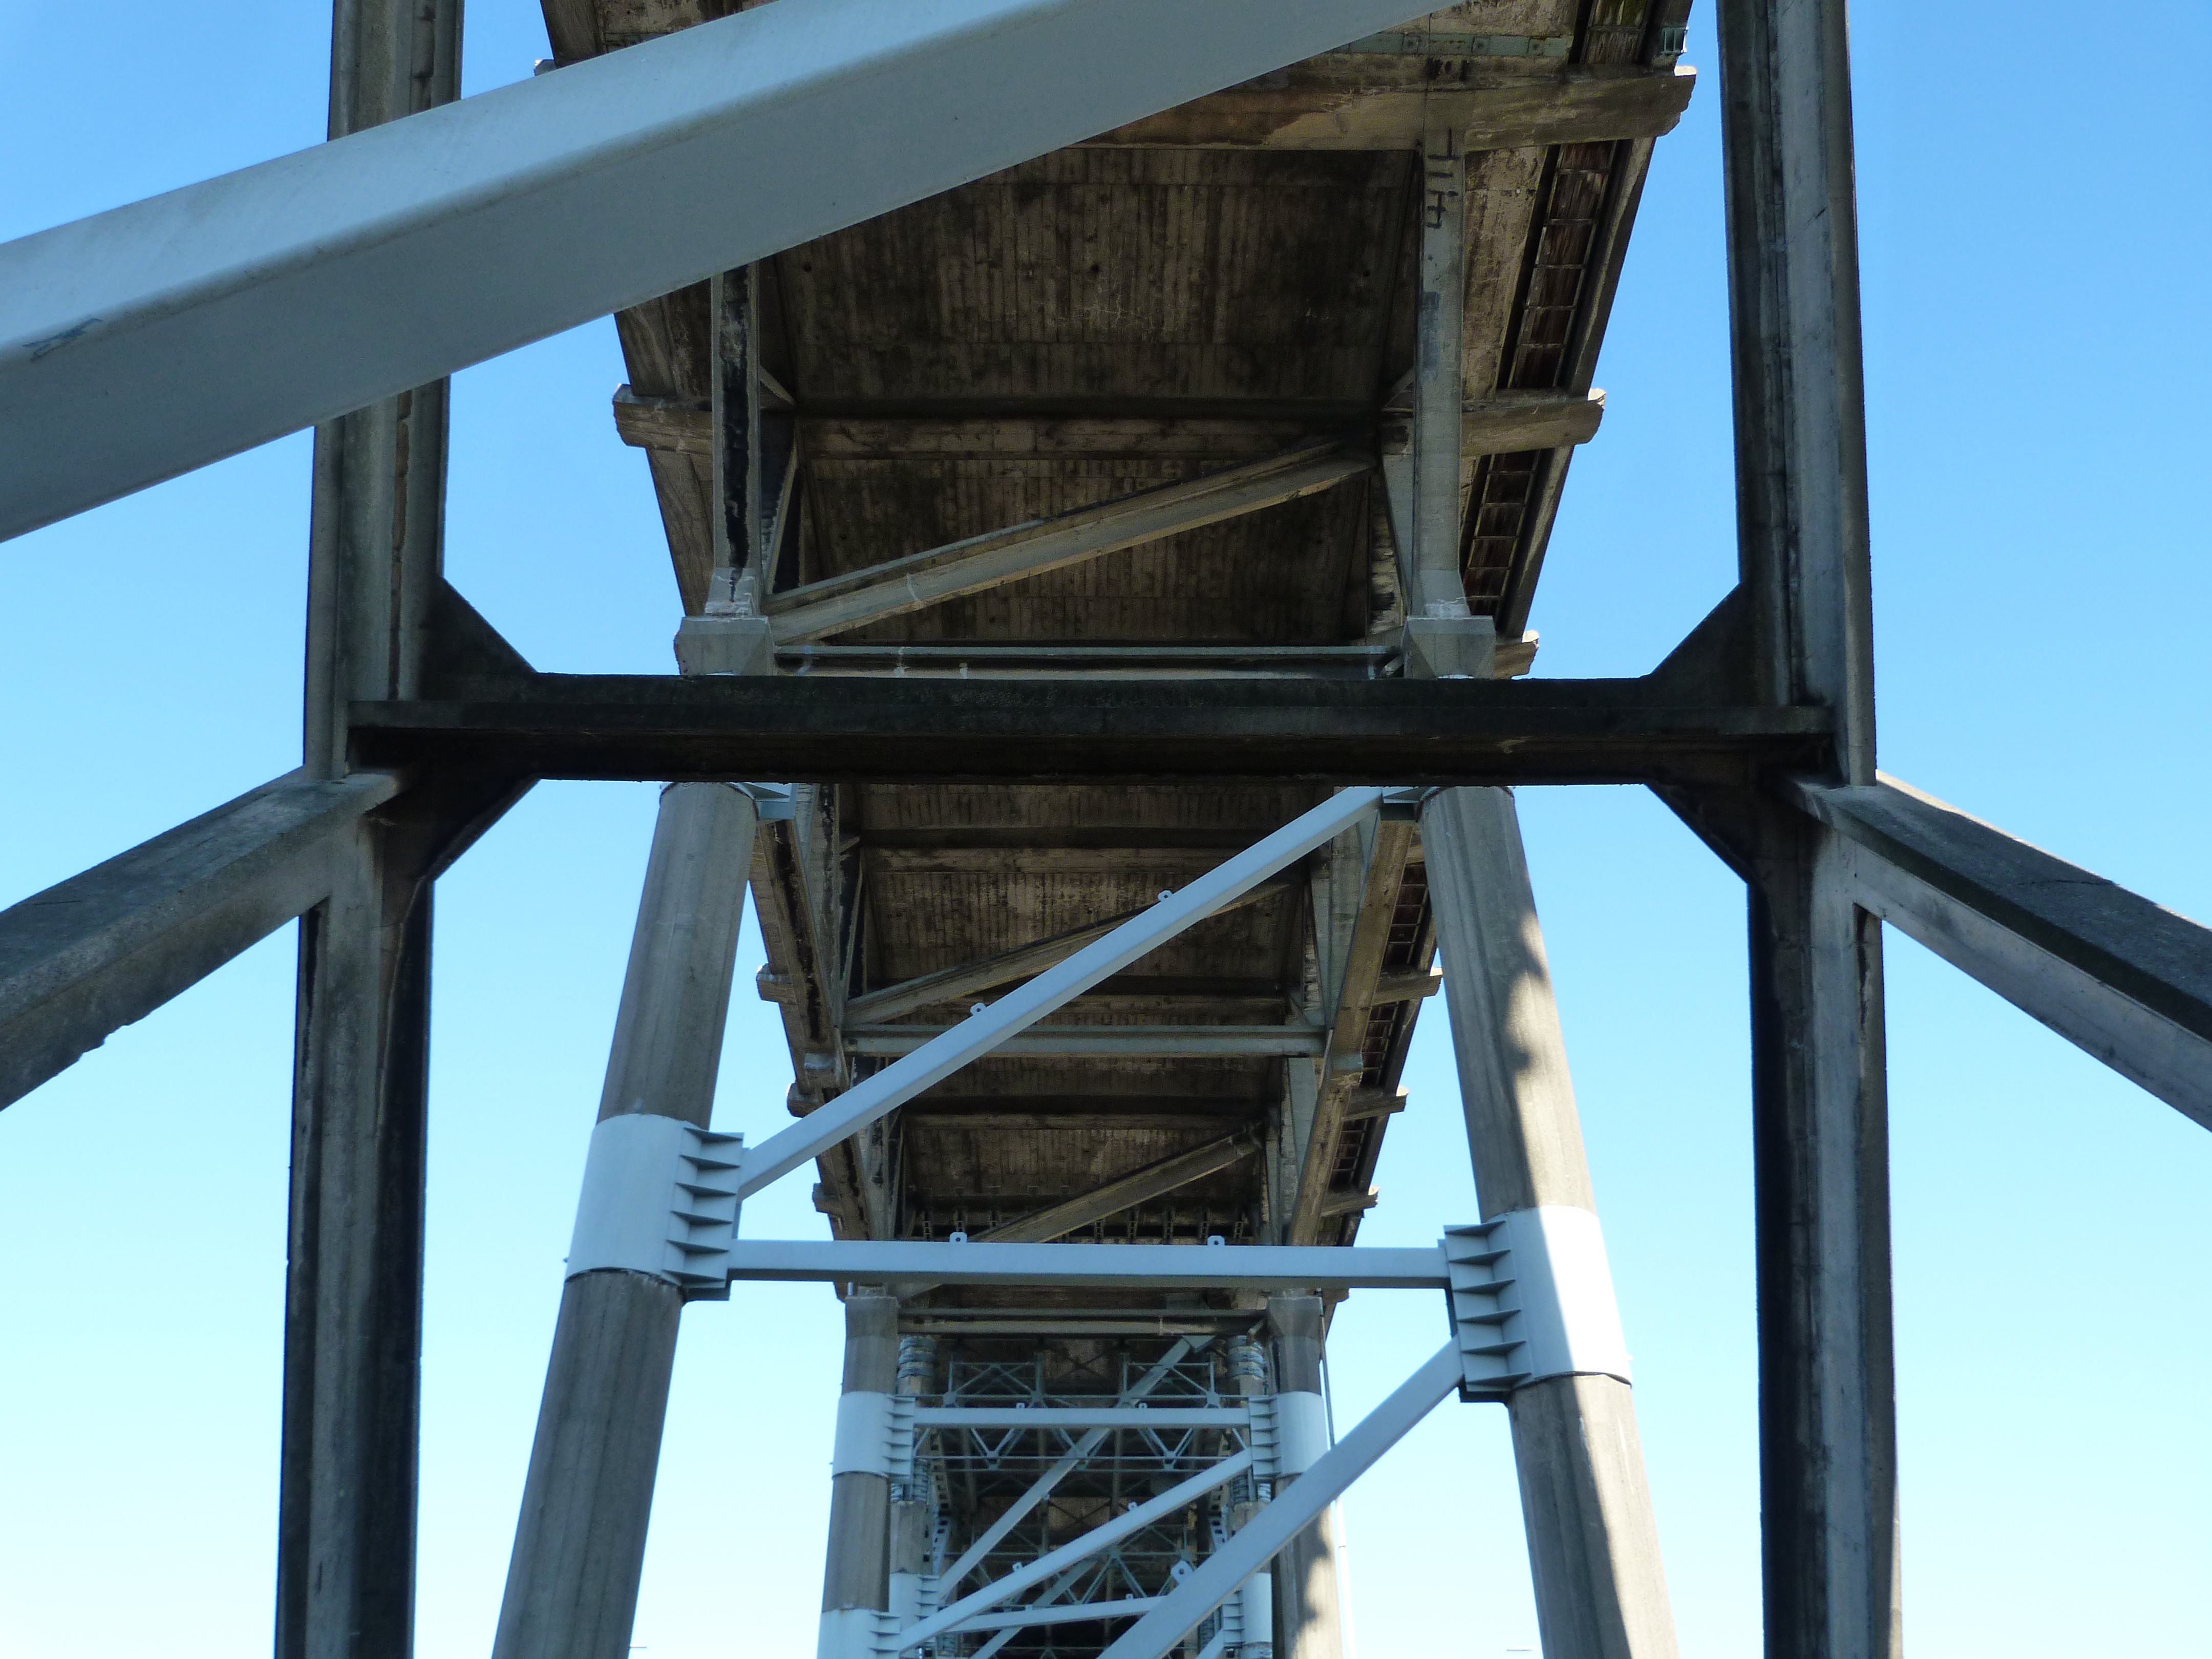
Views under bents.
![]()
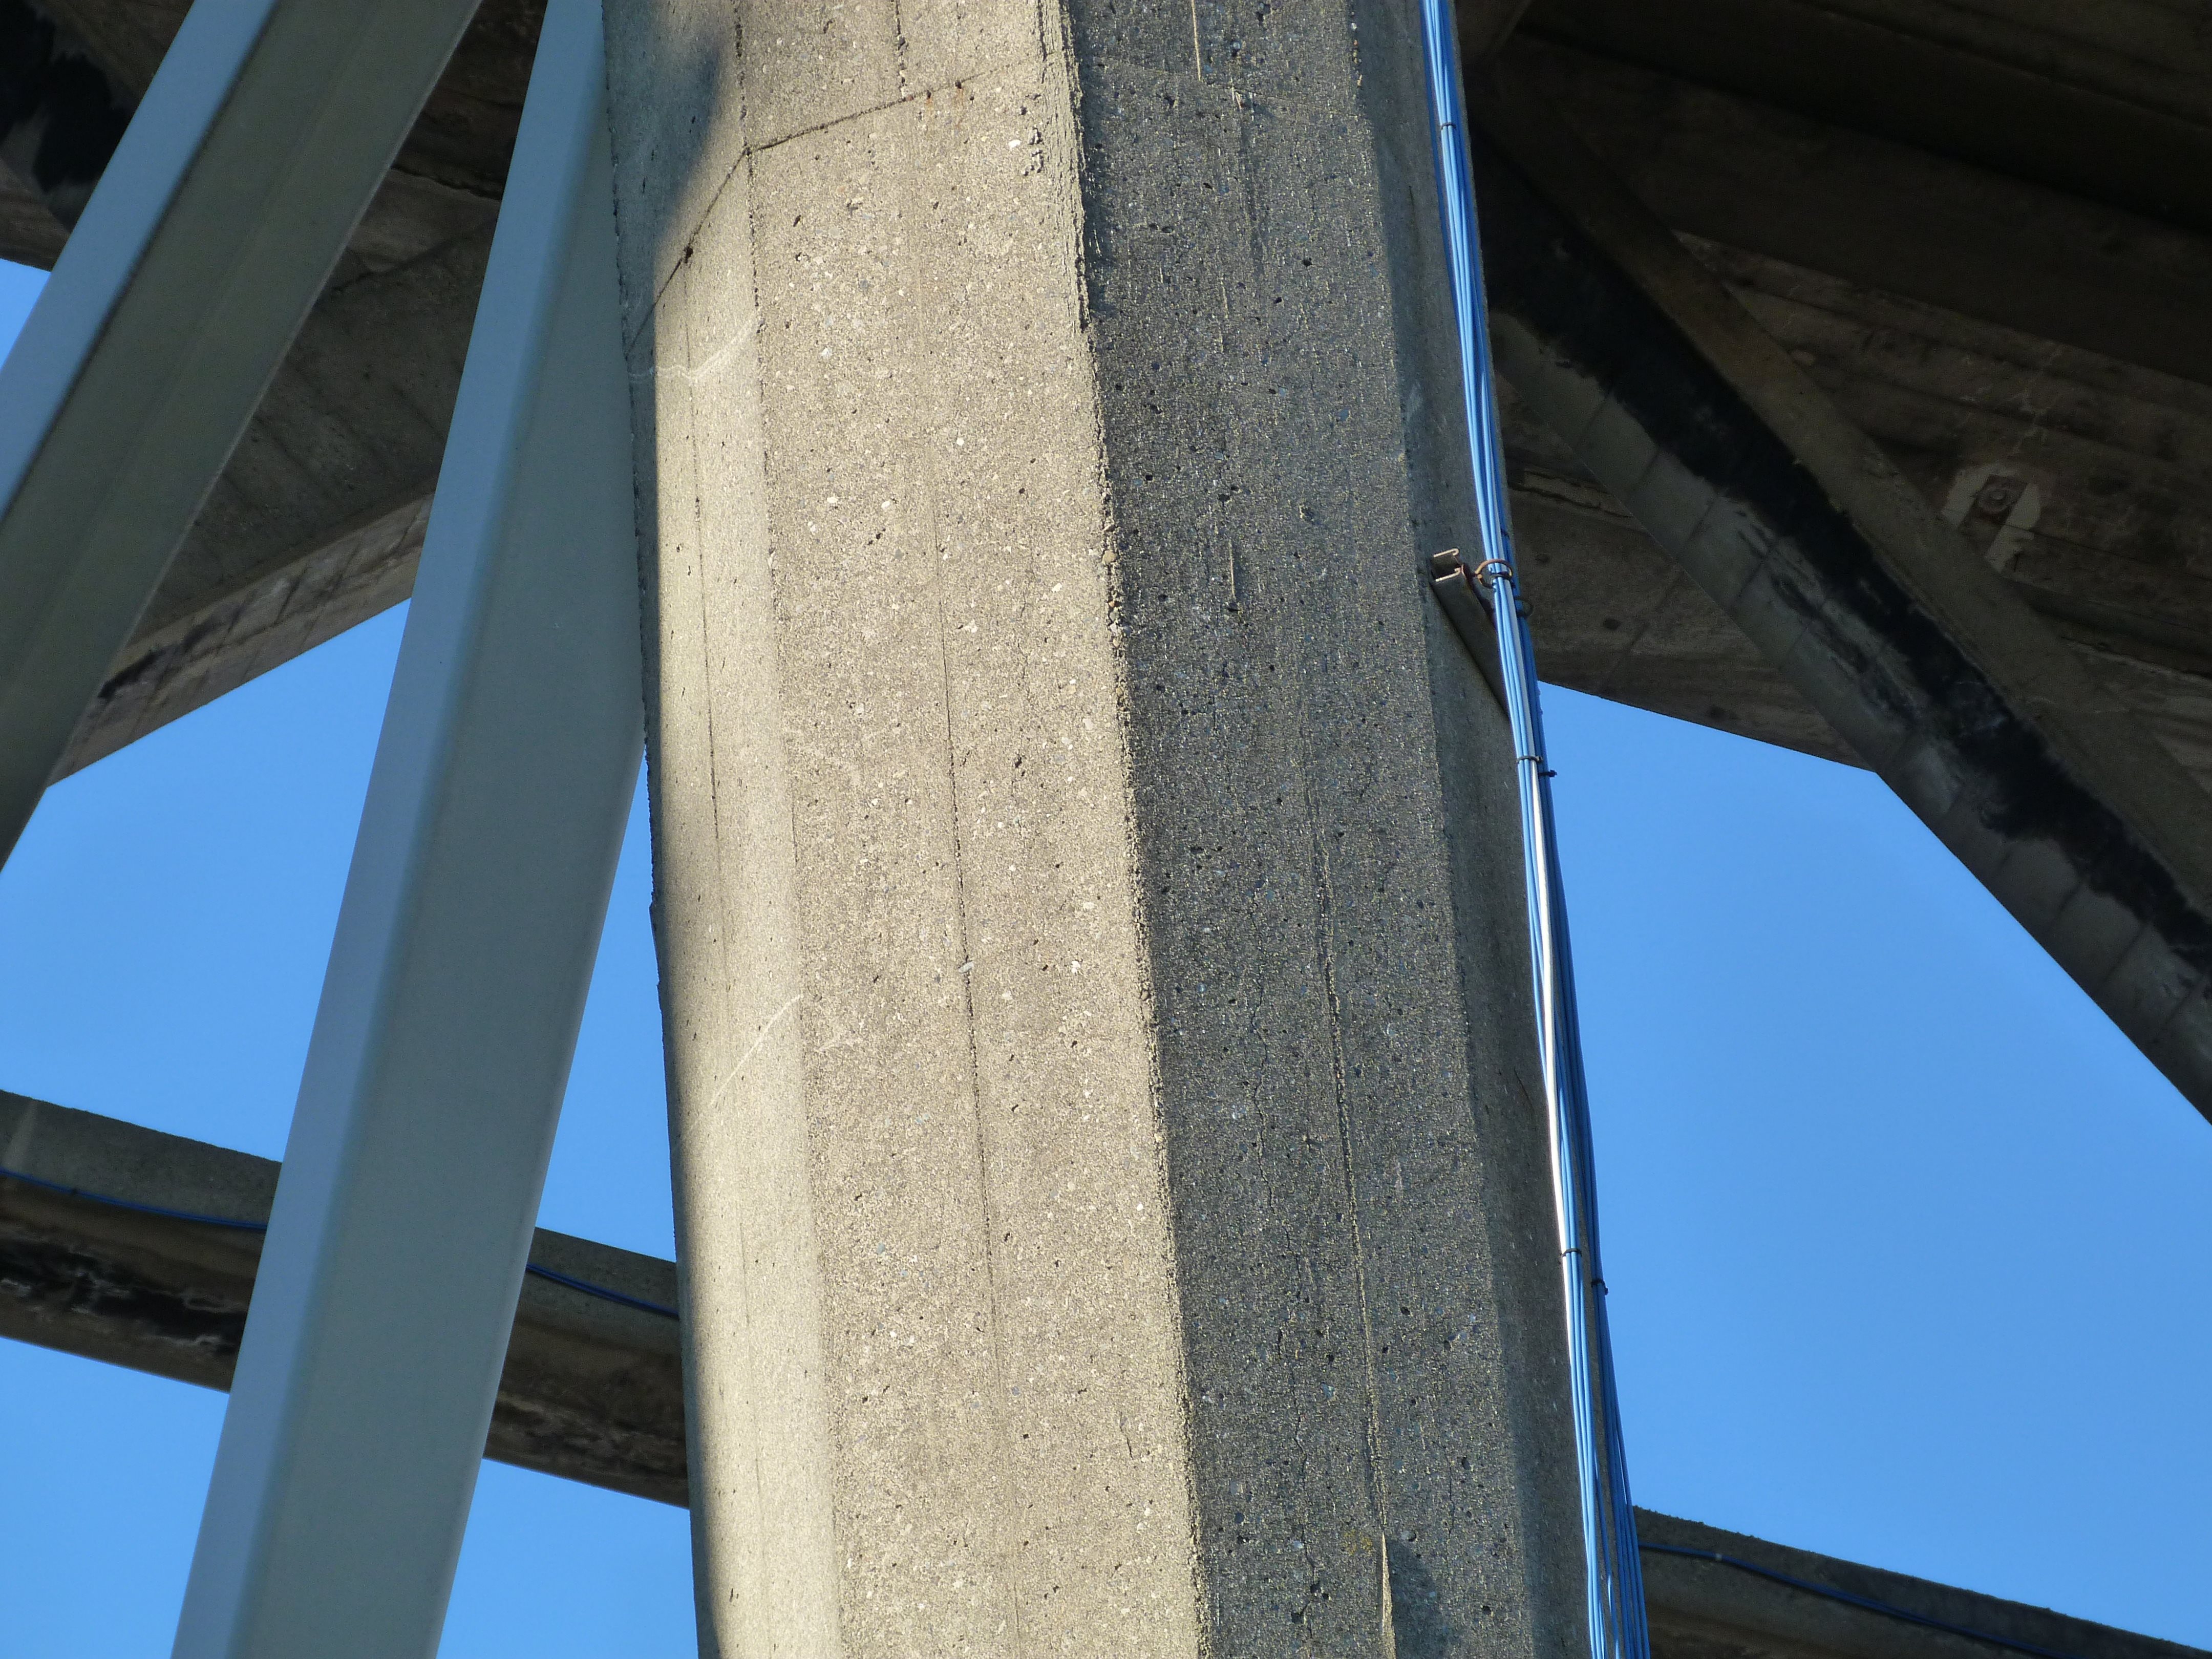
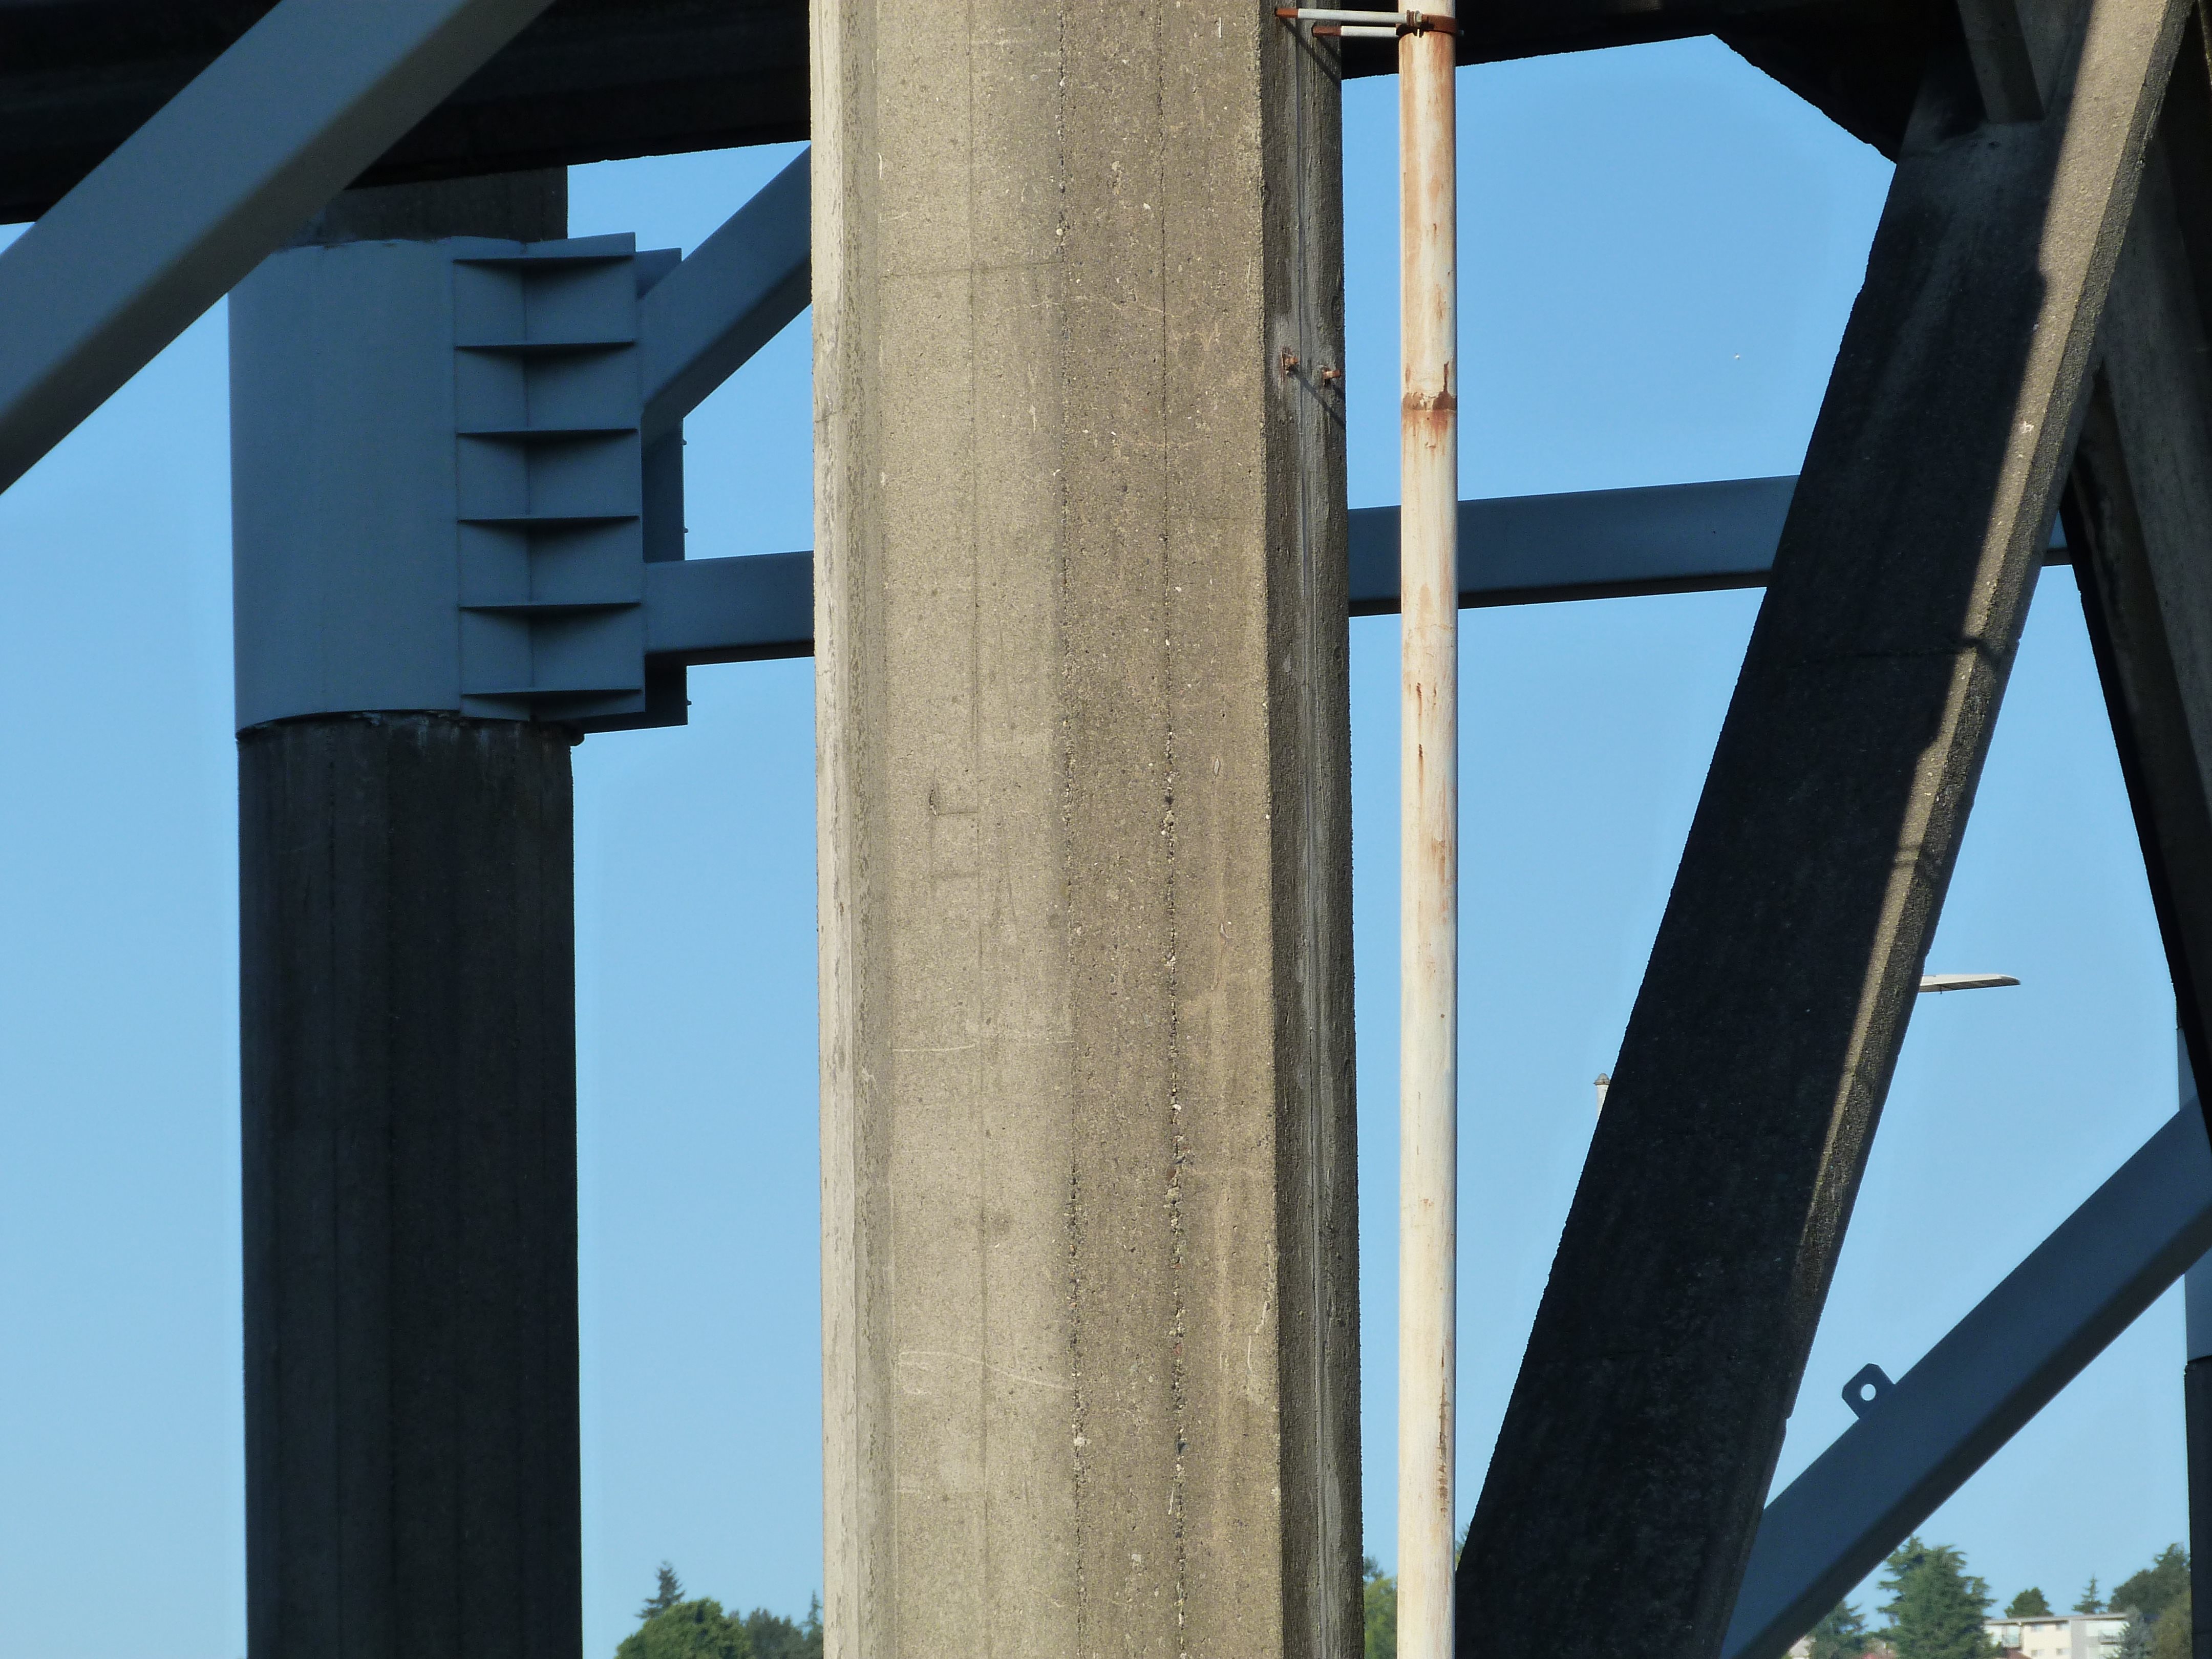
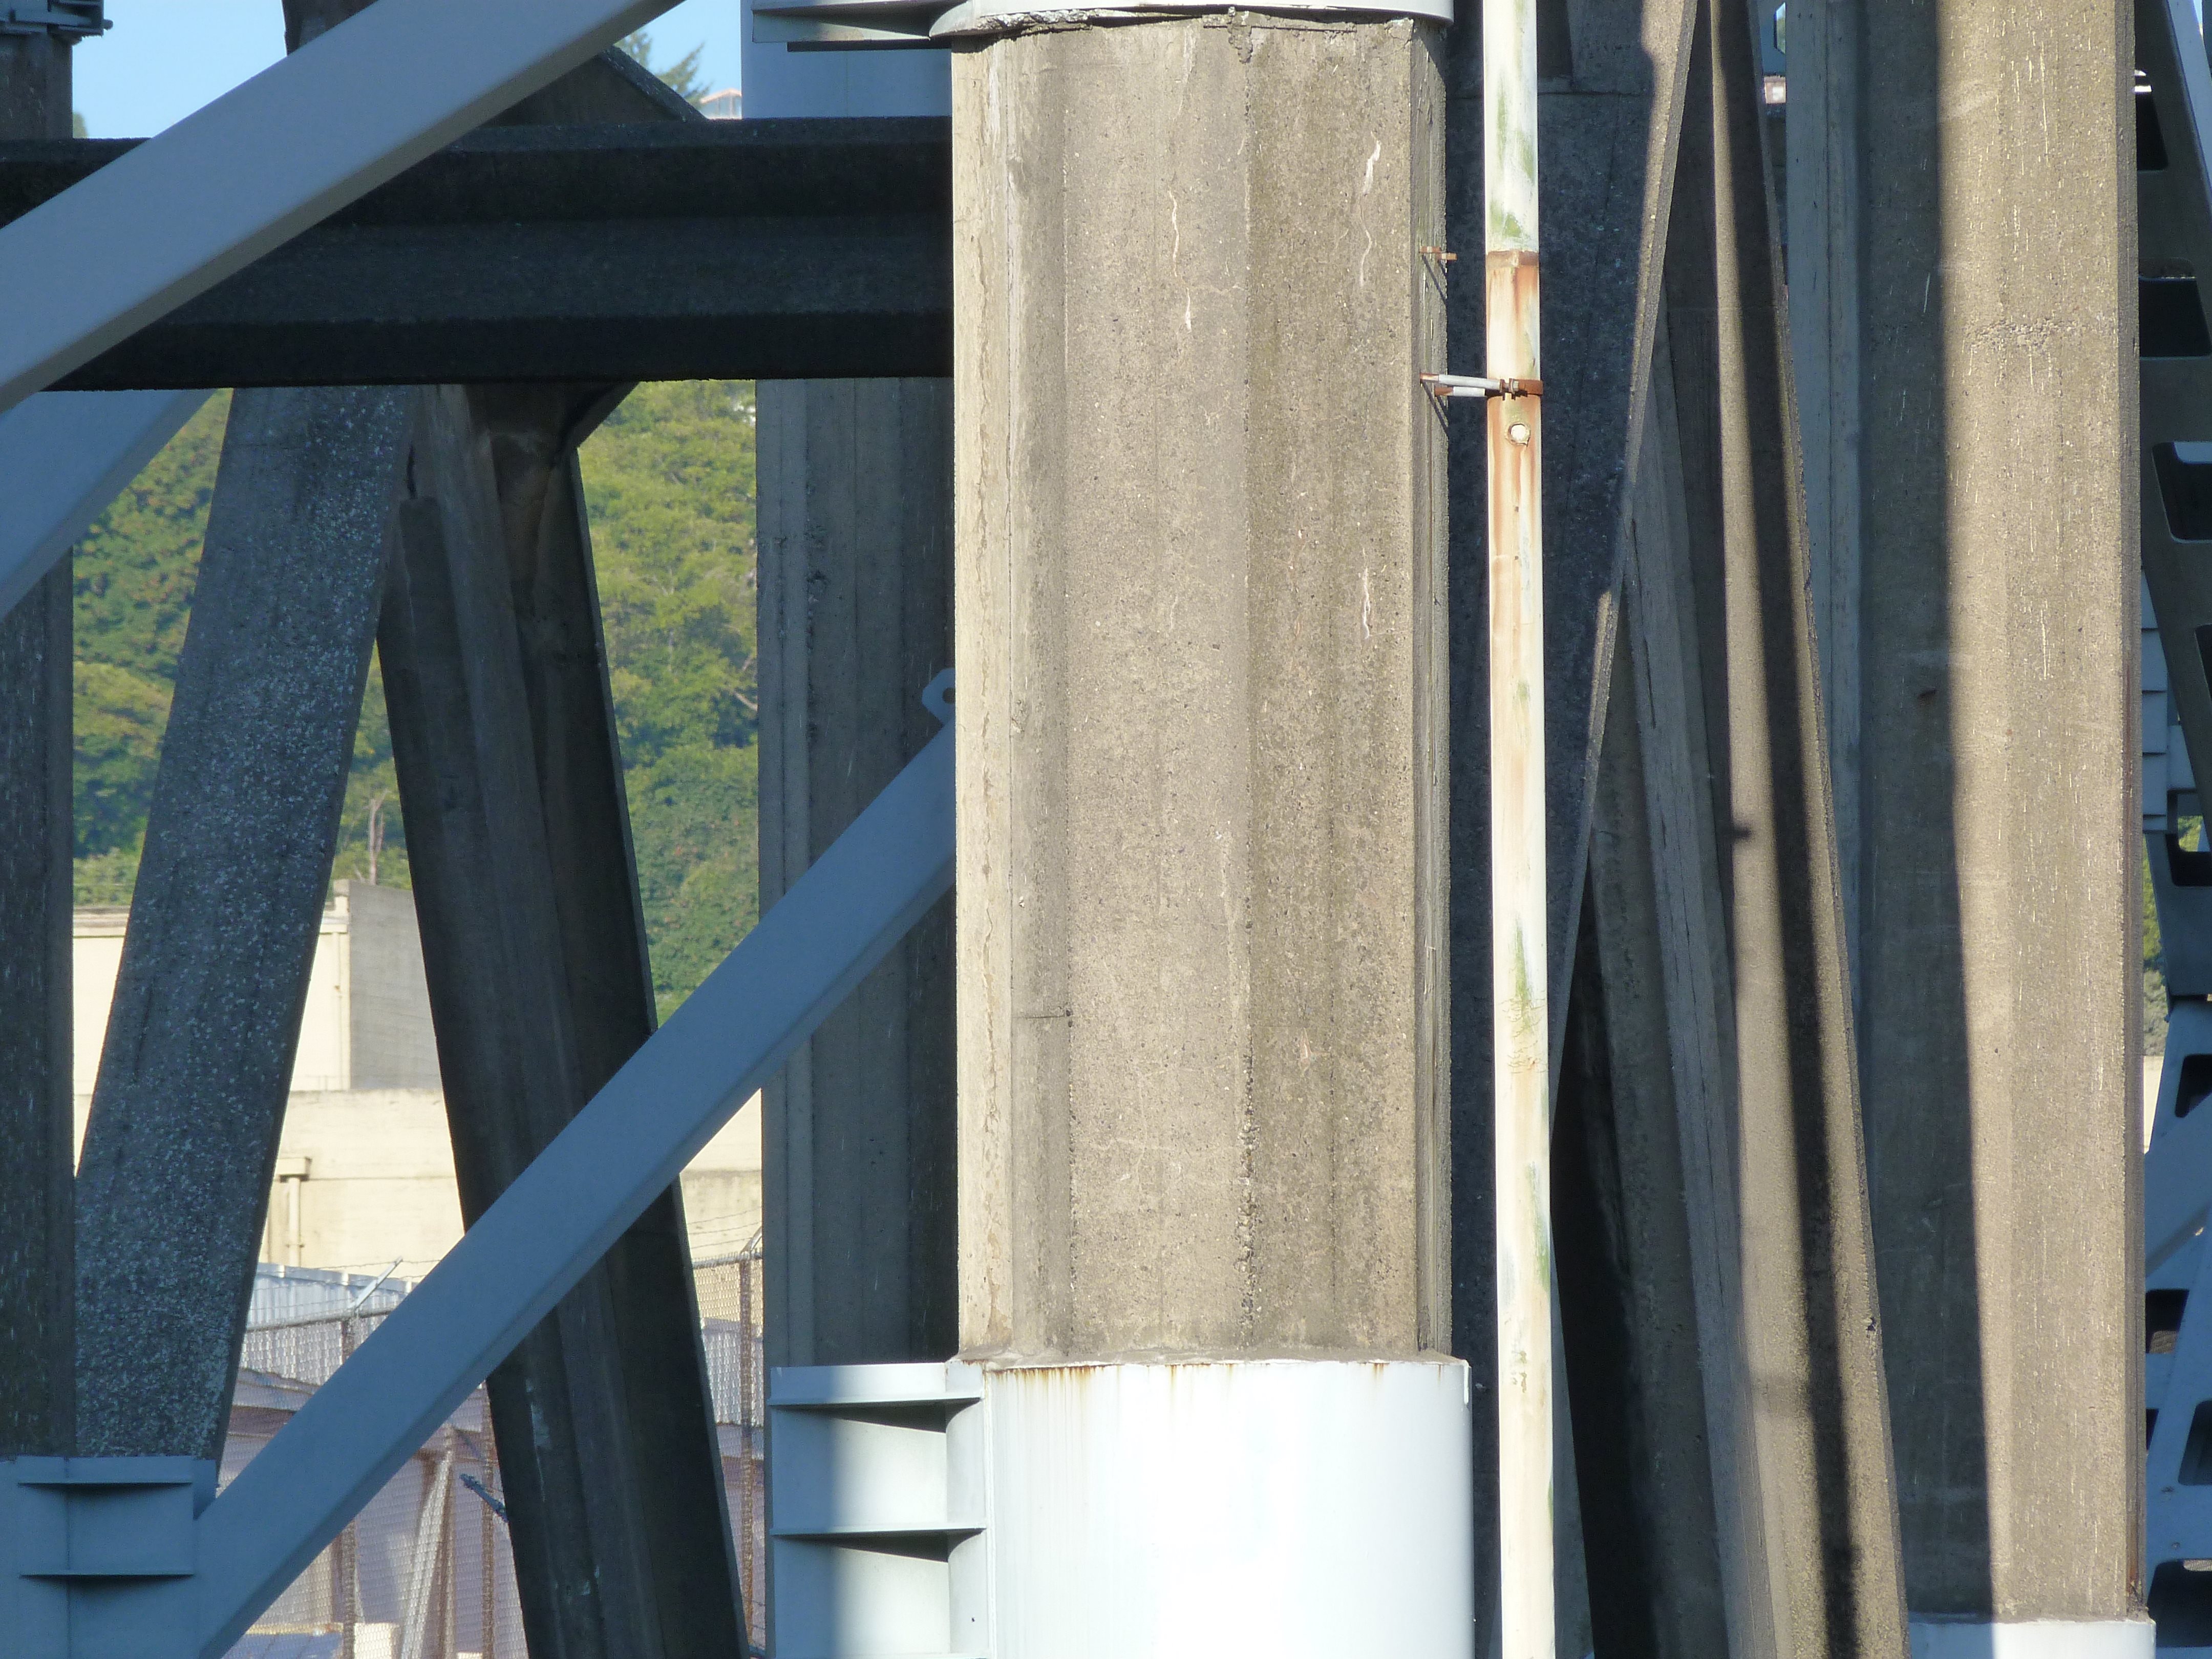

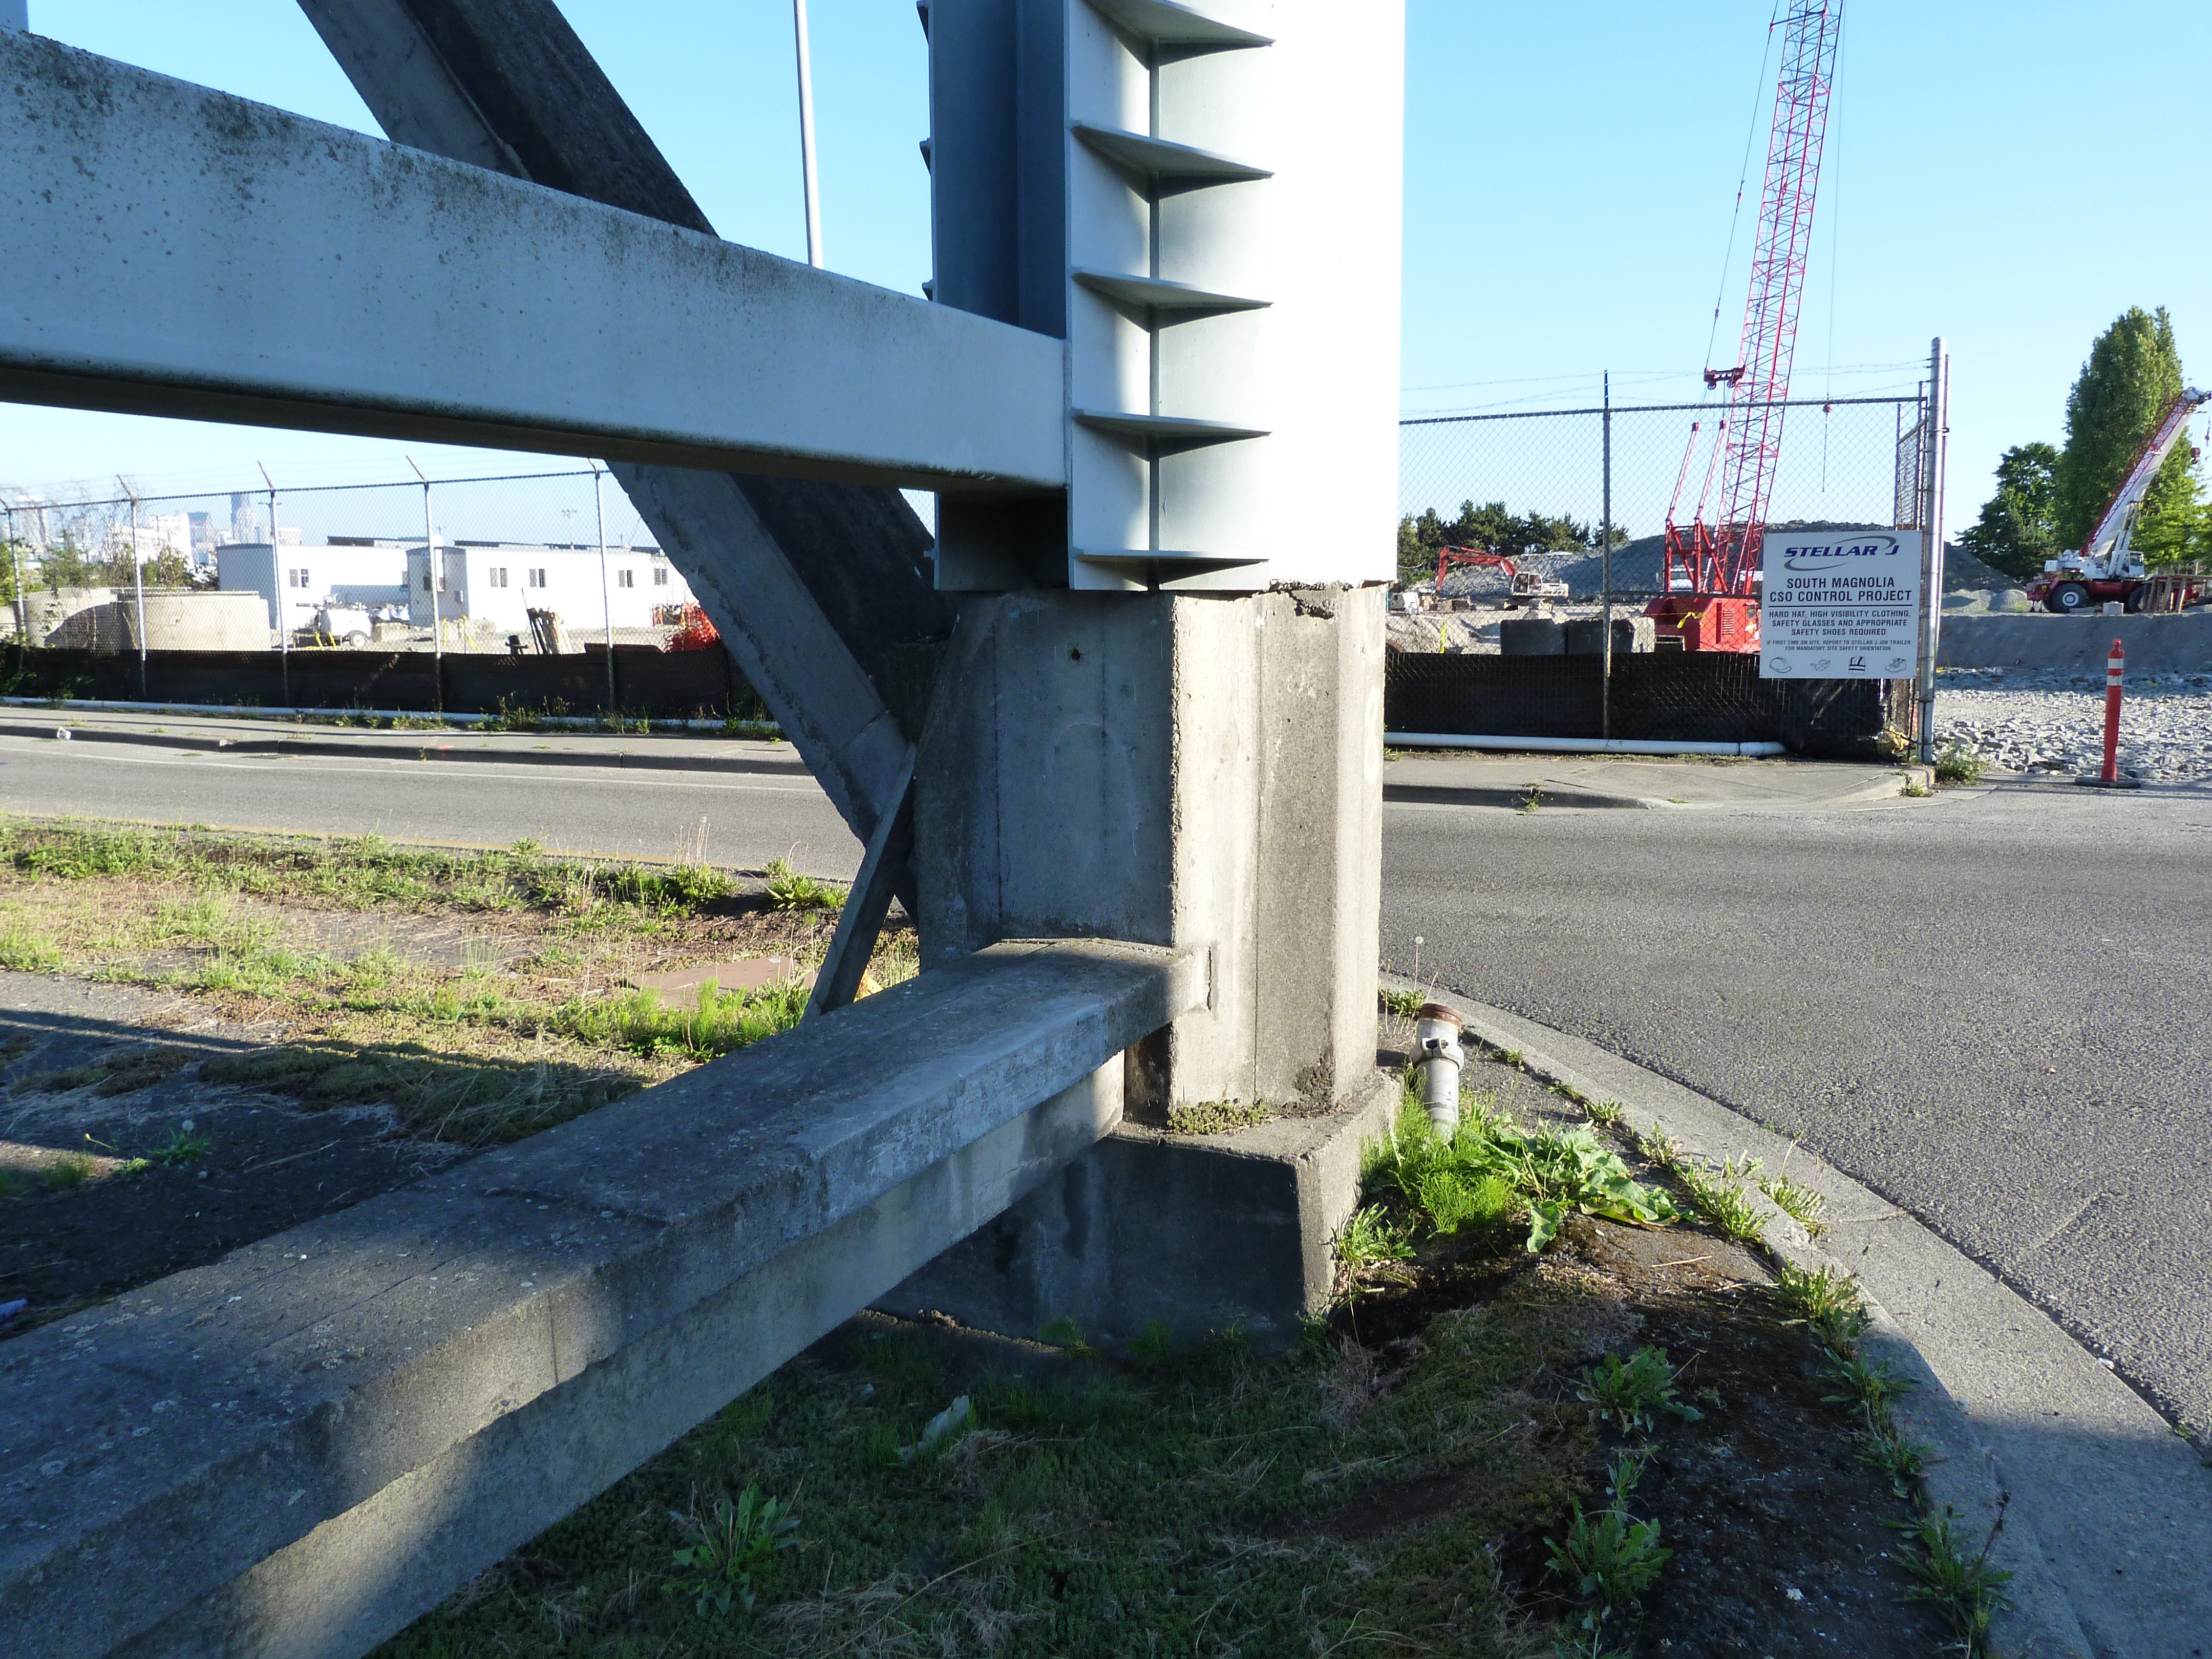

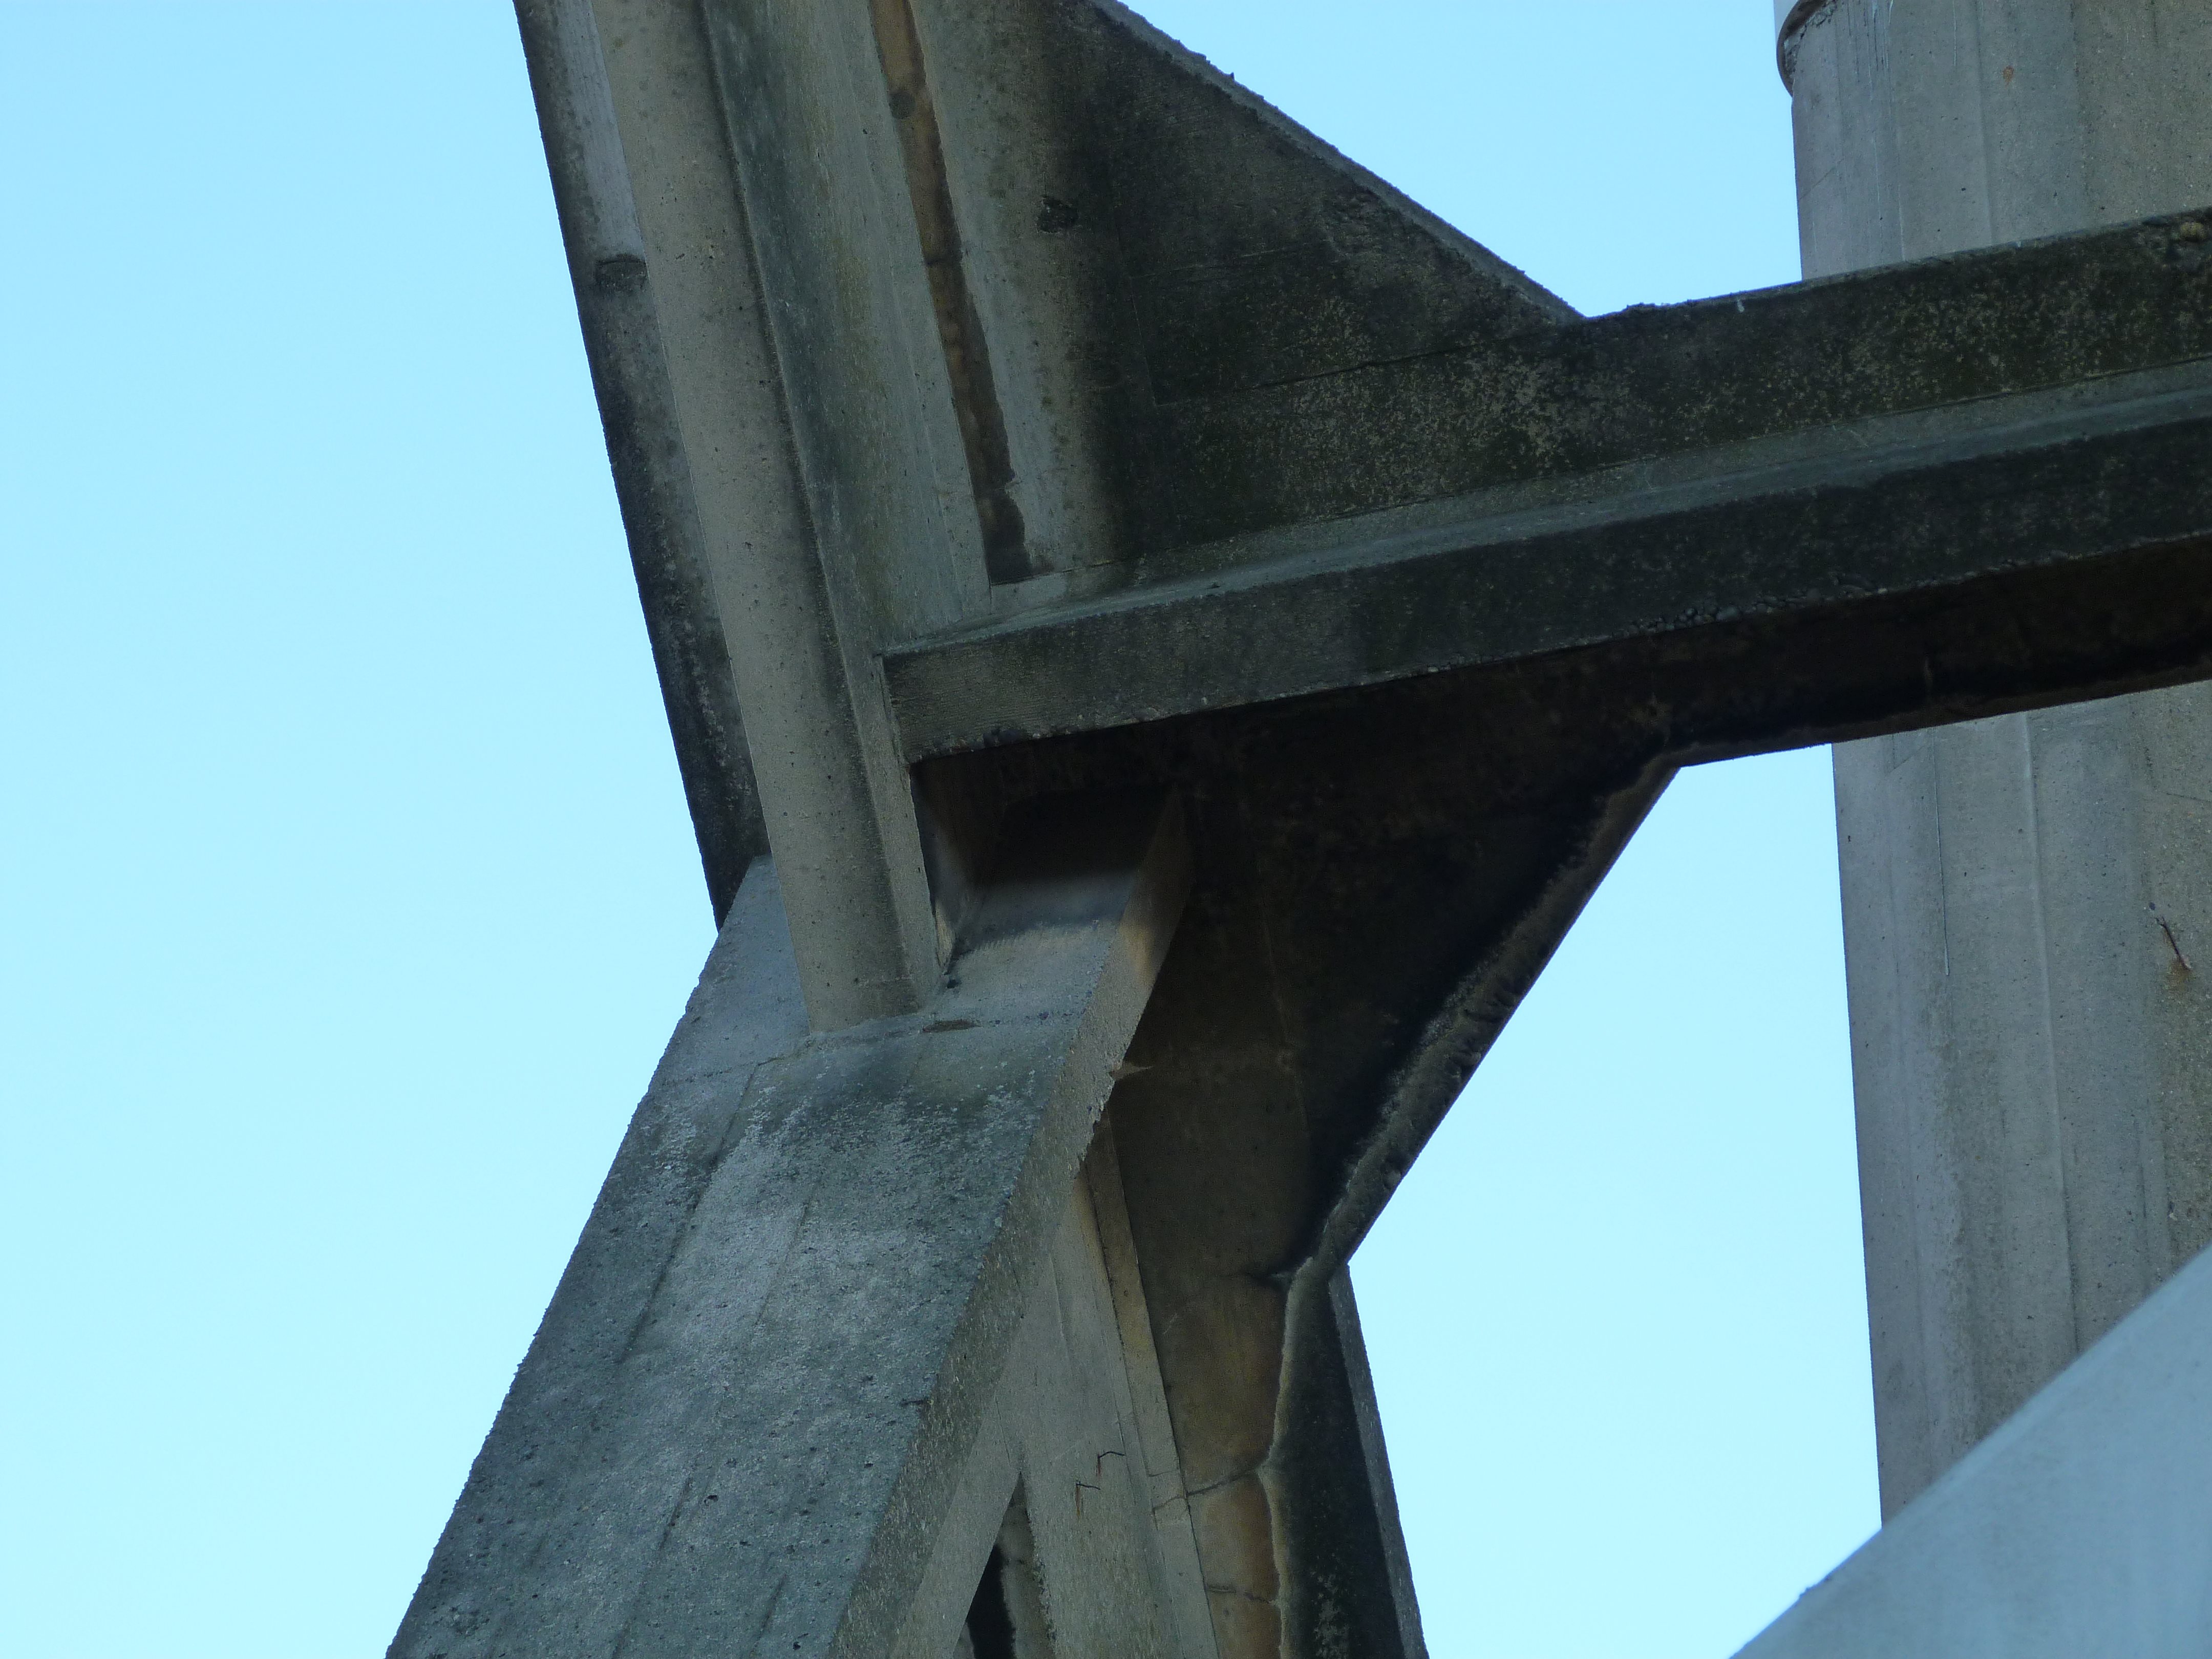


Details of concrete bents under deck truss spans.
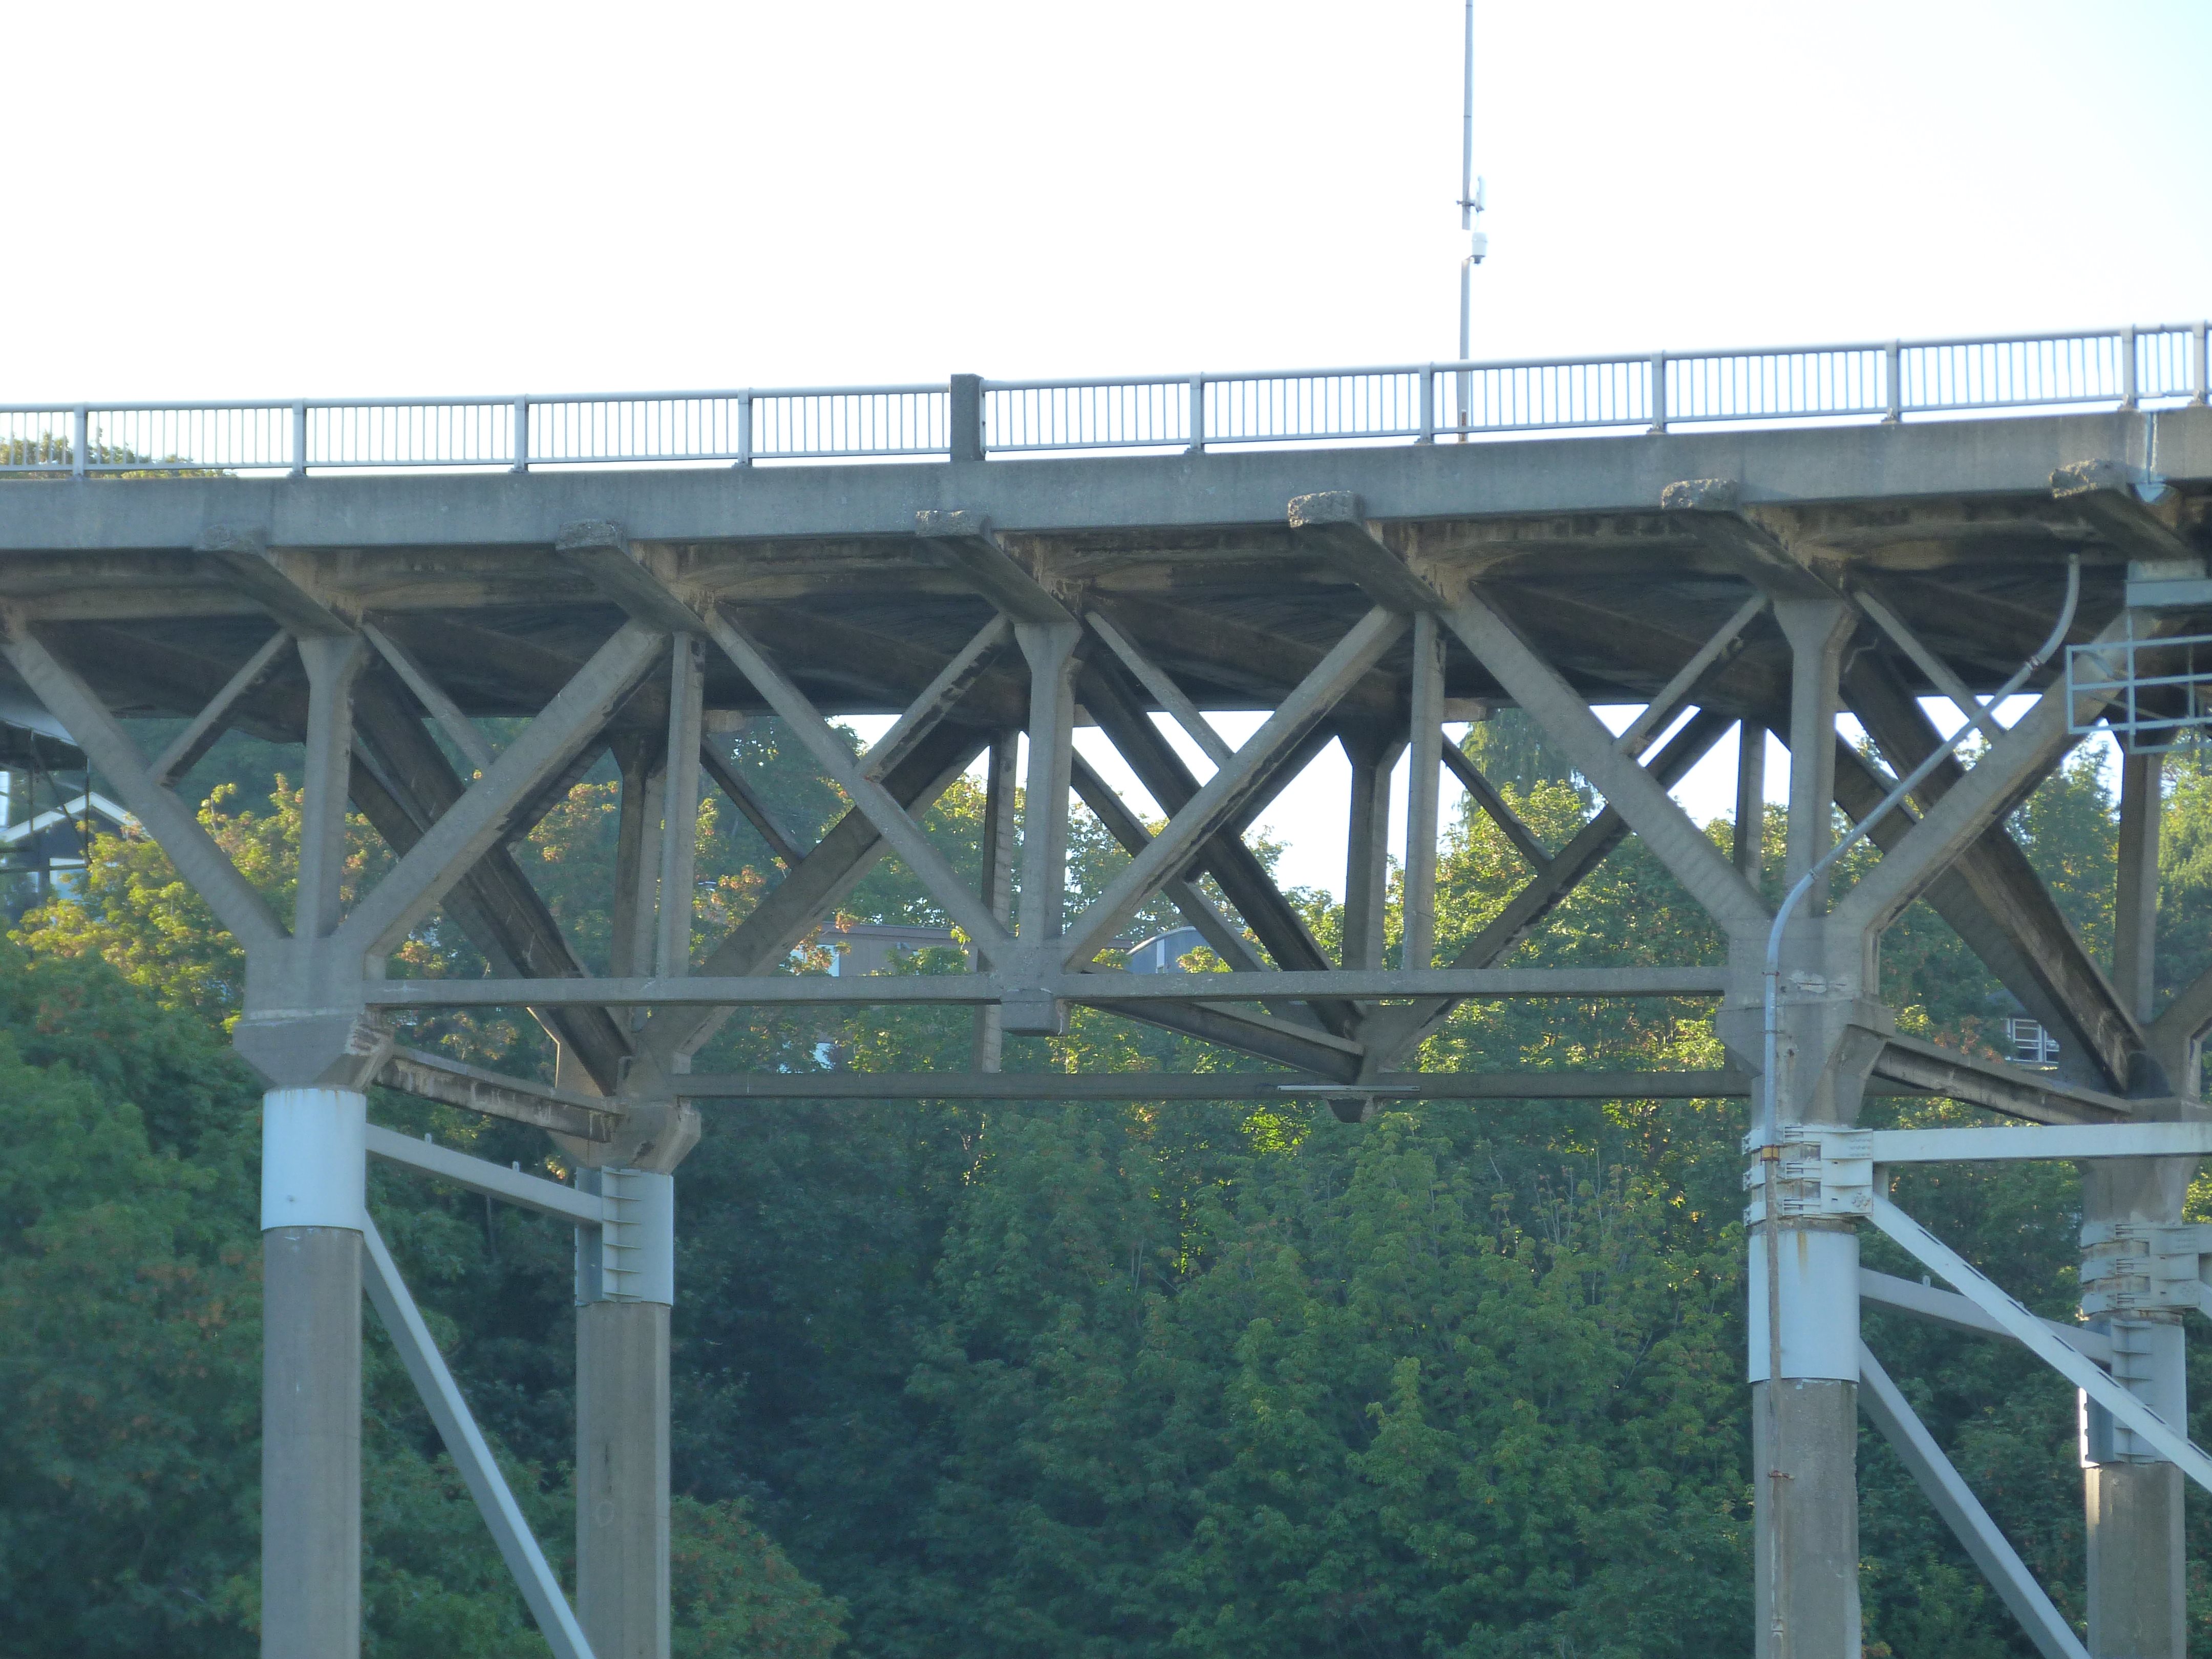
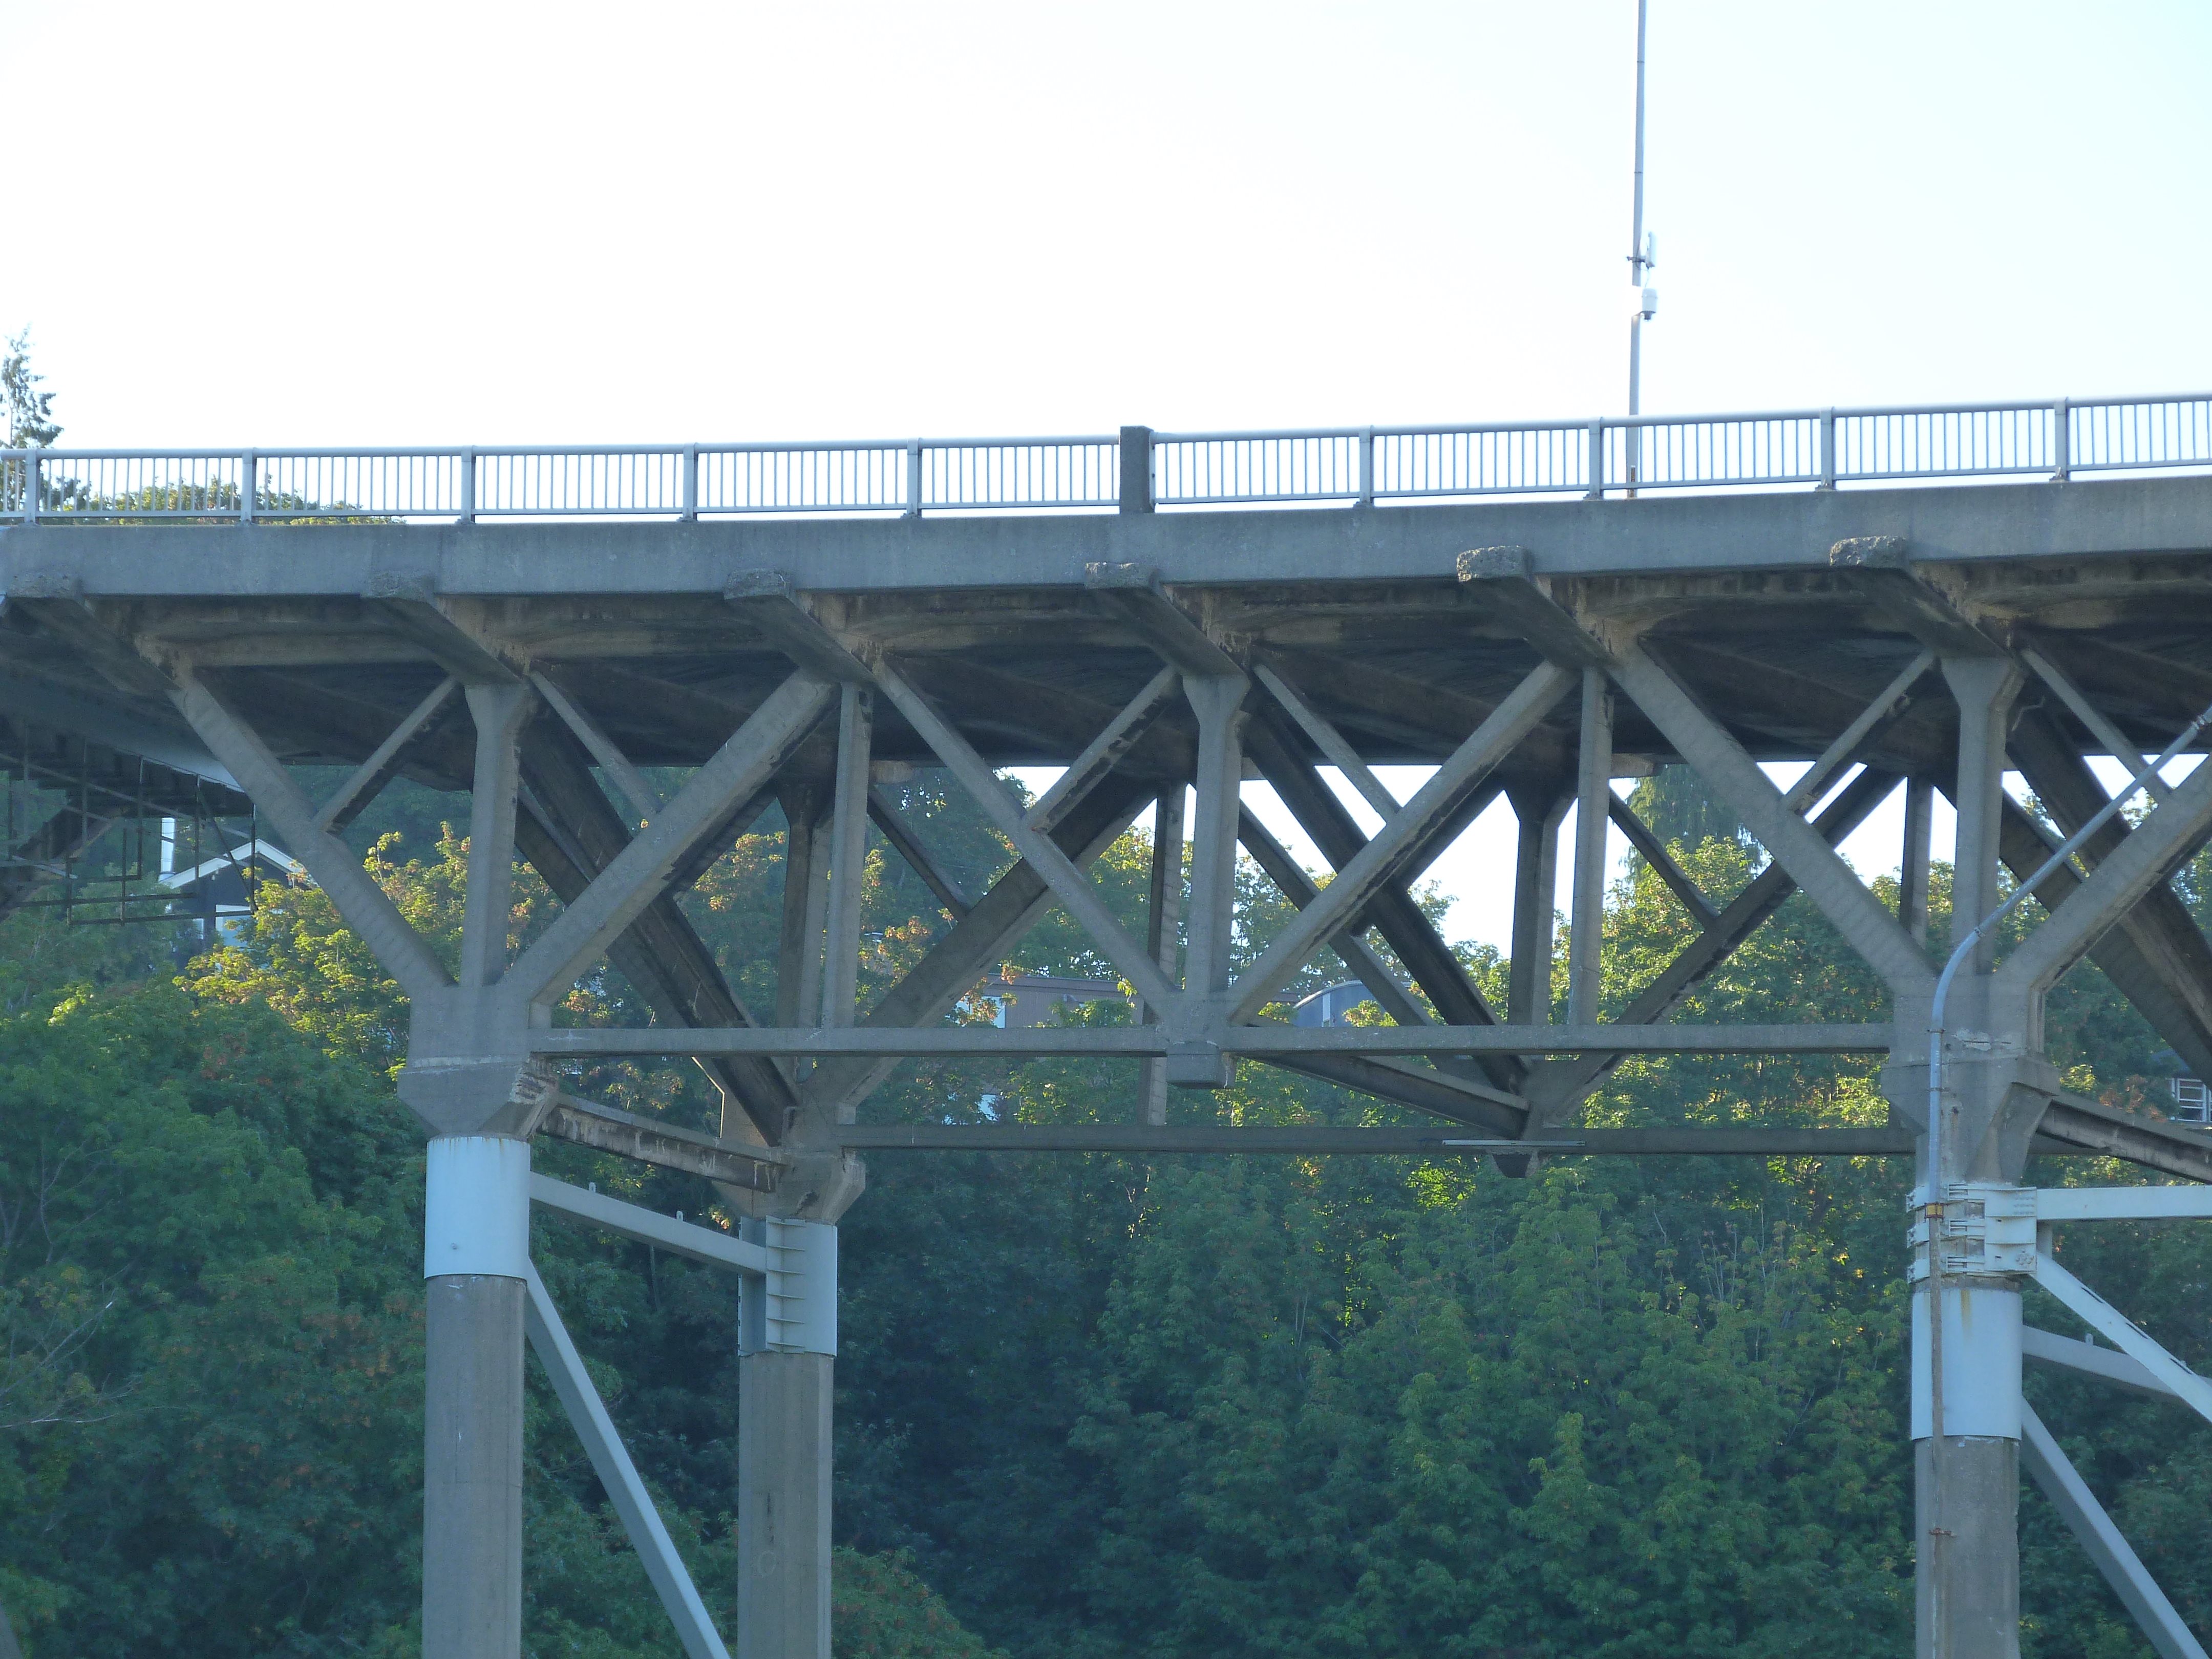
![]()
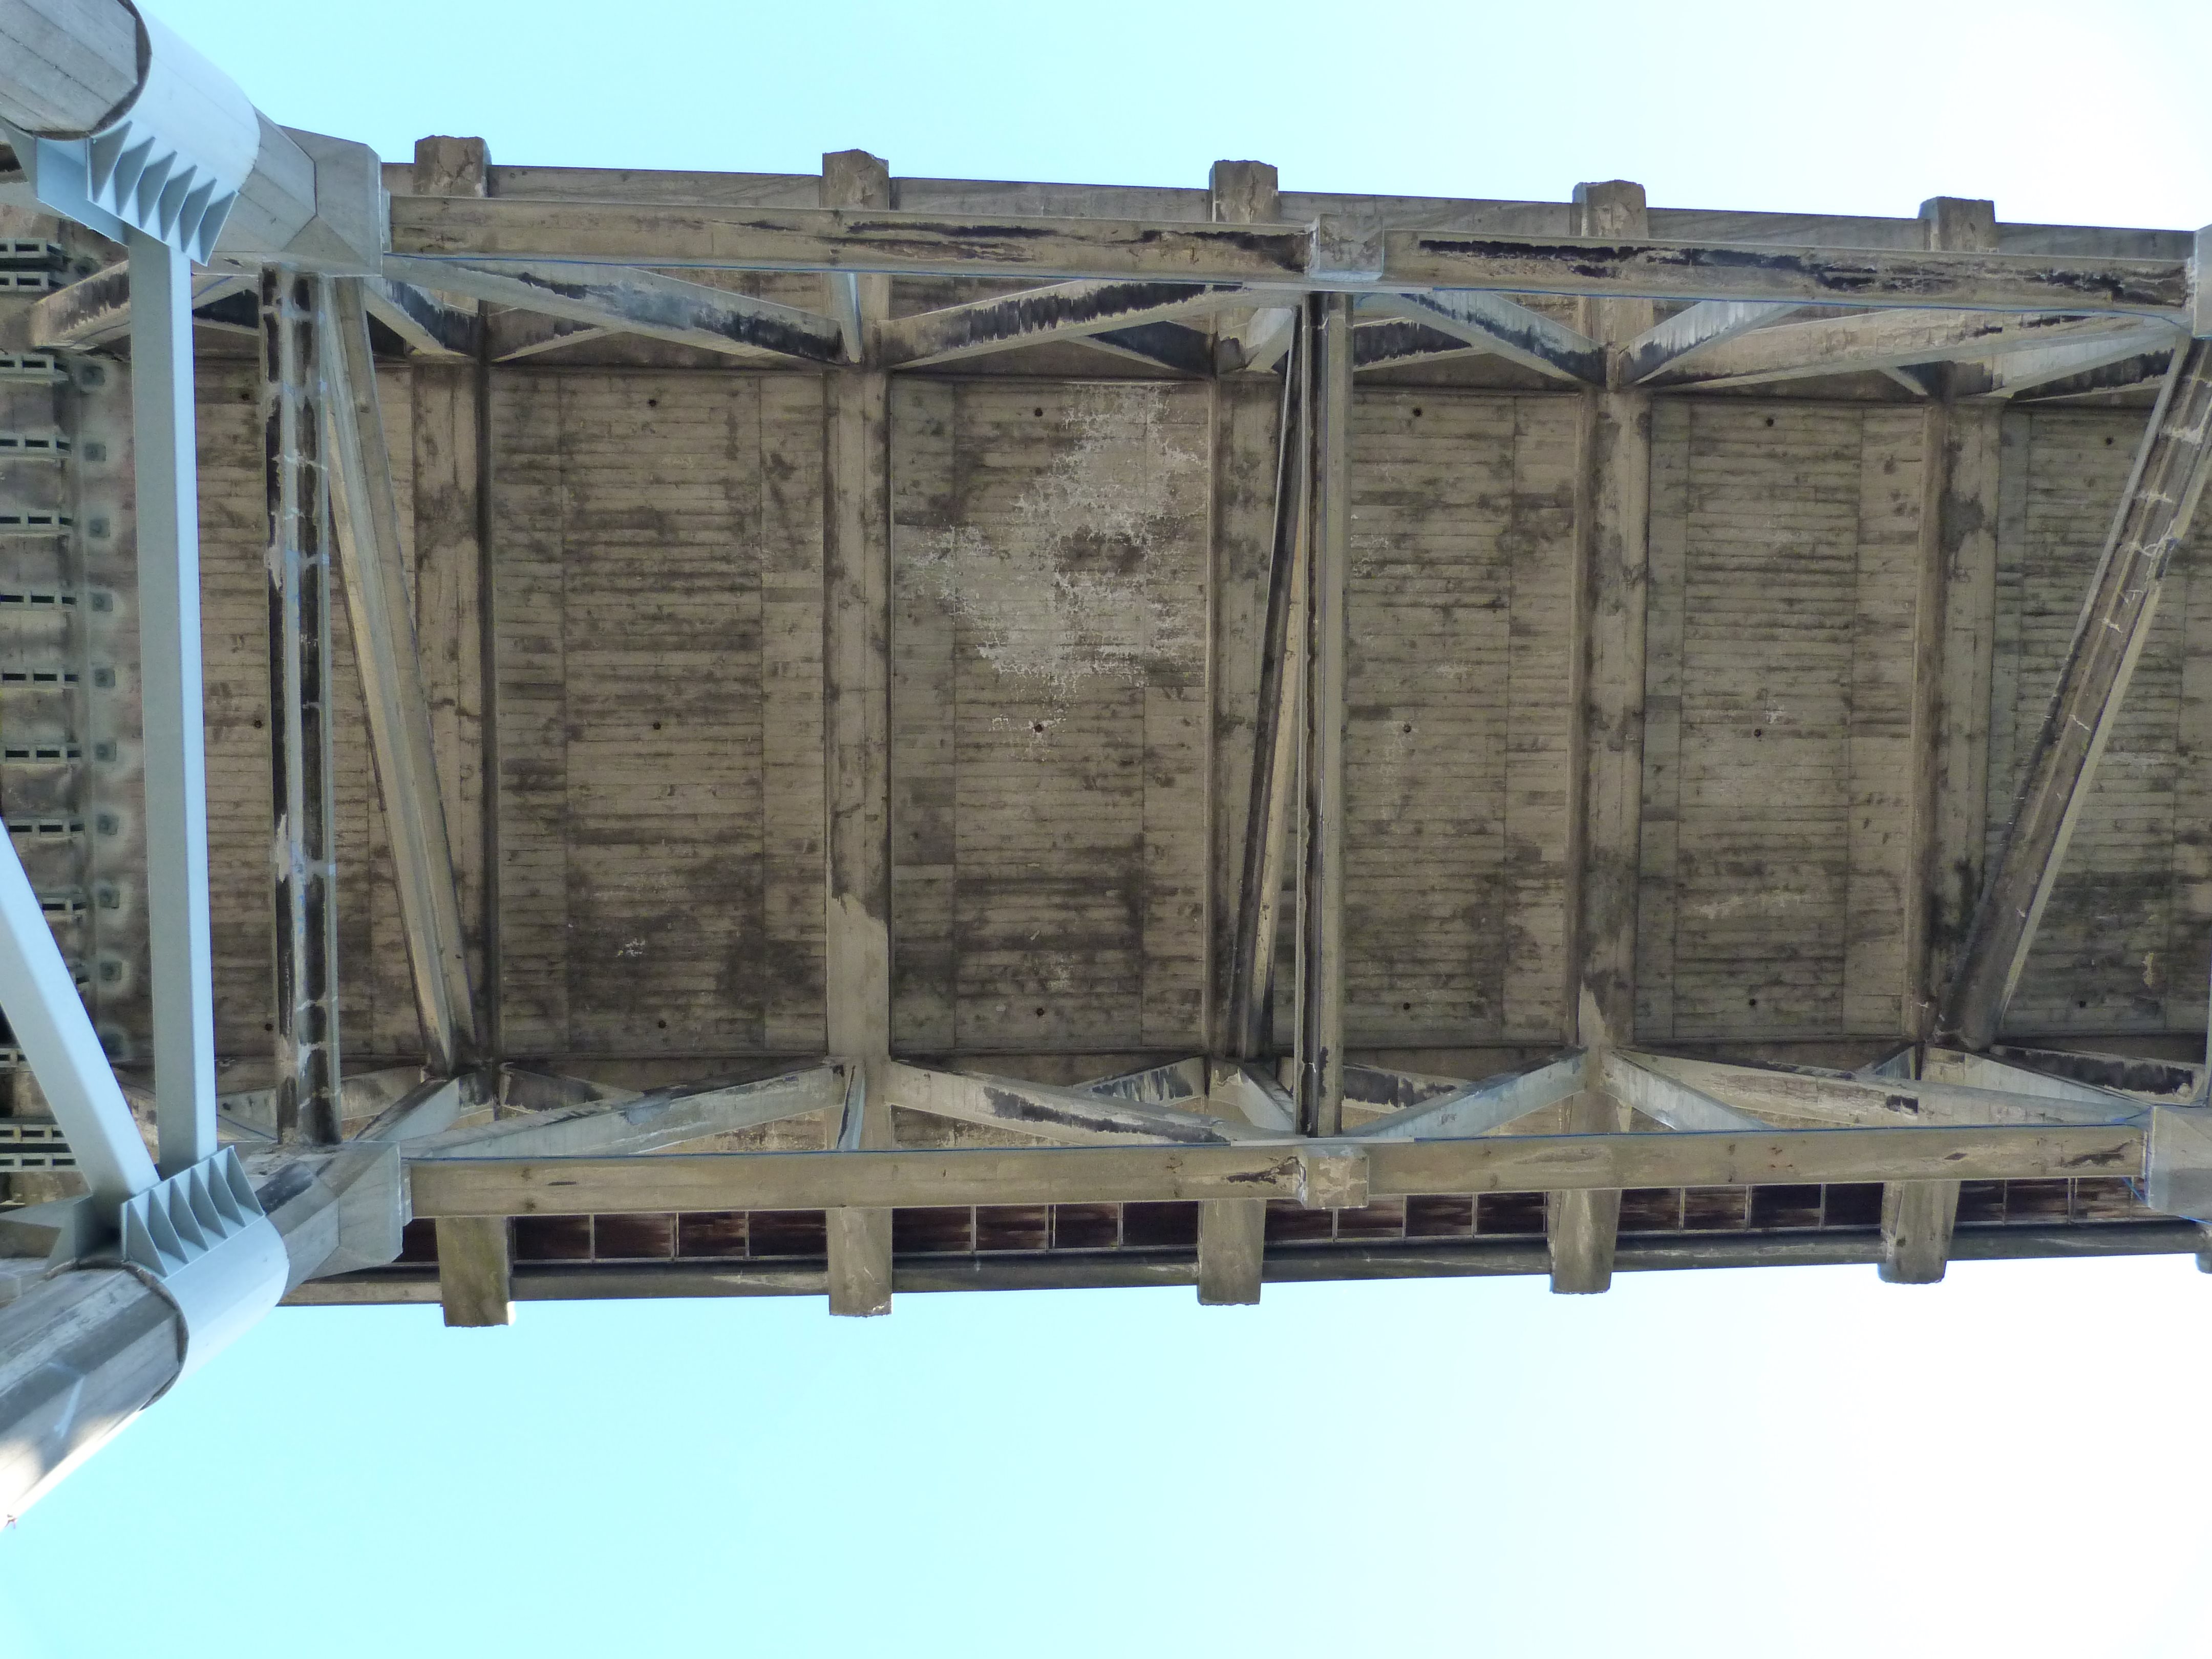


Views under deck truss spans.
![]()
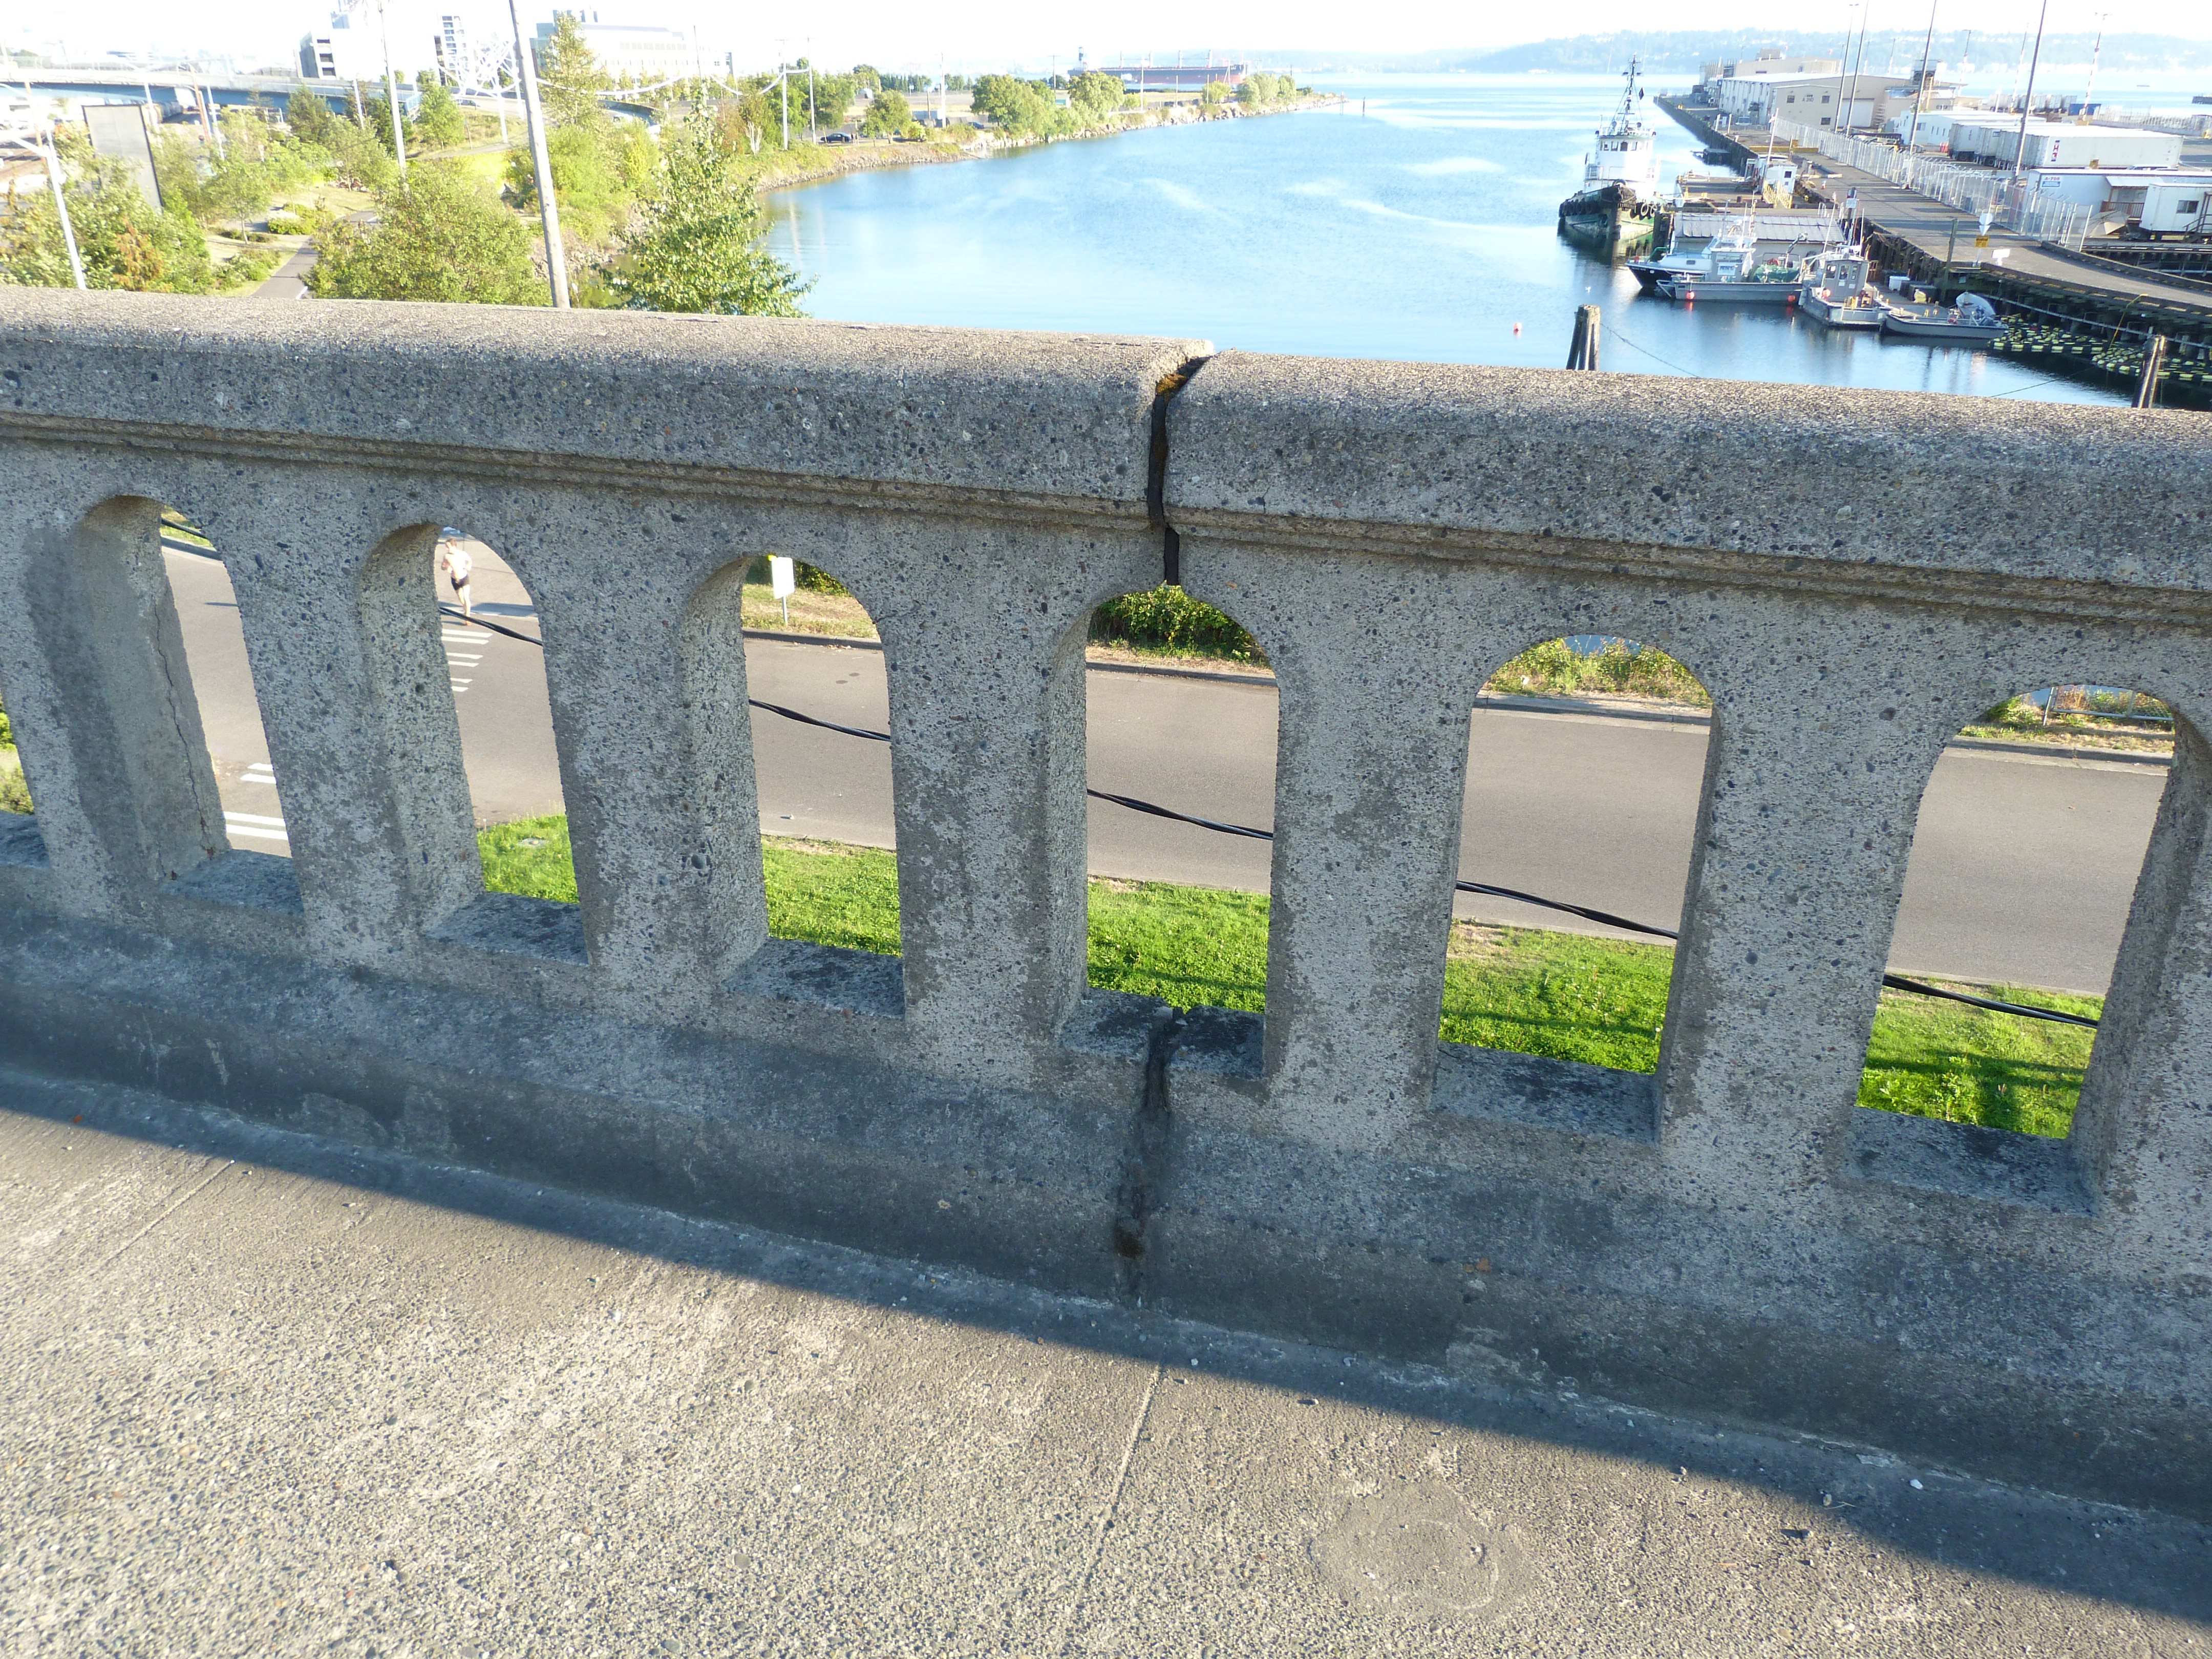
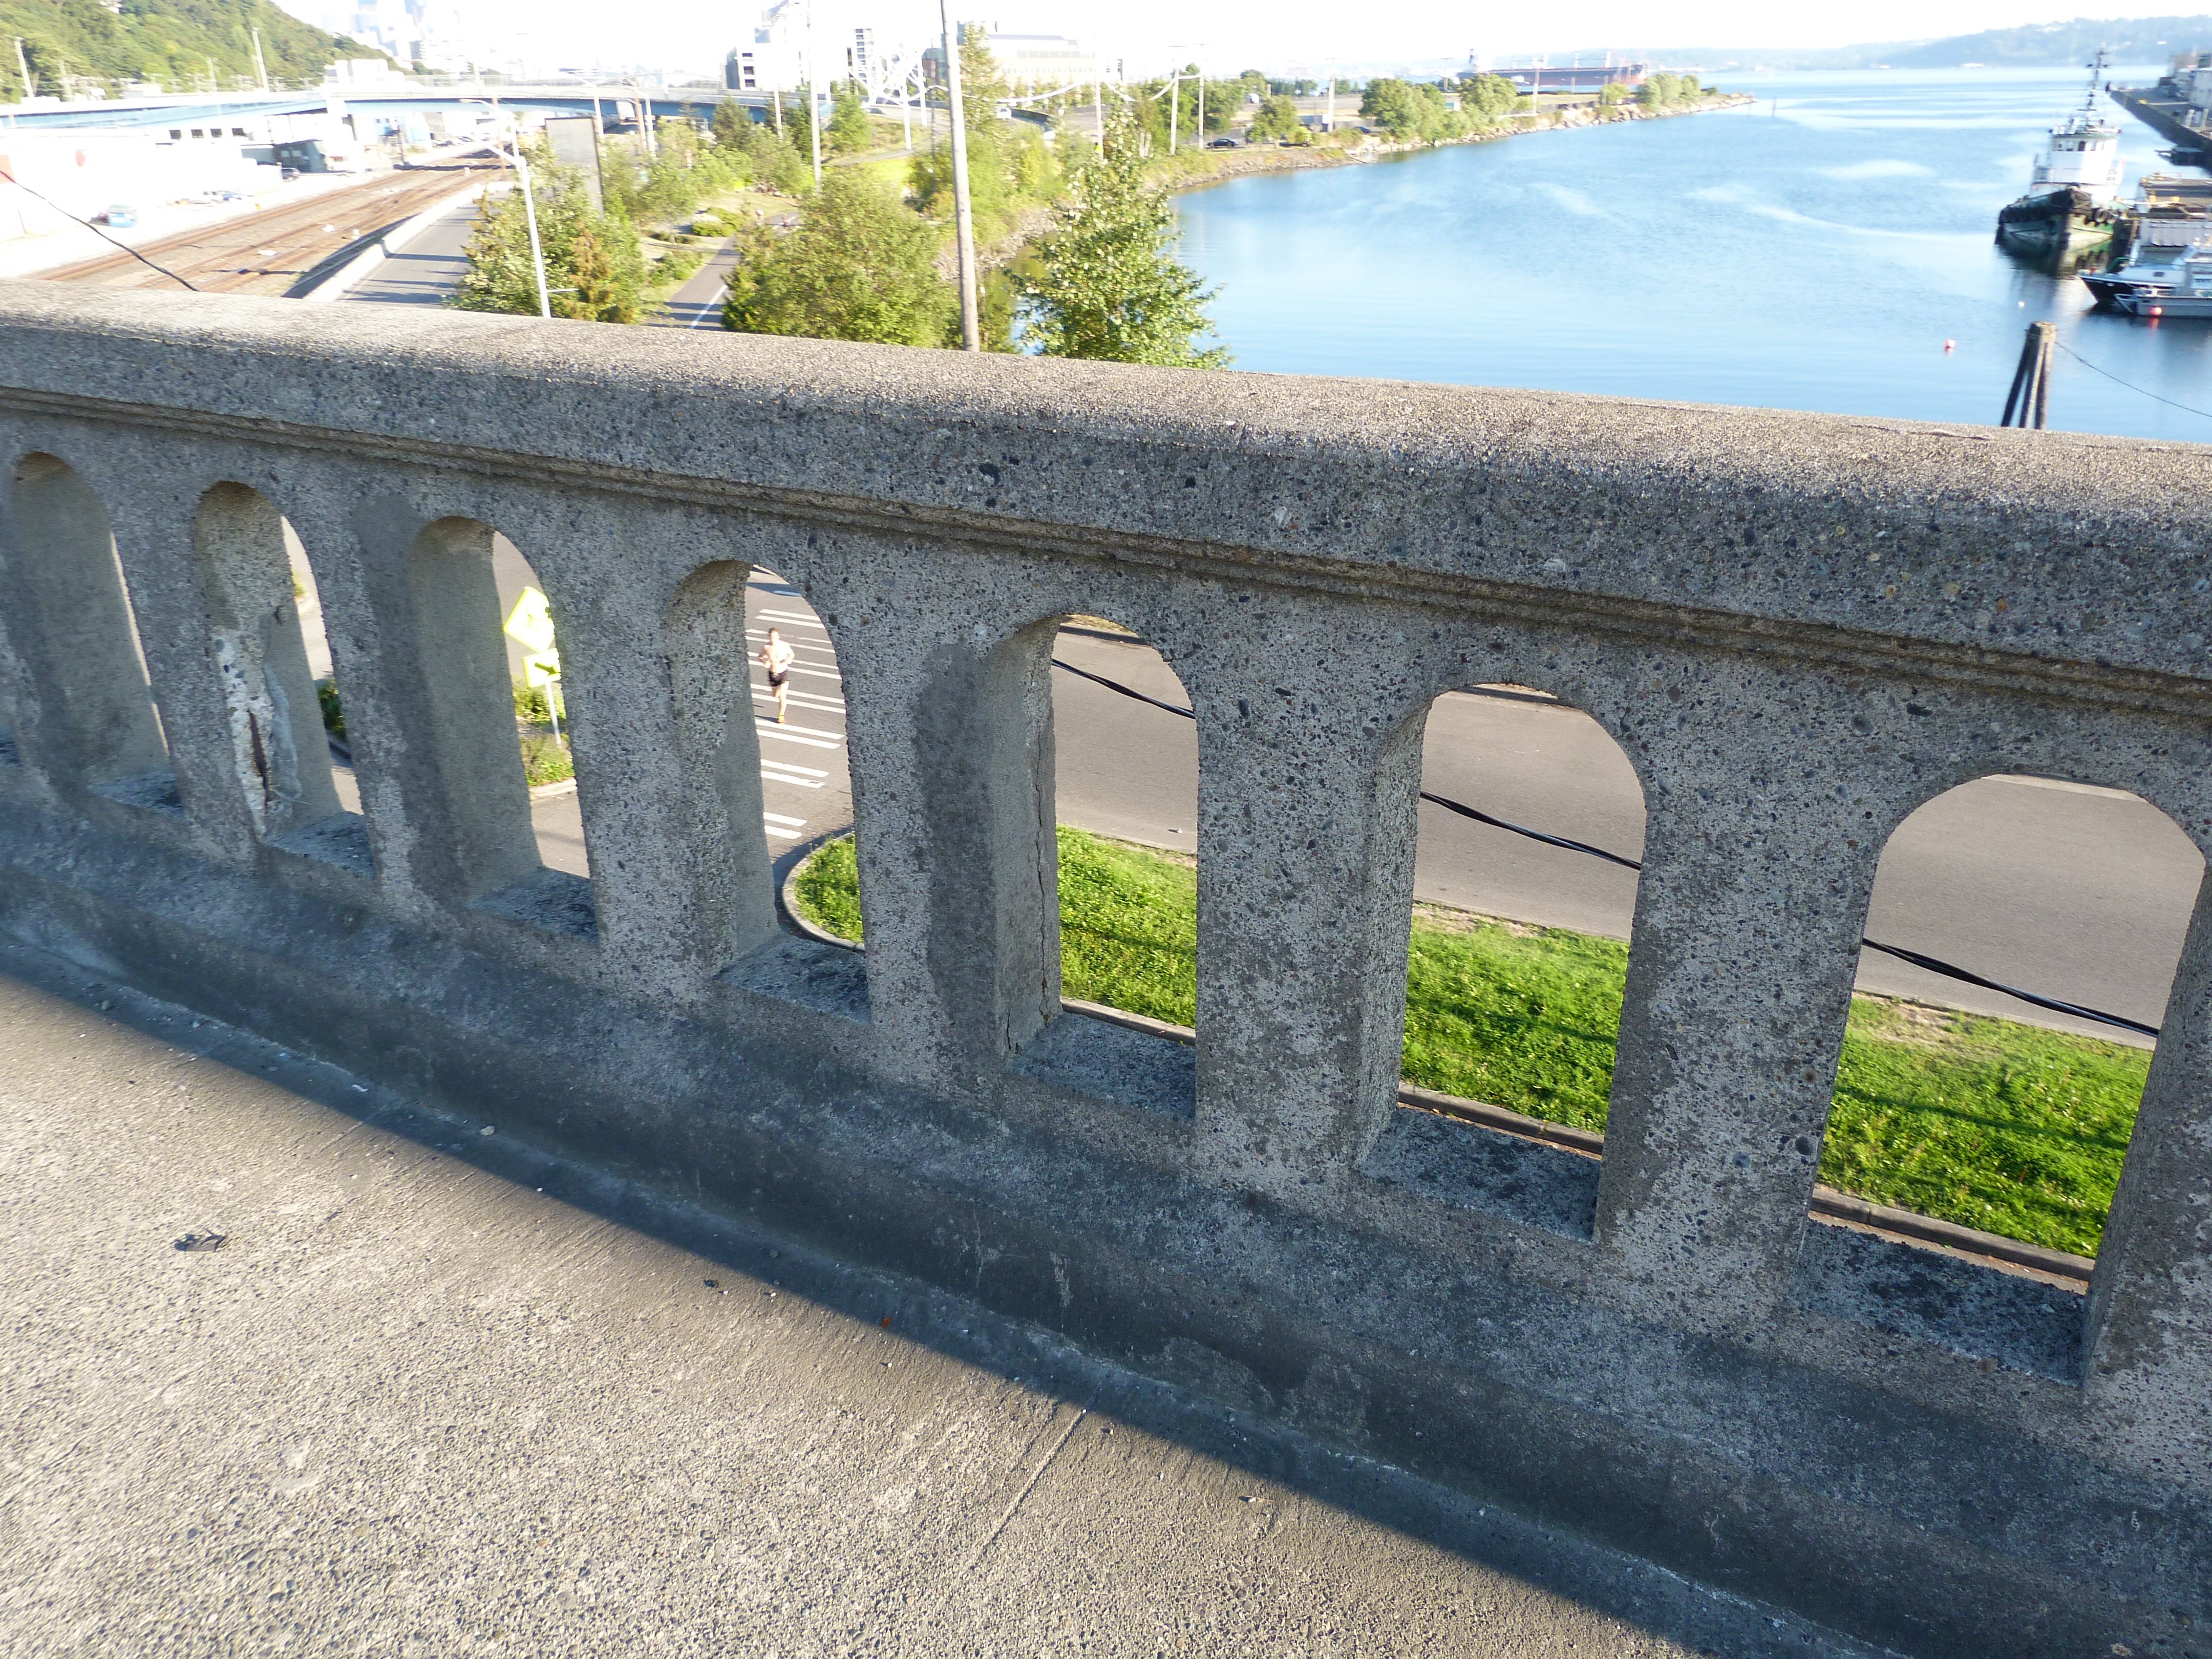
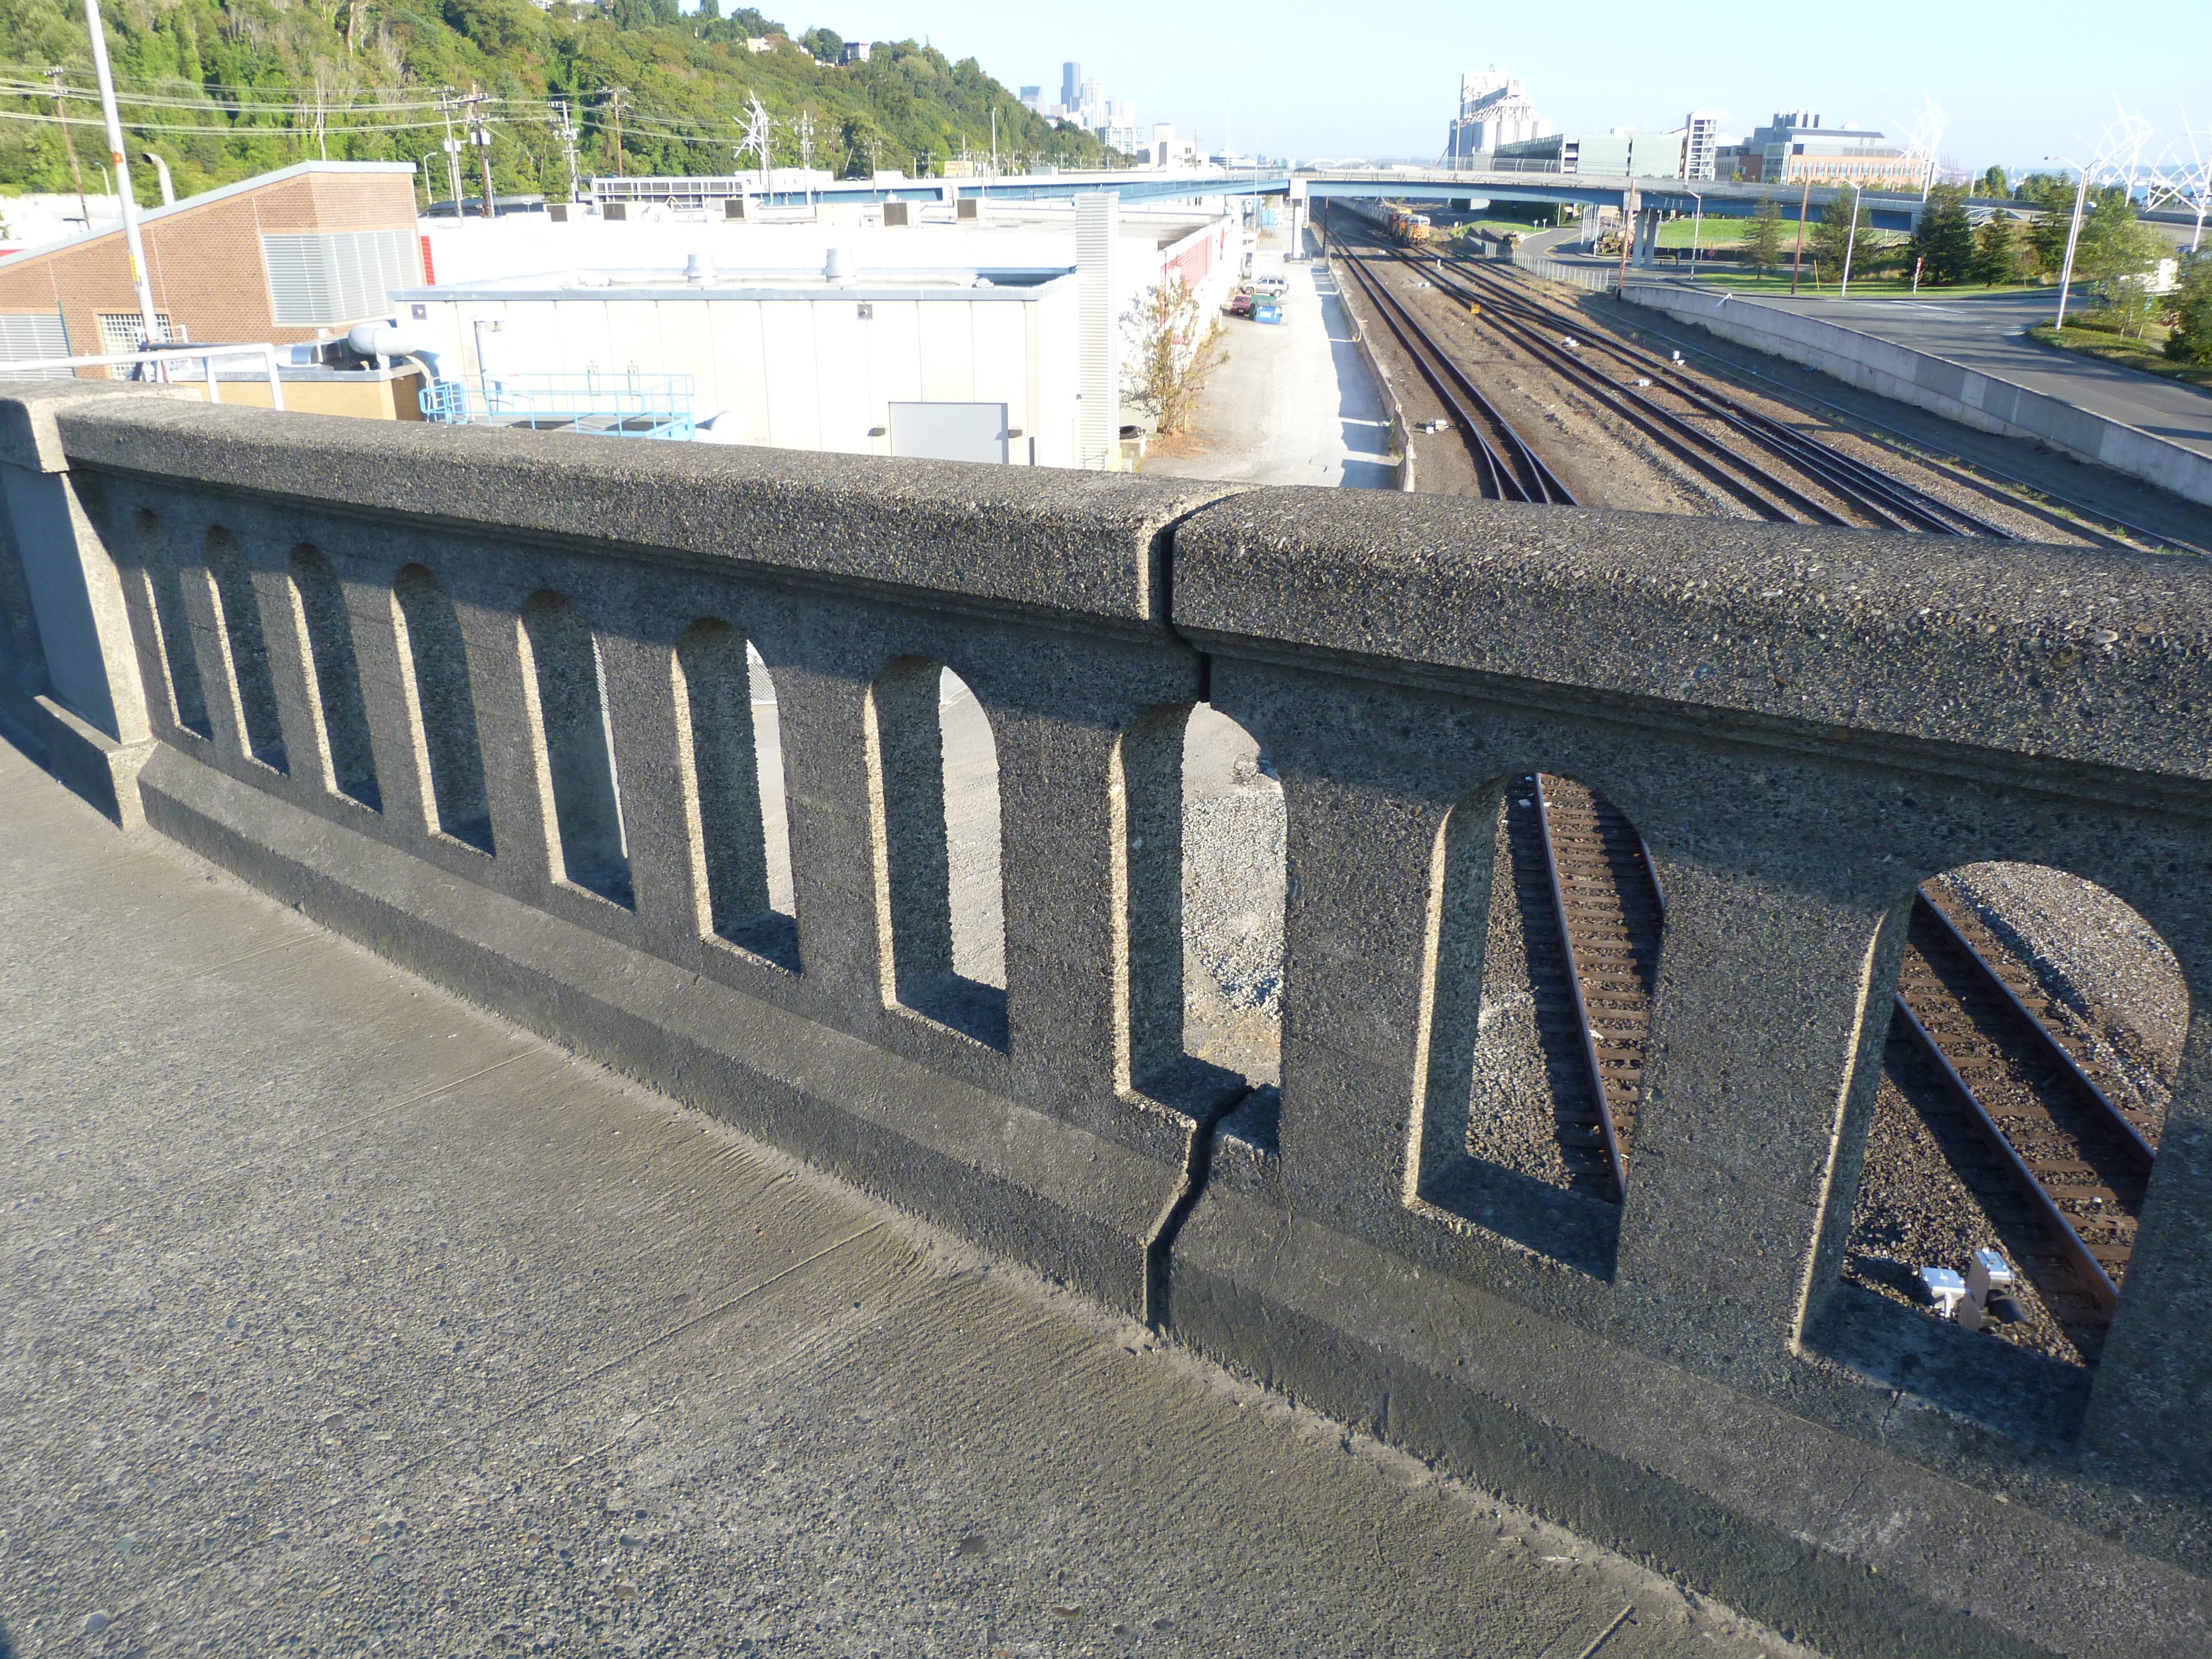
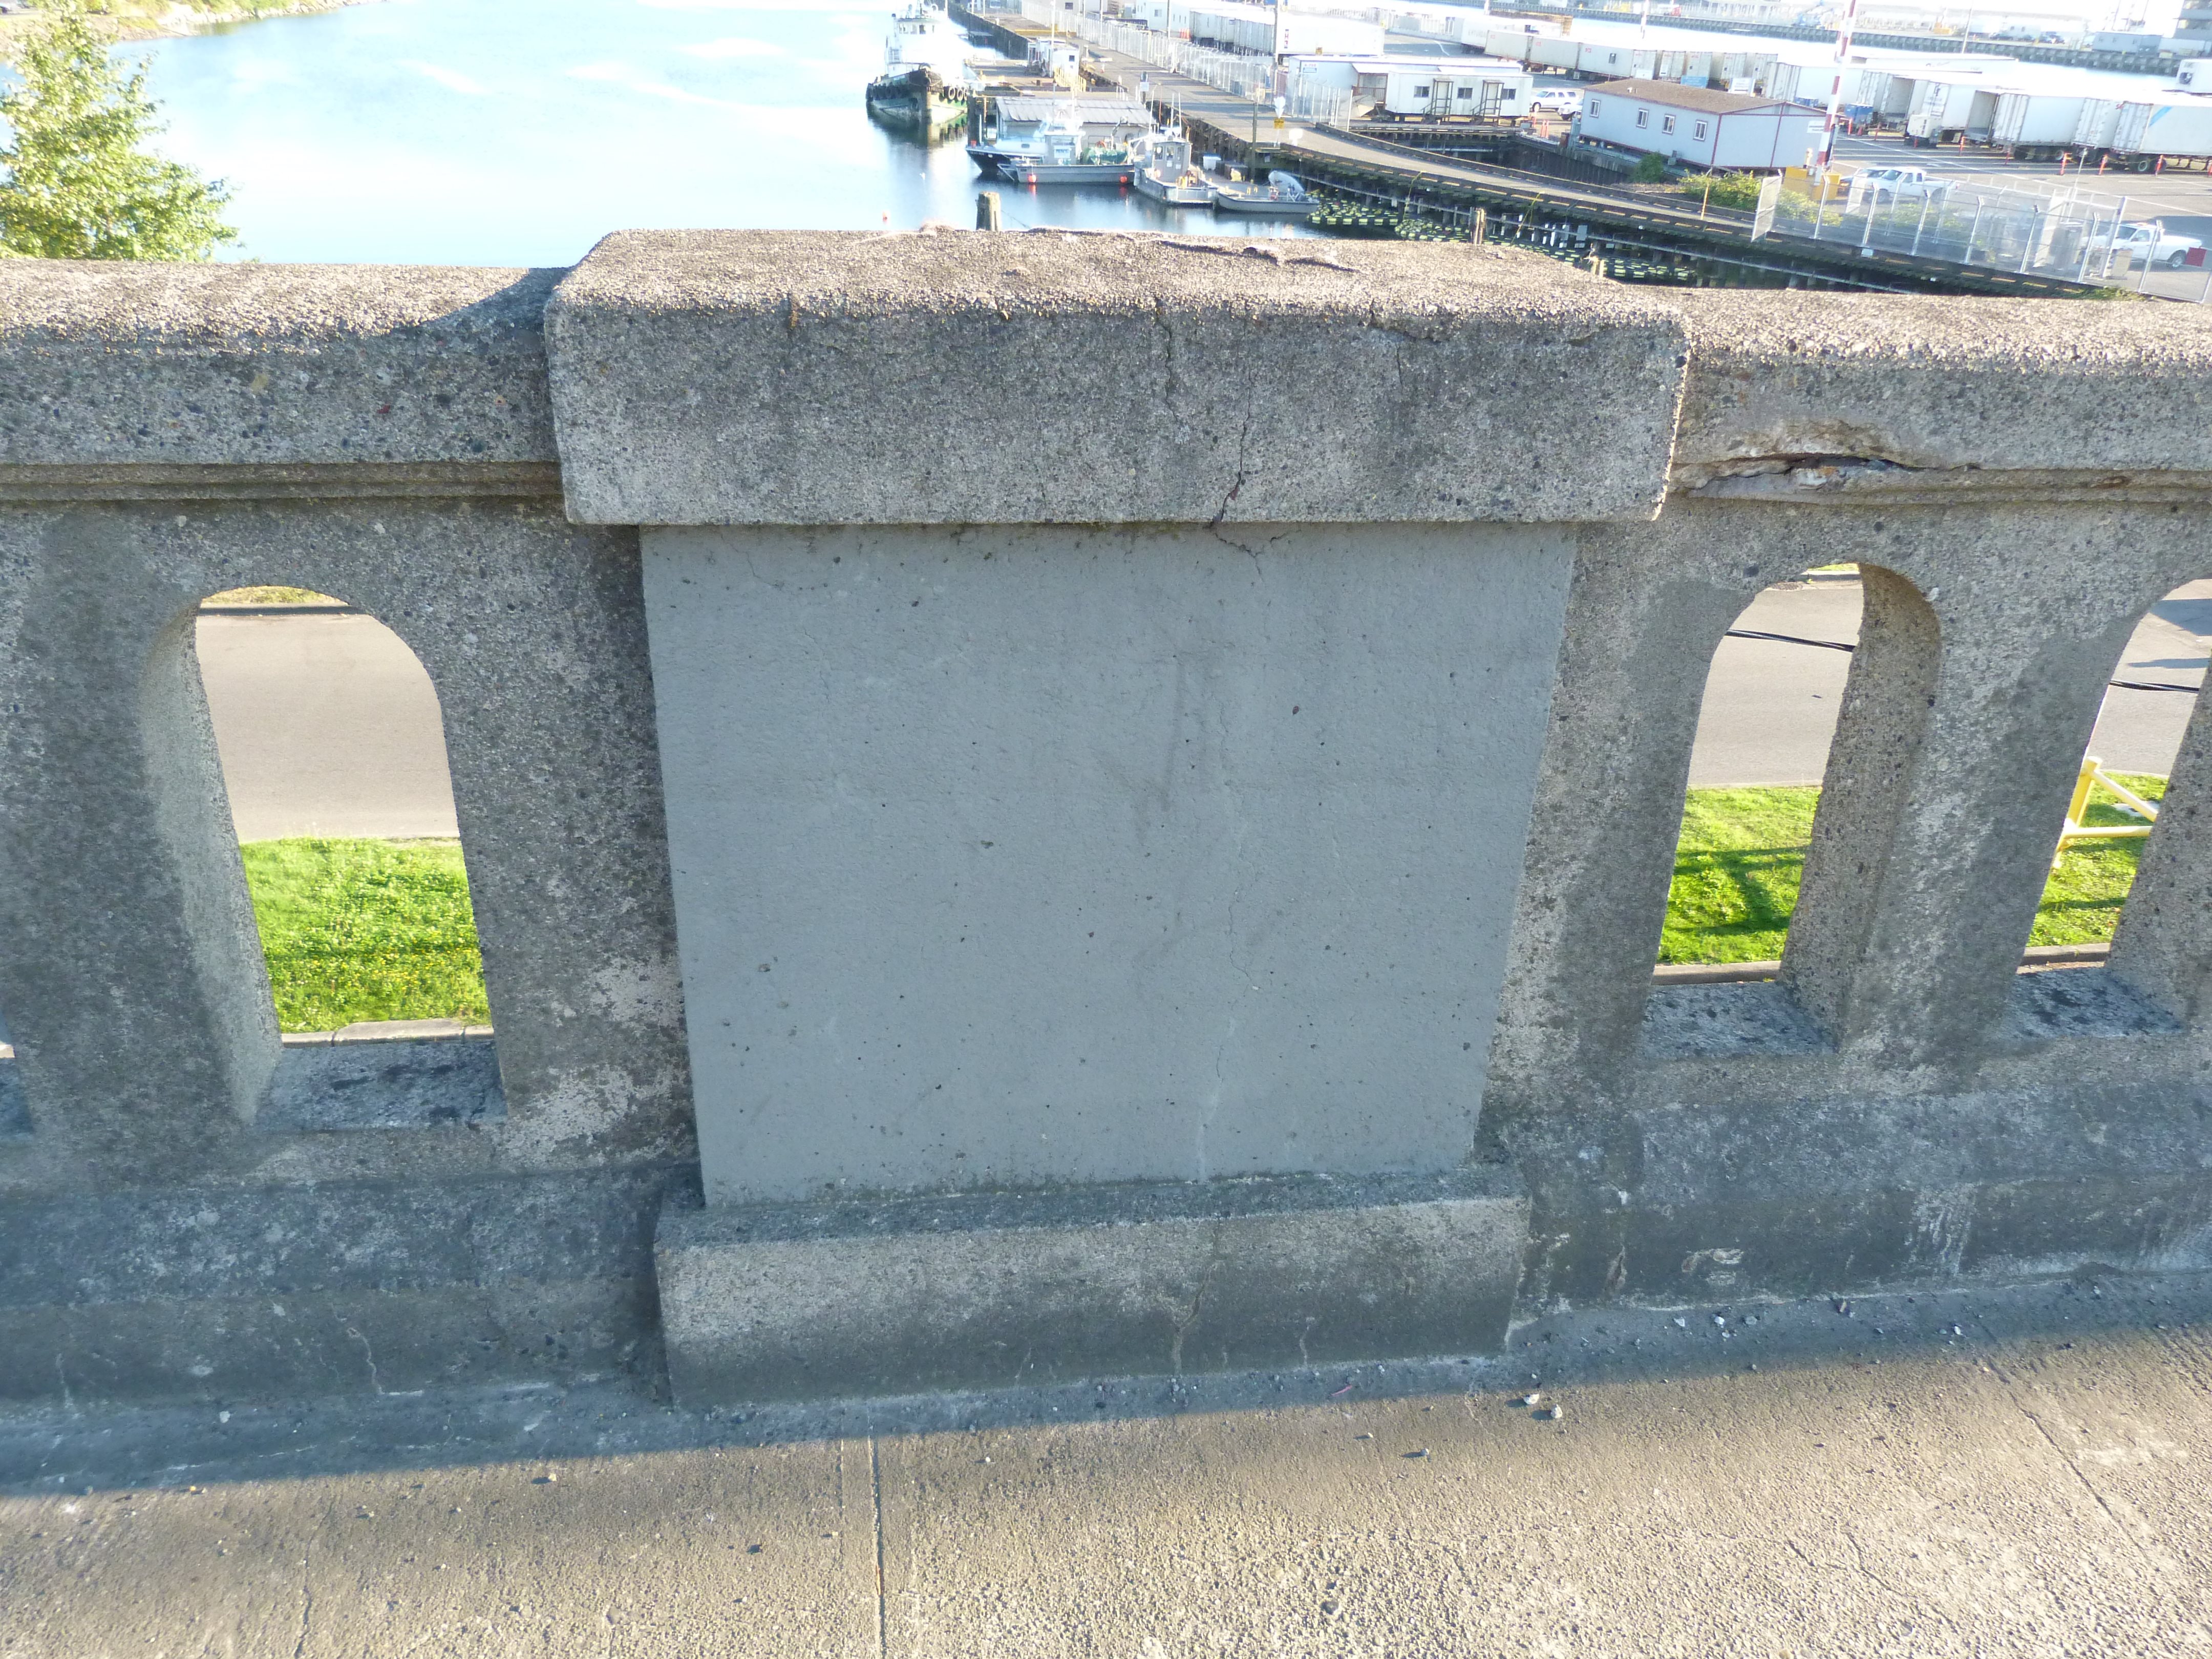
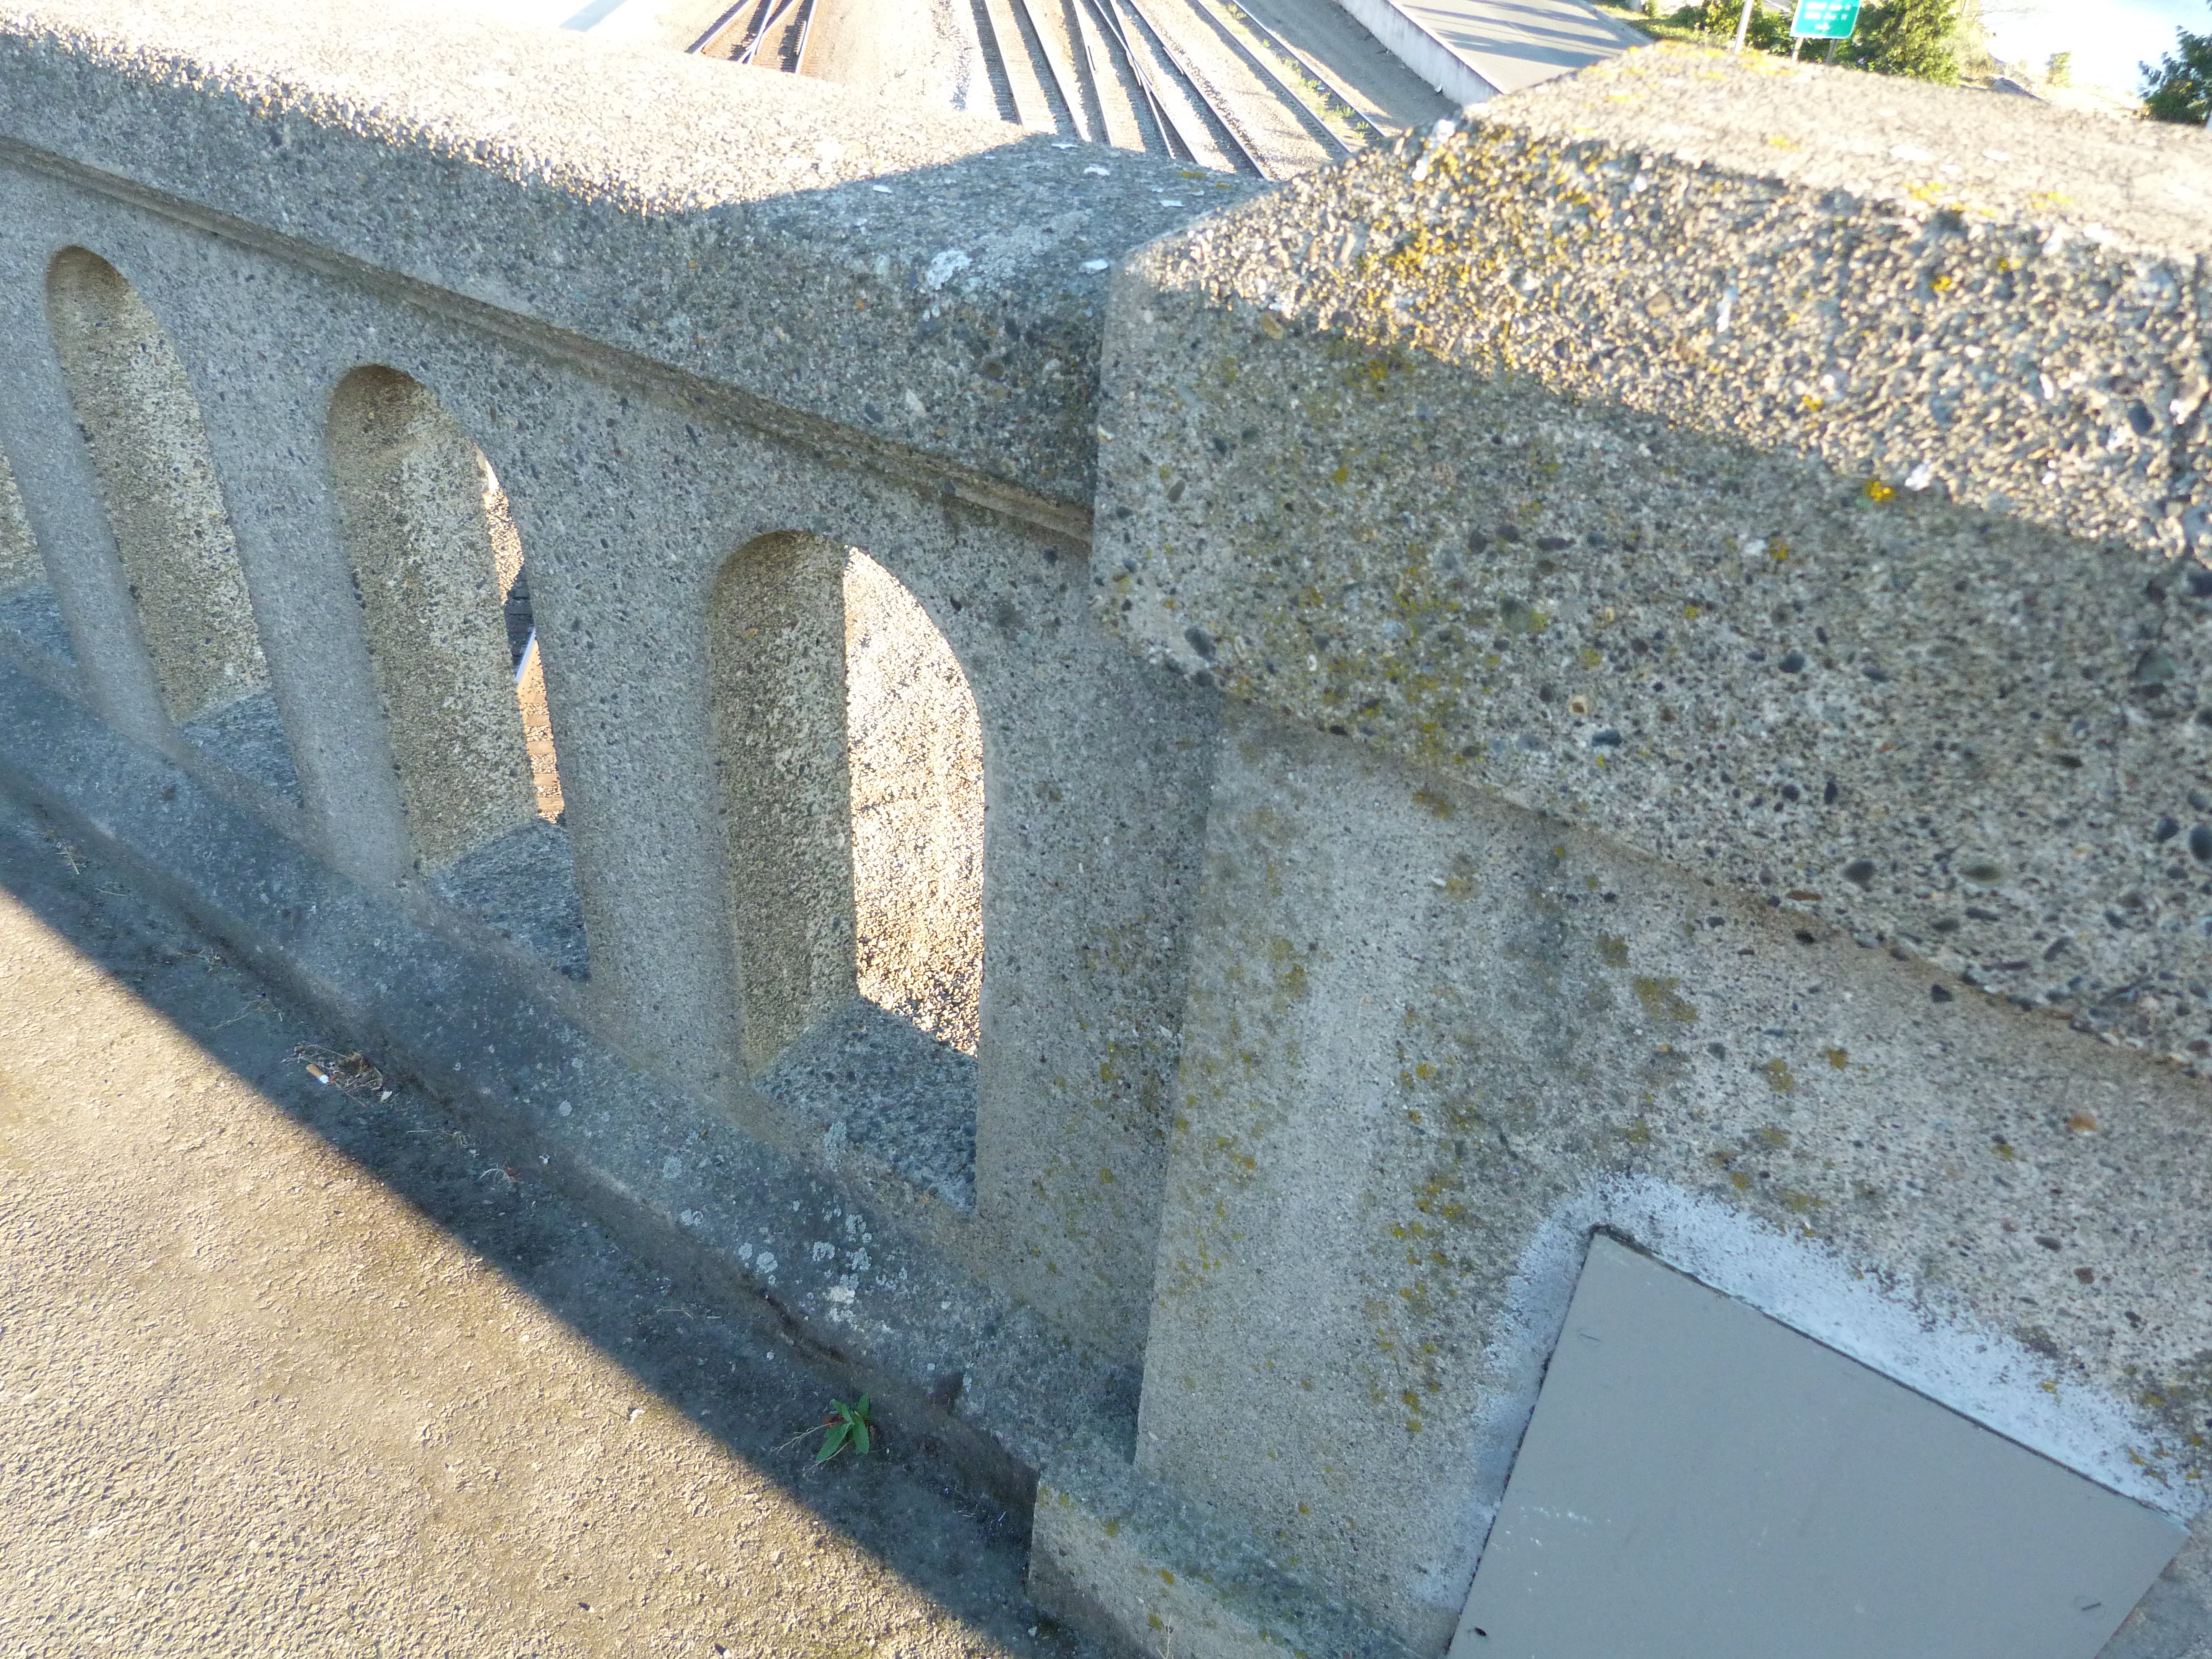
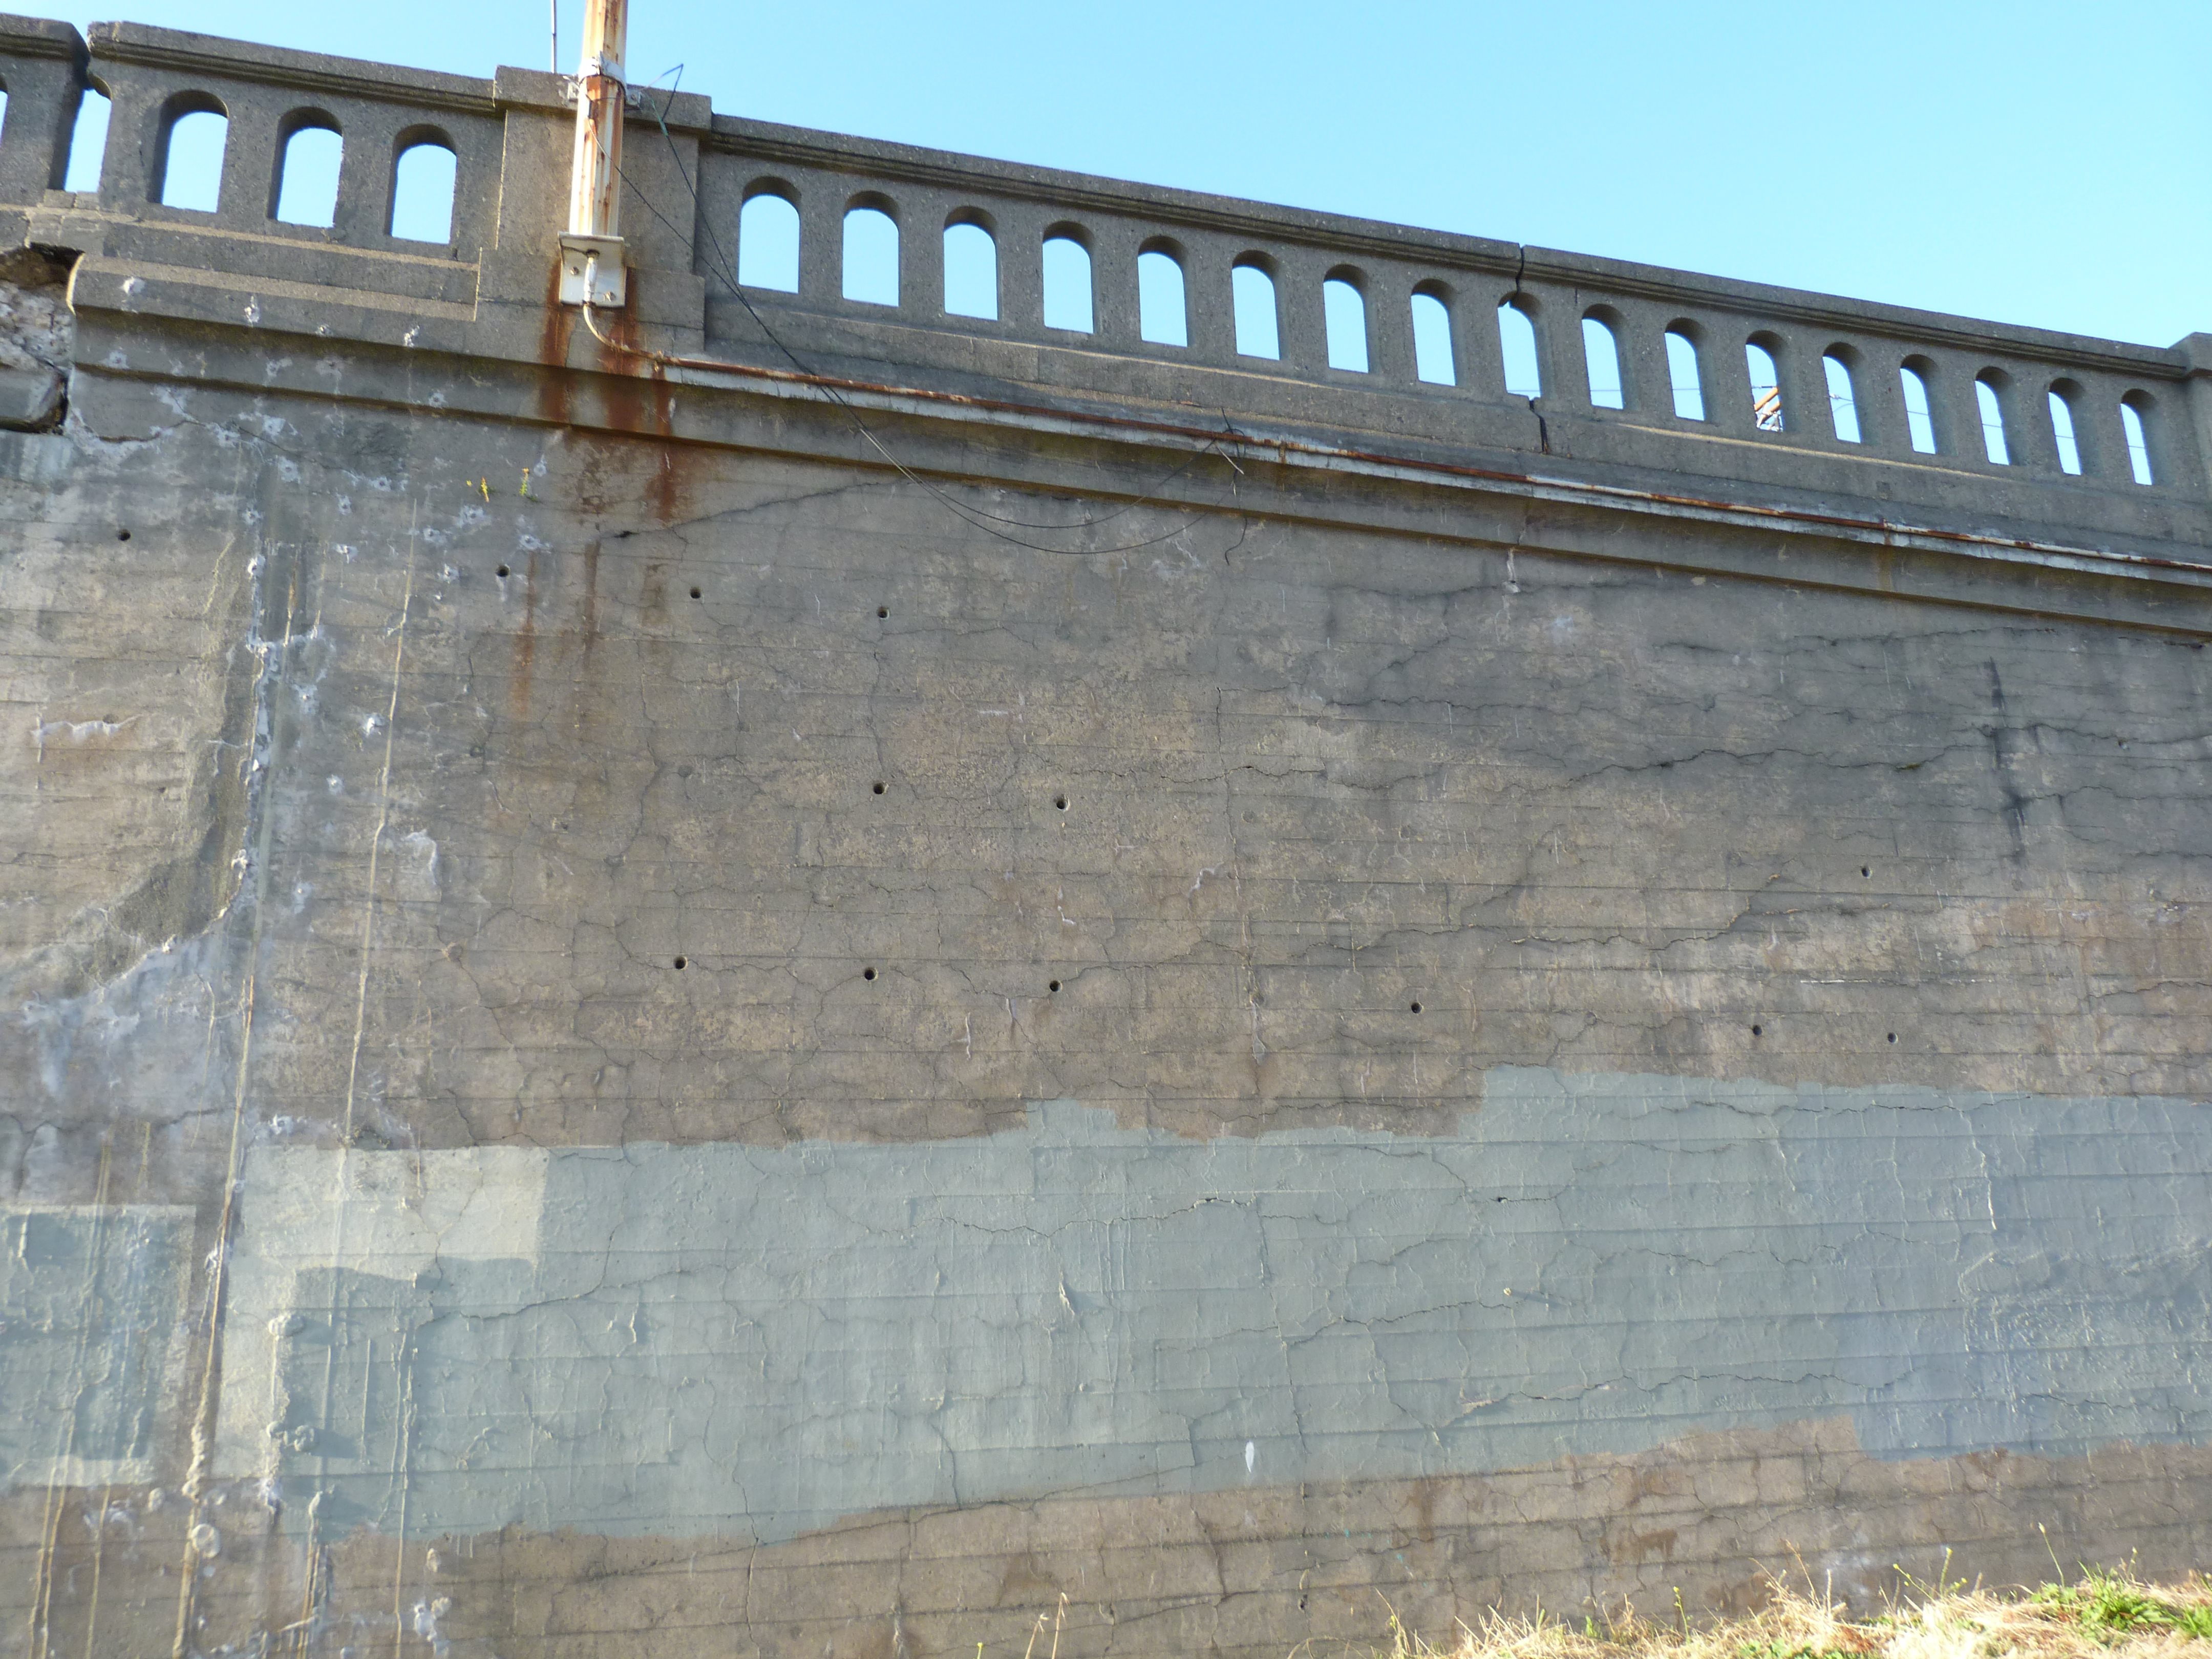
Railing found at eastern end of bridge.
![]()

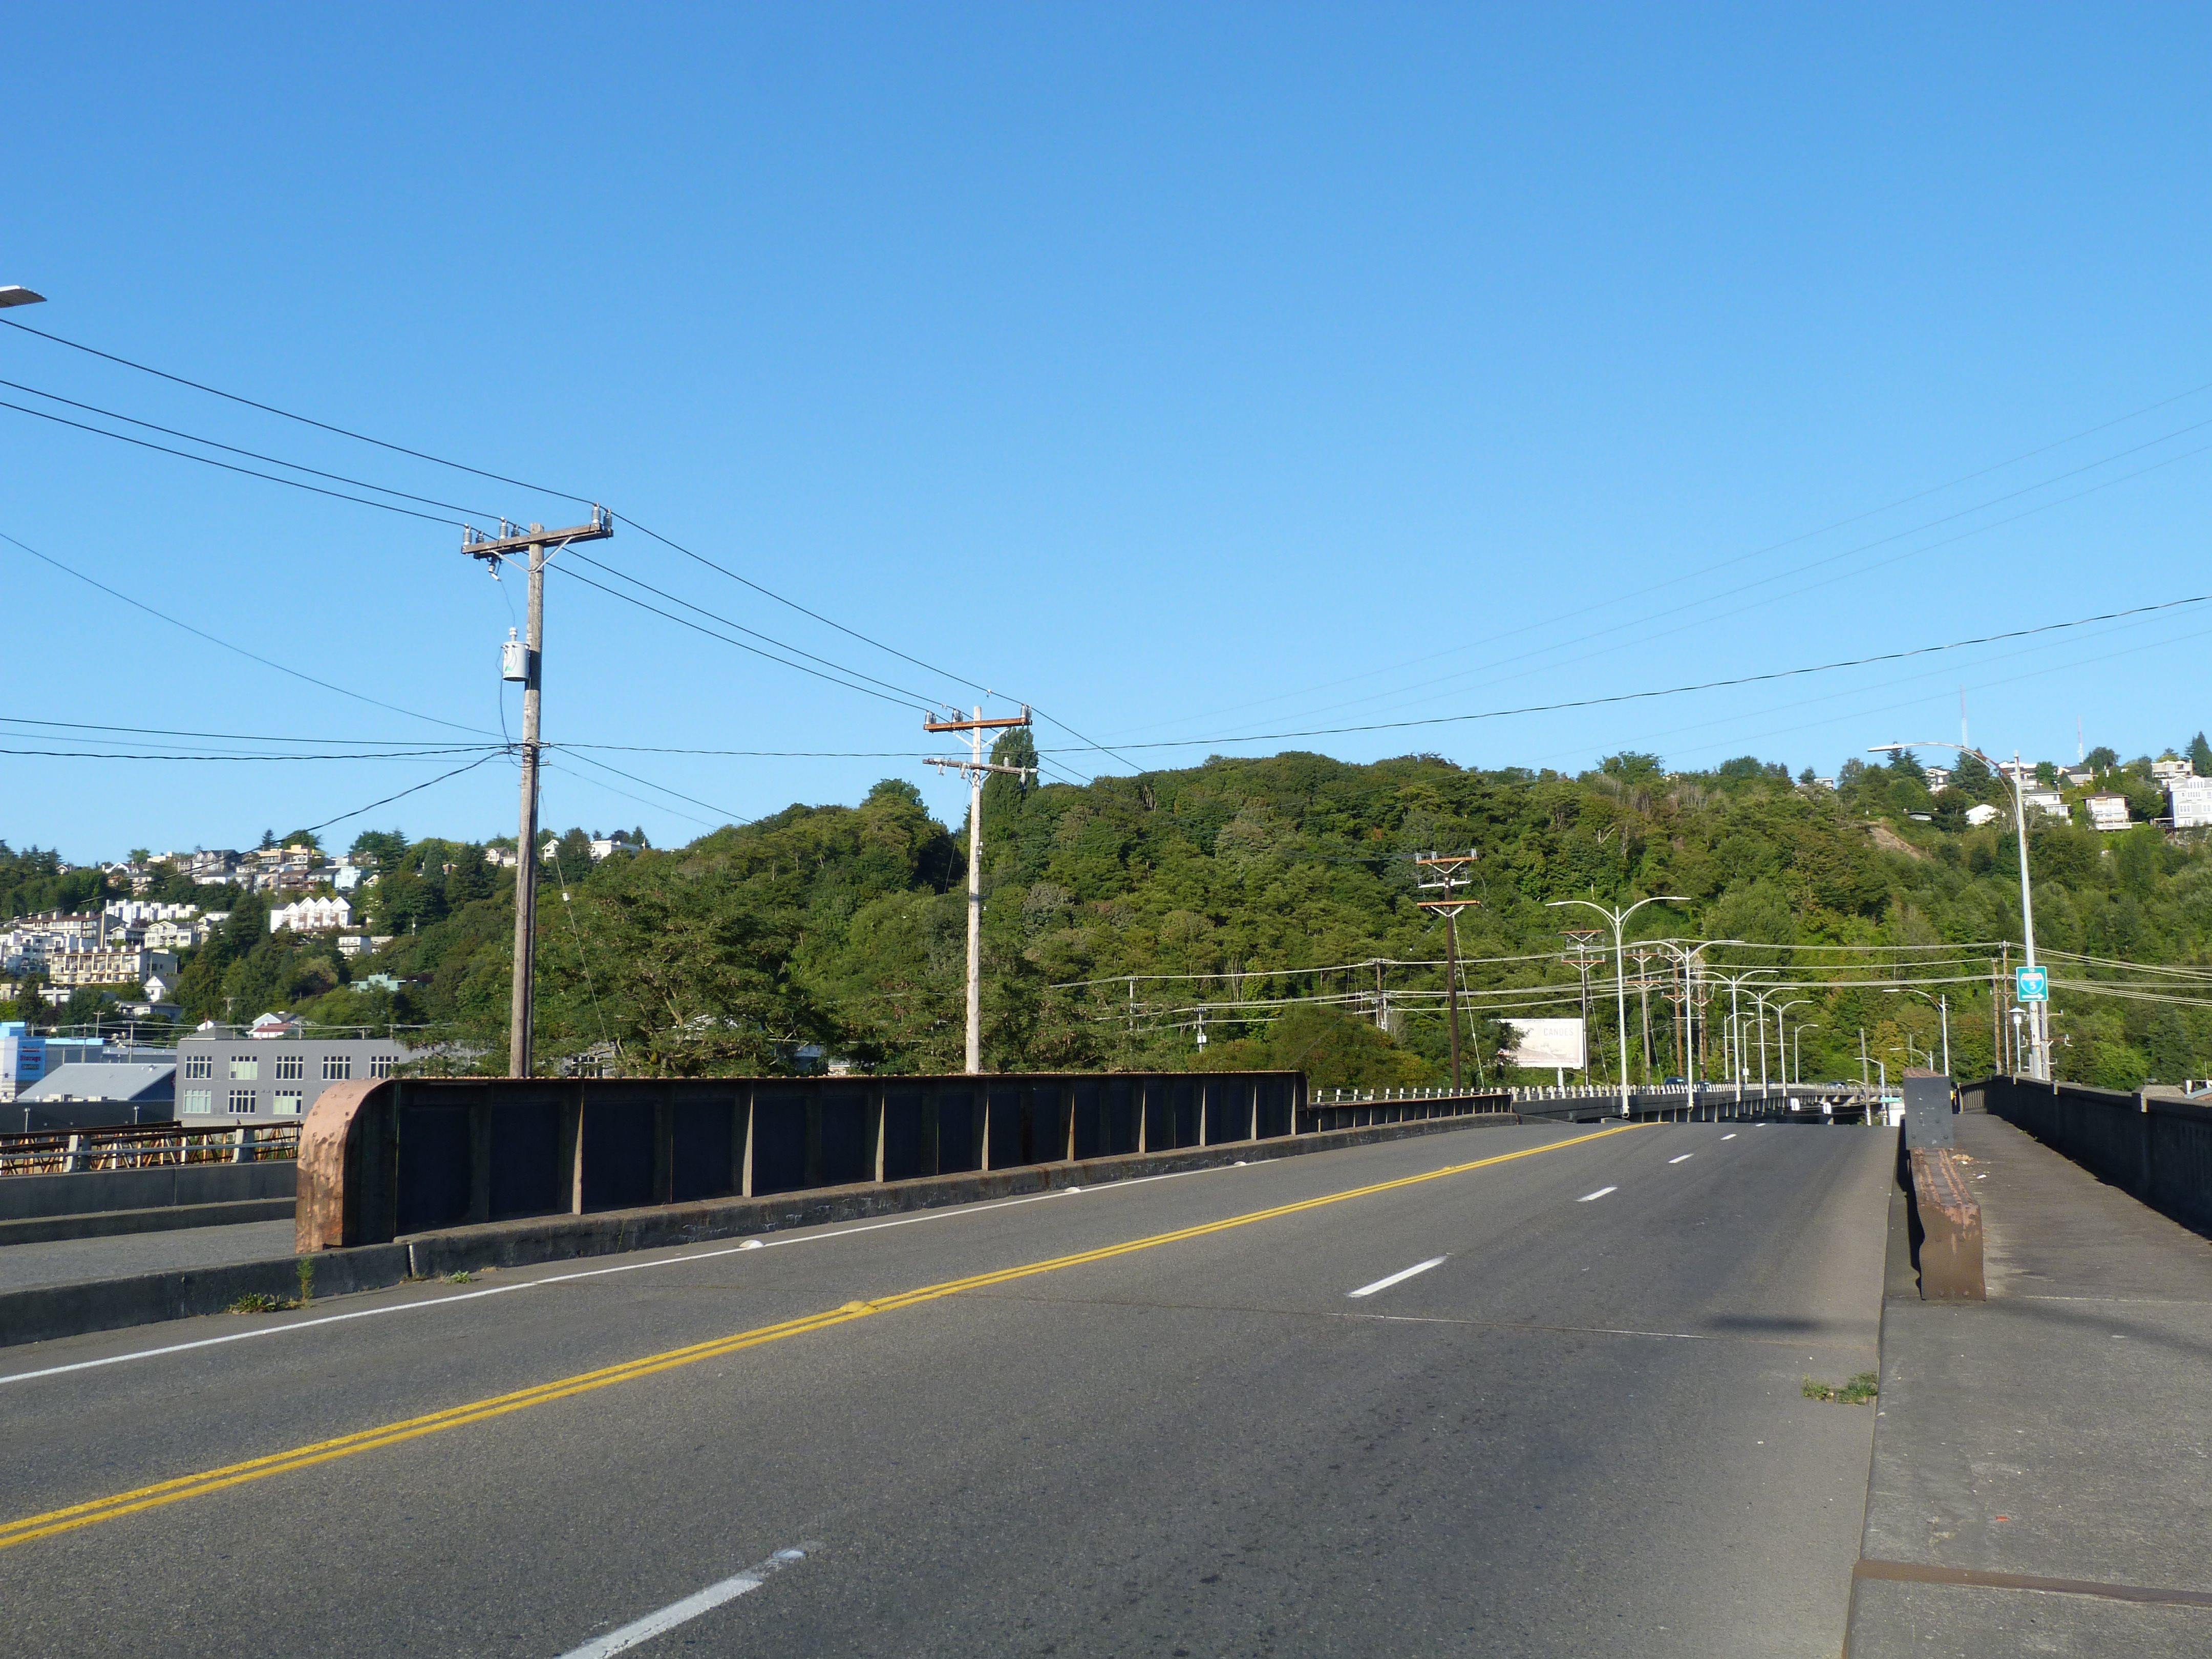


Overview of through plate girder spans.
![]()
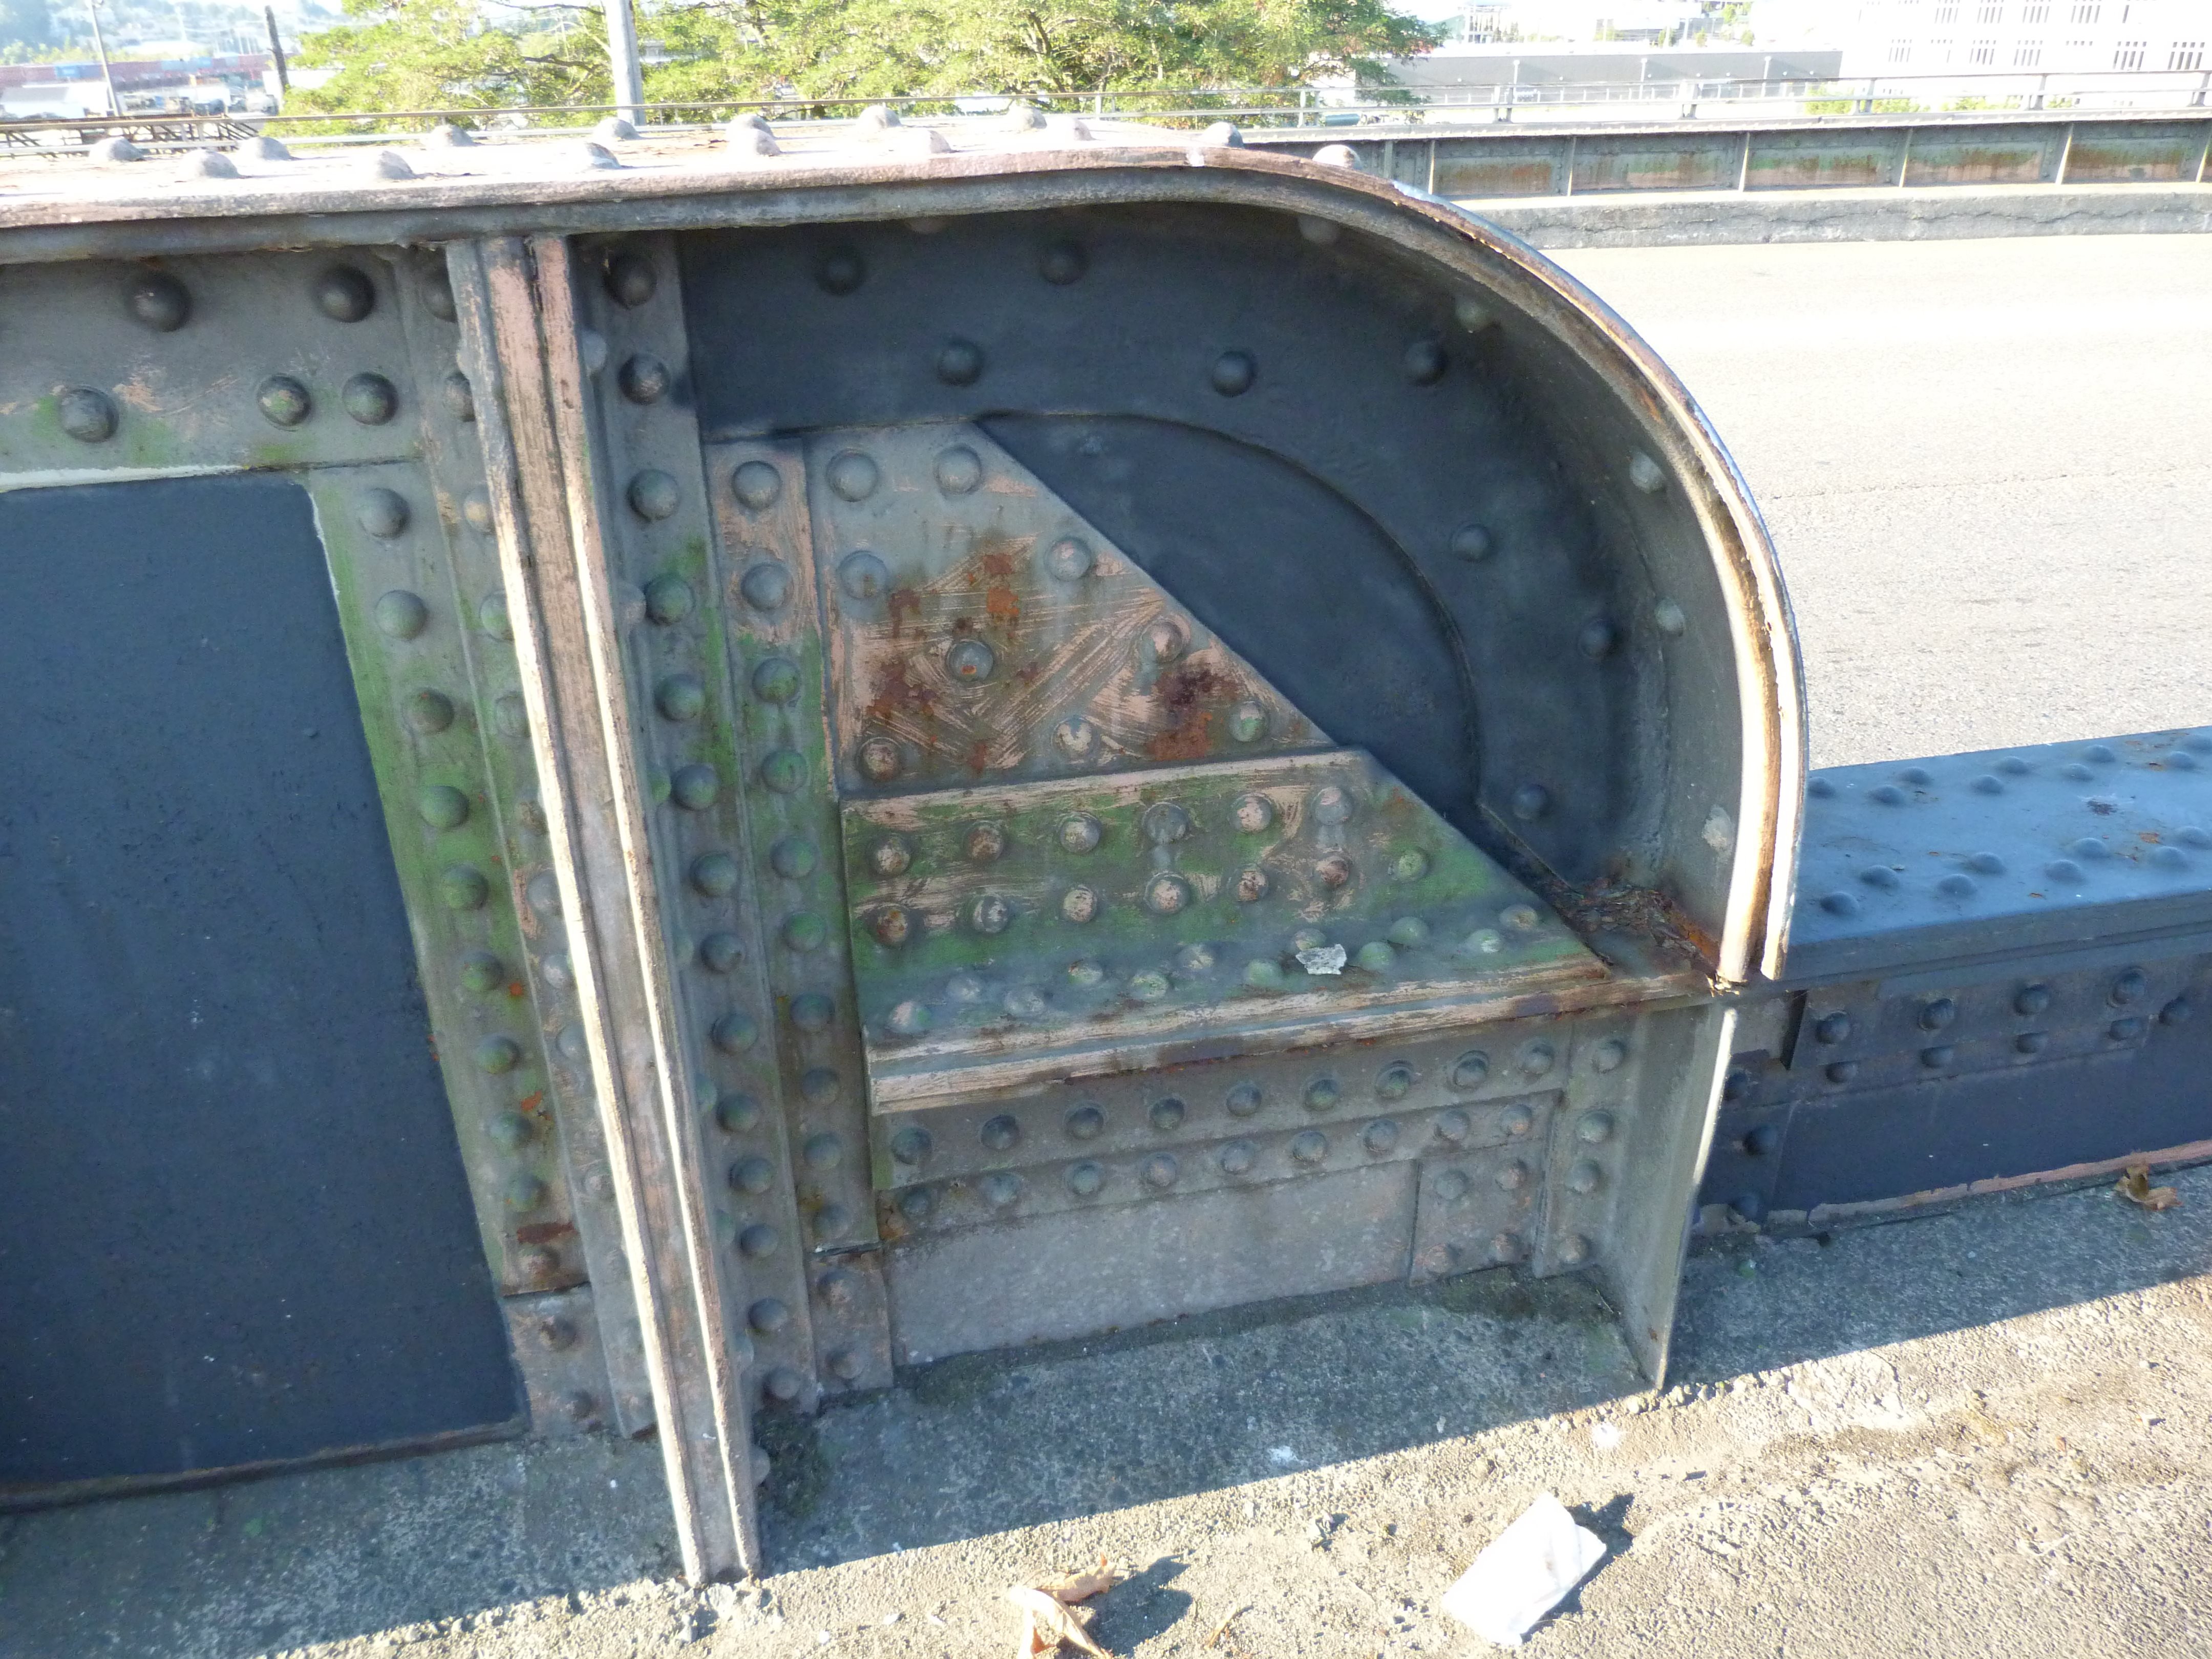


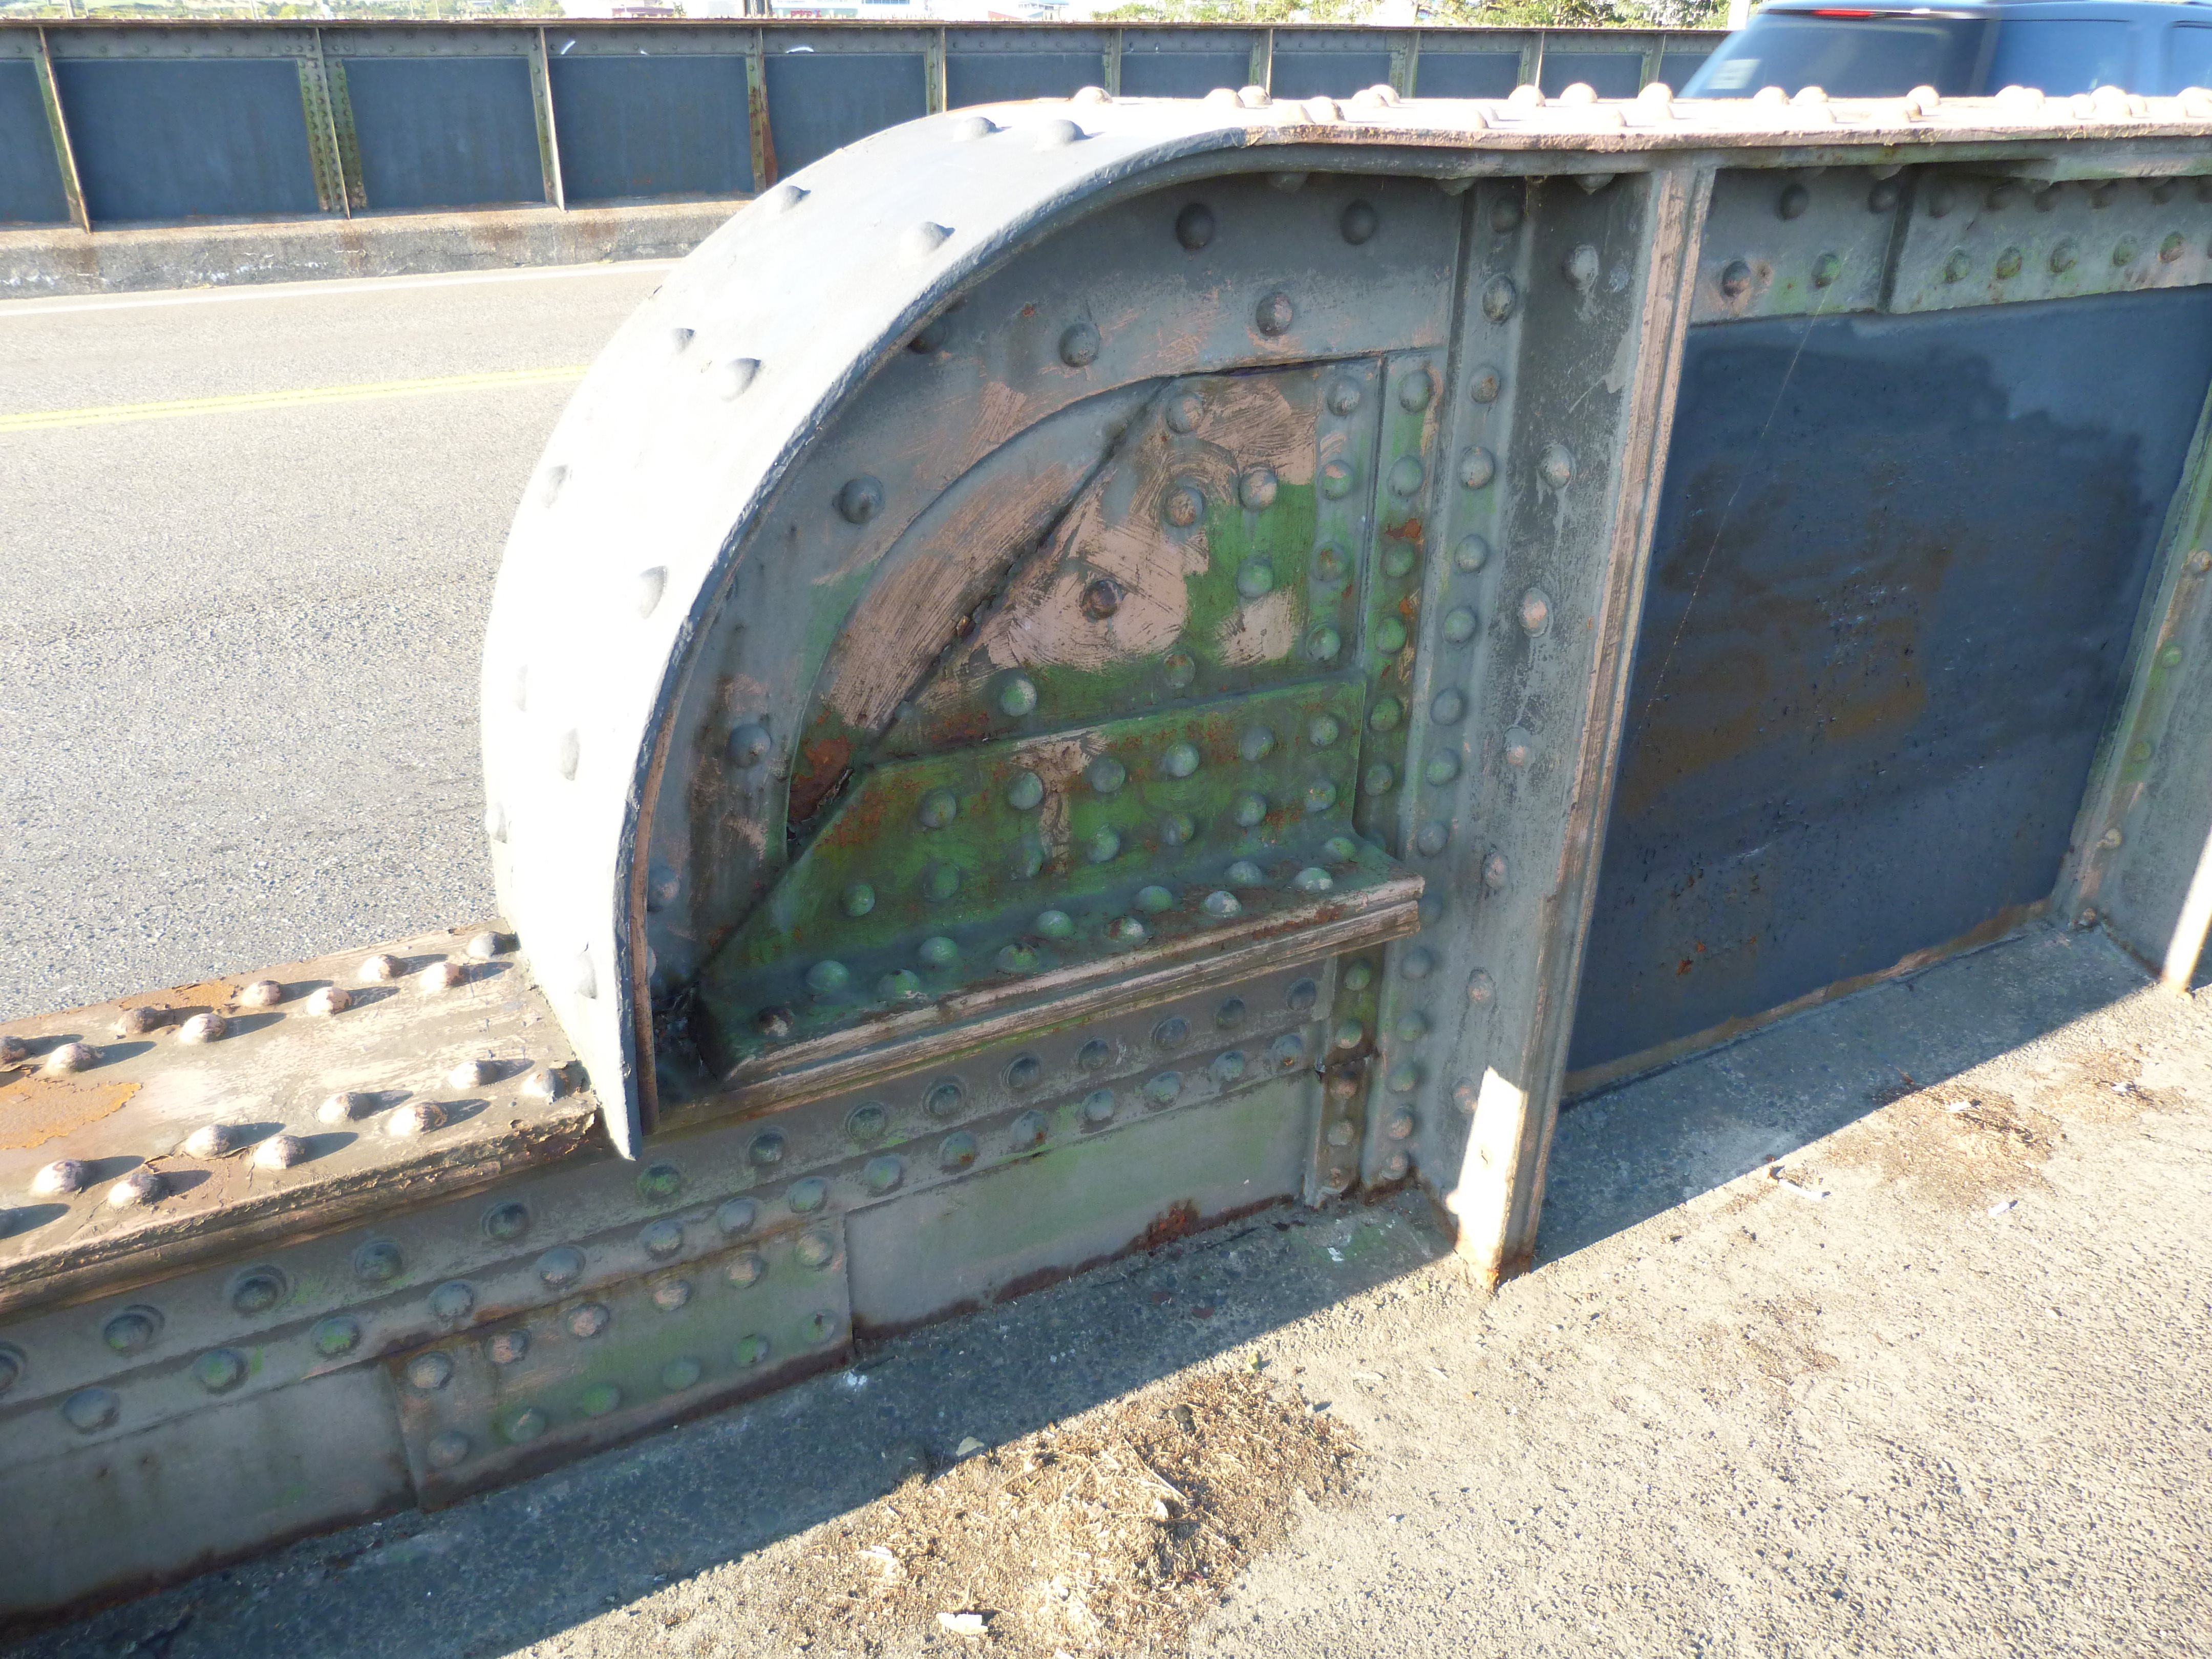


Details of through plate girder spans.
![]()
View under concrete t-beam span.
![]()

Details of concrete piers at eastern end of bridge.
![]()

Eastern abutment.
![]()


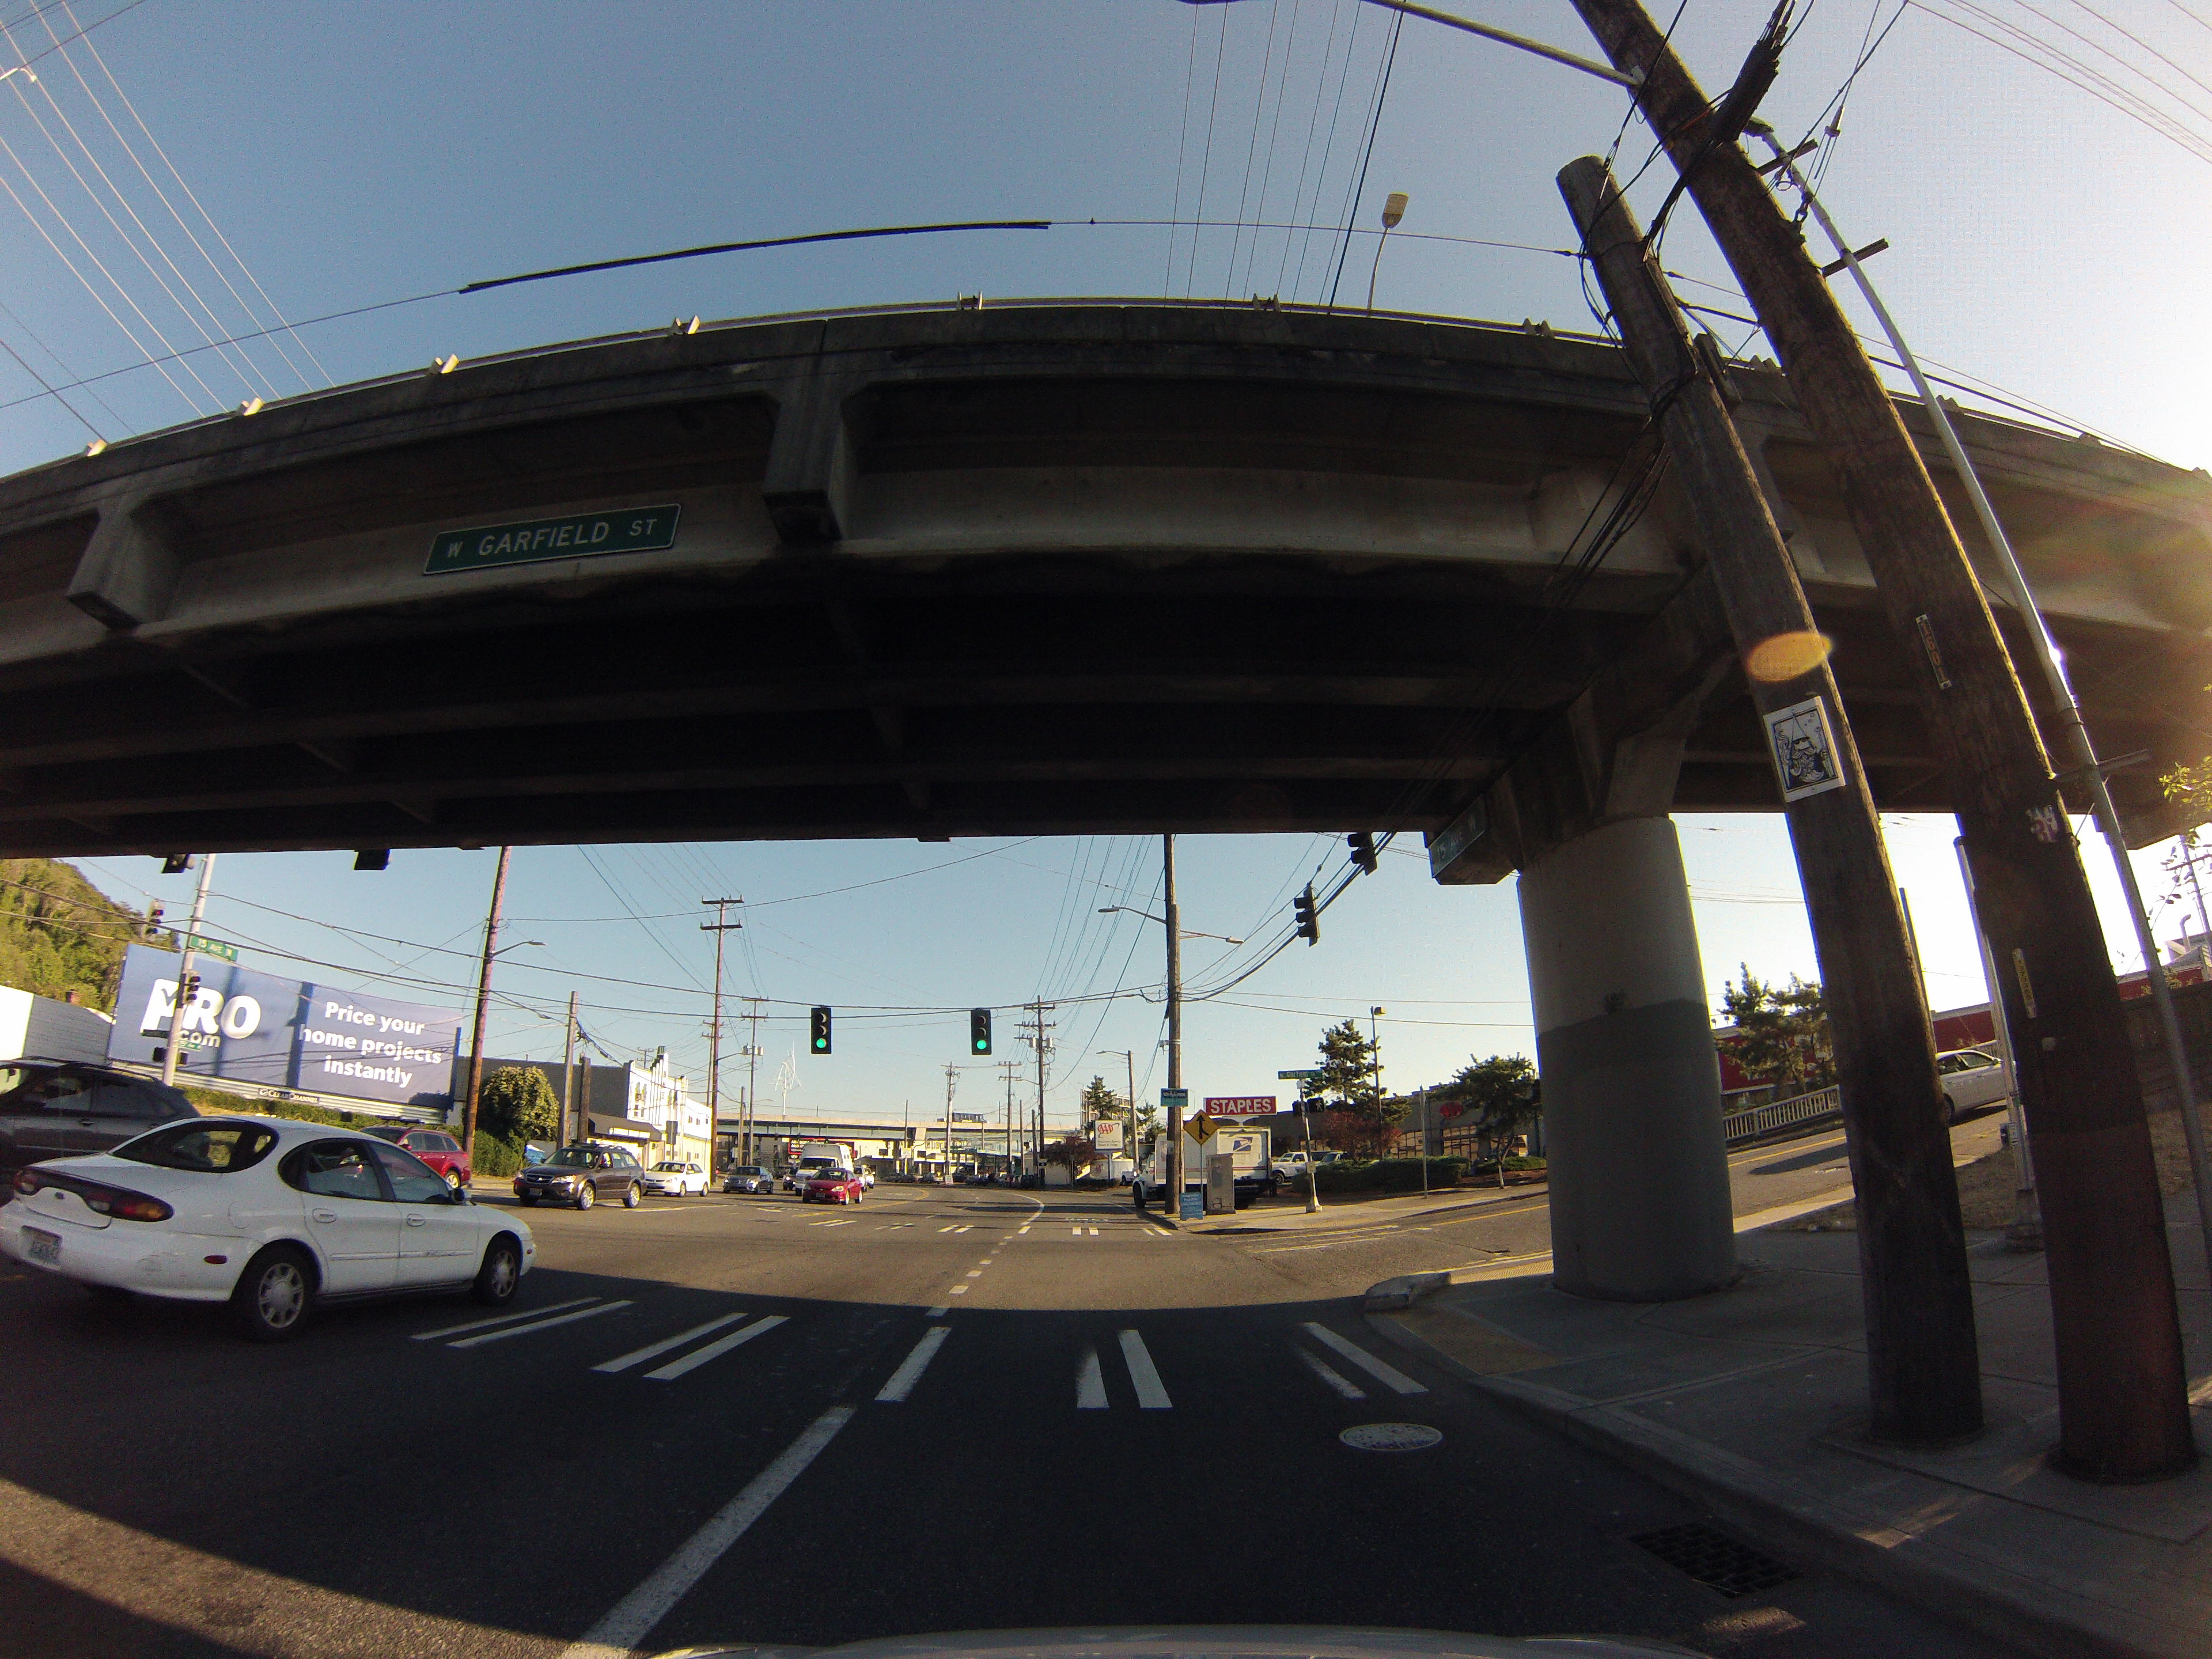
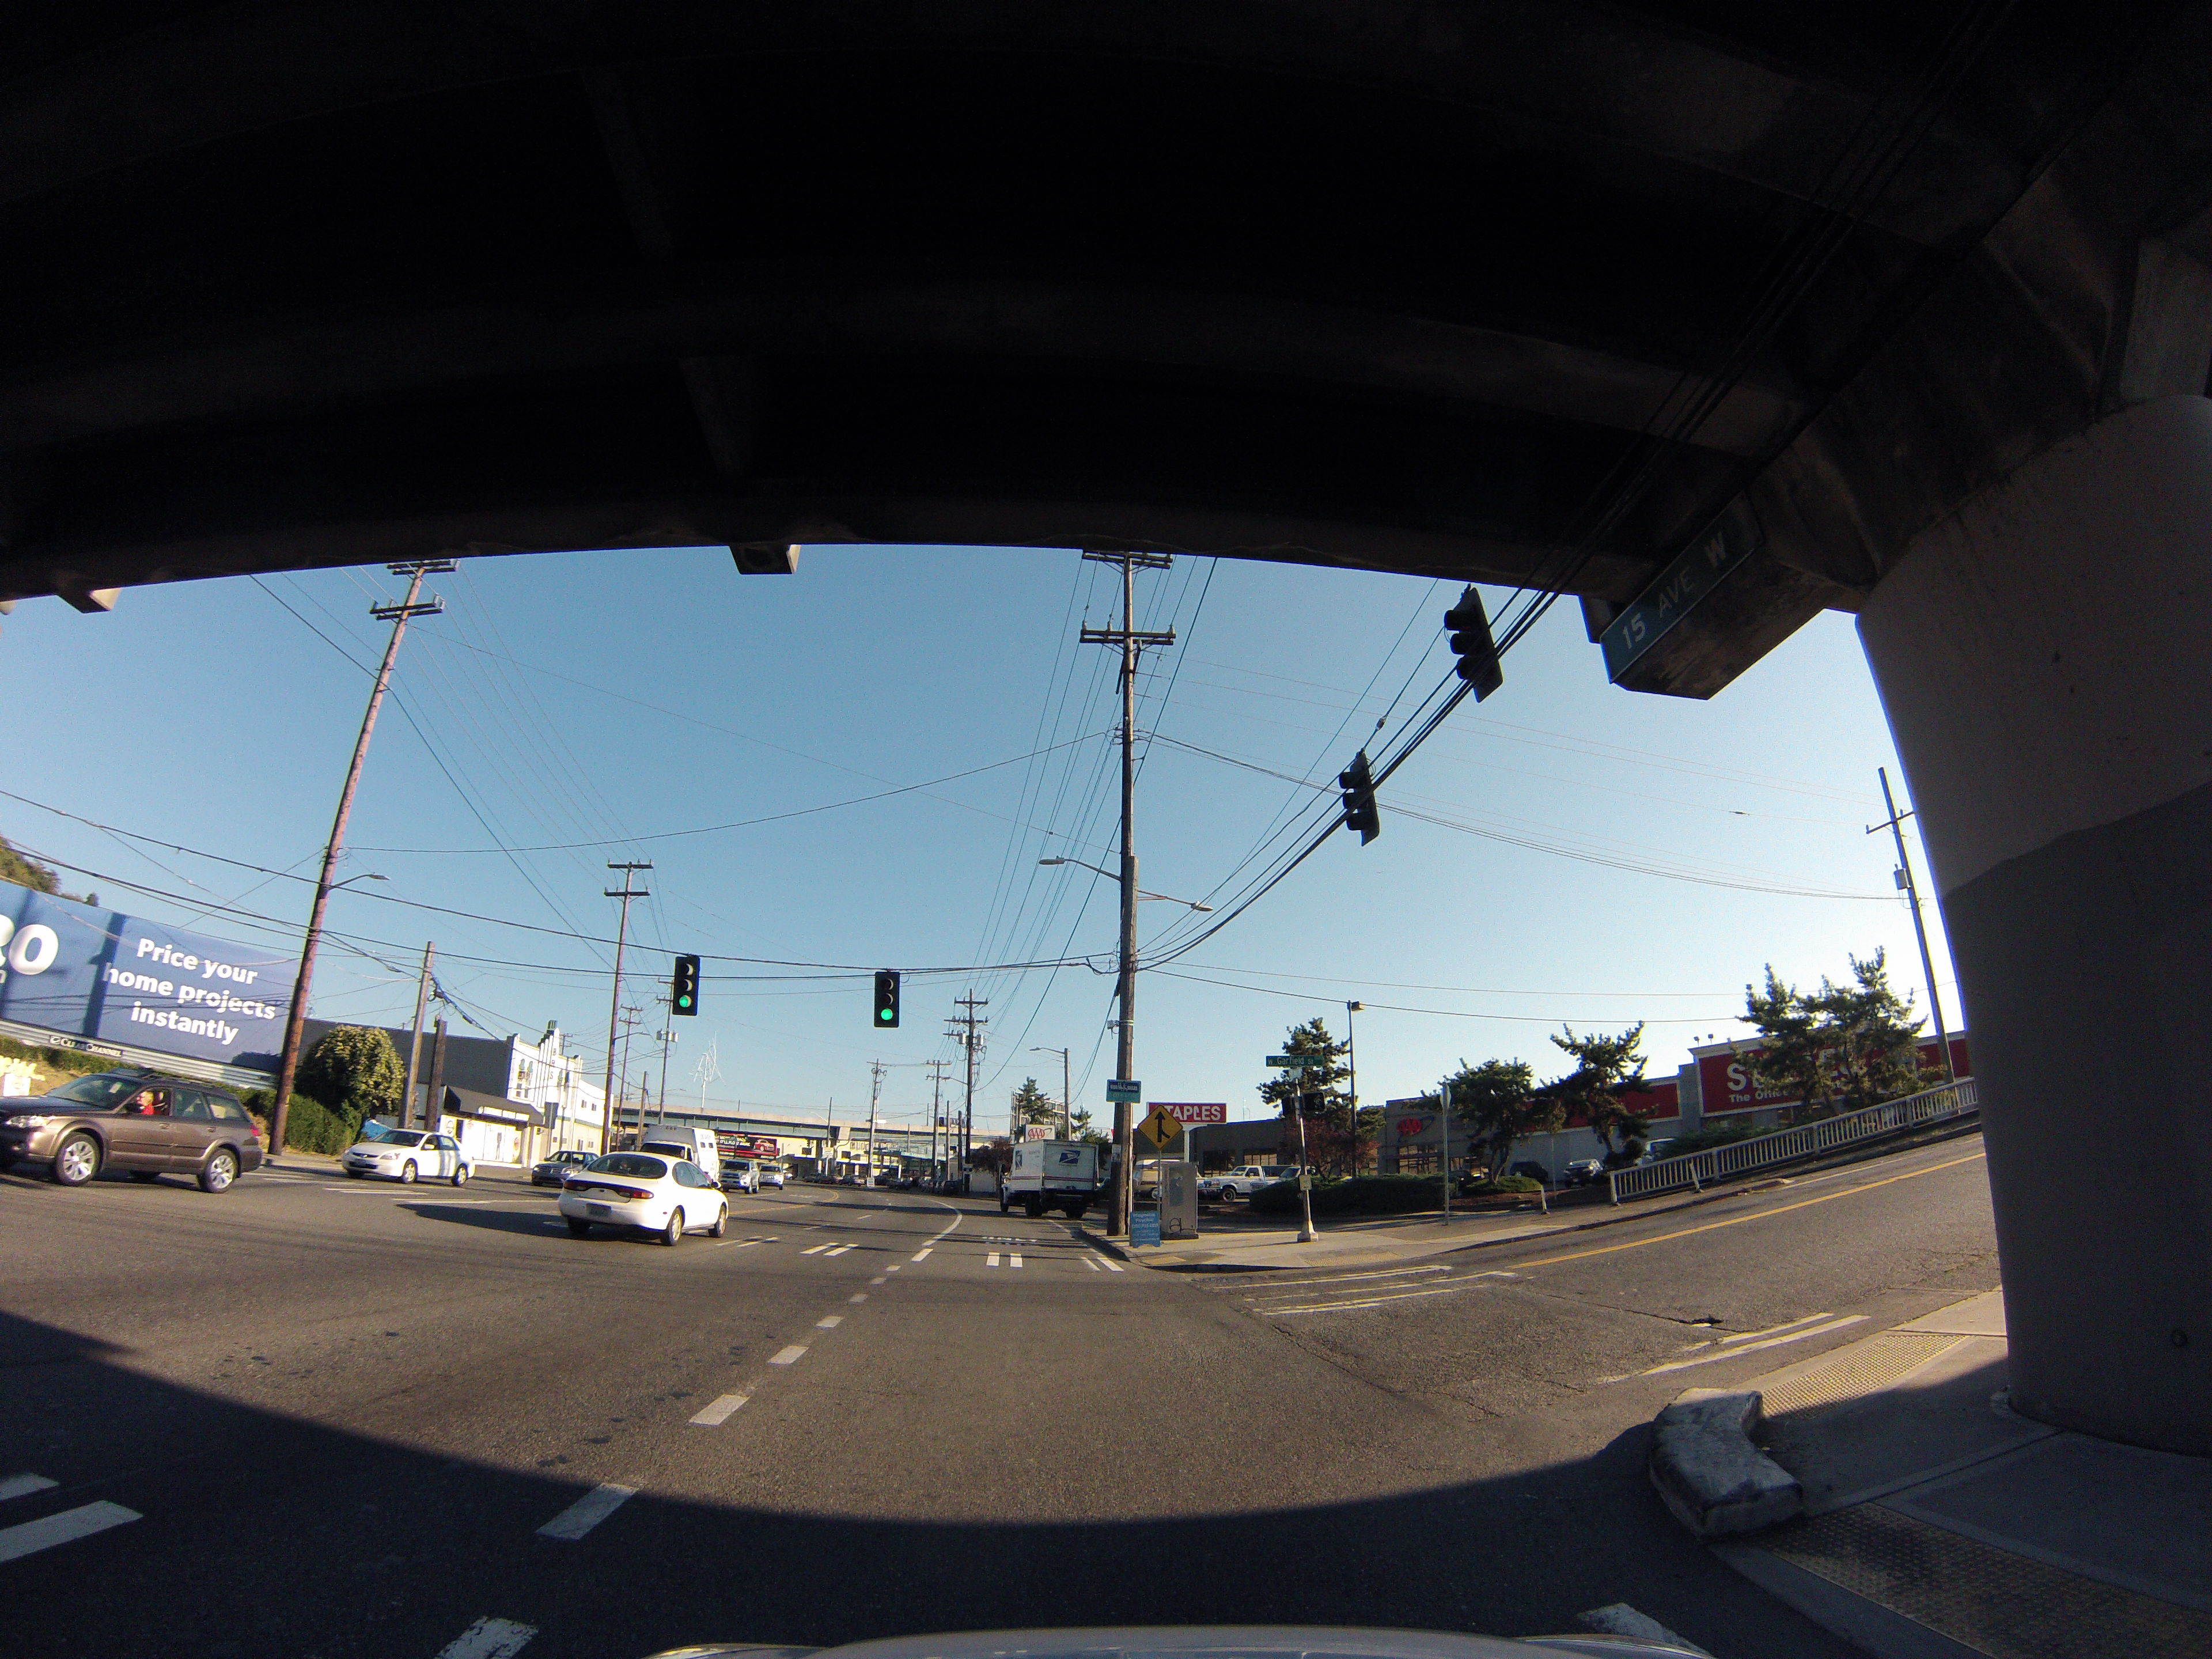
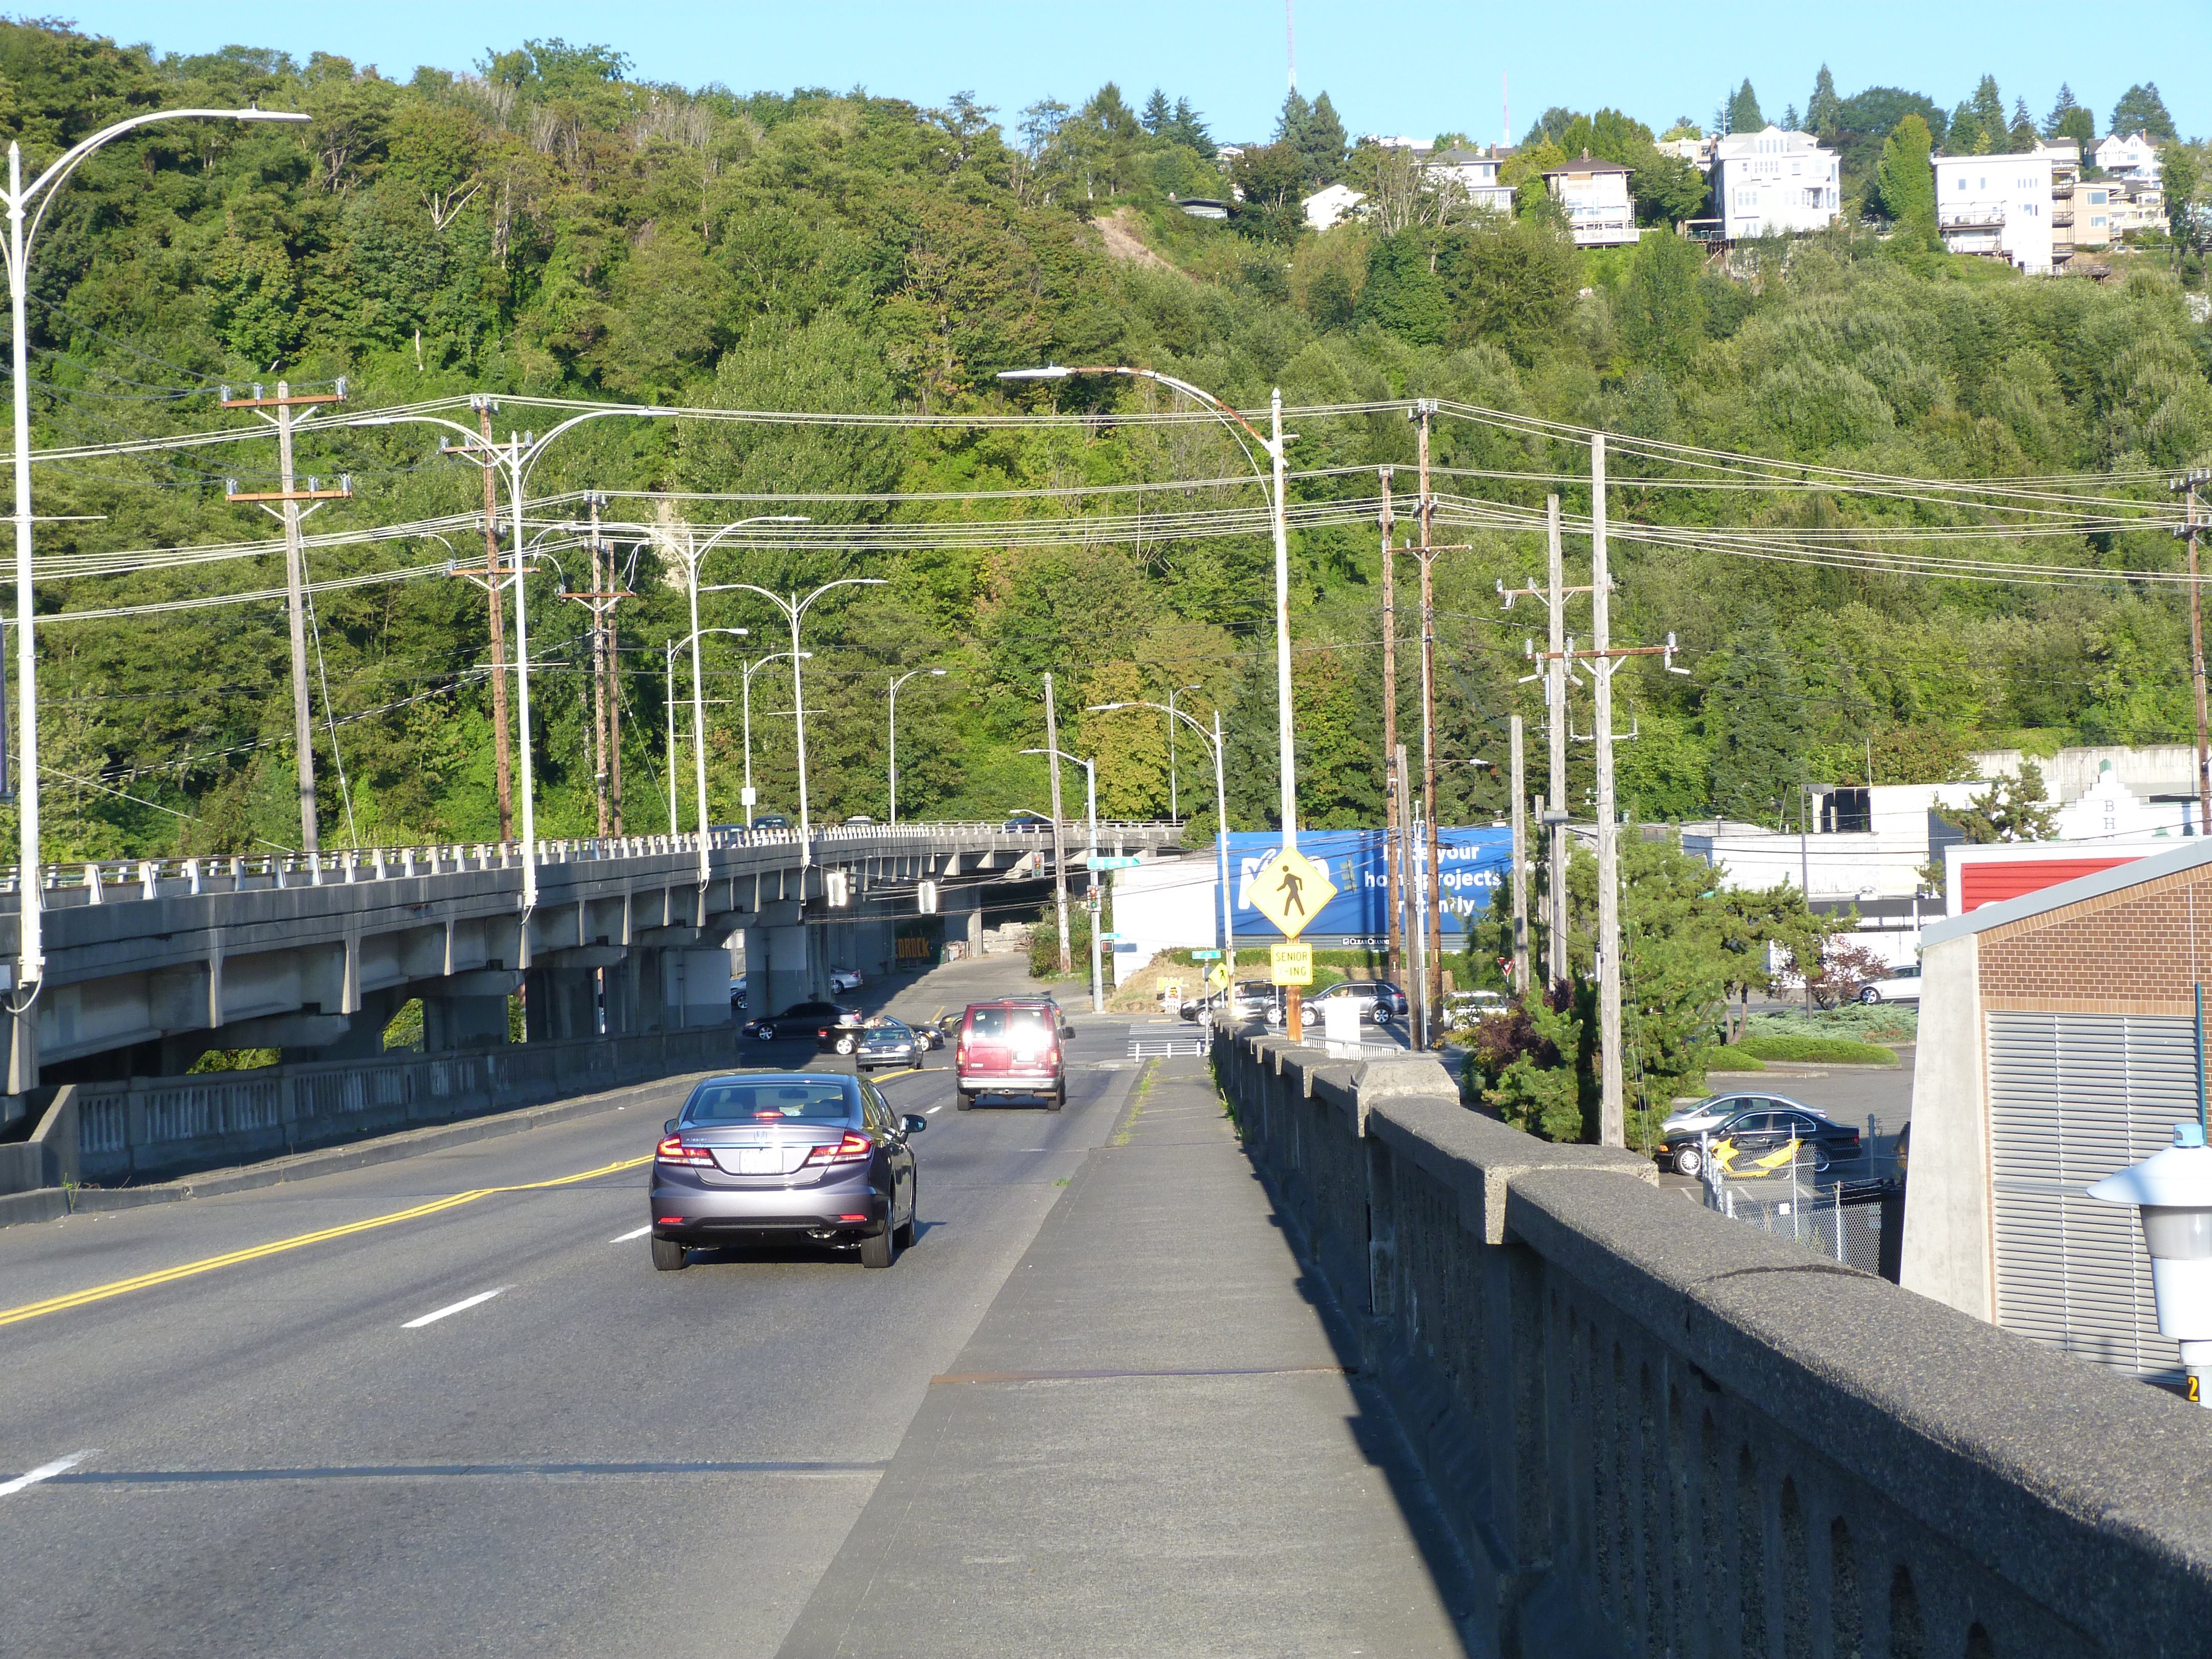
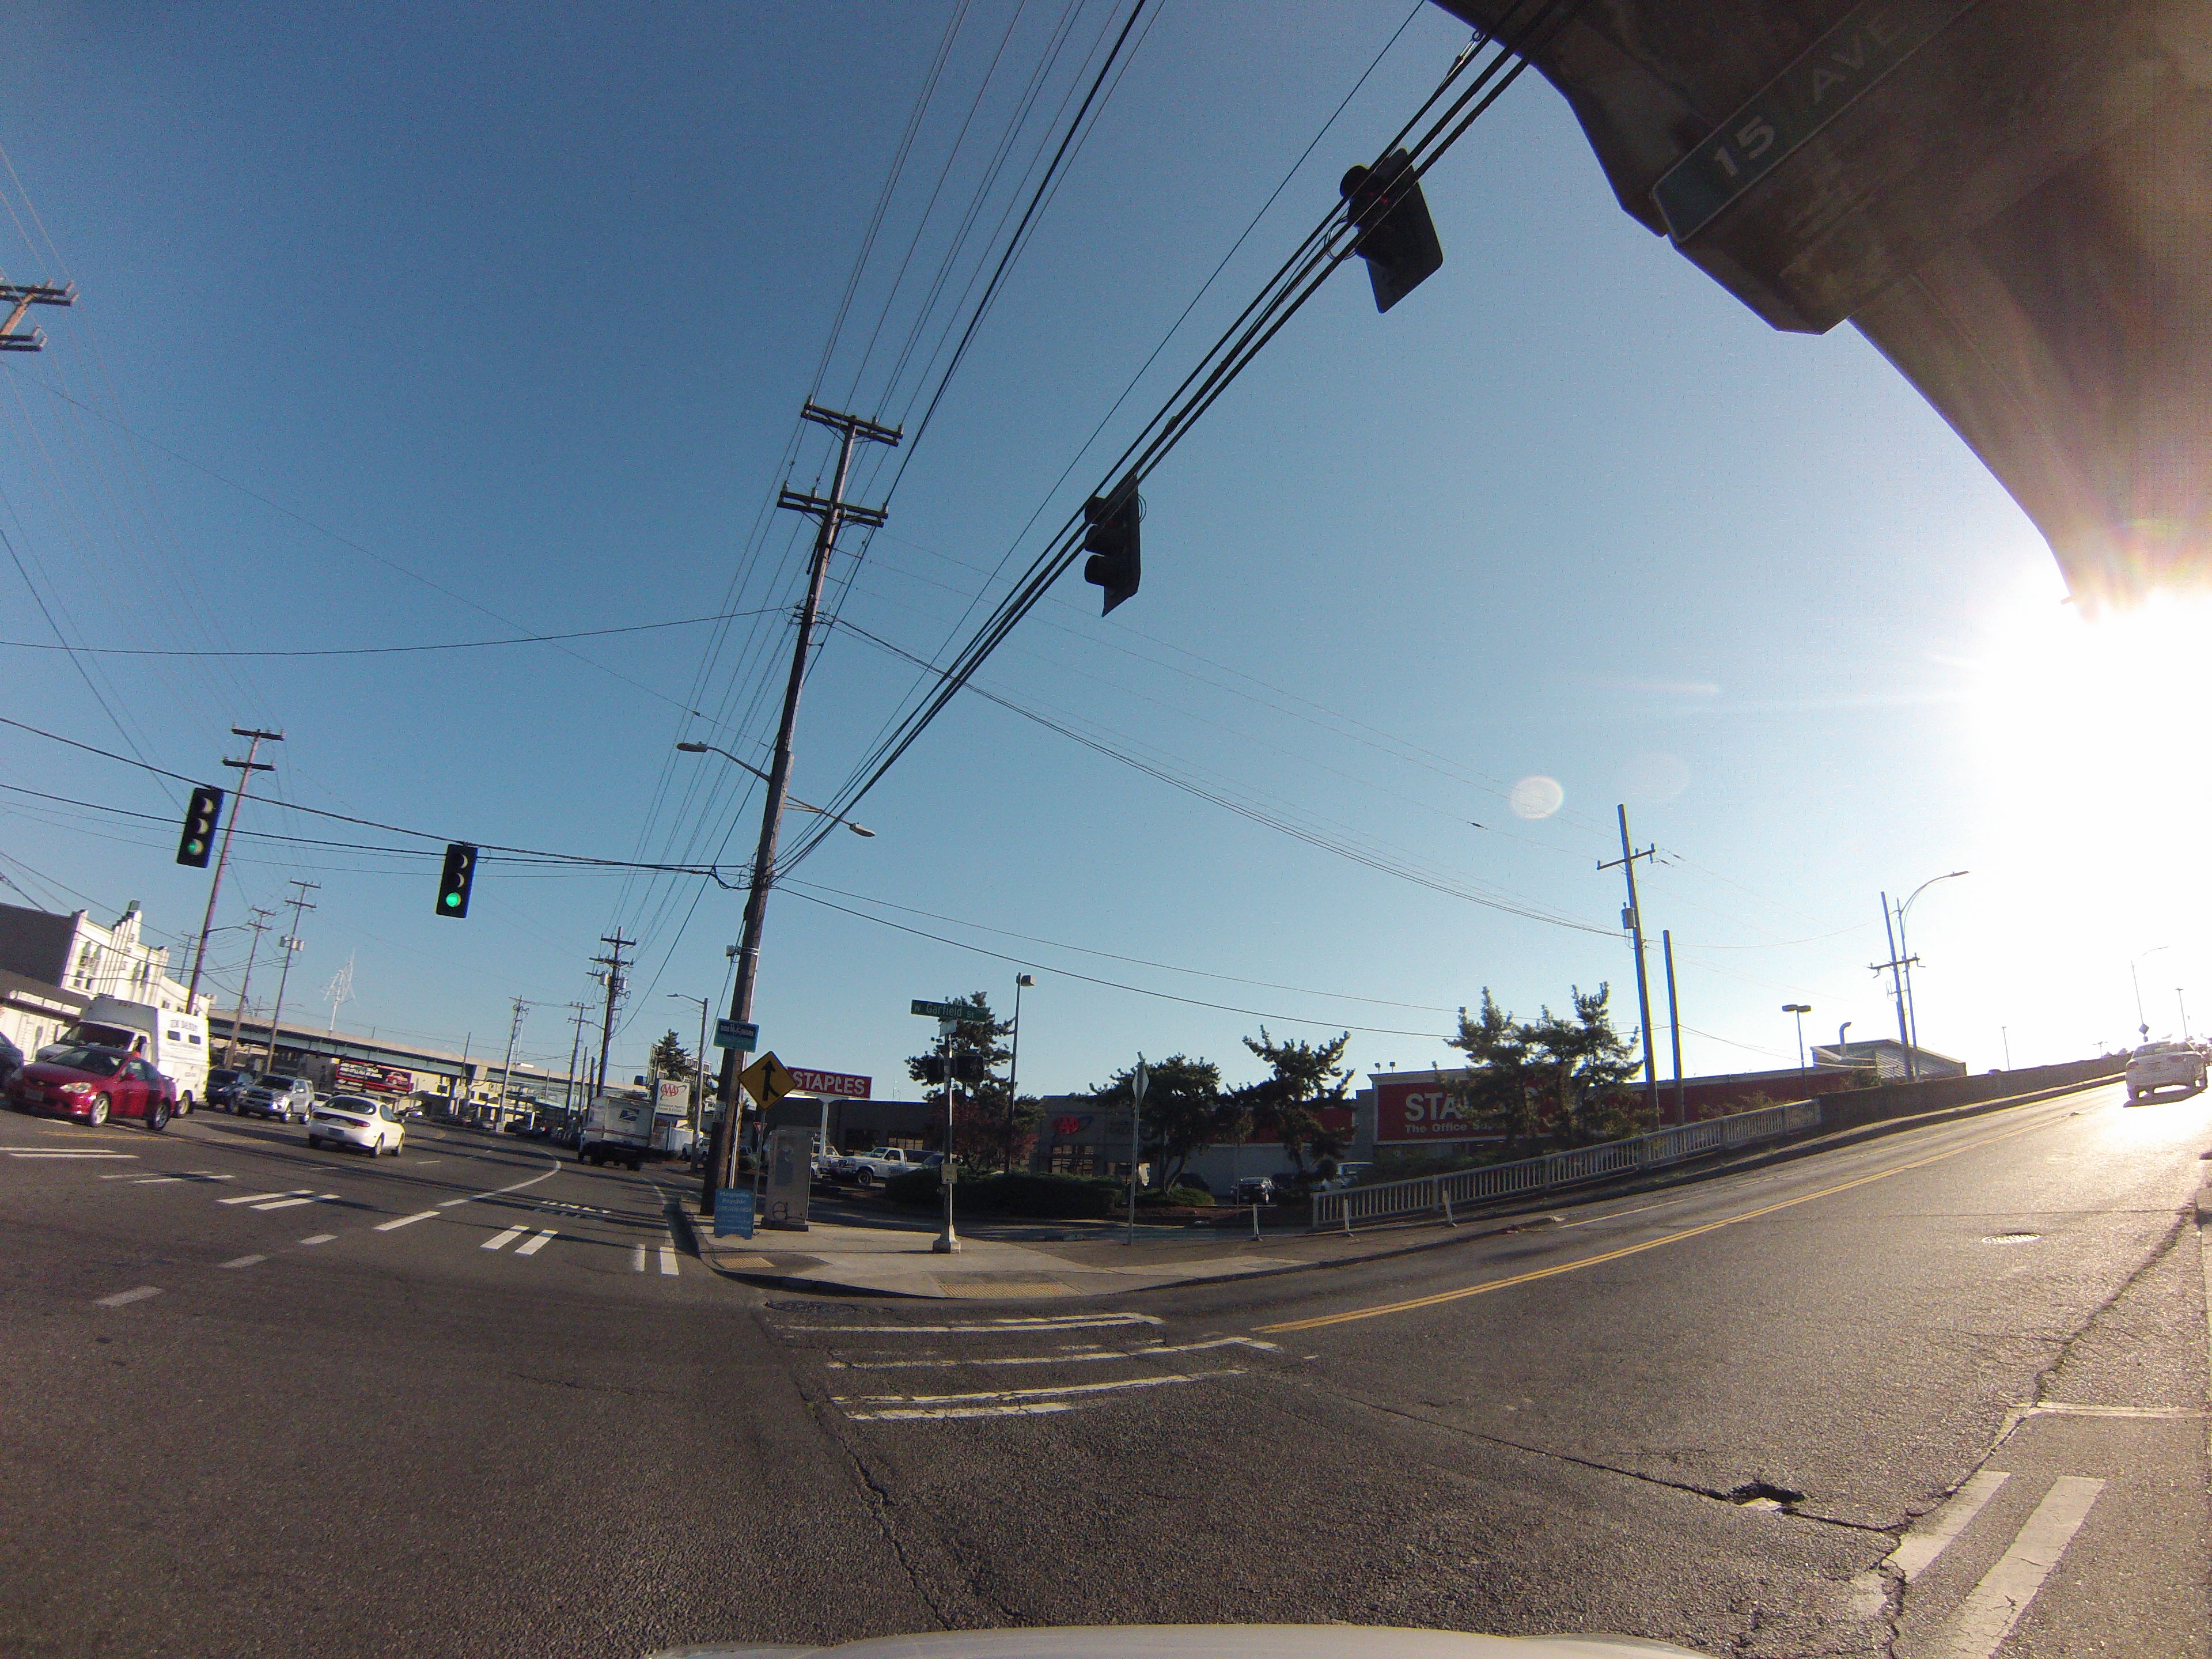
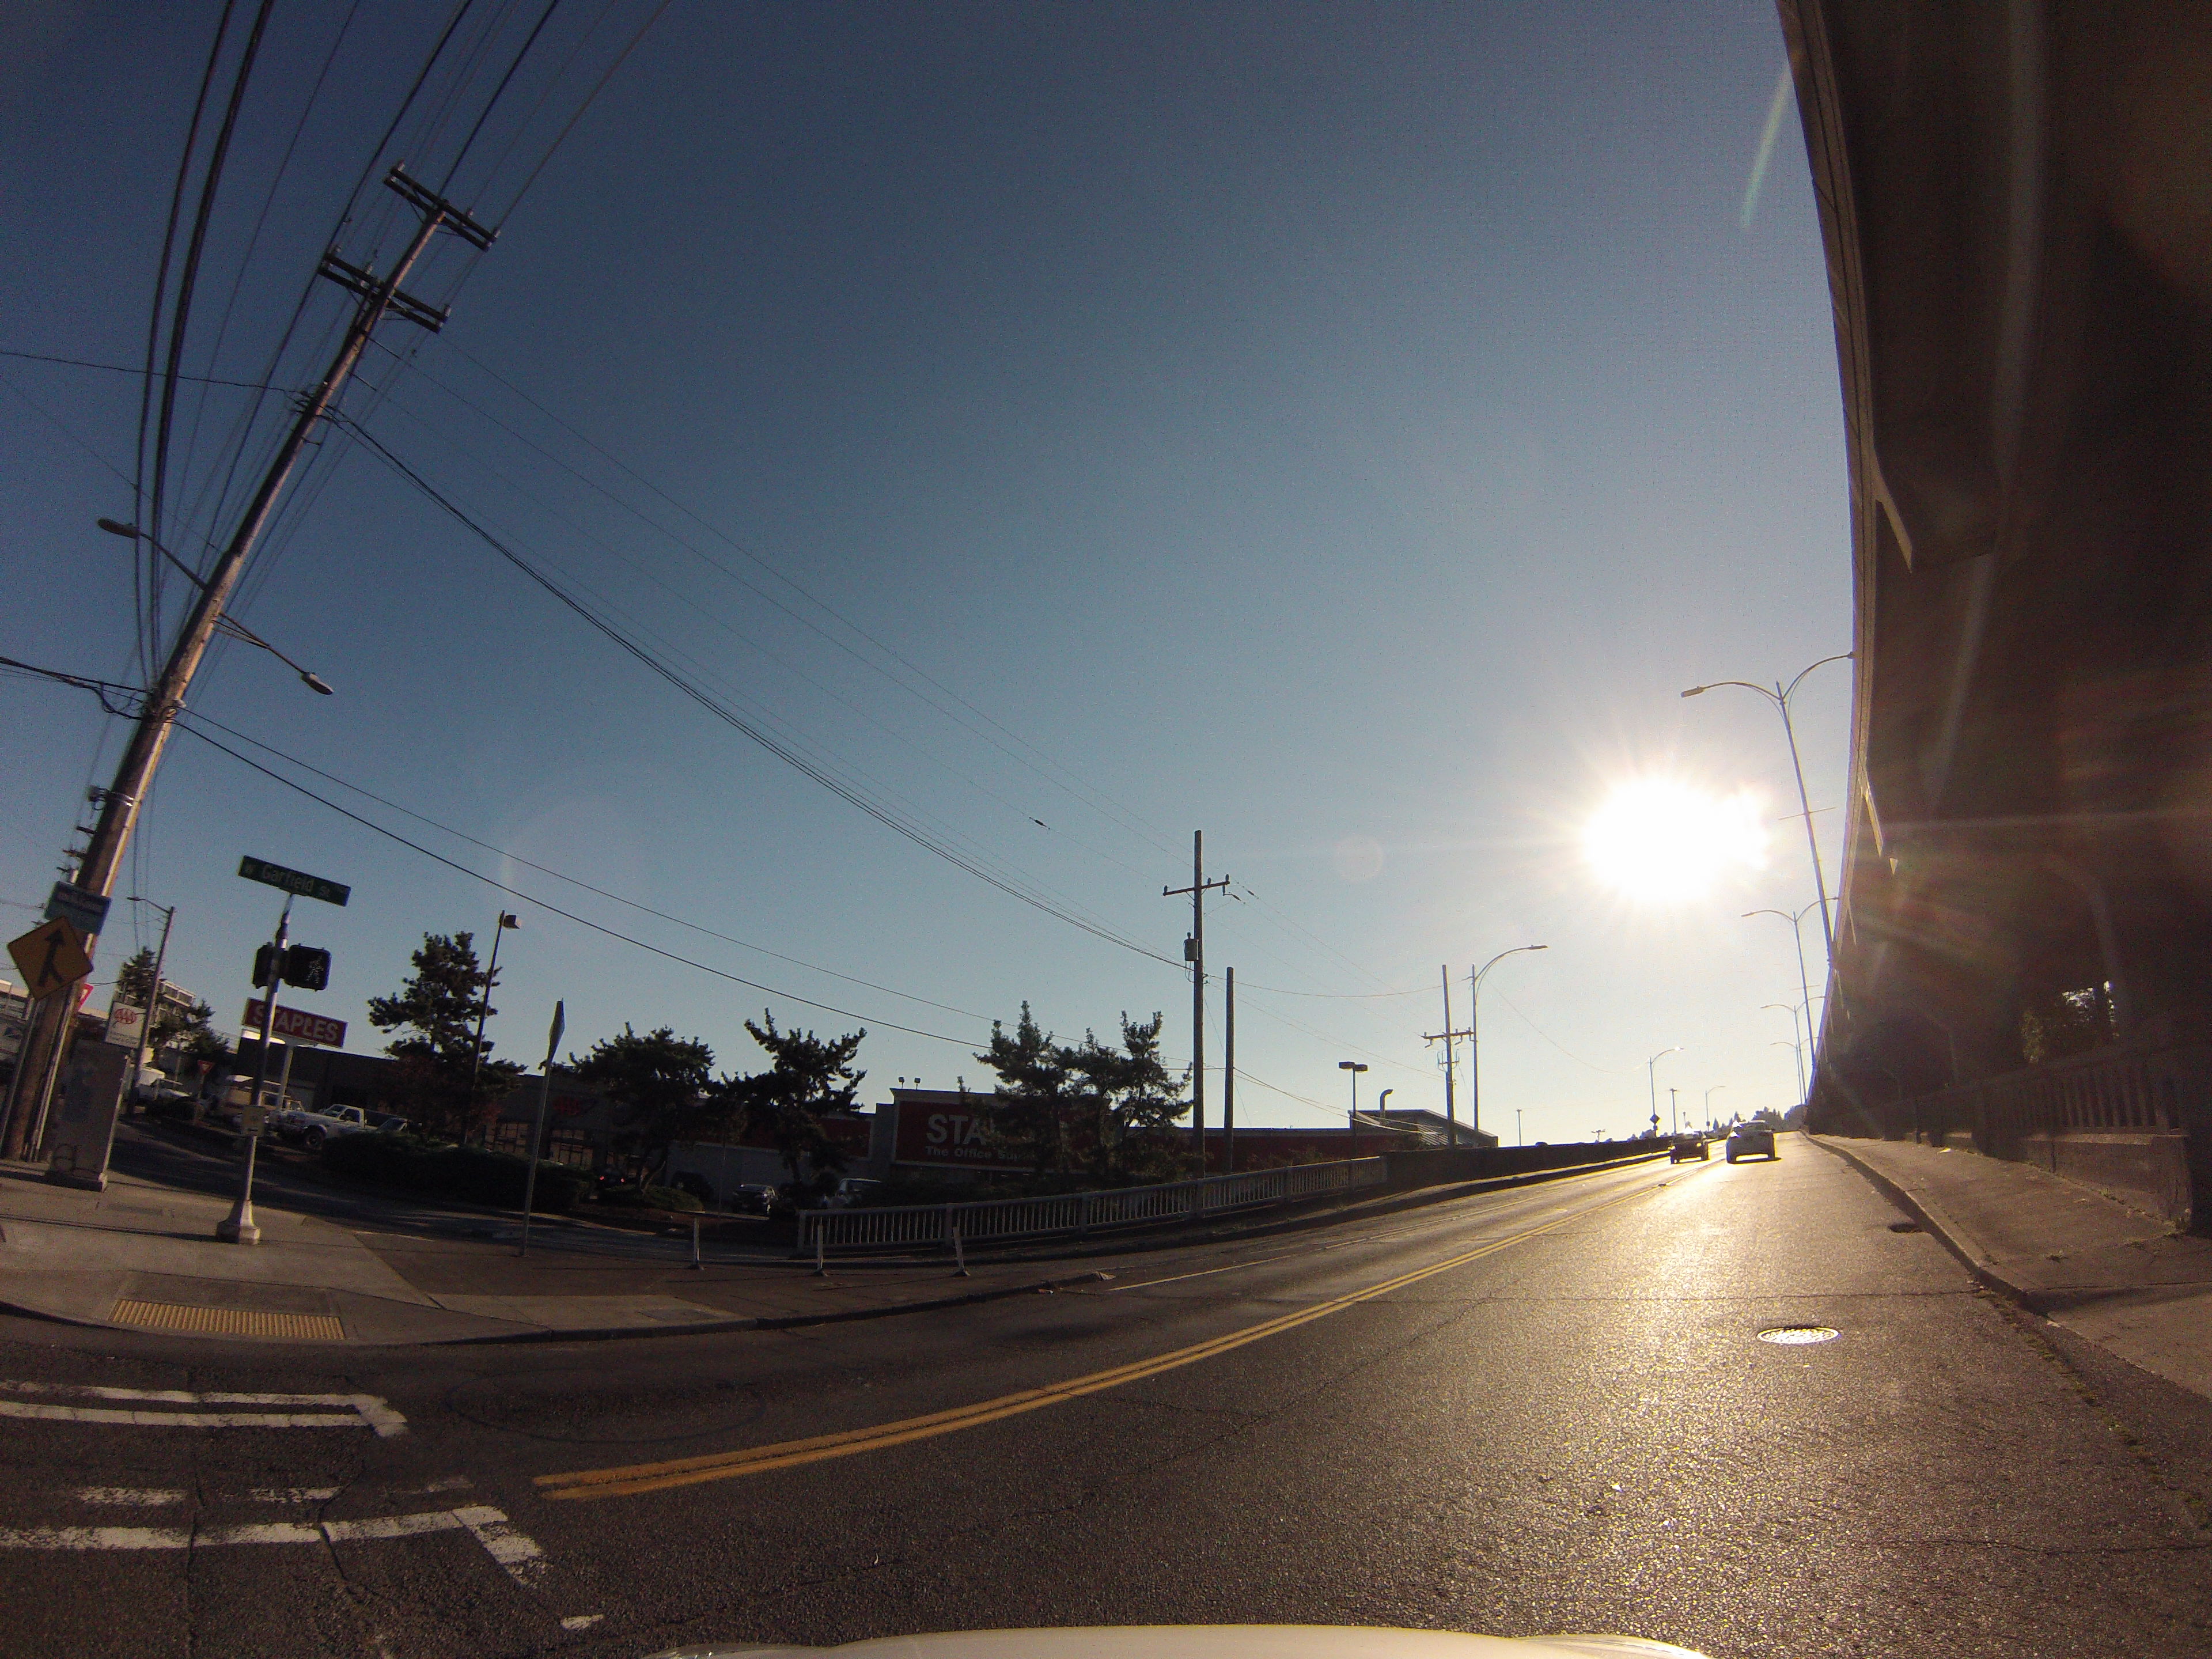
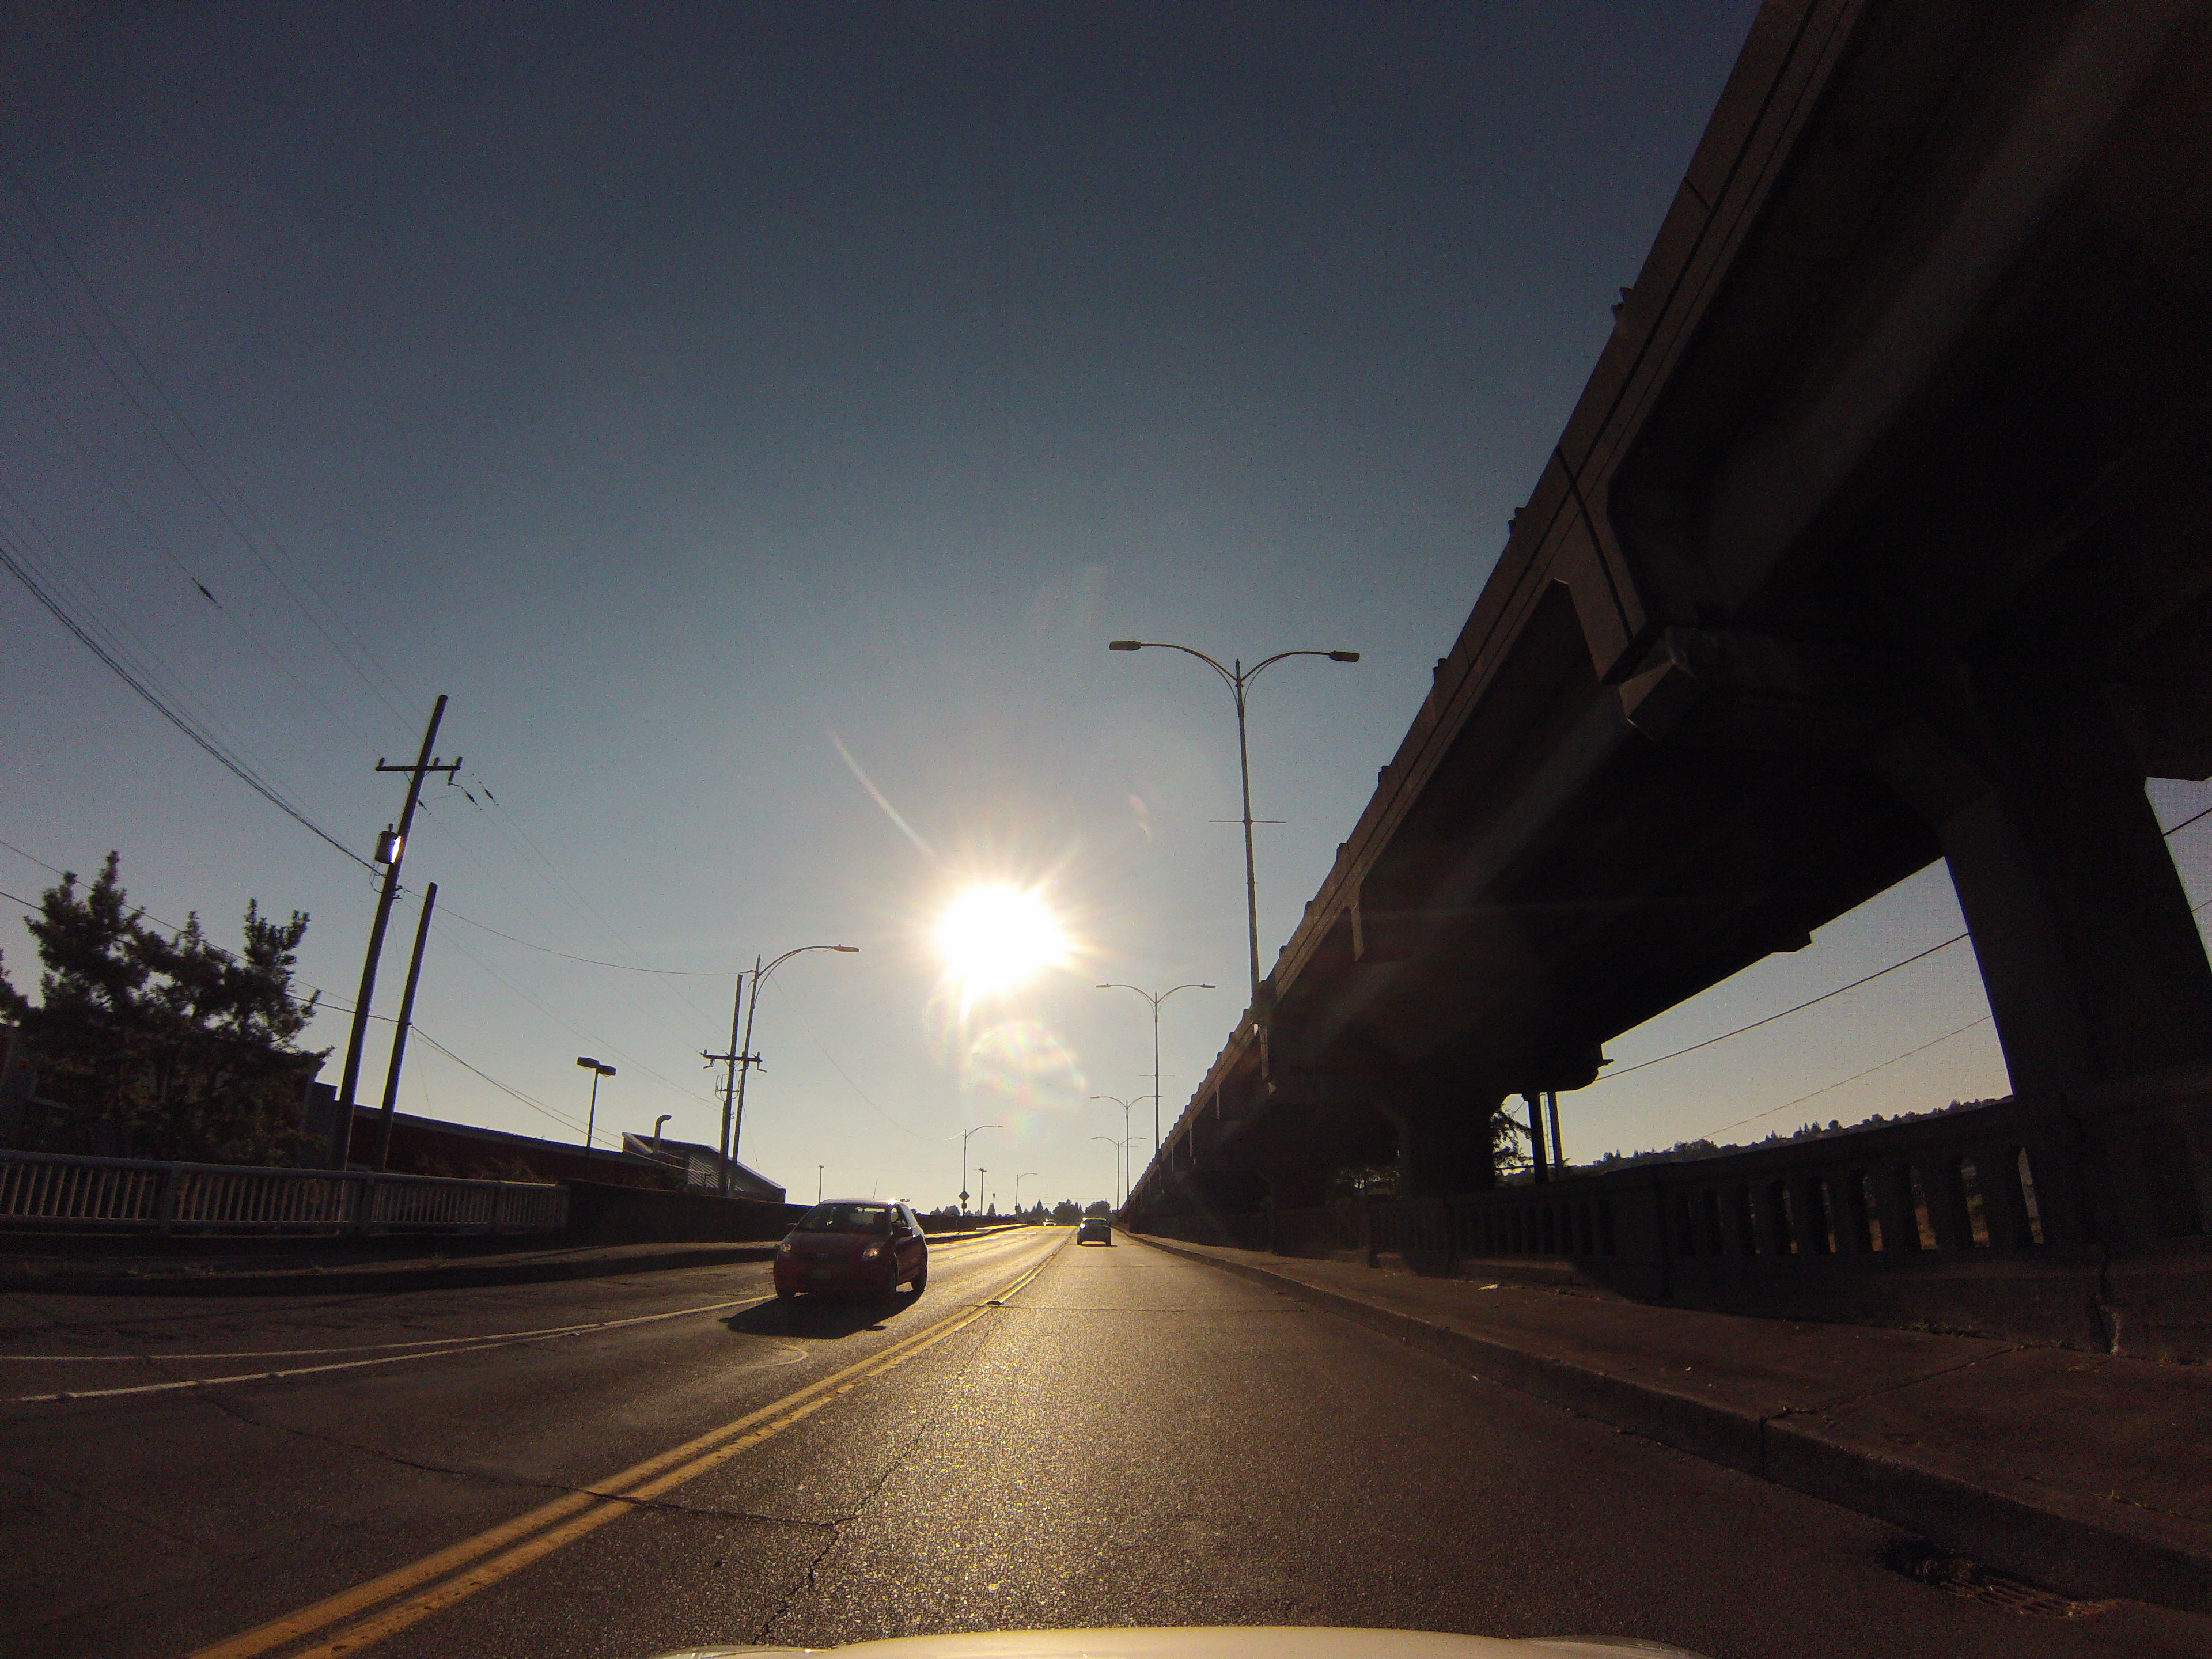
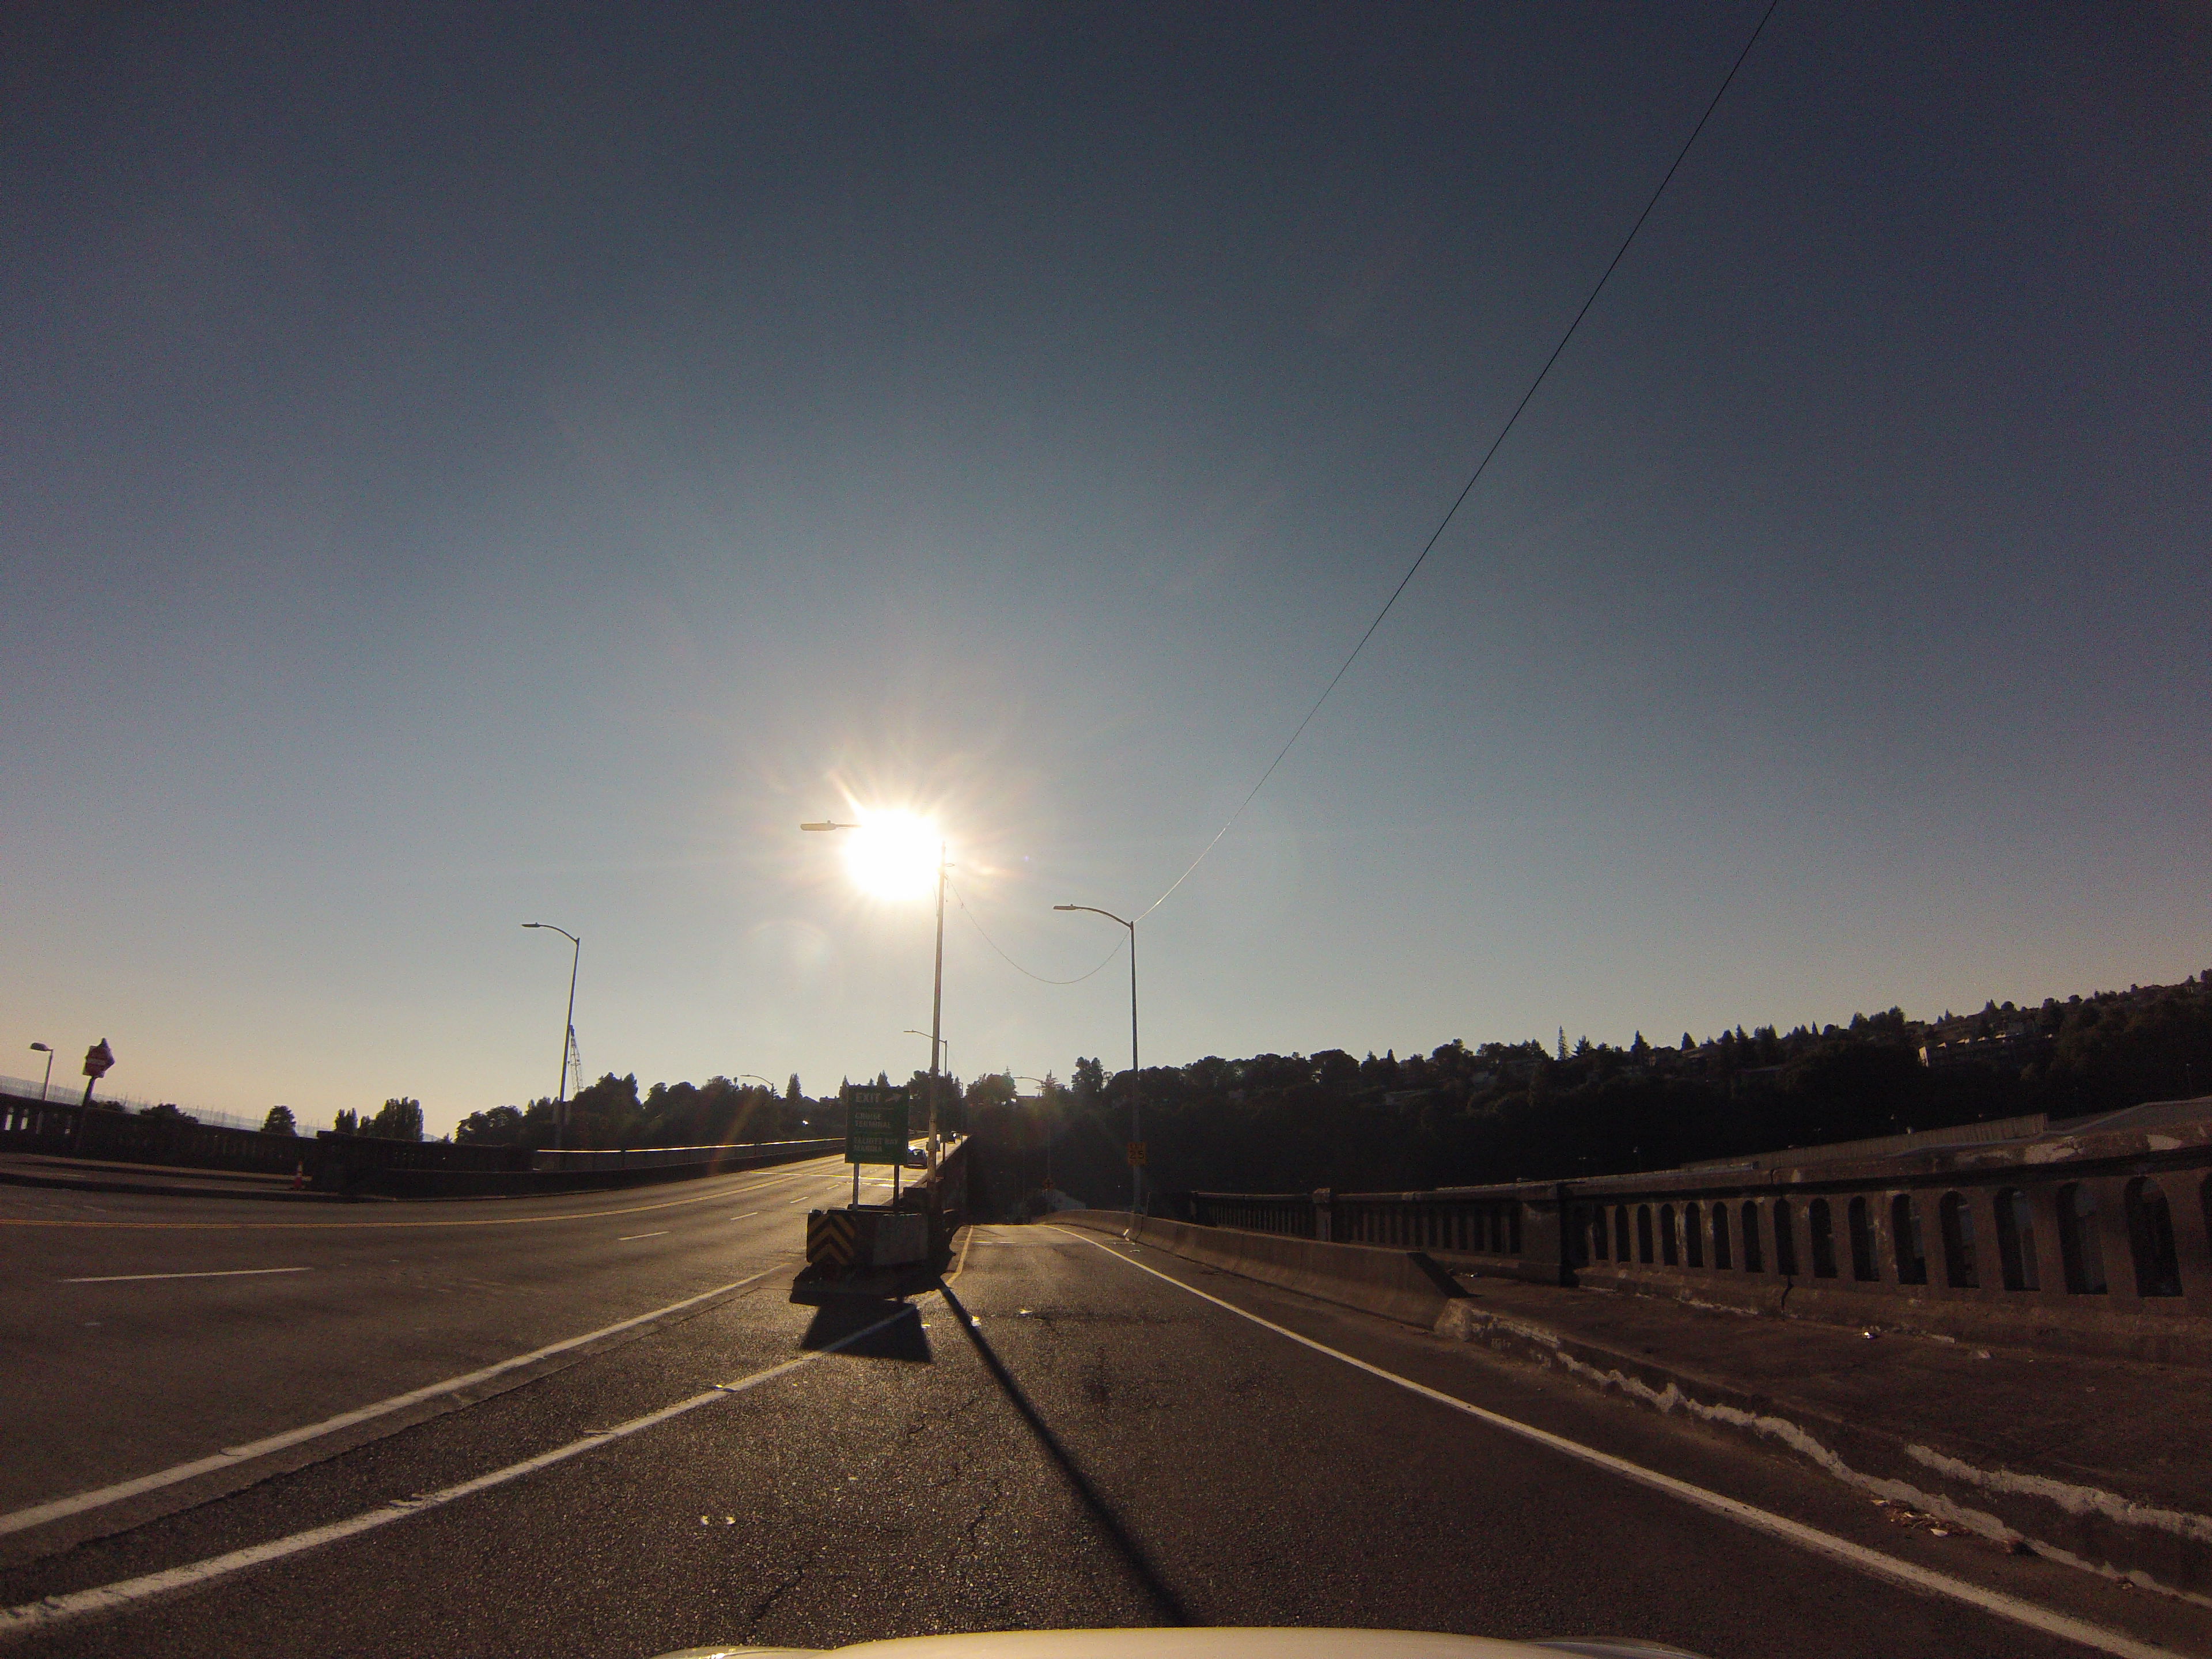
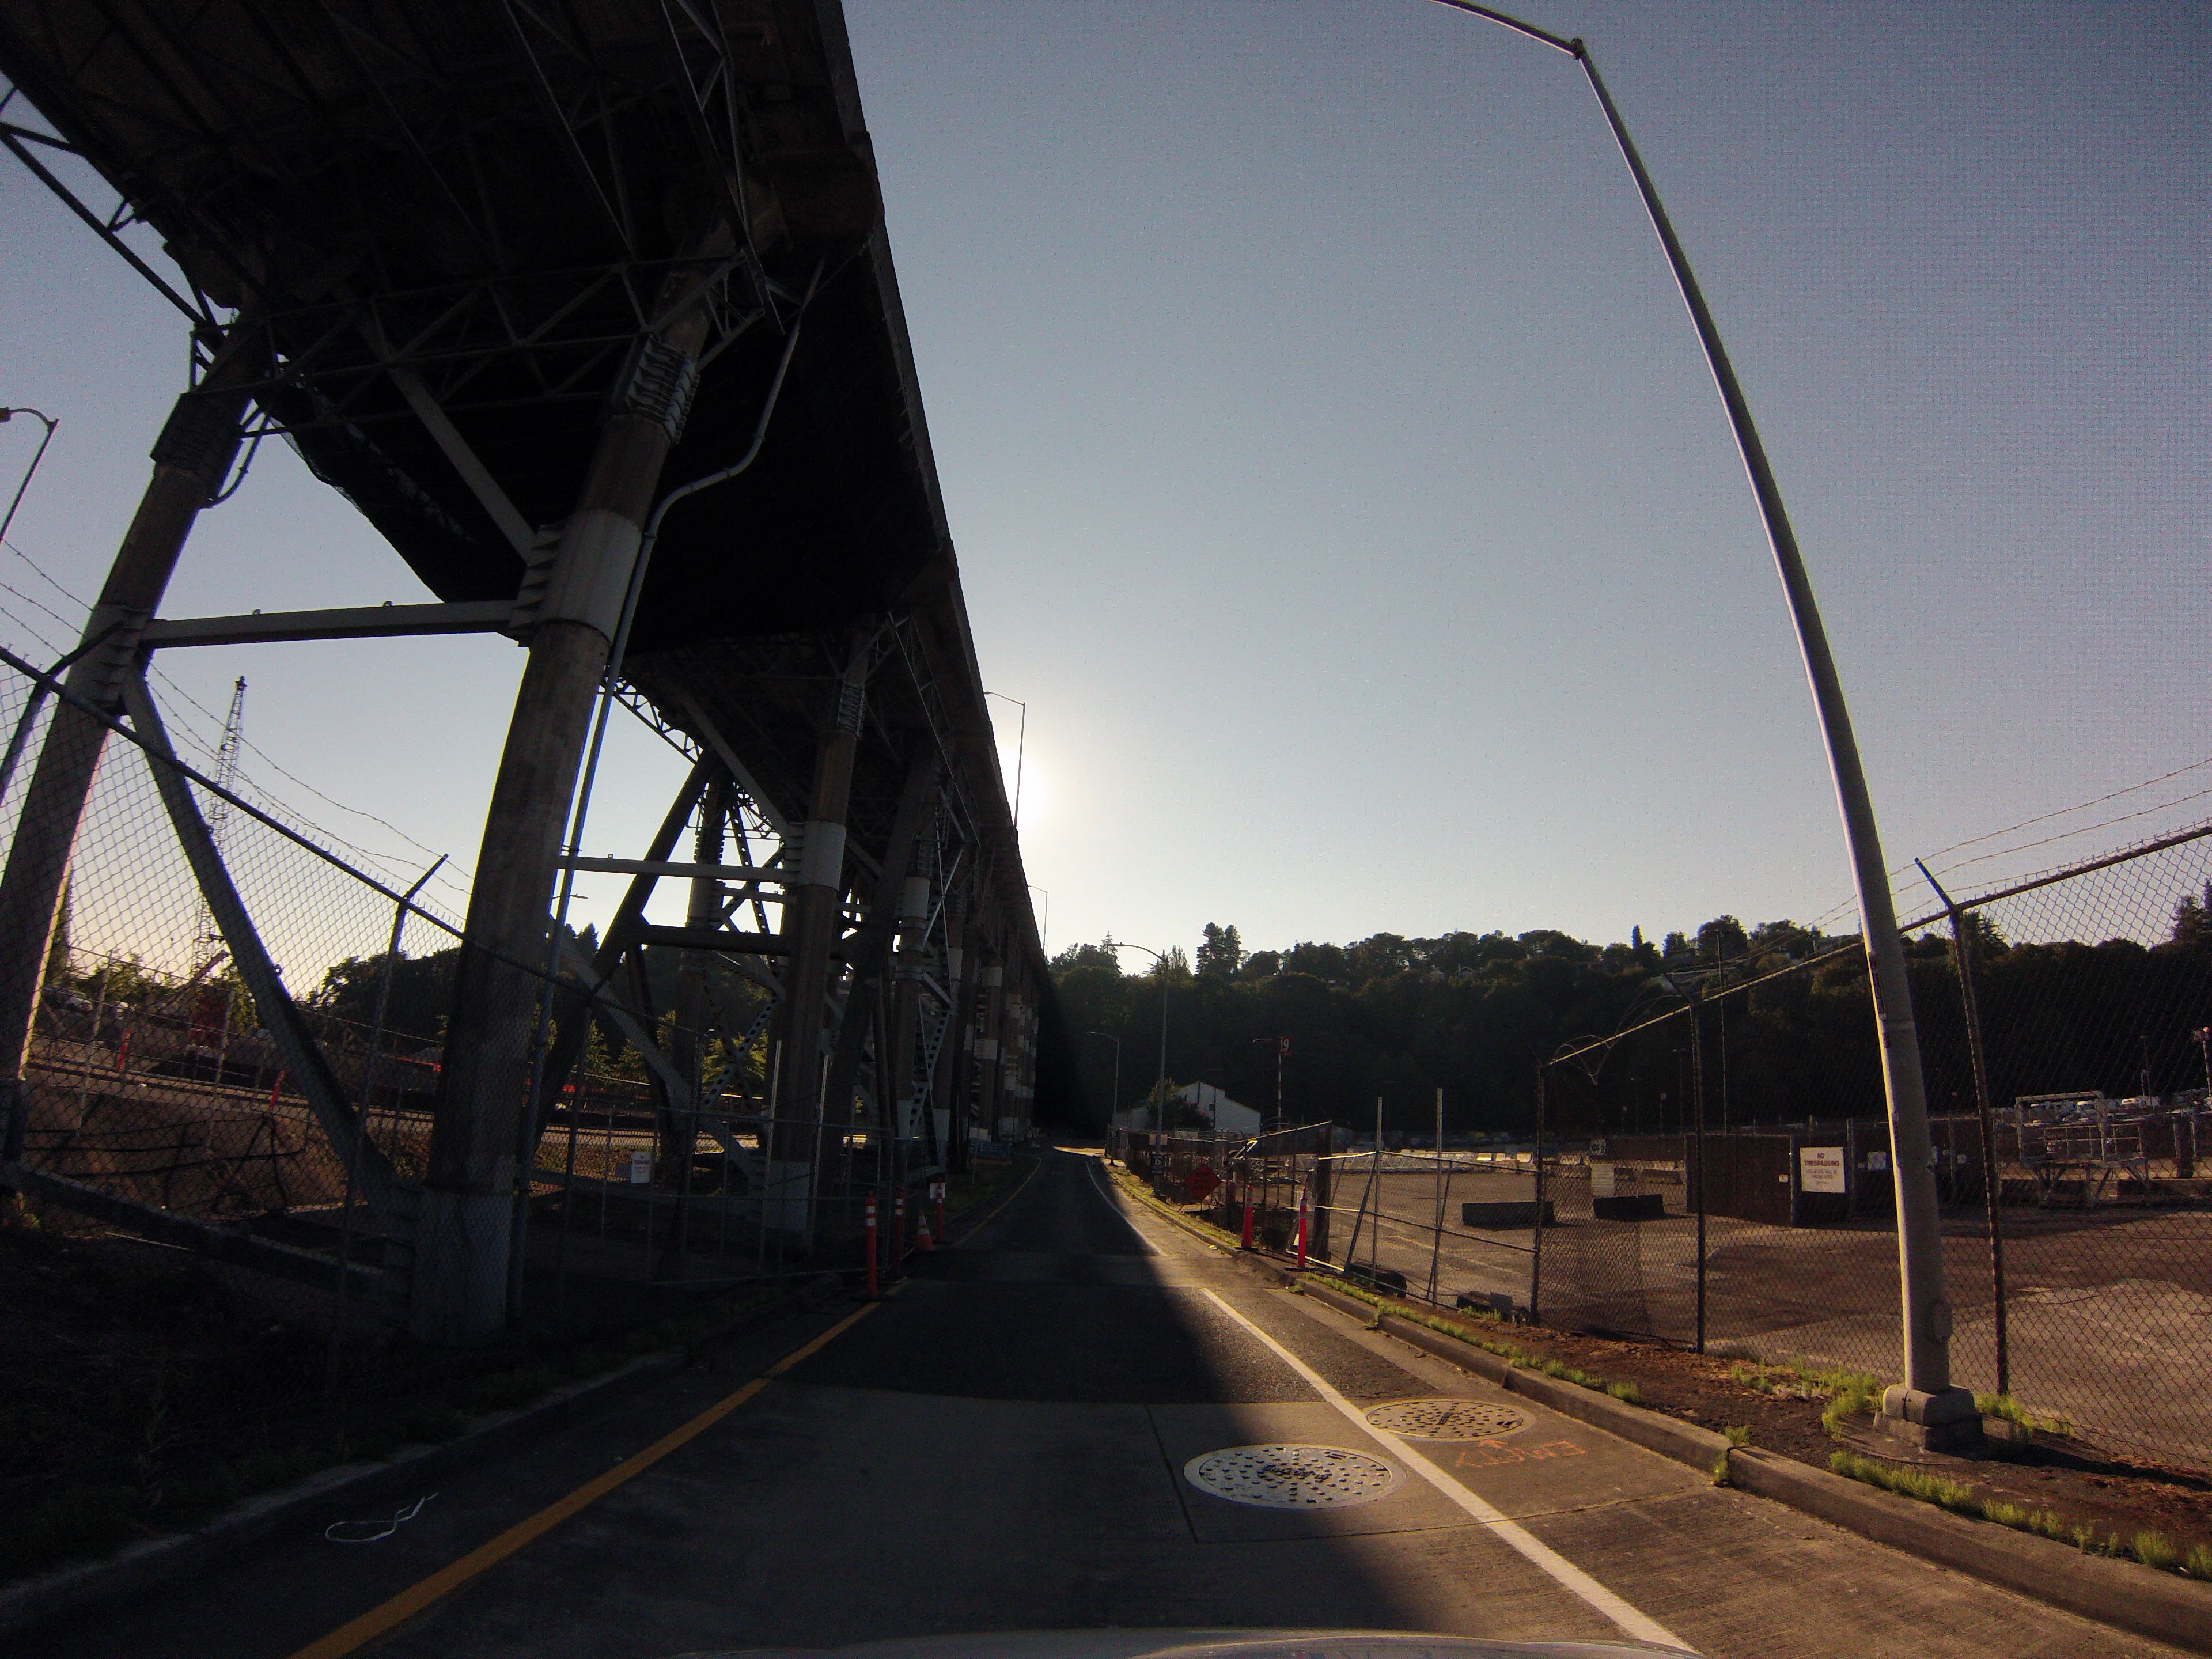
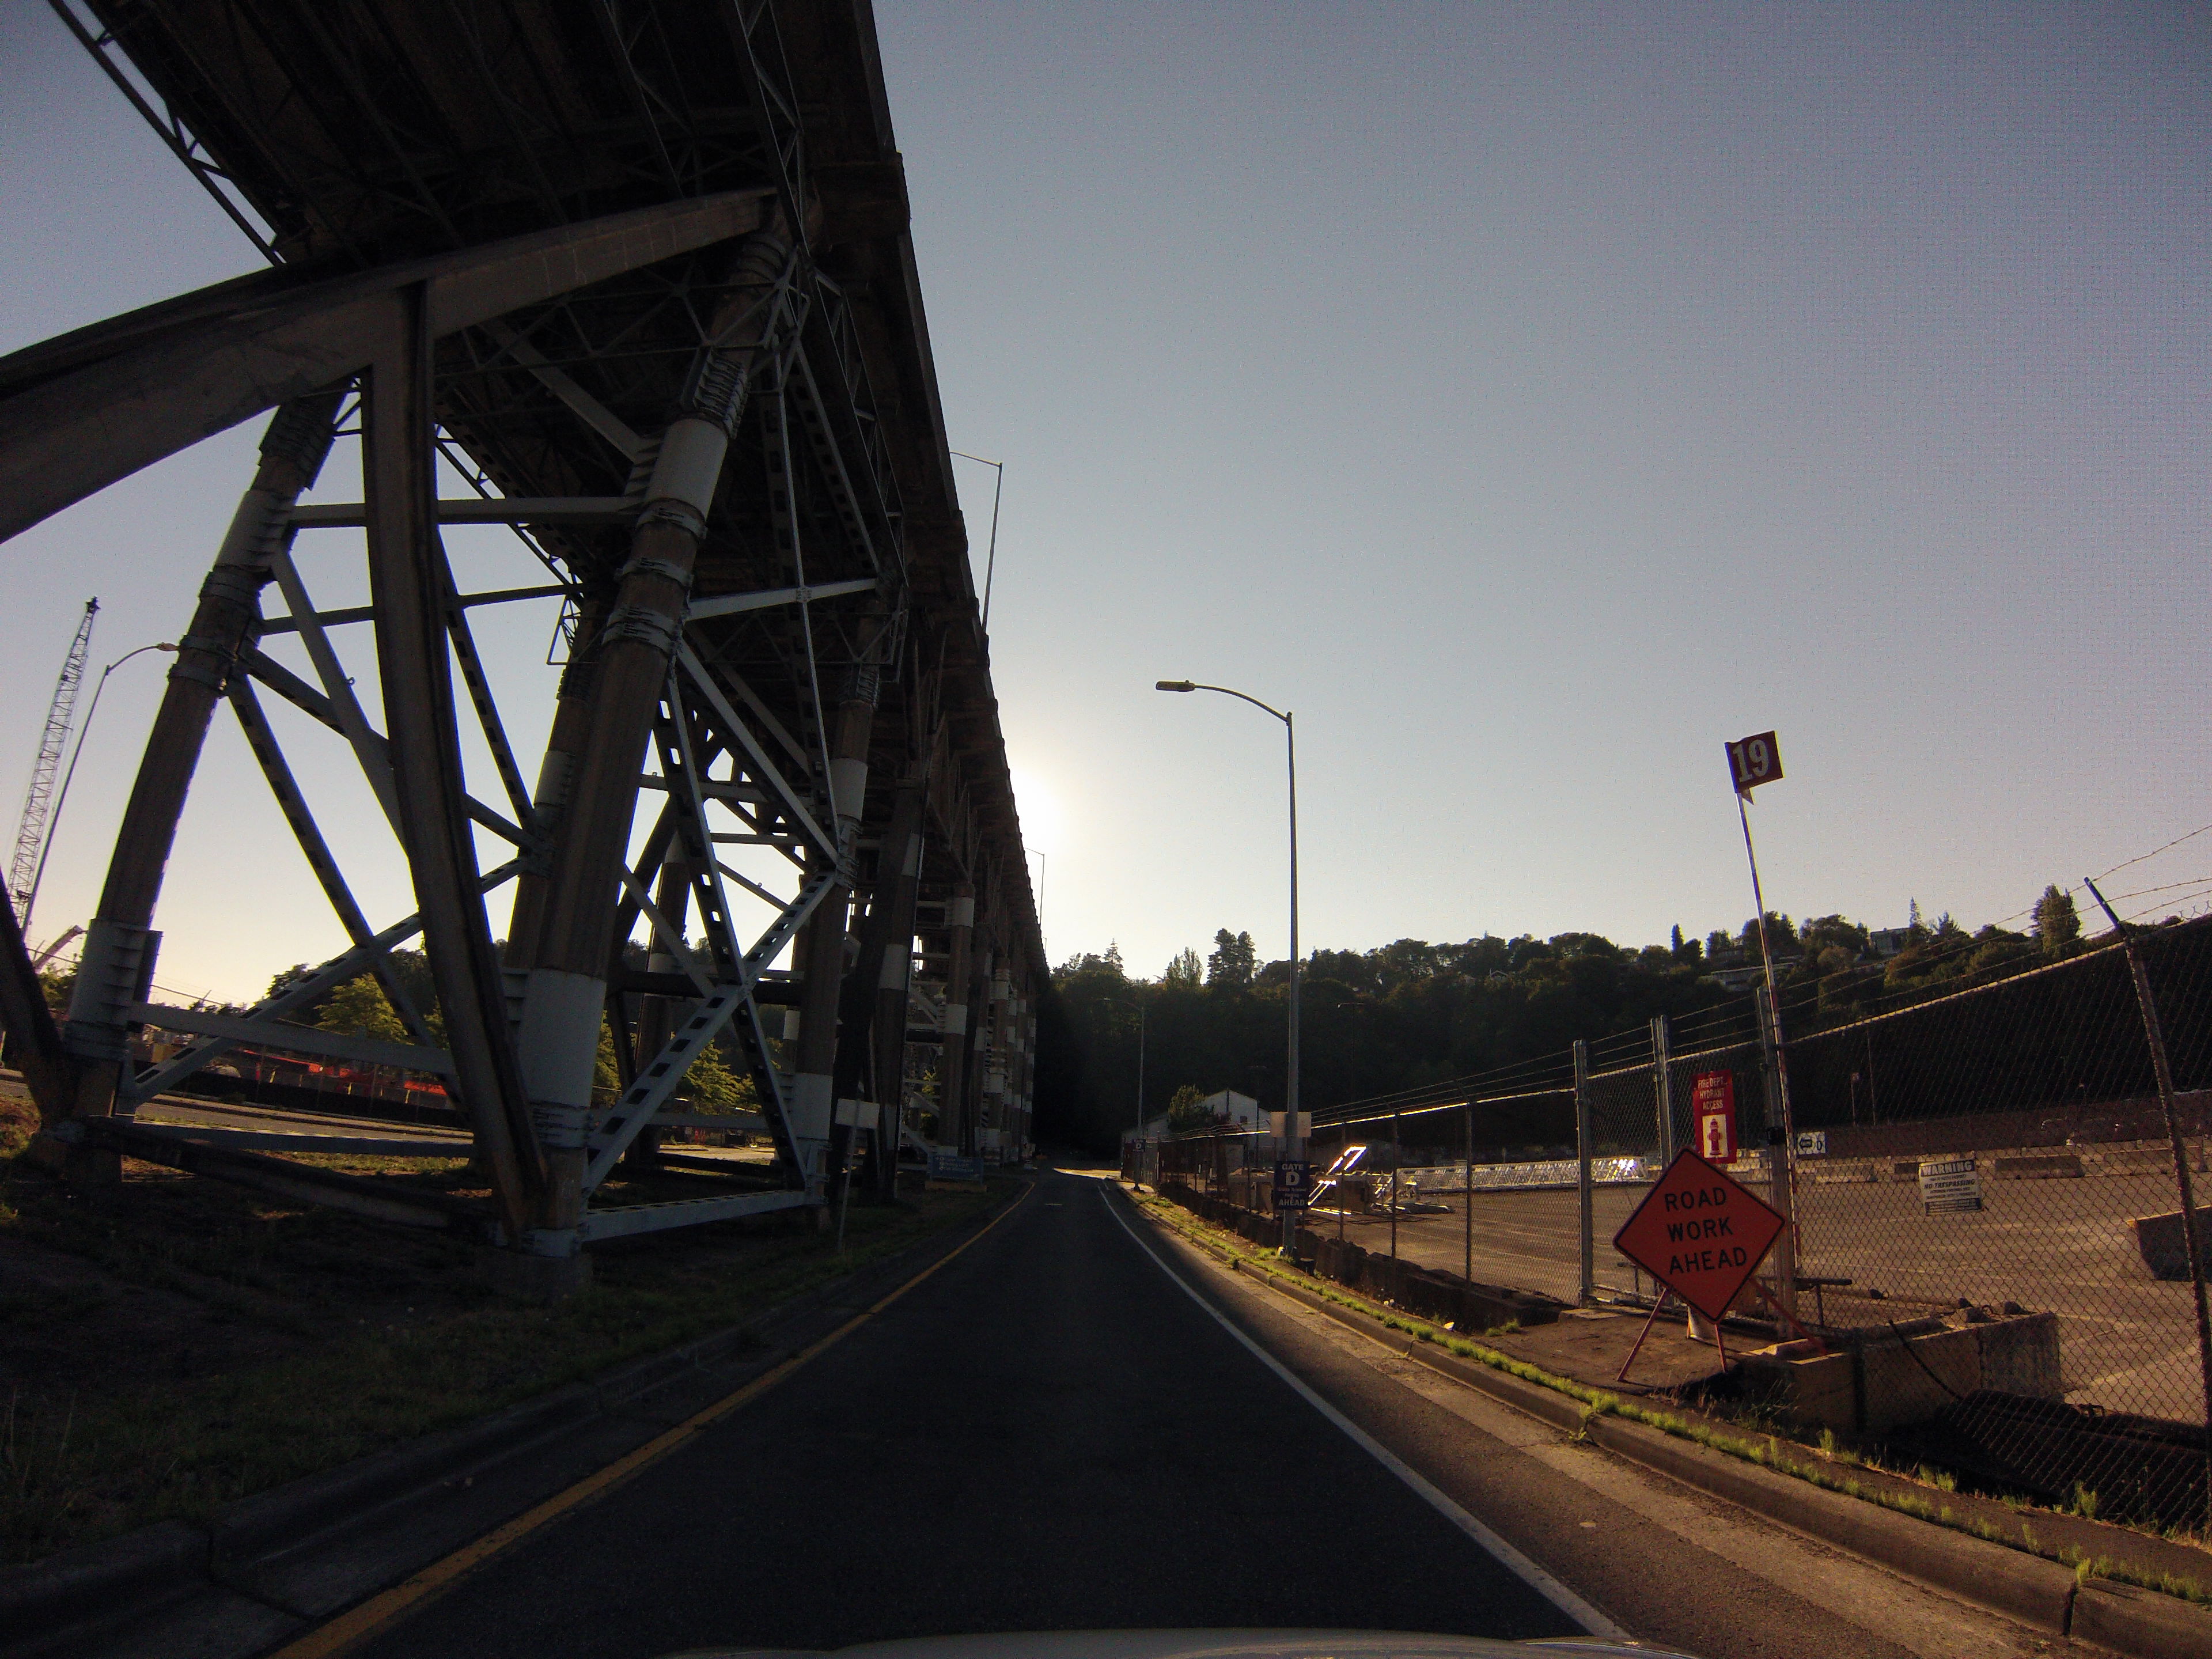
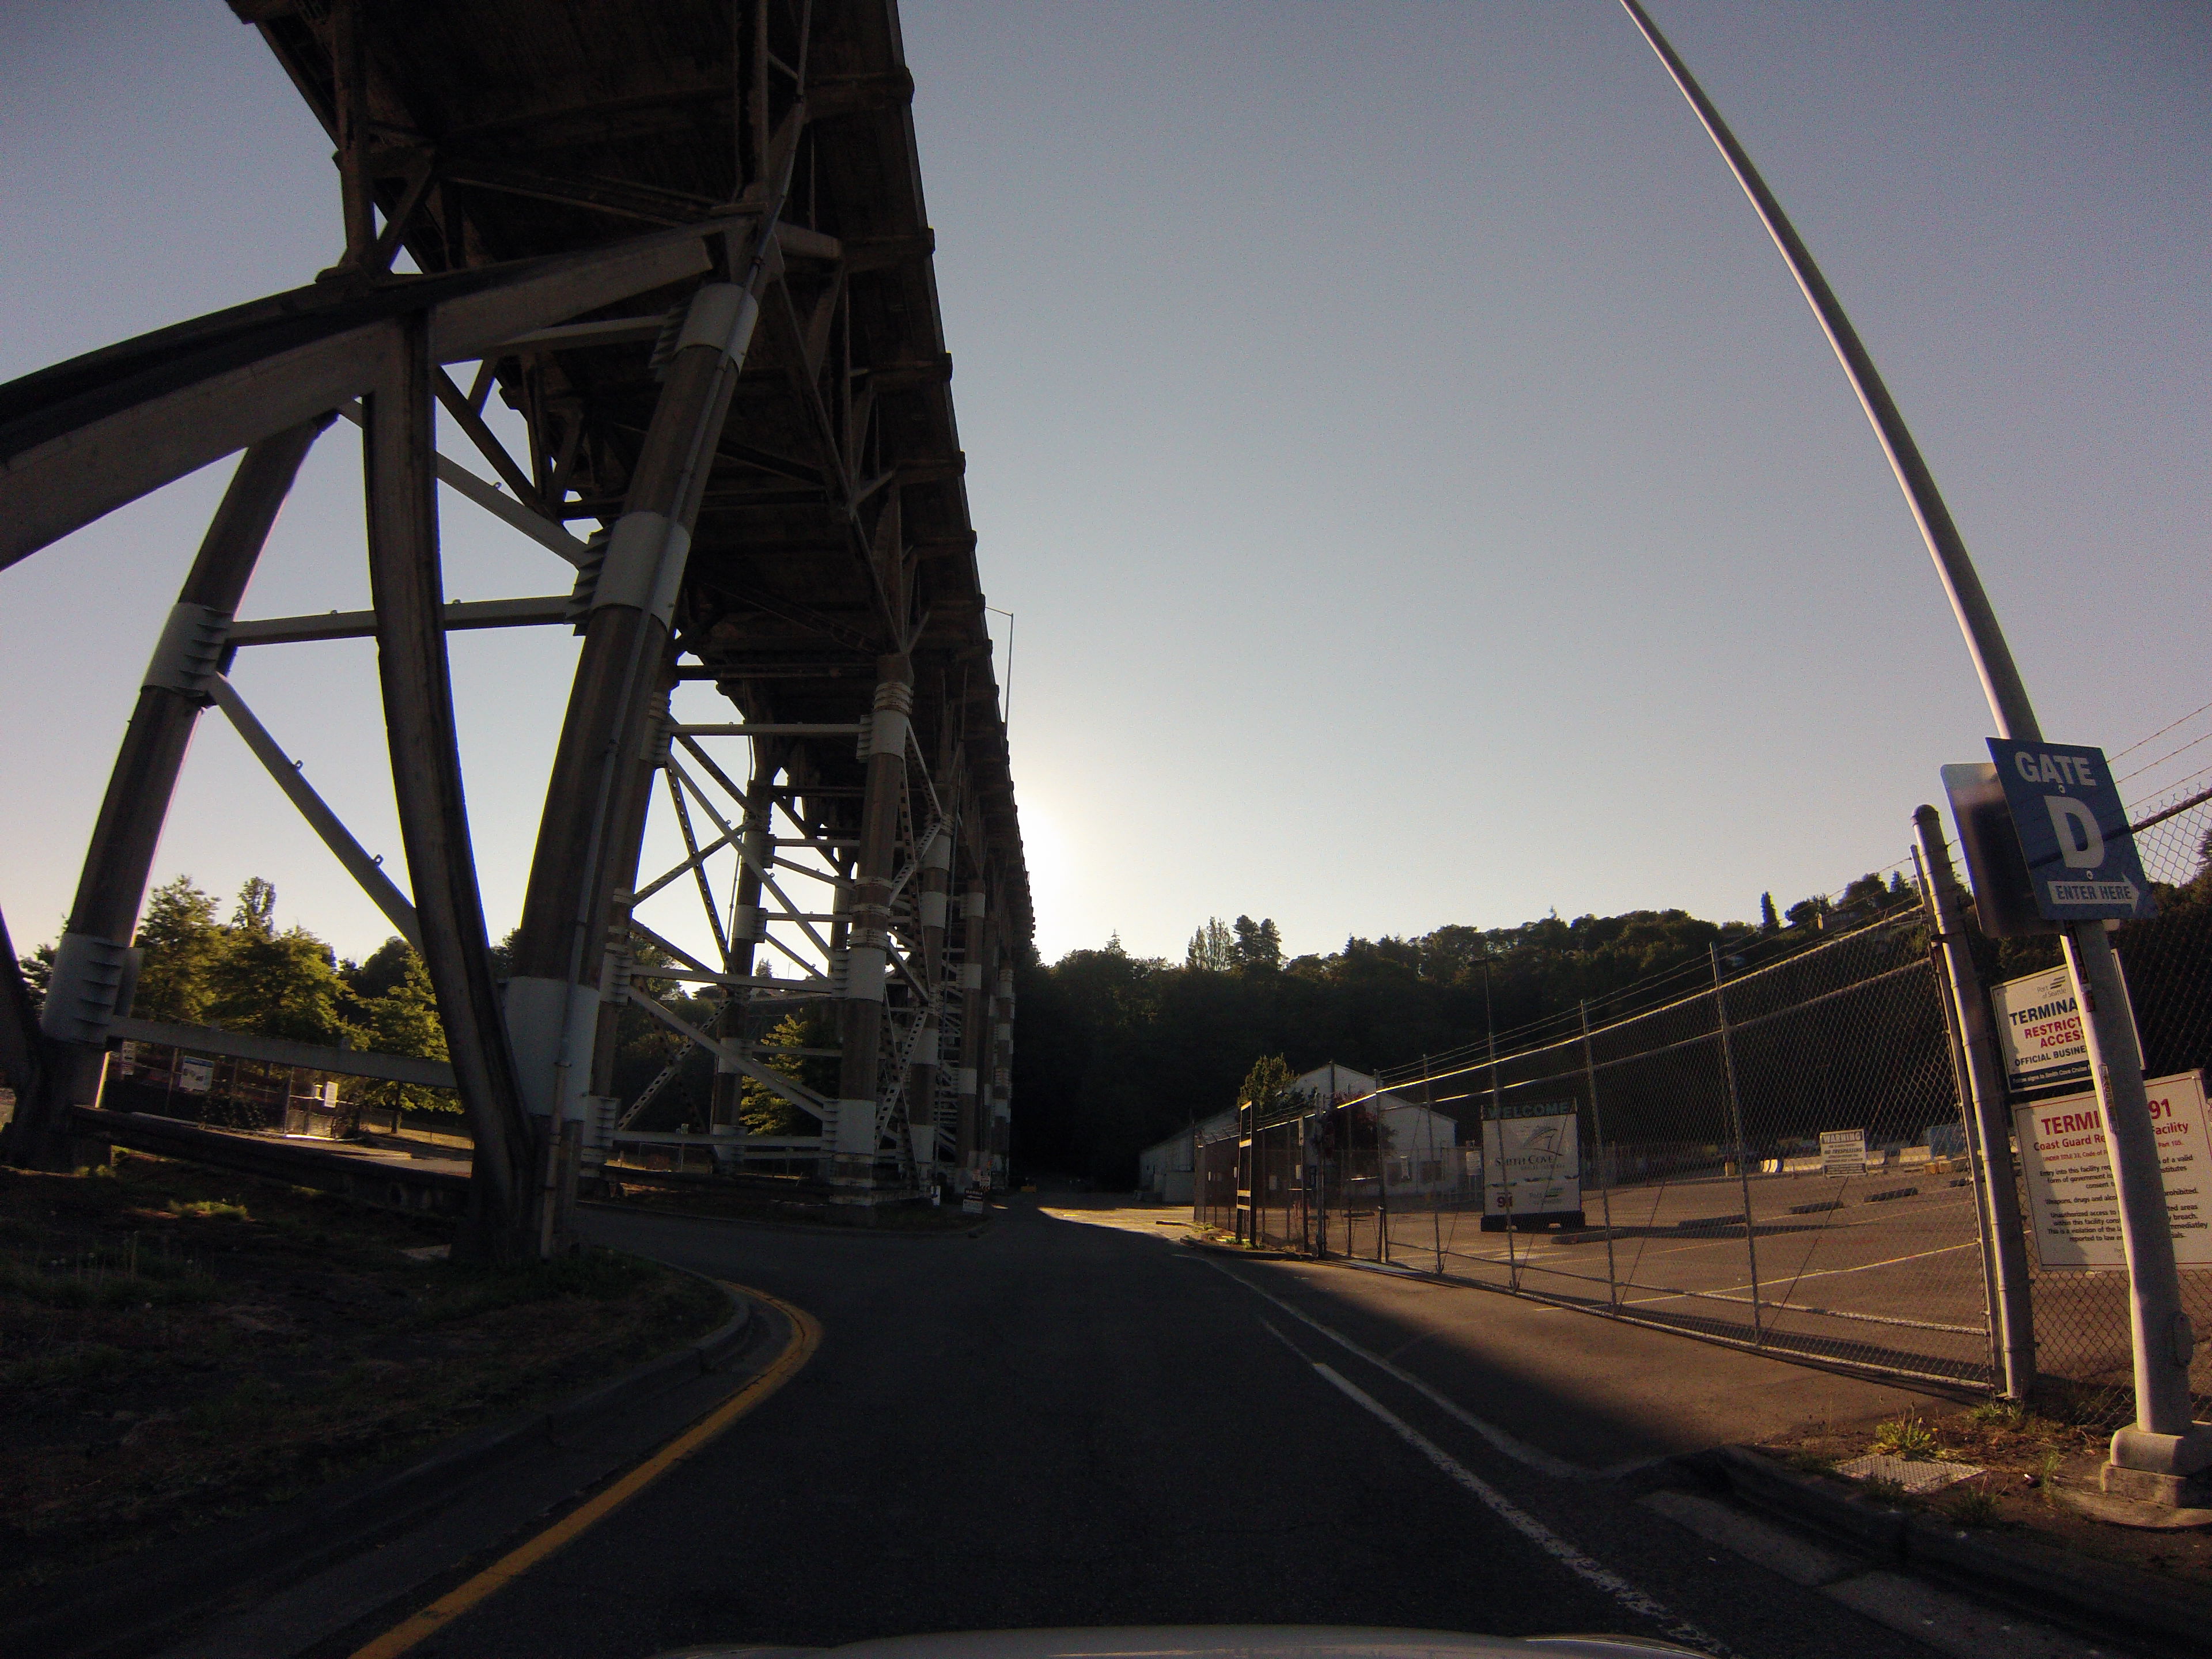
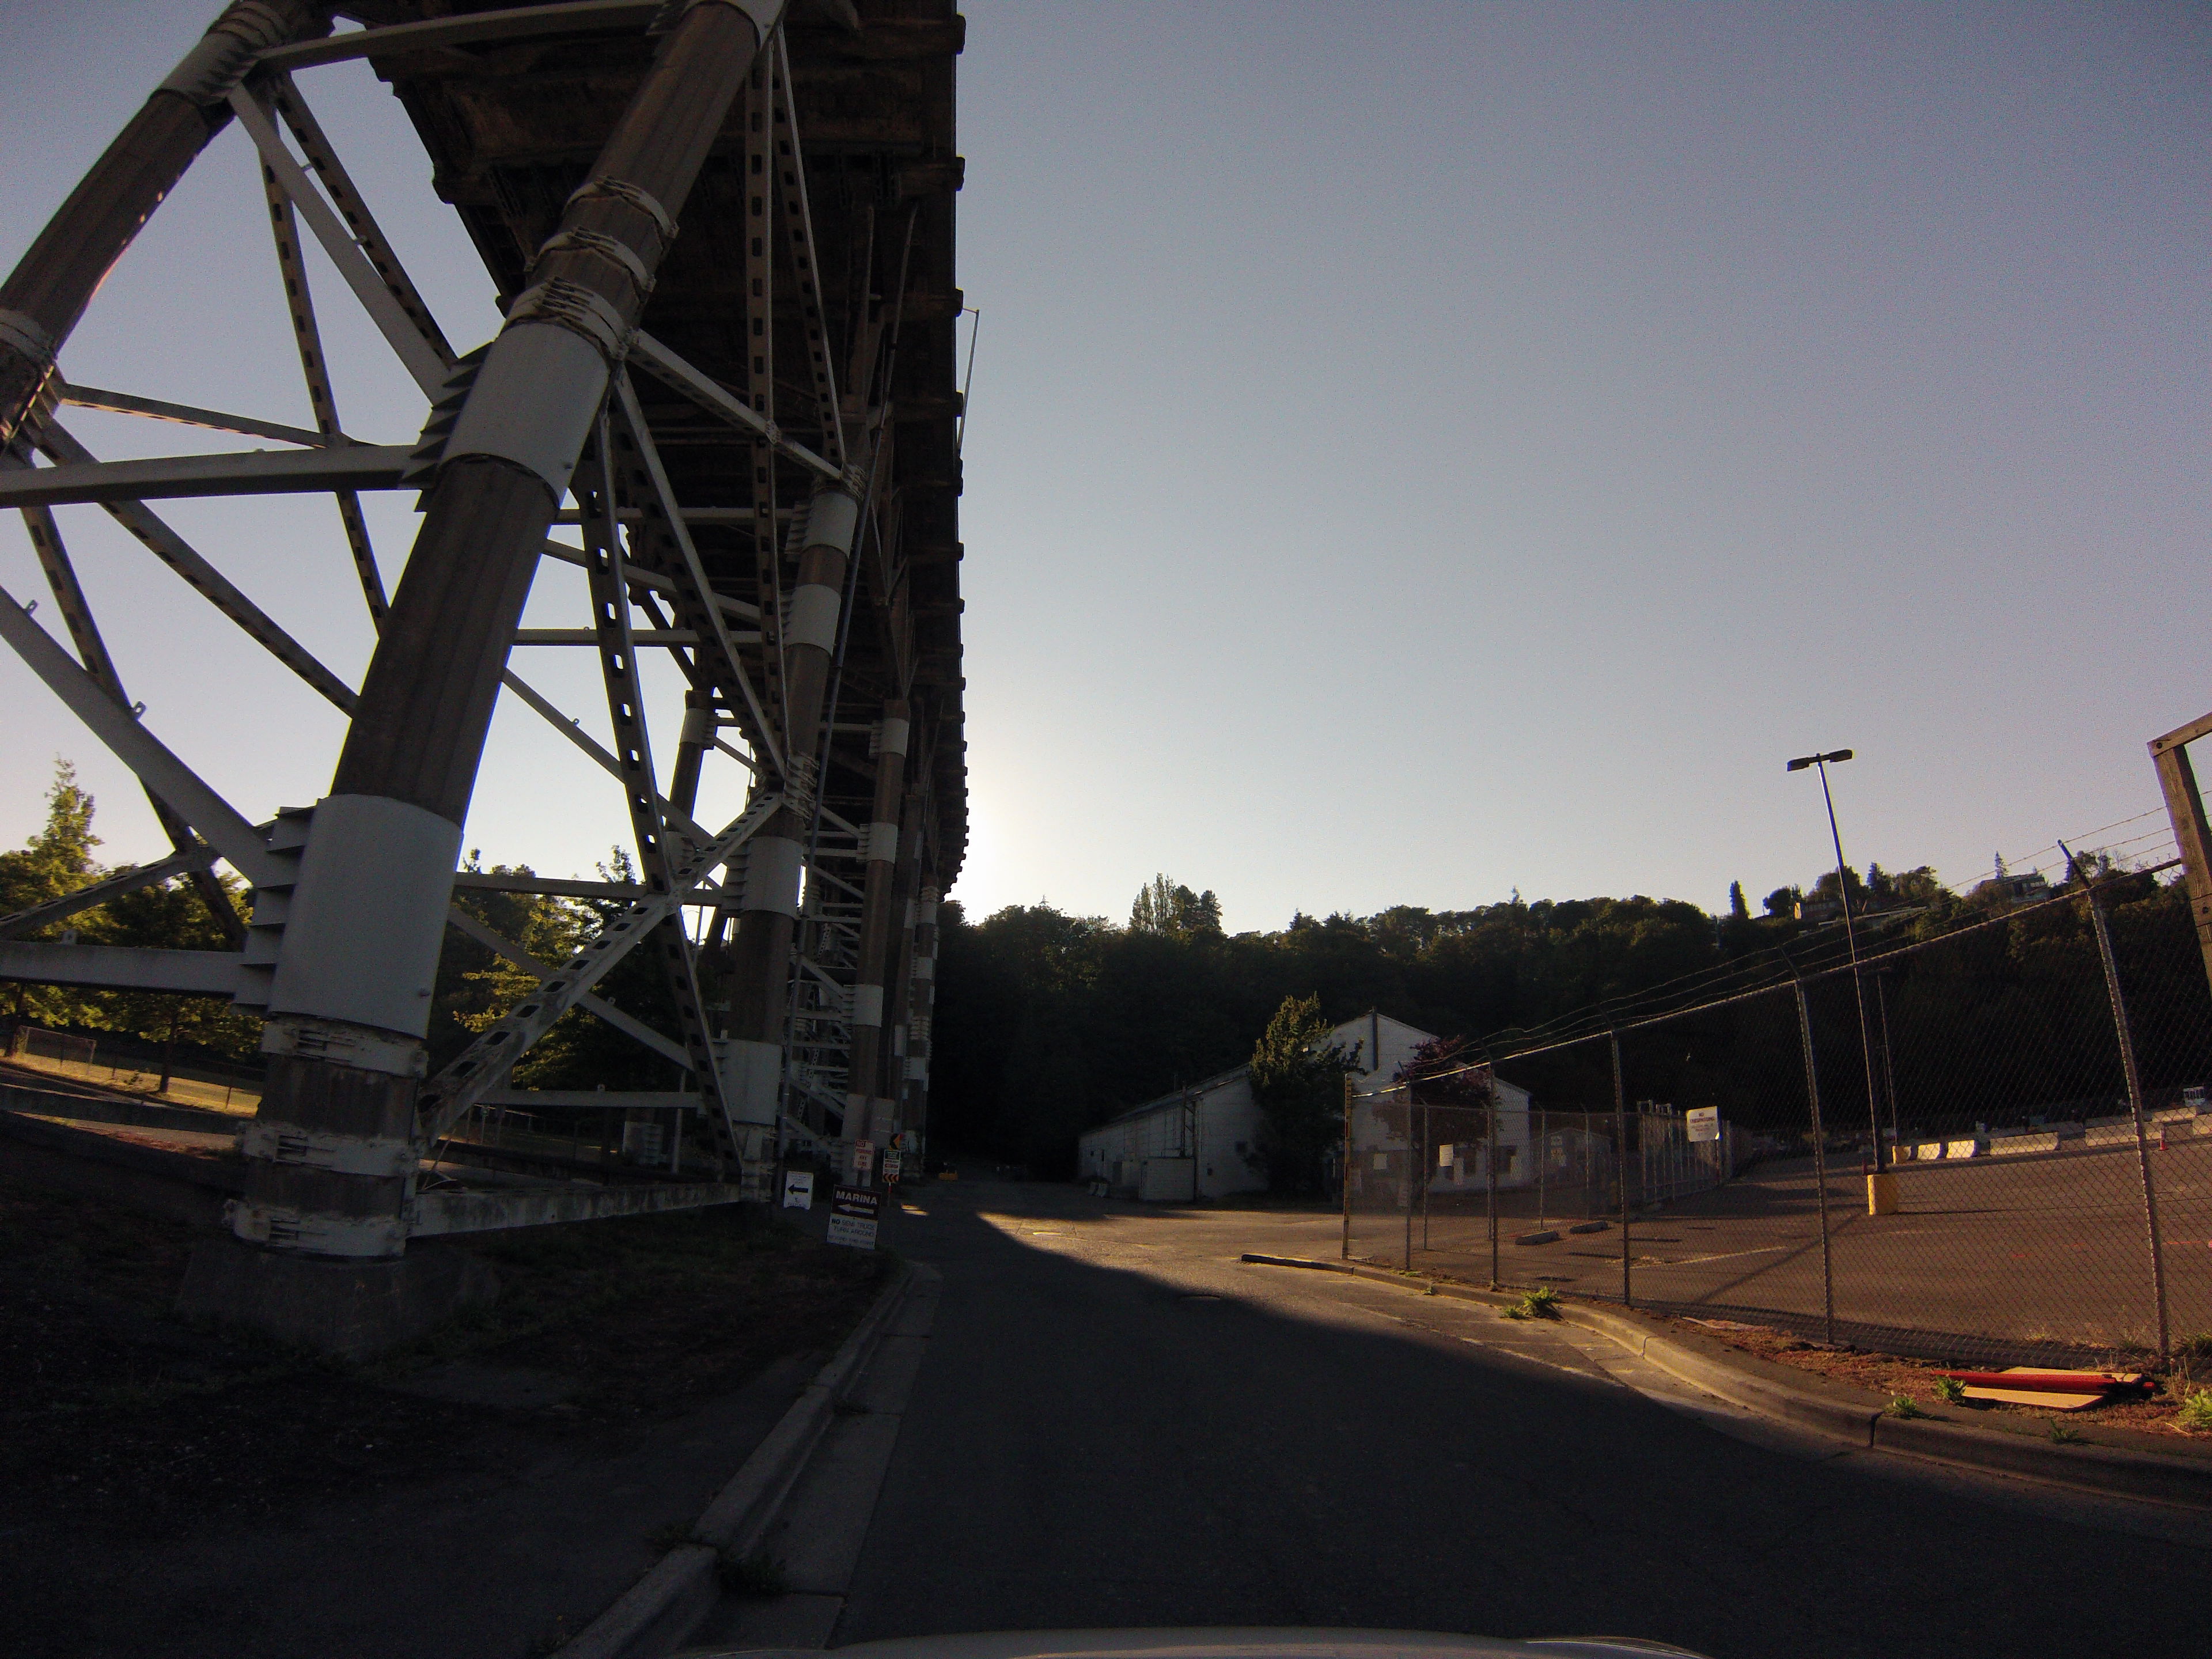
GoPro CarCam photos. Westbound crossing of bridge to 23rd Avenue. Views heading southbound on 15th Avenue and passing under bridge.
![]()

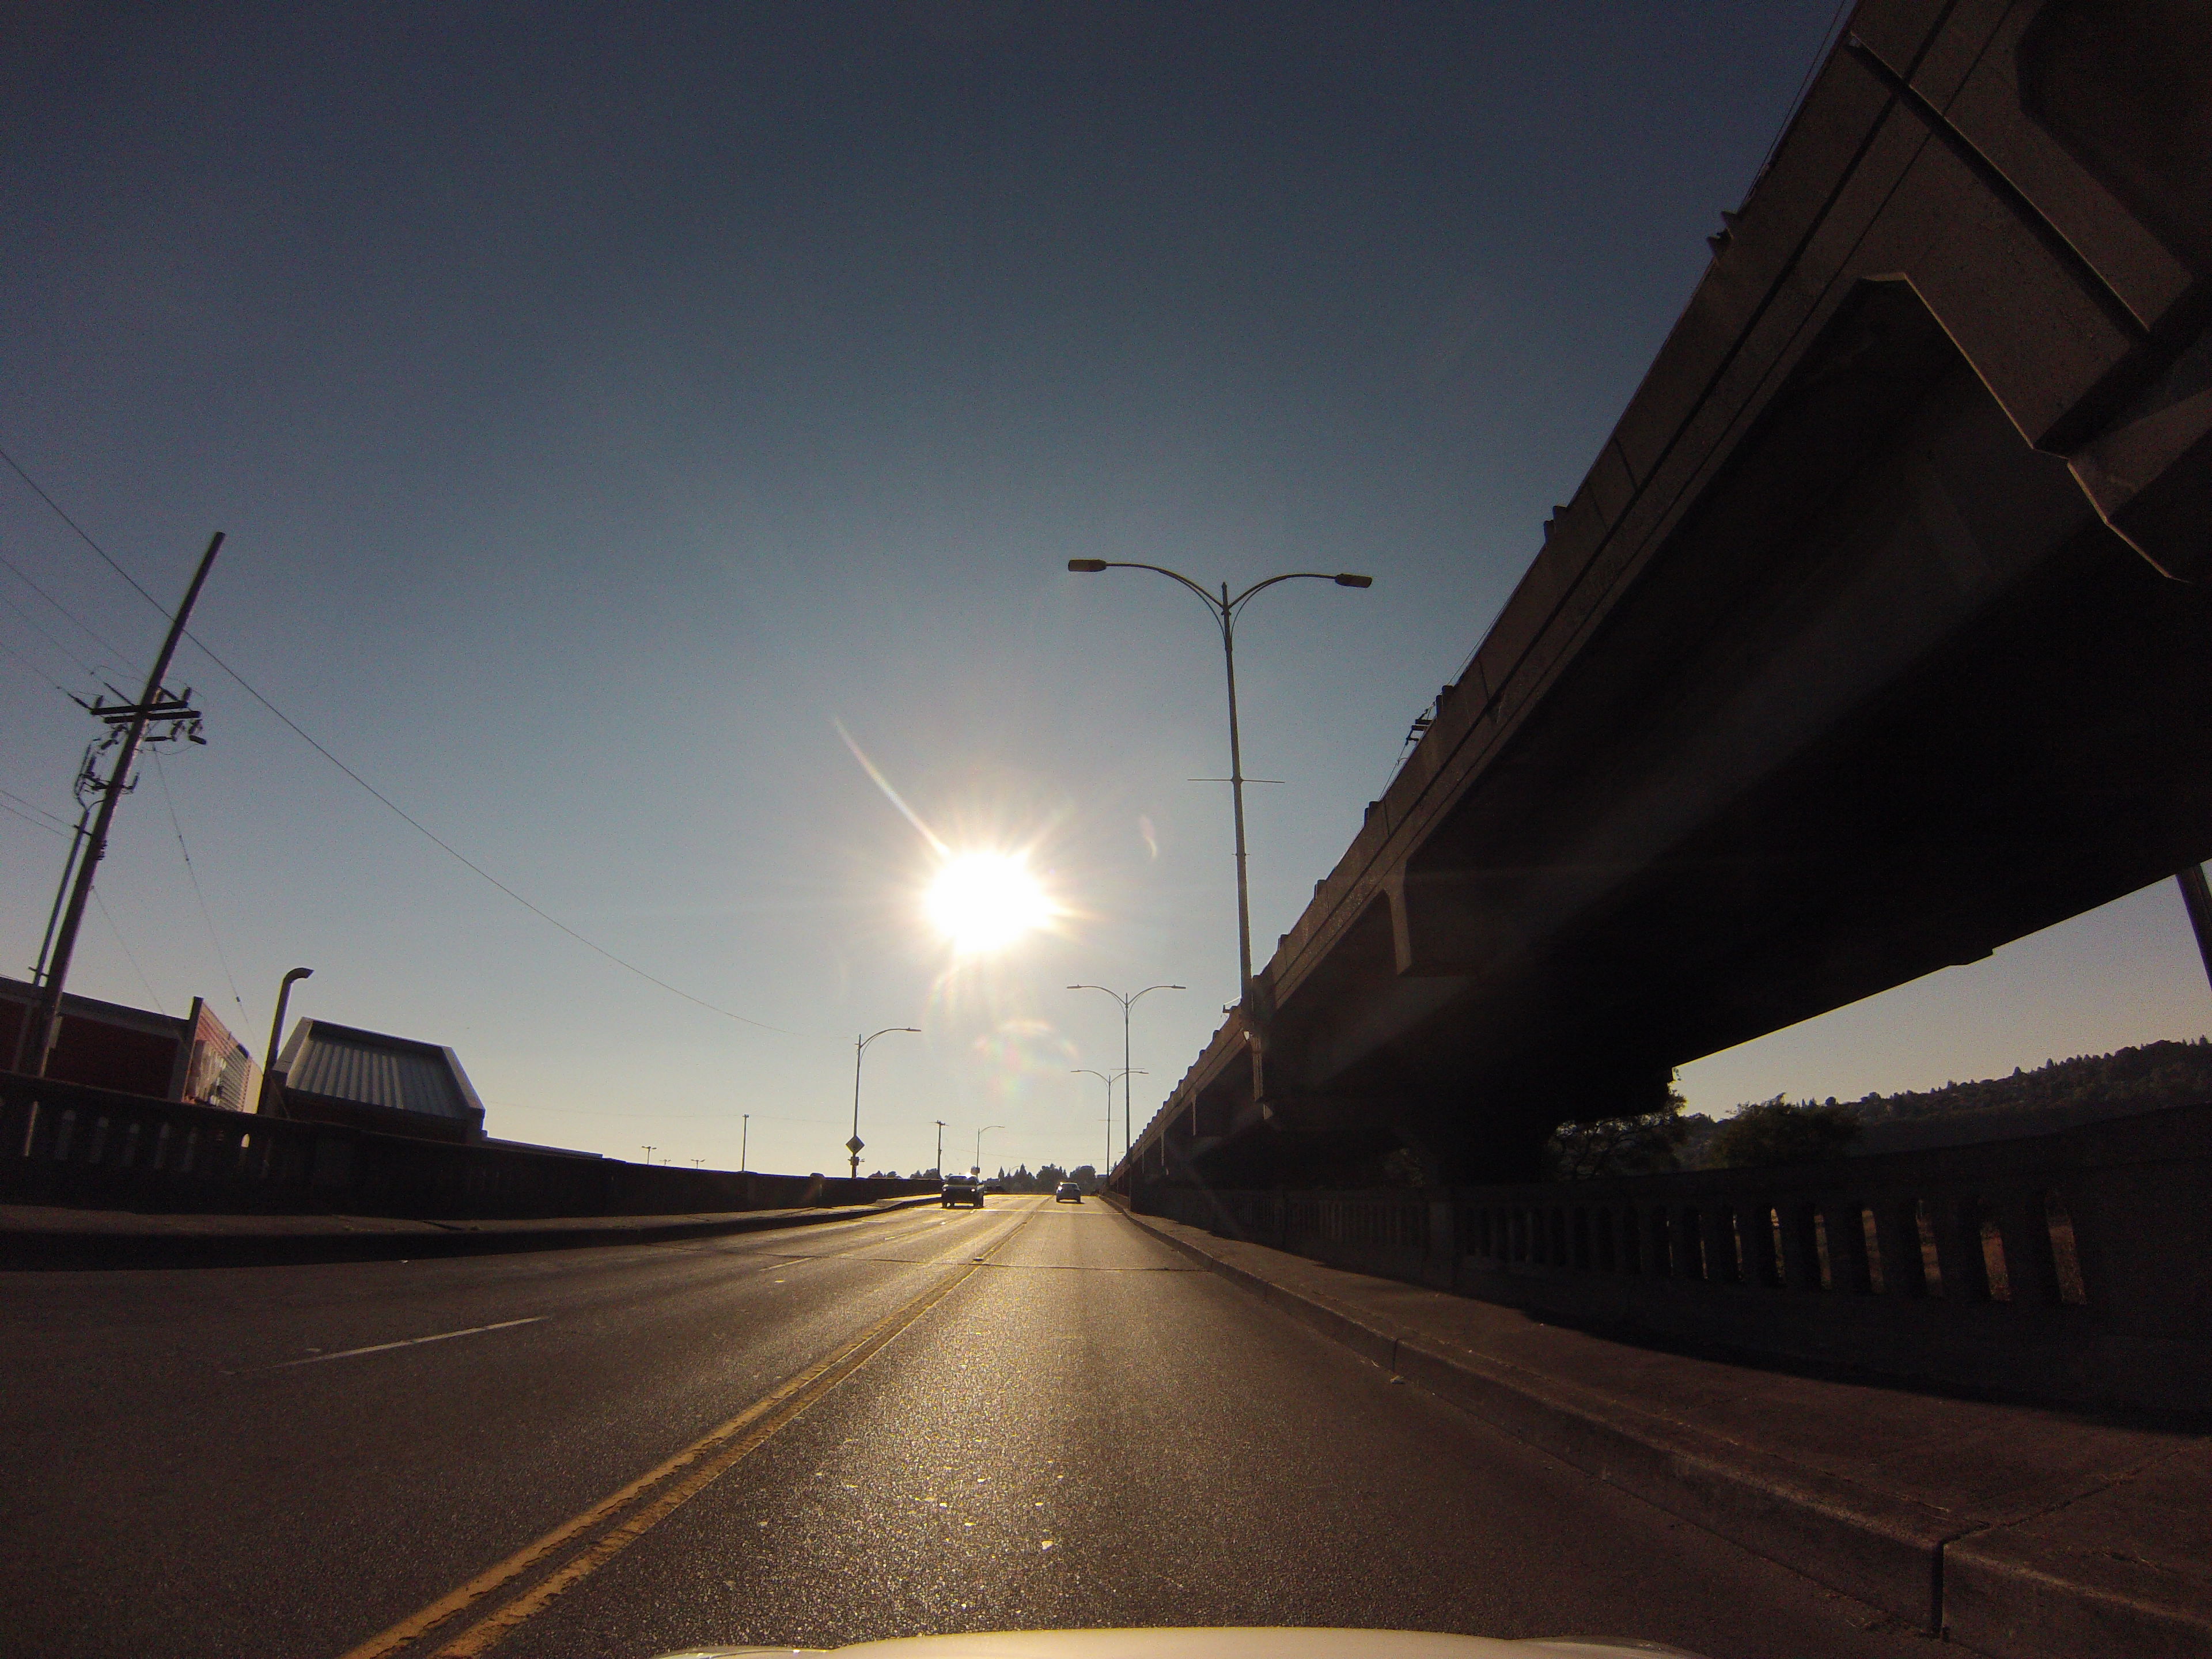
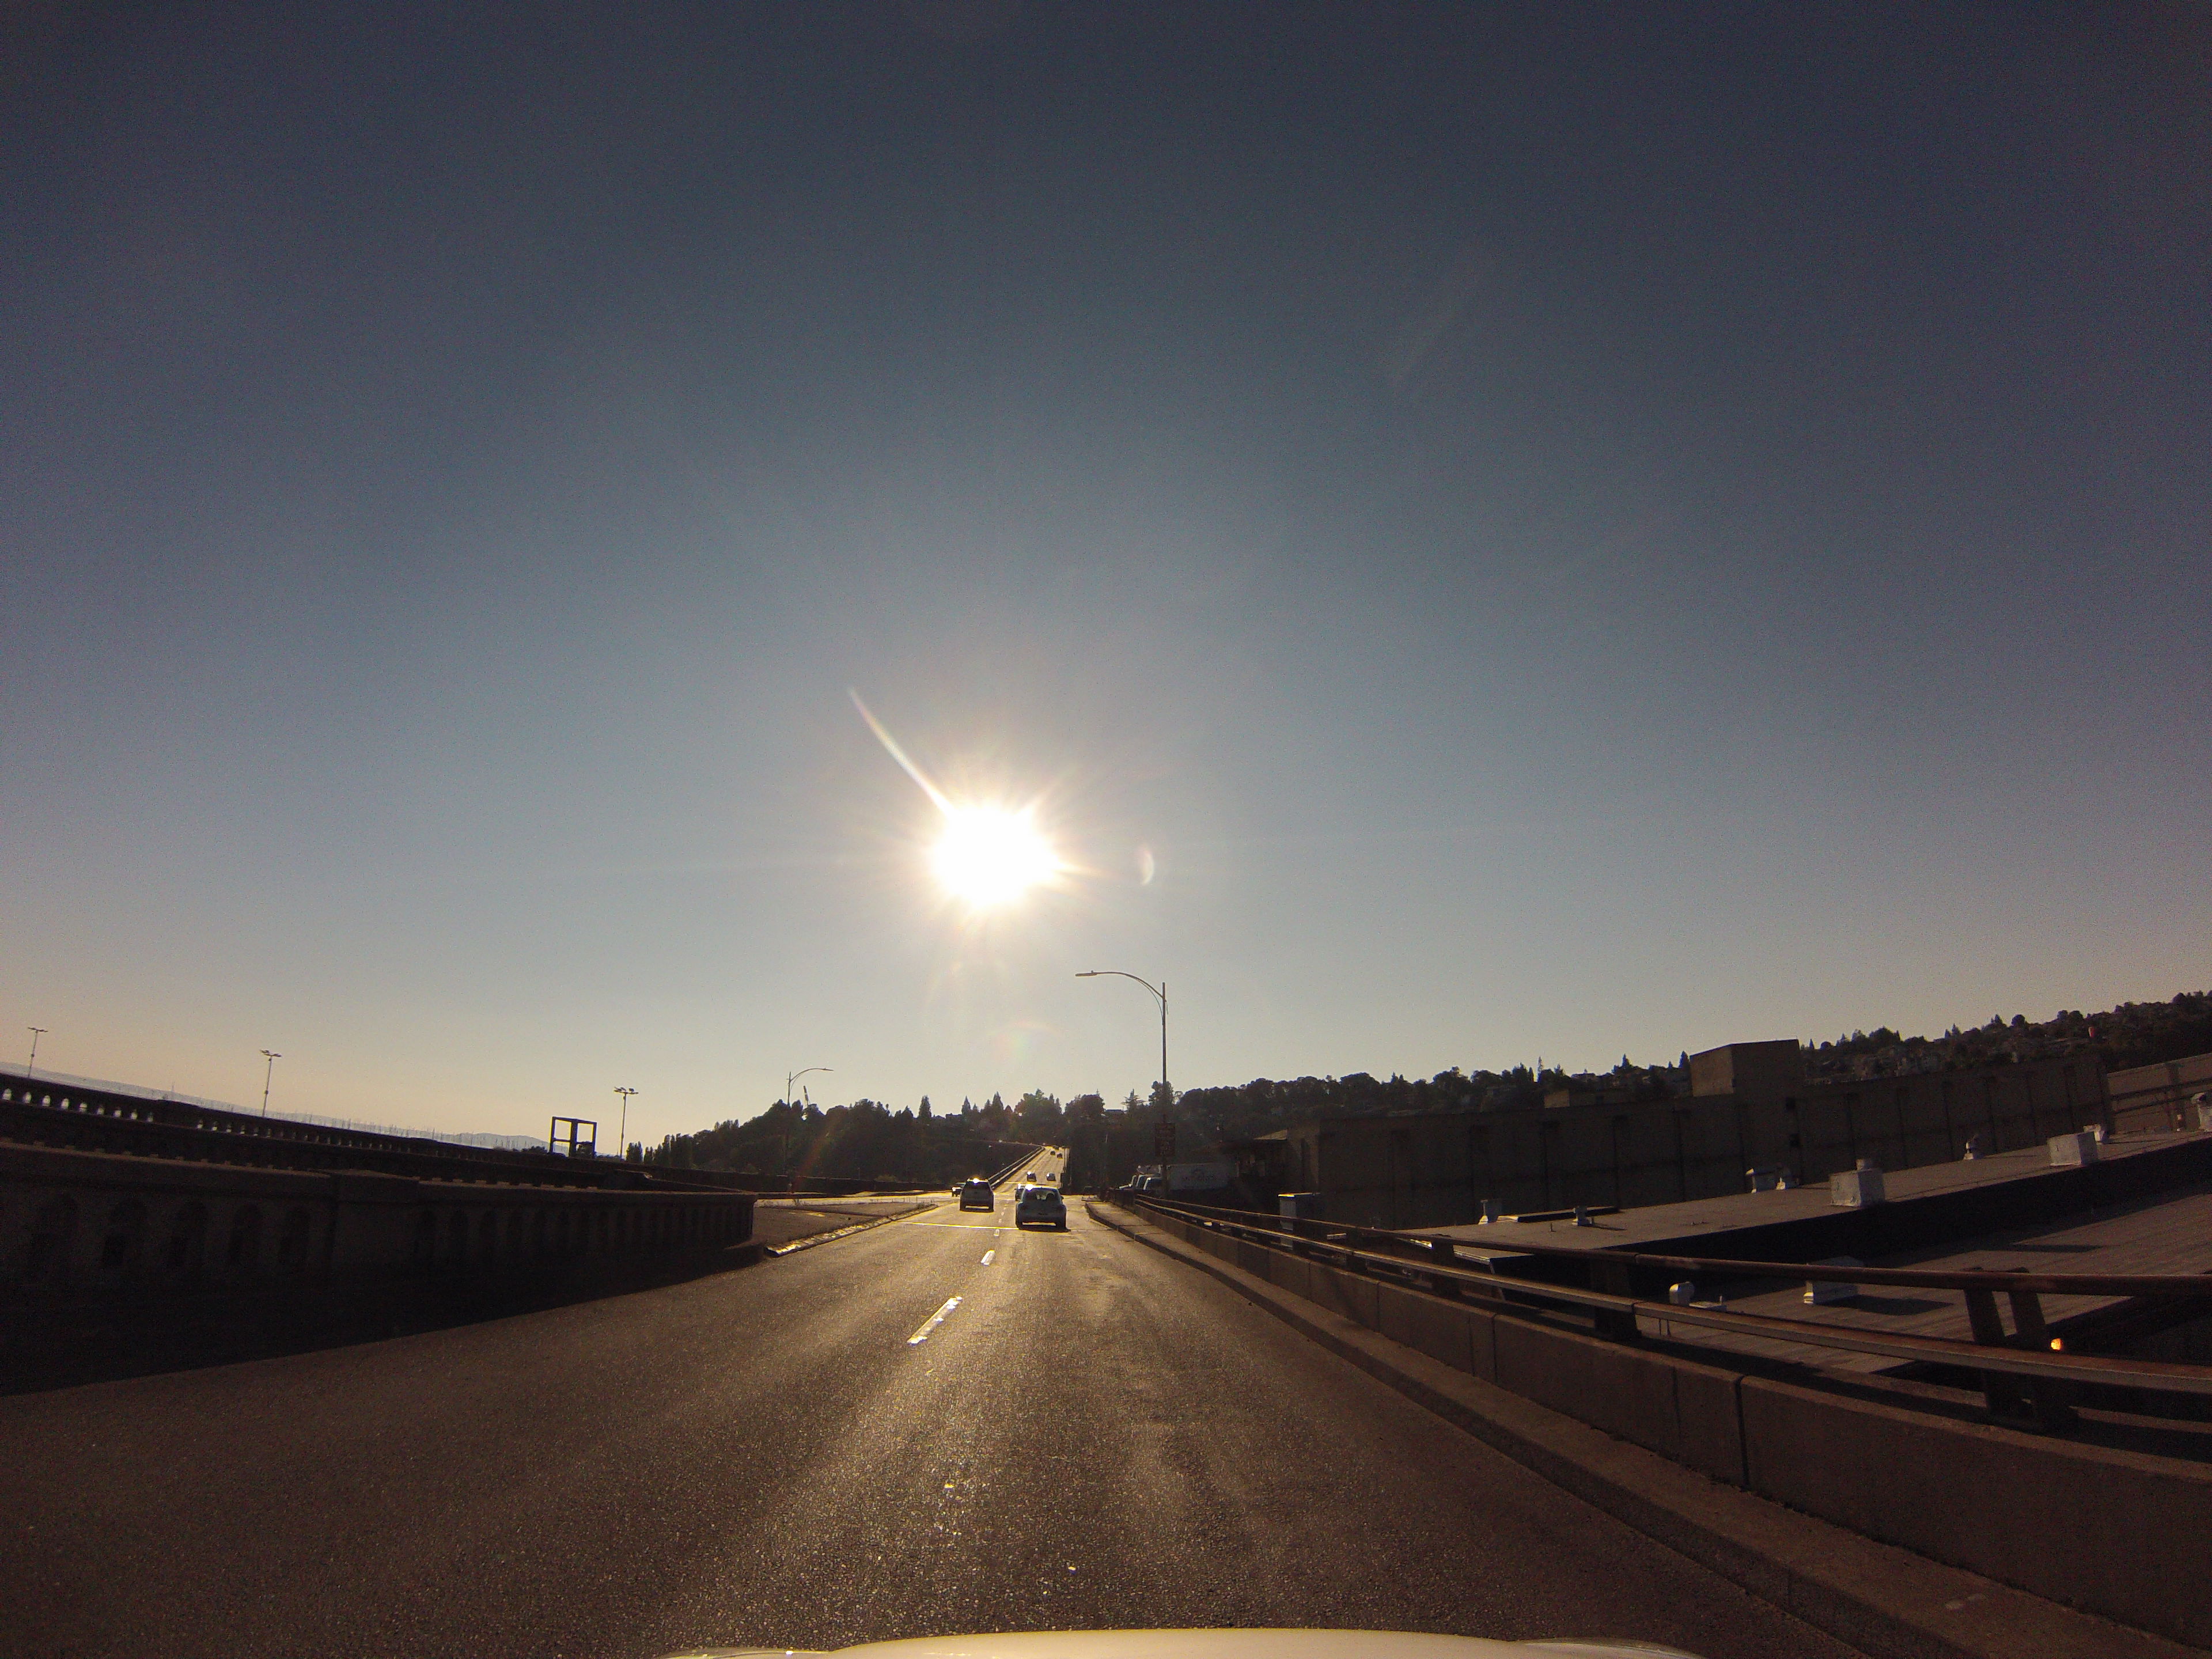
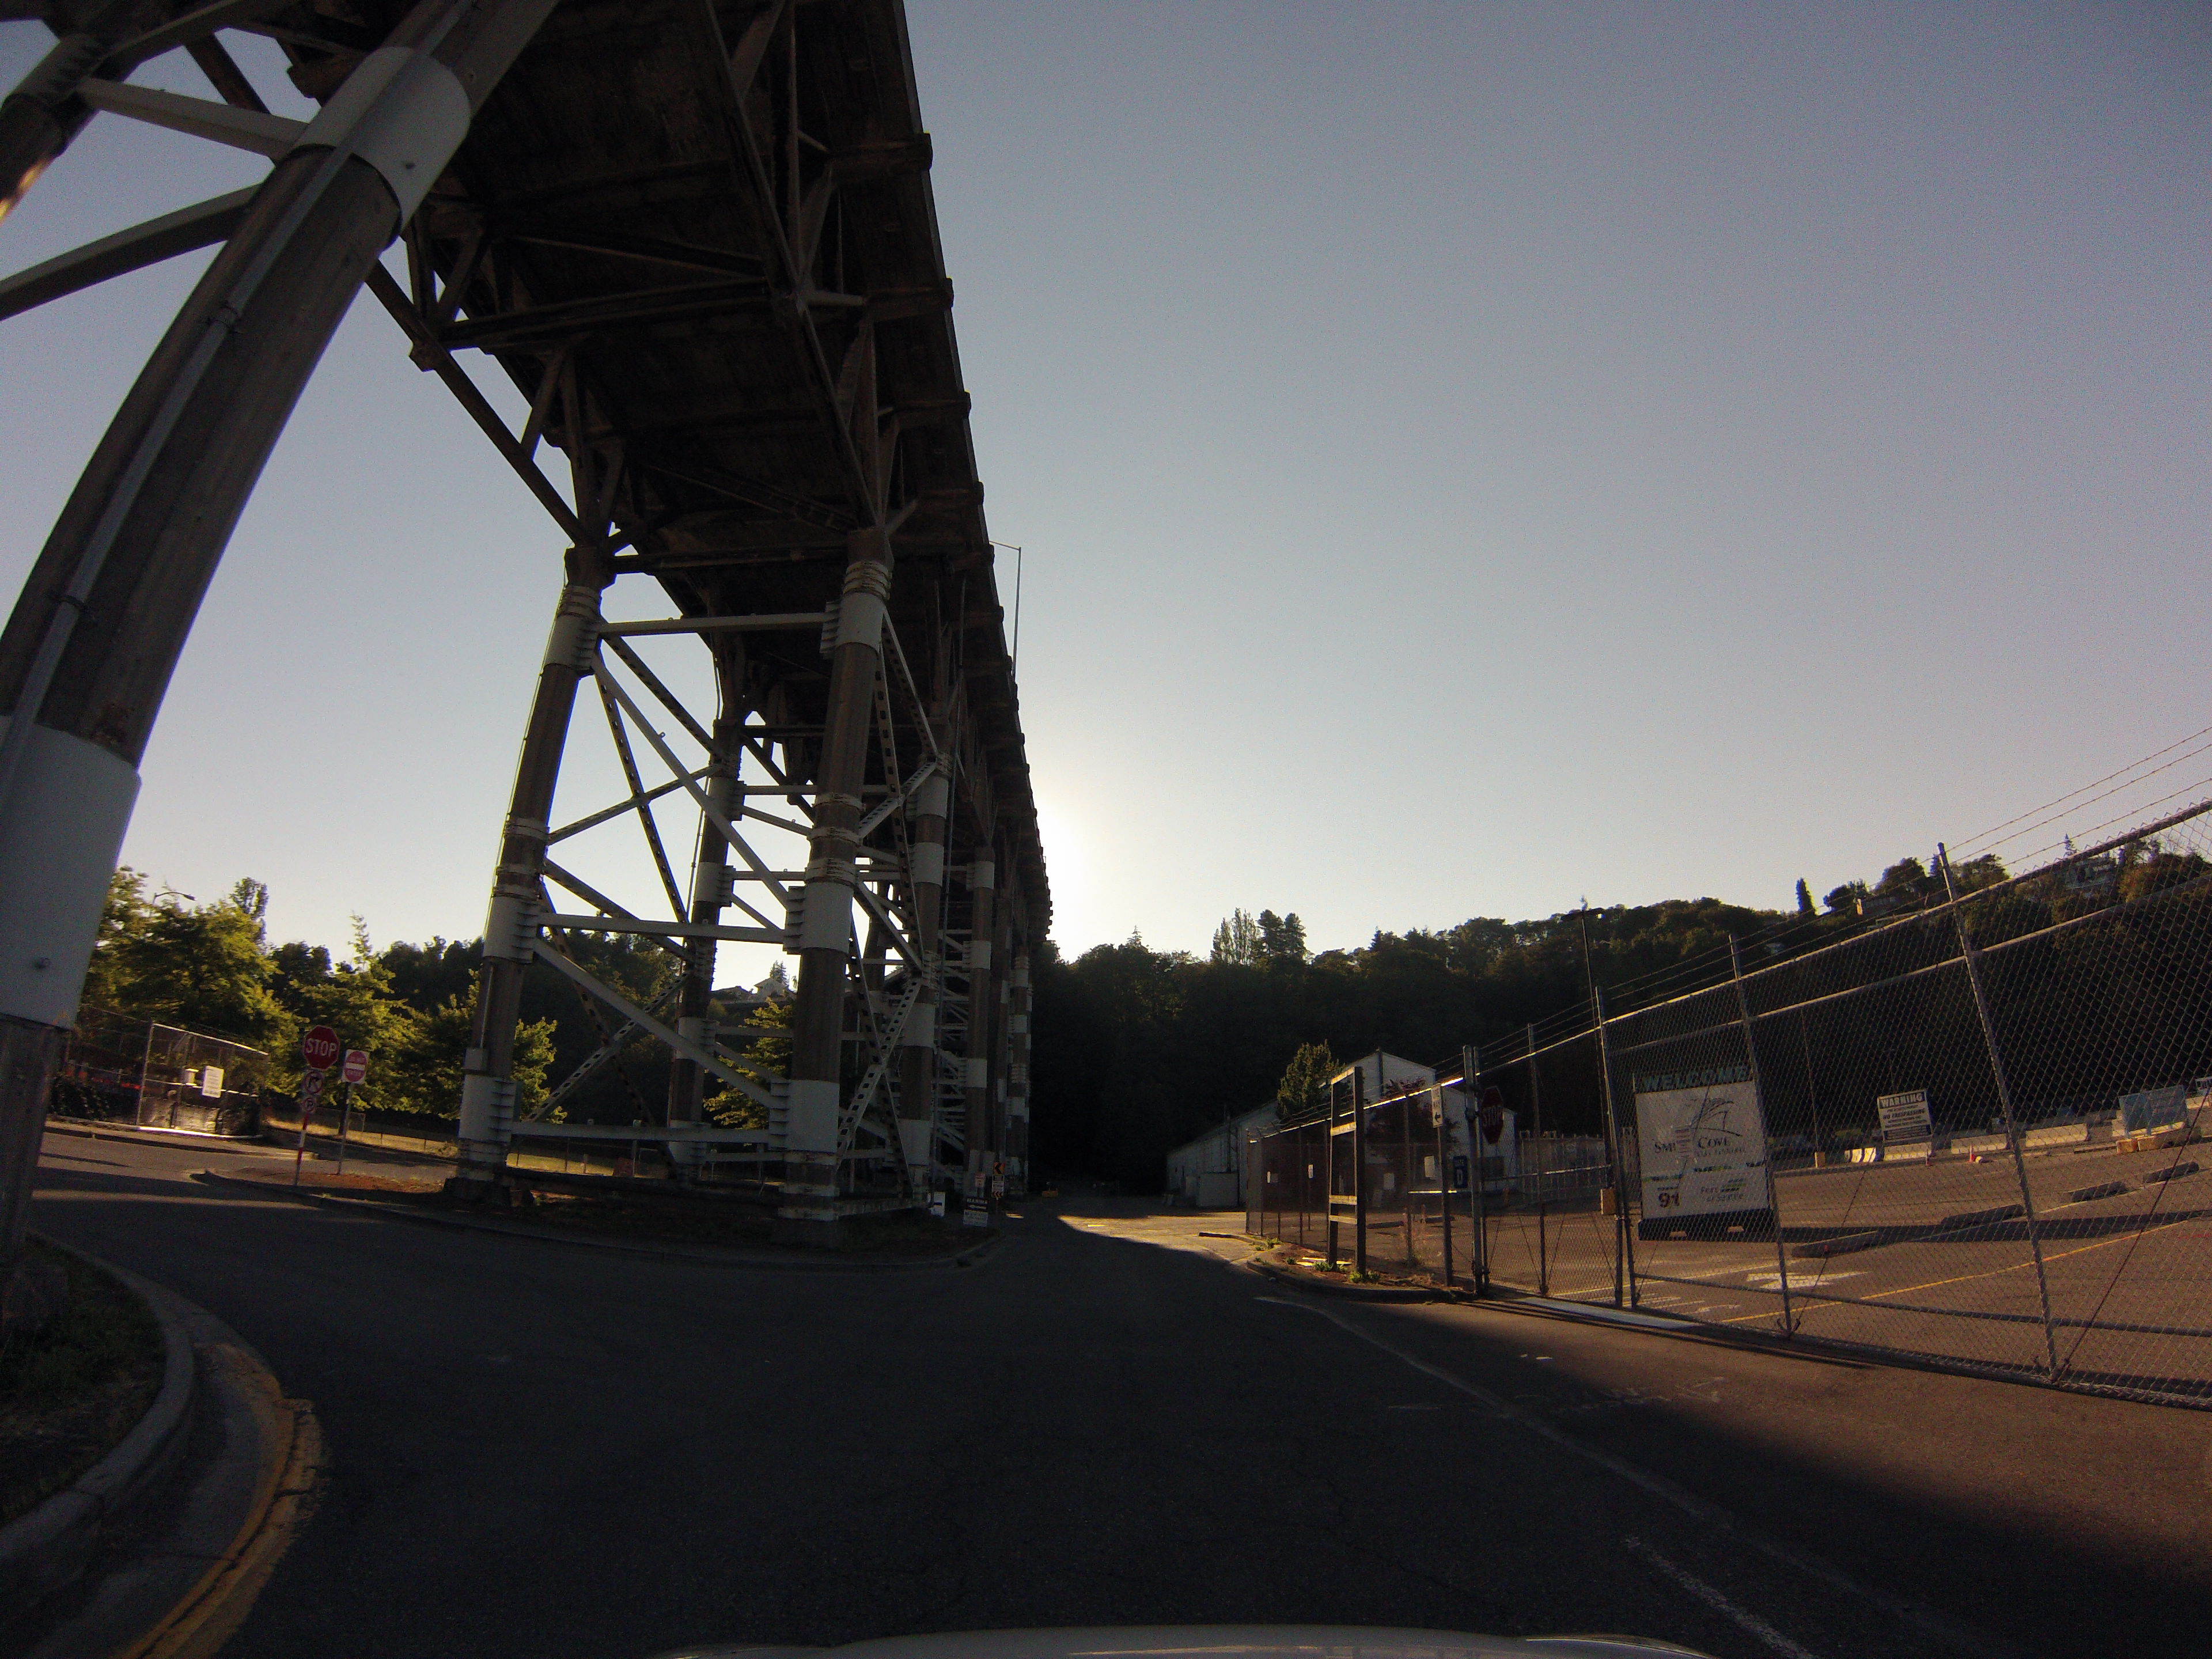
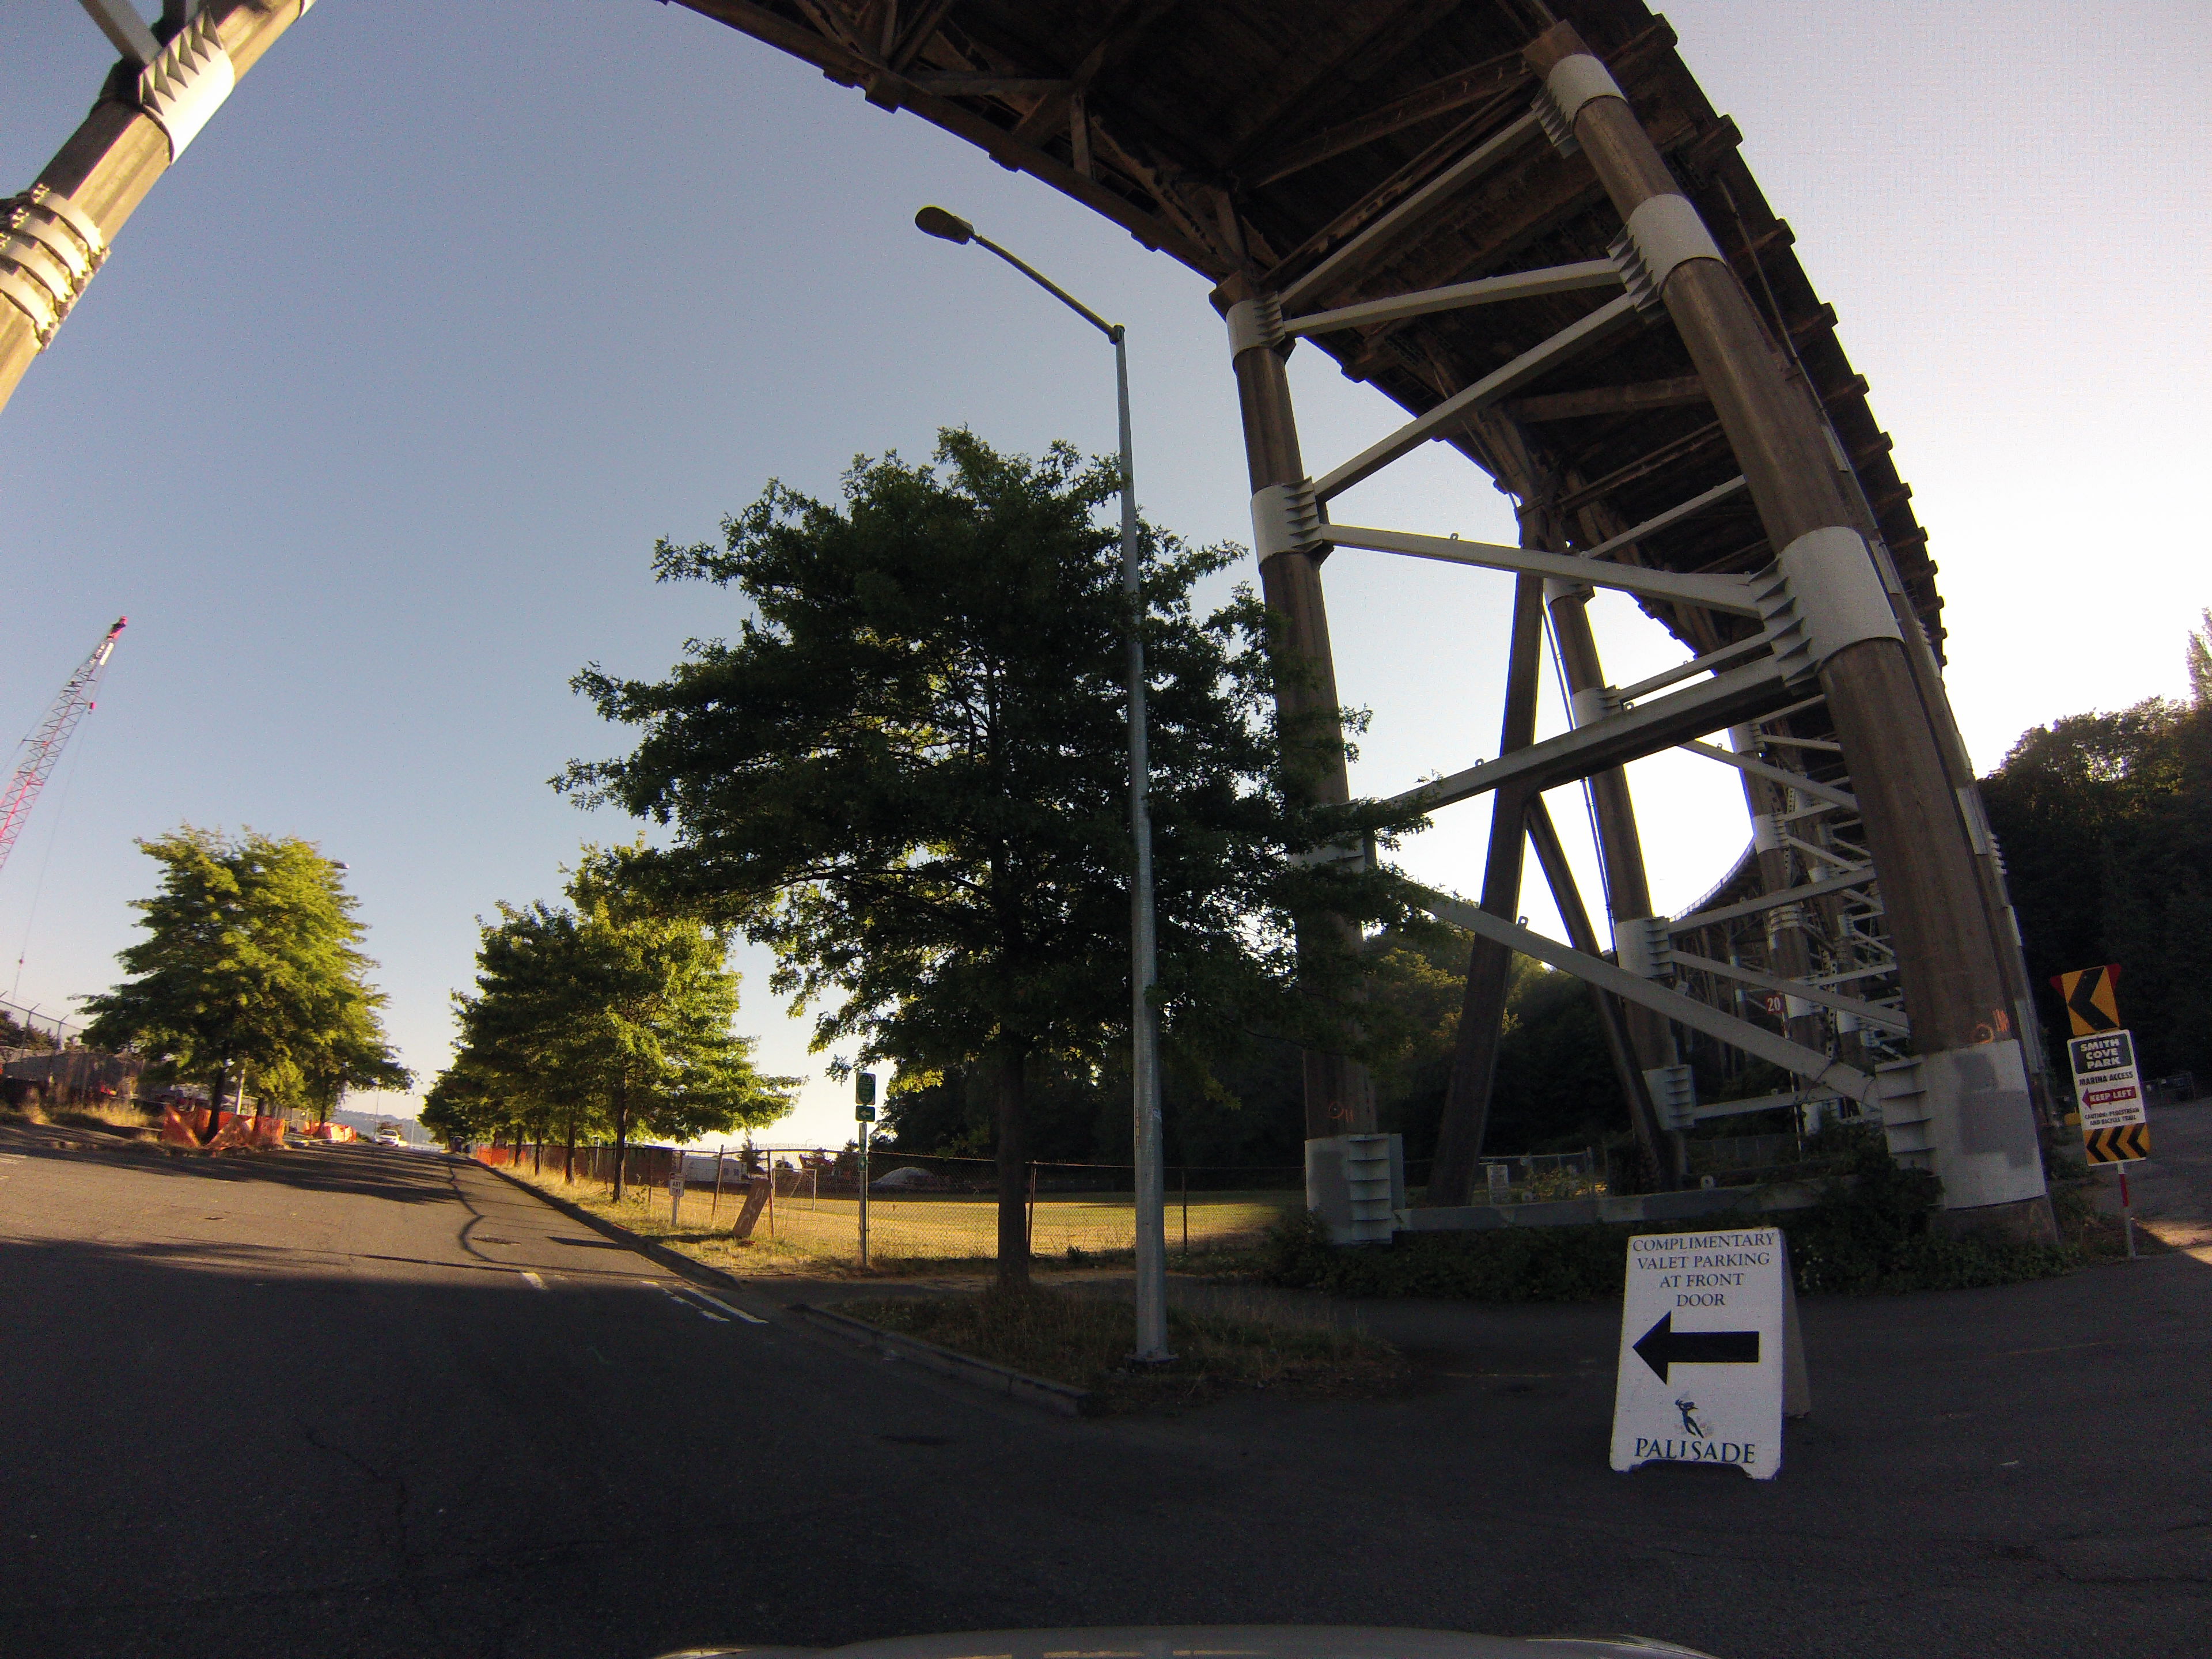
GoPro CarCam photos. Westbound crossing of bridge to 23rd Avenue. Turning onto the bridge's entrance ramp.
![]()

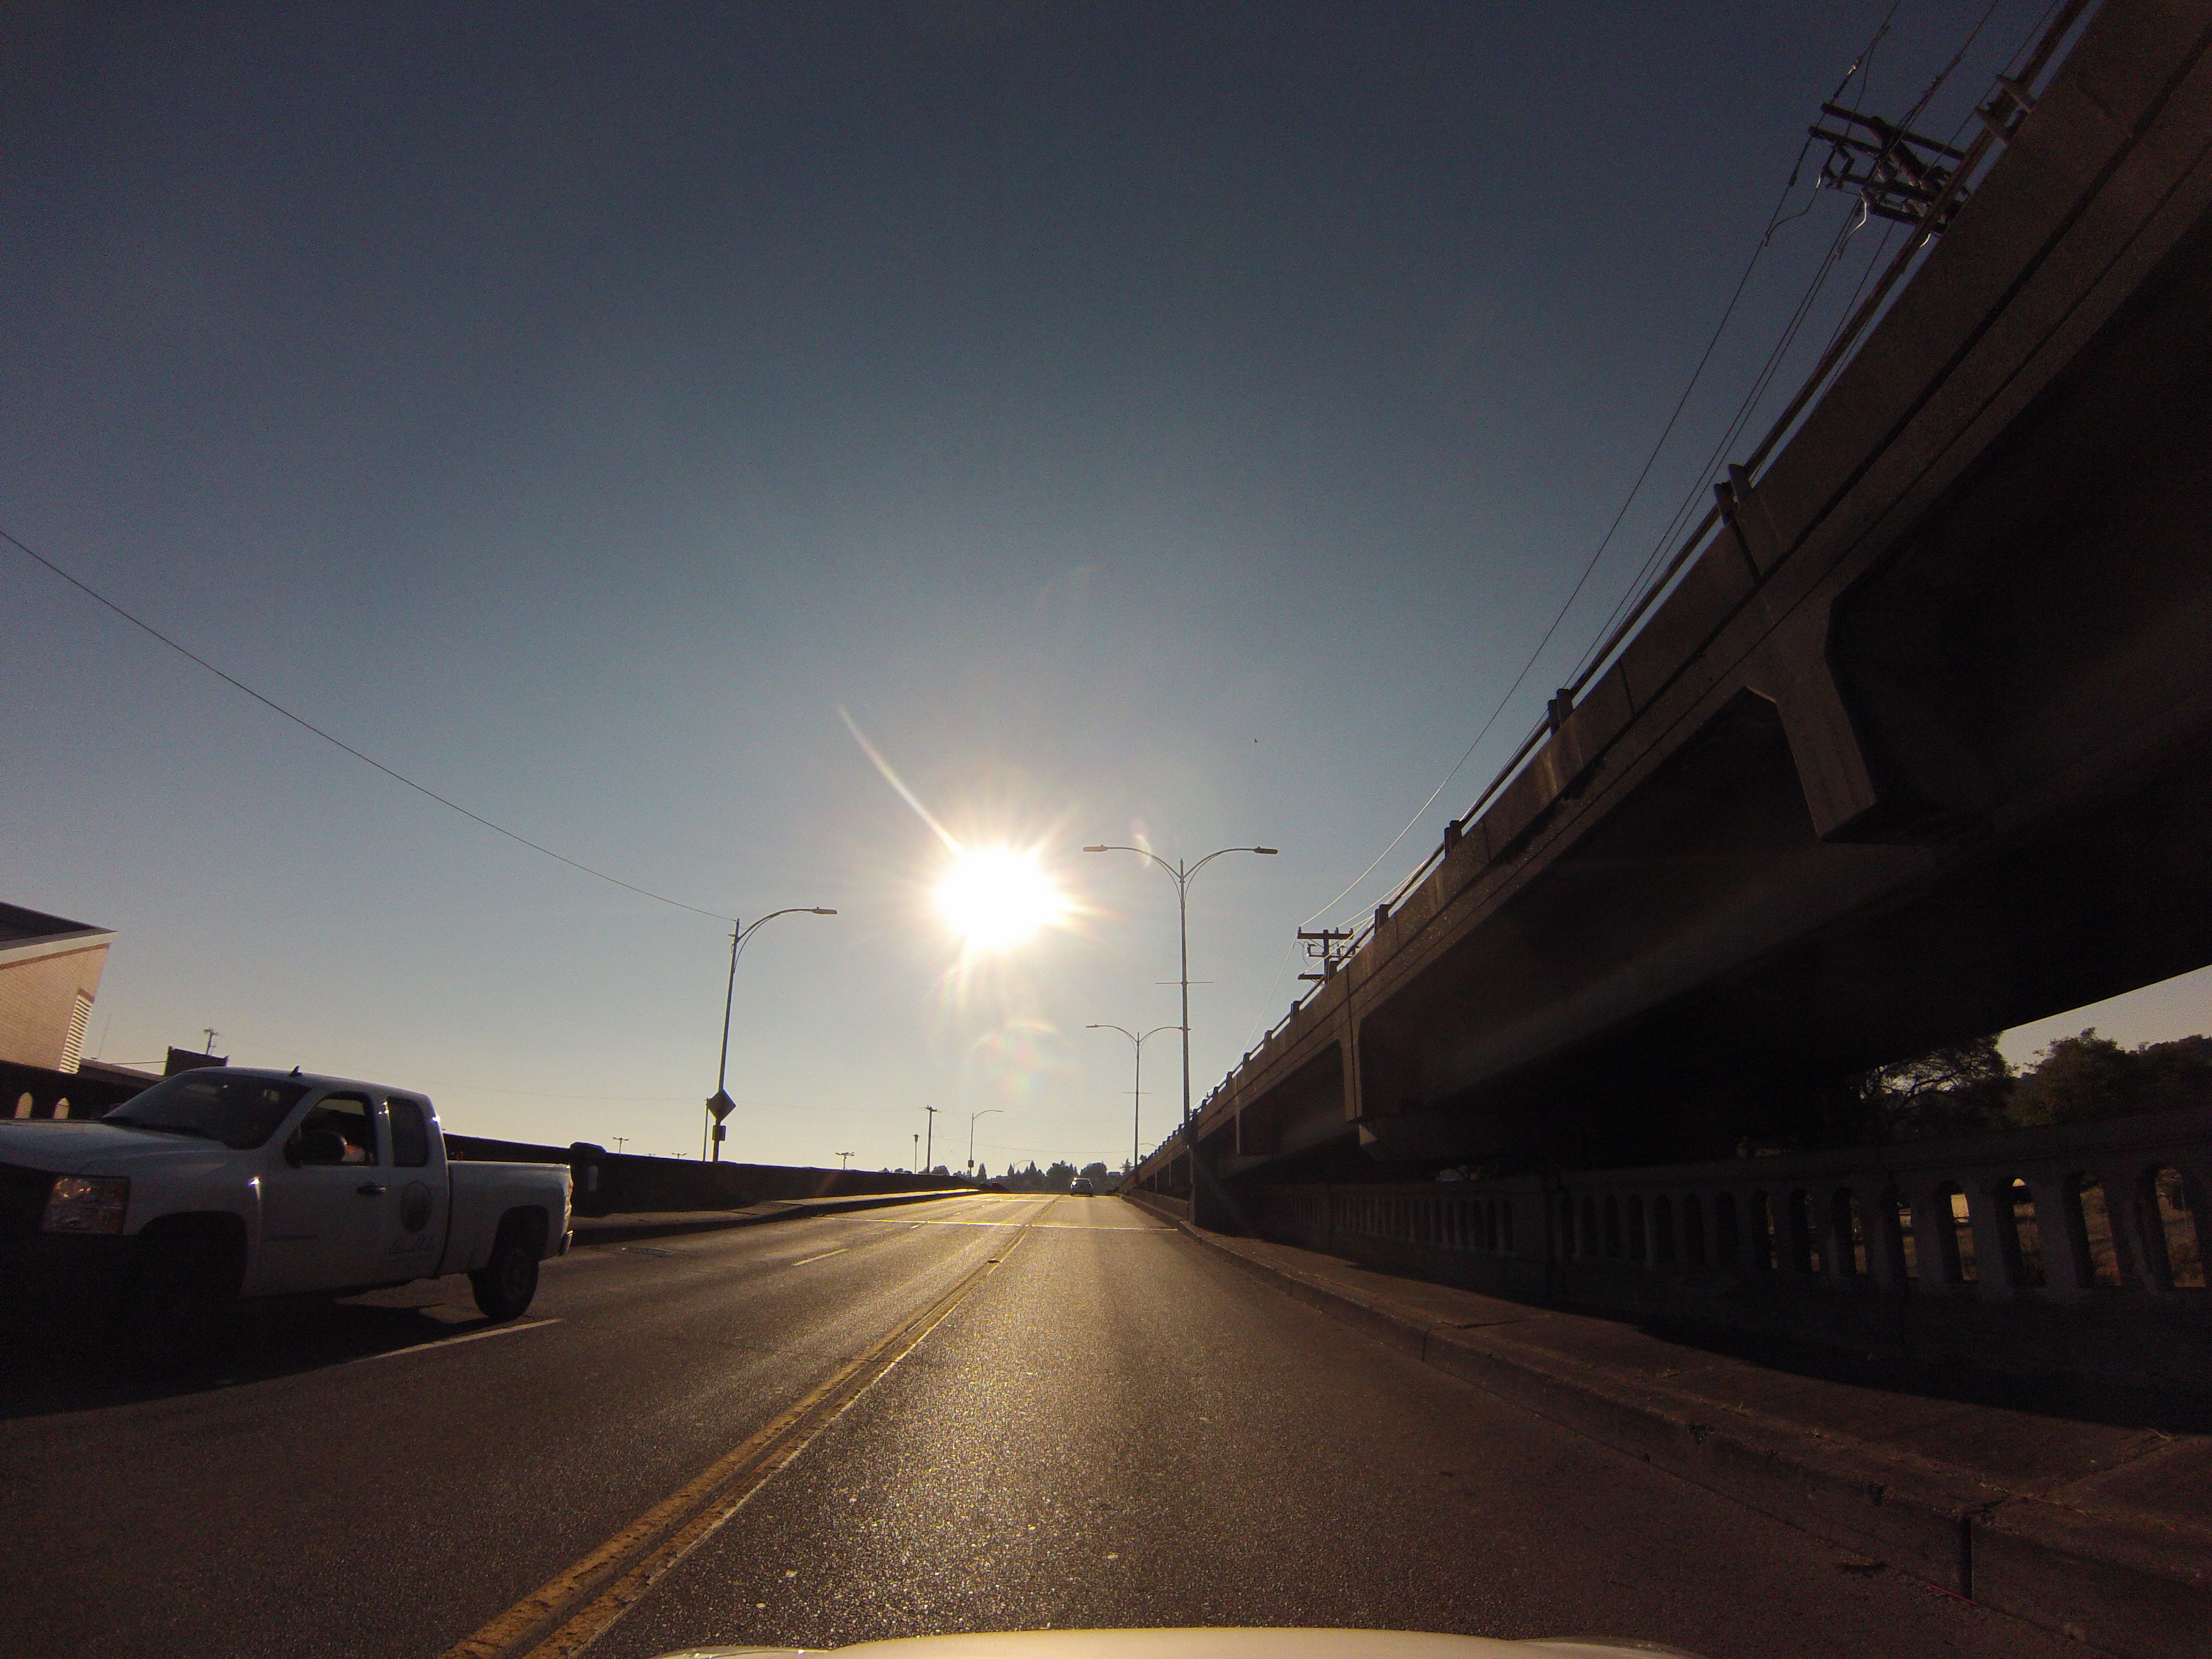


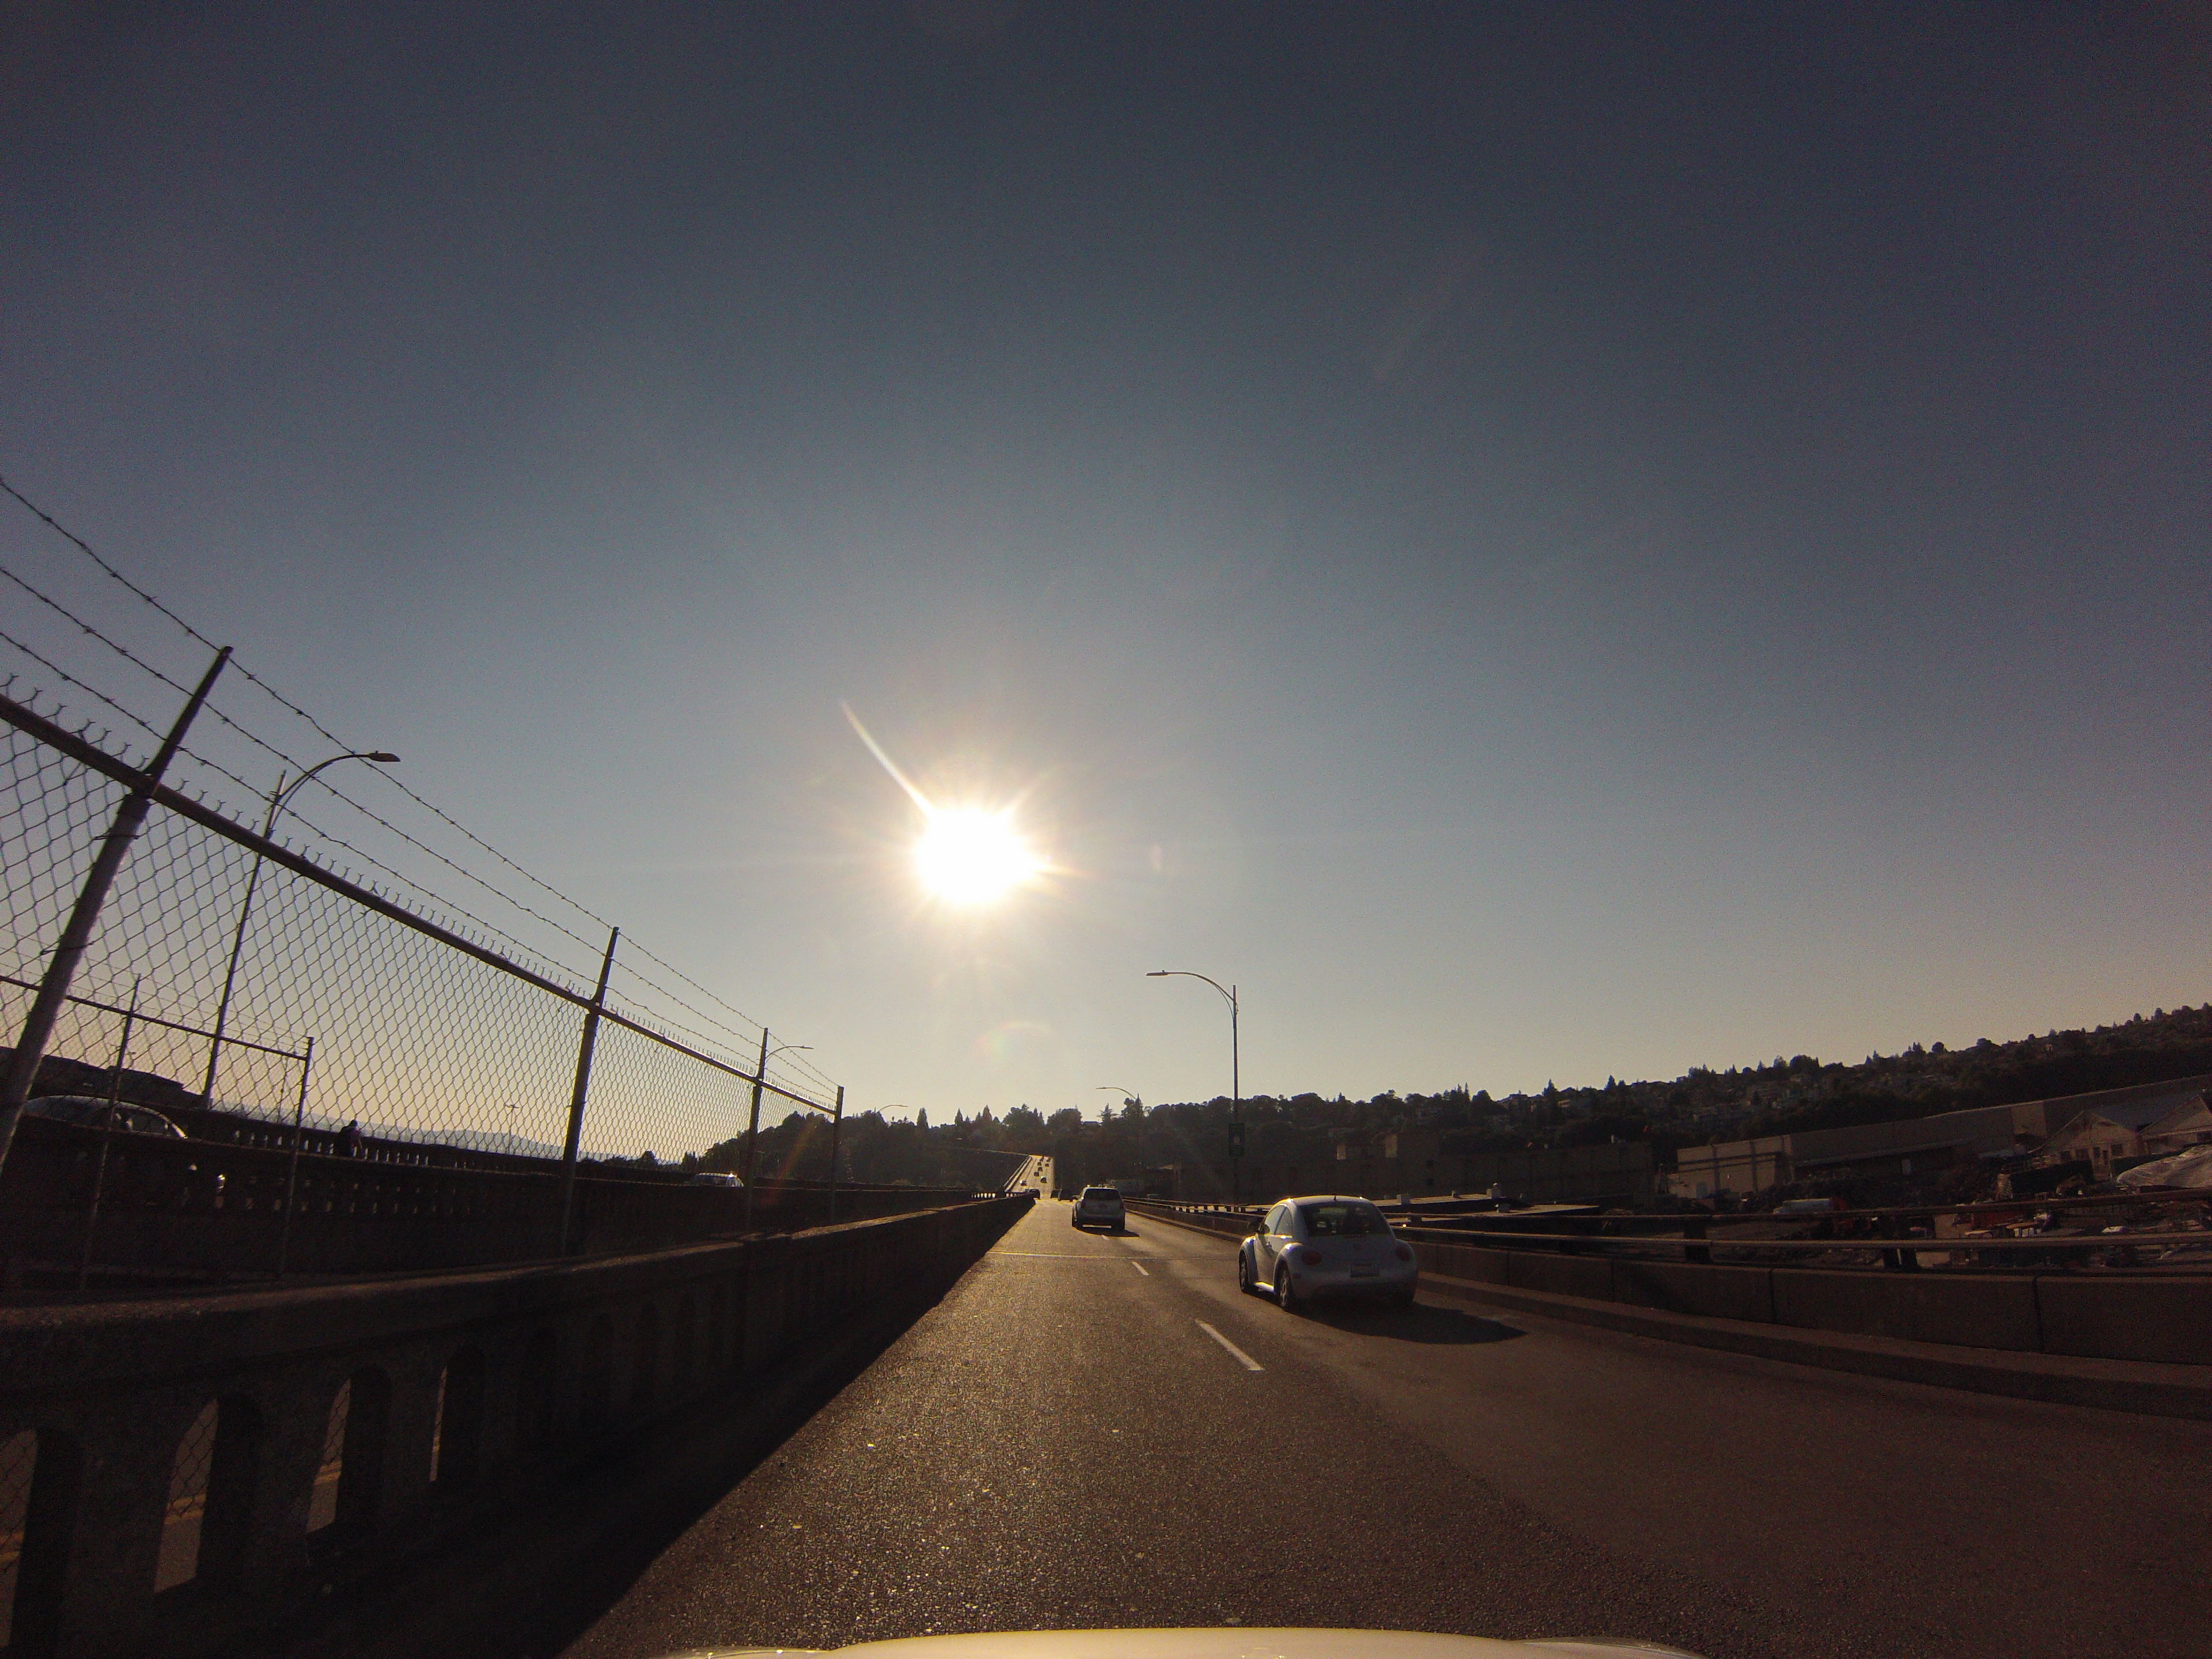
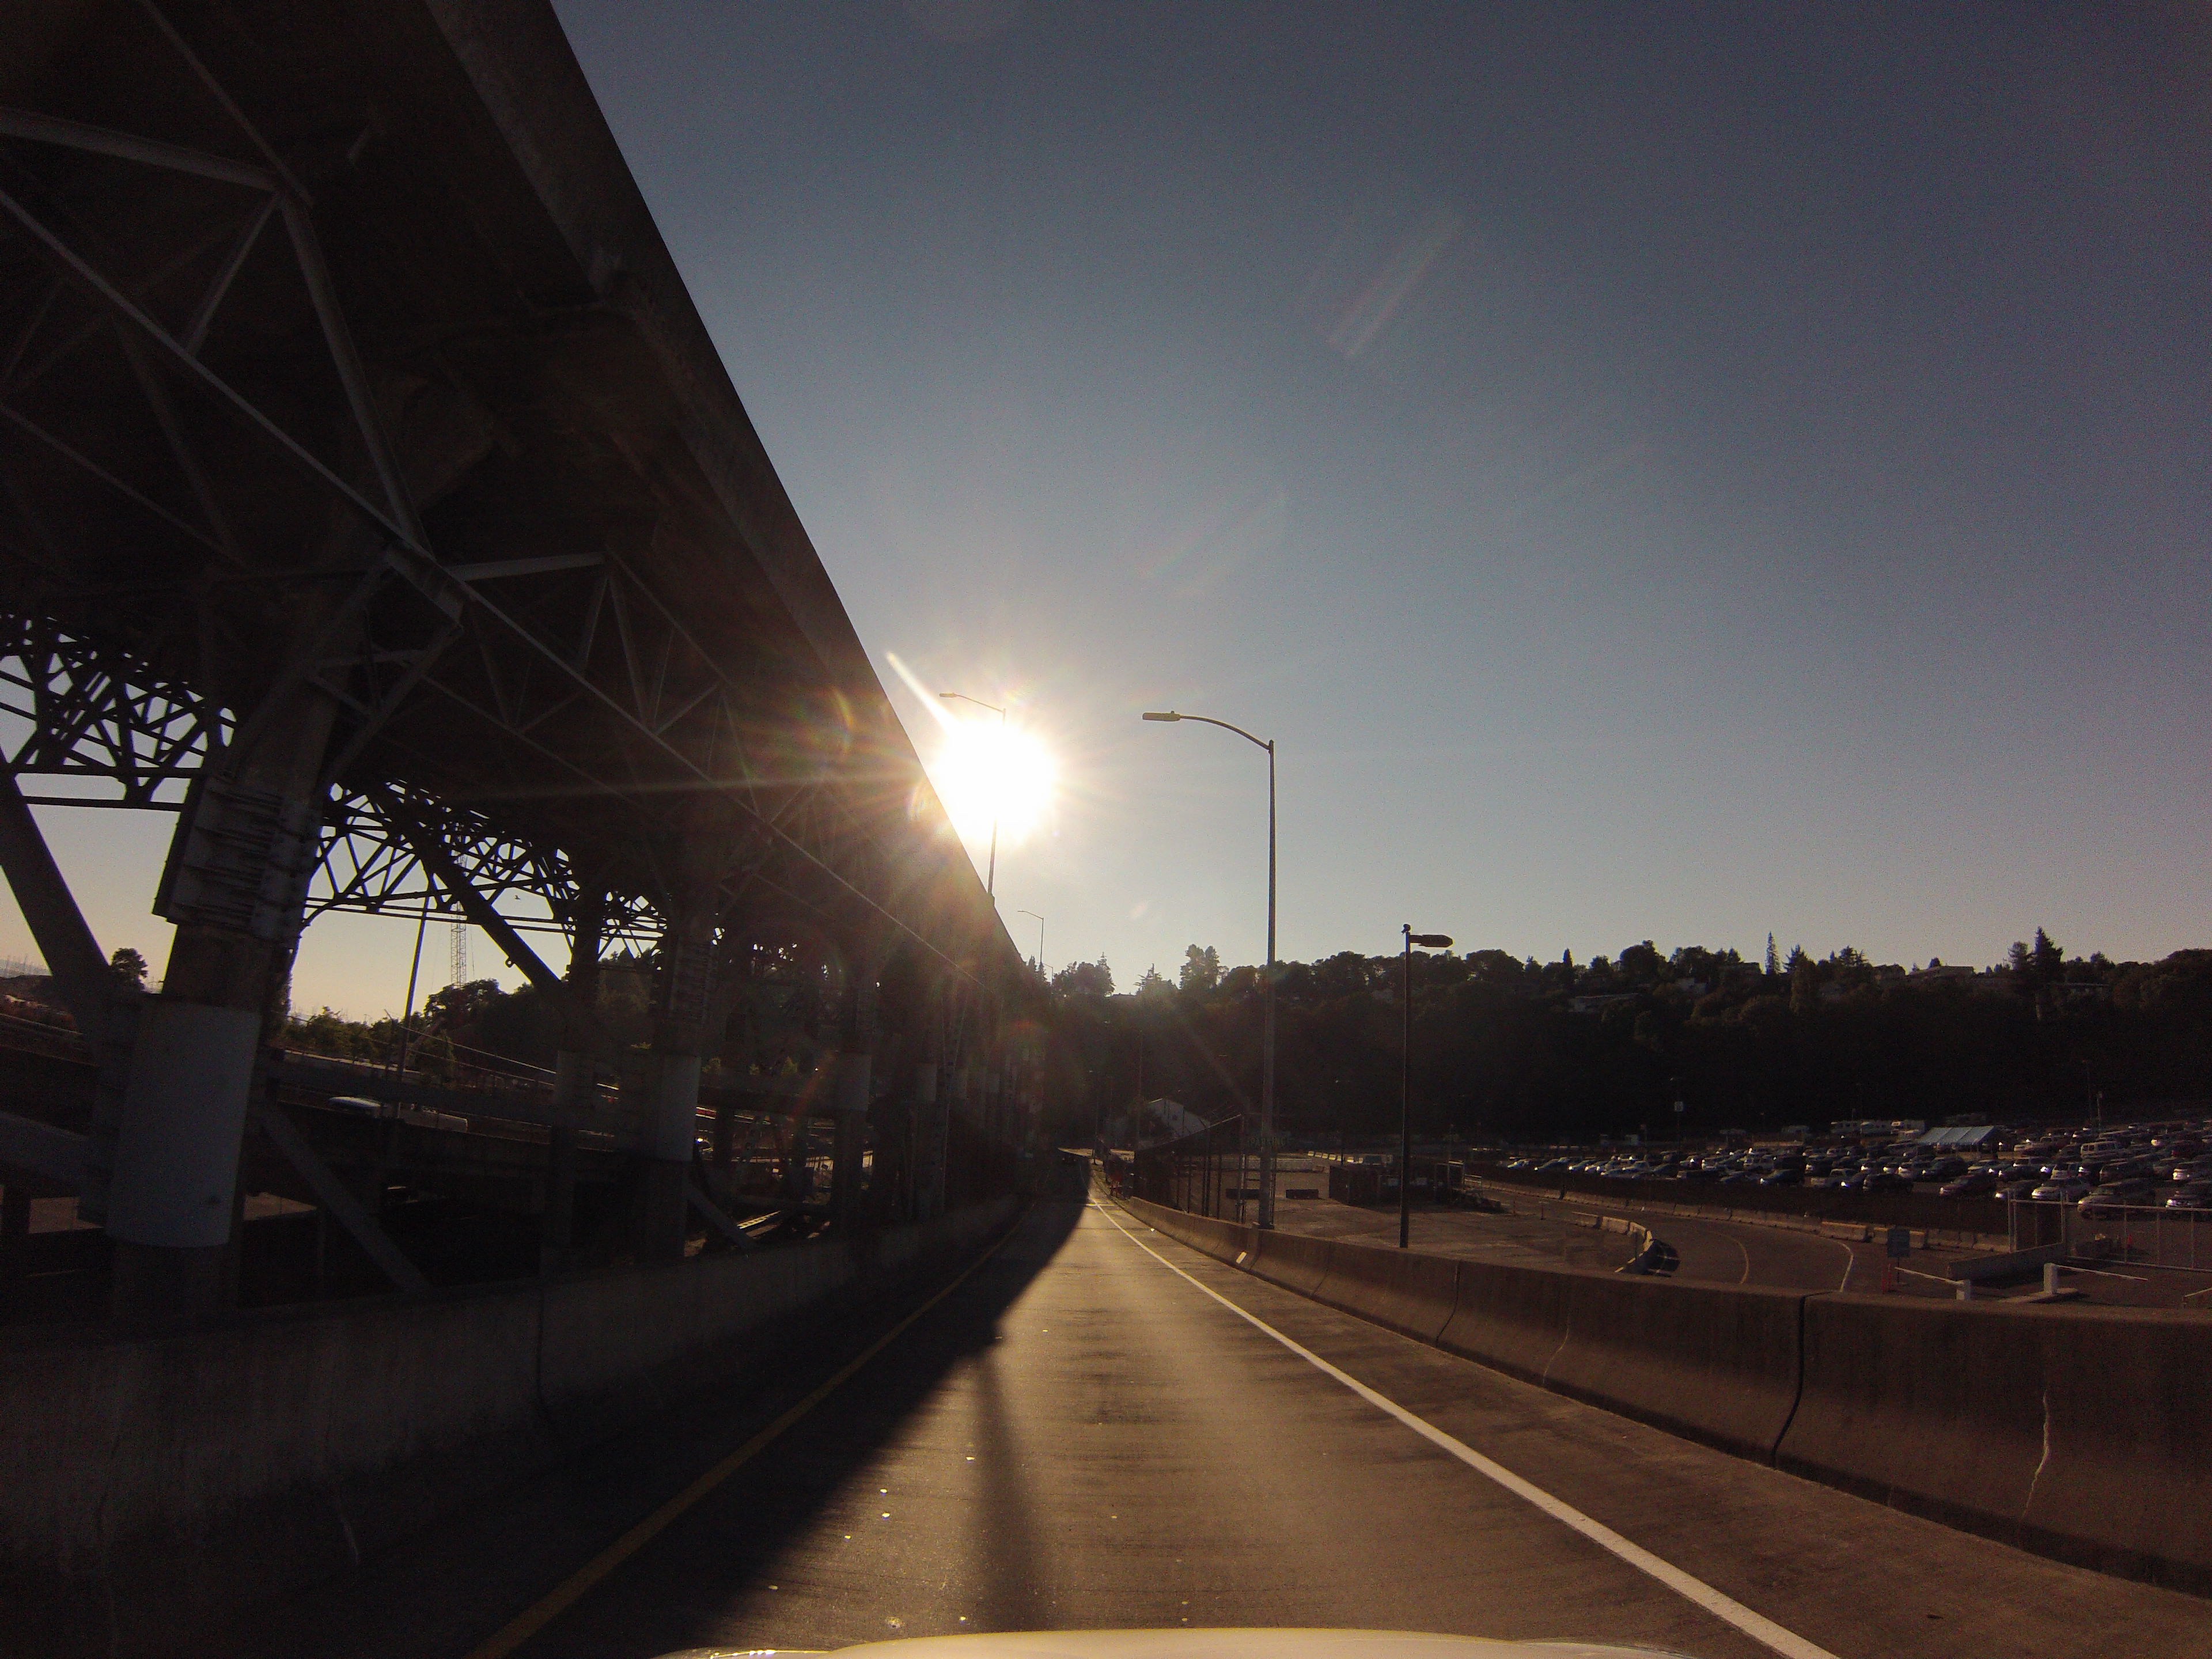
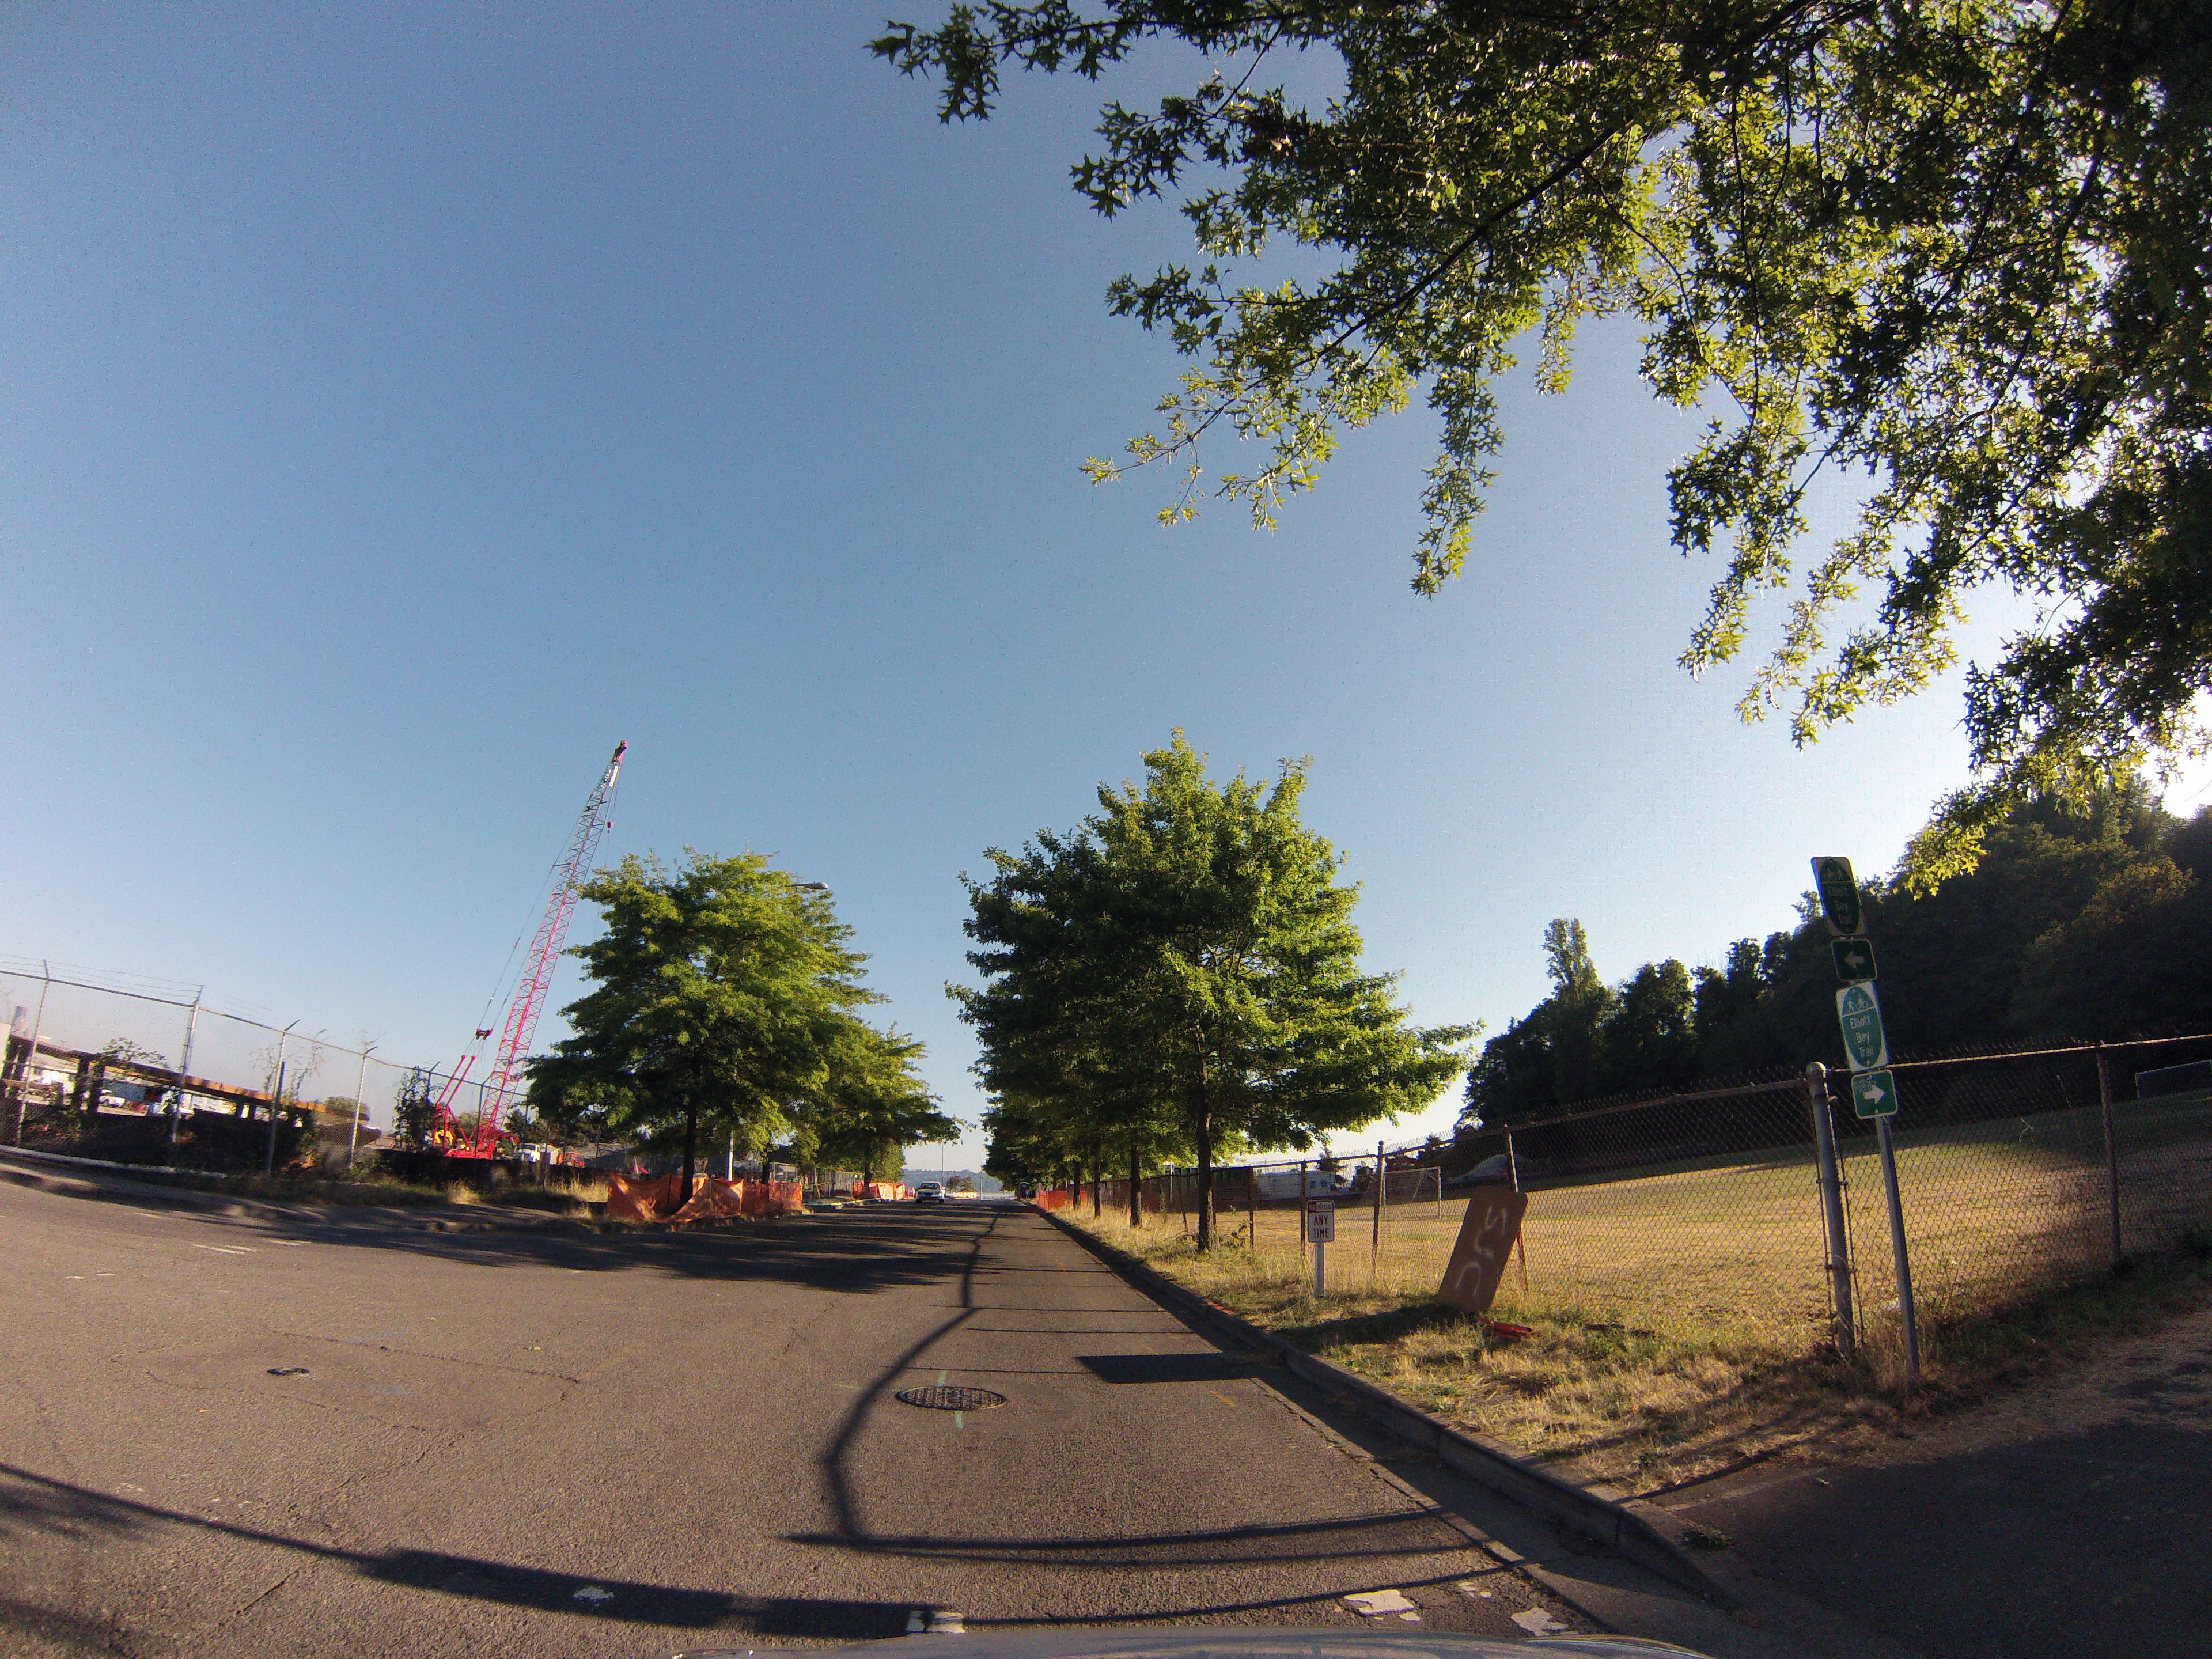
GoPro CarCam photos. Westbound crossing of bridge to 23rd Avenue. Views on the bridge's entrance ramp.
![]()


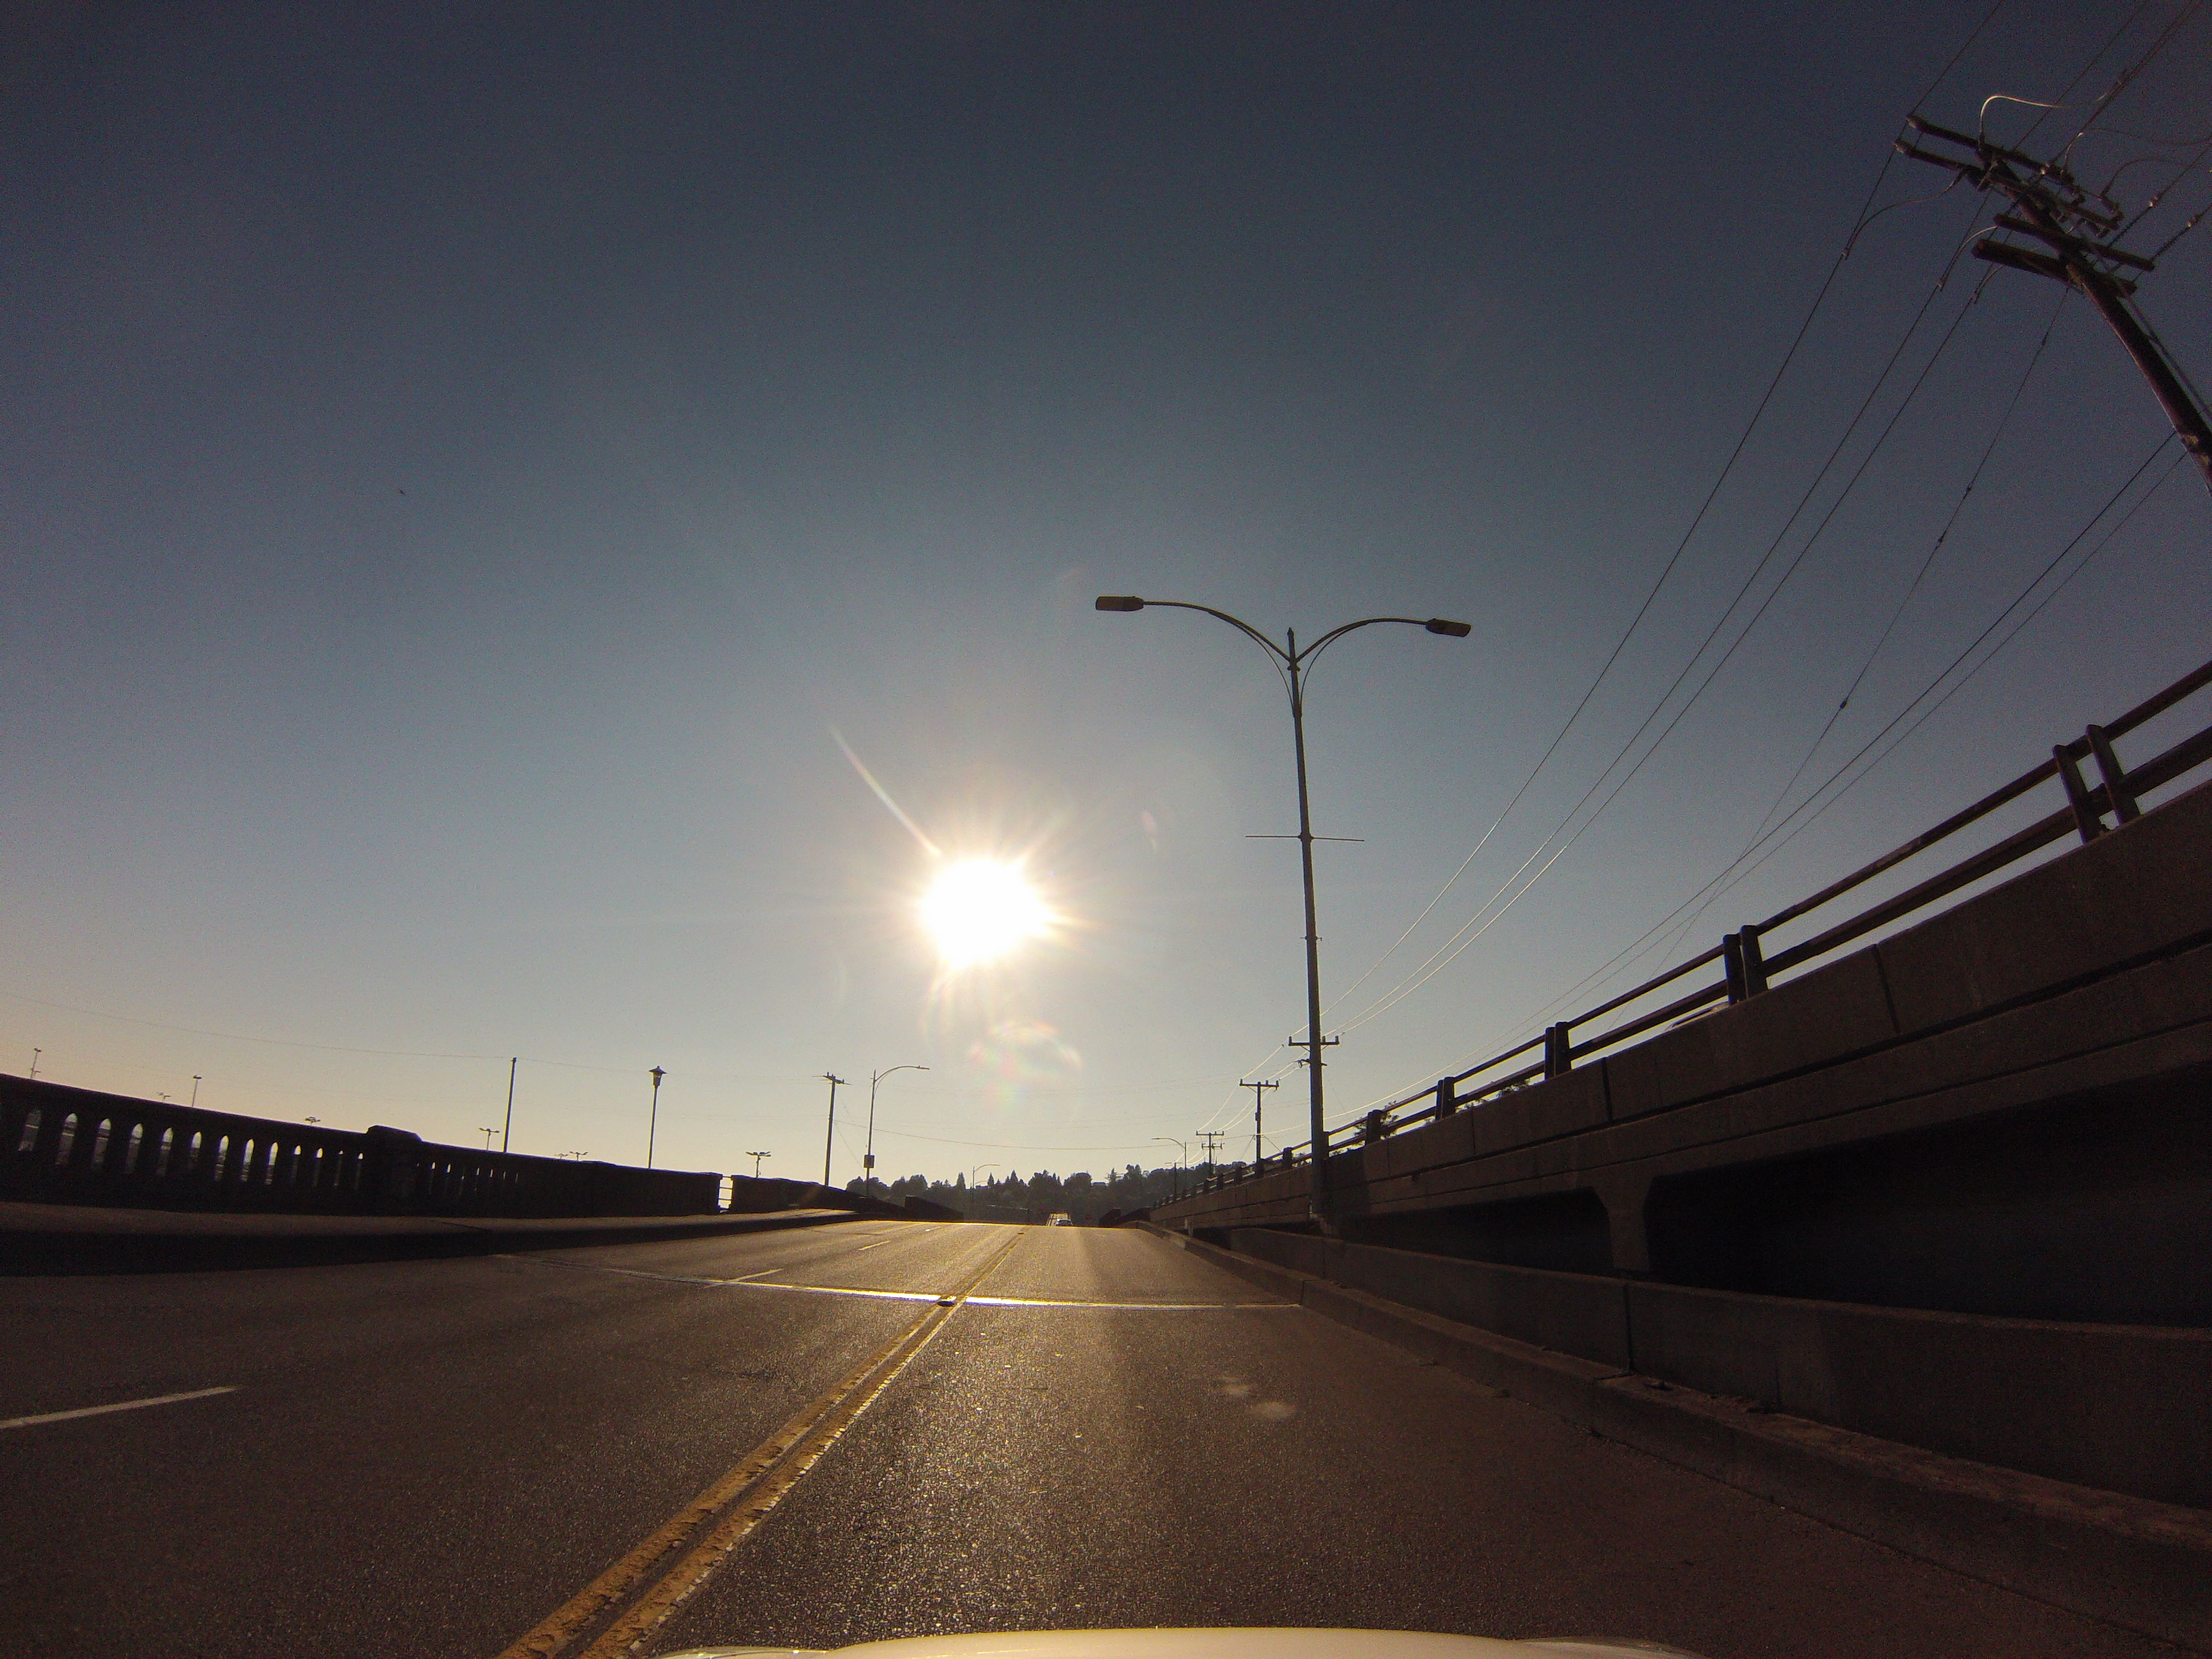
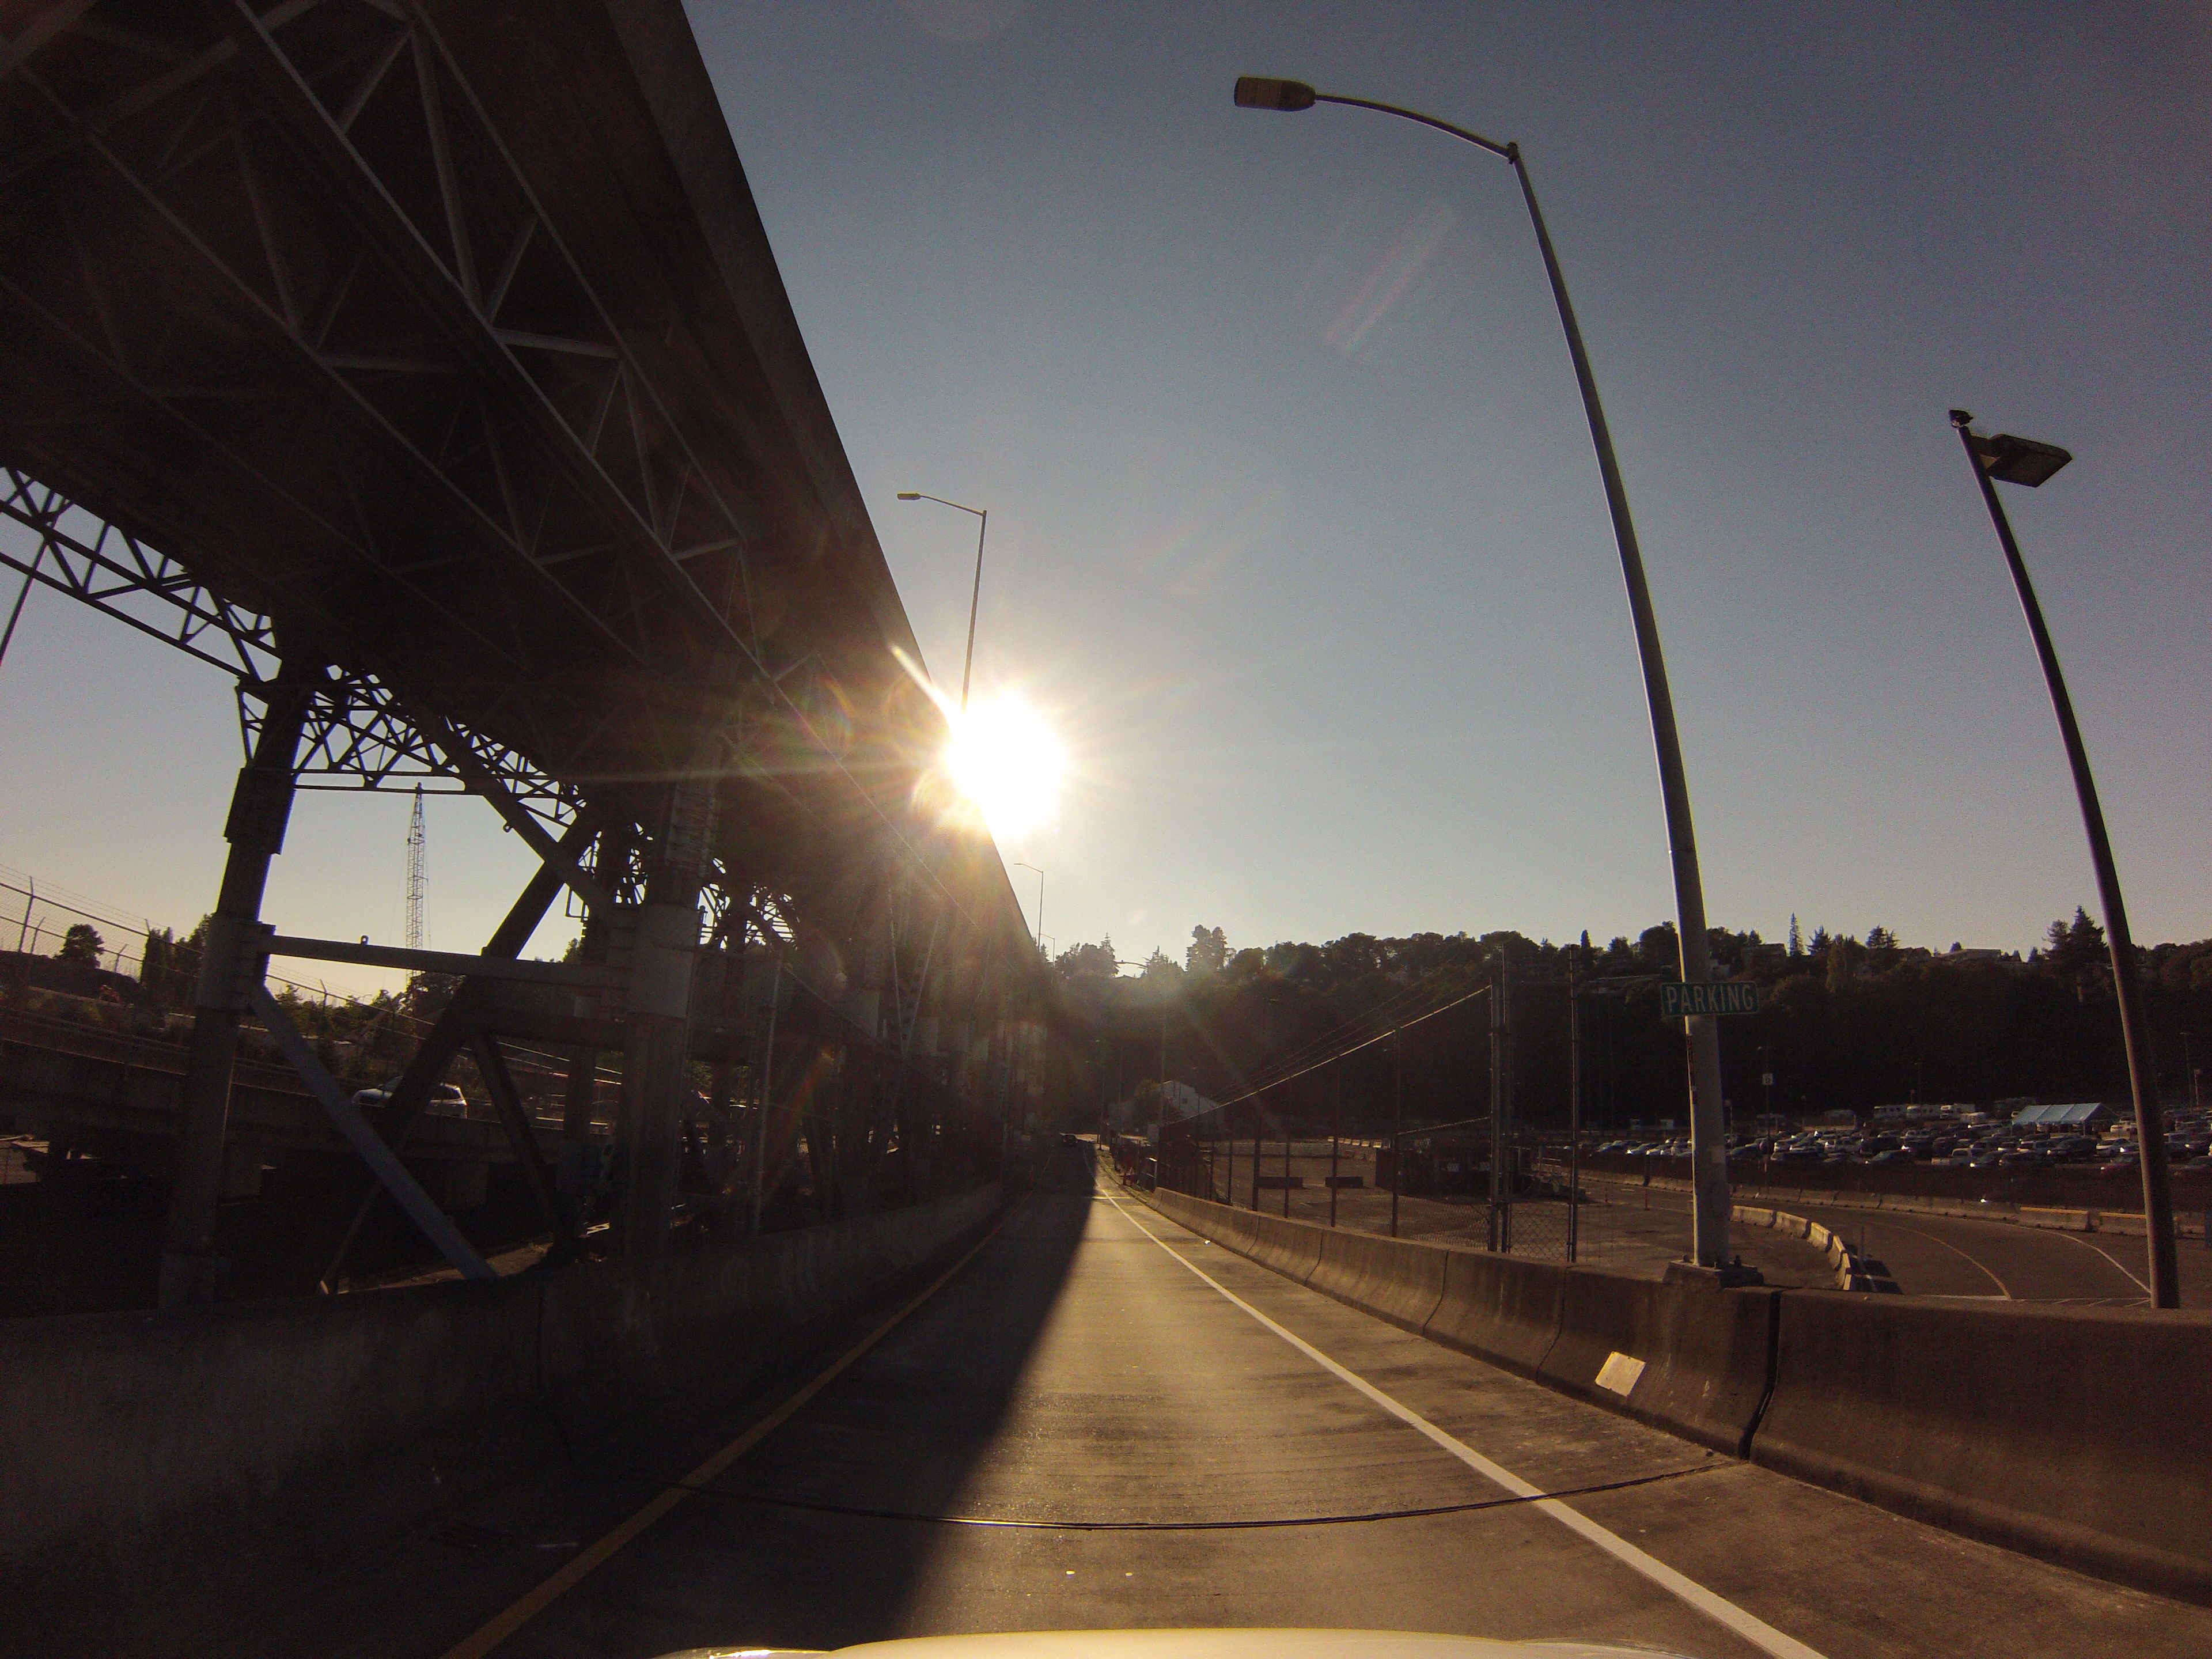
GoPro CarCam photos. Westbound crossing of bridge to 23rd Avenue. Views up to an adjacent on-ramp.
![]()


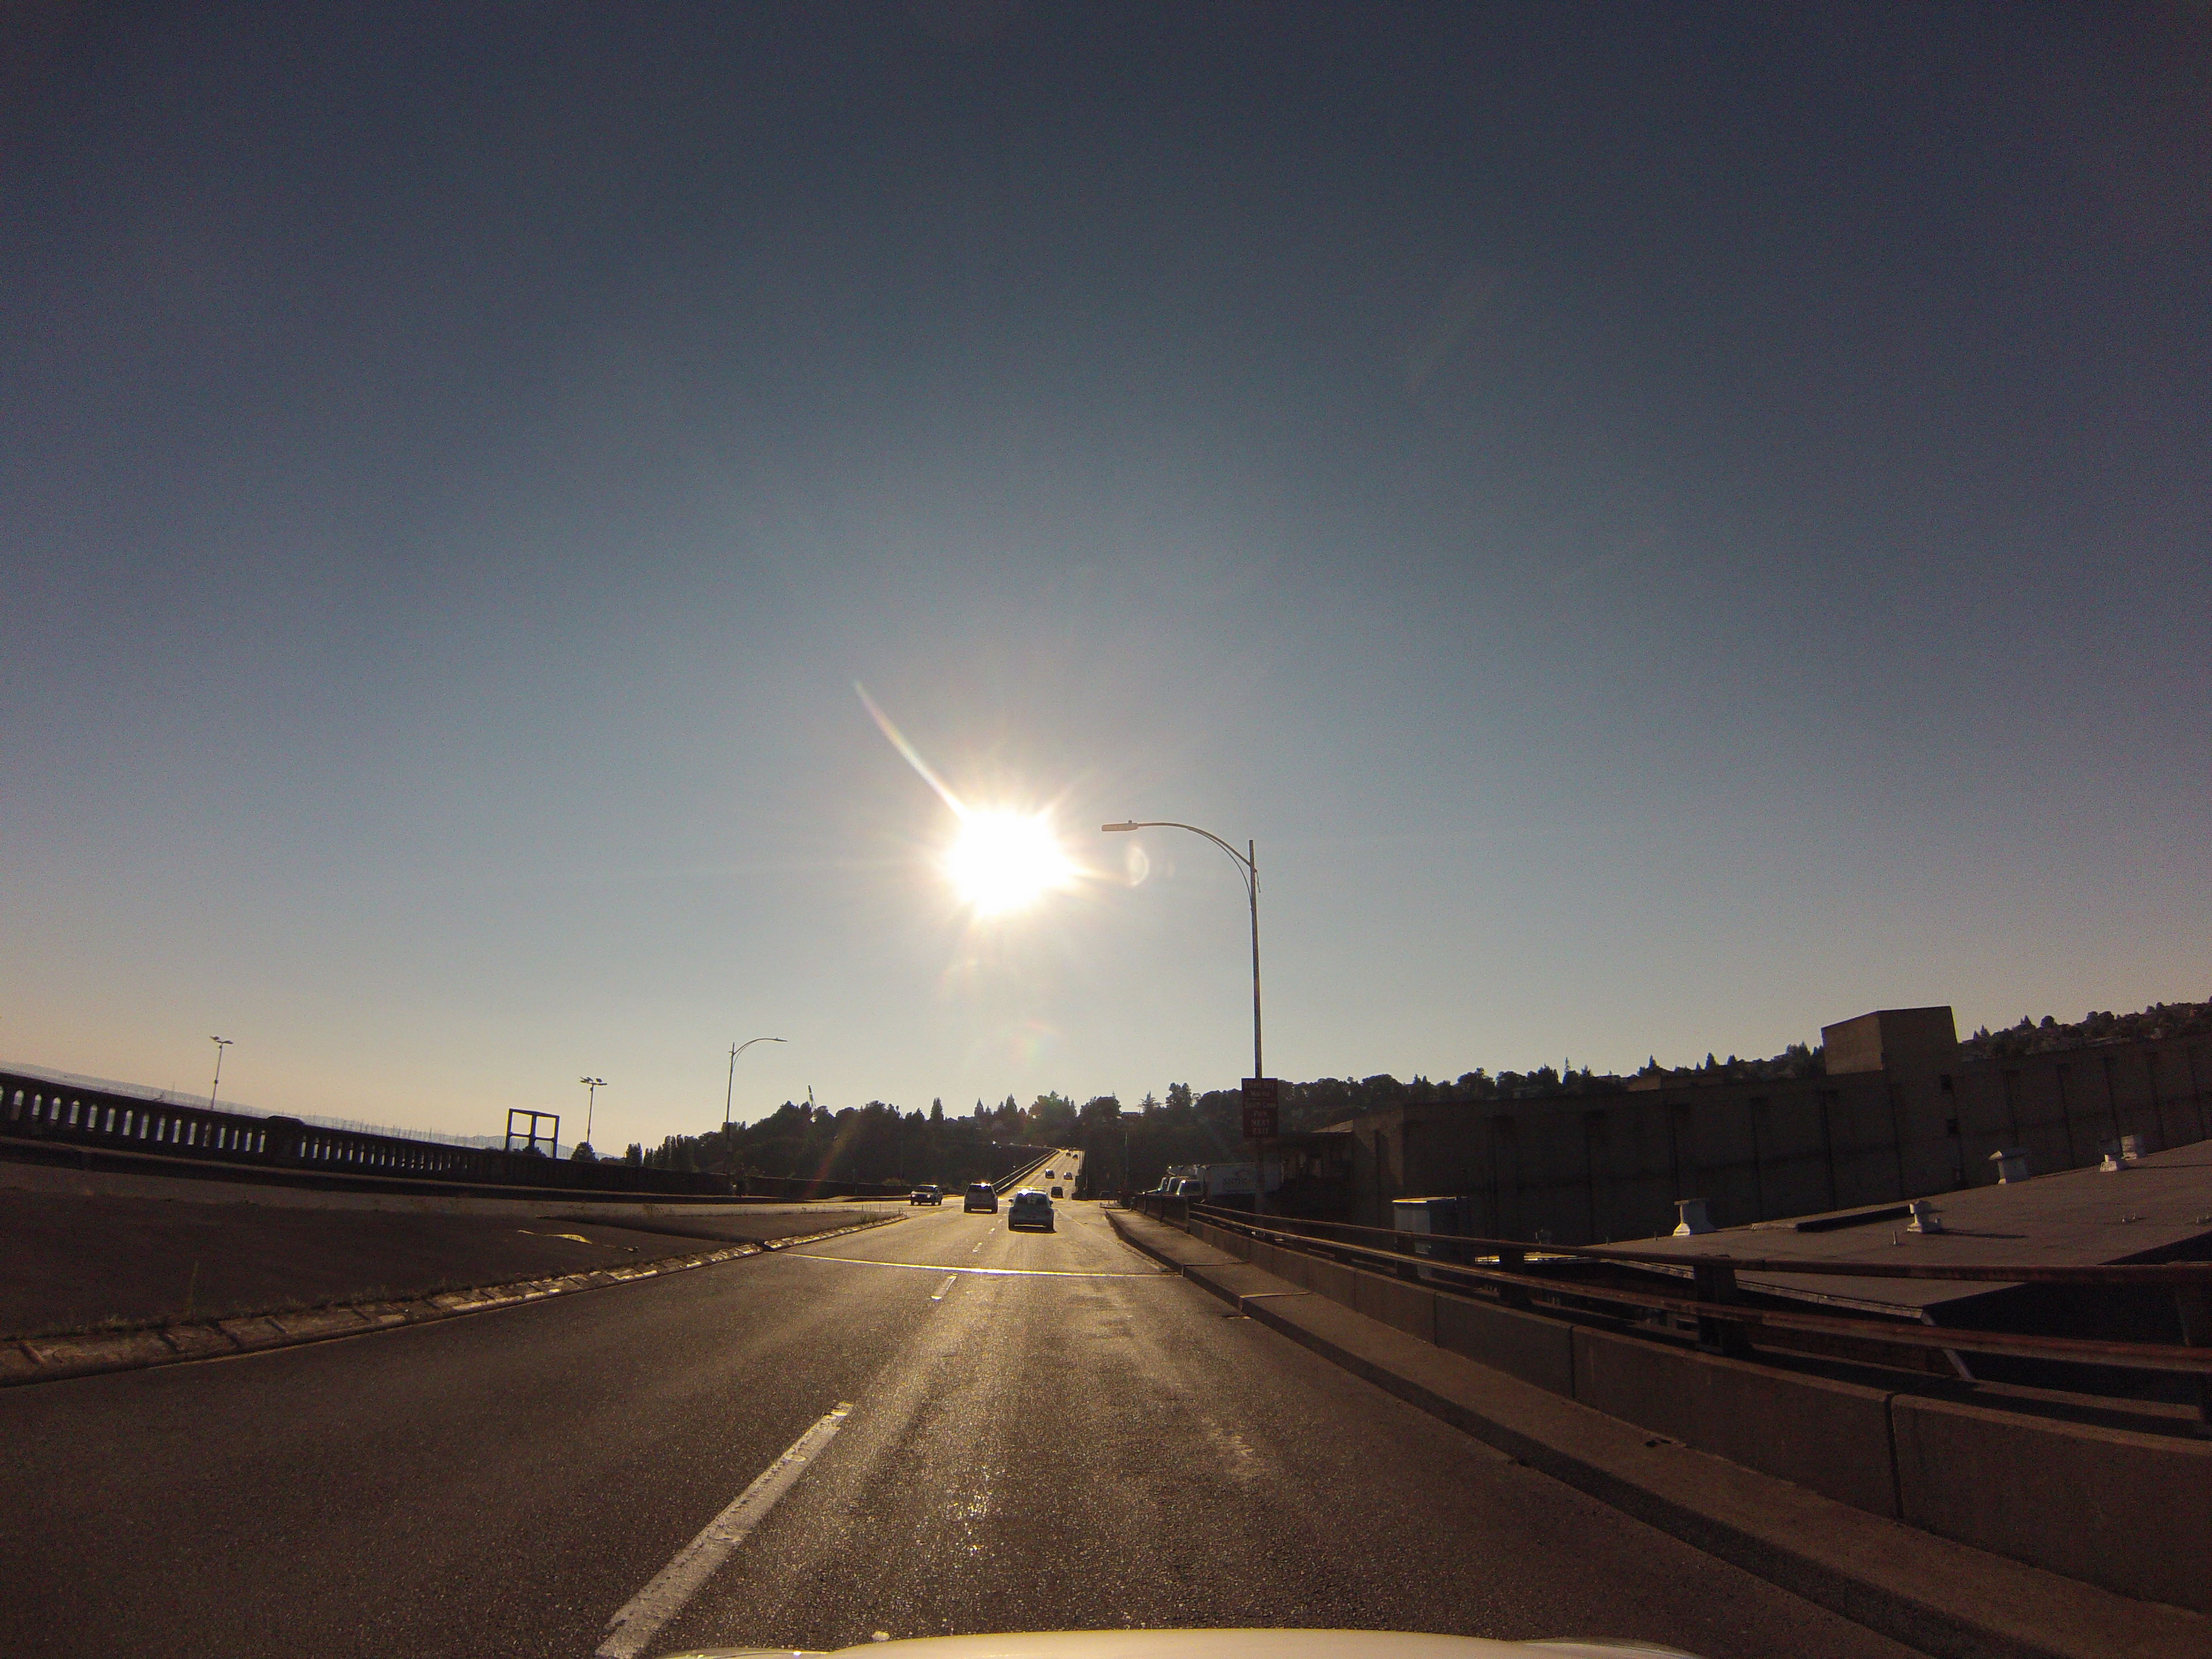
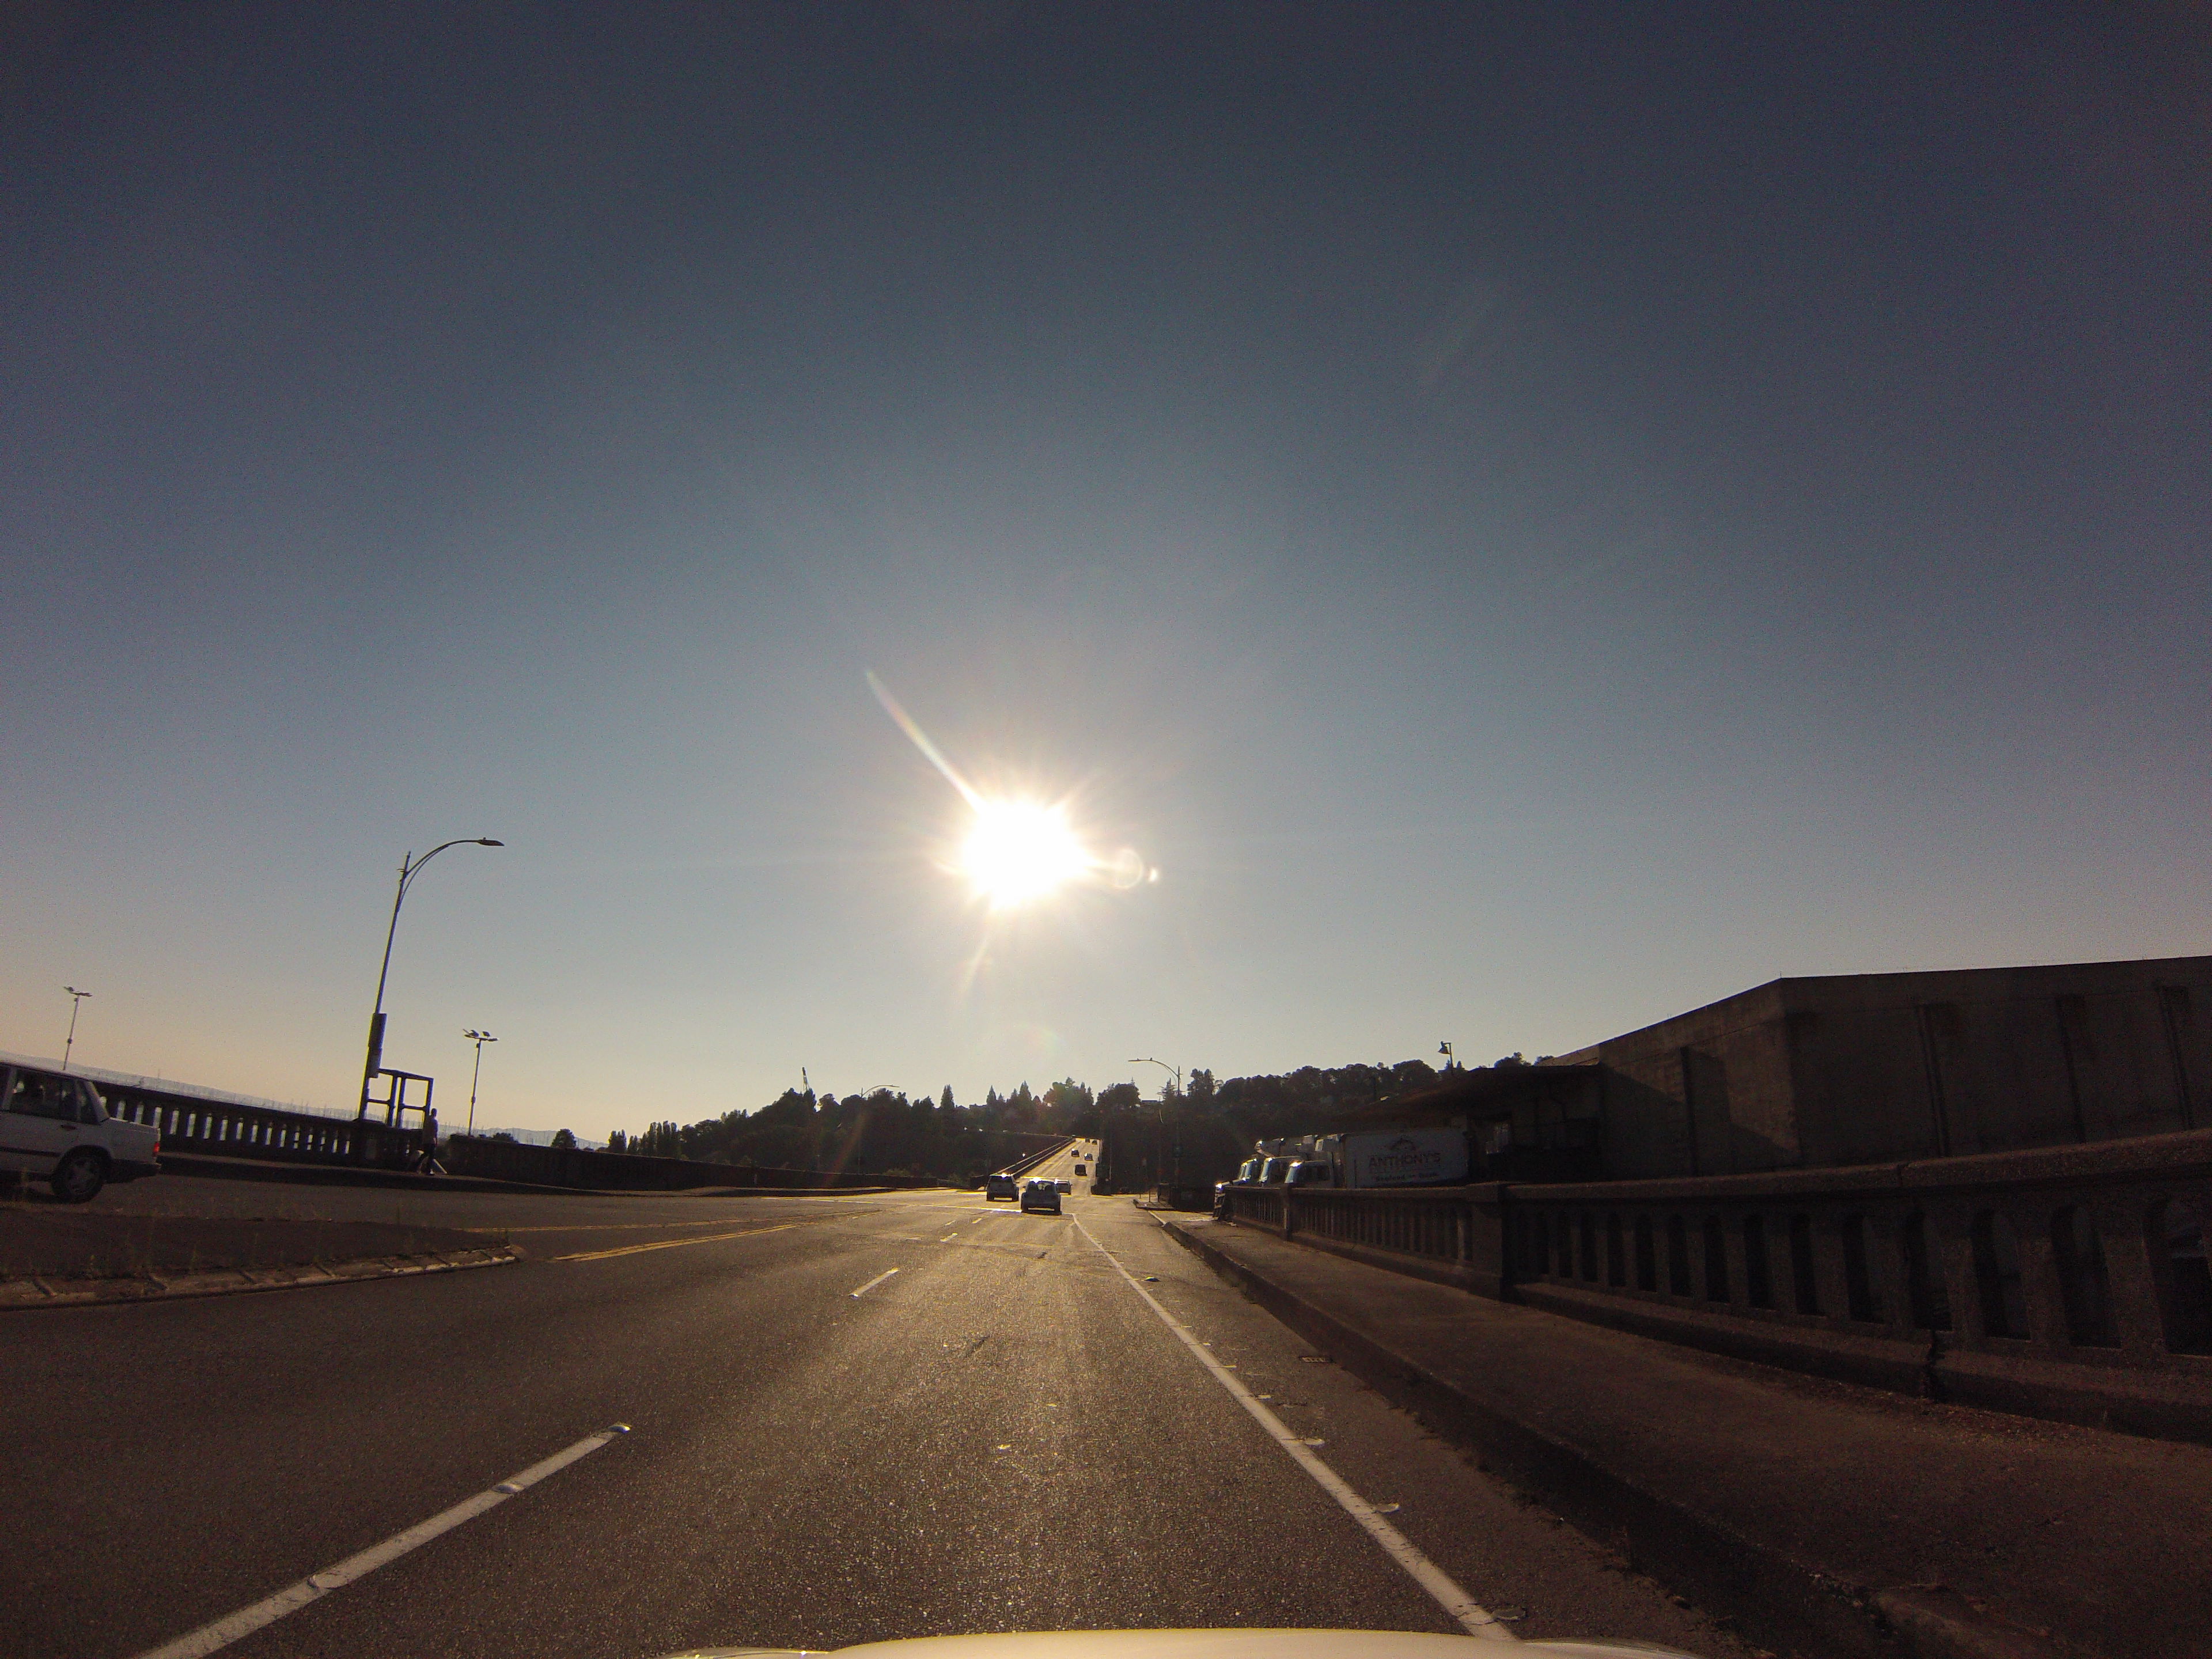


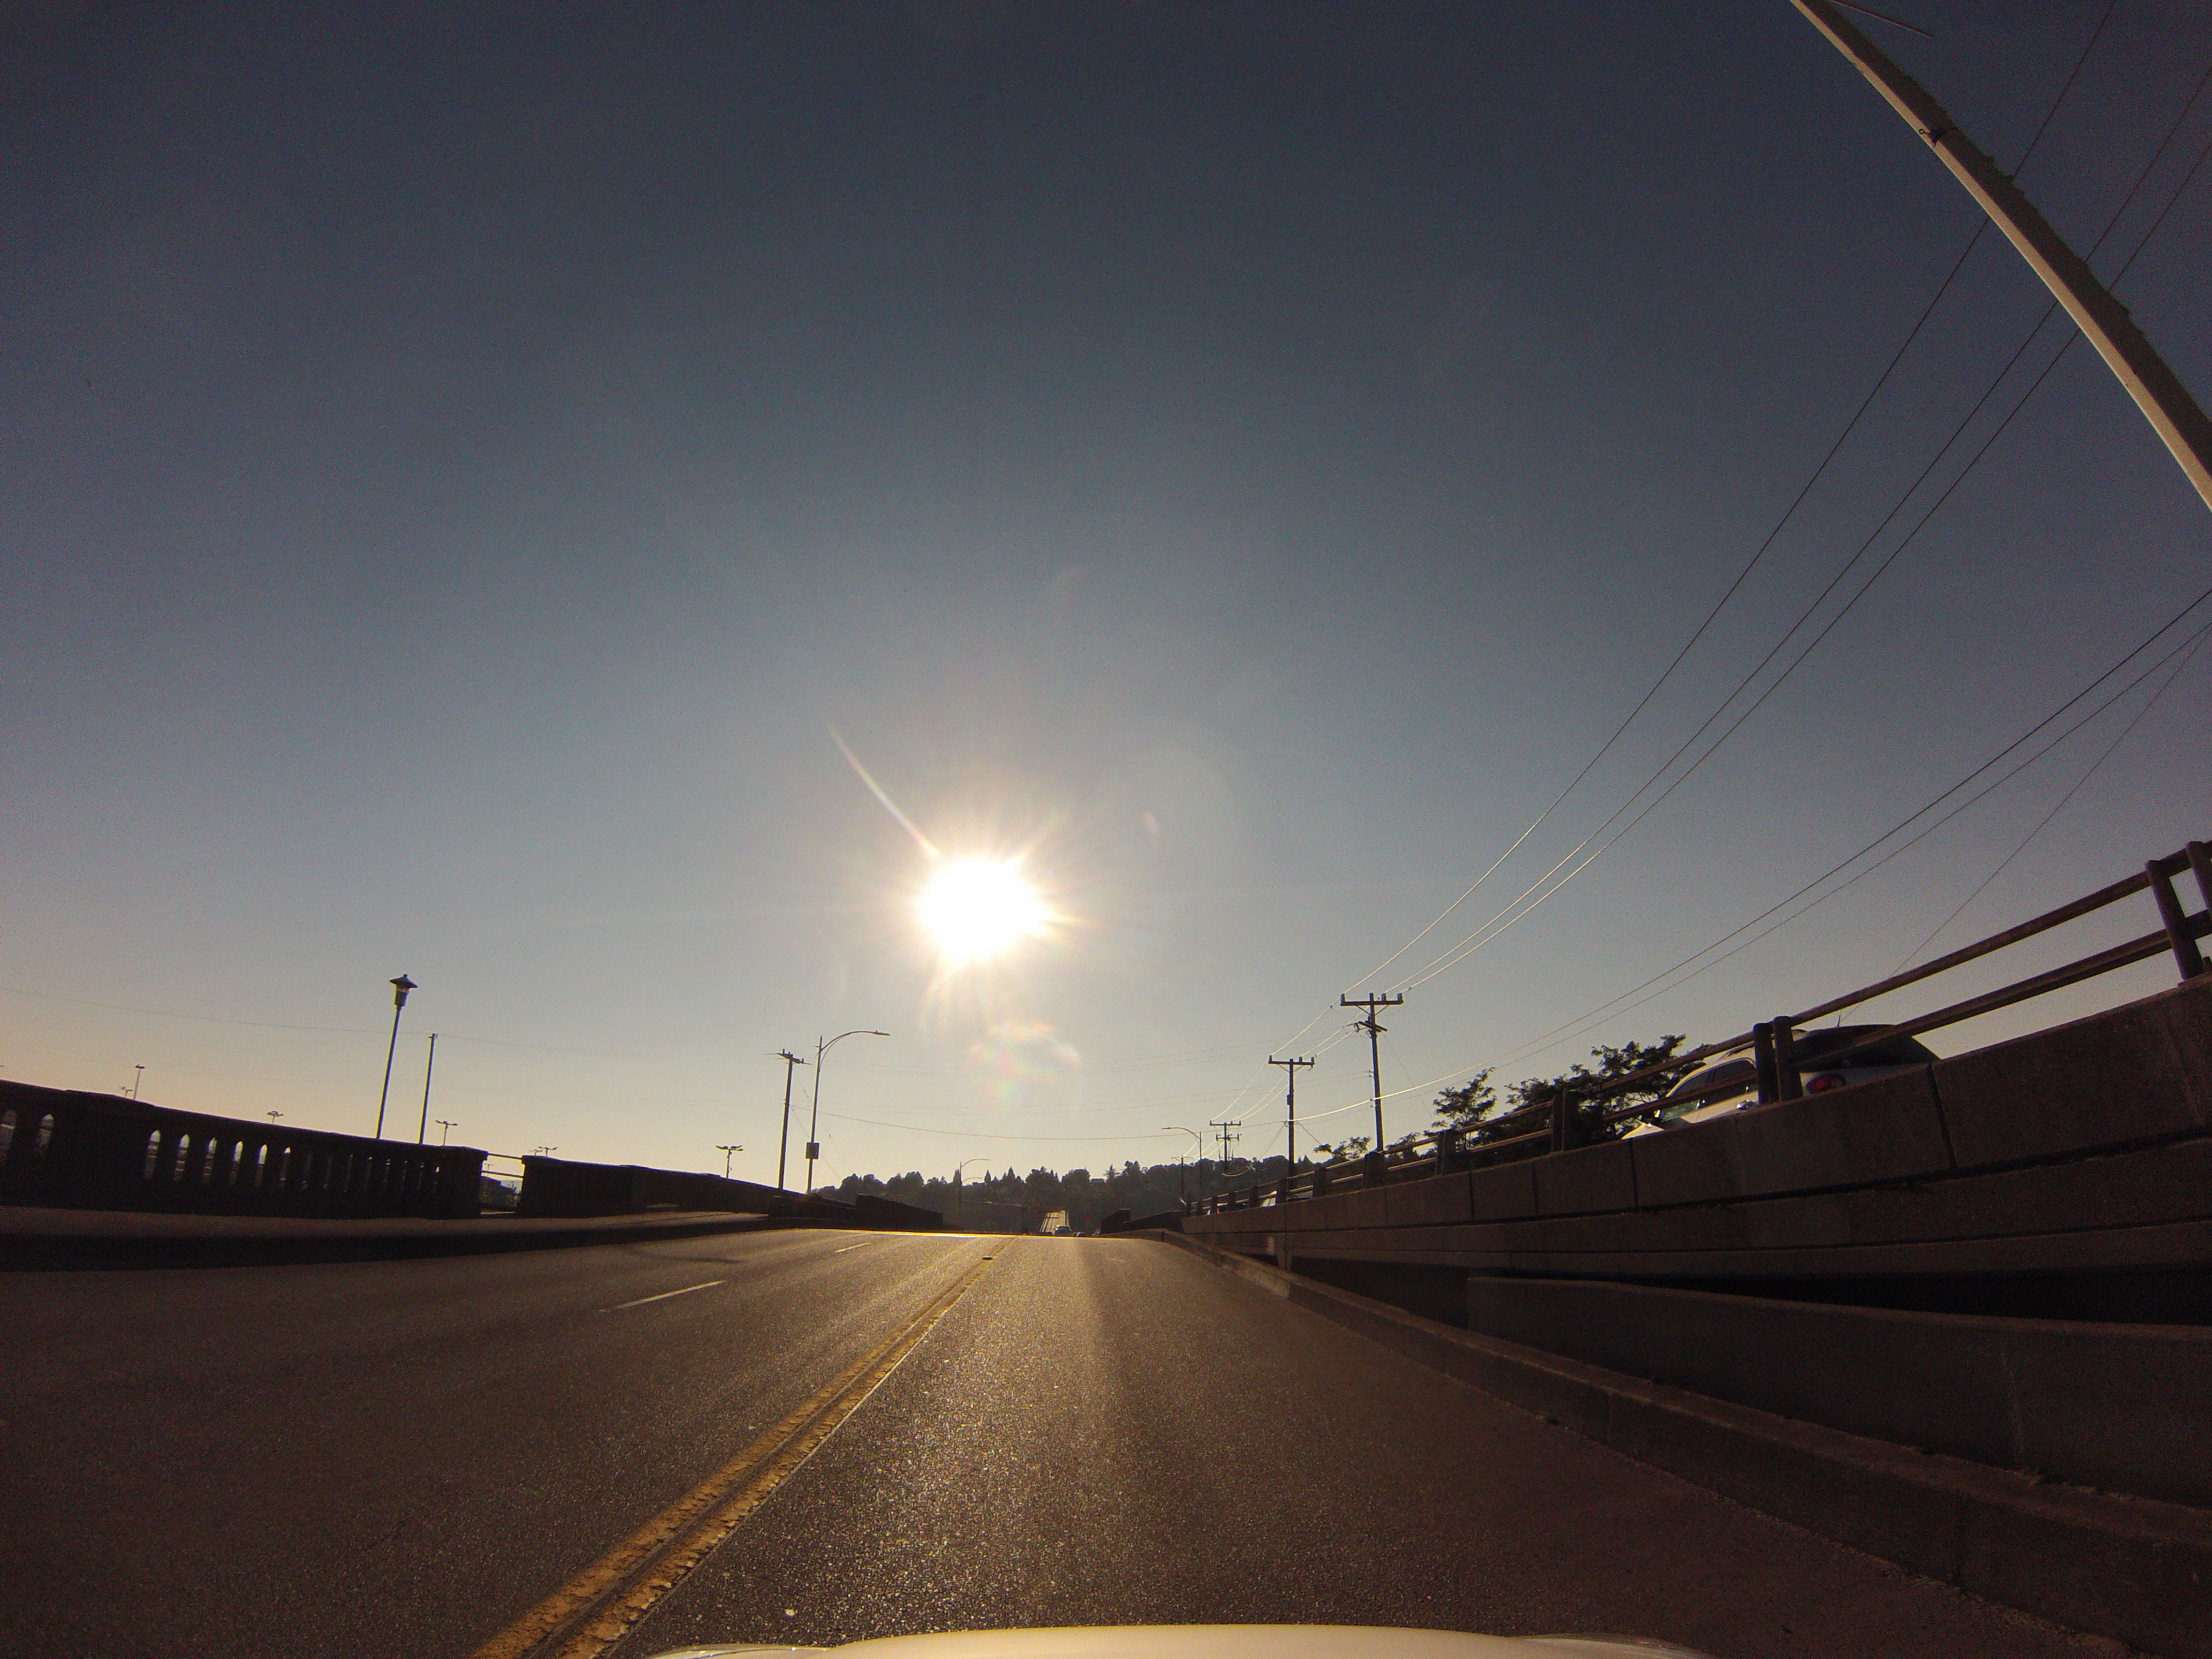
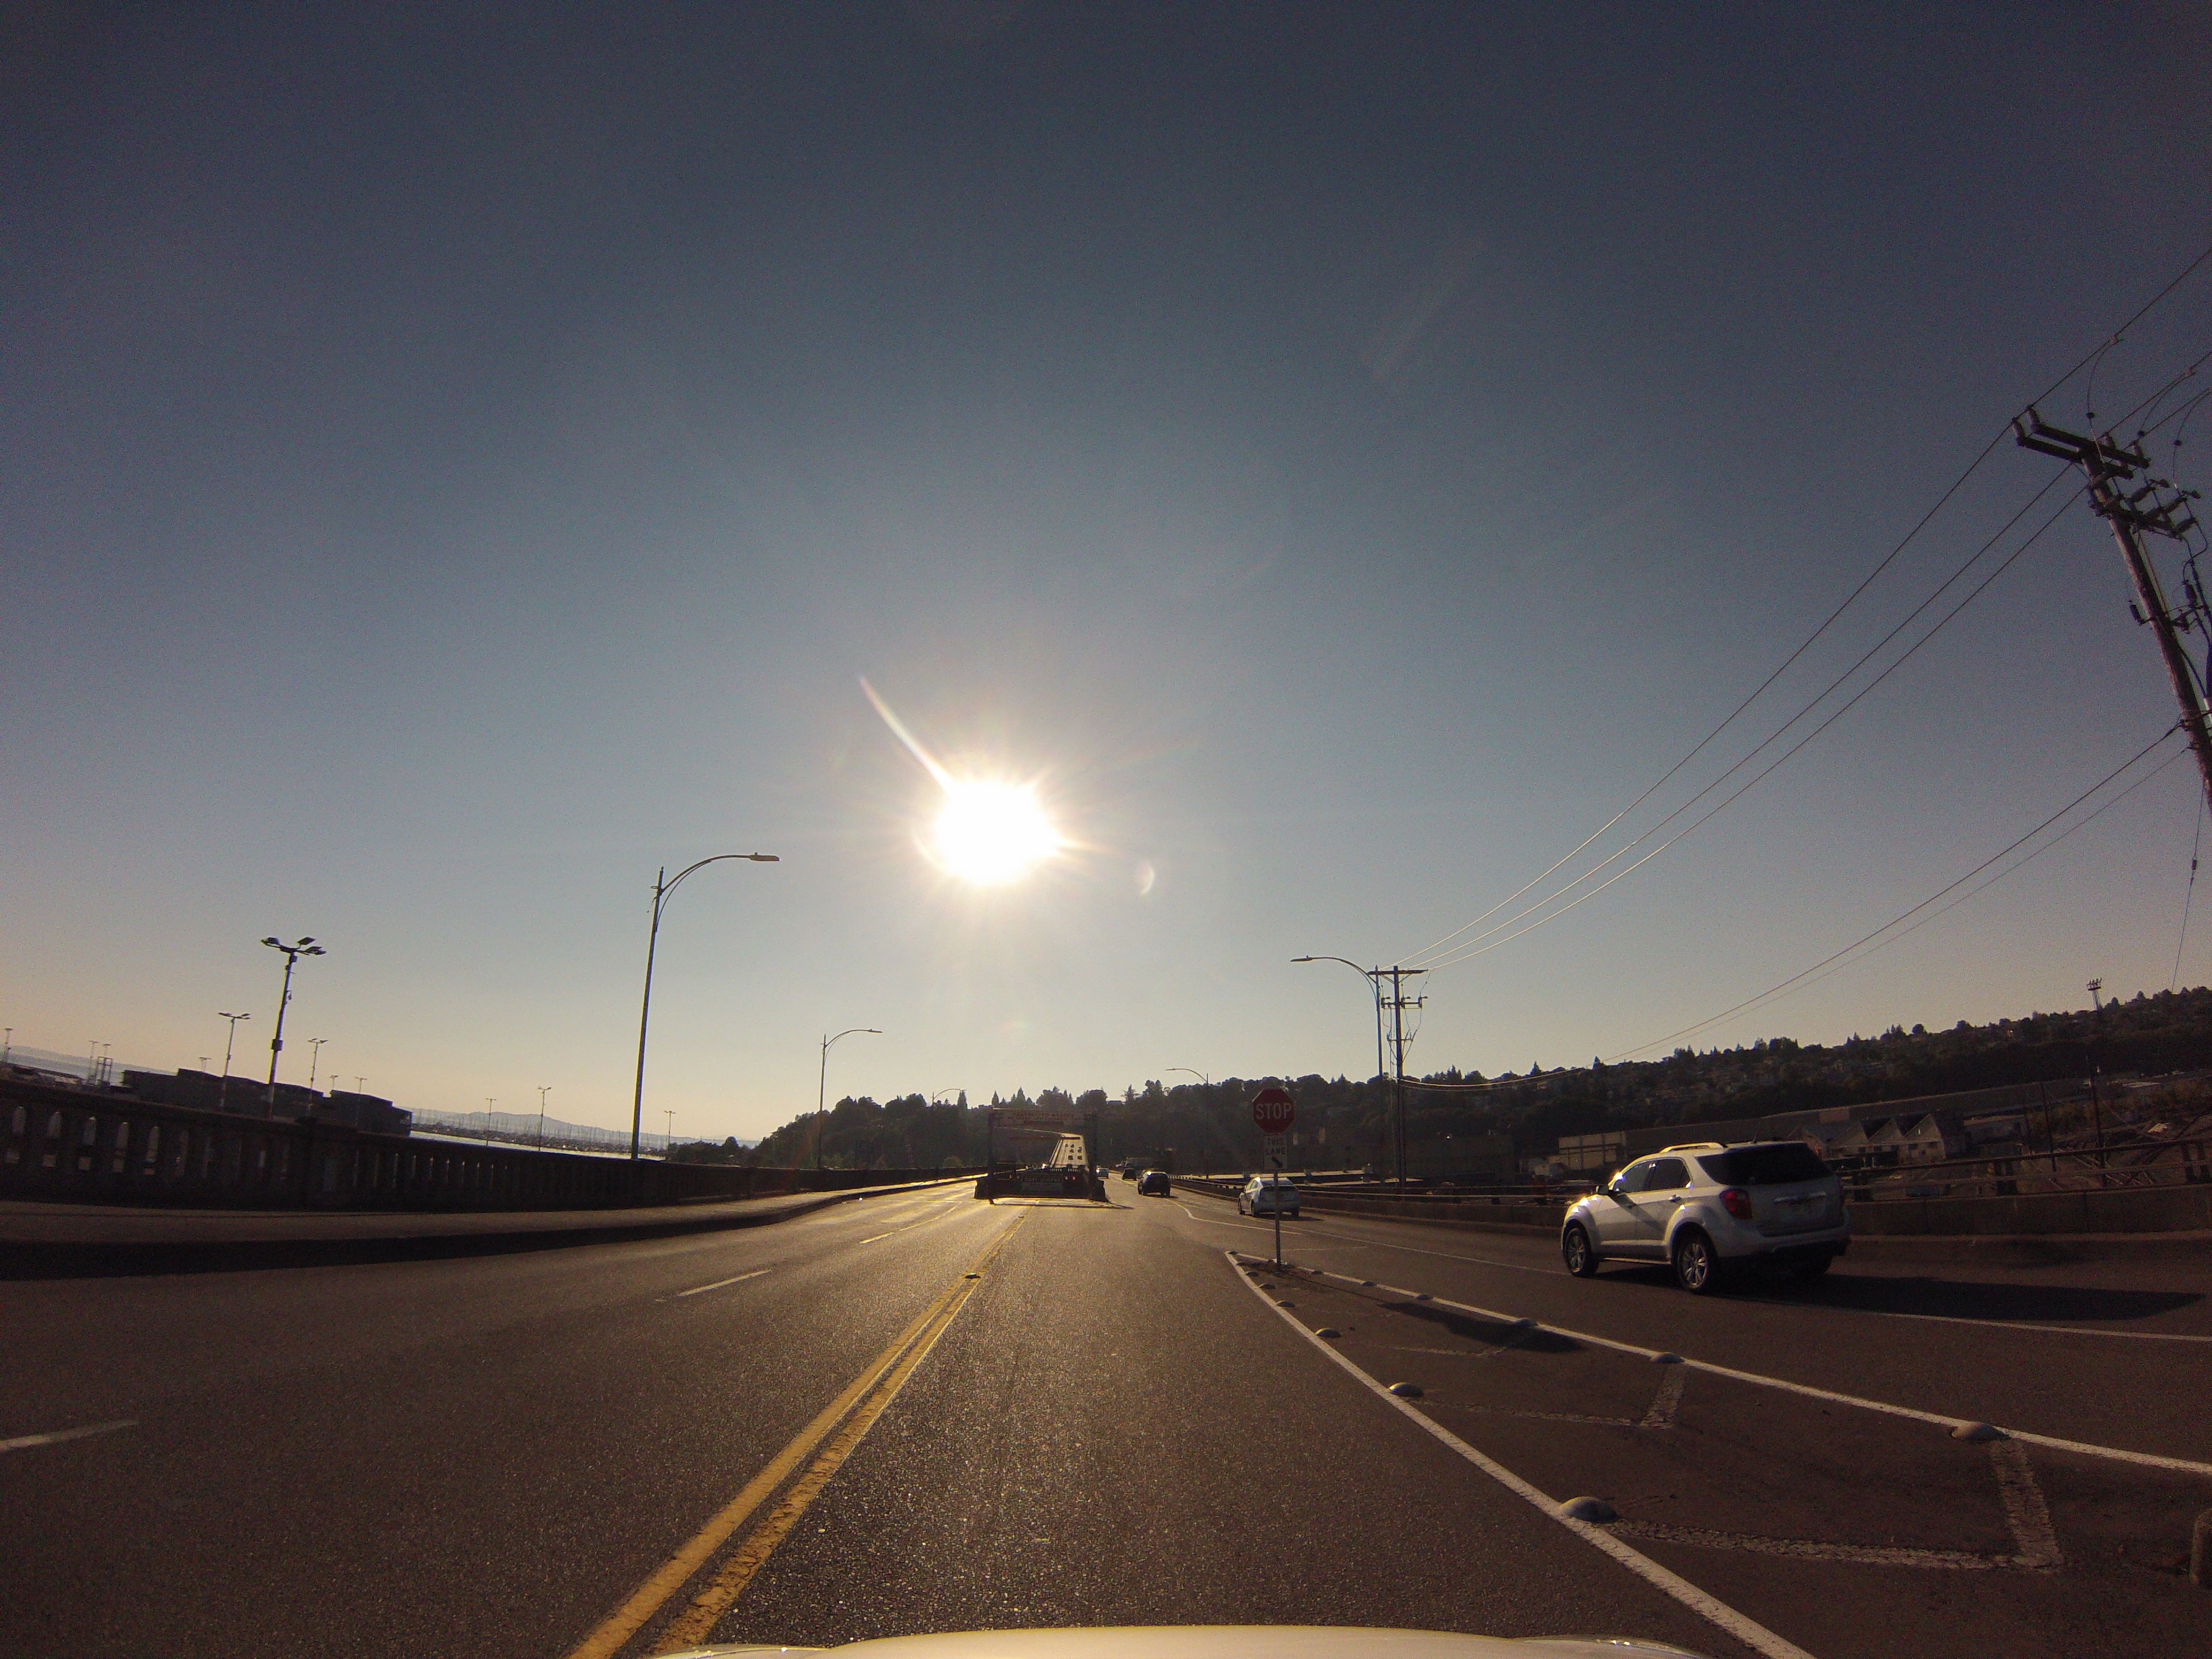
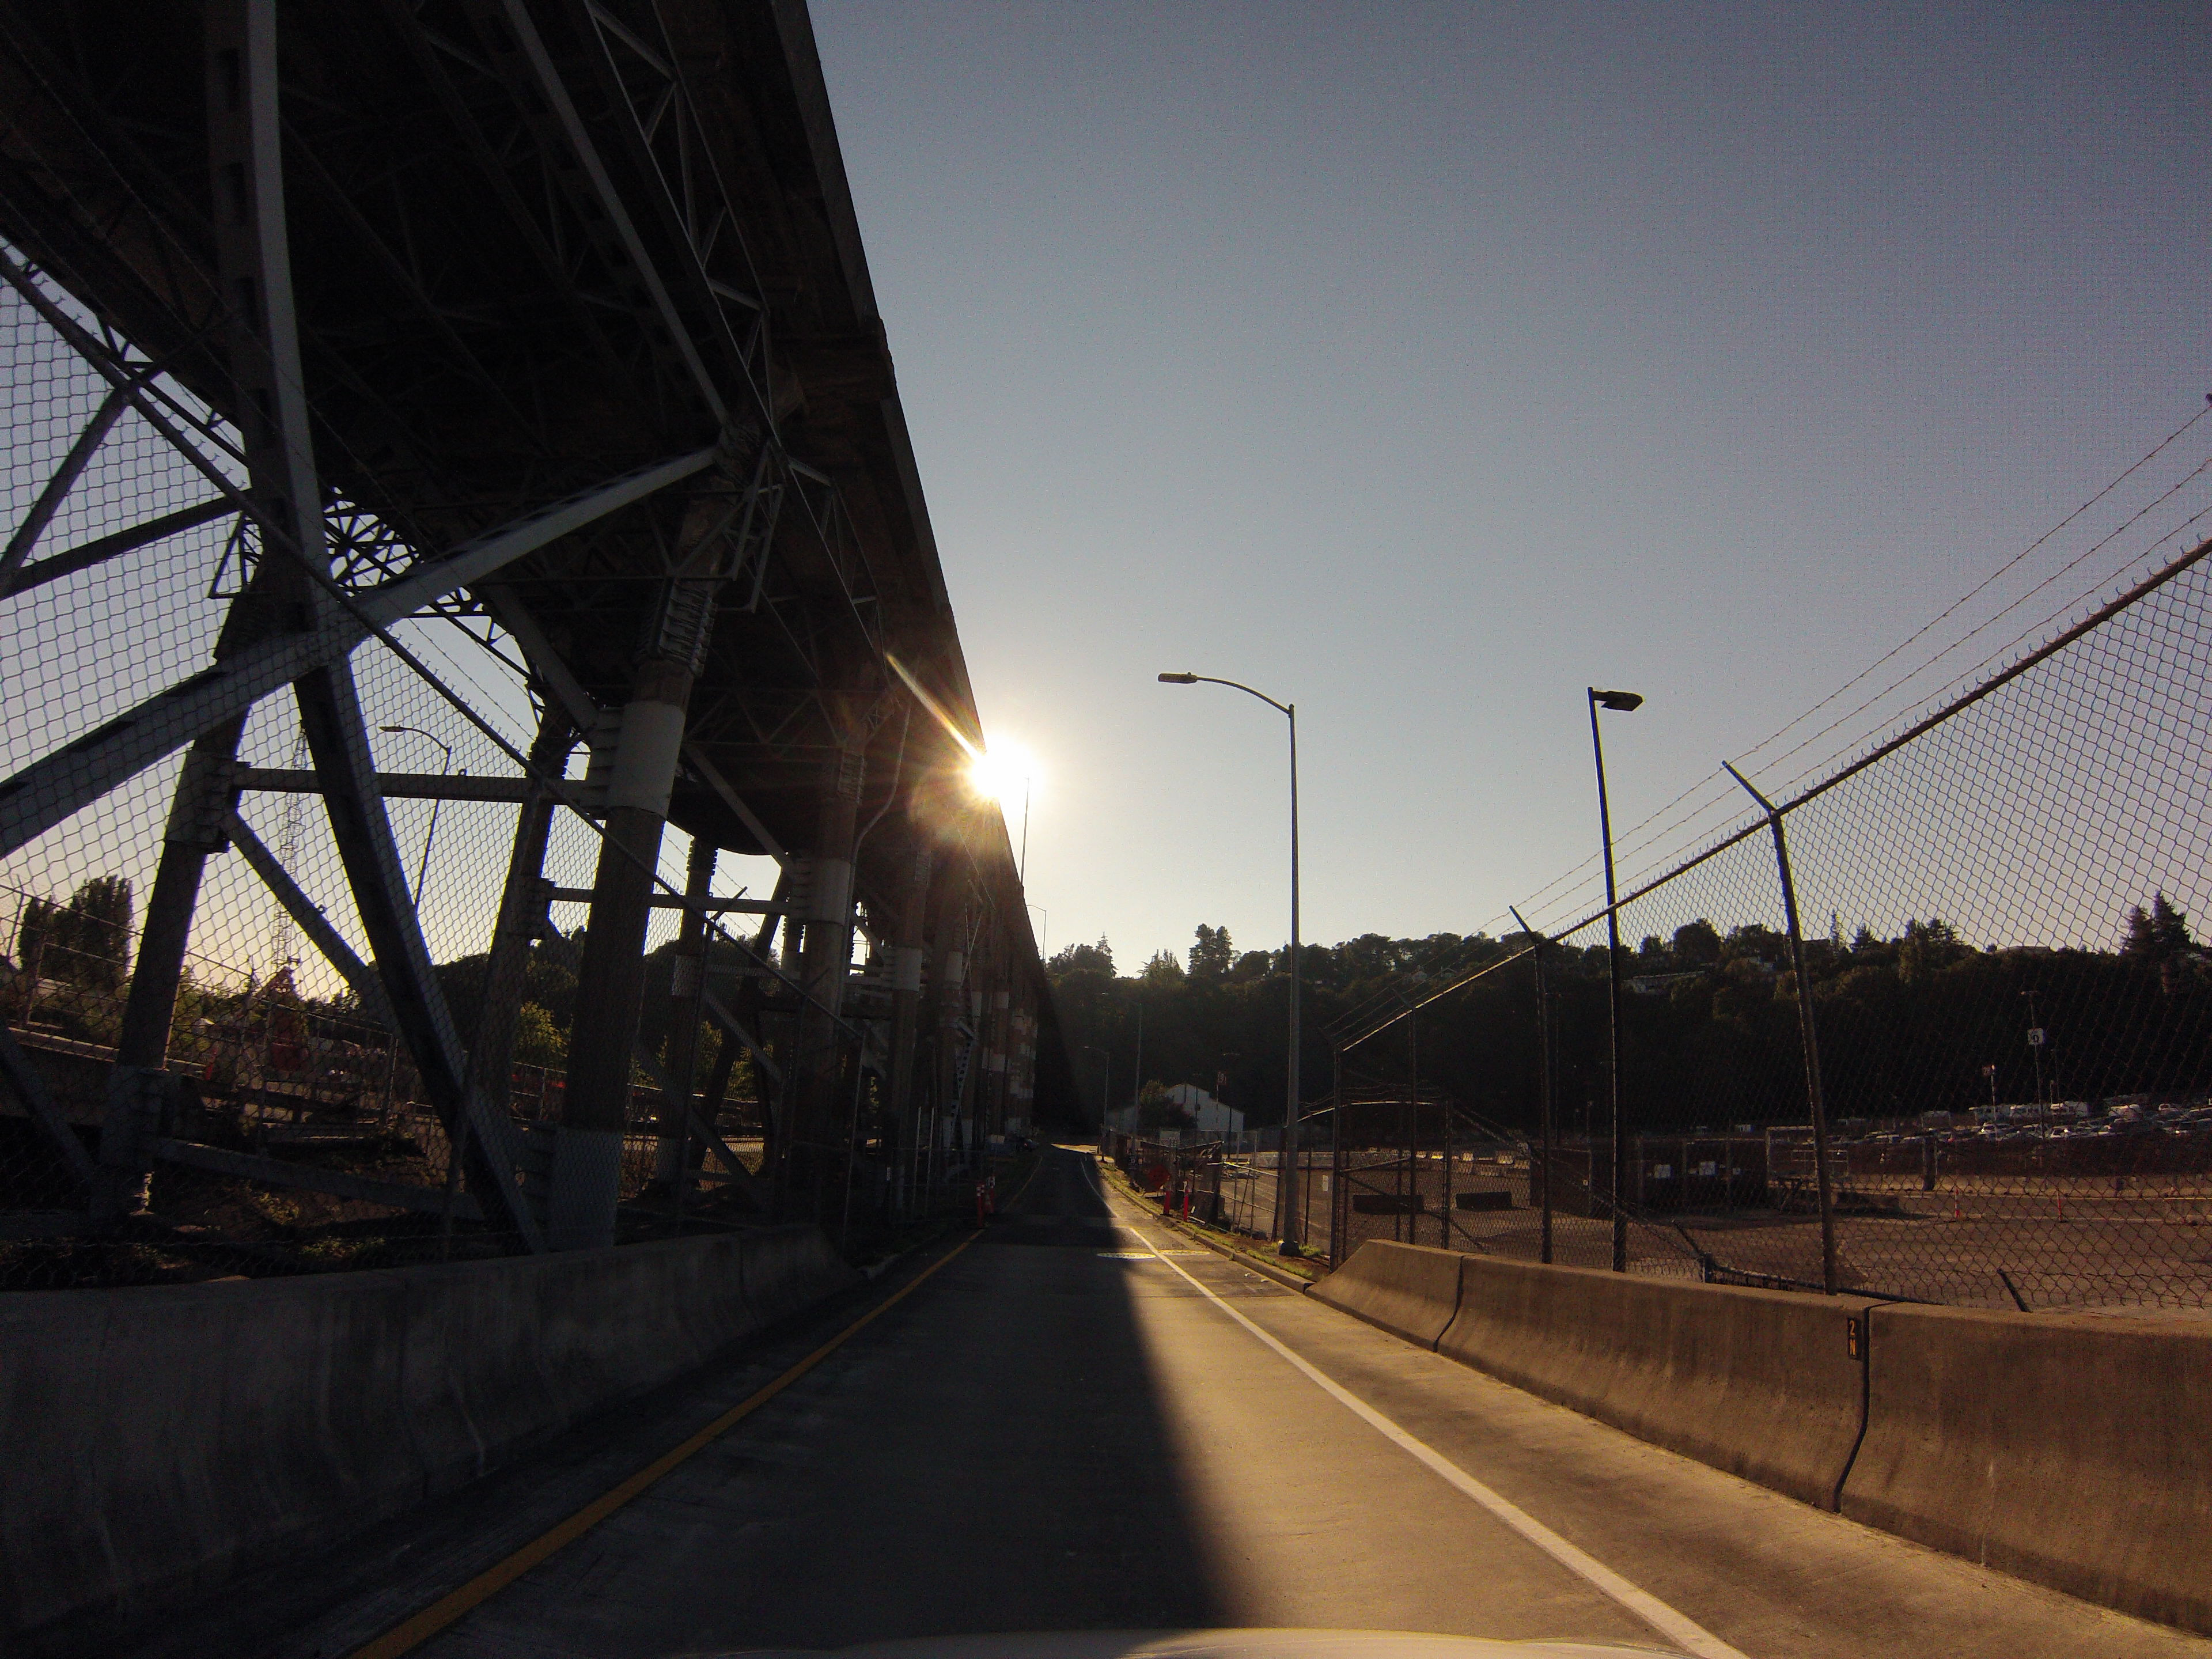
GoPro CarCam photos. Westbound crossing of bridge to 23rd Avenue. Views on the bridge between ramps.
![]()
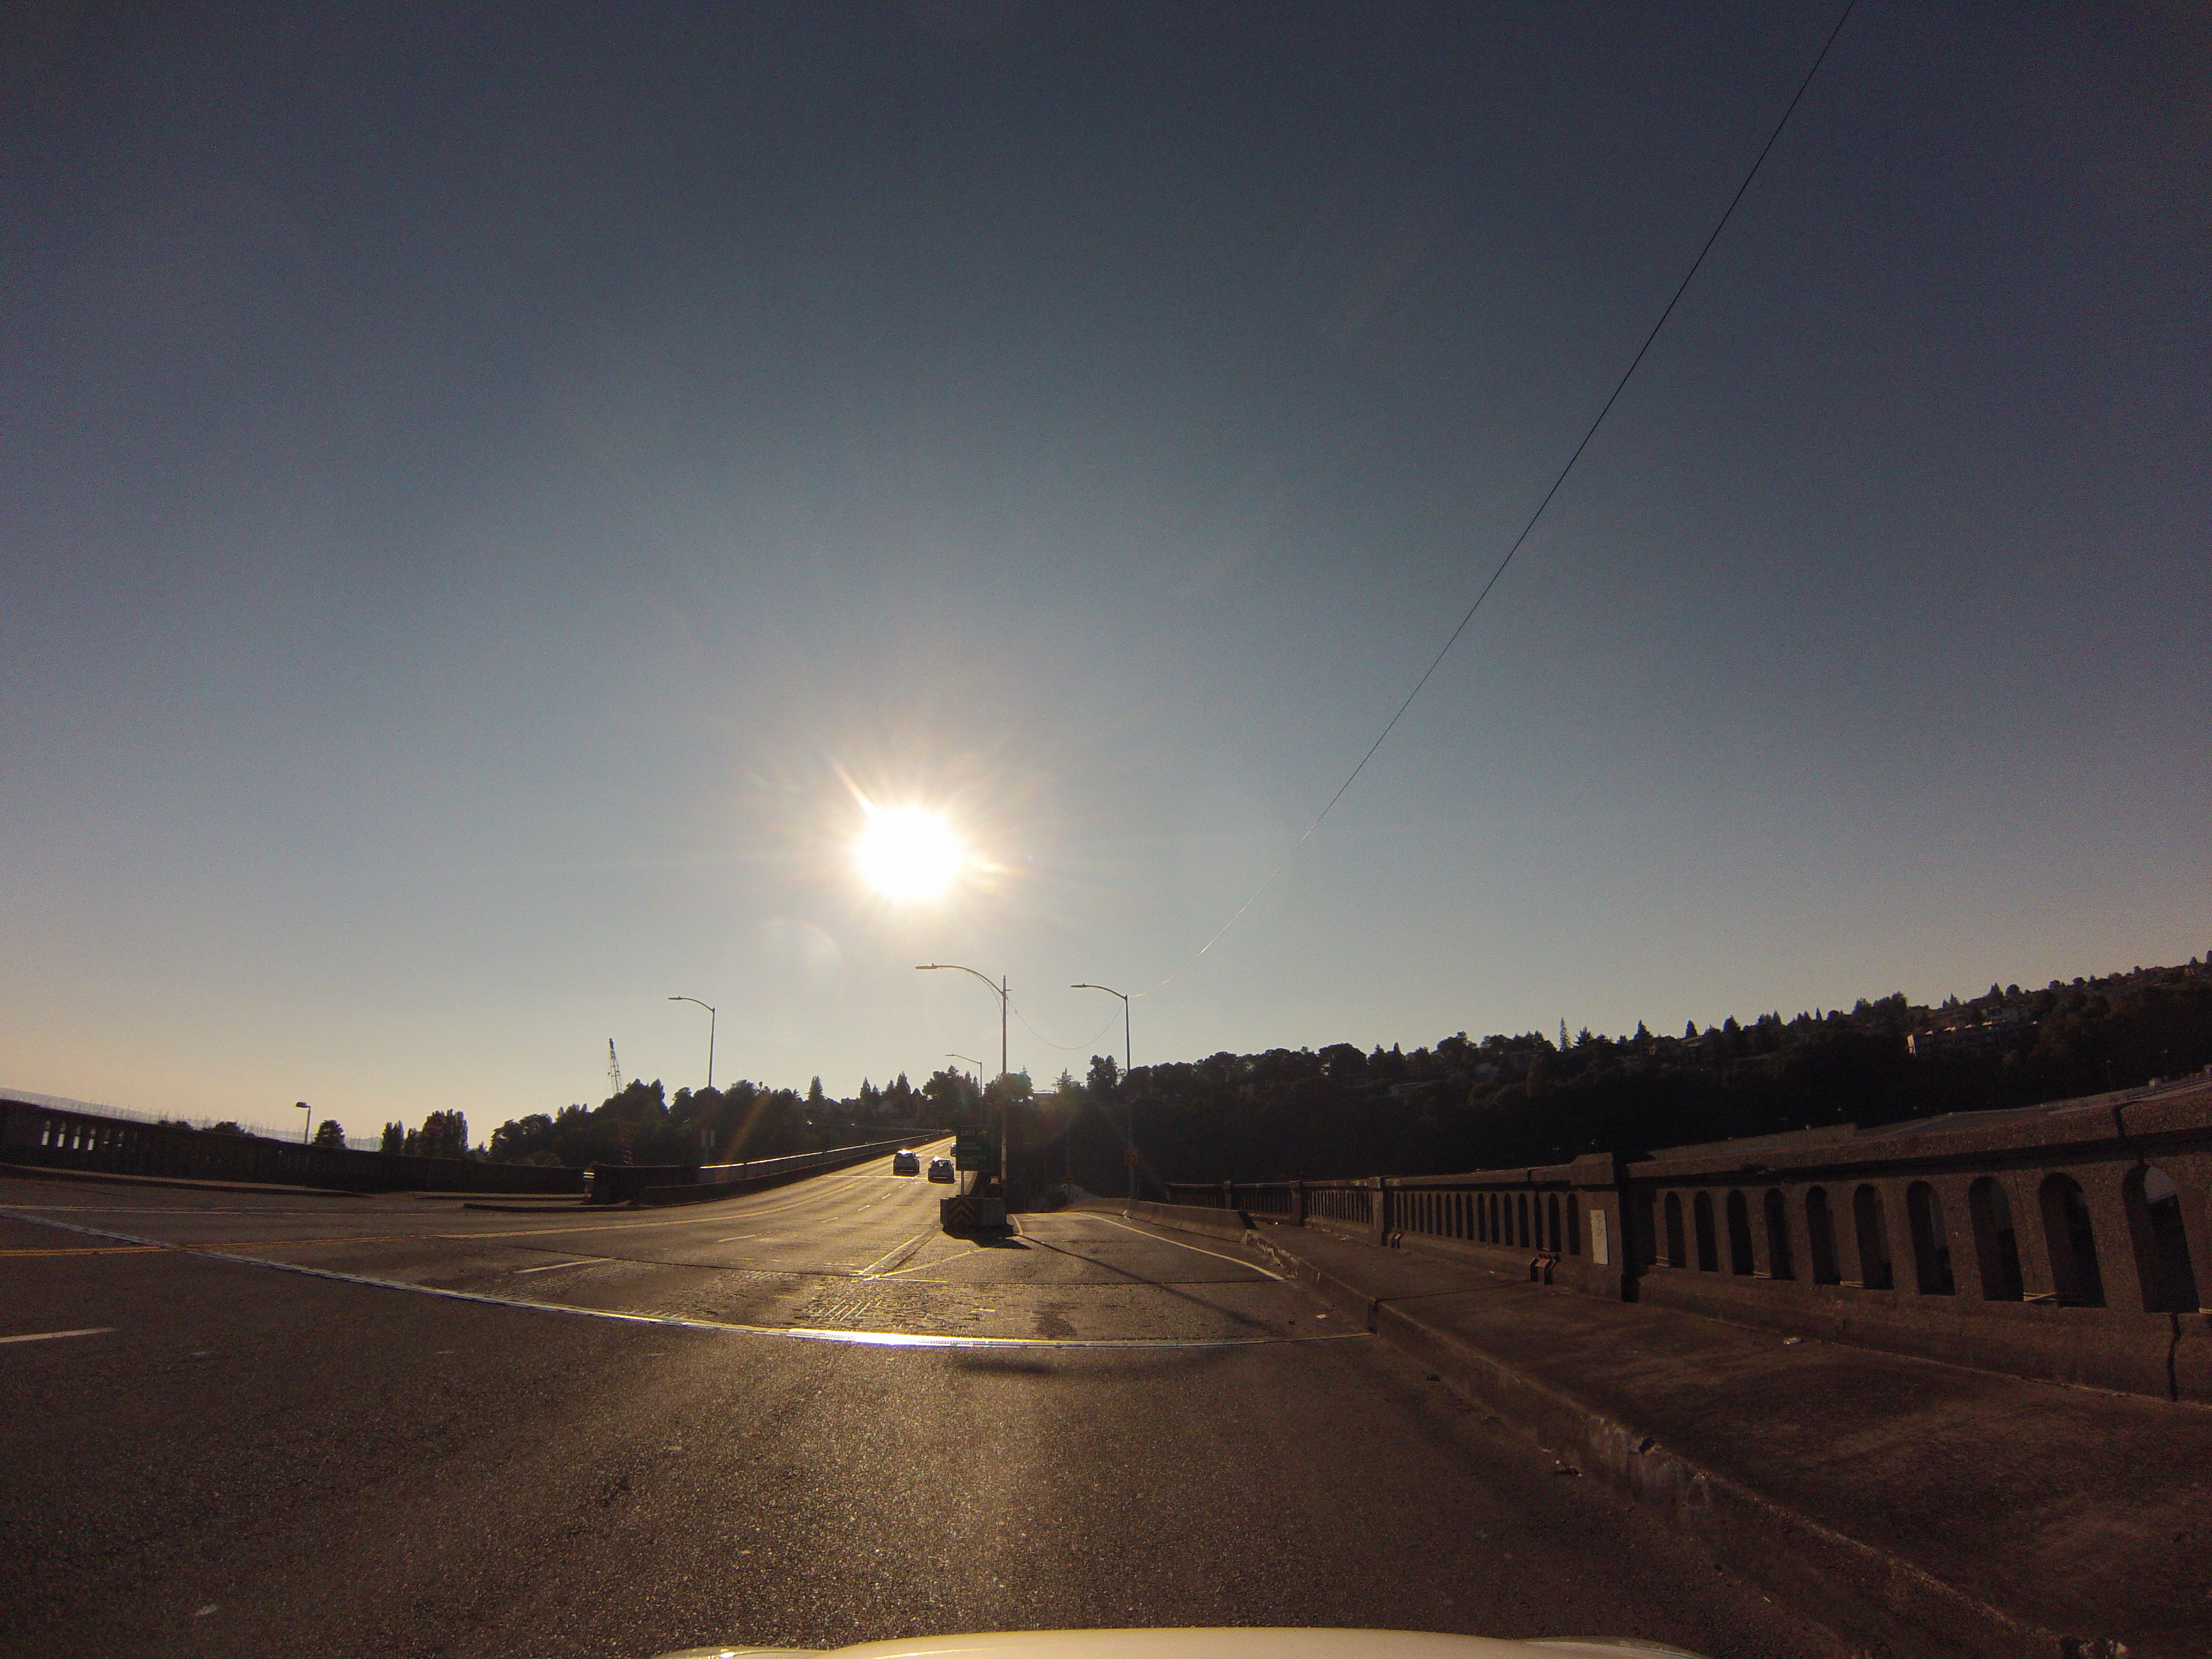


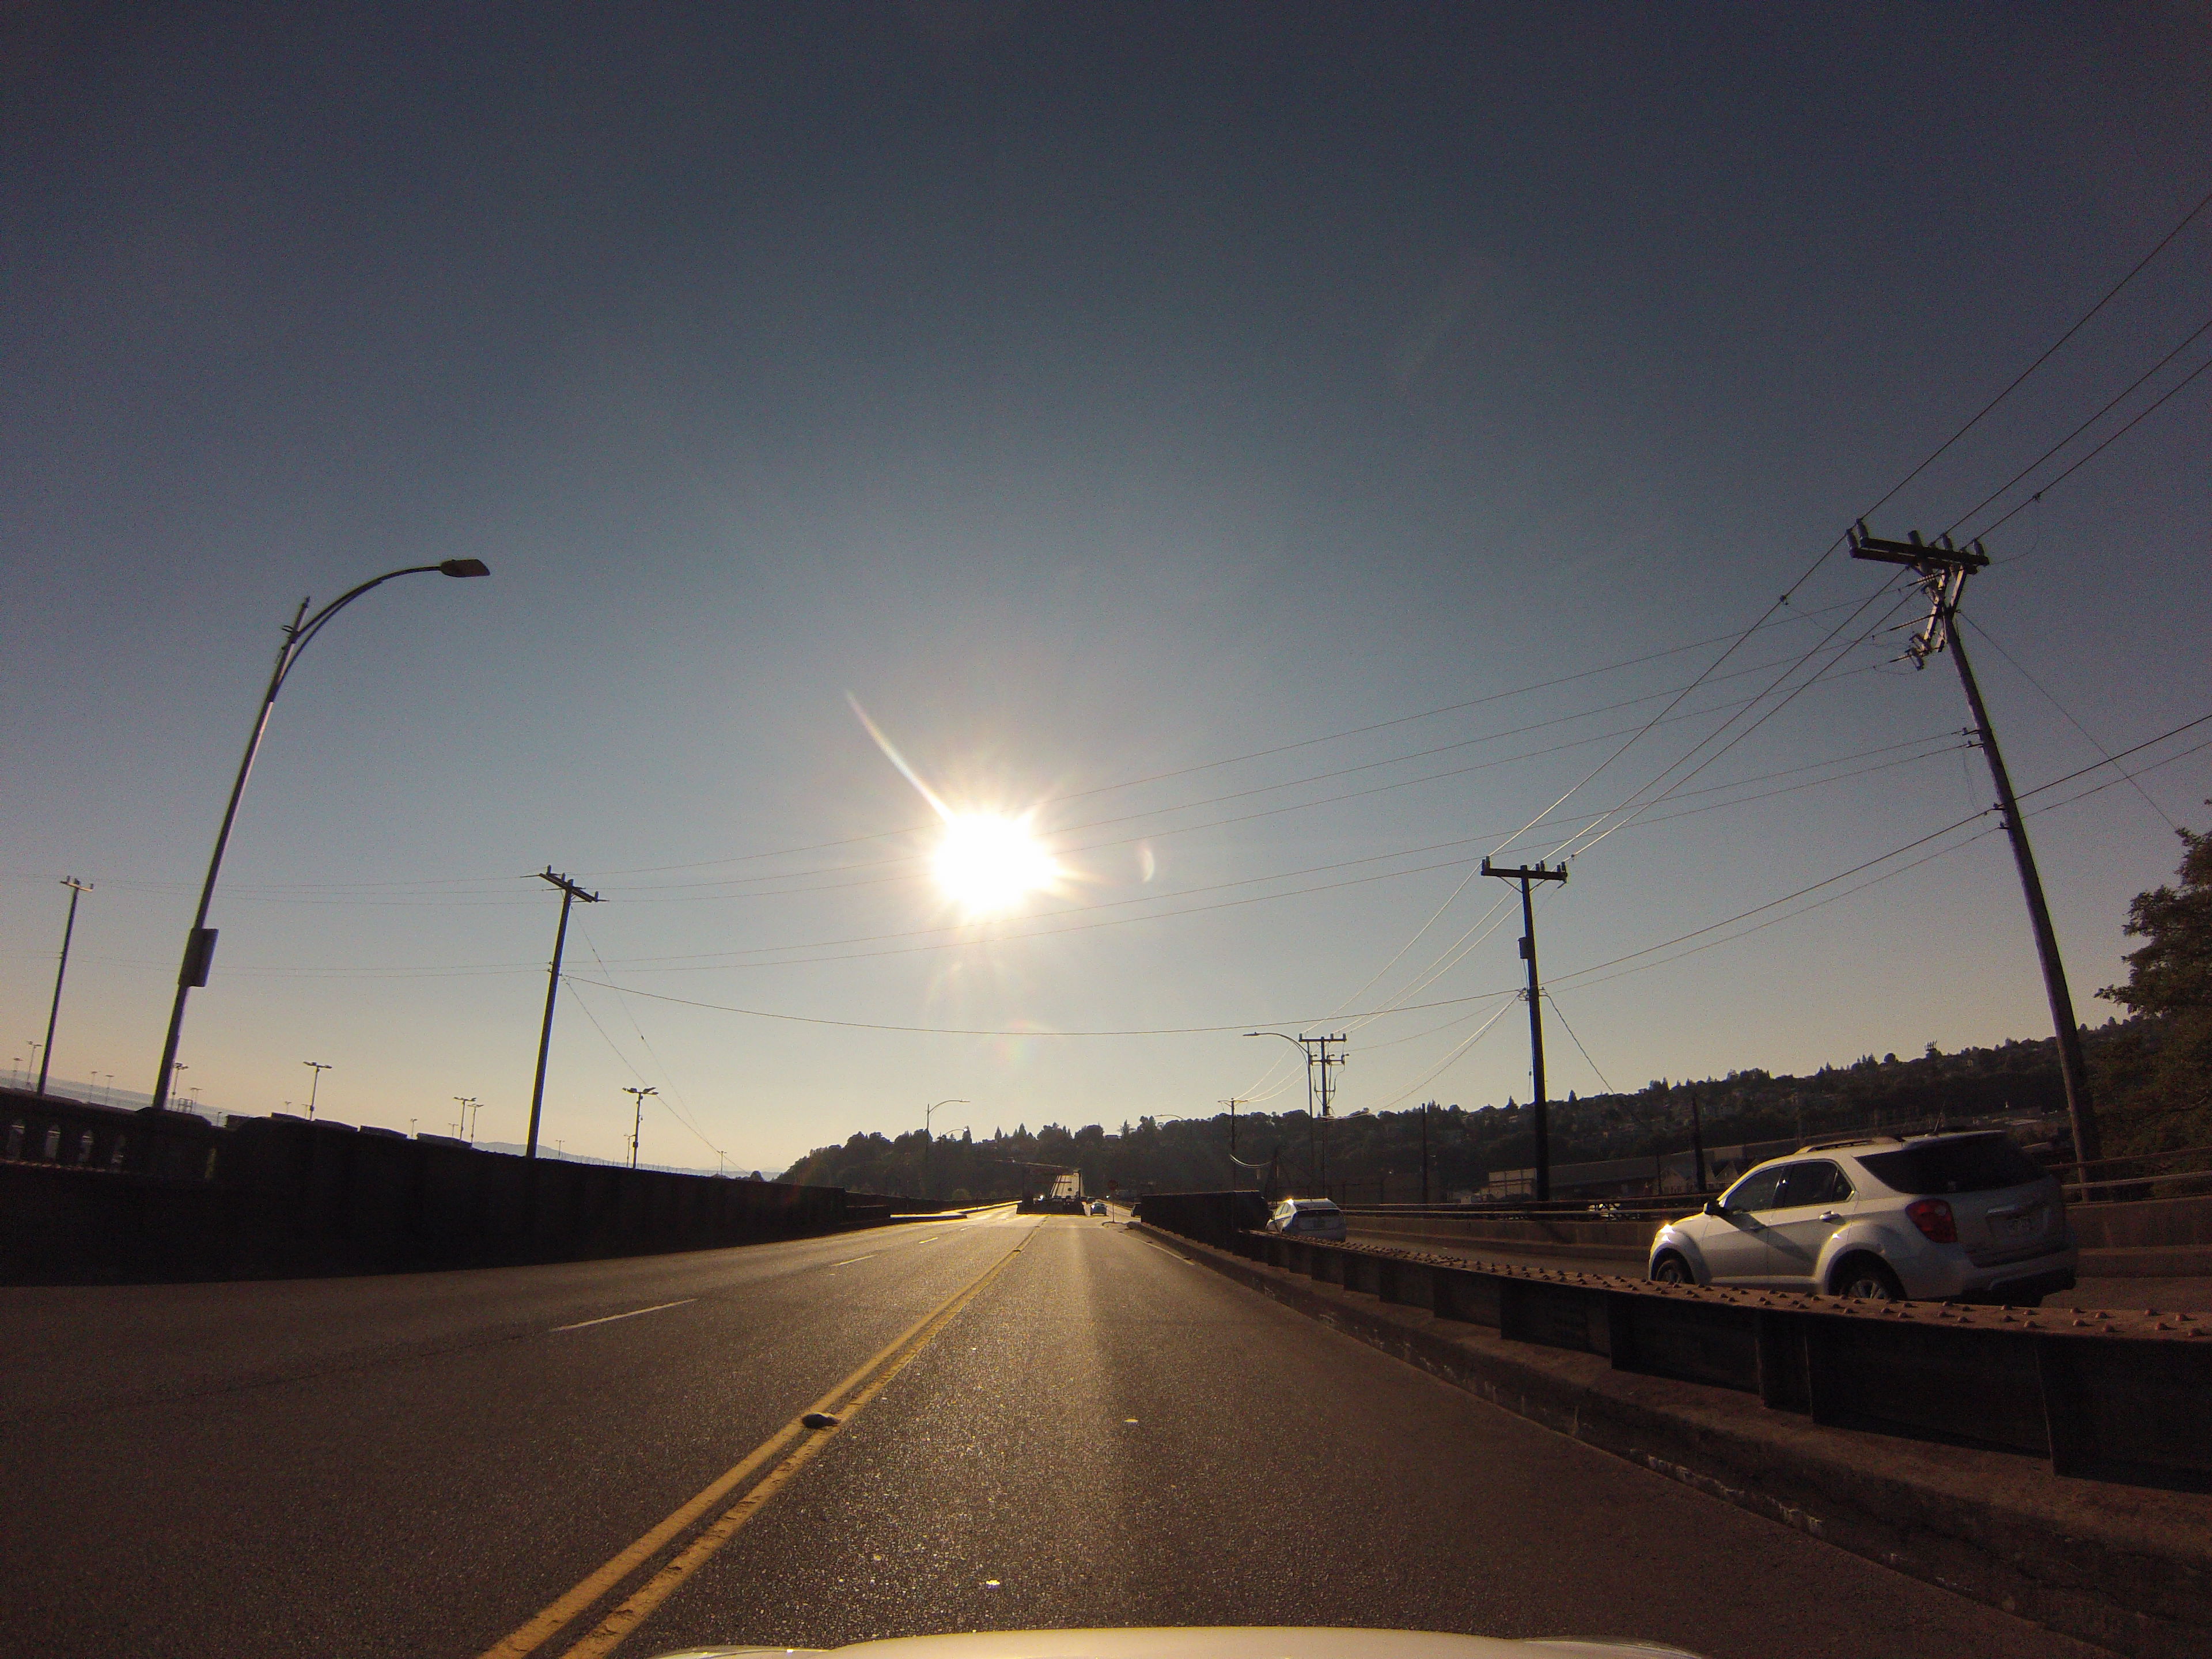
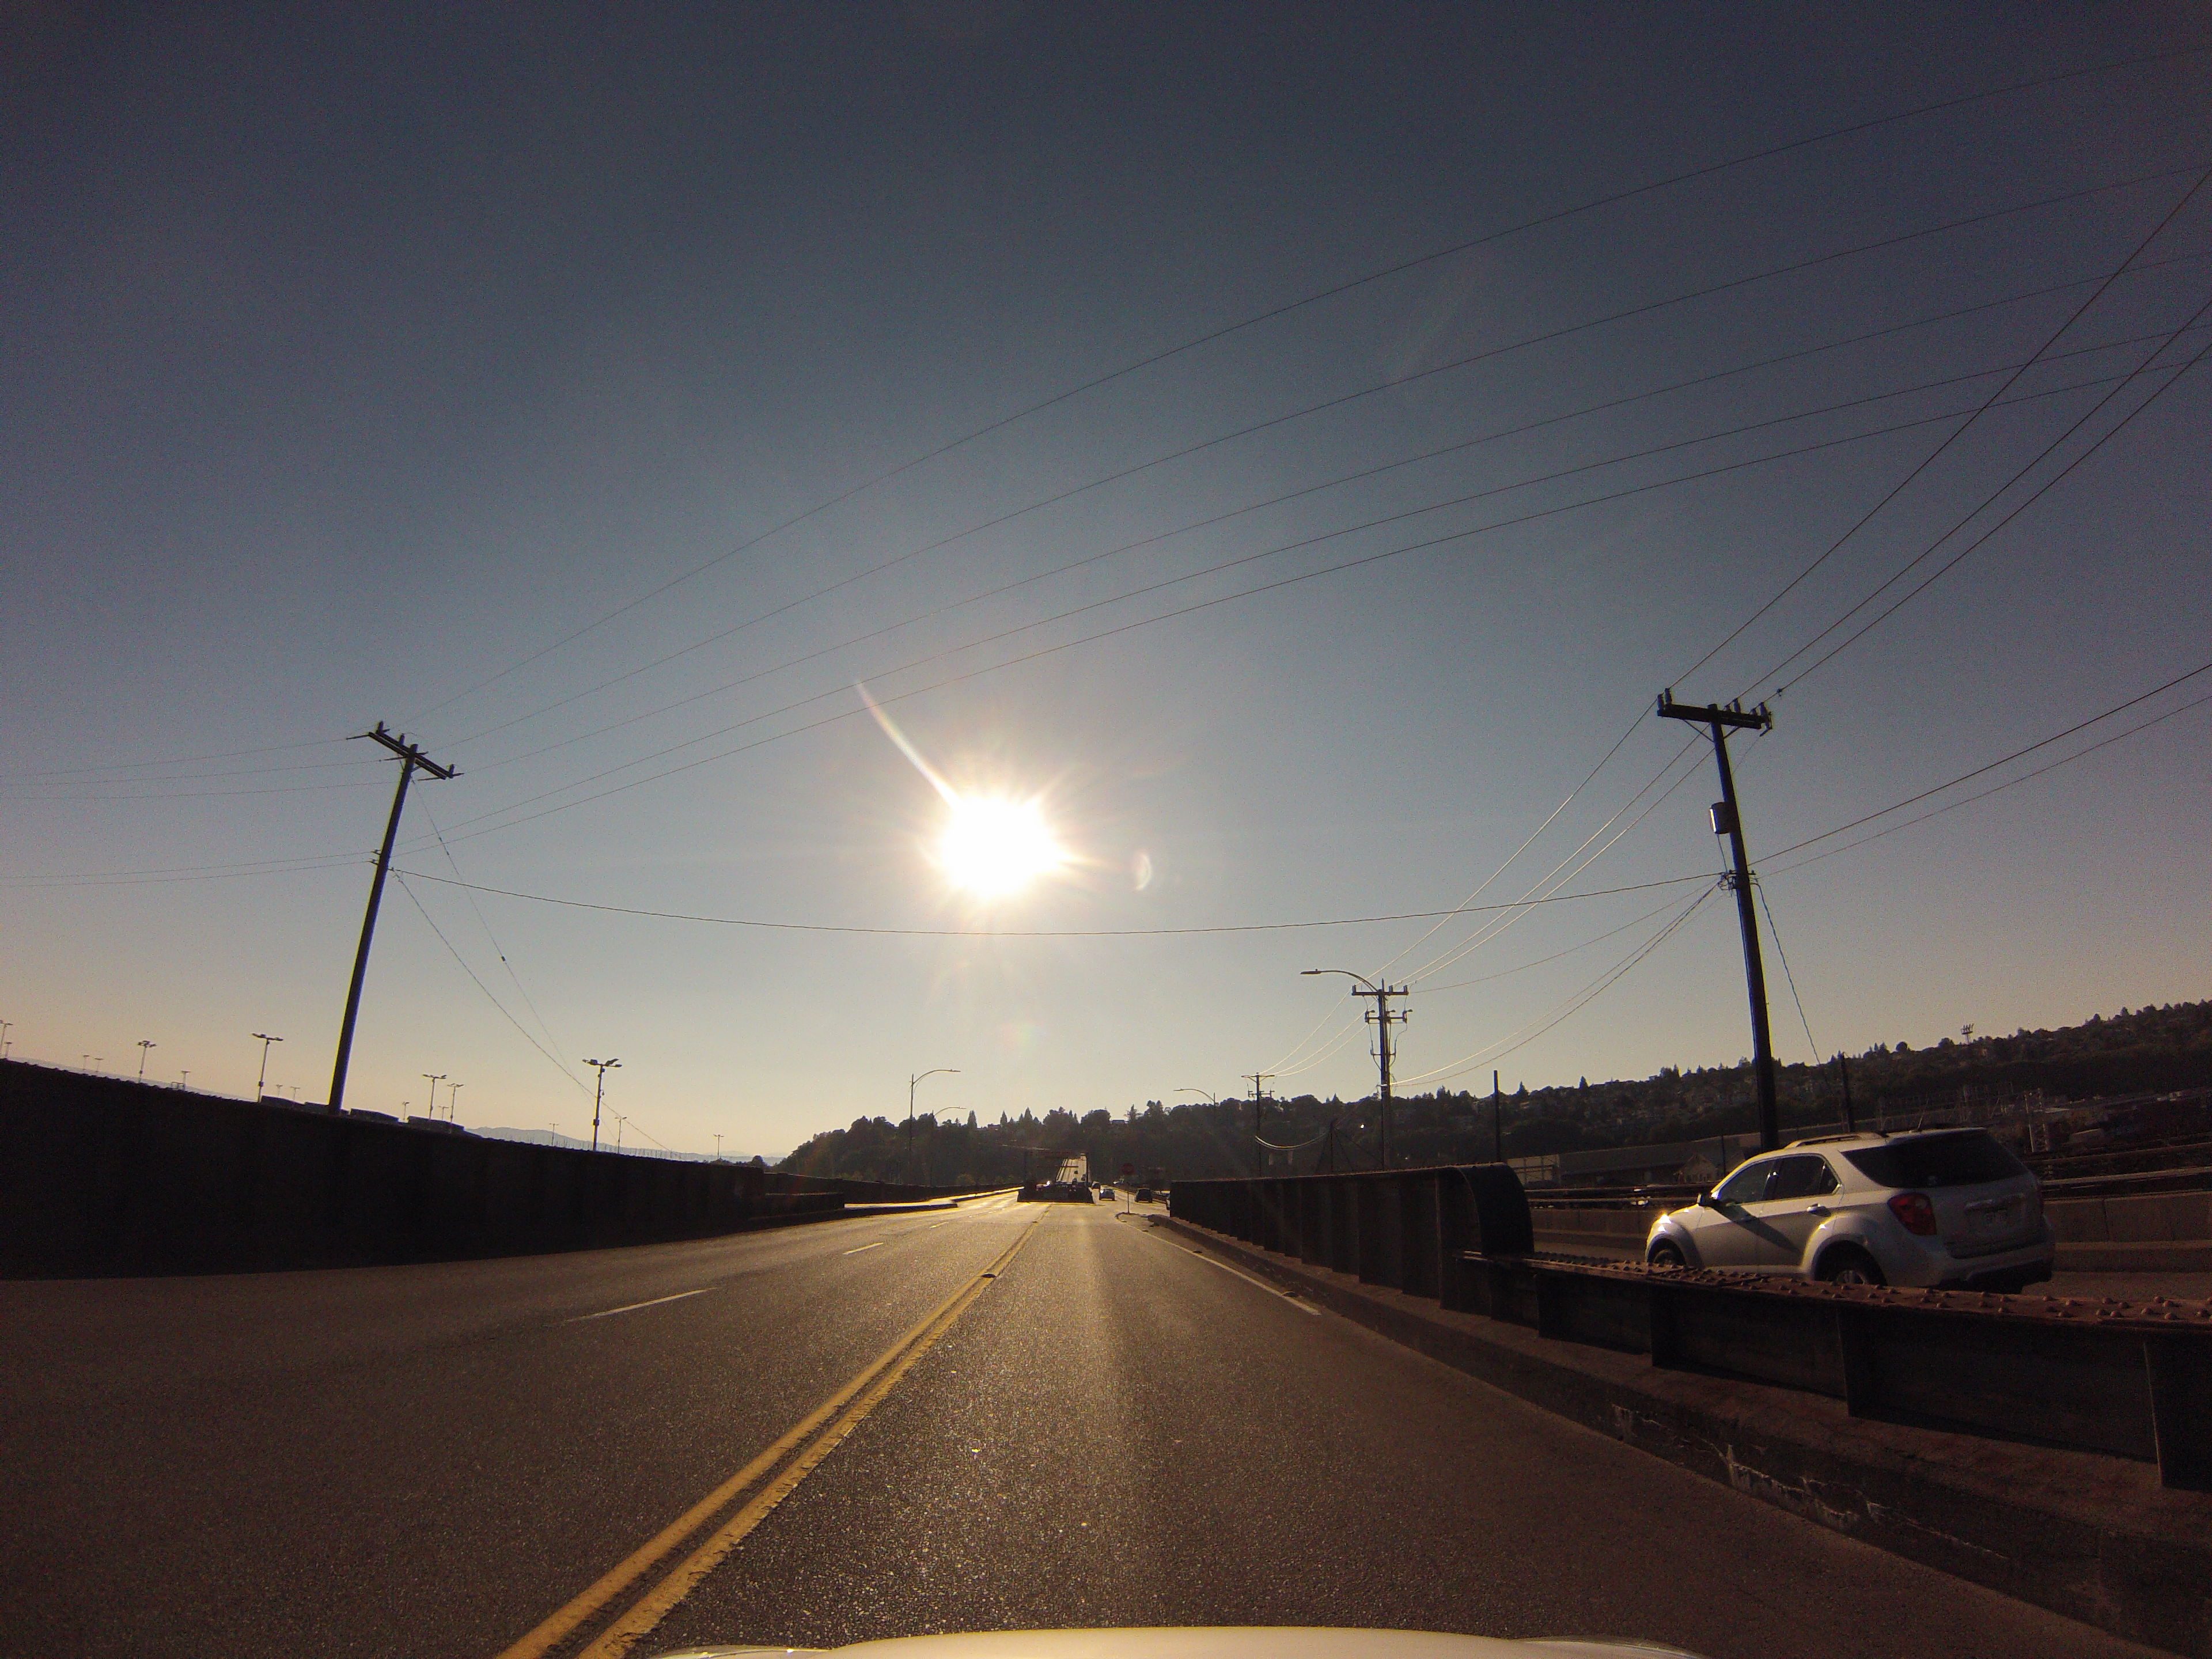
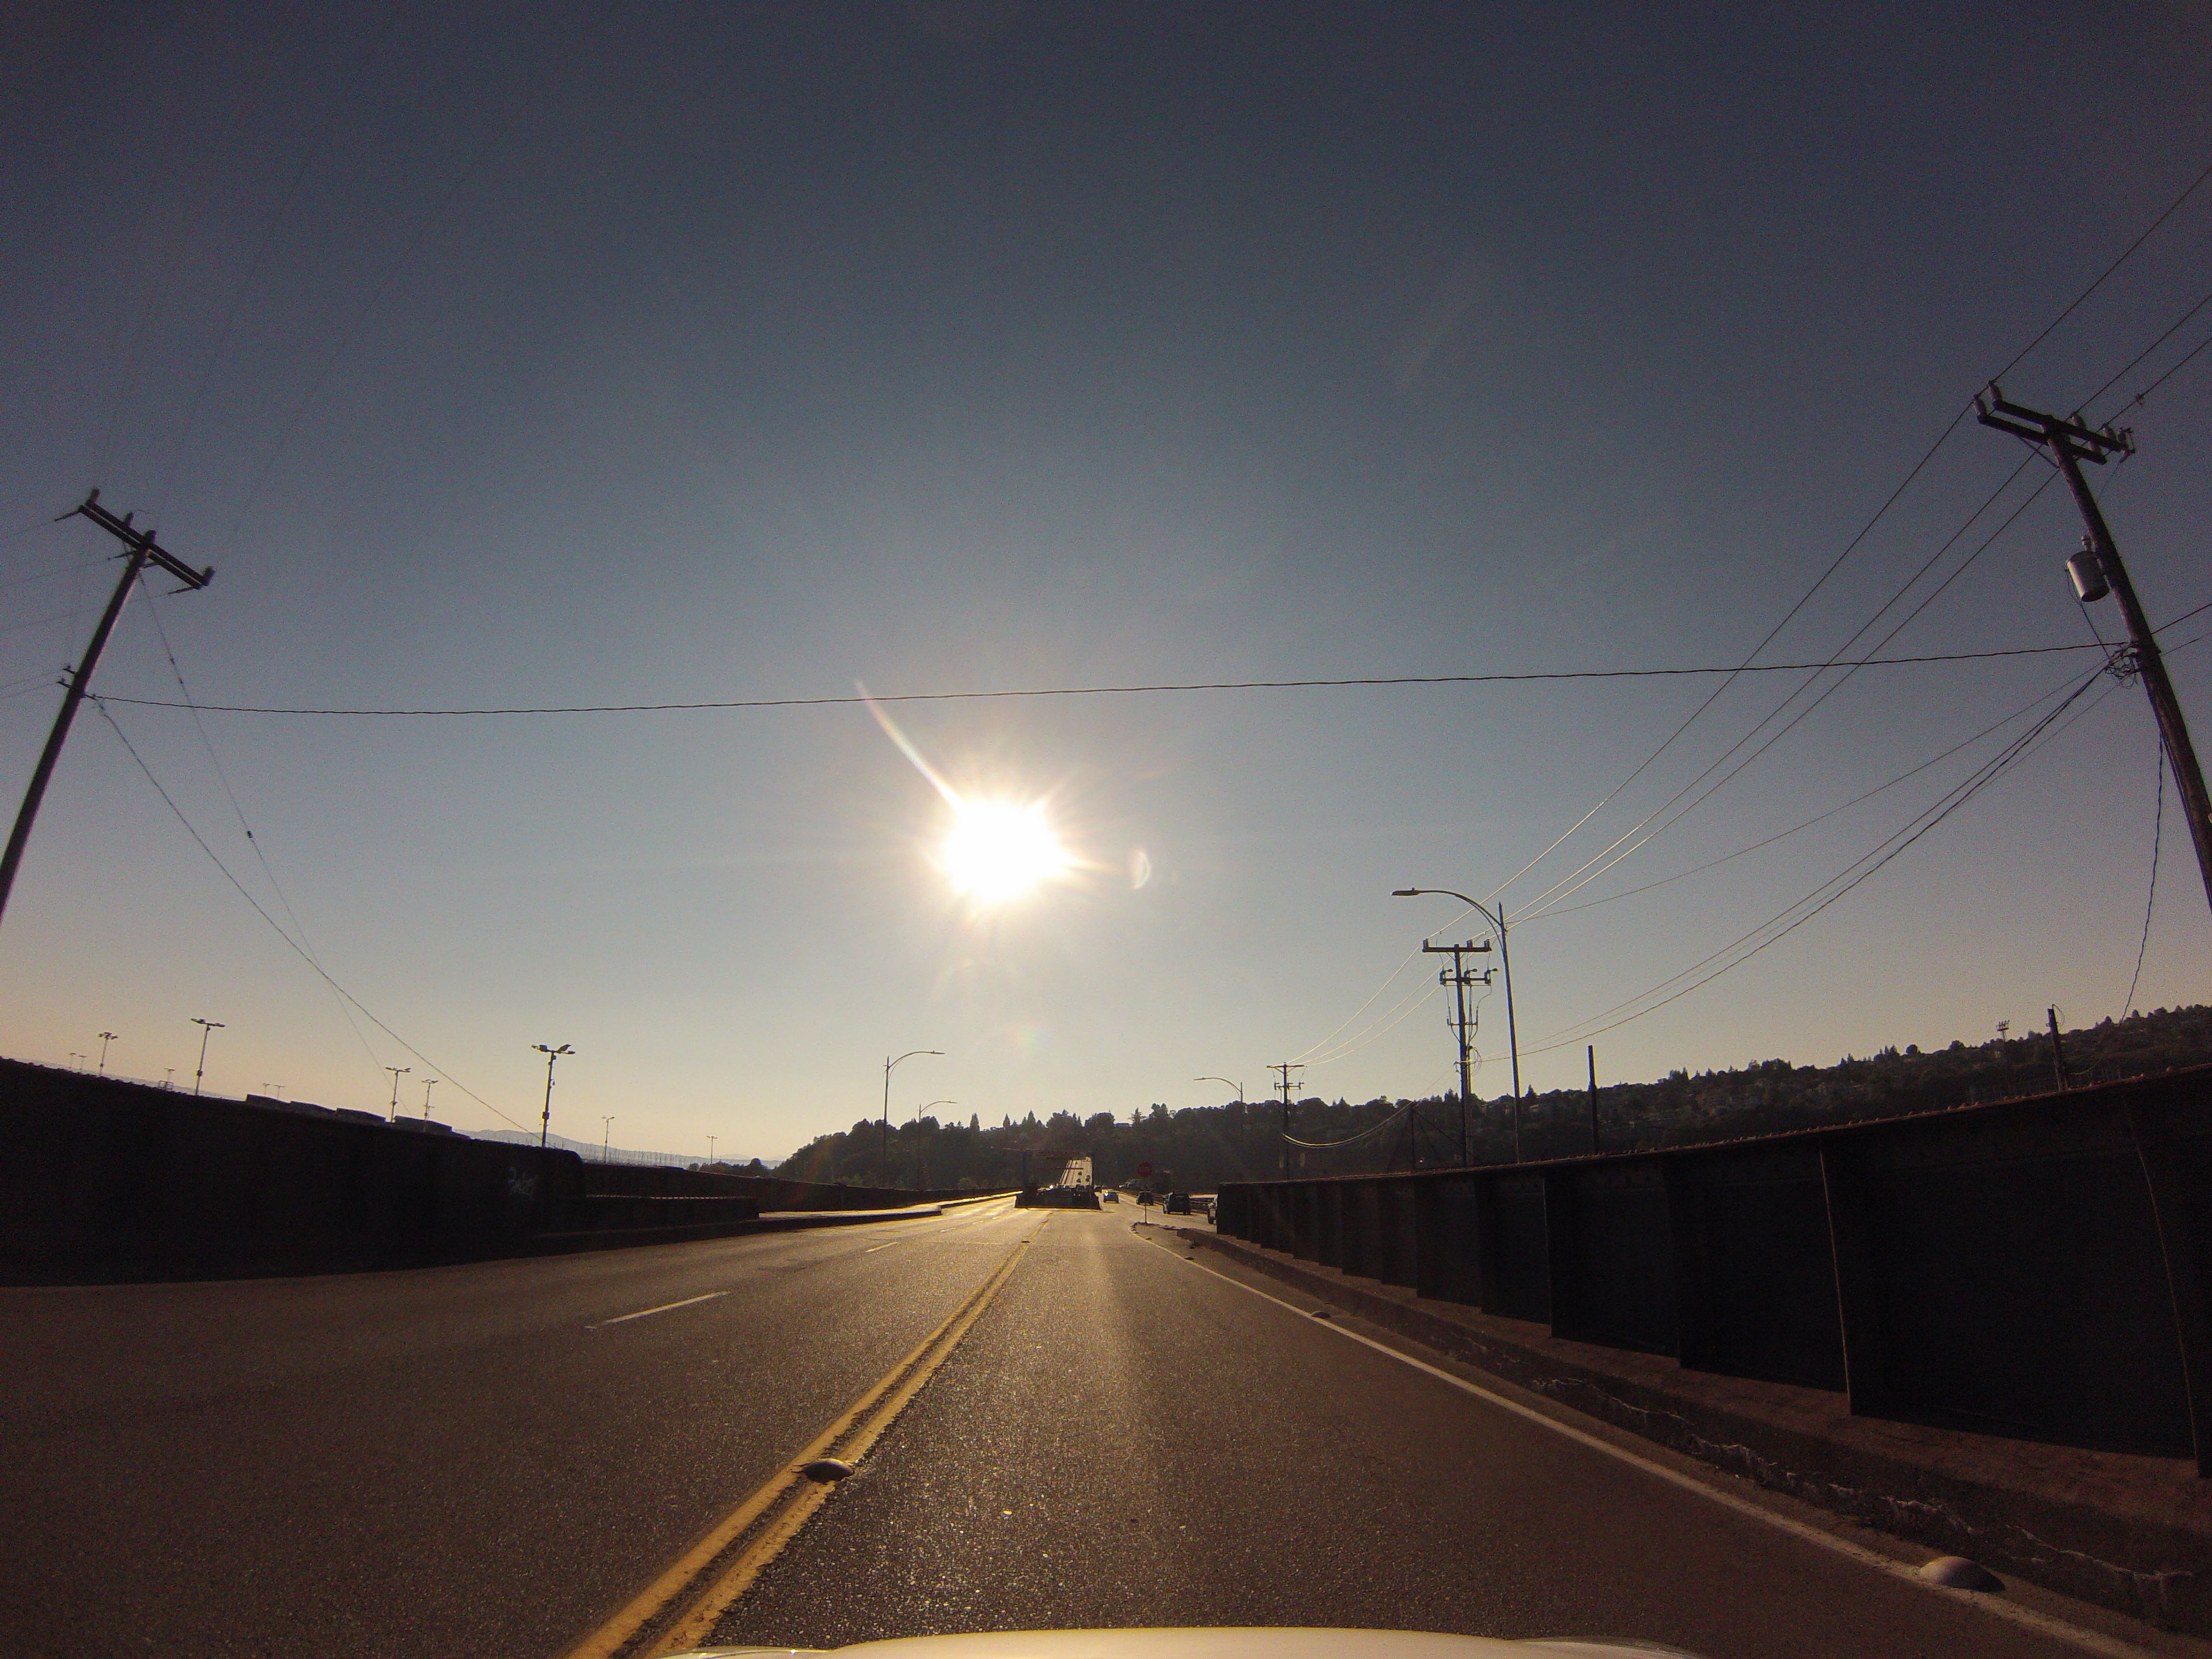
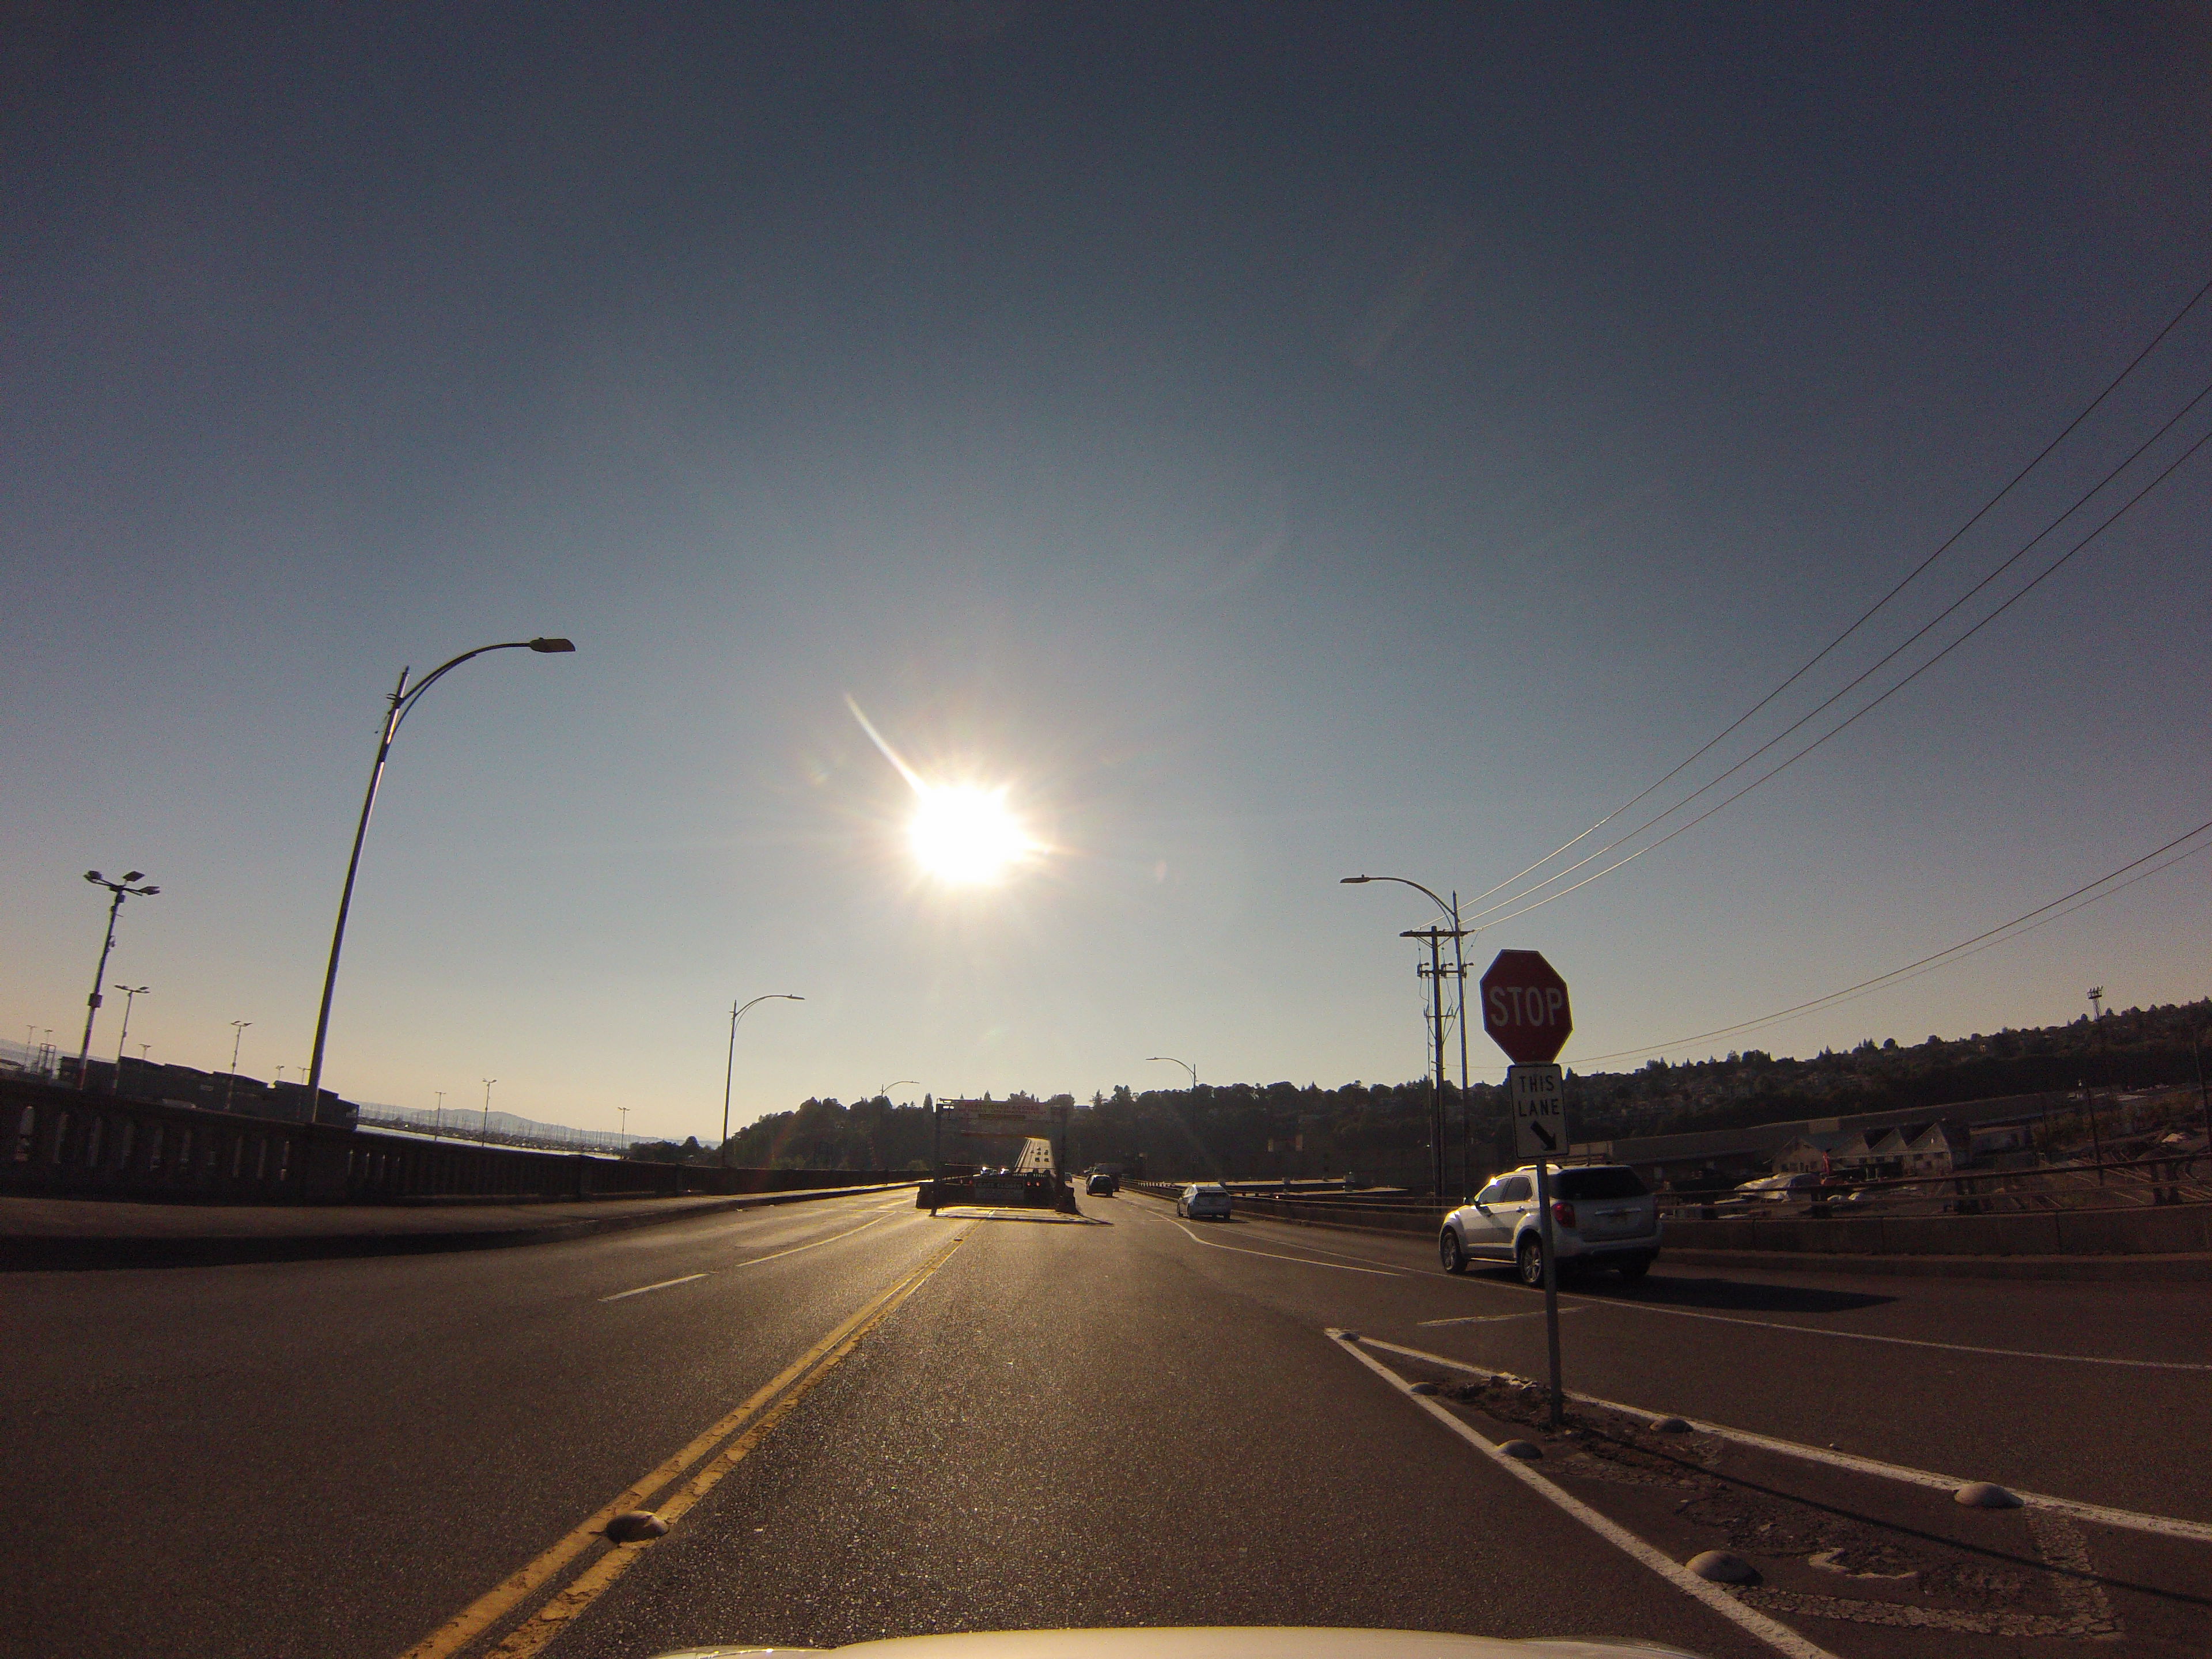
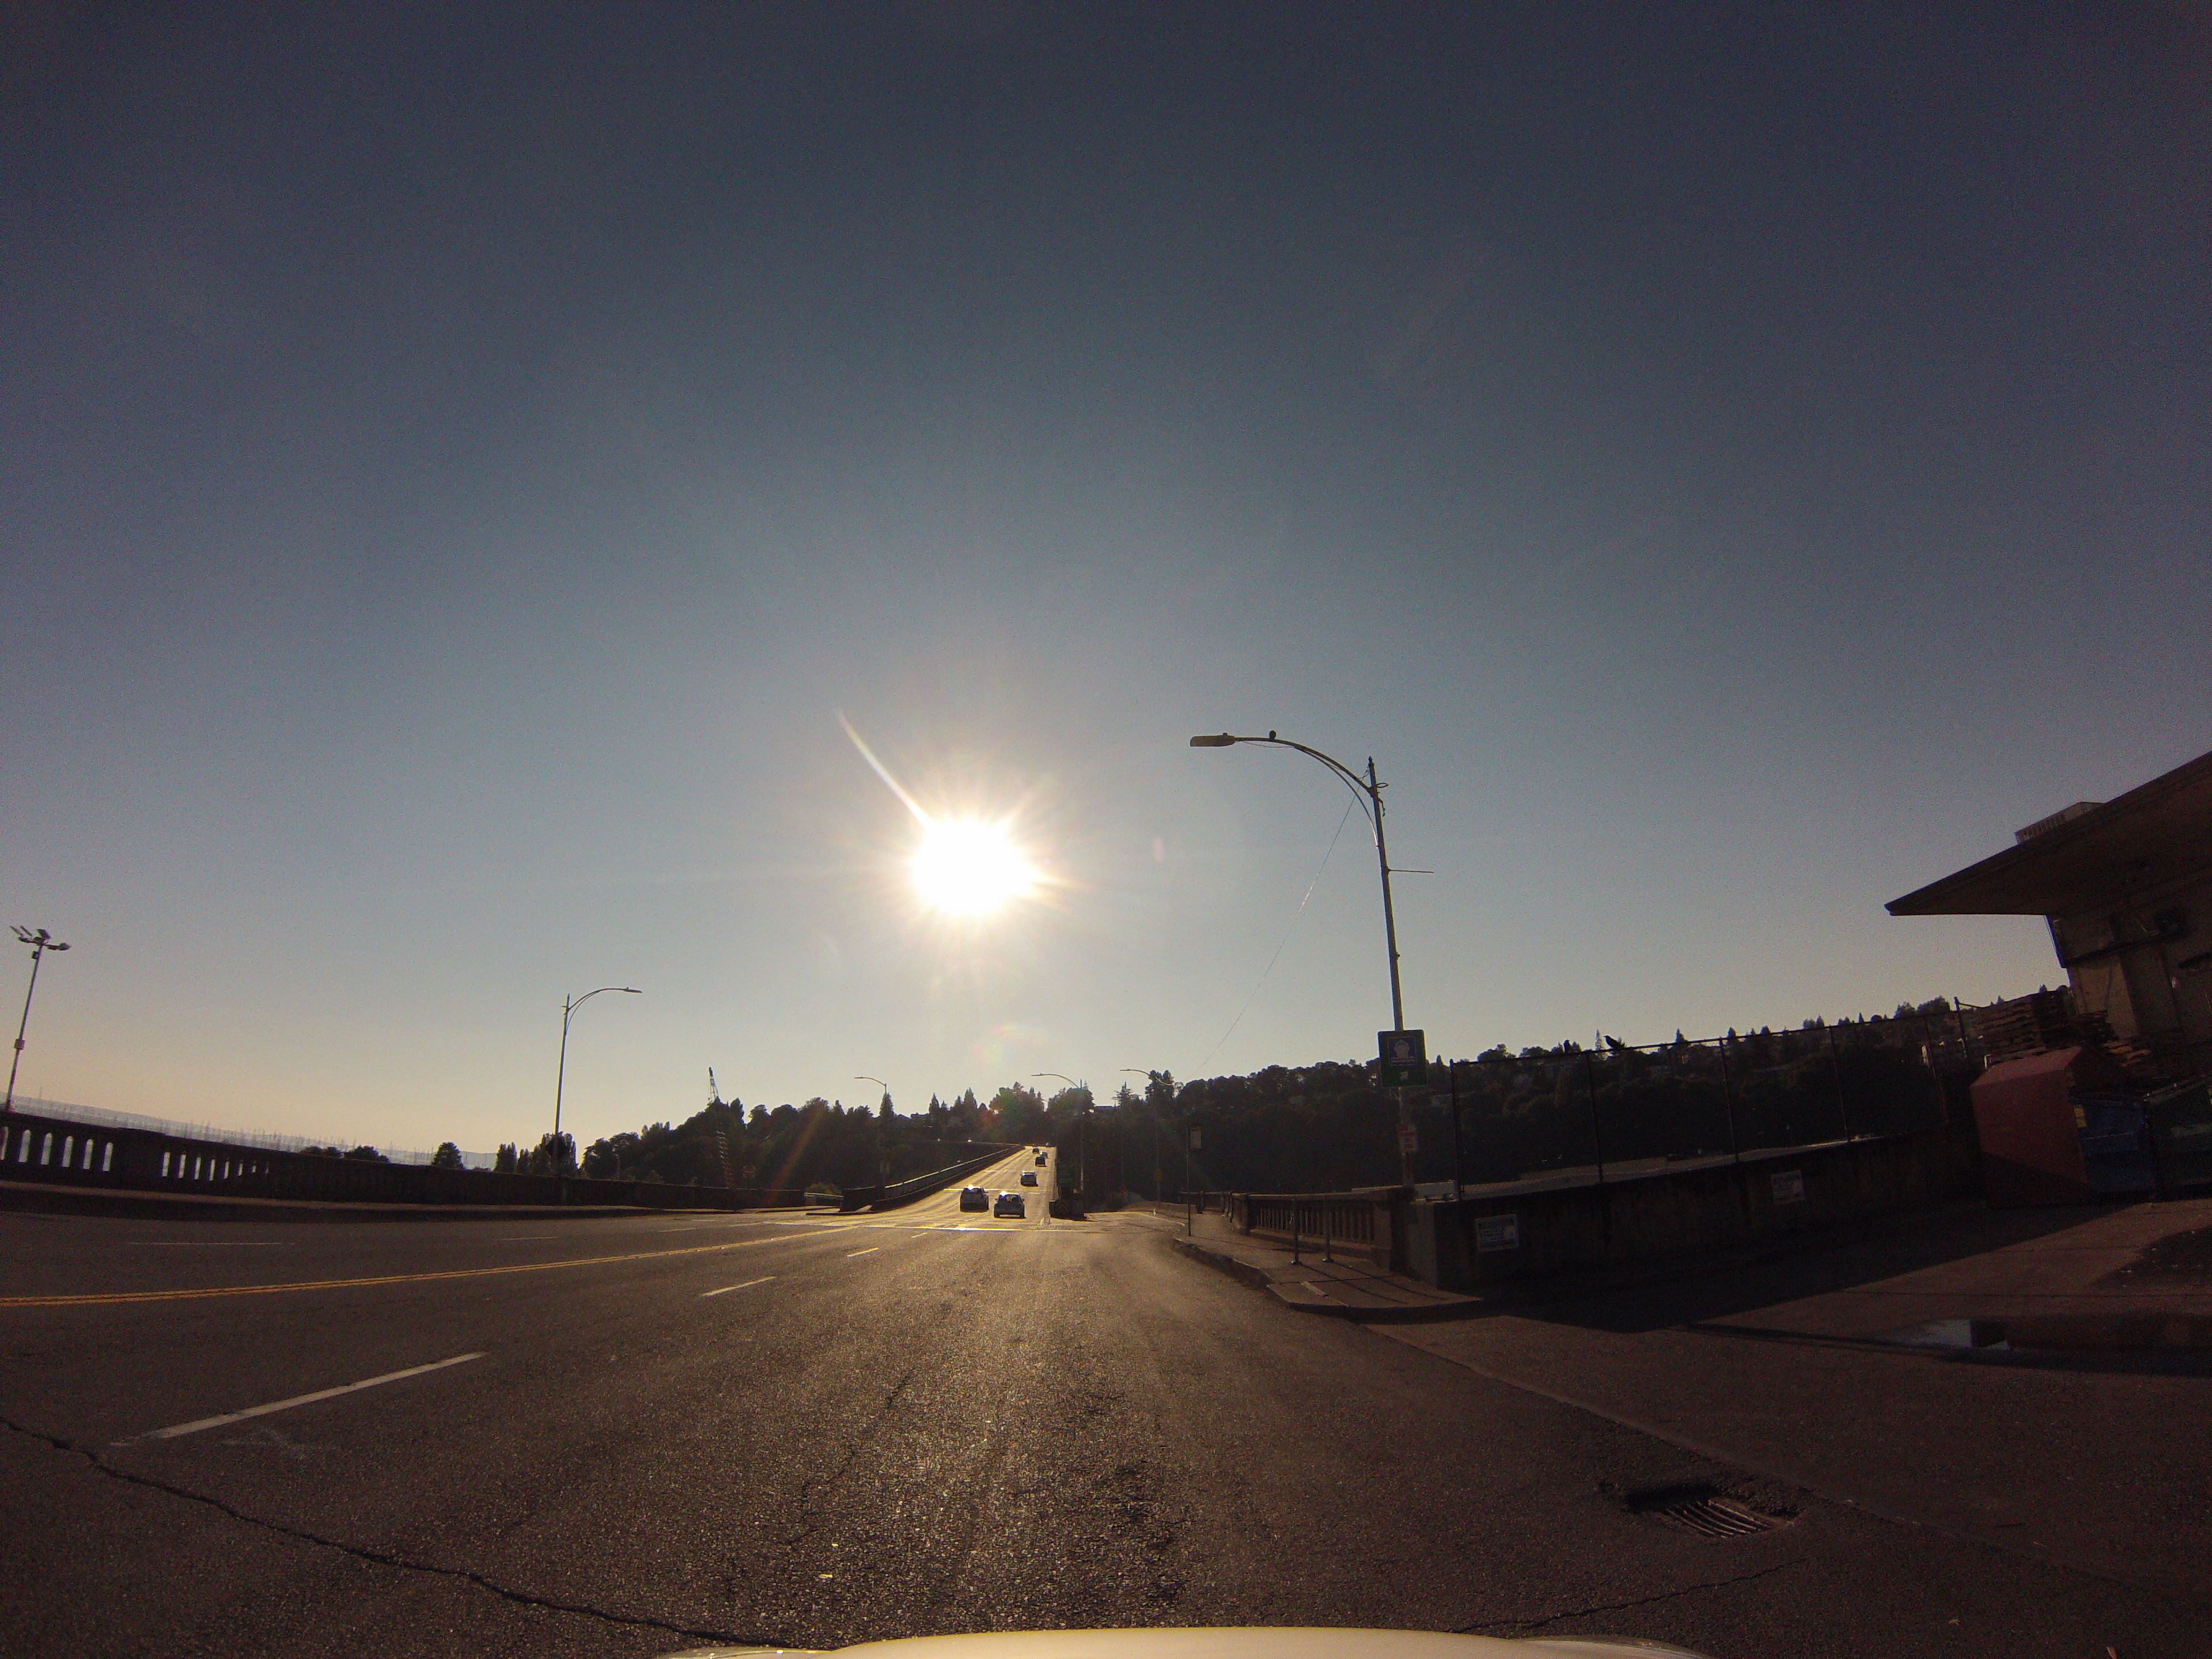
GoPro CarCam photos. Westbound crossing of bridge to 23rd Avenue. Views on bridge off-ramp to 23rd Avenue.
![]()


GoPro CarCam photos. Westbound crossing of bridge to 23rd Avenue. Views on the ground-level roadway loading to 23rd Avenue.
![]()


GoPro CarCam photos. Westbound crossing of bridge to 23rd Avenue. Turning onto 23rd Avenue.
![]()
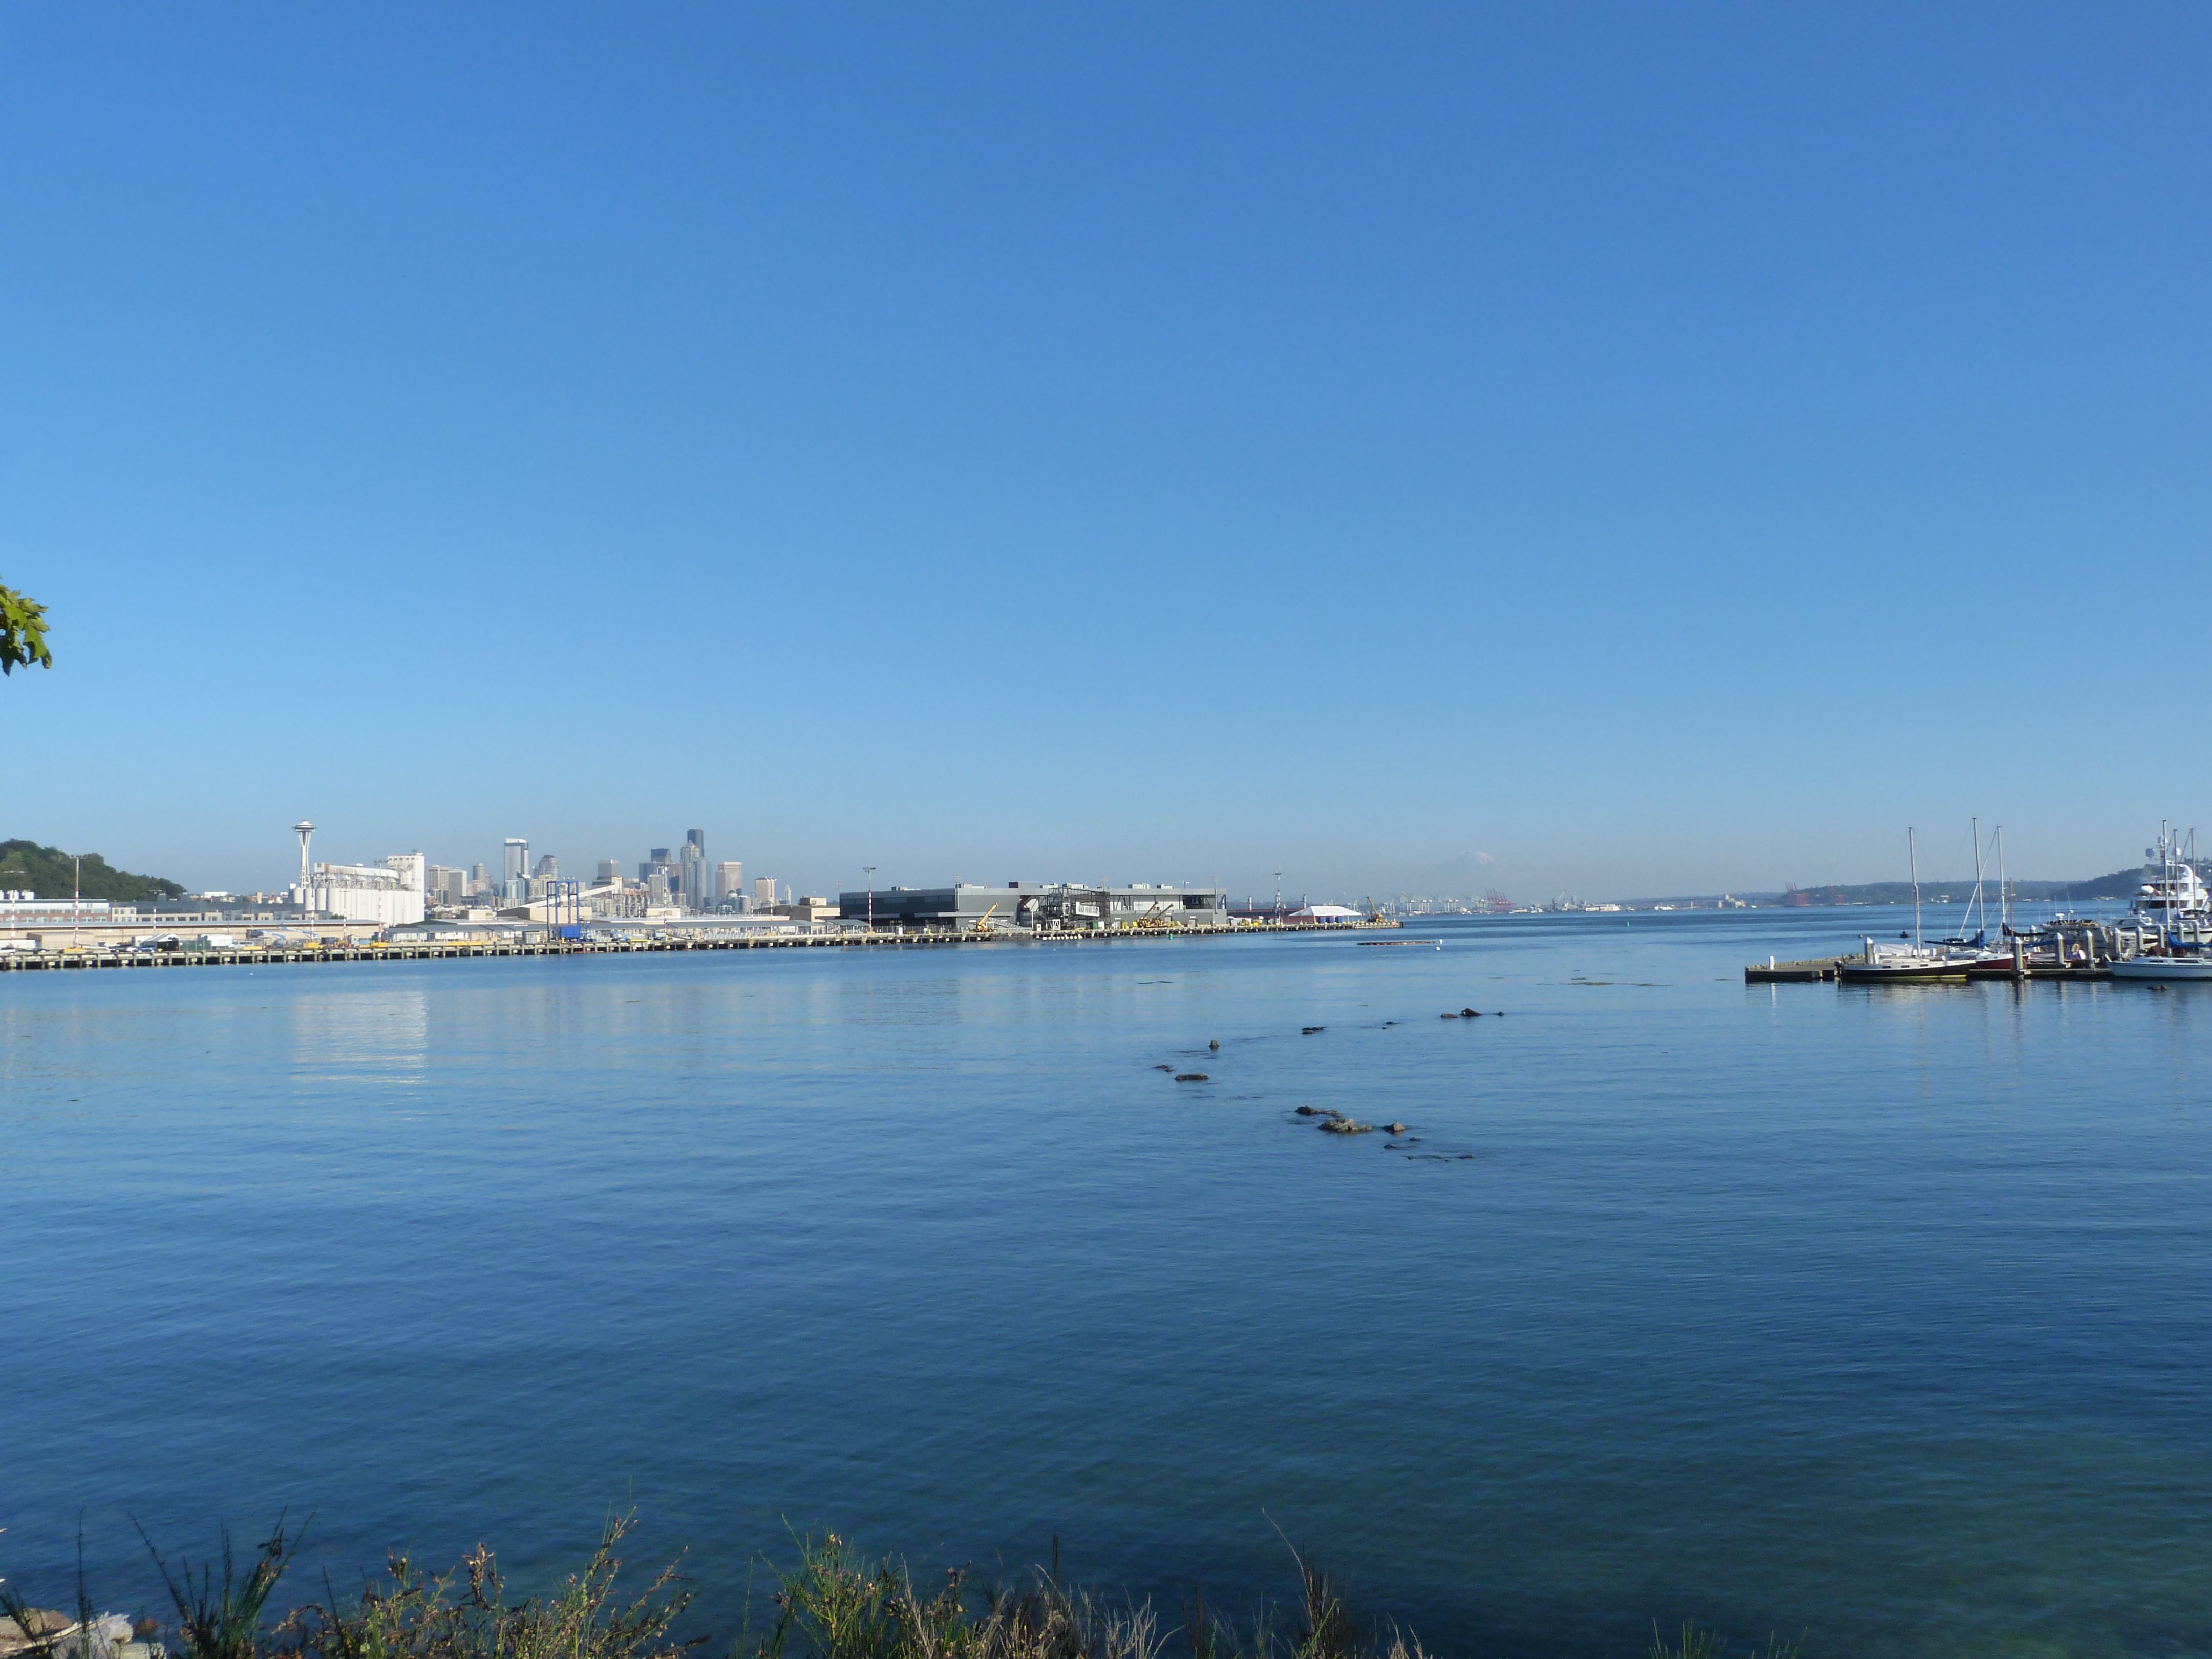
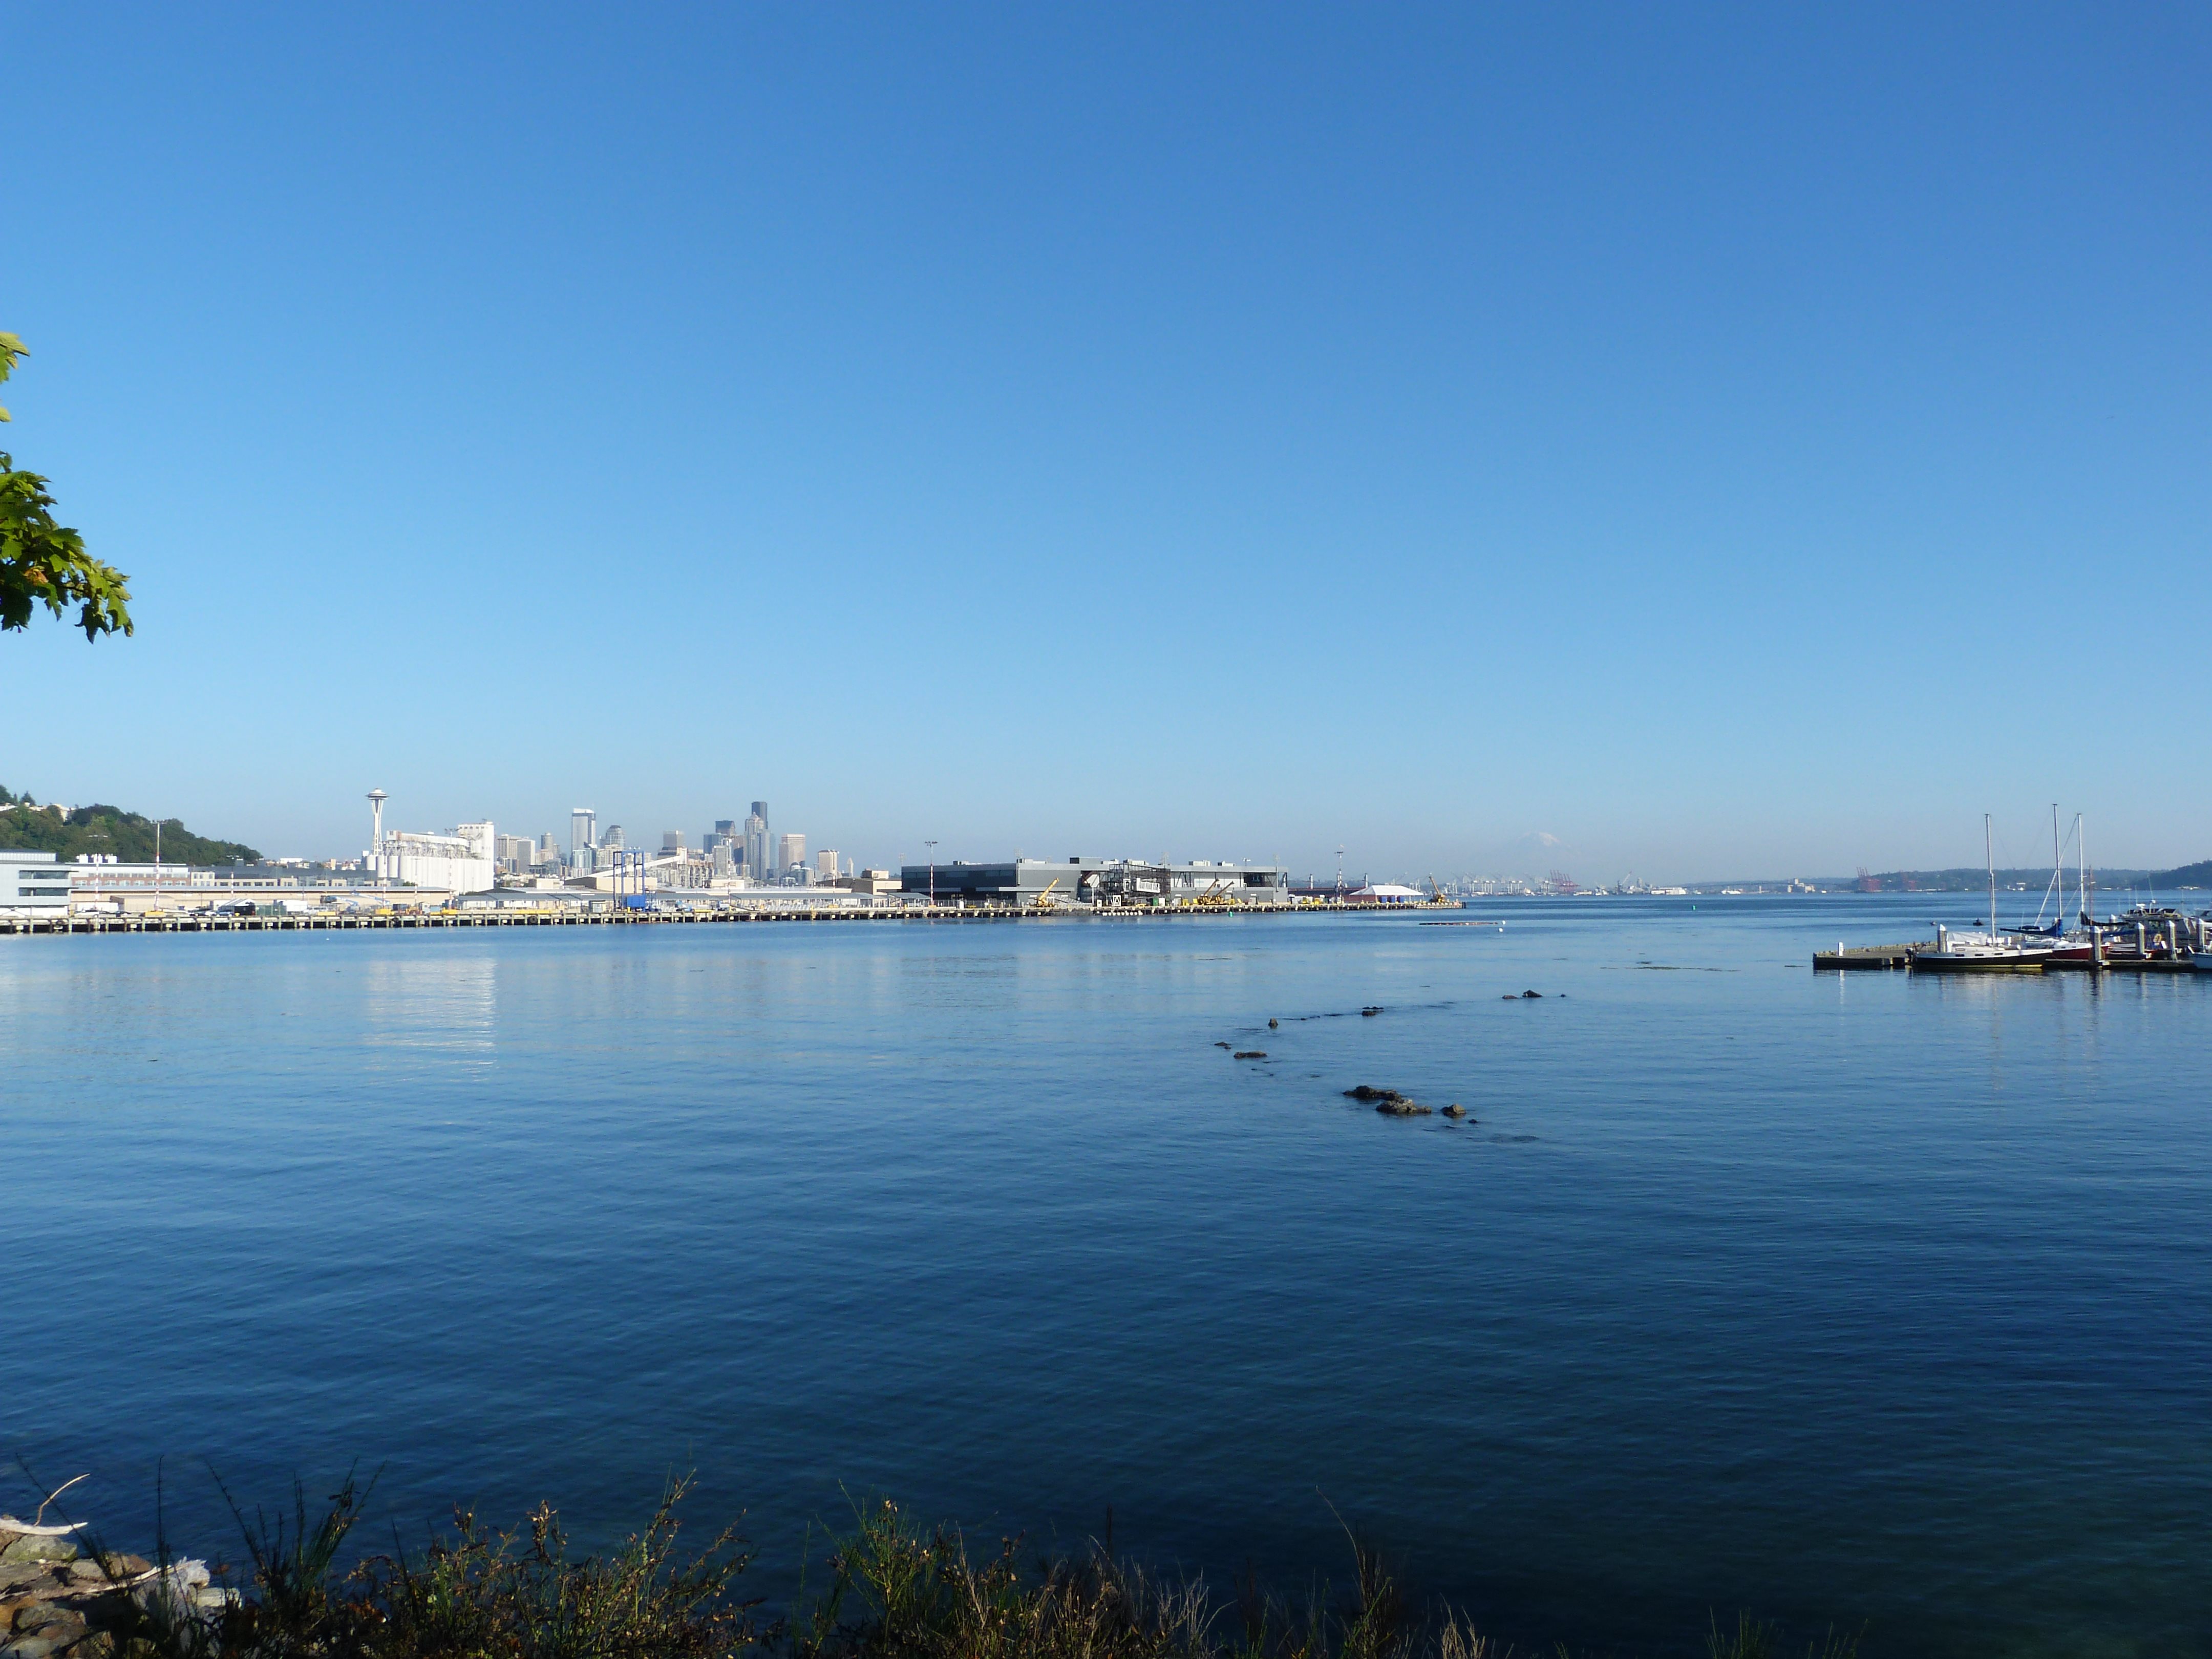


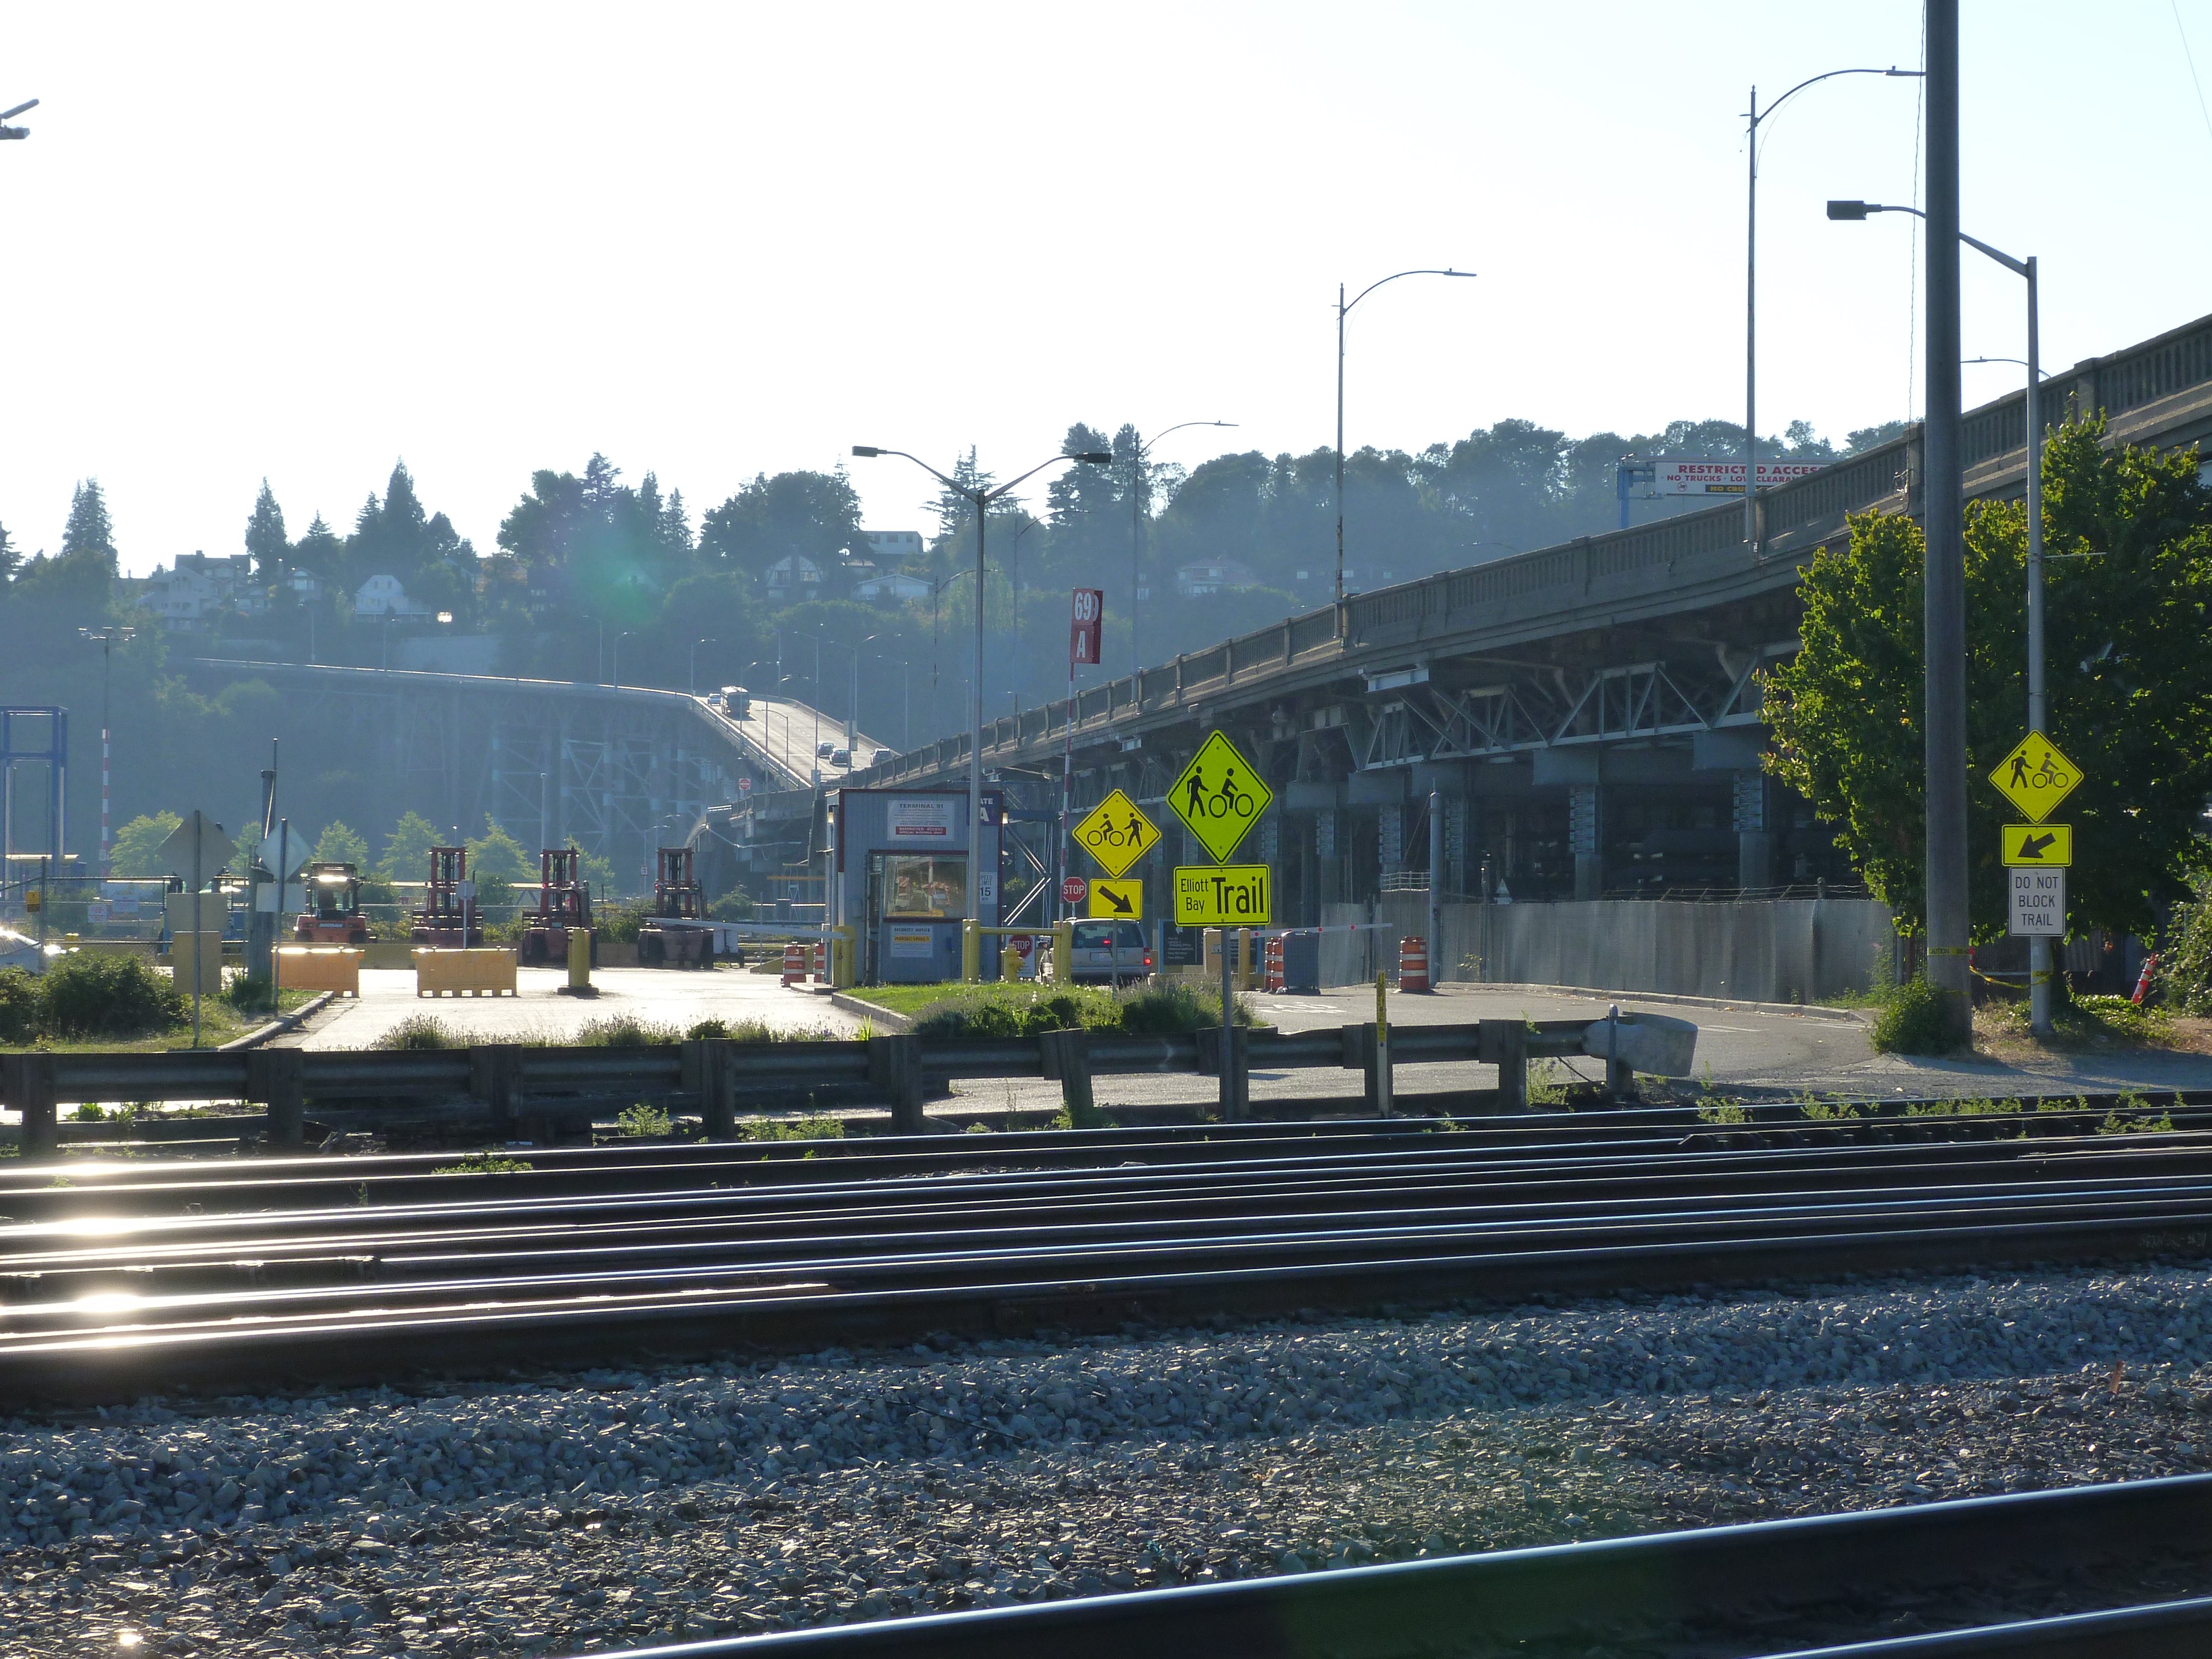
General views of Seattle as seen from near bridge.
![]()

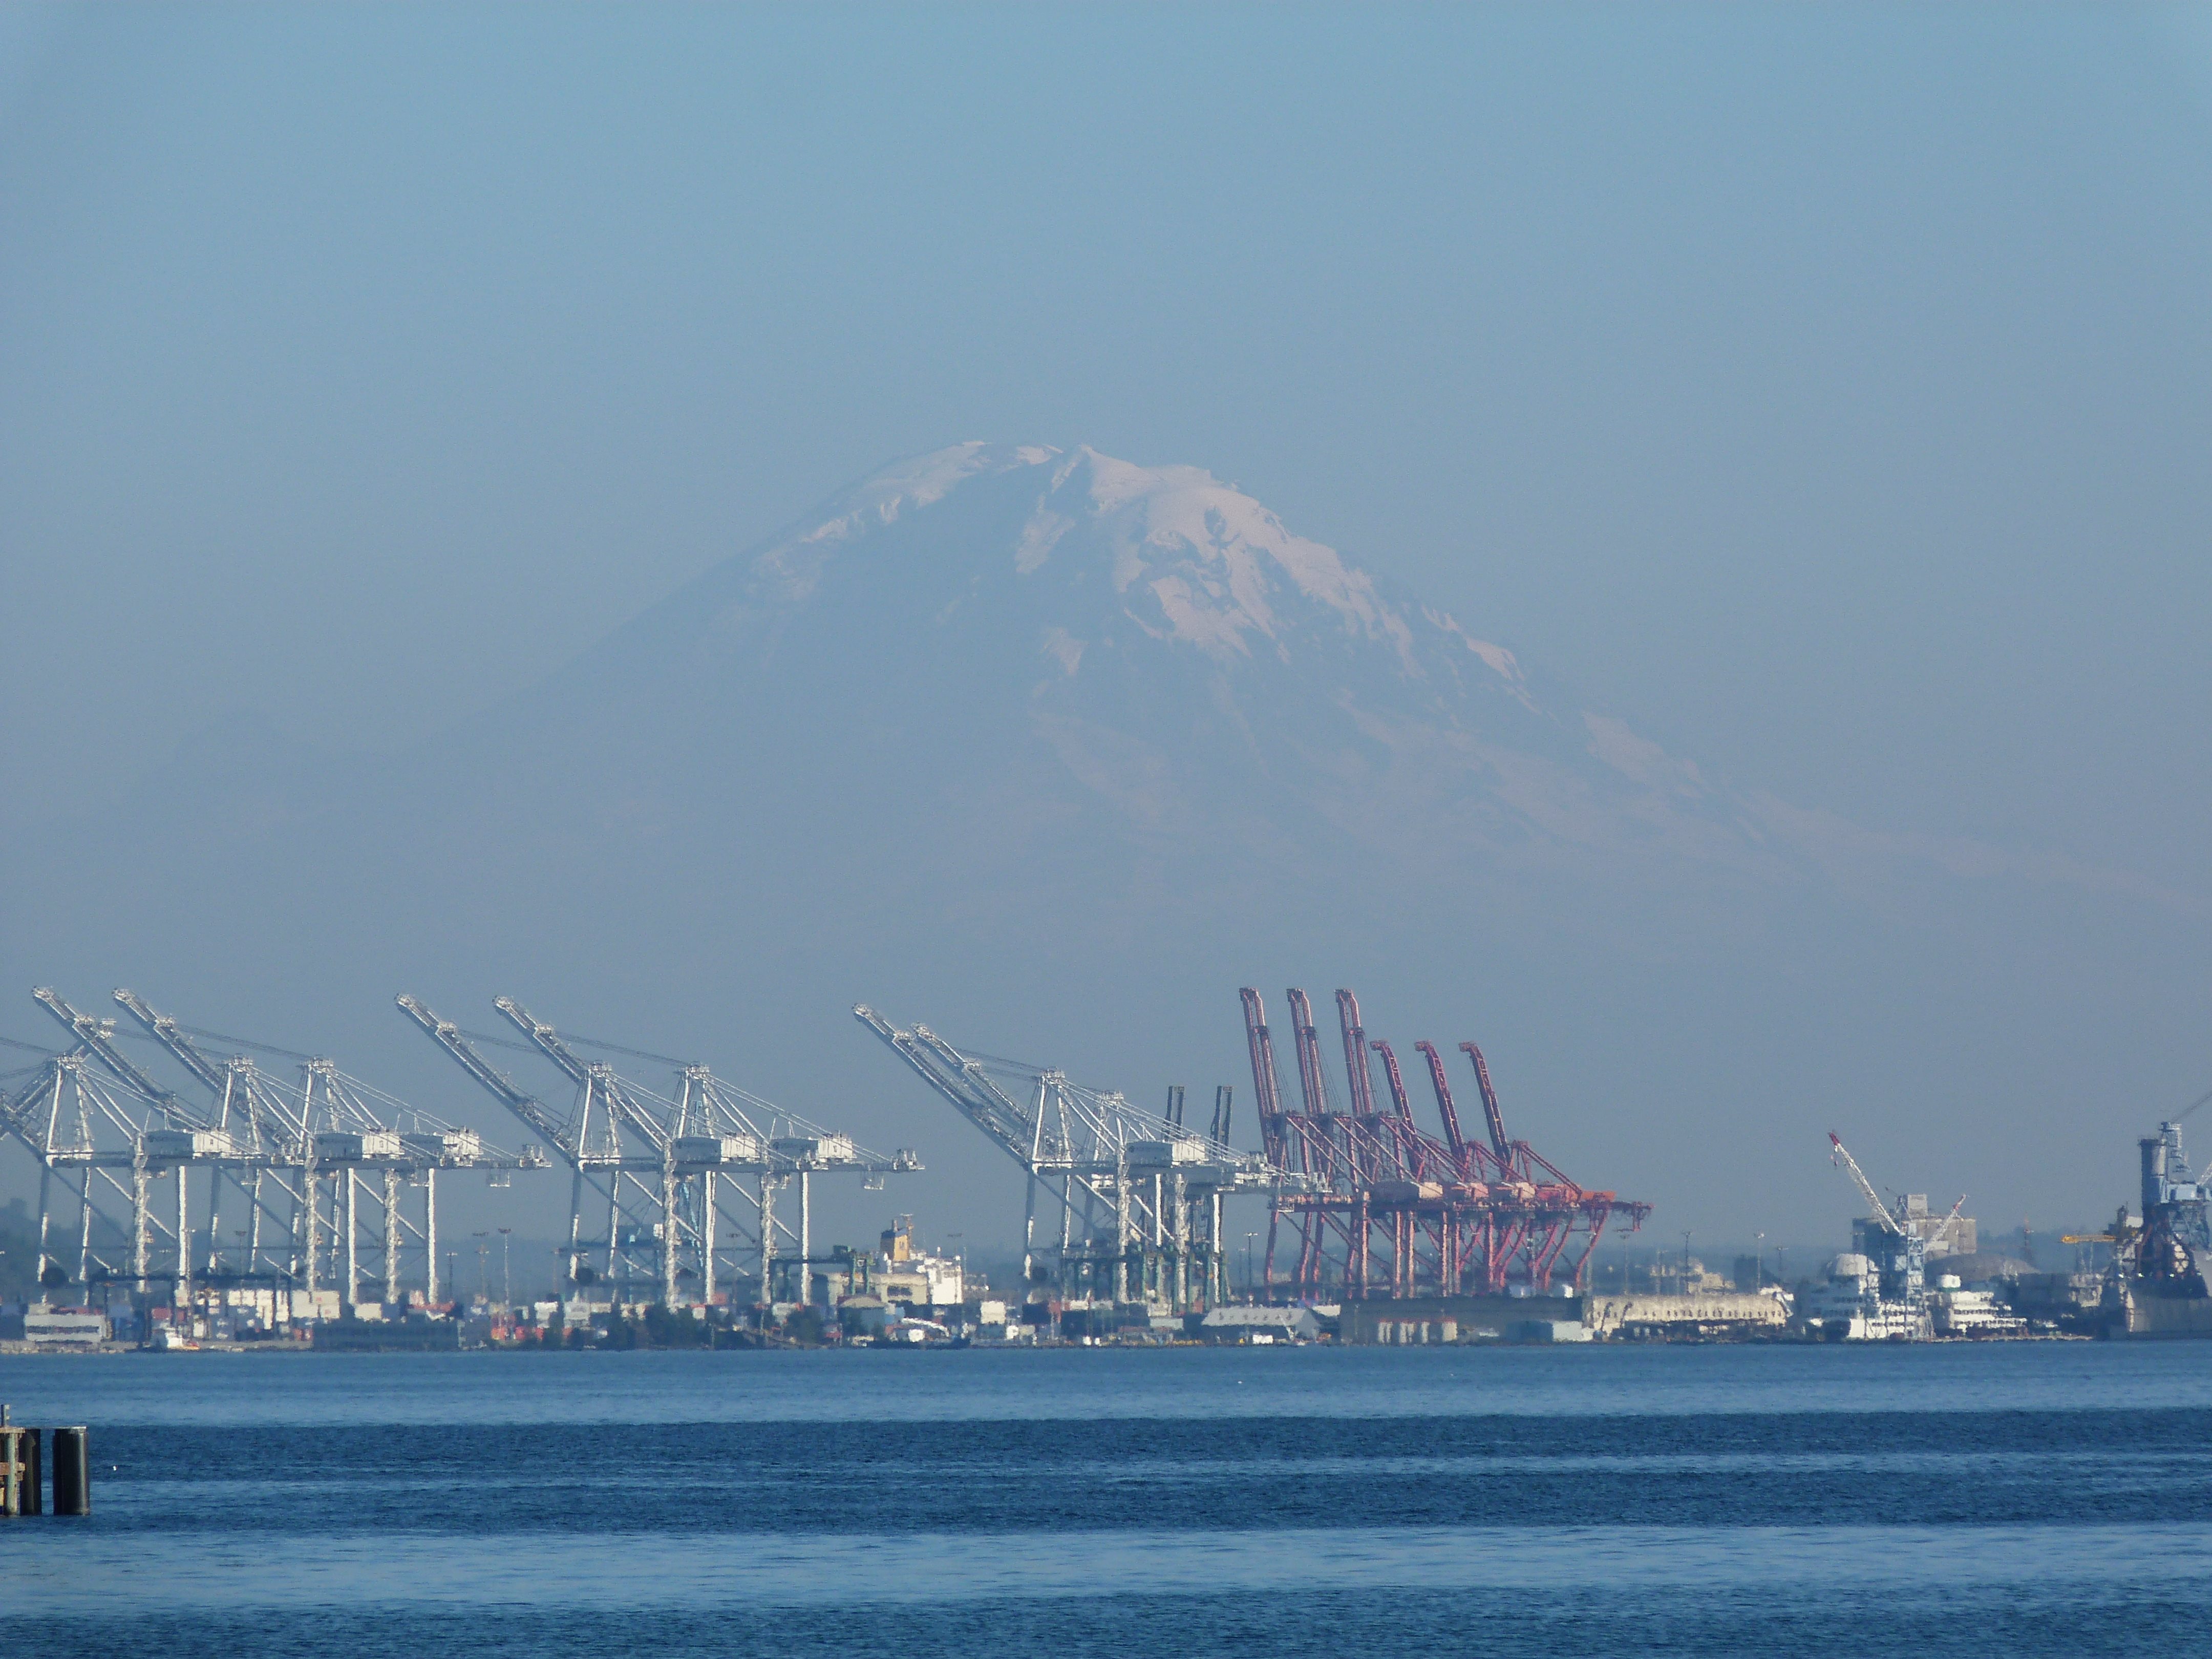
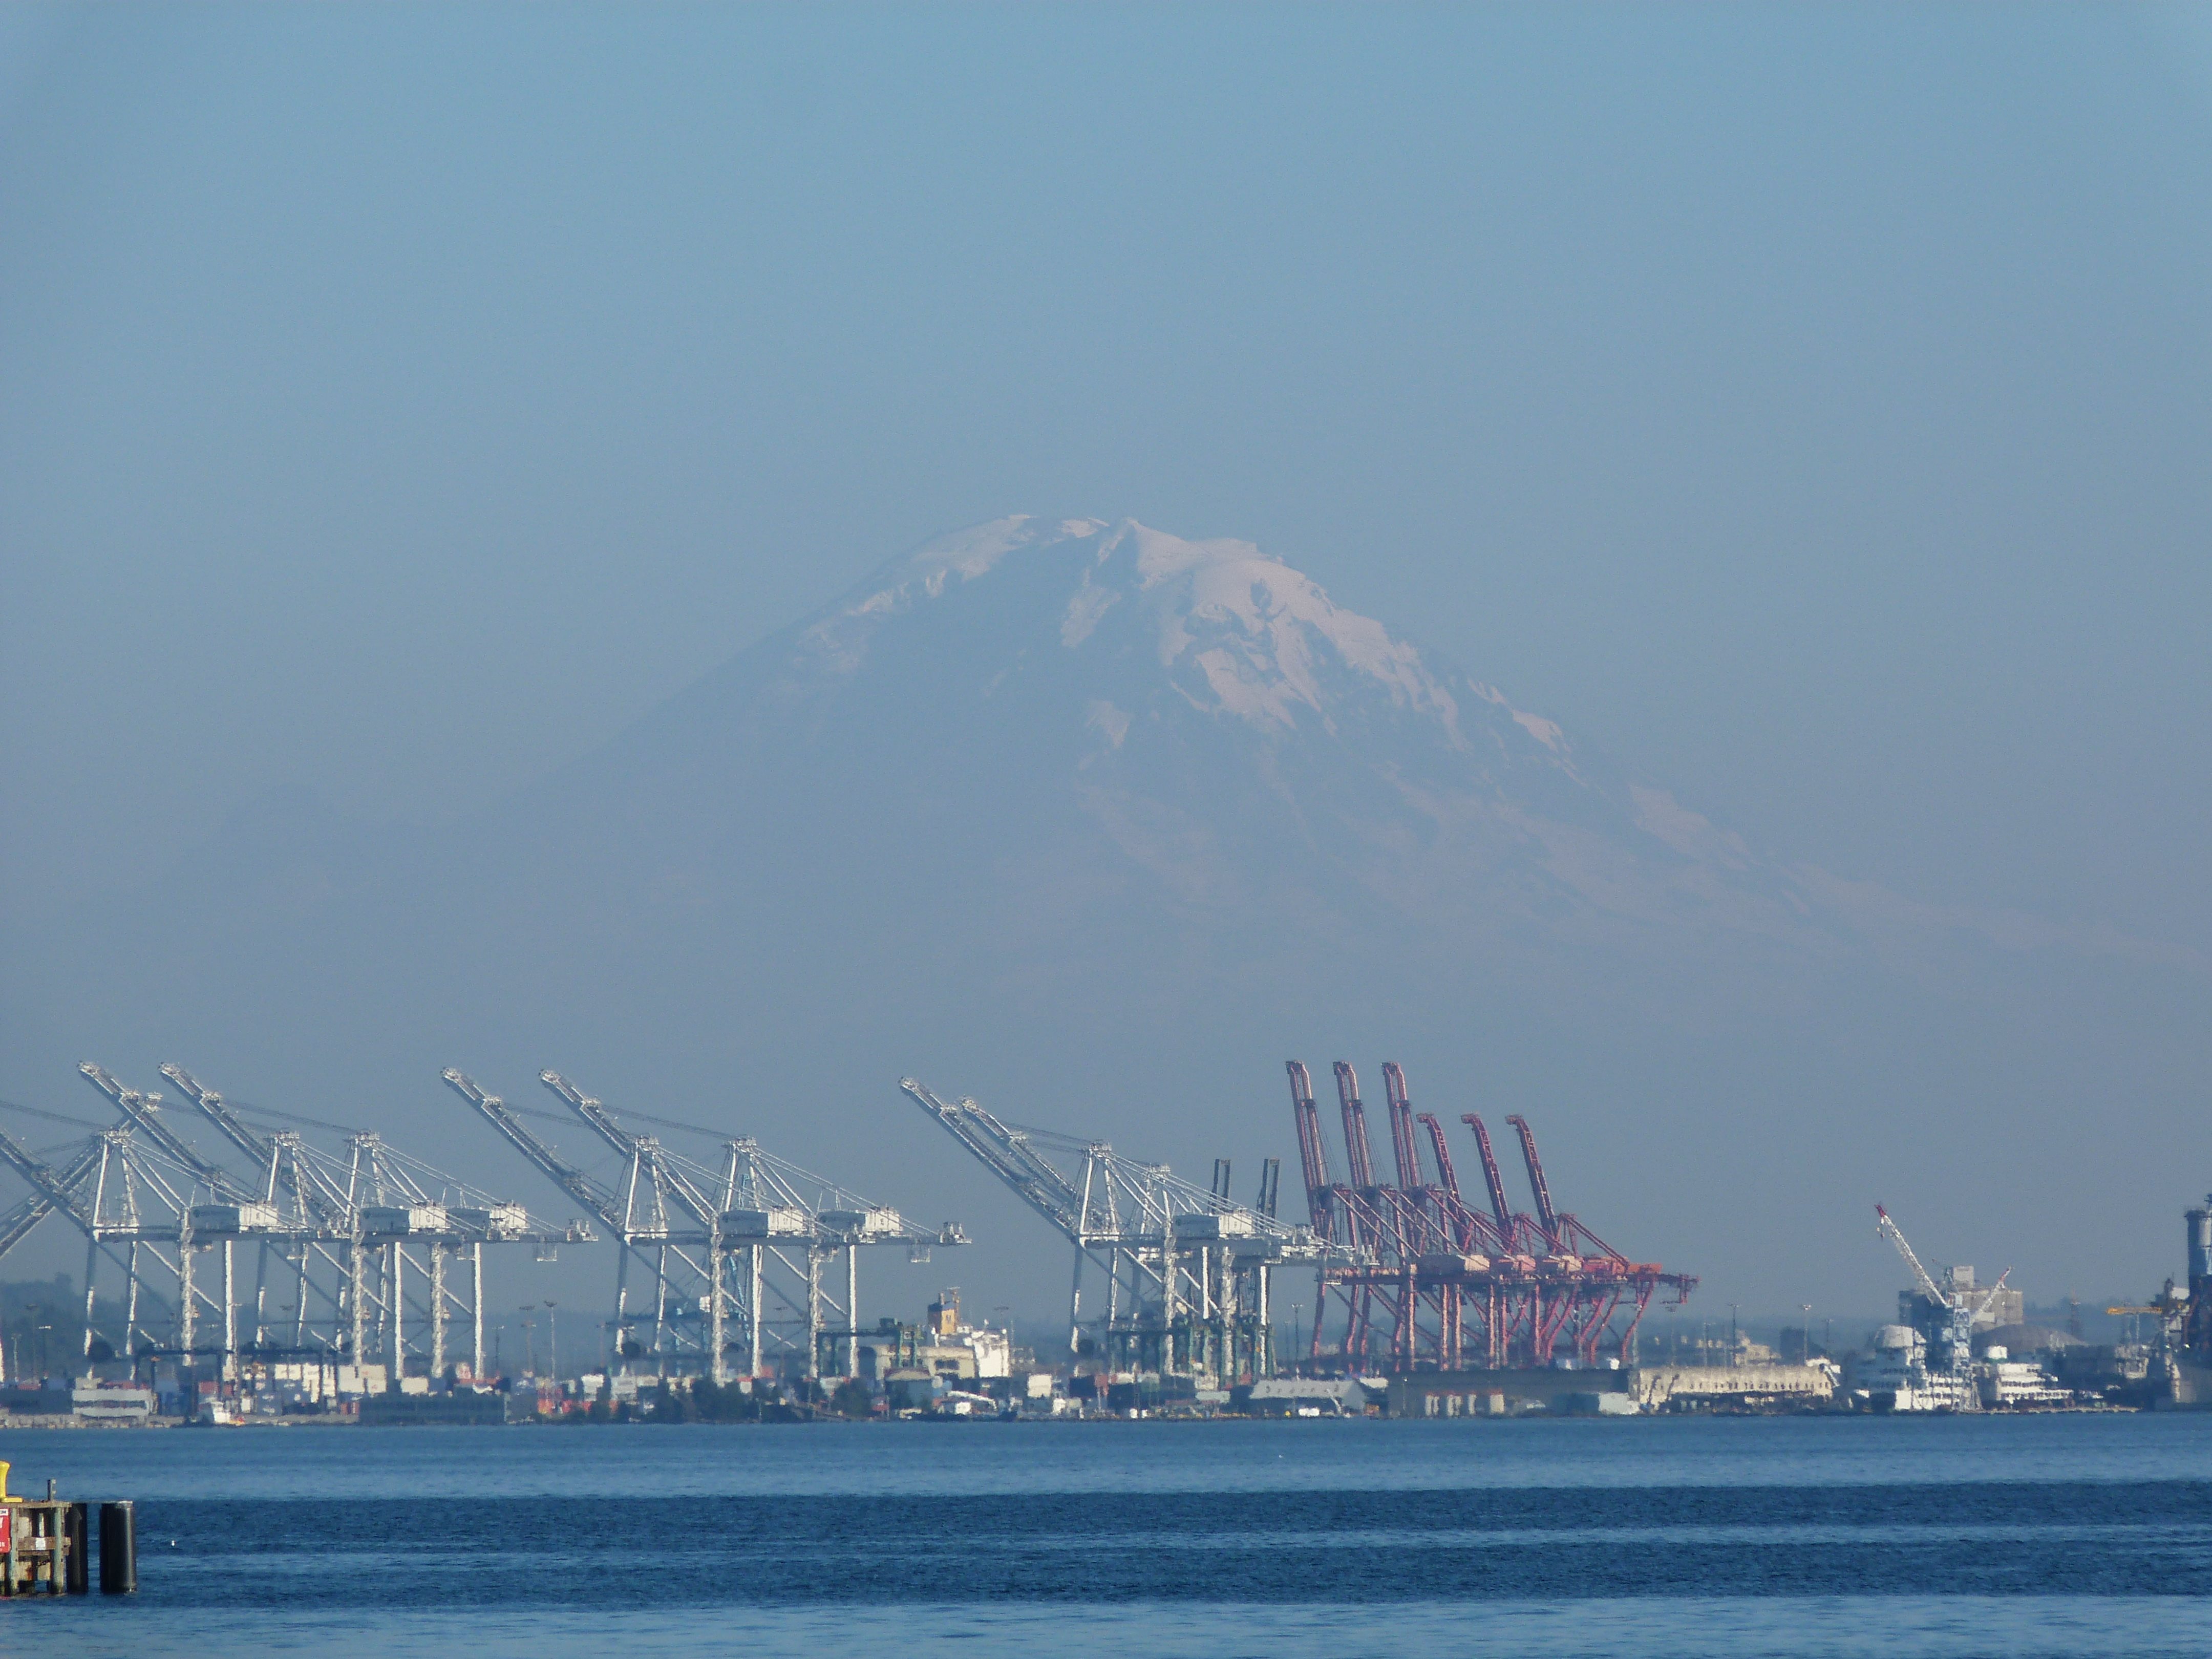
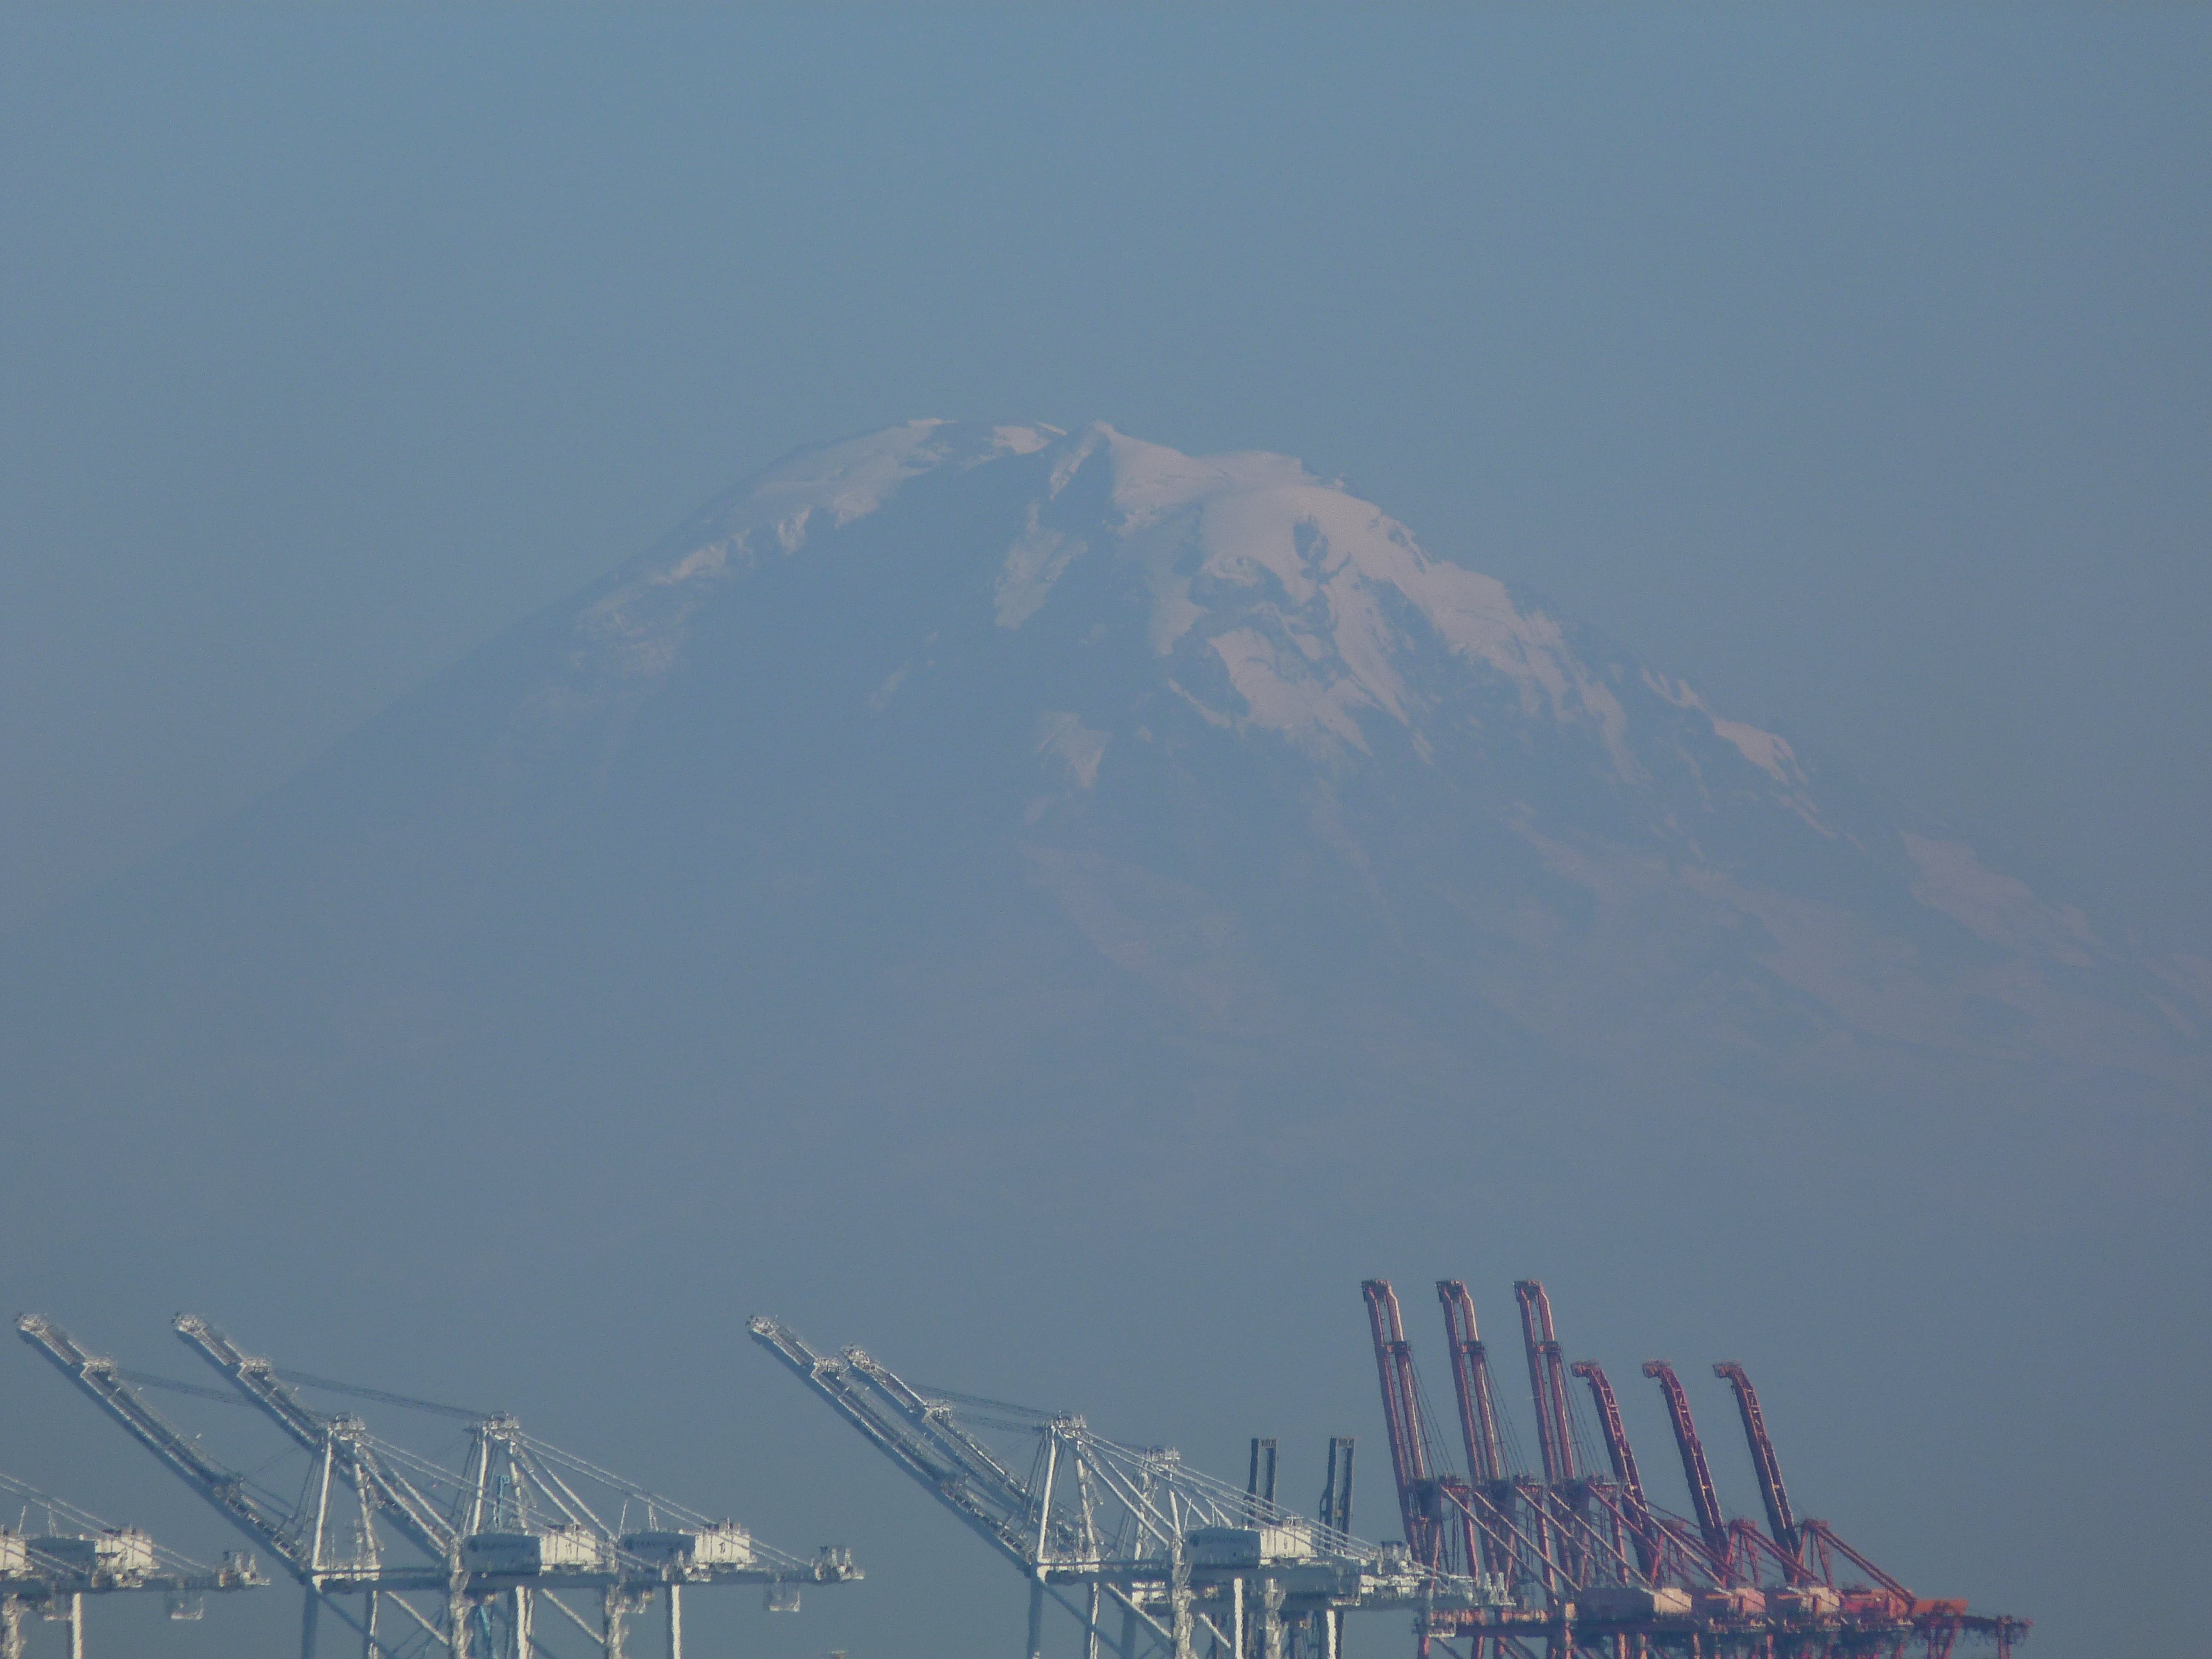

General views of Mt. Ranier as seen from near bridge.
![]()
![]()

![]()