
Uncredited photos on this page taken by: Nathan Holth. Unless stated in a caption, all photos are Copyright with All Rights Reserved. Learn about reuse of our photos.
![]()
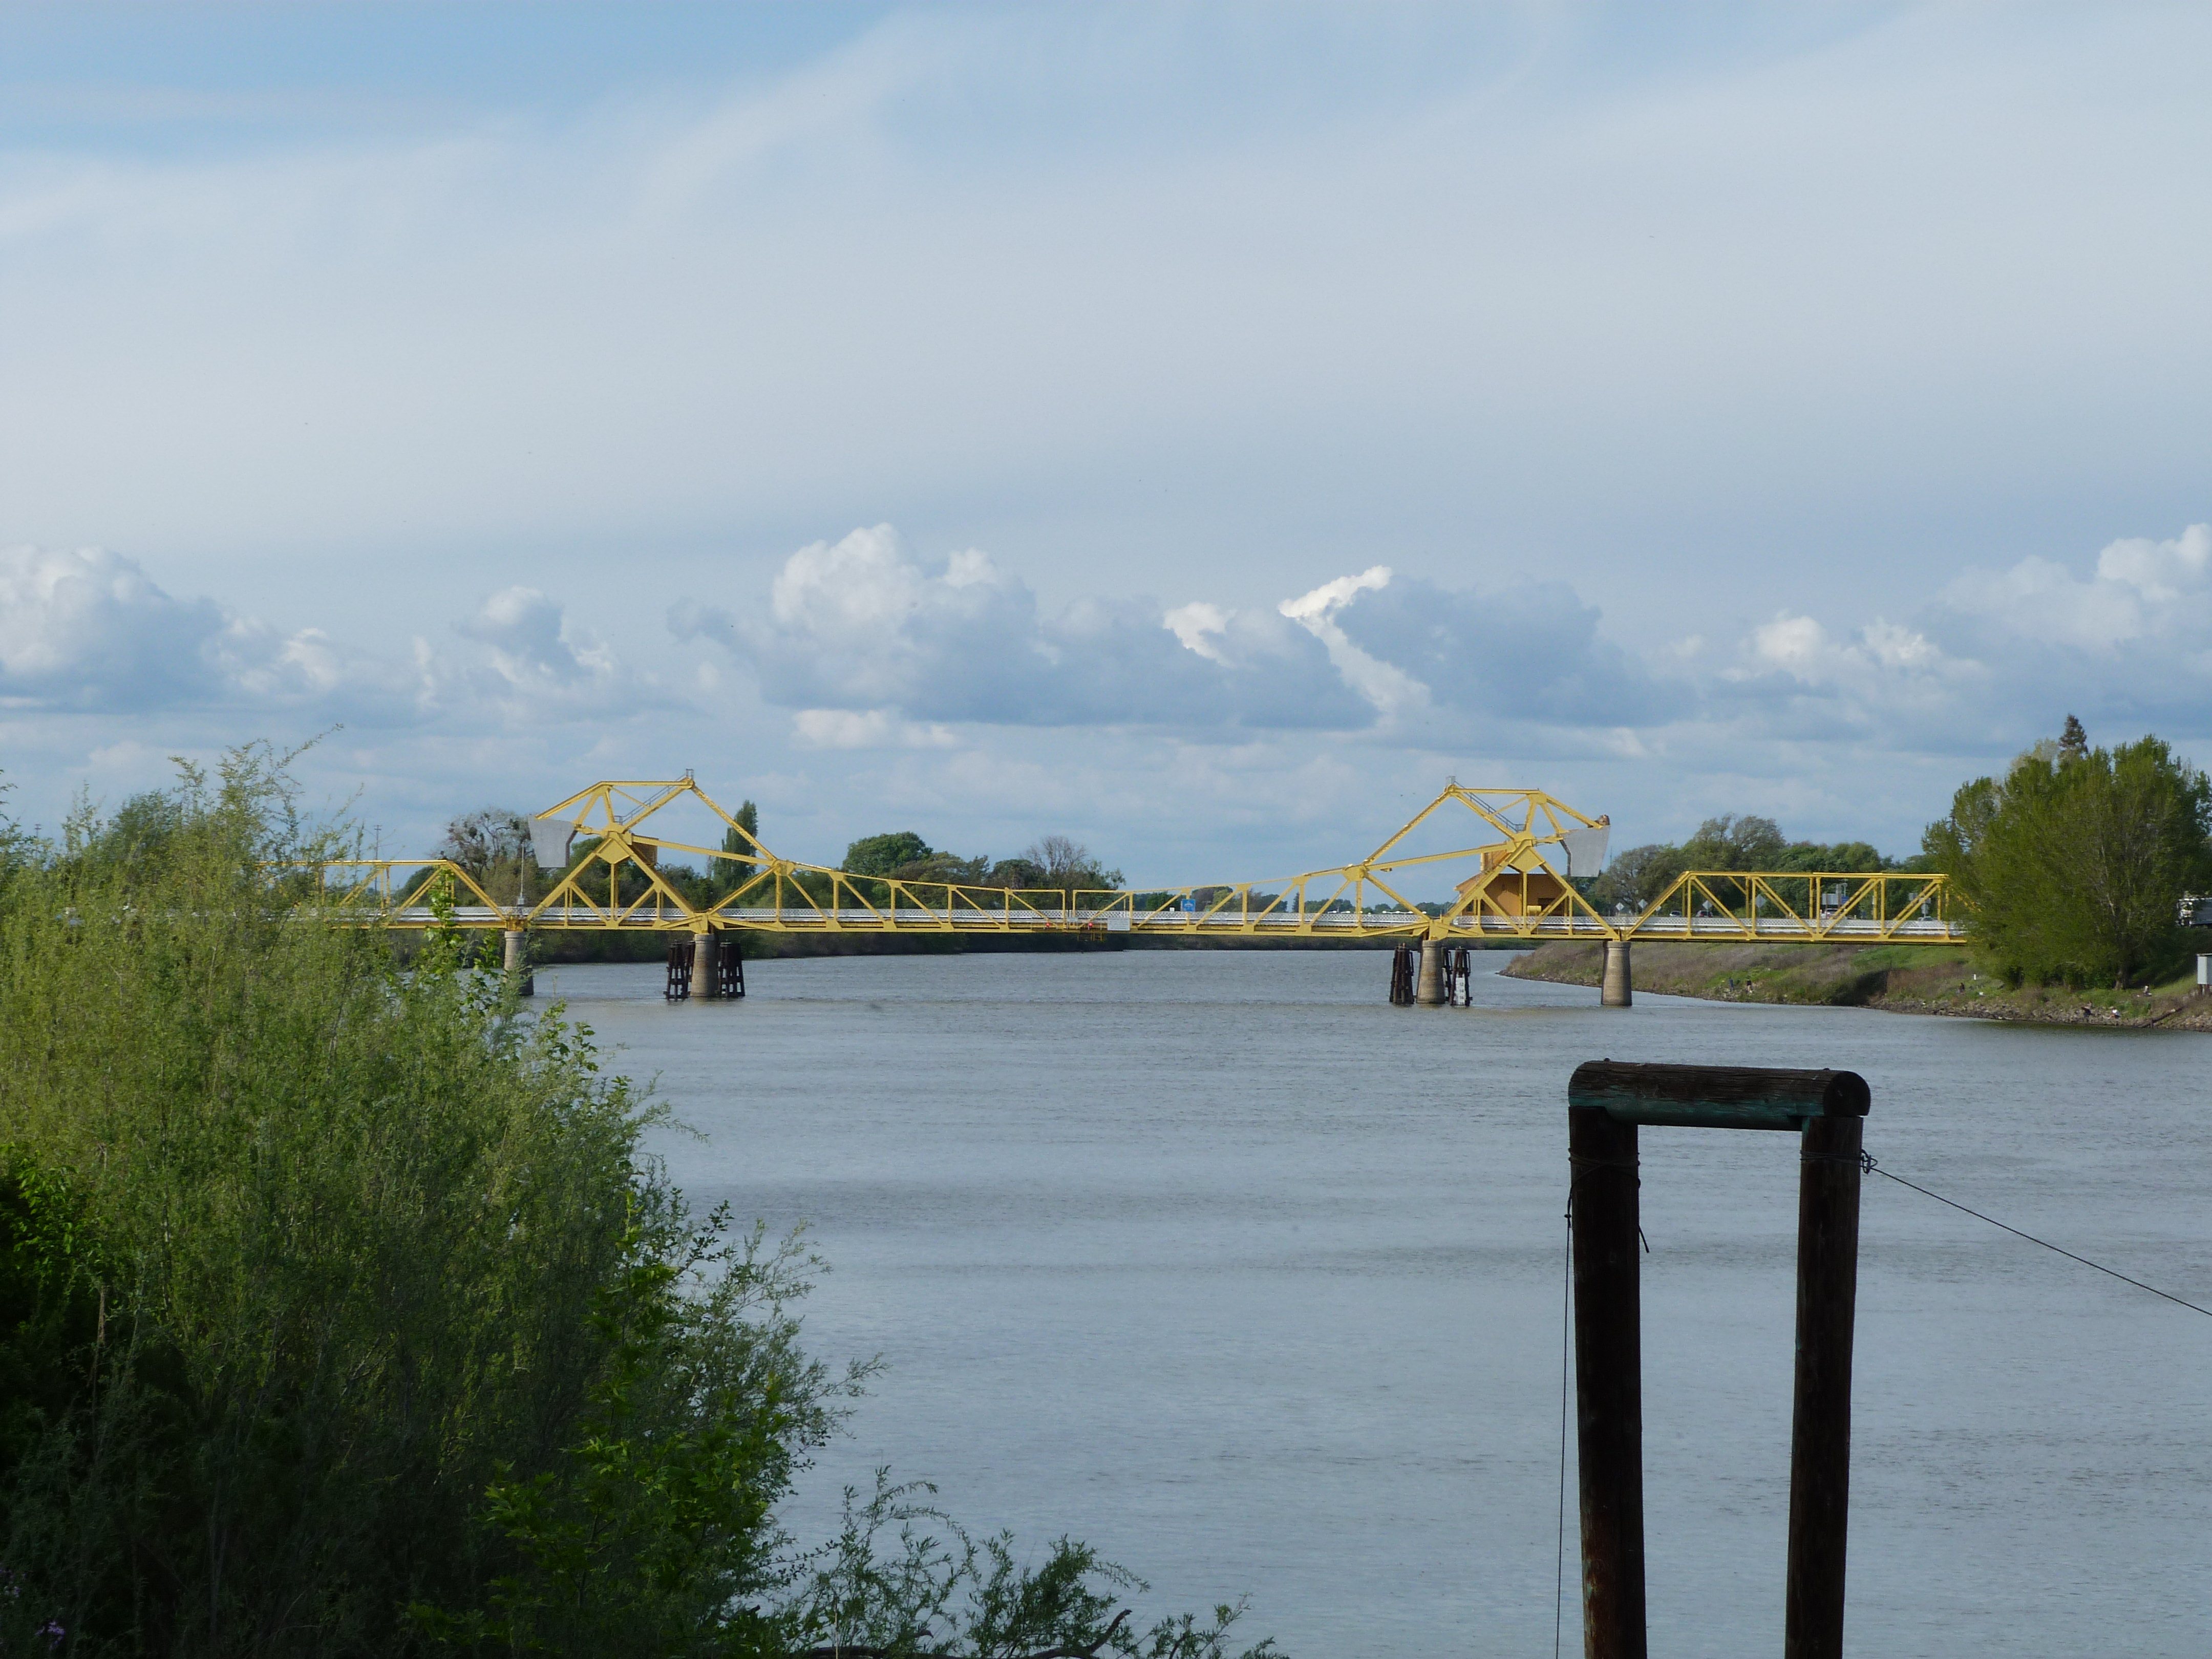


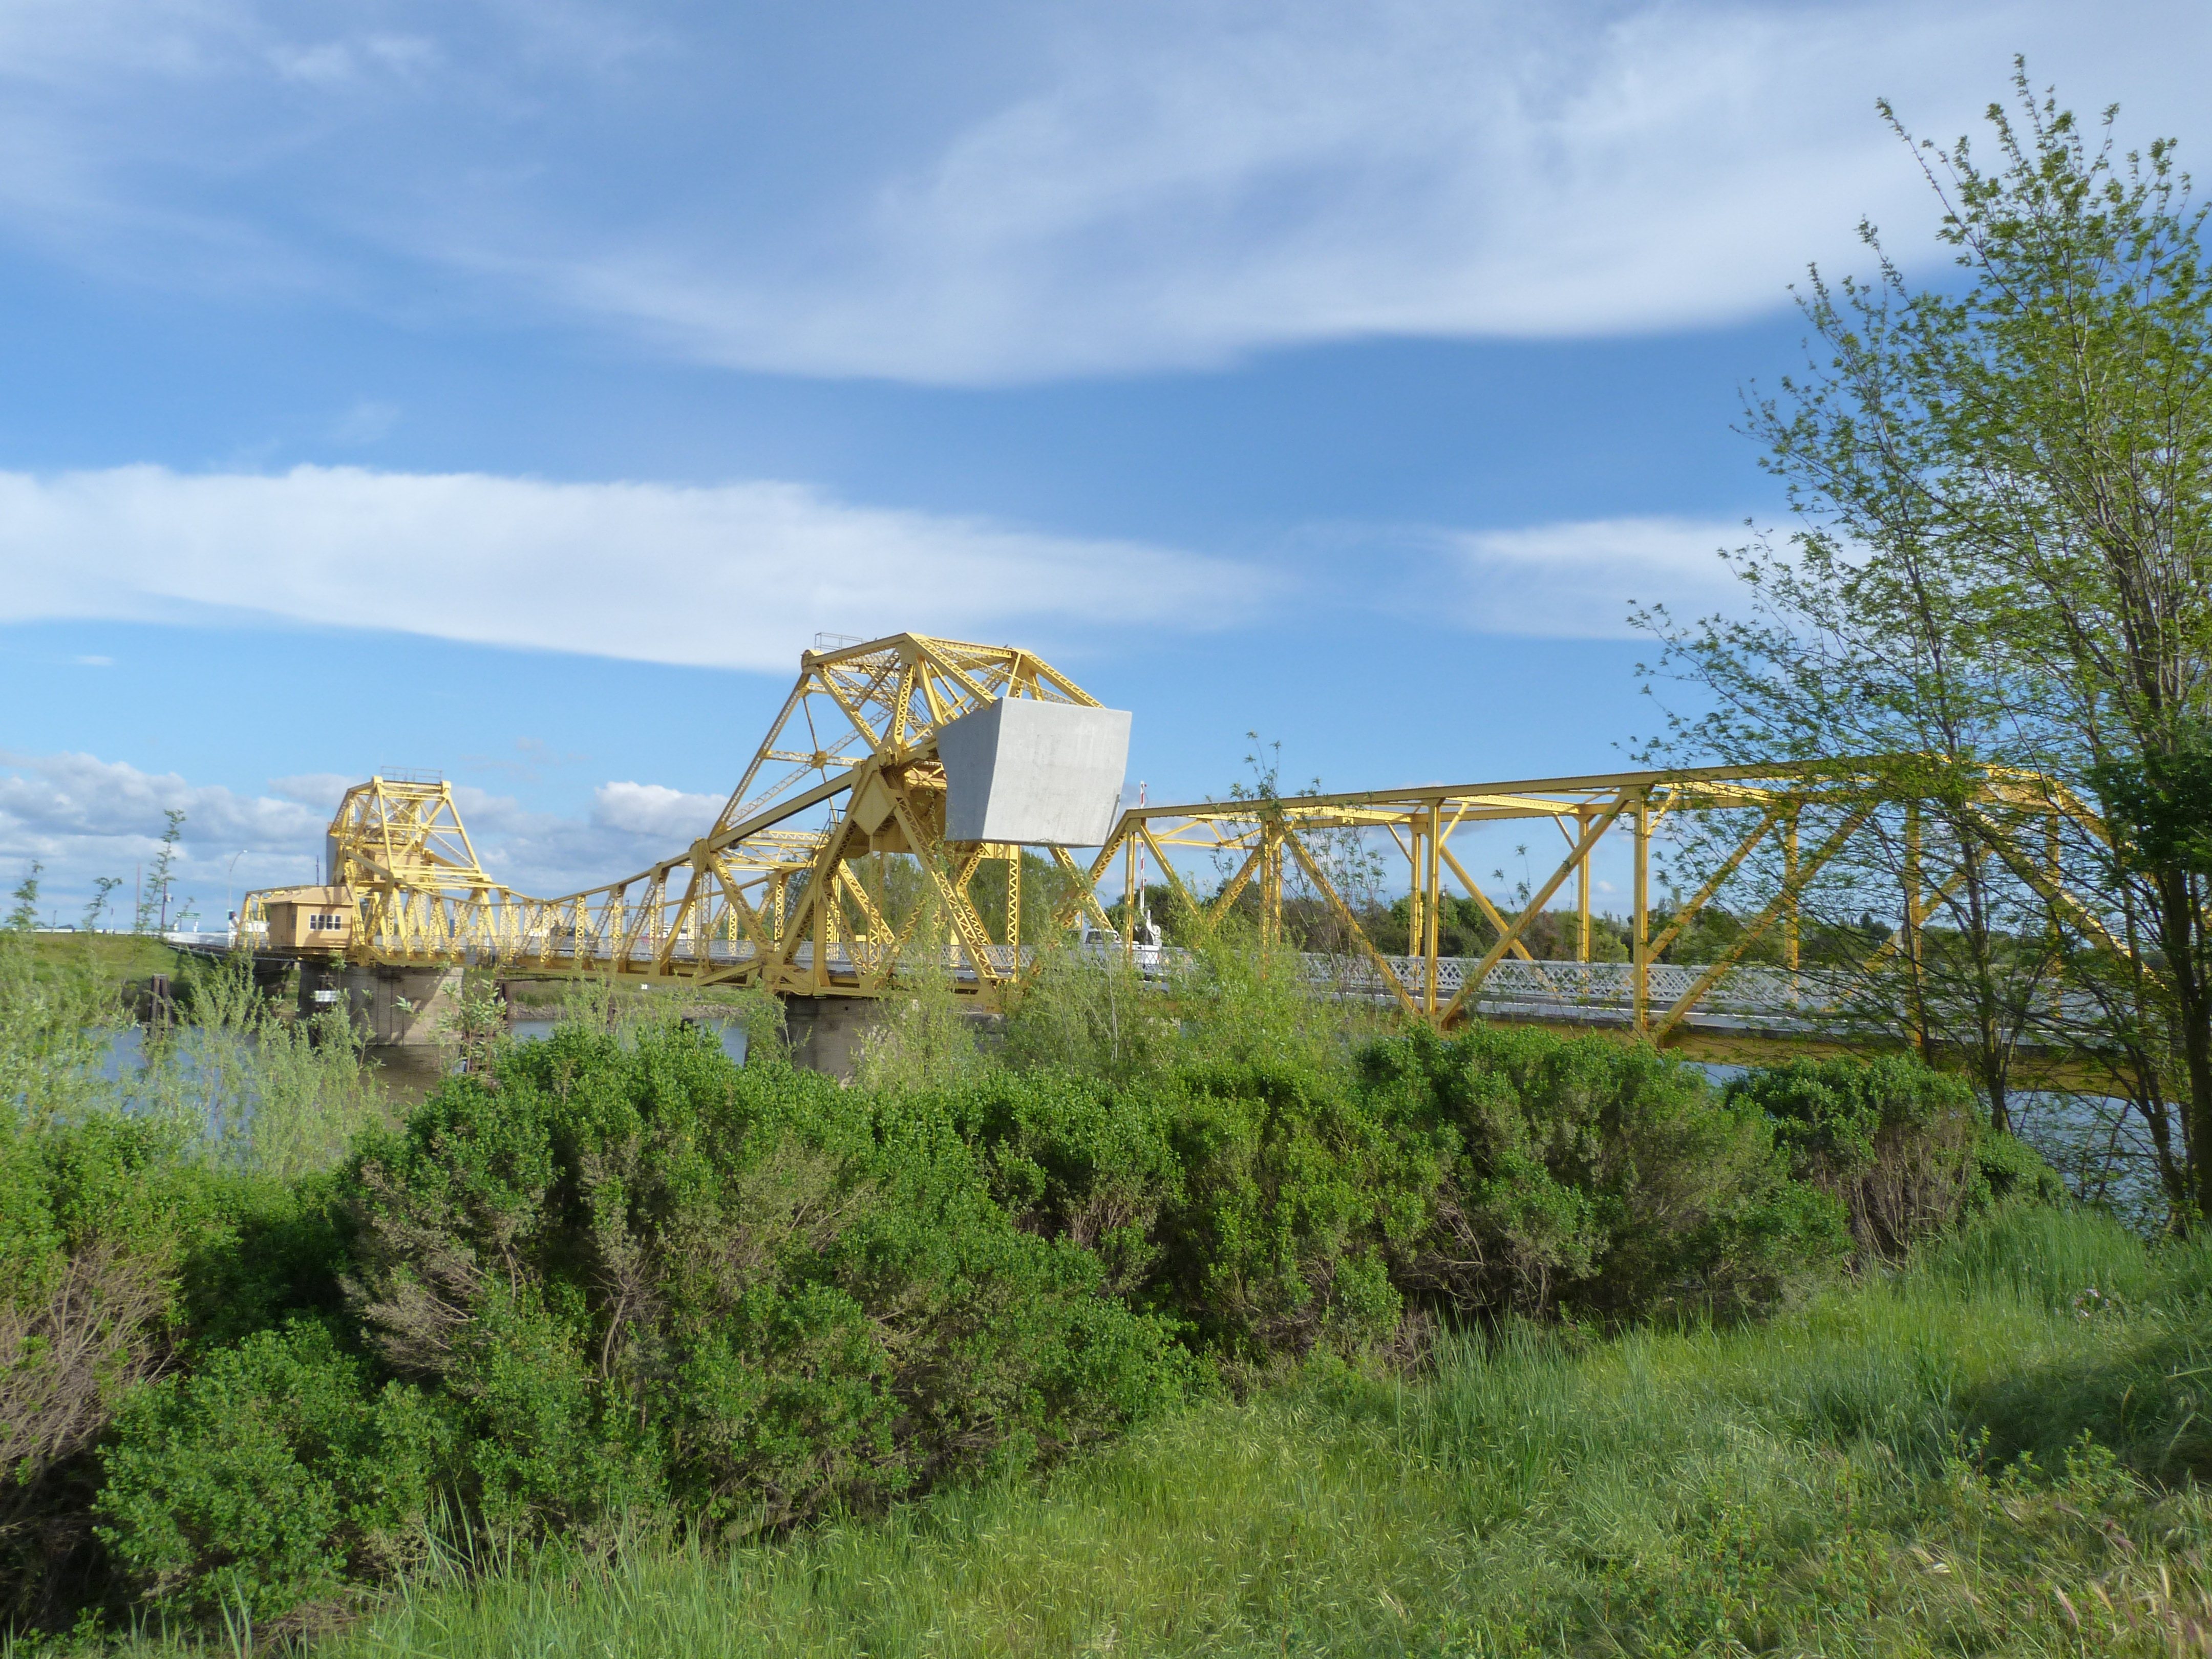
Elevation from southwest quadrant.
![]()

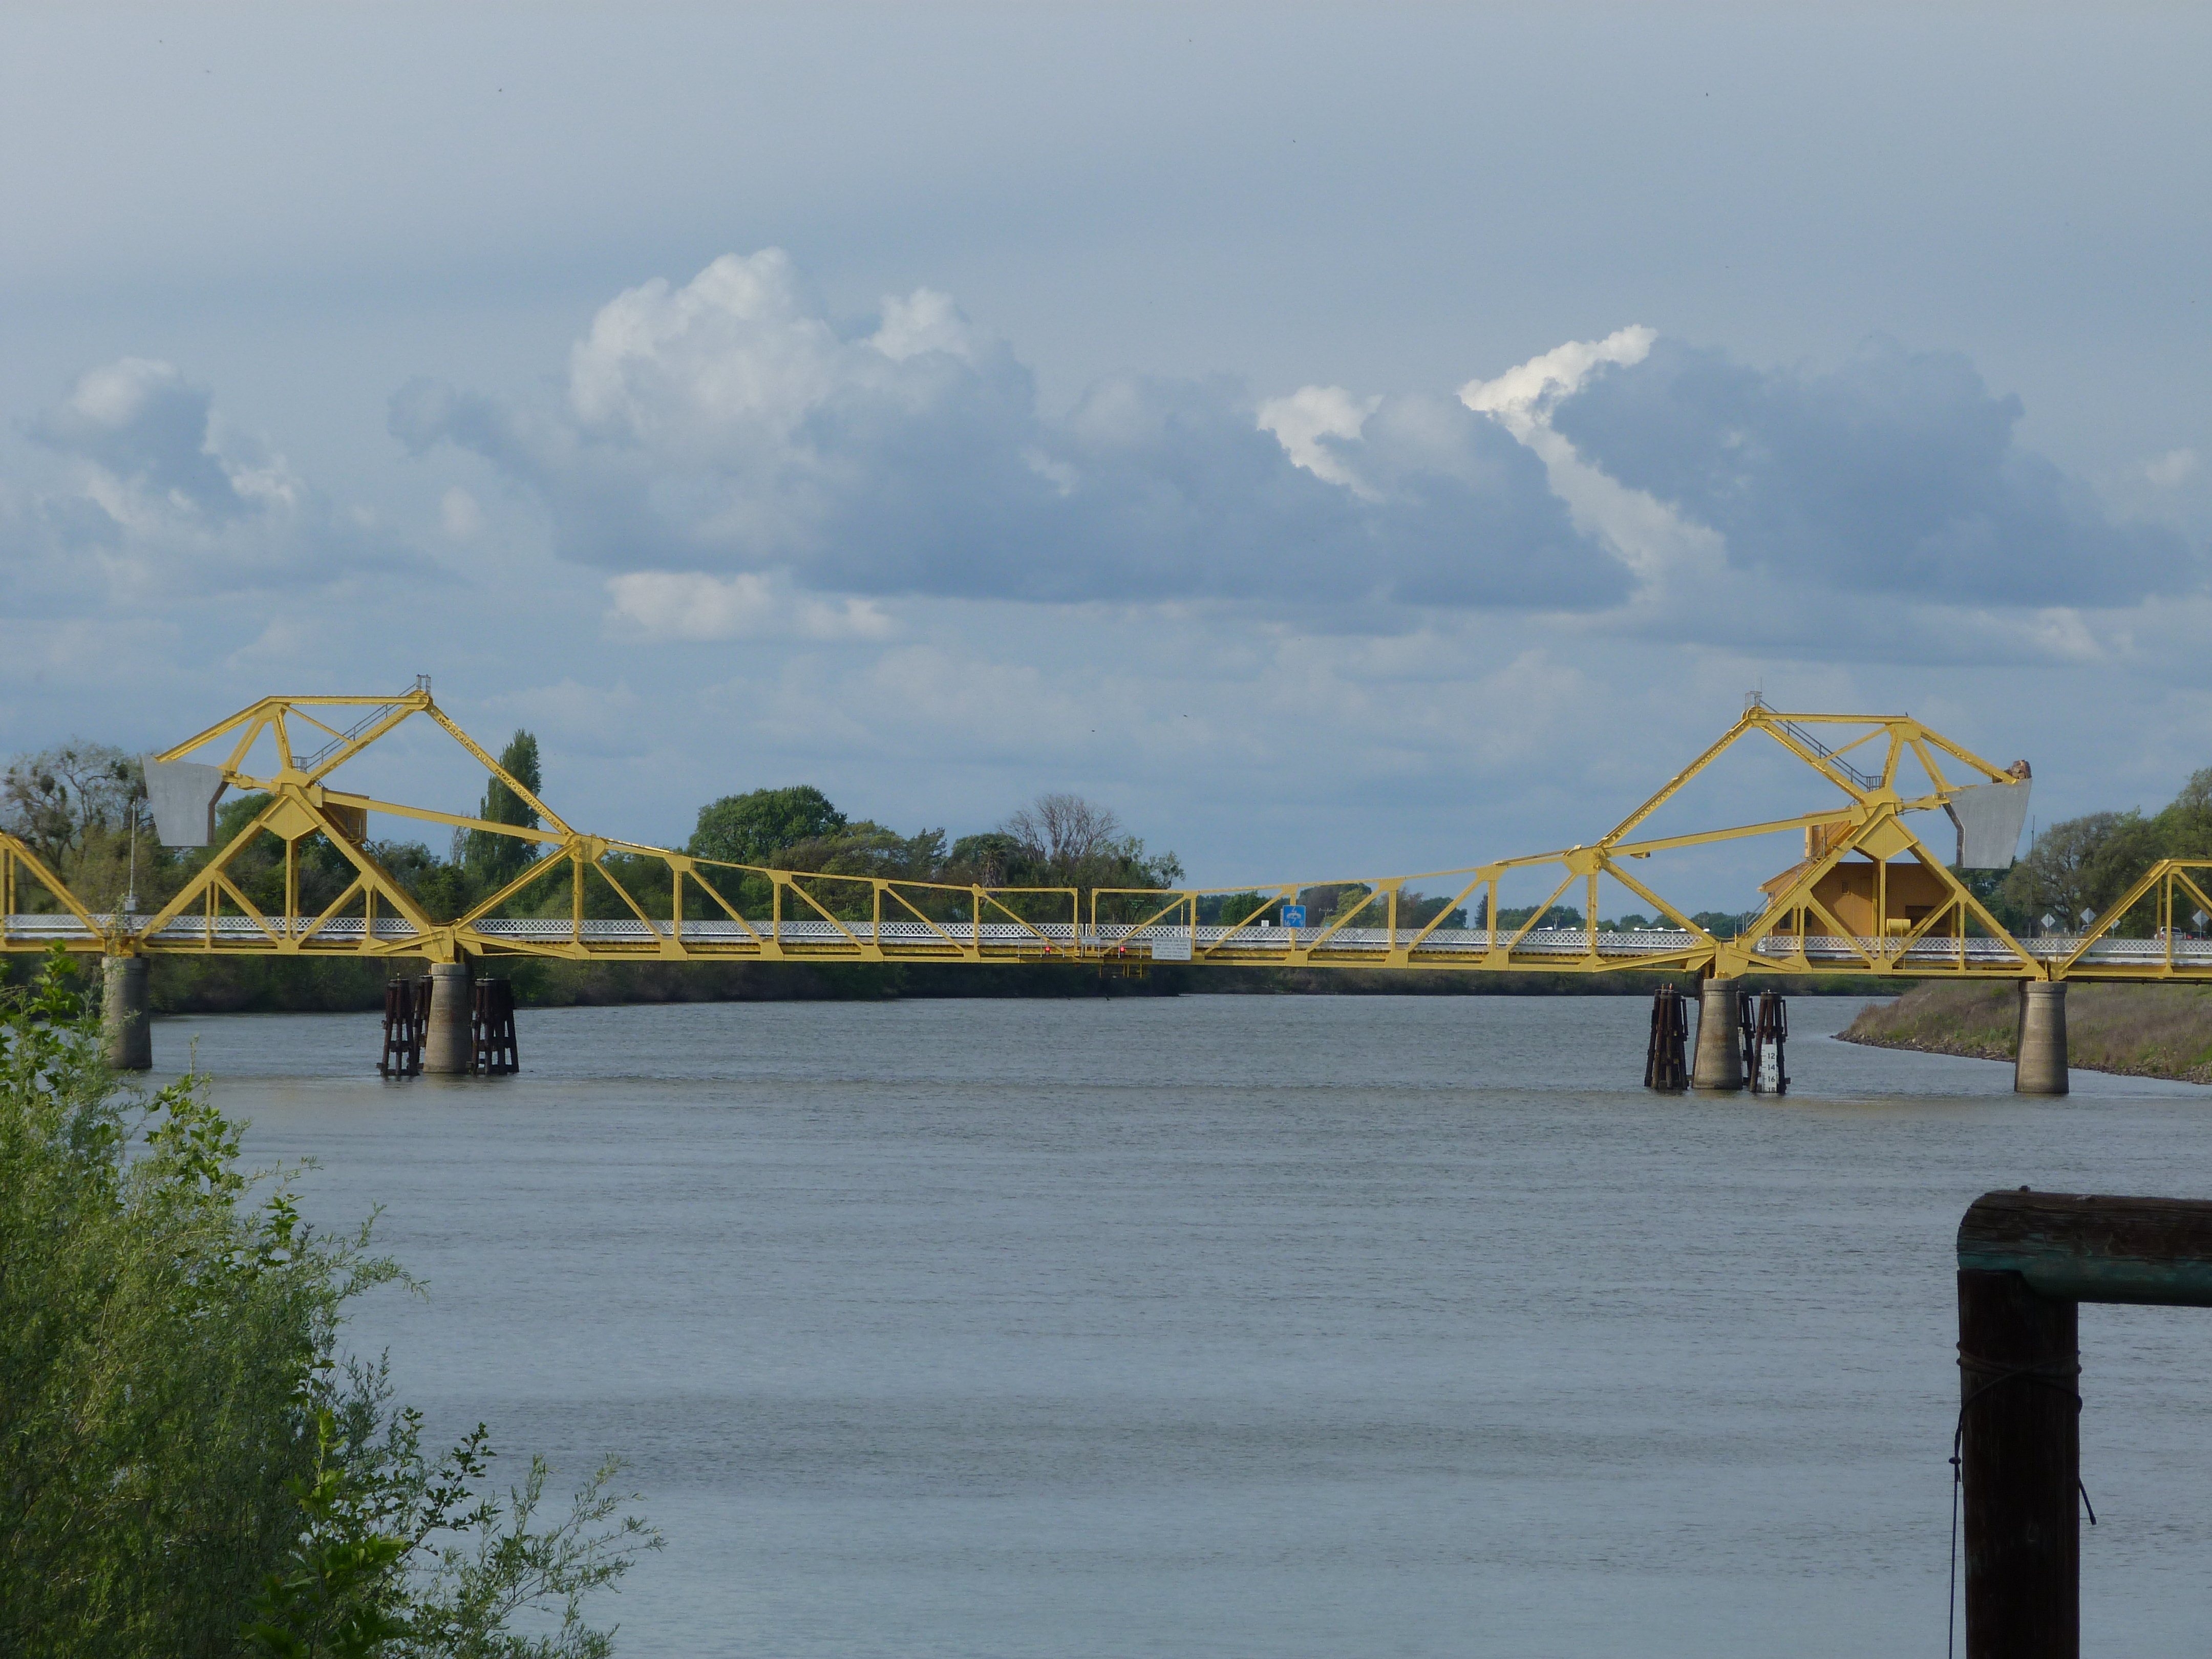
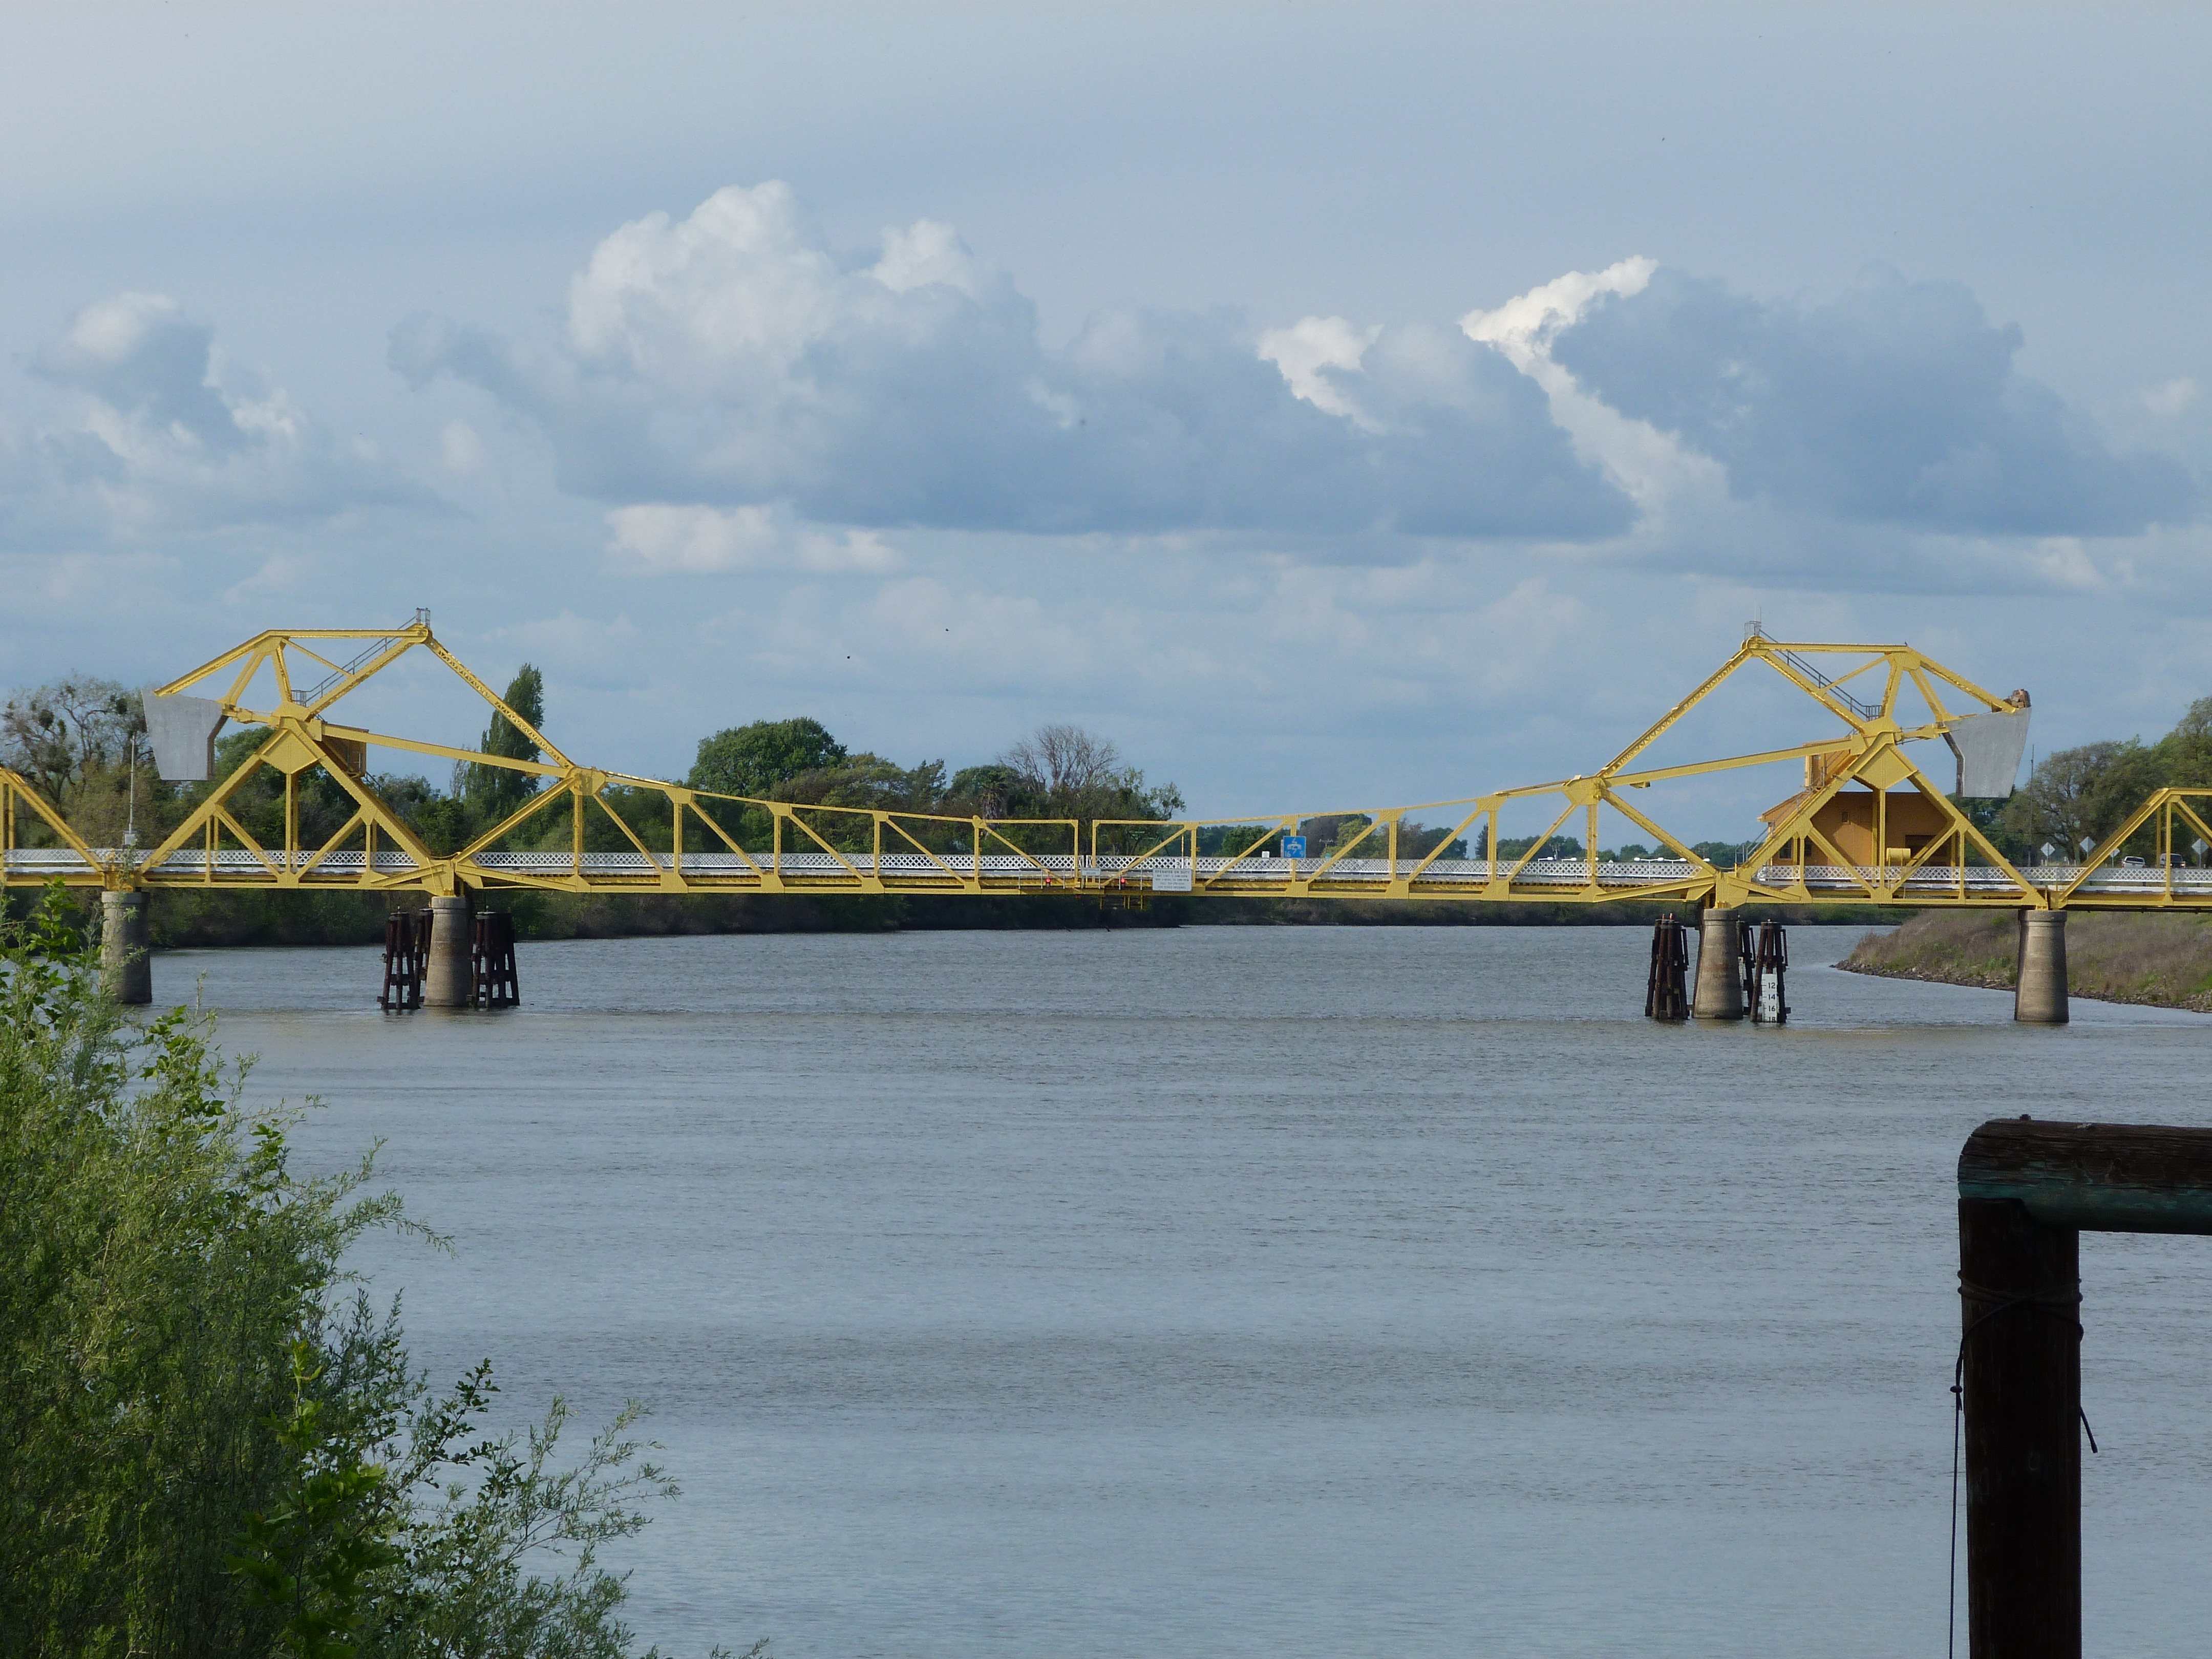
Distant elevation.
![]()


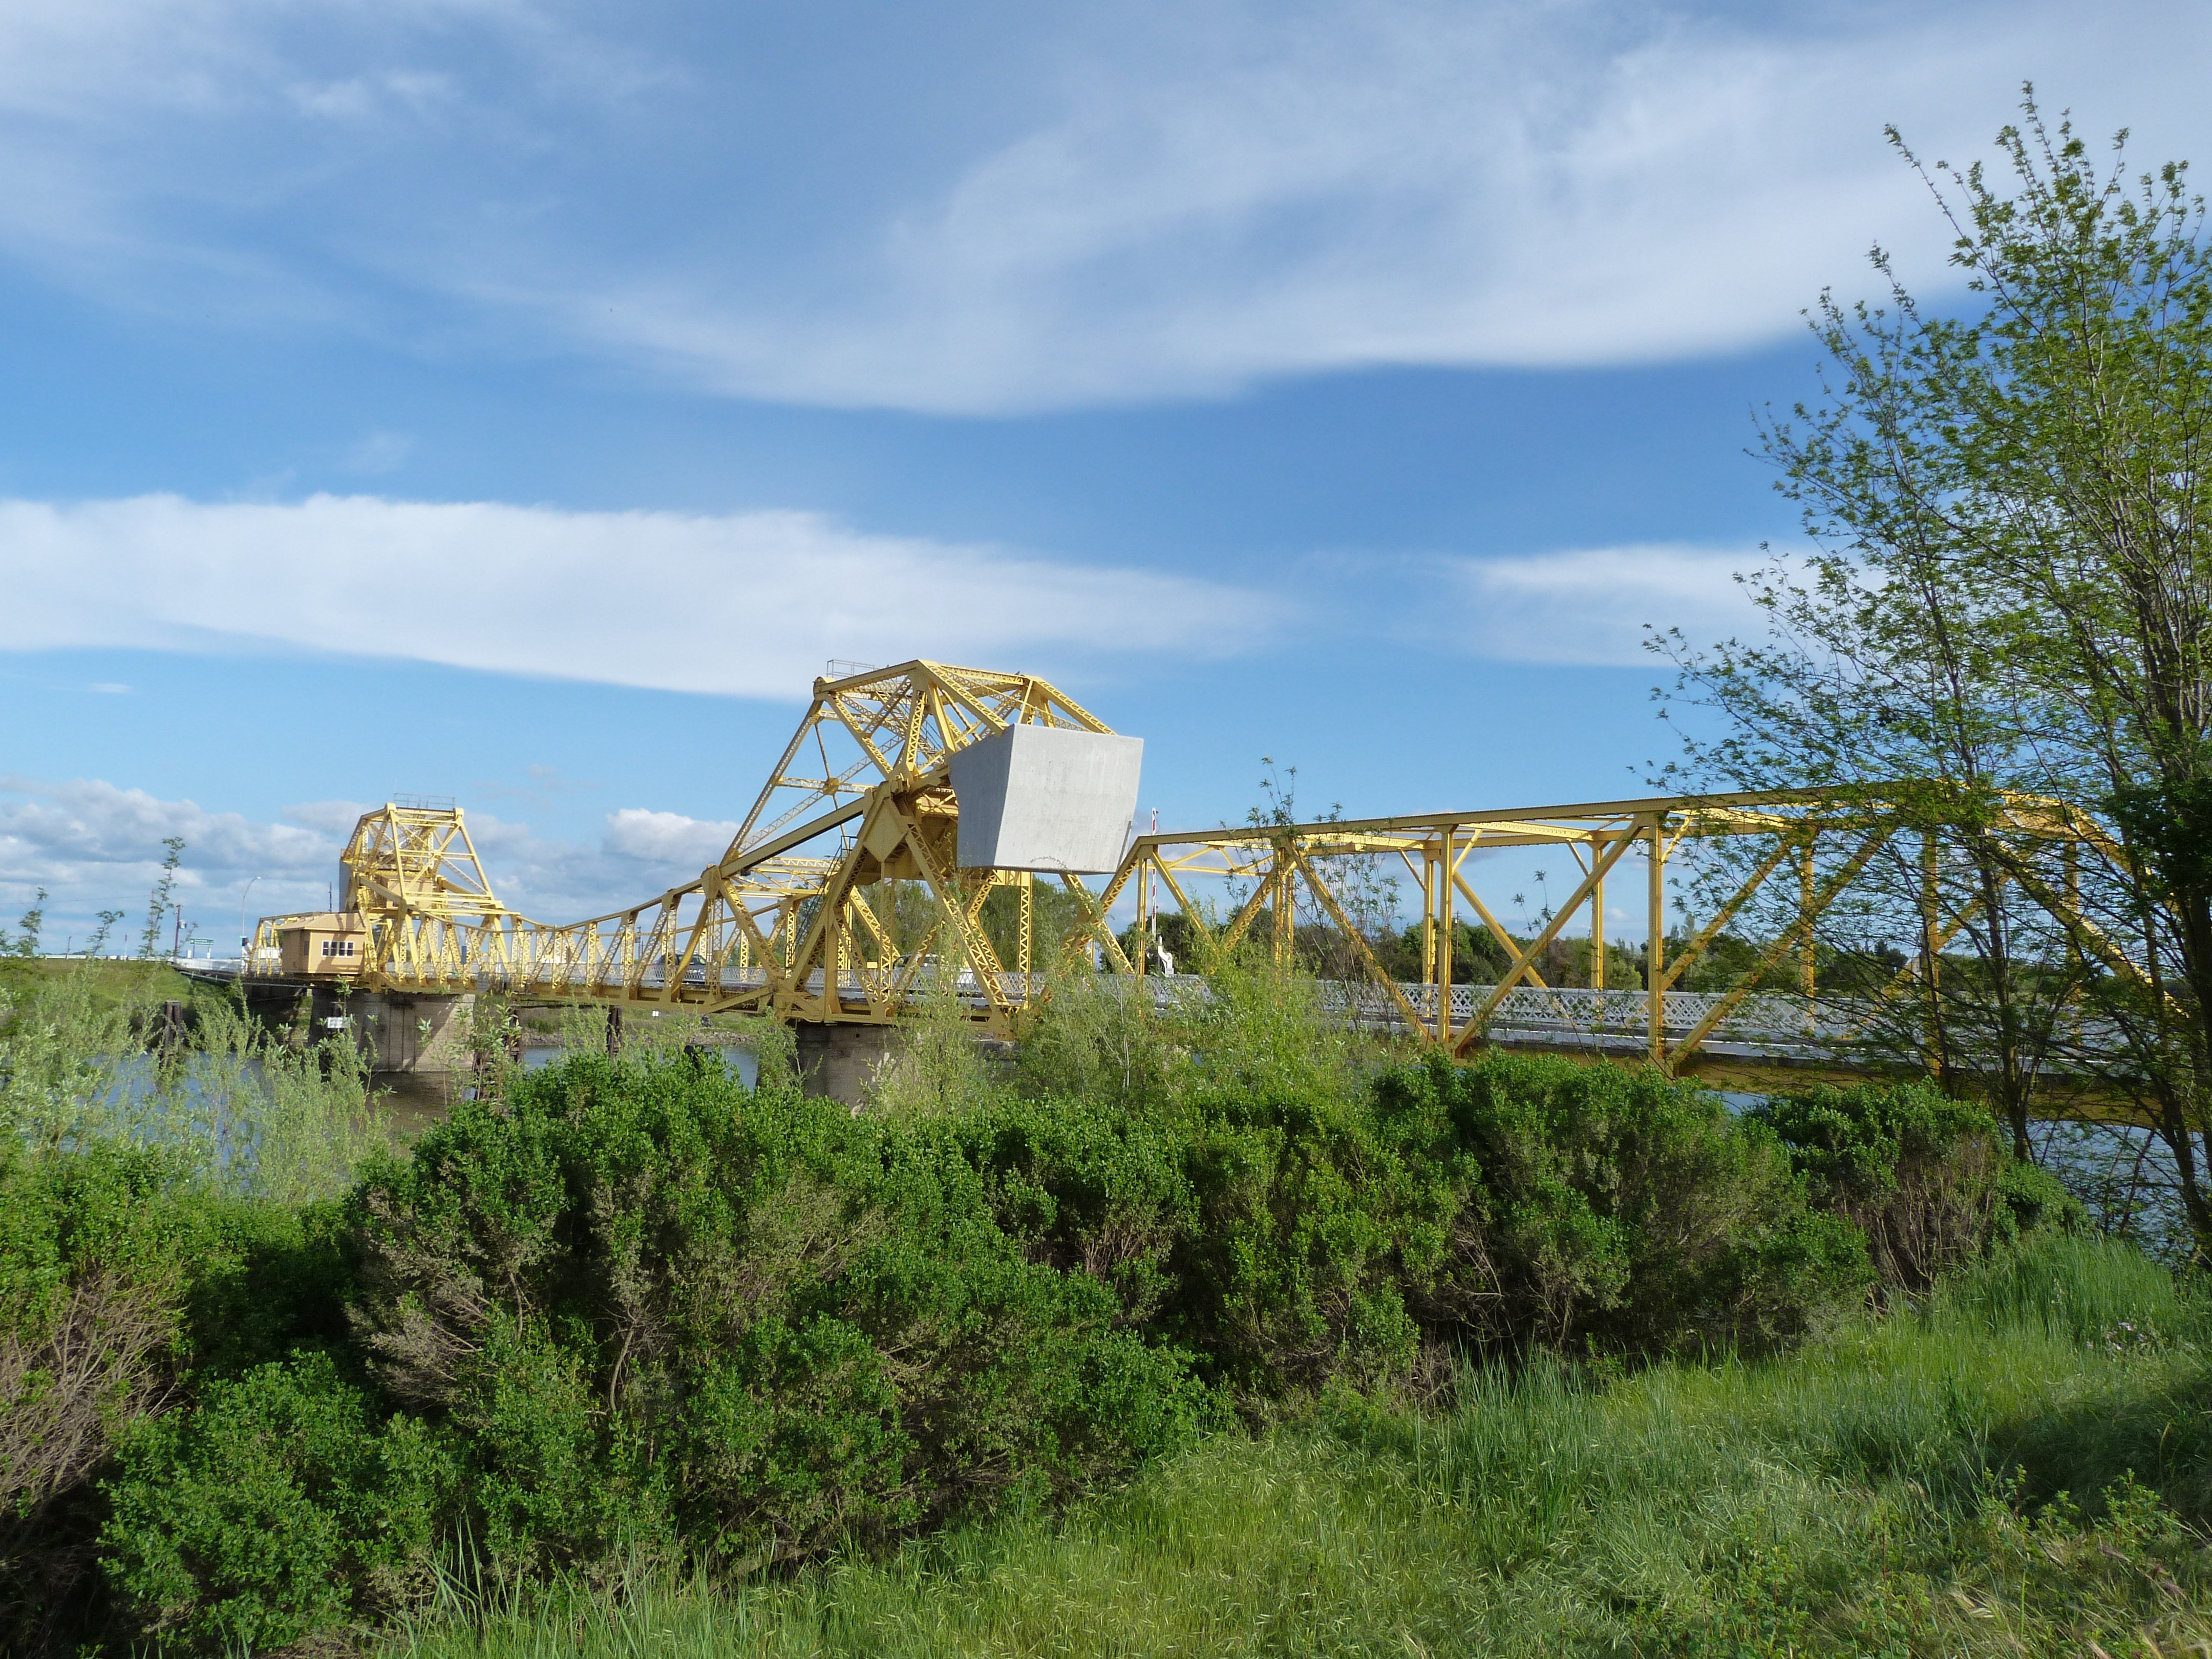
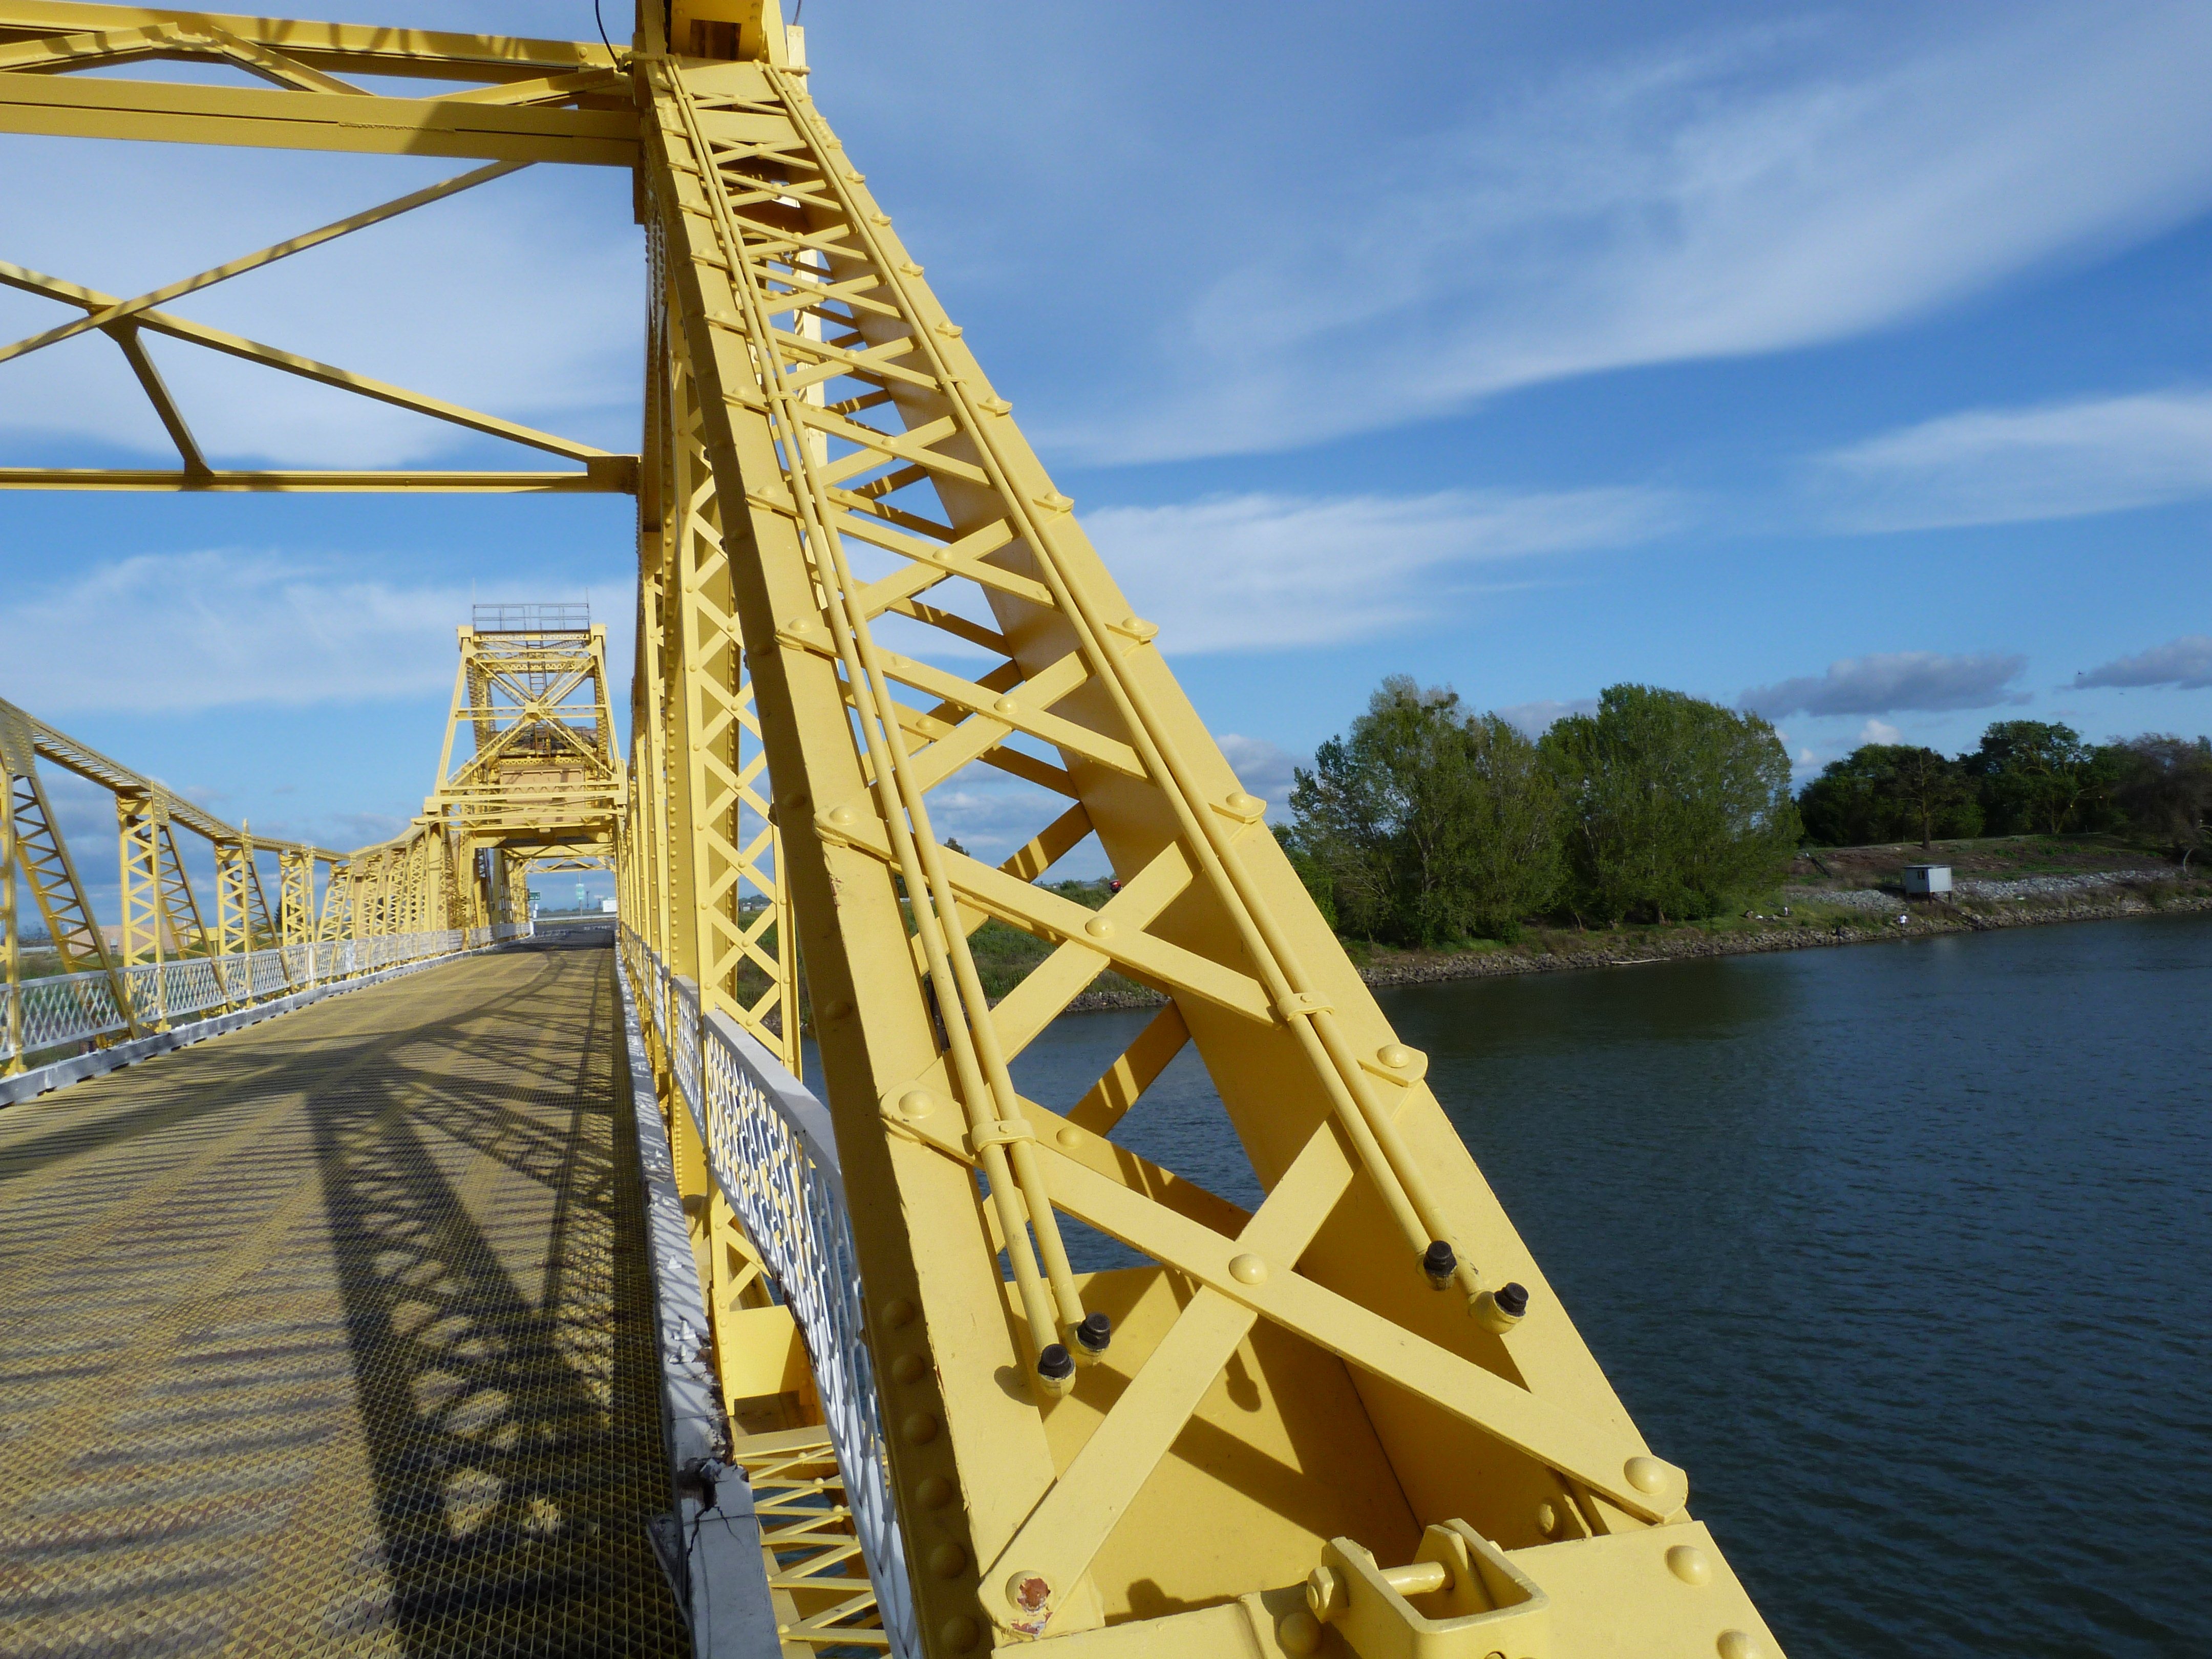
Oblique views from southwest quadrant.
![]()
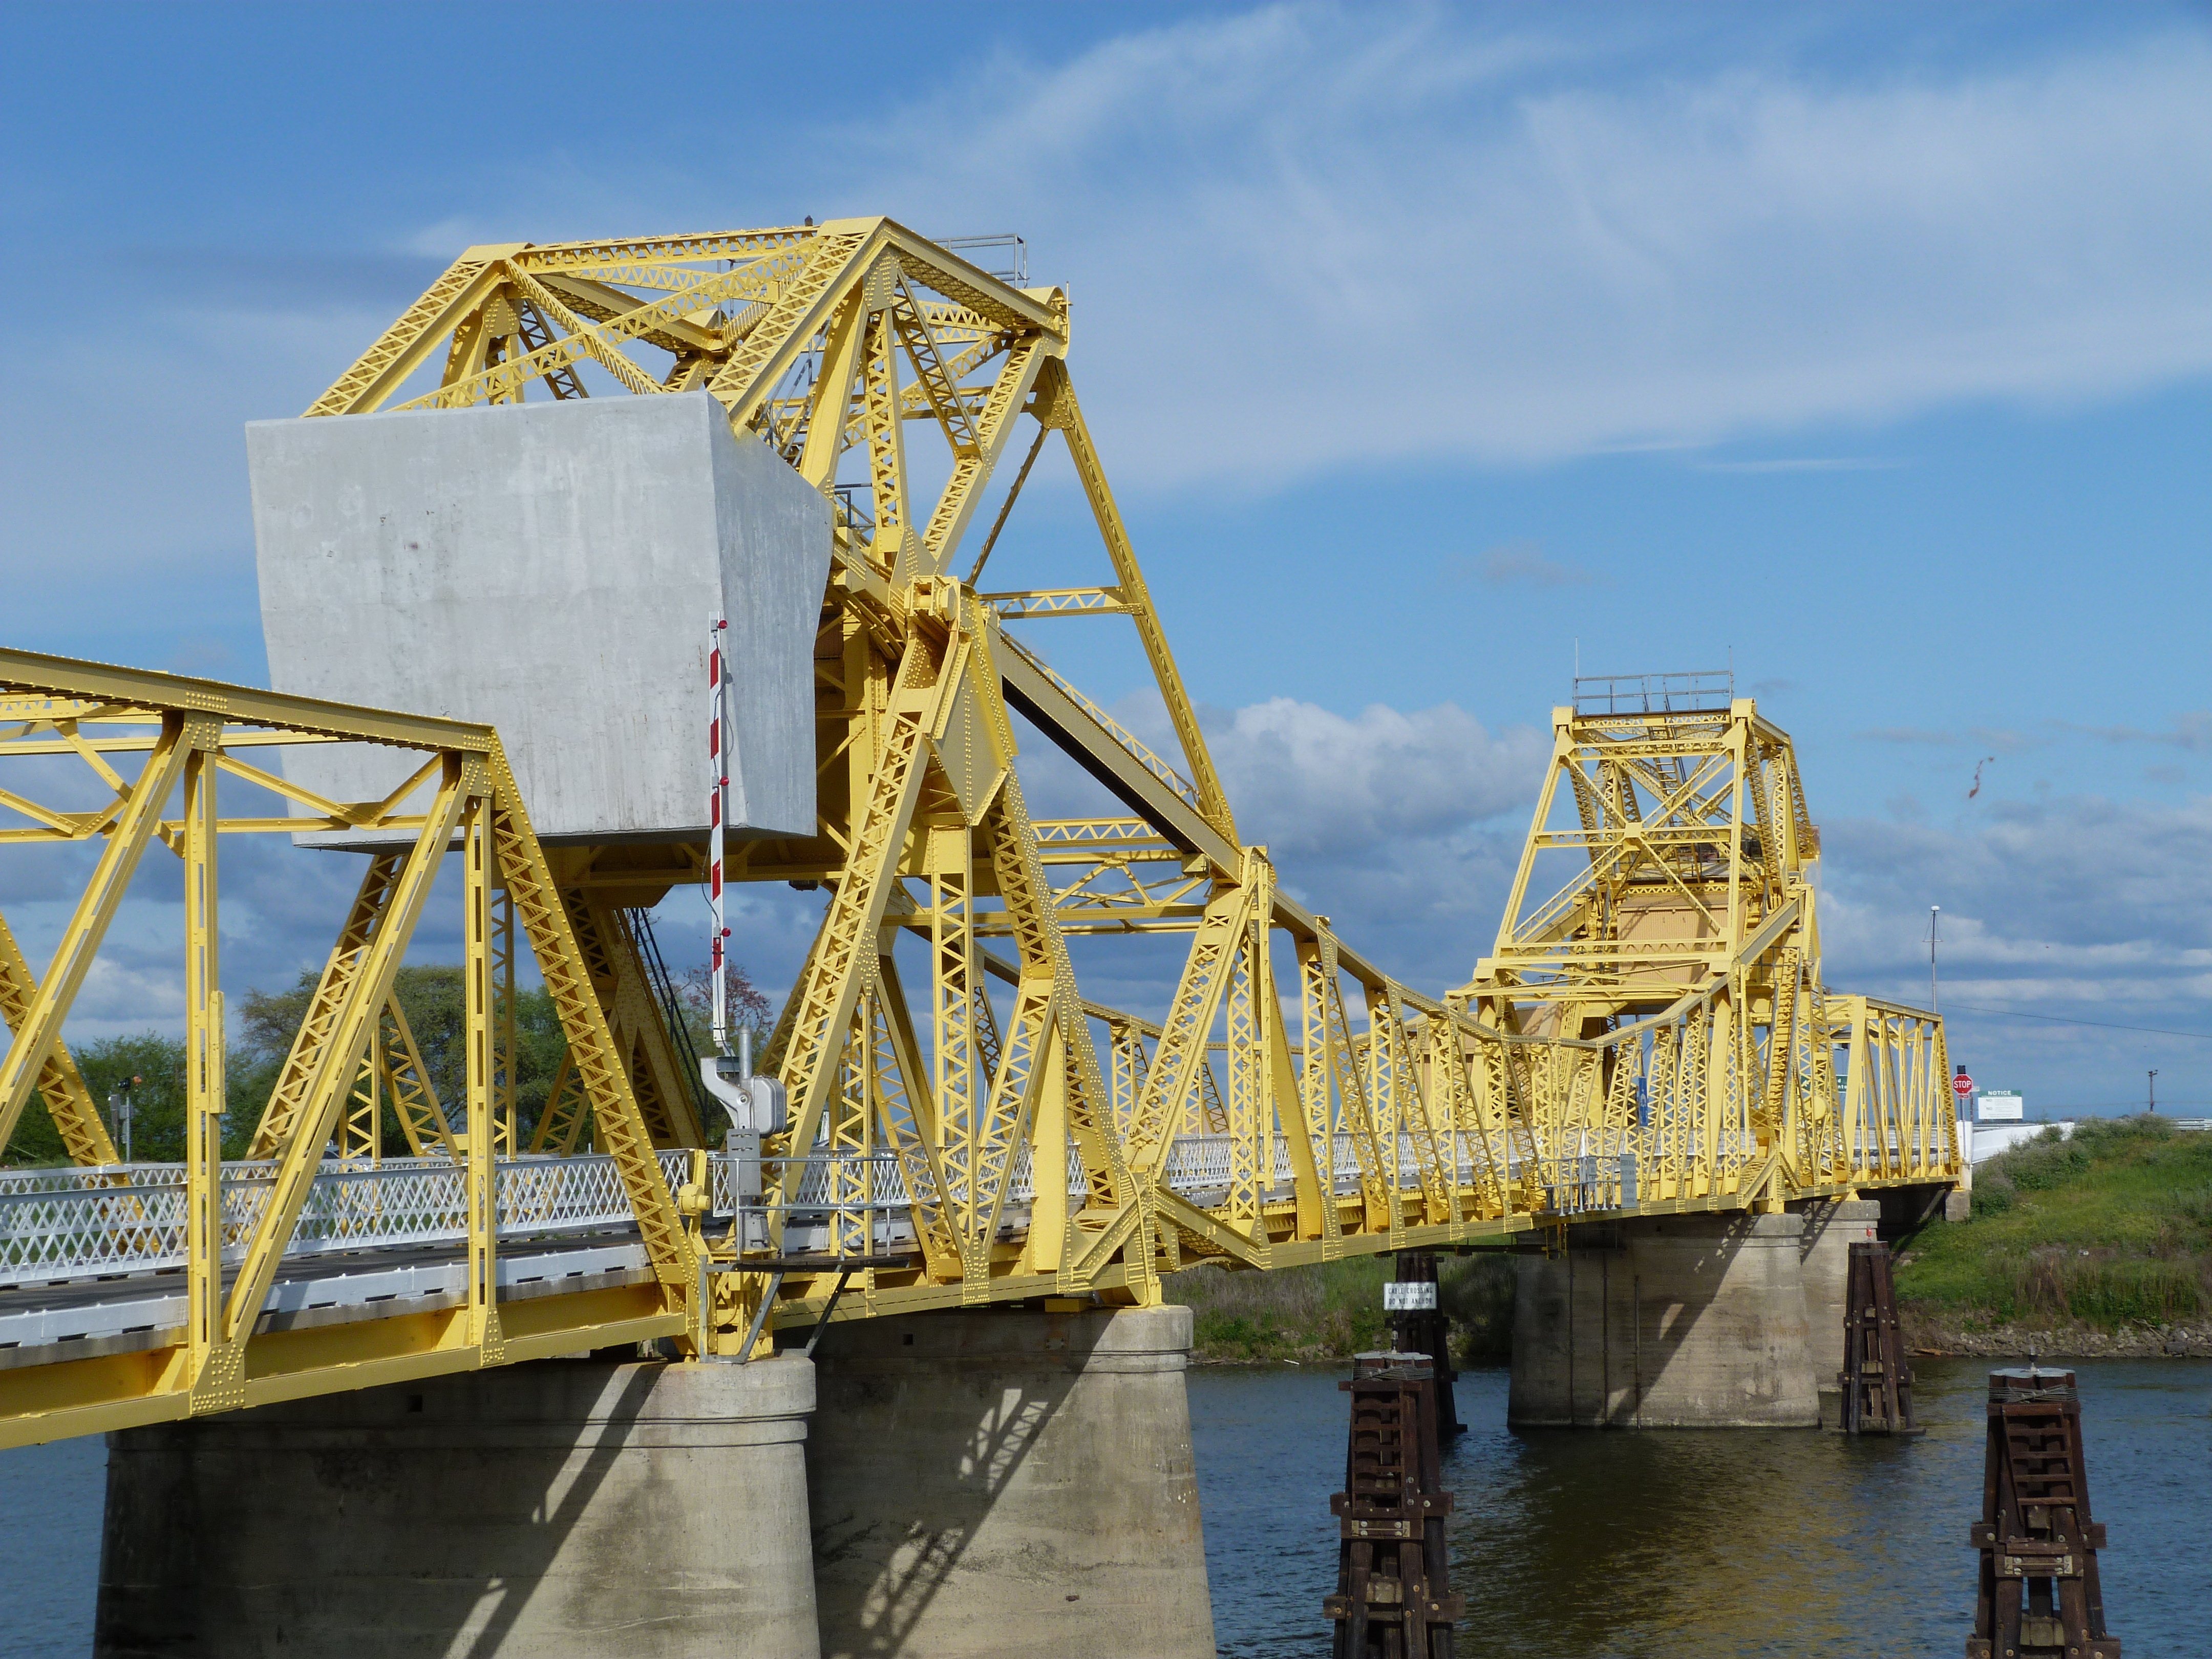

Oblique views of bascule span from southwest quadrant.
![]()

Oblique view from southeast quadrant.
![]()
Views beside bridge from southeast quadrant.
![]()
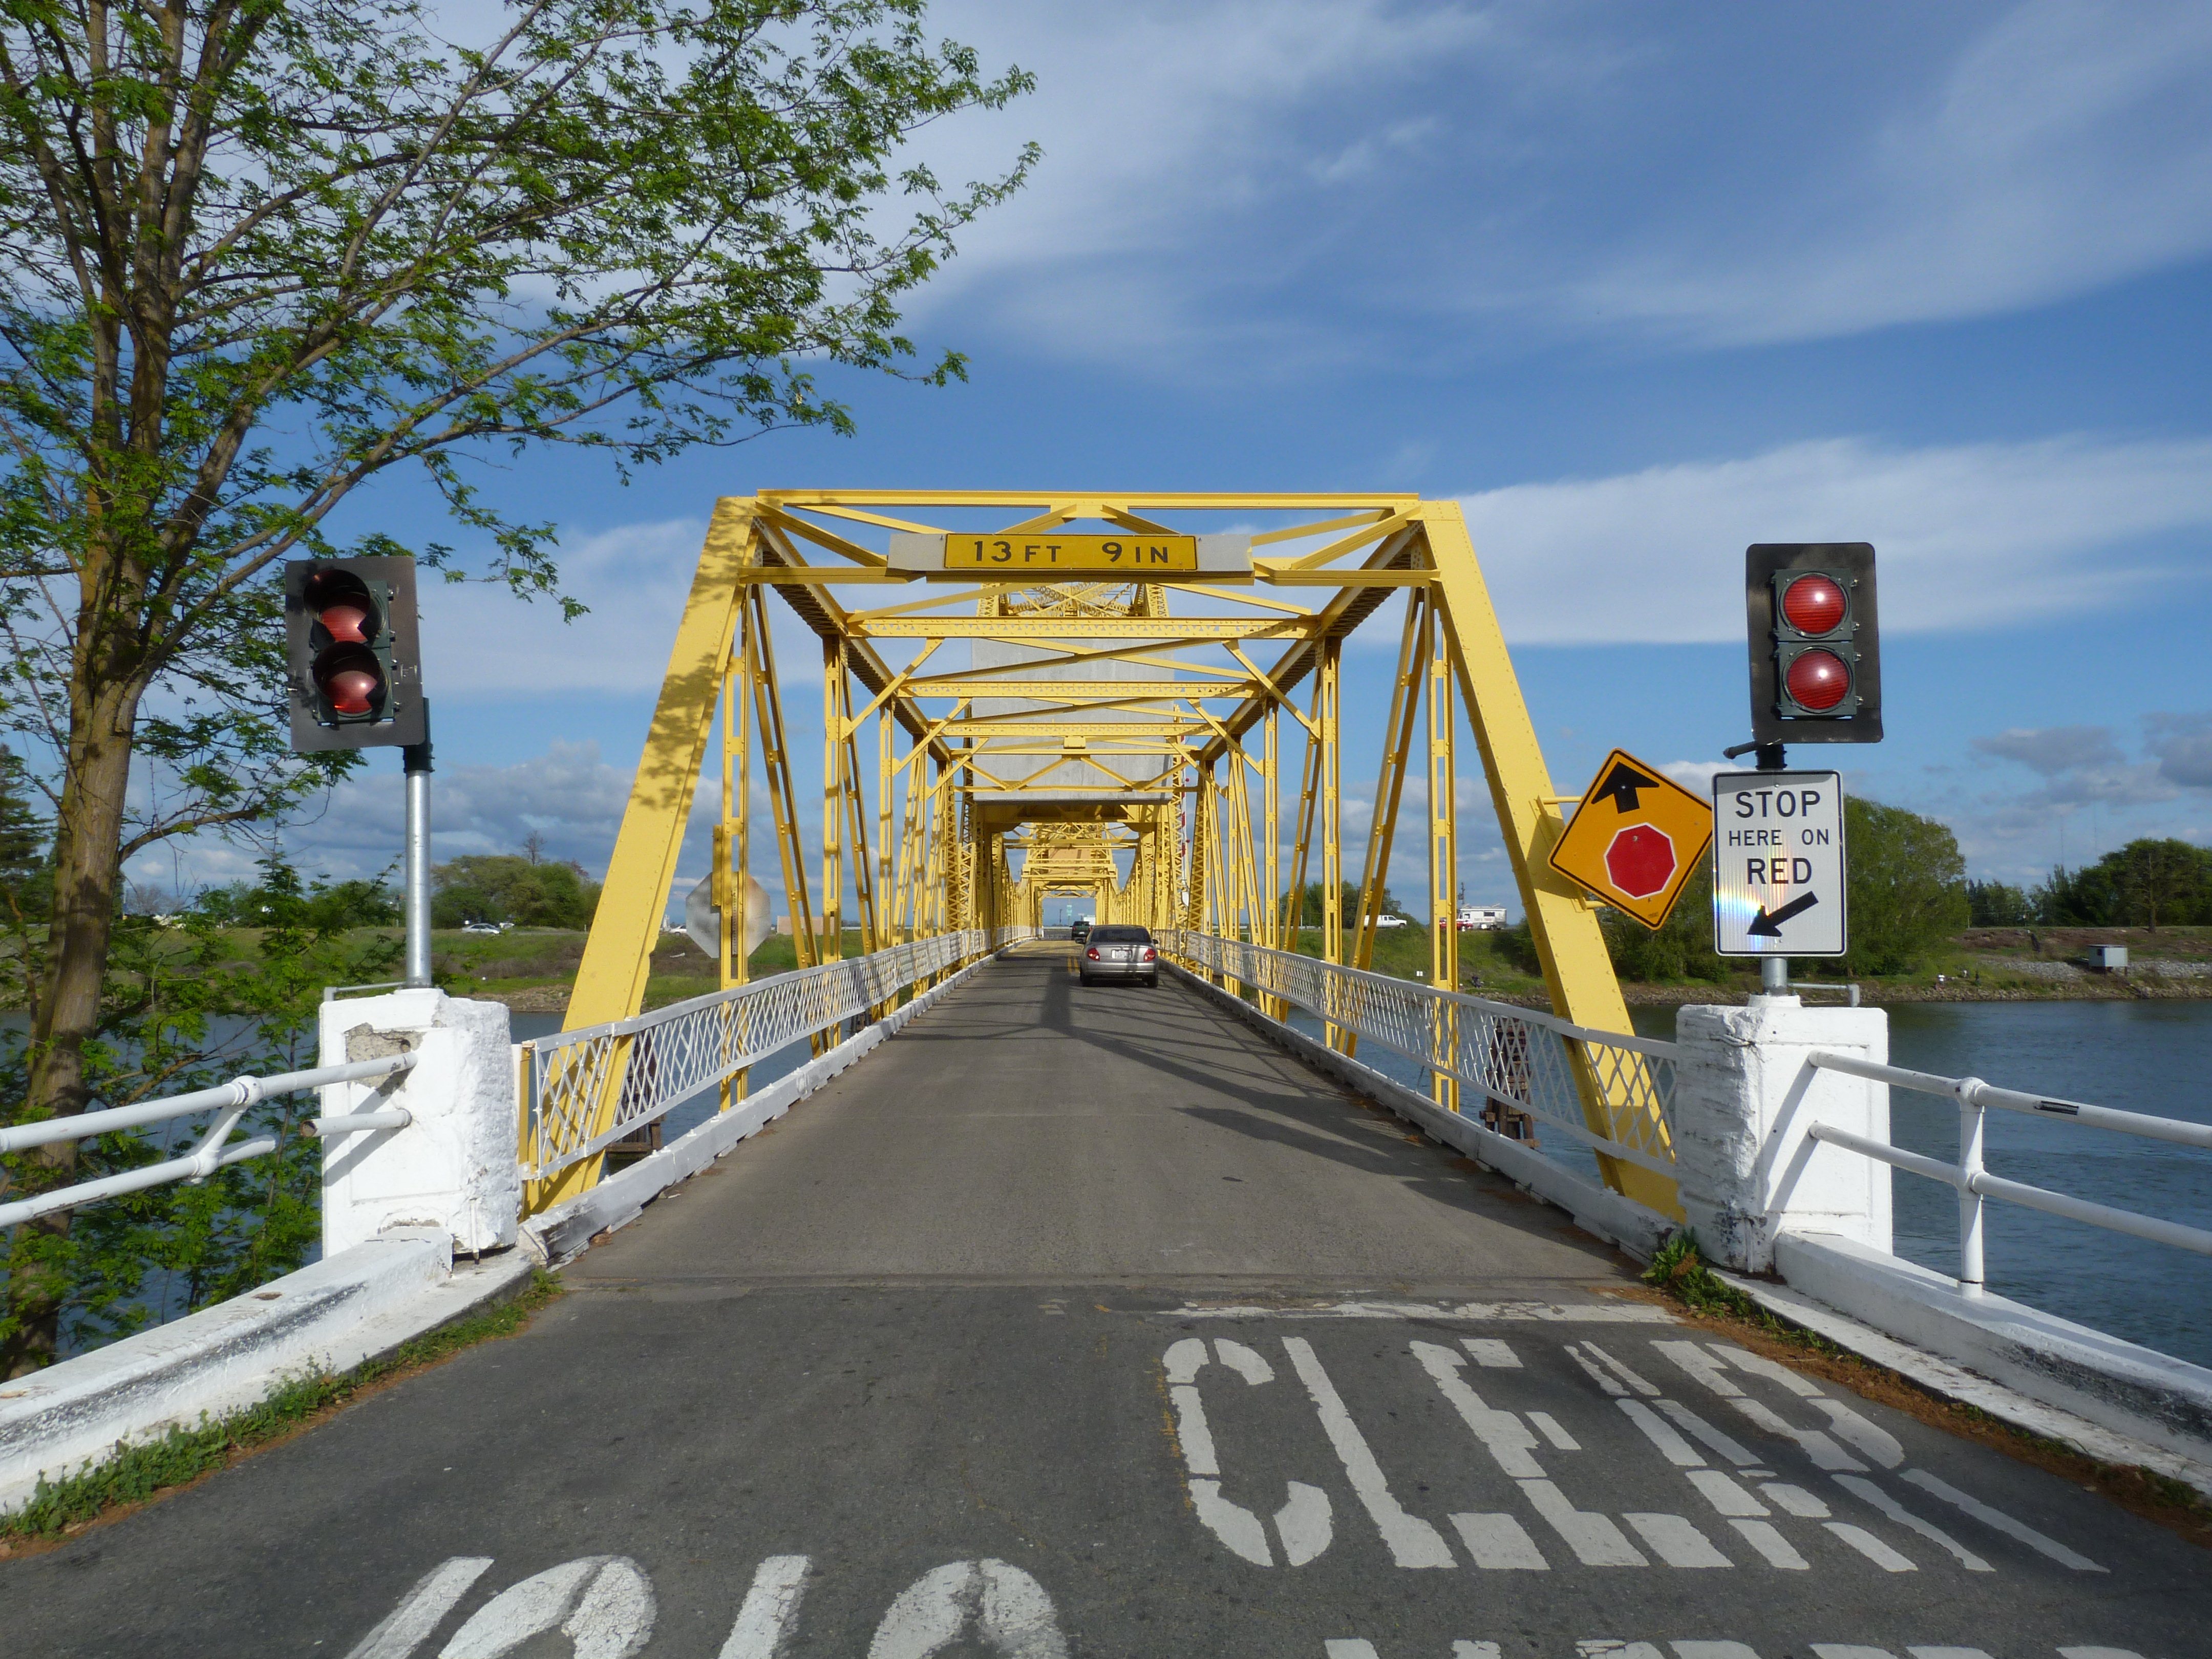

Portal views facing east.
![]()


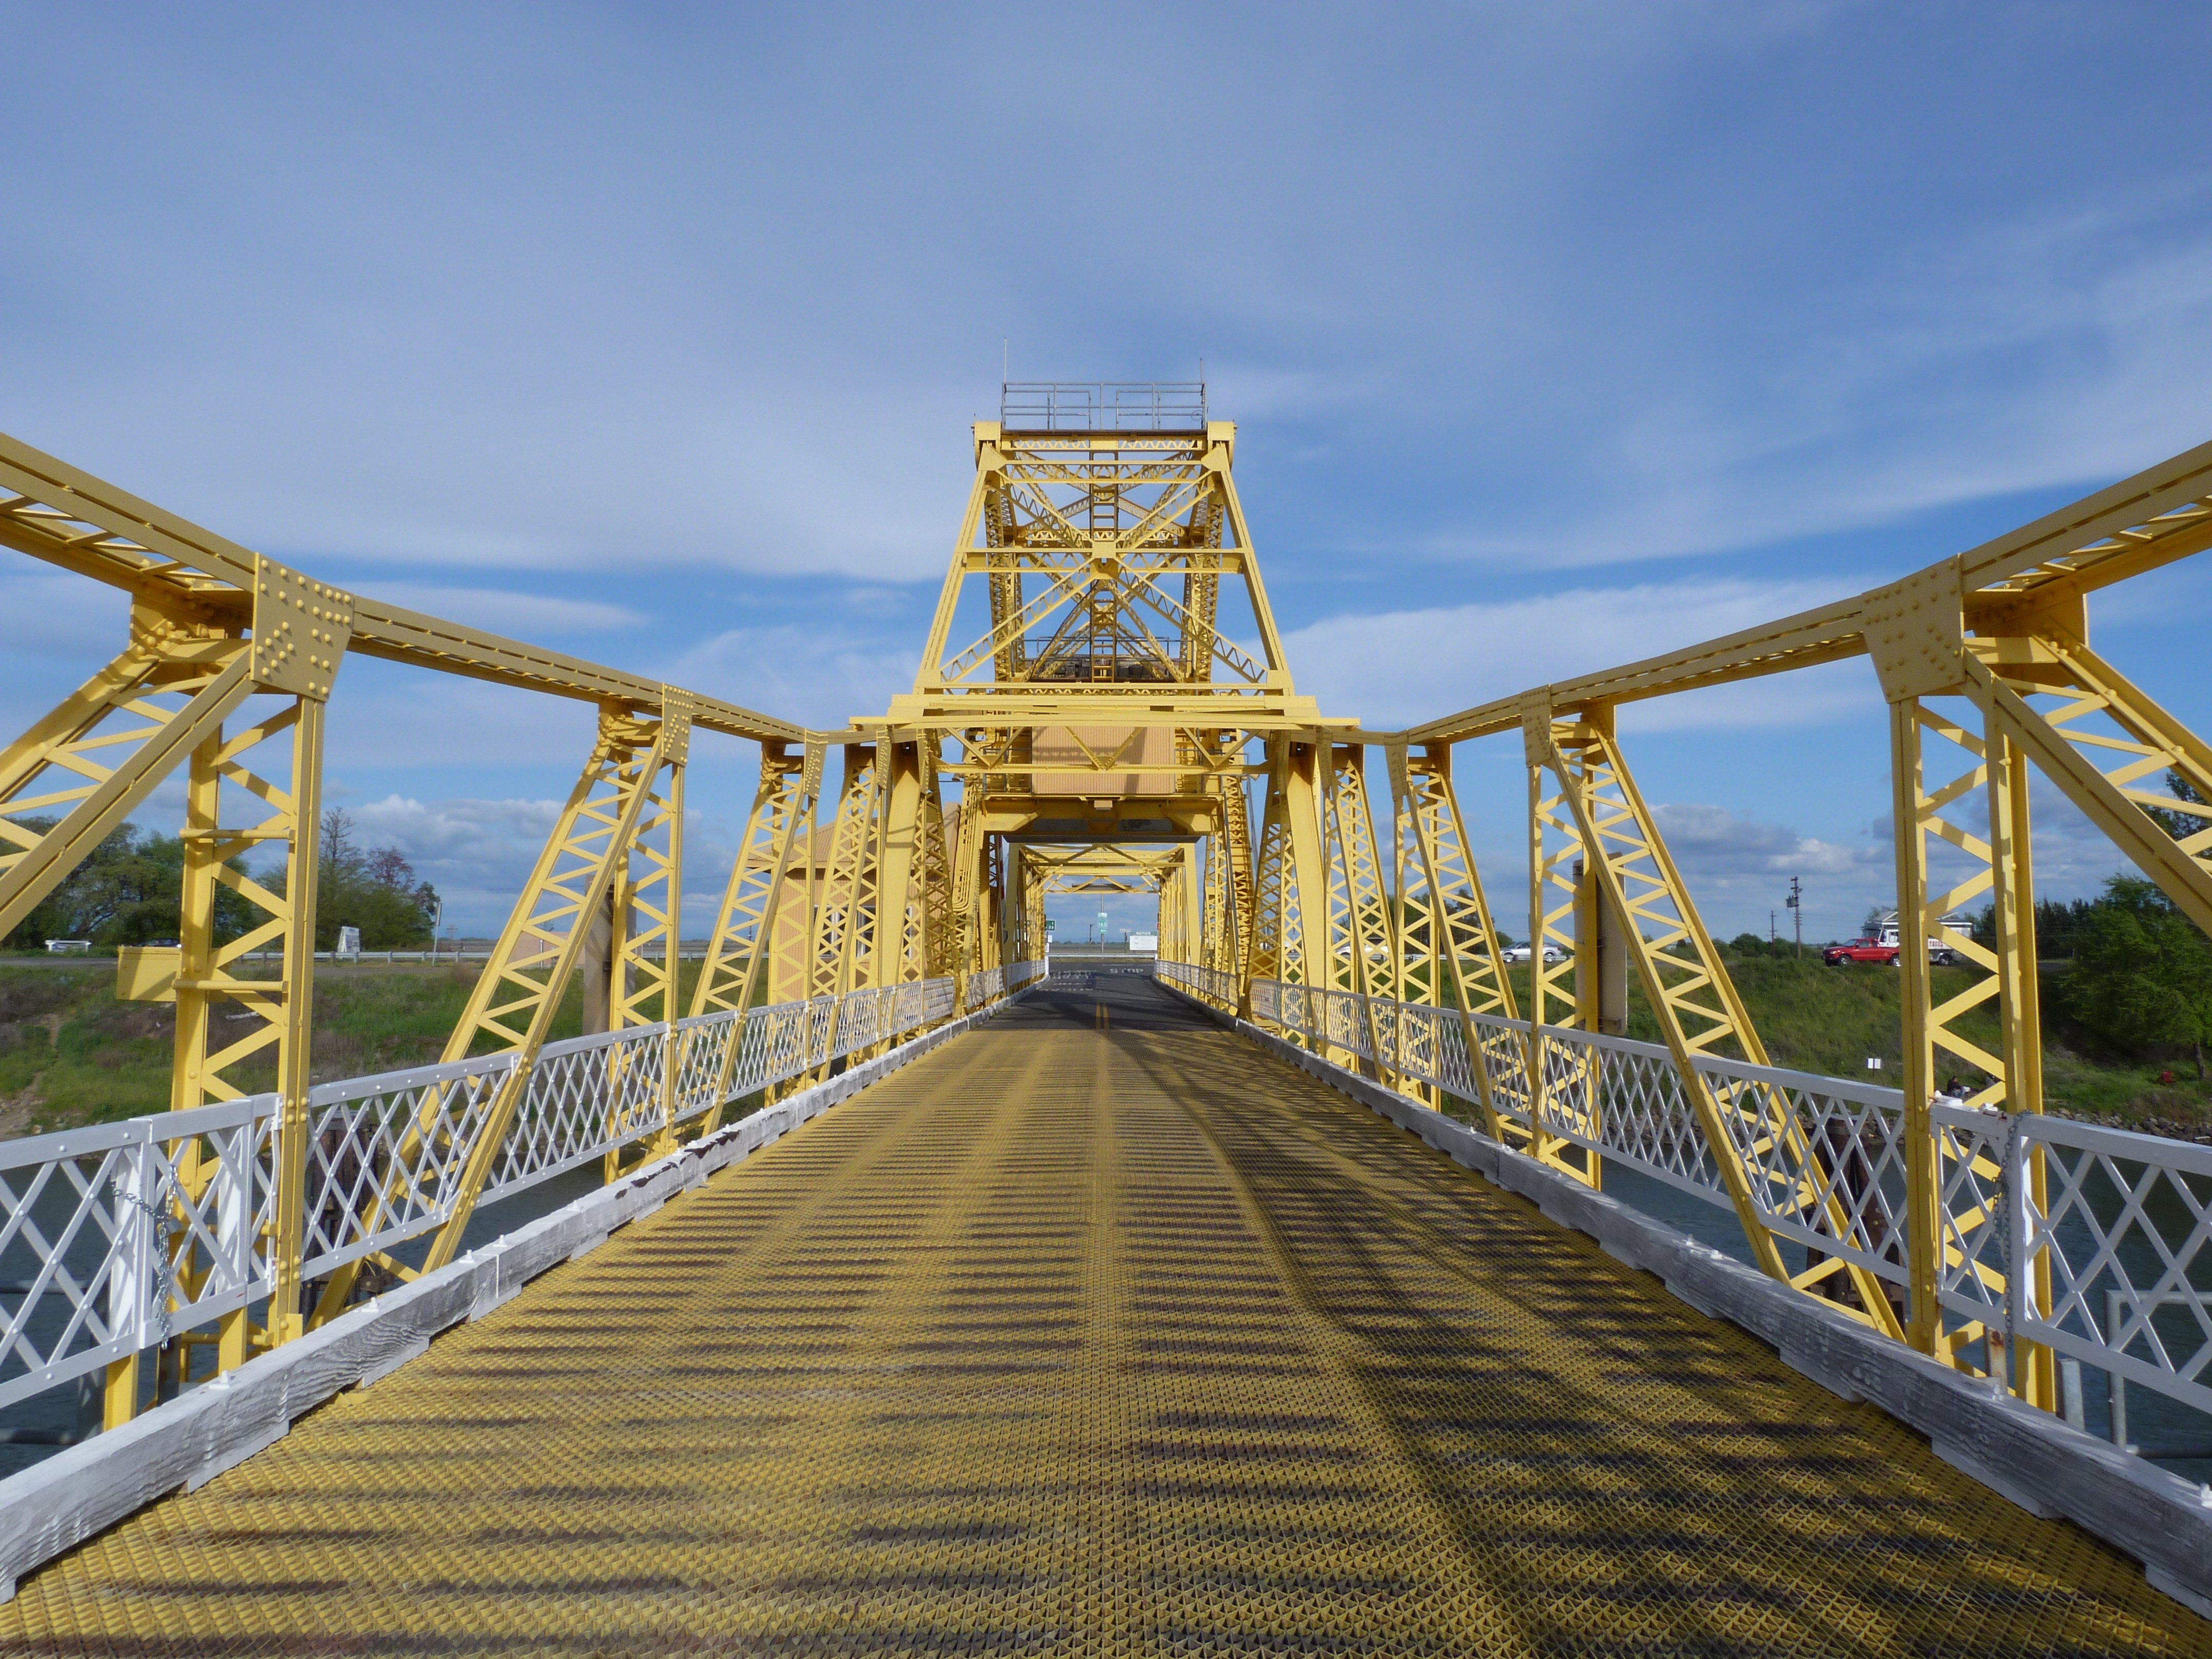

Portal views on bridge facing east.
![]()
View from beside roadway.
![]()


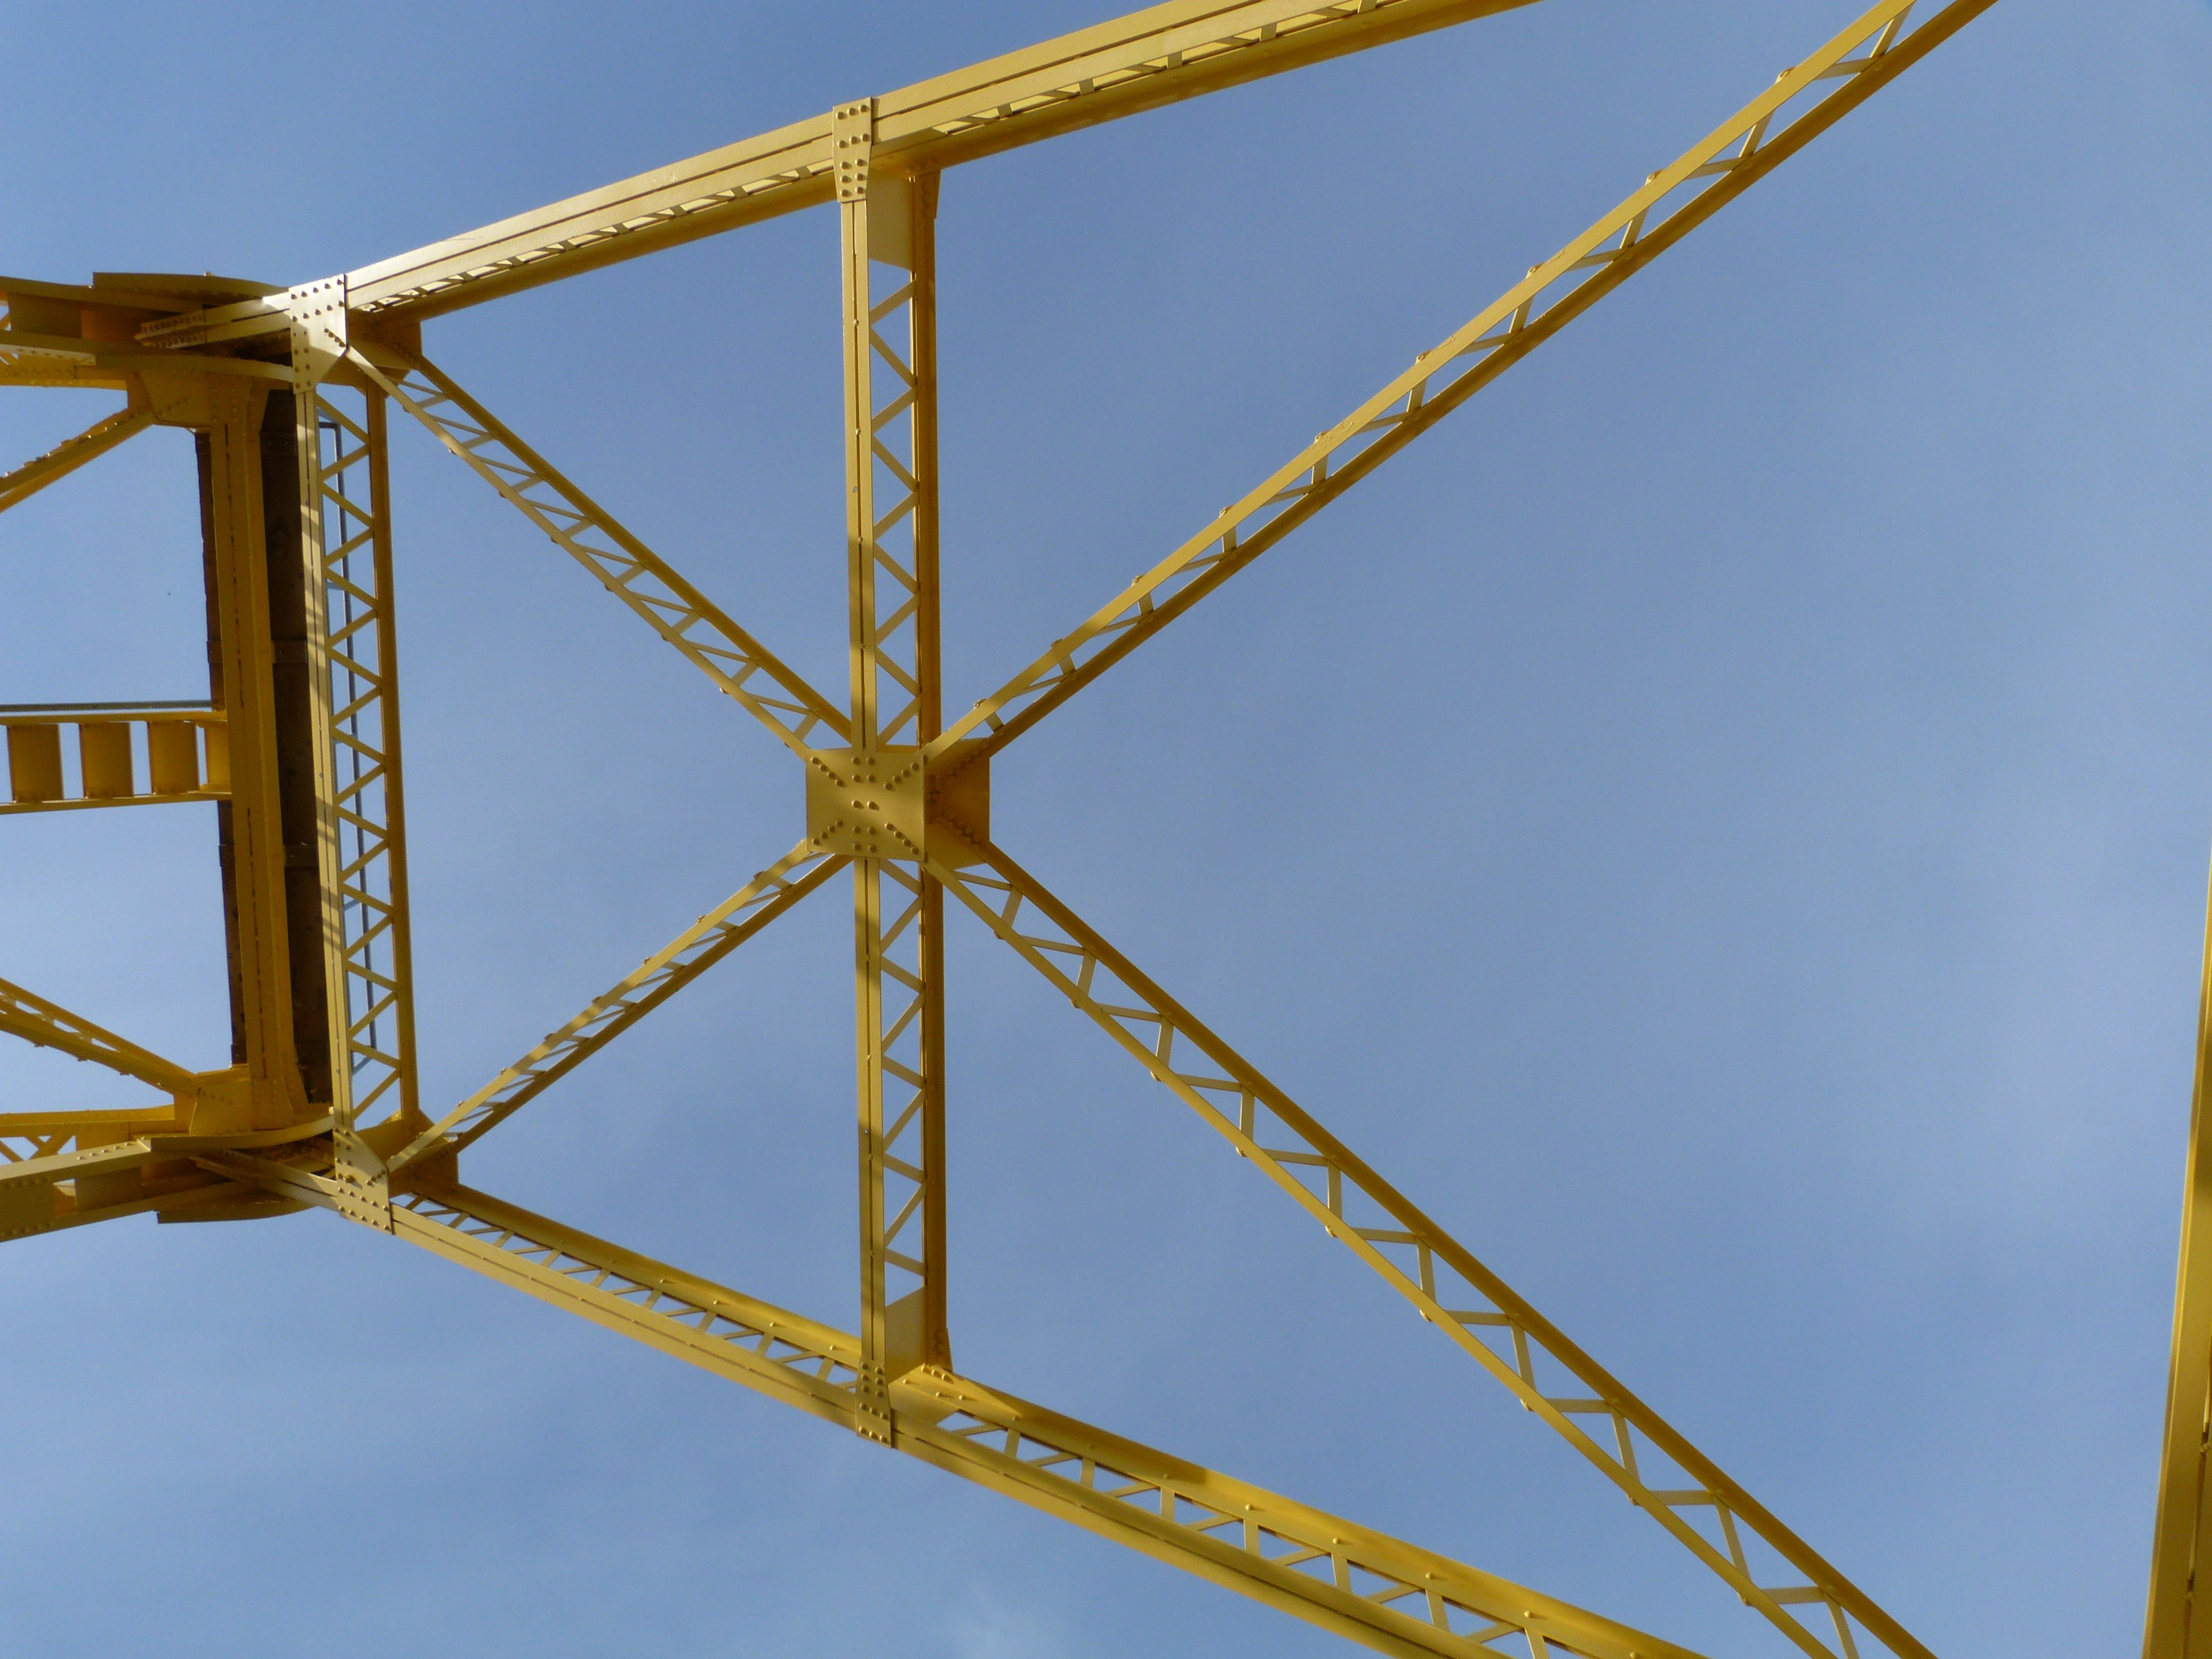
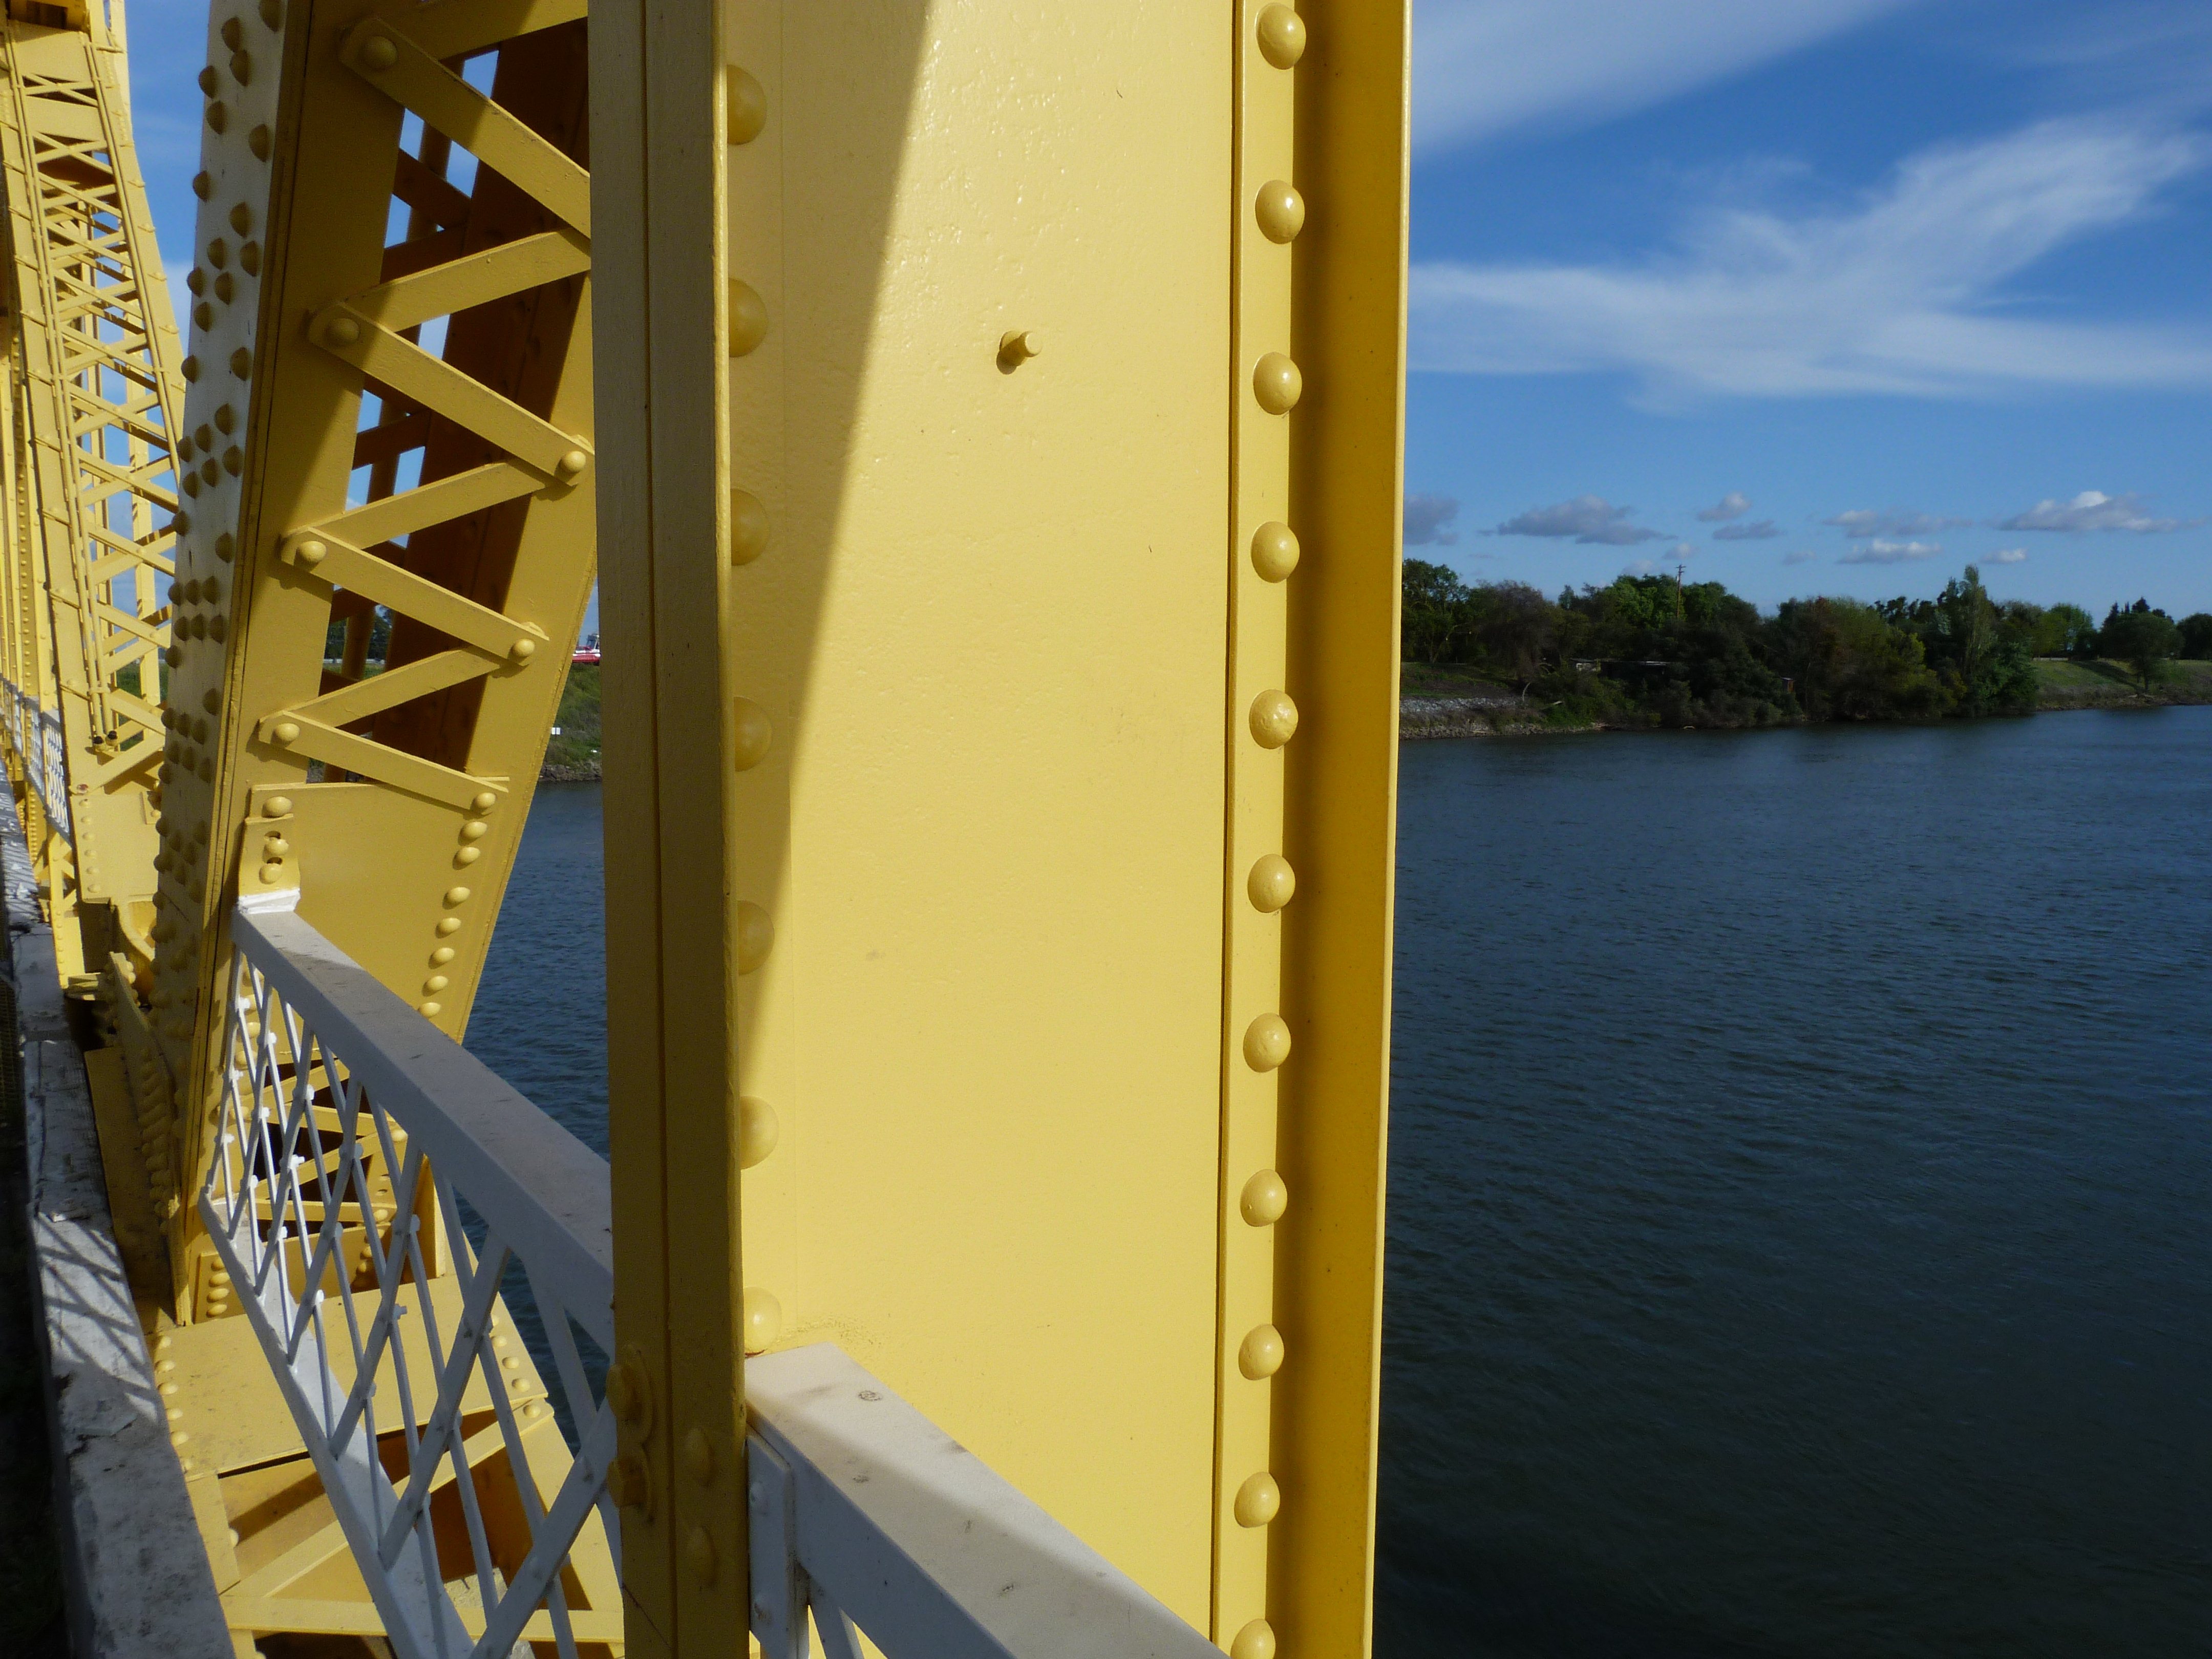
Views of truss web.
![]()
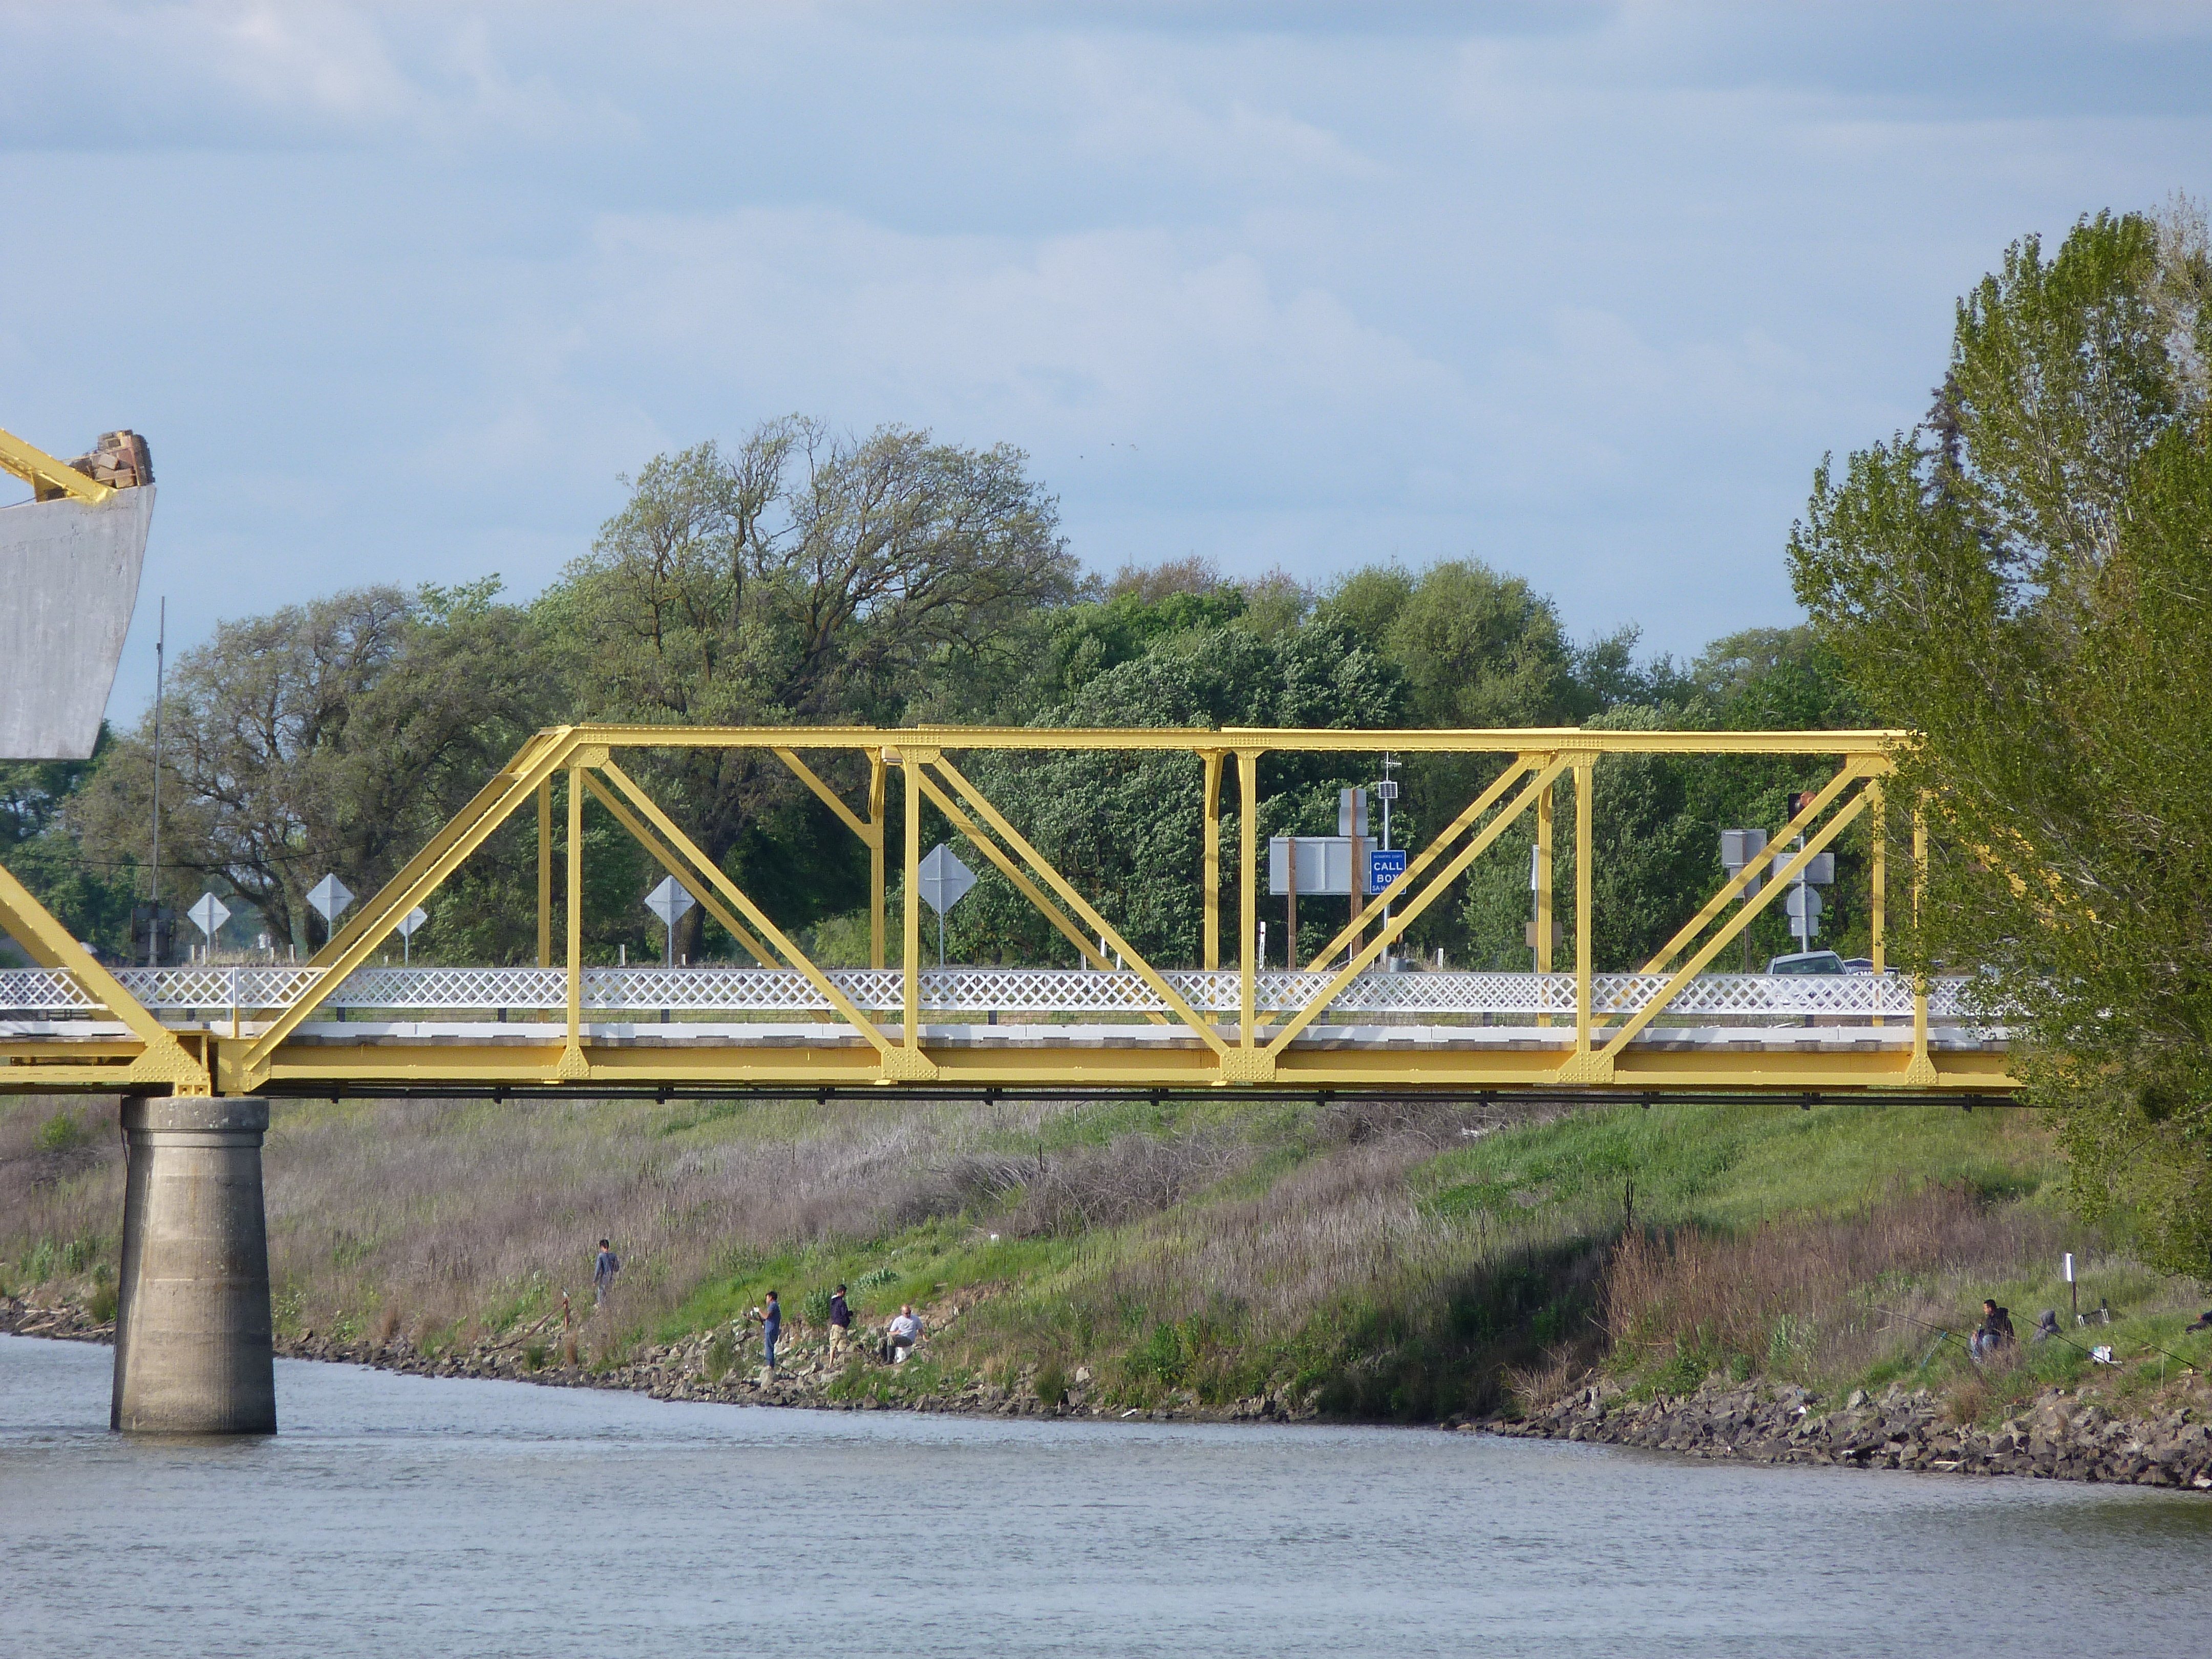
Approach span.
![]()


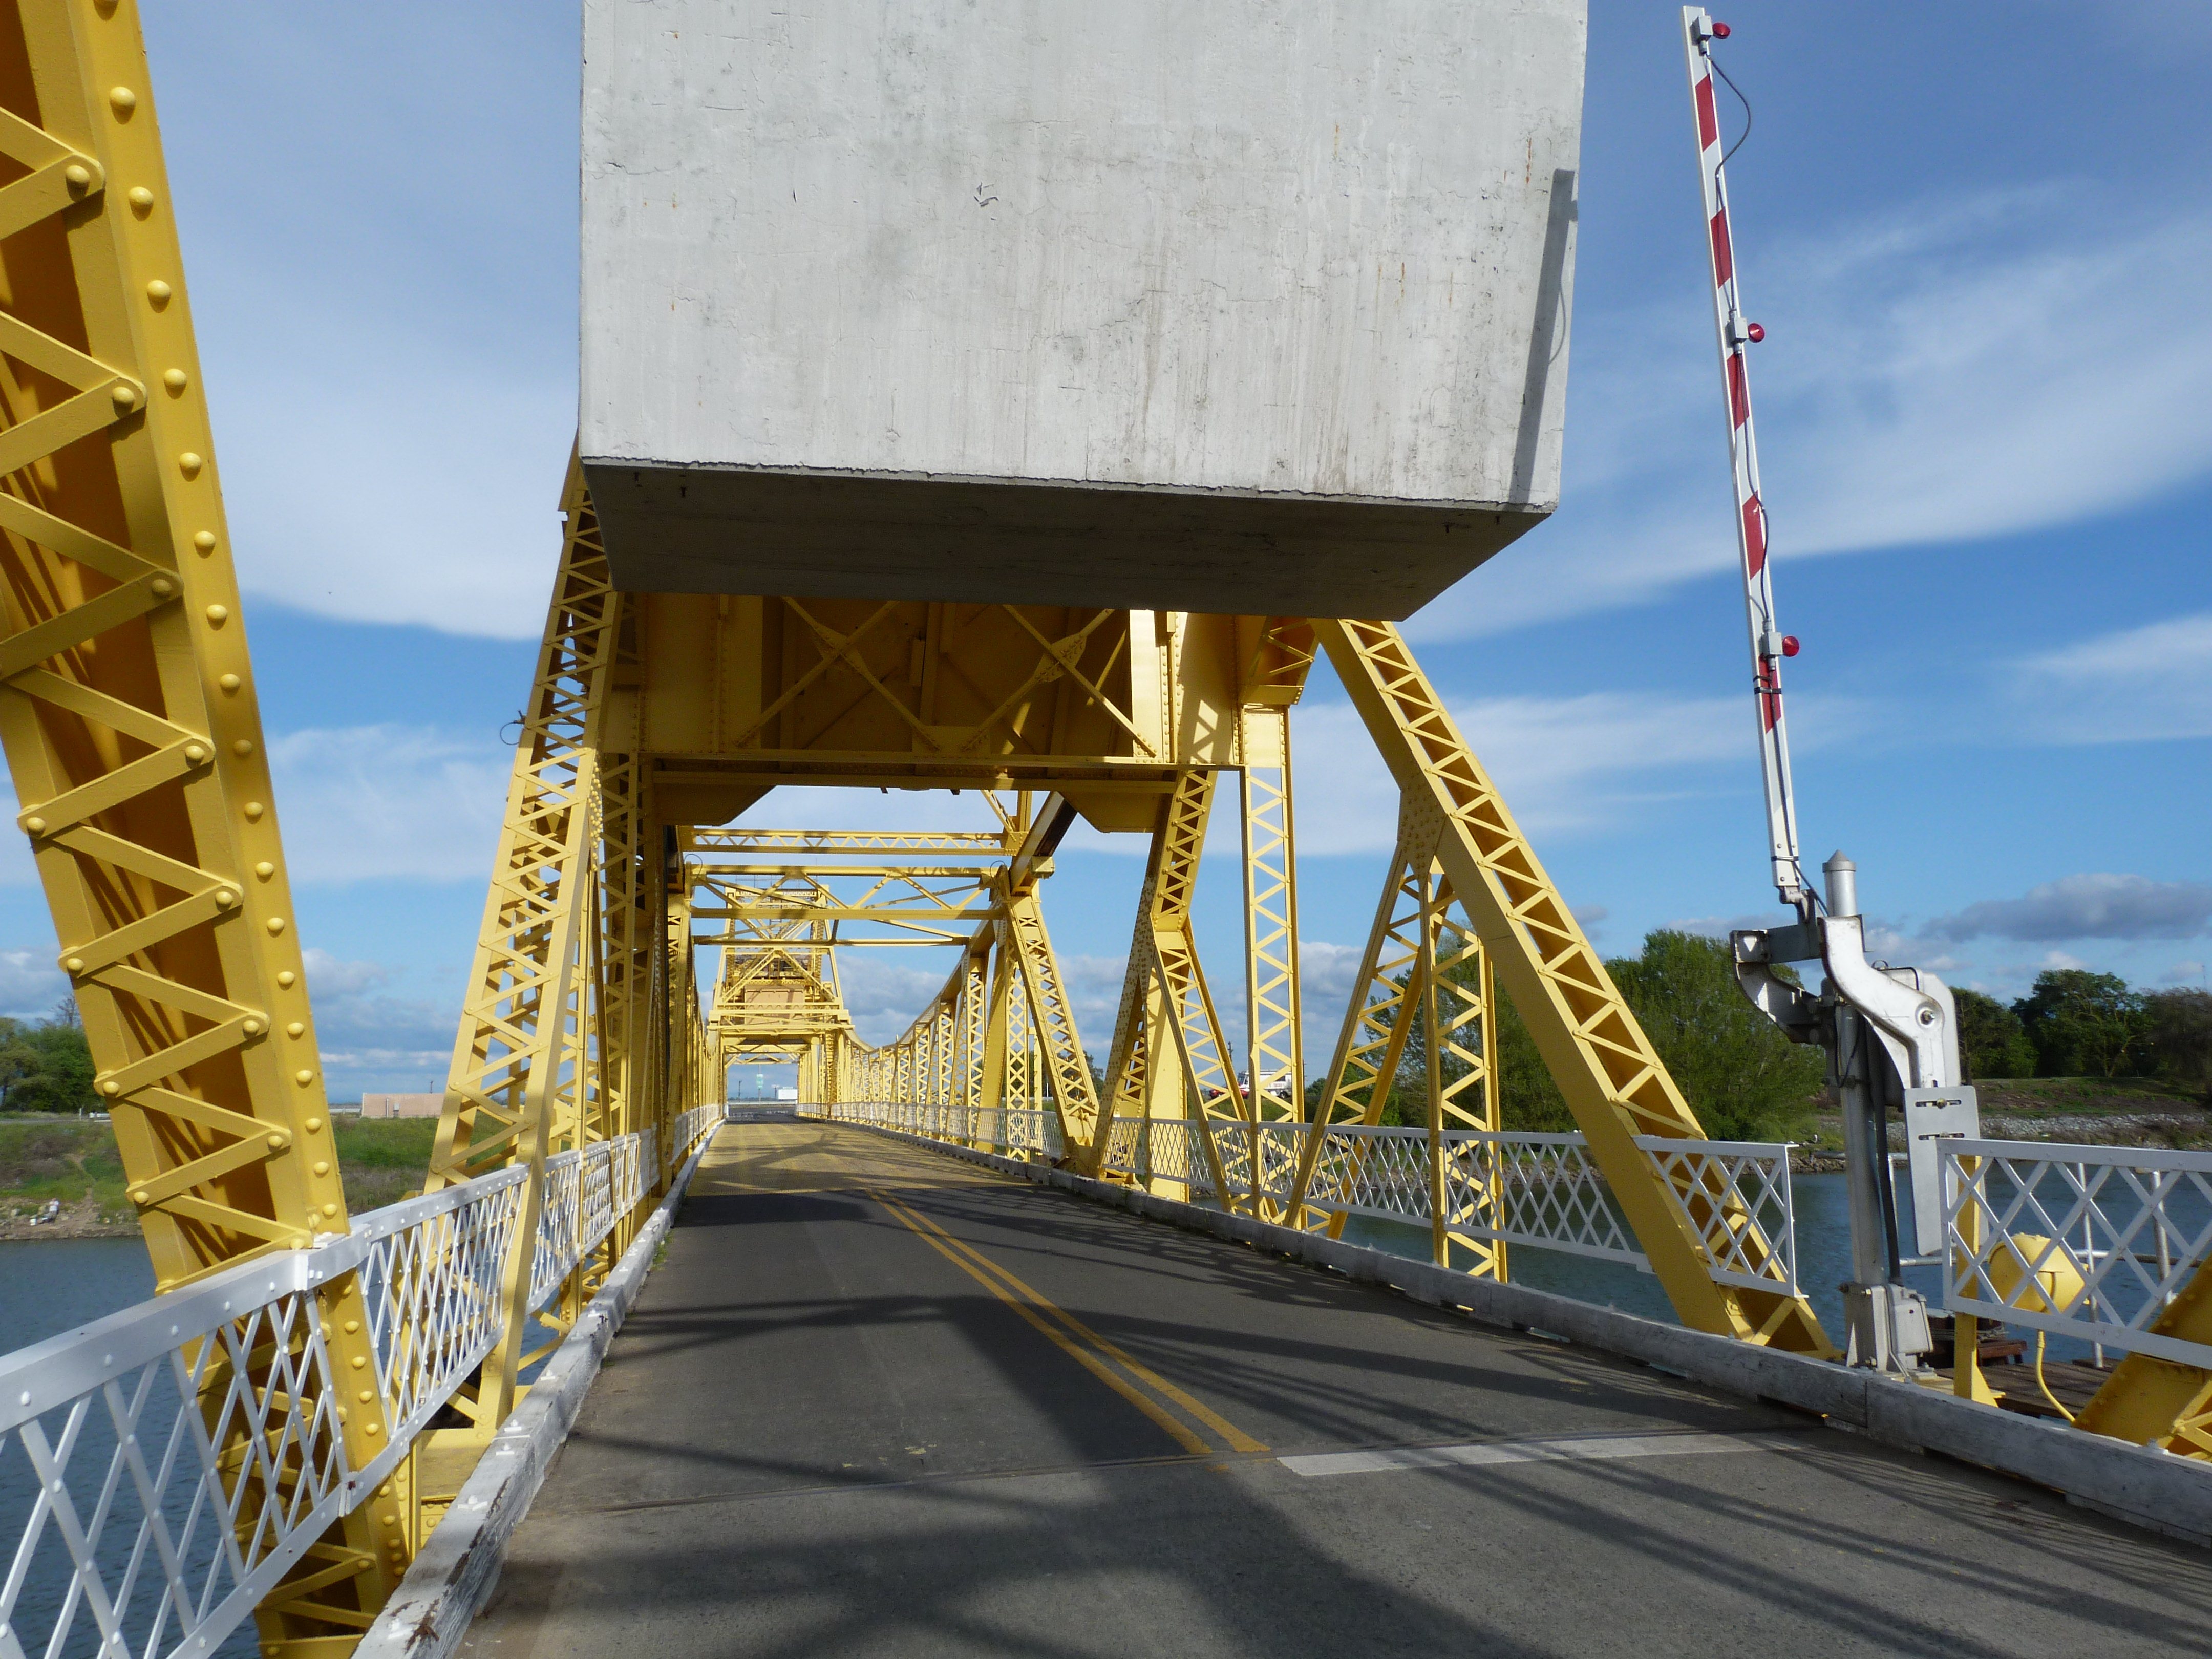
Overview of counterweight system.
![]()


10 brand.
![]()

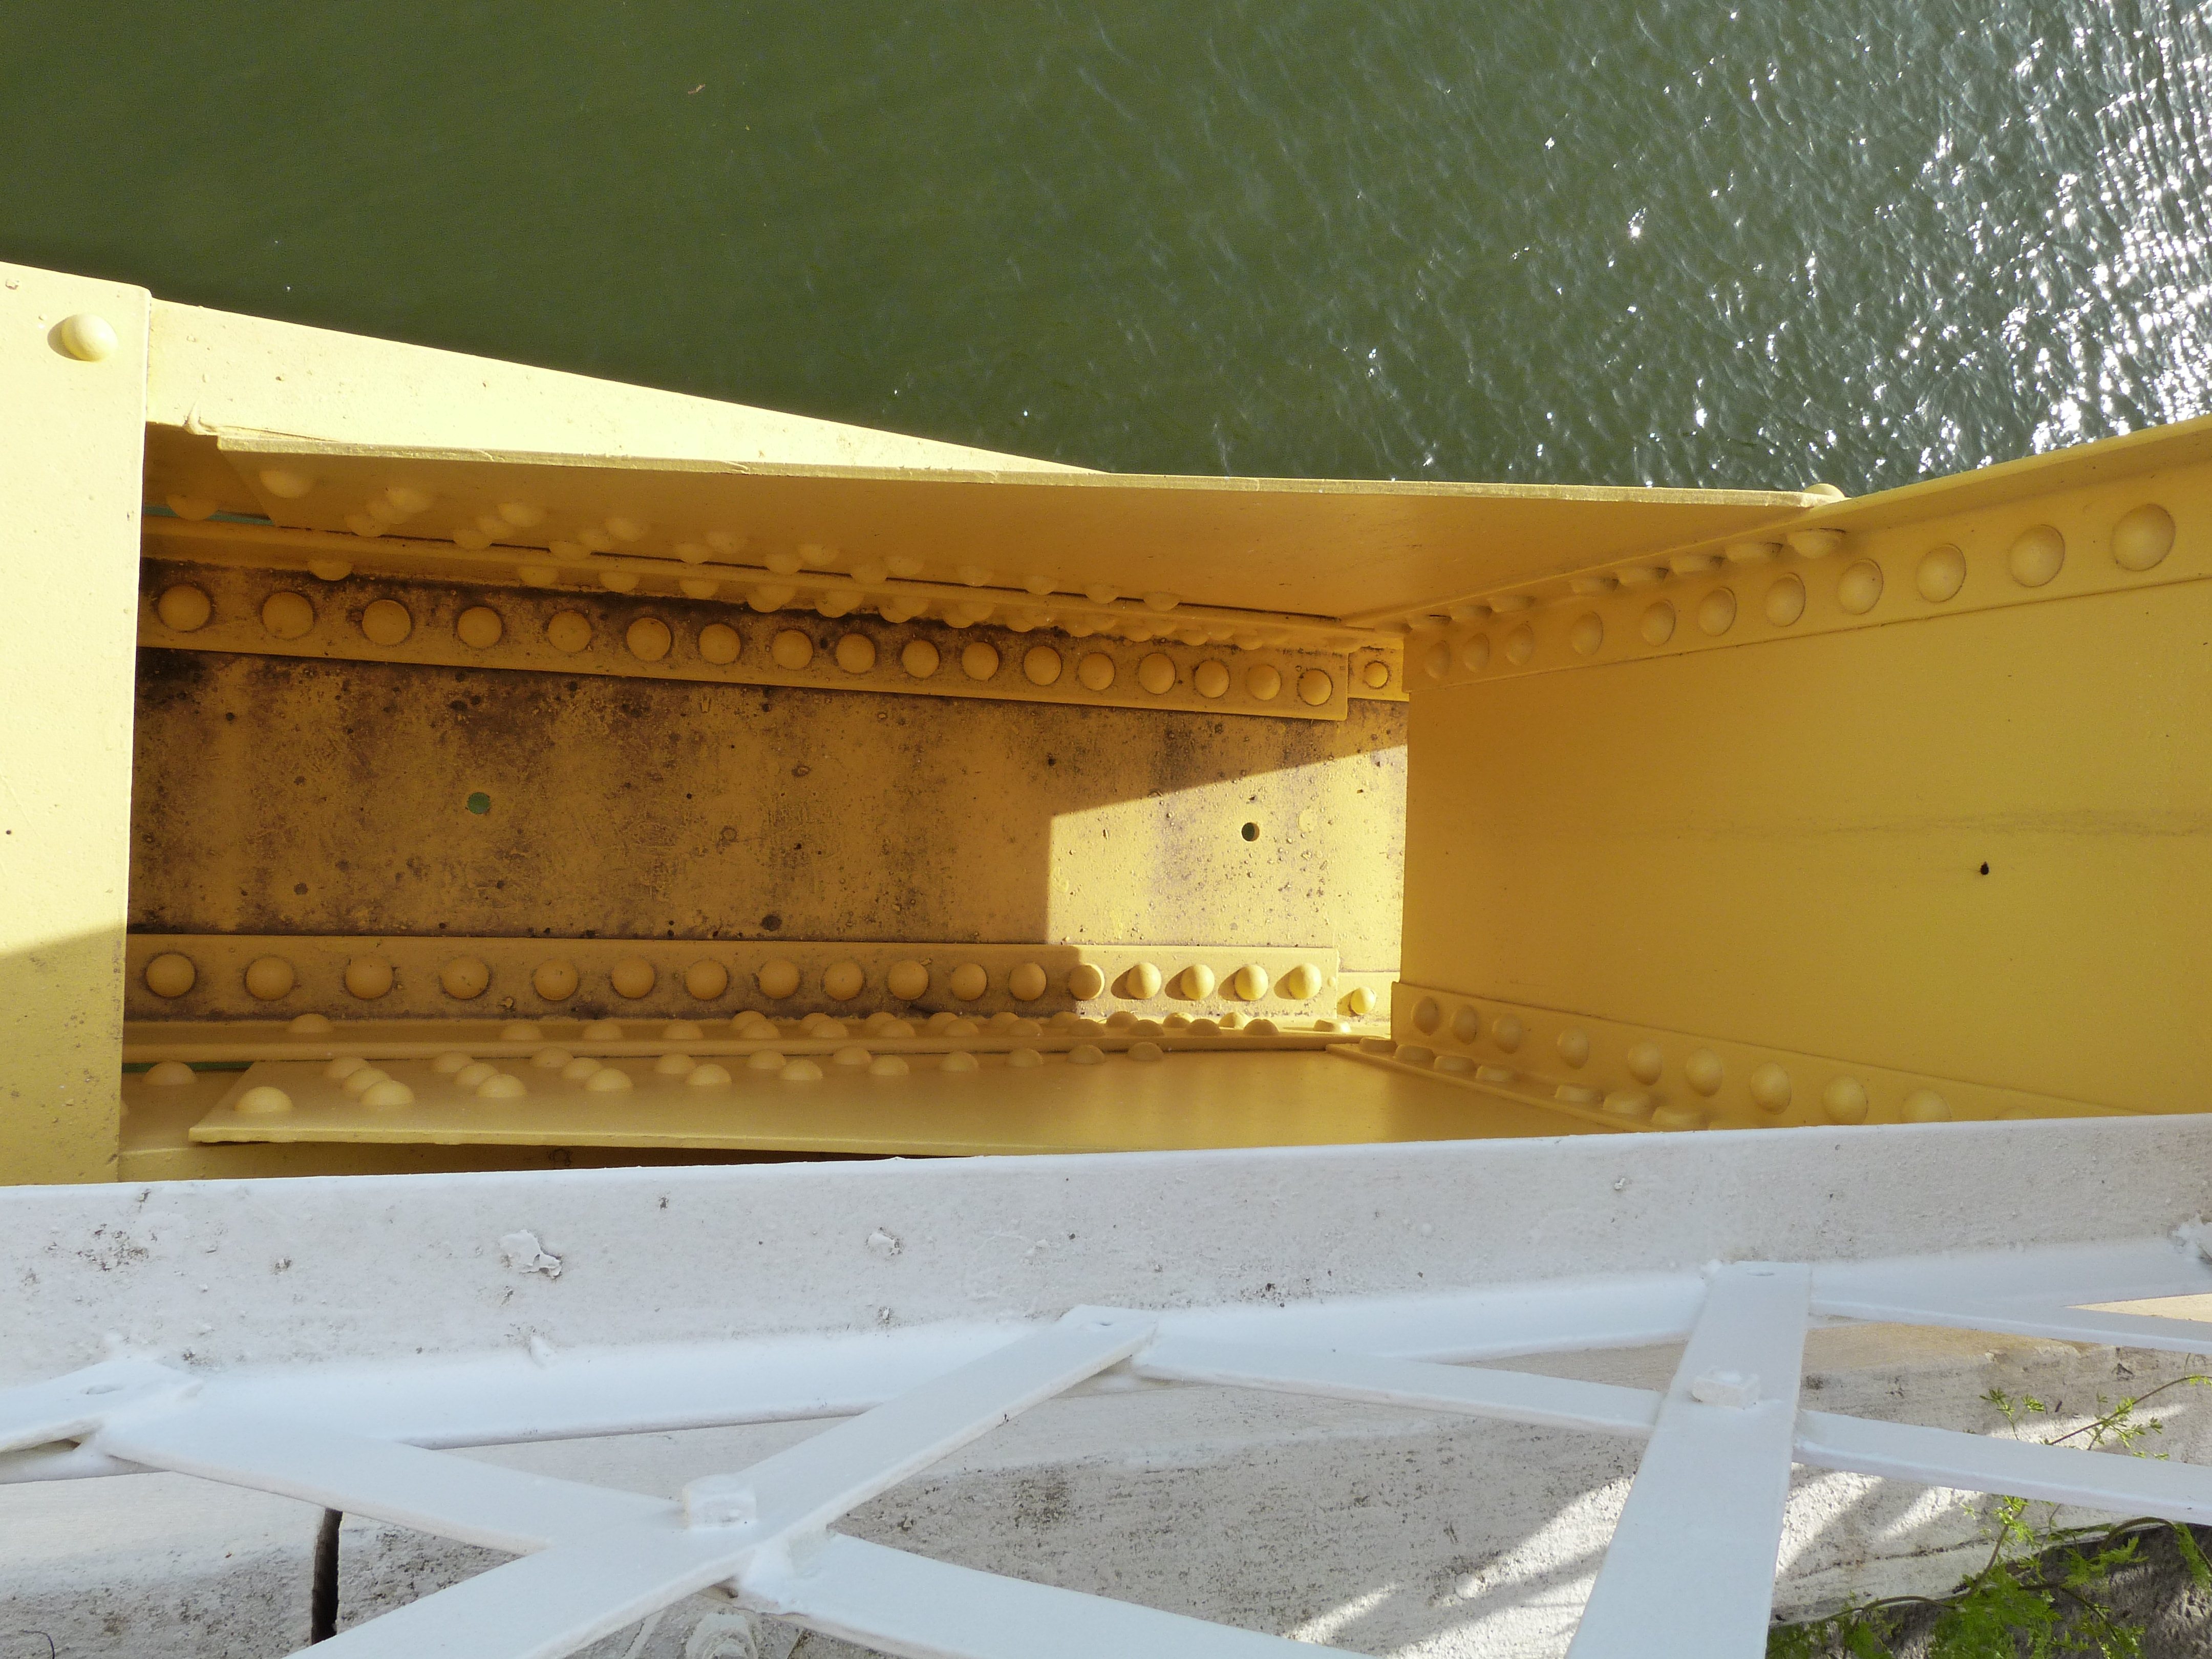
View inside built-up beam.
![]()


Bridge tender house.
![]()

Modern bridge control panel.
![]()

1st link pin.
![]()

2nd link pin.
![]()


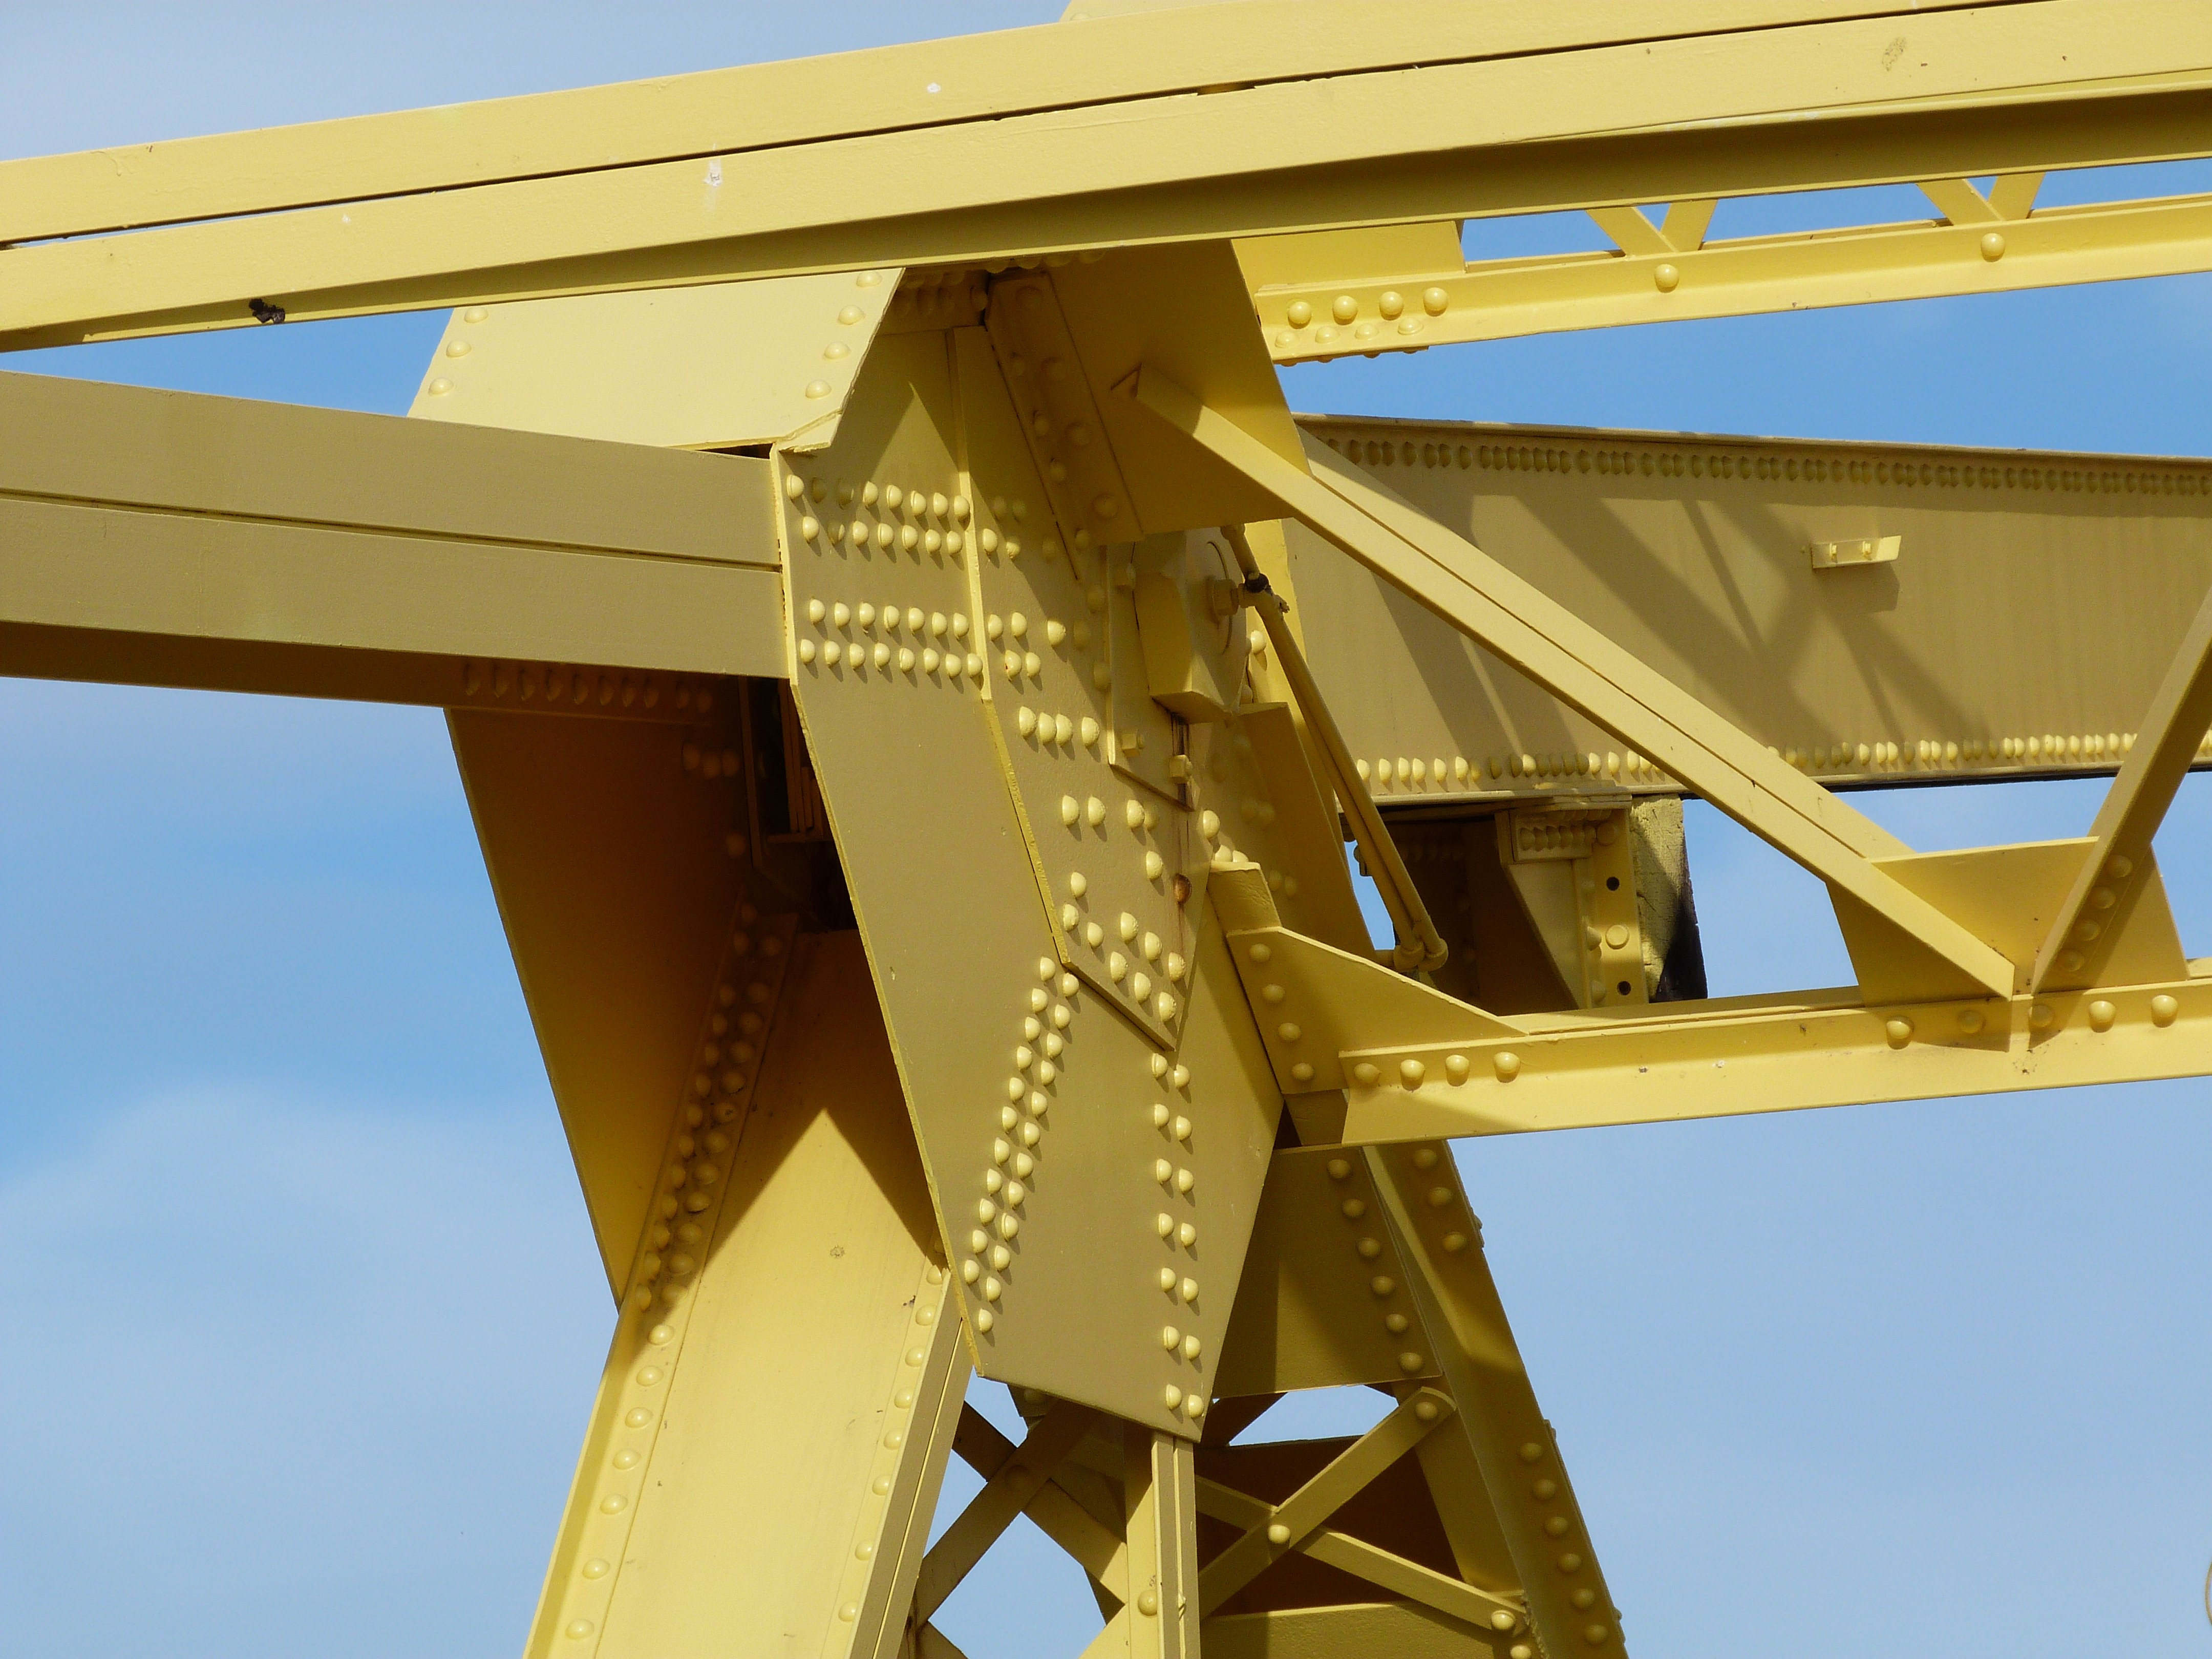
Details around the main trunnion.
![]()
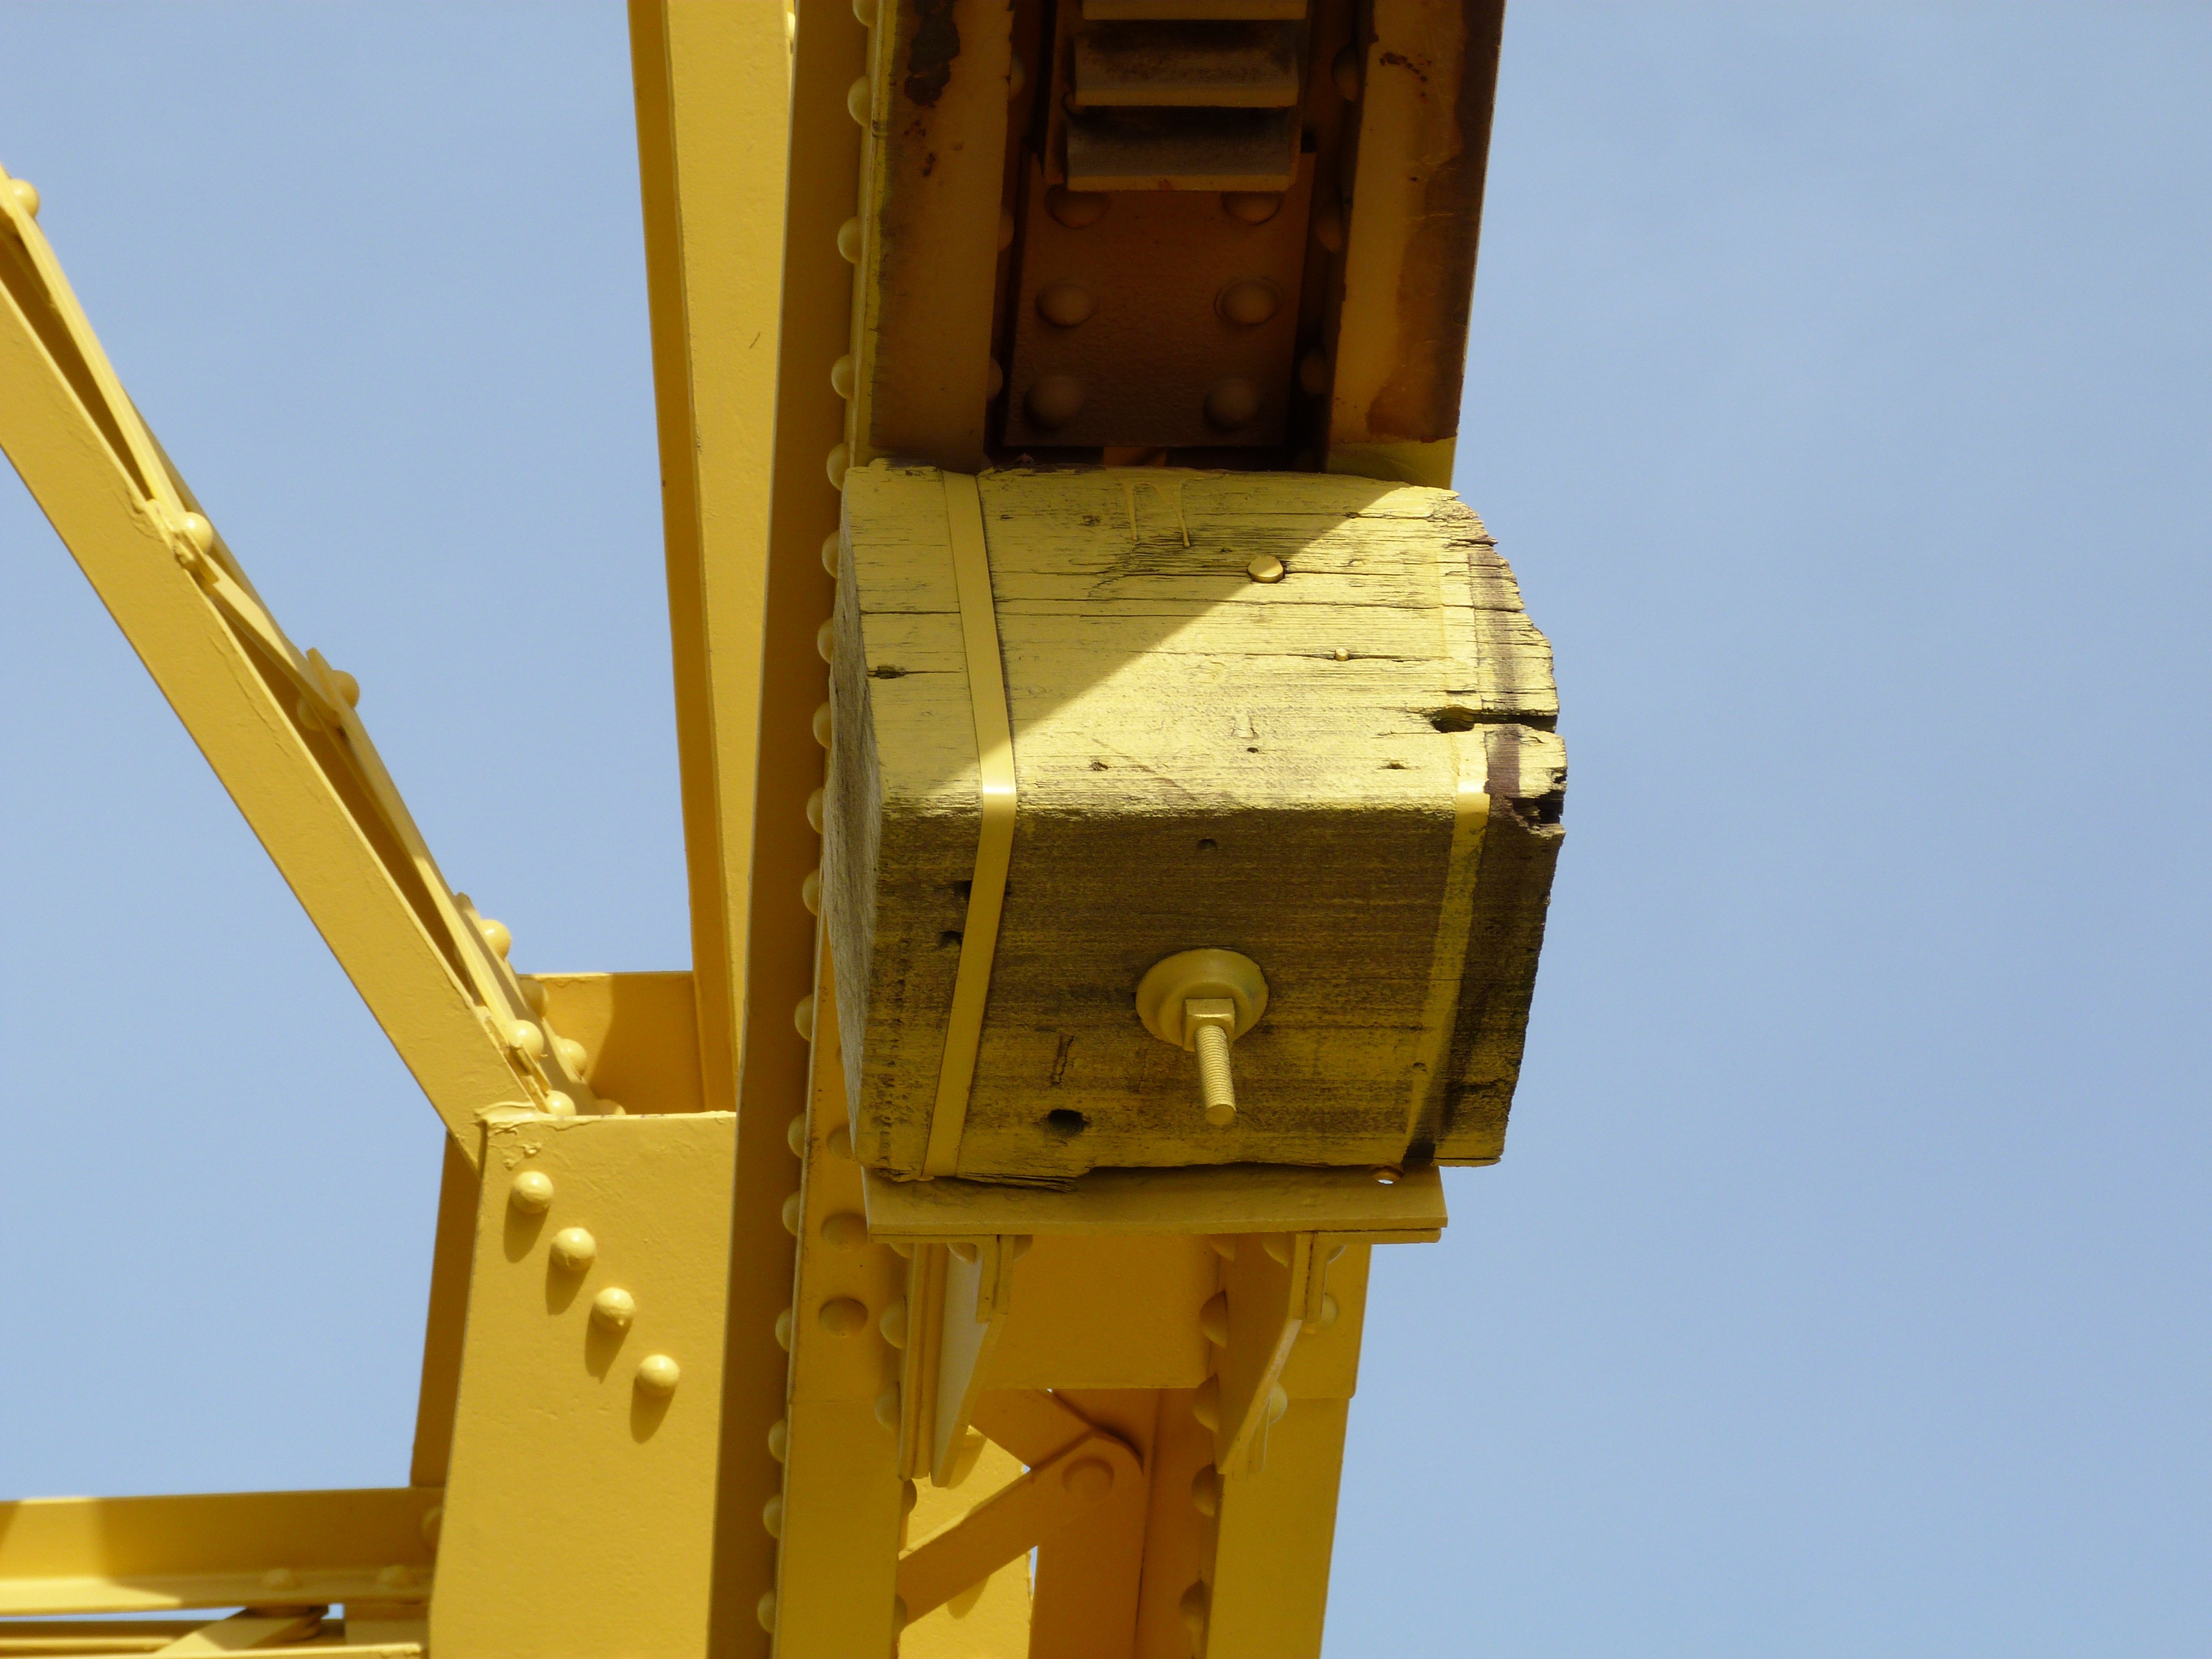
Top block.
![]()

Rack on operating strut.
![]()


Looking up directly under 1st link pins.
![]()

Looking up toward counterweight trunnions.
![]()

Looking up toward machinery building.
![]()

Counterweight.
![]()


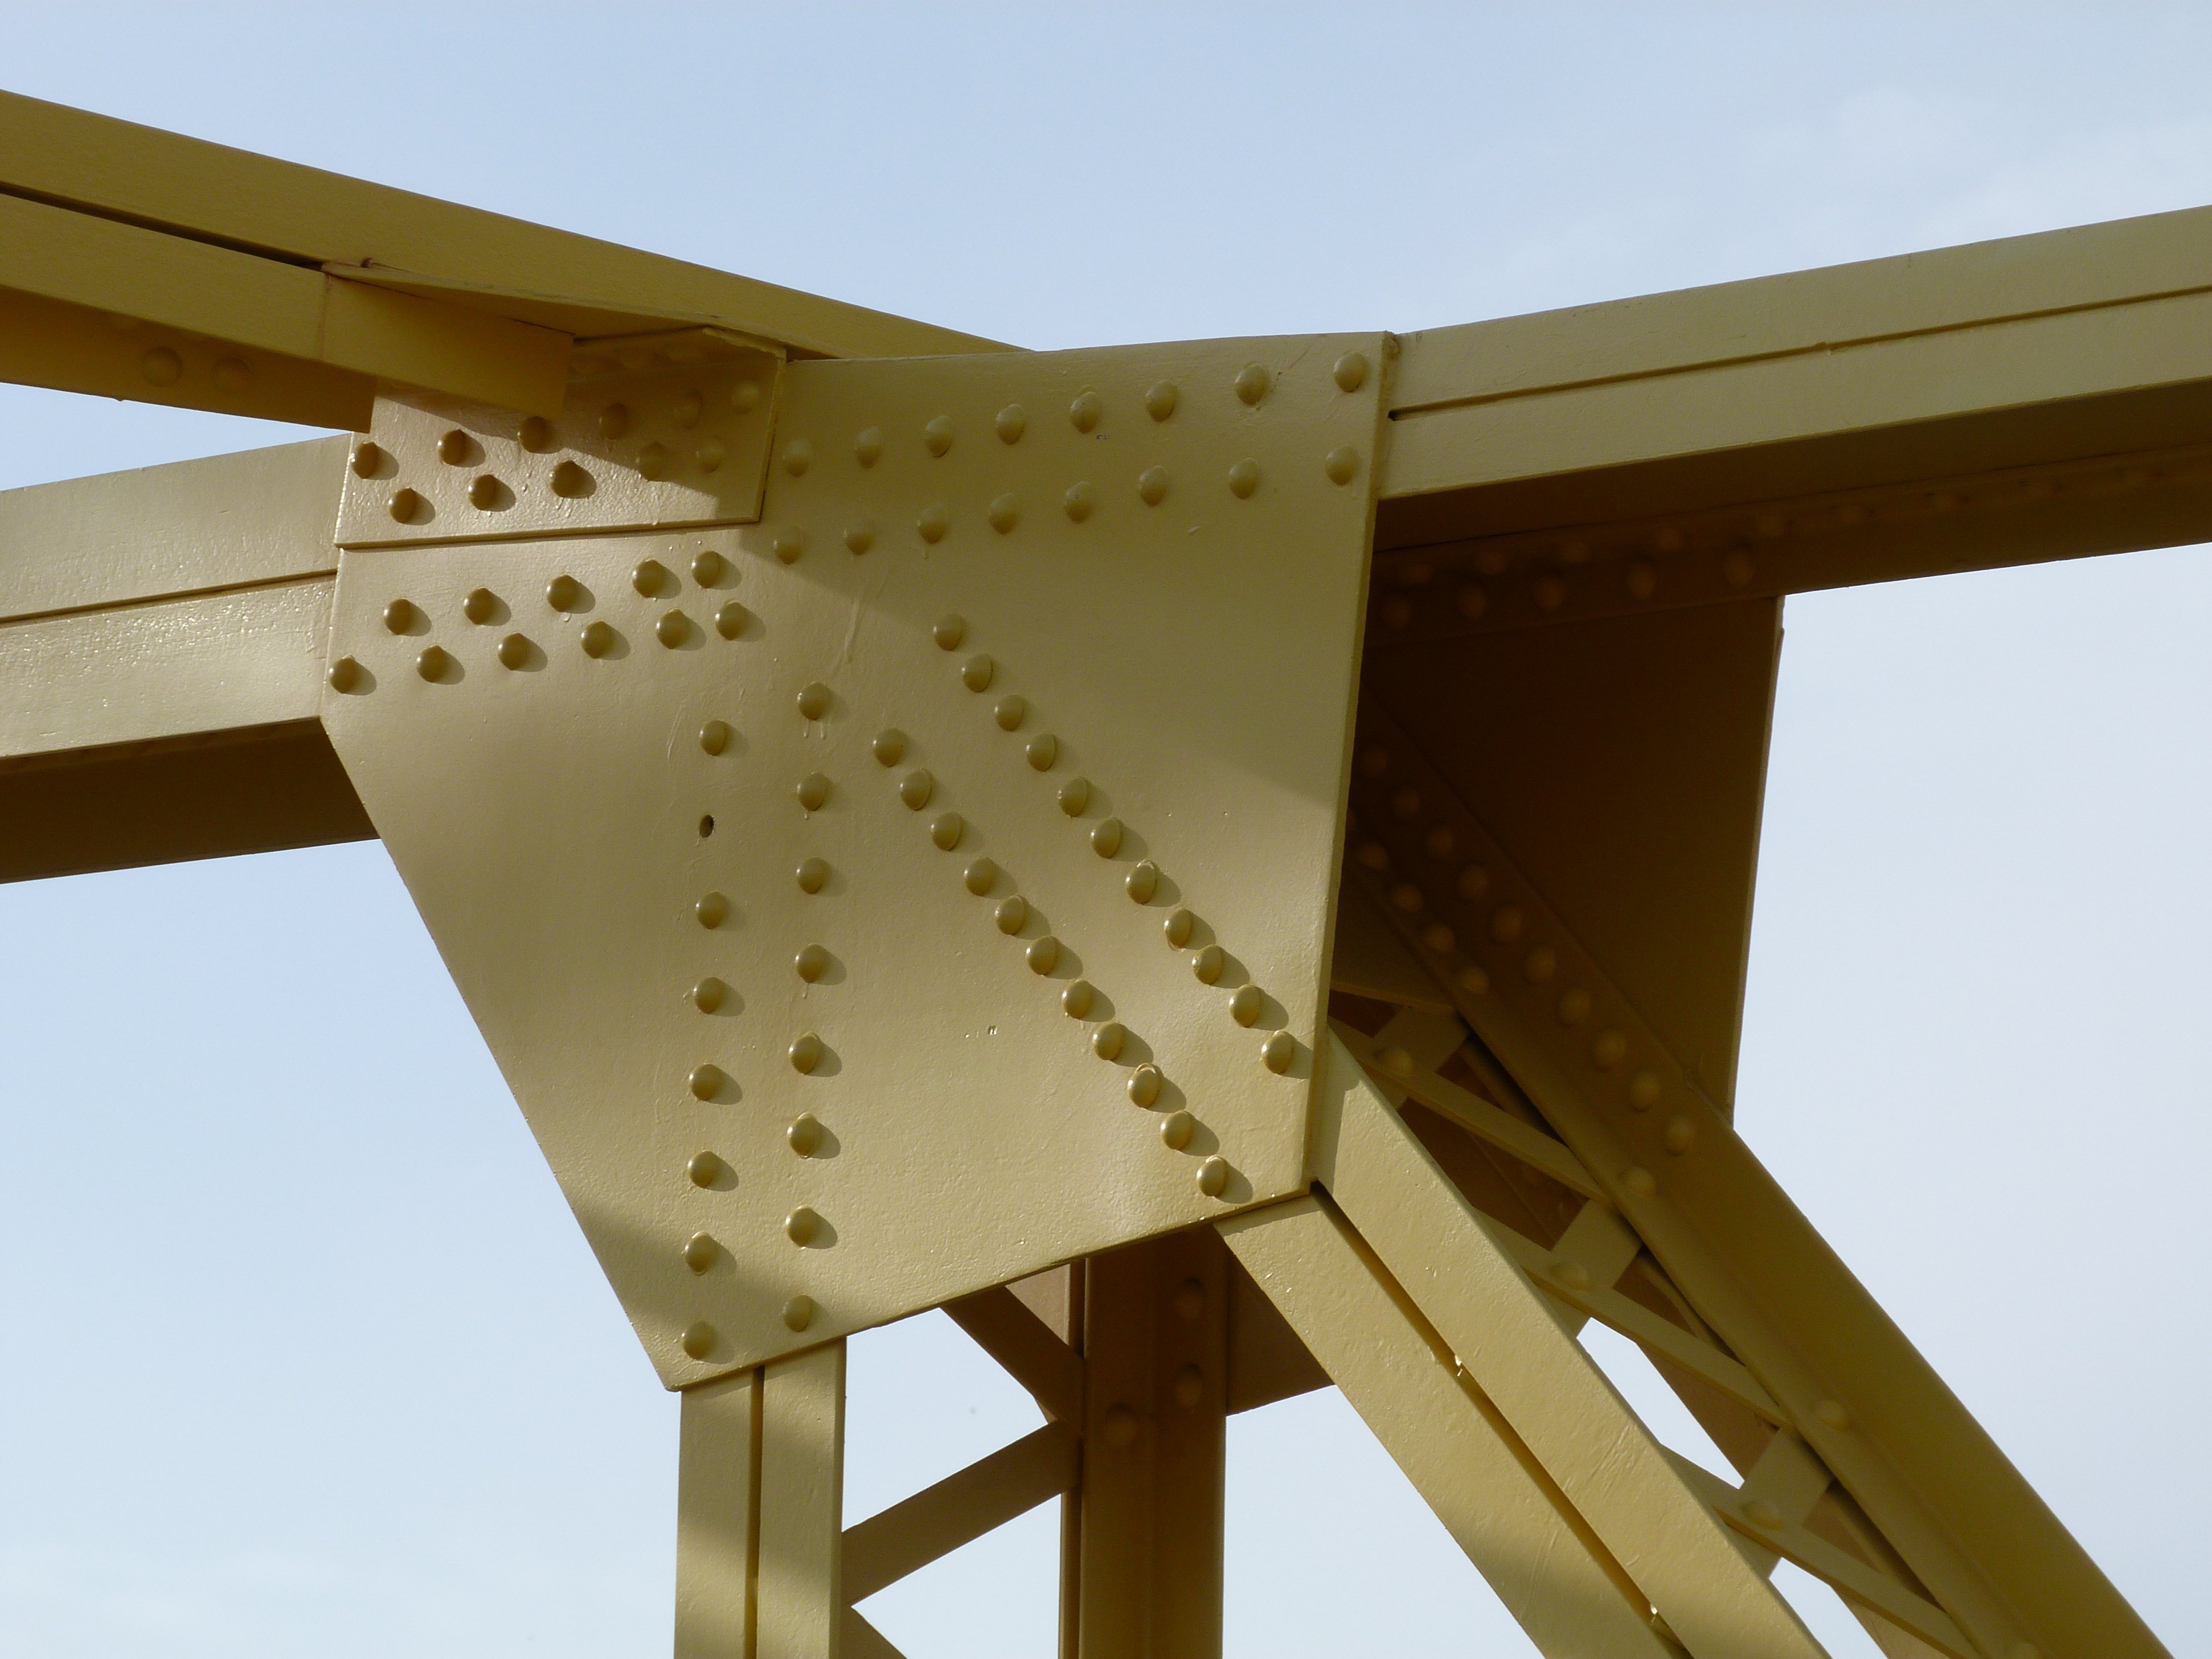
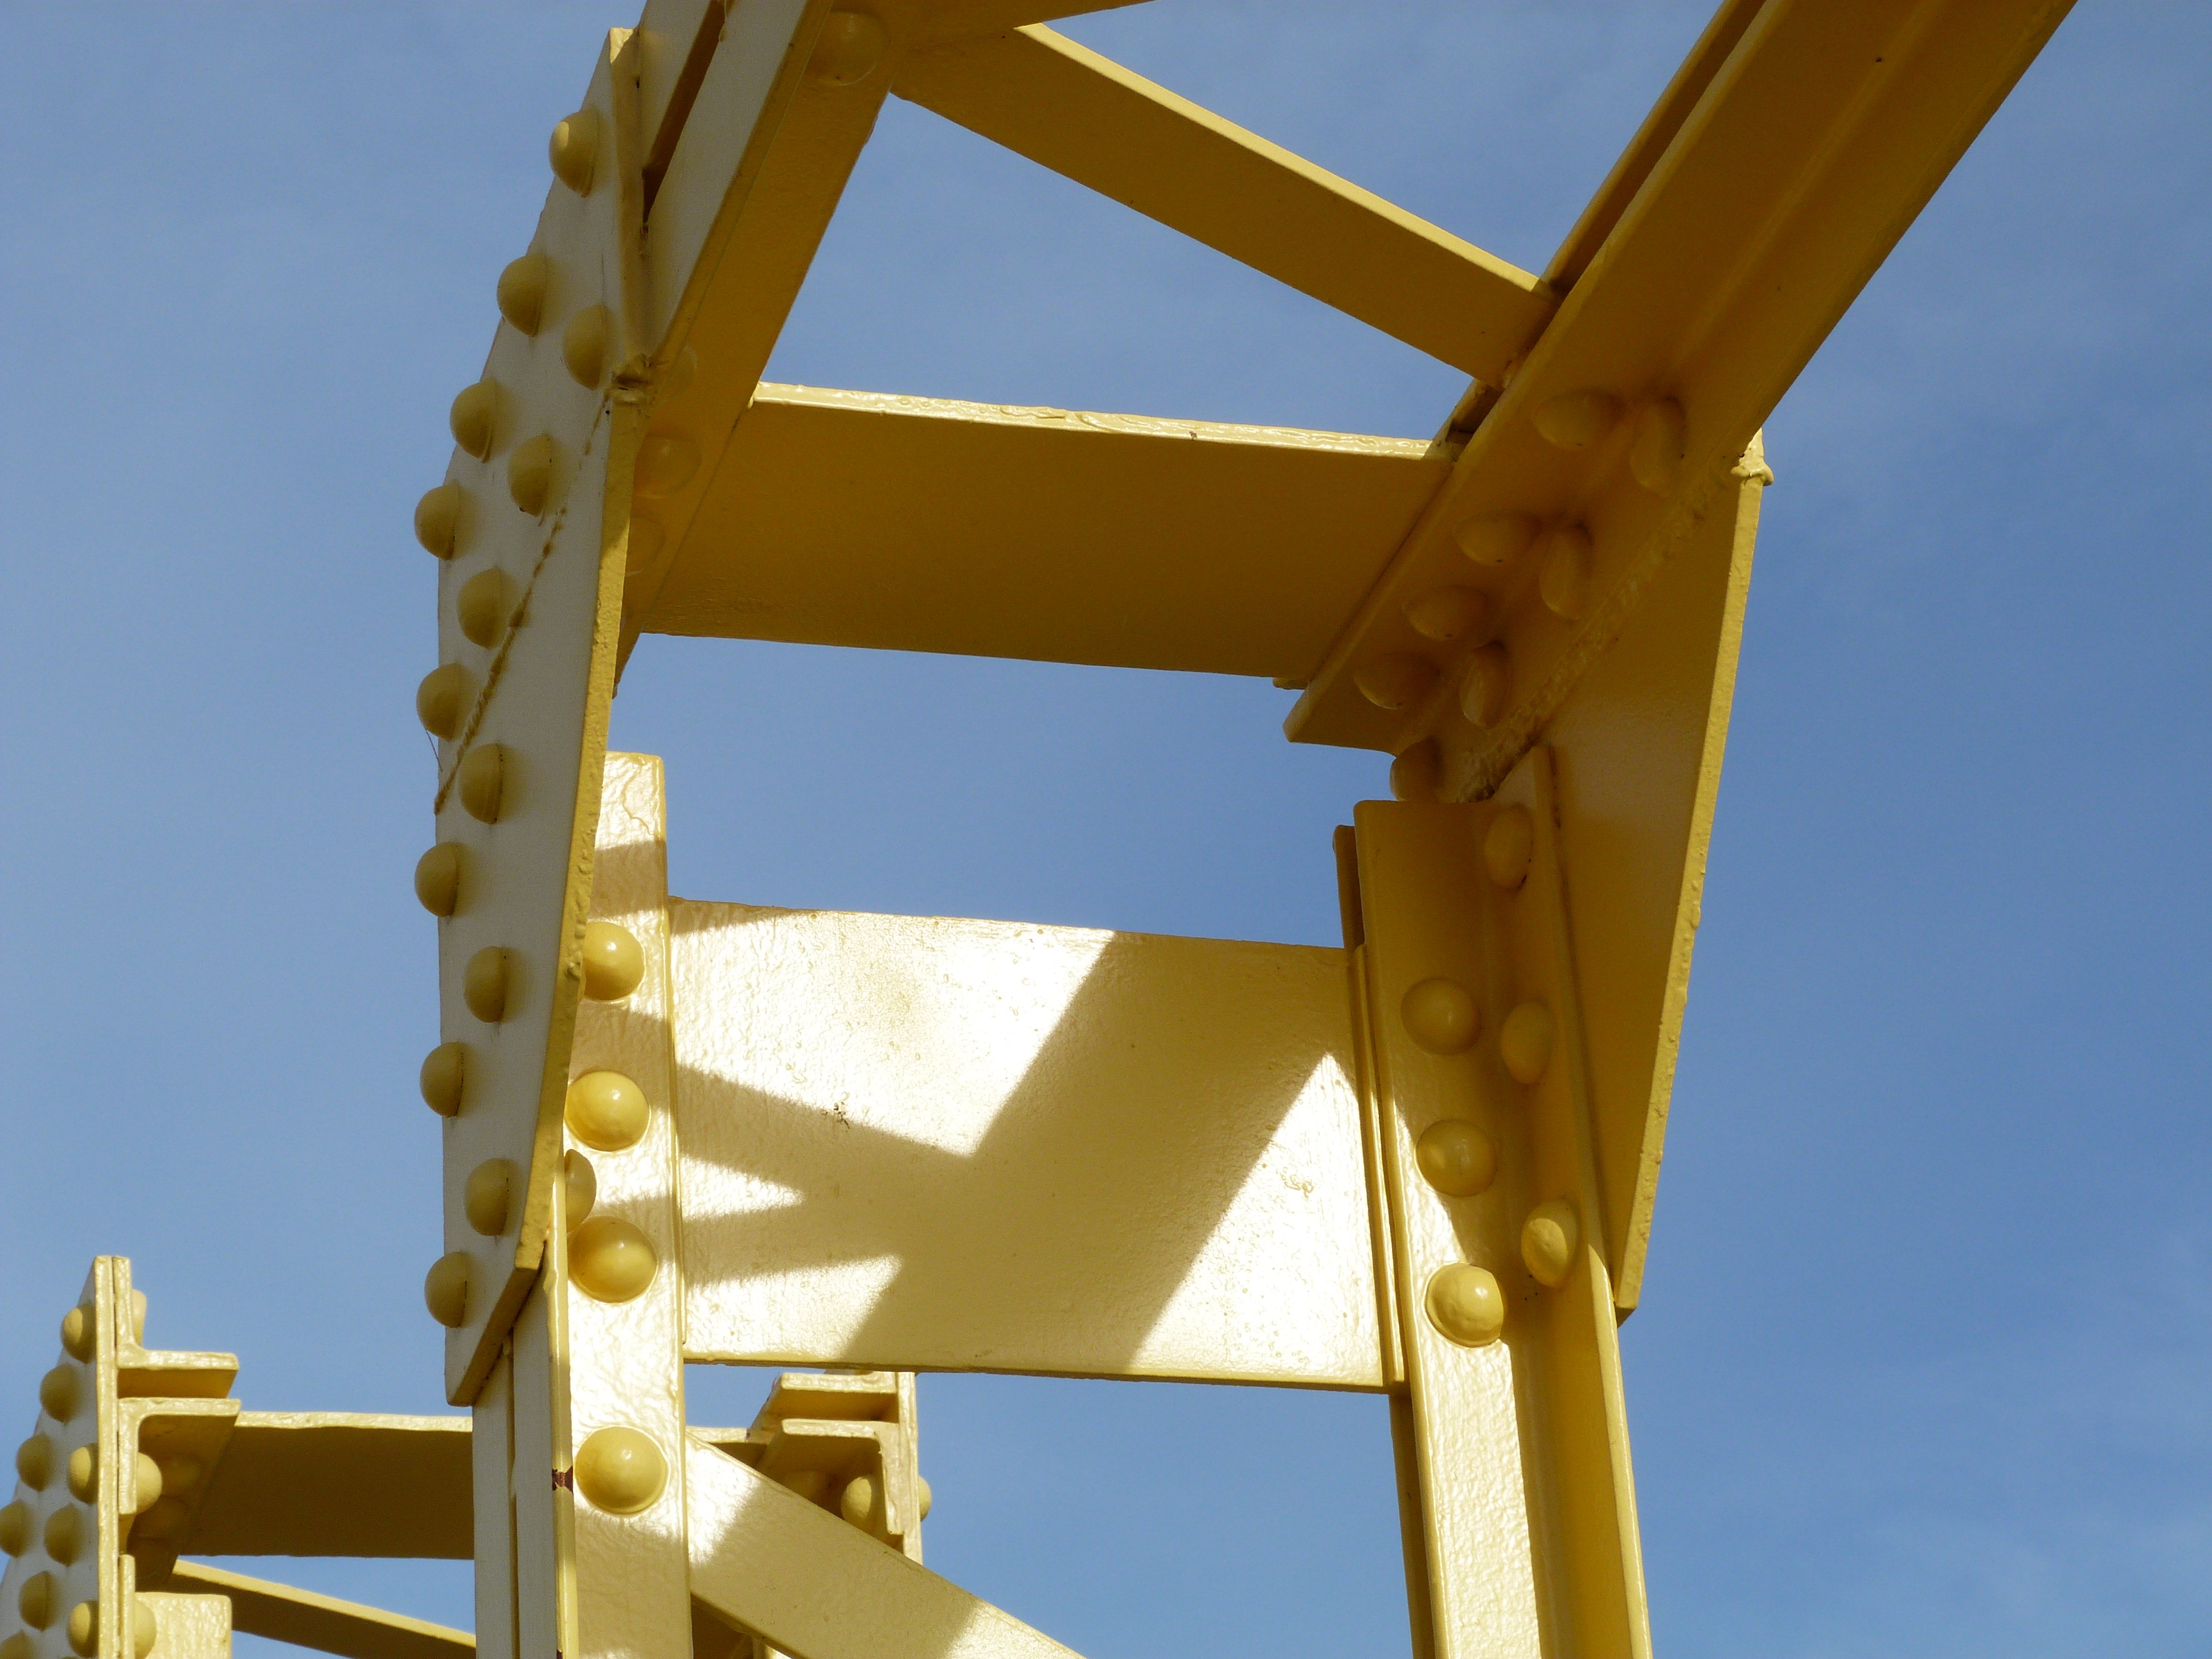


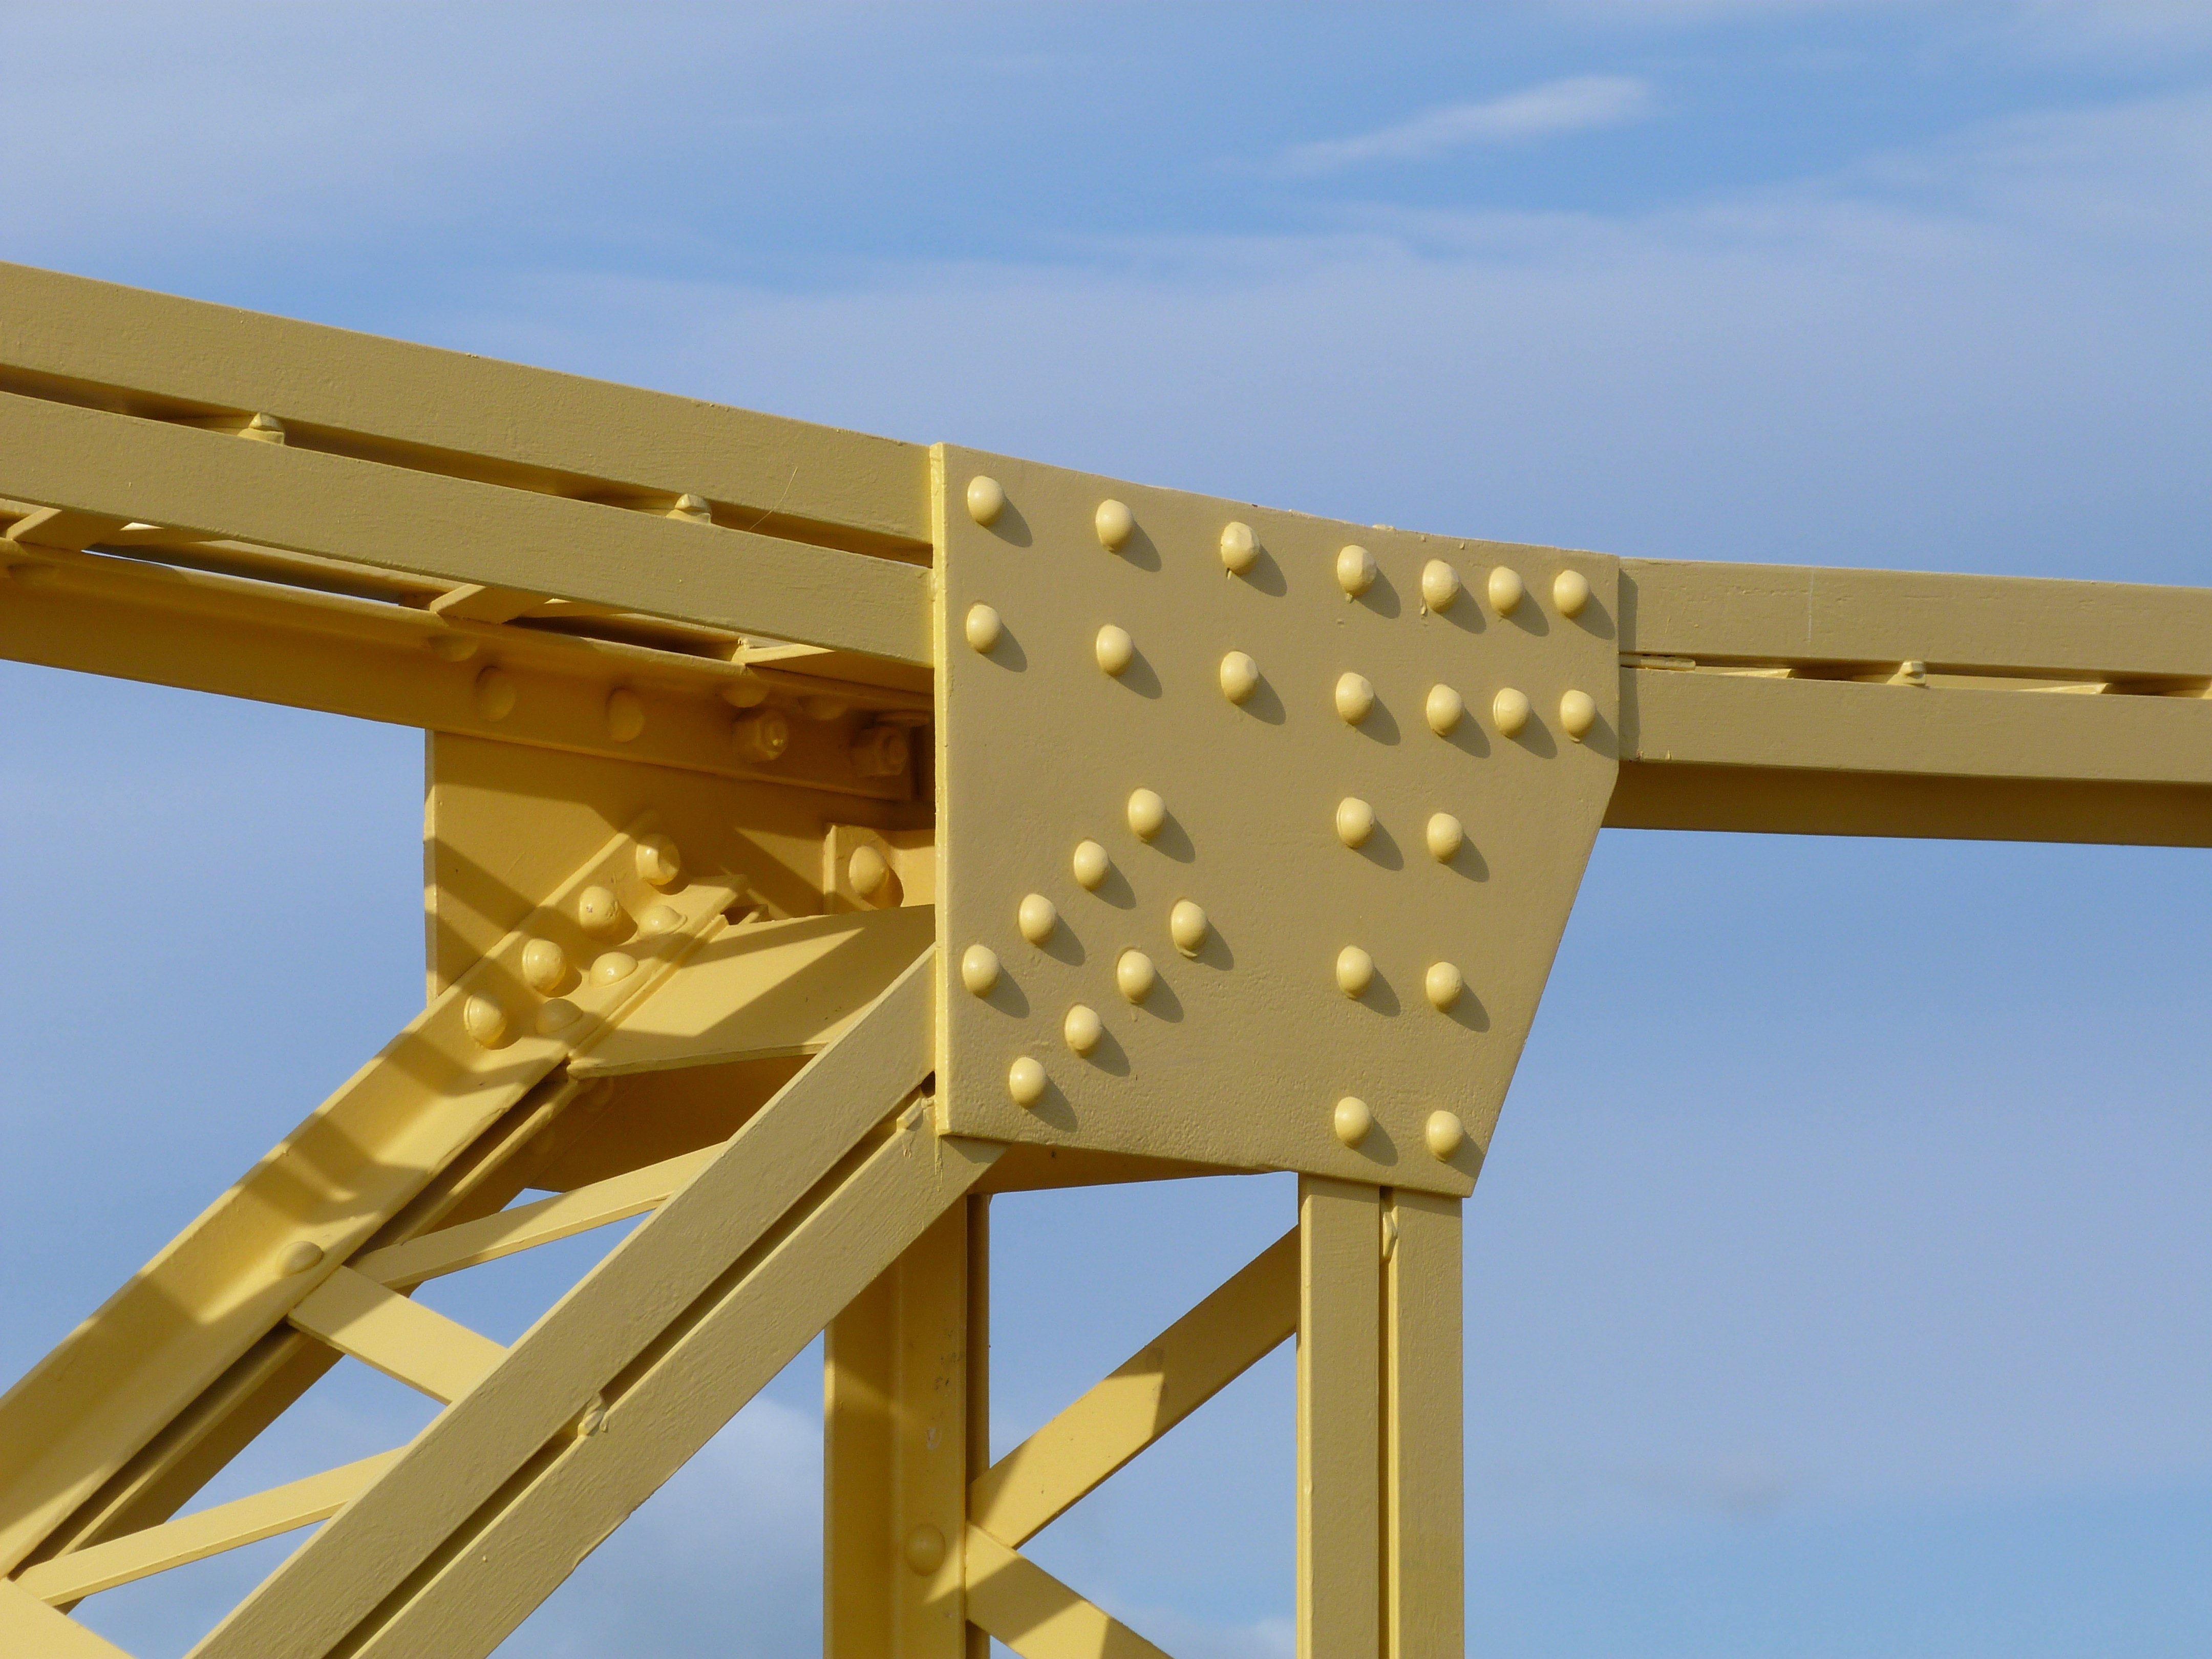
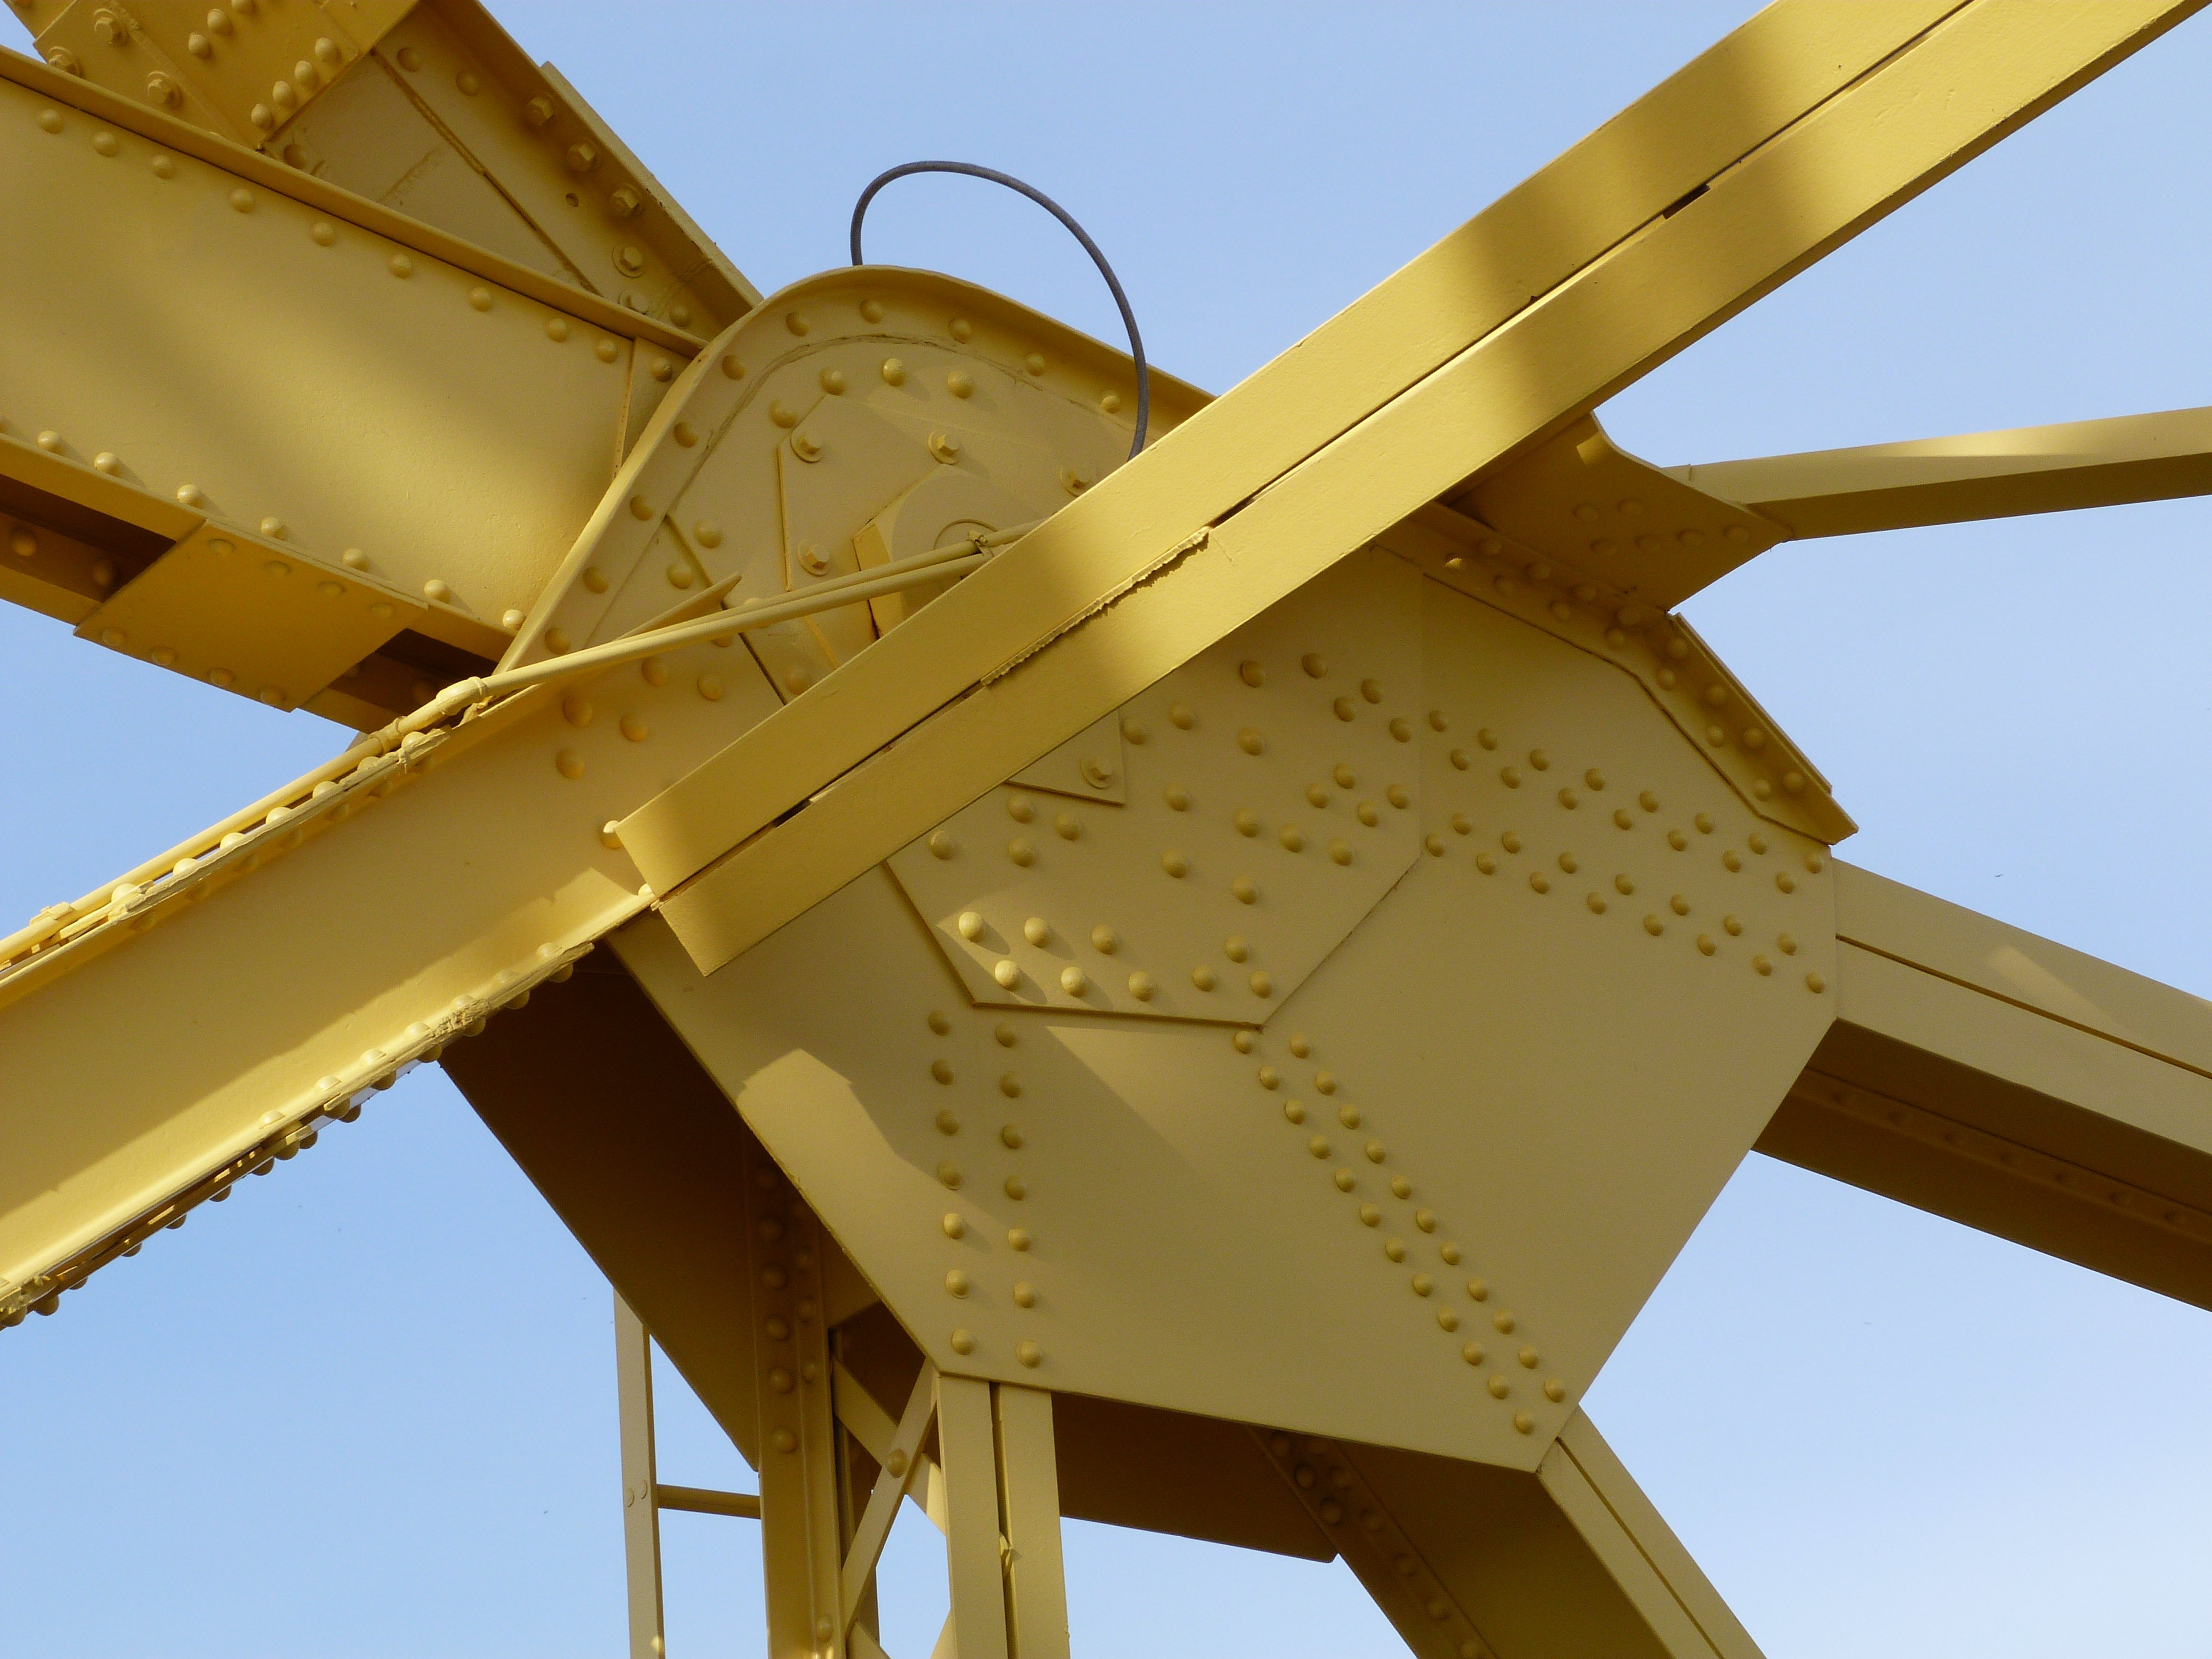
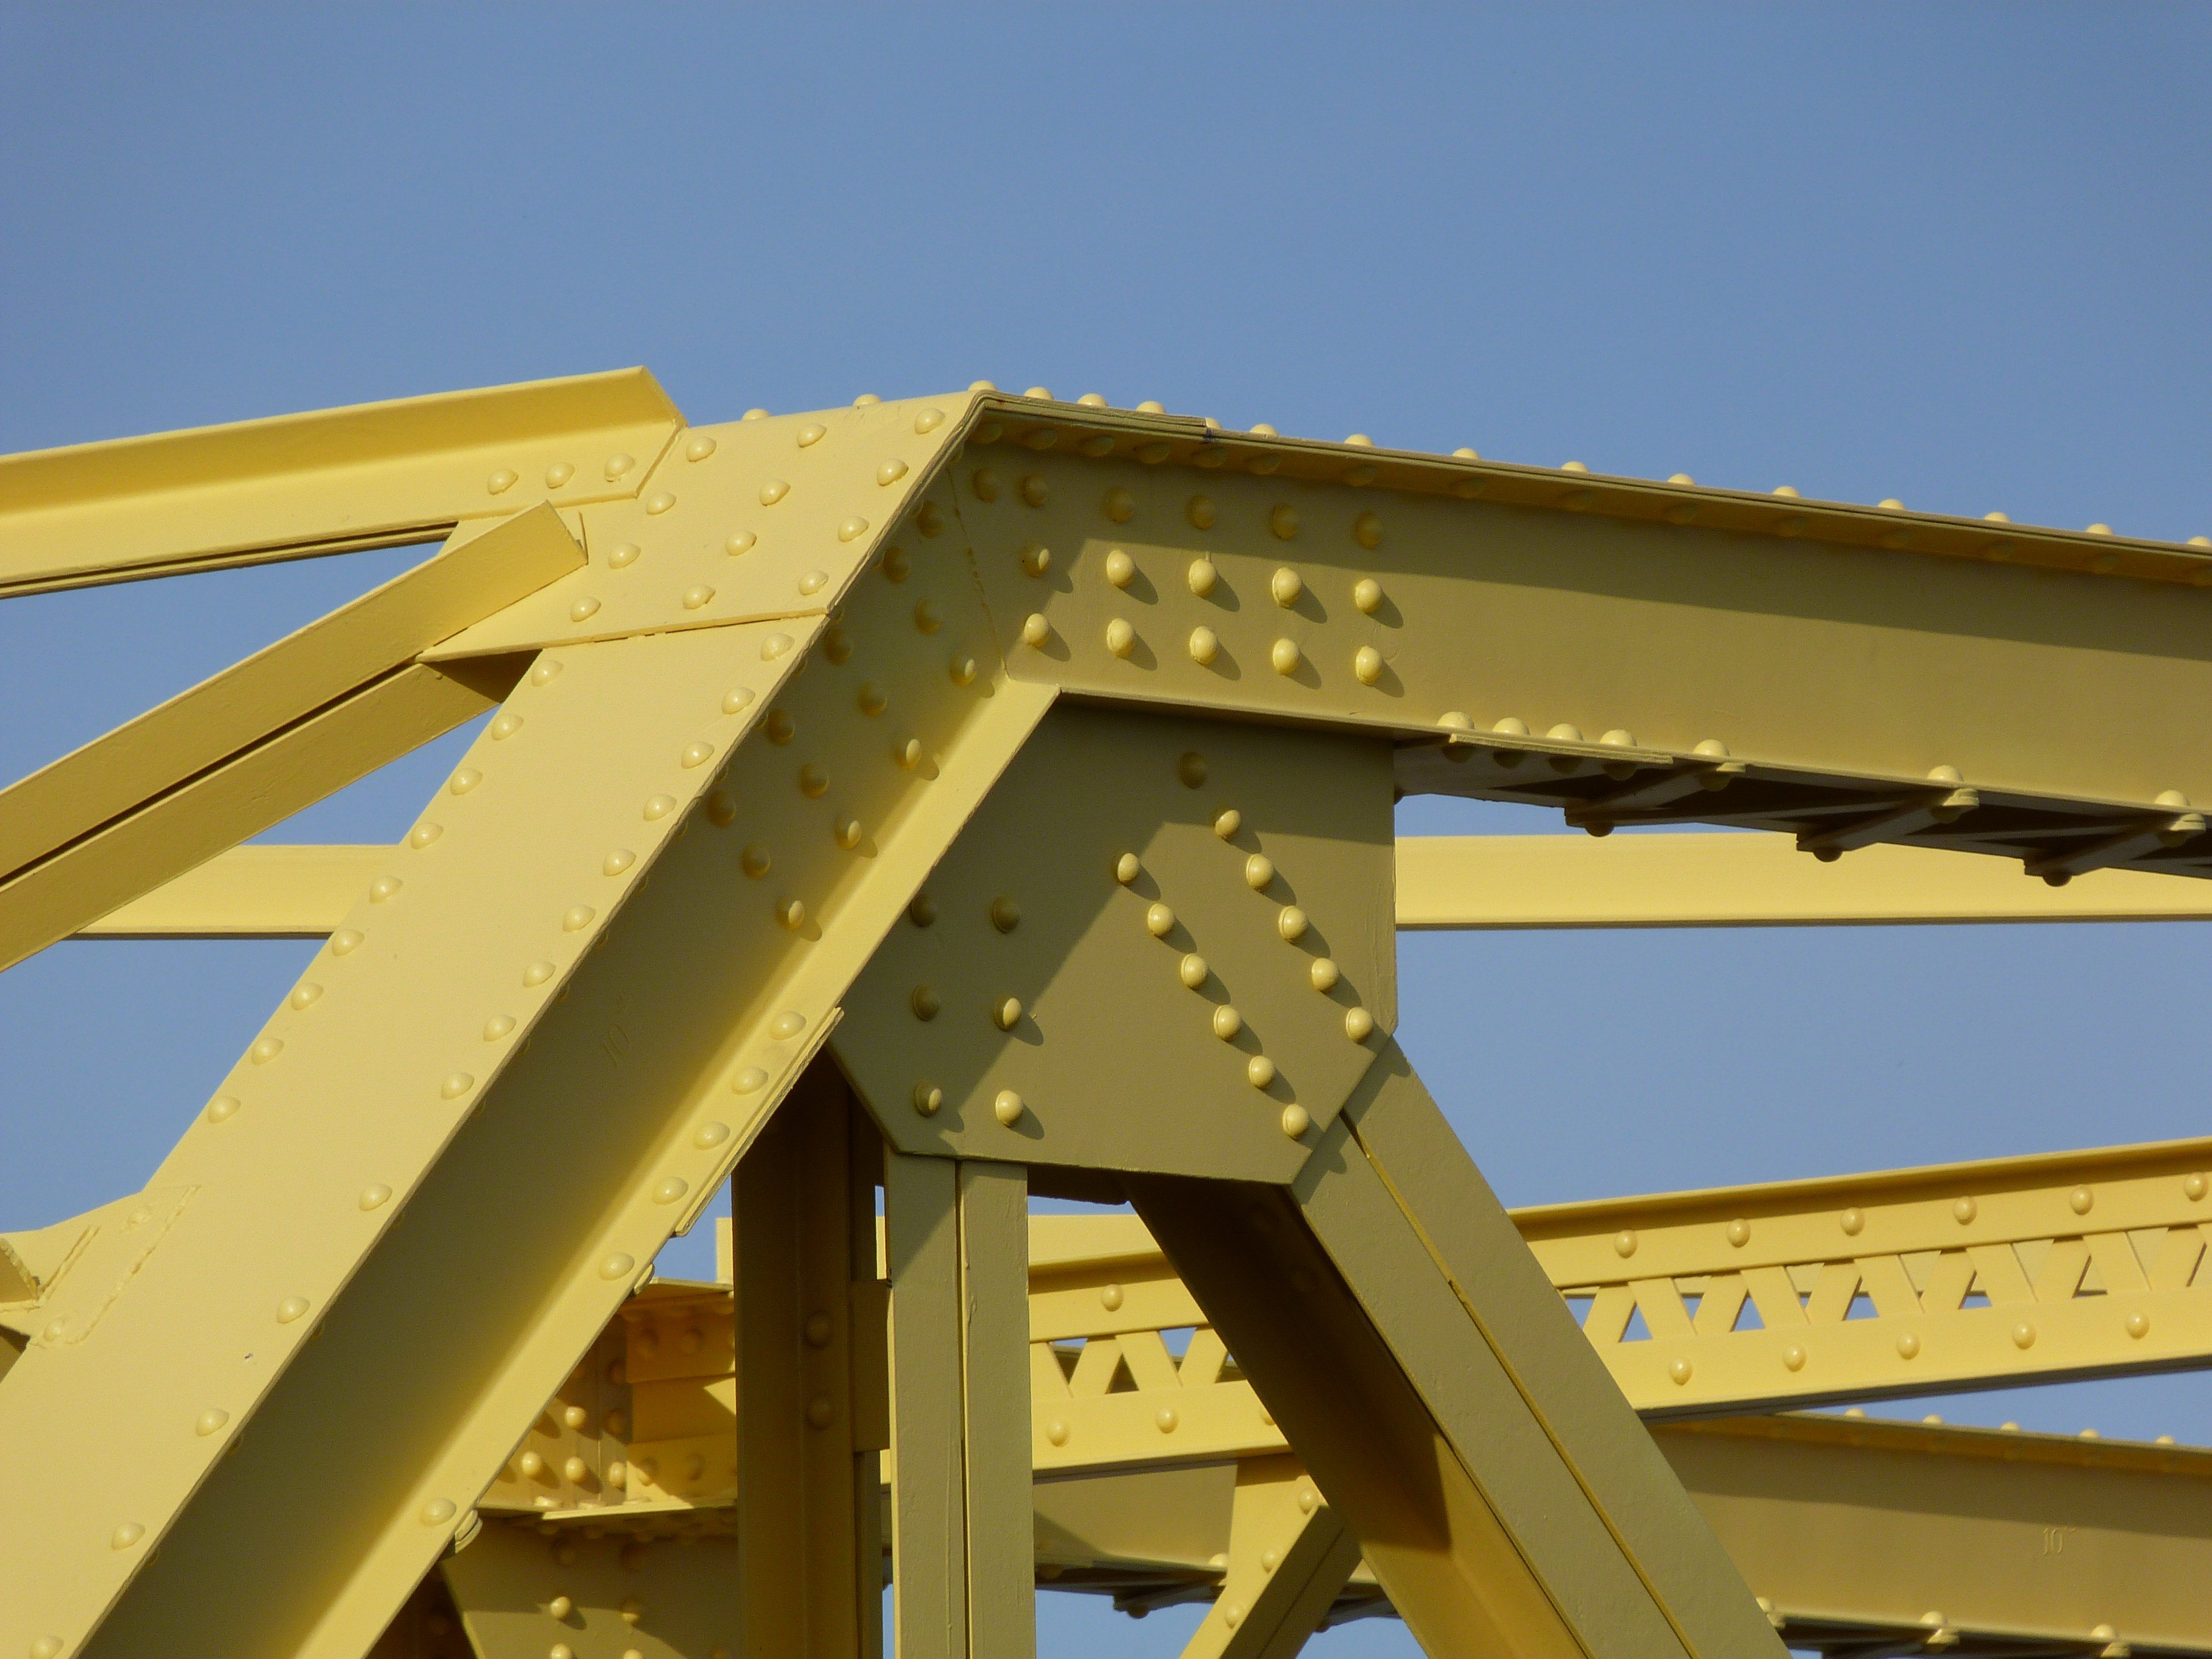
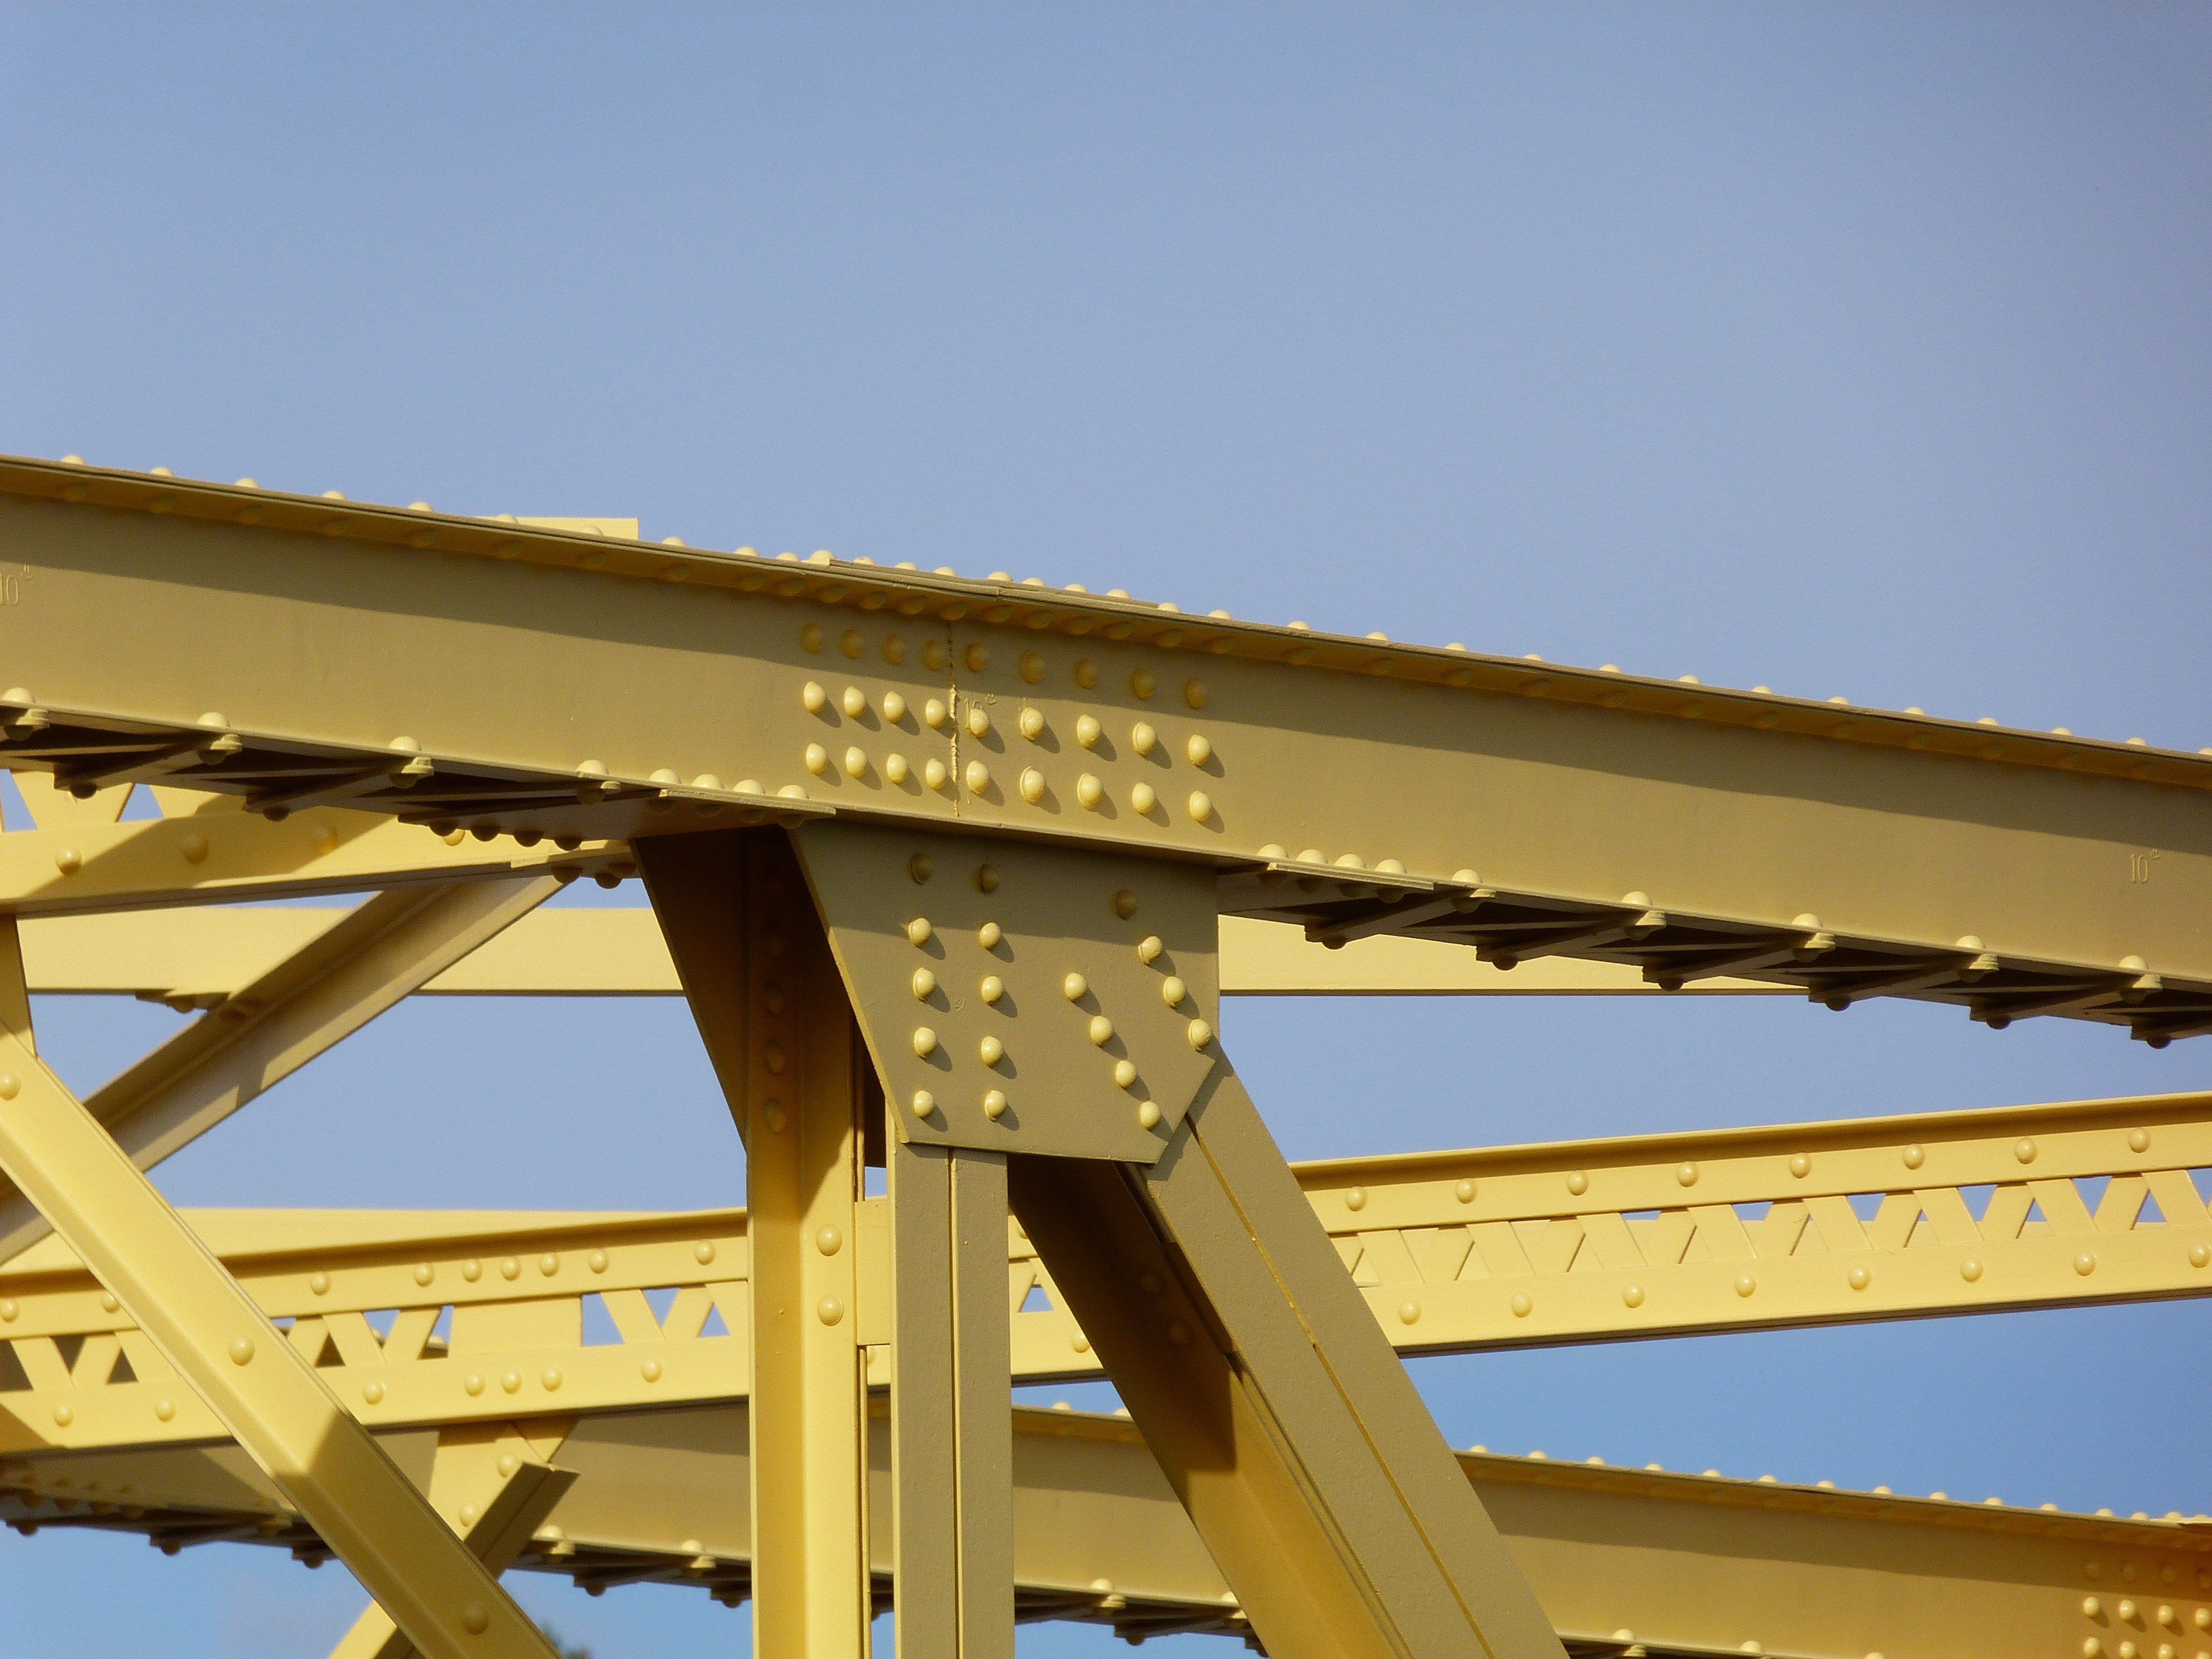
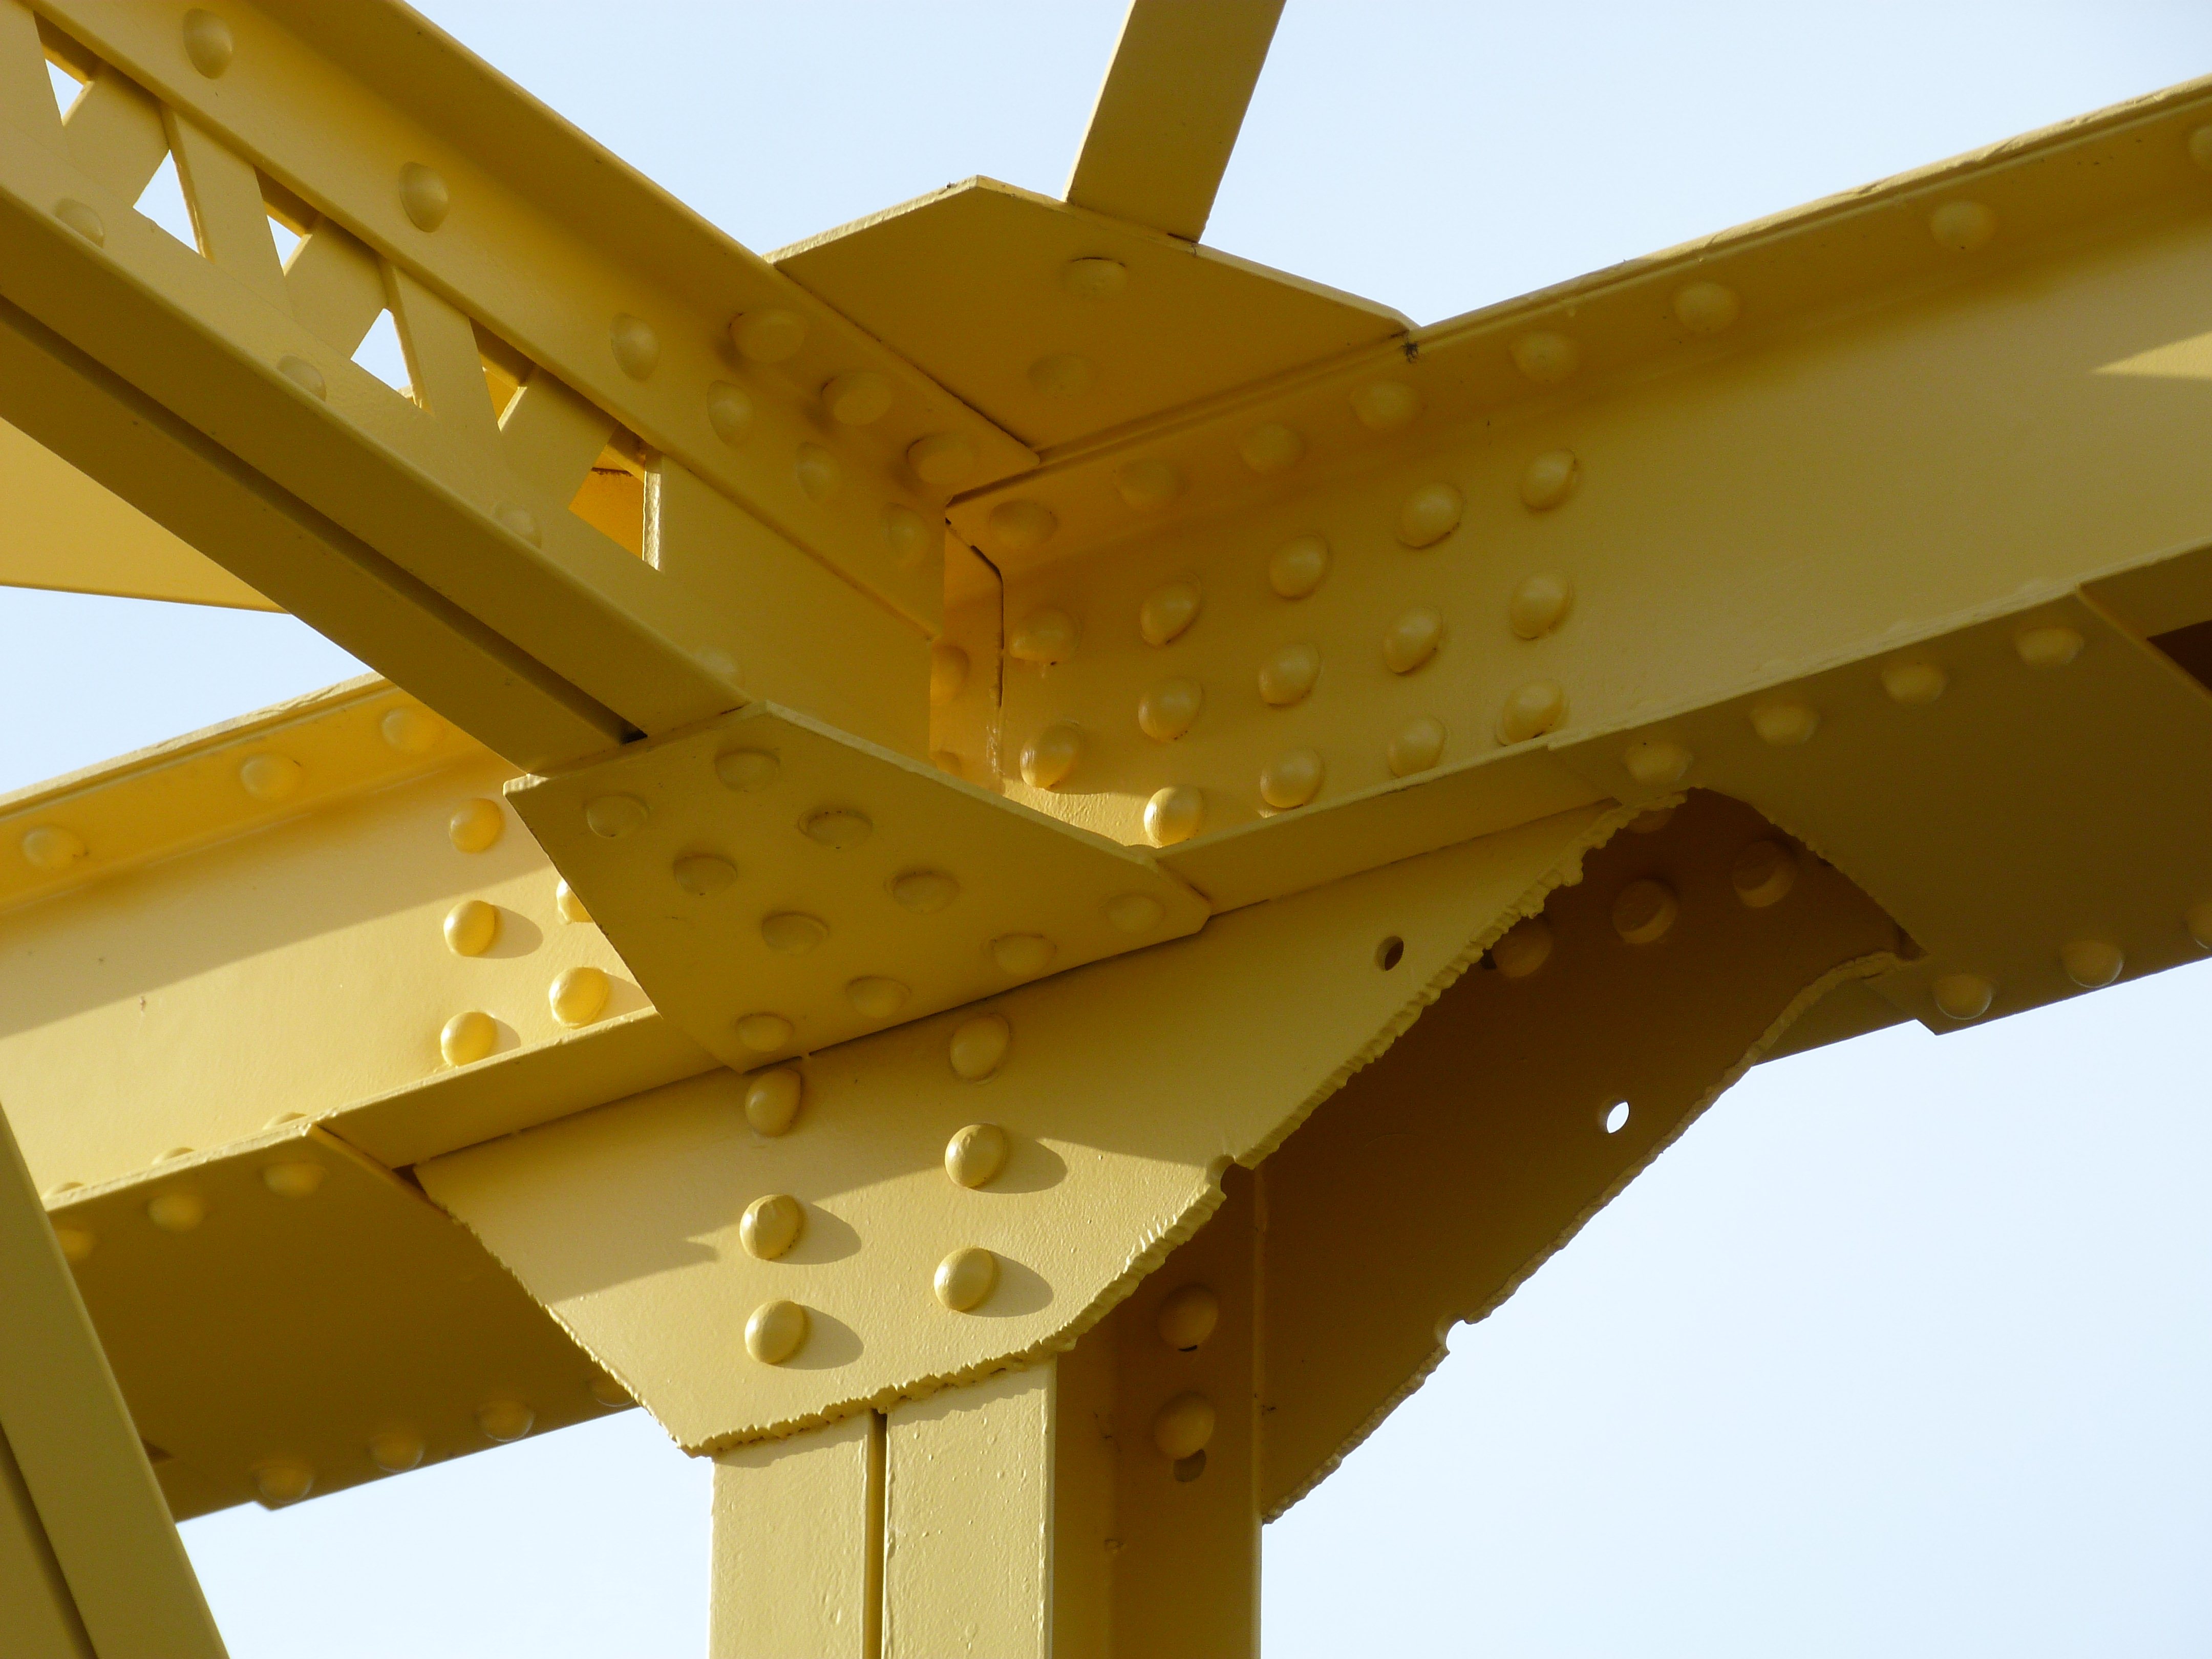
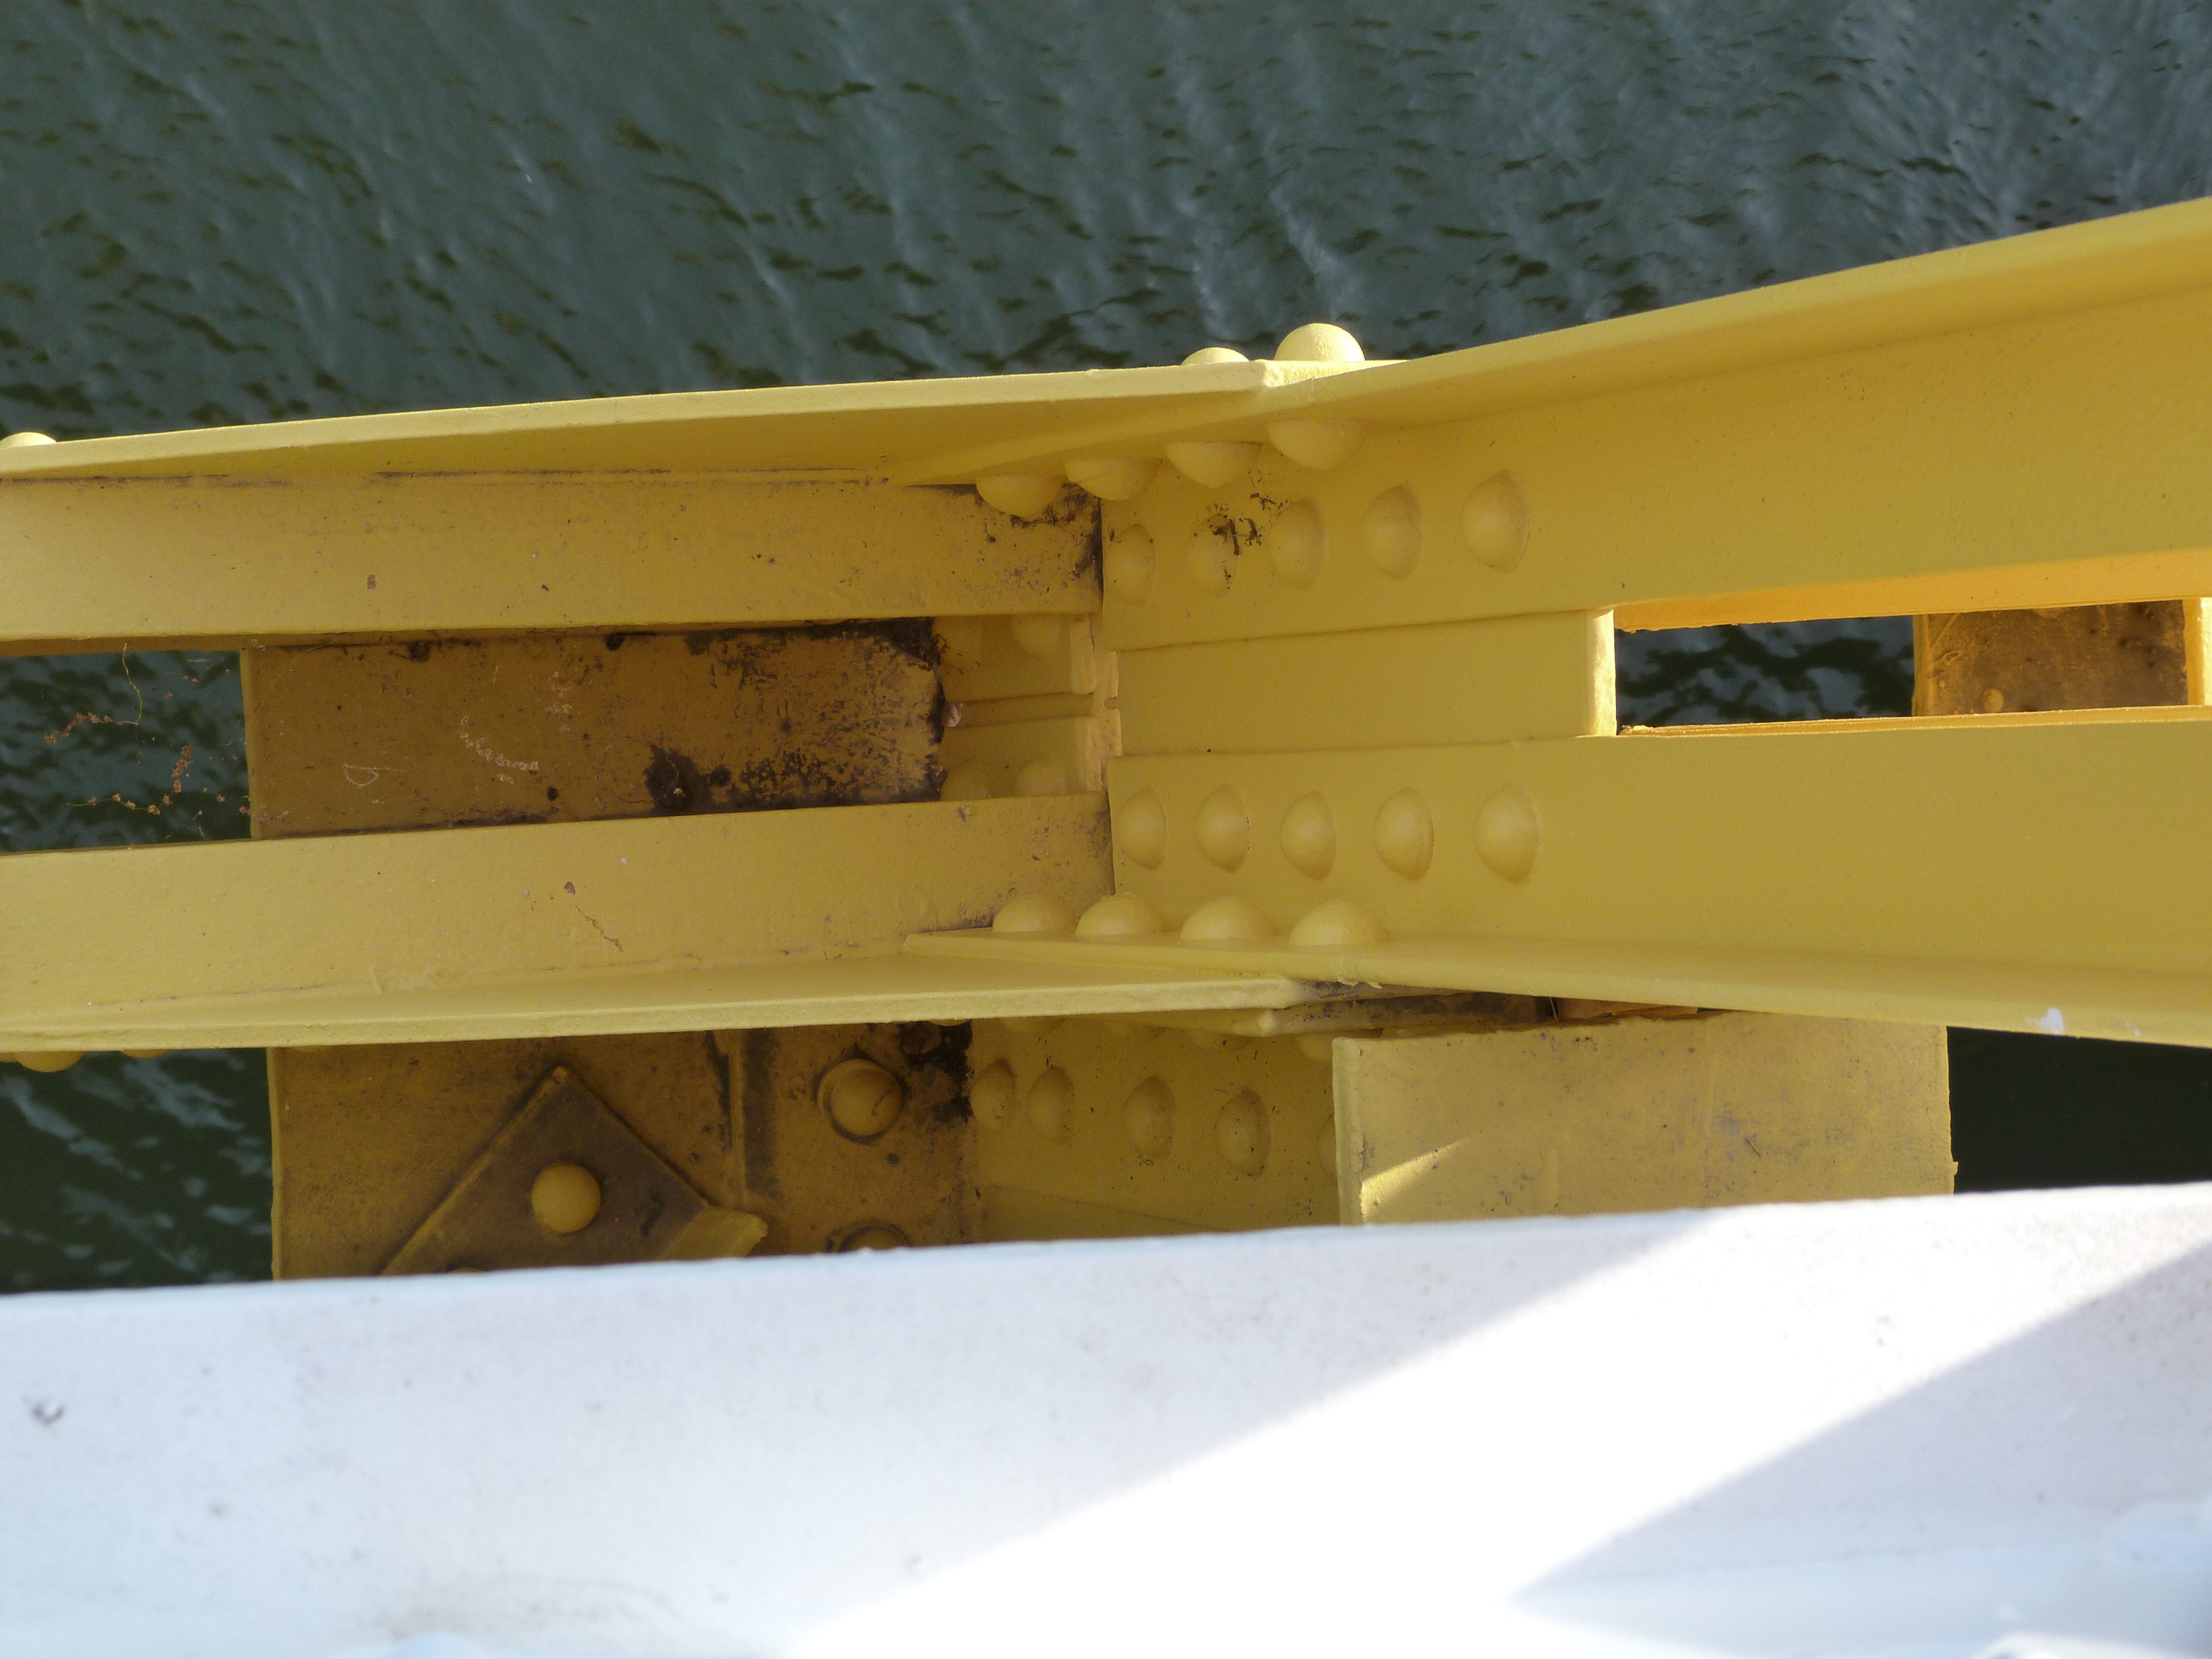
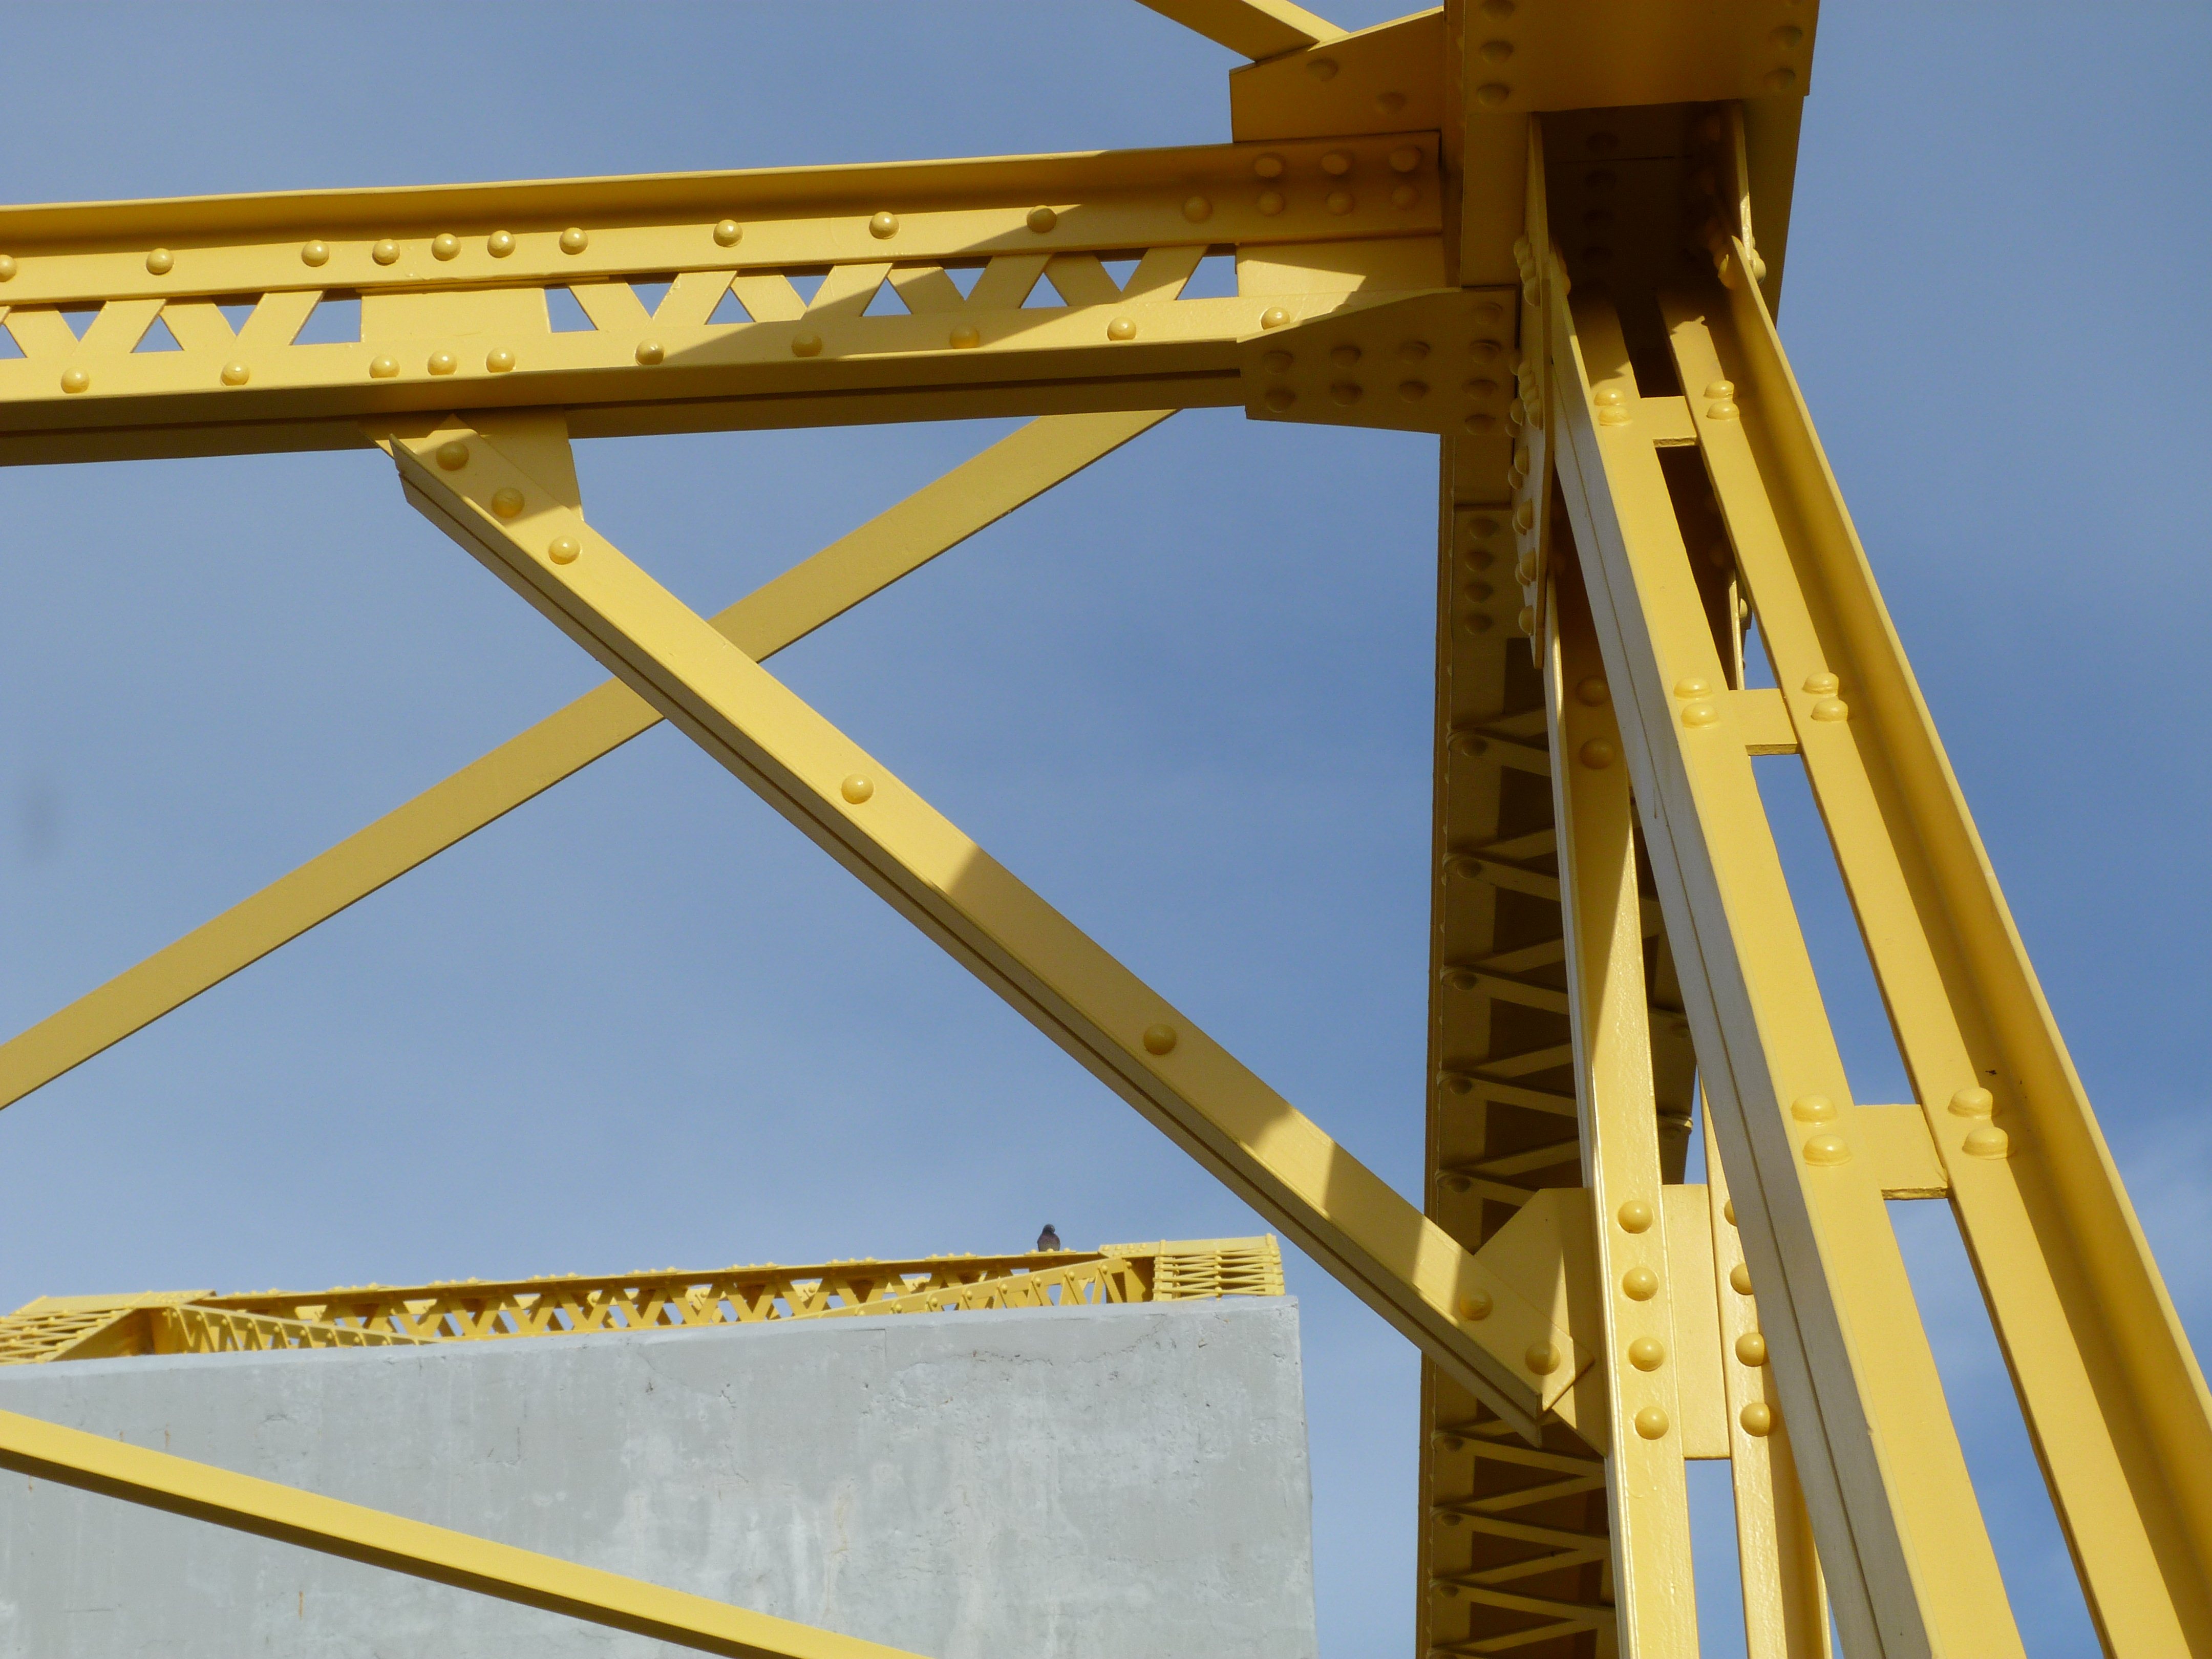
Top chord connections.
![]()


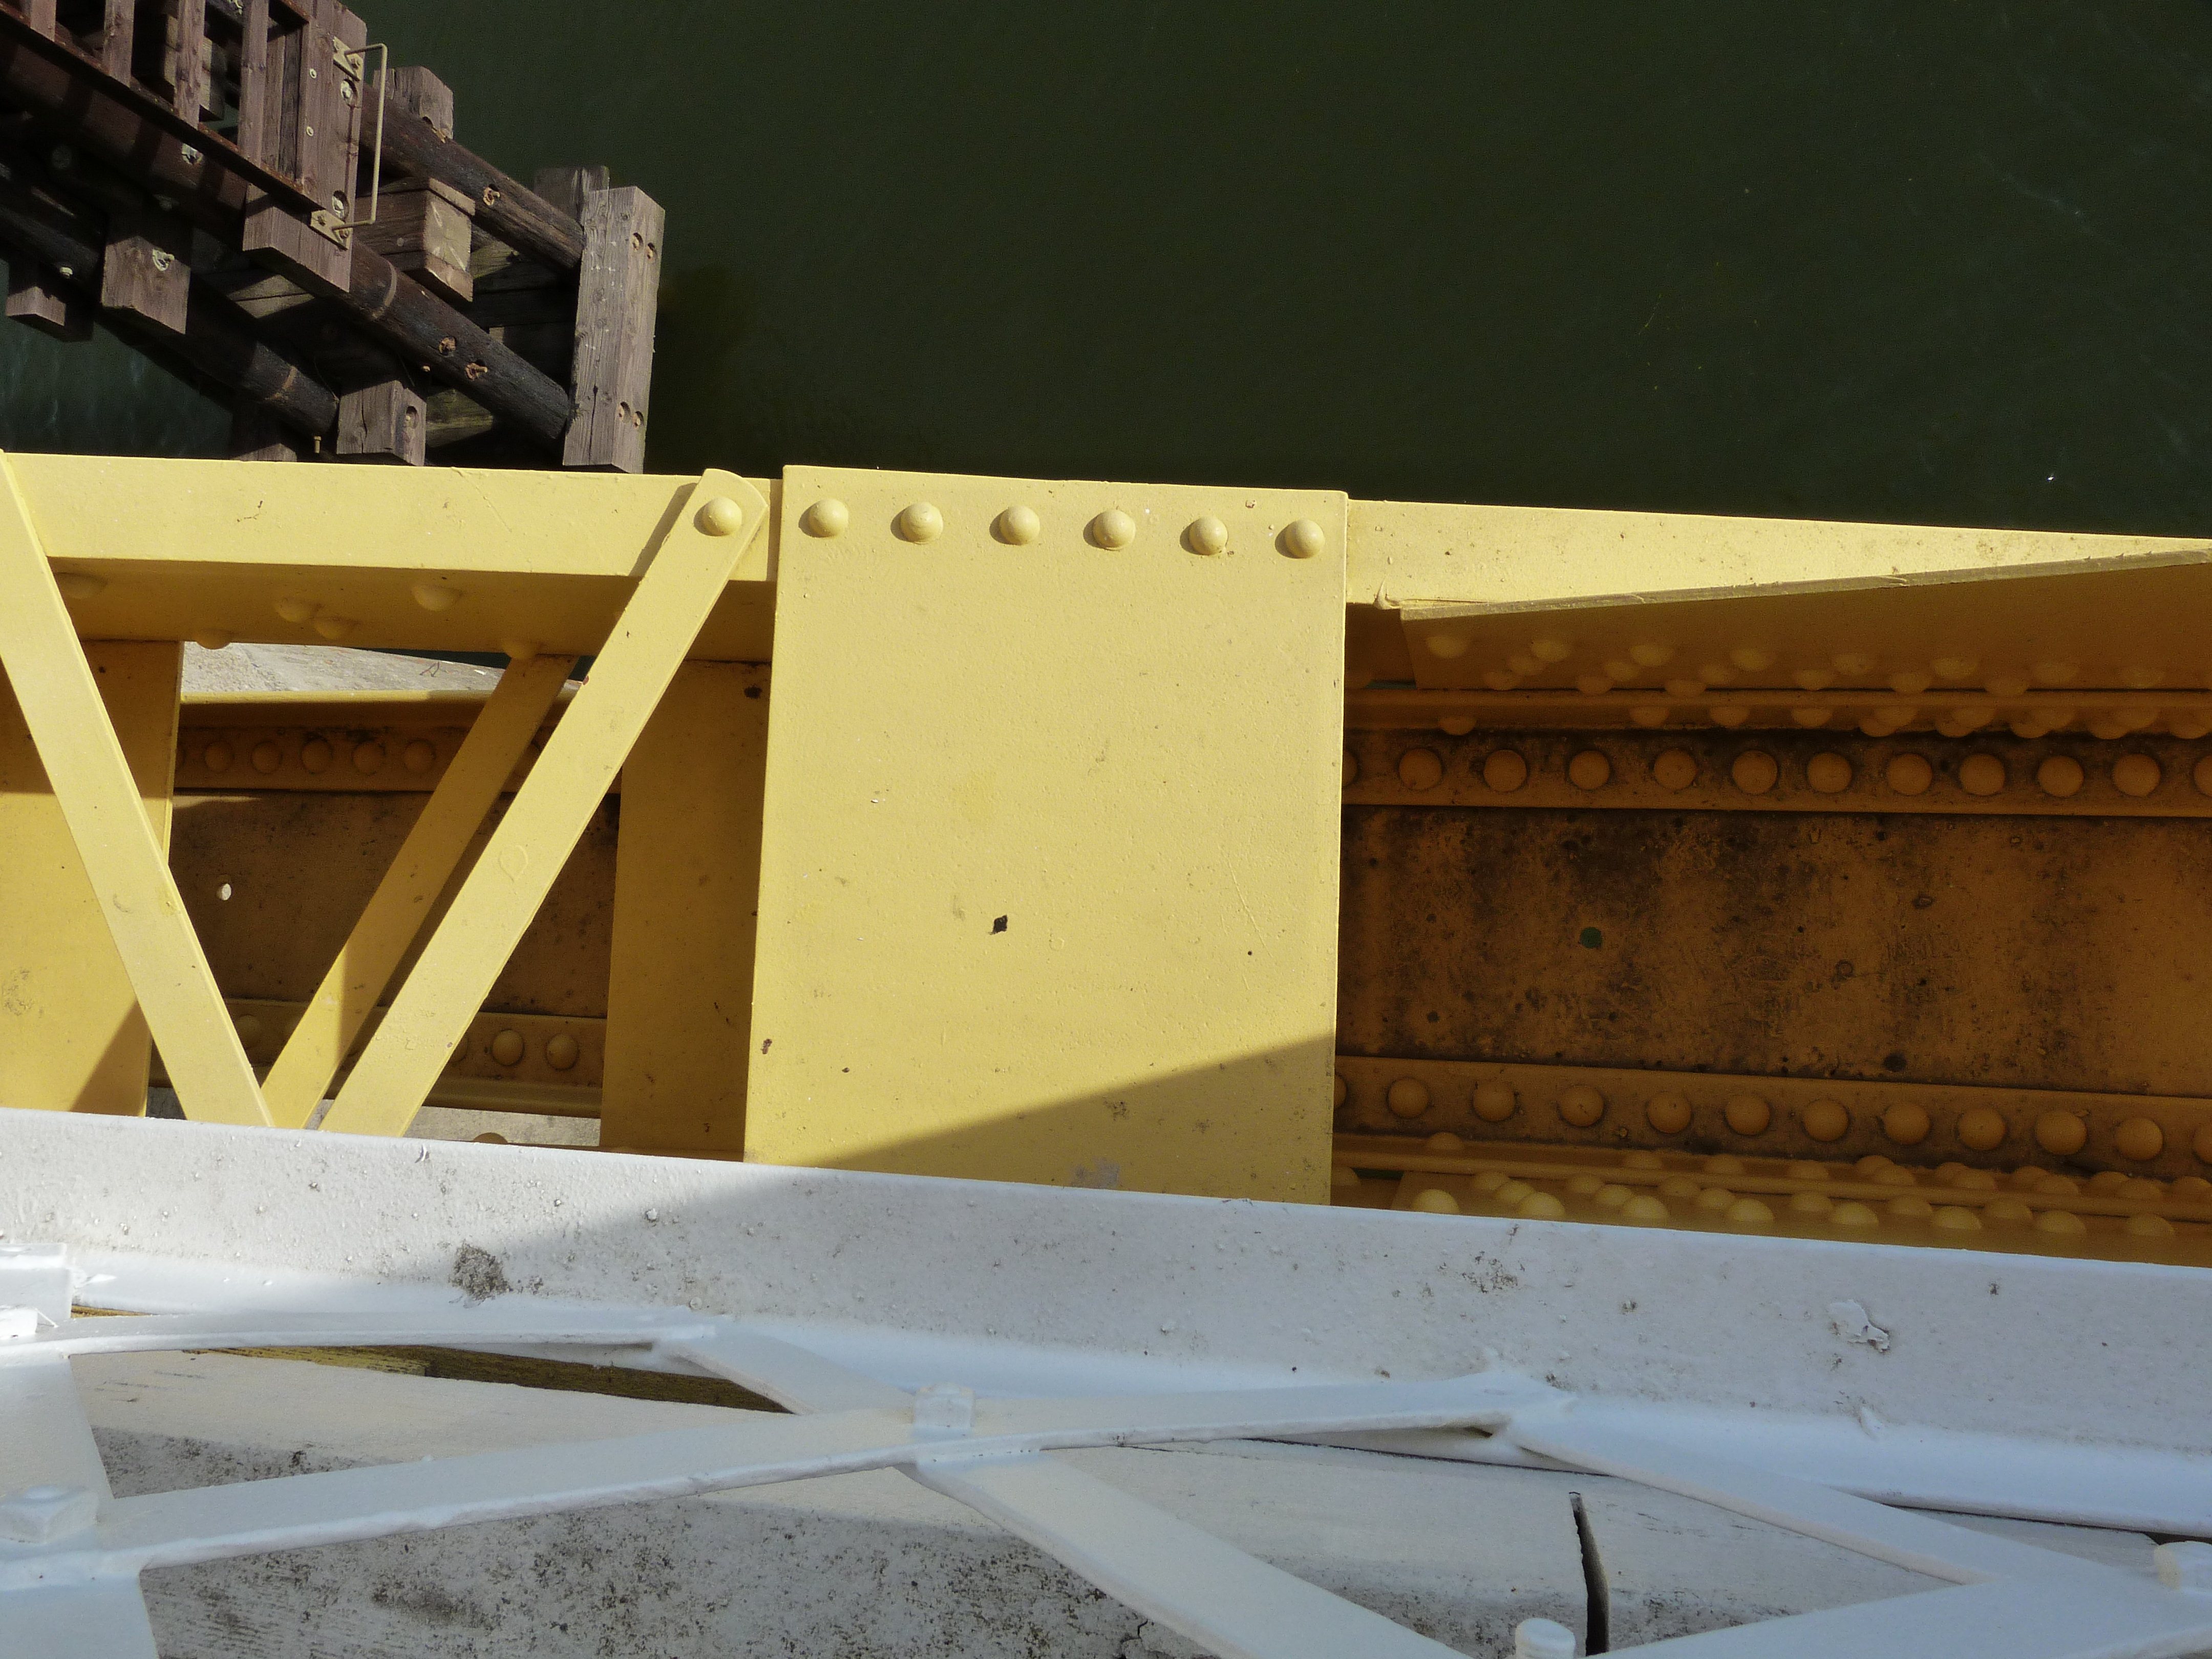
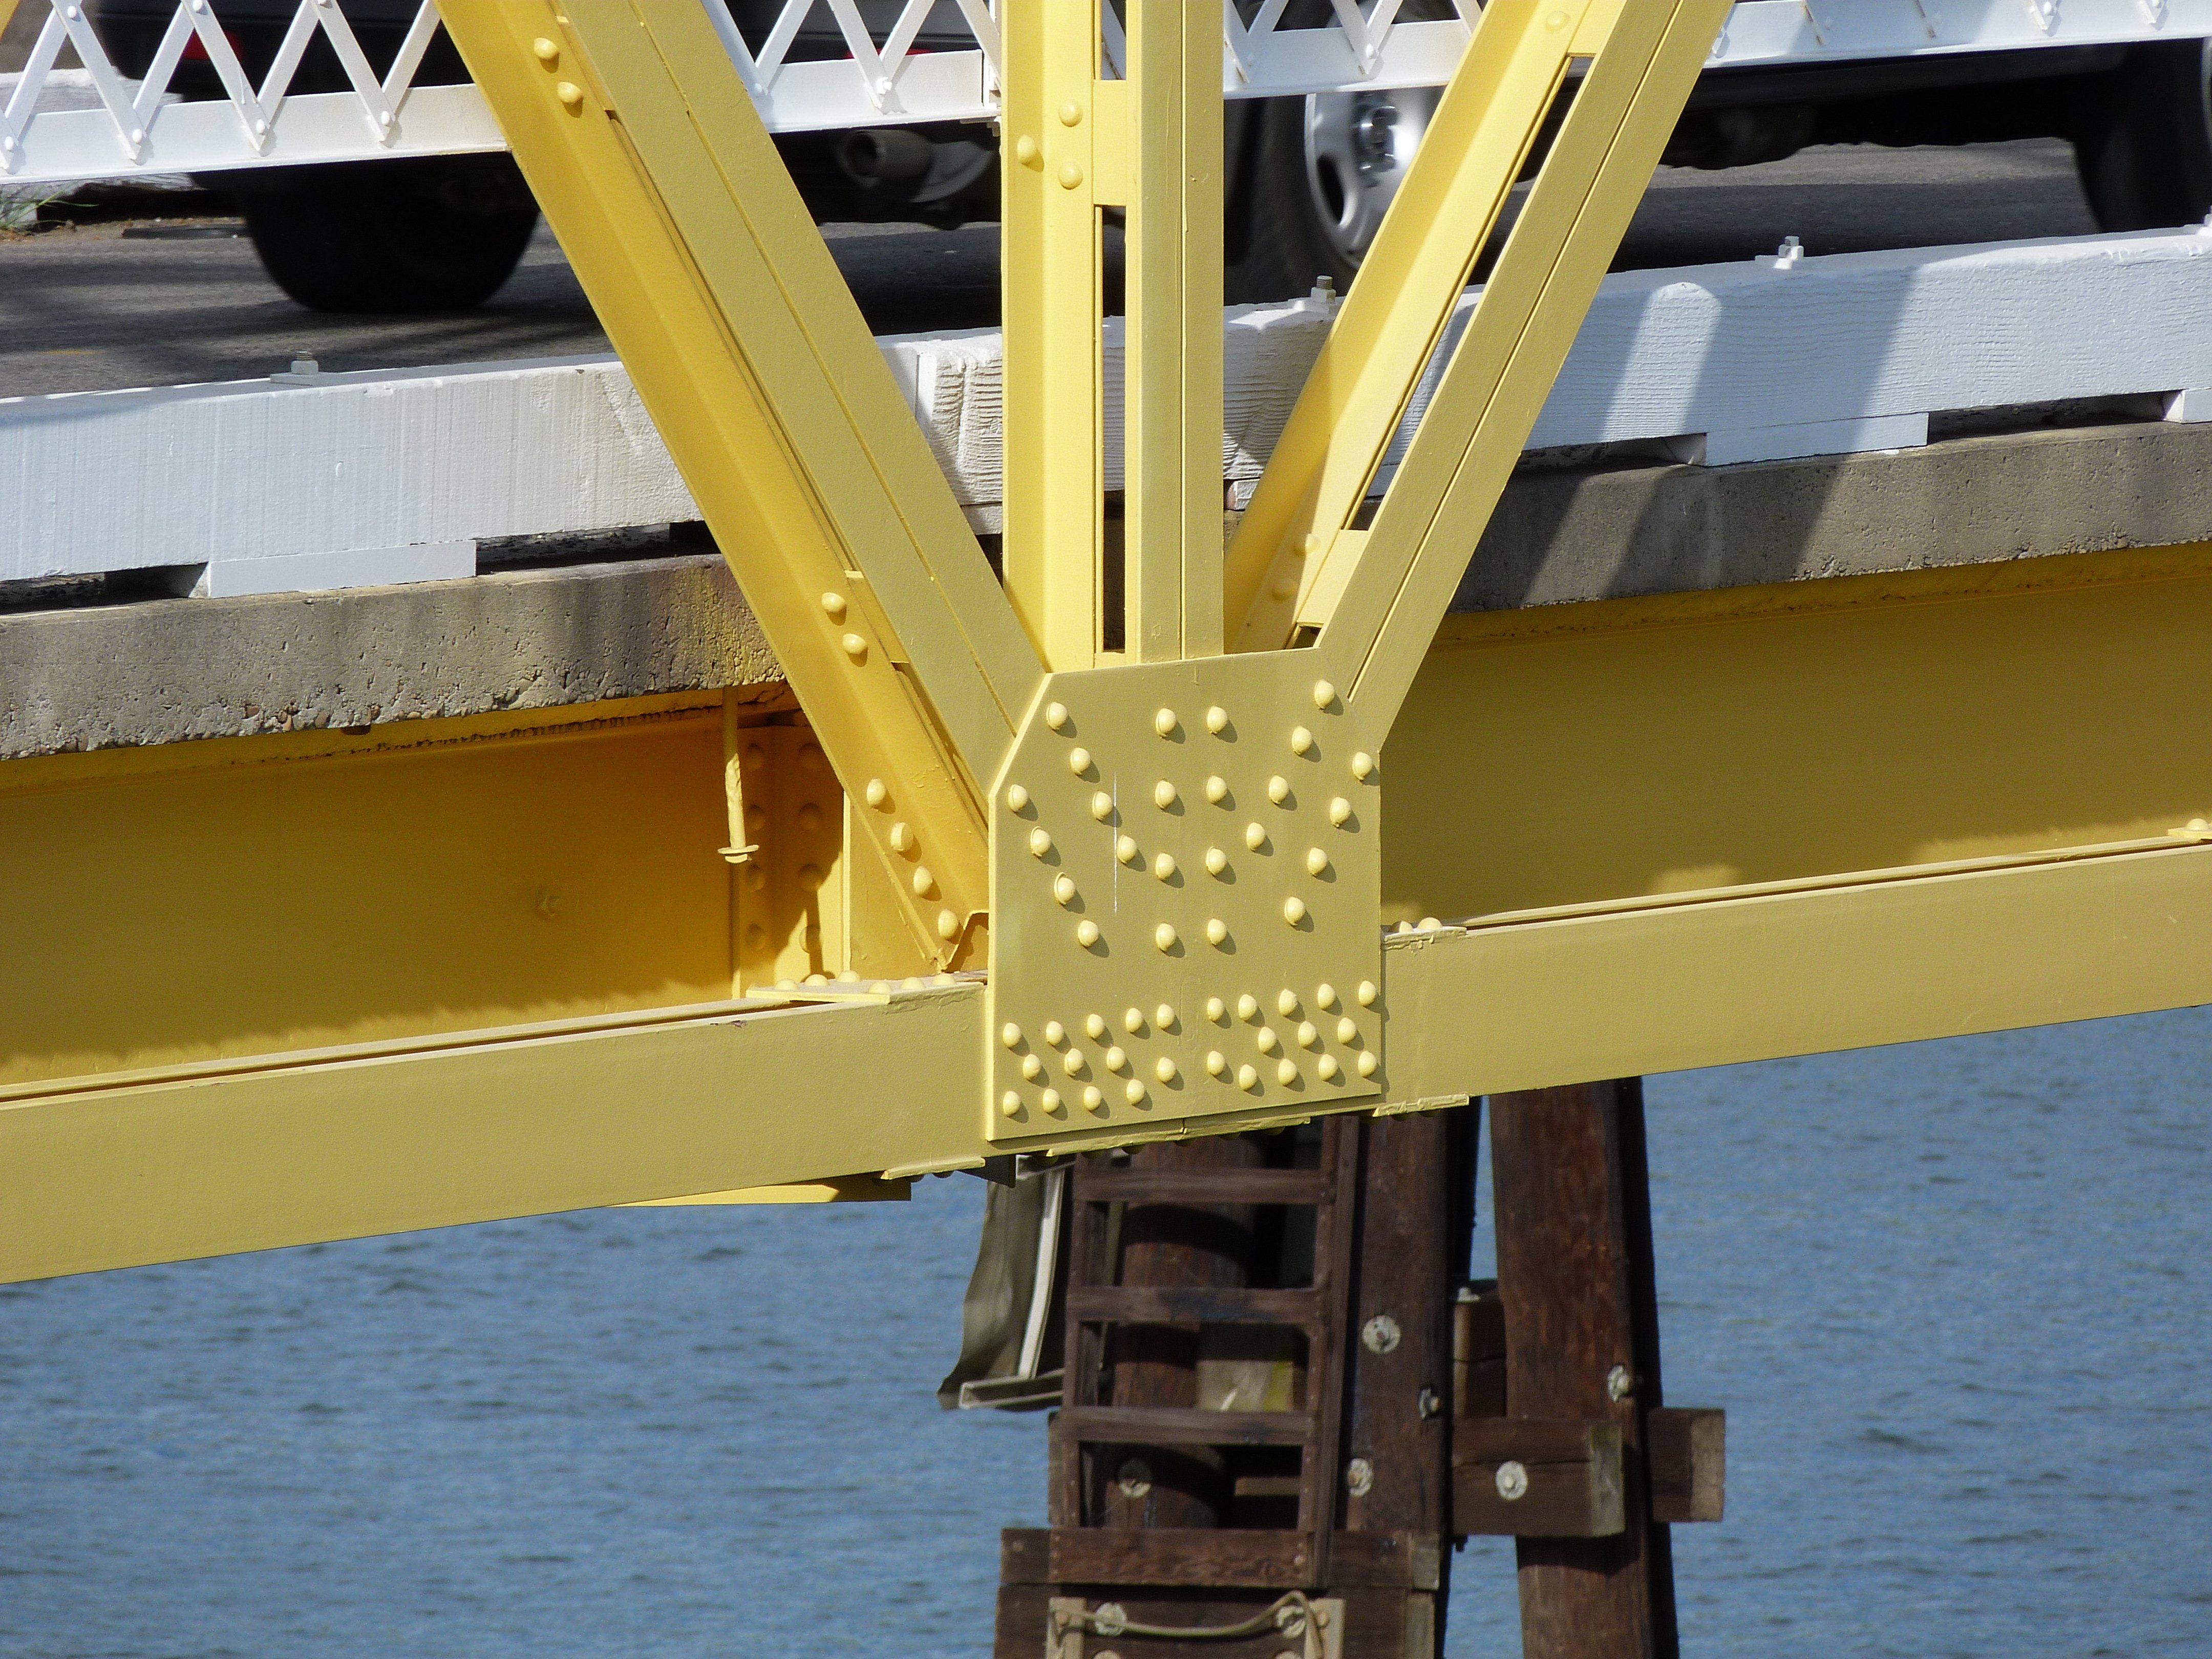
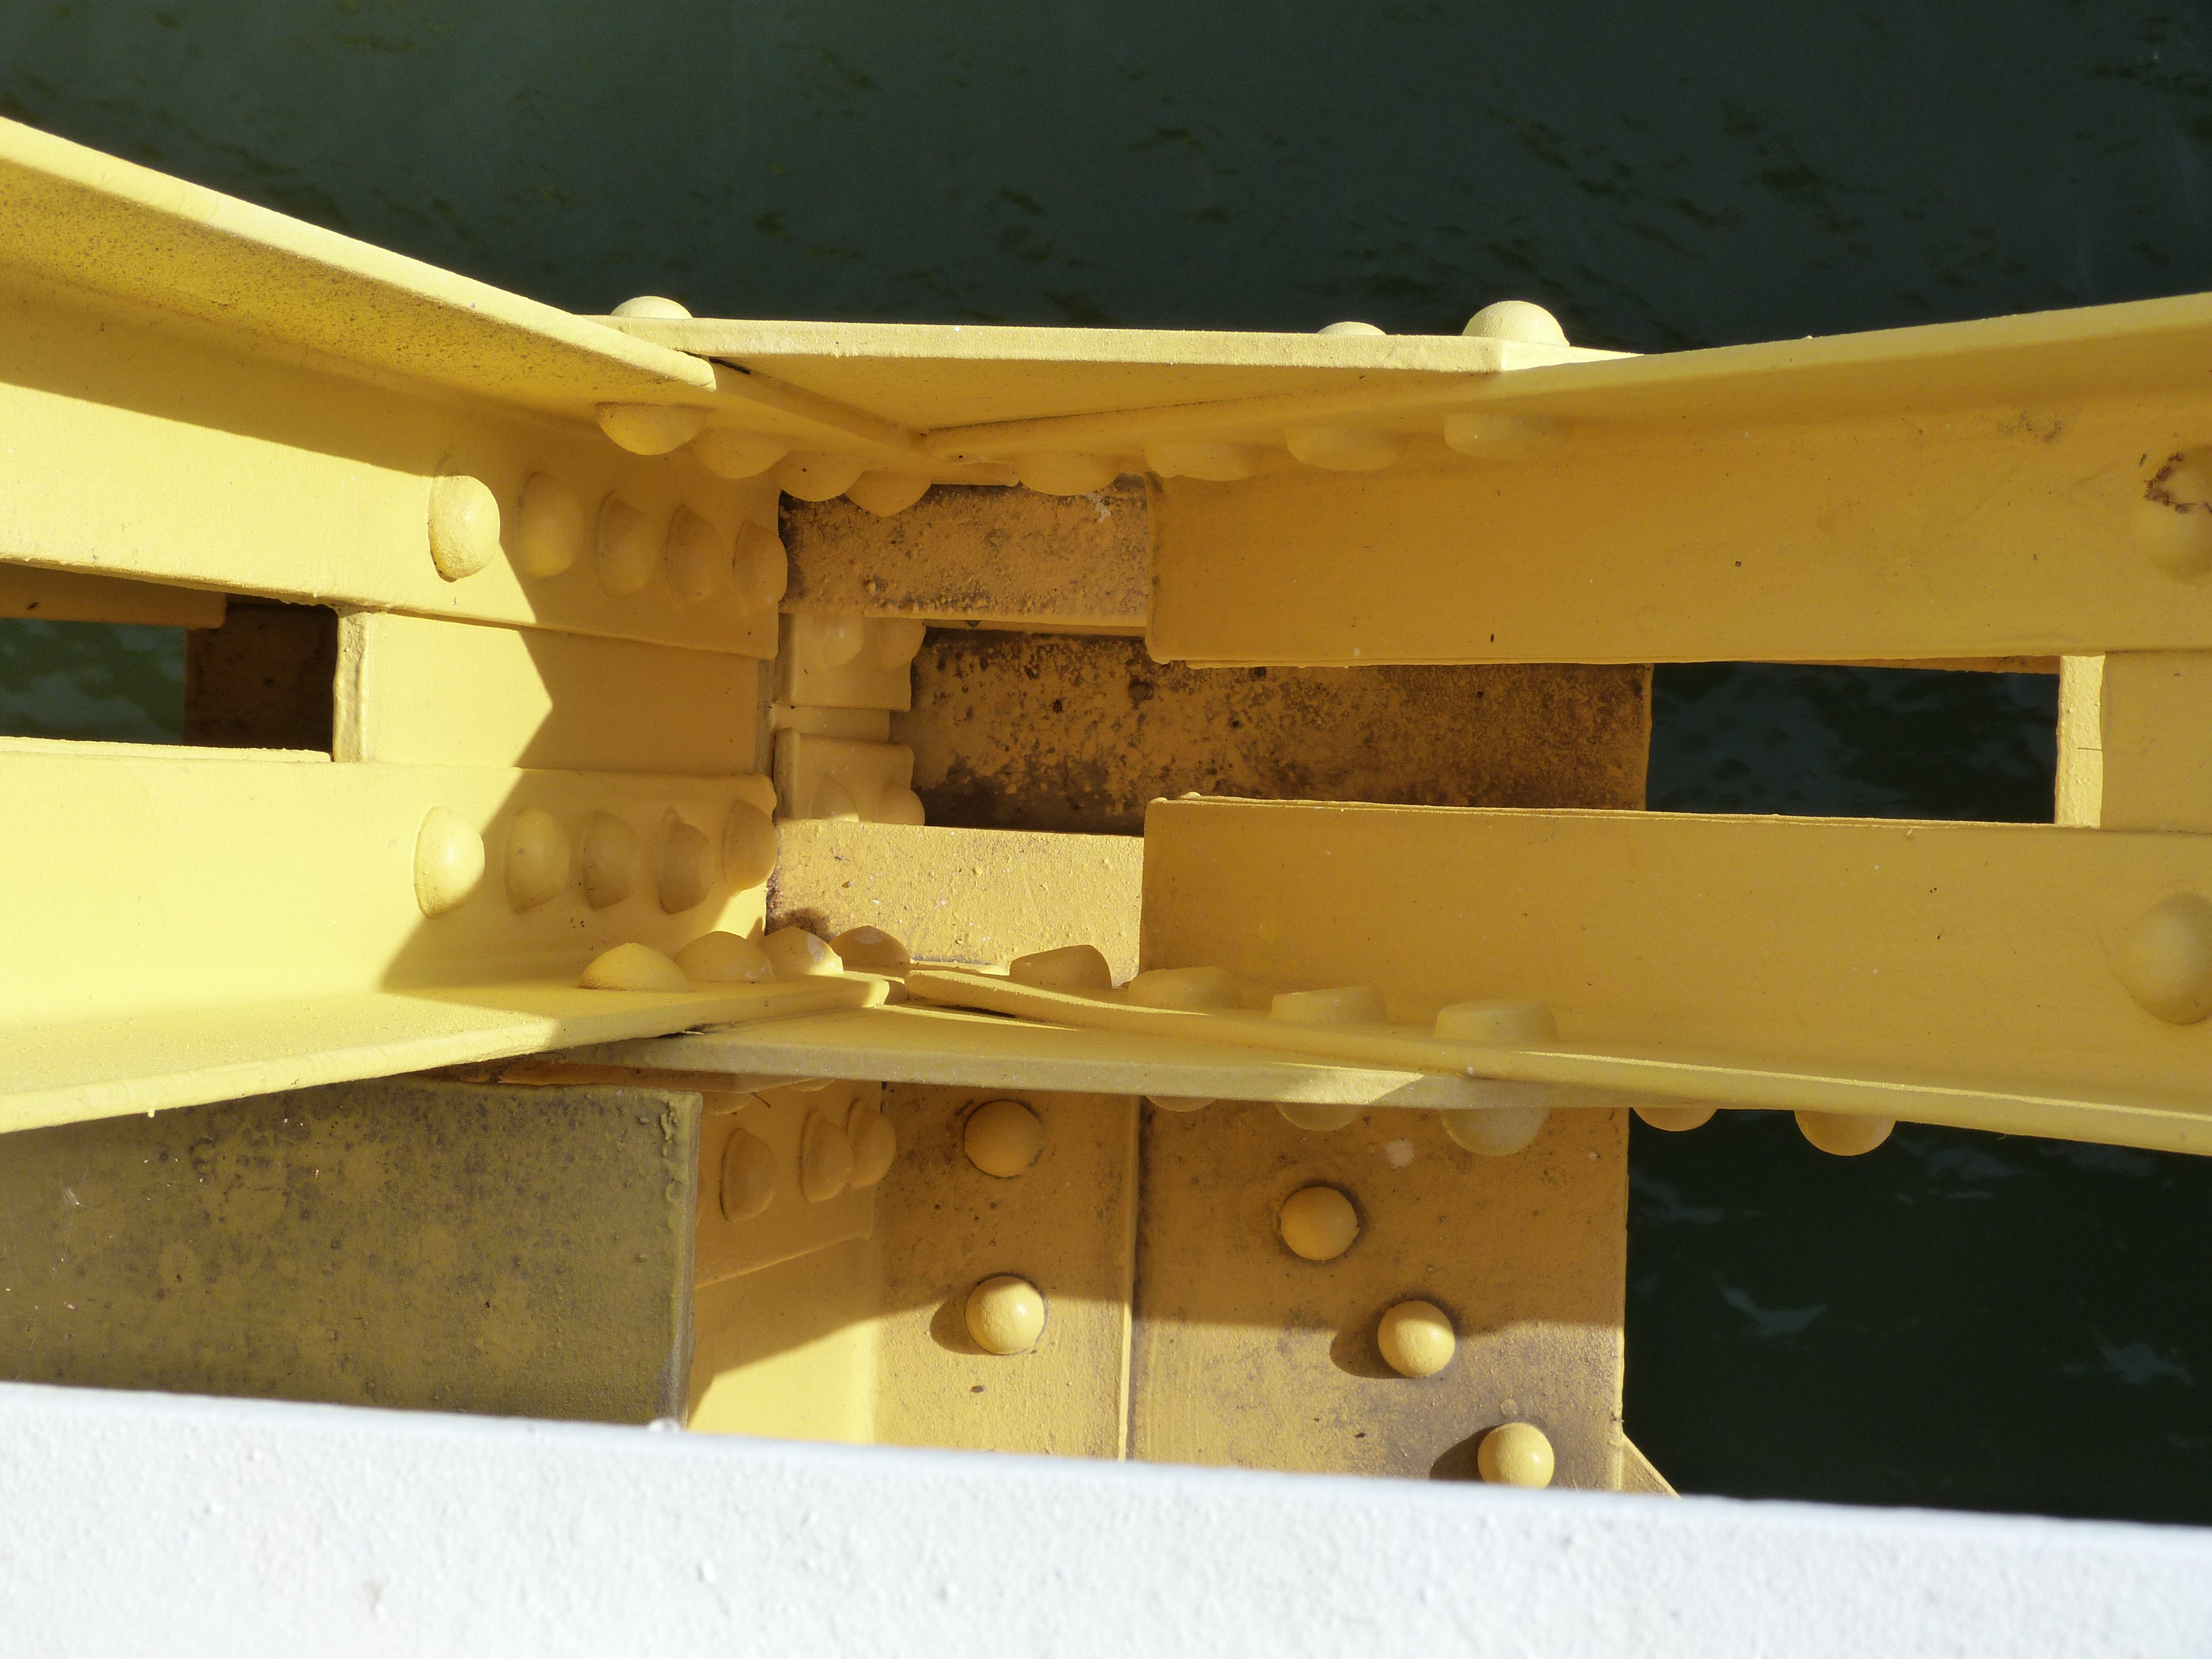
Bottom chord connections.
![]()


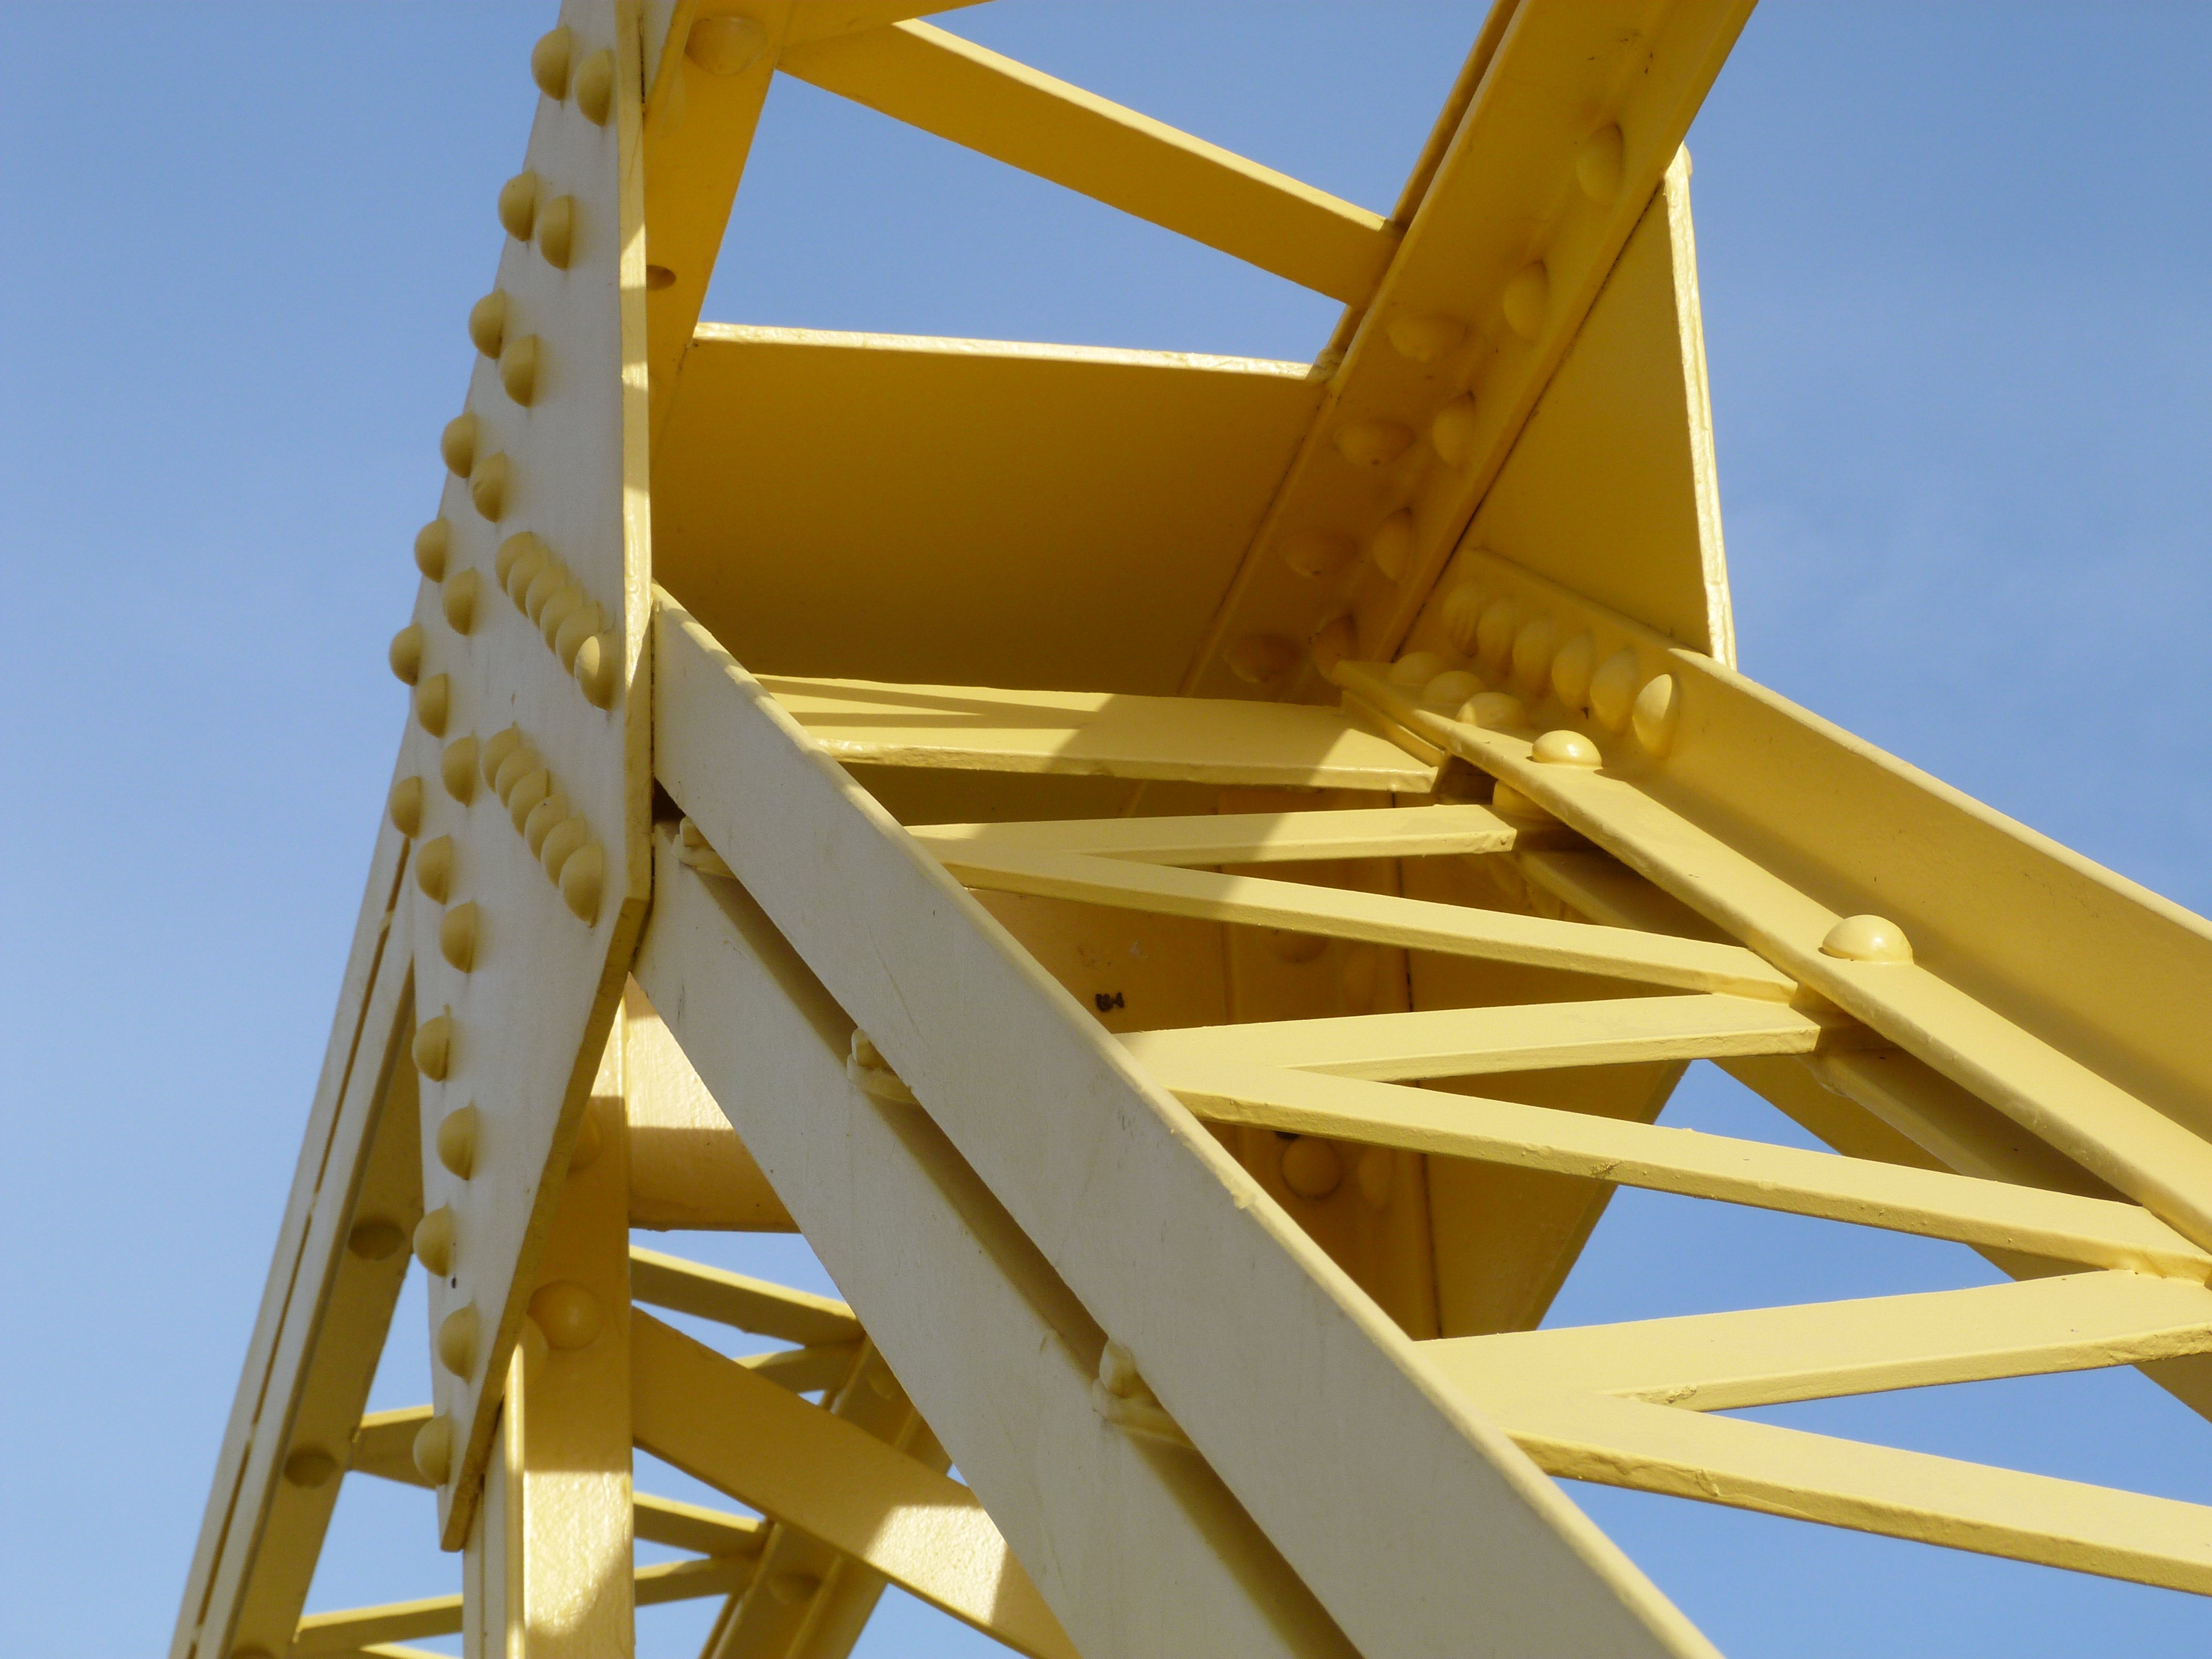
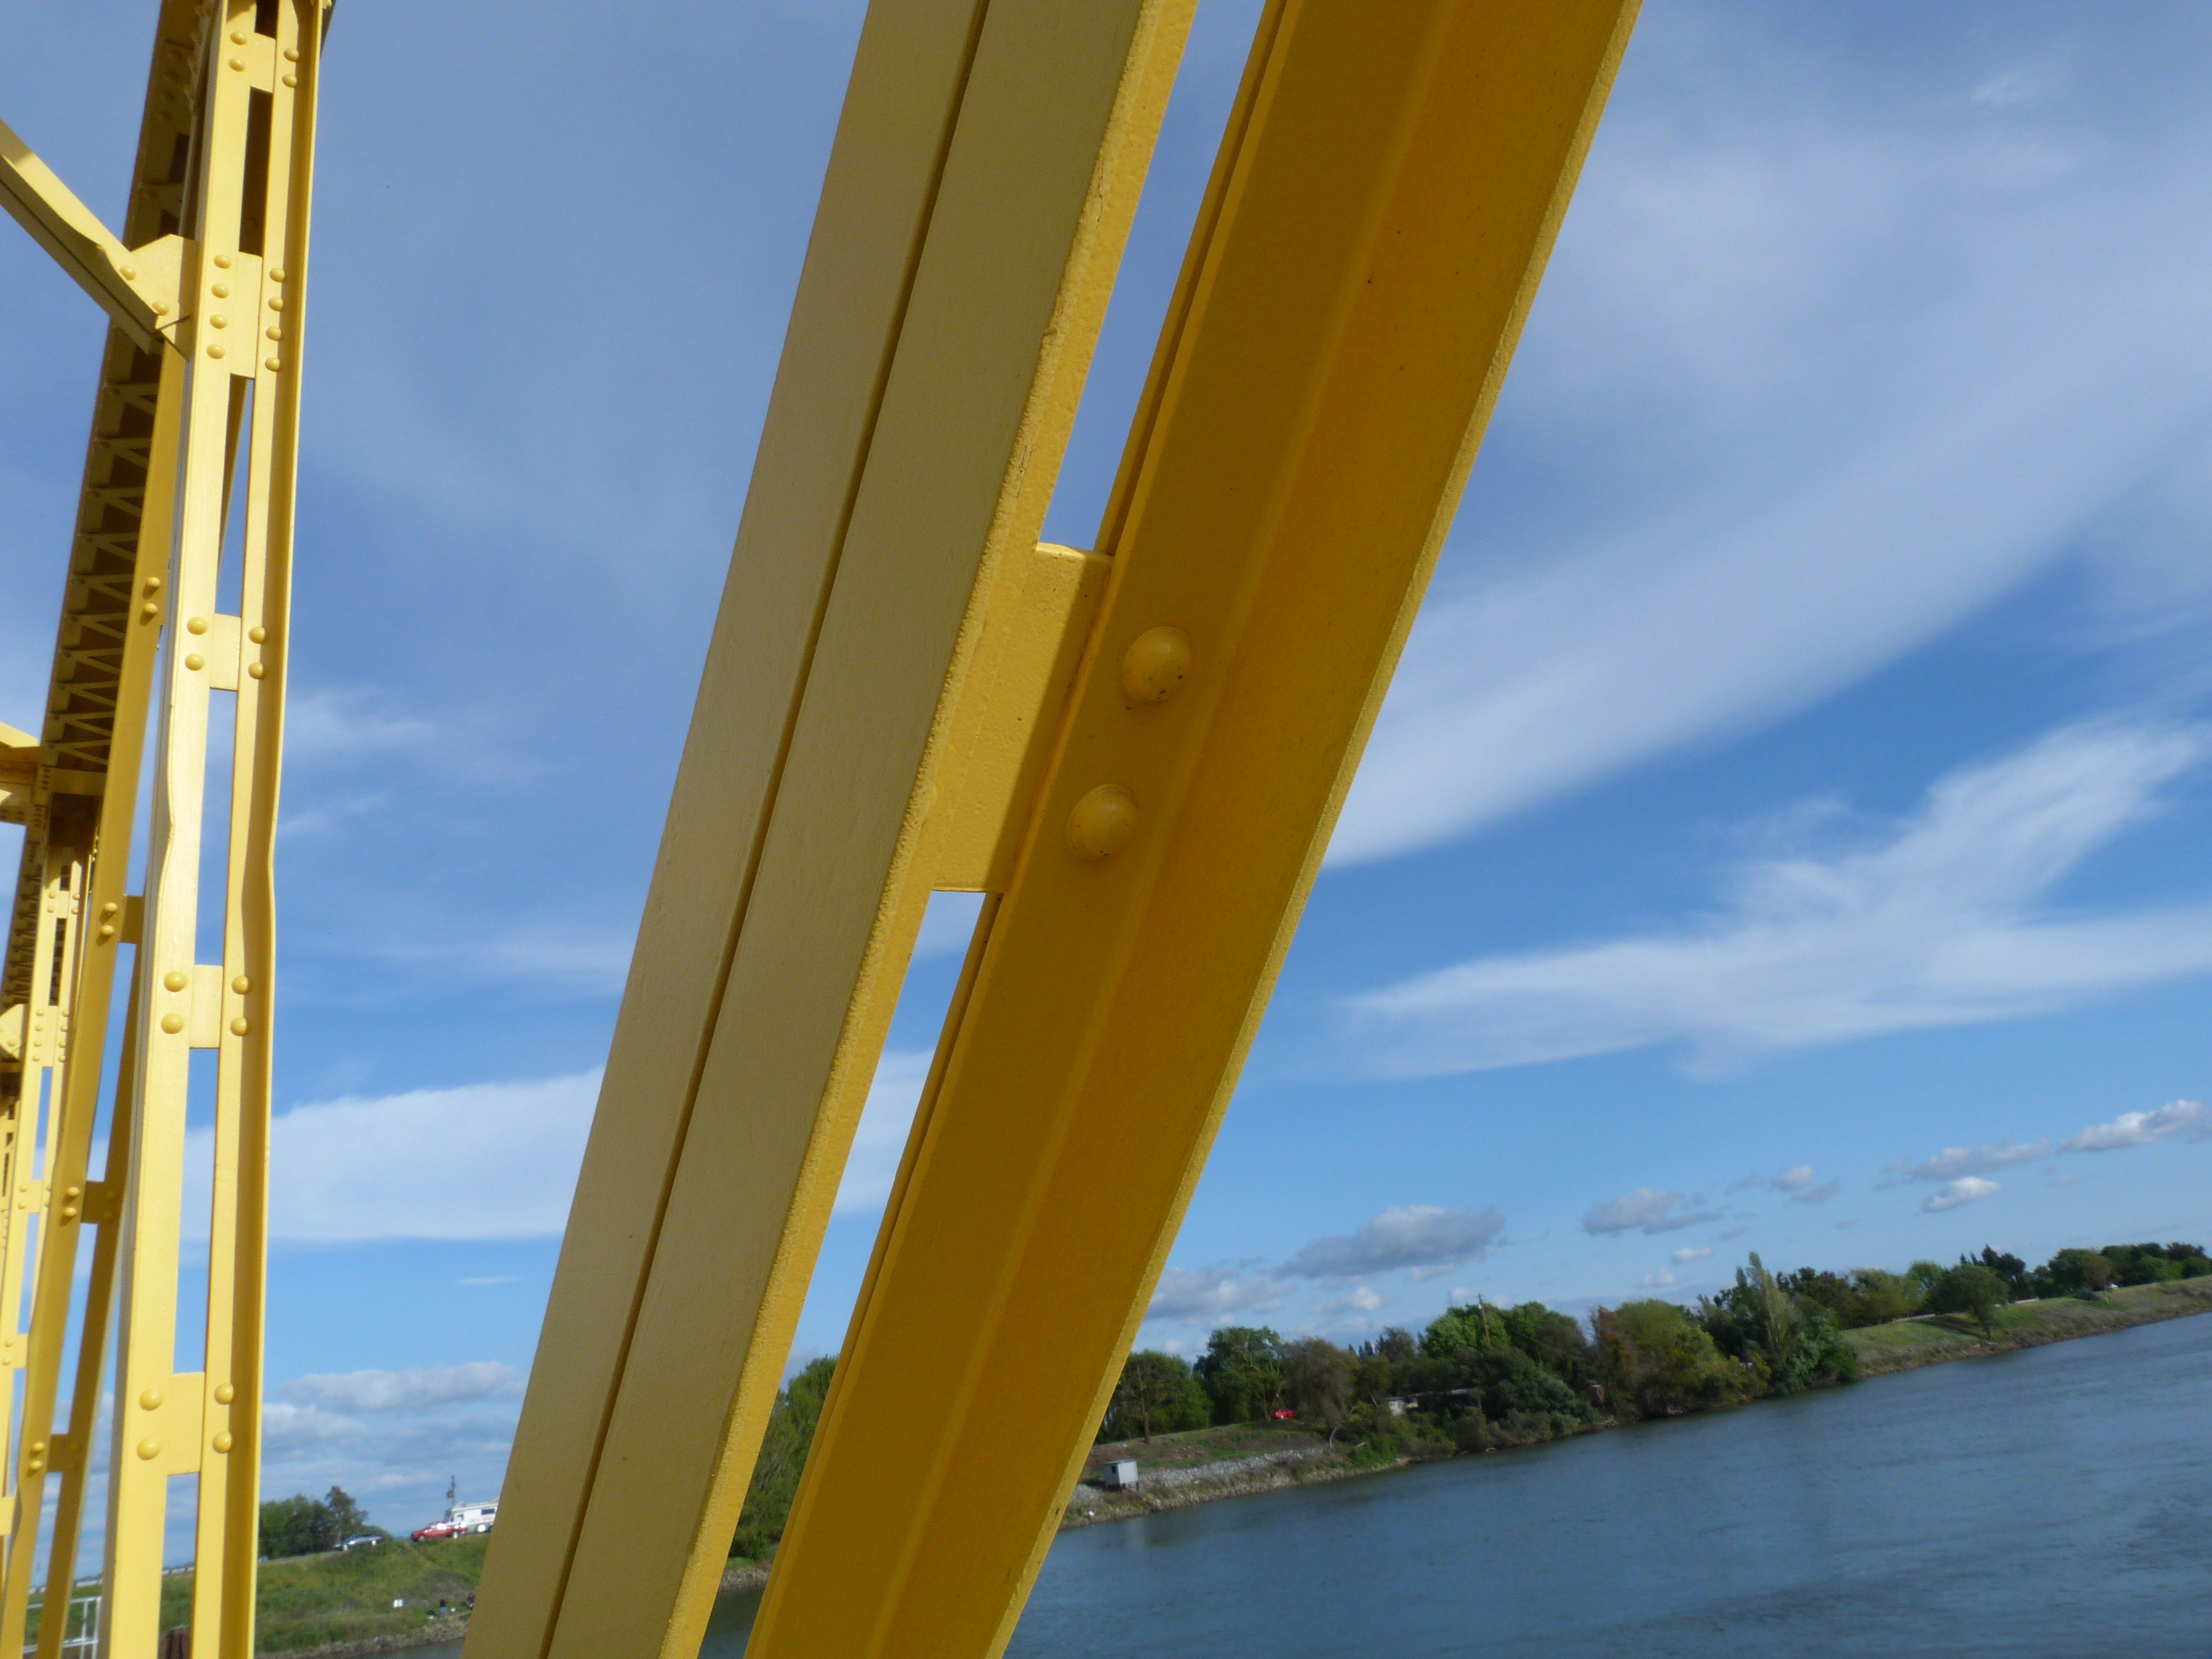
Diagonal members.
![]()


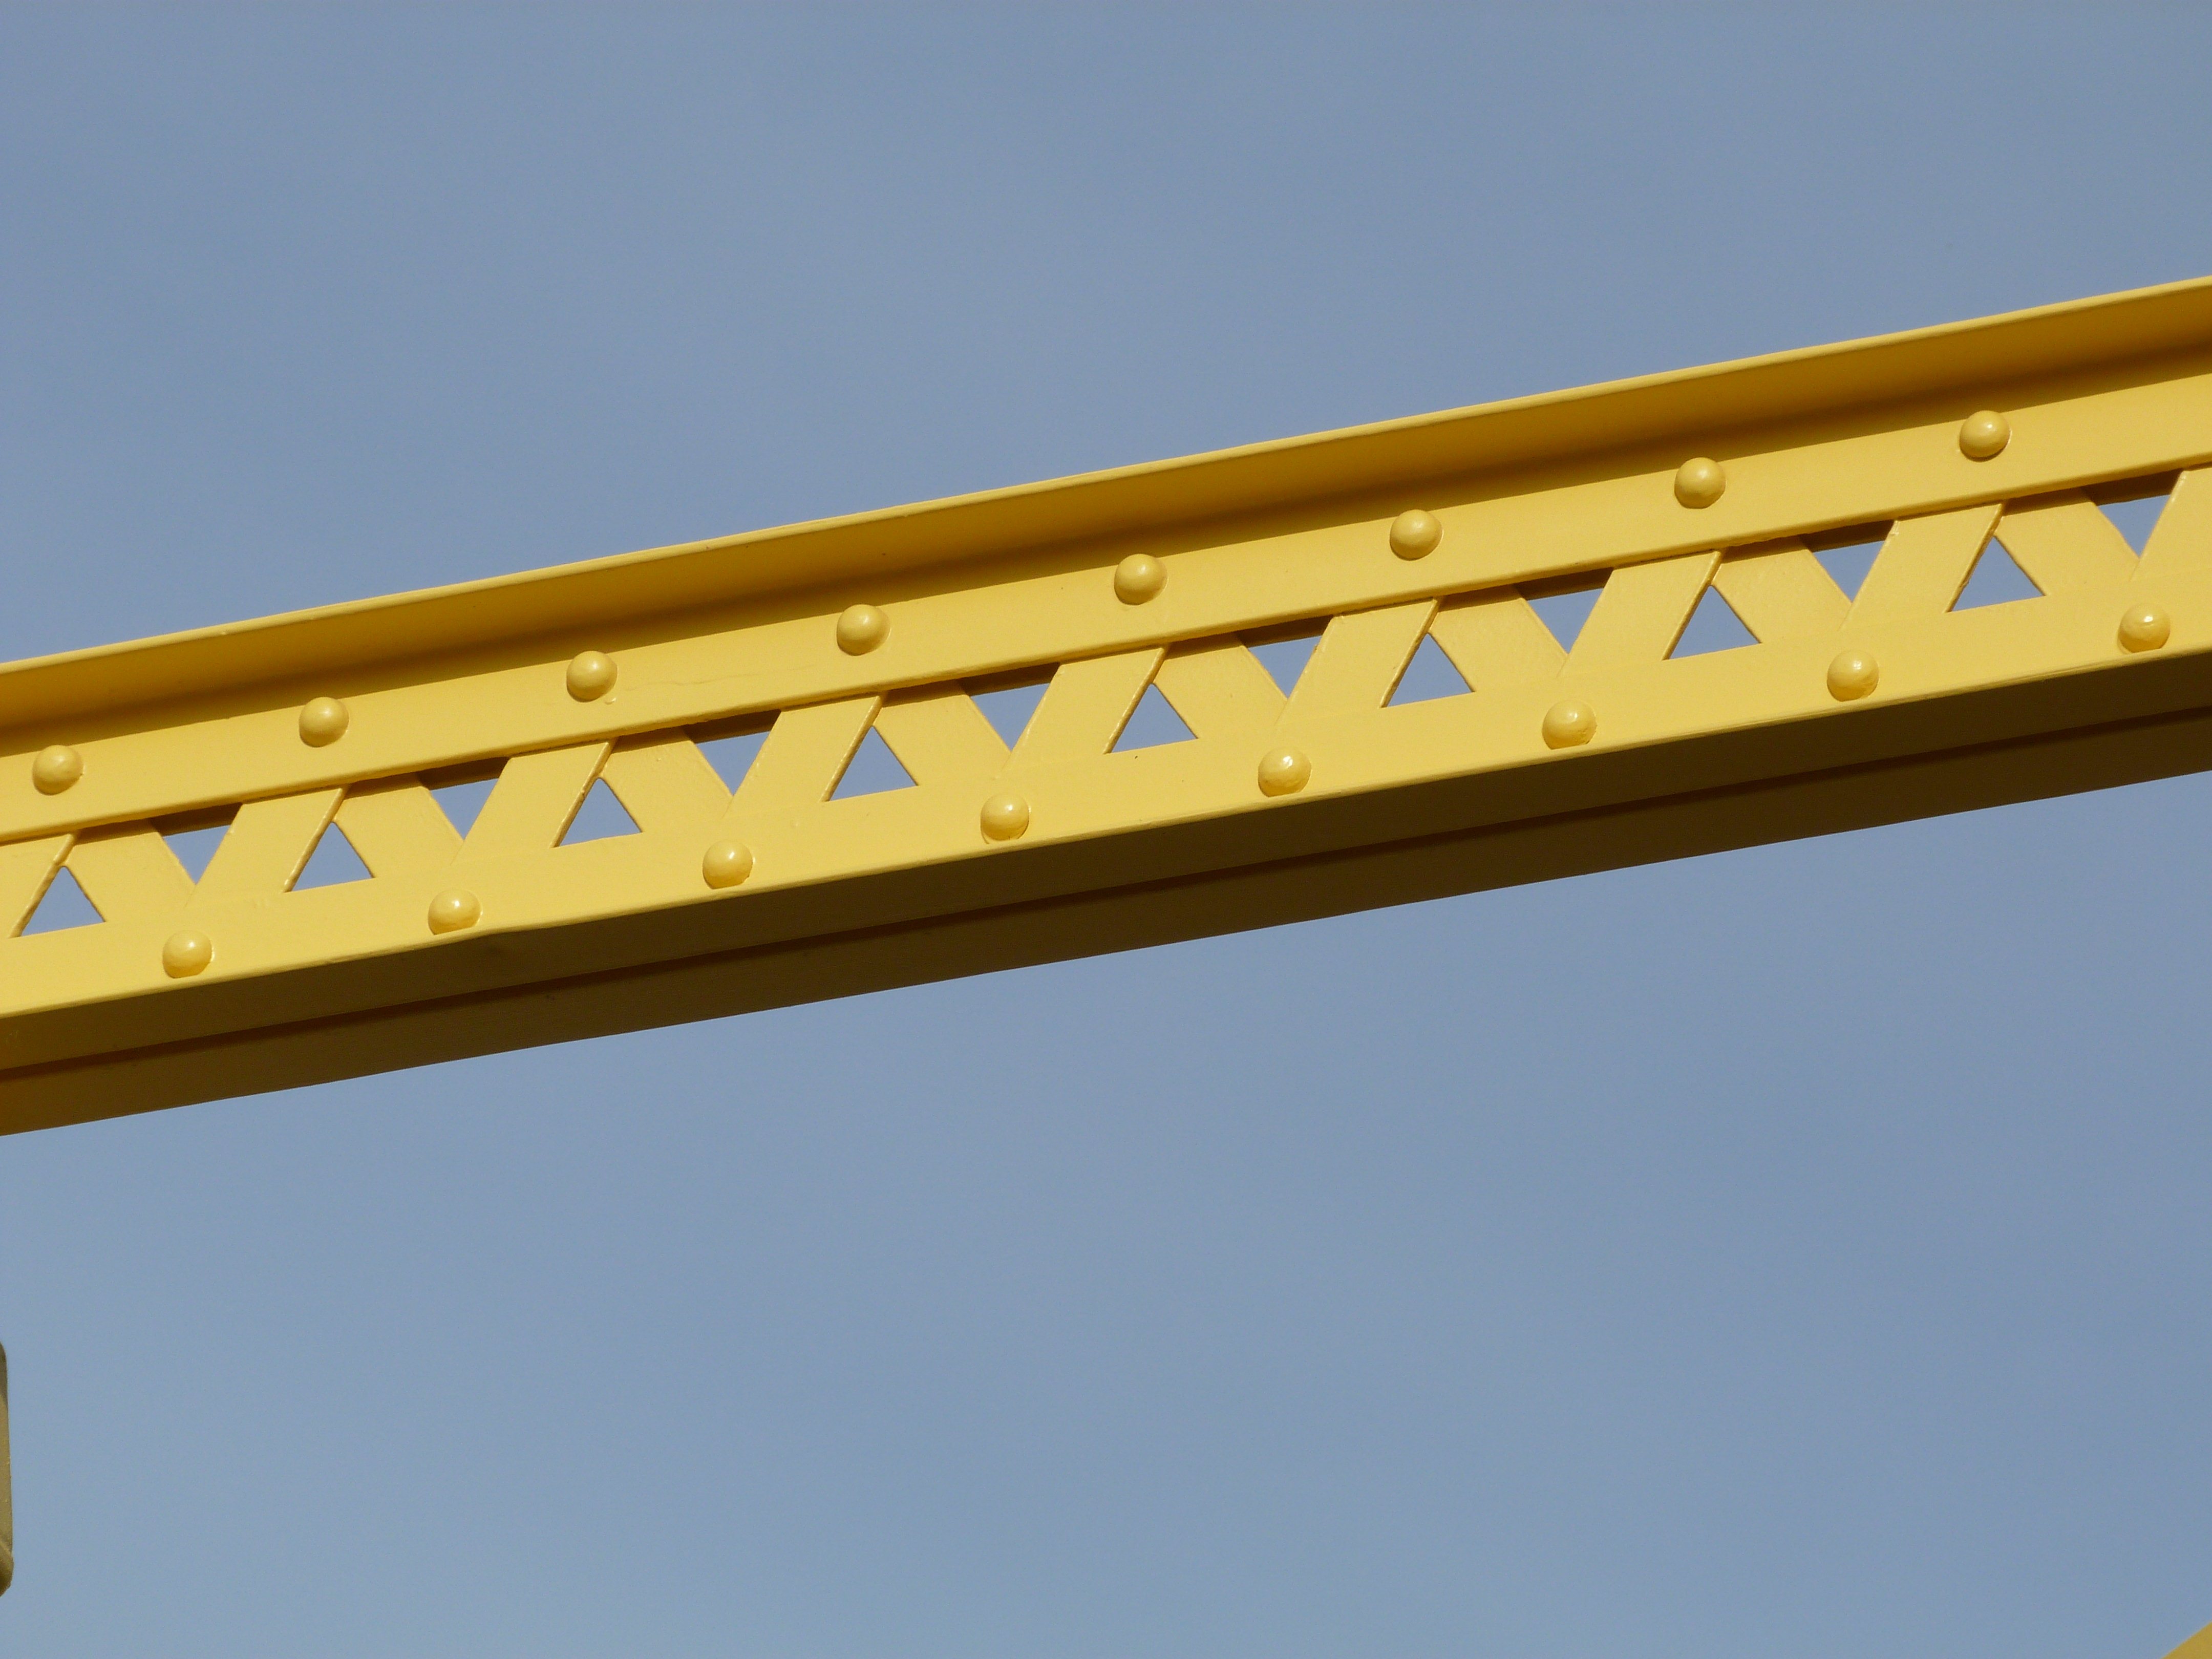
Bottom chord.
![]()


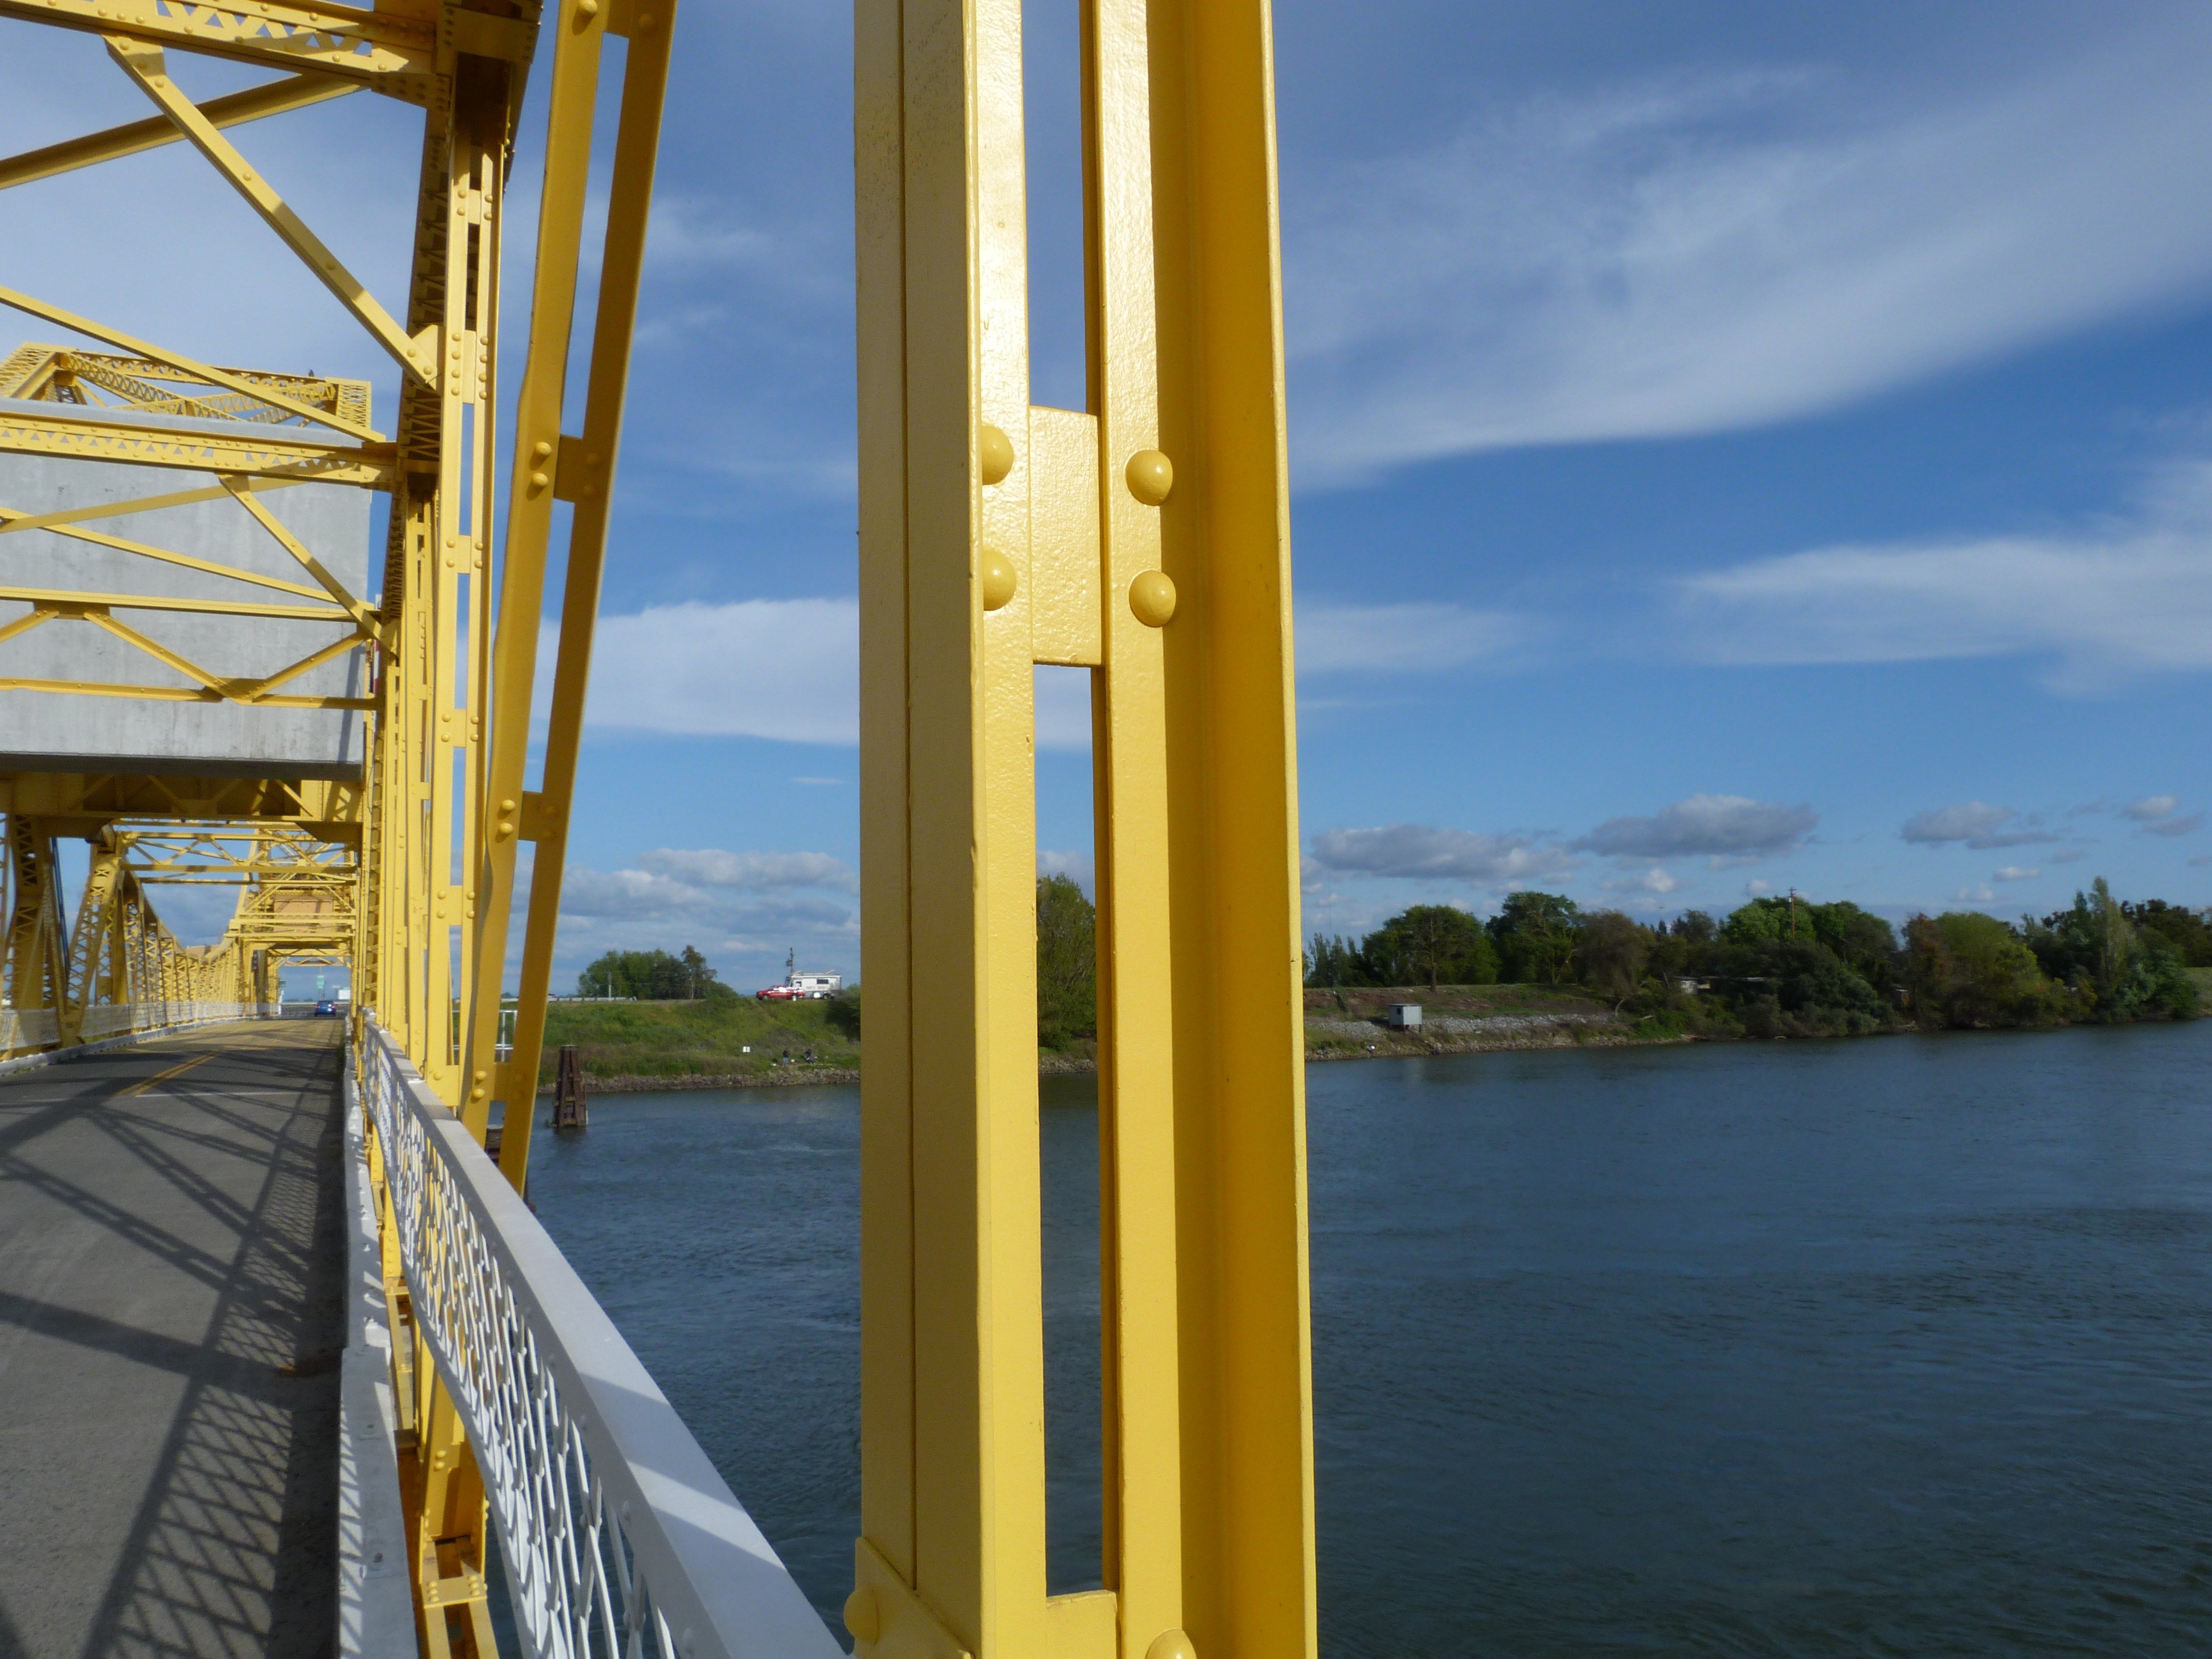
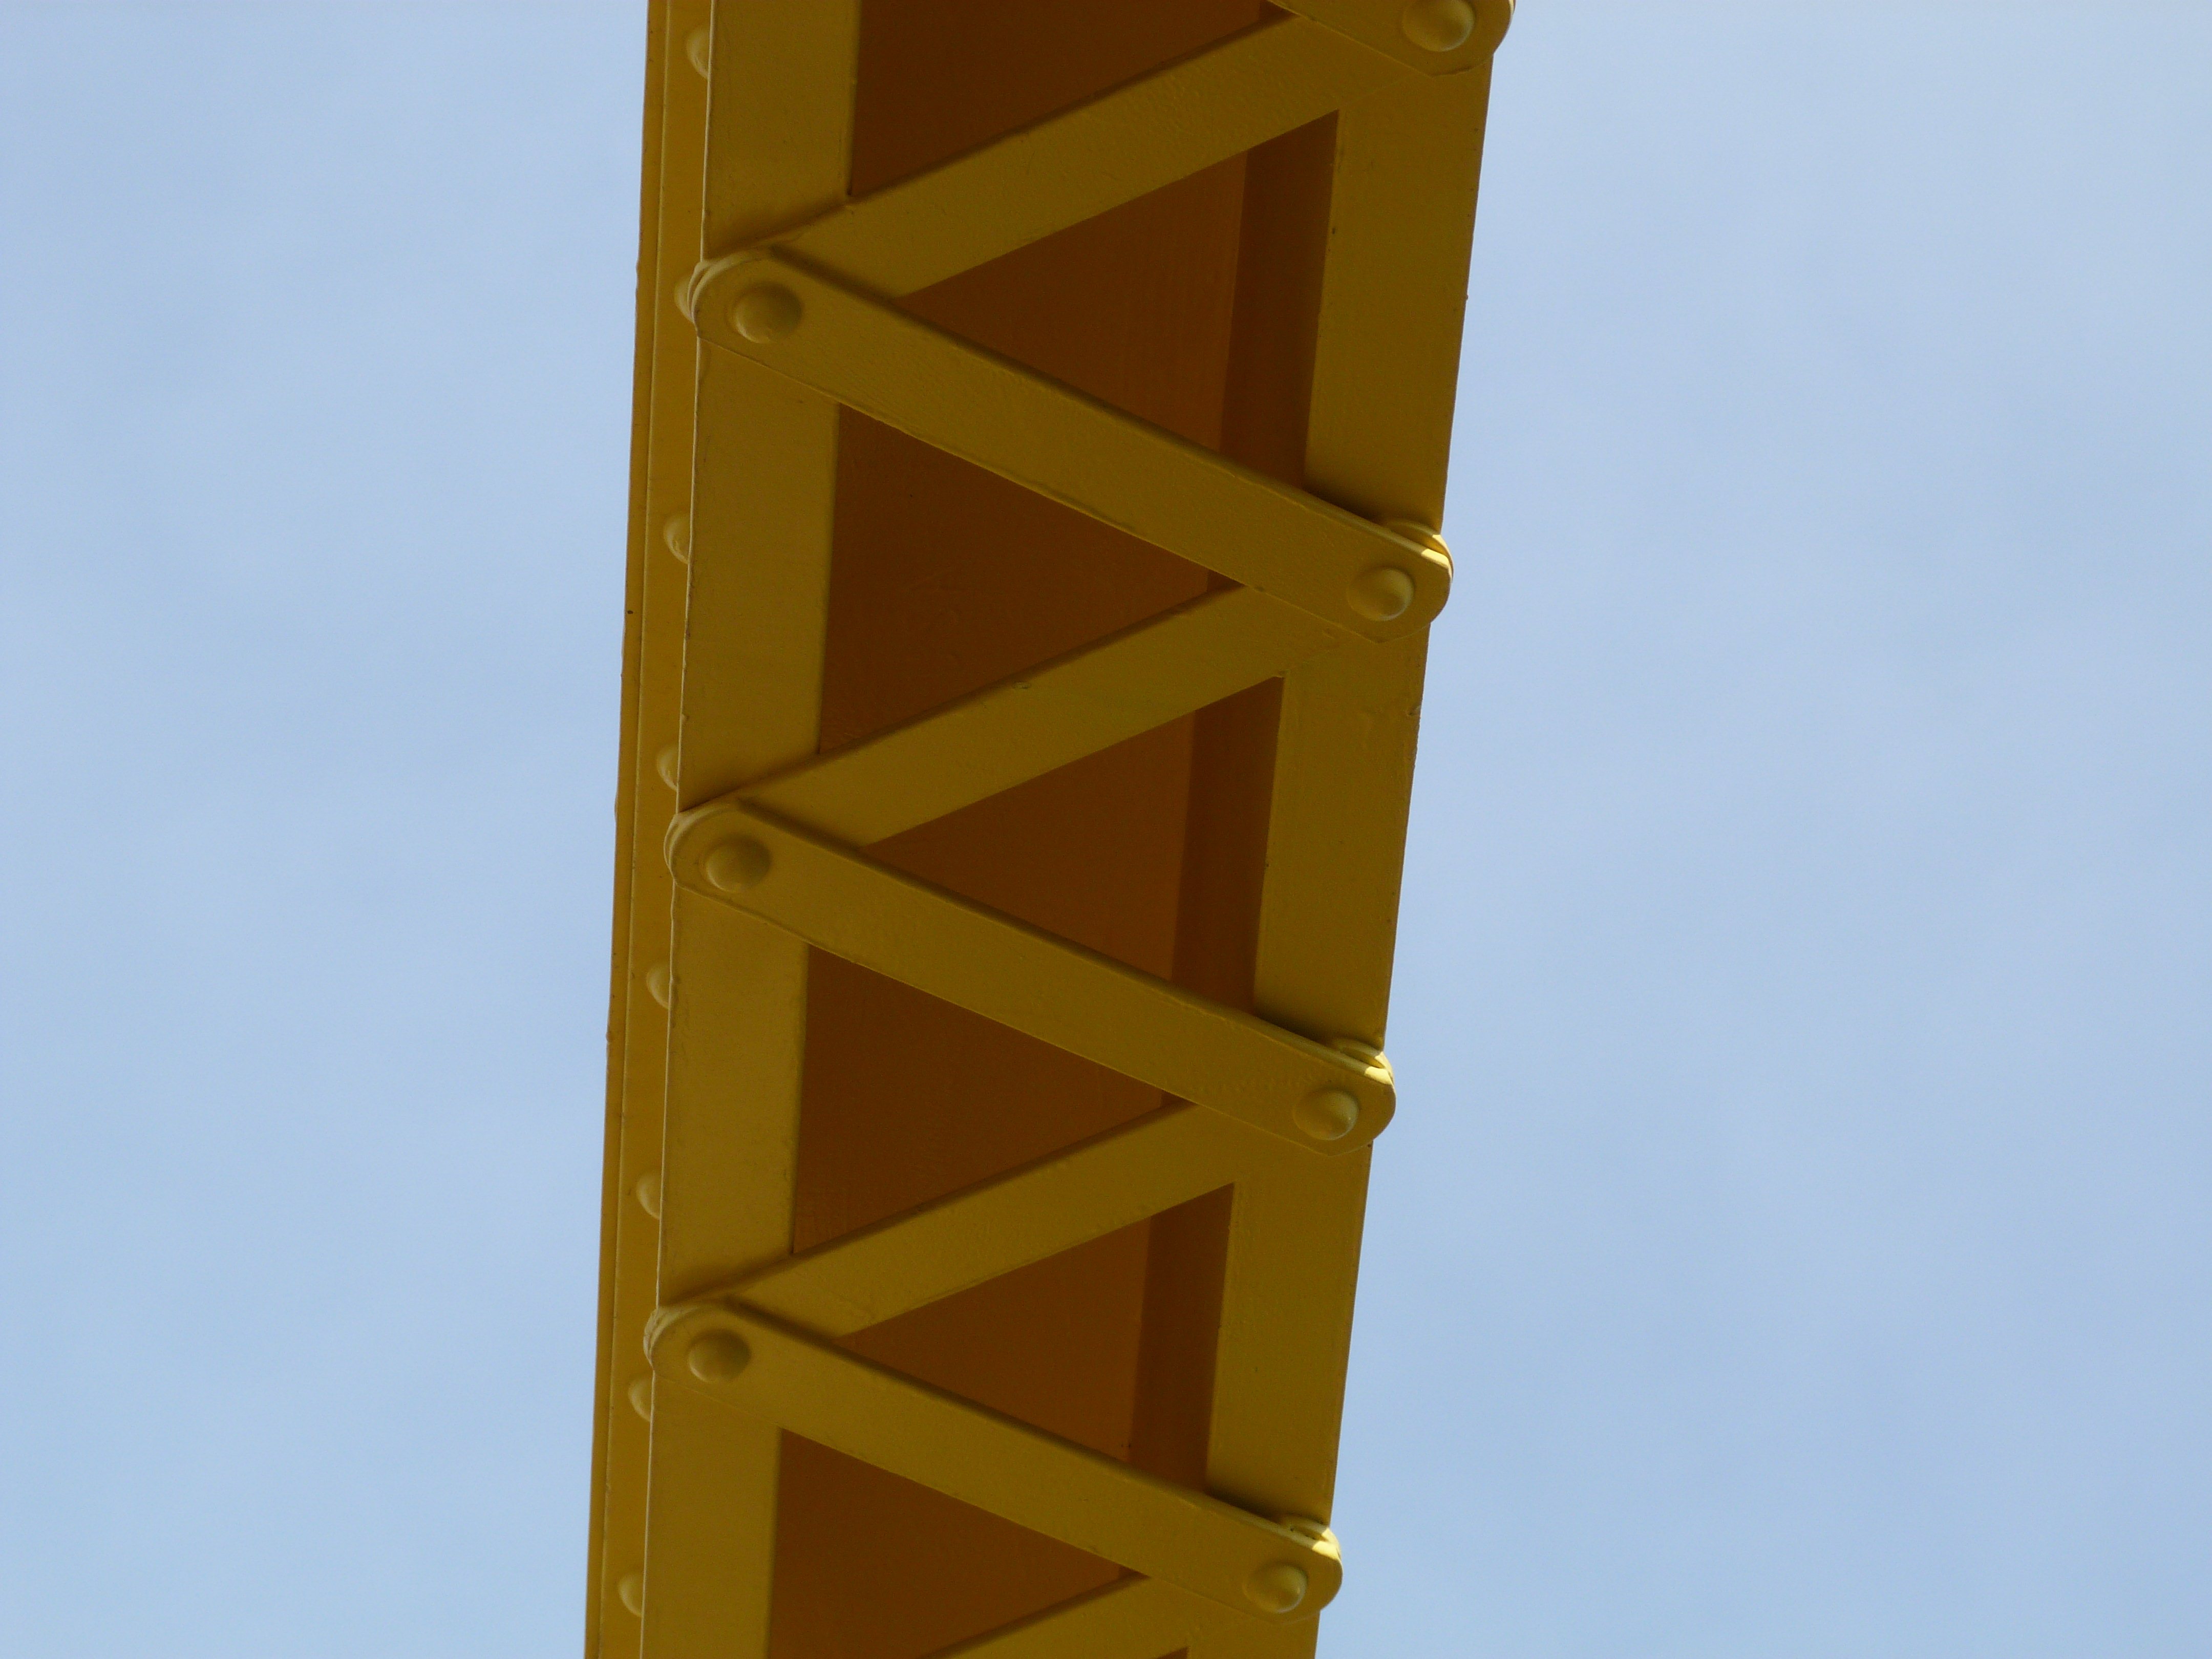
Vertical members.
![]()

Stairway.
![]()

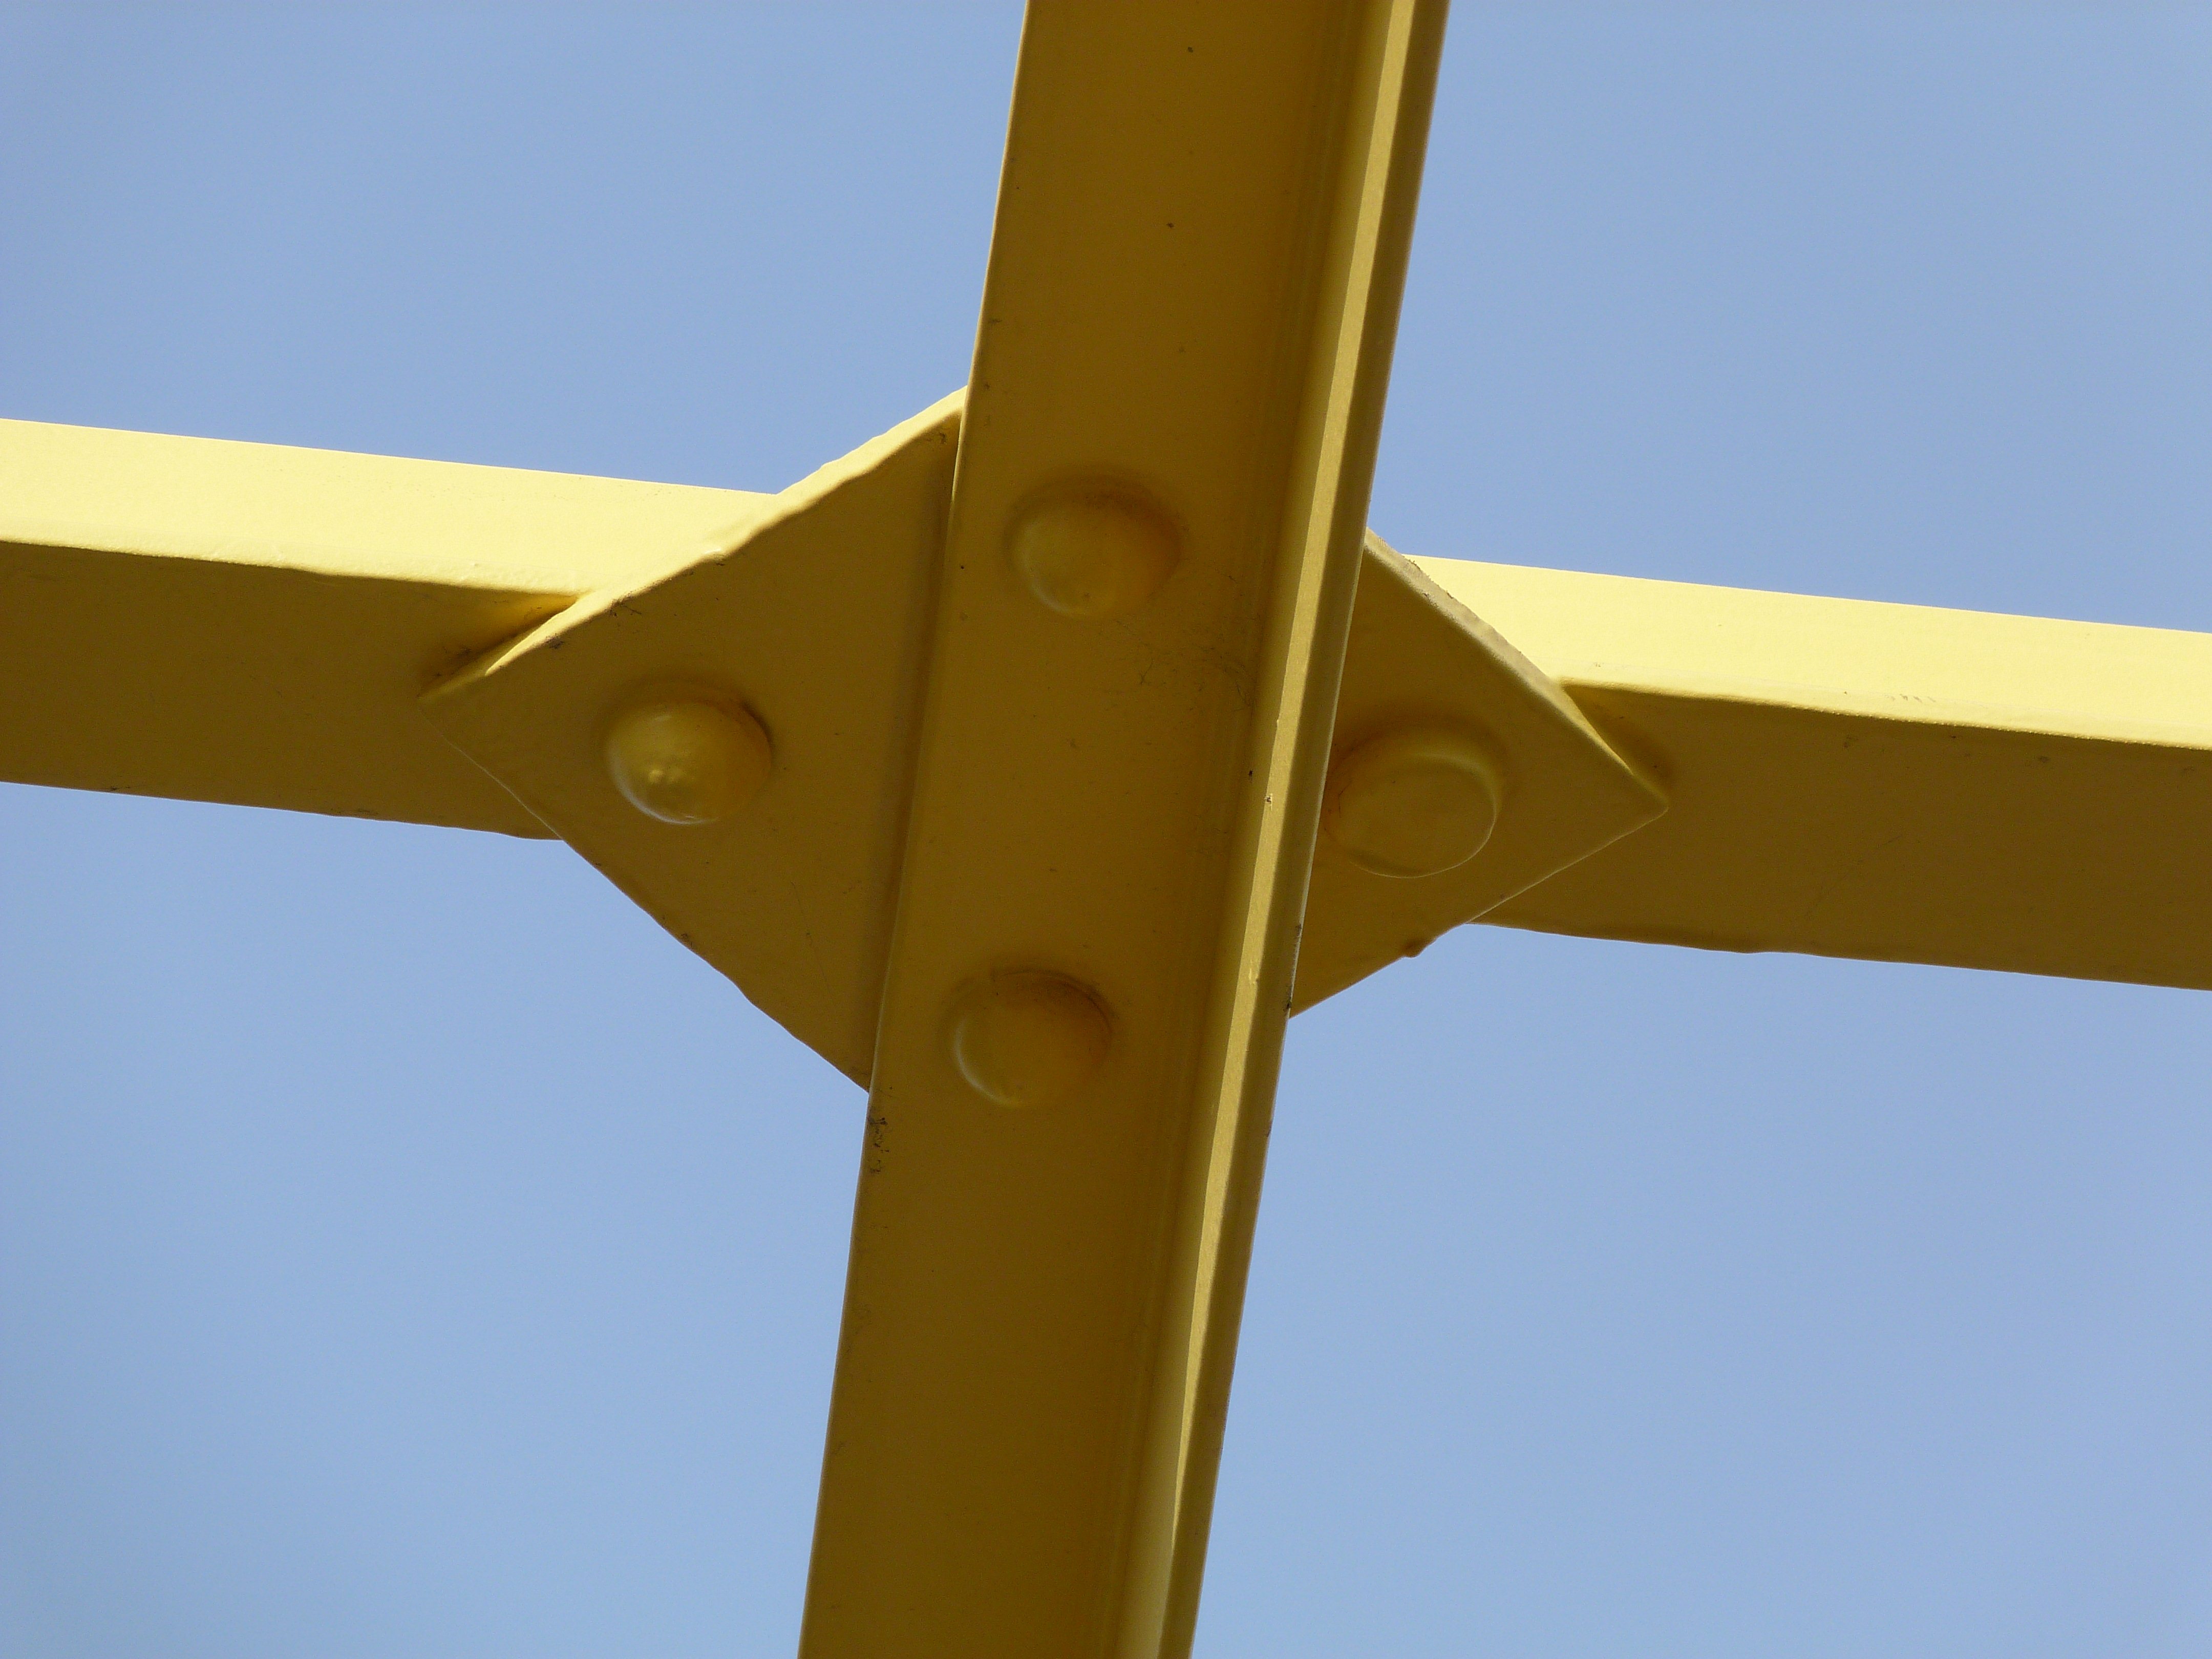
Bracing connection.
![]()

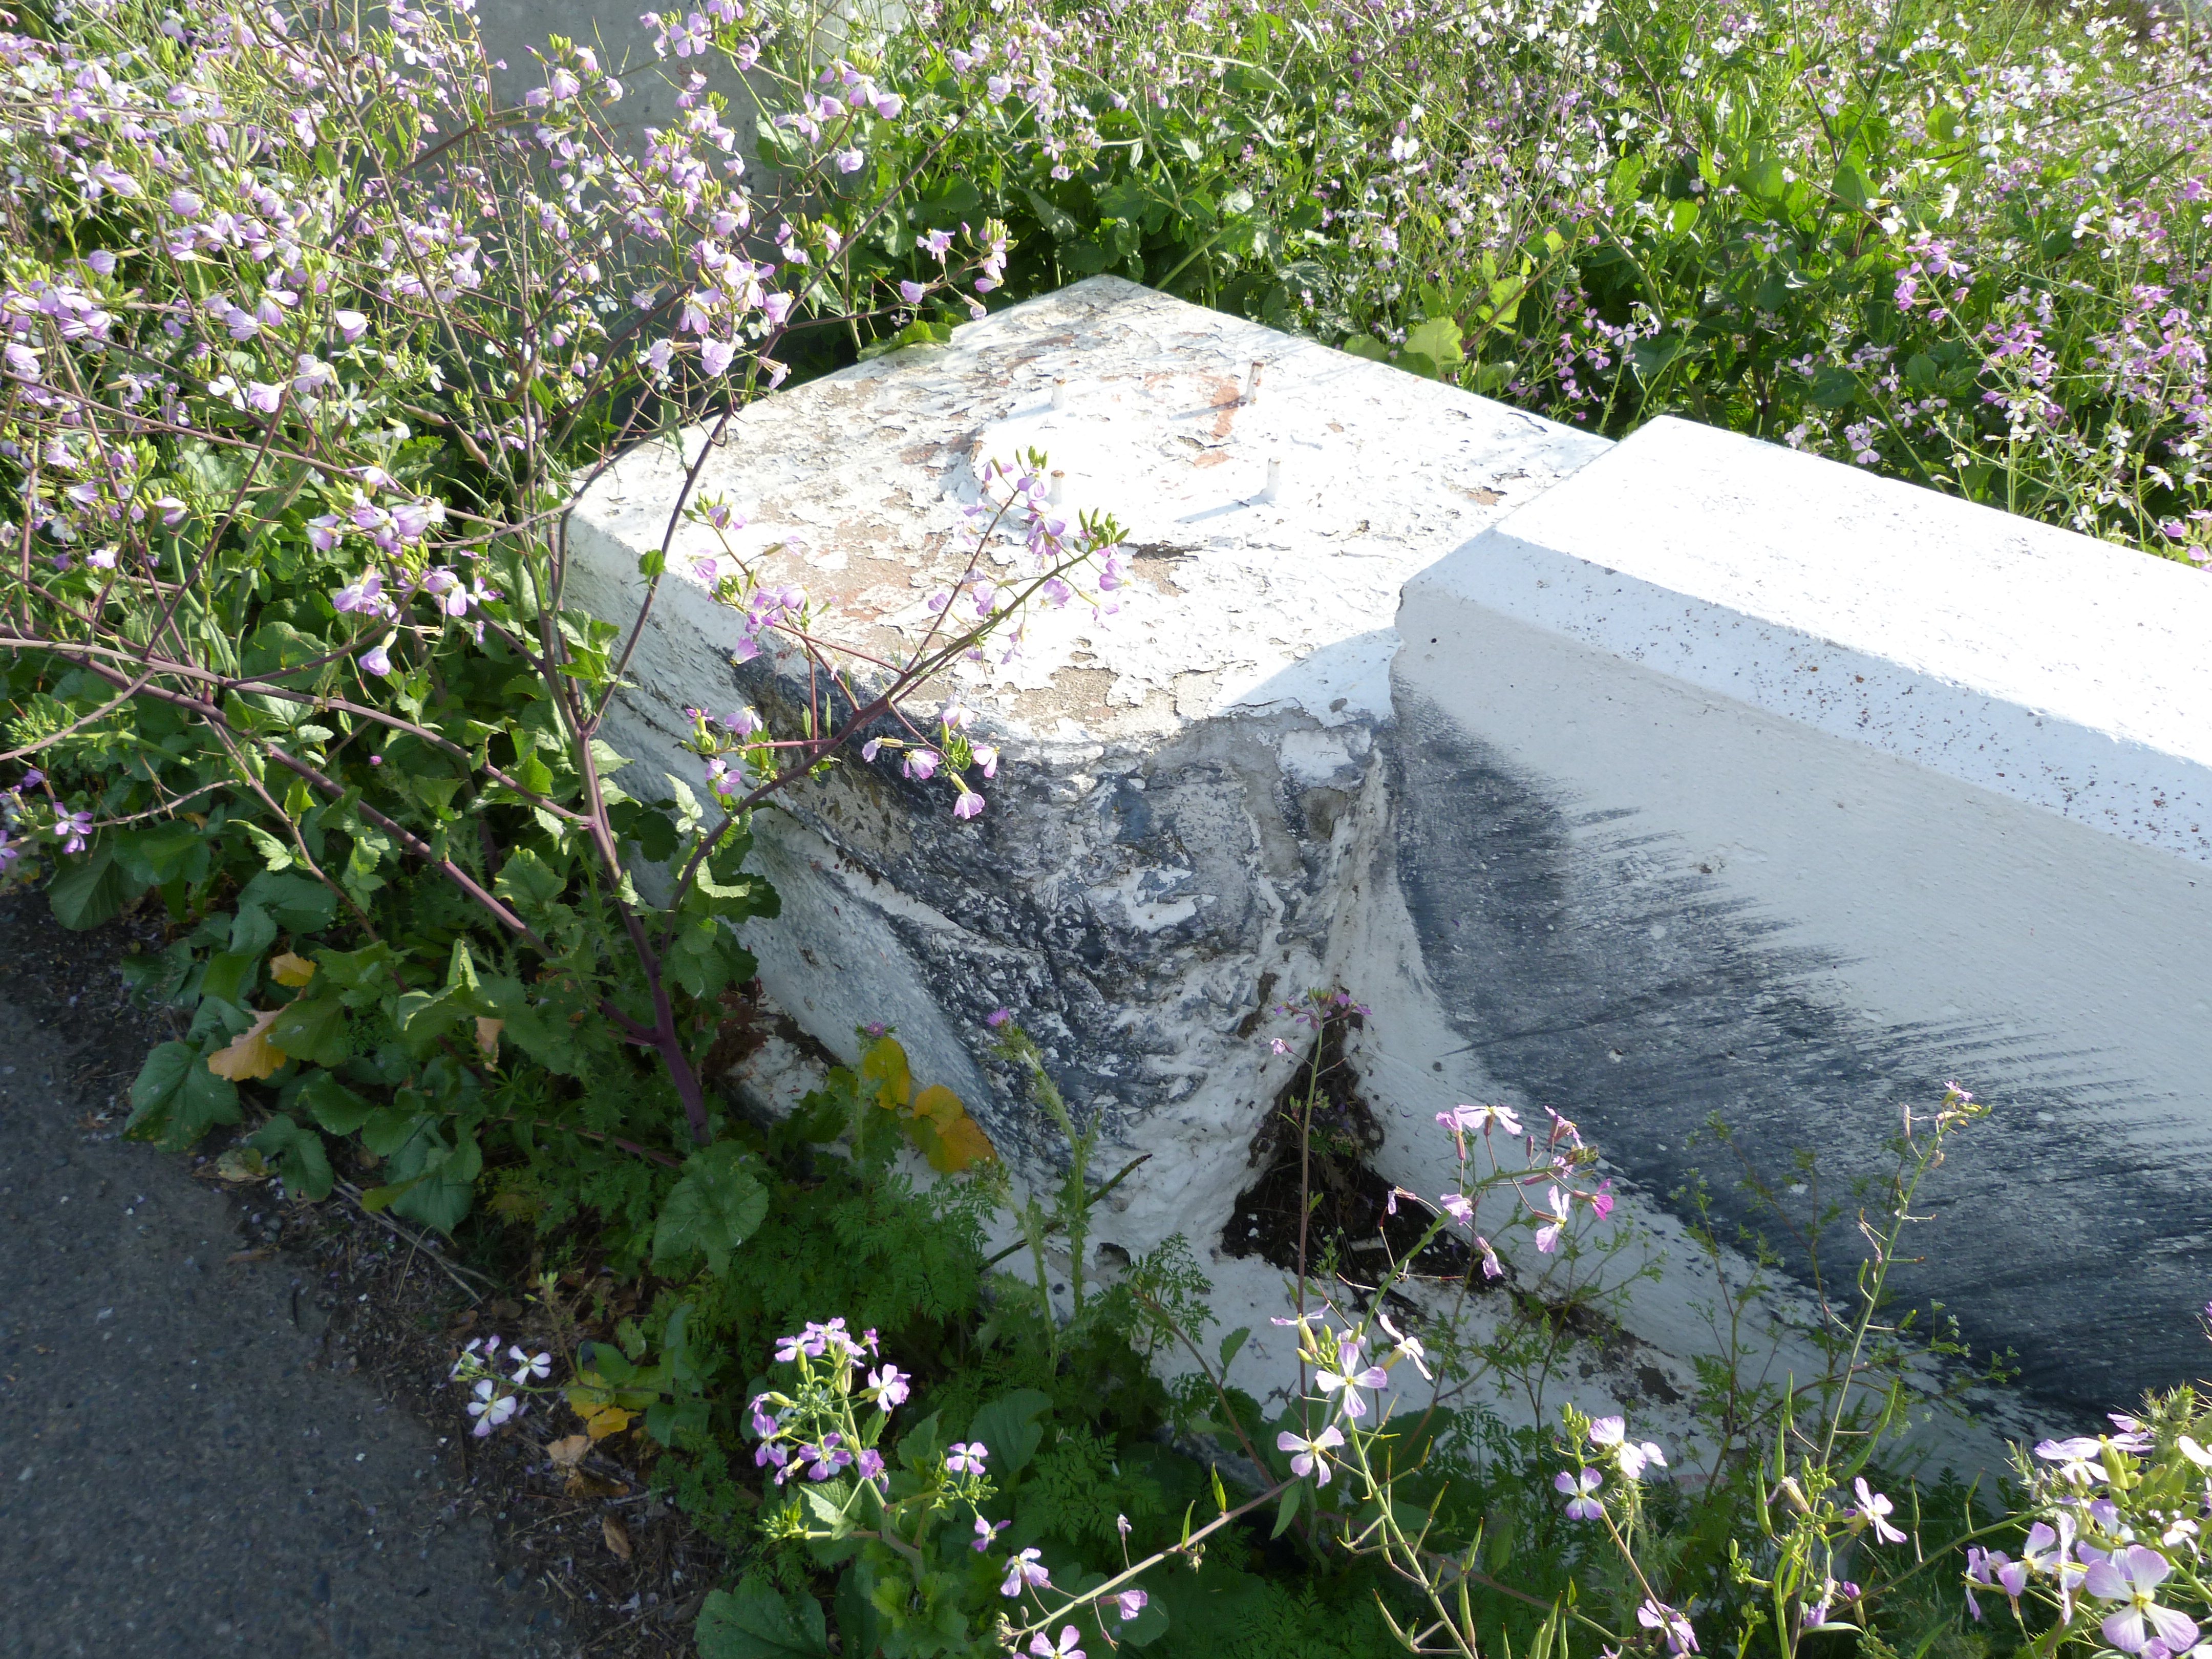
Abutment details.
![]()


Approach spans: Top chord connections as viewed from beside bridge.
![]()


Approach spans: Top chord connections as viewed from on bridge.
![]()


Approach spans: Bottom chord connections as viewed from beside bridge.
![]()
Approach spans: Bottom chord connections as viewed from on bridge.
![]()
Approach spans: Diagonal member.
![]()
Approach spans: Vertical member.
![]()

Approach spans: Bottom chord.
![]()
Approach spans: Top chord.
![]()

Approach spans: Struts.
![]()
Approach spans: Lateral bracing connection.
![]()
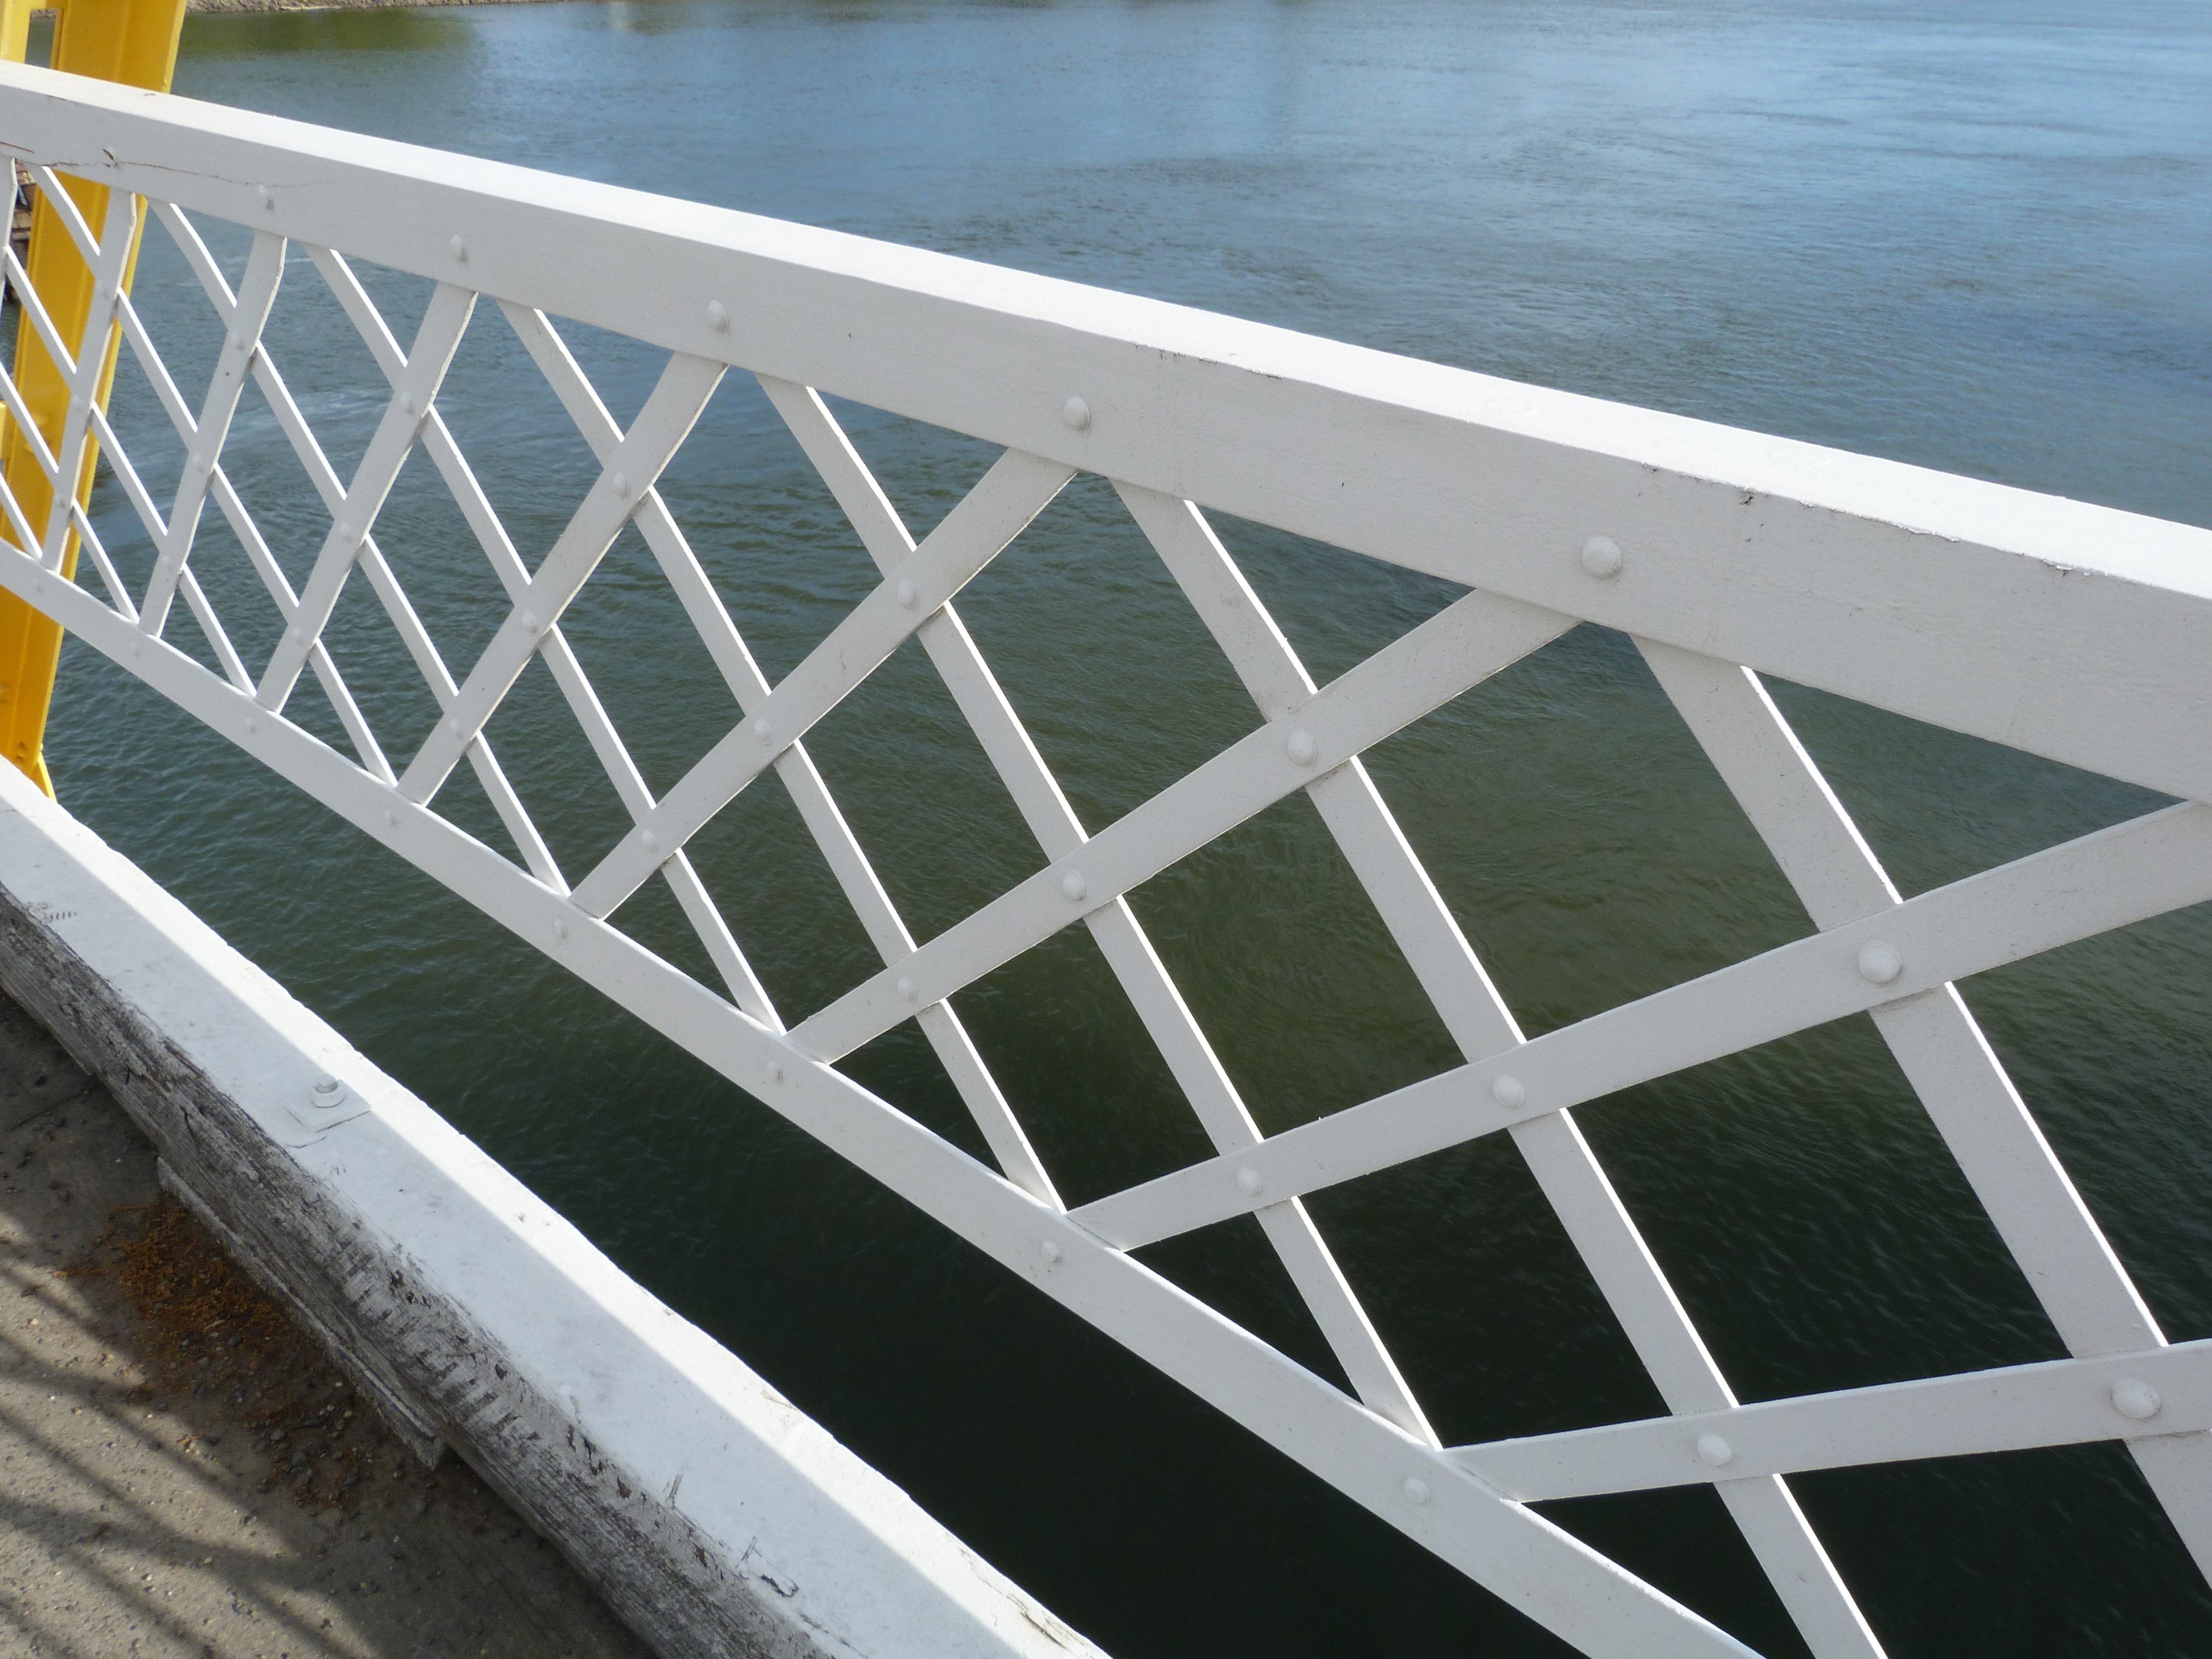
Railing.
![]()


Approach railing.
![]()

Rocker expansion bearing.
![]()

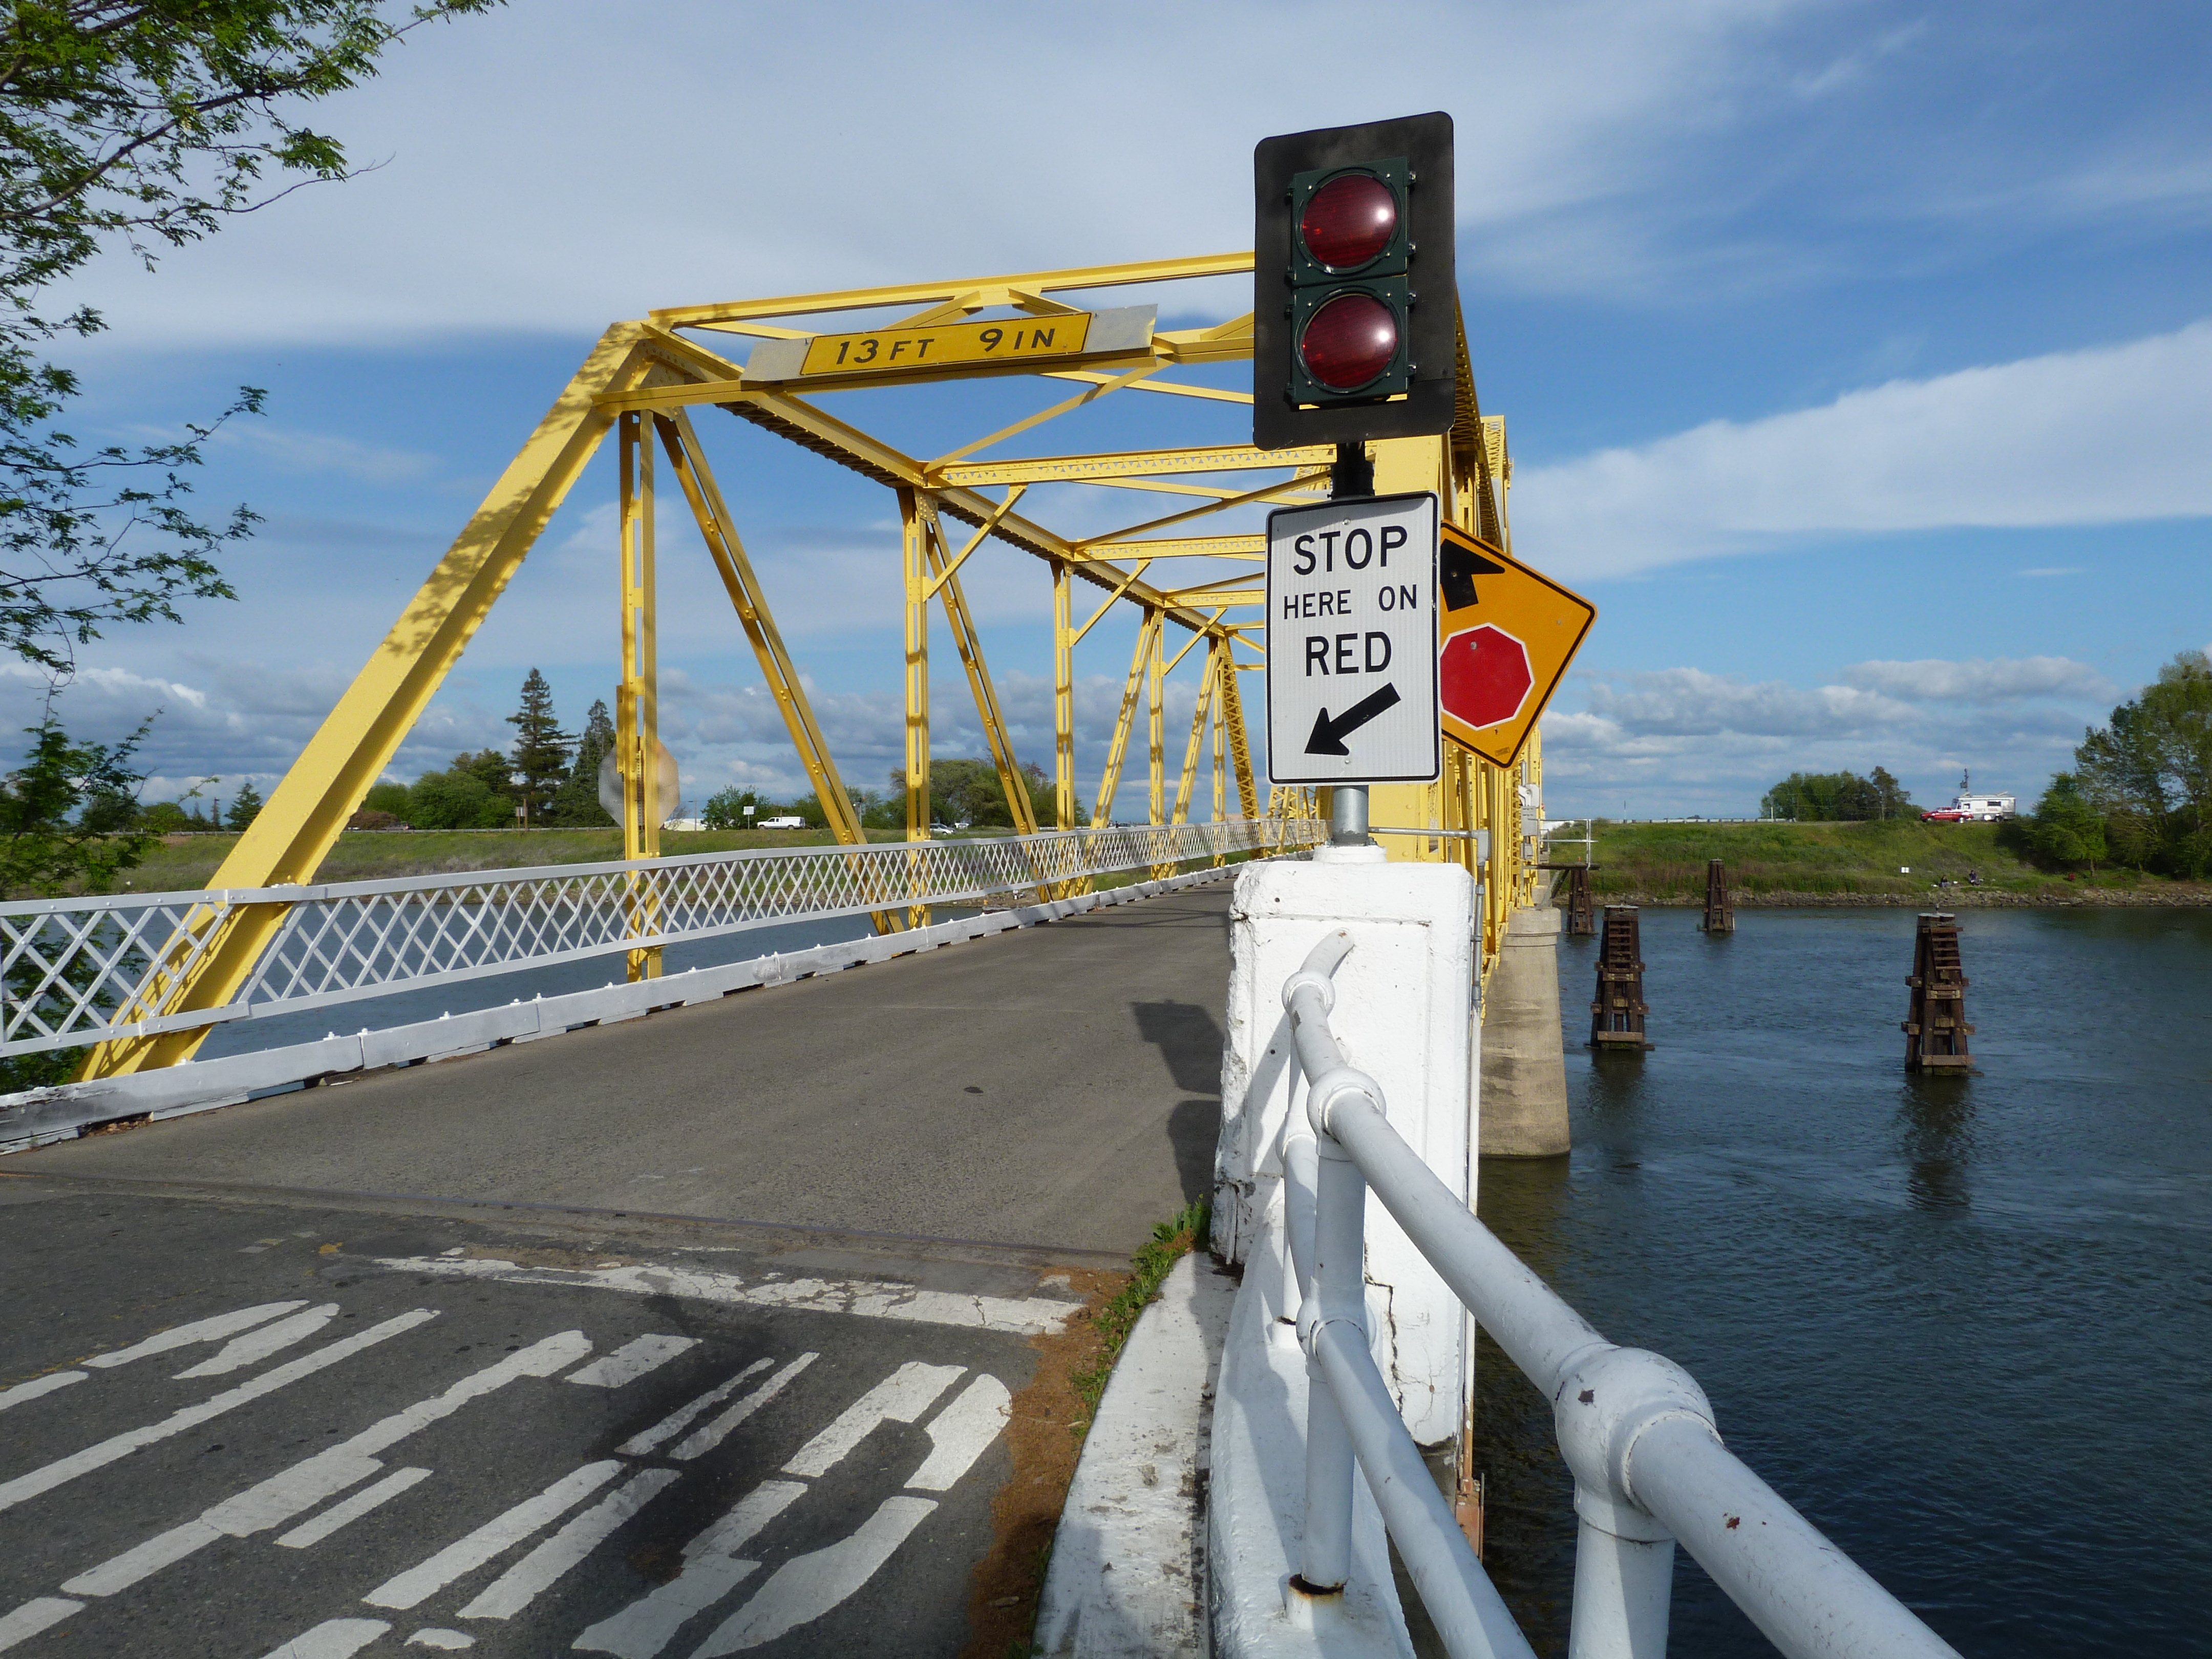
Sign at bridge.
![]()
![]()
| Back |
| Home |
| Top |

![]()