
Uncredited photos on this page taken by: Nathan Holth. Unless stated in a caption, all photos are Copyright with All Rights Reserved. Learn about reuse of our photos.
![]()
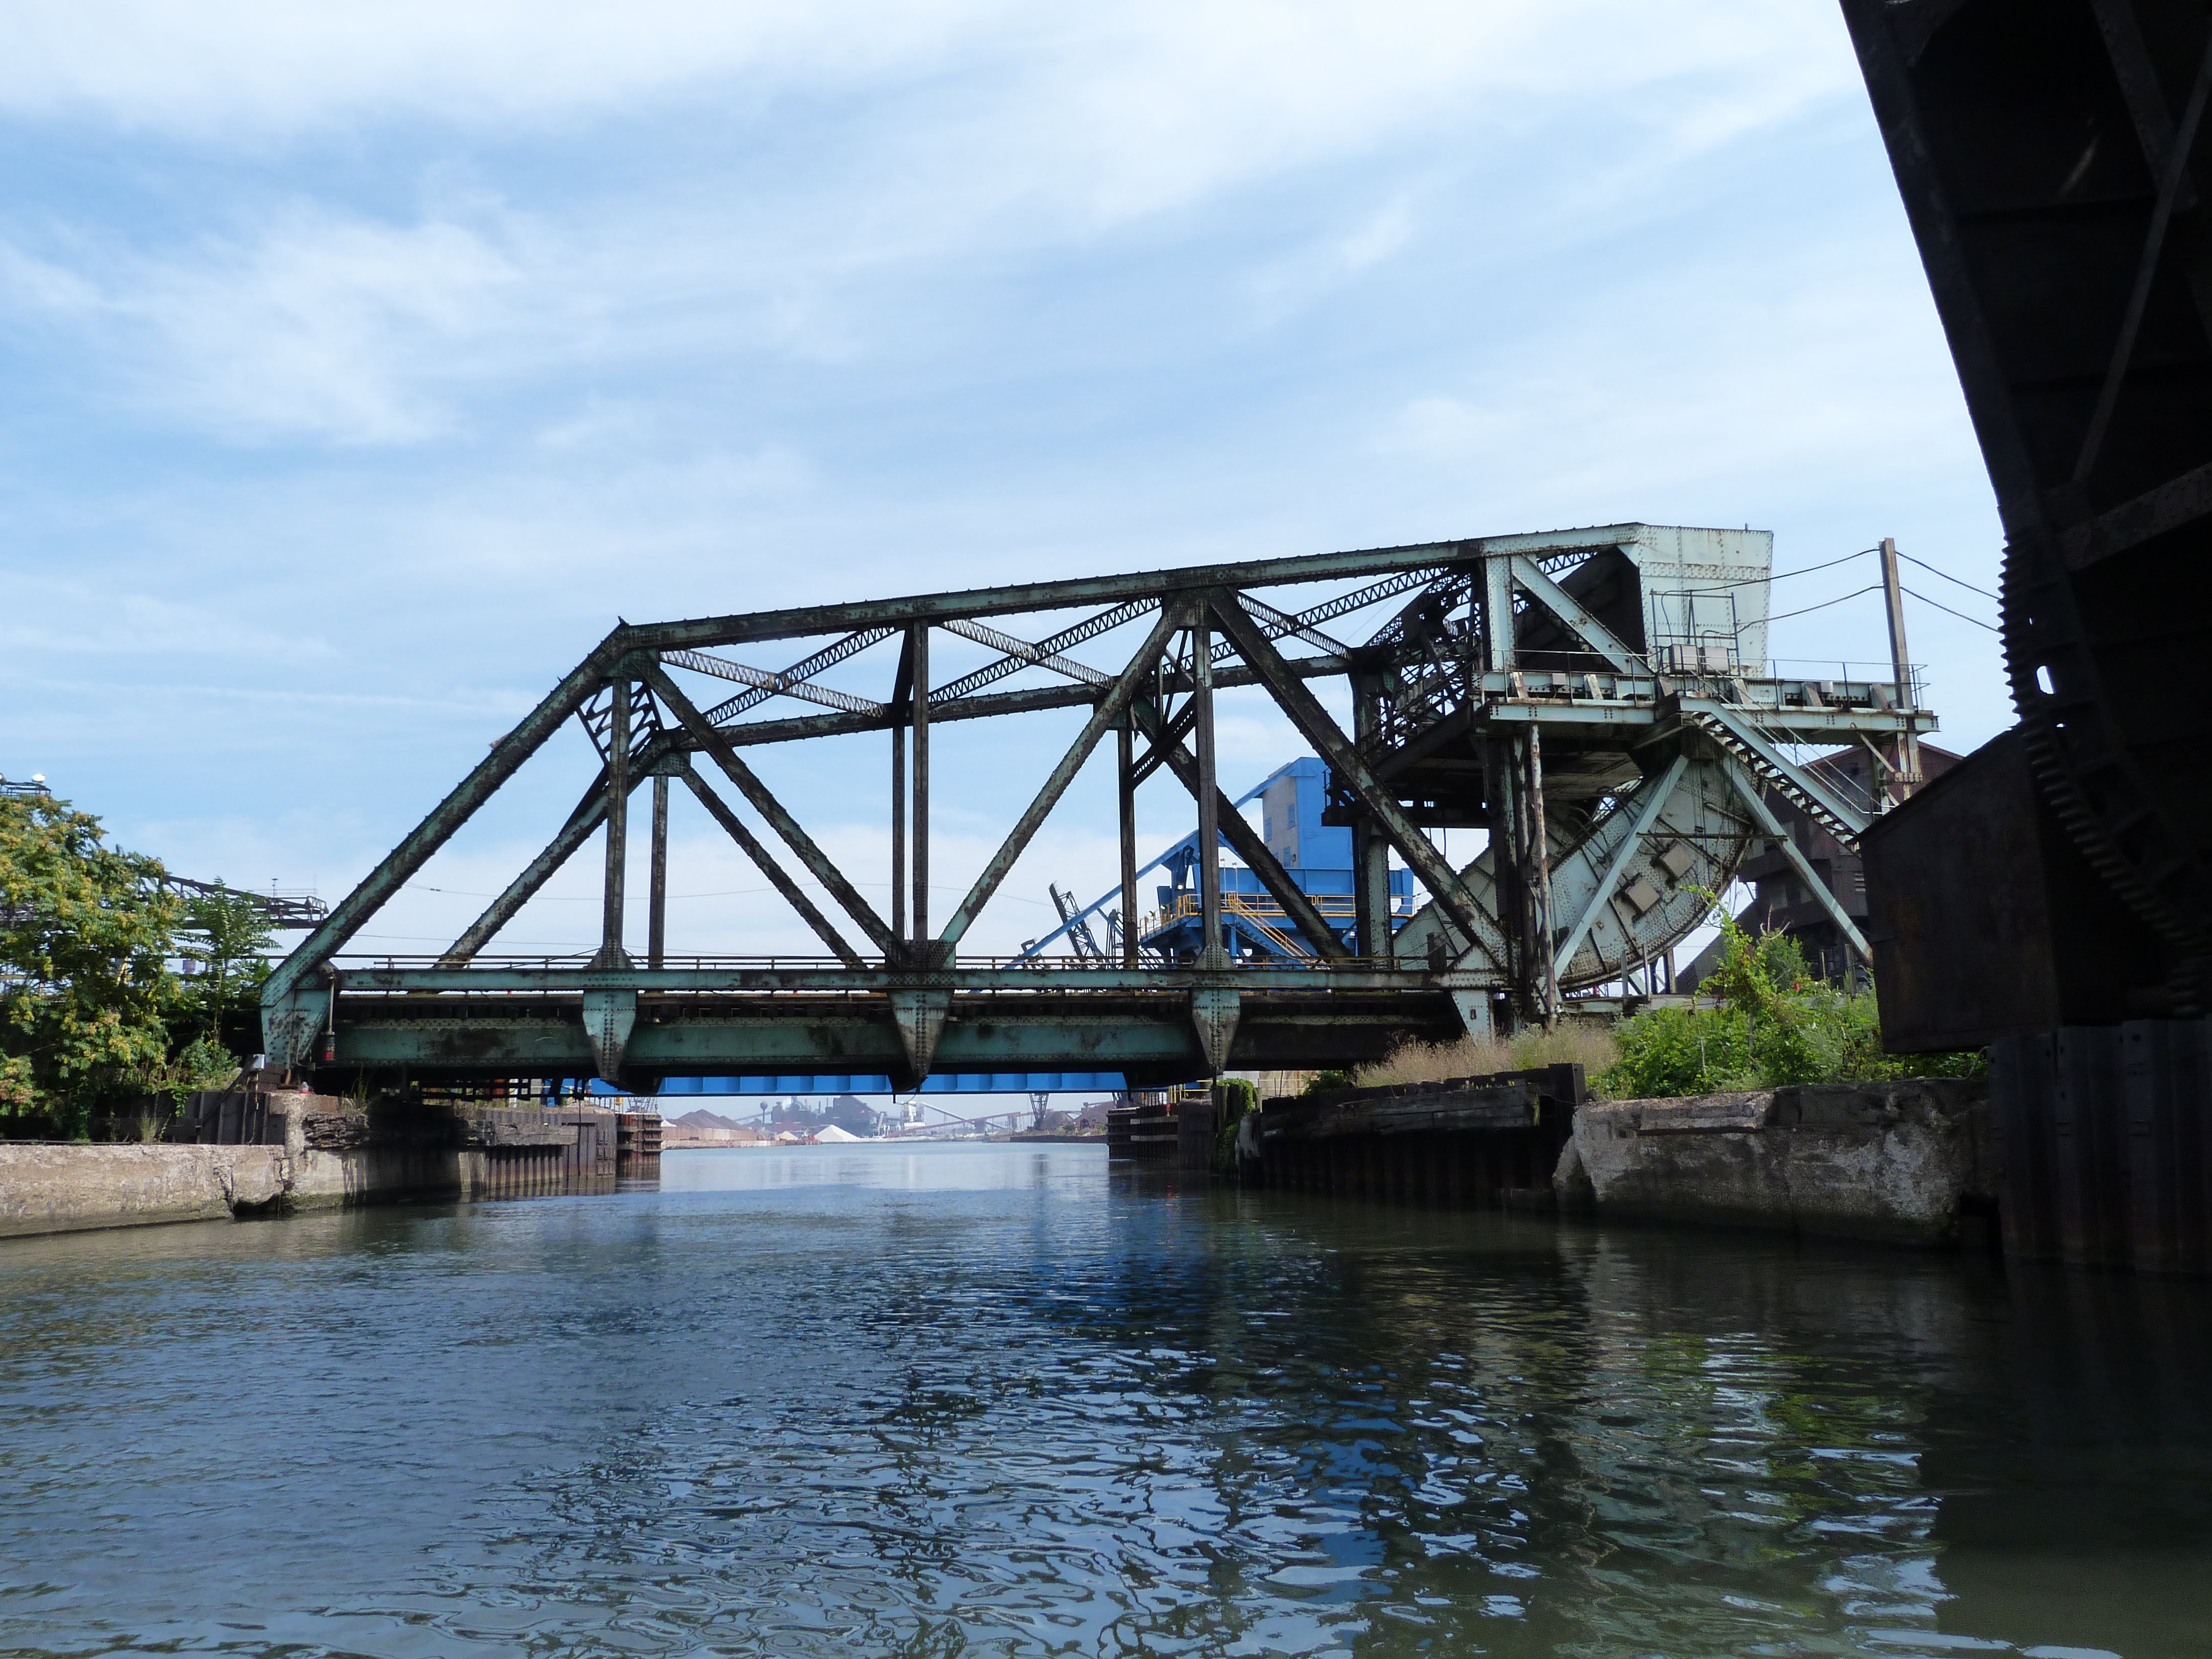


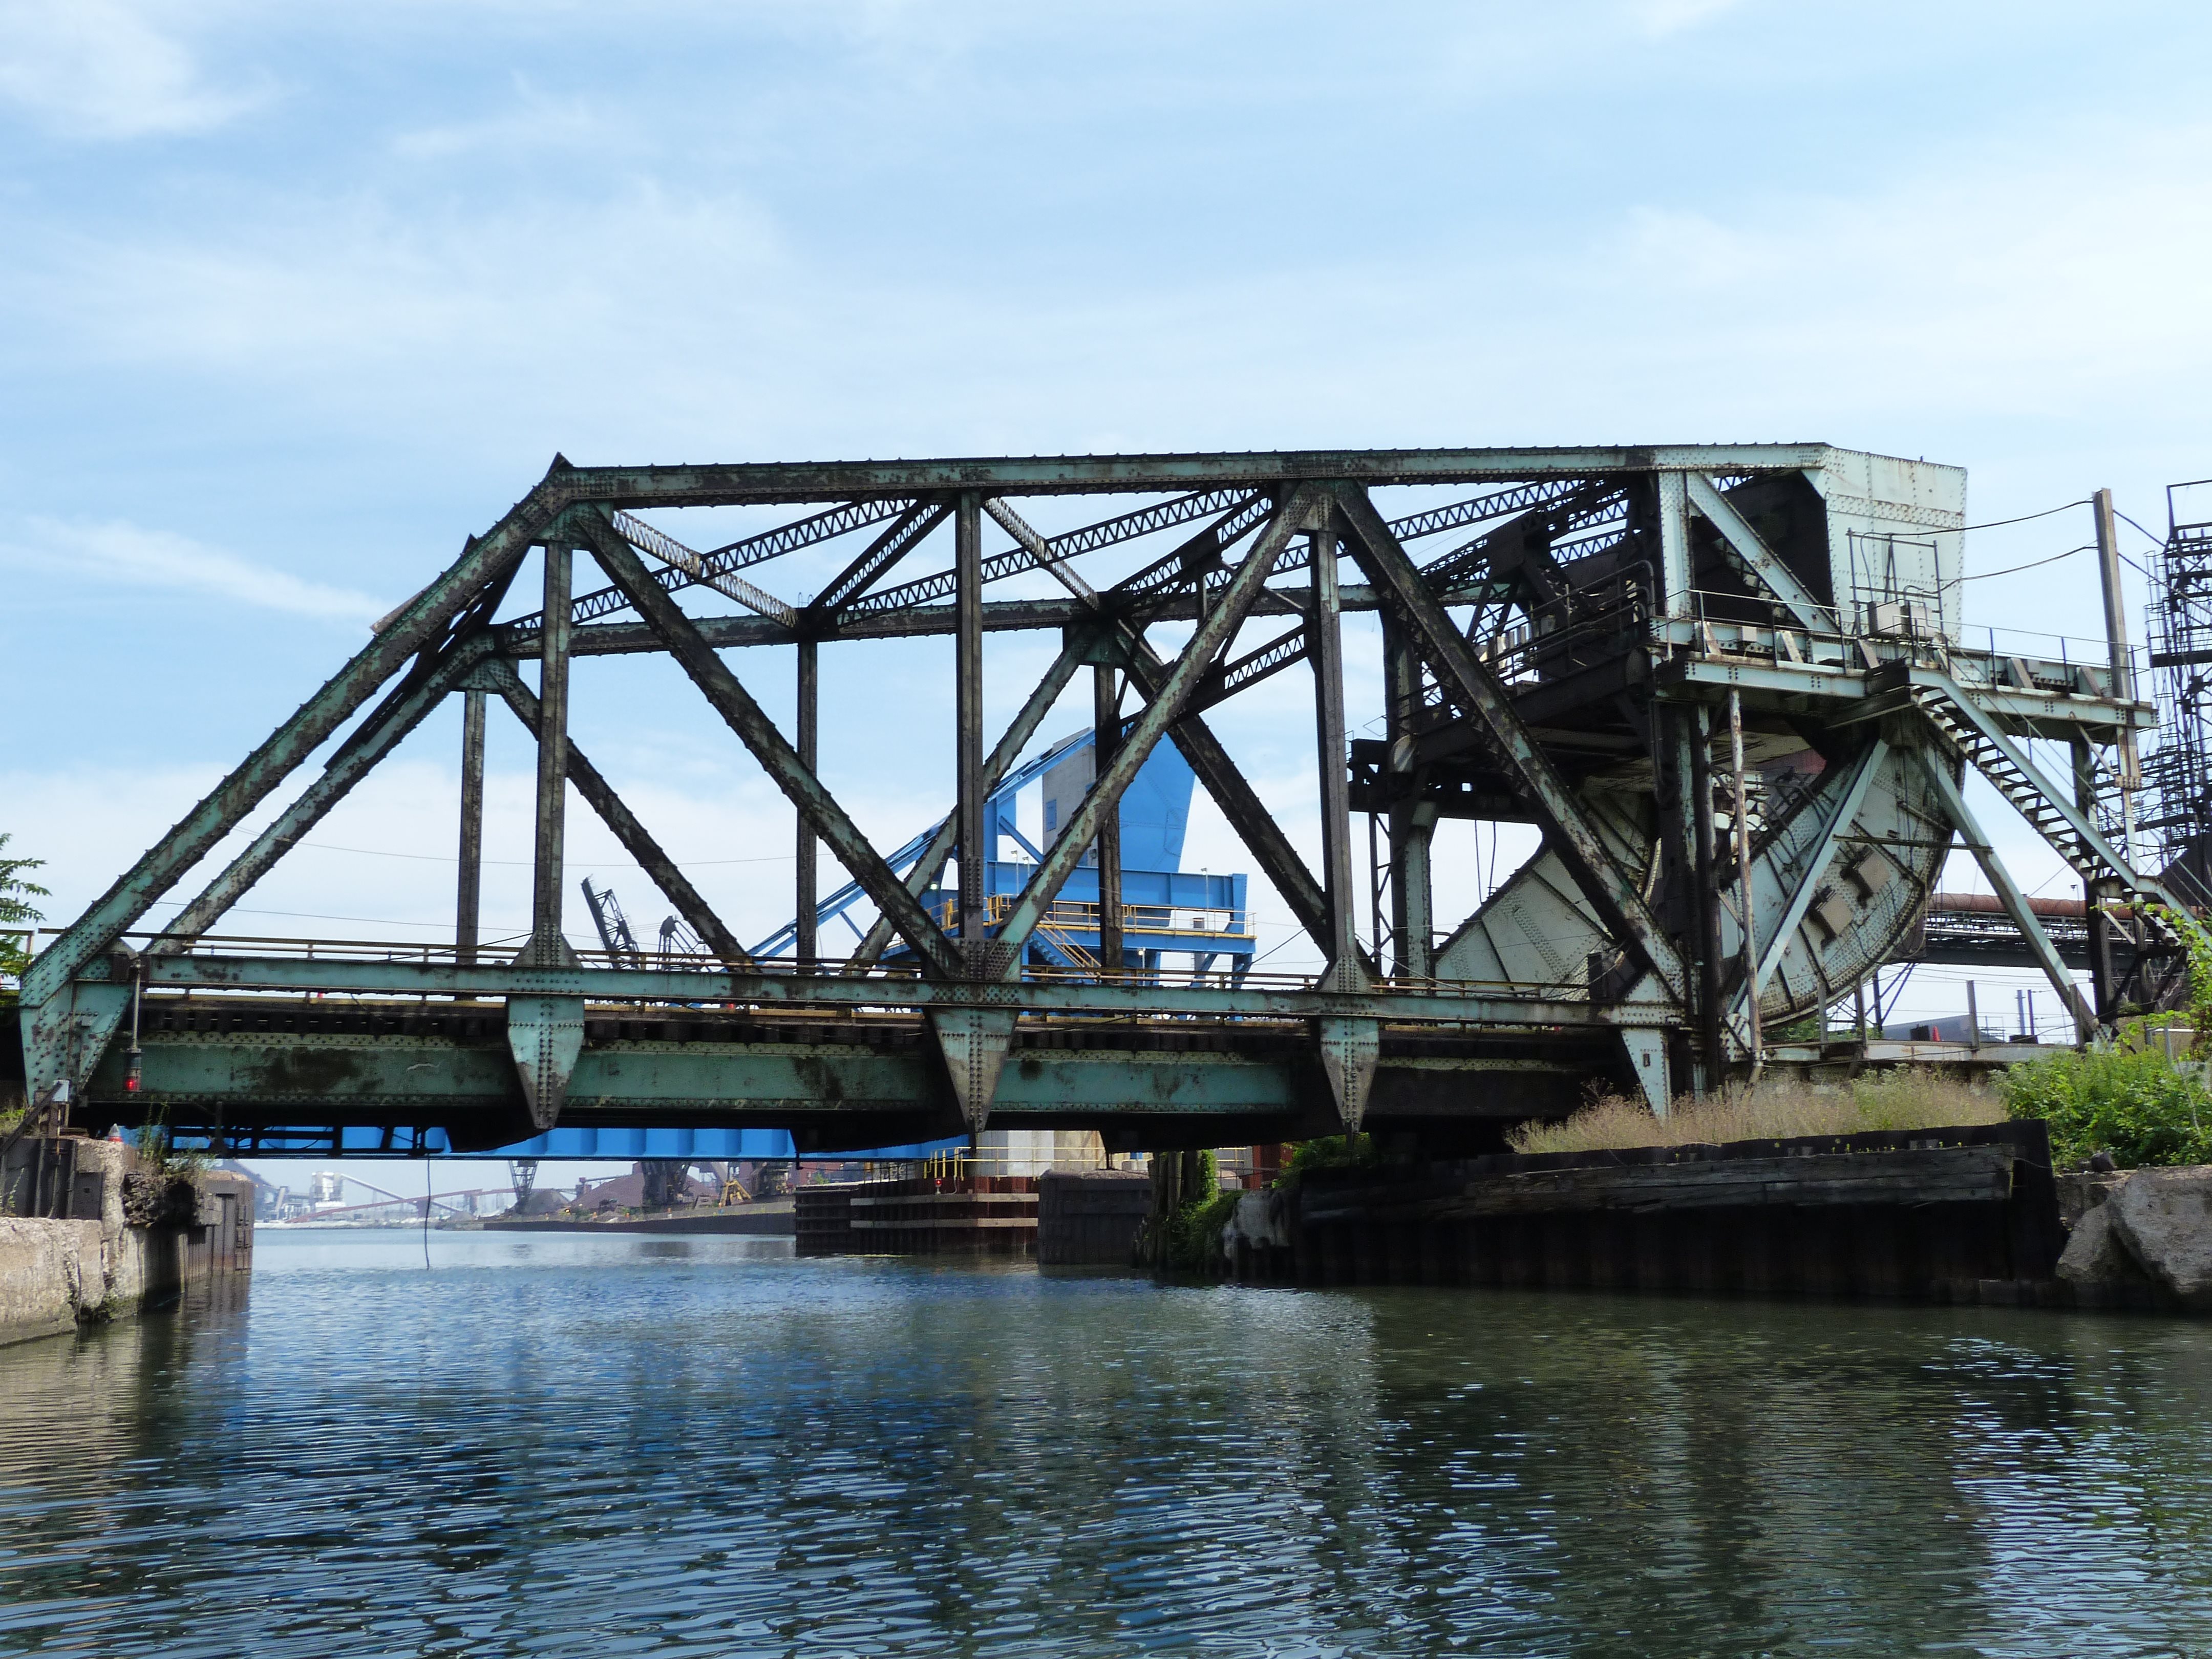
Elevation from southwest of bridge.
![]()
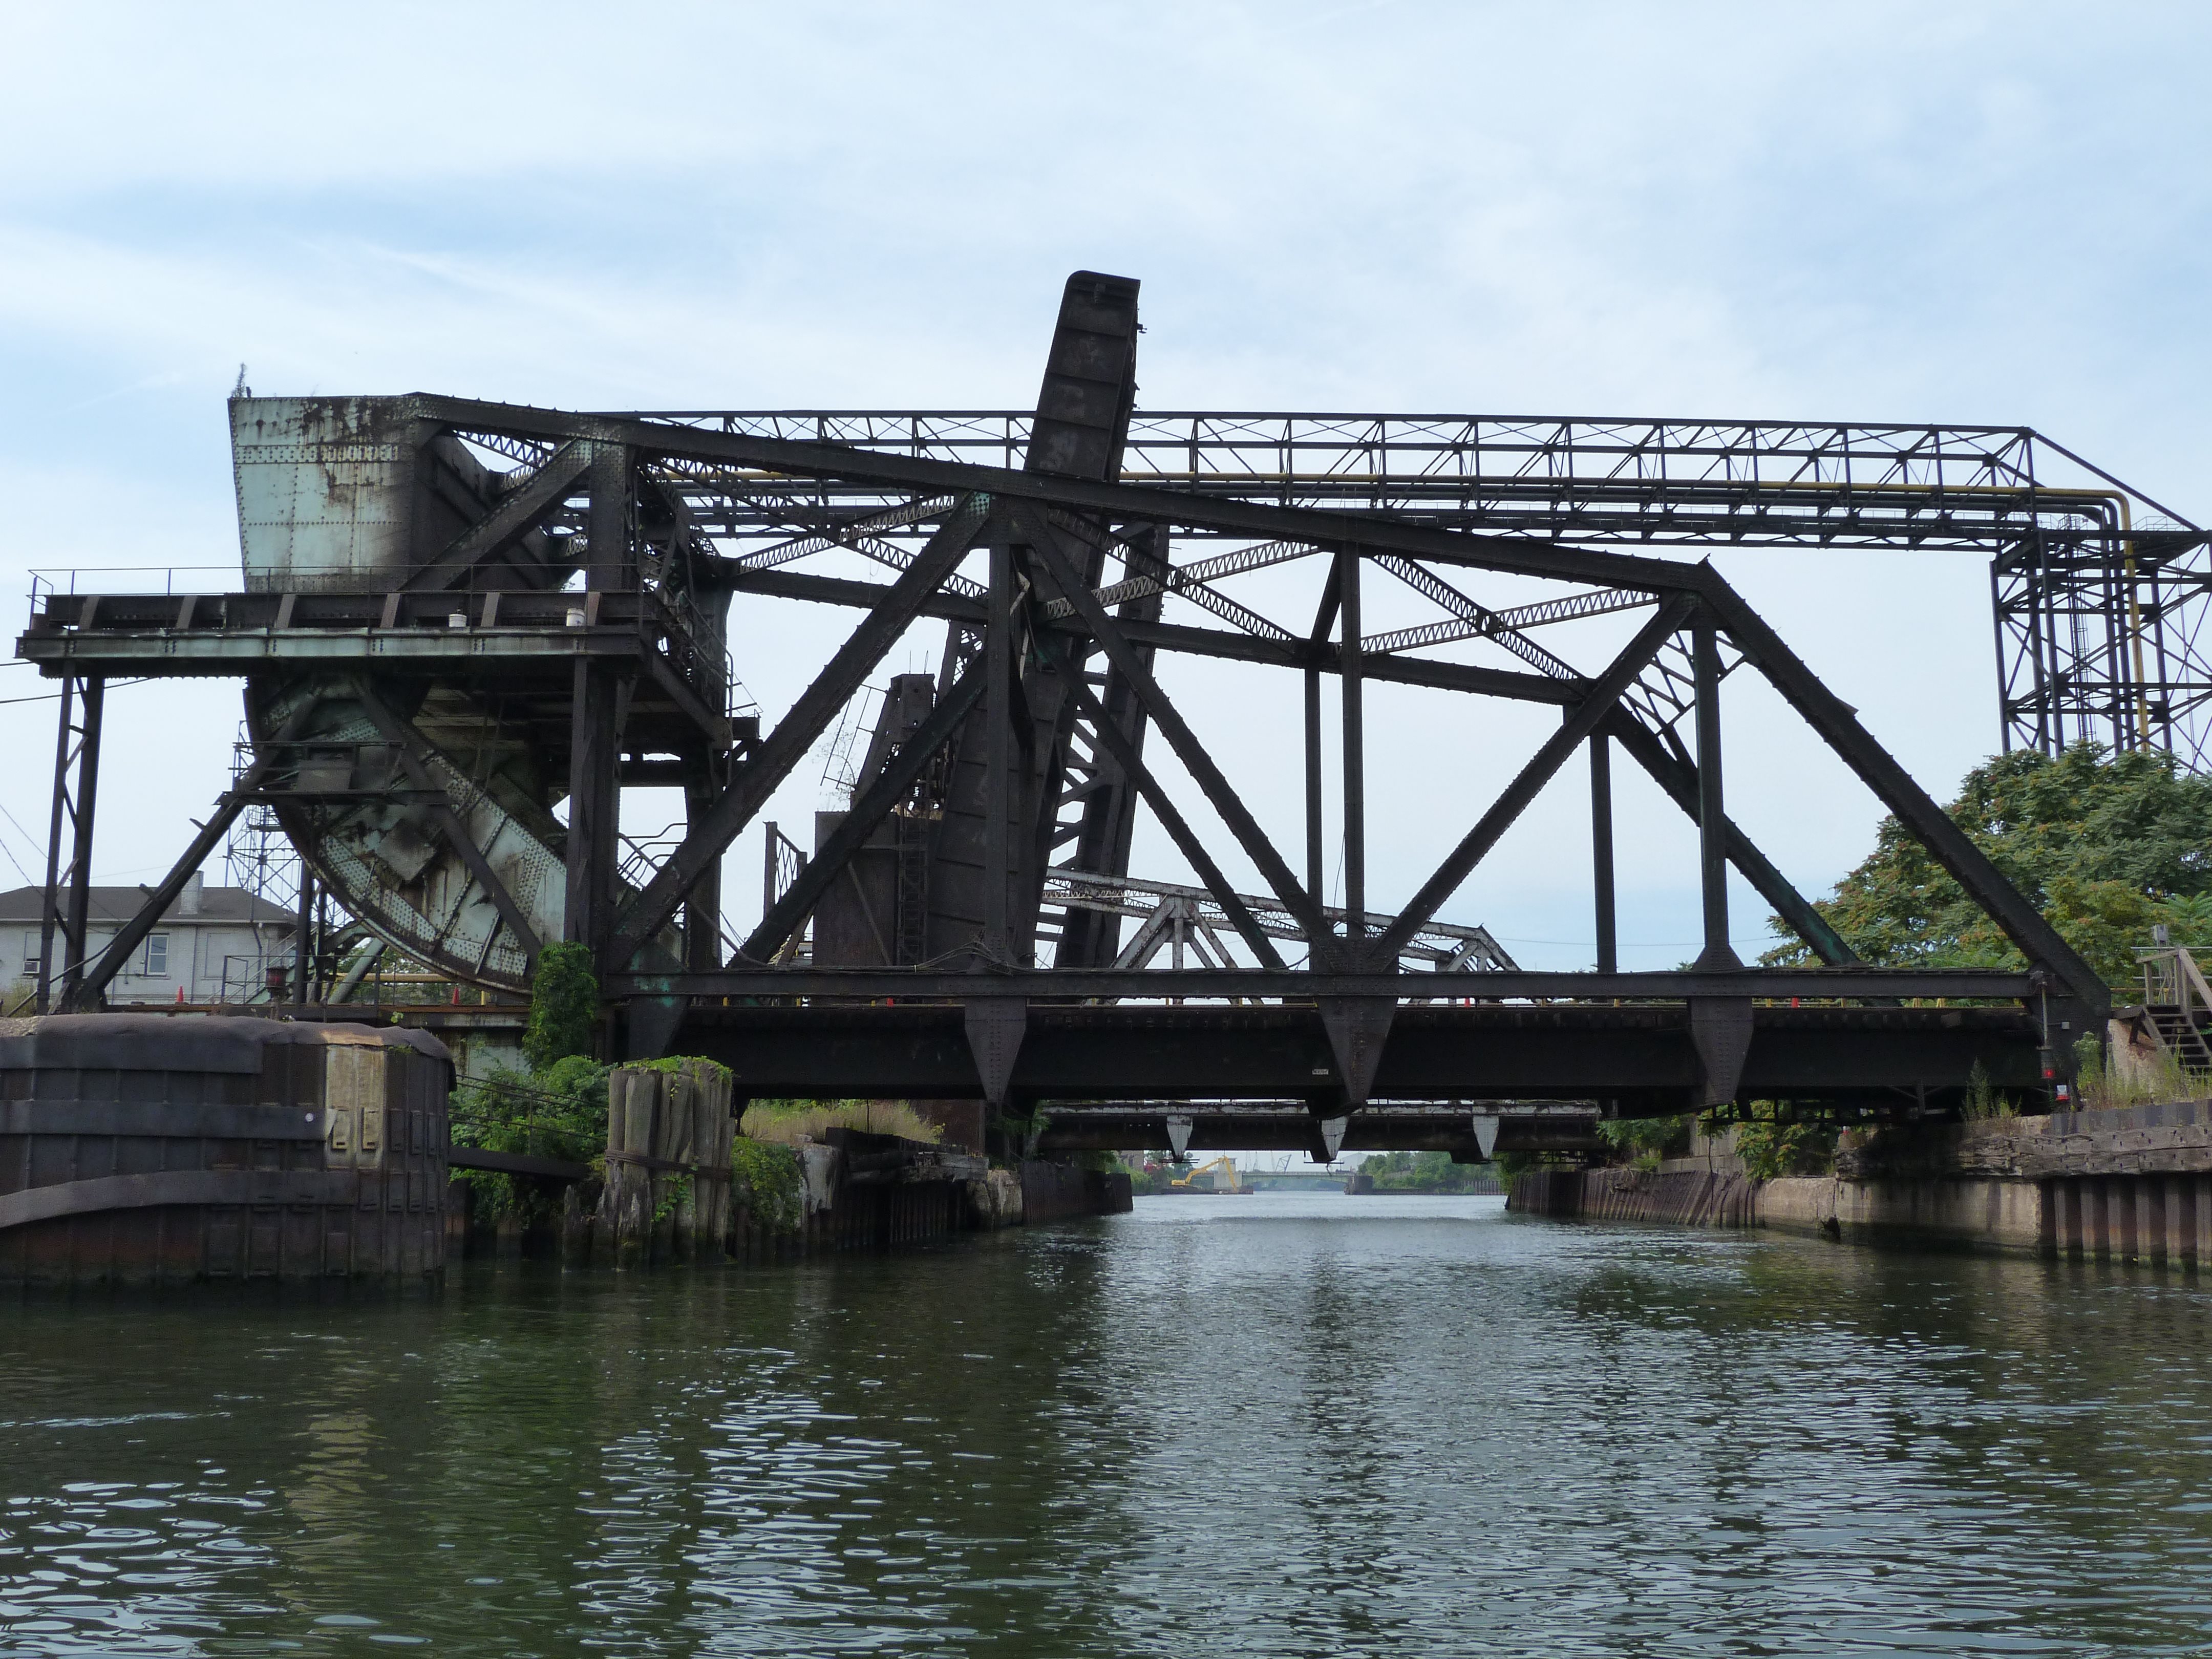
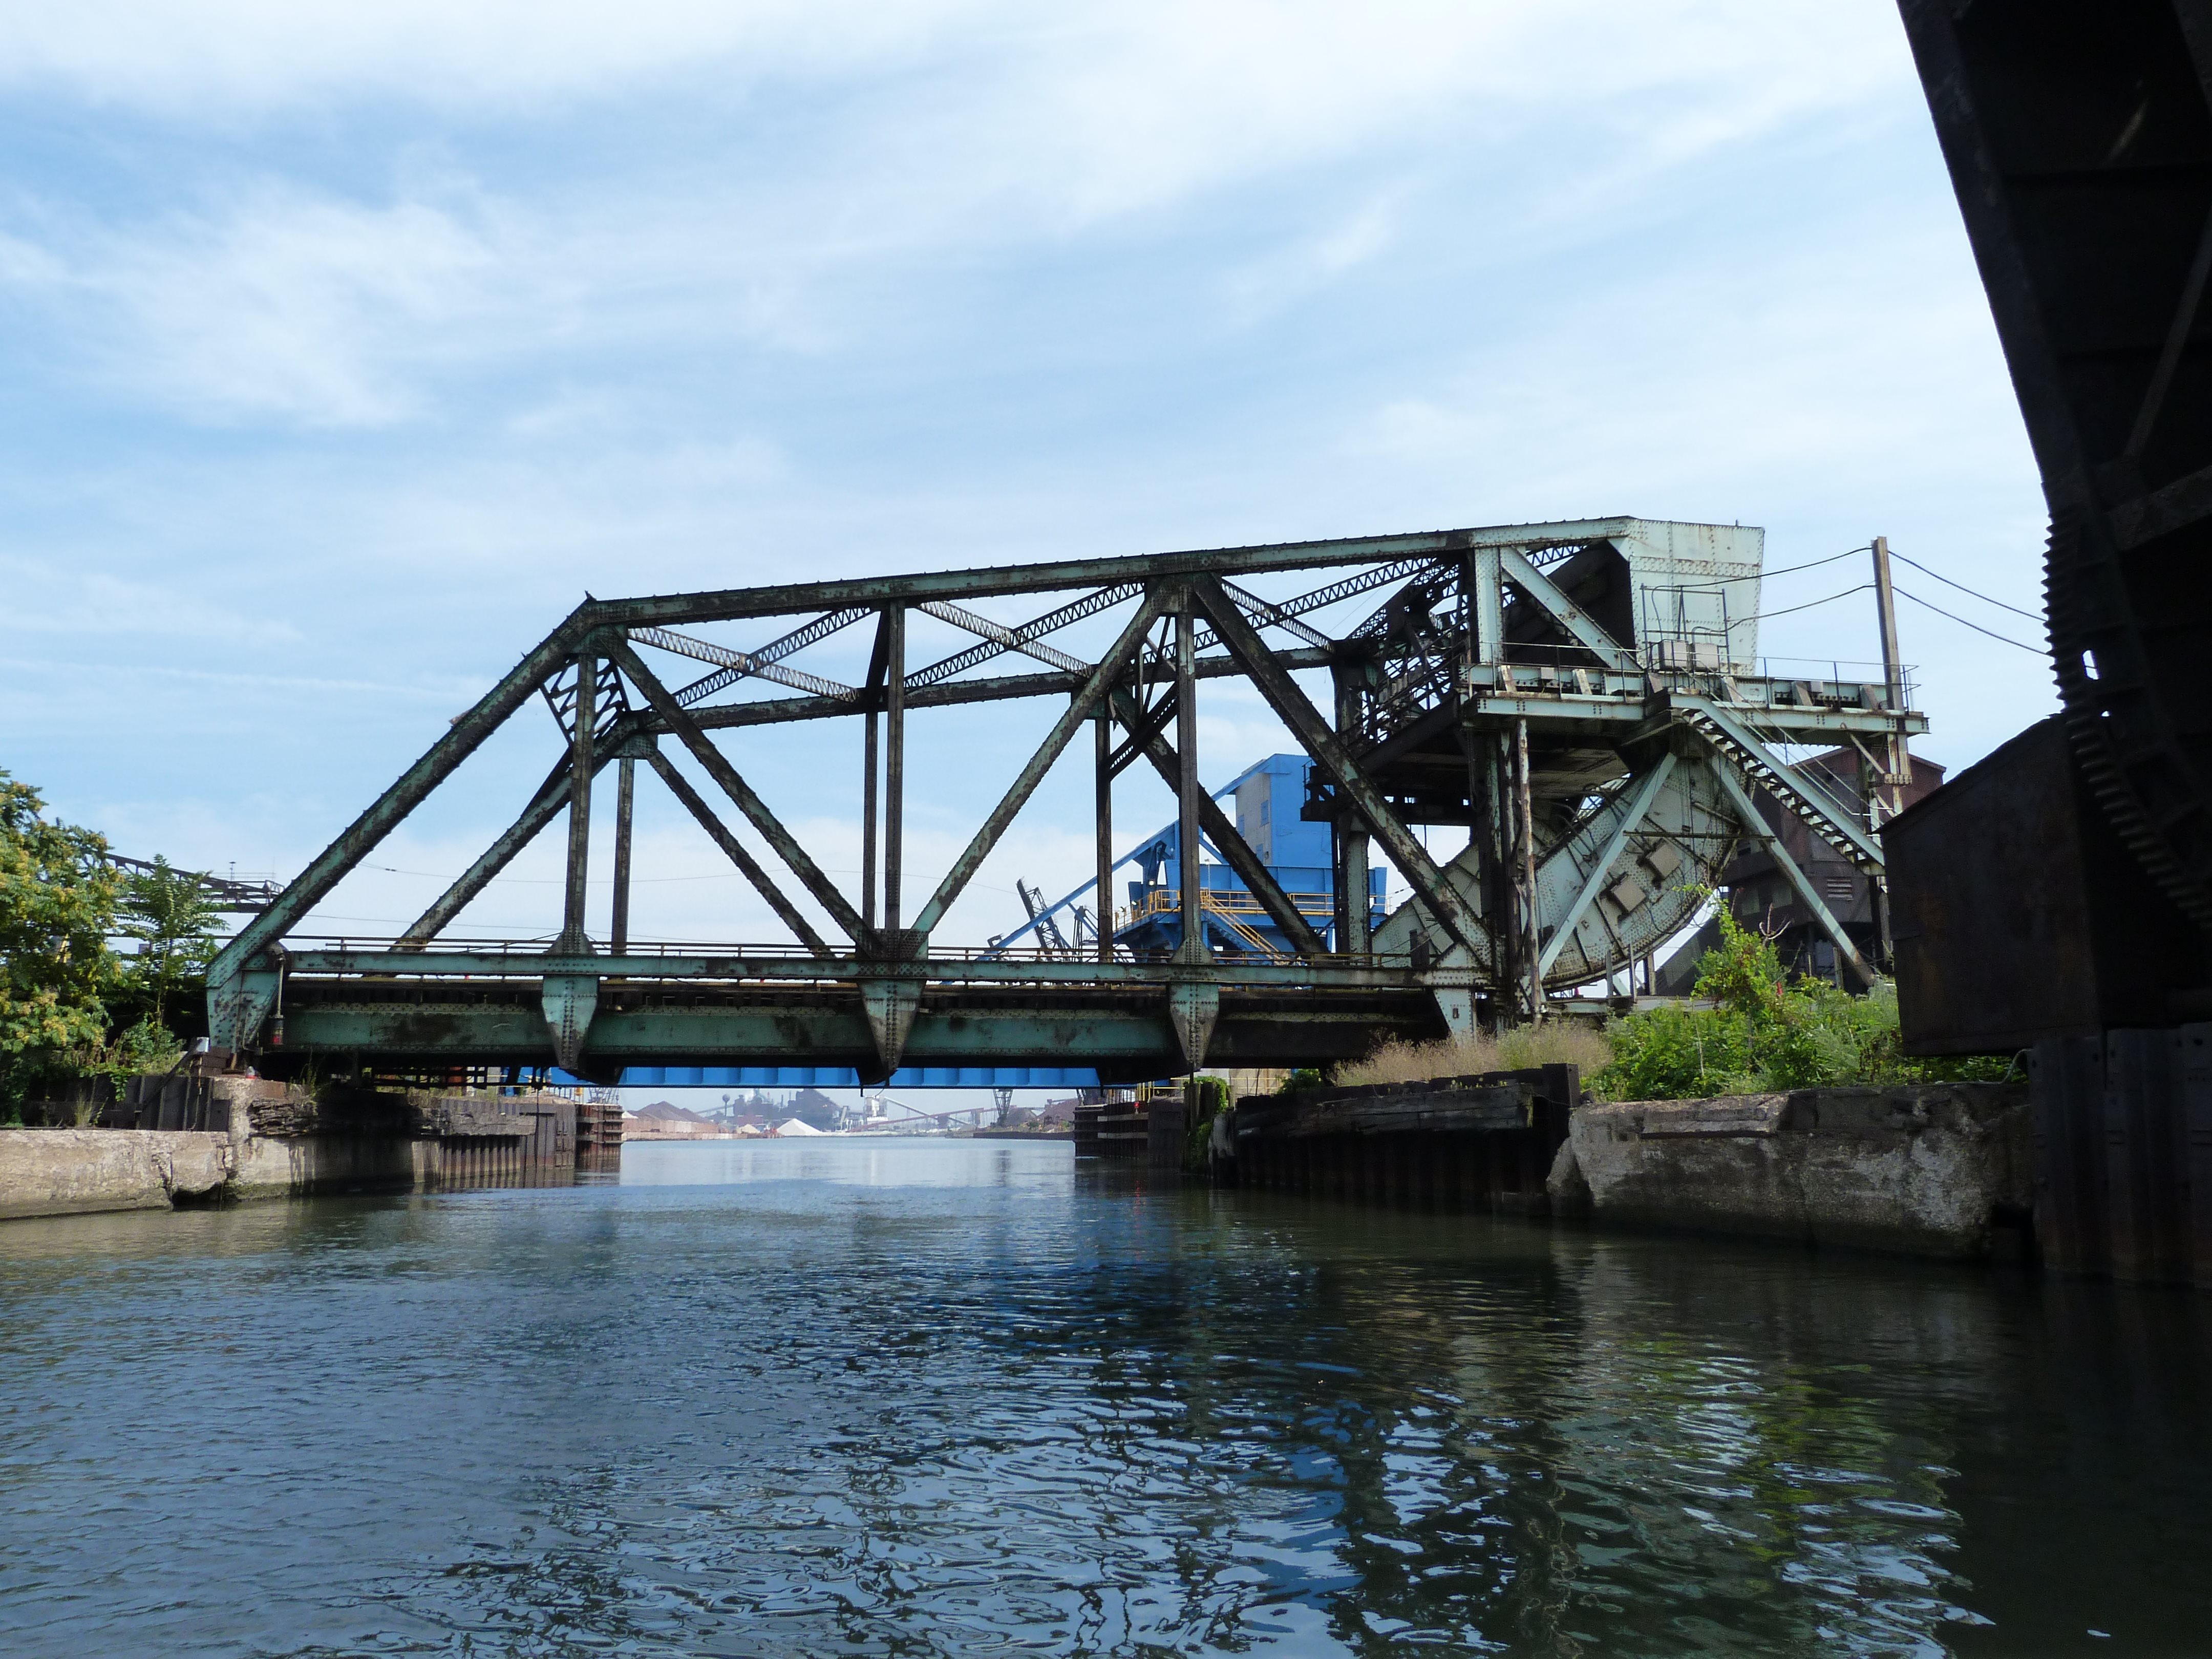
Elevation from northeast of bridge.
![]()
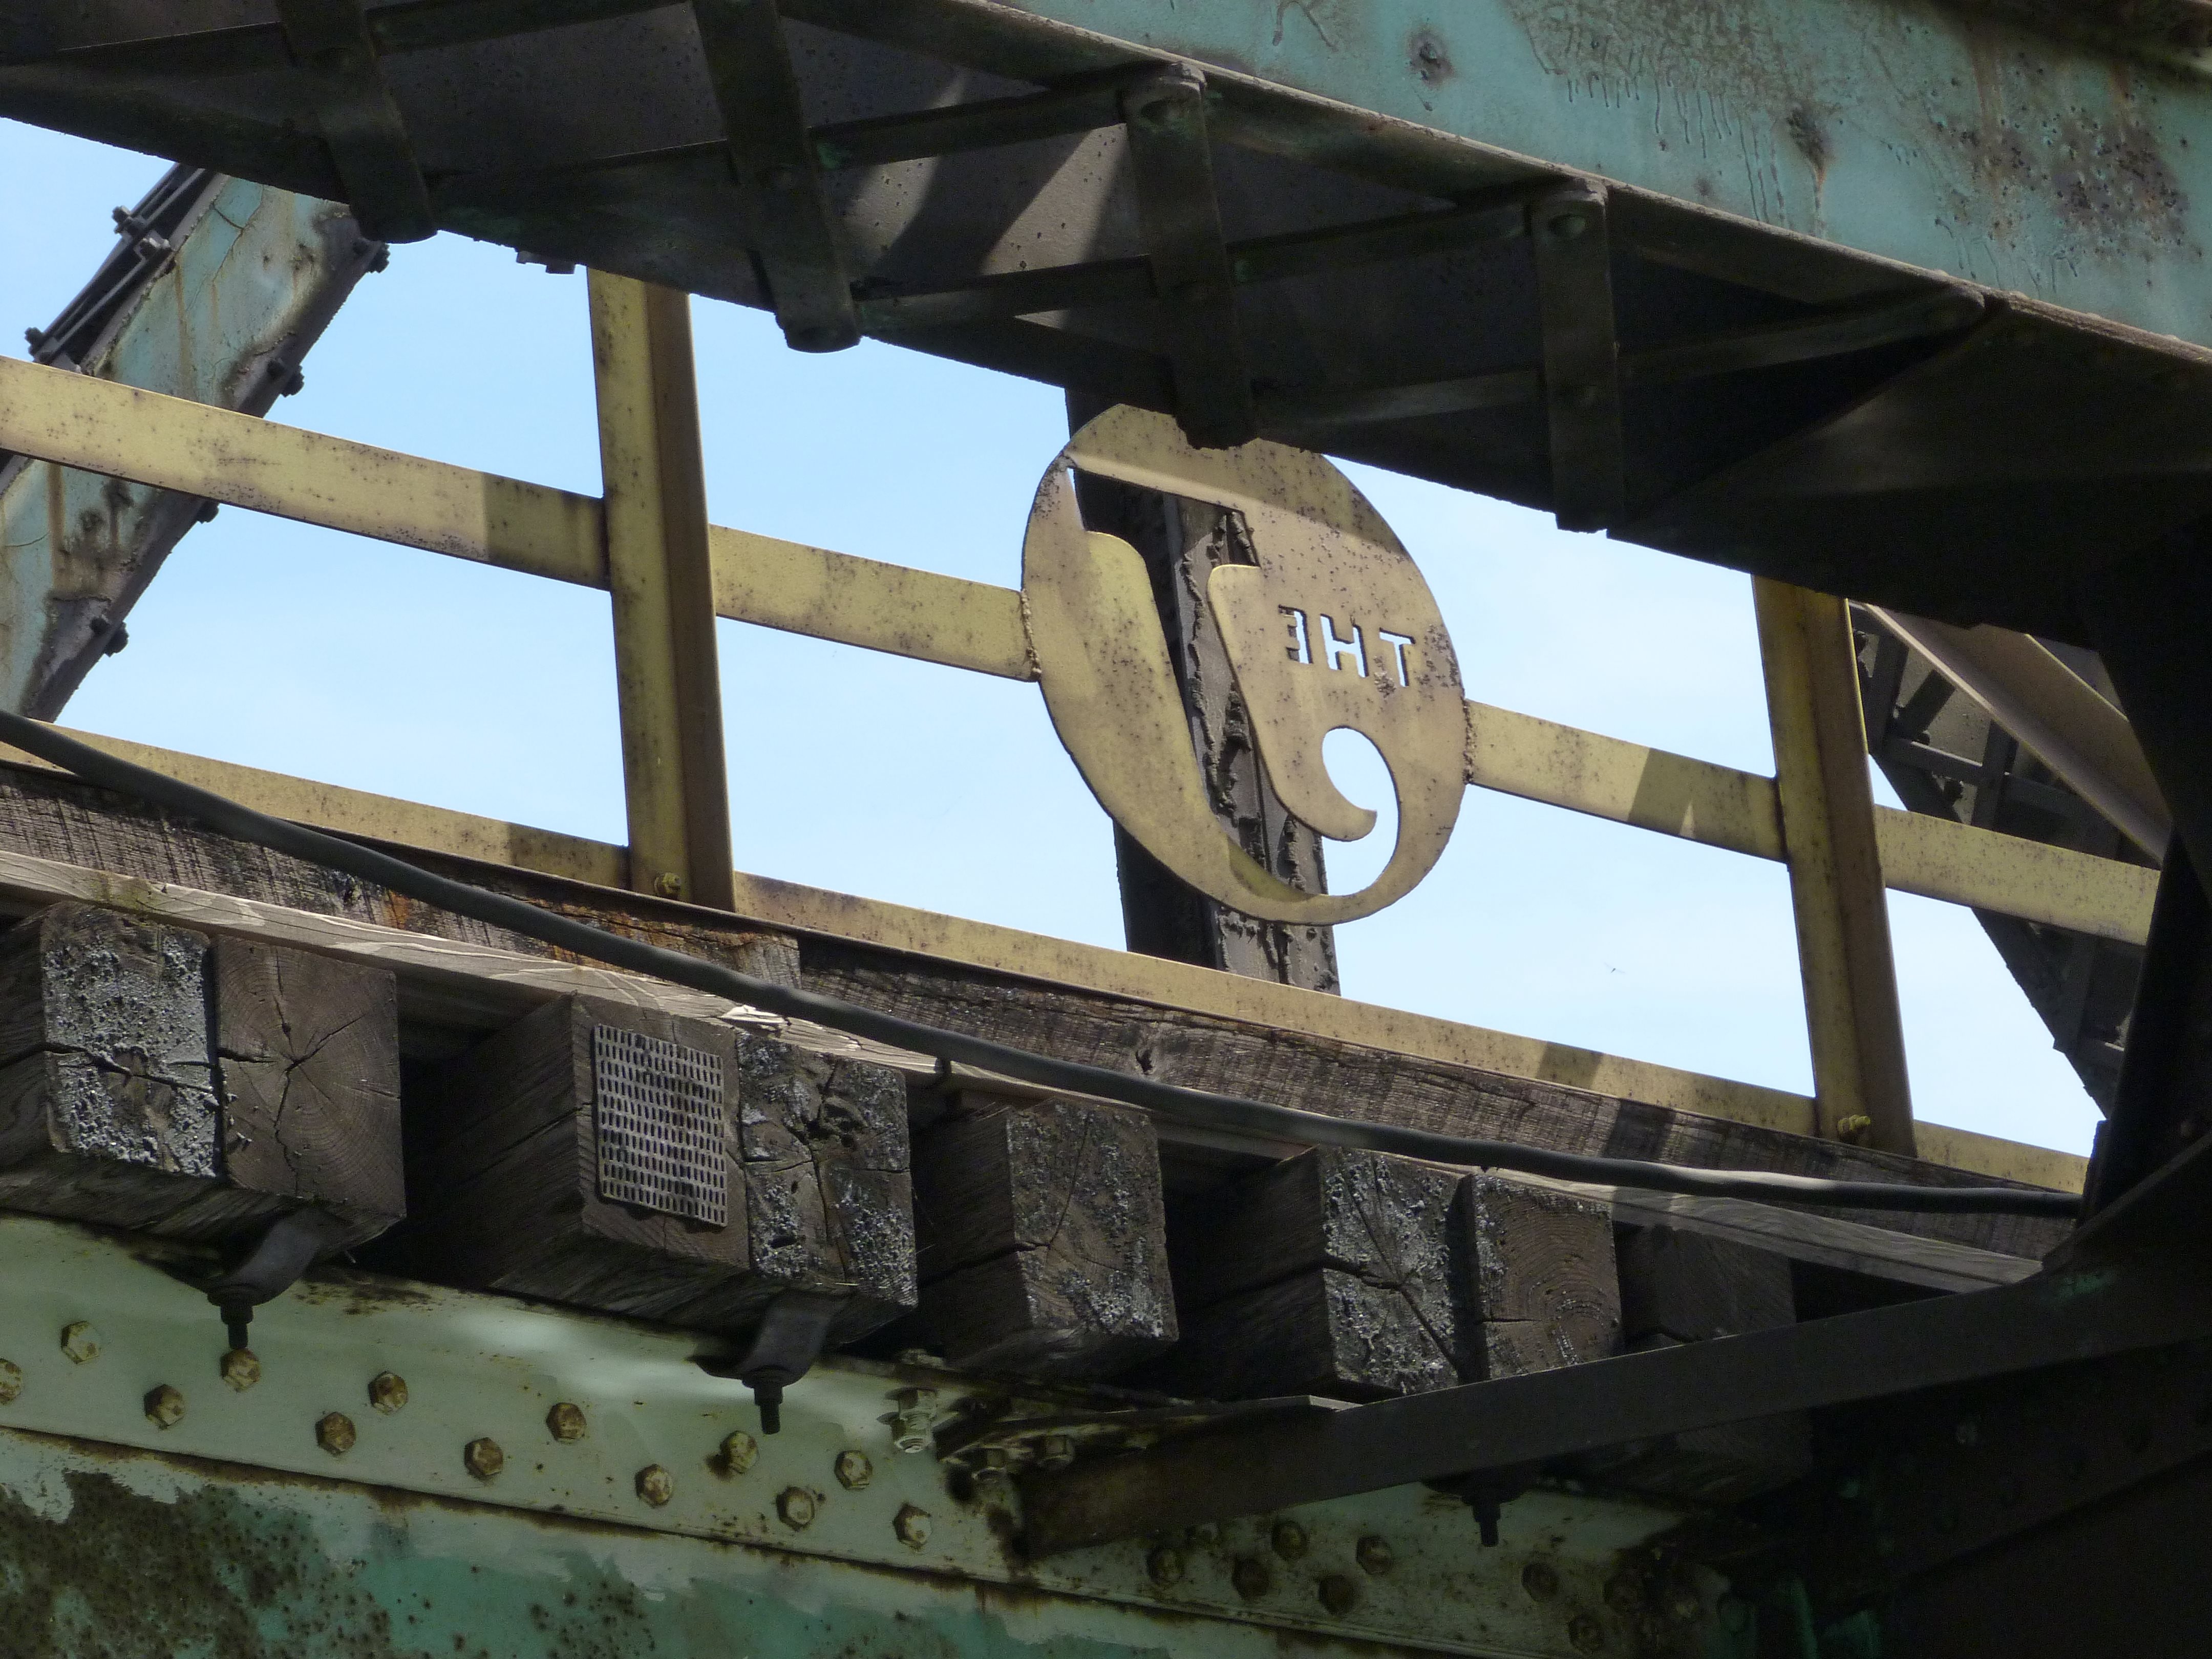
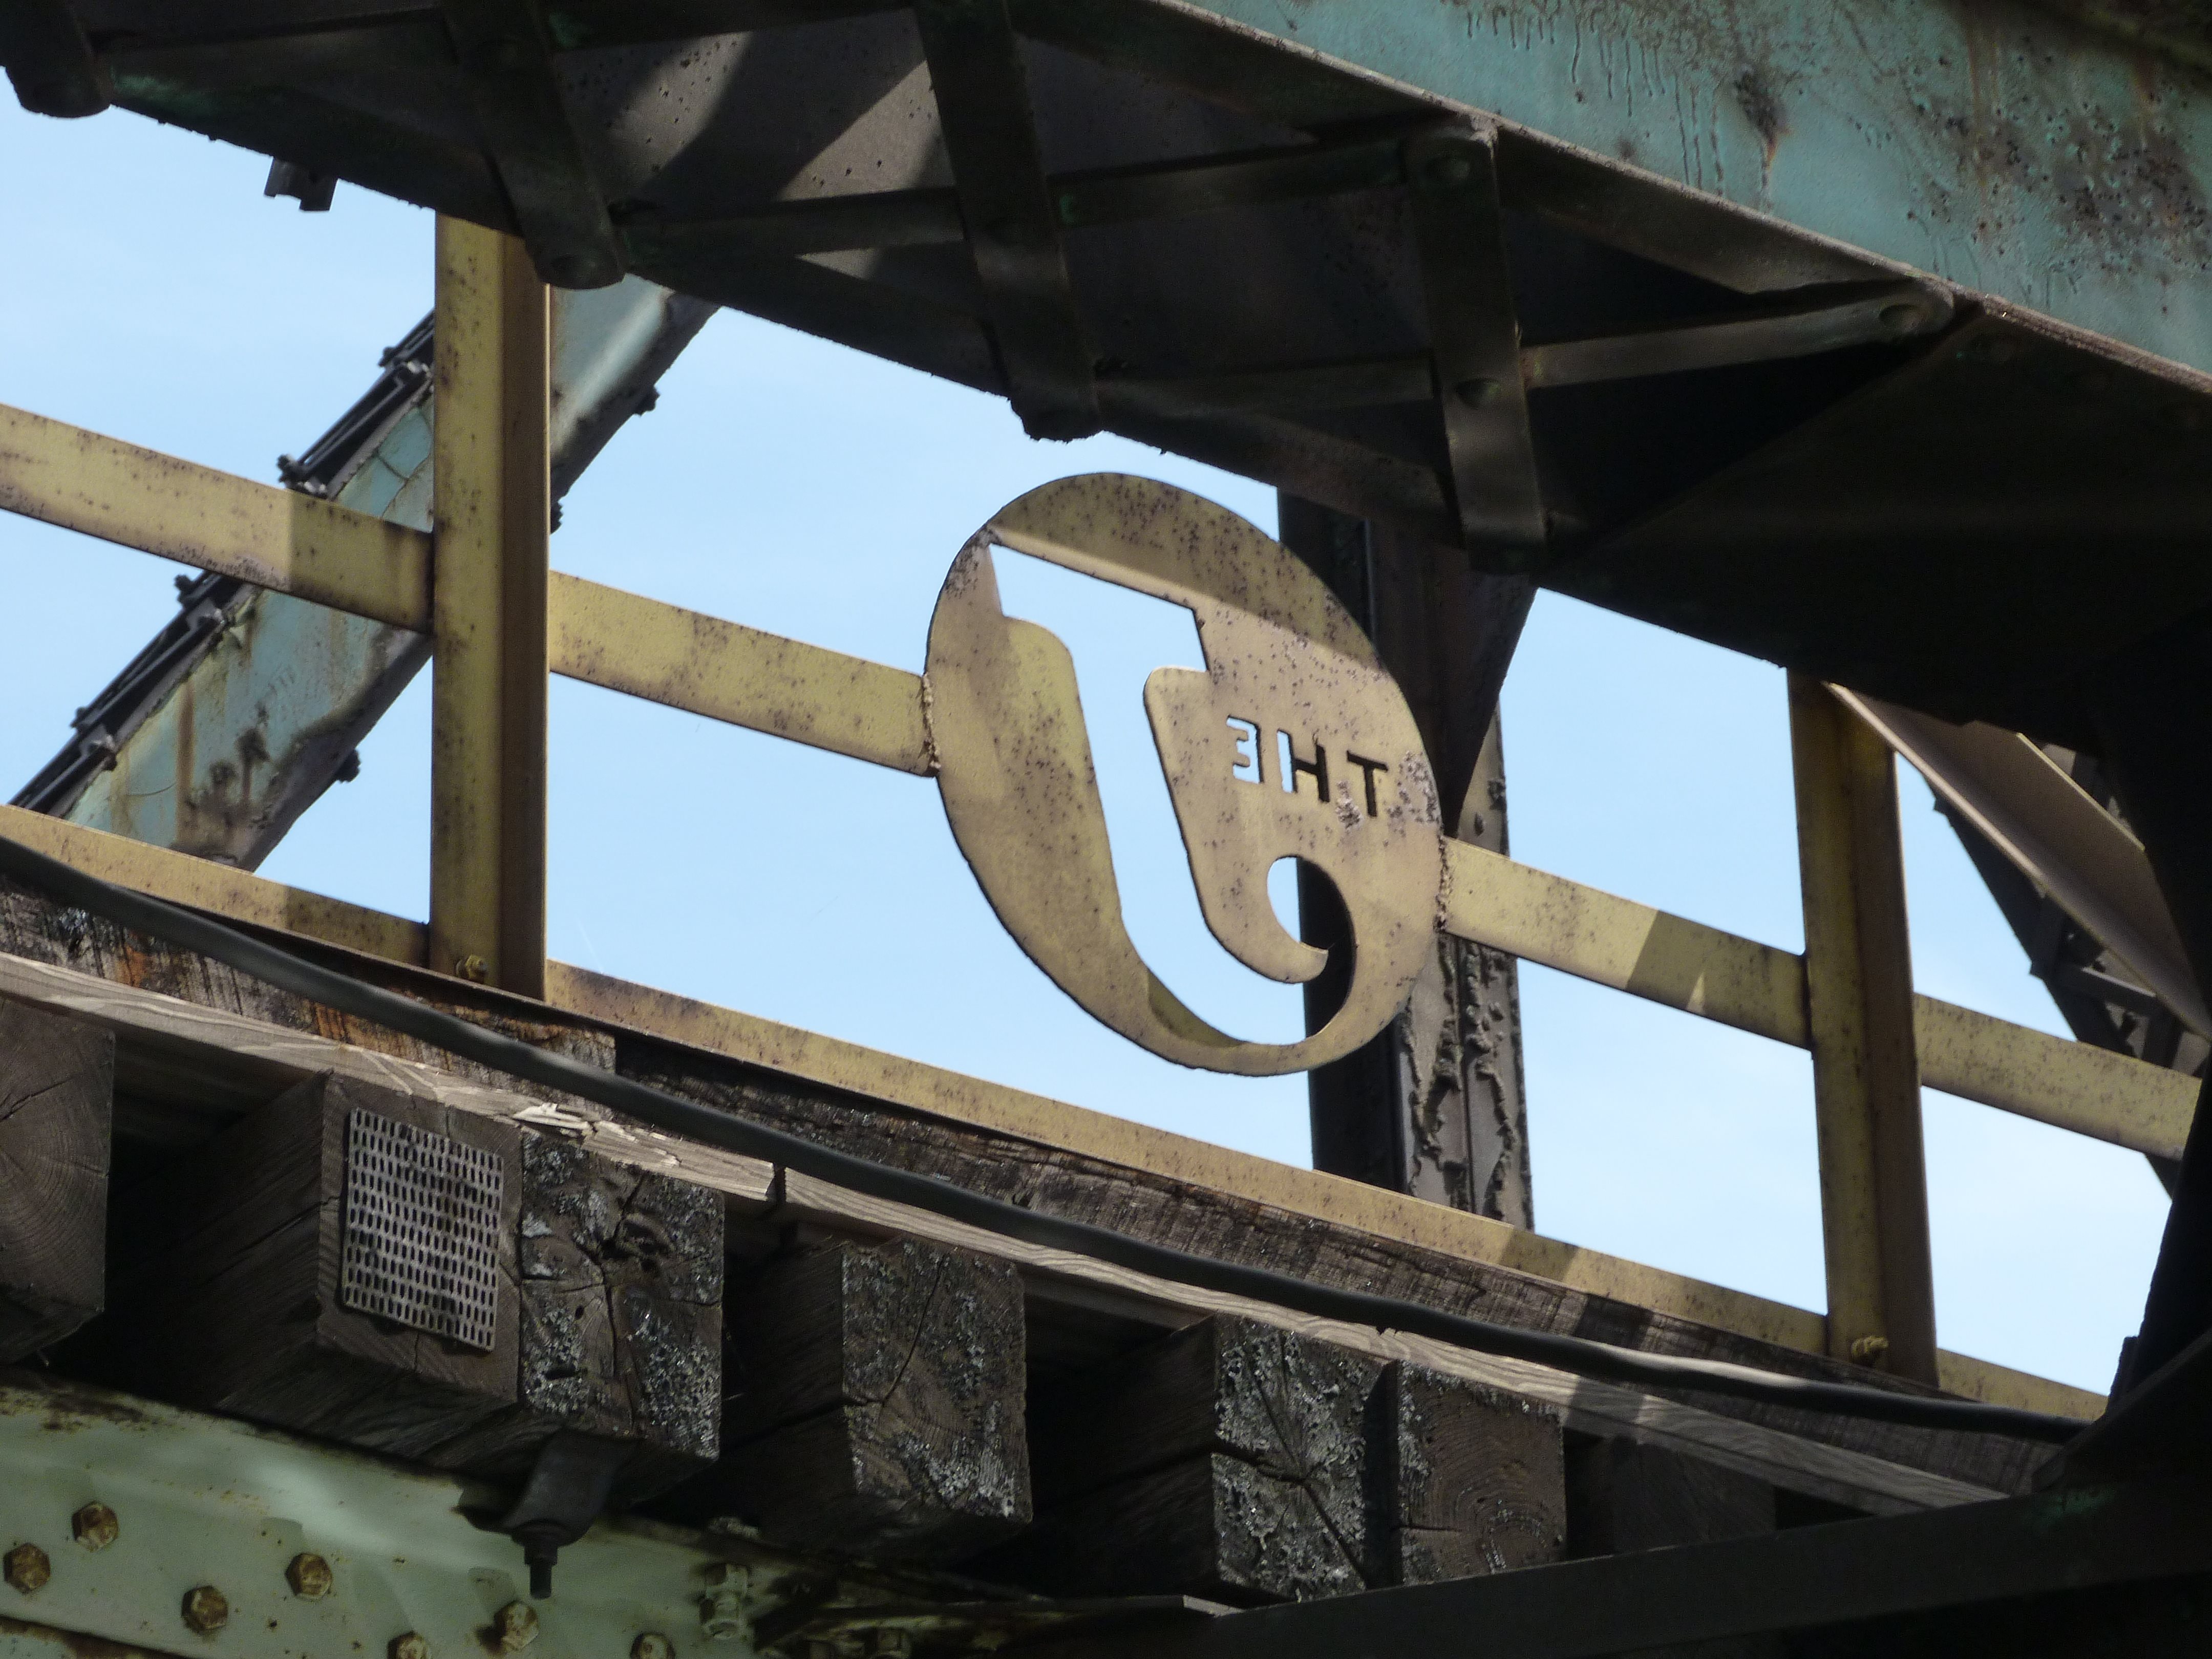
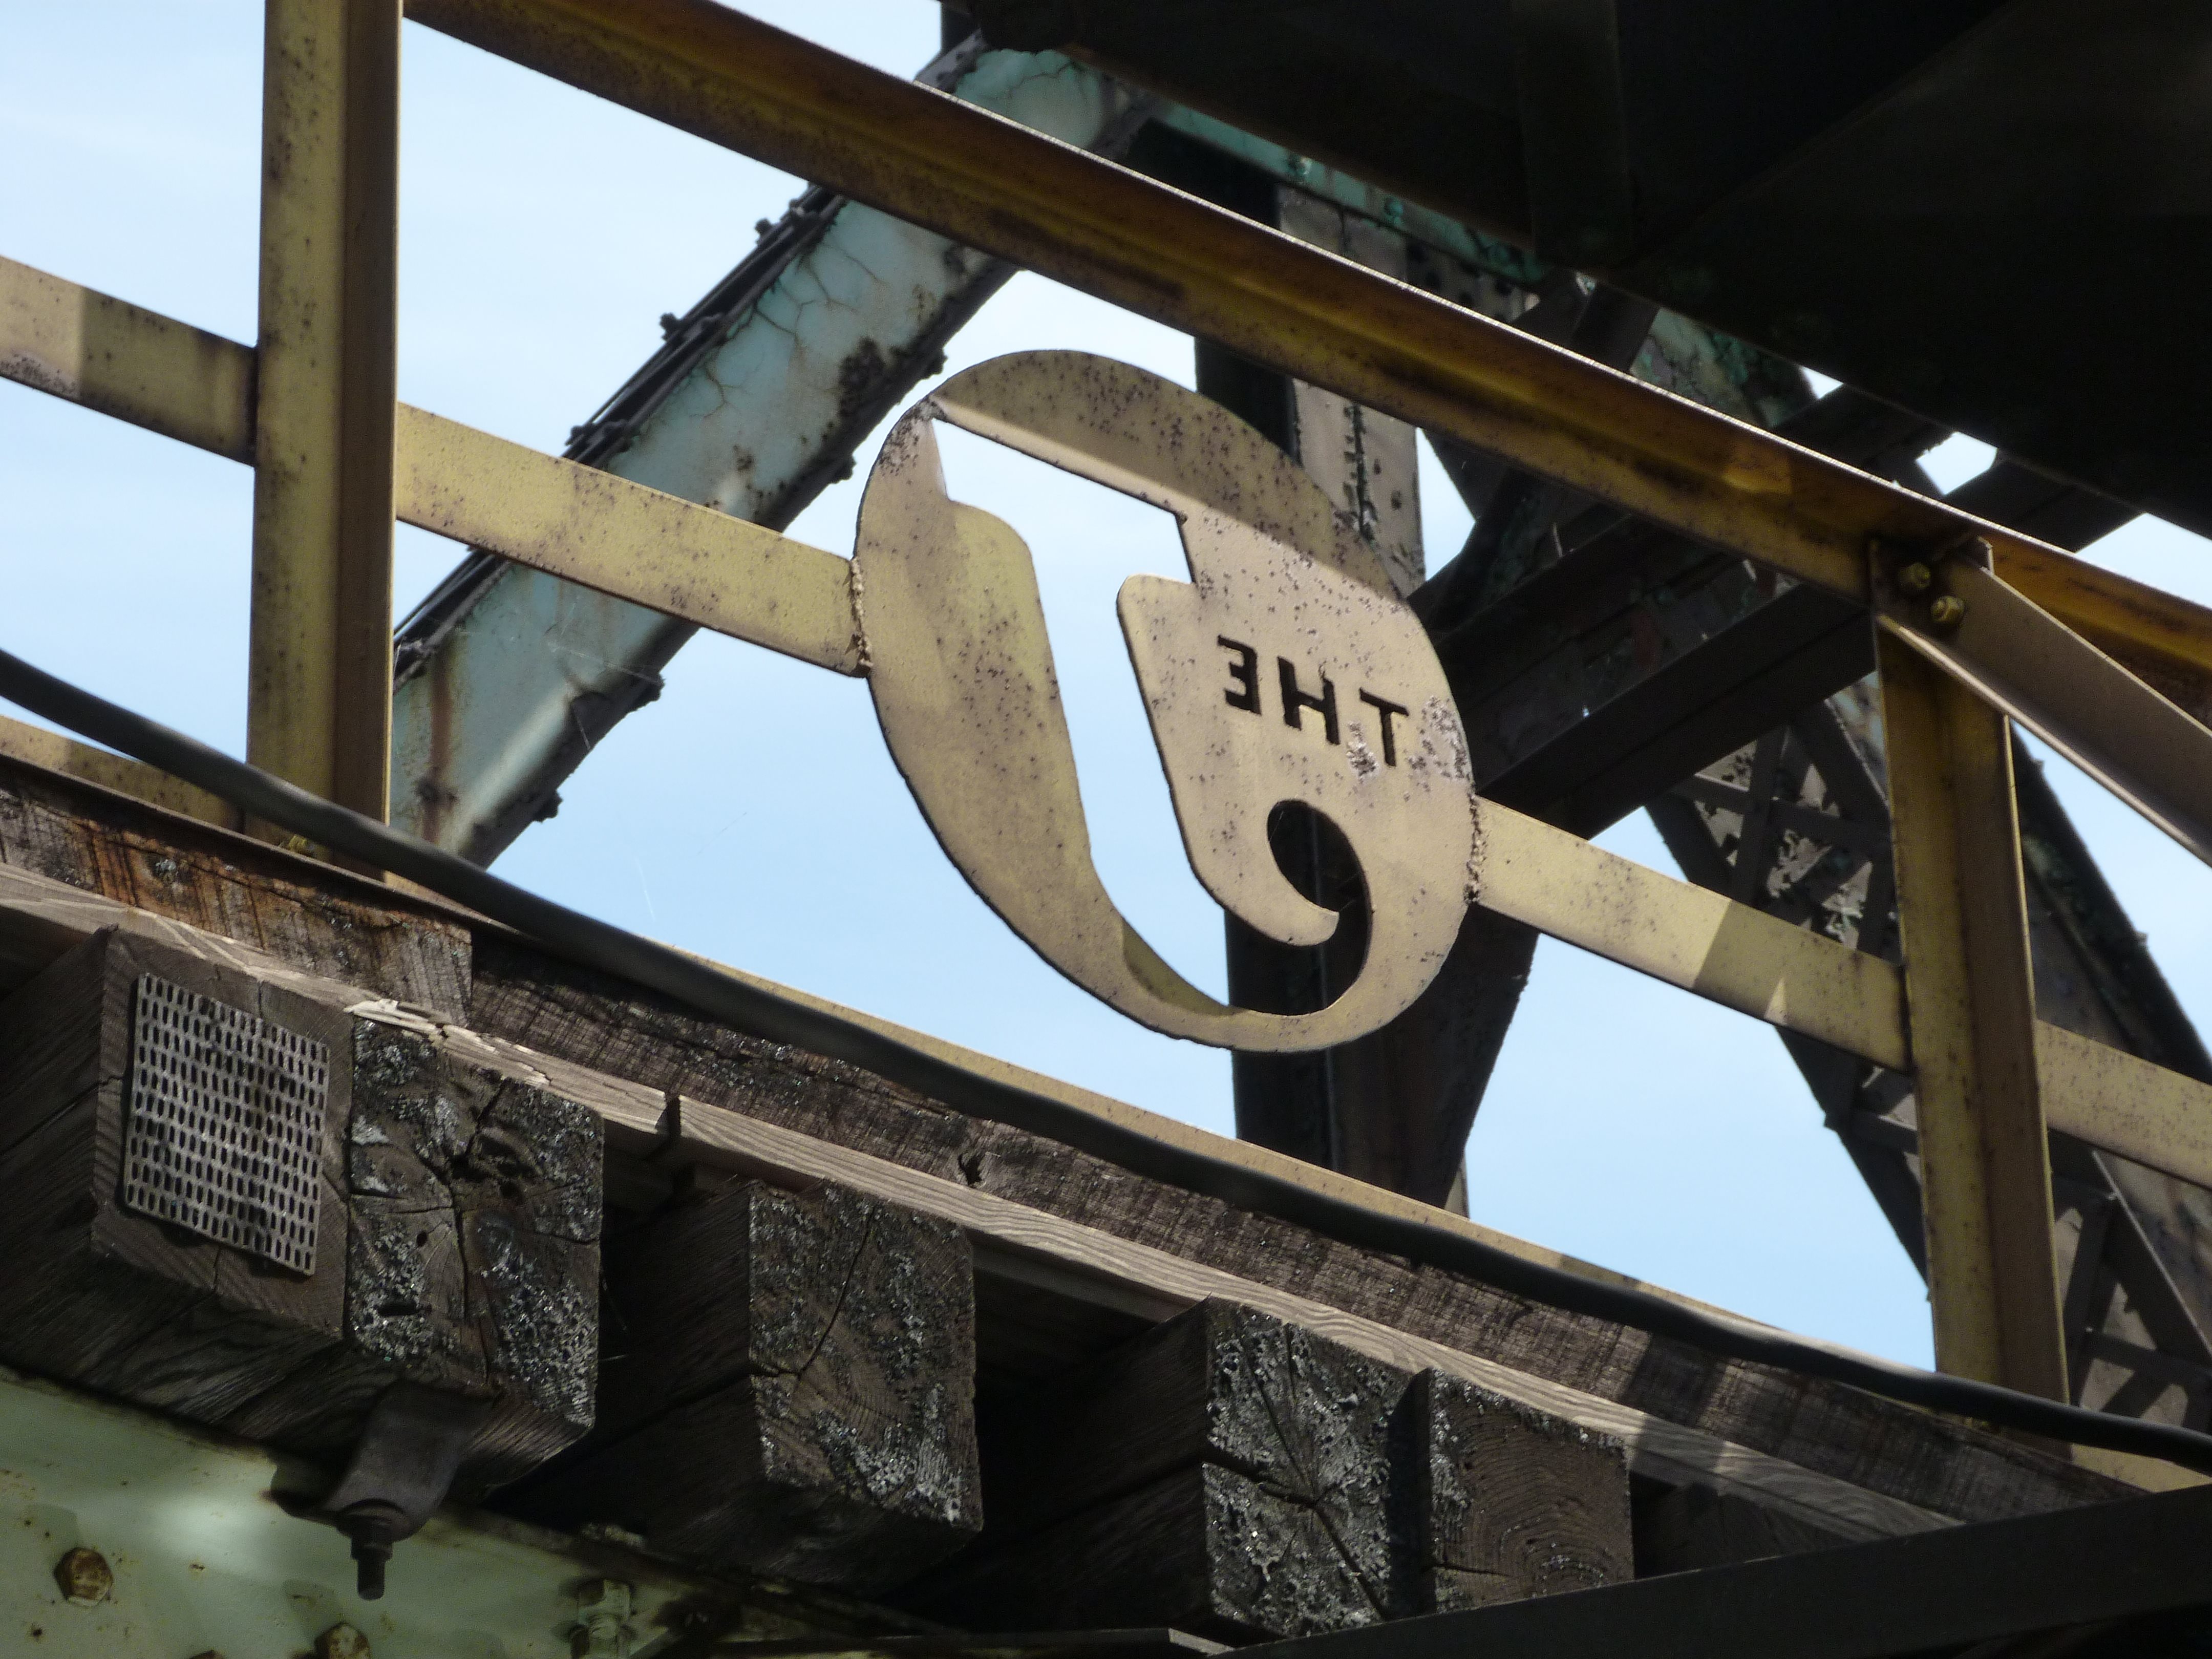

Elgin, Joliet, and Eastern logo on bridge. Not an original detail, but a historical one.
![]()
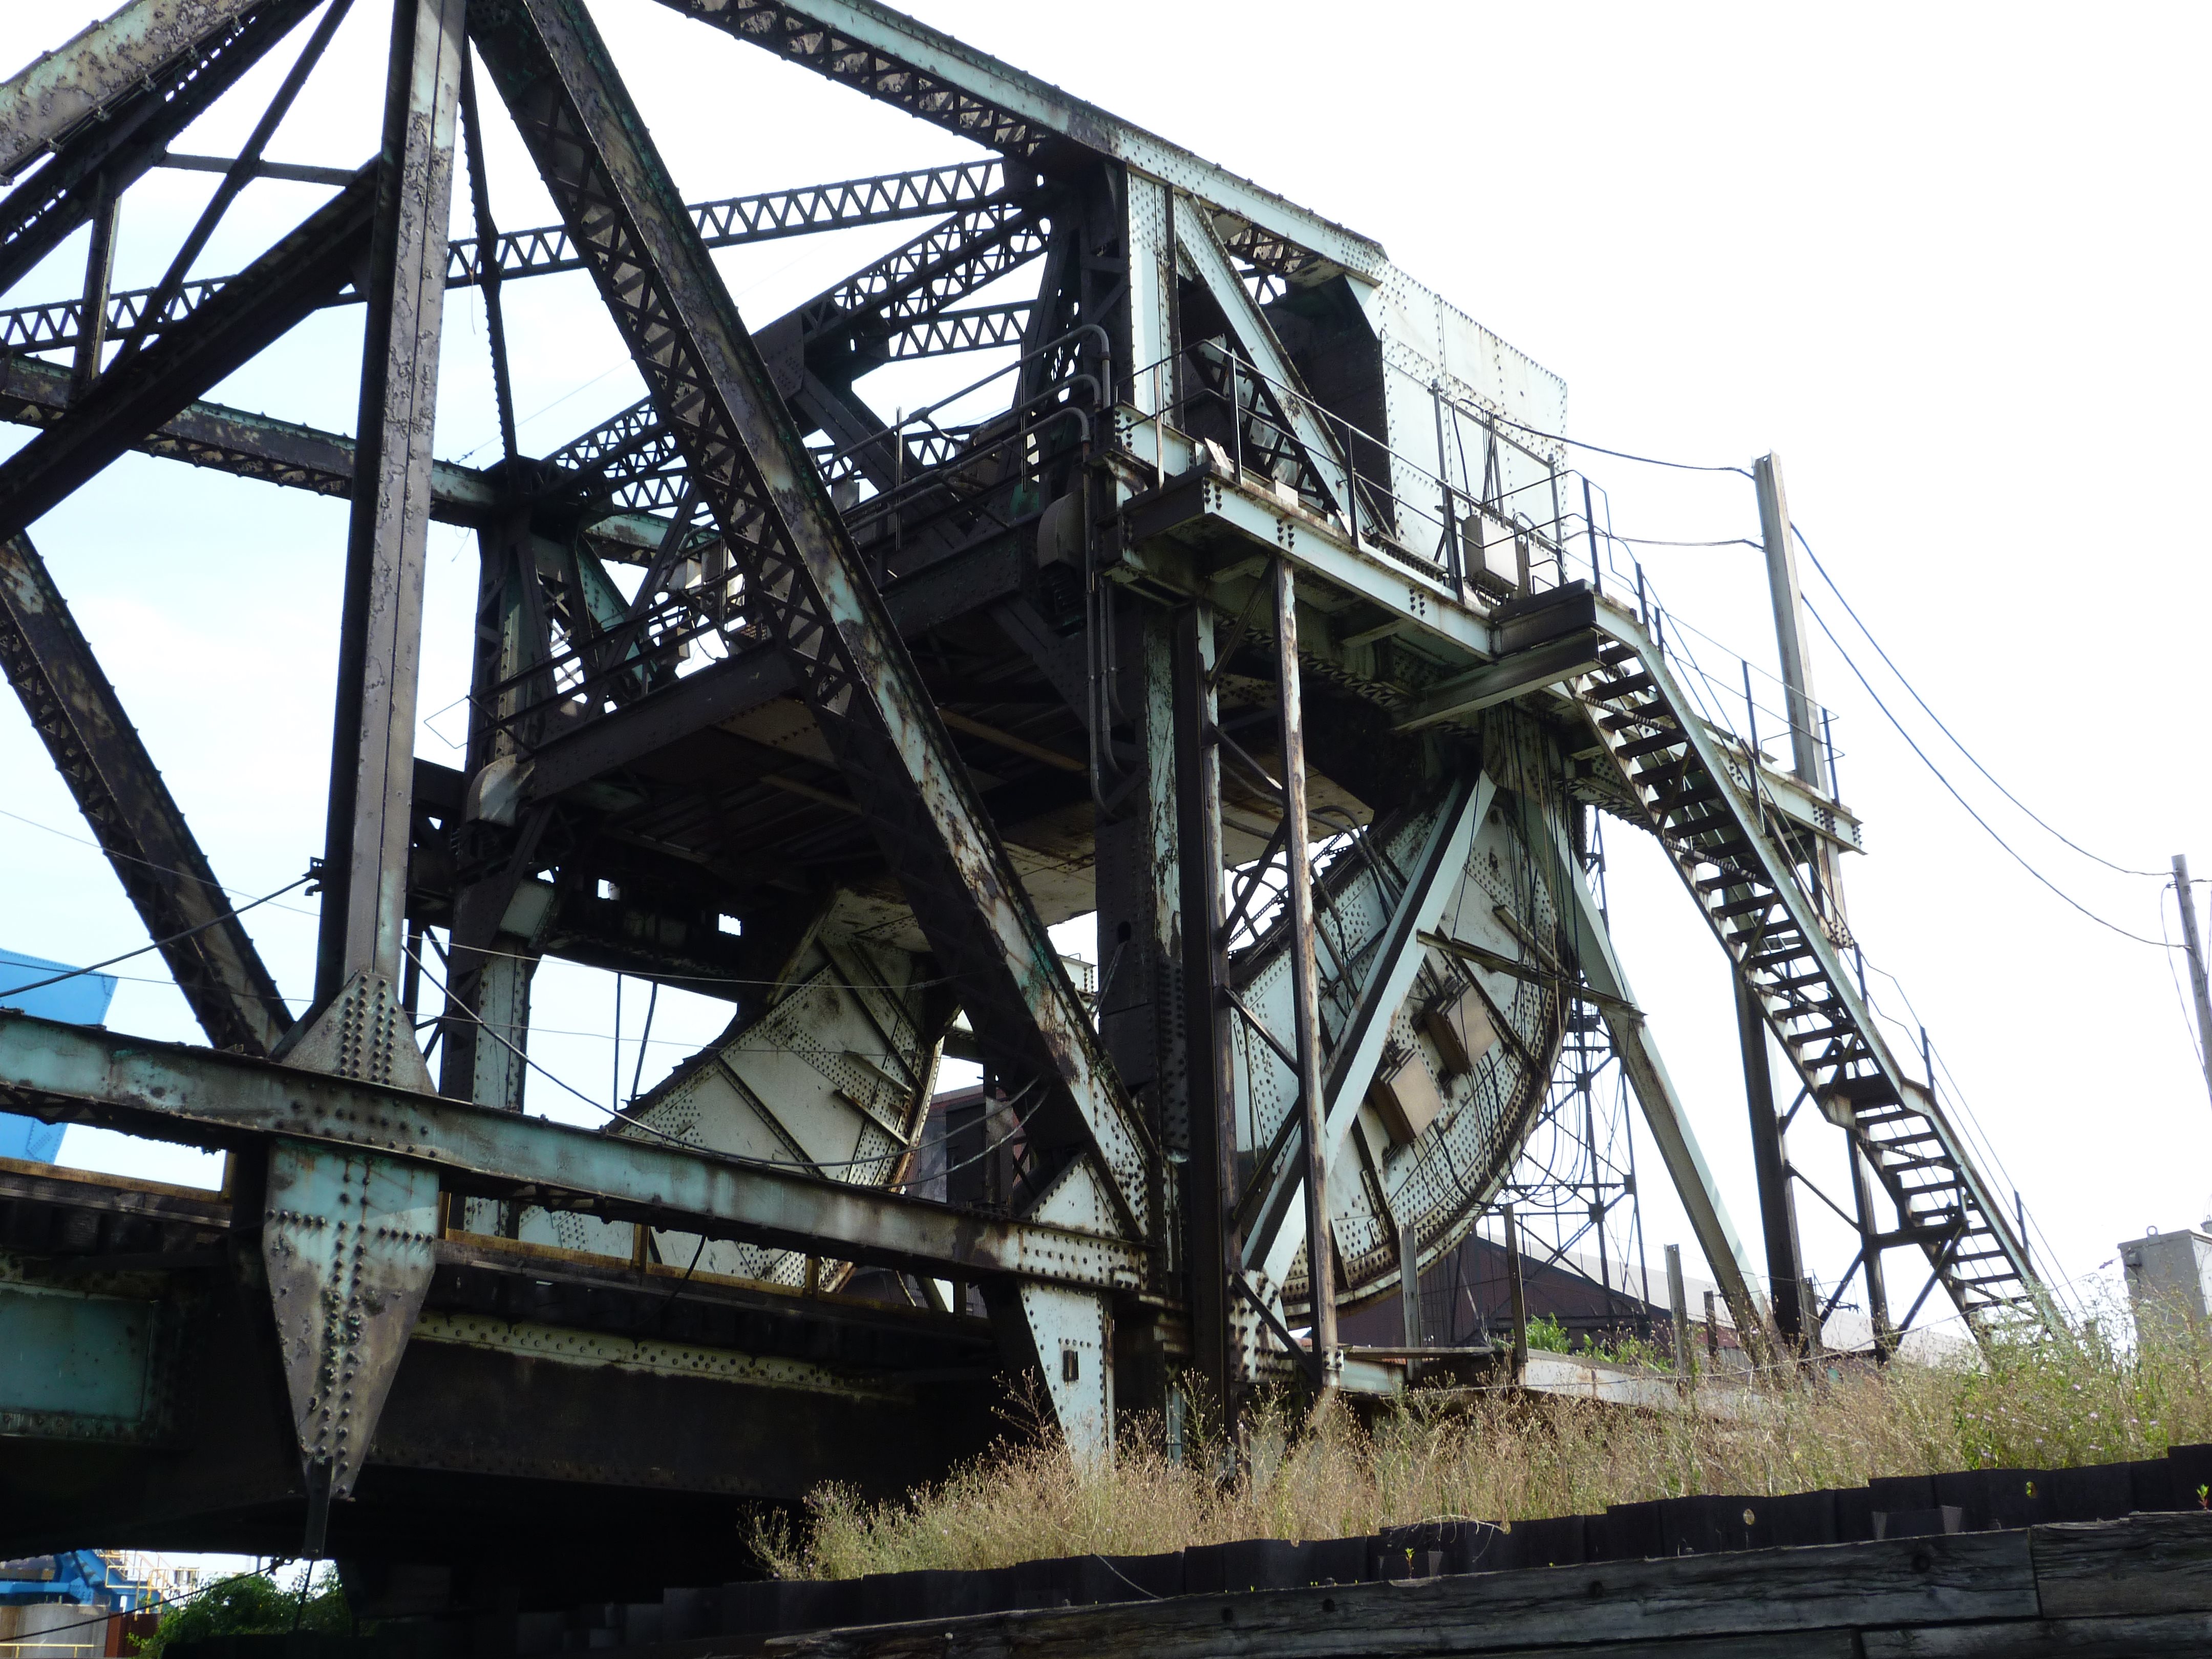


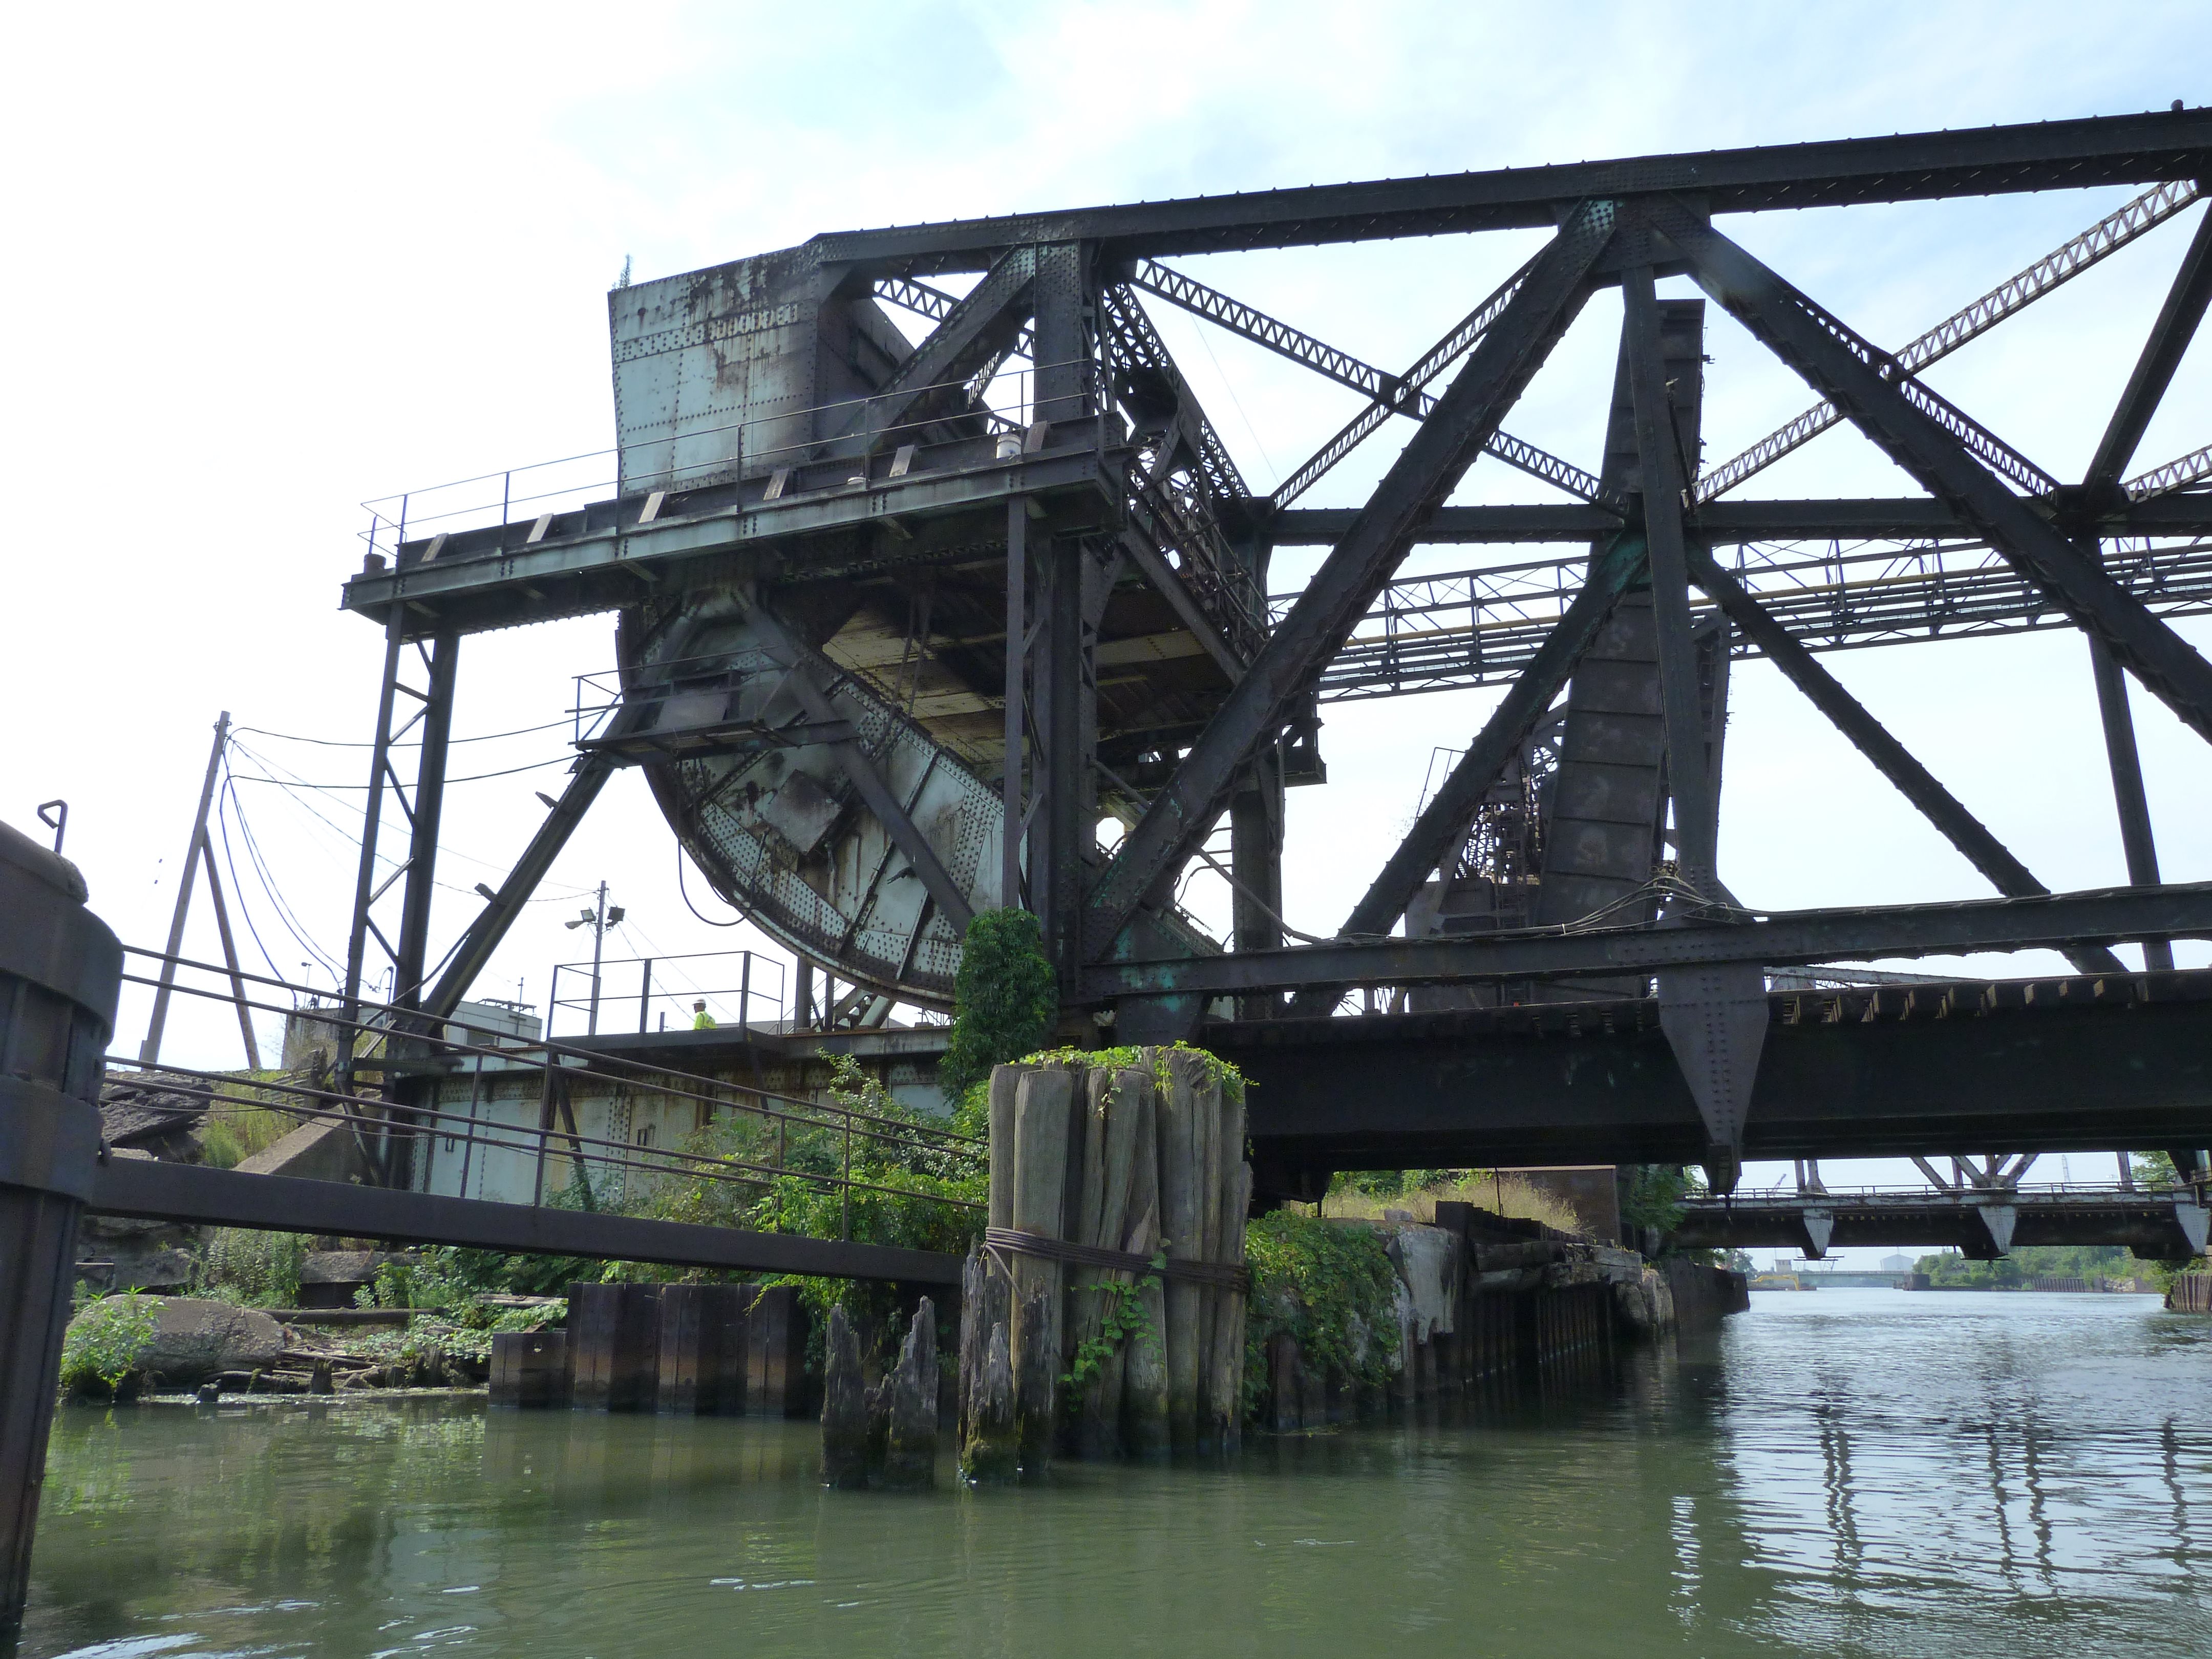
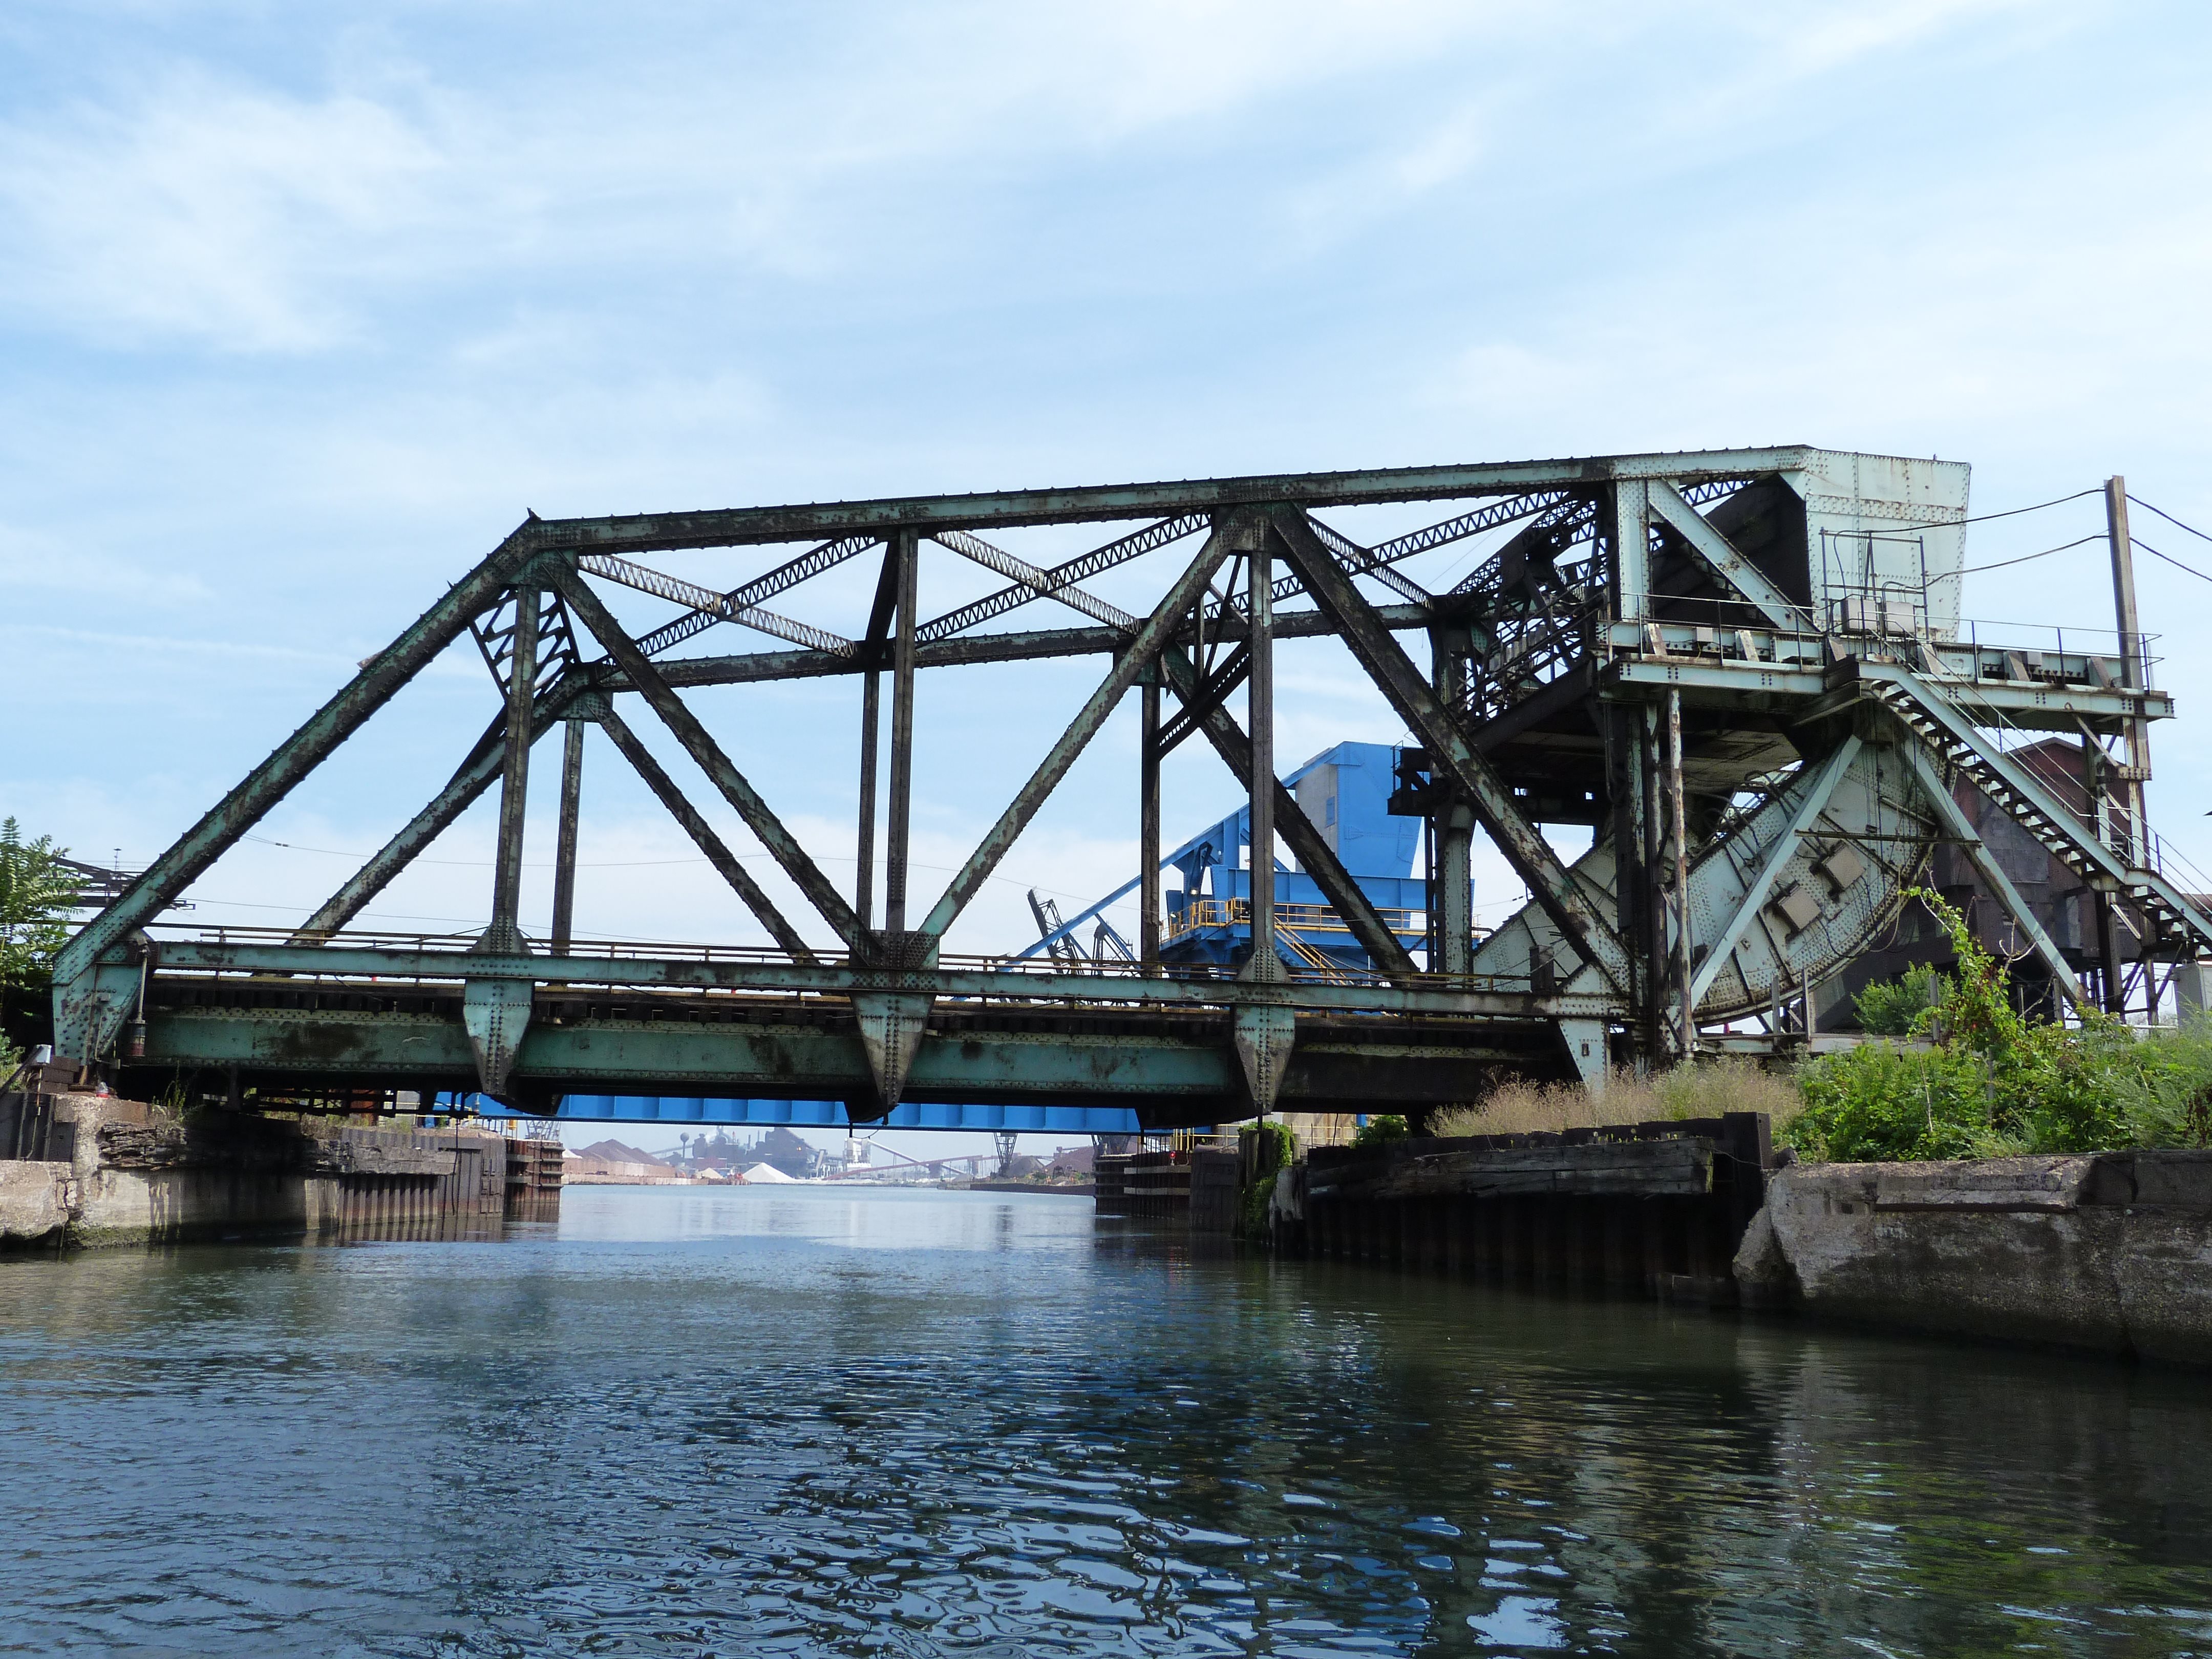
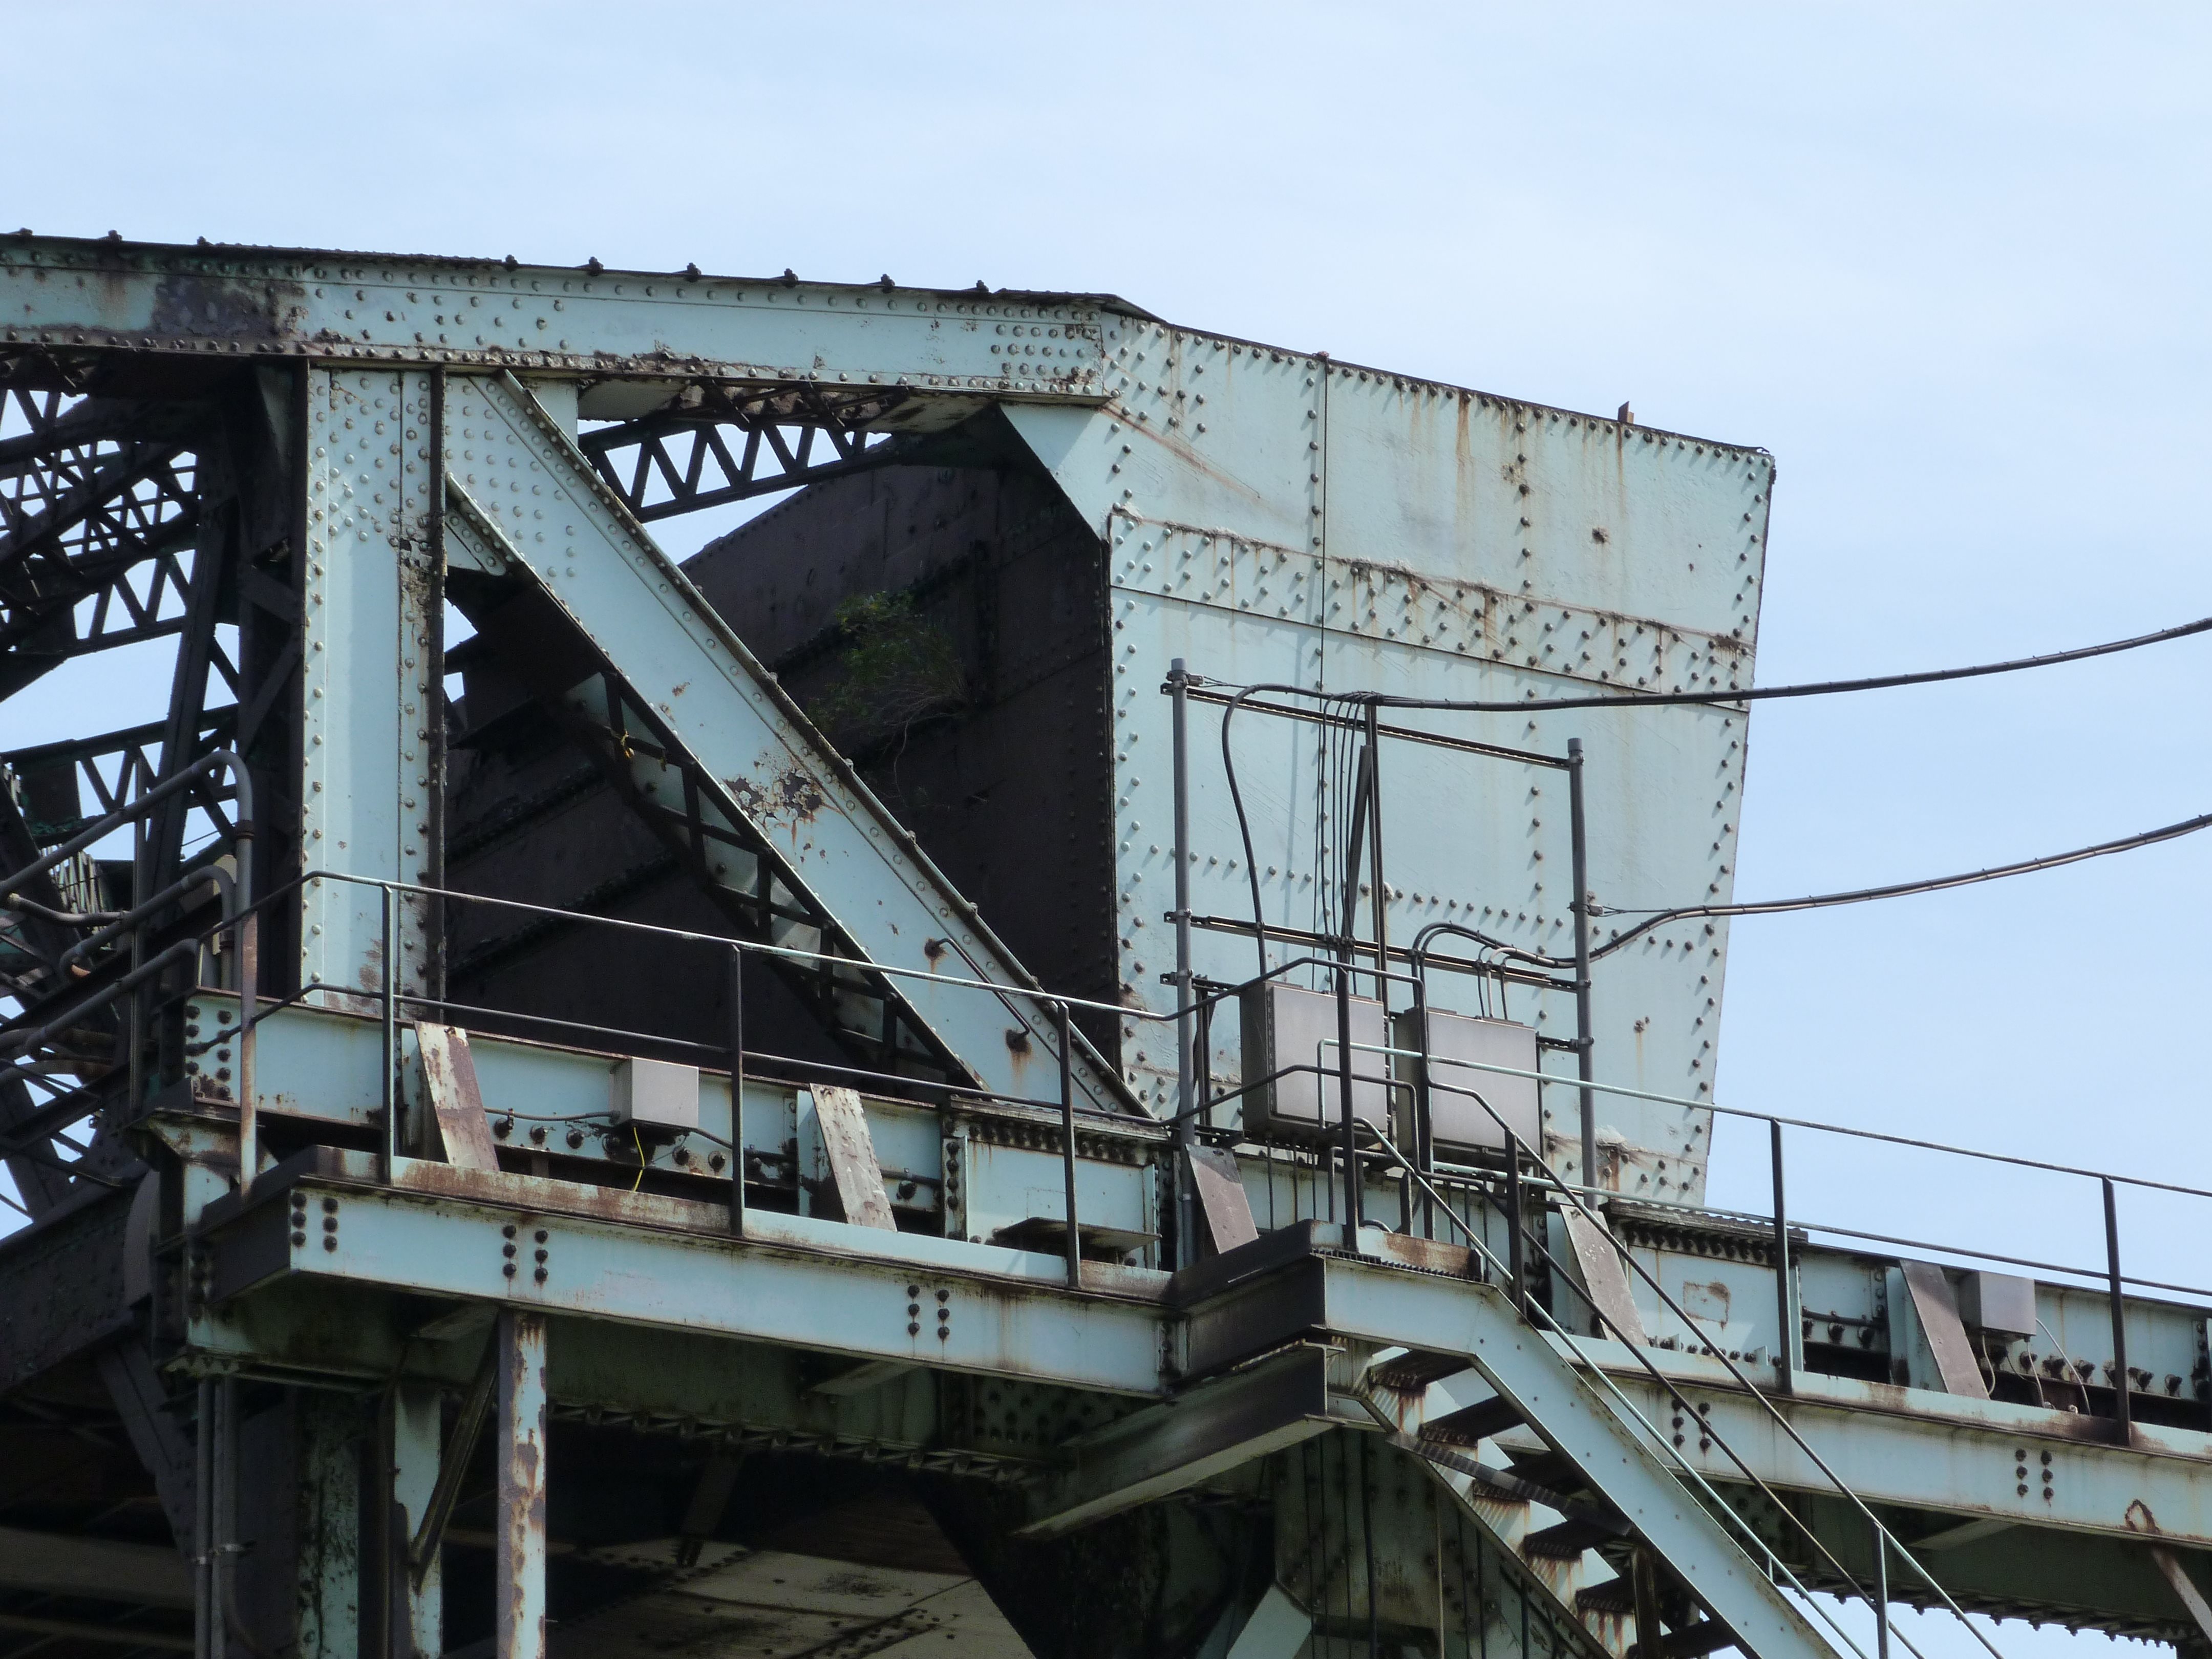
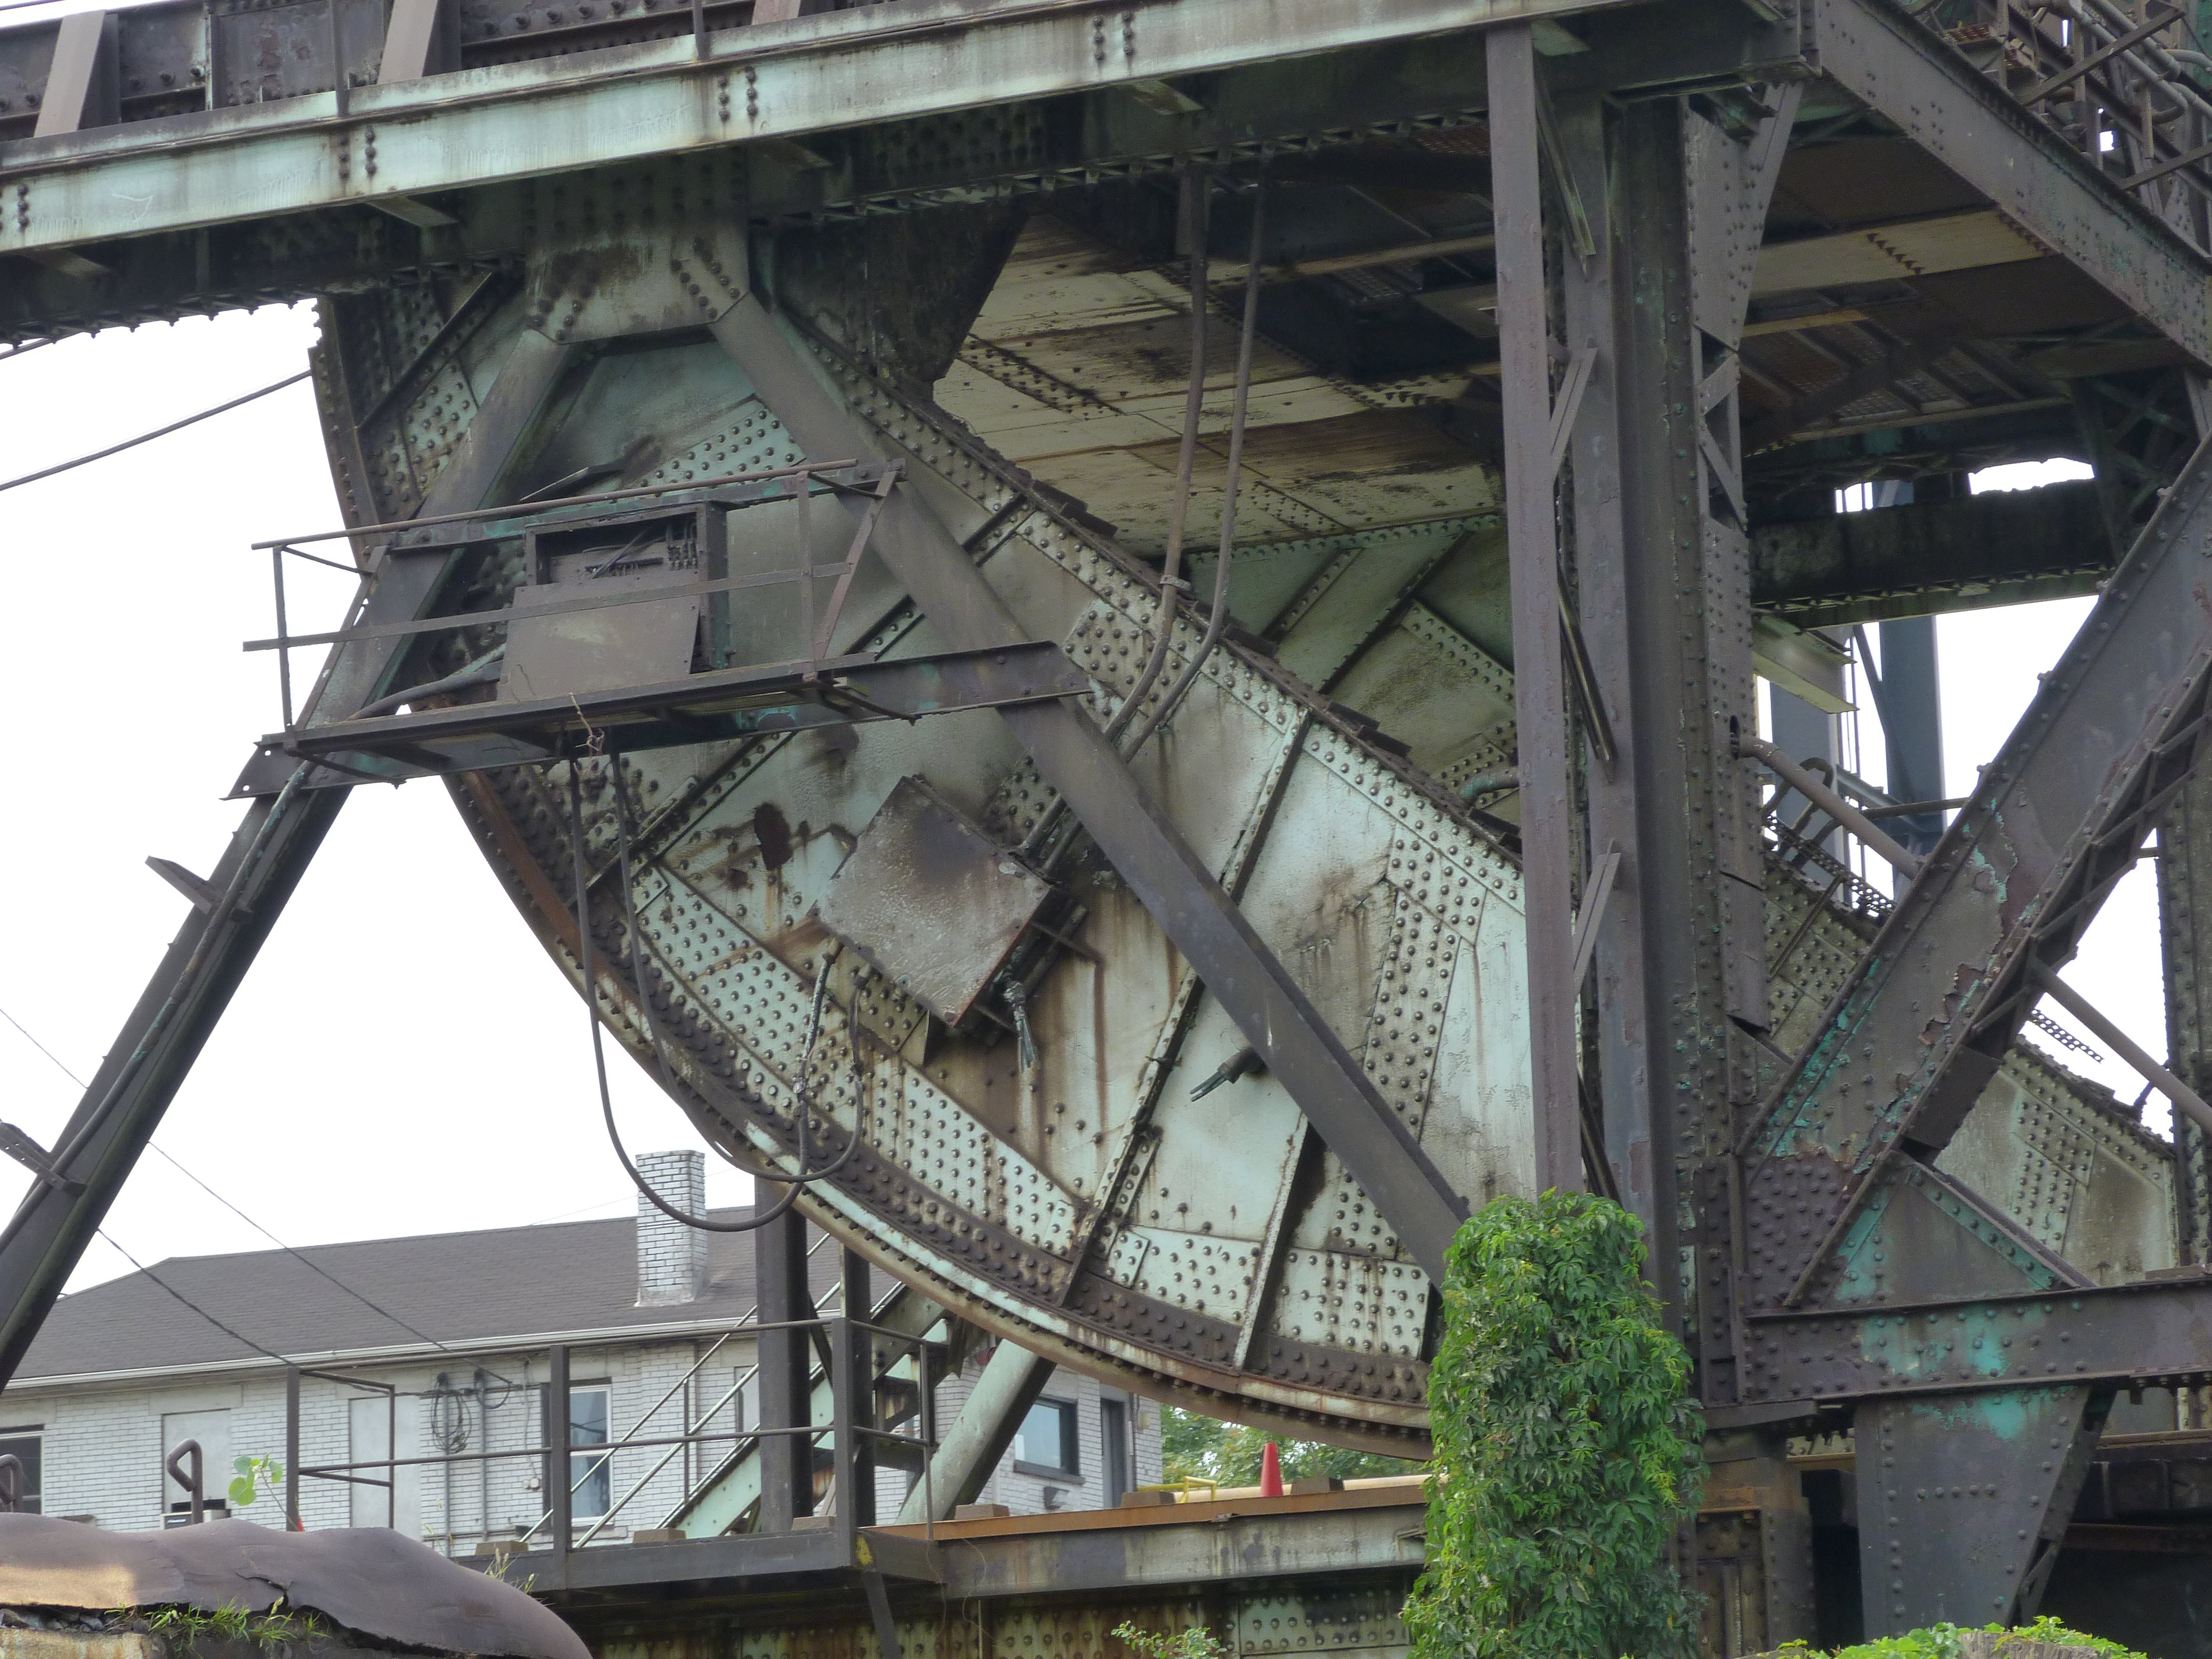
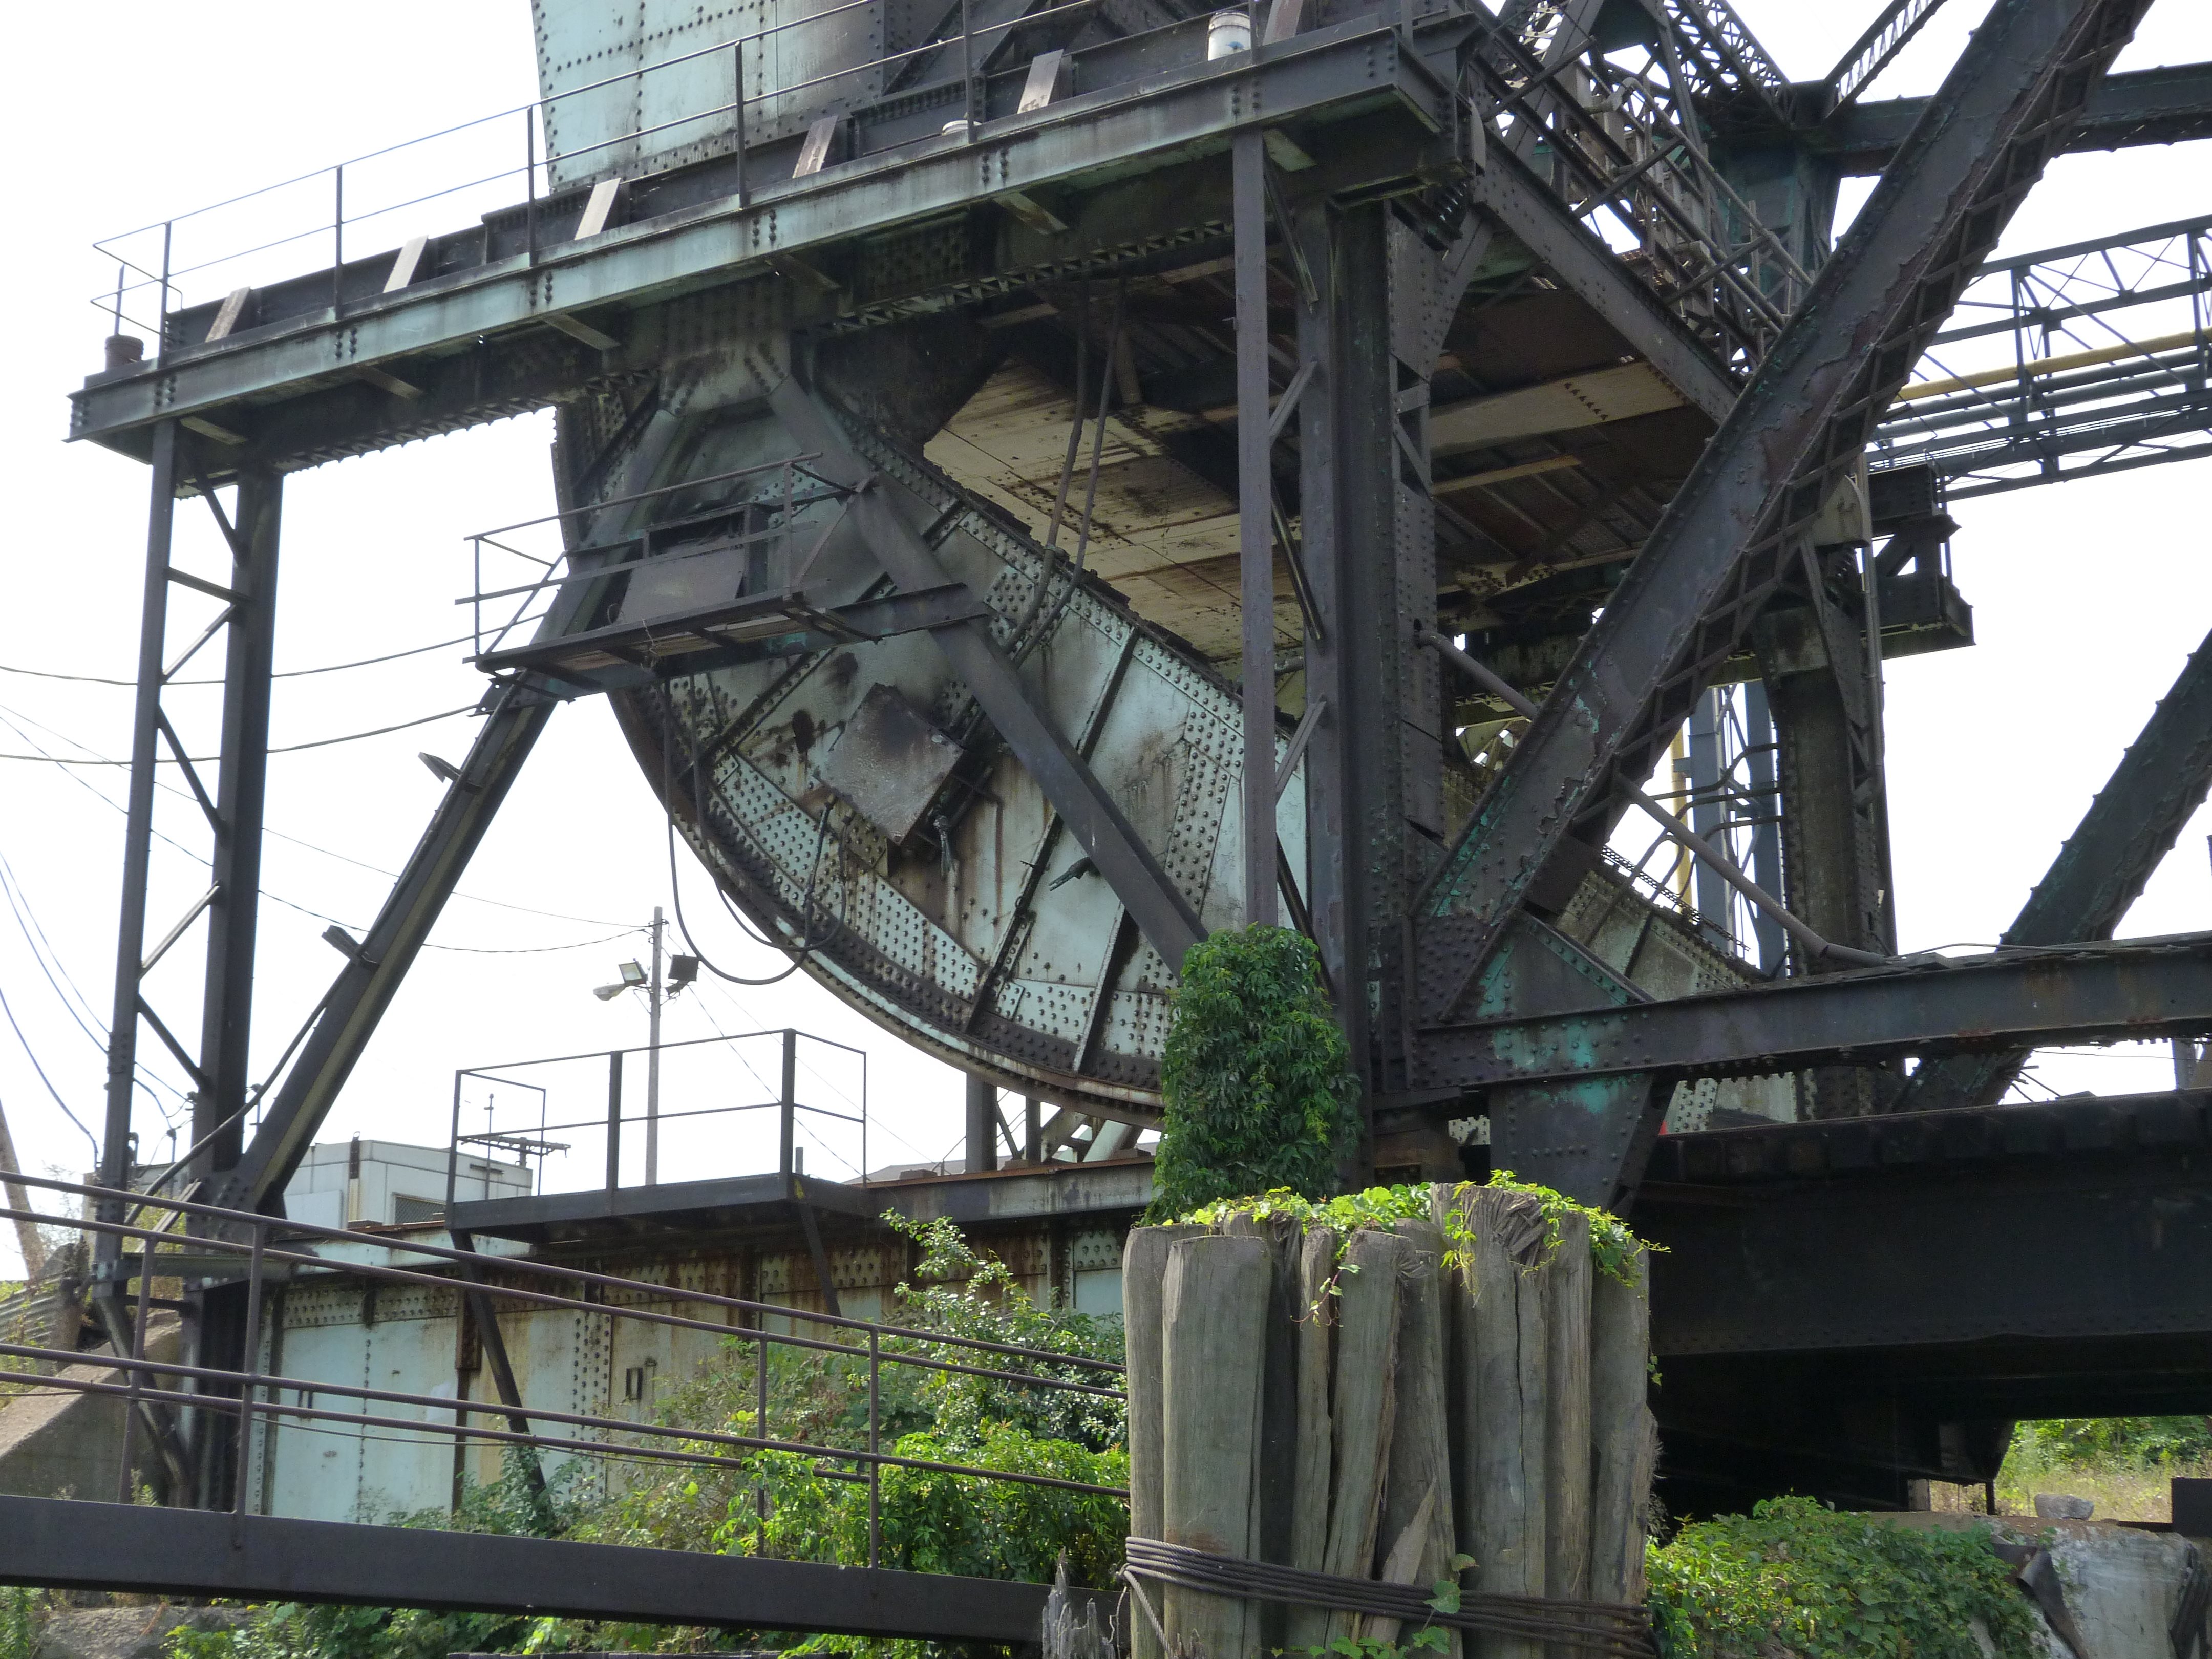
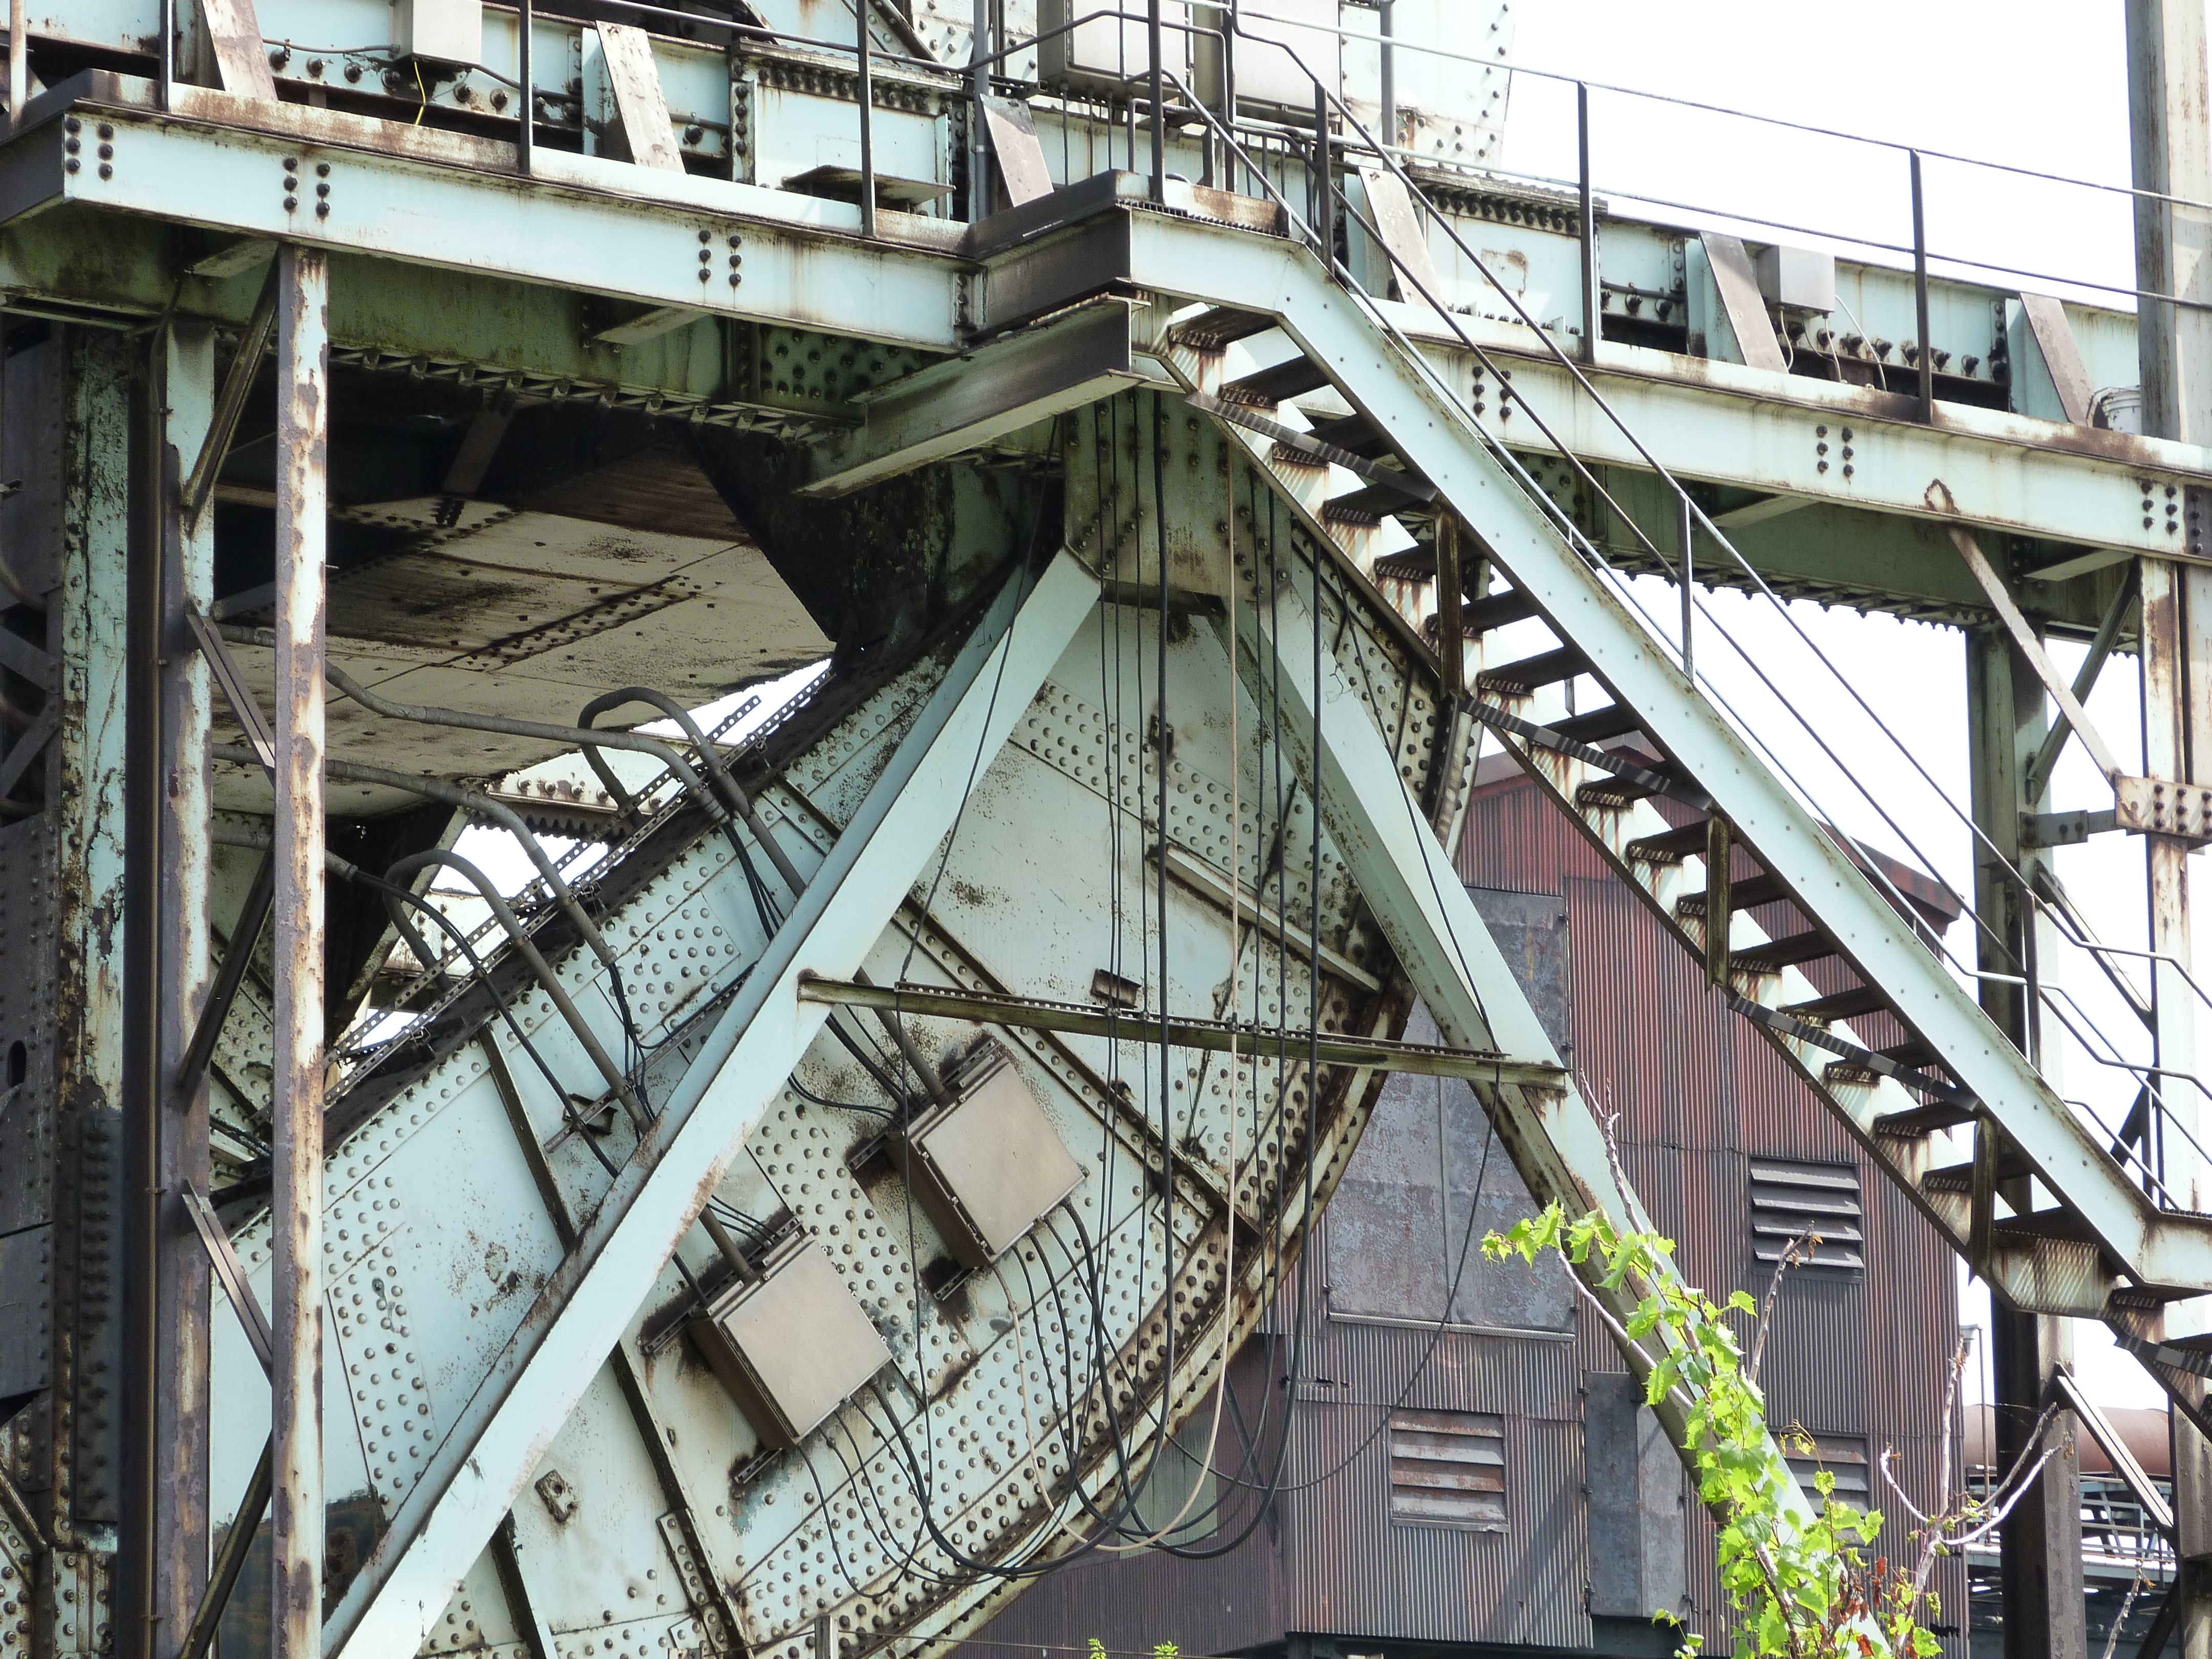
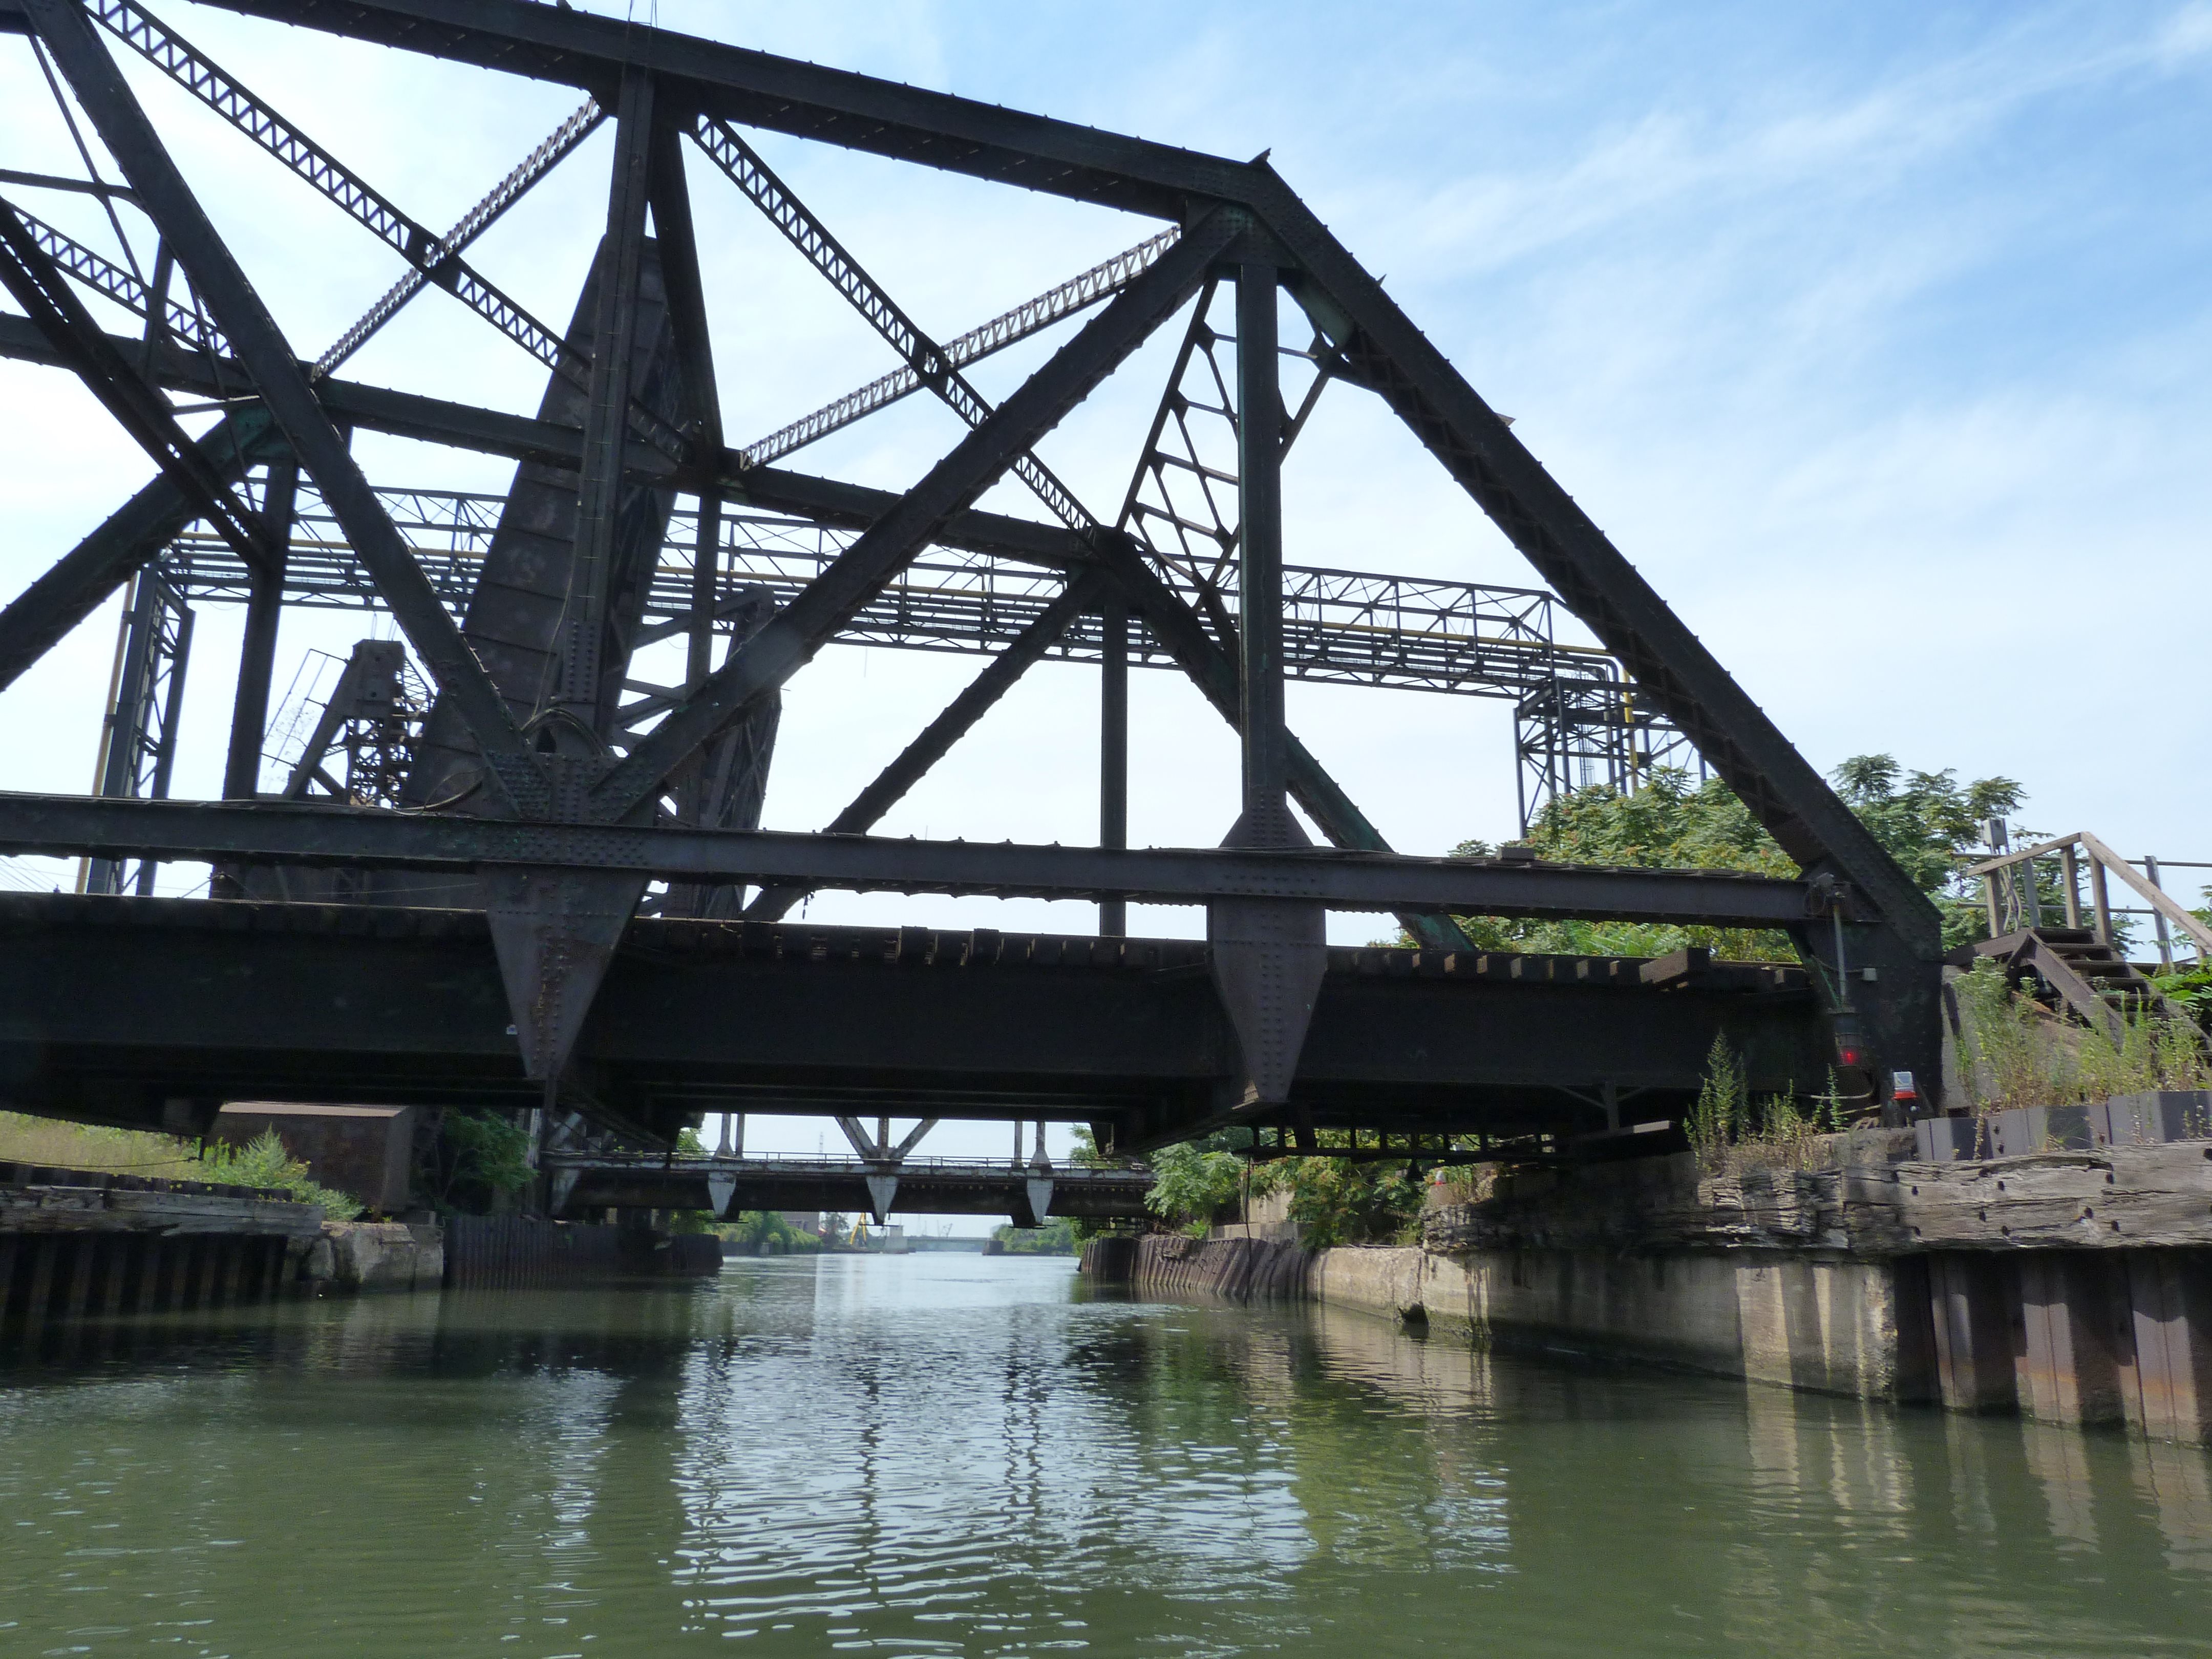
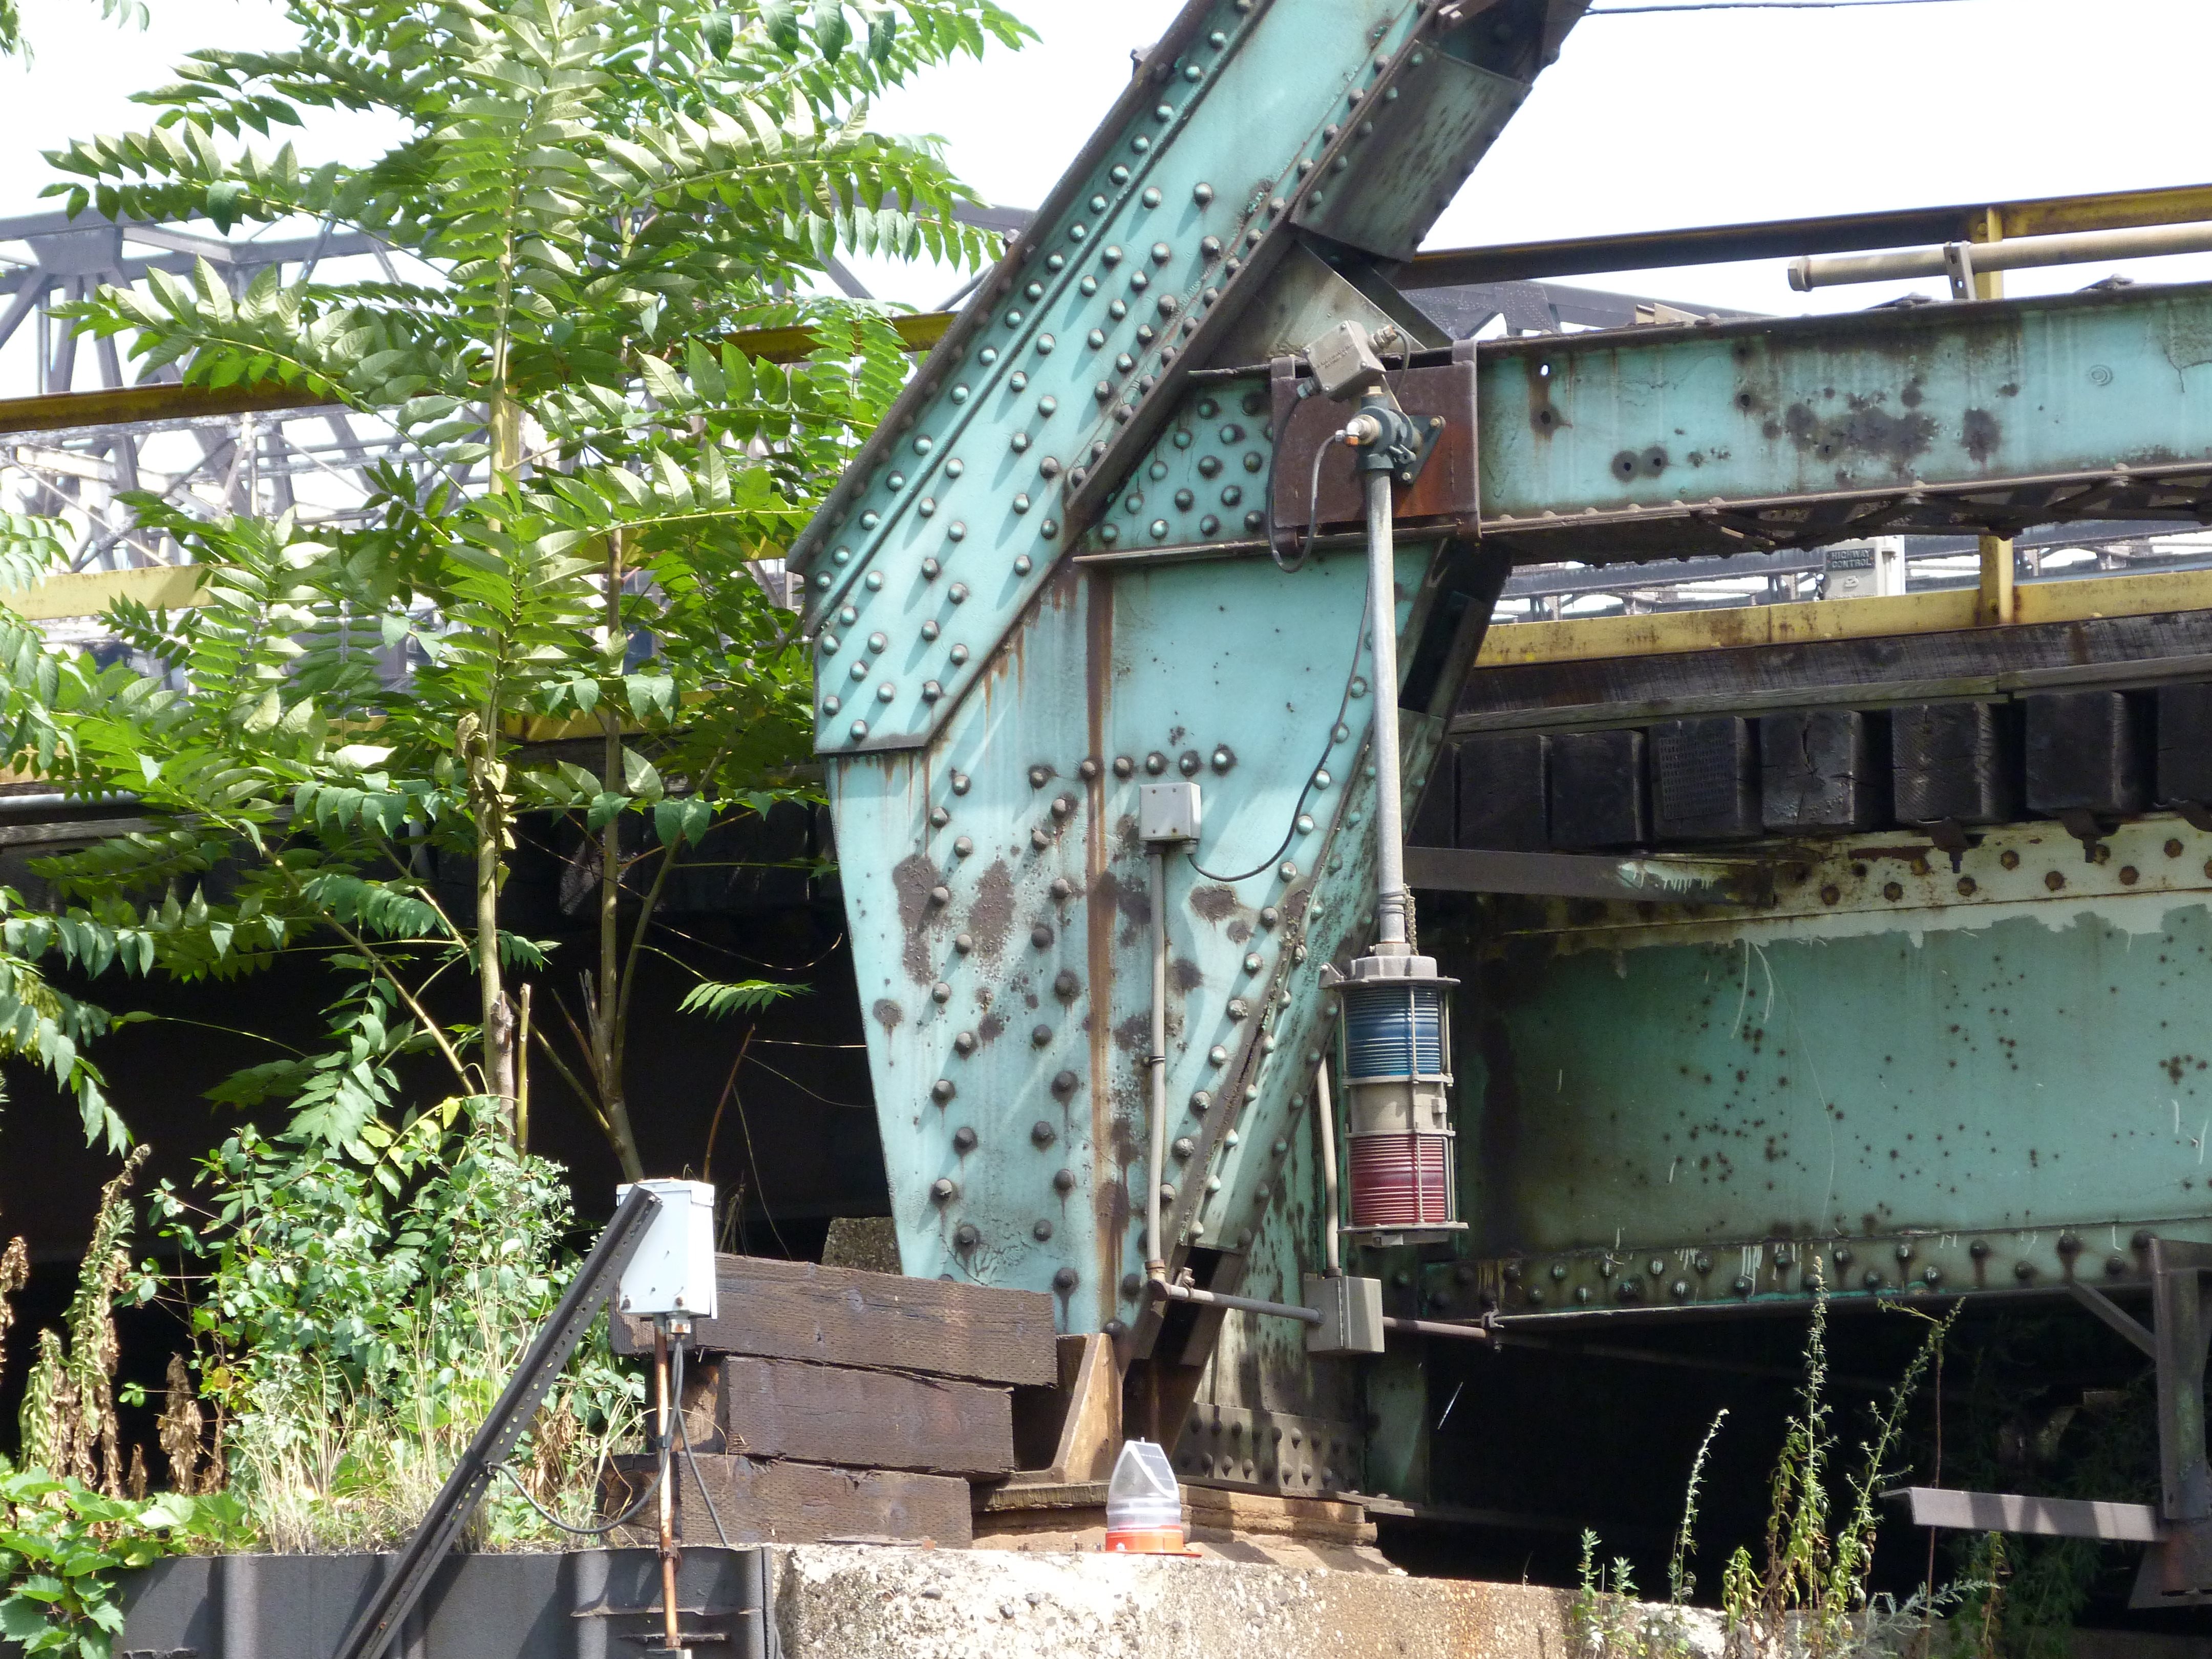
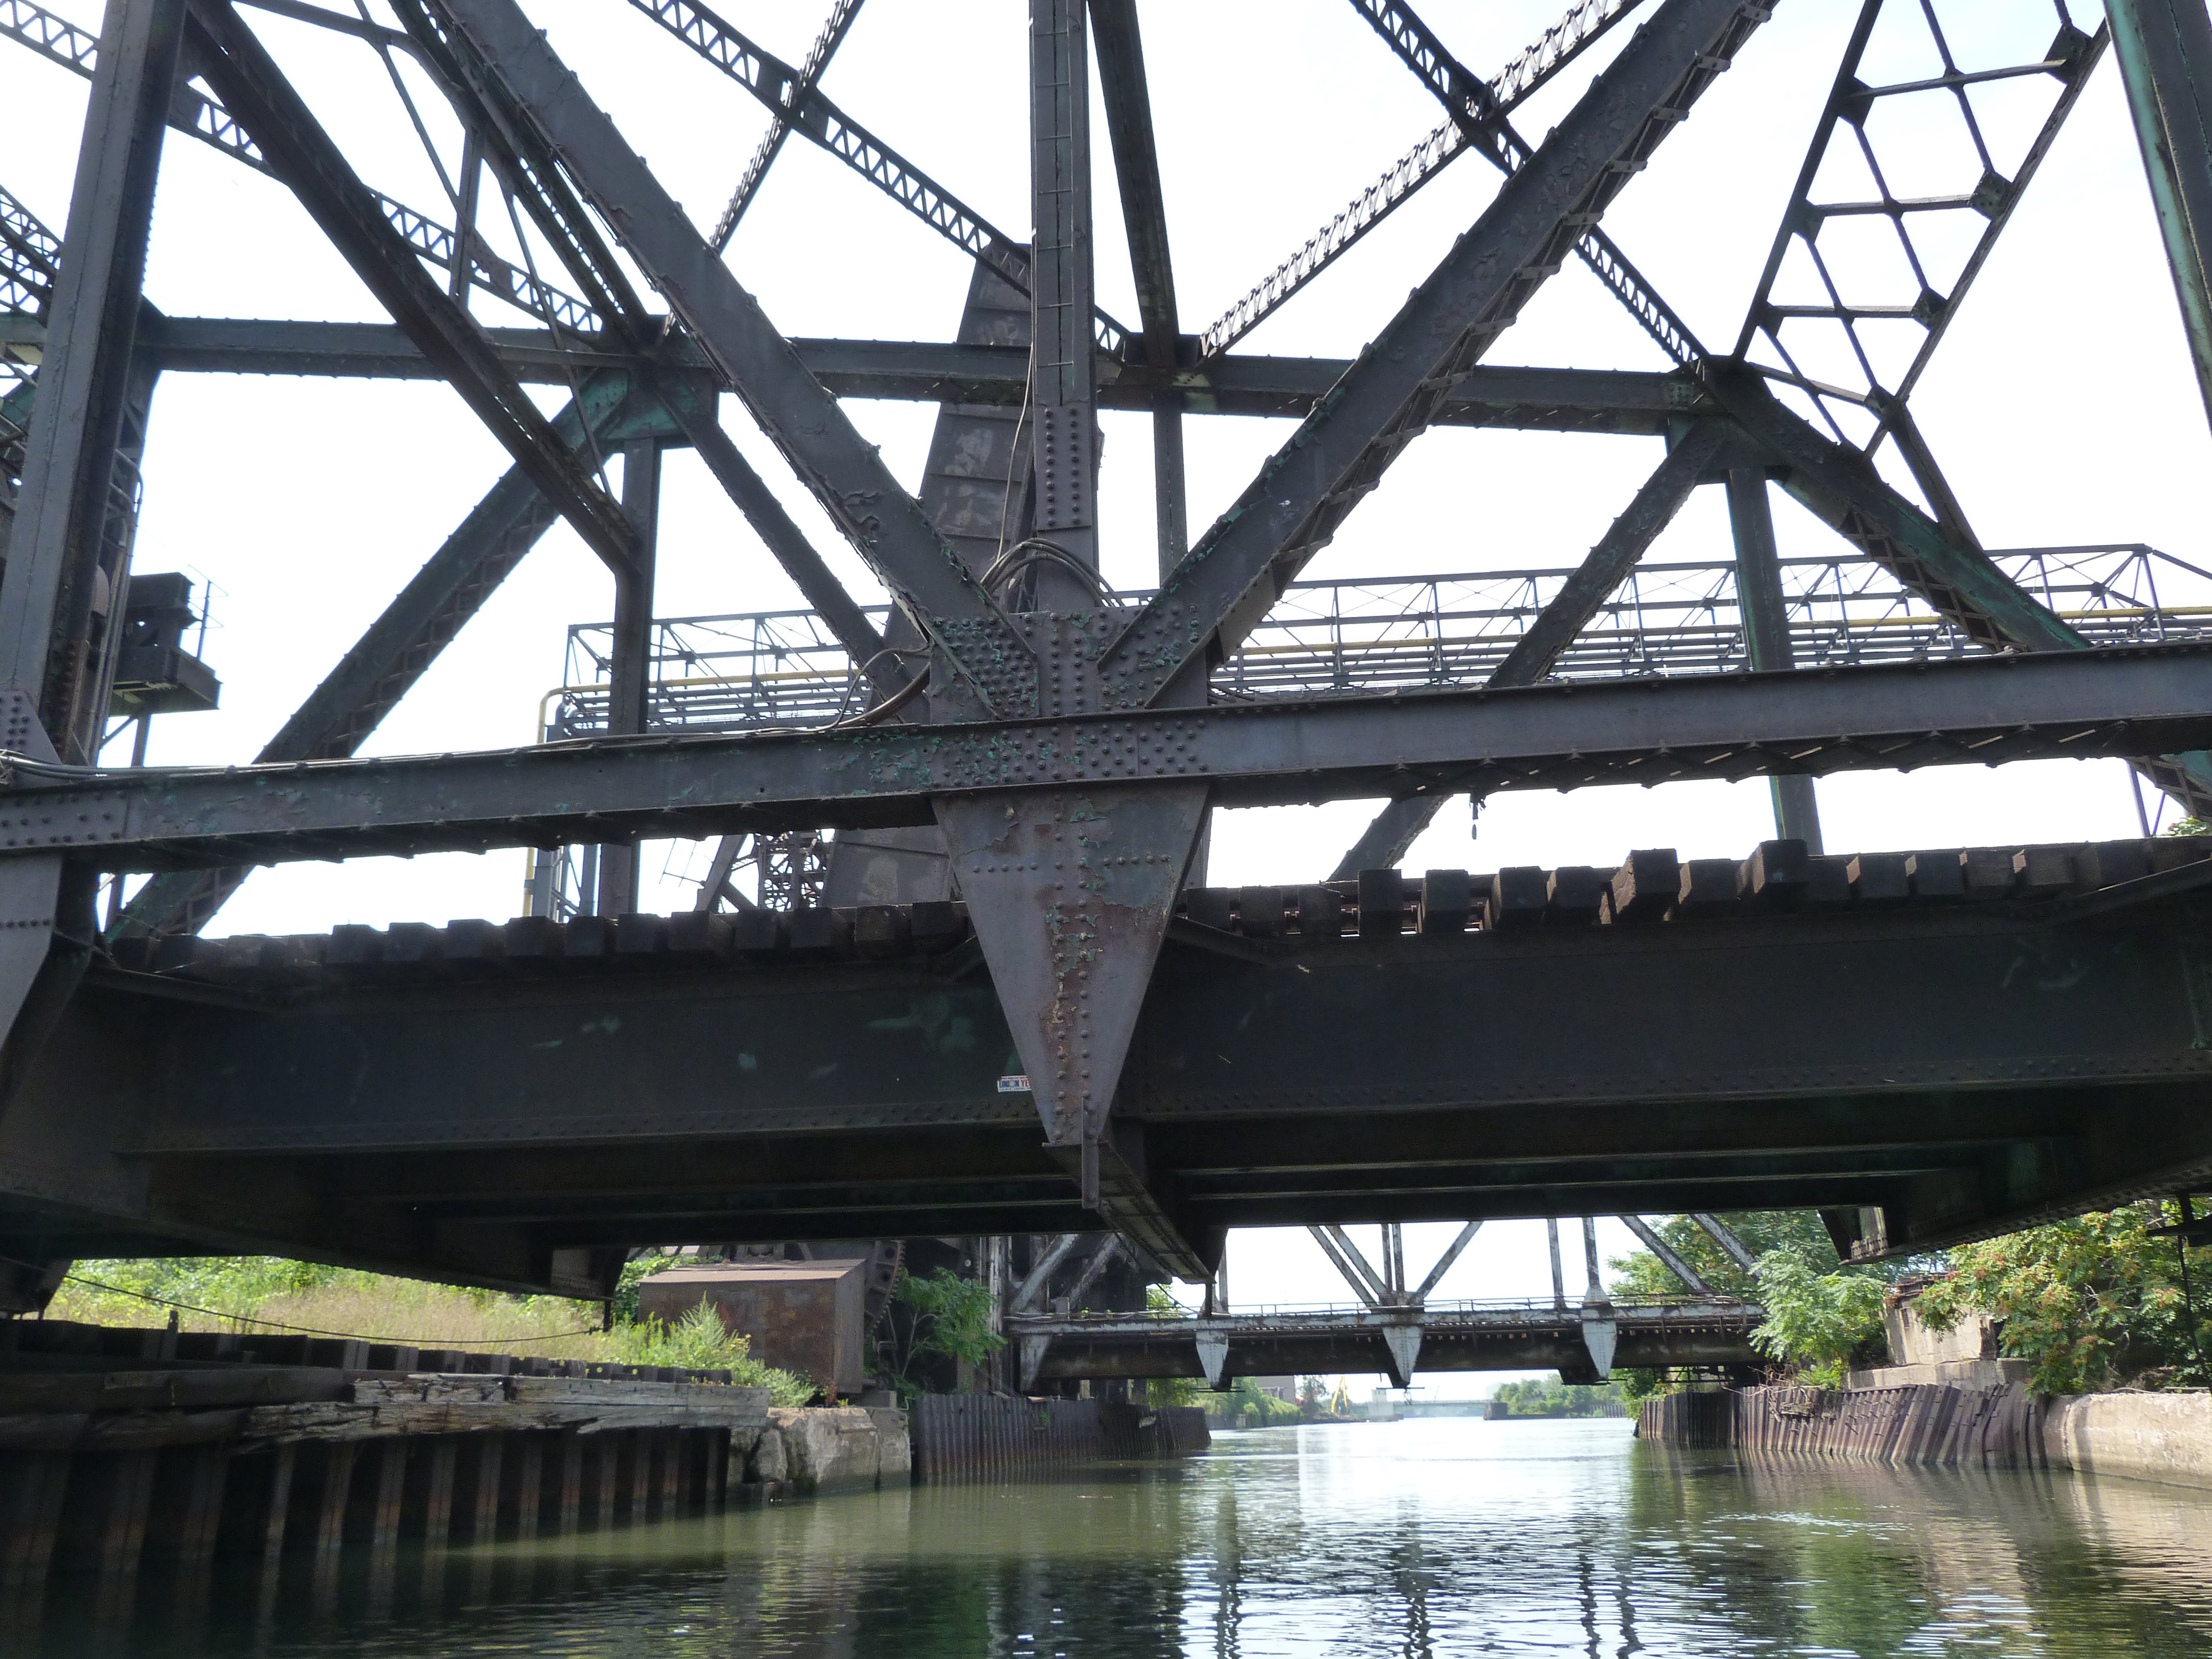
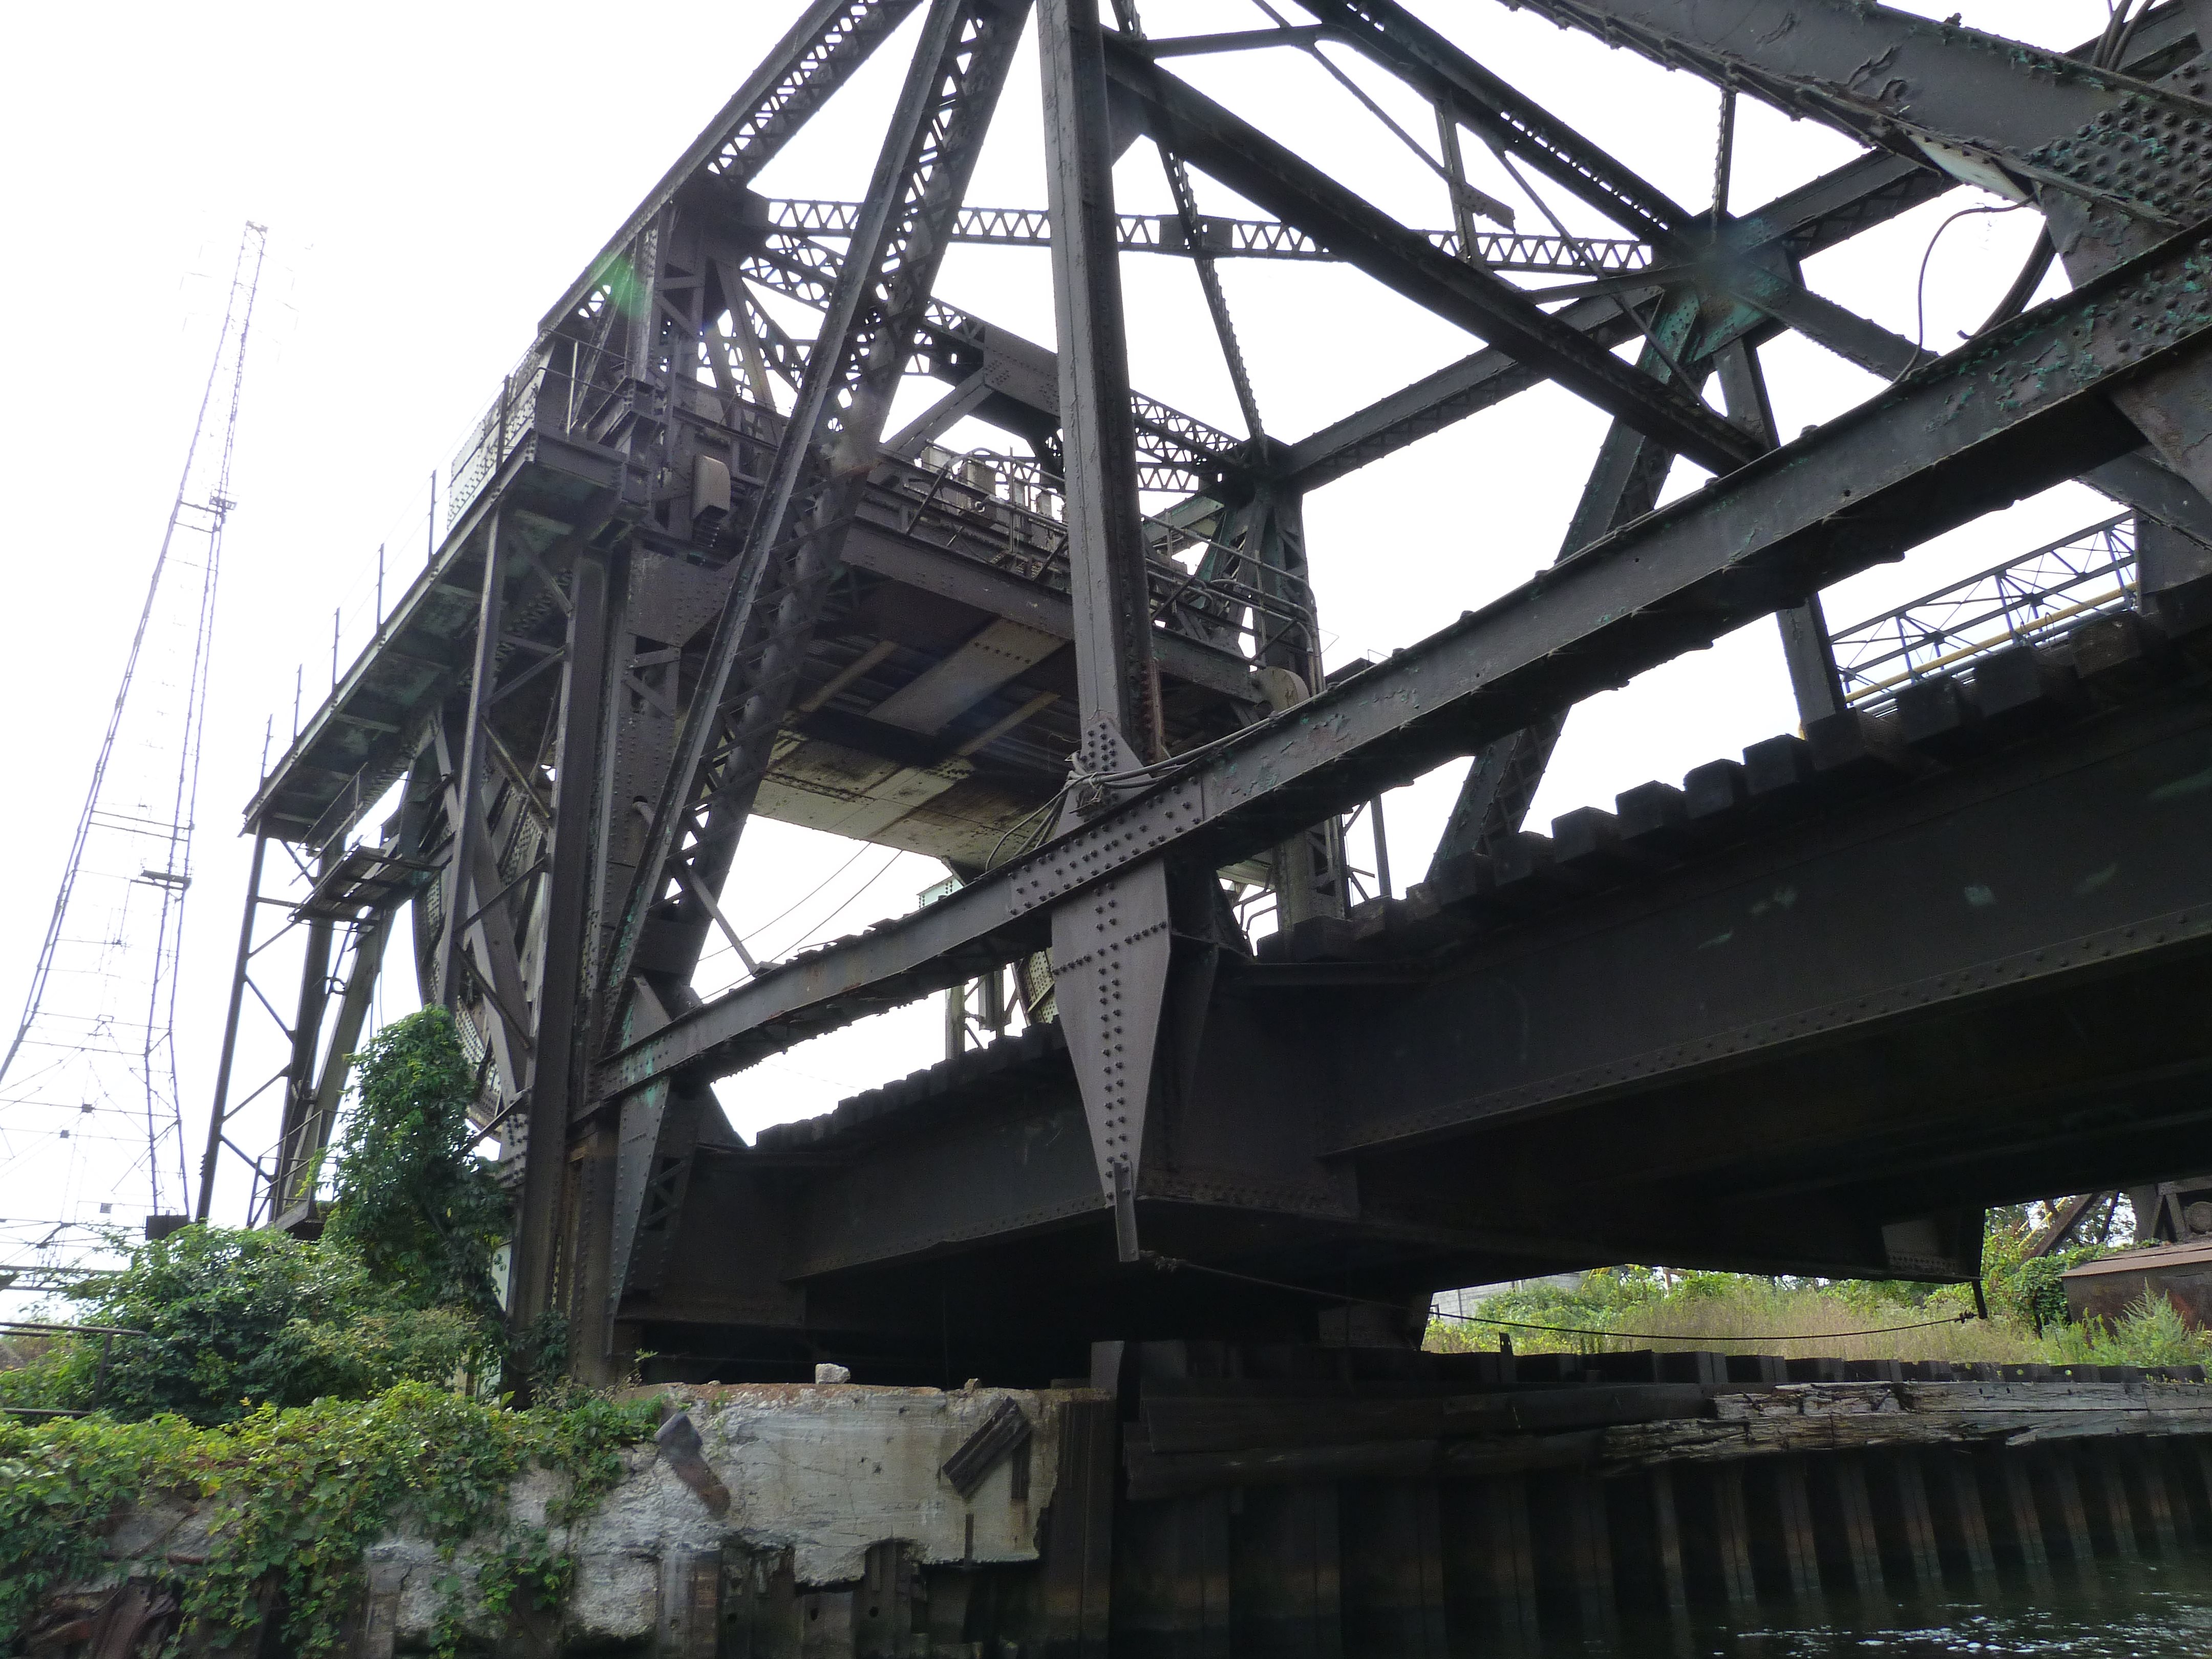
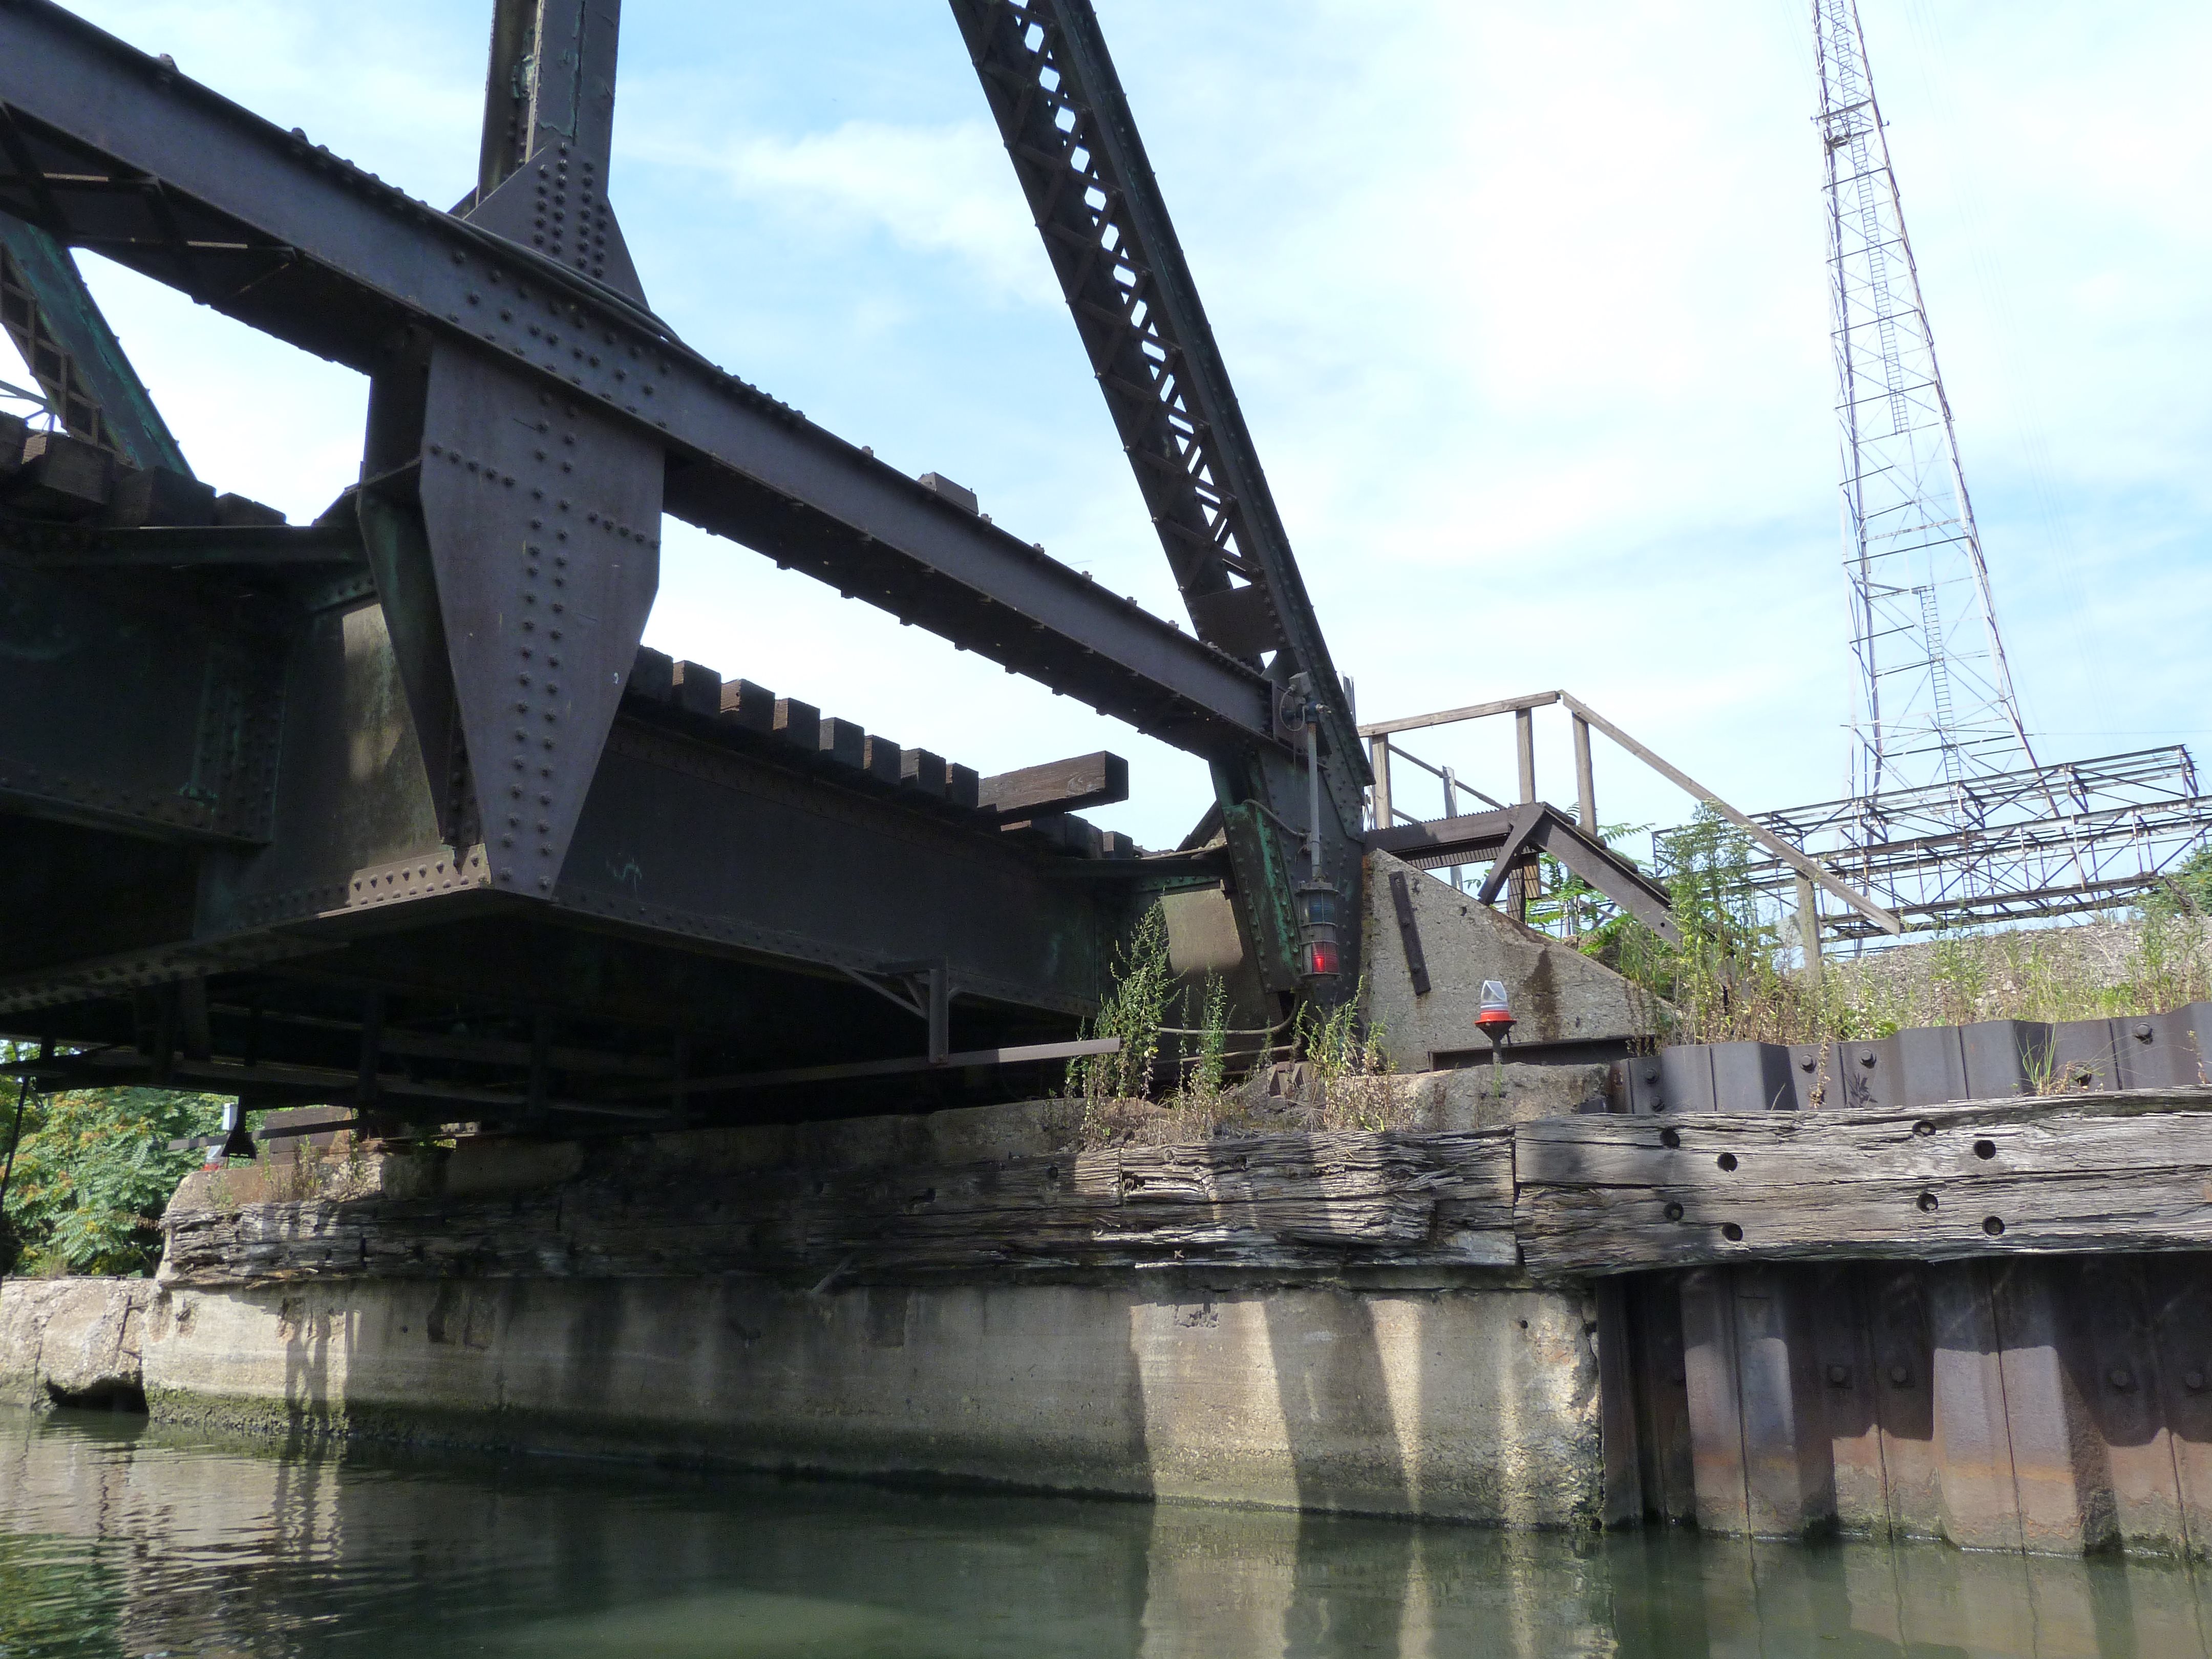
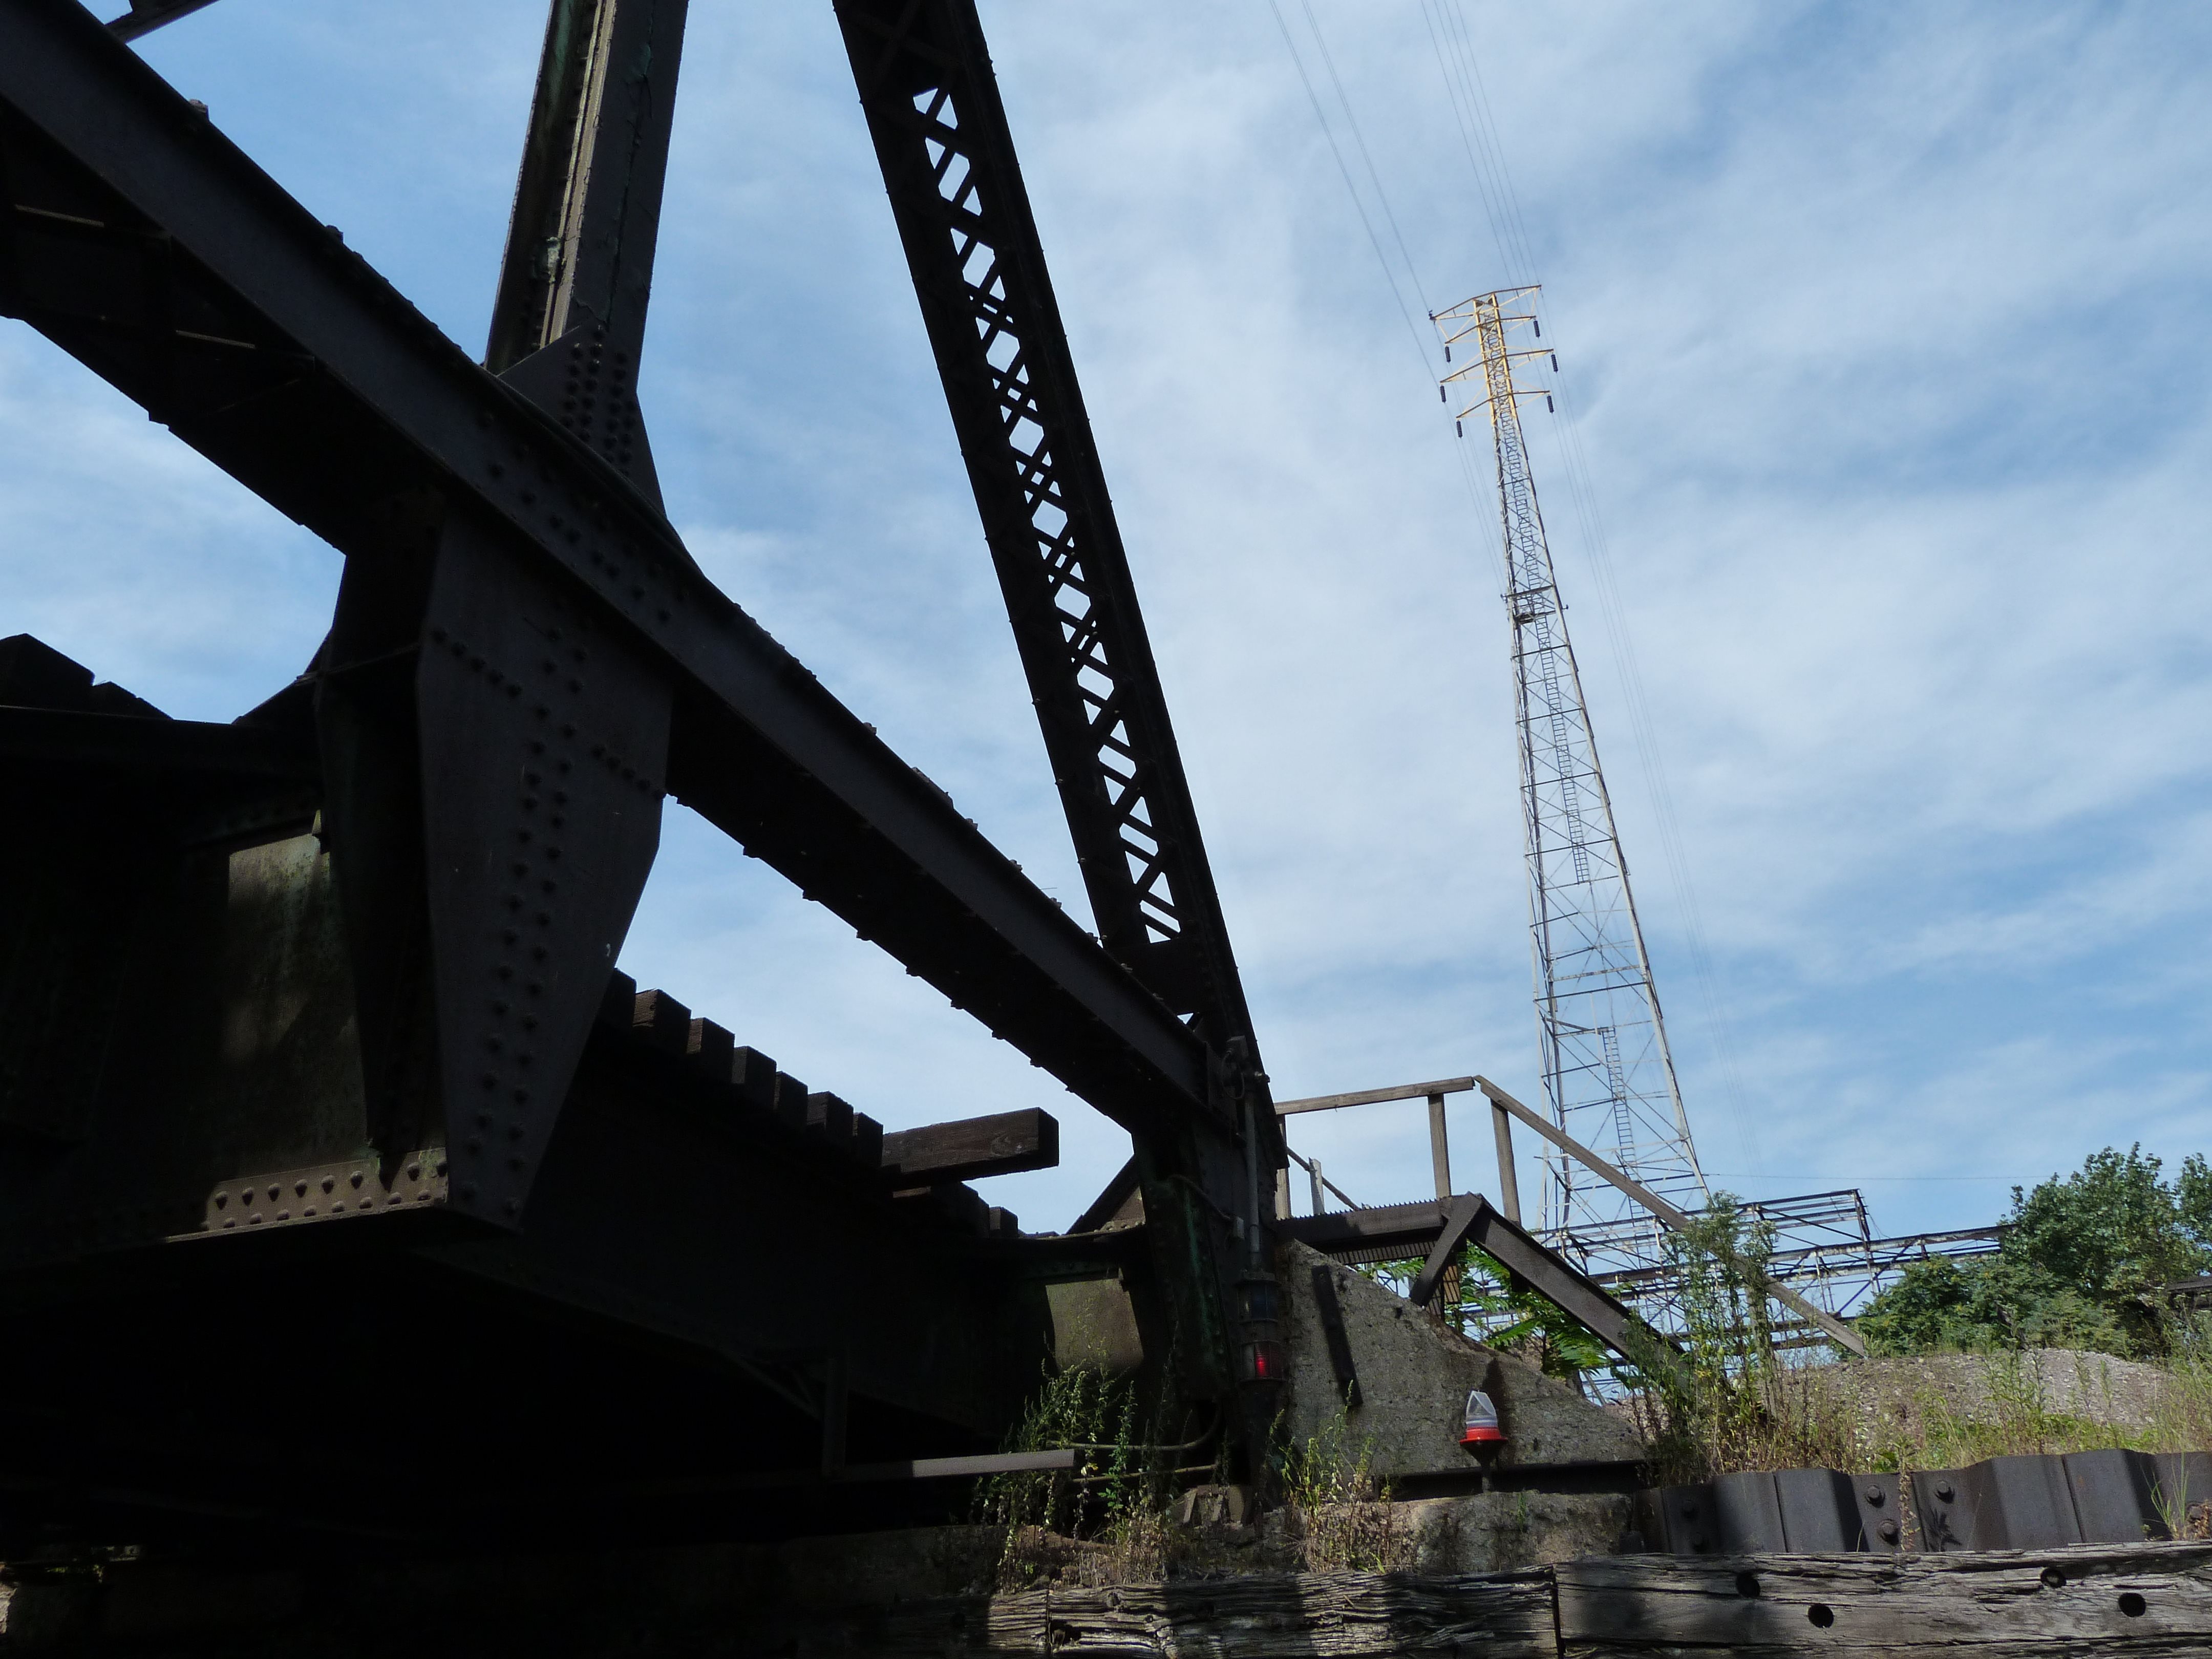
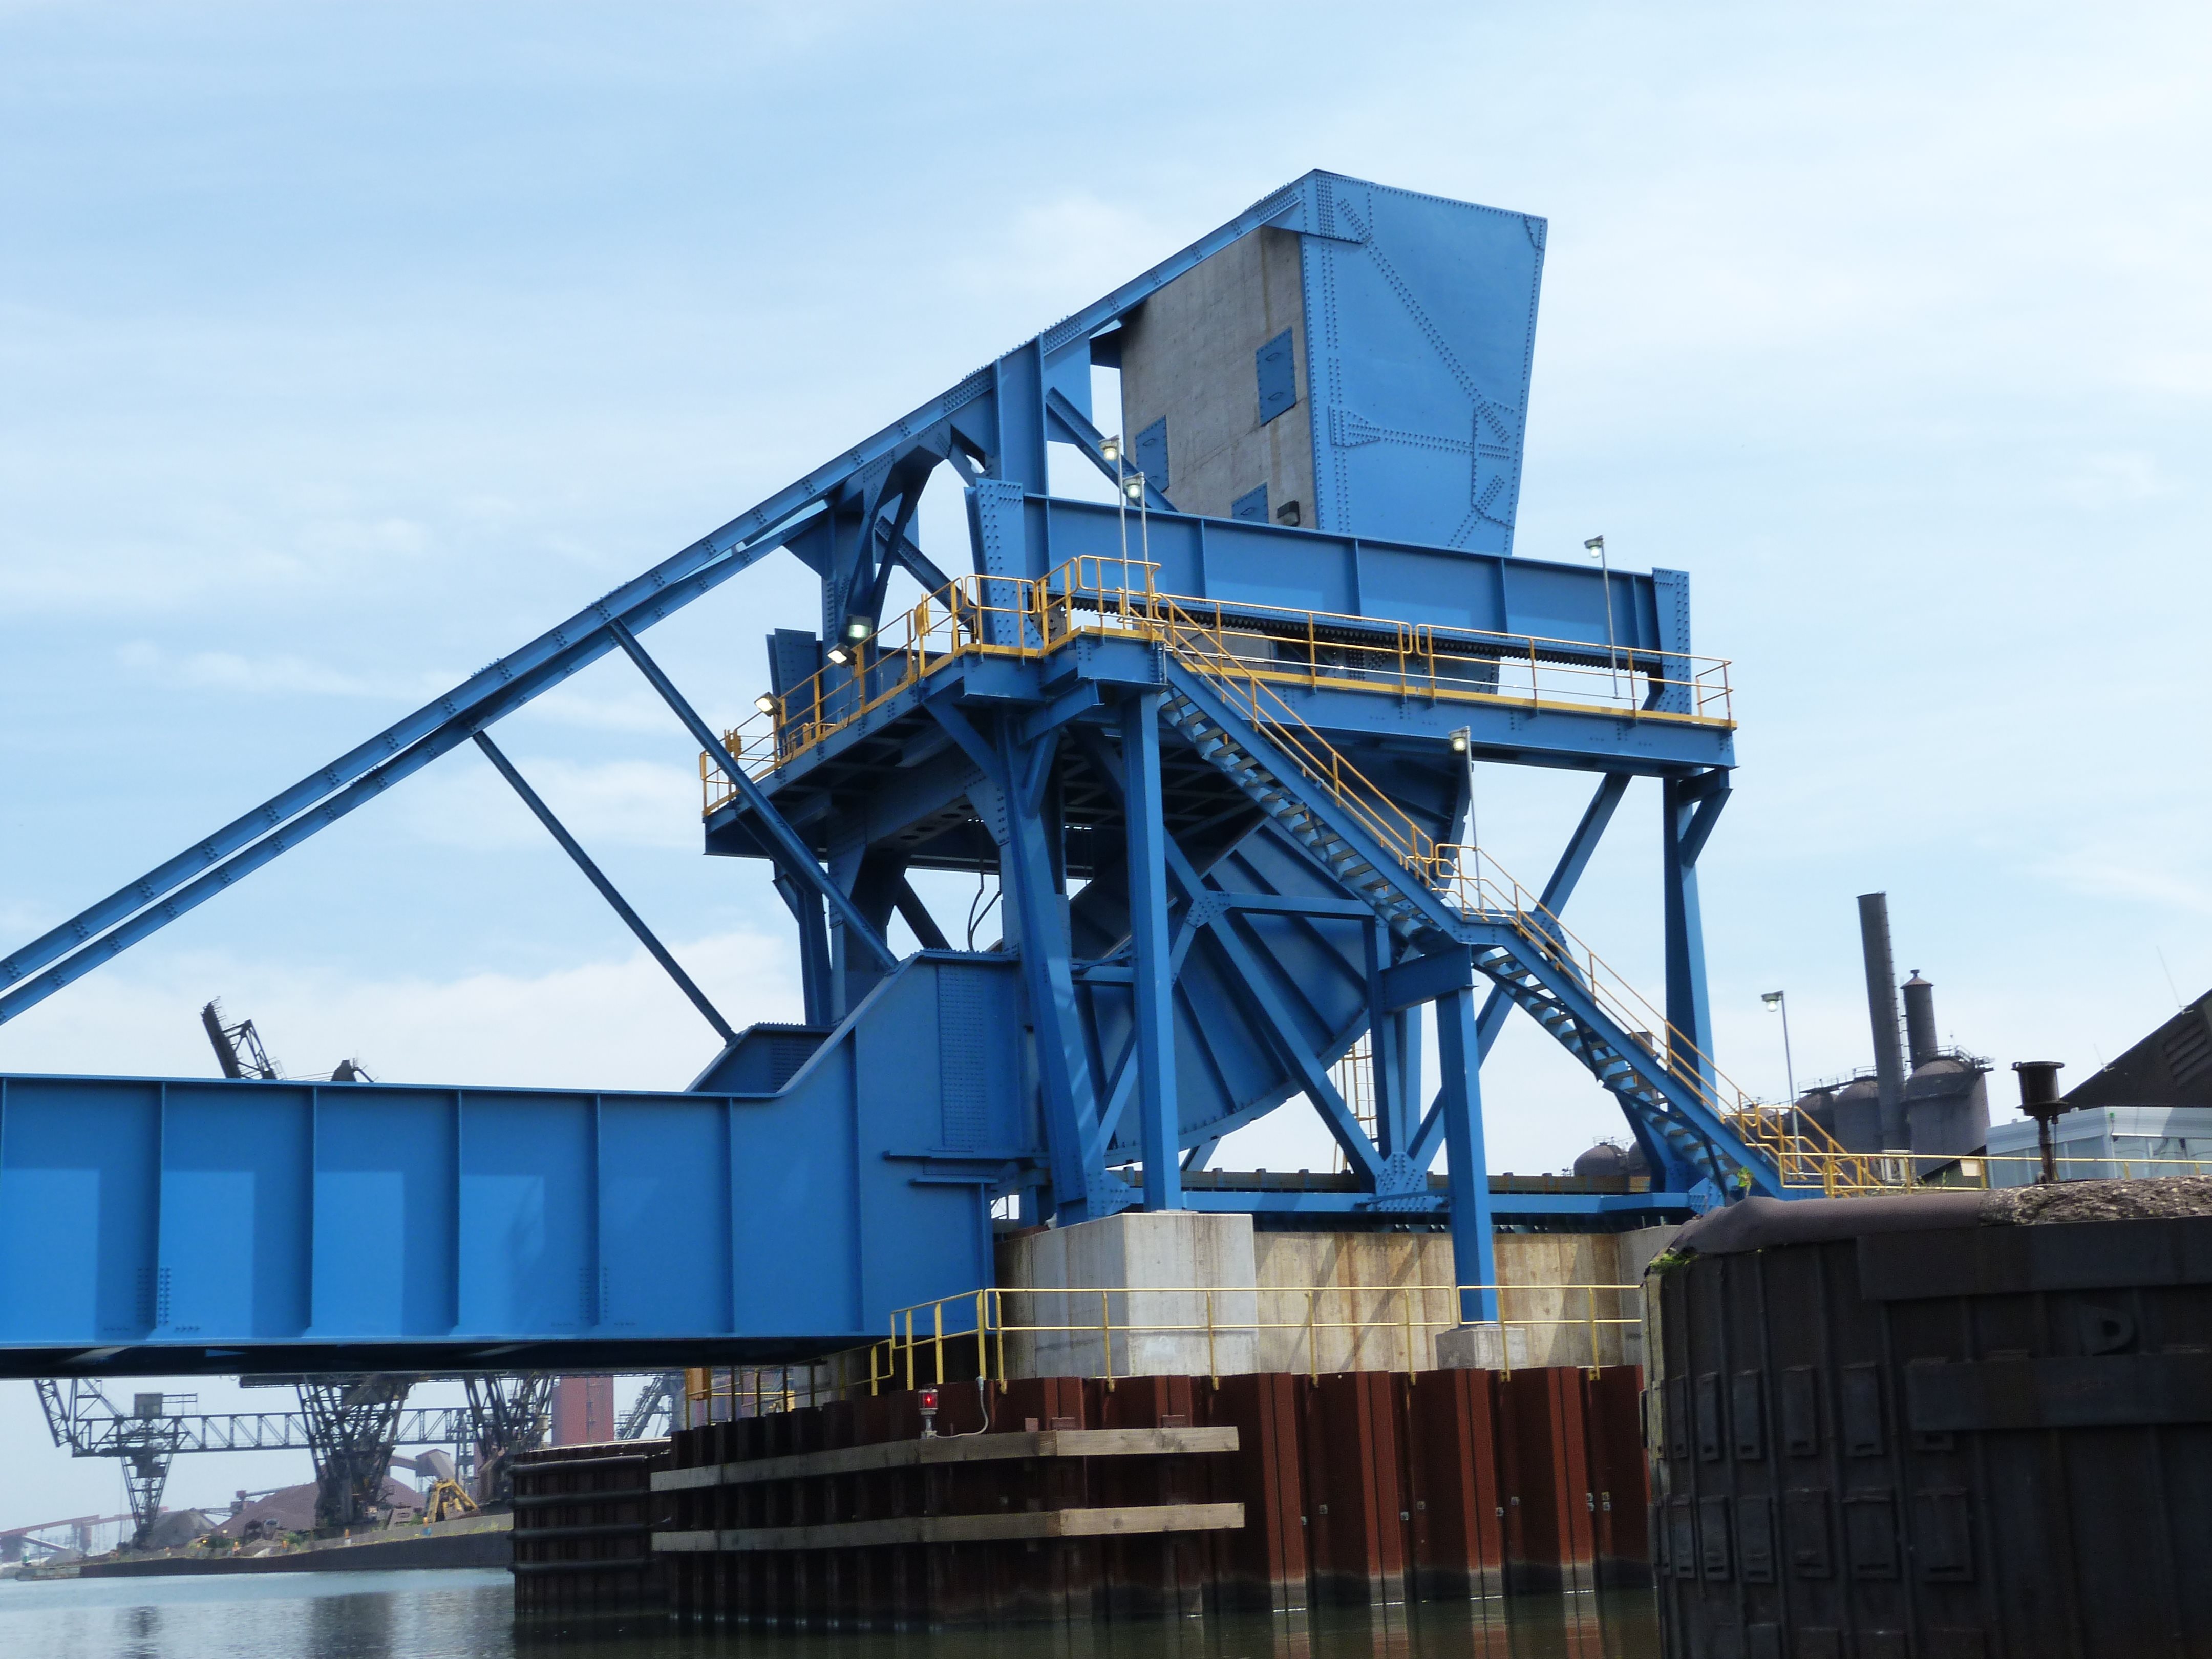
Overview of operating machinery, counterweight, and rolling portion.
![]()

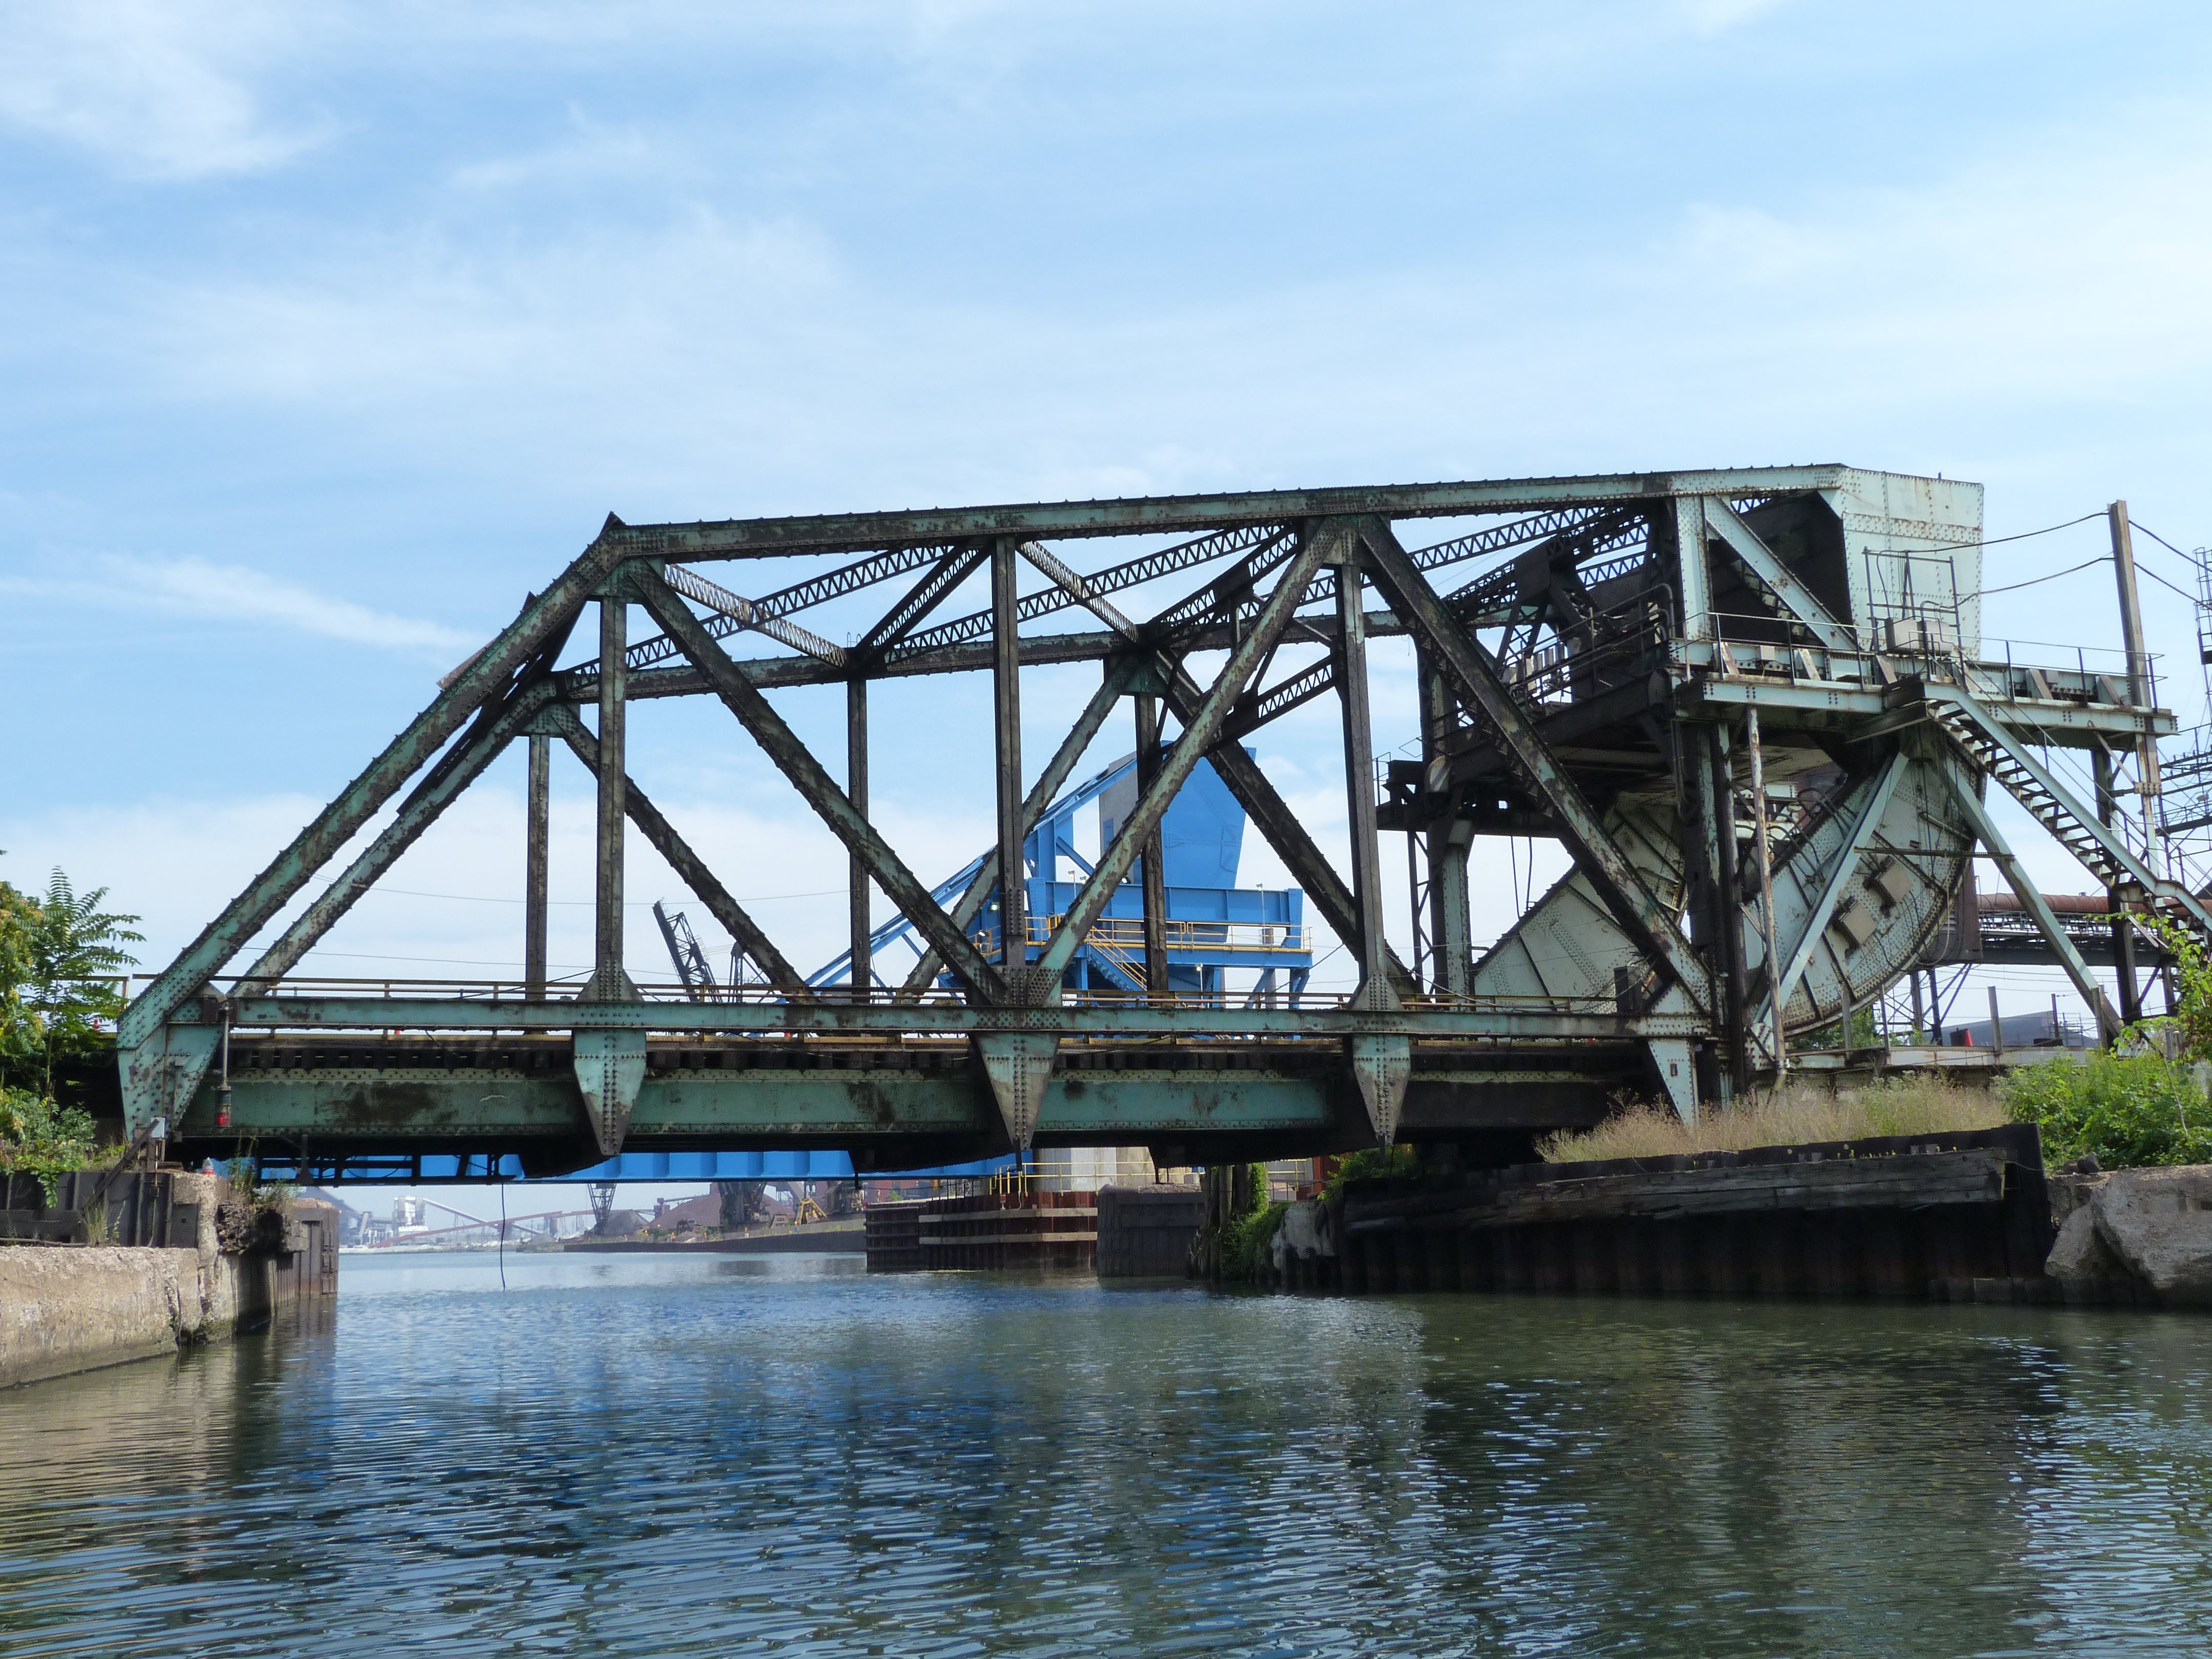
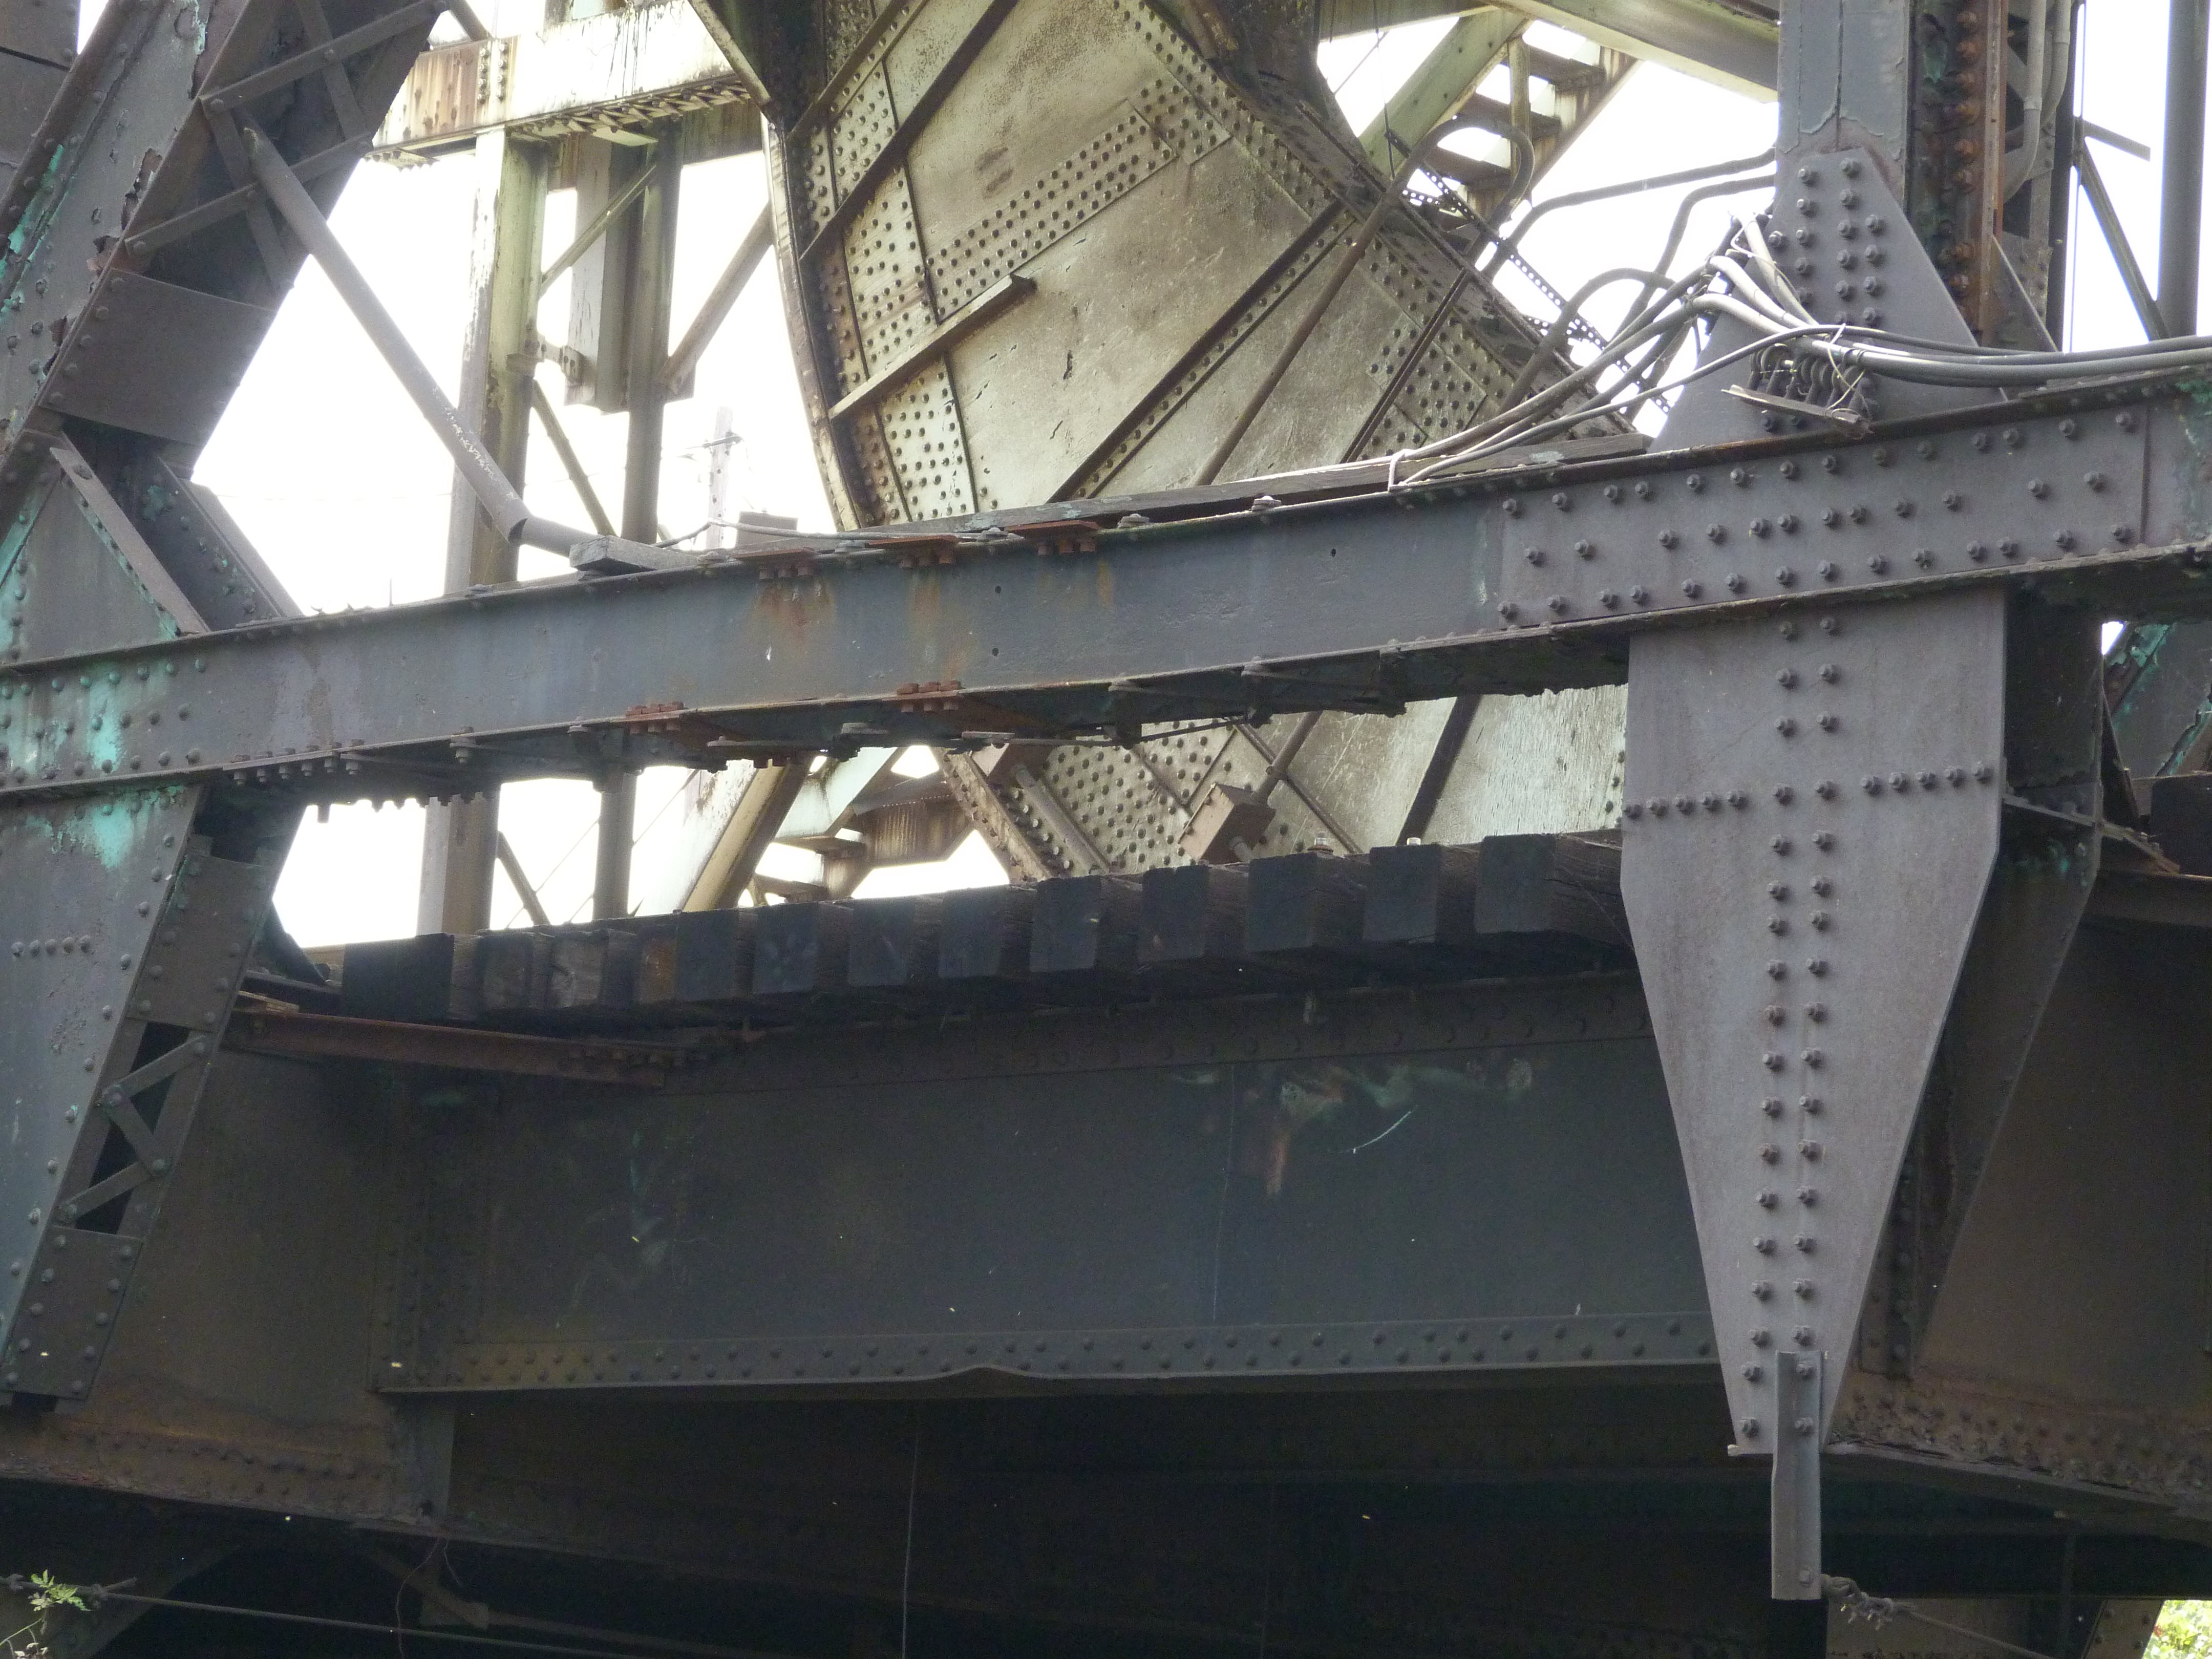
Views showing counterweight and operating rack.
![]()
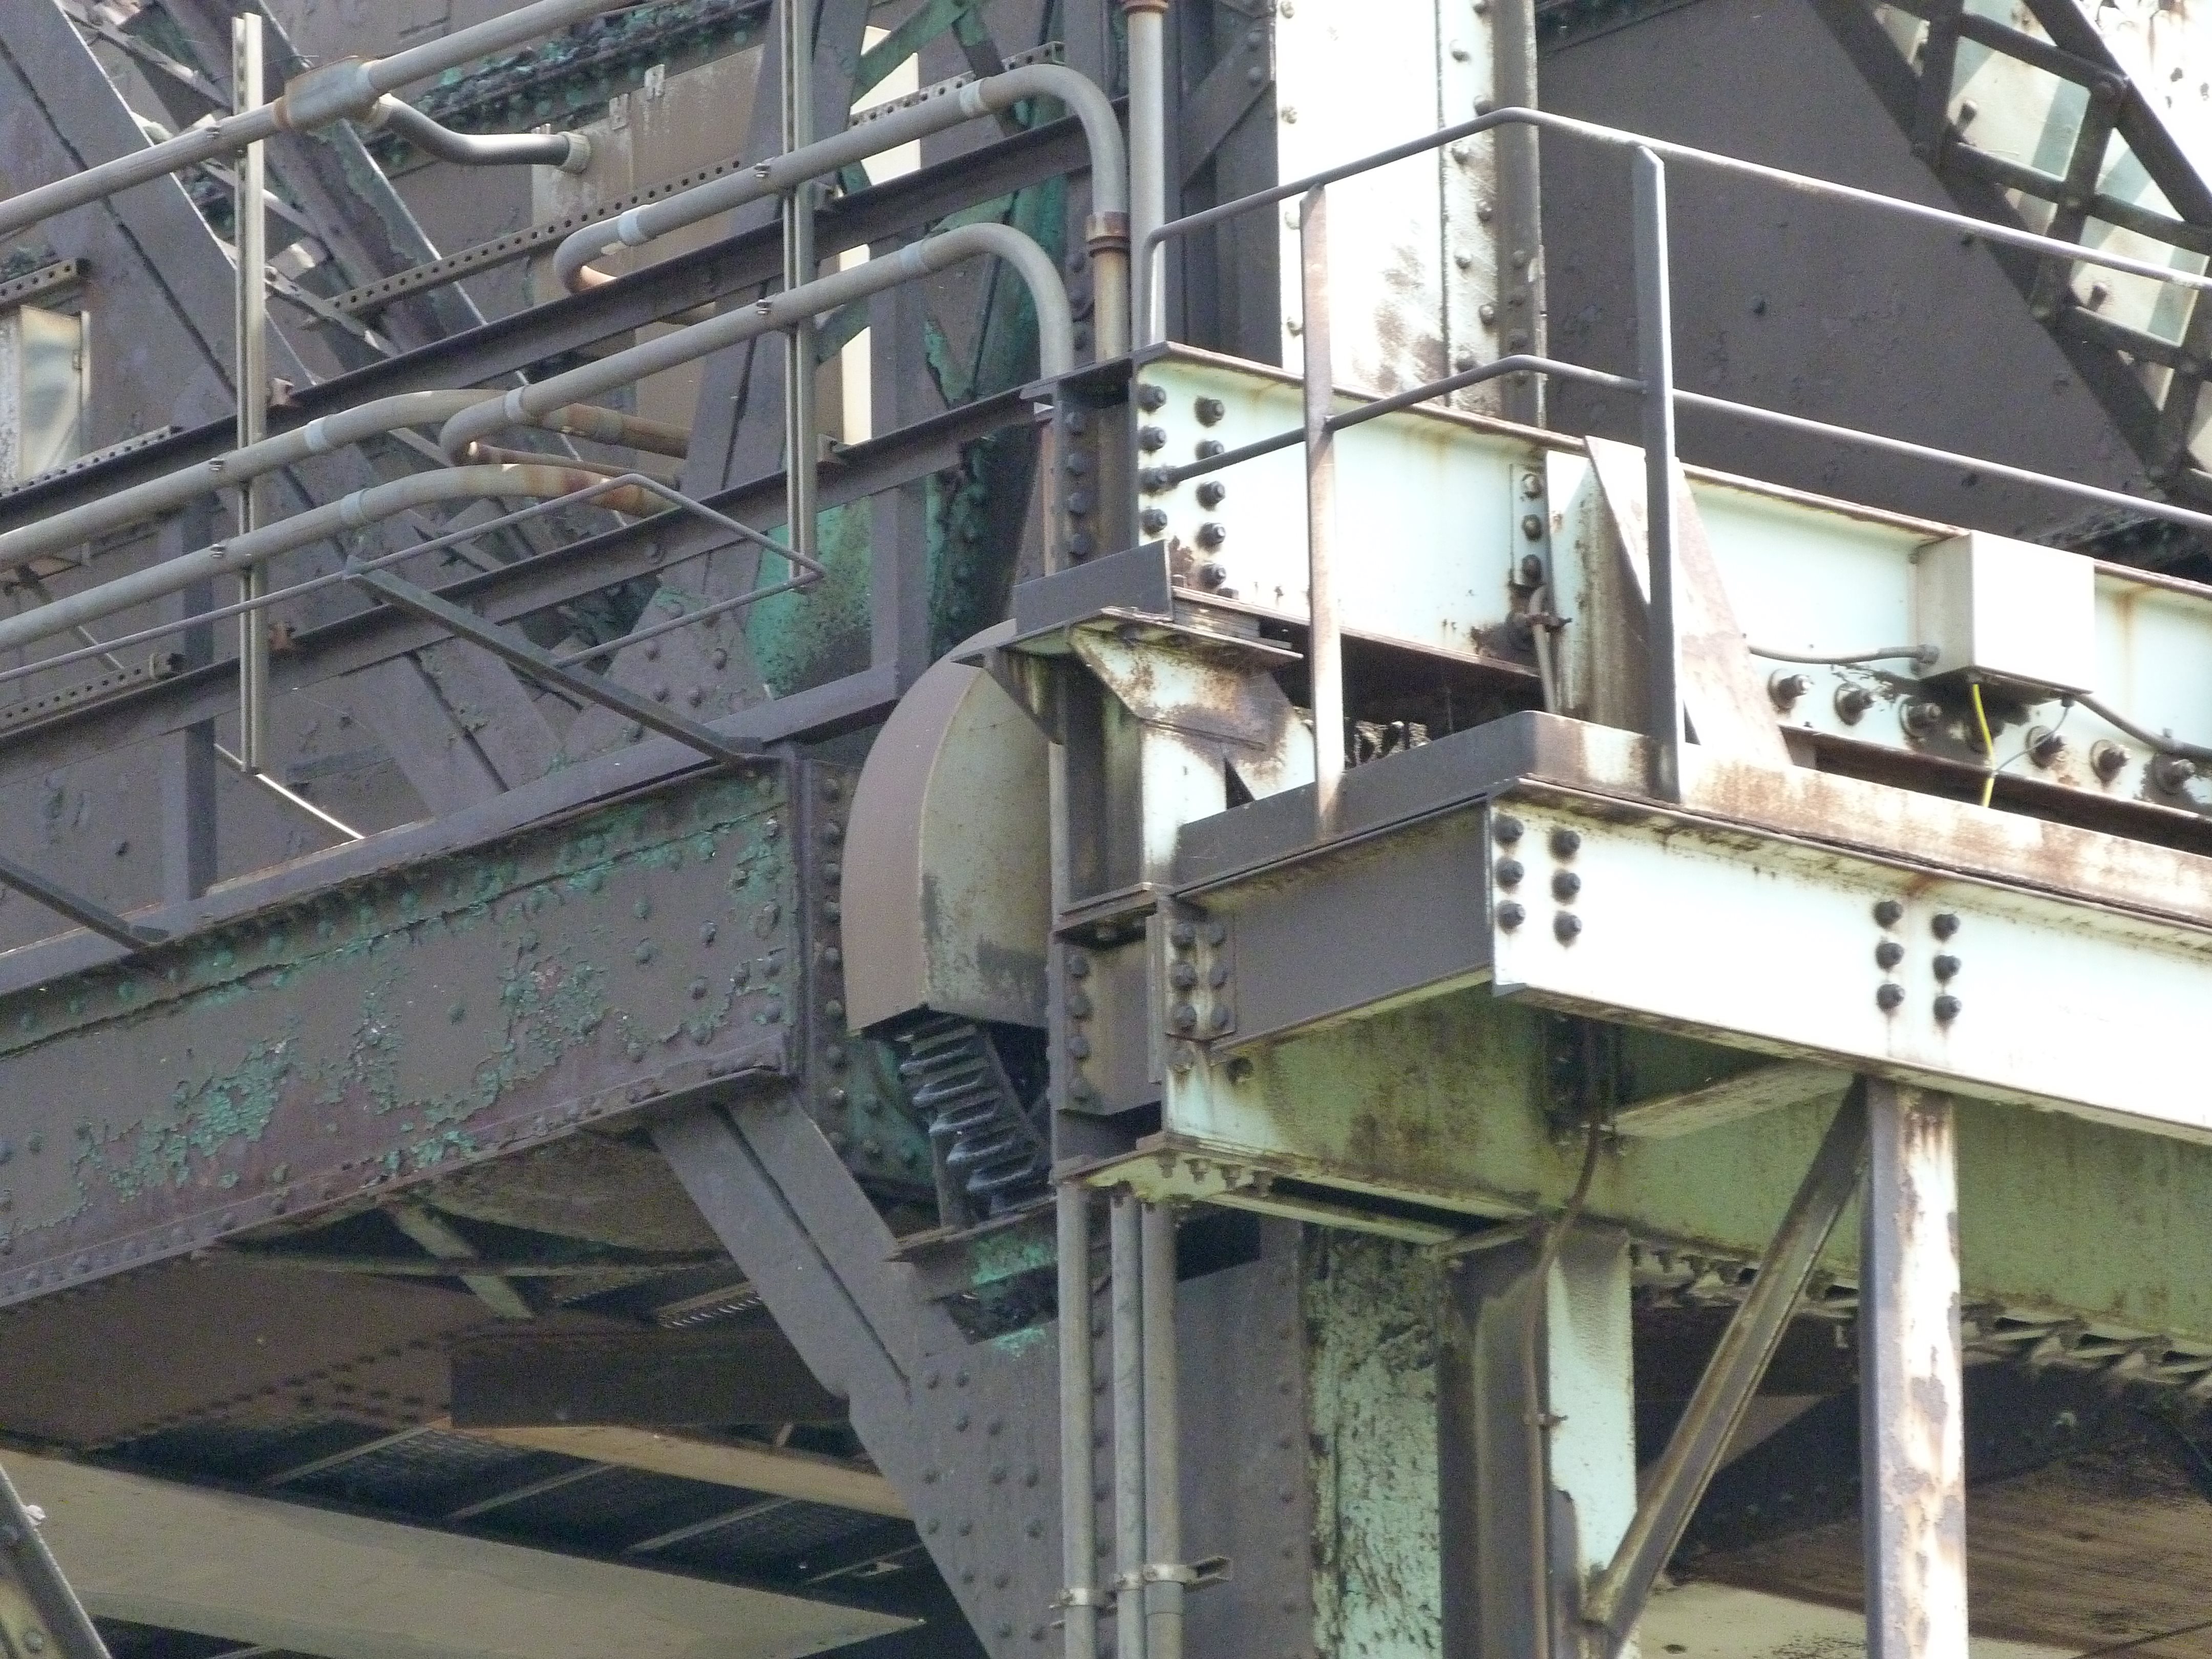
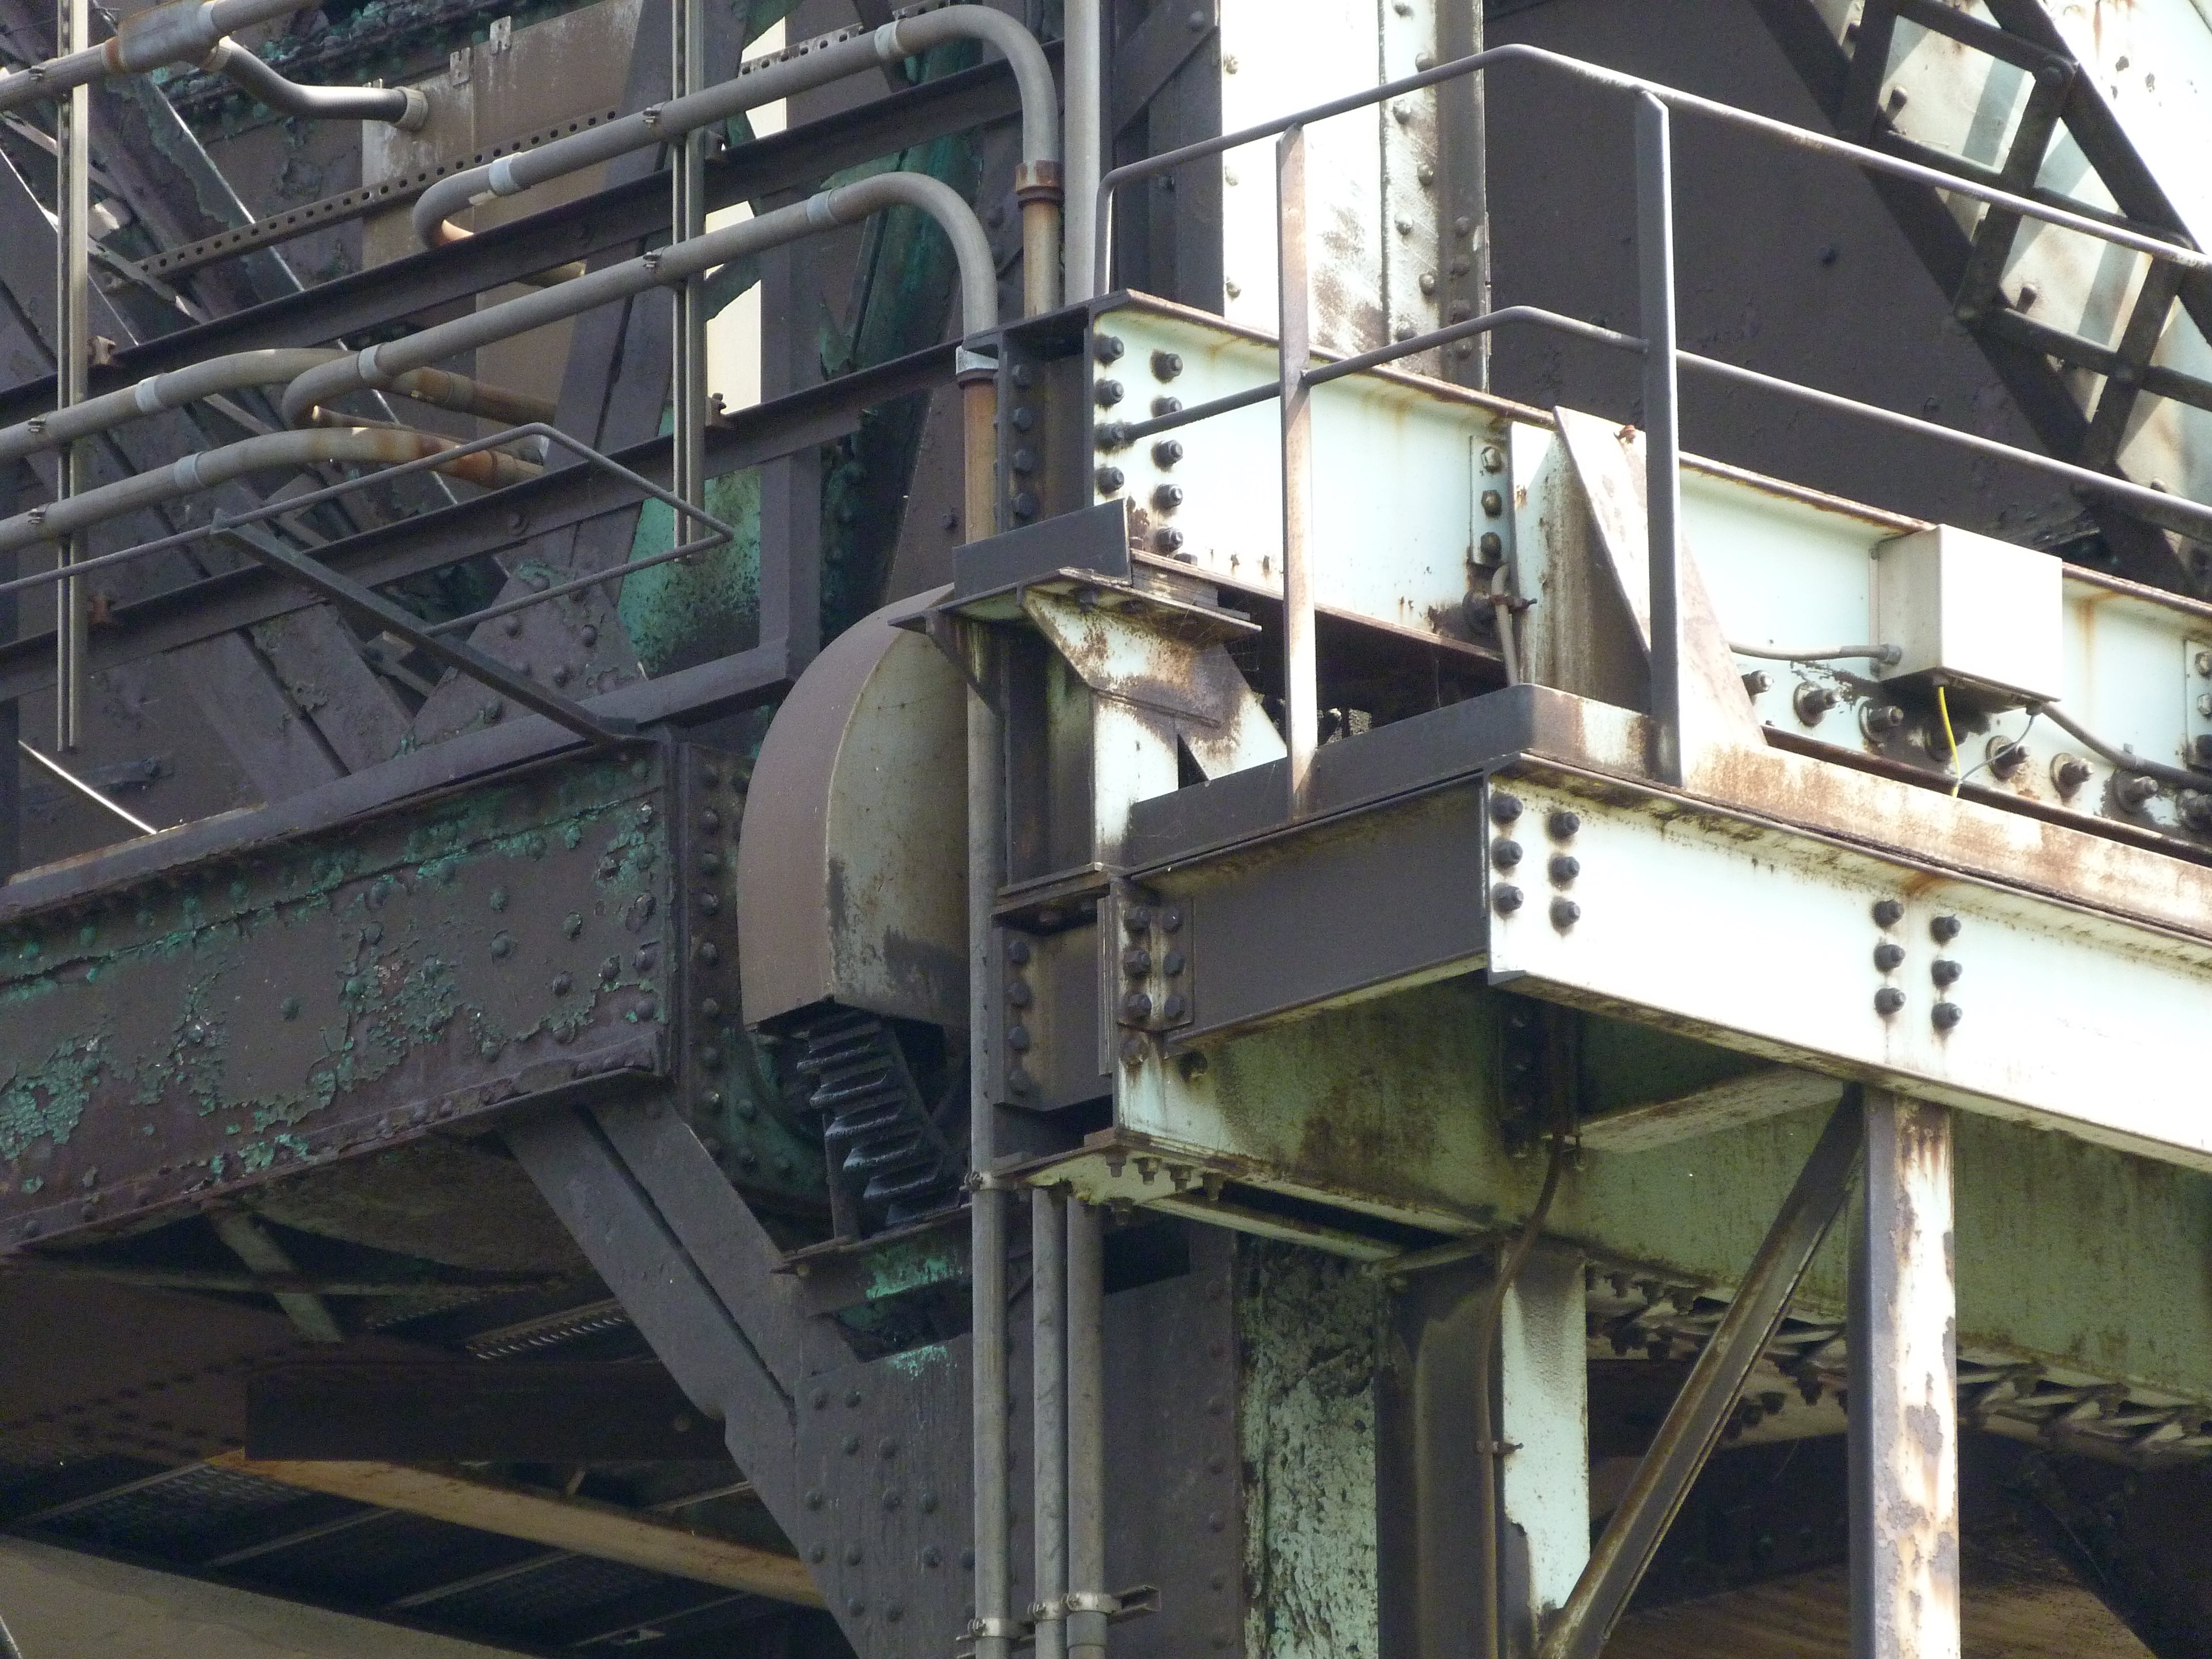
View toward counterweight showing a visible gear.
![]()
Rollers.
![]()

Leaf.
![]()
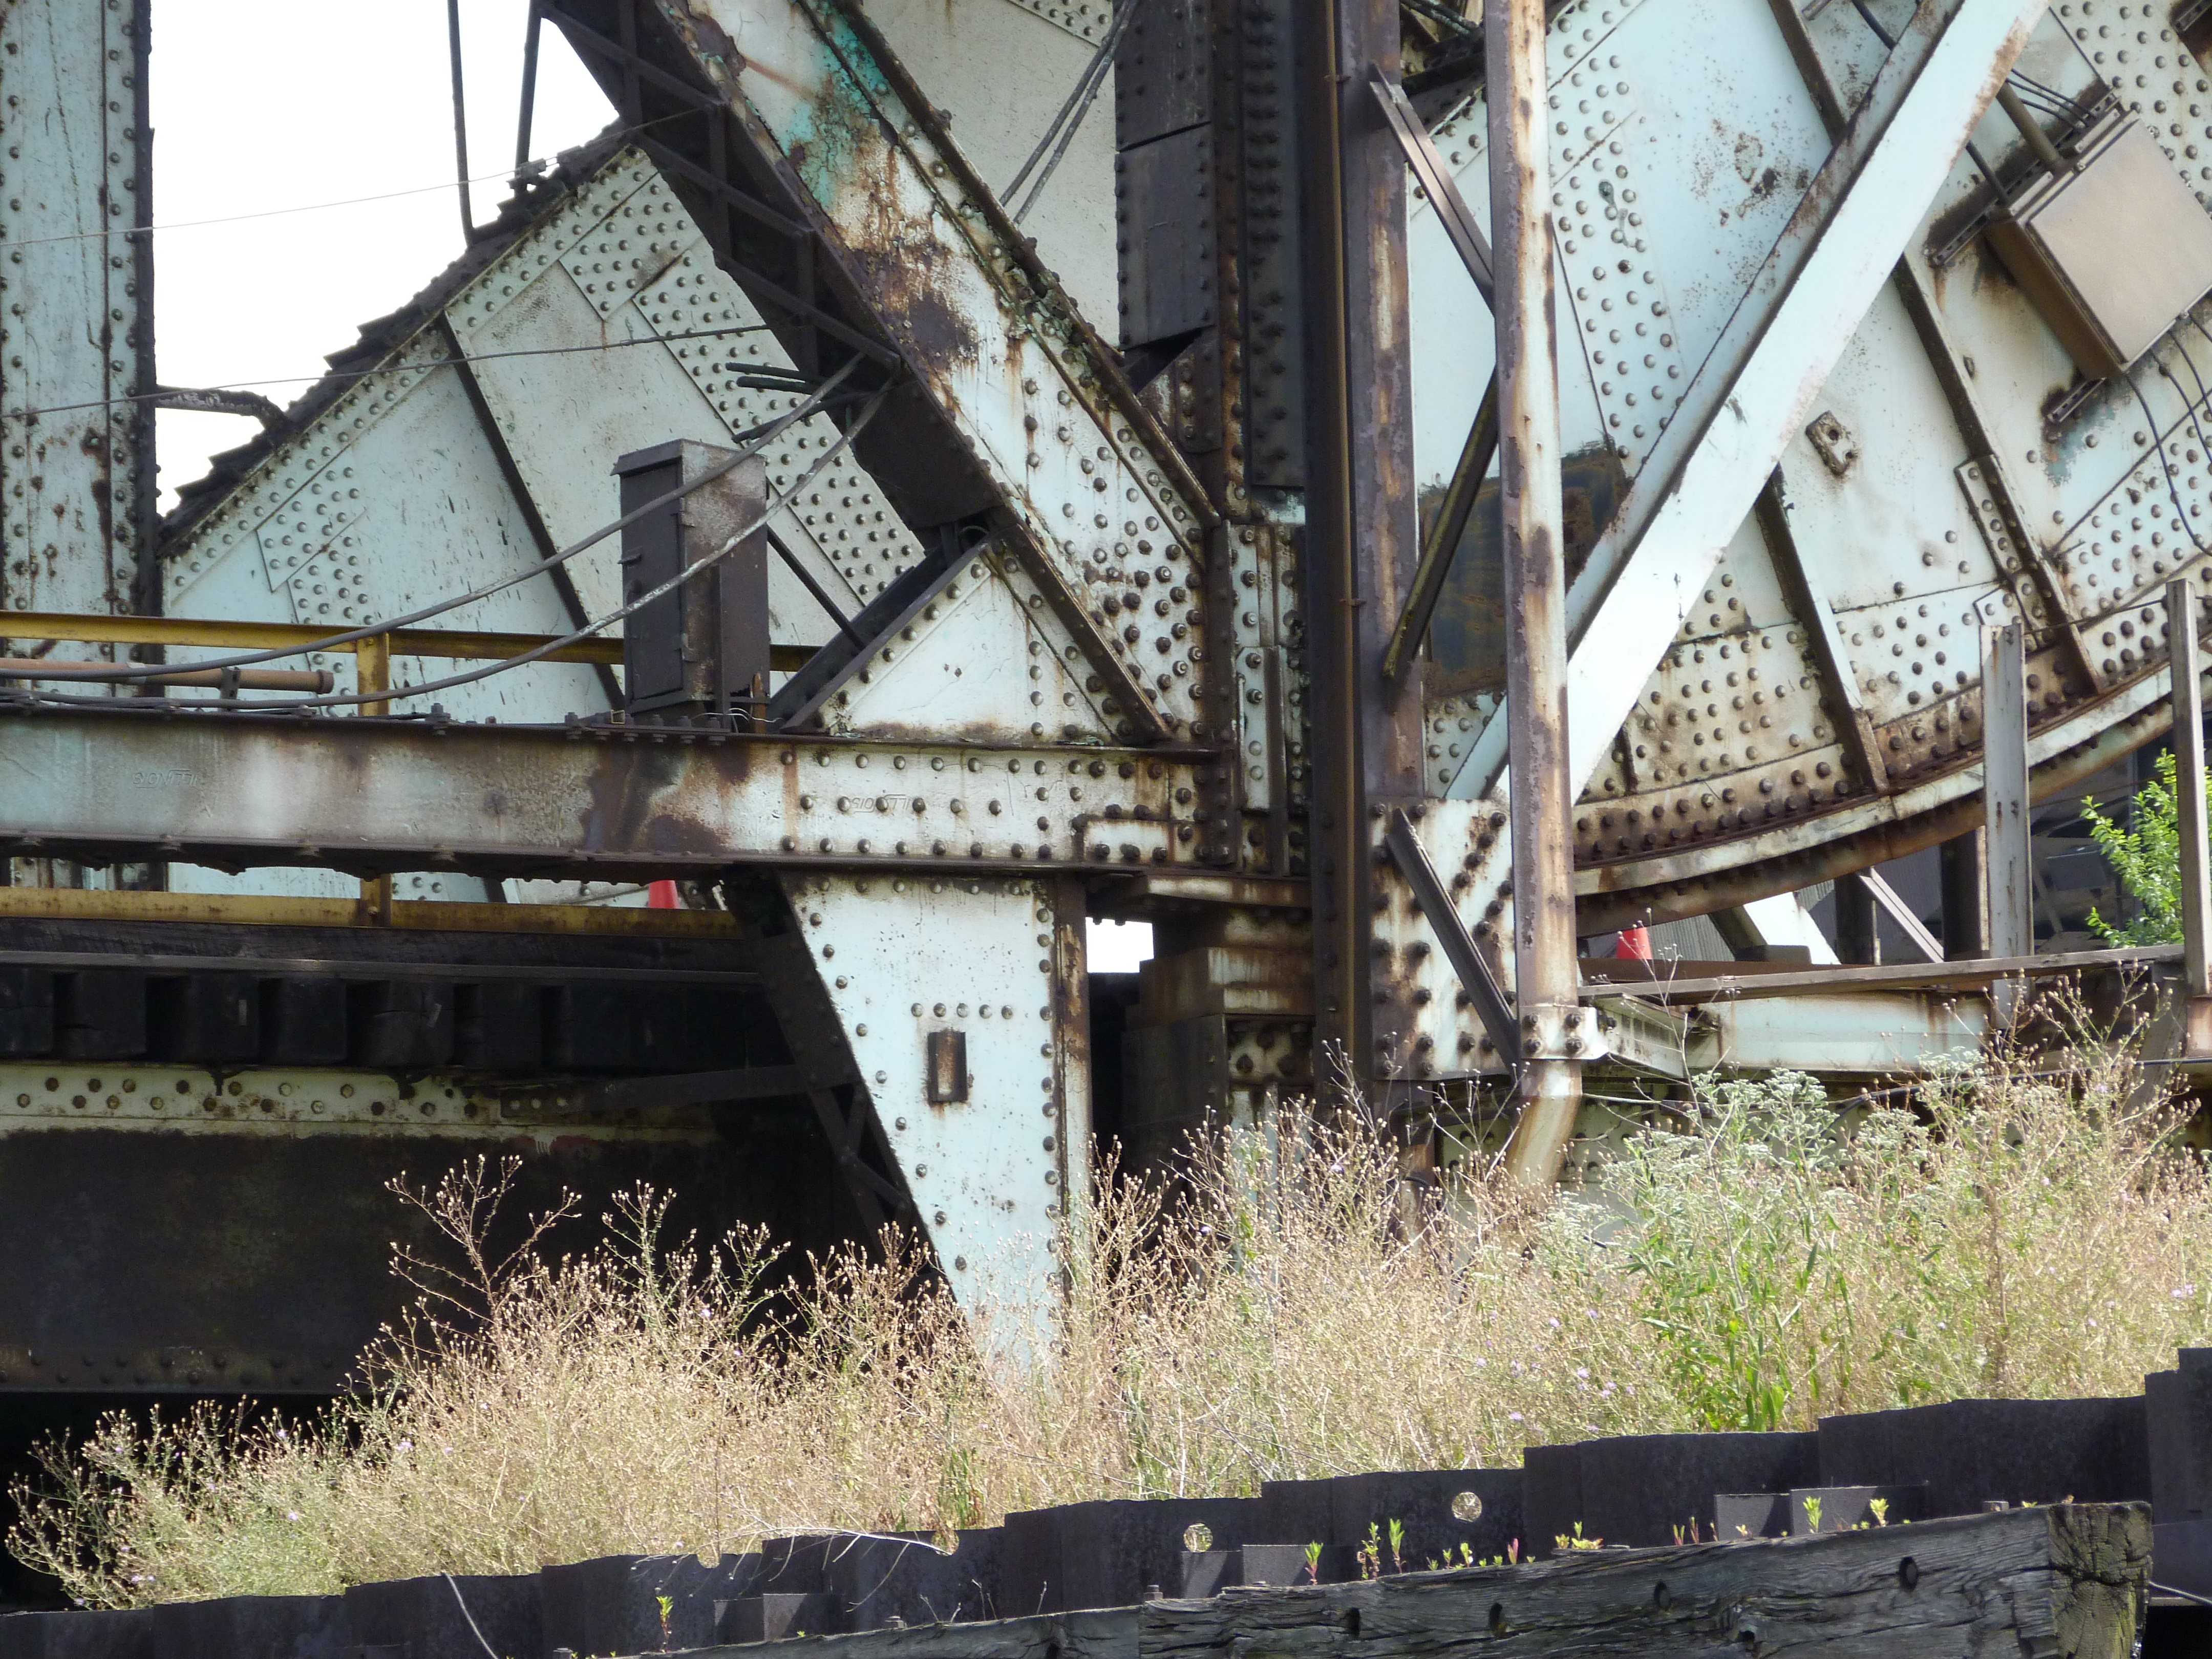
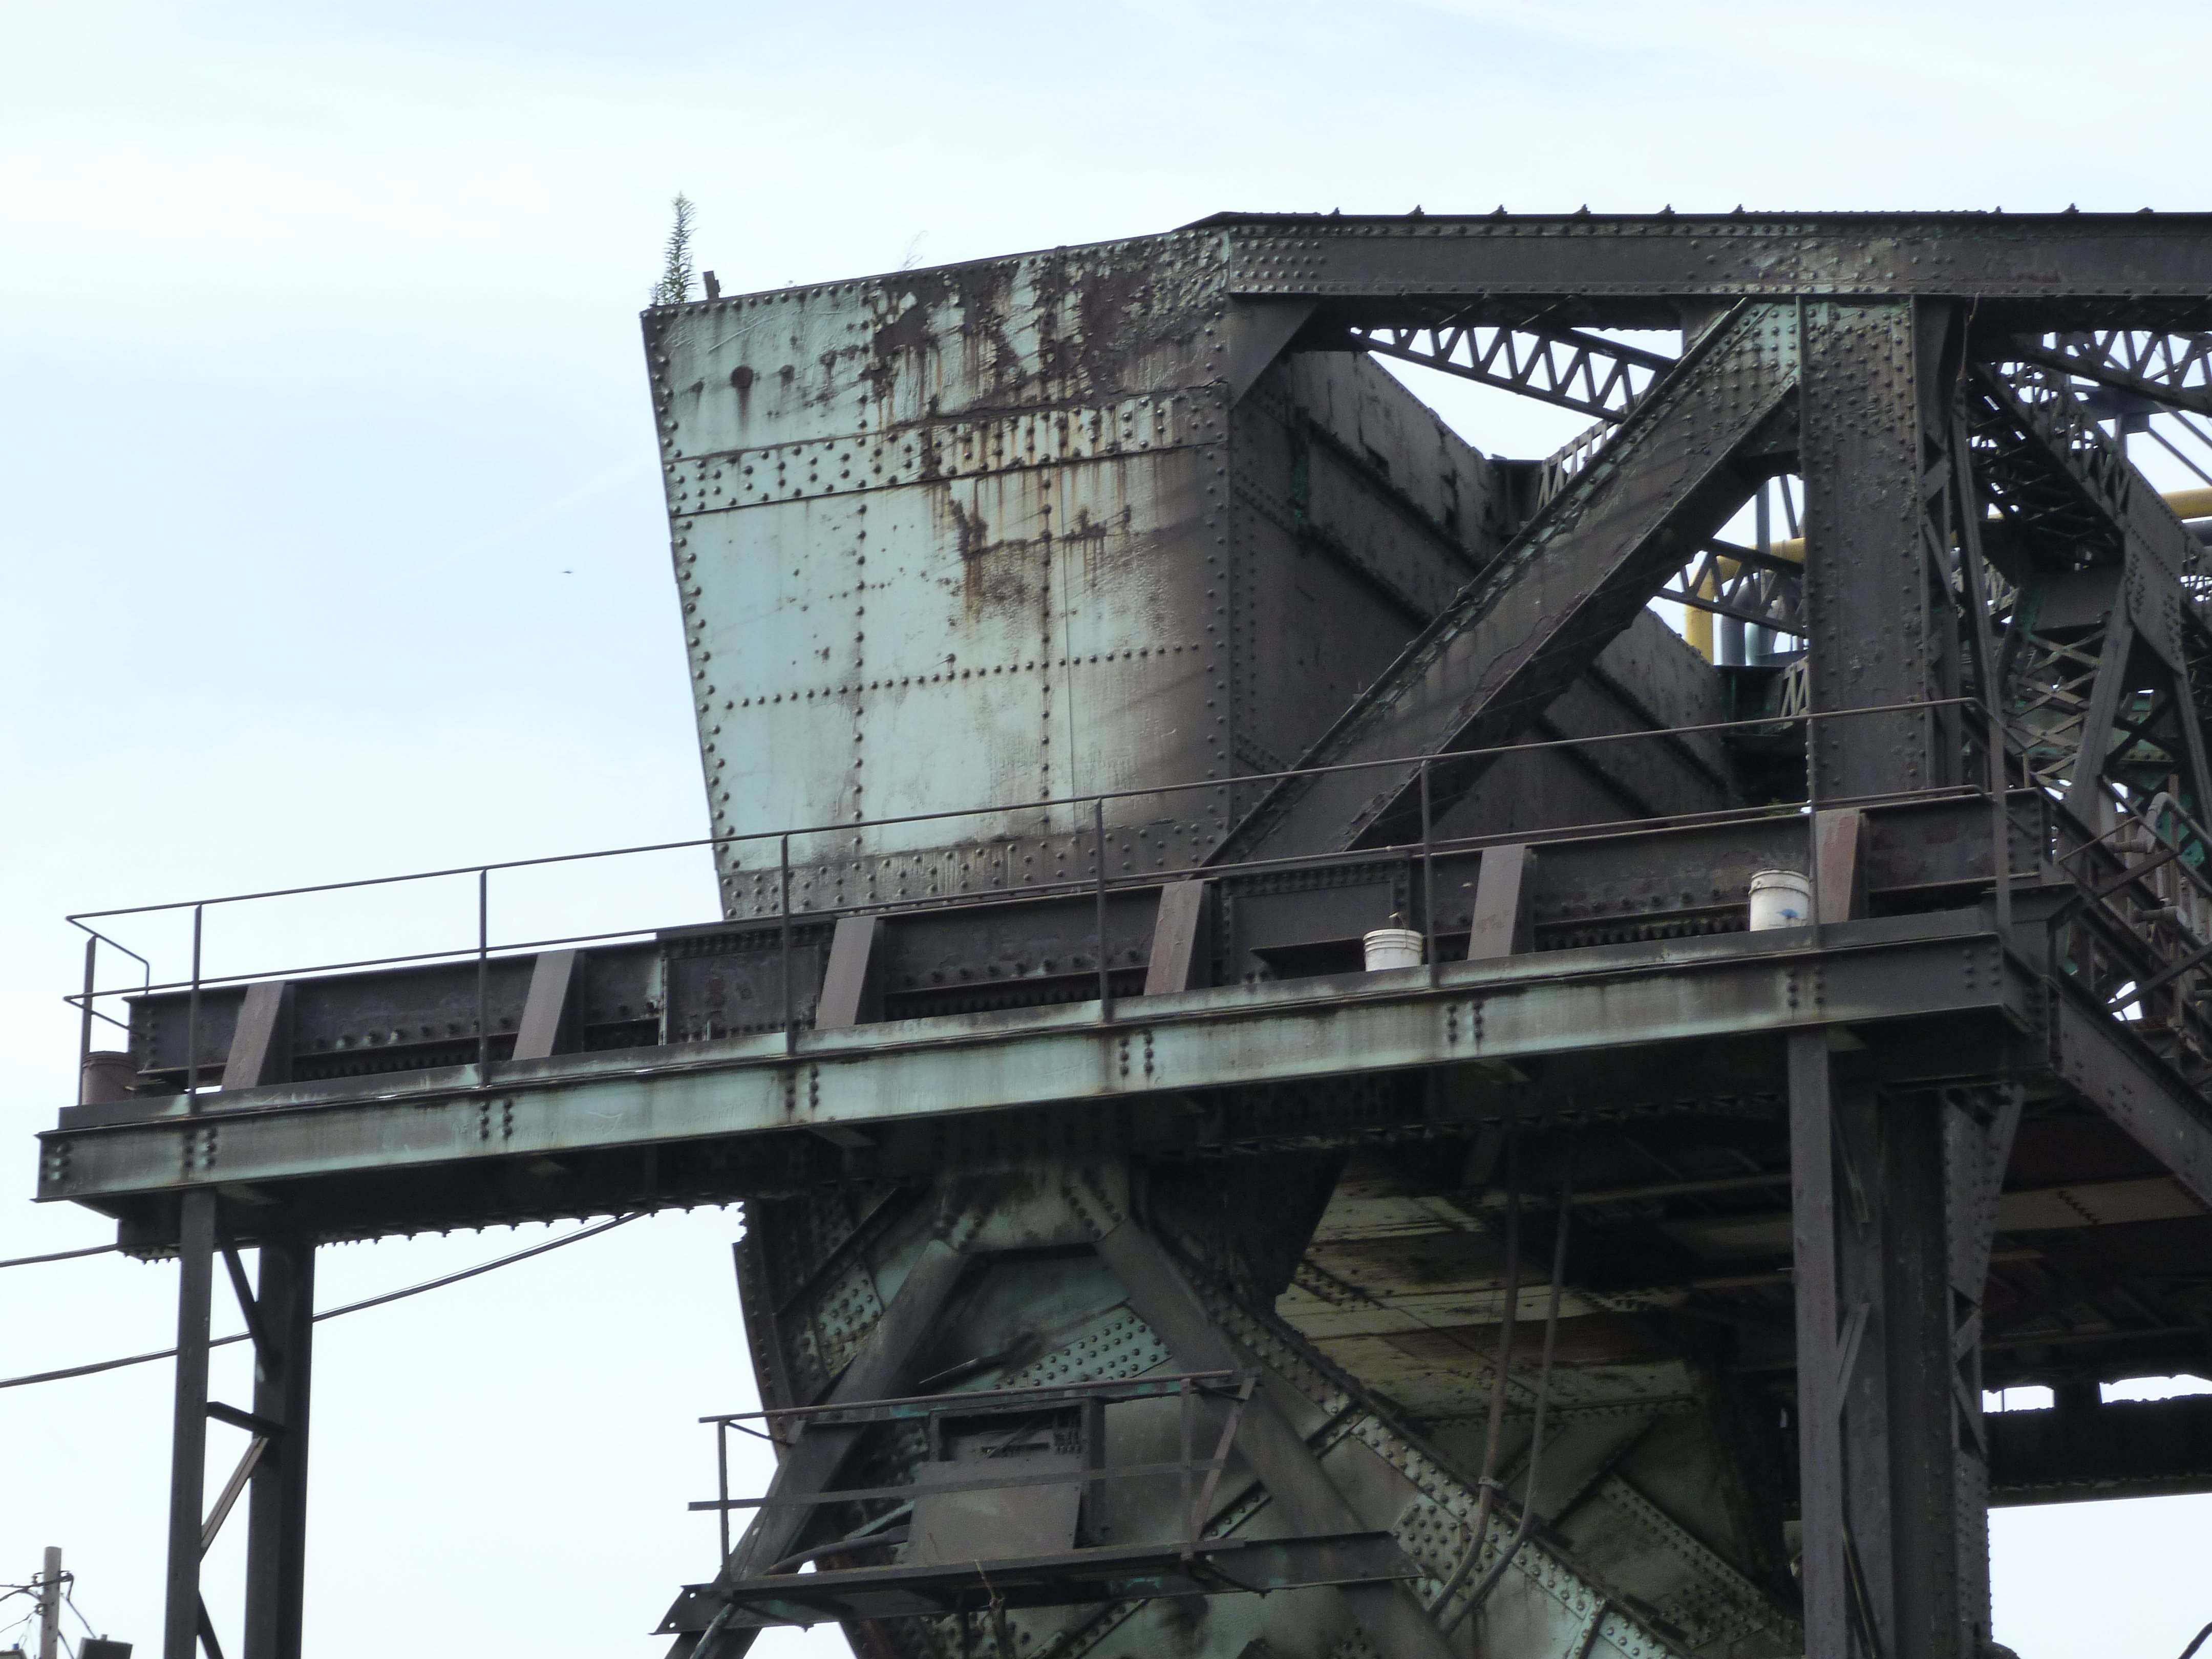
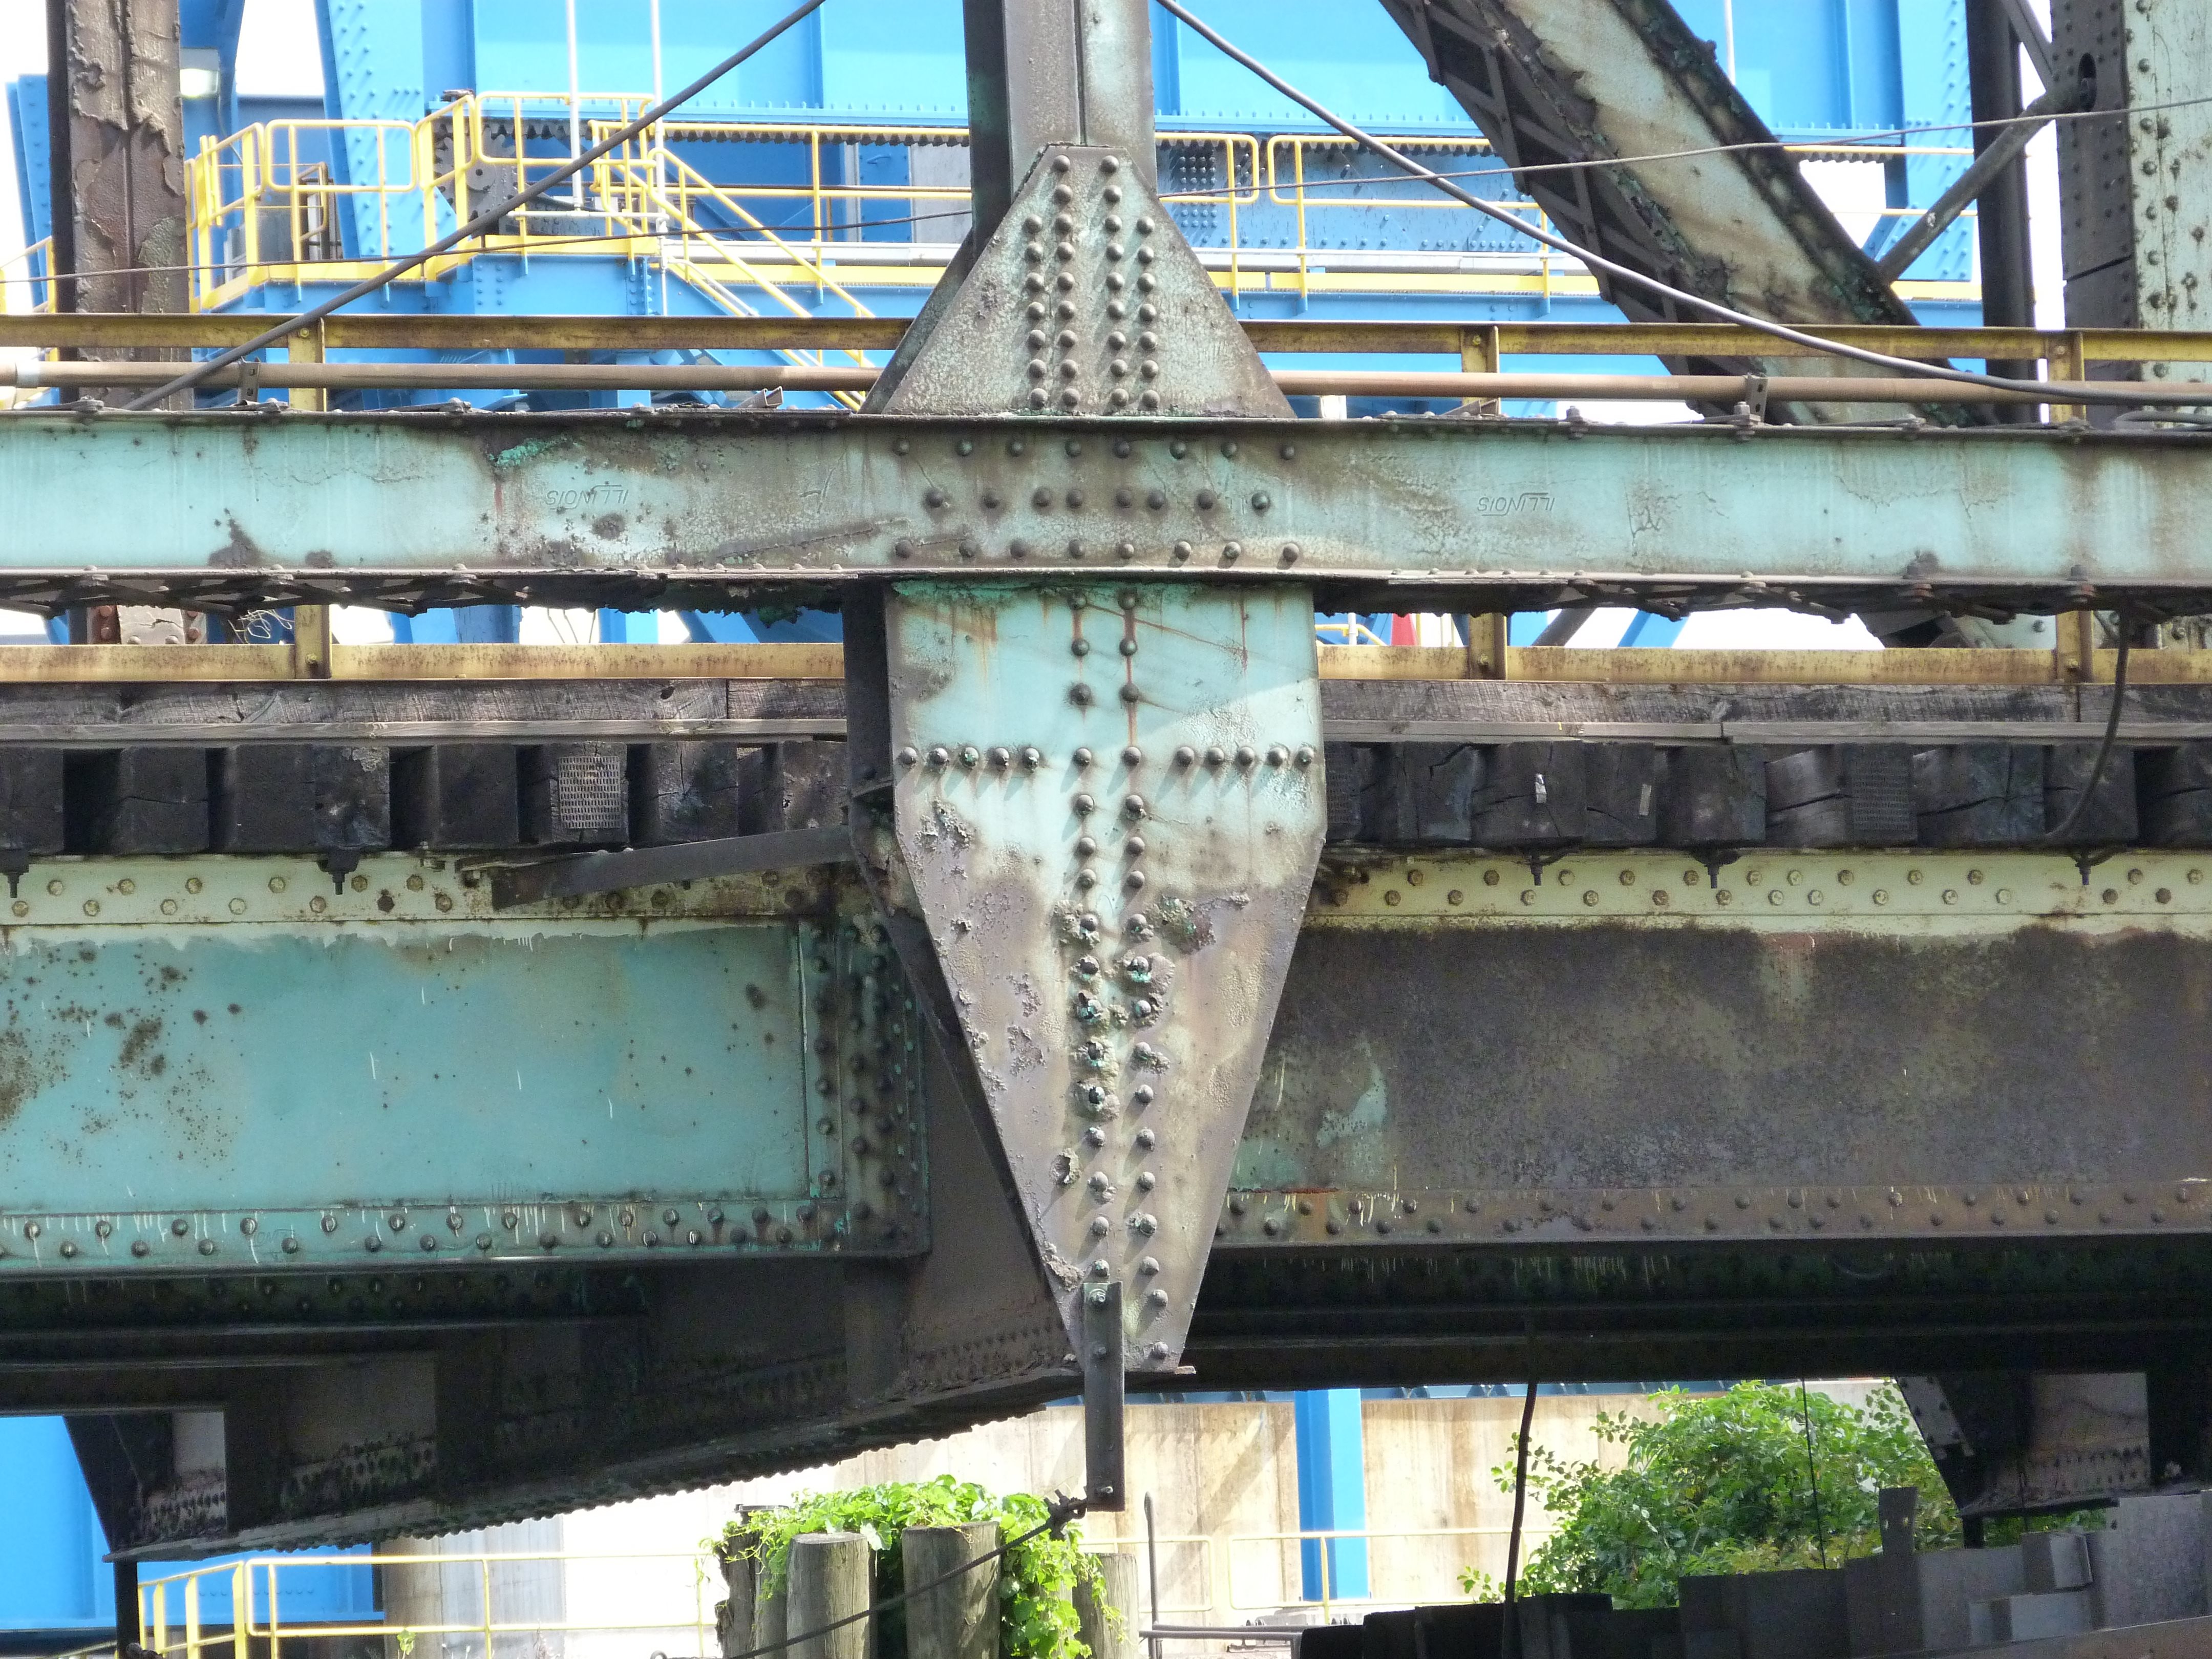
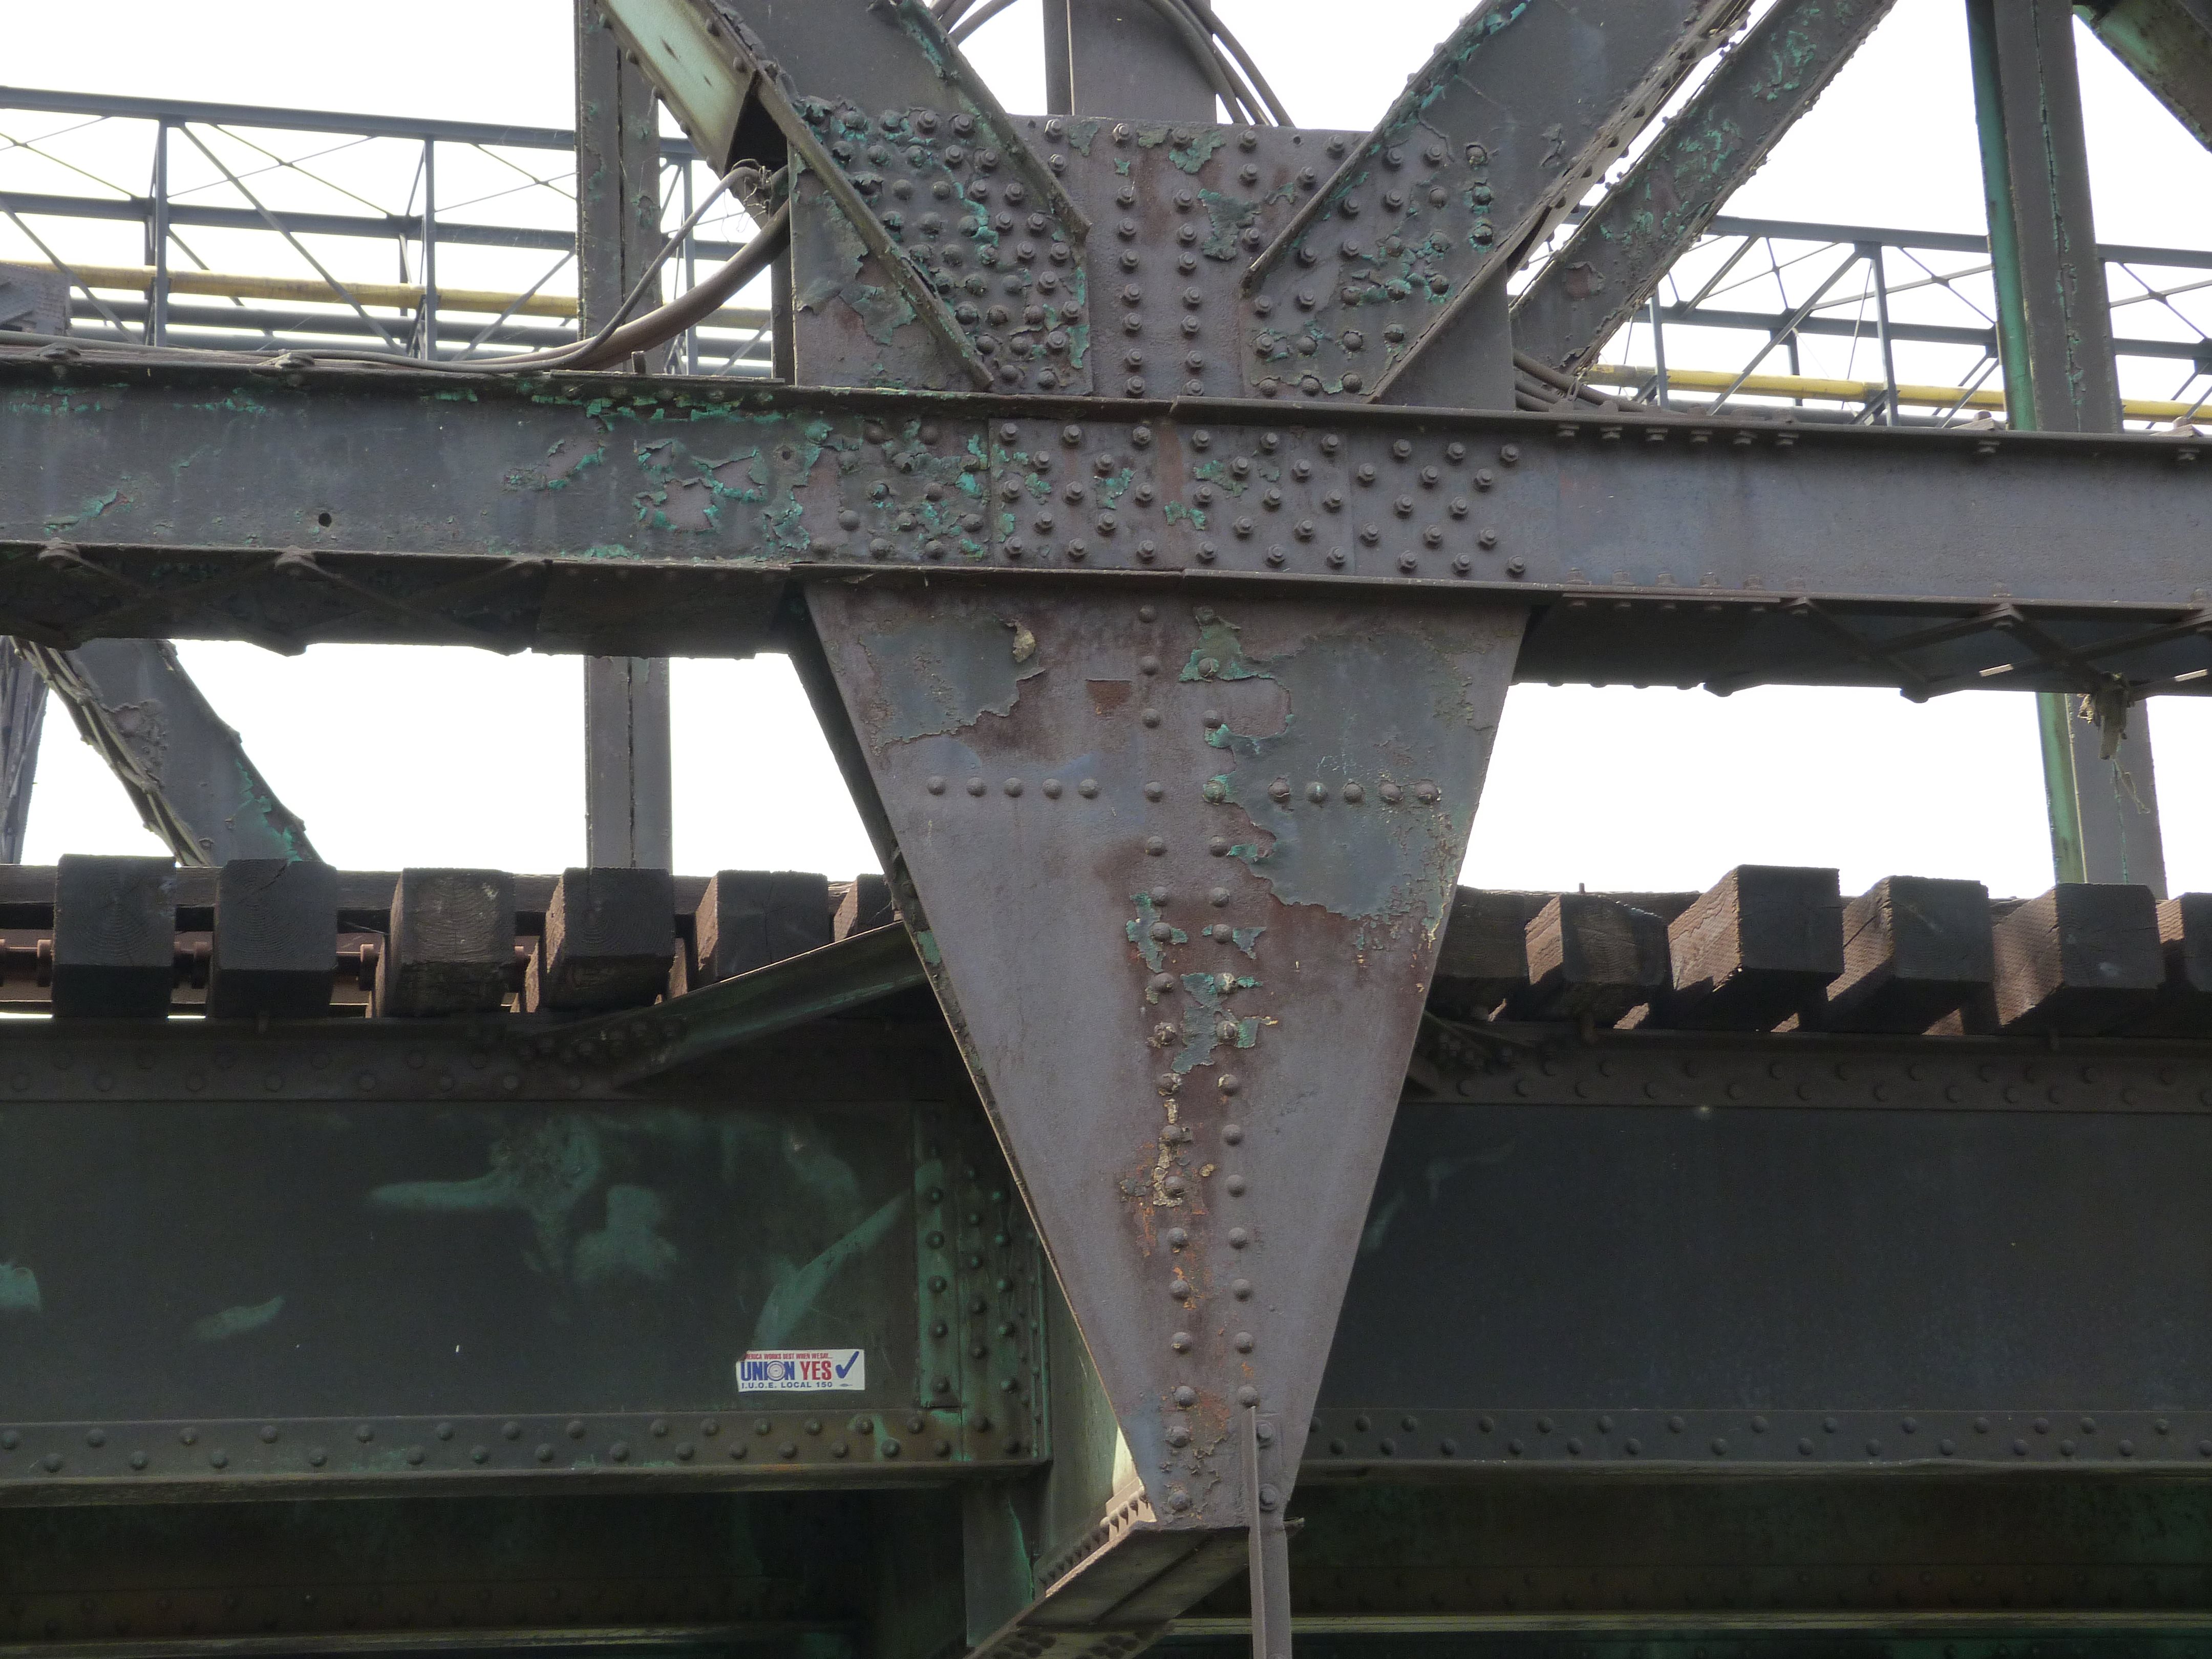
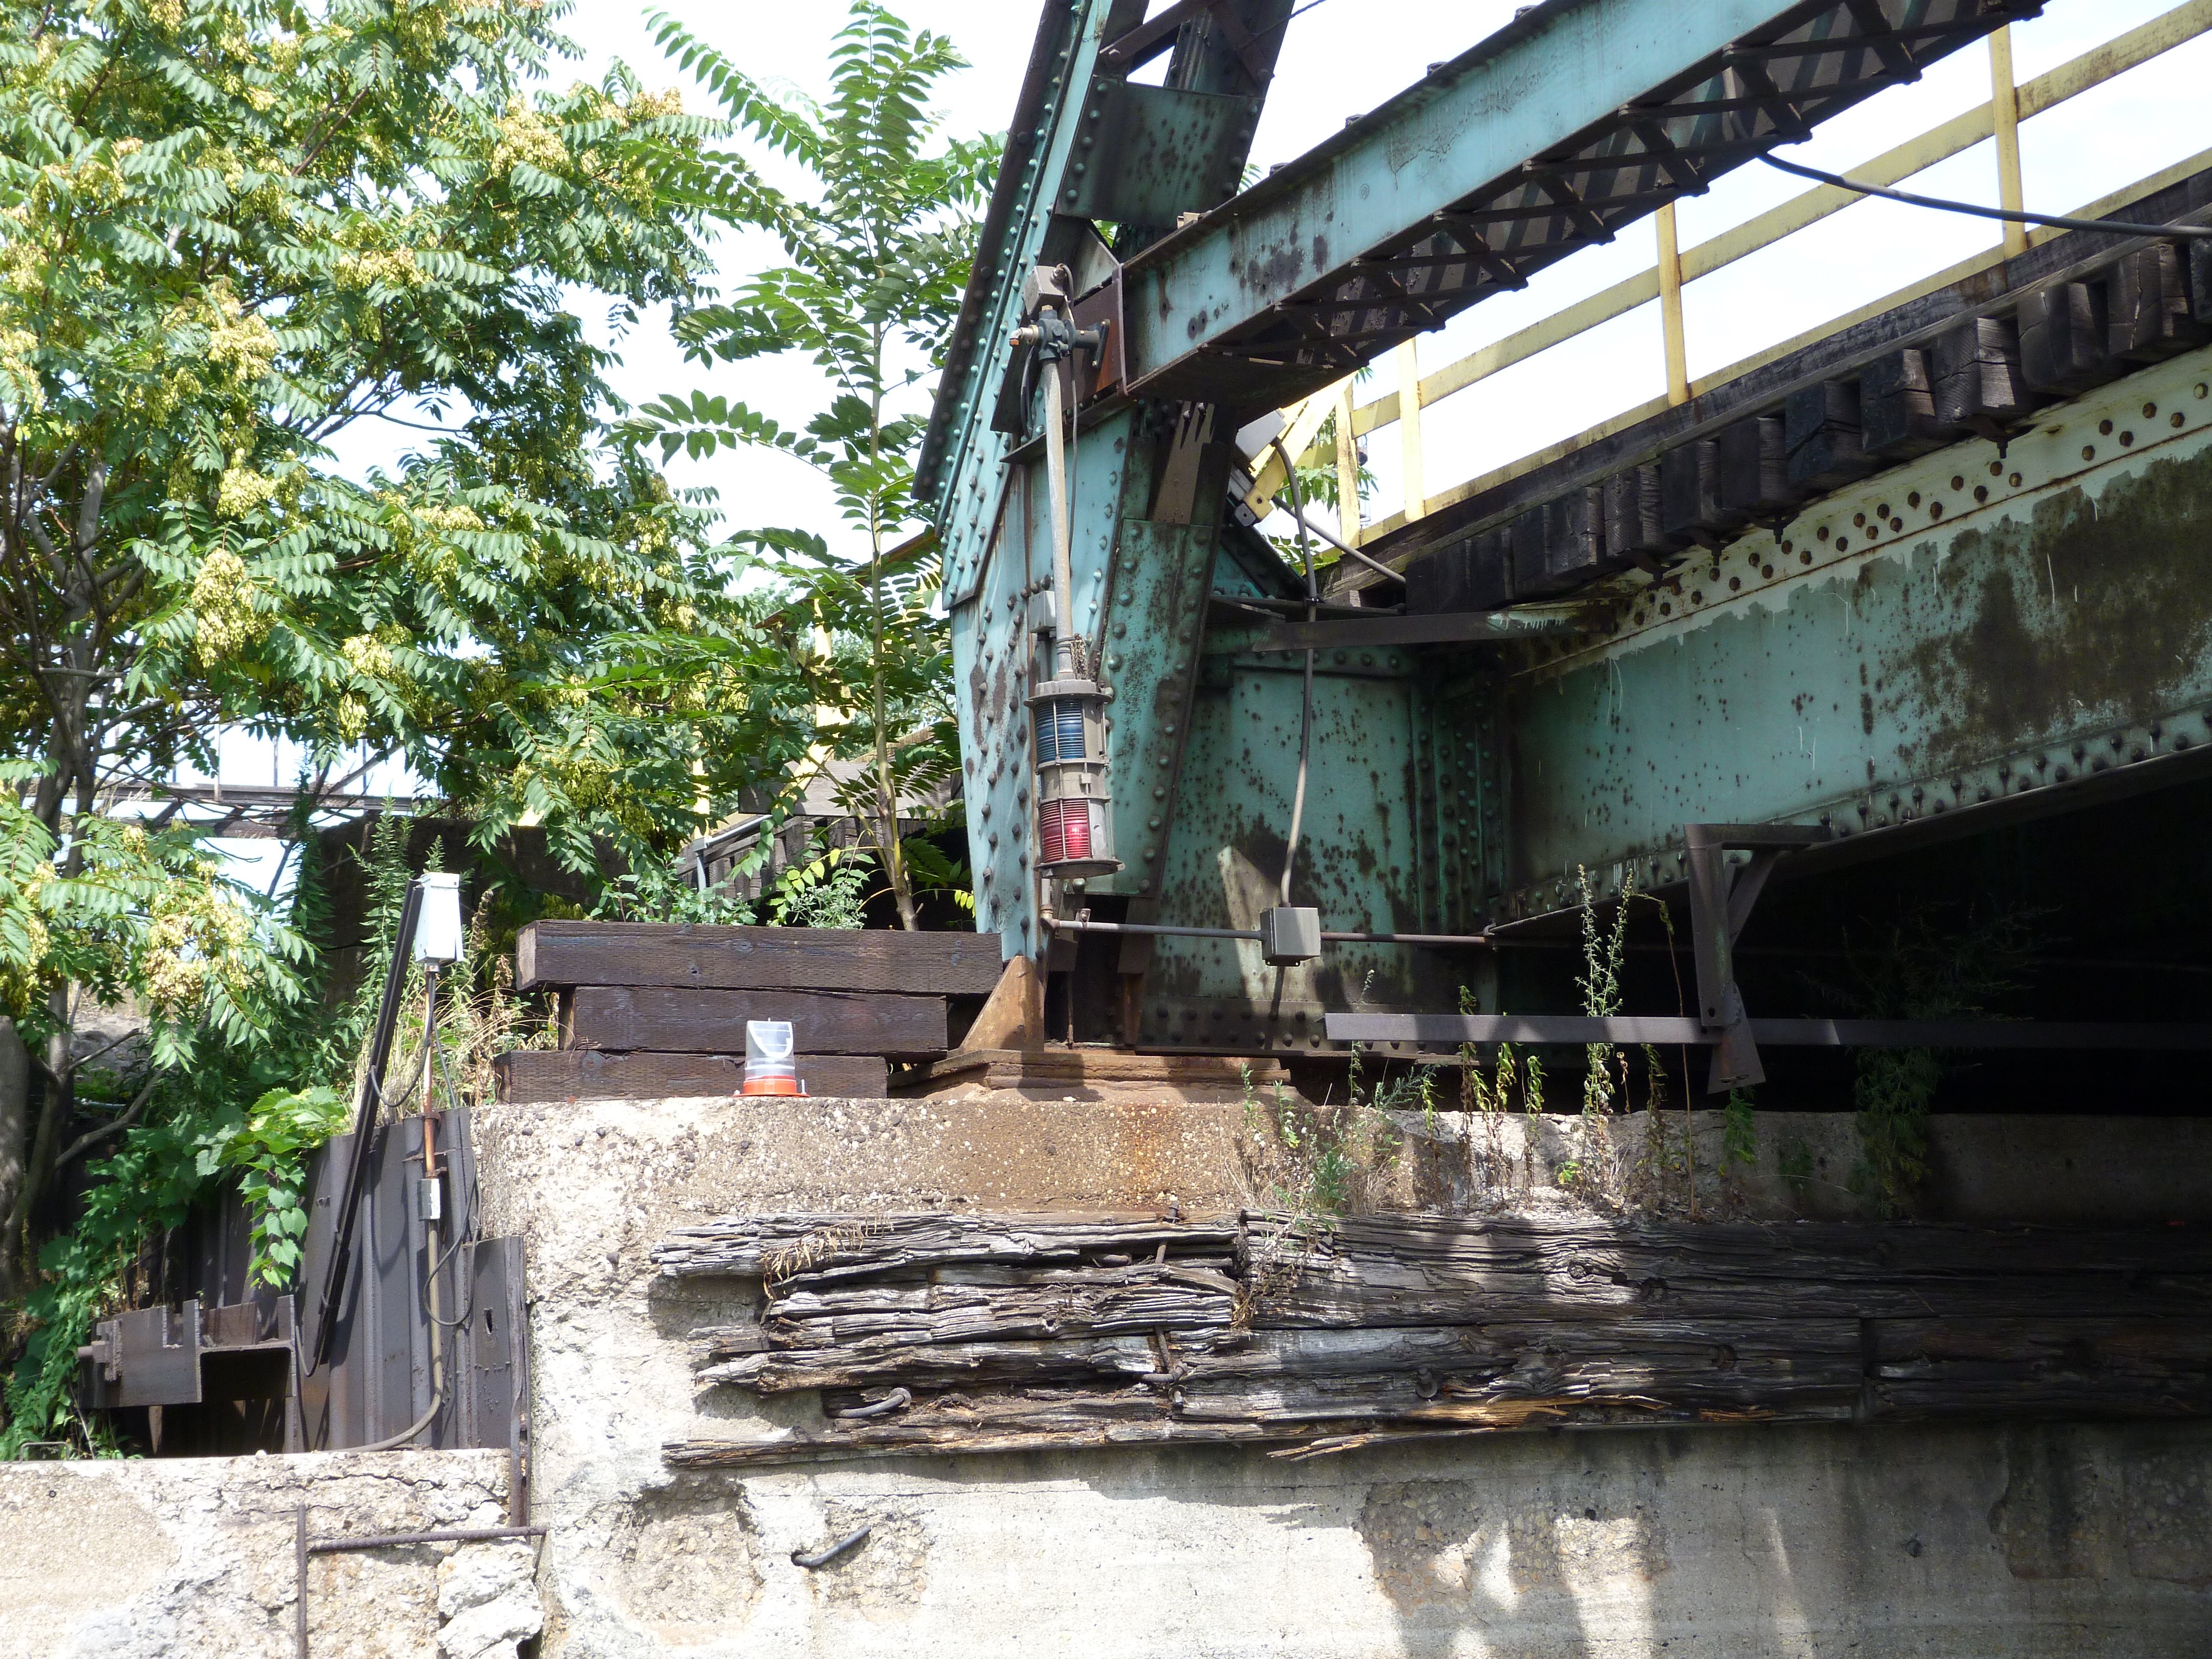
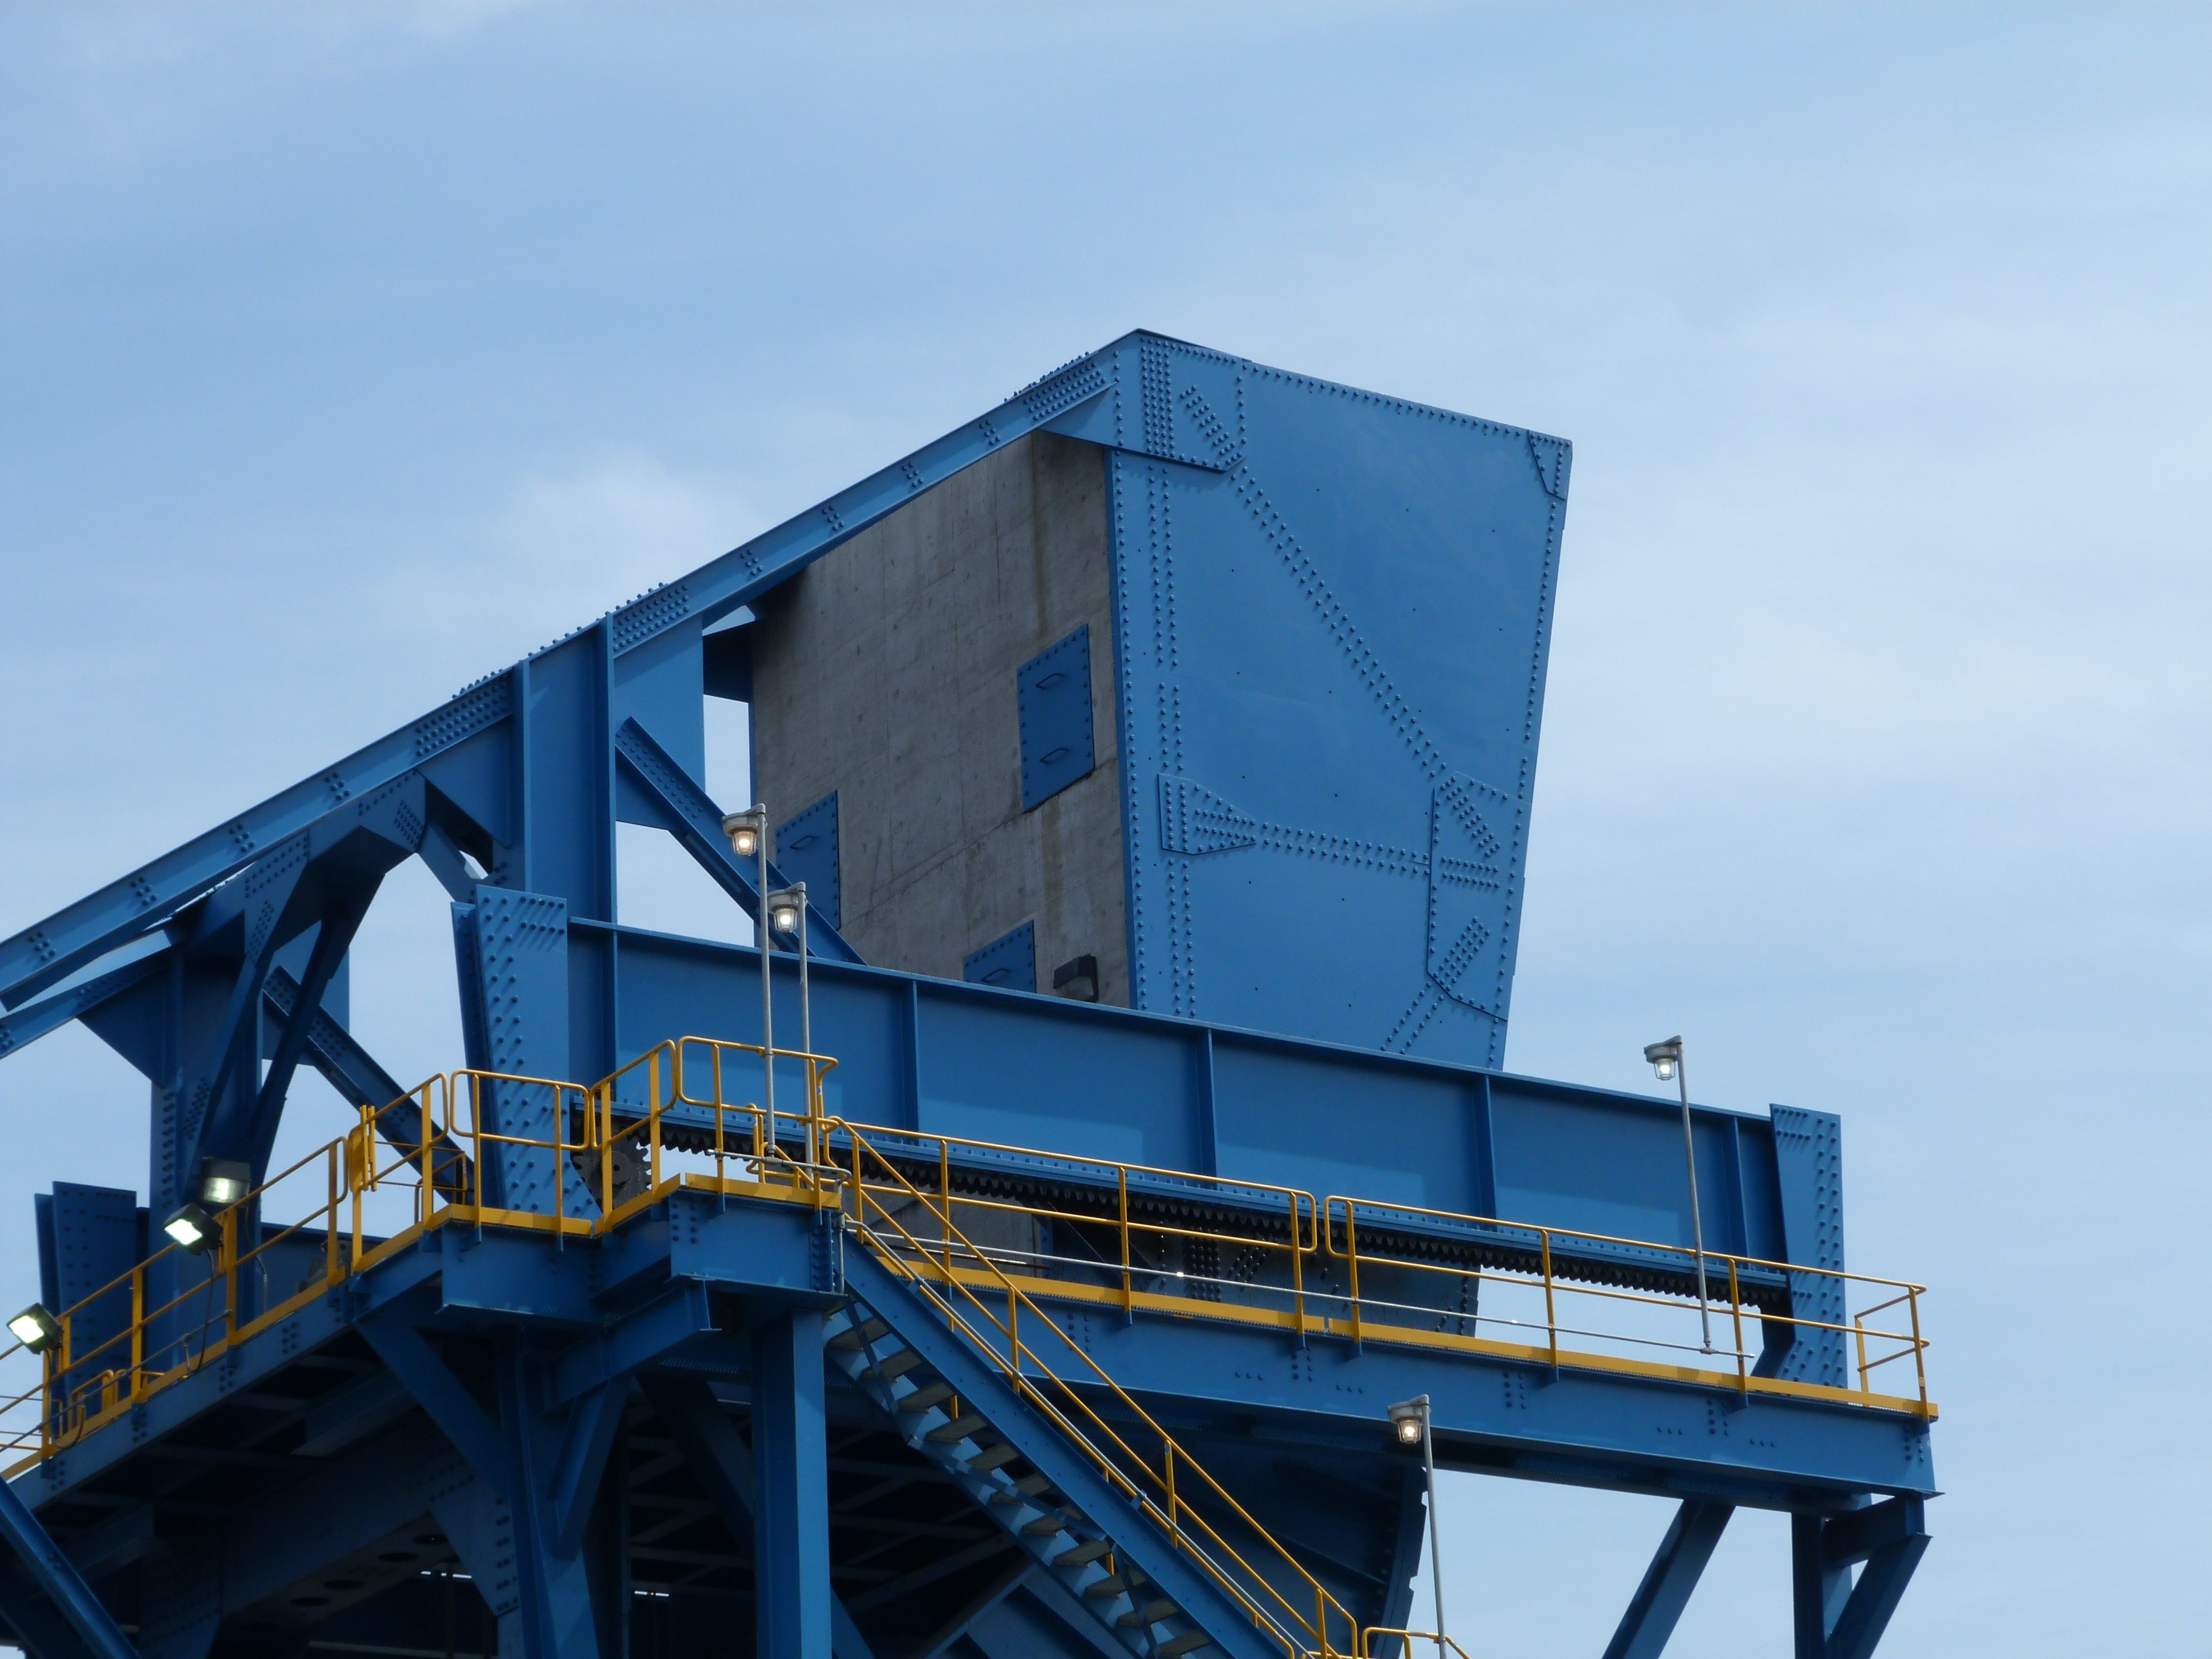
Counterweight frame details.
![]()

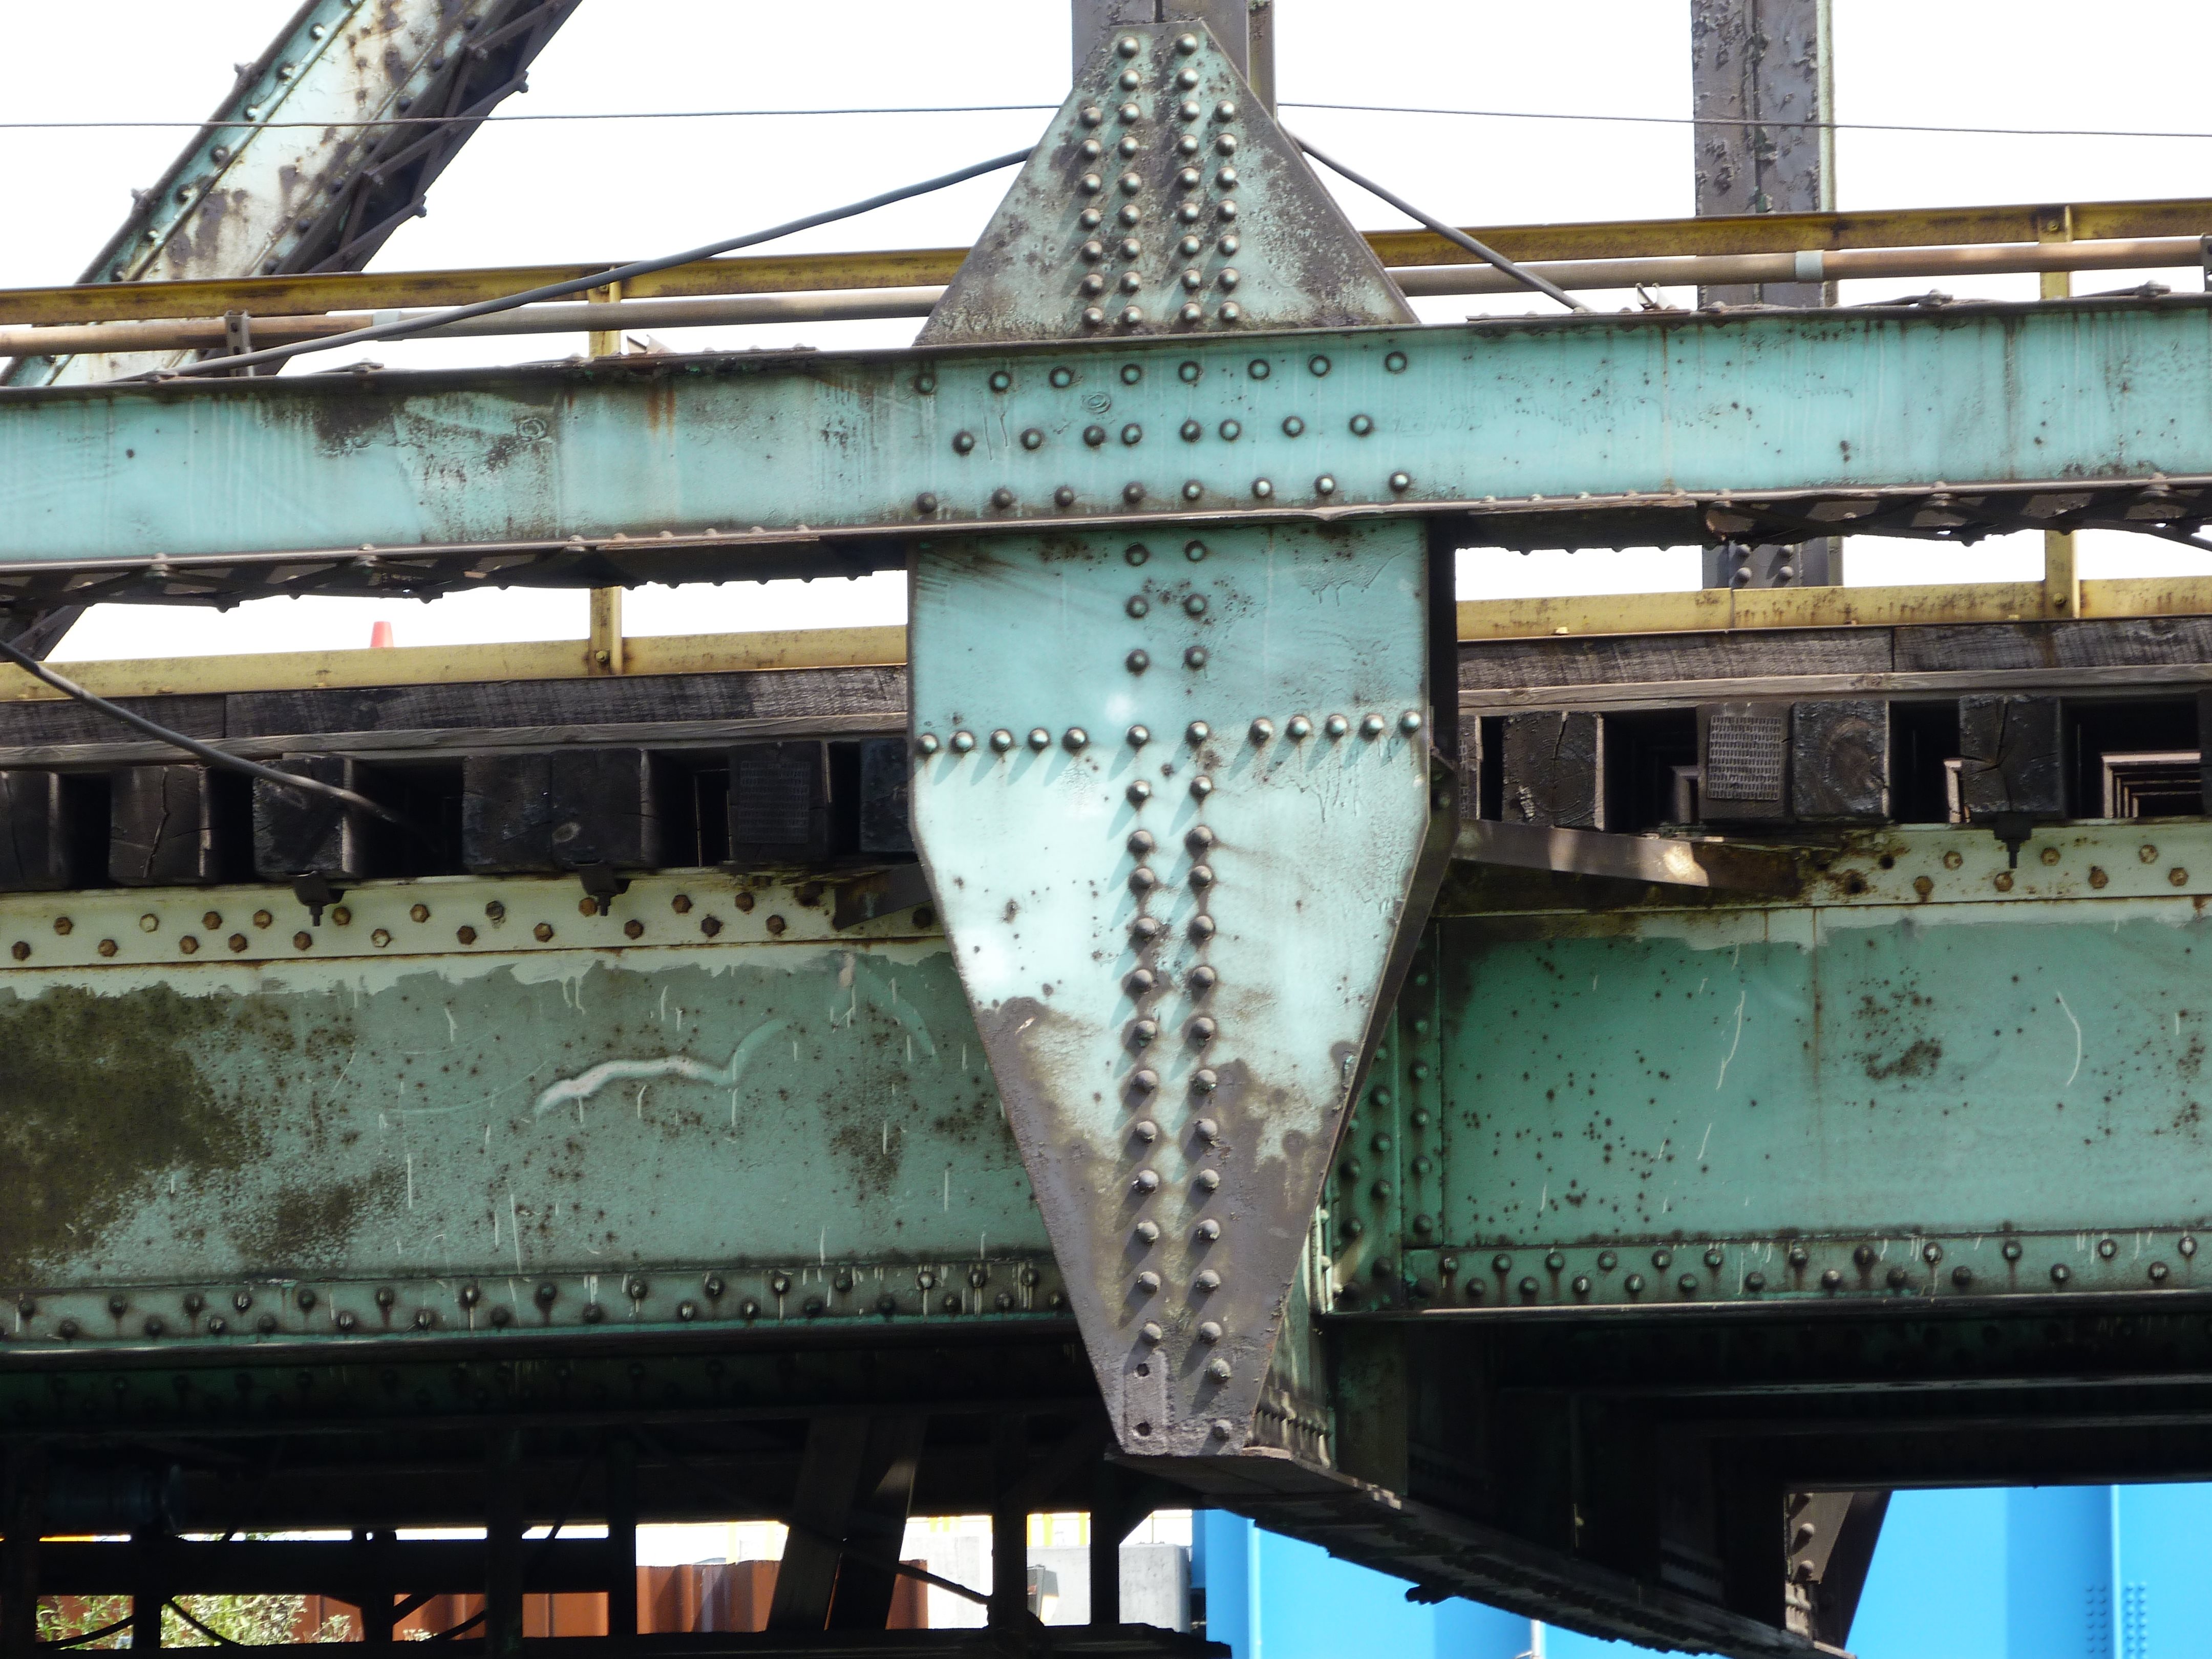
Counterweight detail.
![]()
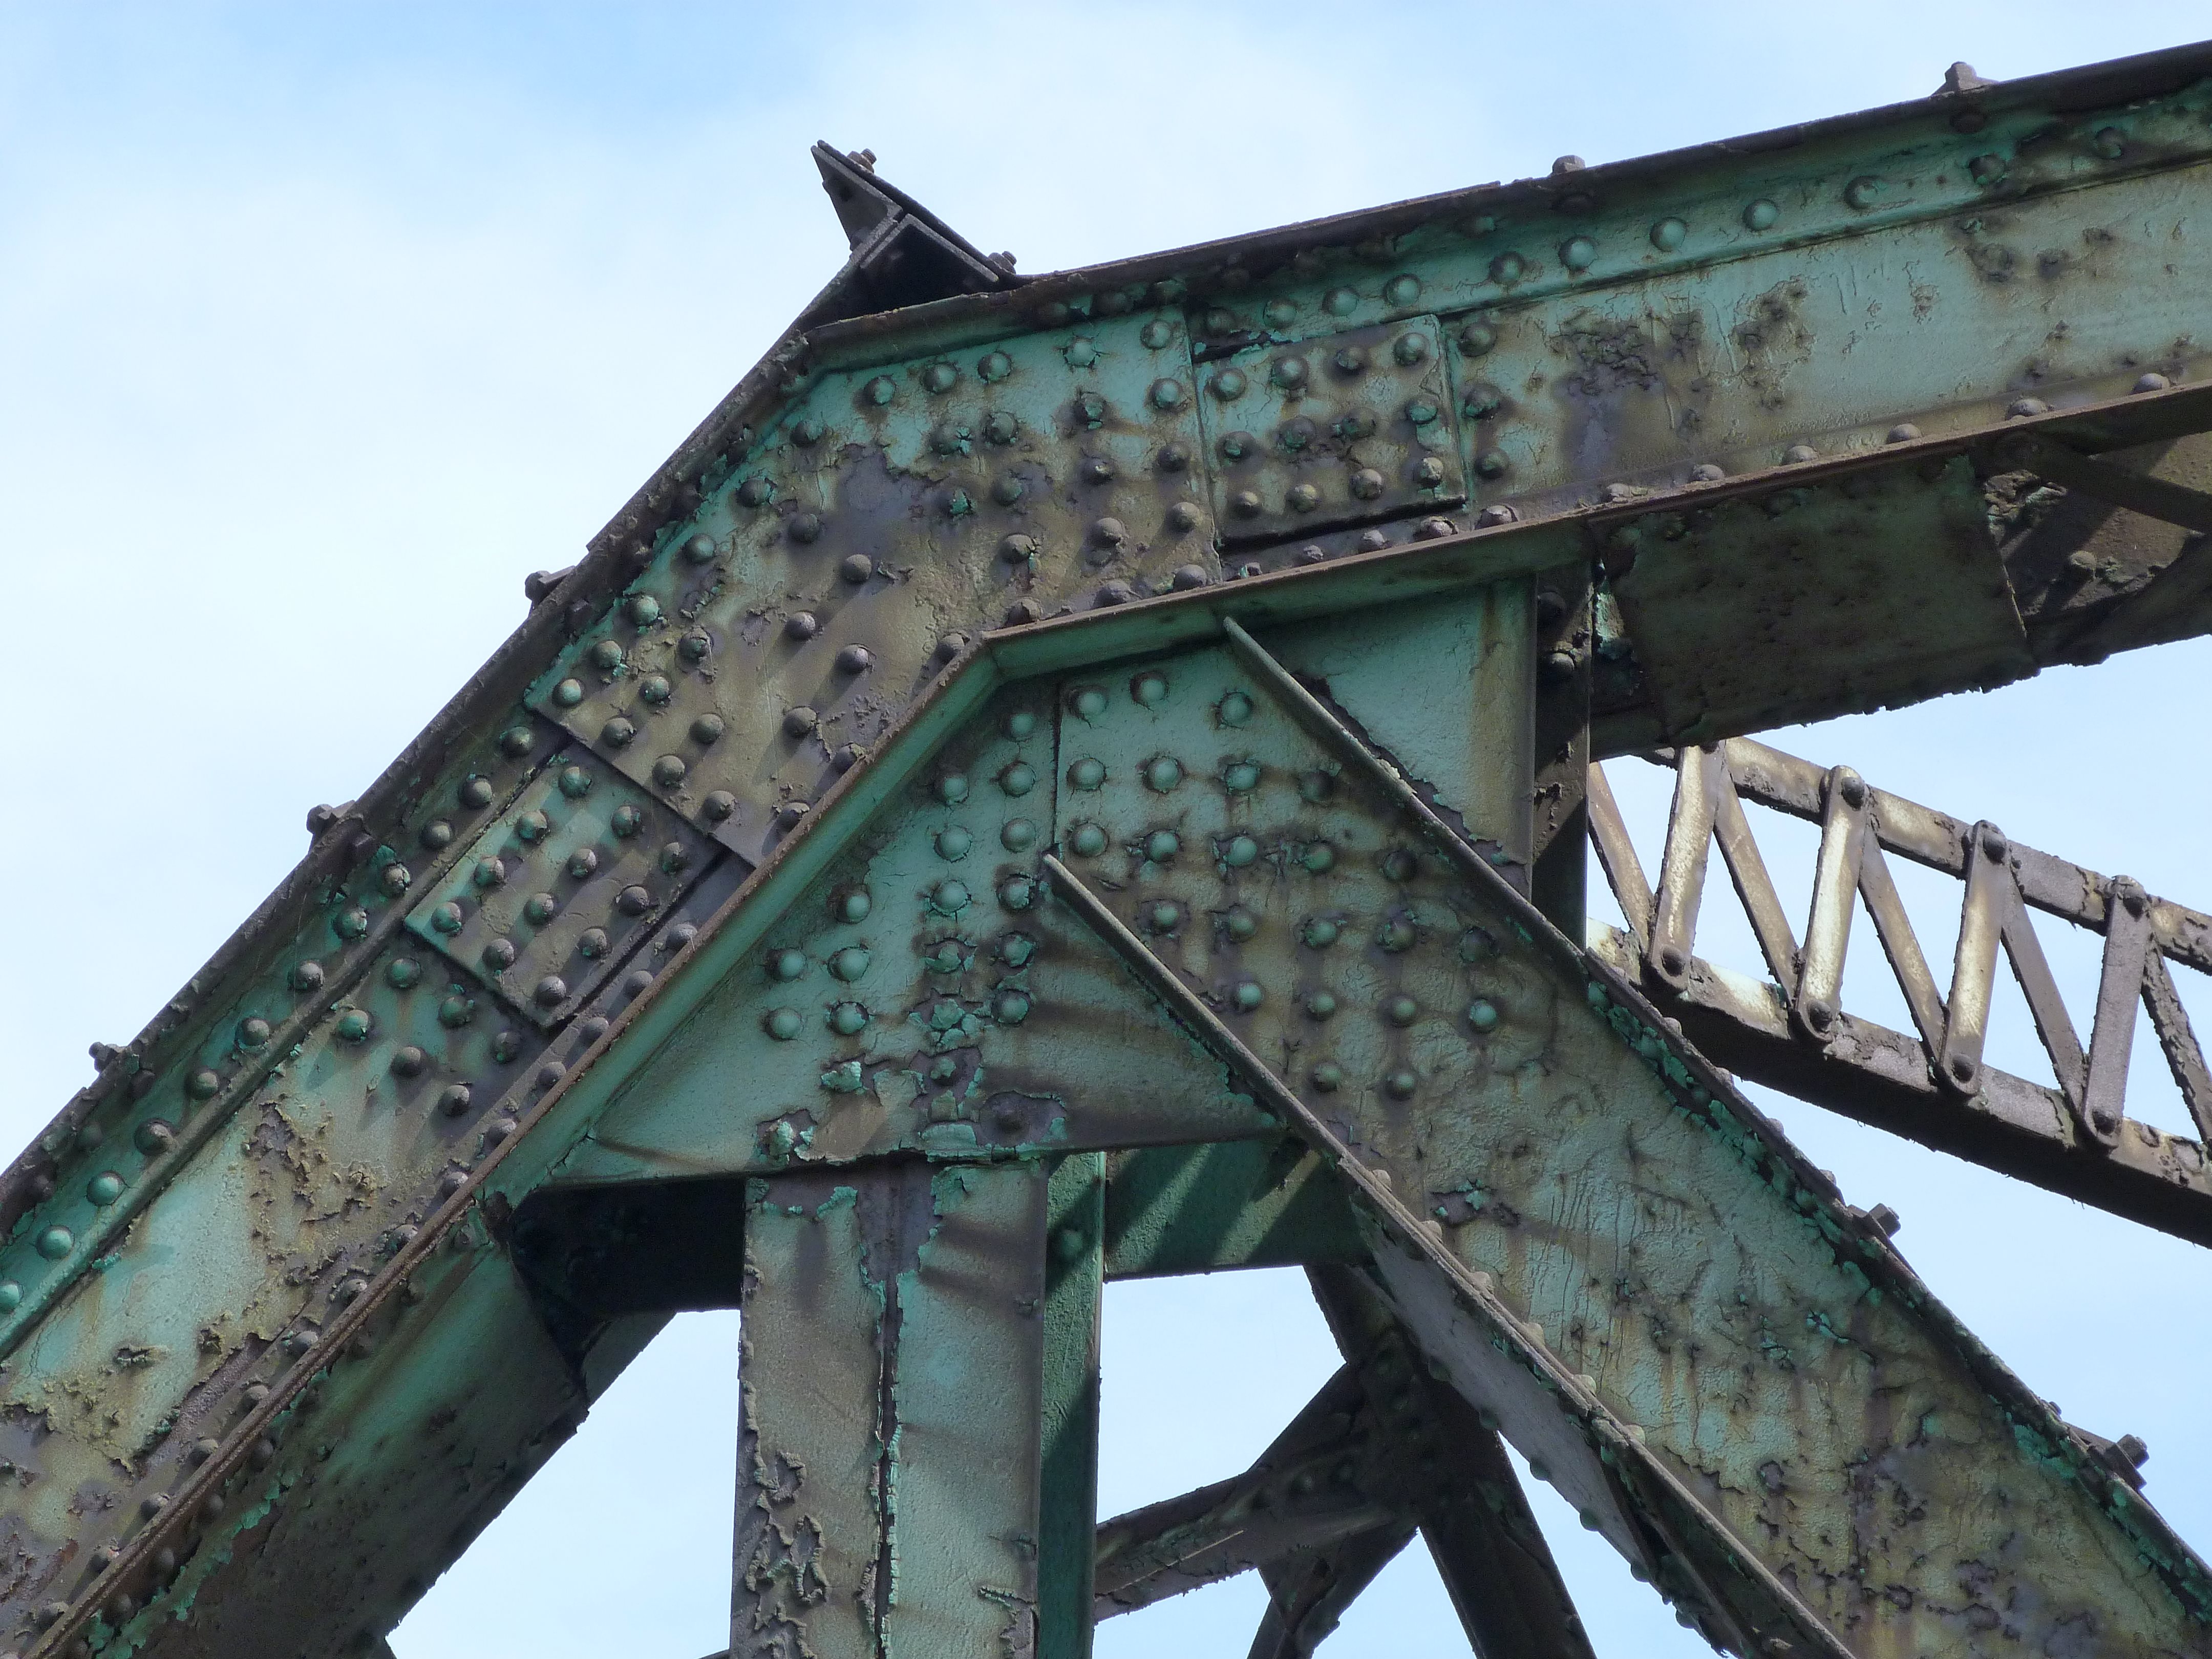
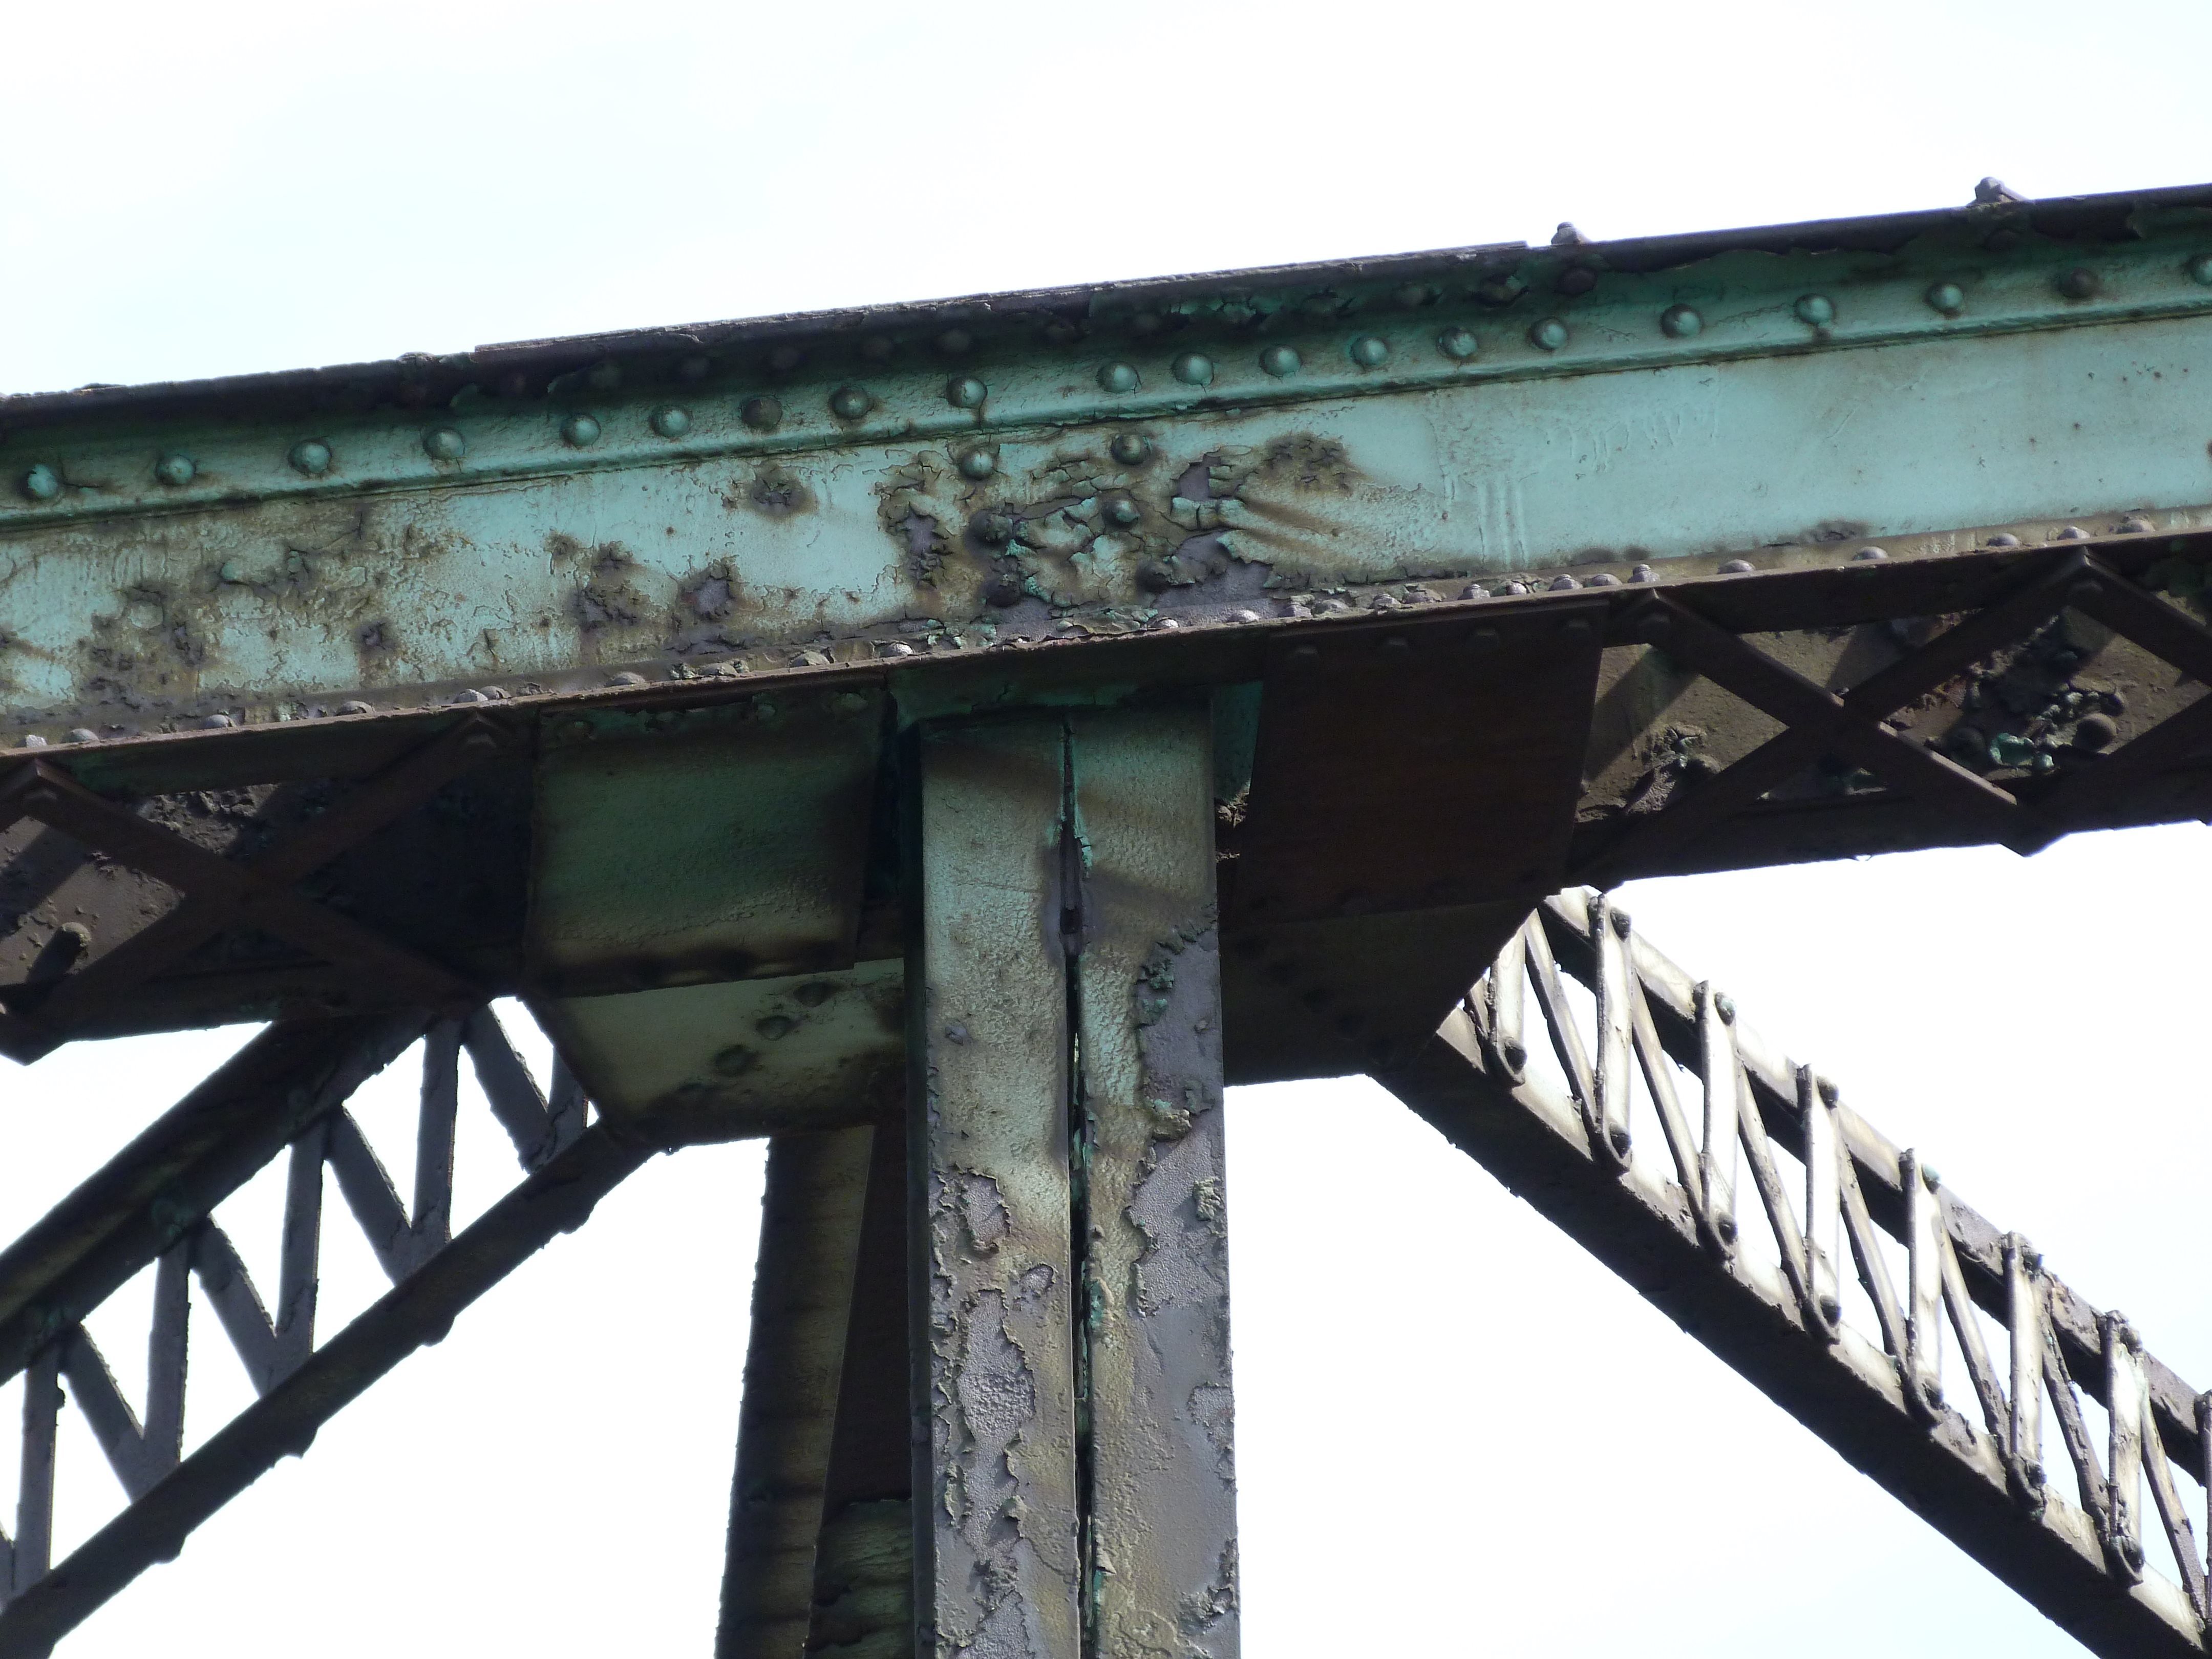
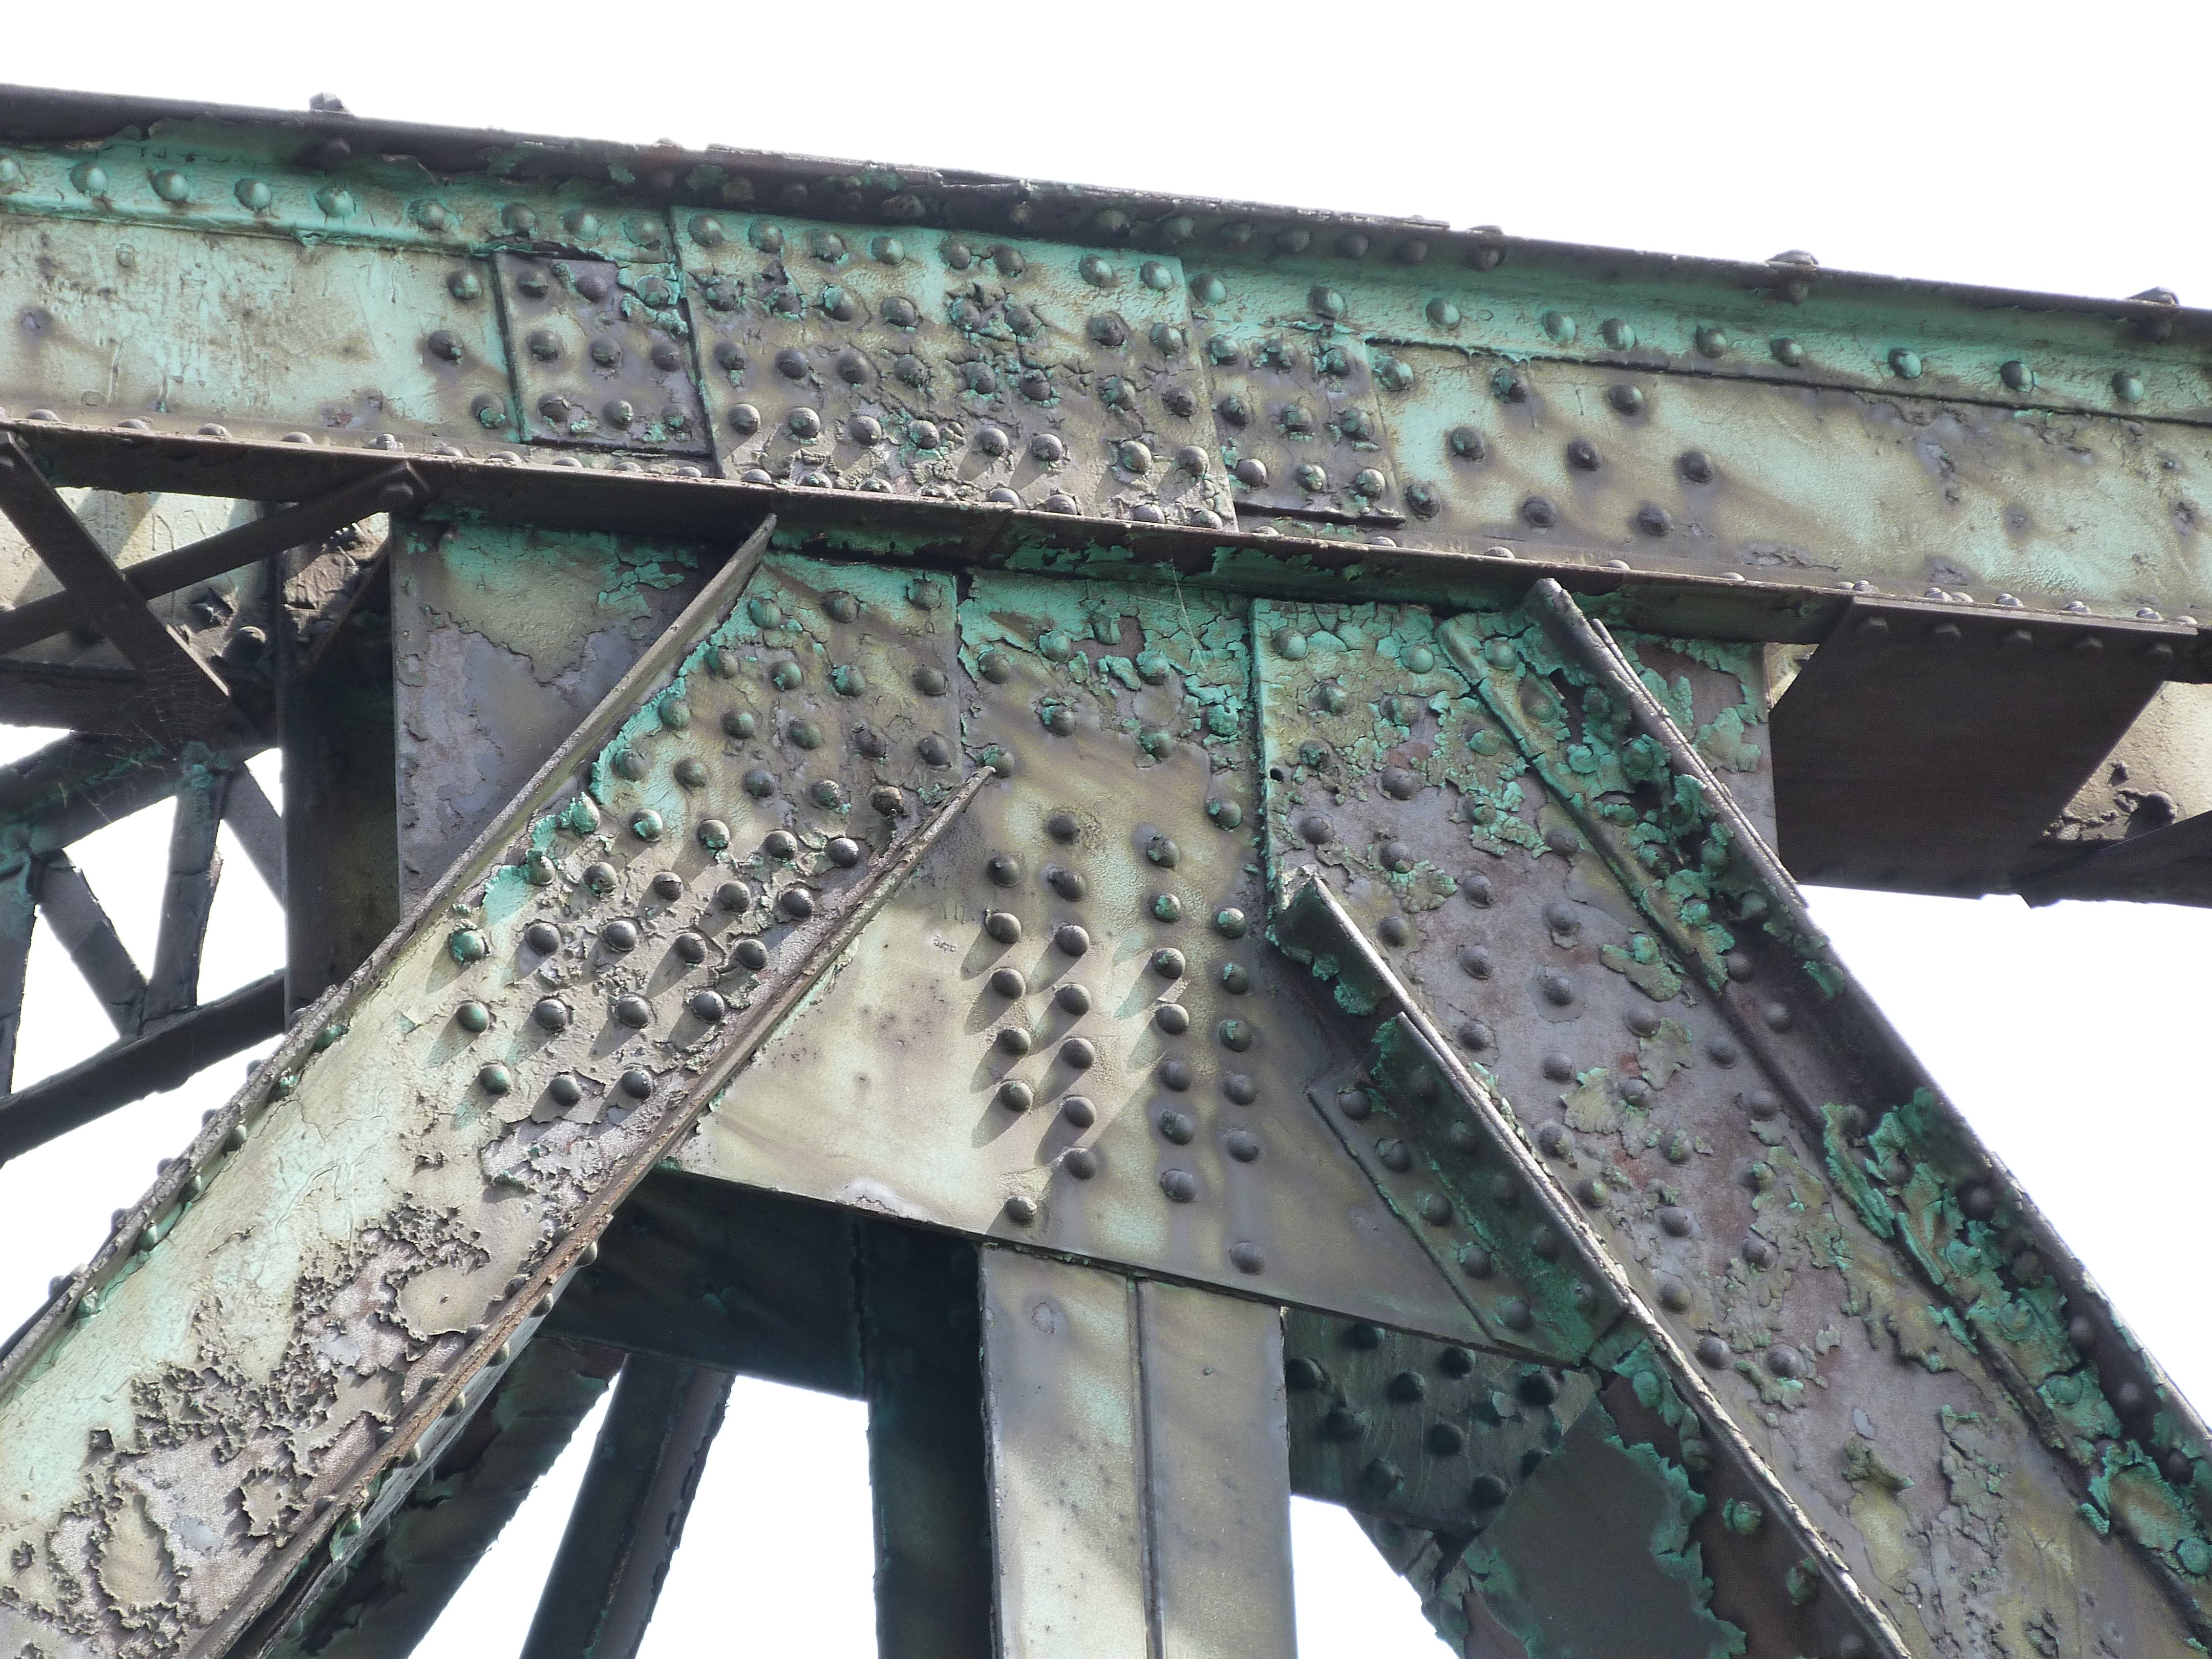
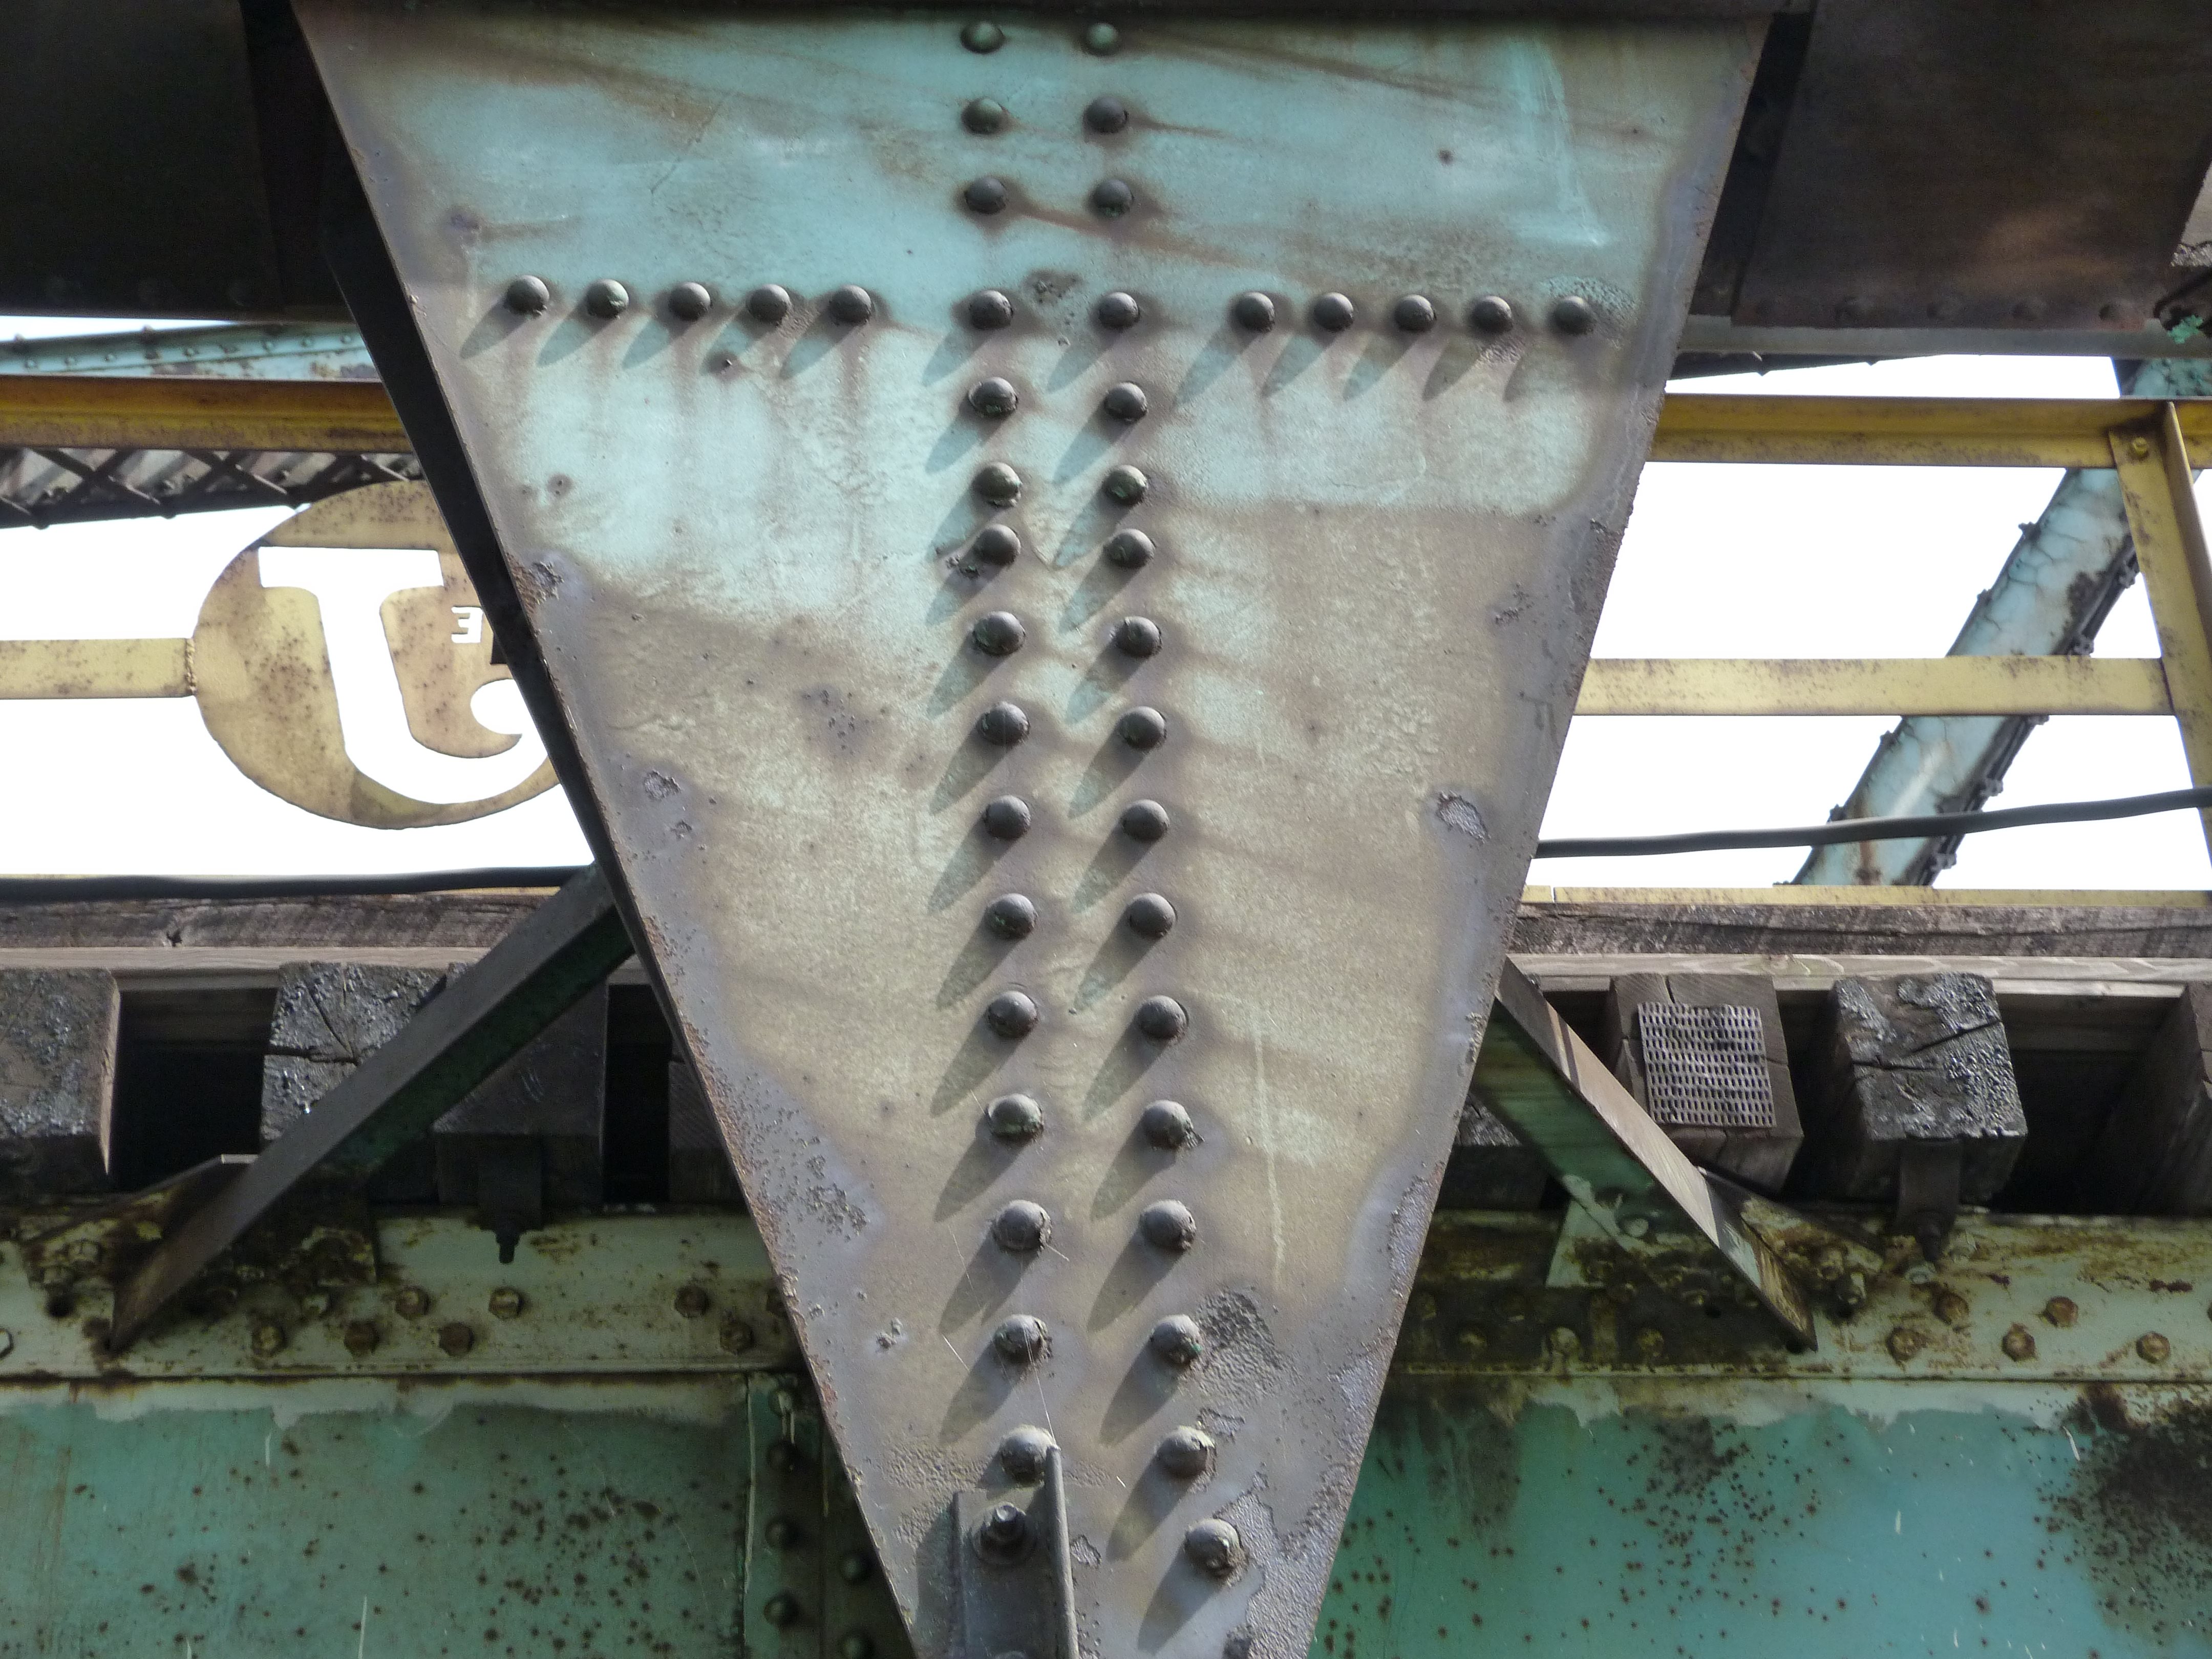
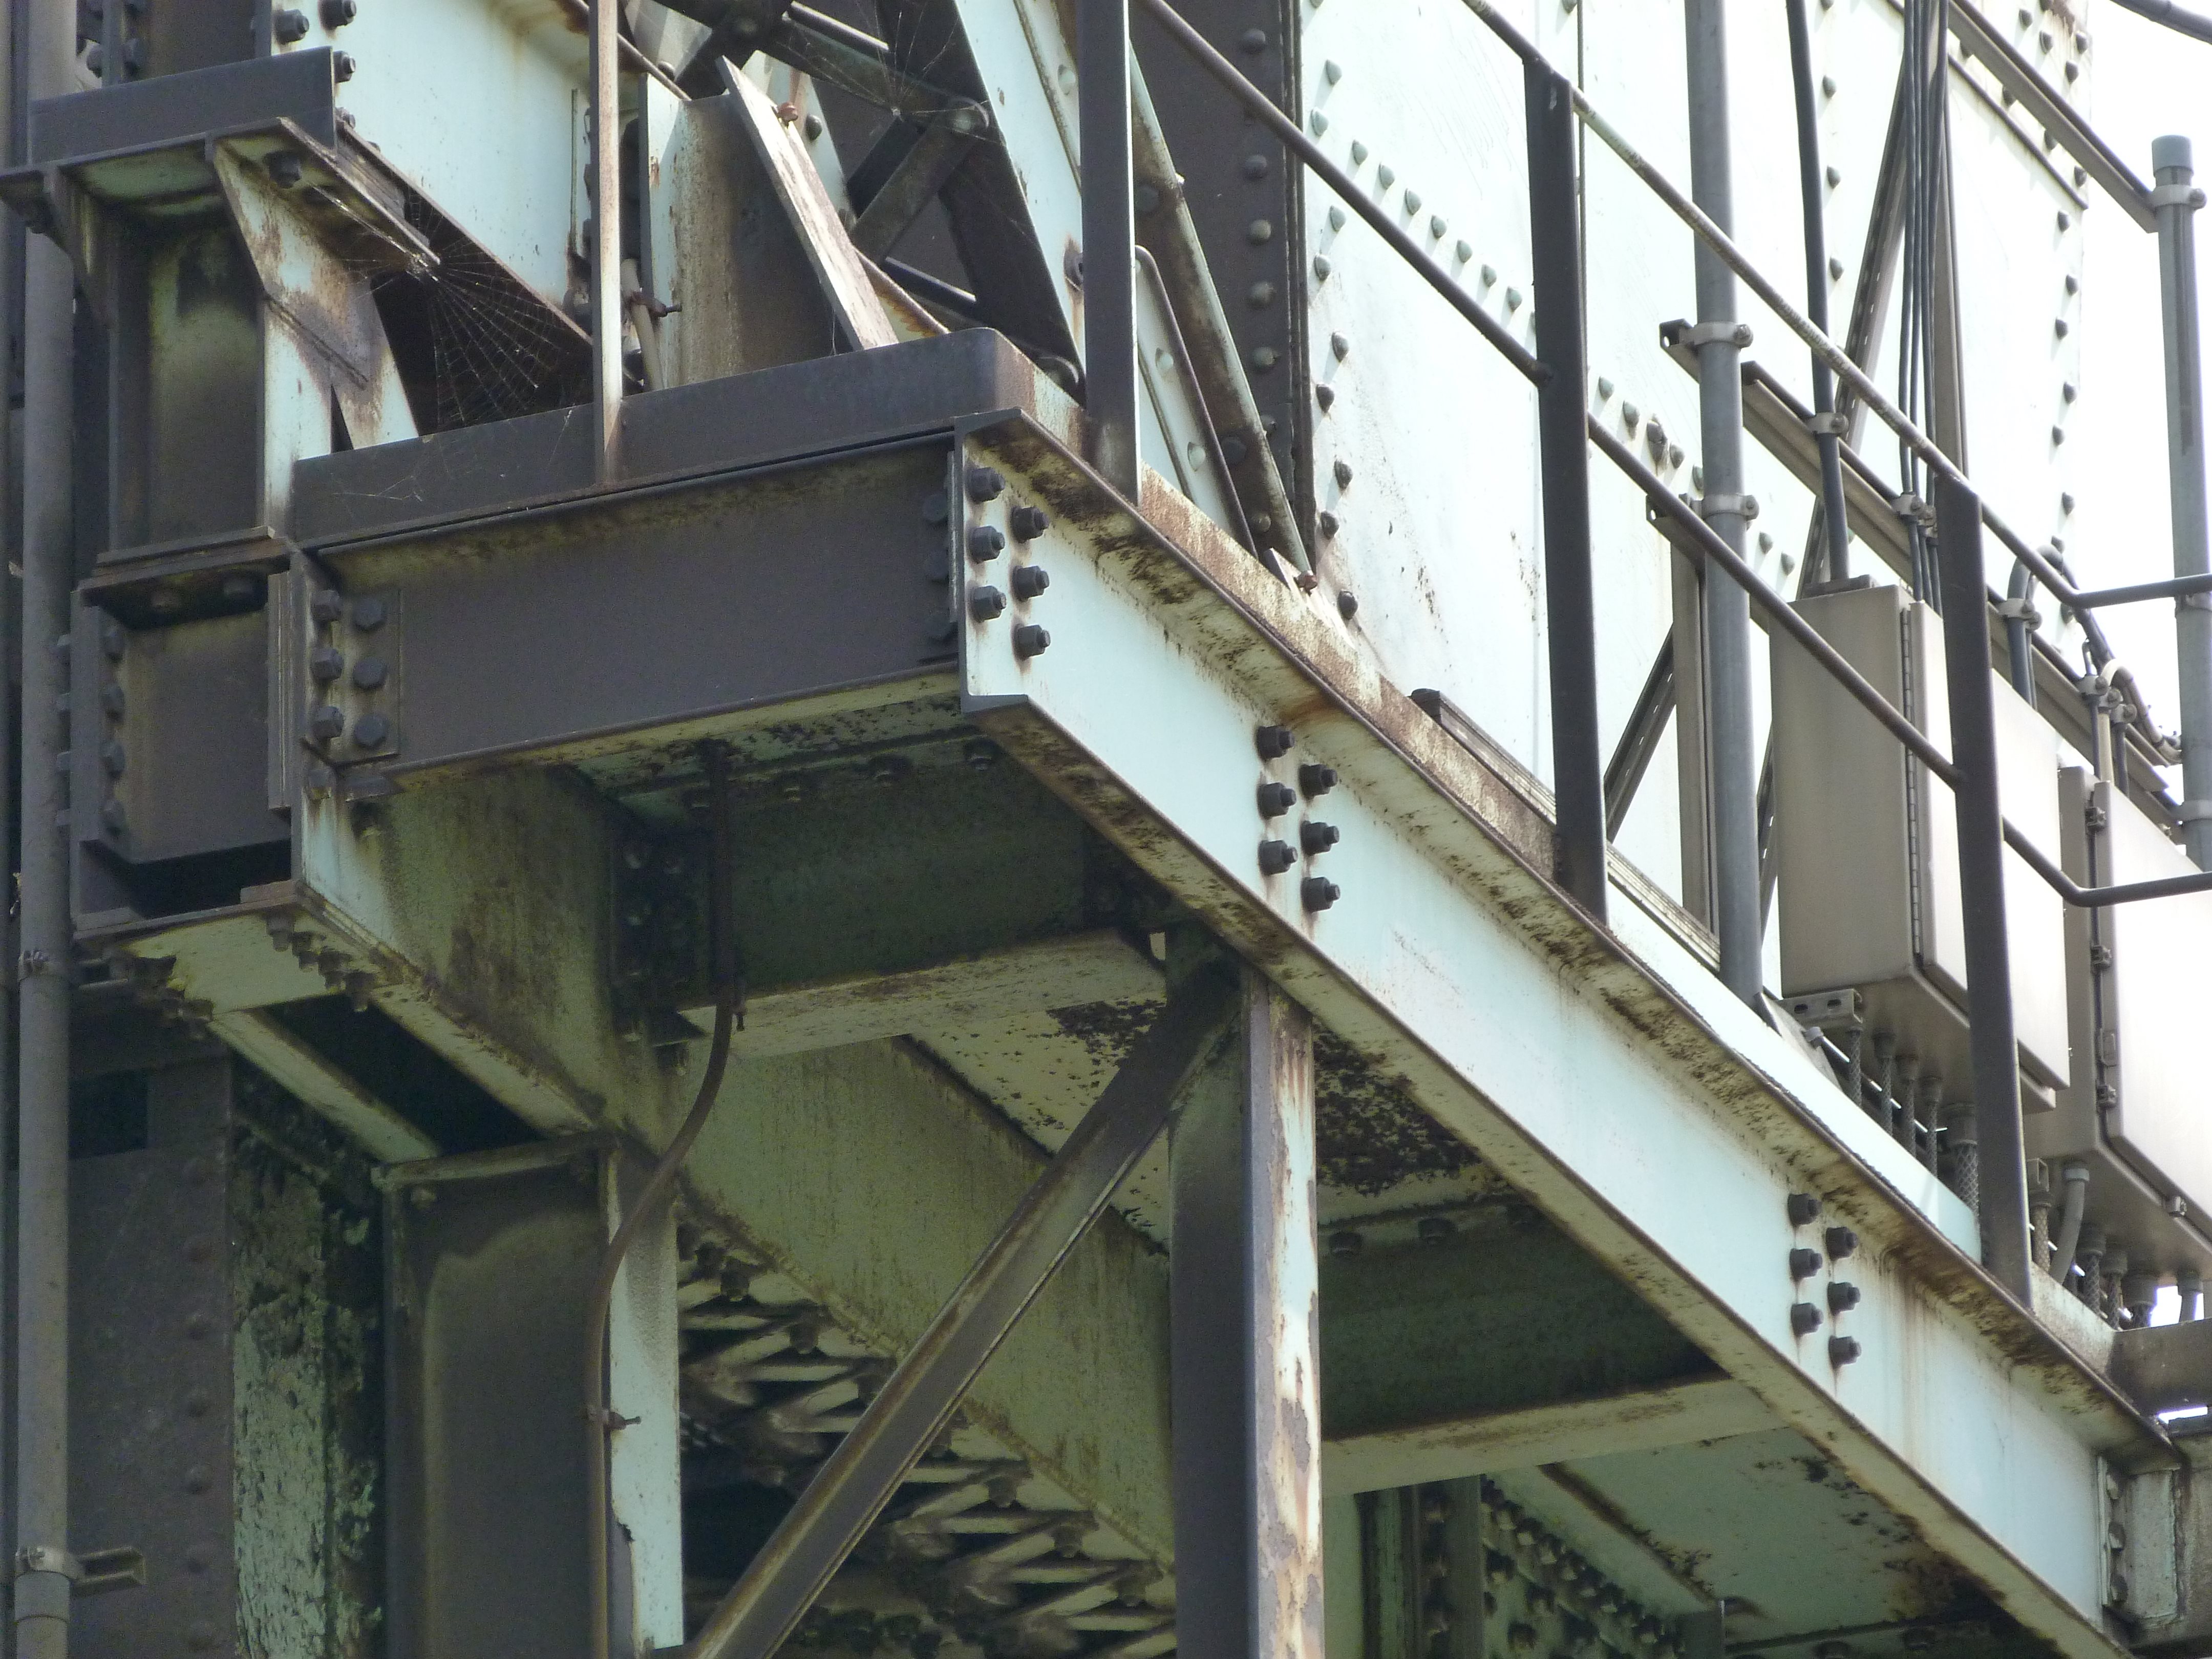
Top chord connections as viewed from beside bridge.
![]()

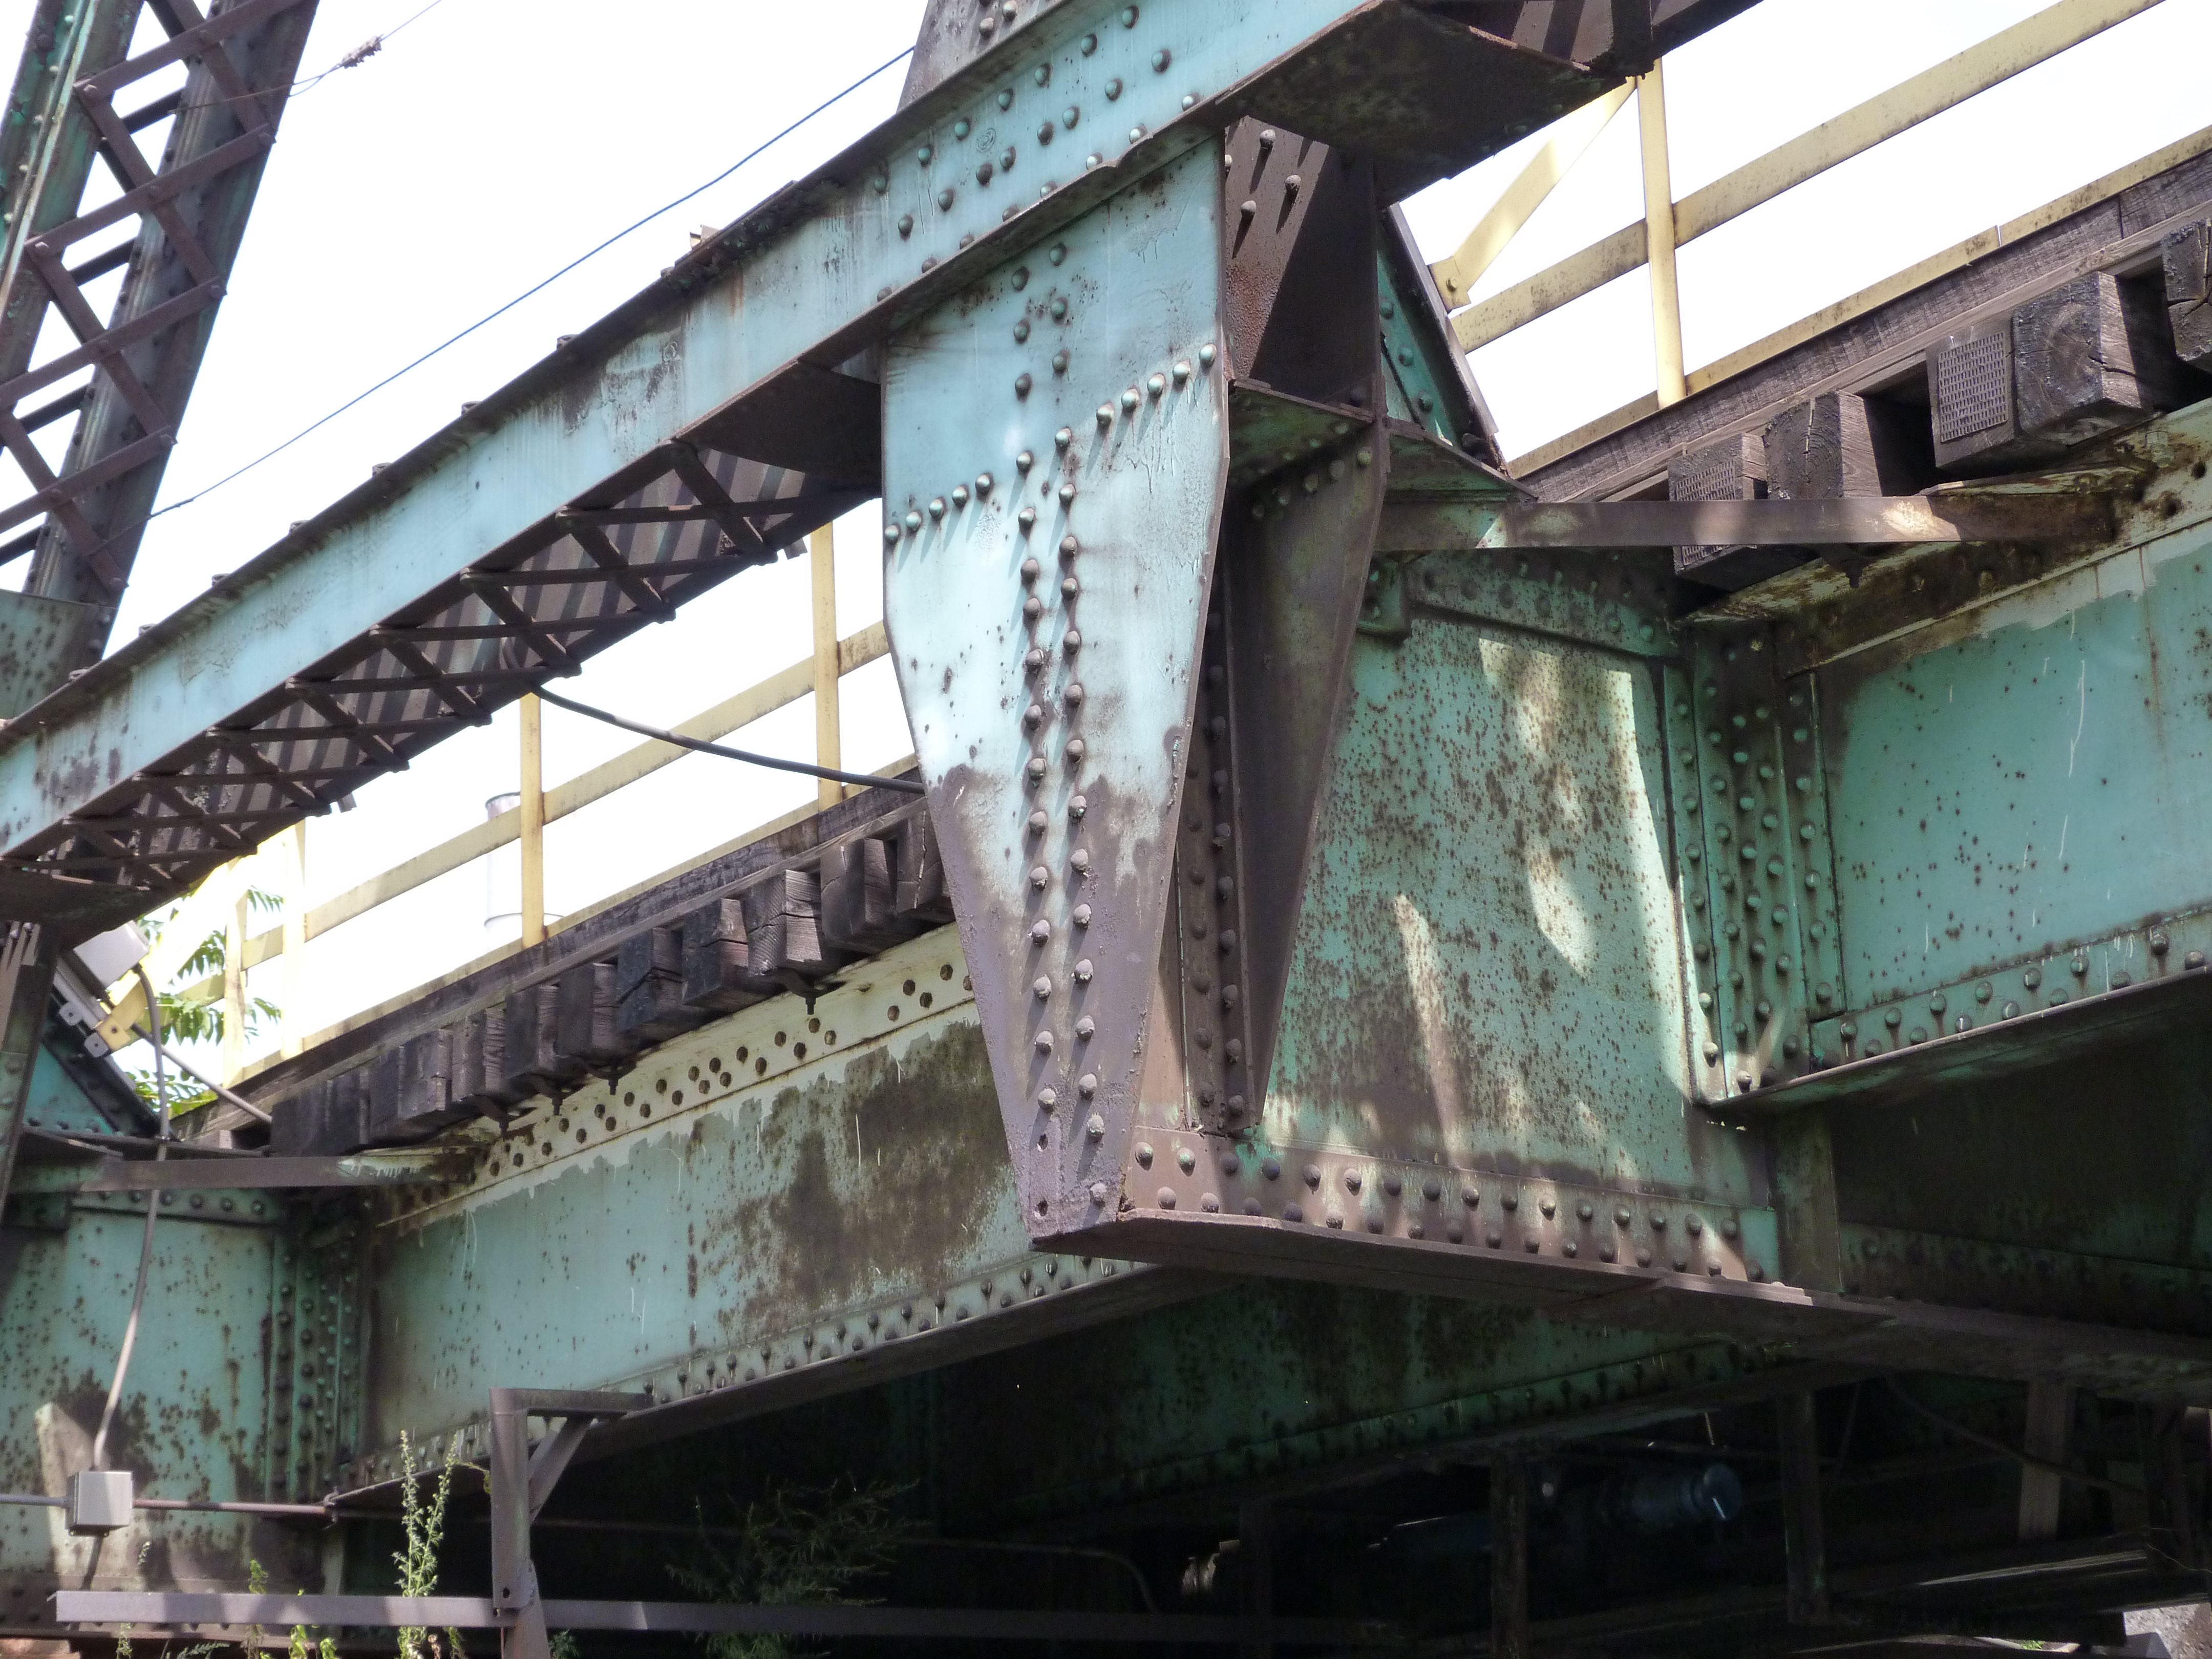
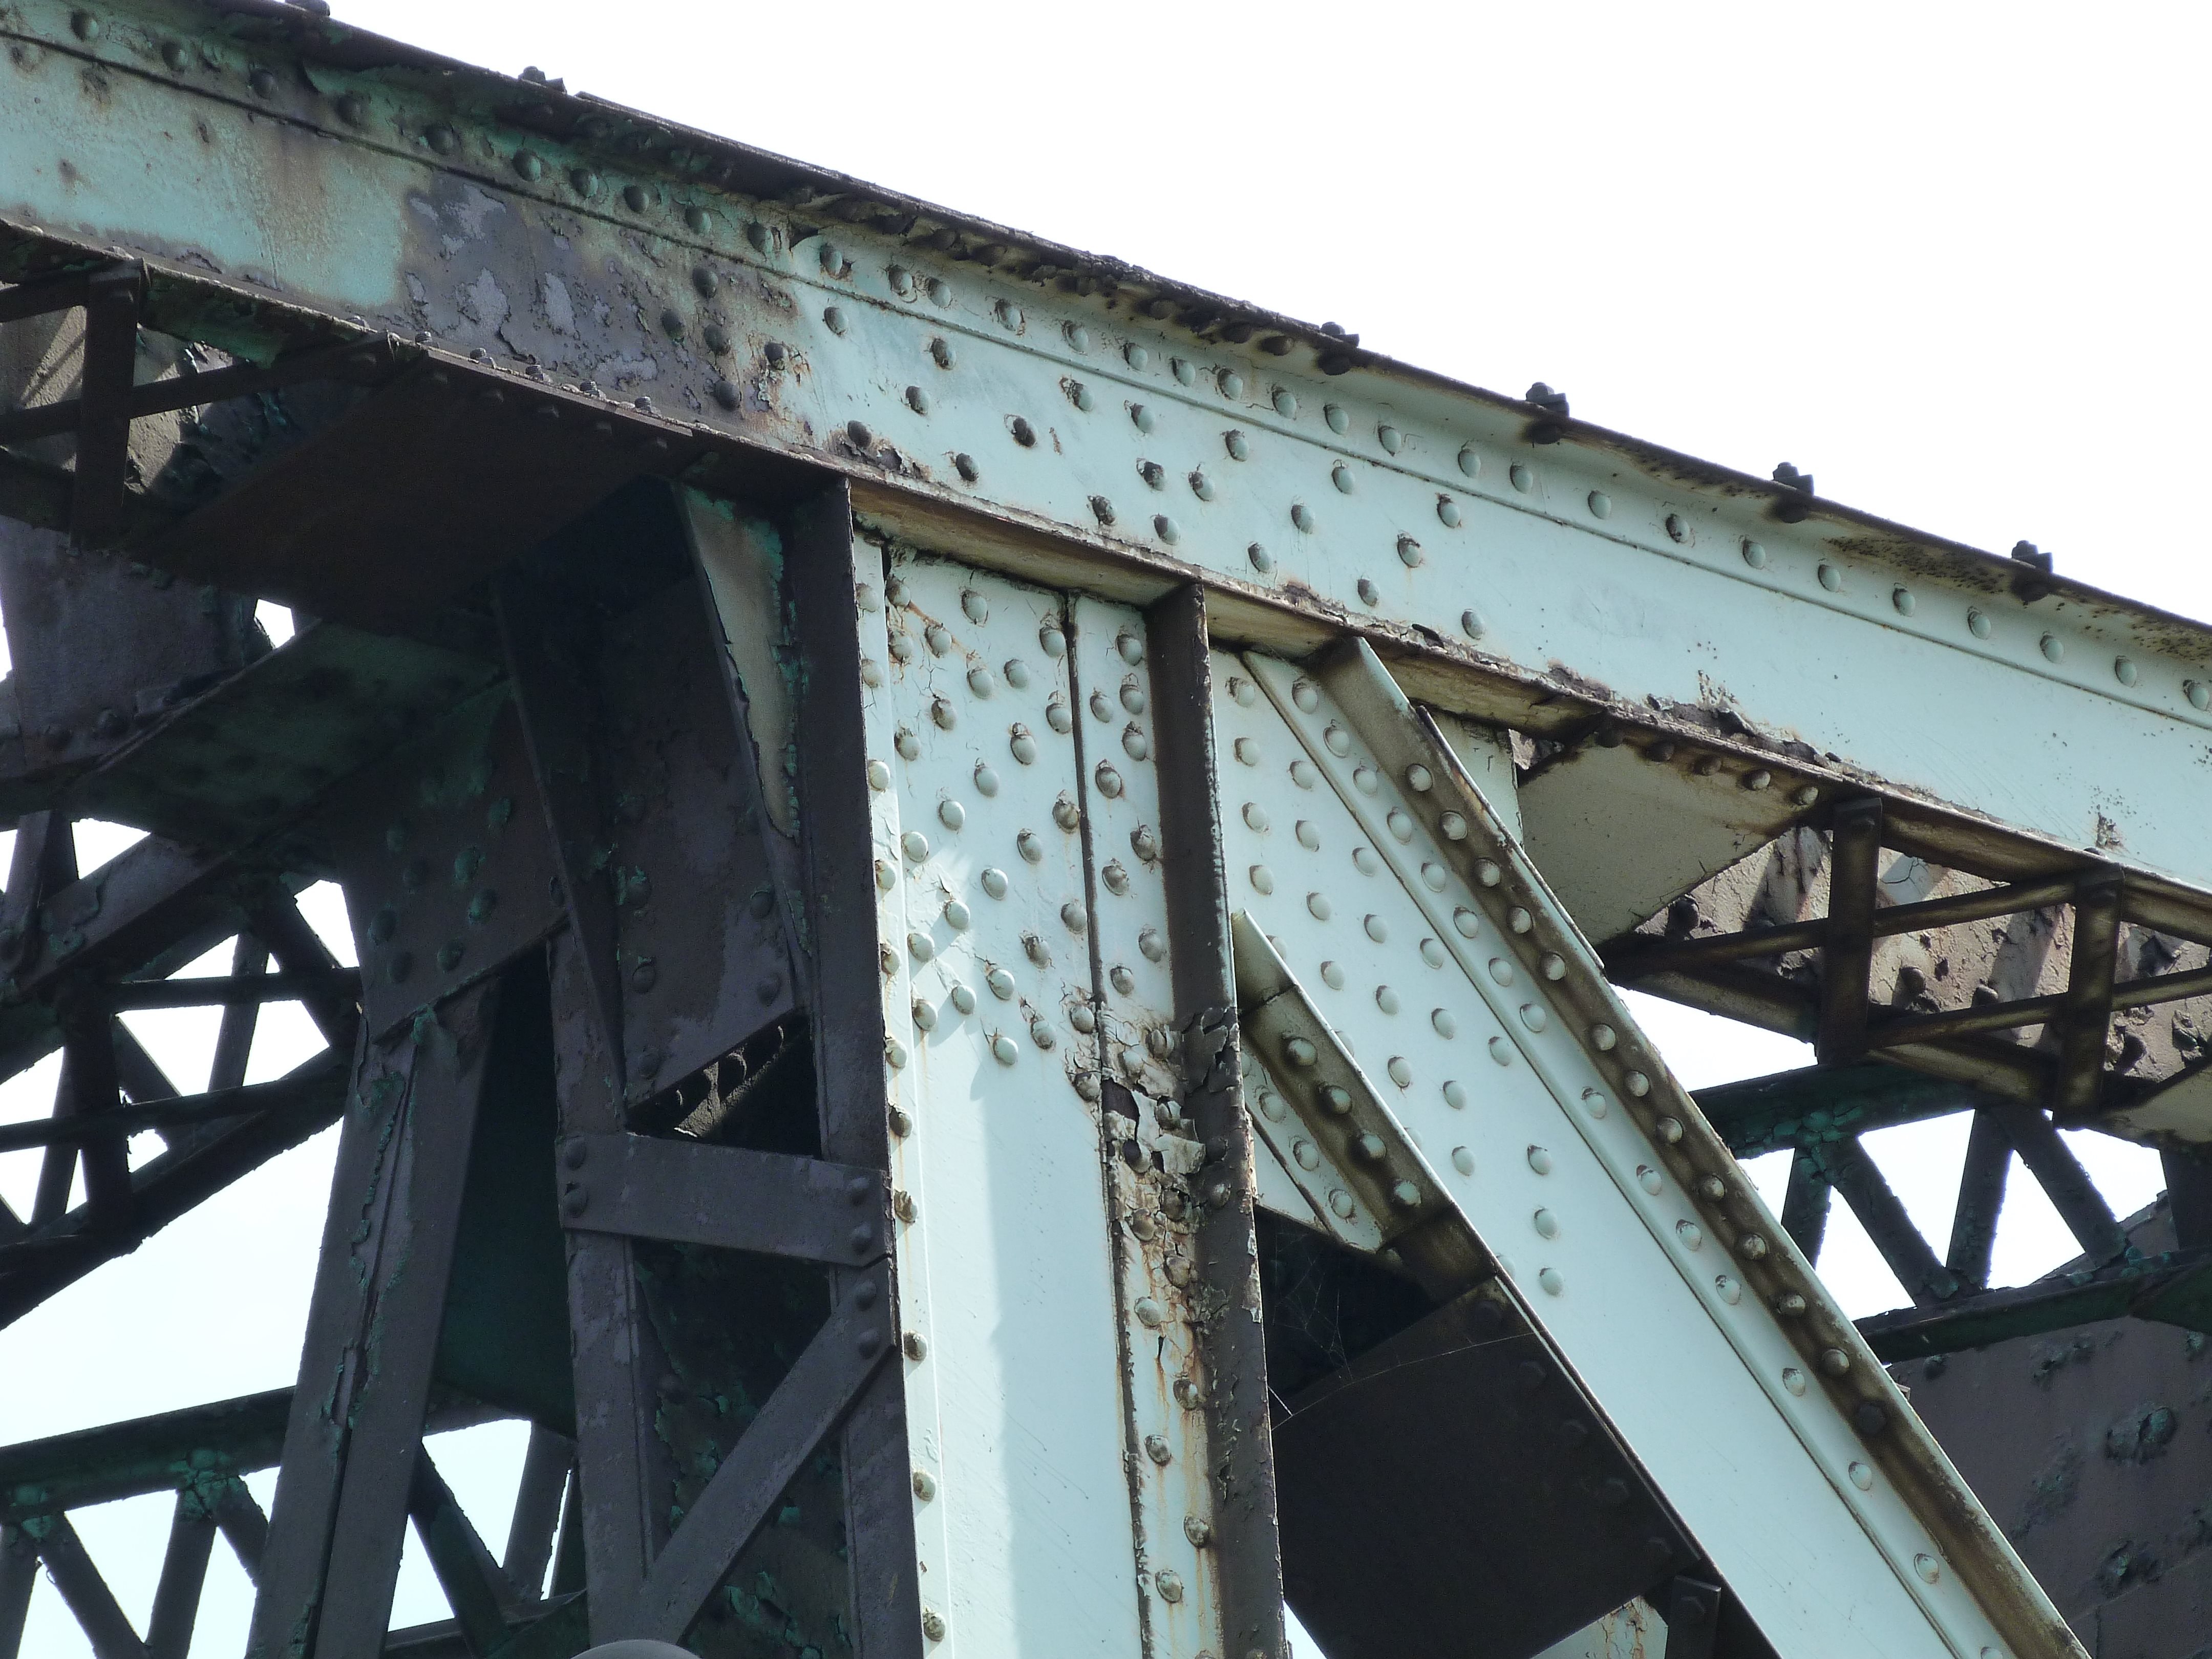
Bottom chord connections as viewed from beside bridge.
![]()
Bottom chord.
![]()
Deformed section of bottom chord.
![]()
Bearing.
![]()
End post.
![]()

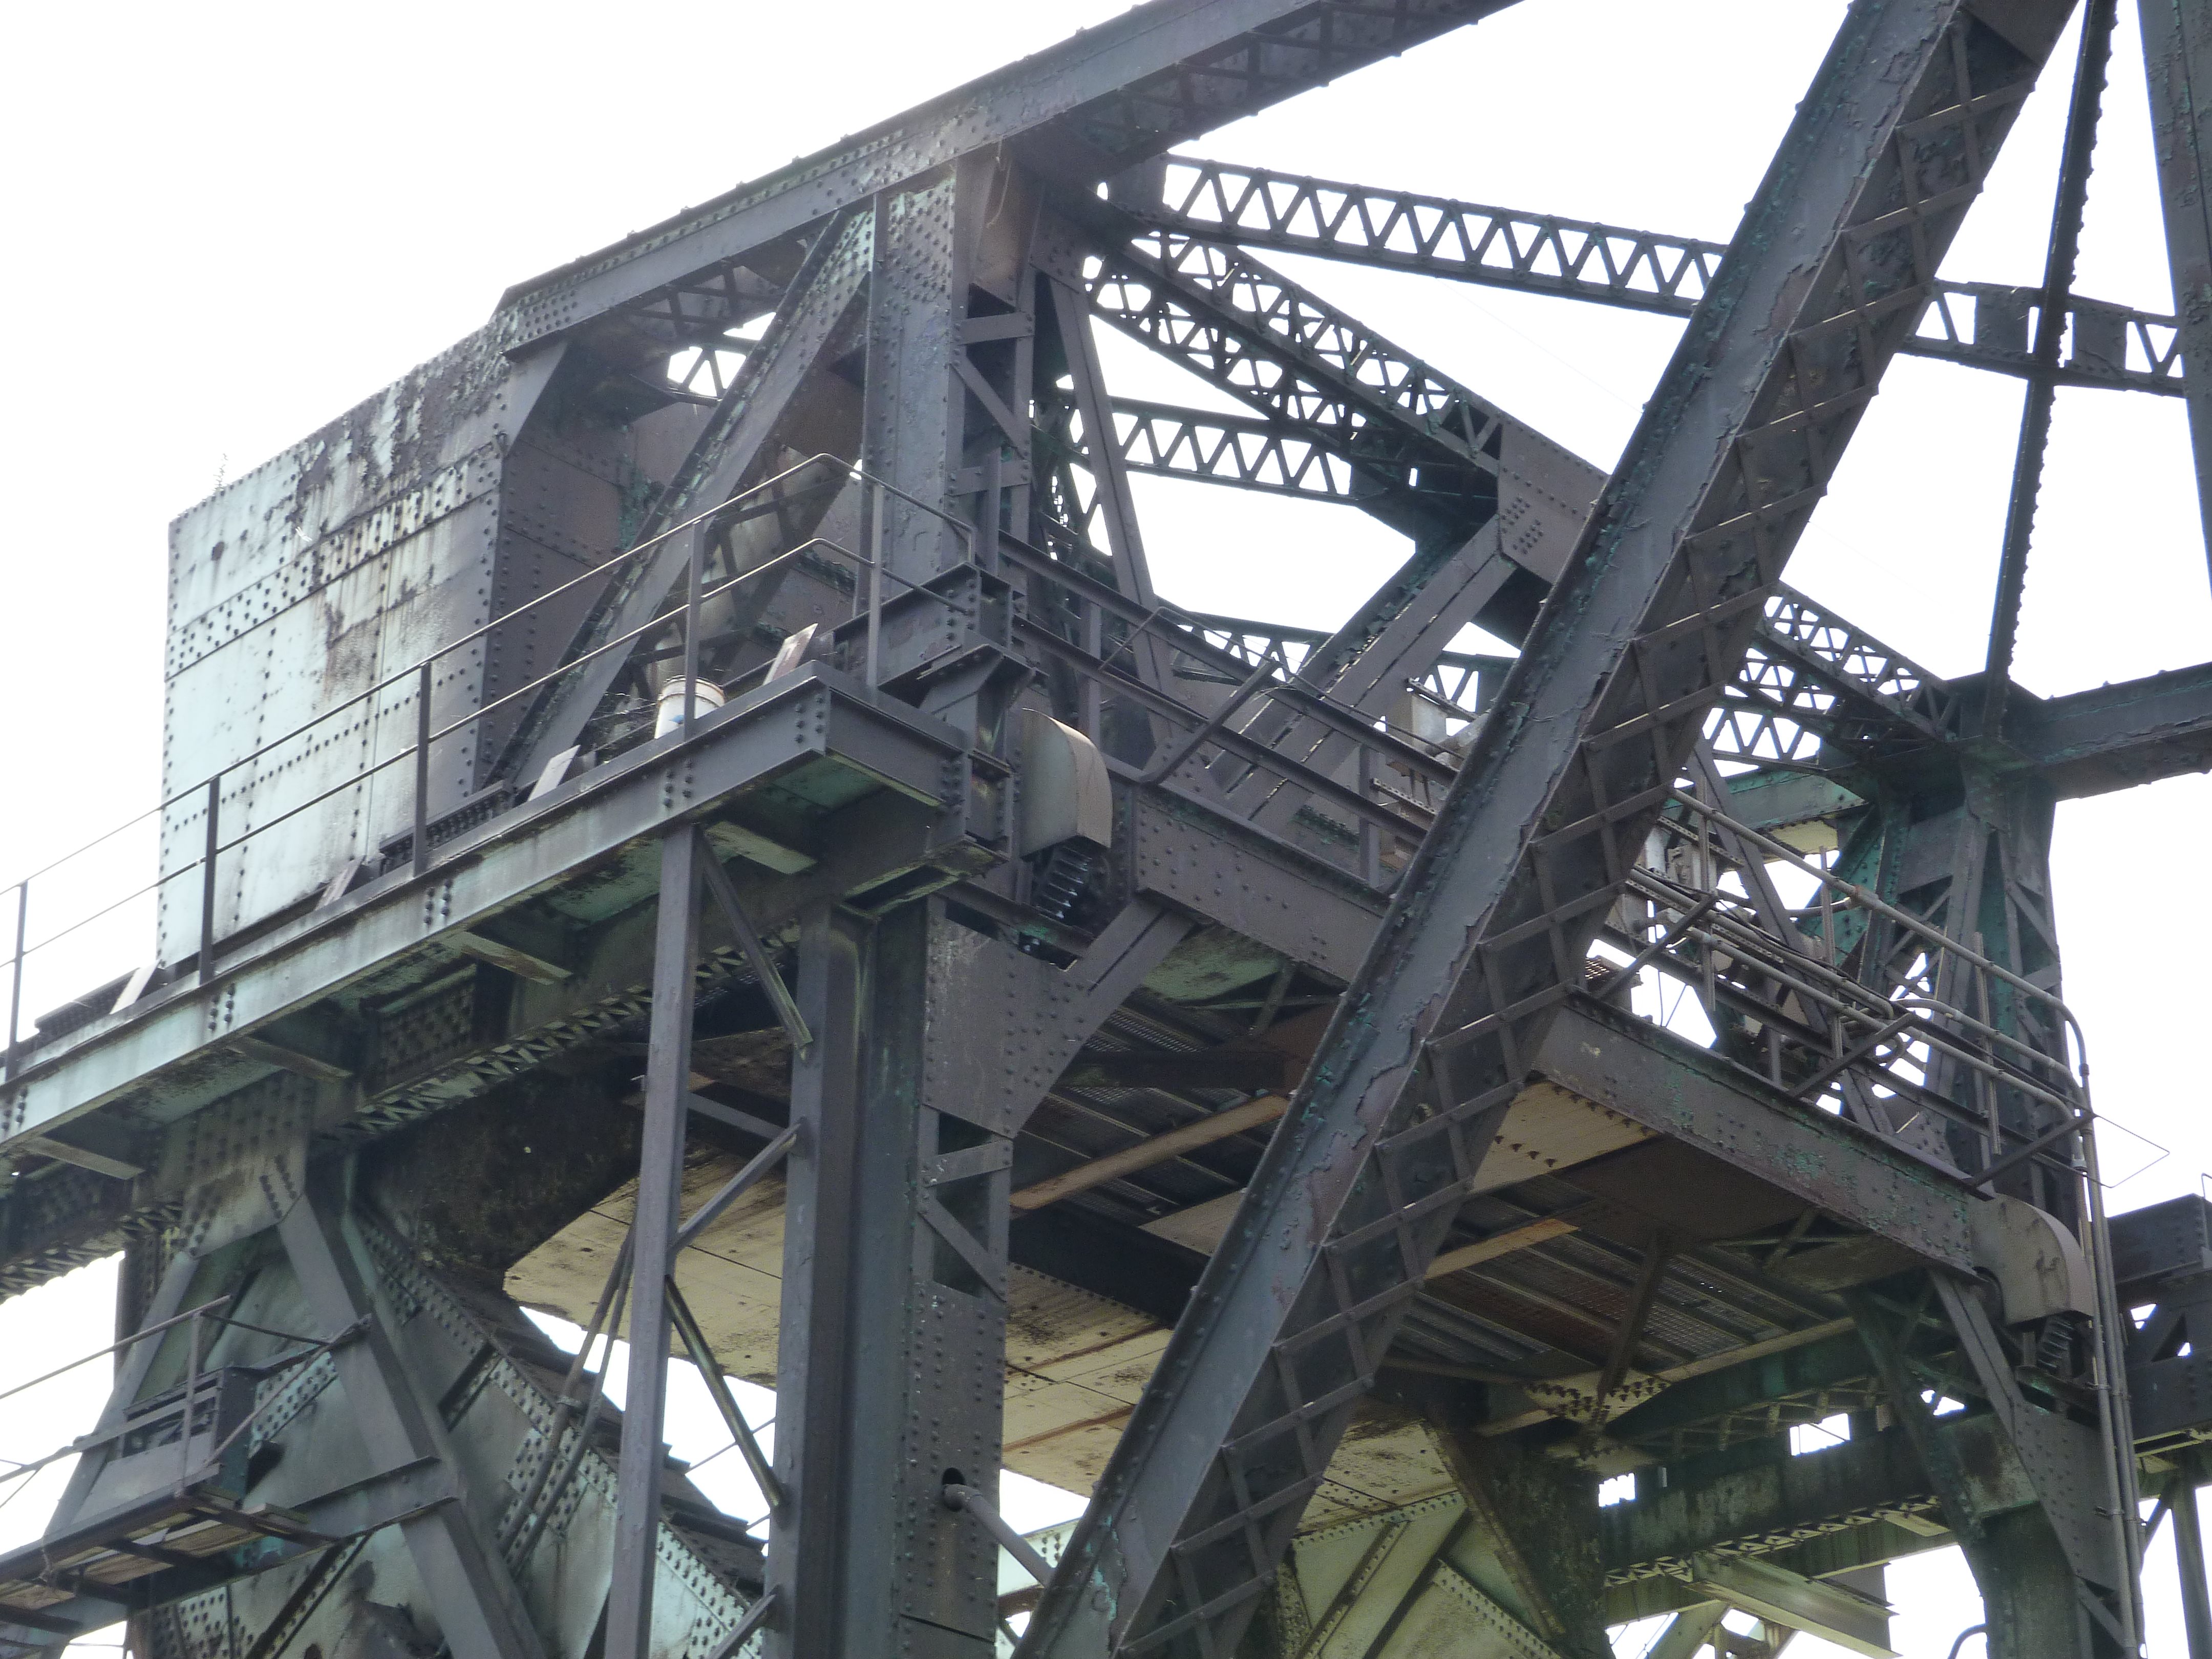
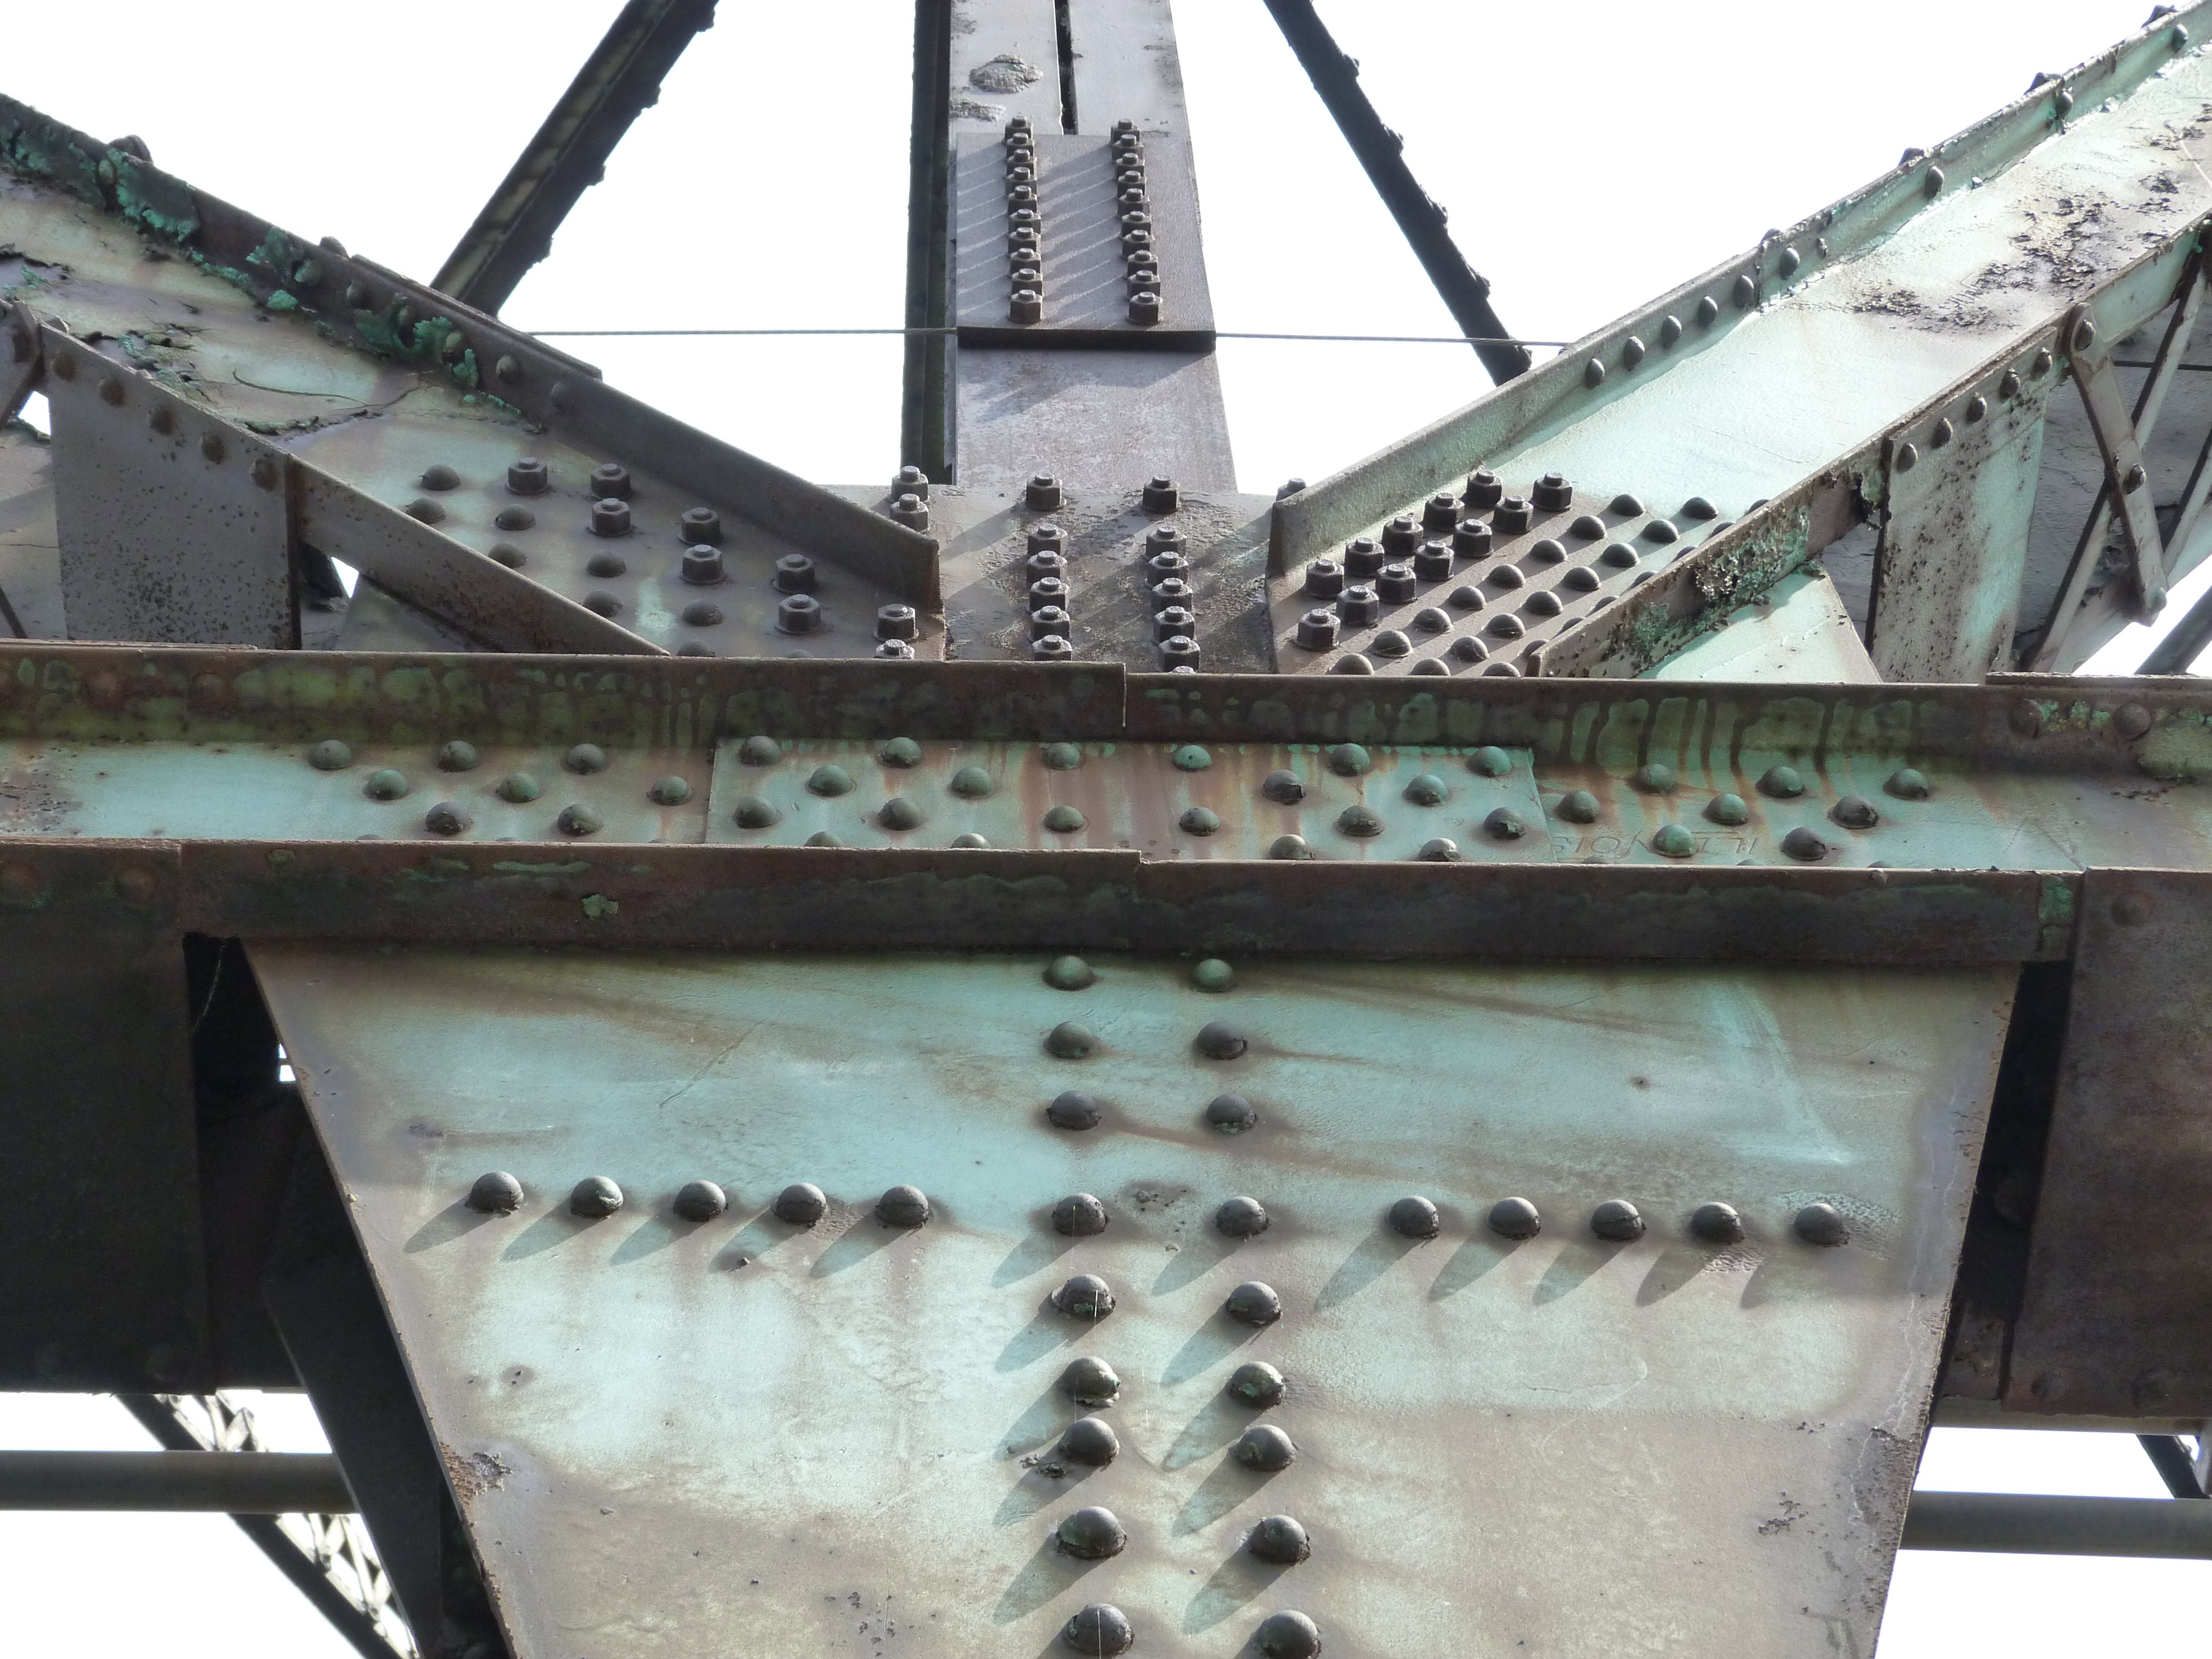
Looking up toward portal bracing.
![]()


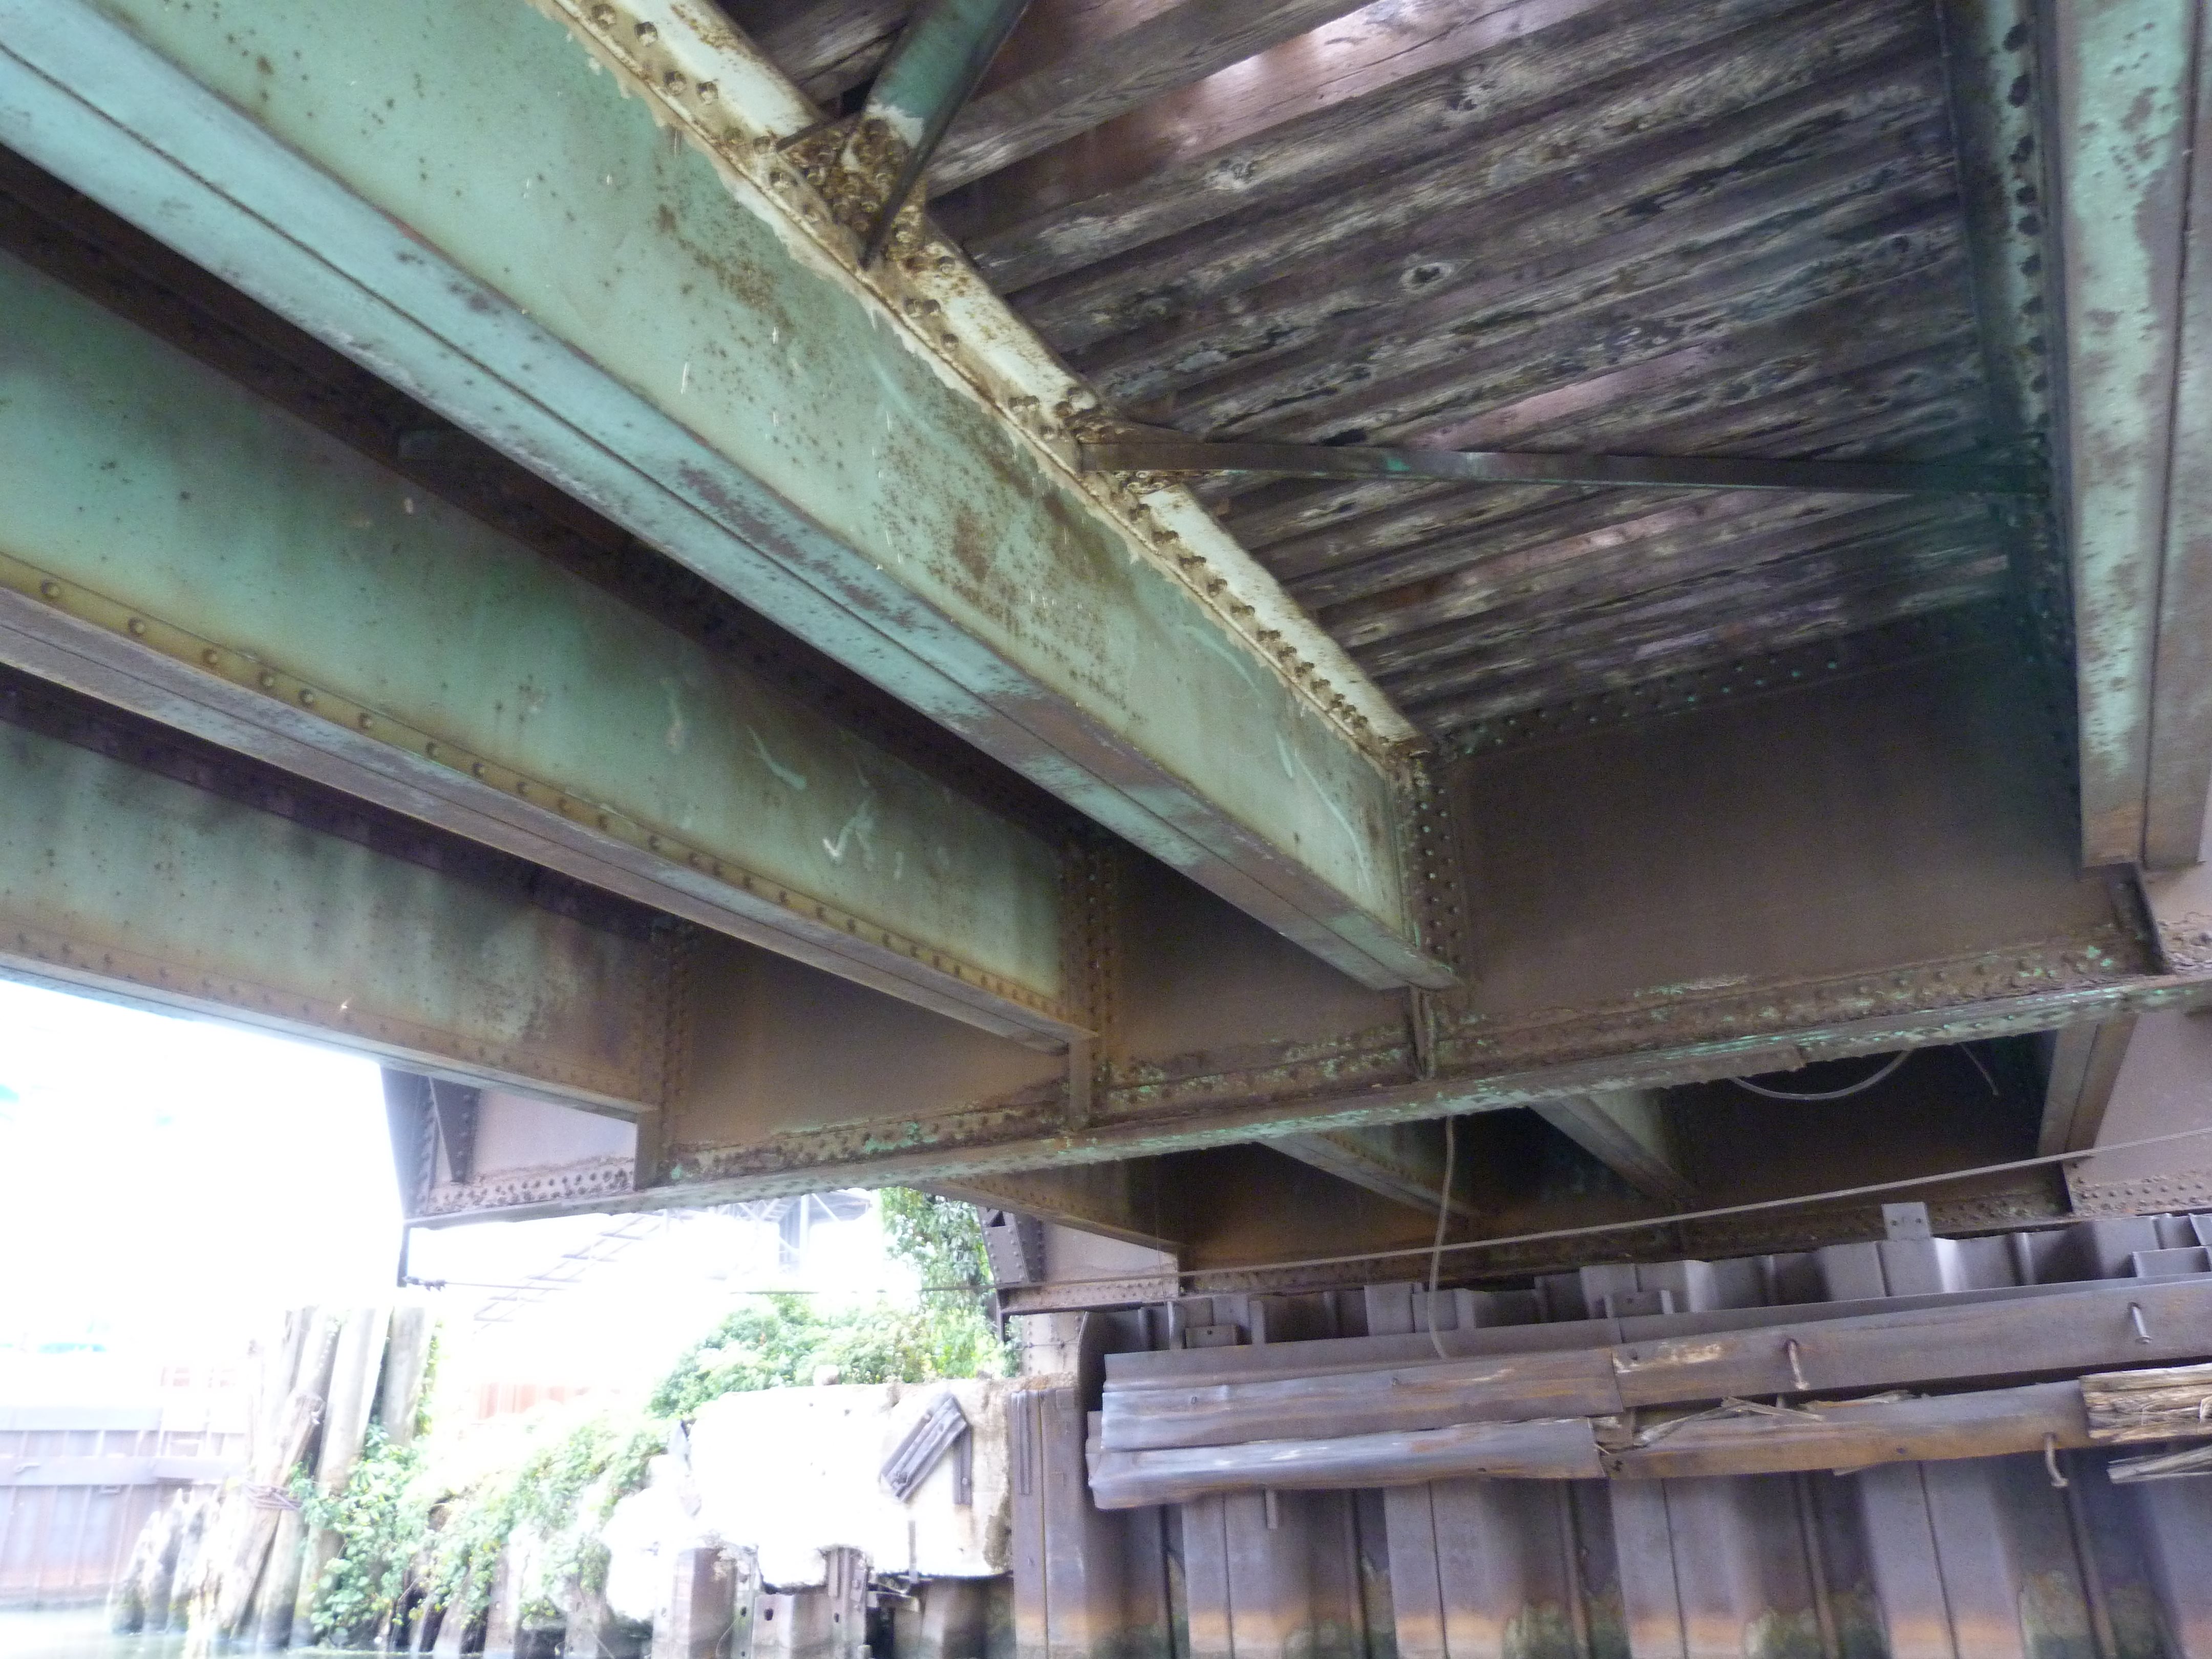
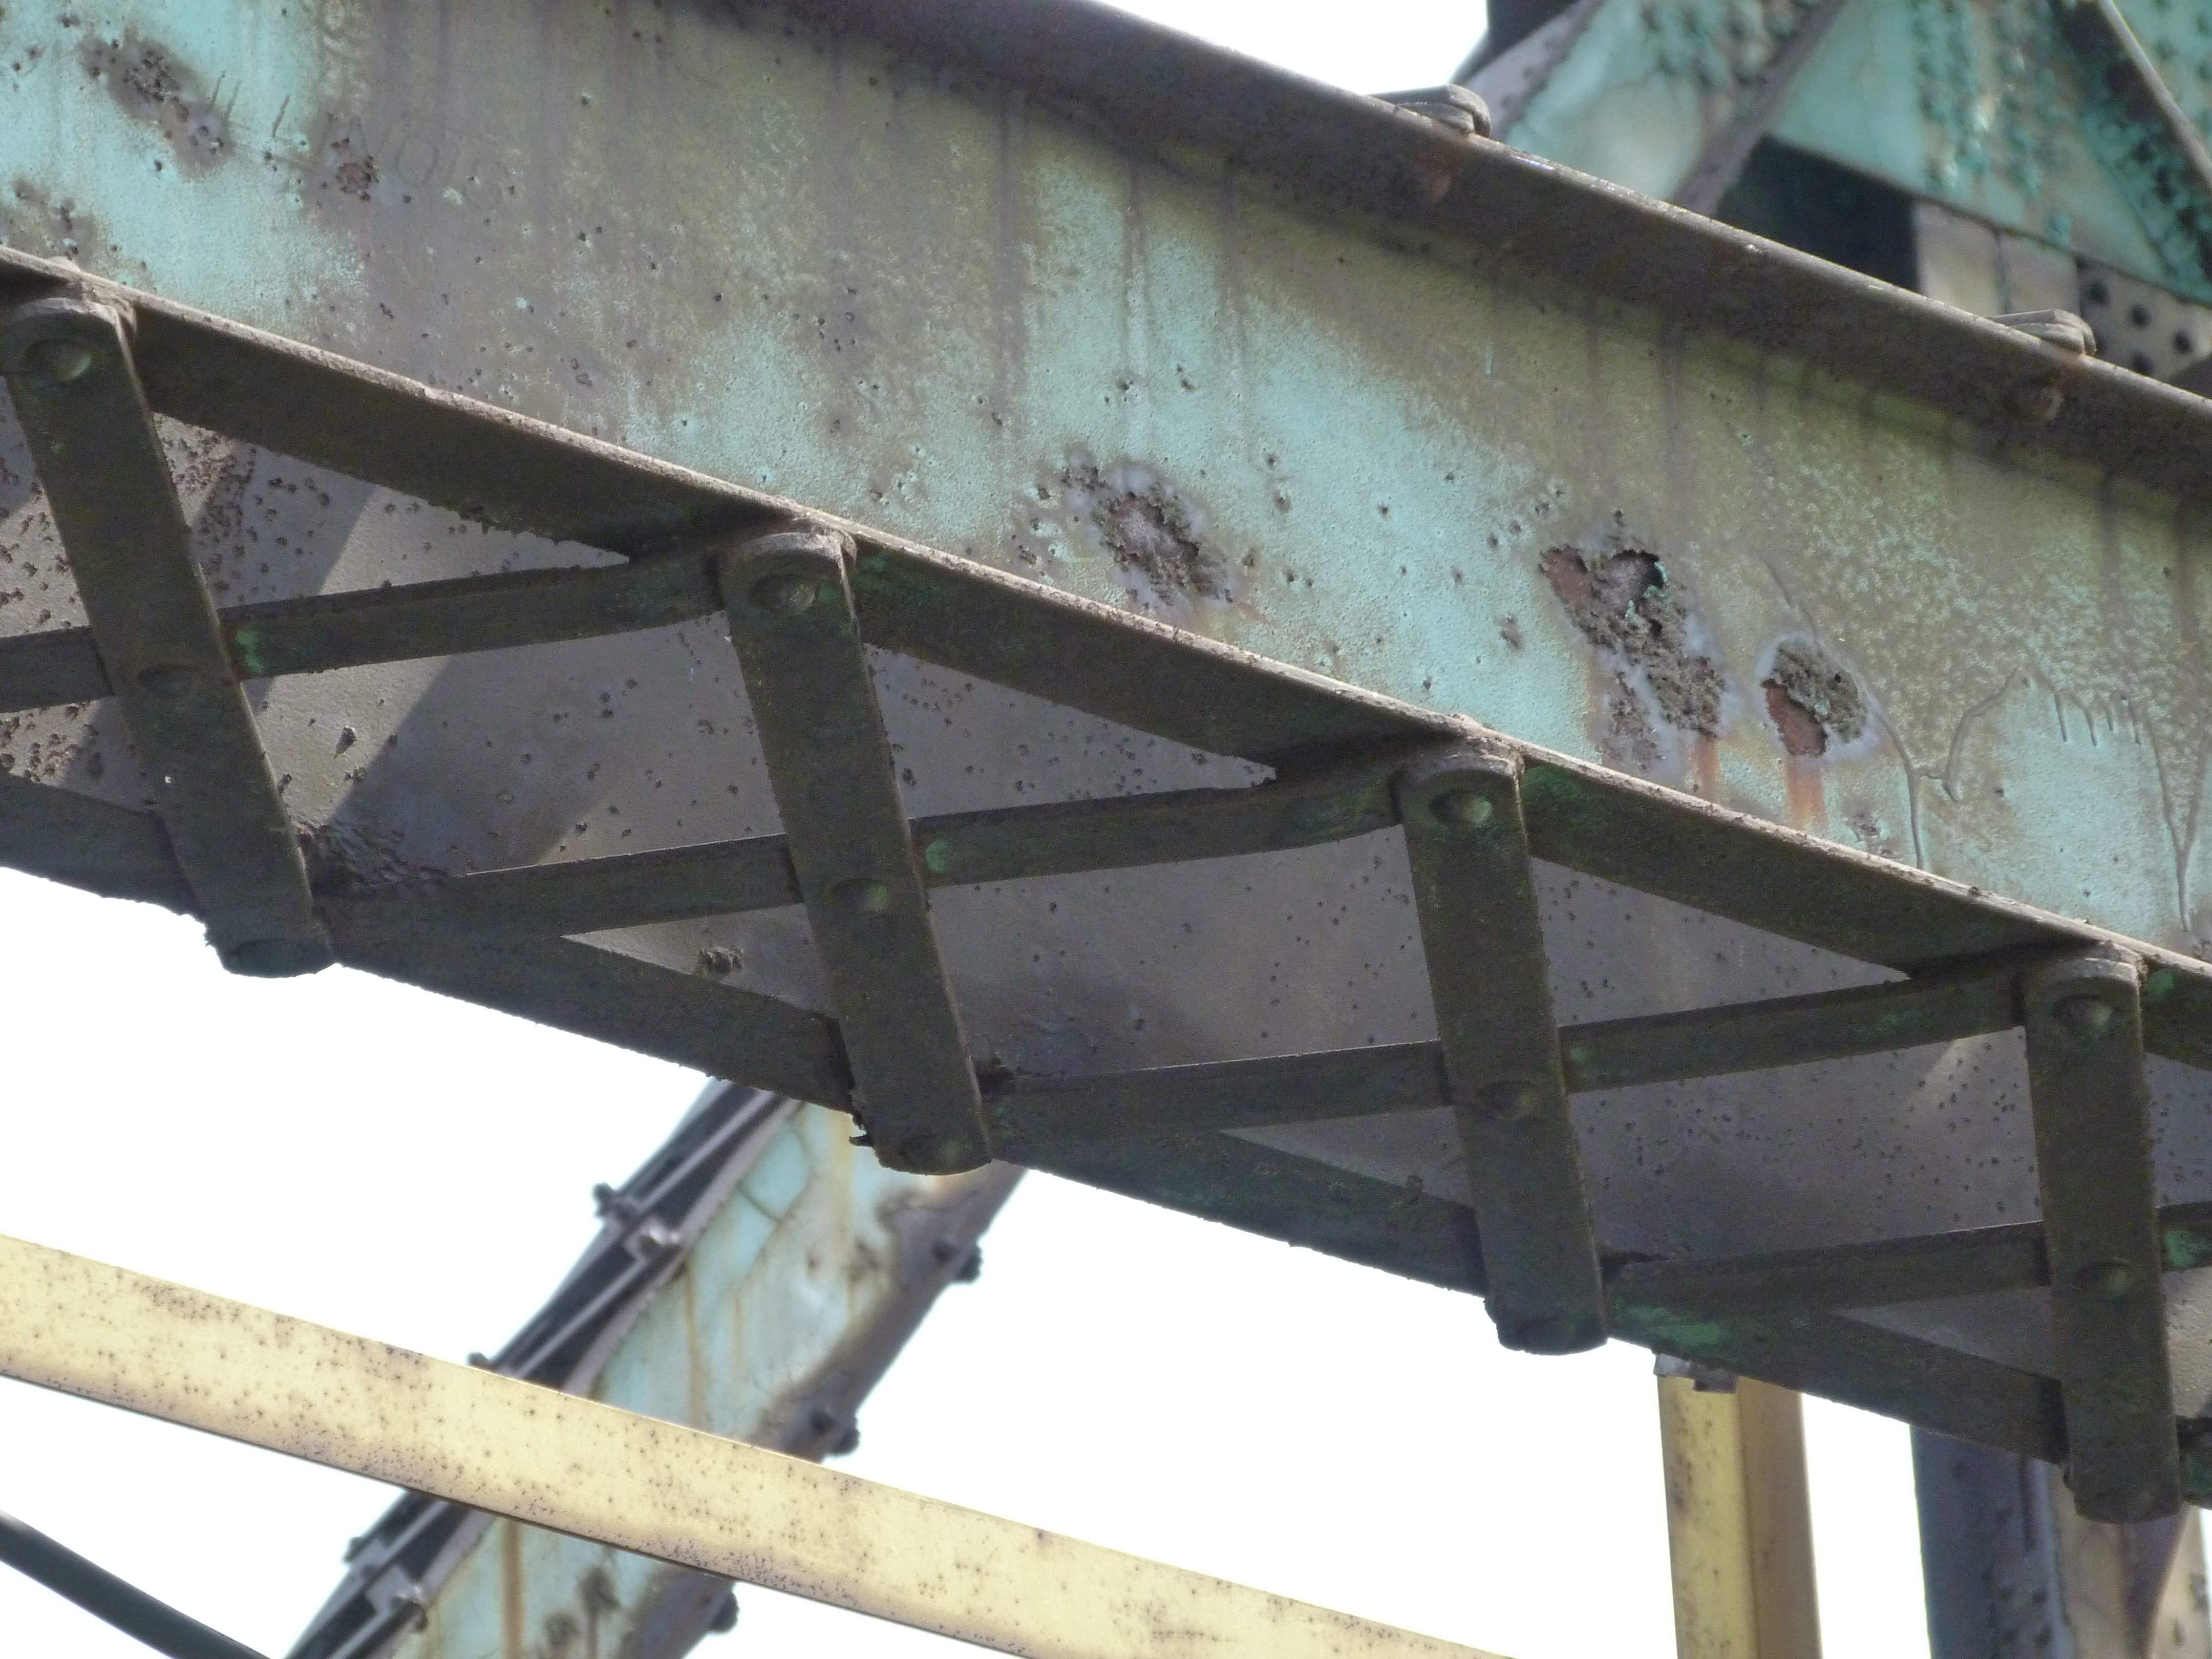
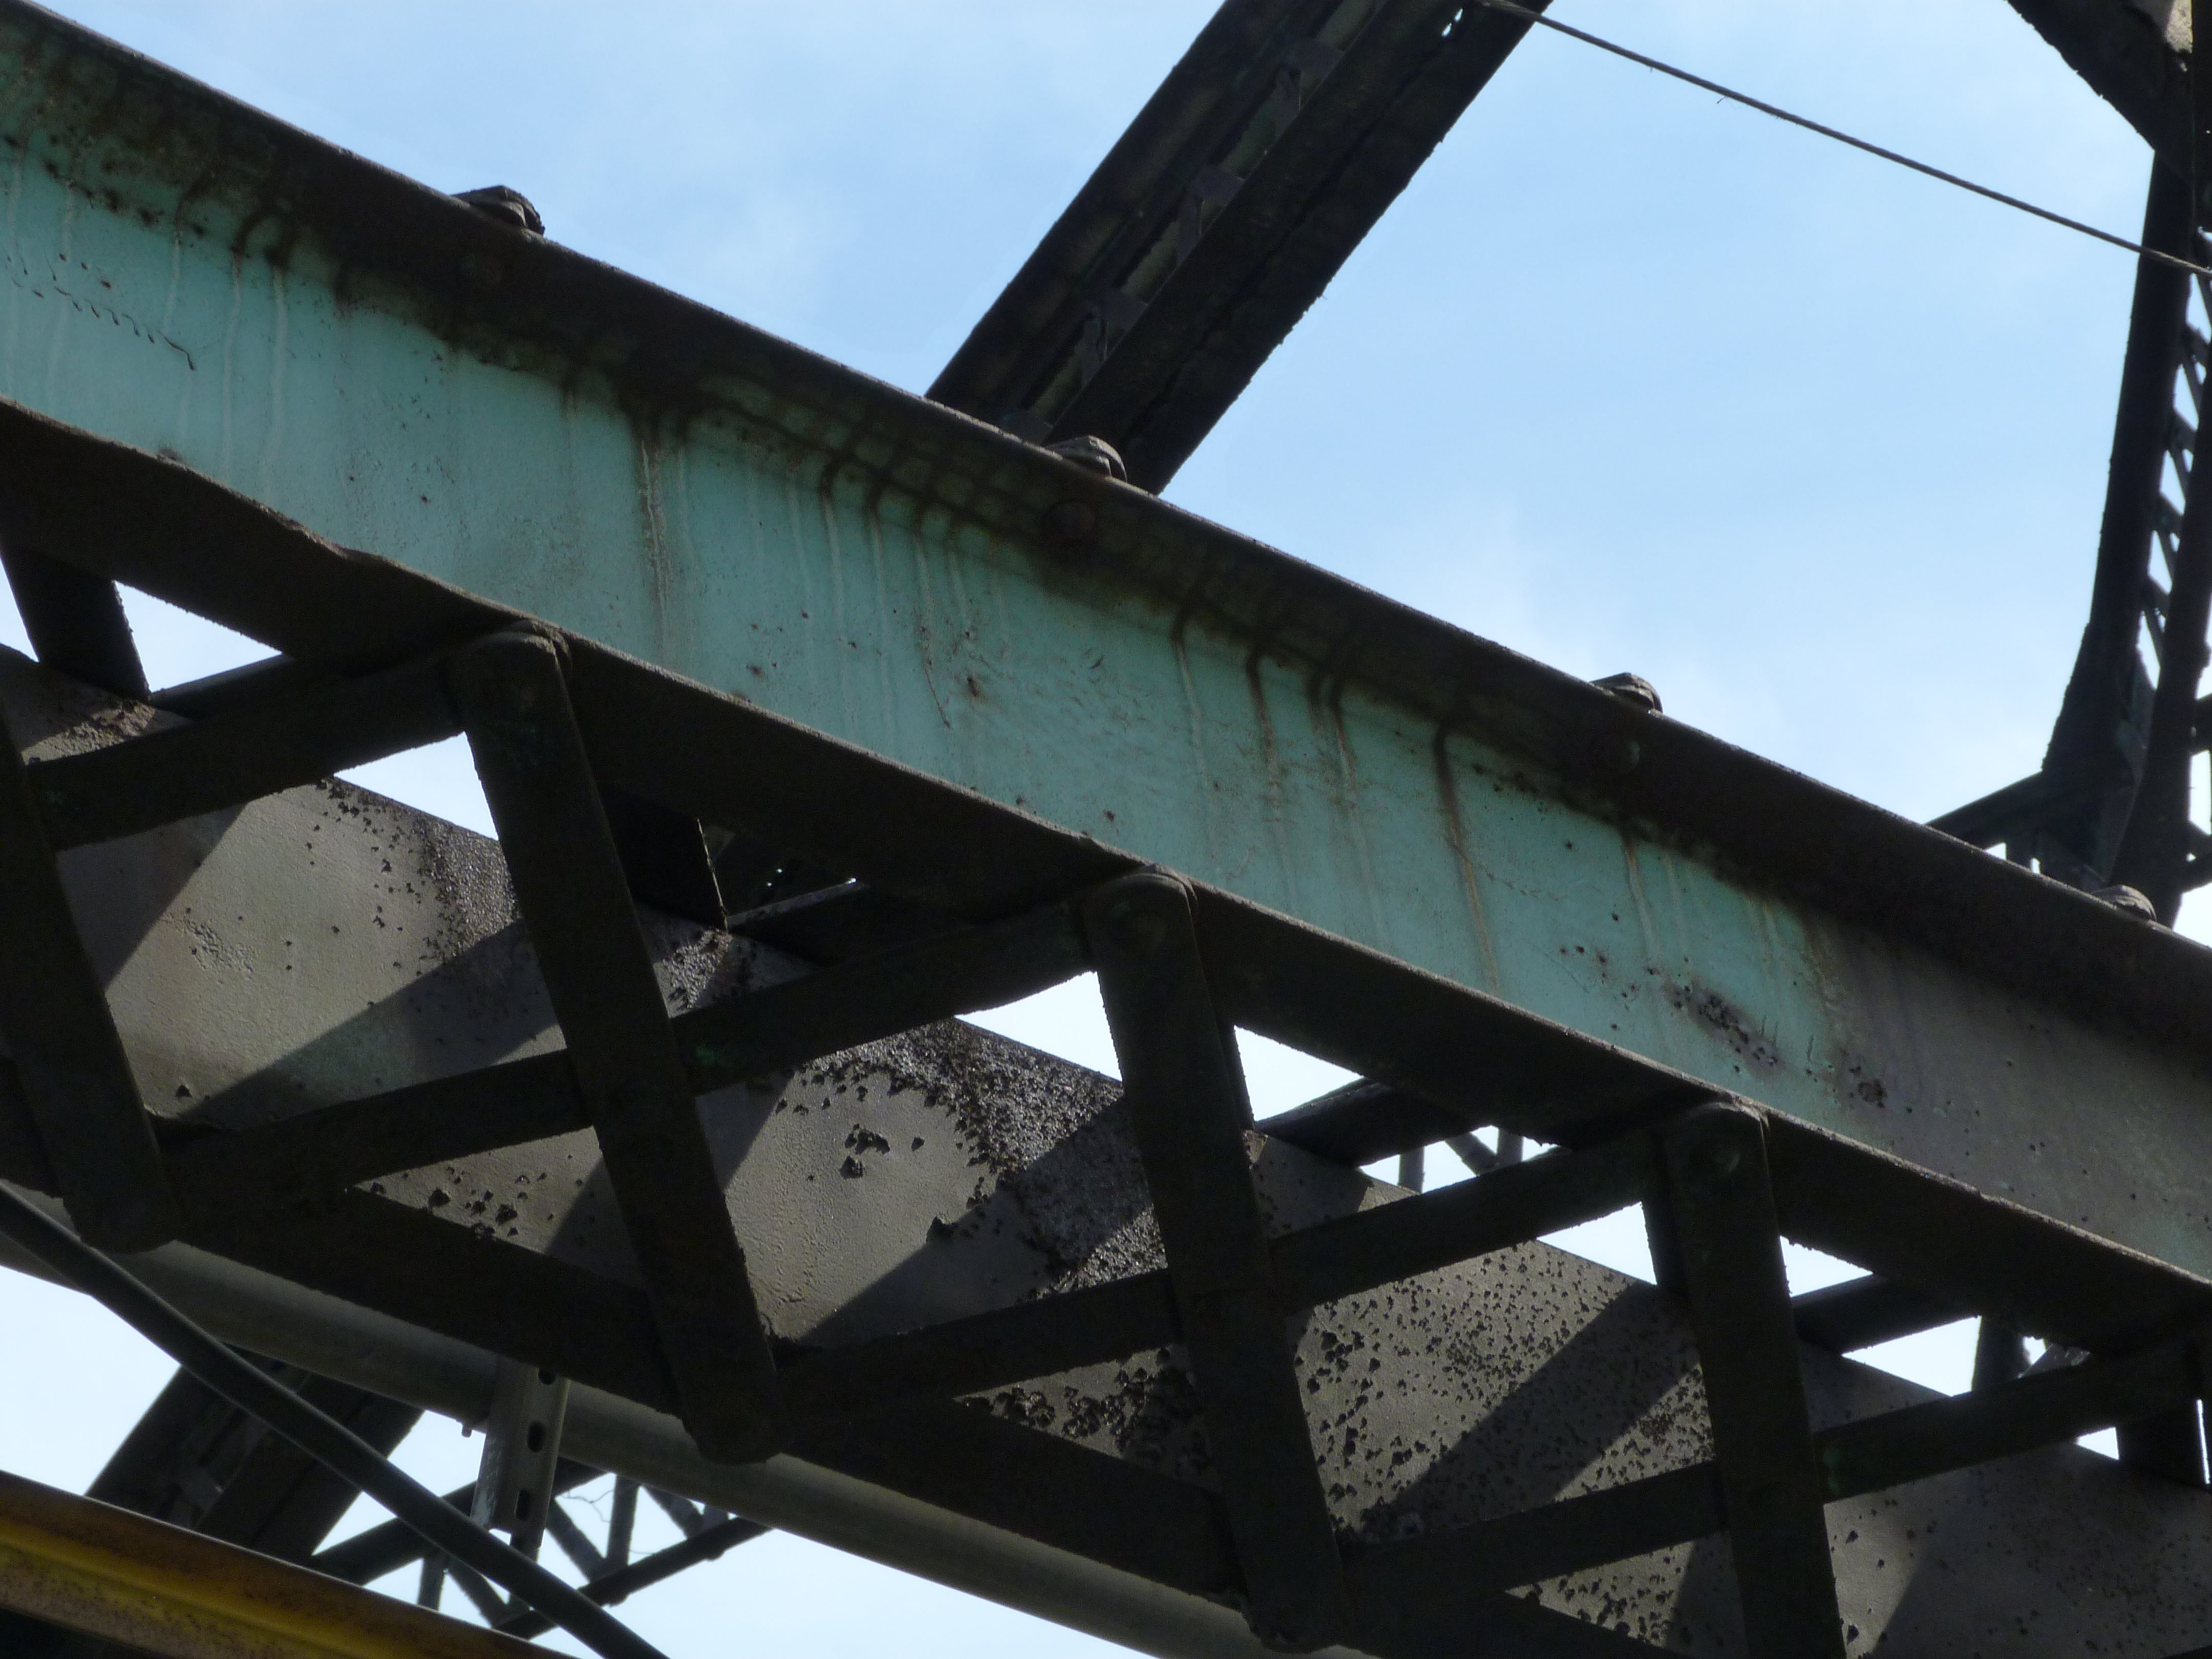
Floor beams.
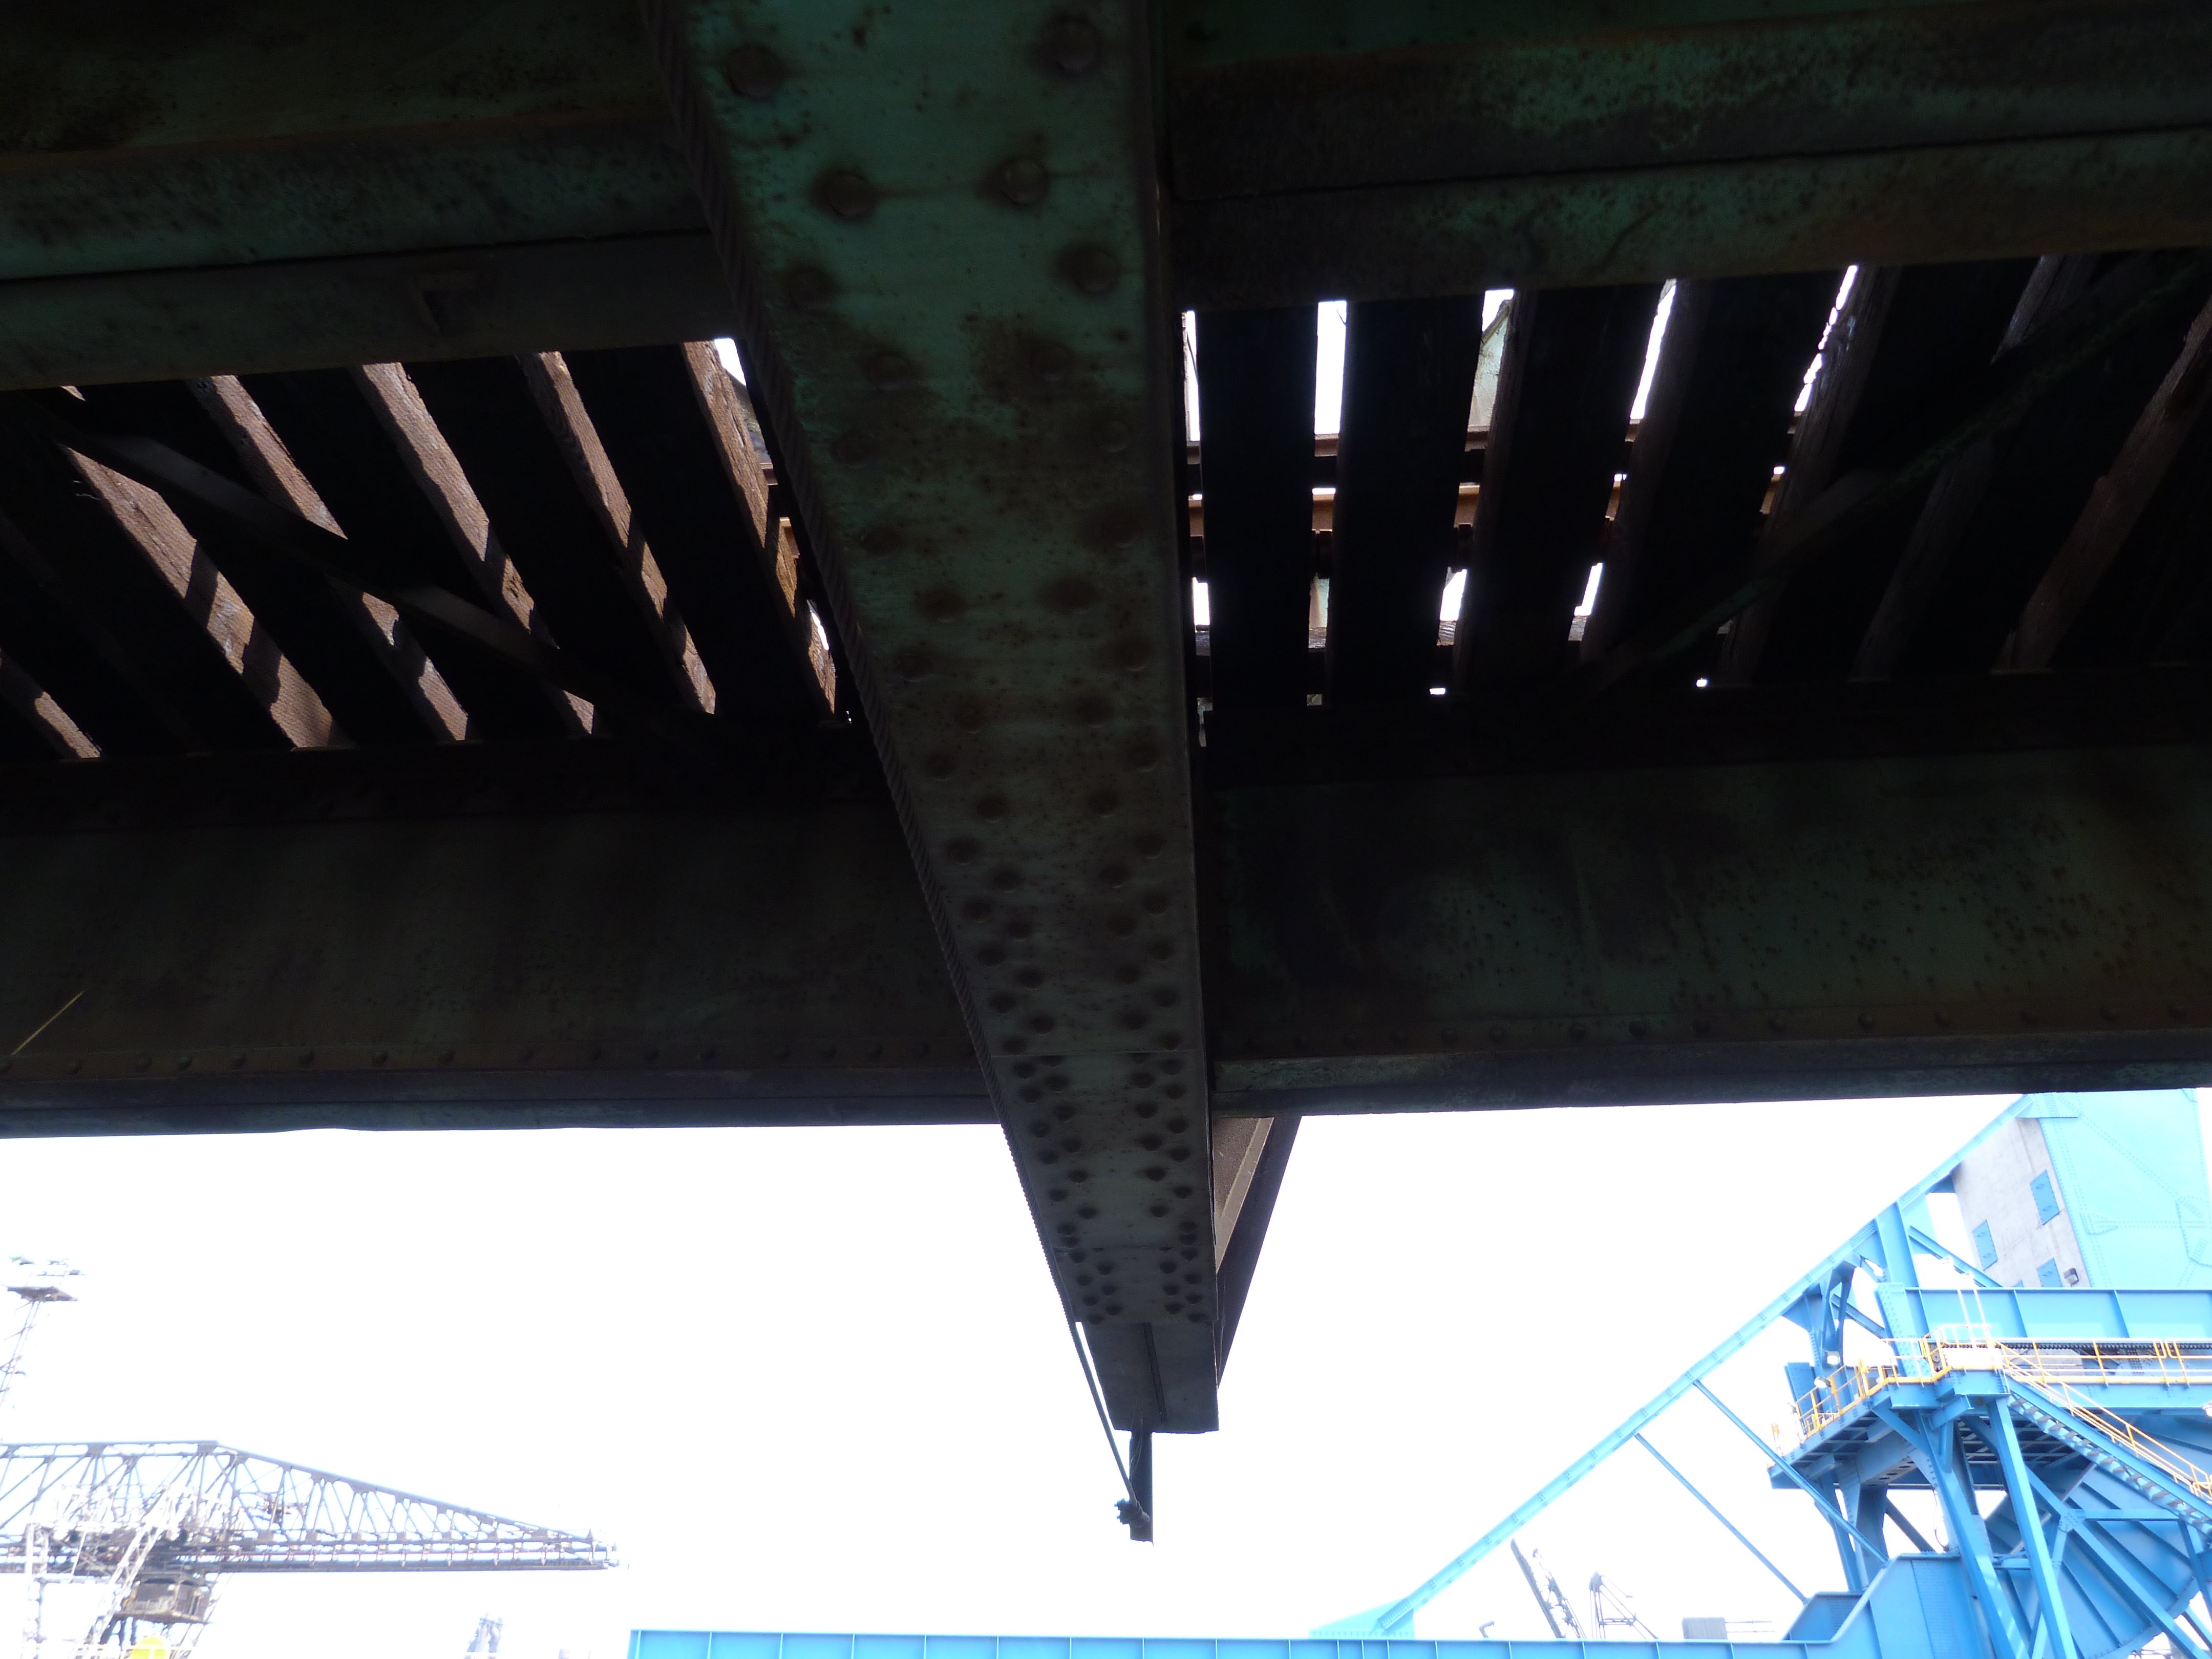
![]()

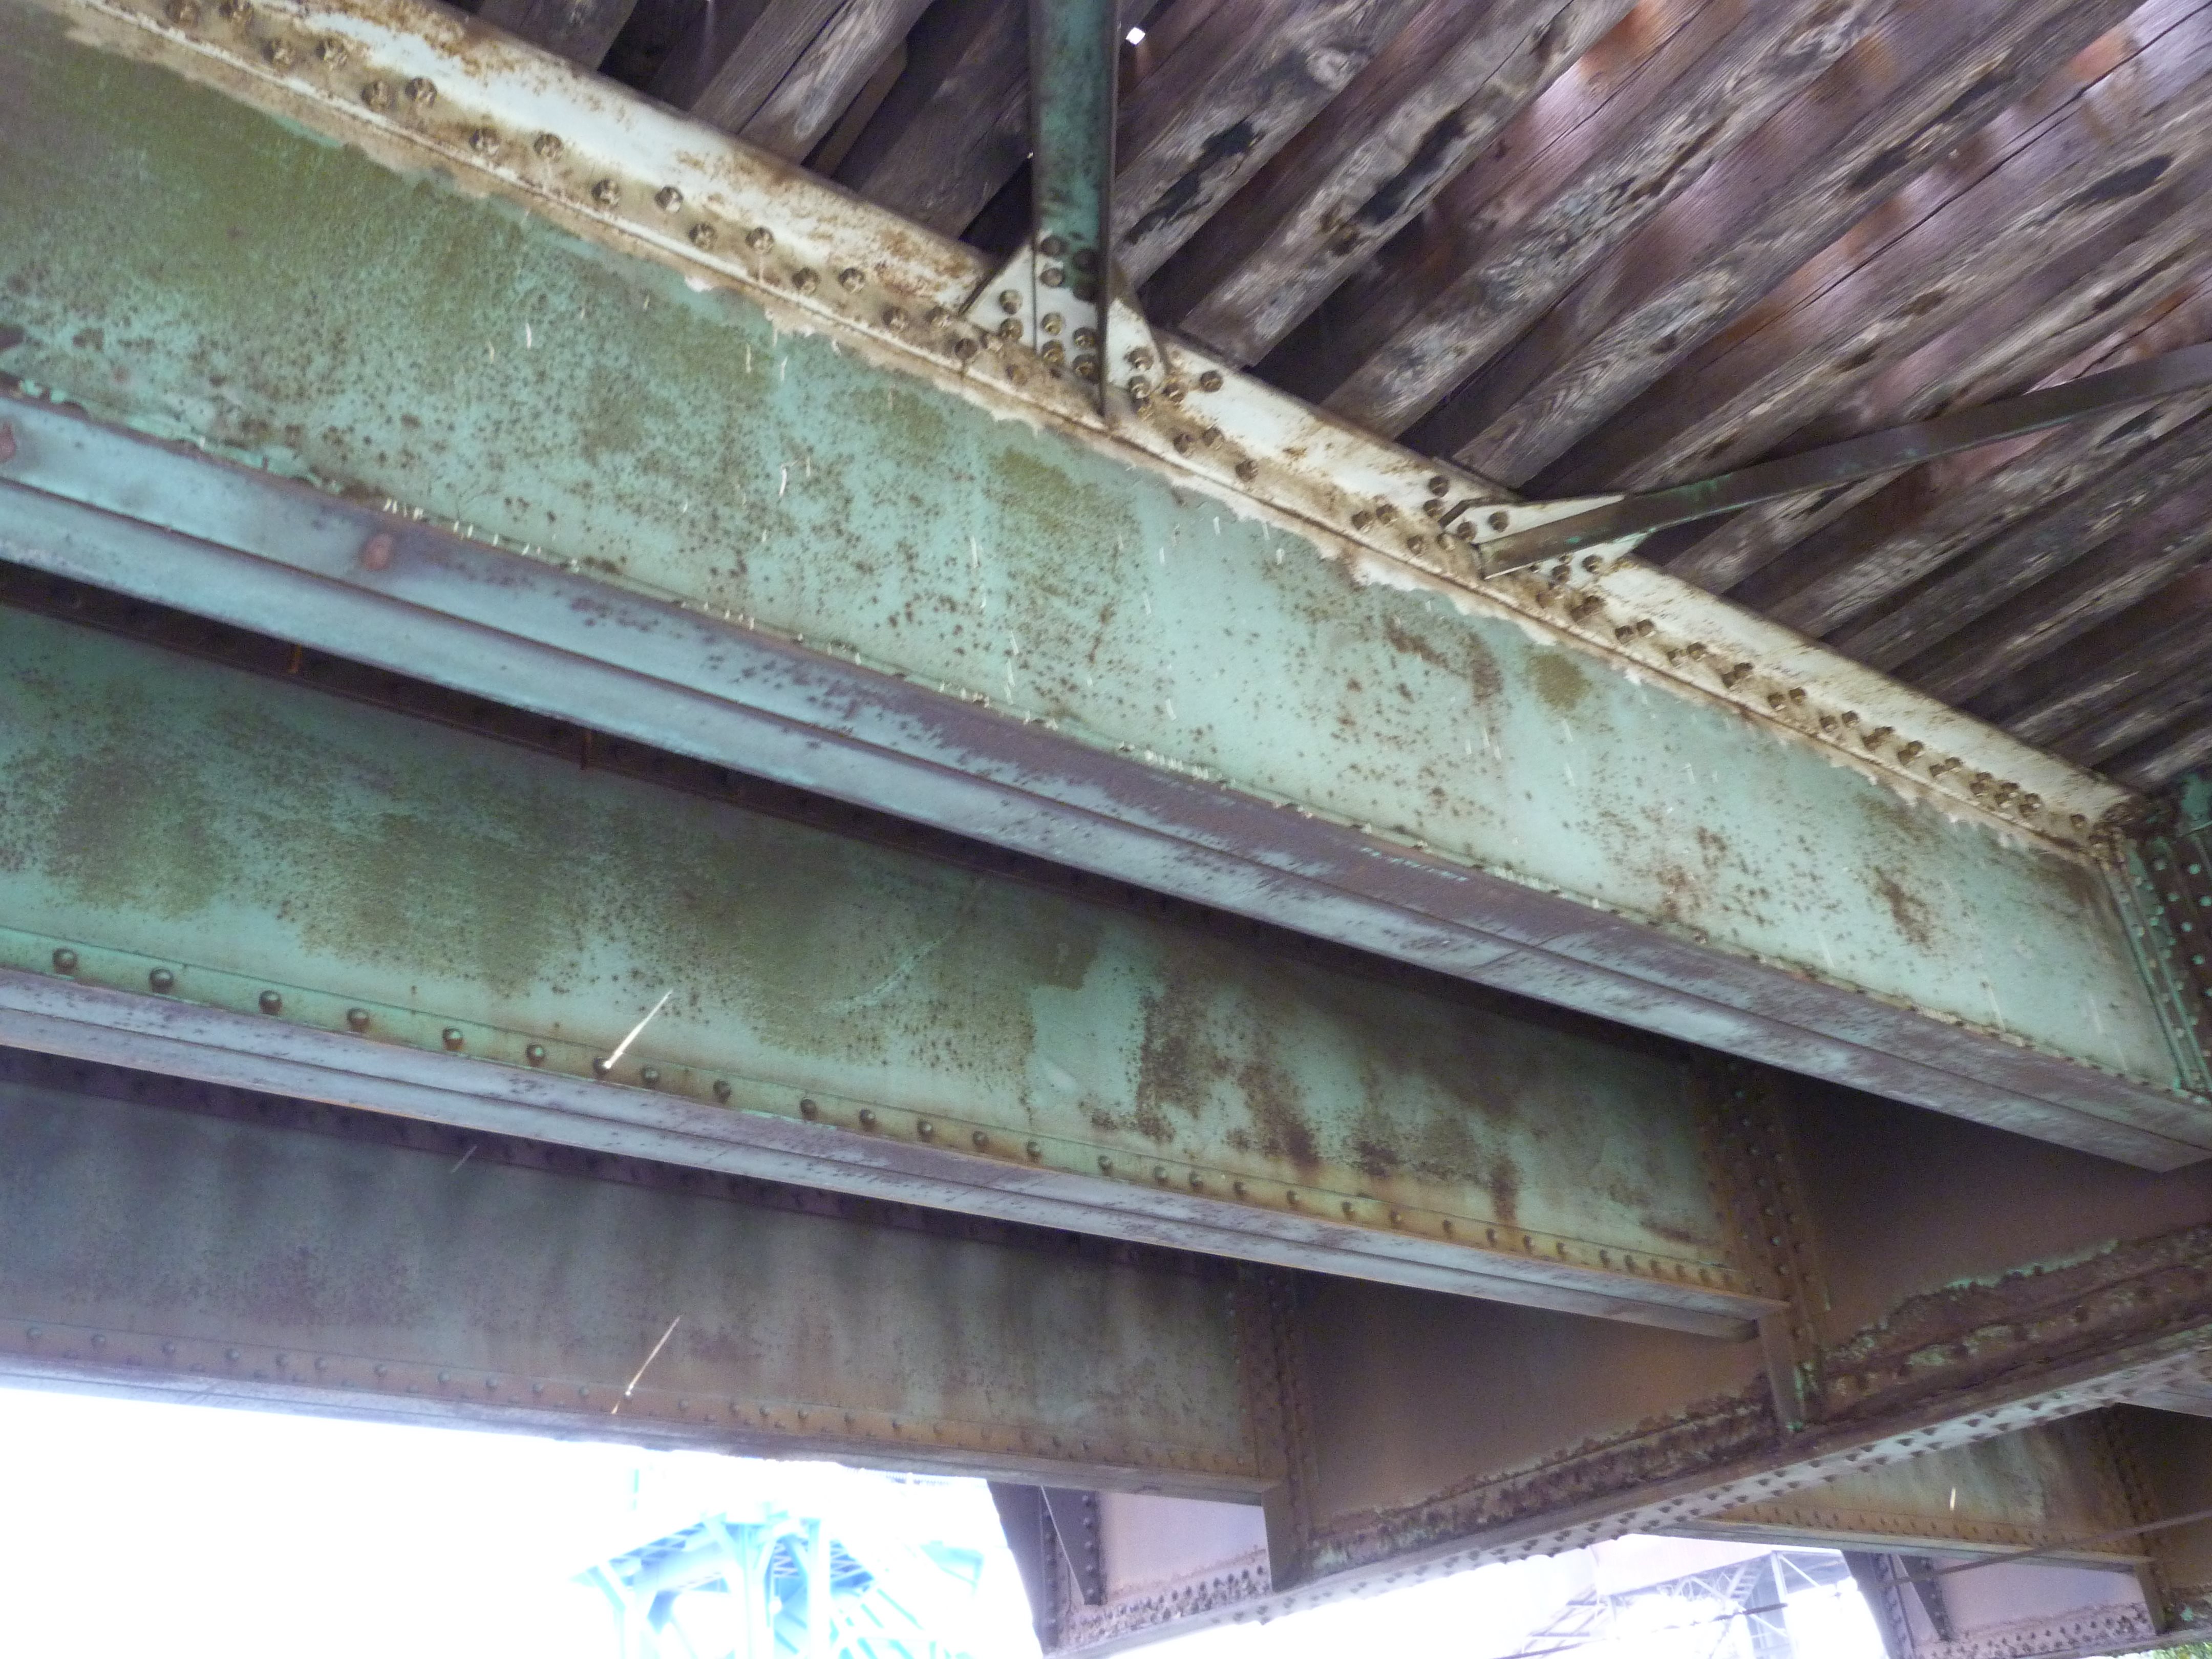

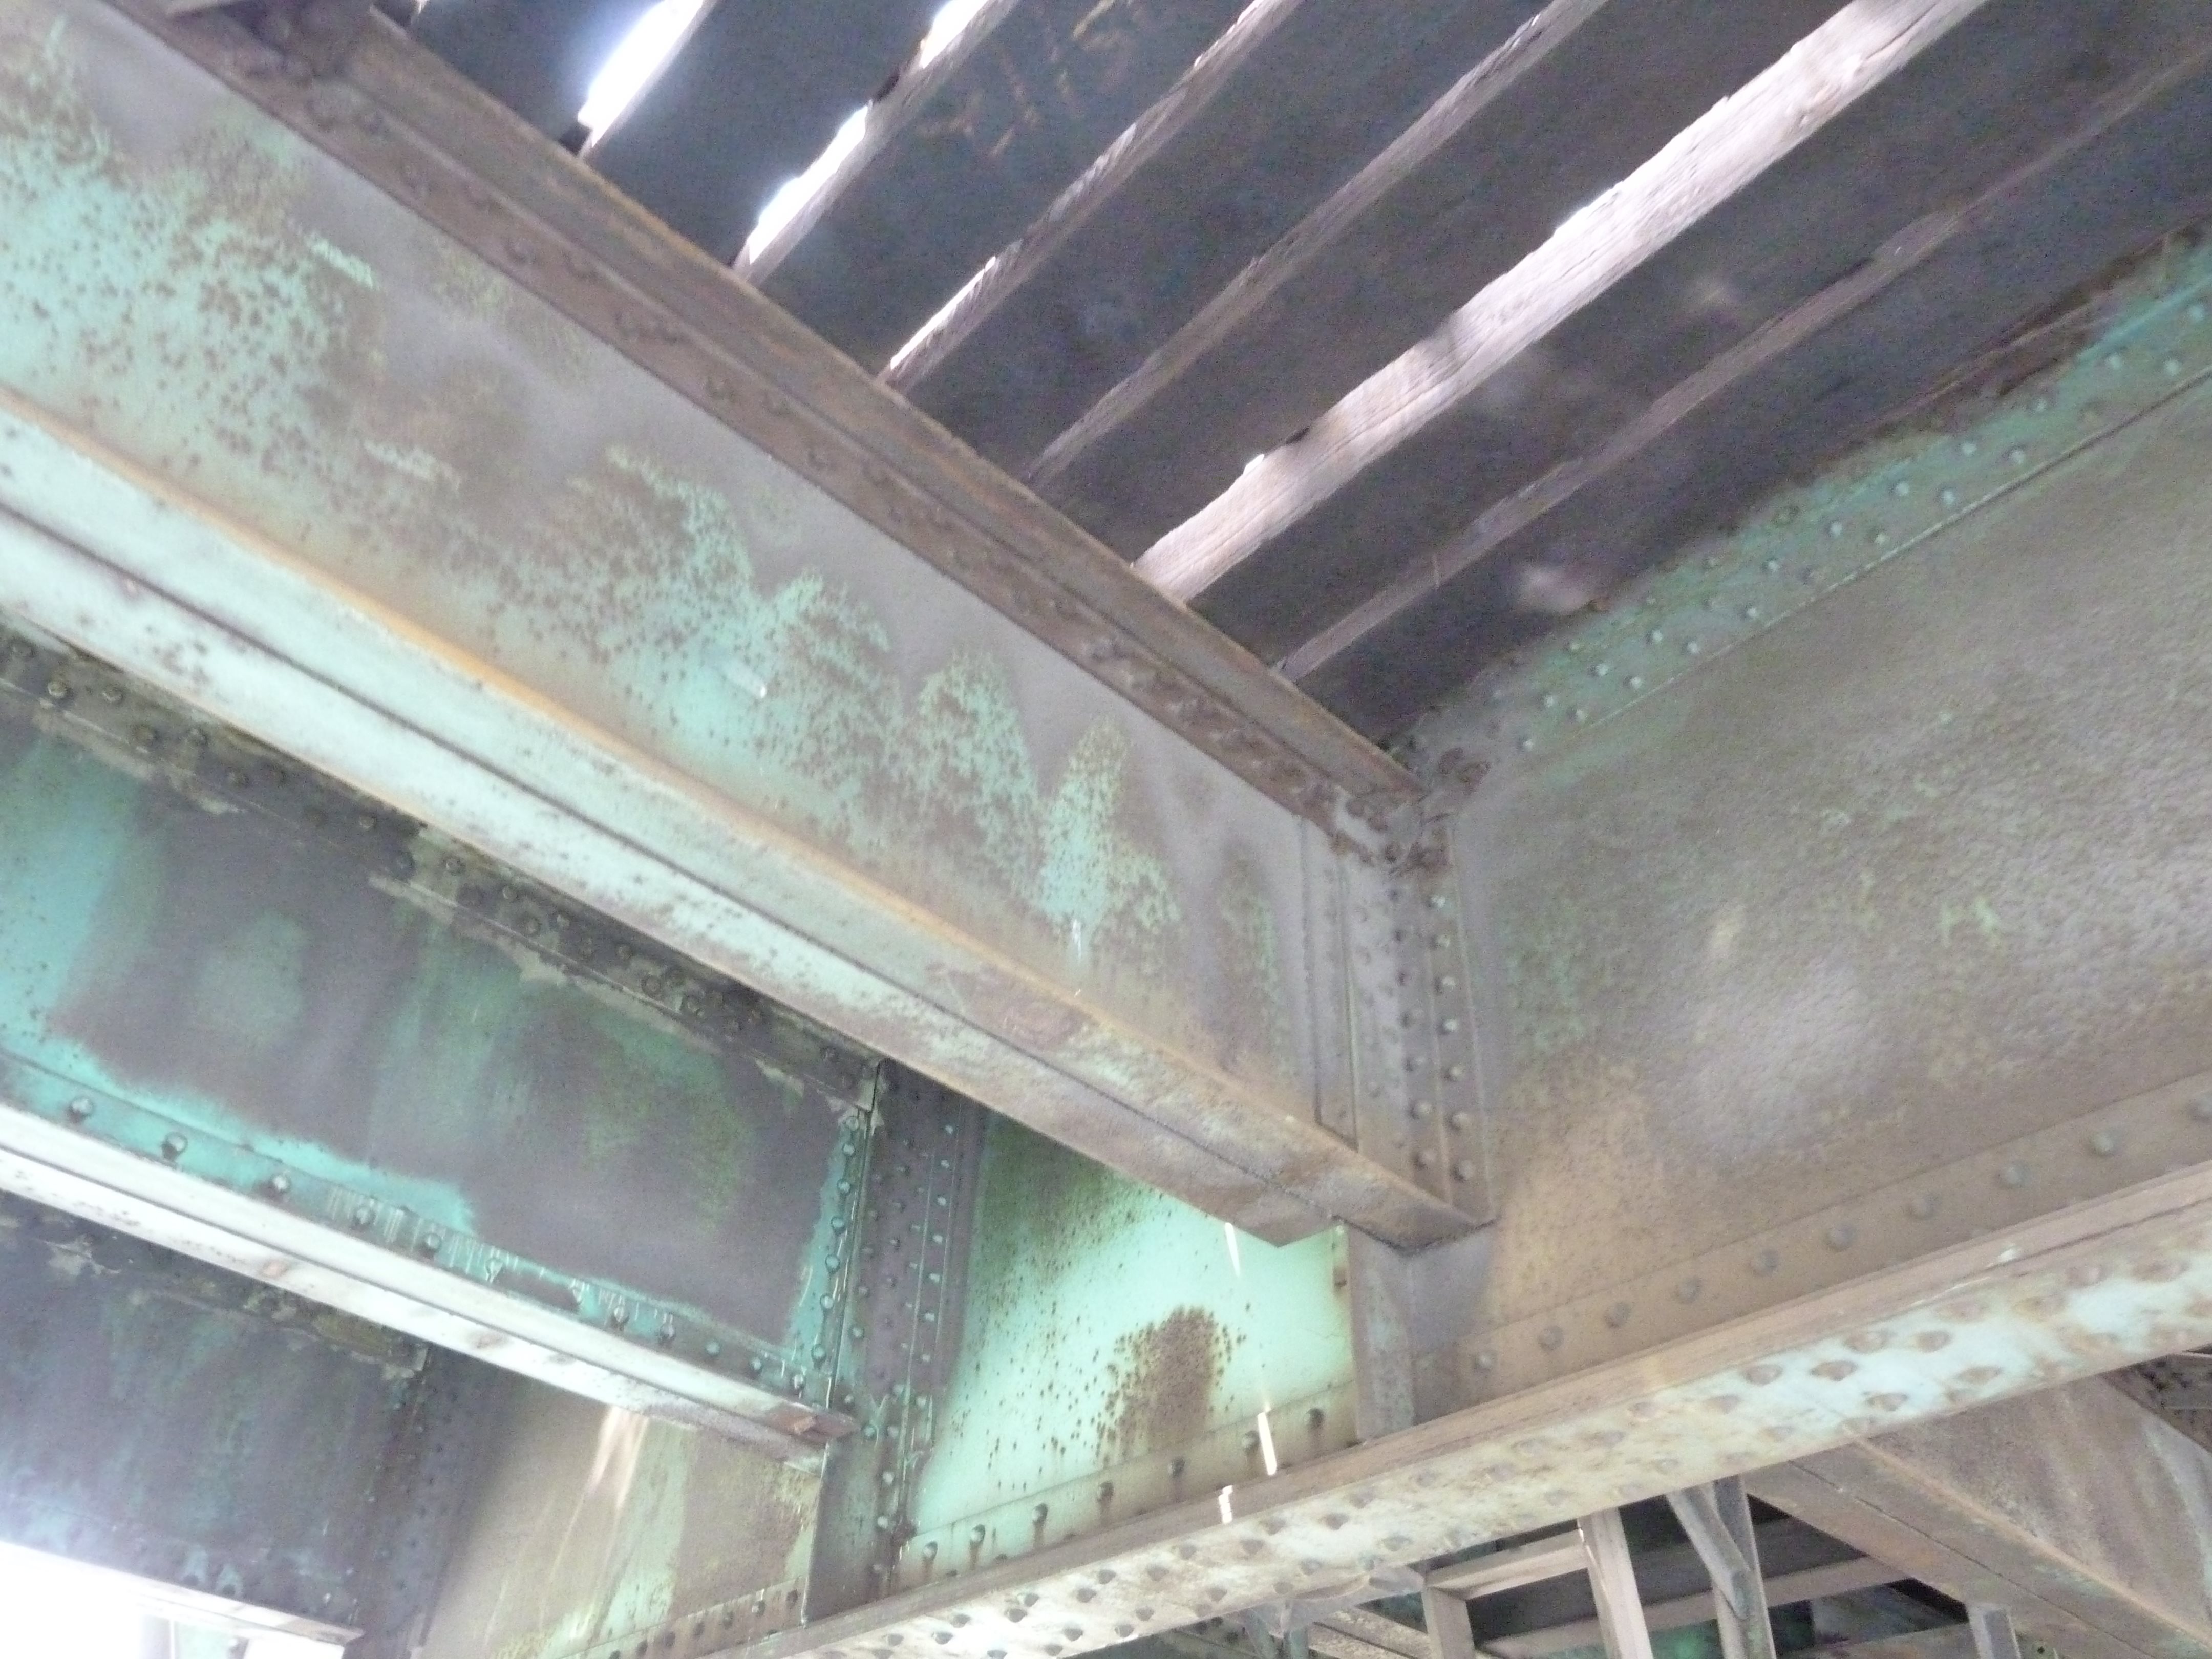
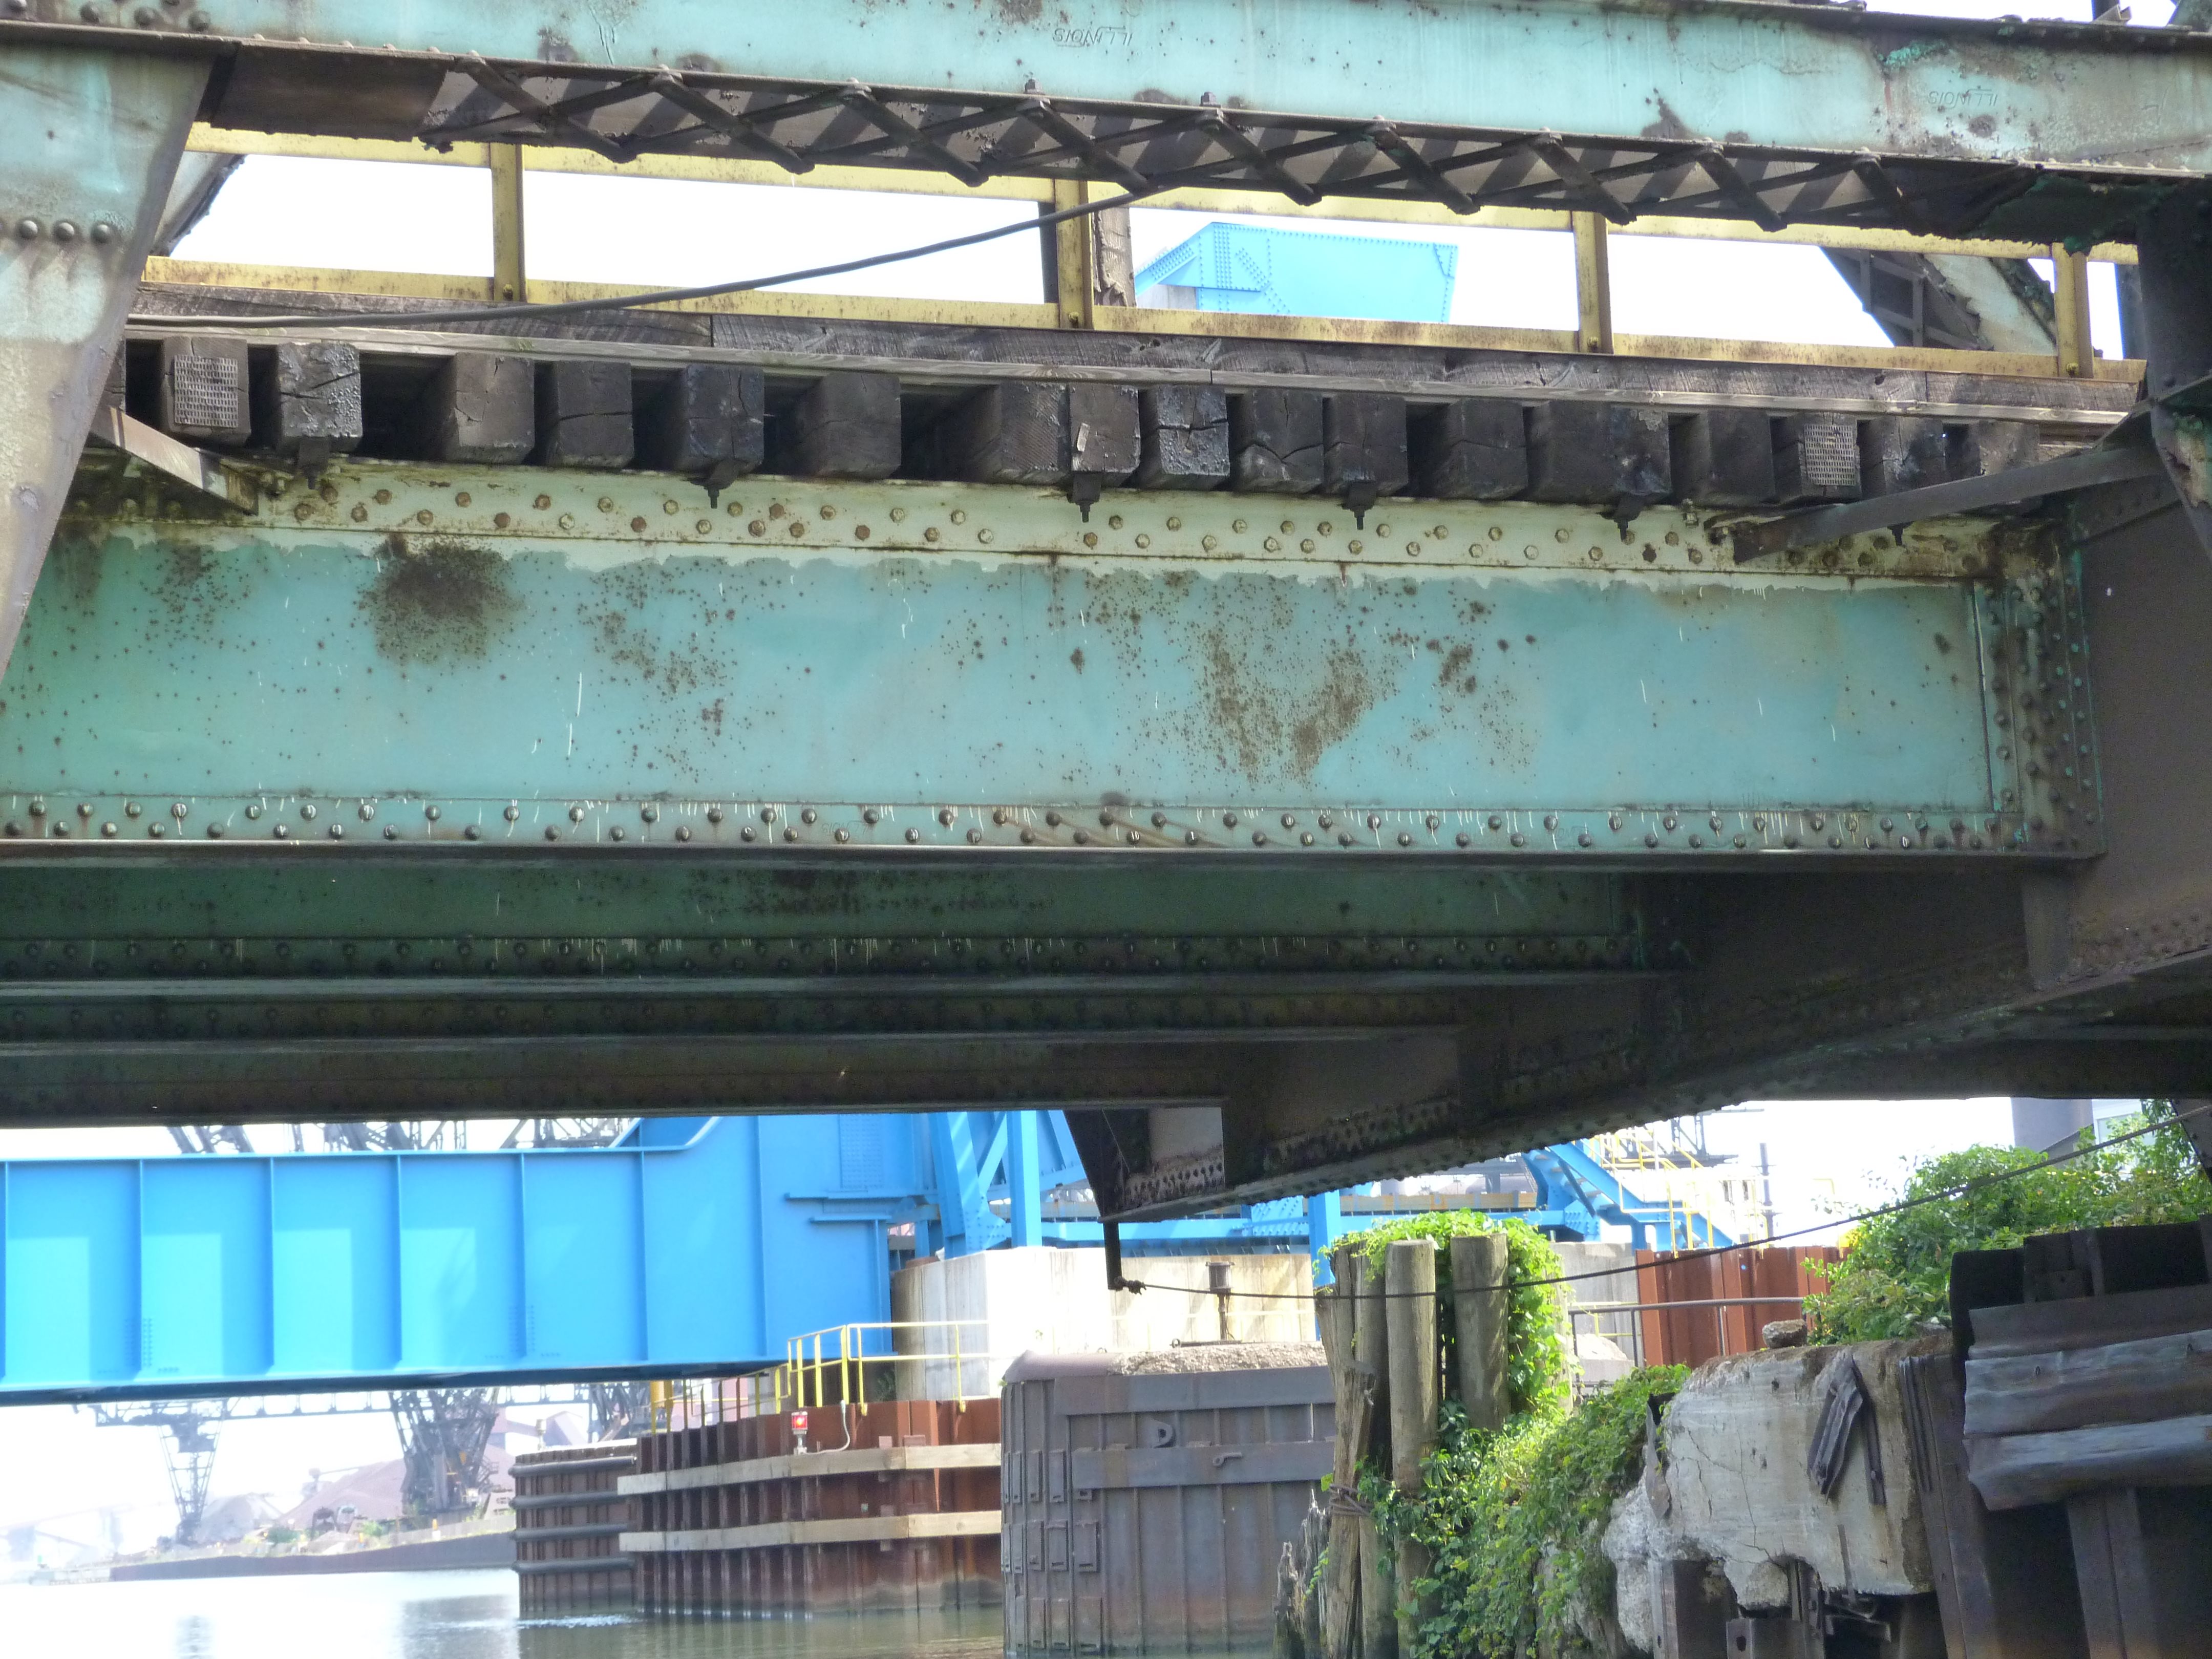
Deck stringers.
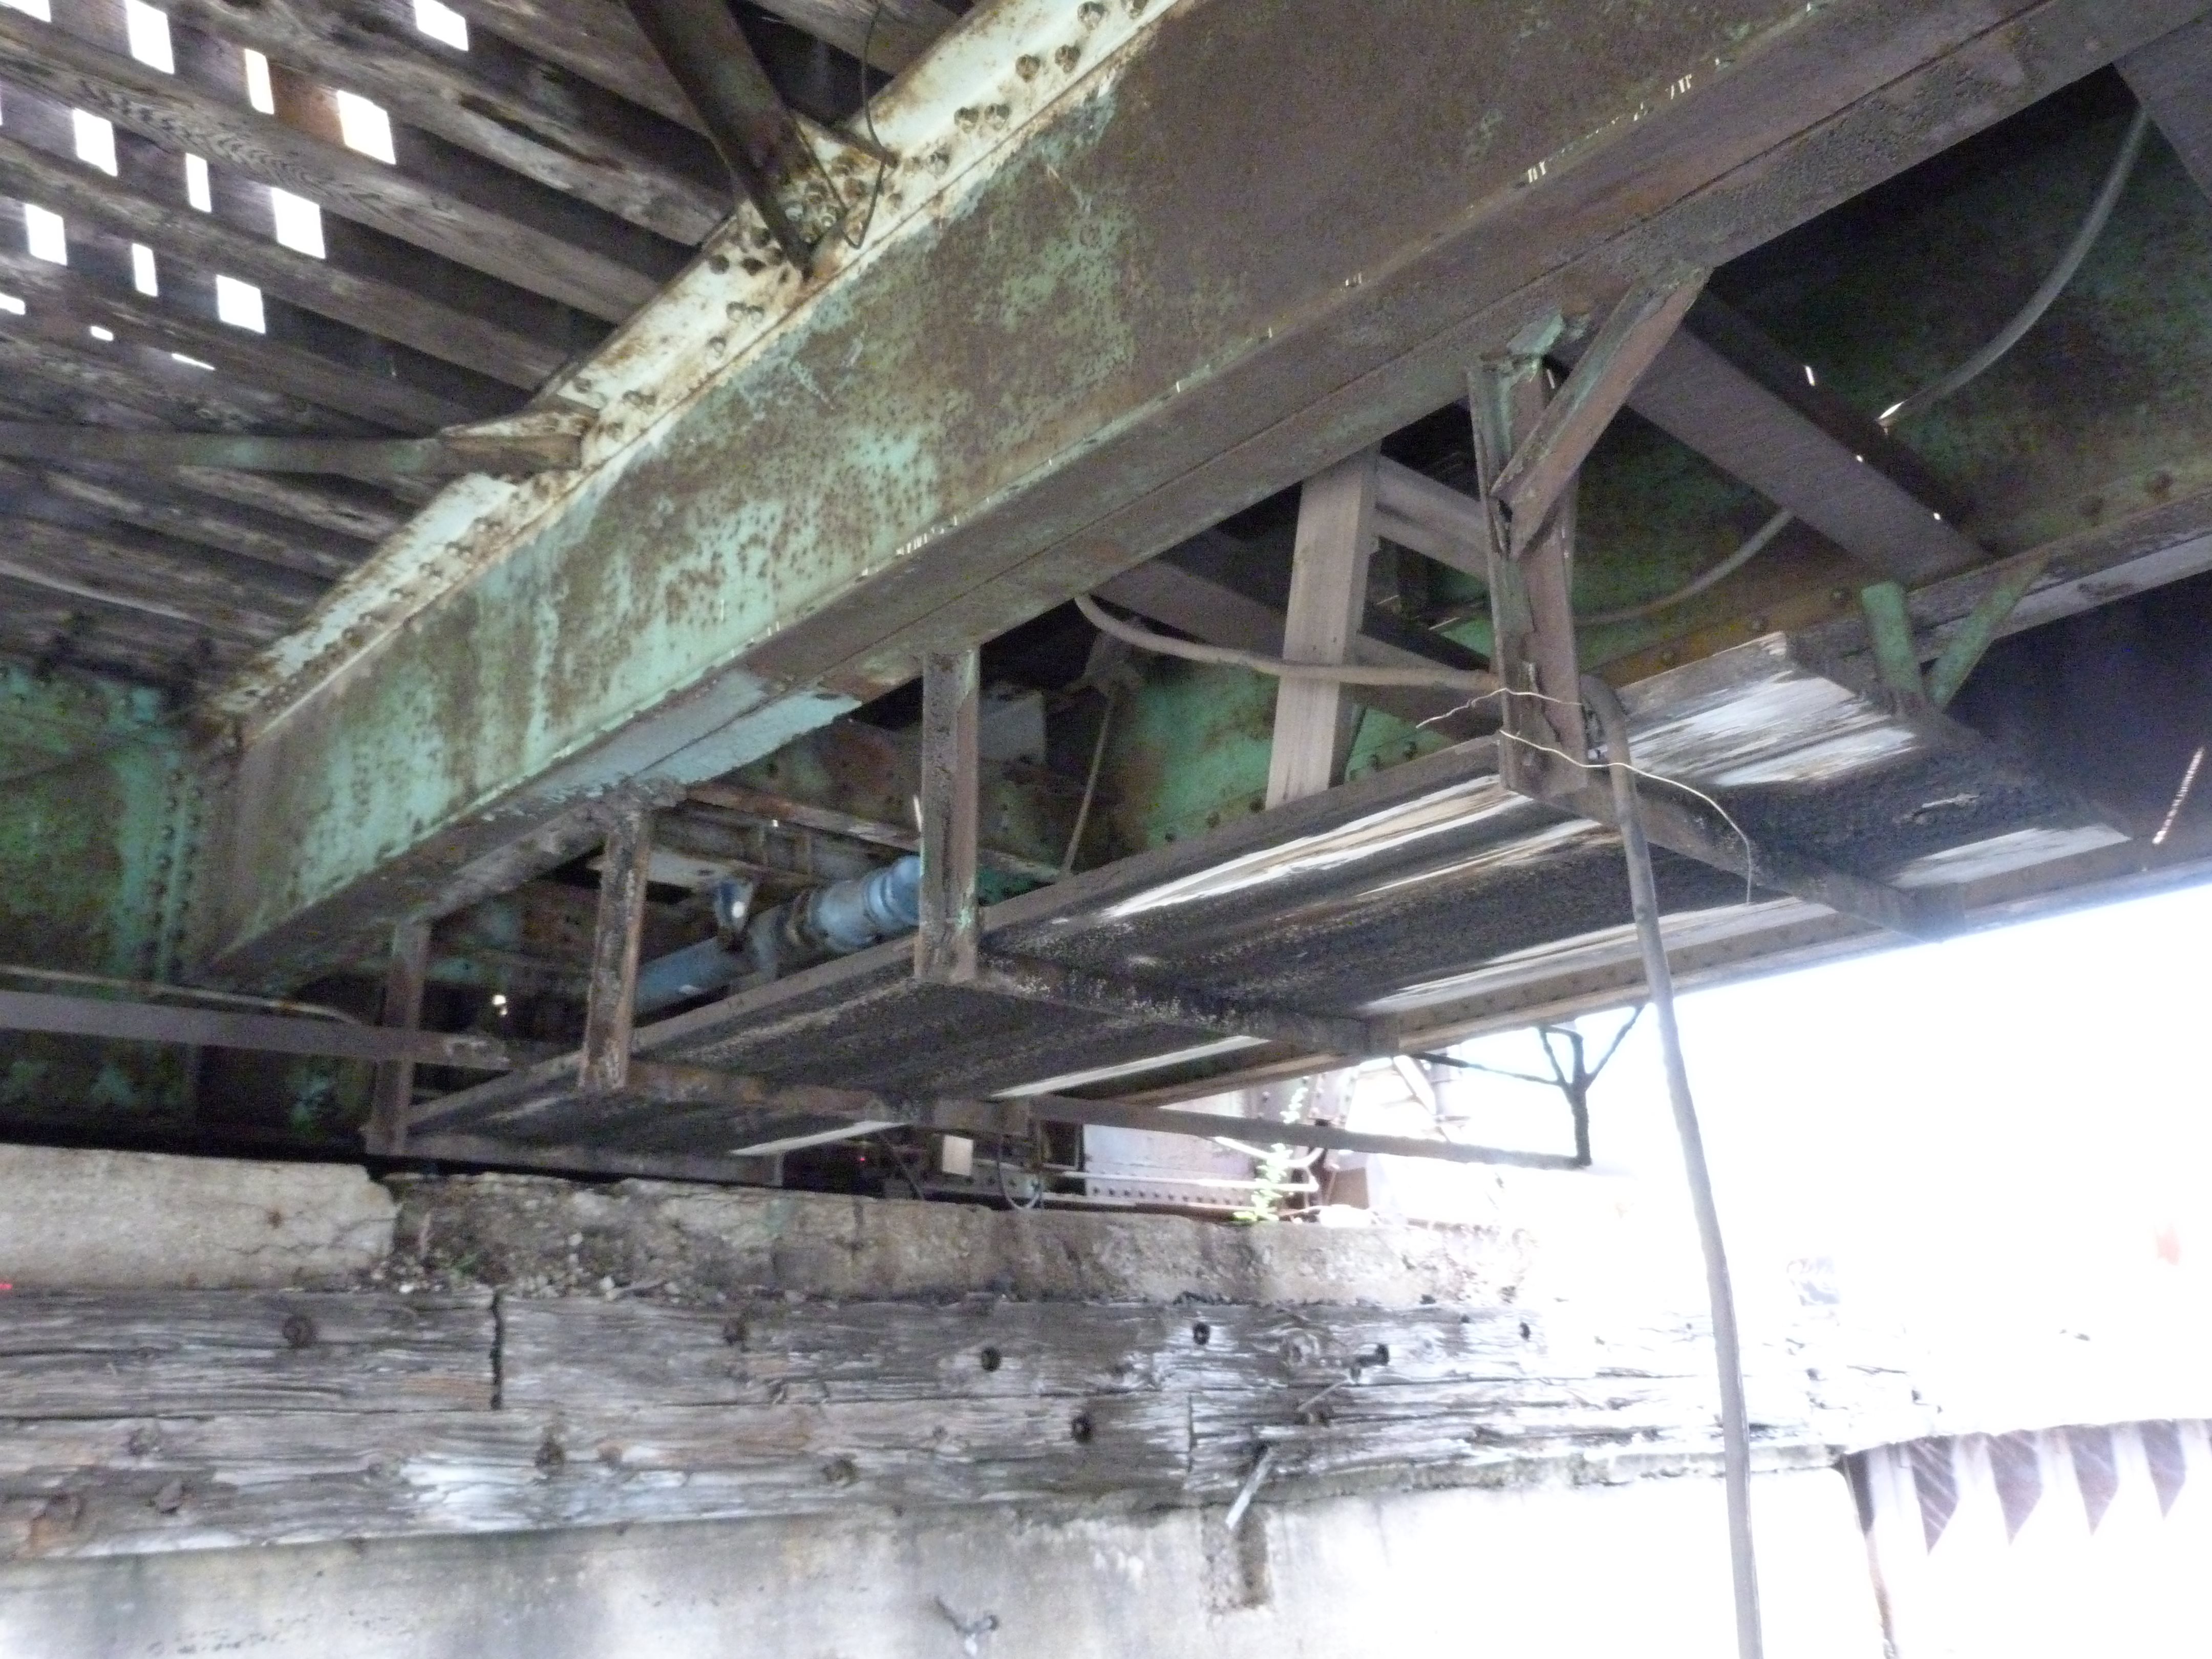
![]()
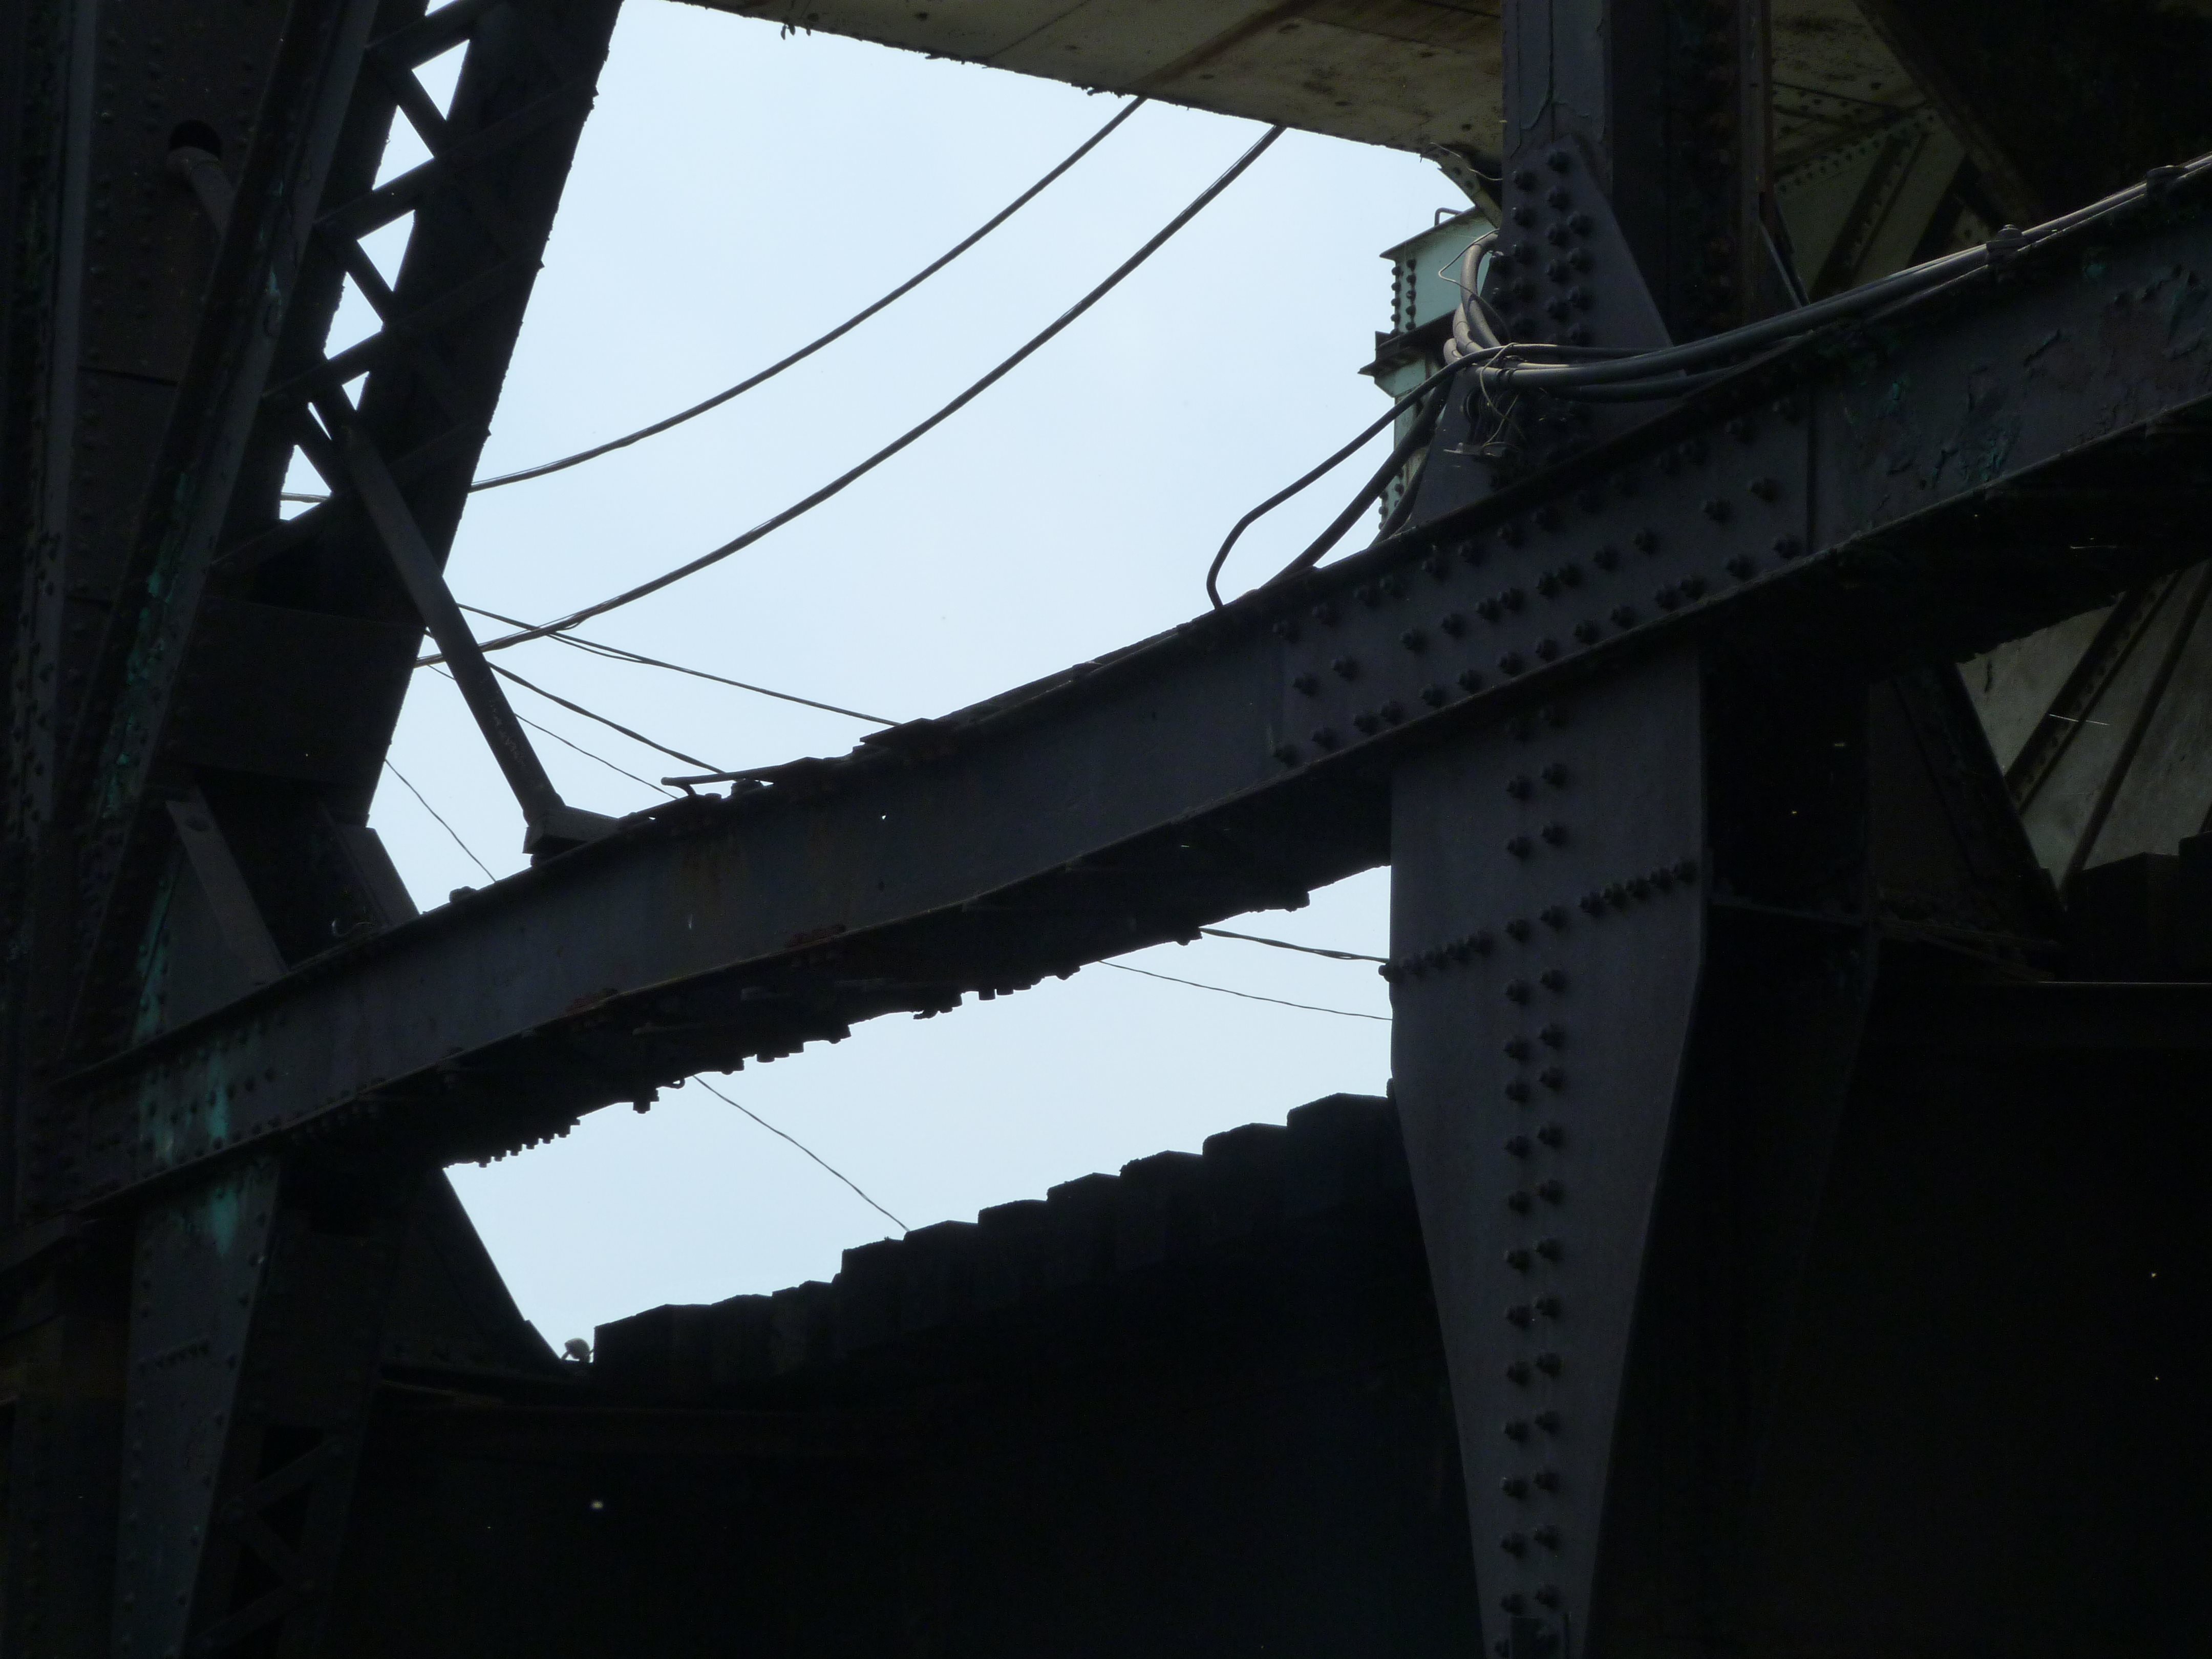
Walkway alongside operating rack.
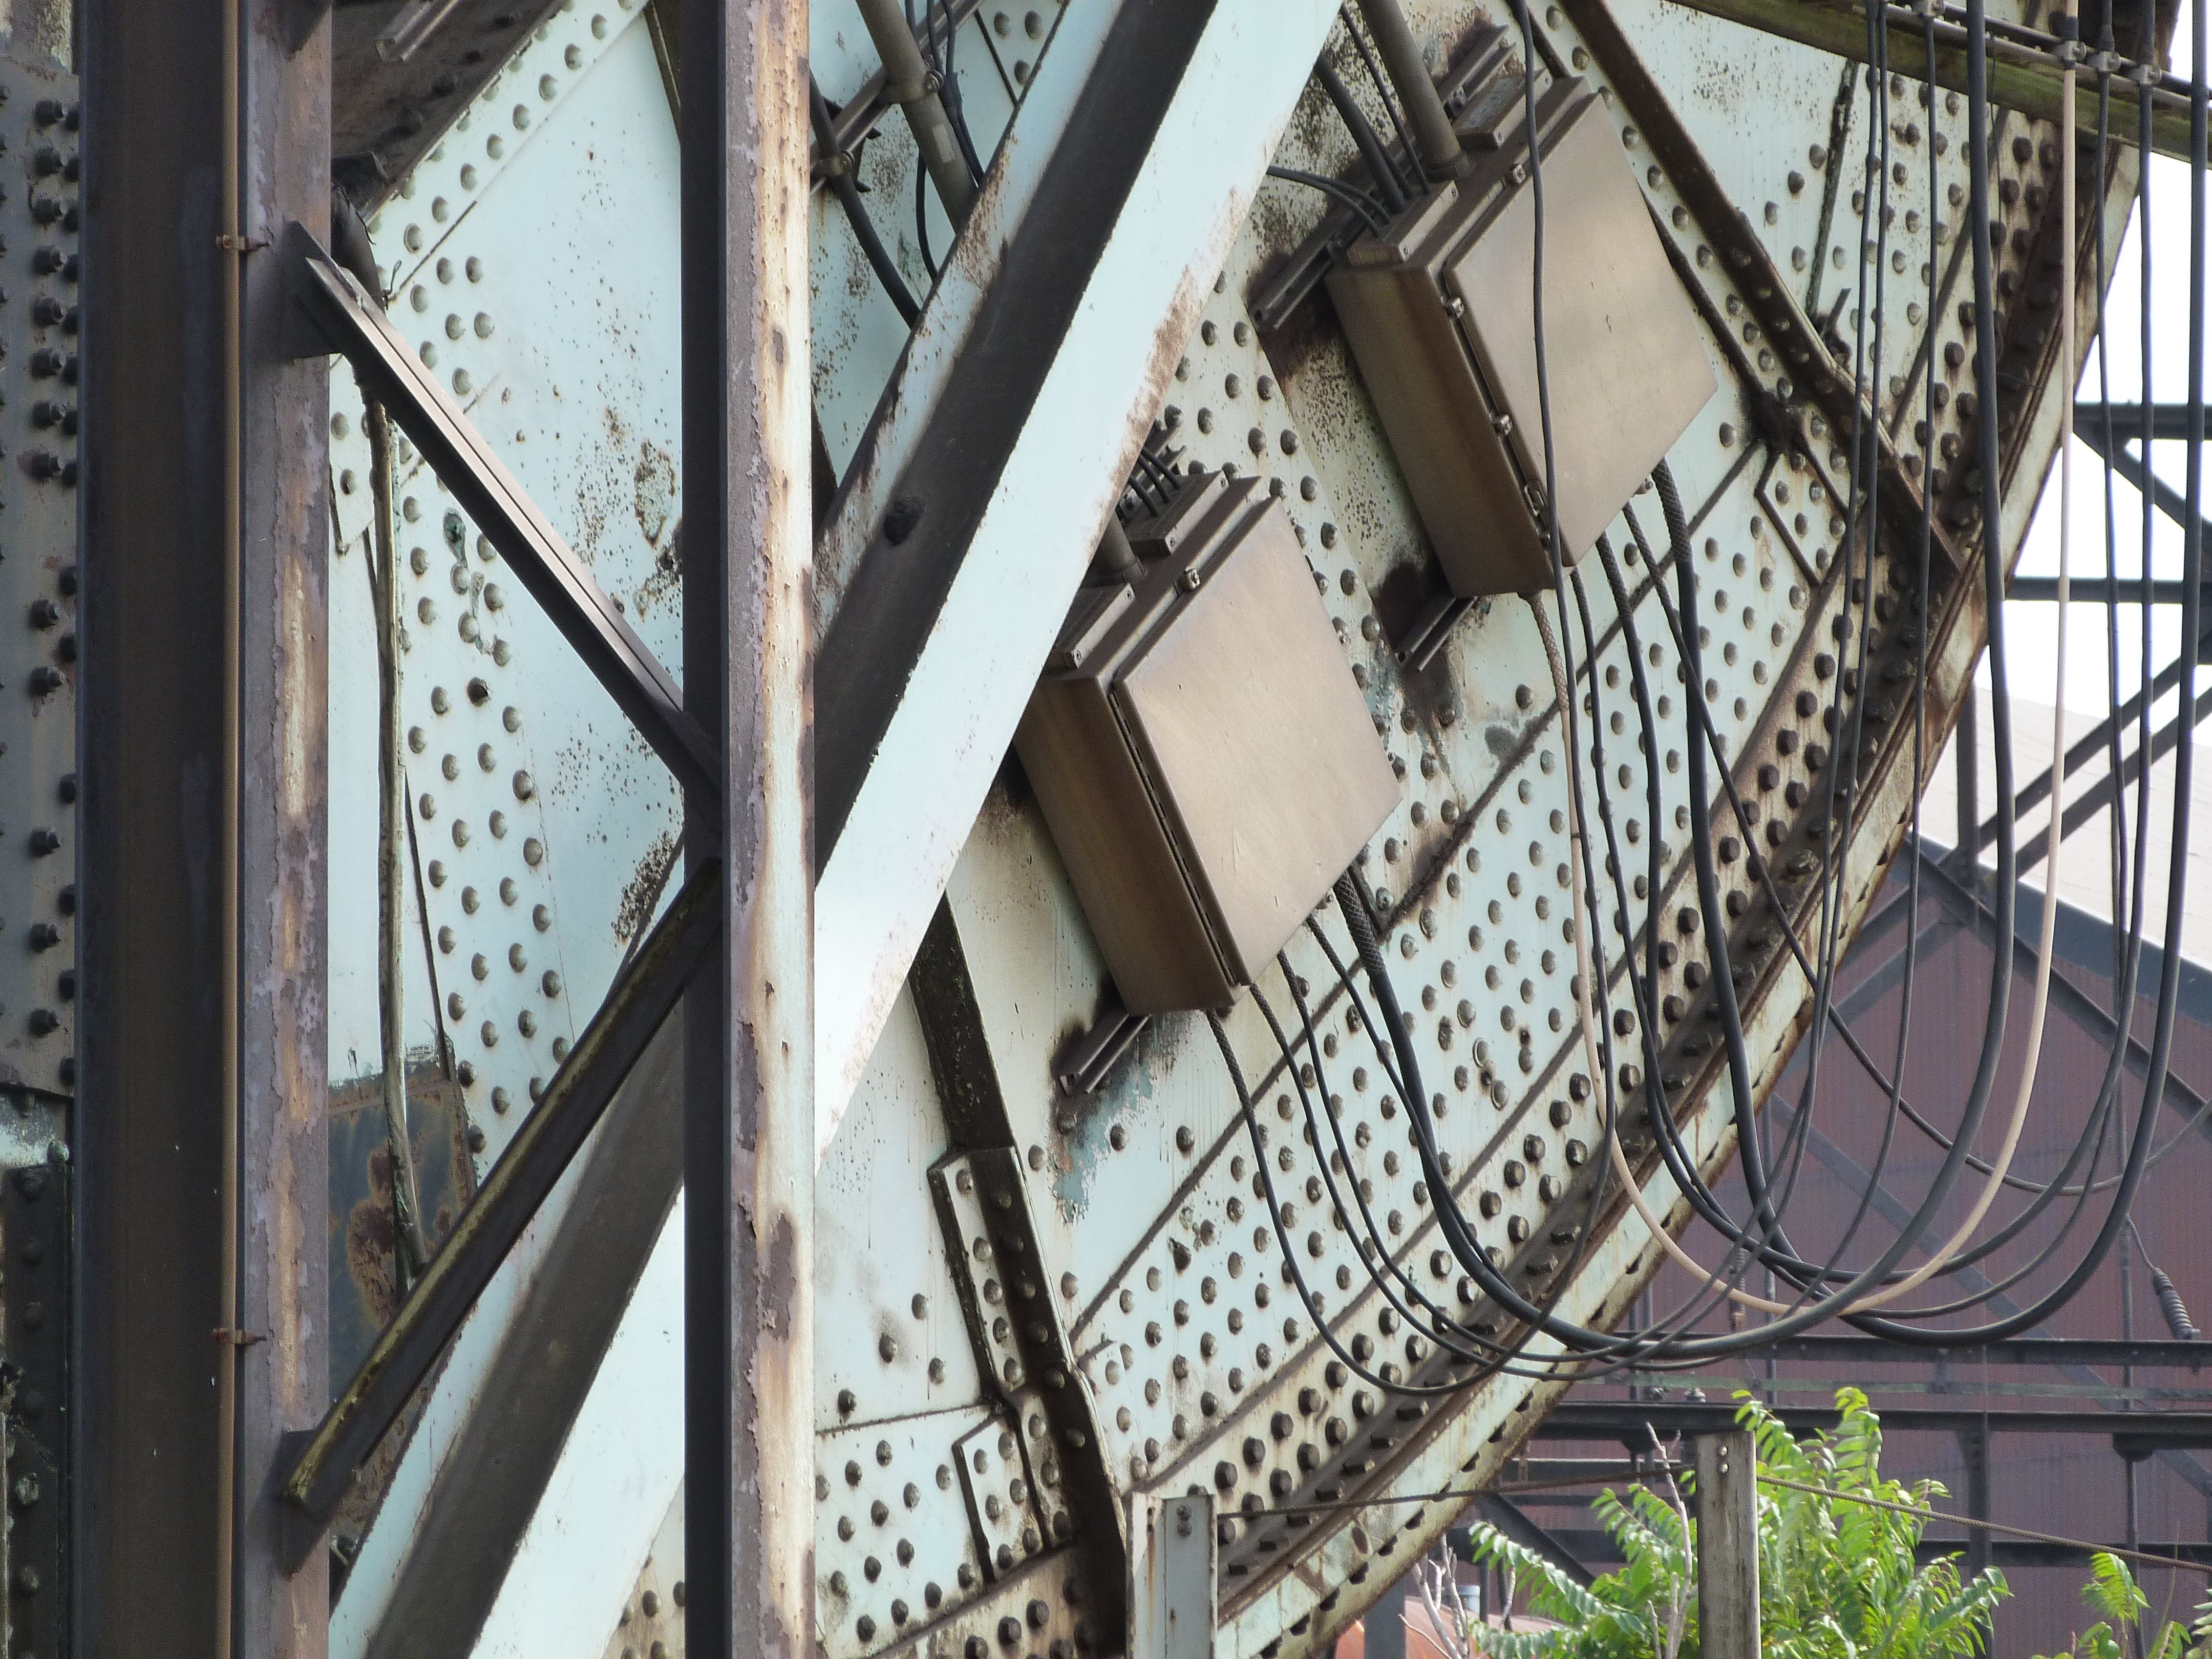
![]()
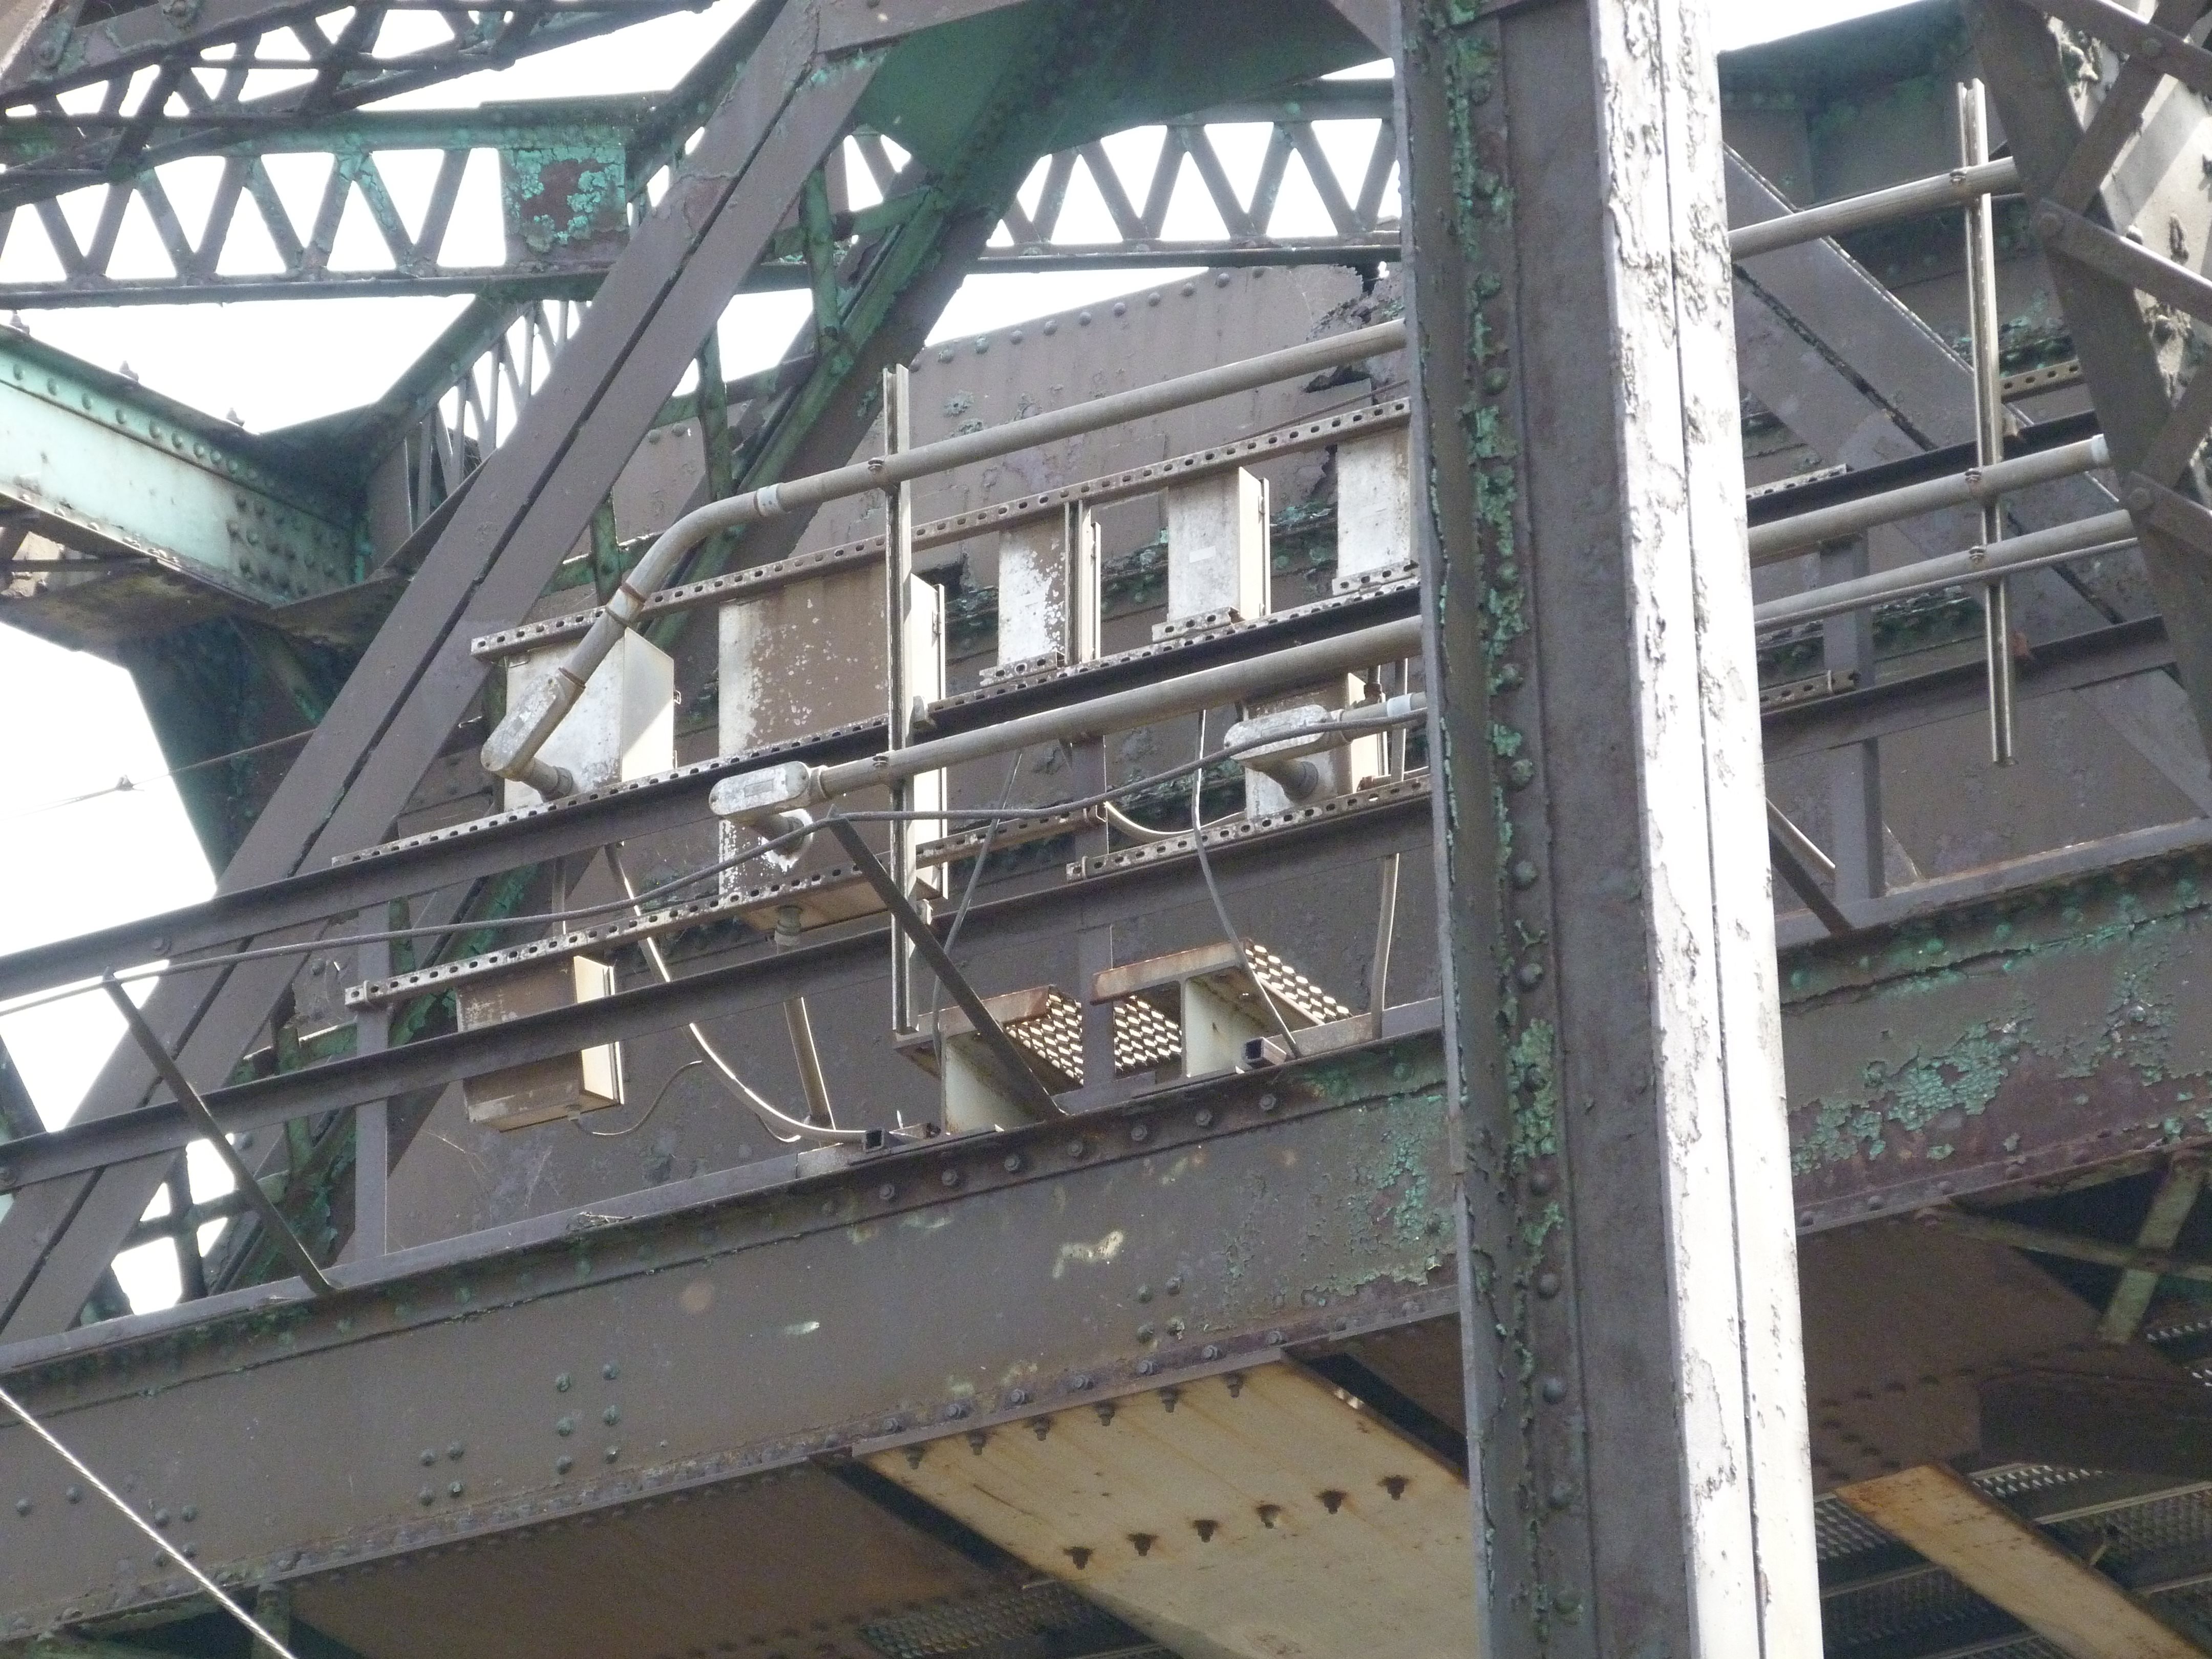
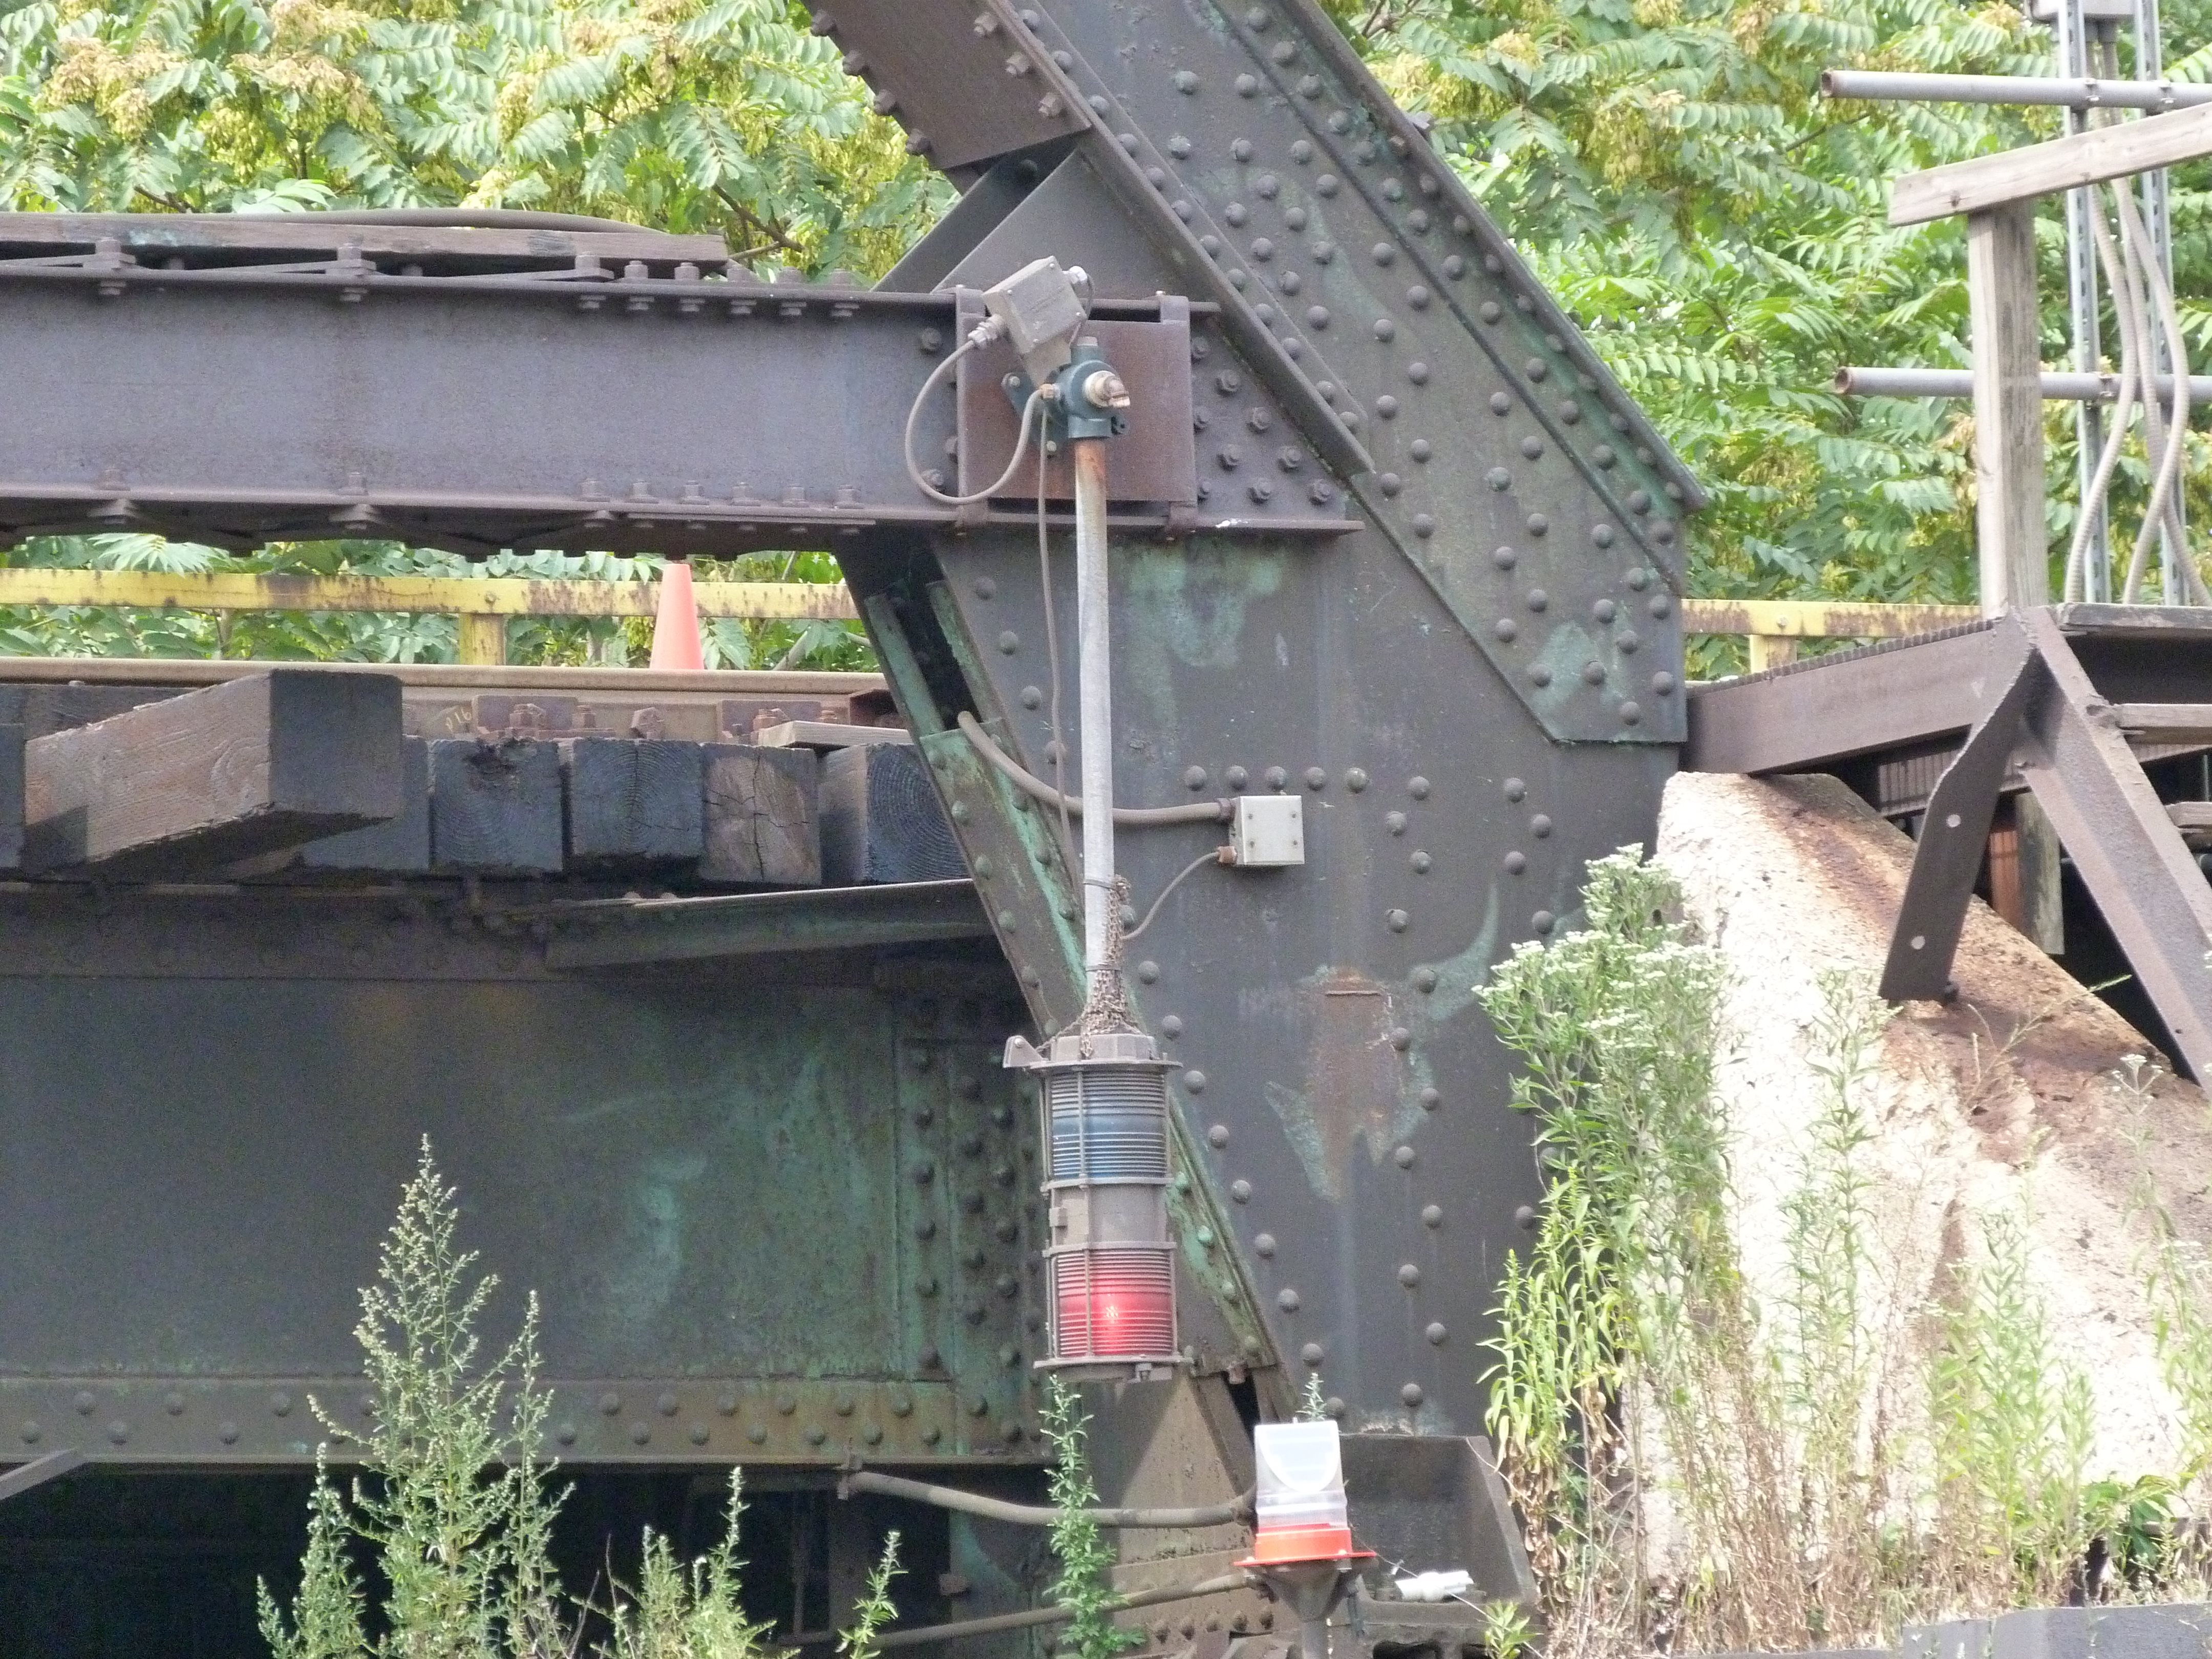
Electrical equipment.
![]()

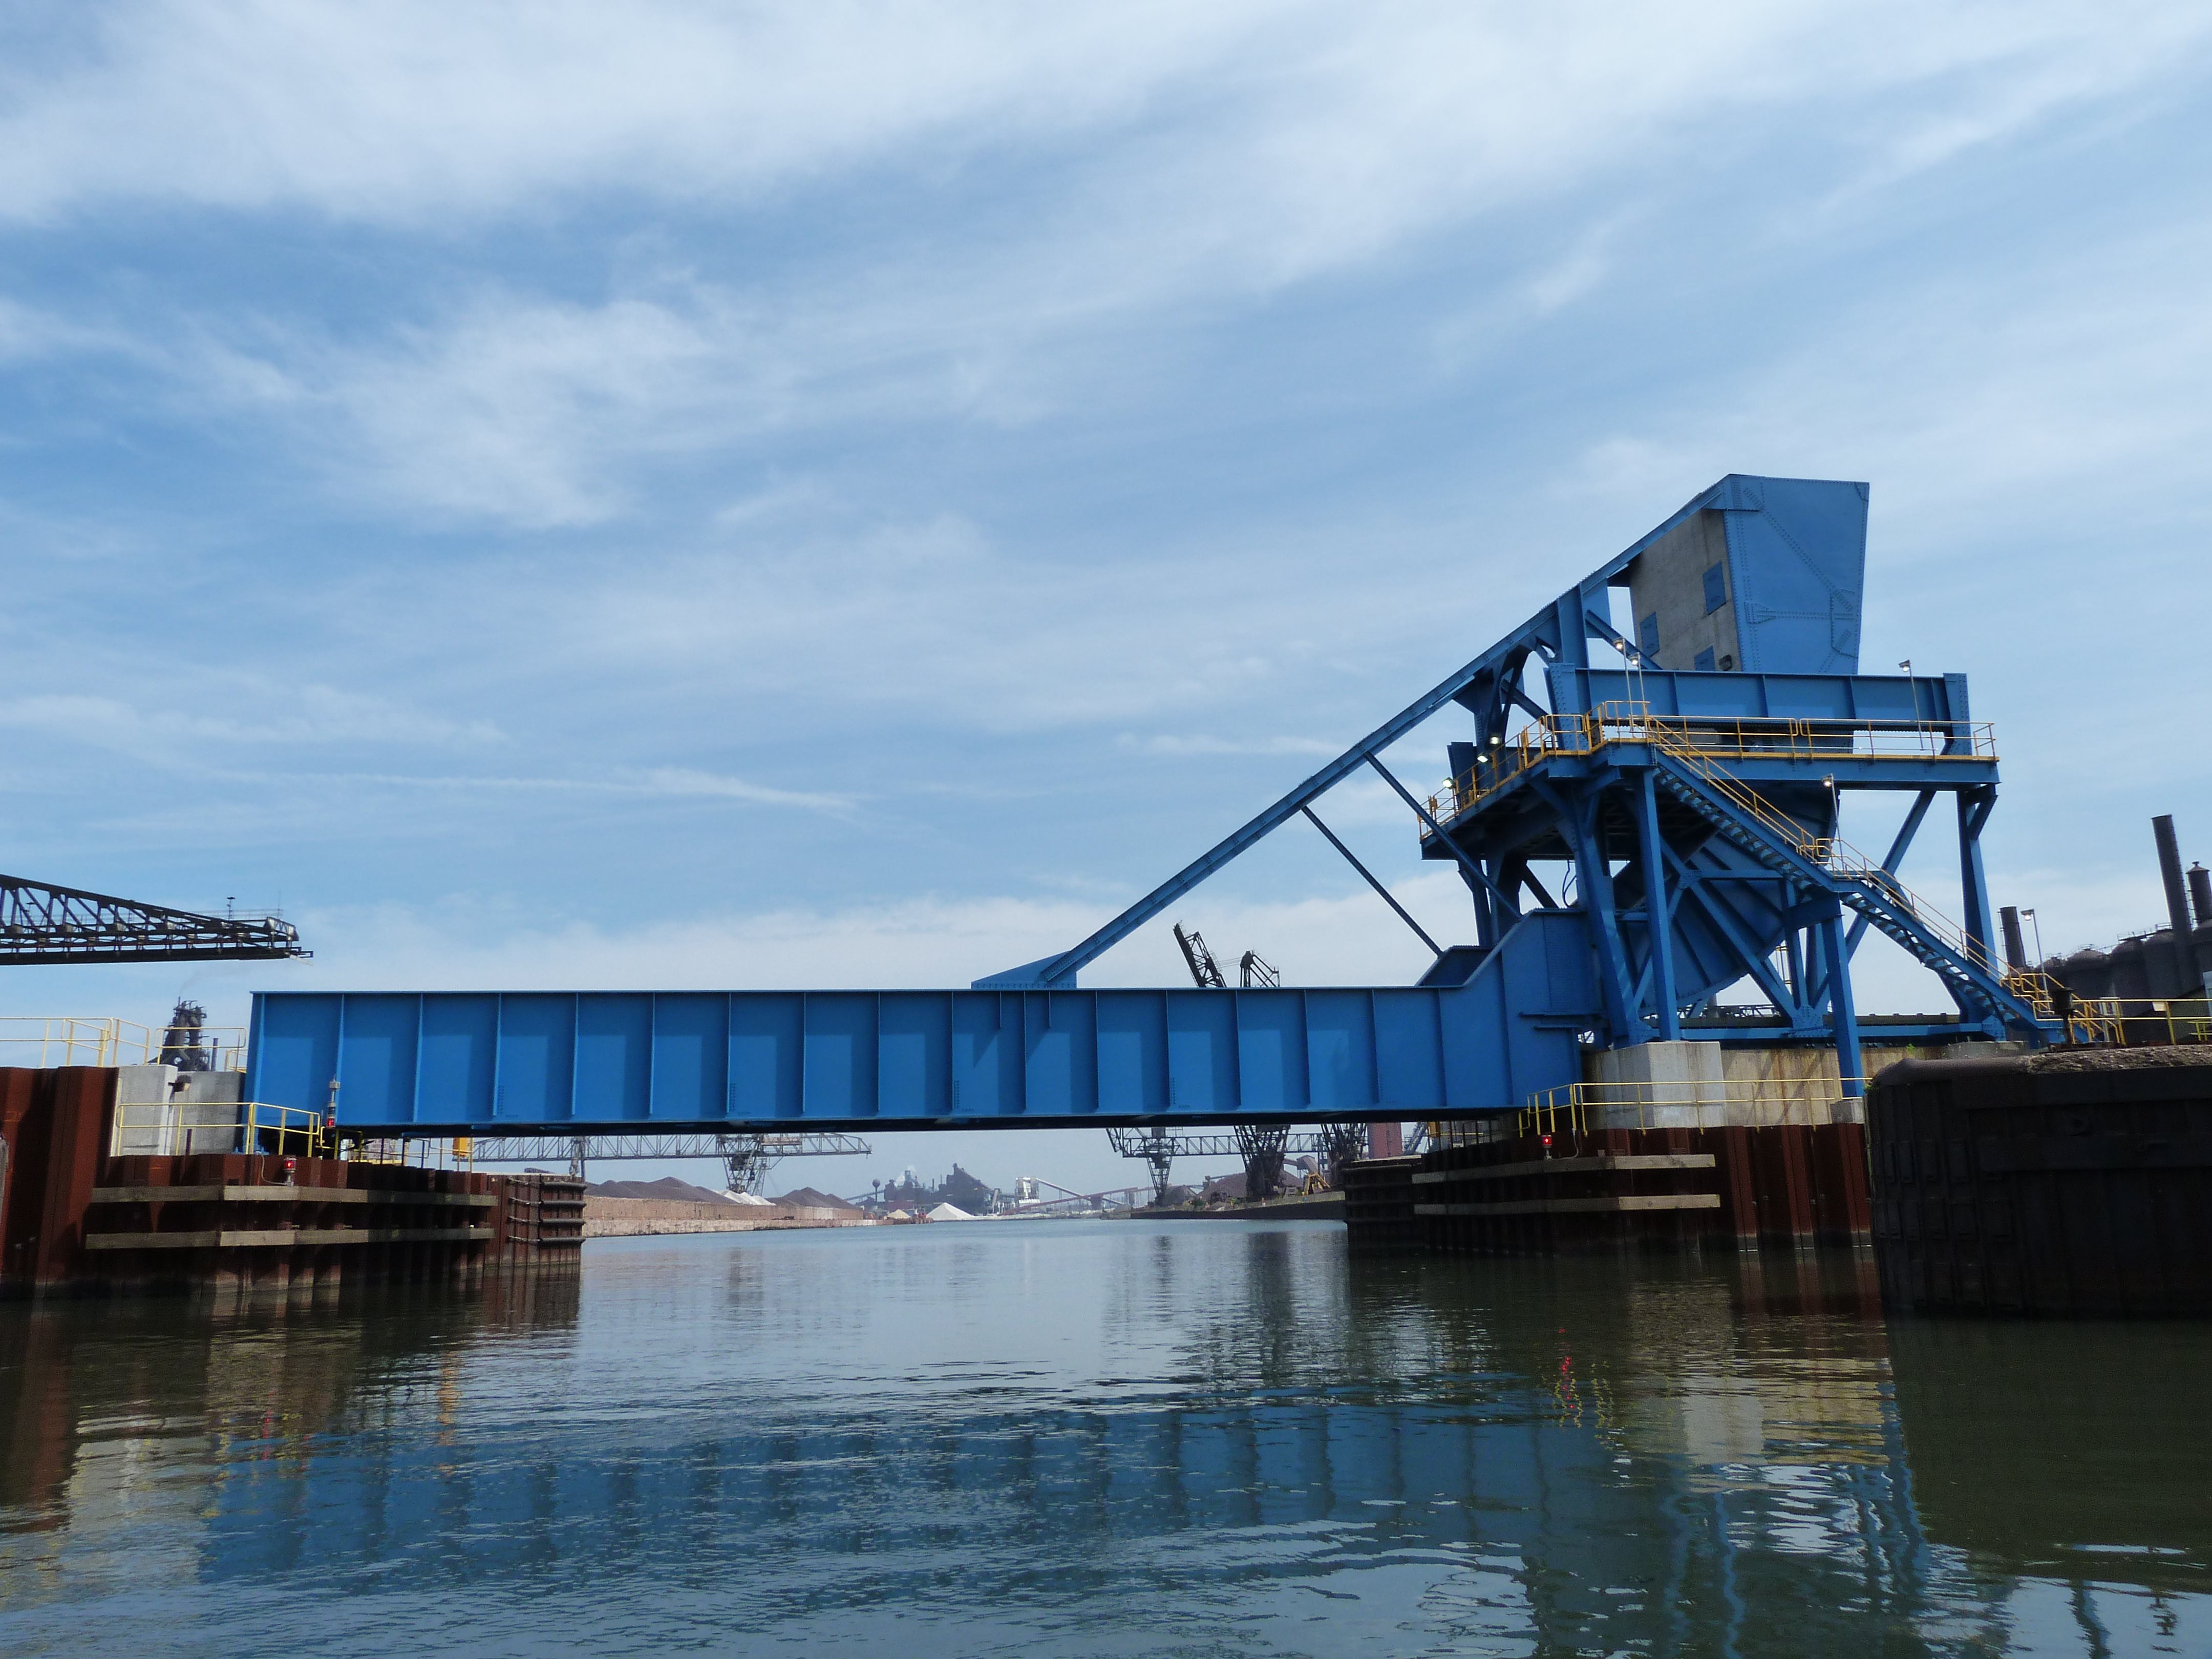
Modern, non-historic bascule bridge next northeast of the historic bridge.
![]()
![]()
| Back |
| Home |
| Top |

![]()