
Uncredited photos on this page taken by: Nathan Holth. Unless stated in a caption, all photos are Copyright with All Rights Reserved. Learn about reuse of our photos.
![]()


Views beside bridge from northwest quadrant.
![]()

Oblique view from southwest quadrant.
![]()

Portal view facing west.
![]()


Suspension span portal view facing west.
![]()

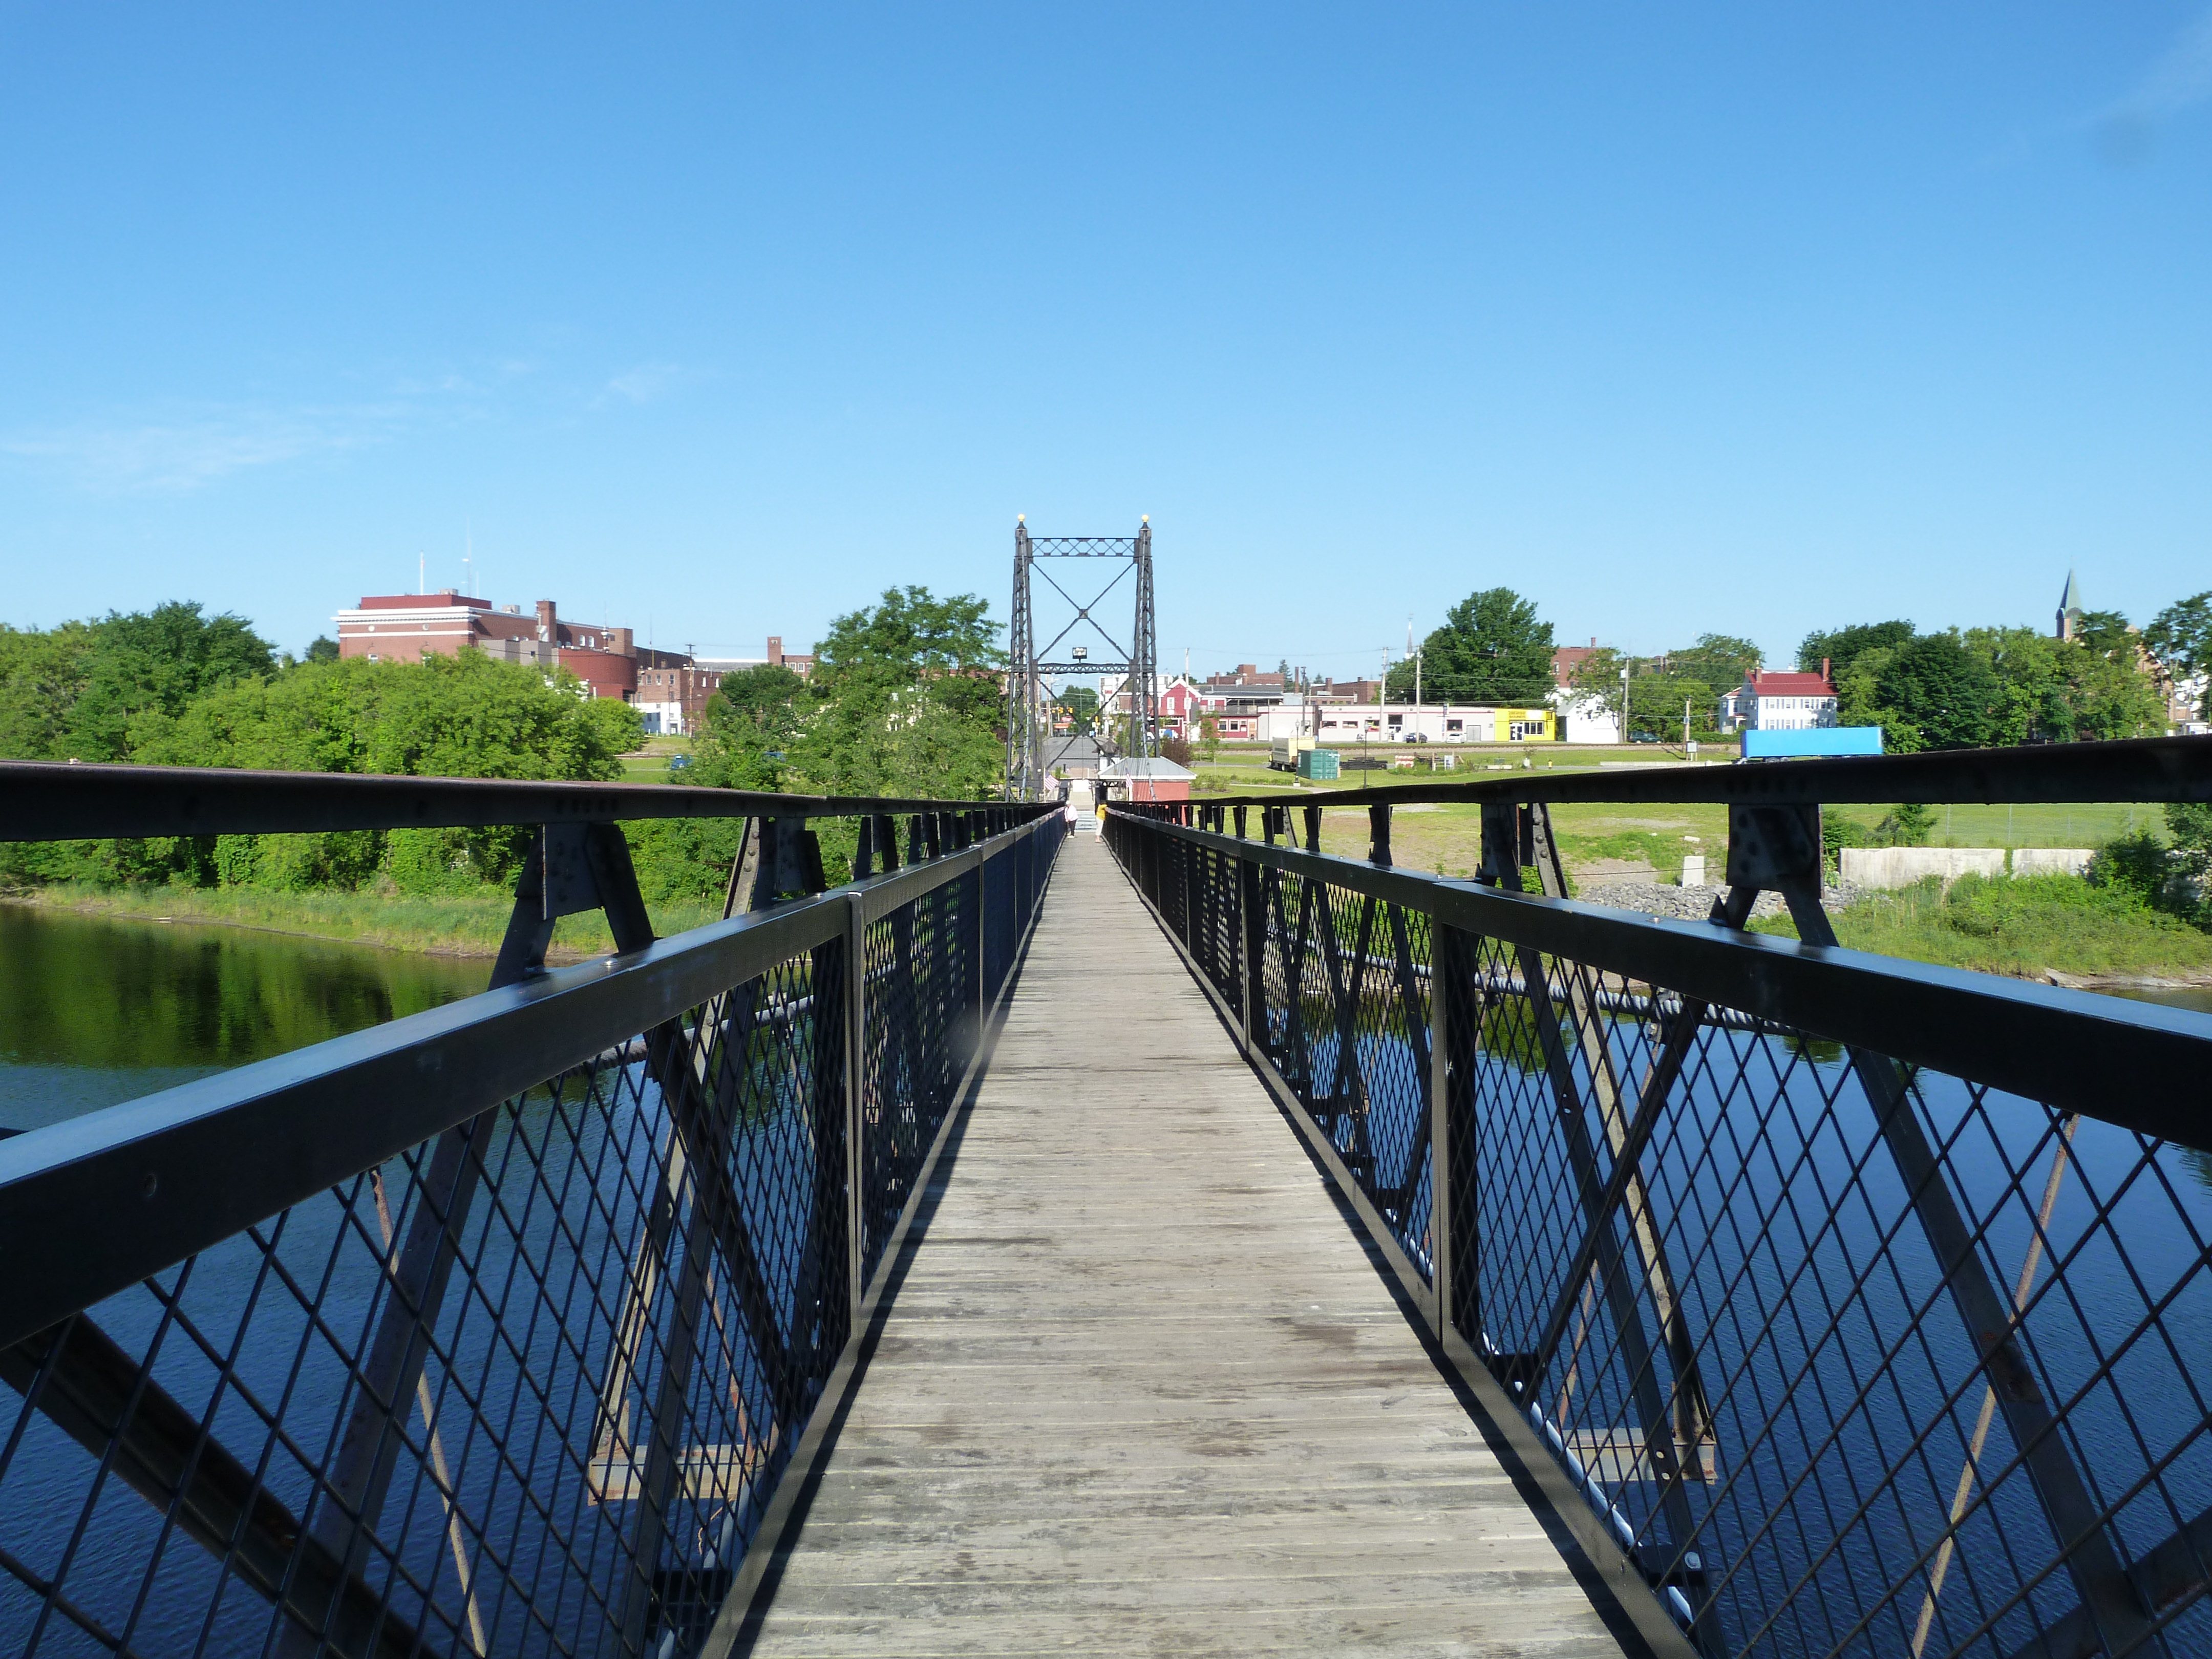


Portal views on suspension span facing west.
![]()


Pony truss span portal view facing west.
![]()

Portal view on pony truss span facing west.
![]()
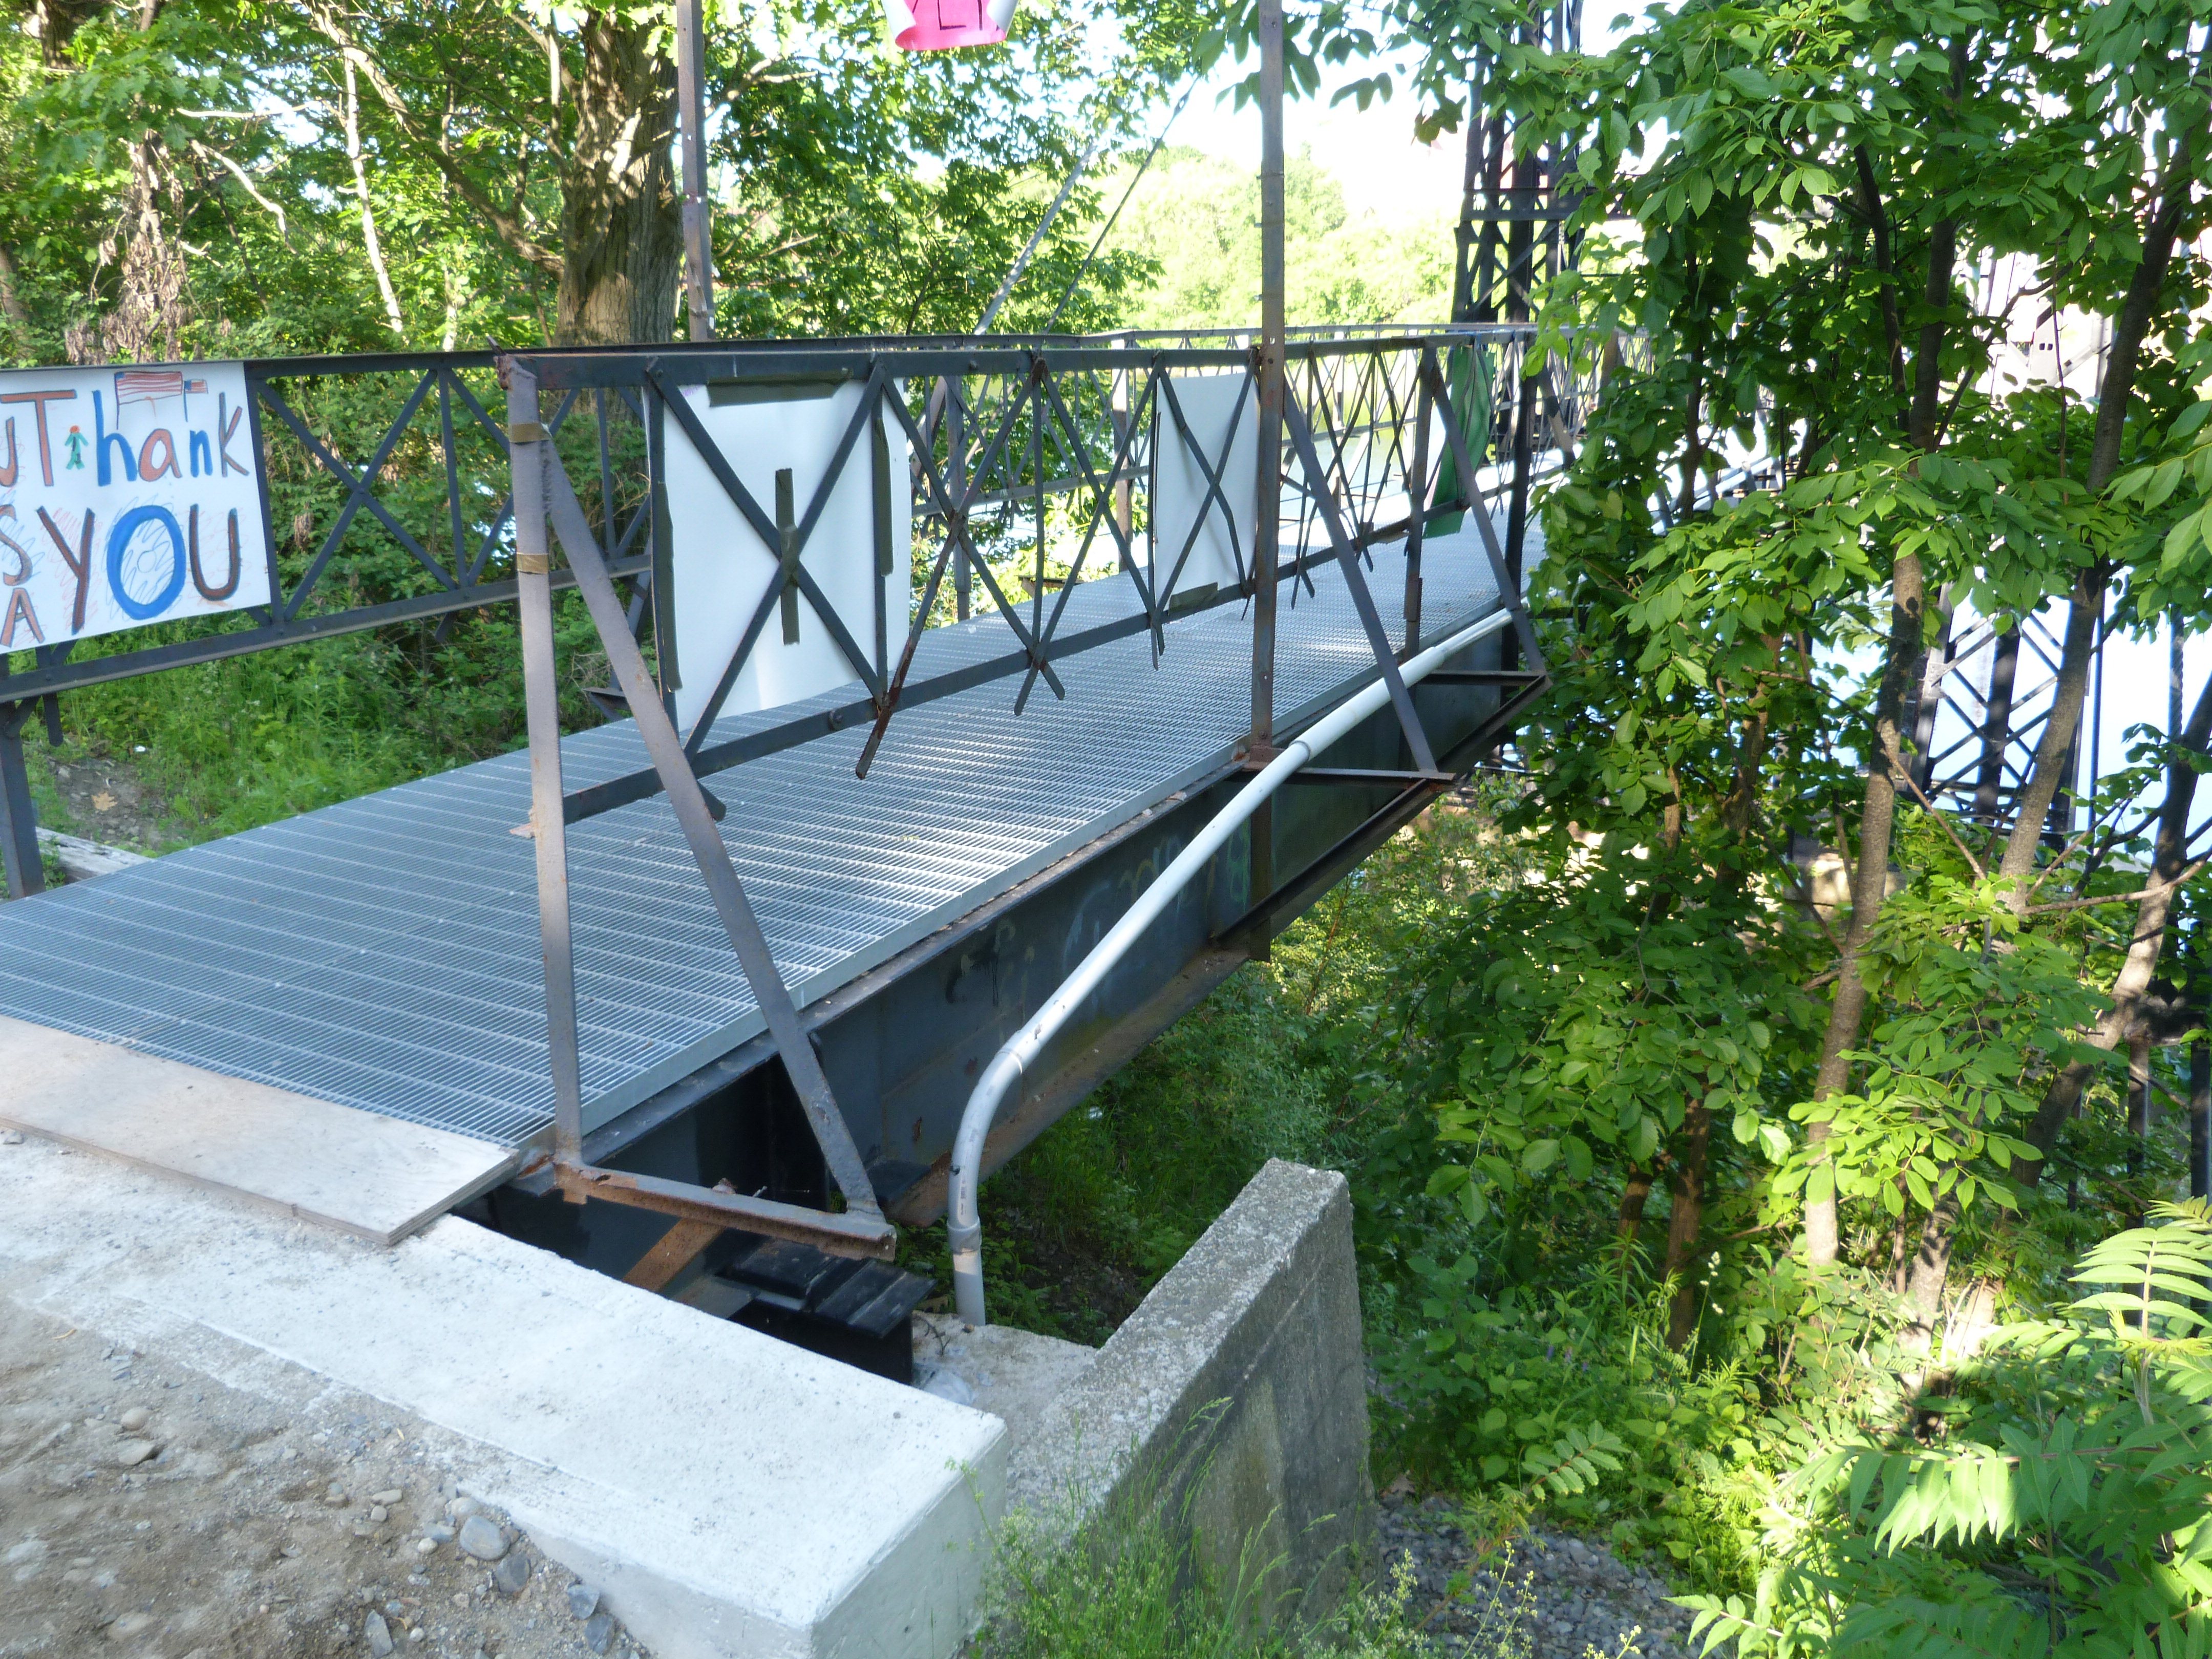

Views beside stringer approach span at eastern end.
![]()

View beside pony truss approach span at western end.
![]()


Plaque.
![]()


Interpretive sign.
![]()

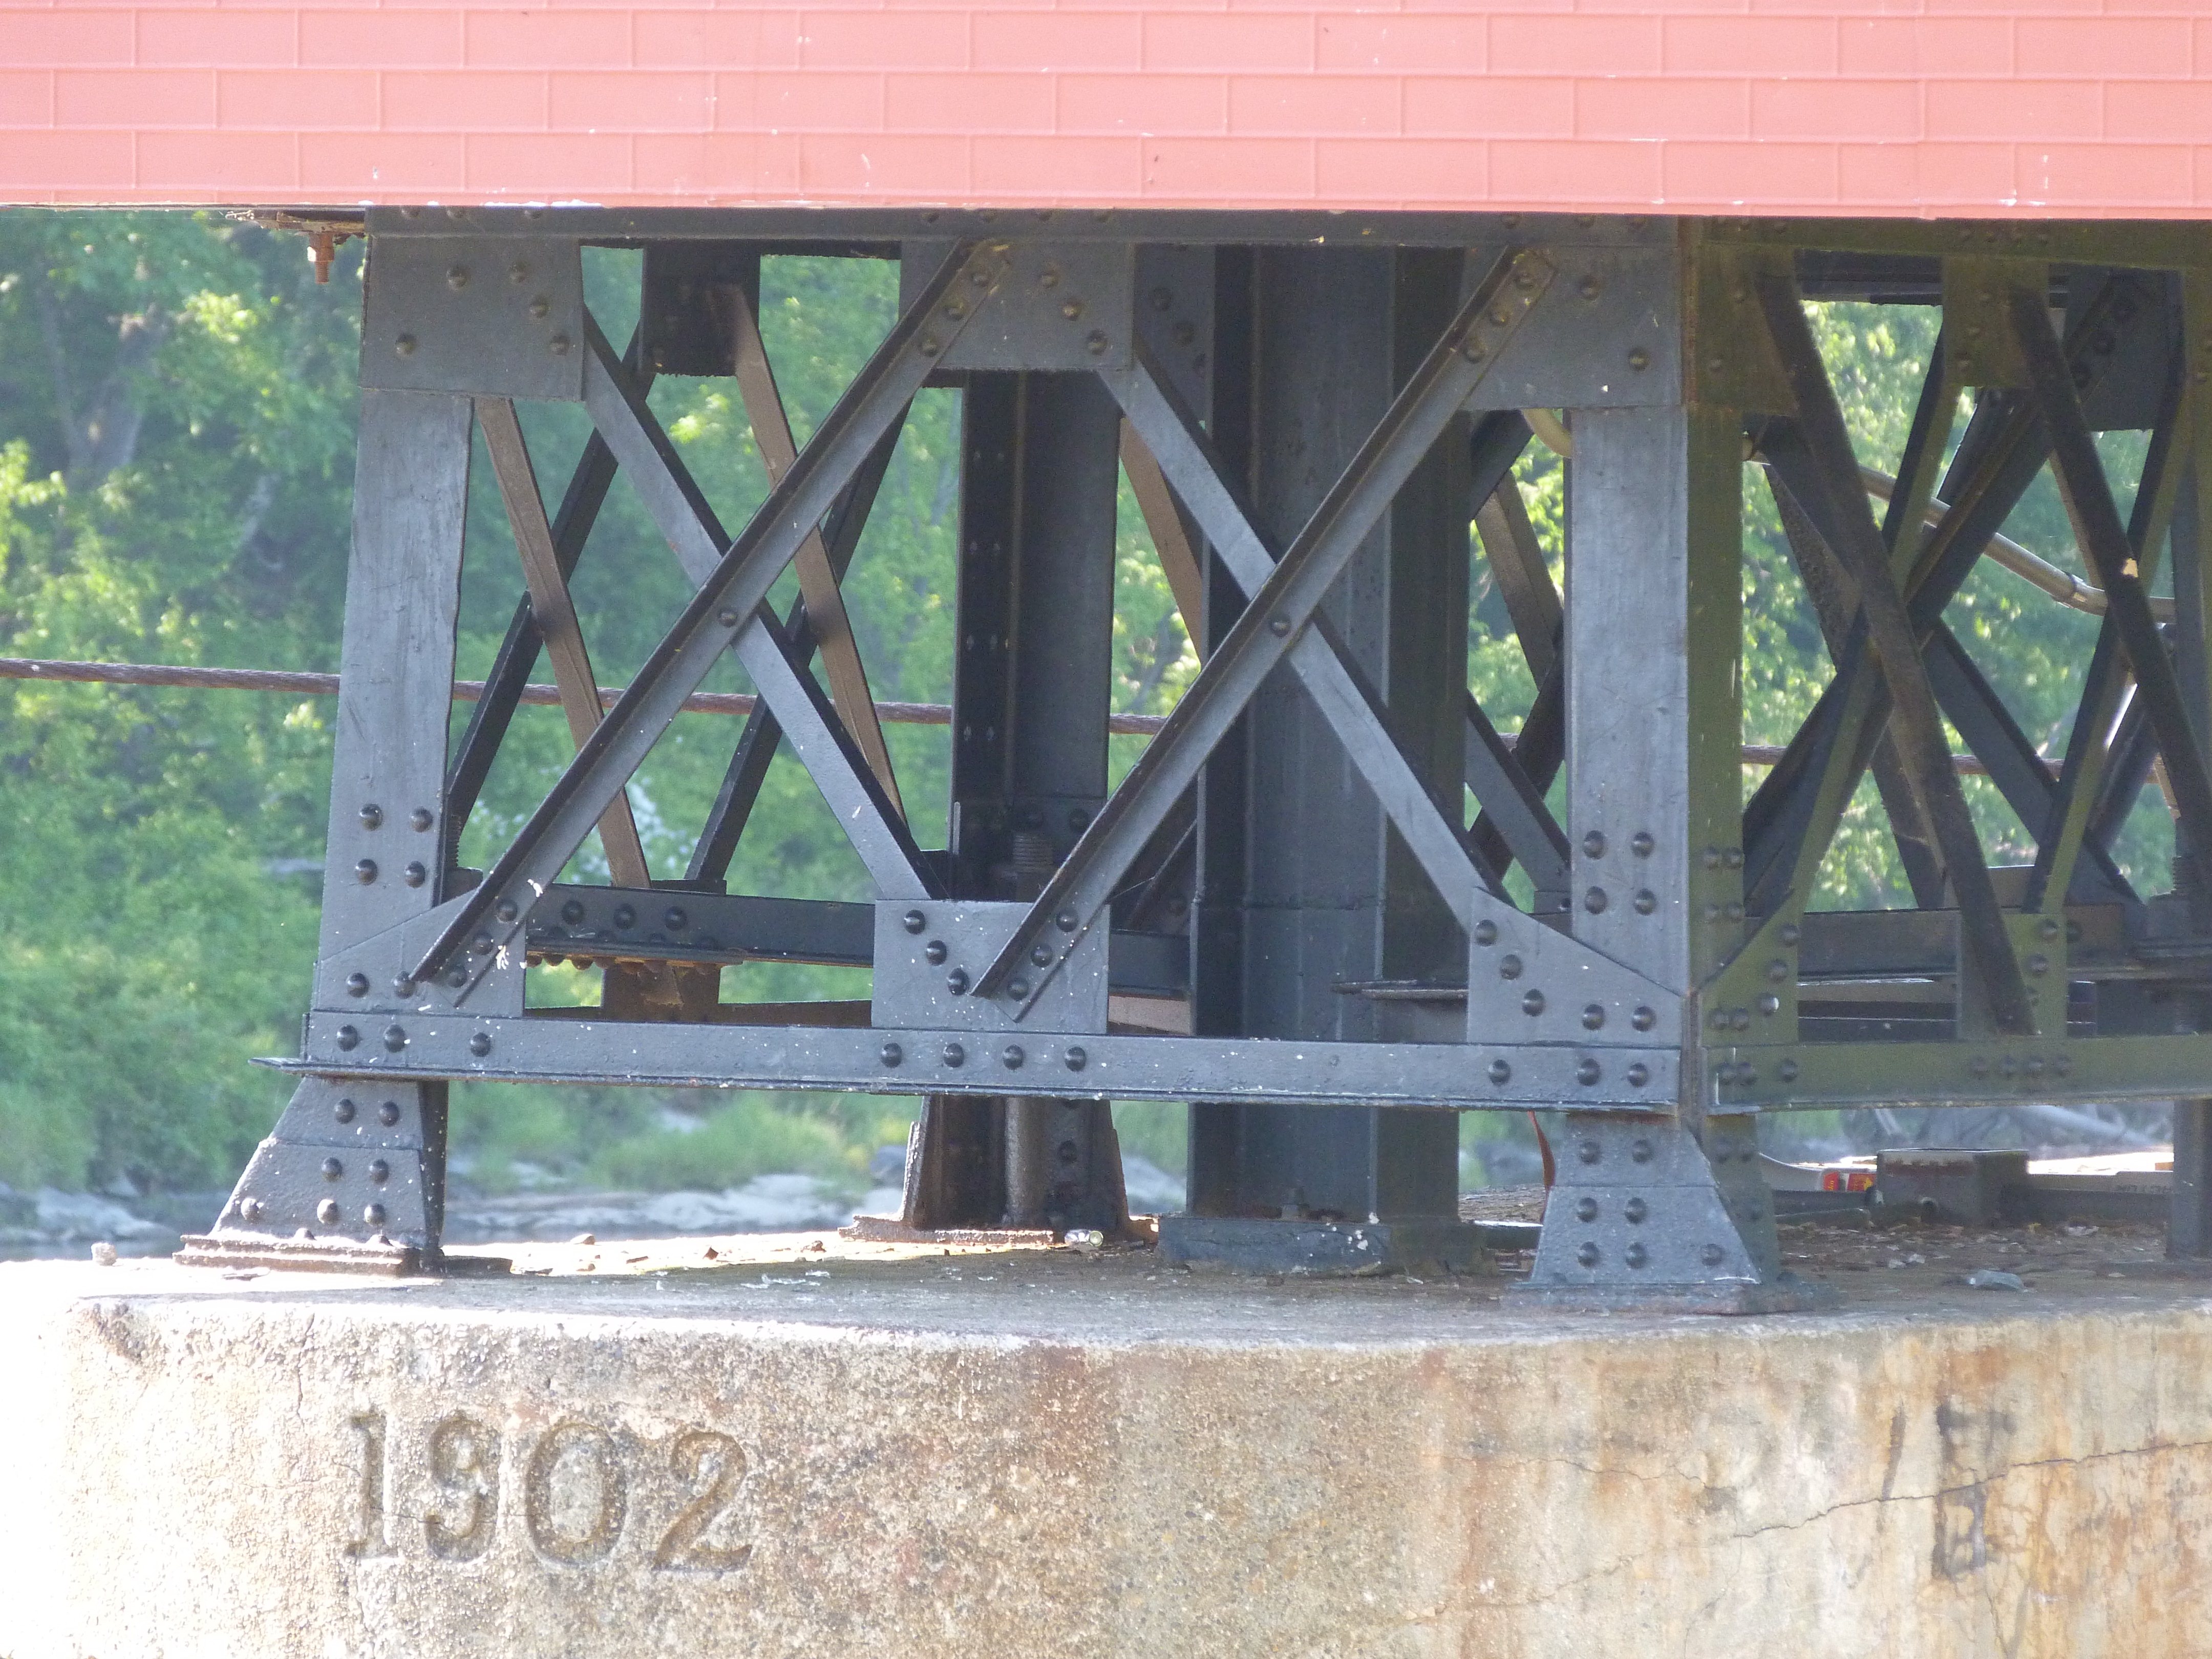
1902 date on pier.
![]()
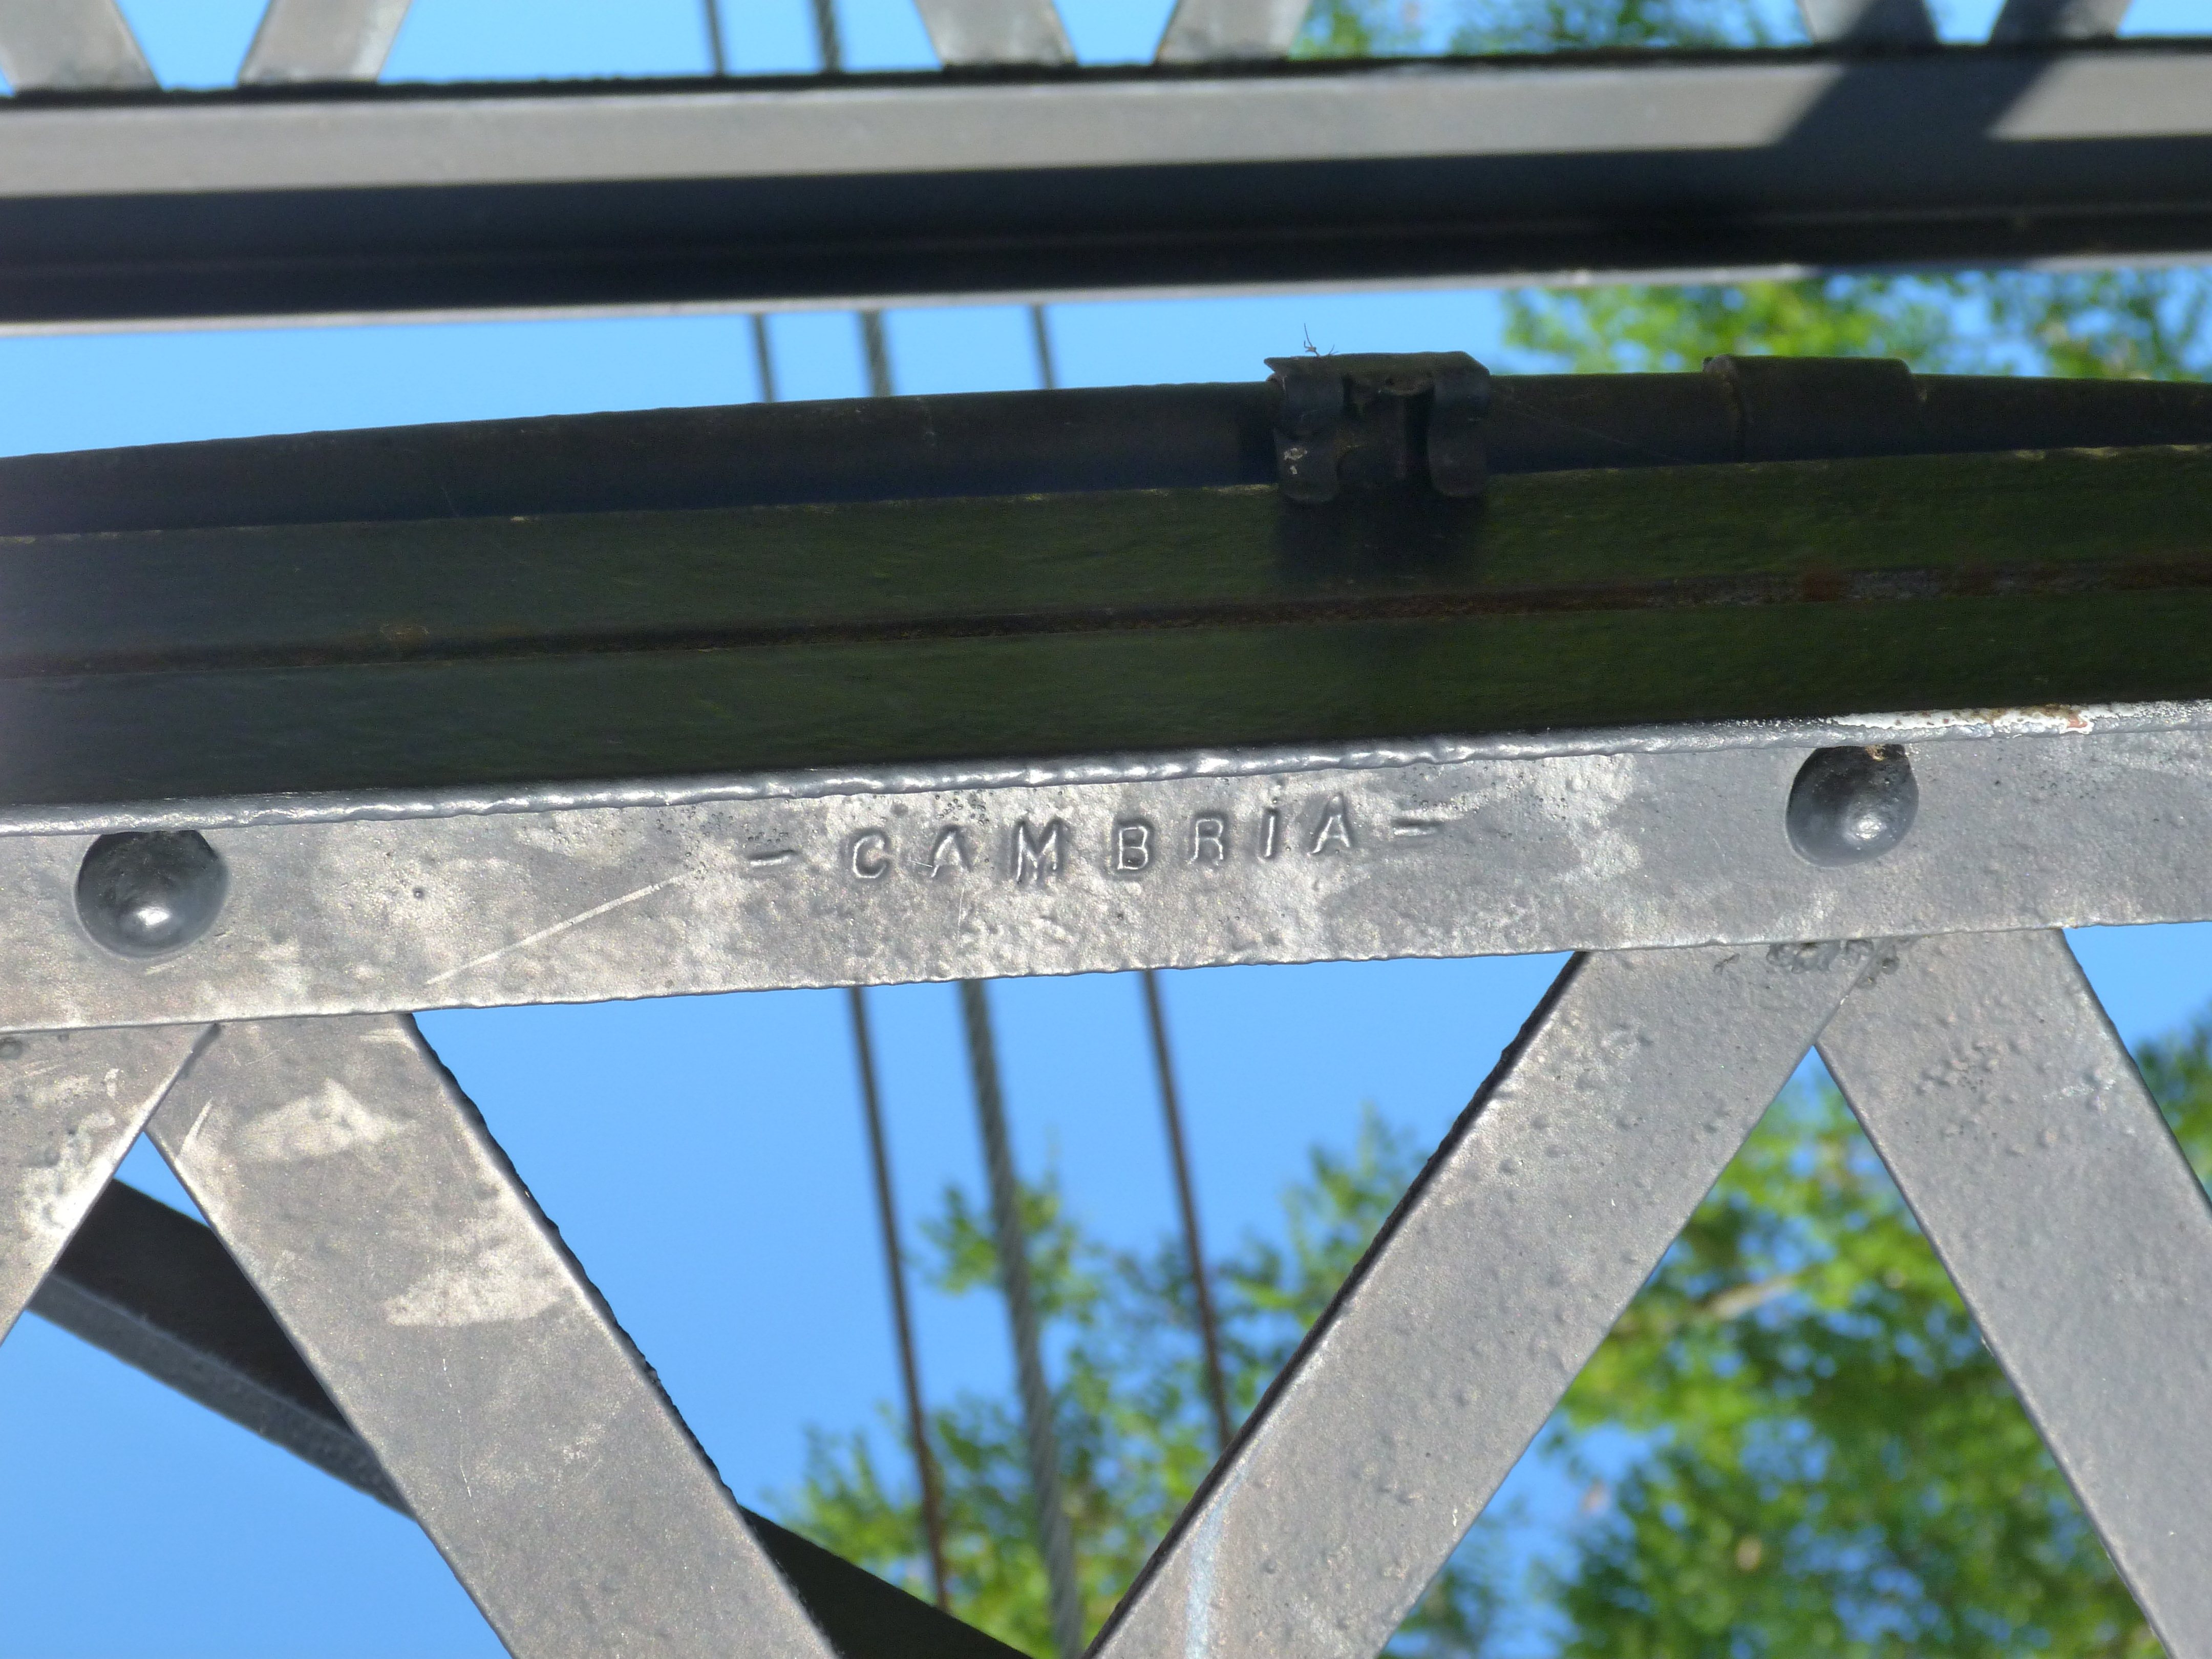

Cambria mill mark.
![]()


Views of toll house.
![]()

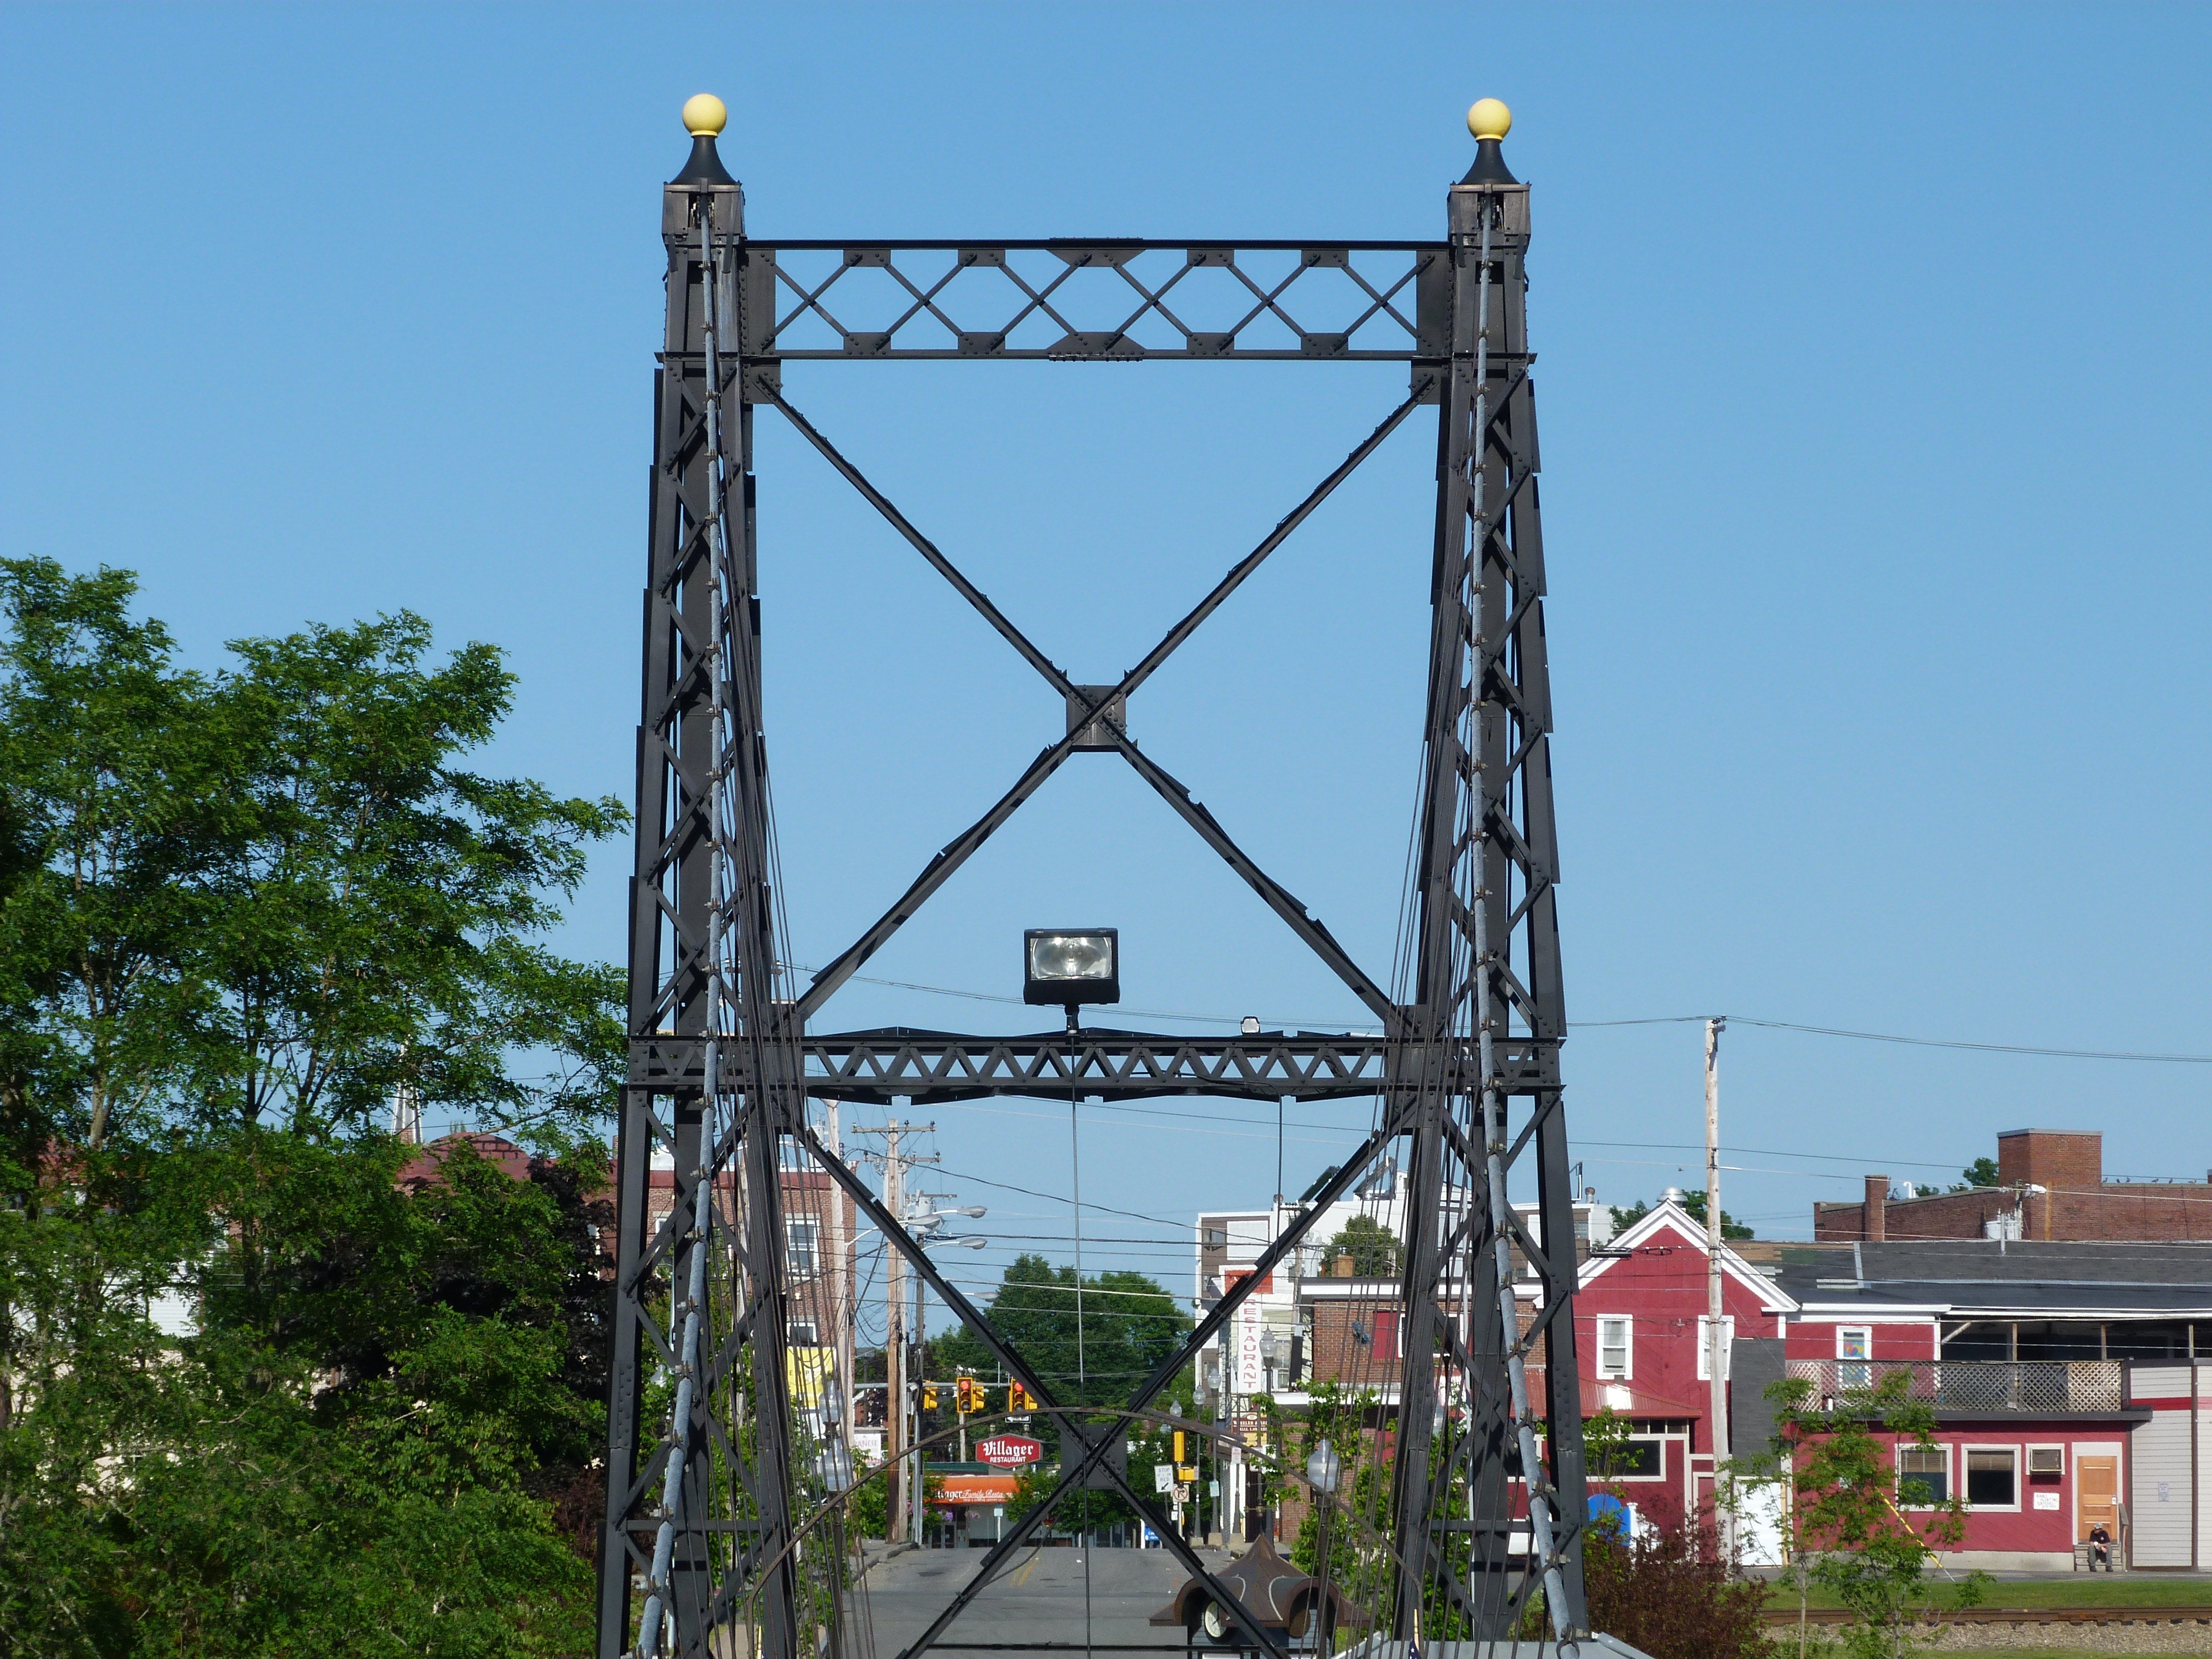


Overview of towers.
![]()

Pier for pony truss span.
![]()


Lattice railing on approach span.
![]()


Views under bridge.
![]()
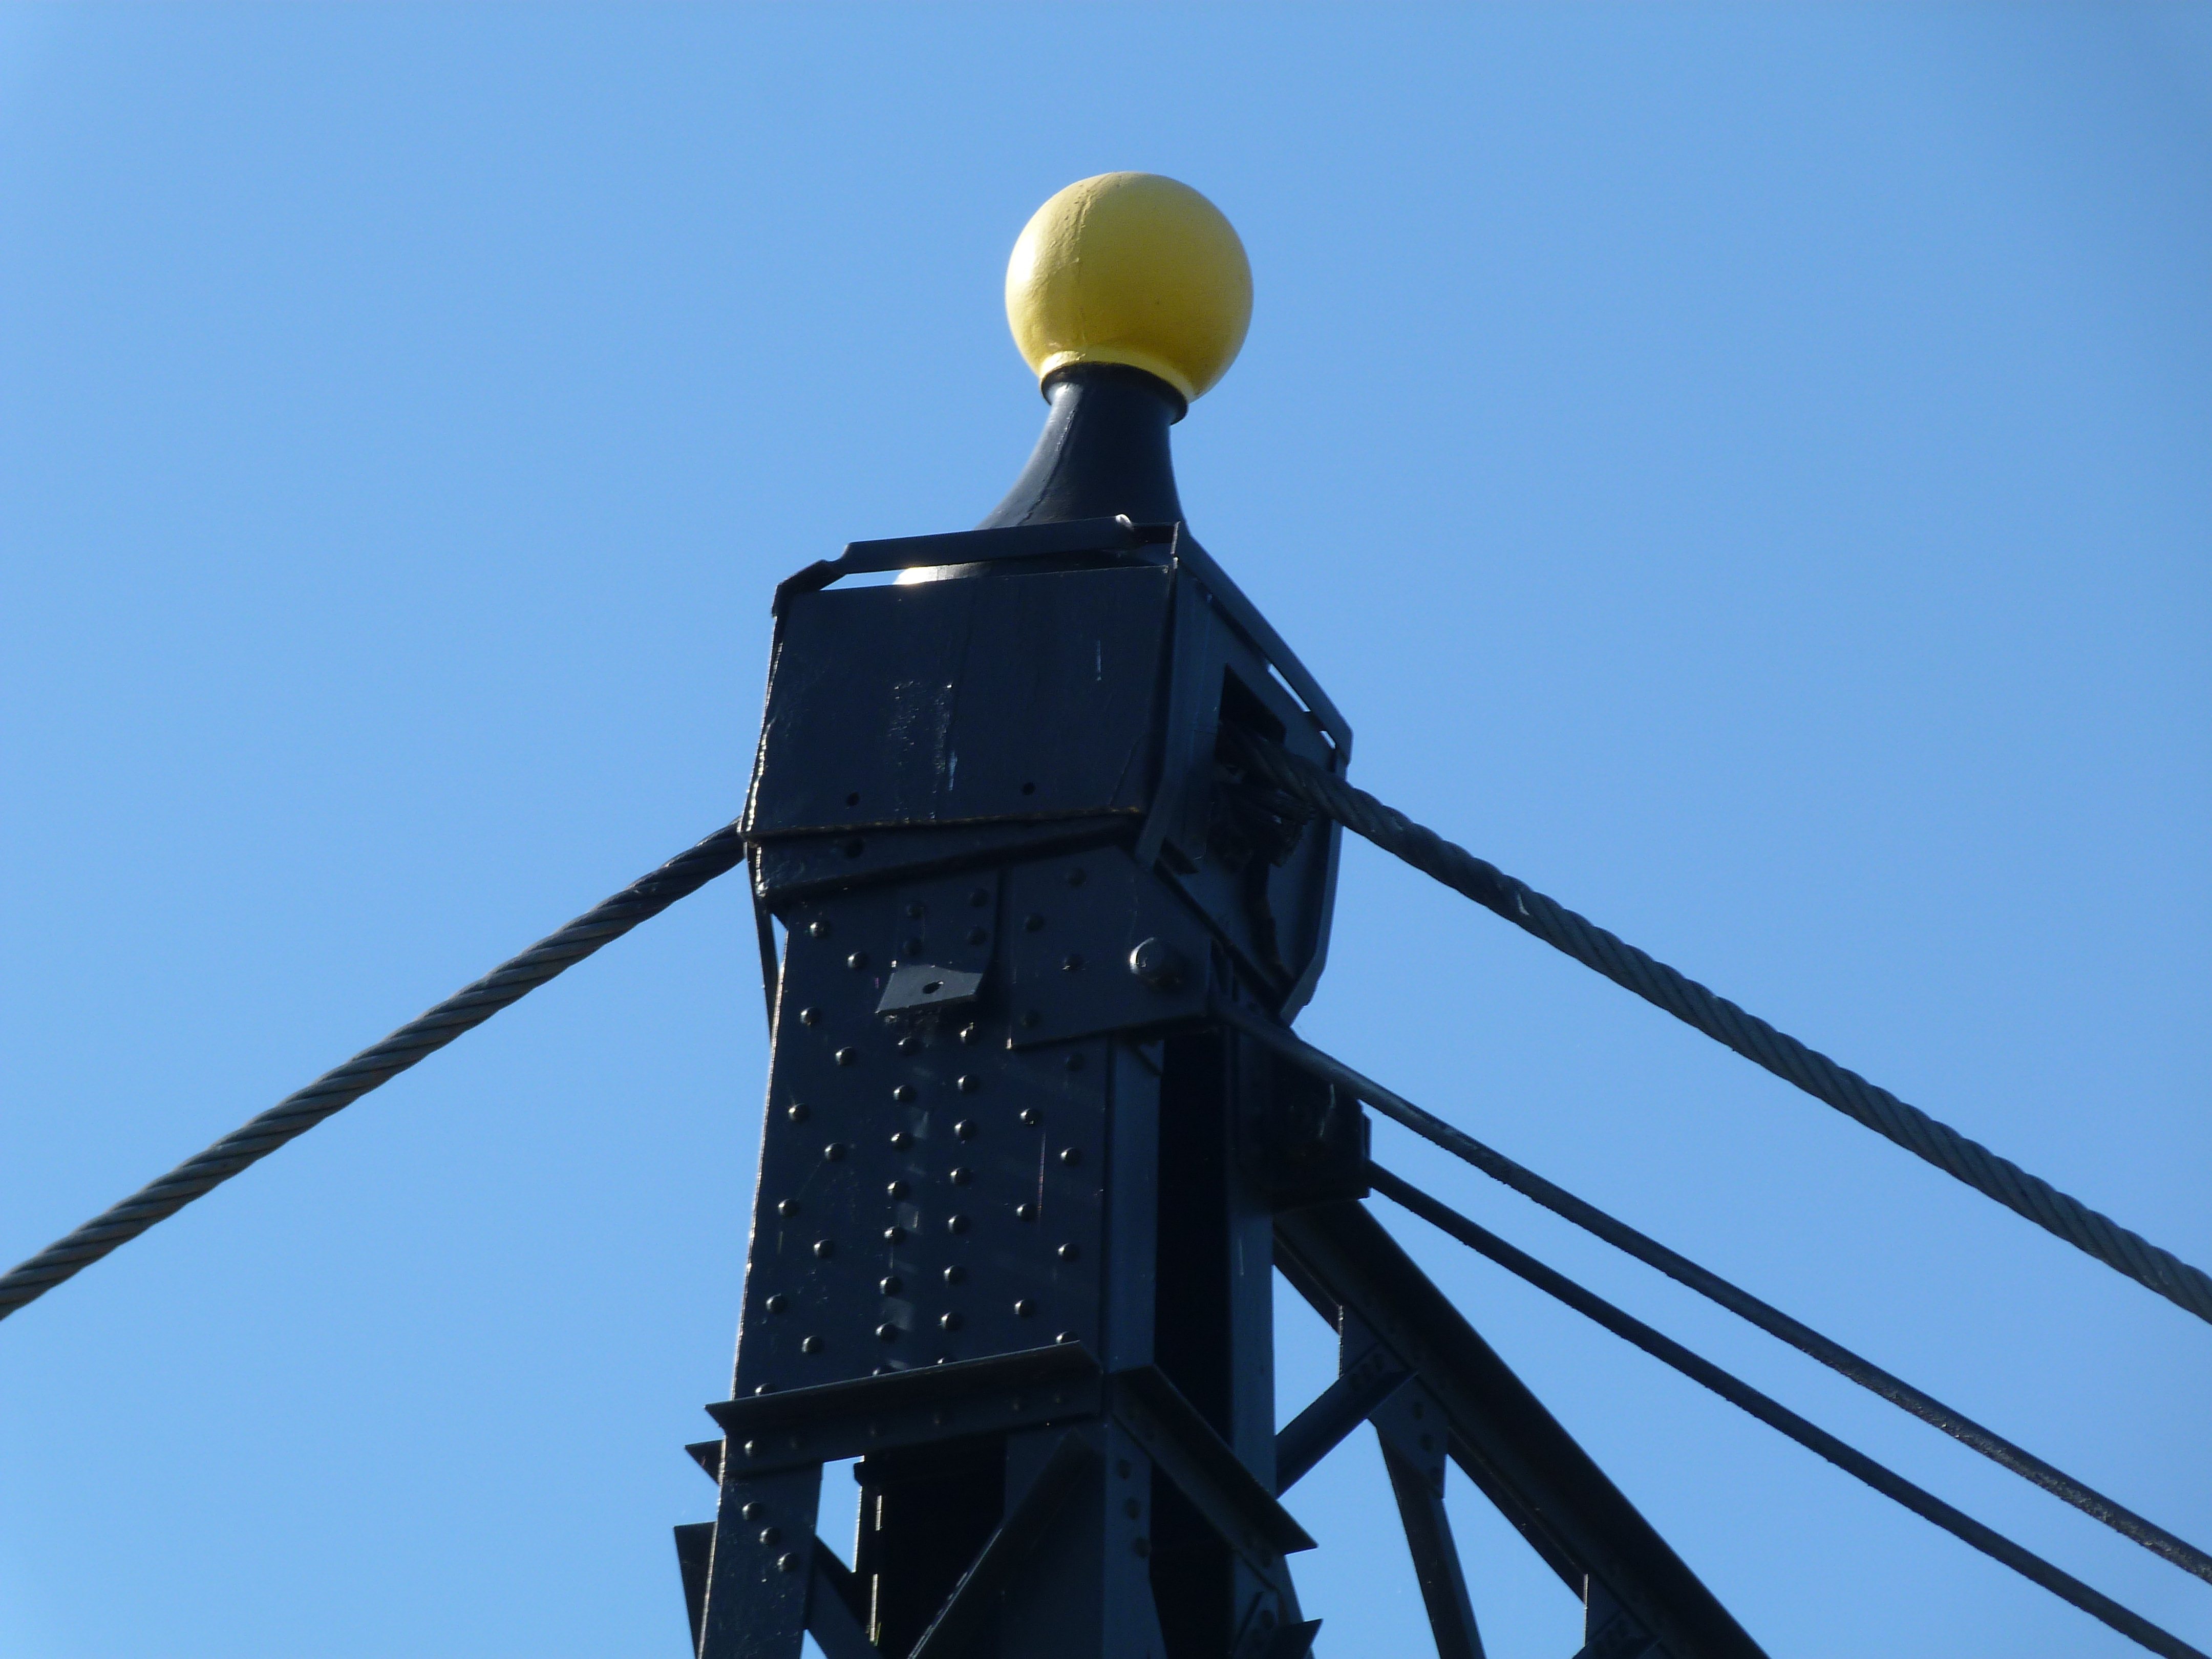


Details at top of tower.
![]()


Details at bottom of tower.
![]()


Details at middle of tower.
![]()


Tower bracing details.
![]()


Pony truss span top chord connections.
![]()


Pony truss span bottom chord connections.
![]()

Pony truss top chord.
![]()


Stiffening truss top chord connections.
![]()

Stiffening truss top chord.
![]()


Outrigger details.
![]()


Main cable details.
![]()


Suspenders.
![]()

Suspender near center of bridge.
![]()
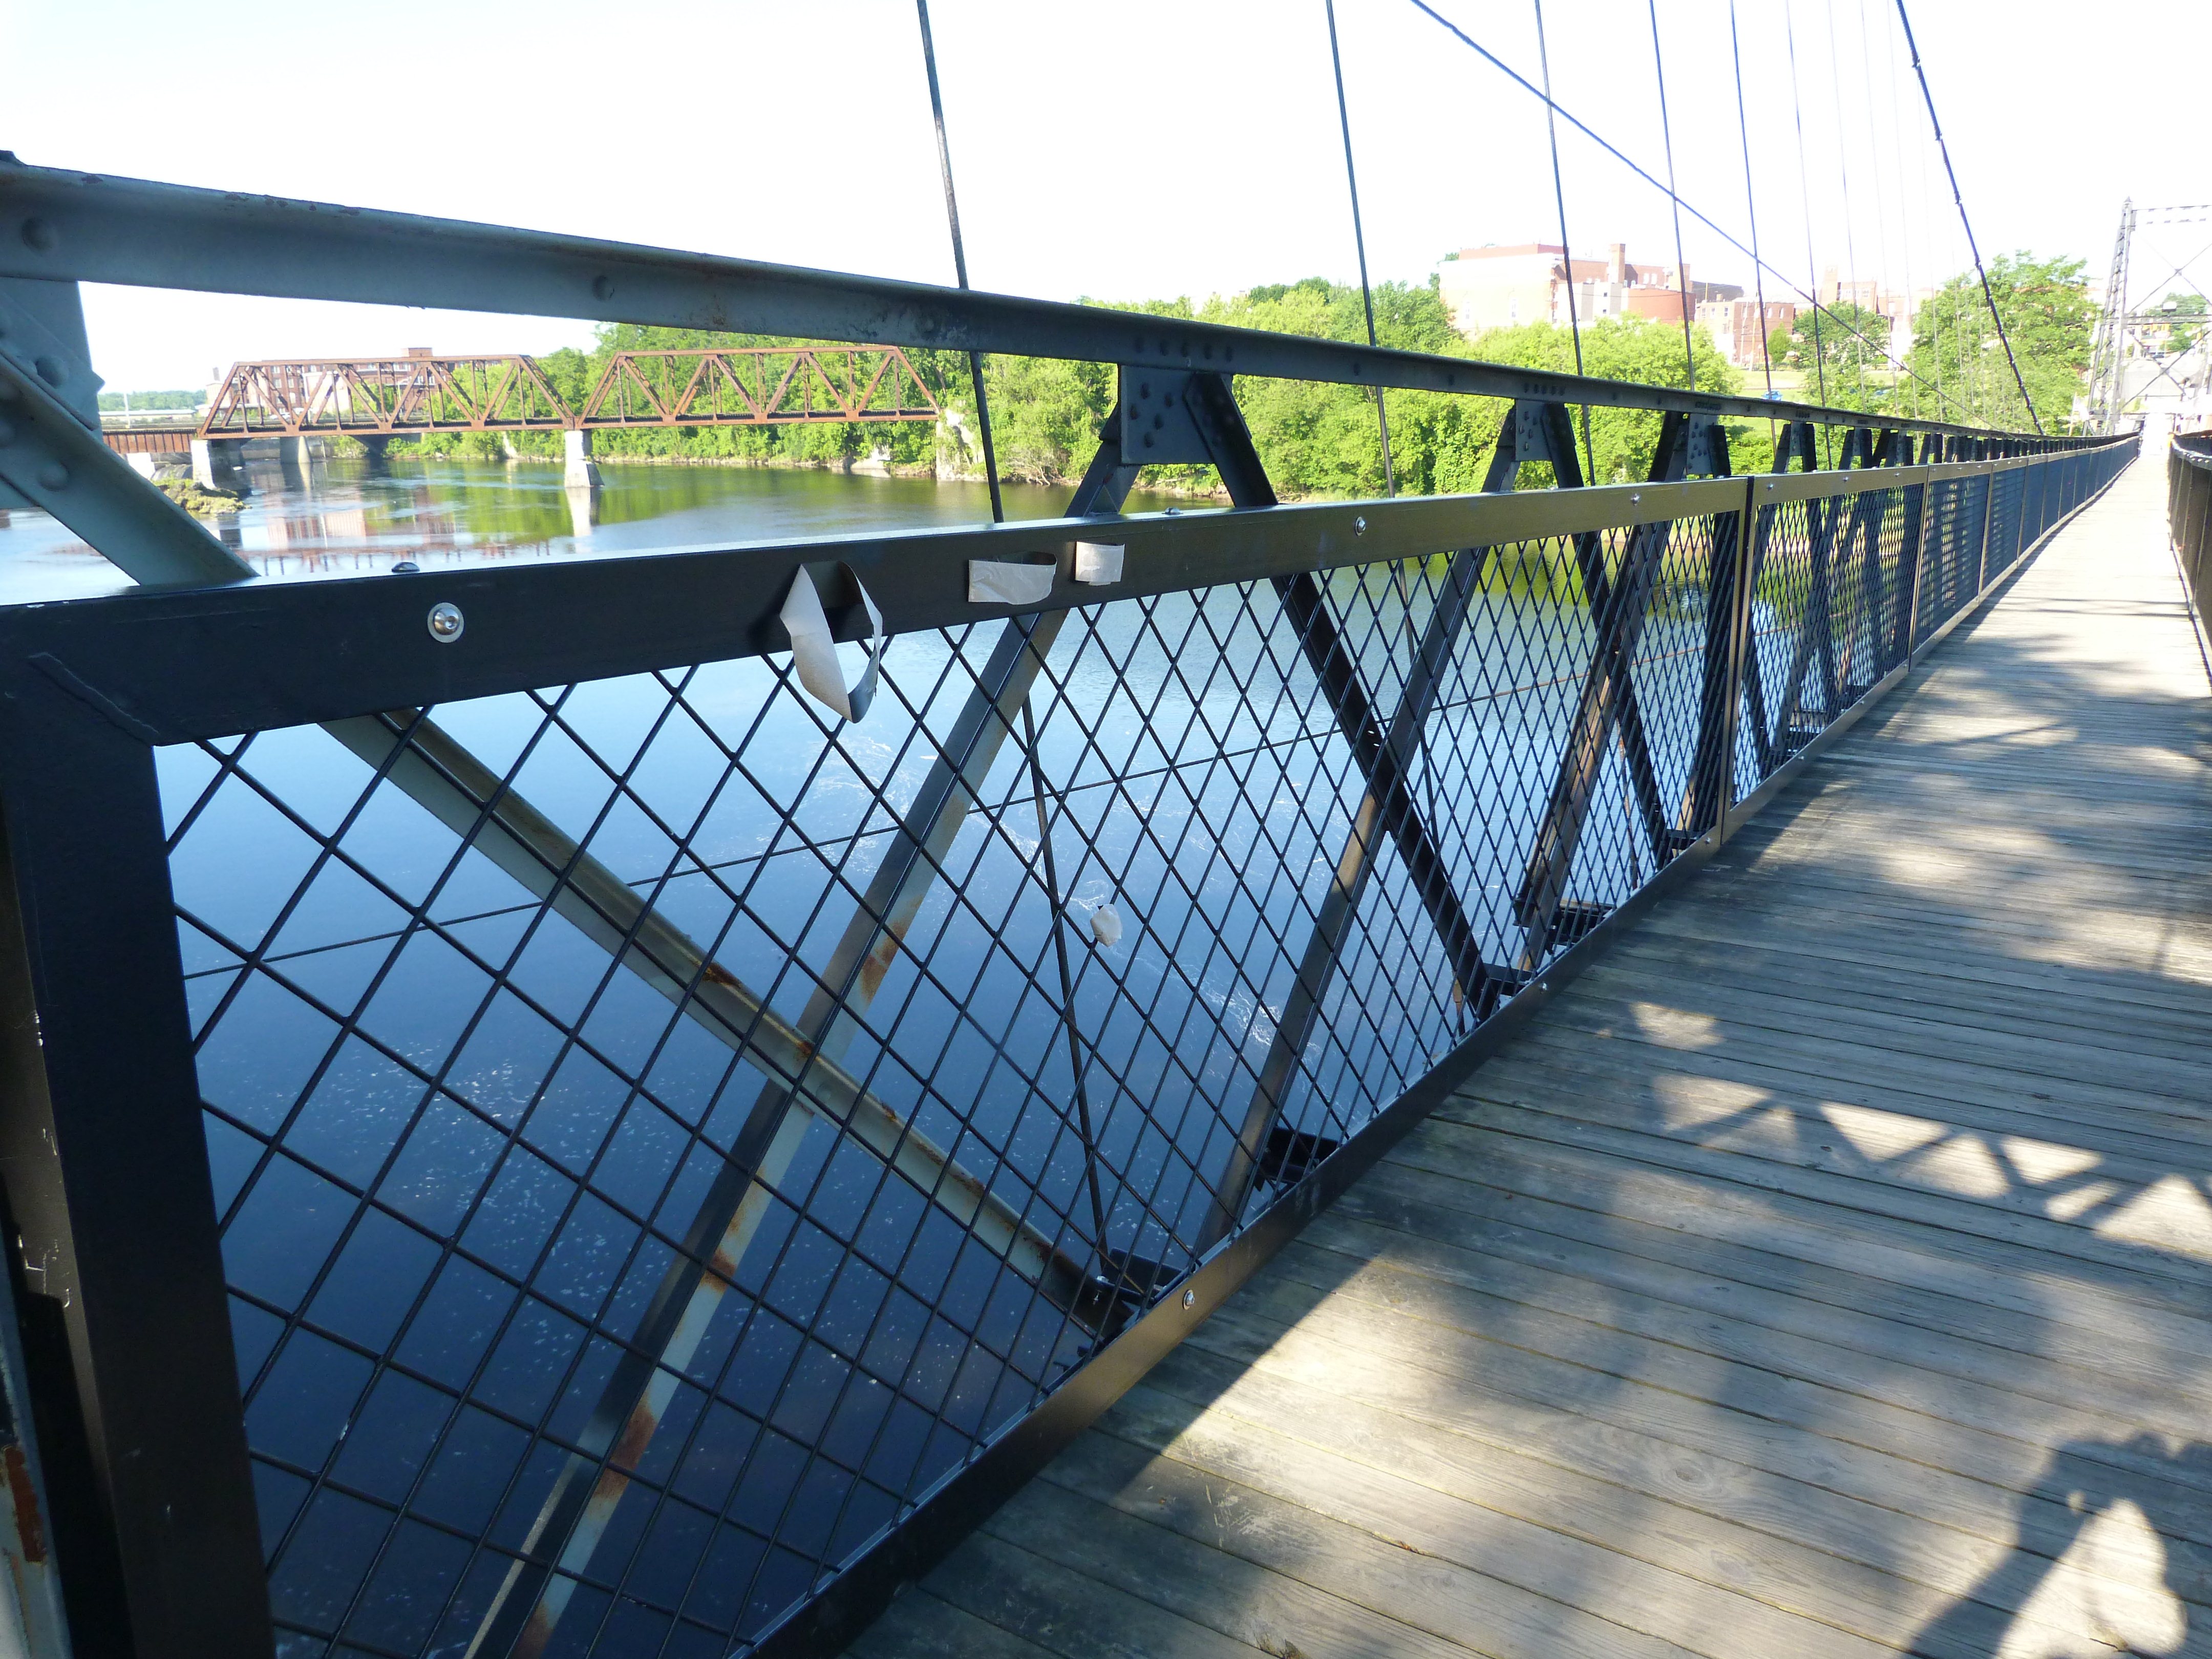


Stiffening truss and modern railing.
![]()

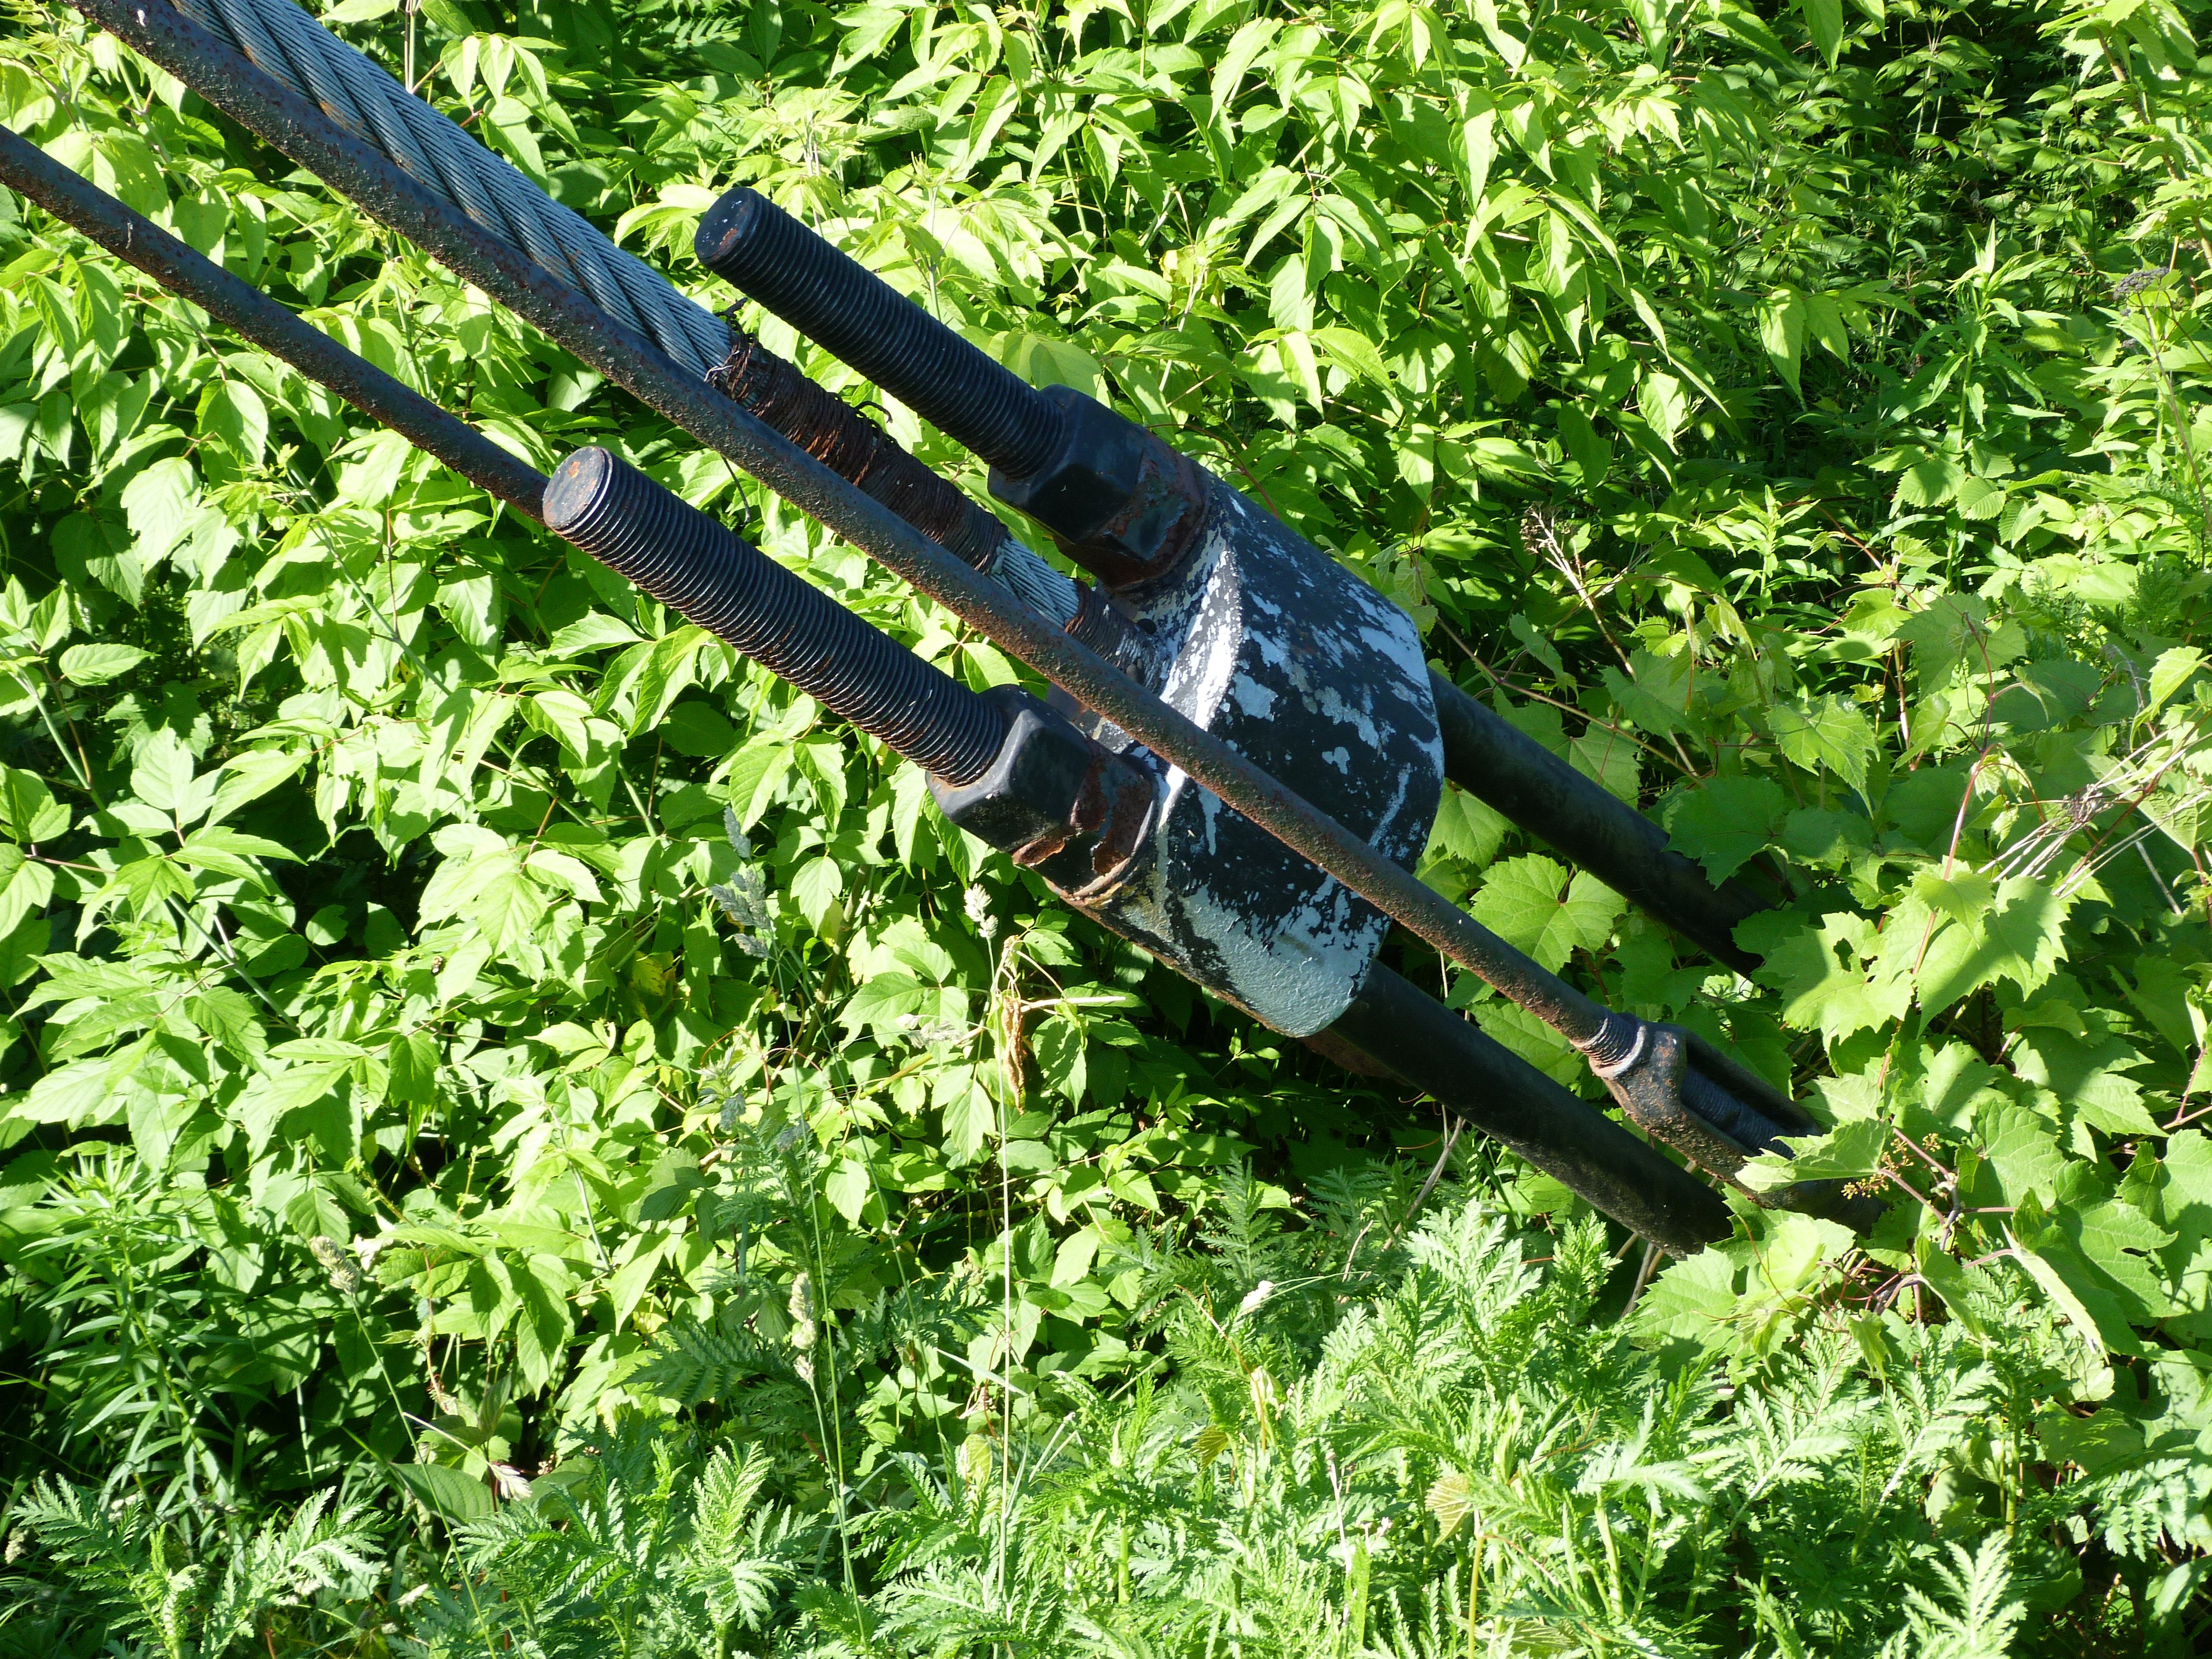
Looking at a lateral cable brace near where it is anchored to the ground.
![]()
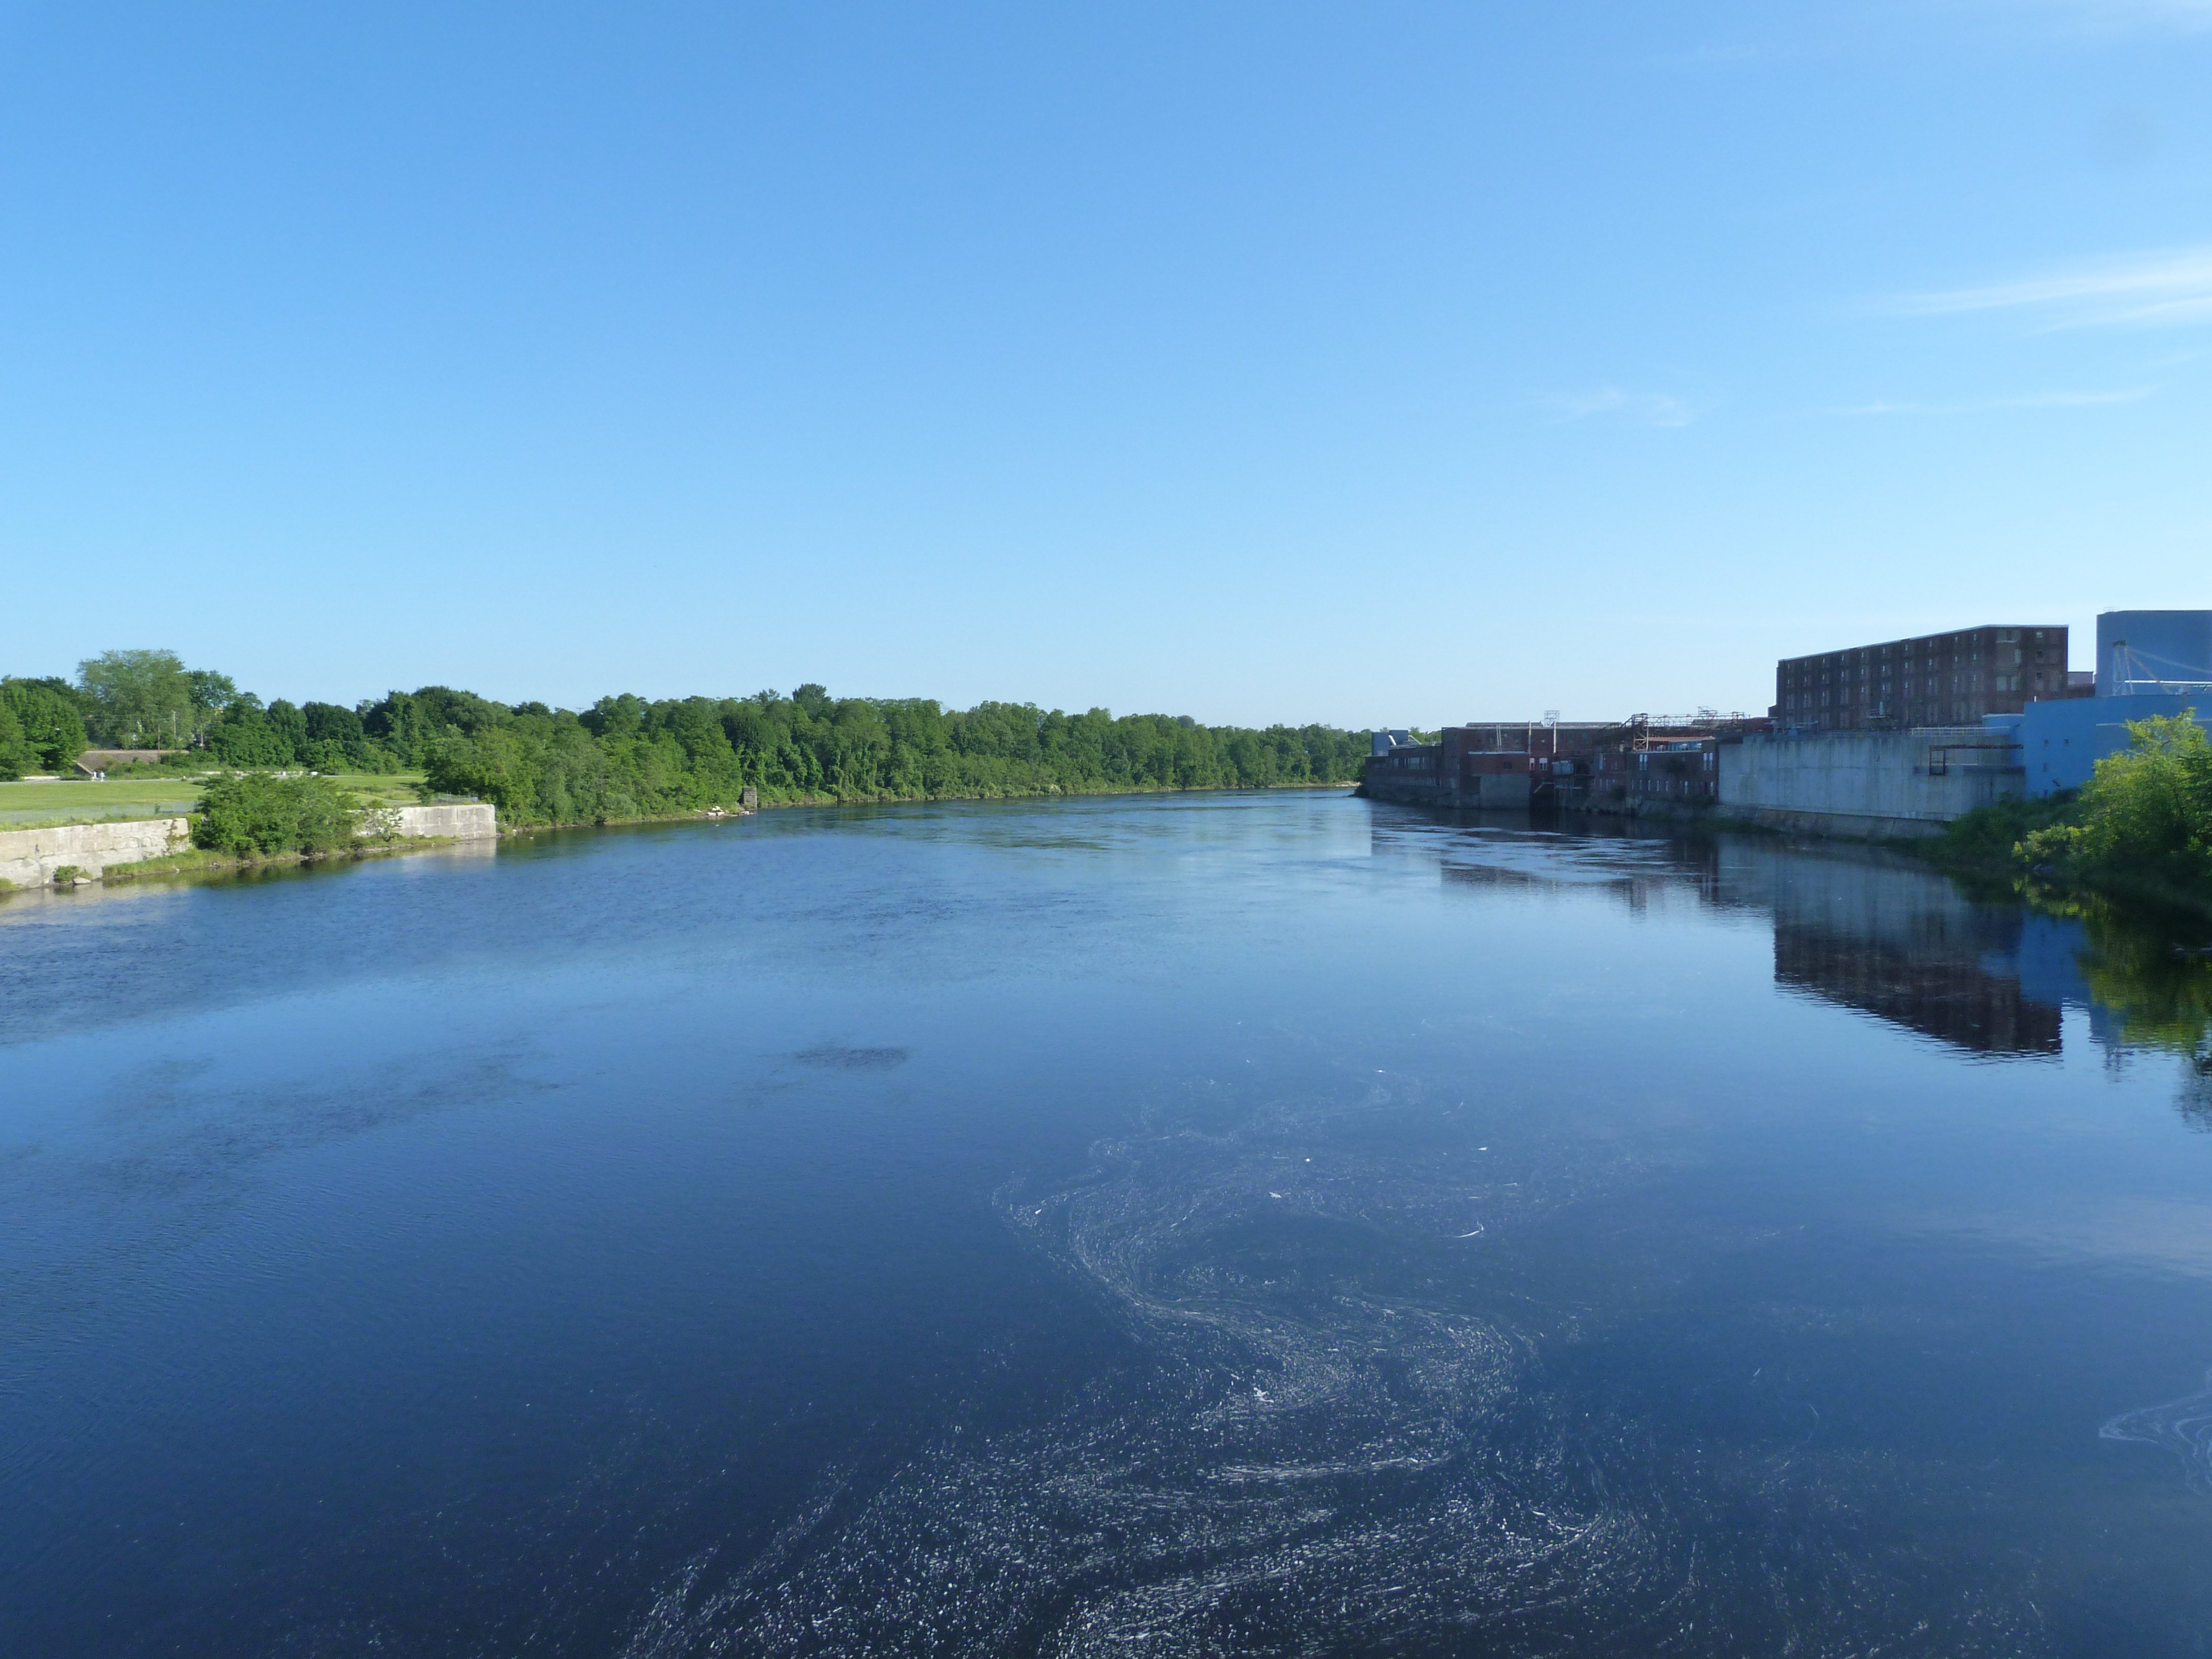
Scenery at bridge.
![]()
![]()
| Back |
| Home |
| Top |

![]()