Uncredited photos on this page taken by: Nathan Holth. Unless stated in a caption, all photos are Copyright with All Rights Reserved. Learn about reuse of our photos.
![]()
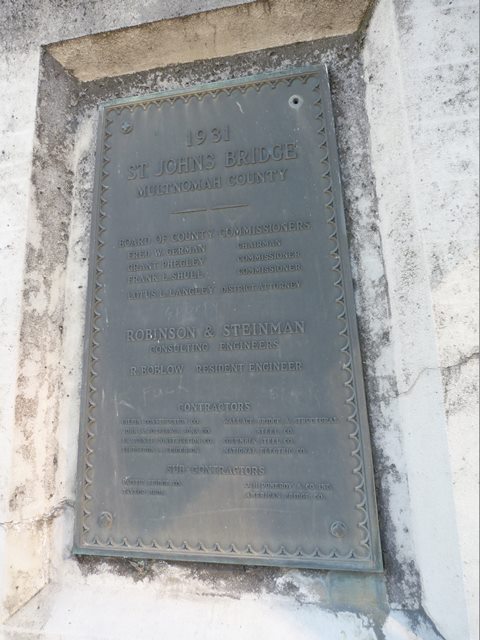

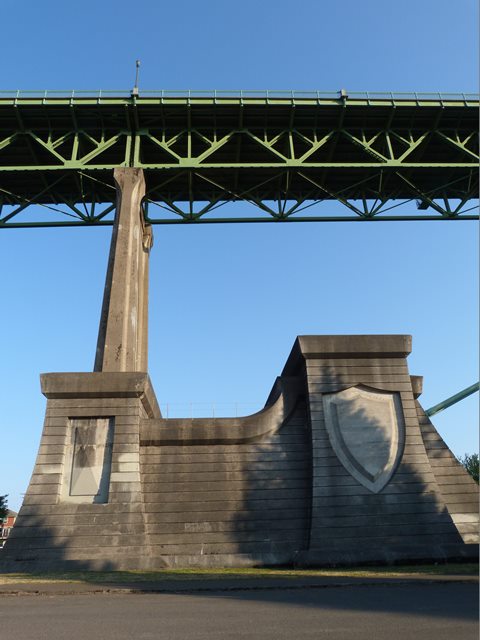
Plaque at abutment.
![]()


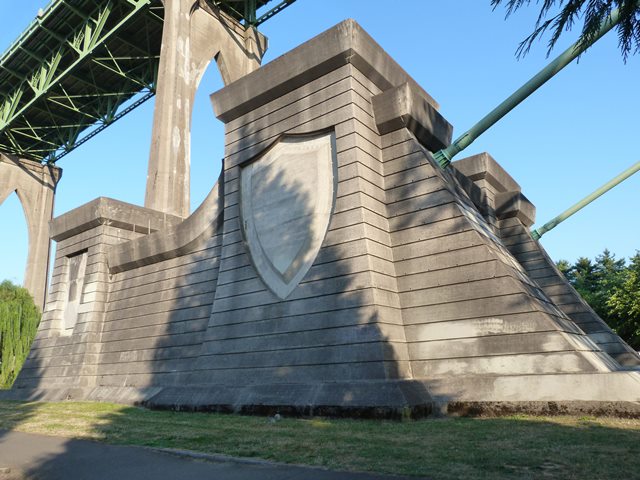
Plaques at towers.
![]()


PCS Co. Brand
![]()
Bethlehem brand.
![]()


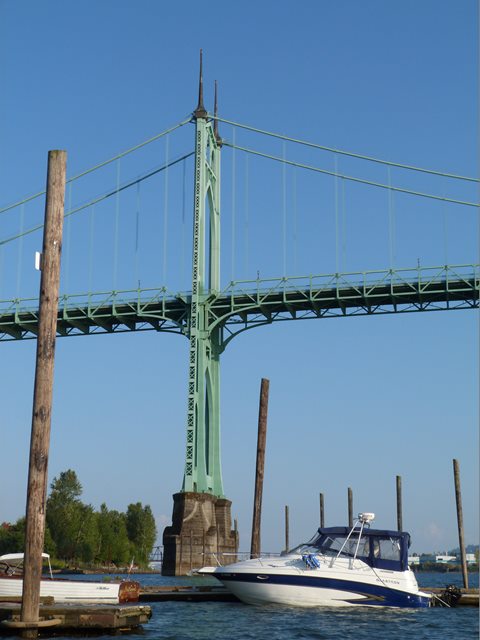
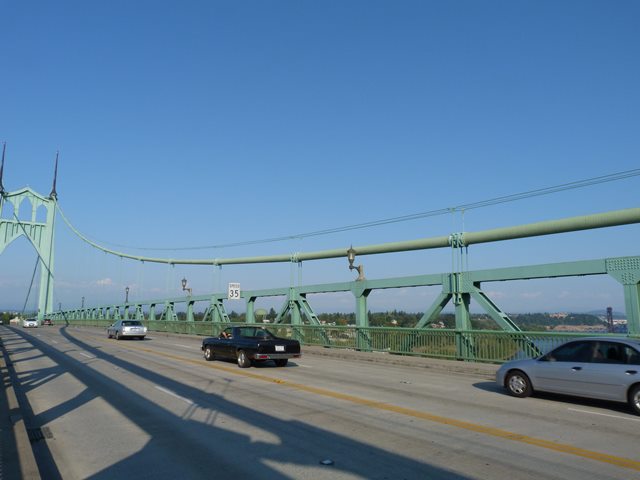
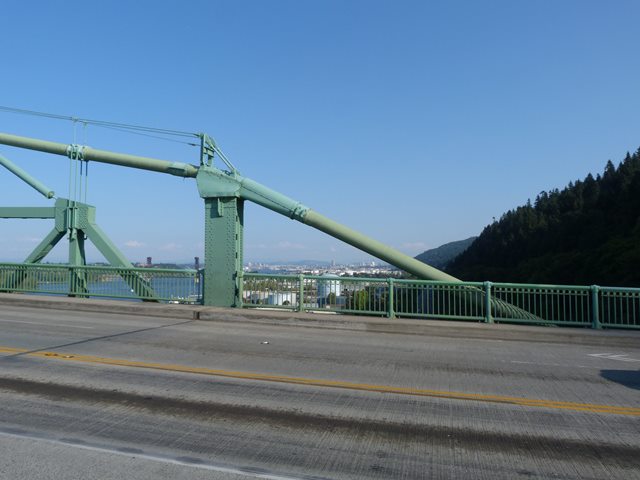
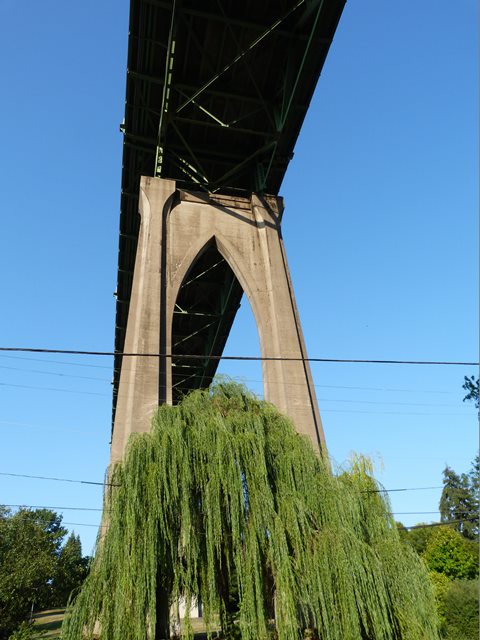
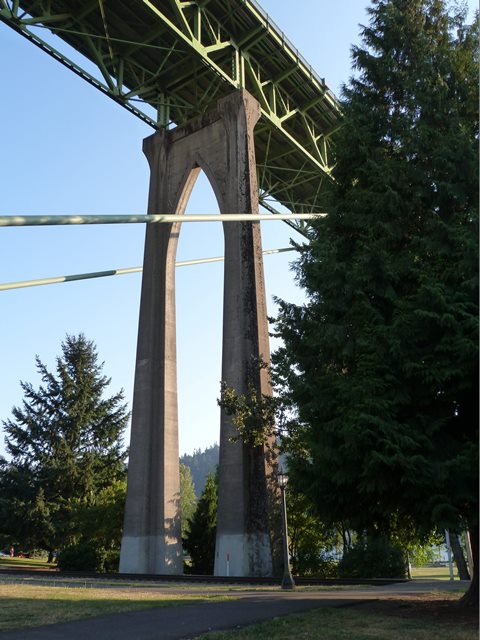
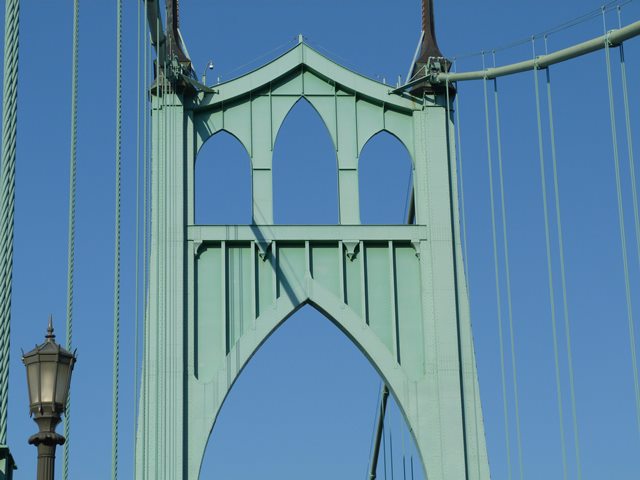
Views of towers from beside bridge.
![]()
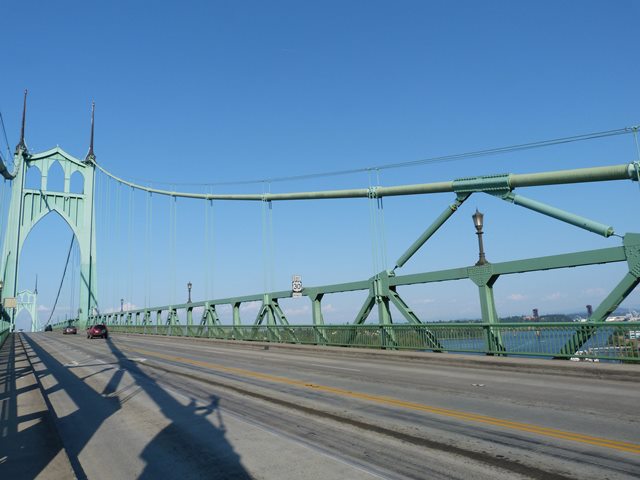
Views of towers from on bridge.
![]()
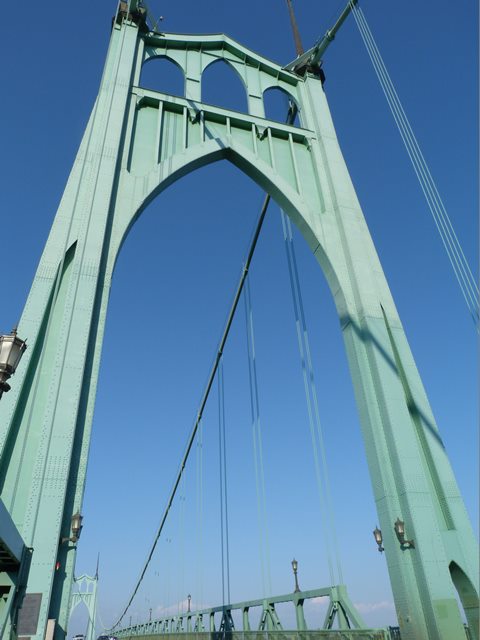
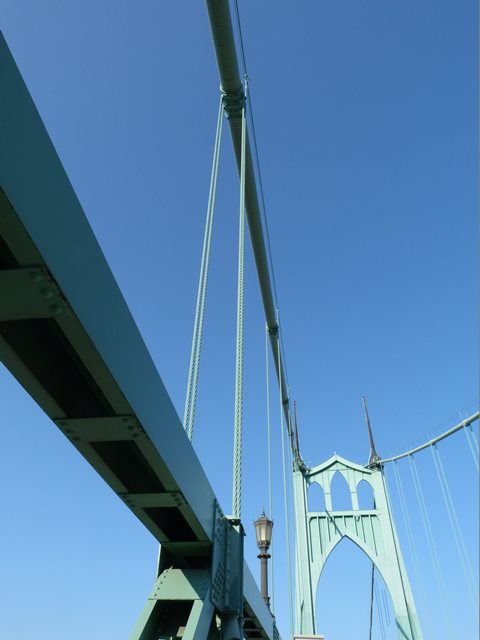
Looking up at the towers from on bridge.
![]()


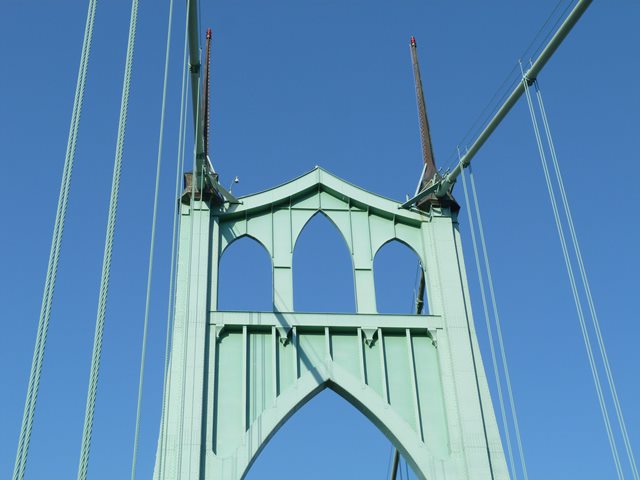
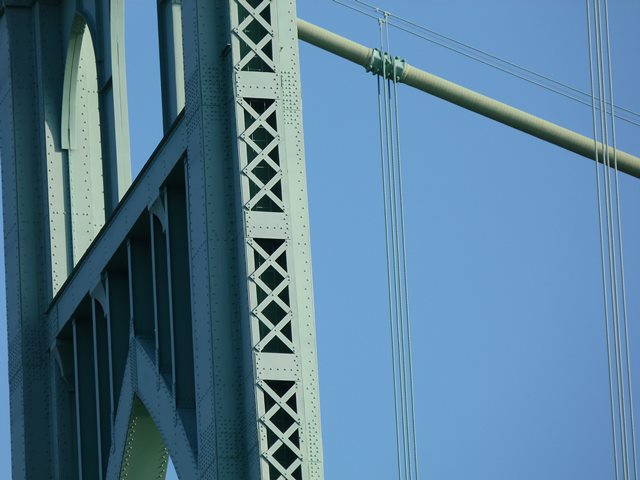
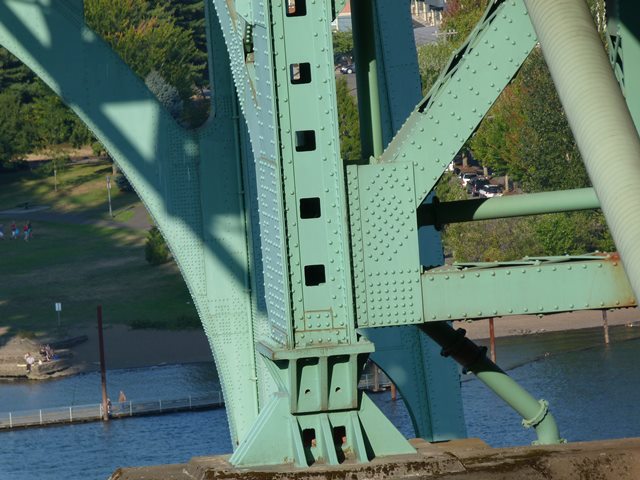
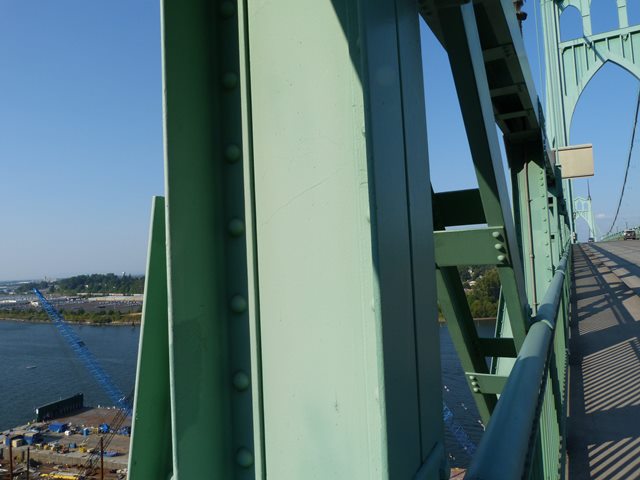
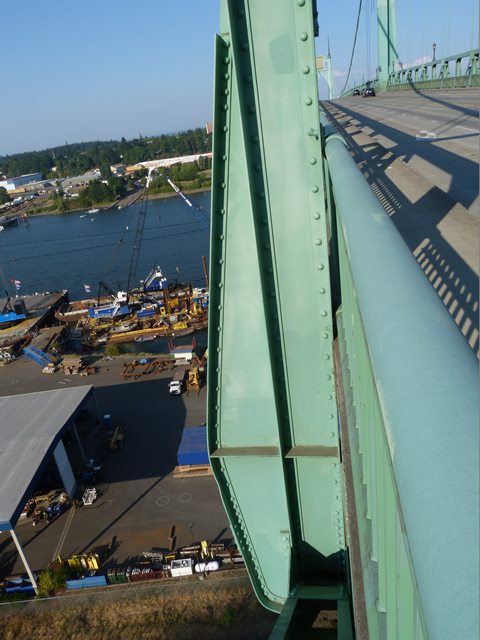
Views of individual tower columns.
![]()

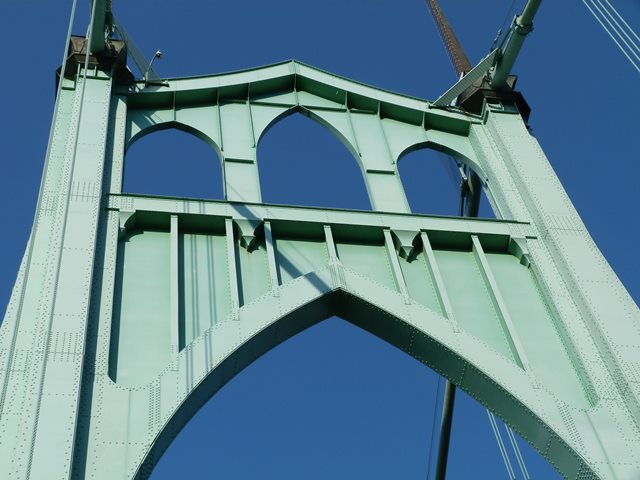


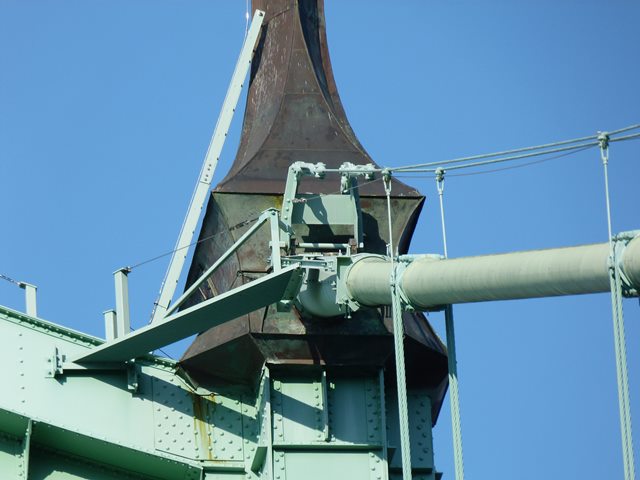
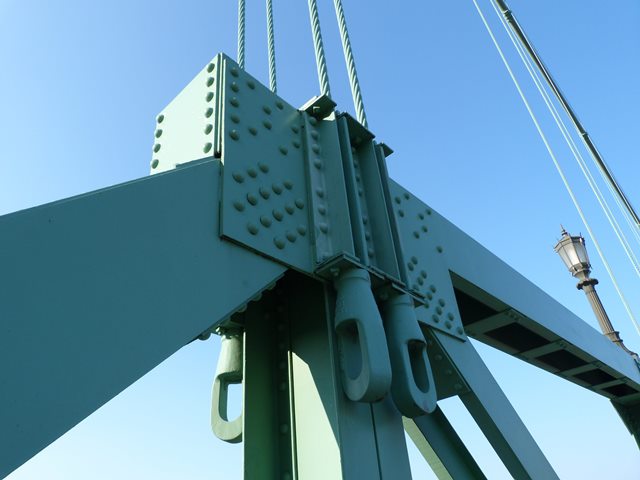
Overview of the top of the tower.
![]()

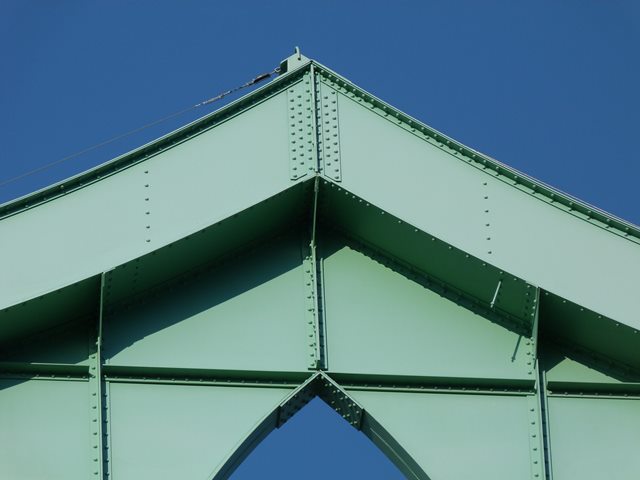


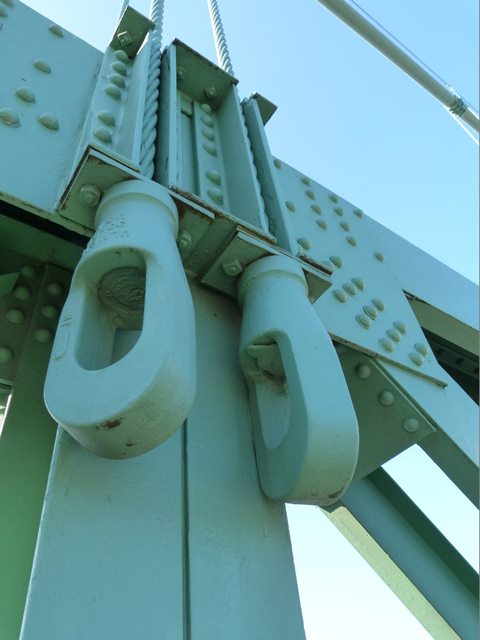
Details of the top of the tower.
![]()


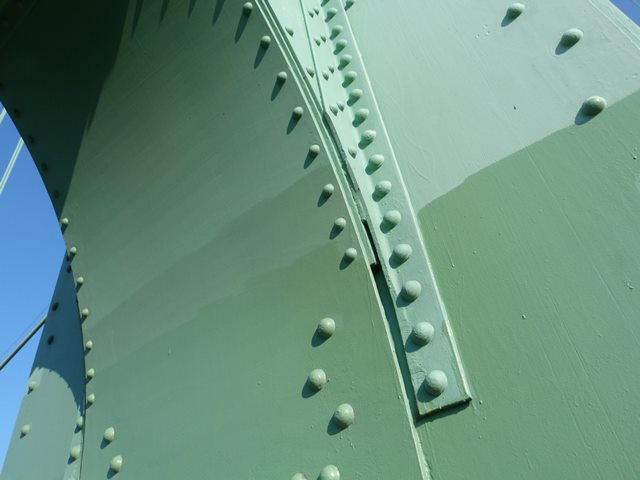
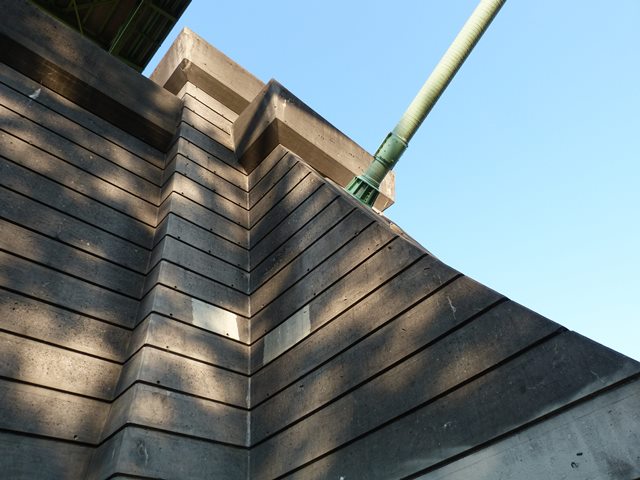
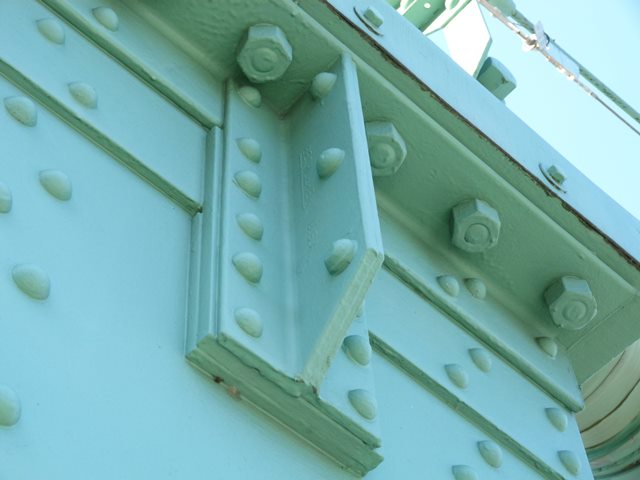
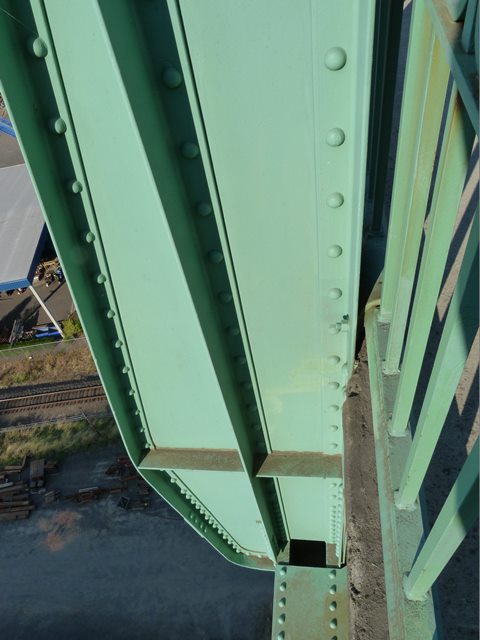
Tower column details.
![]()


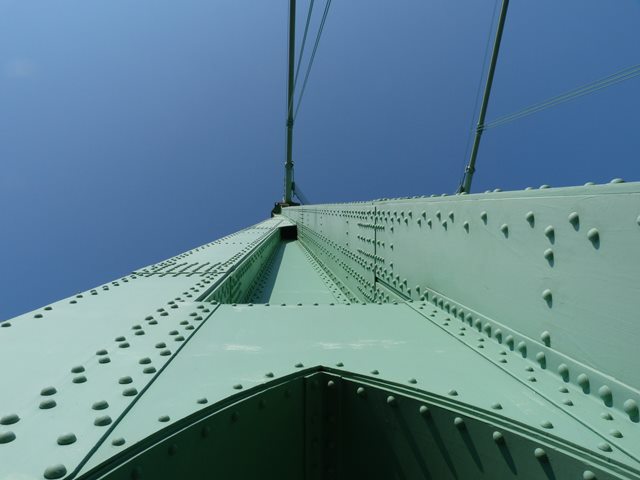
Looking directly up at tower from sidewalk.
![]()


Looking directly up at tower column from sidewalk.
![]()
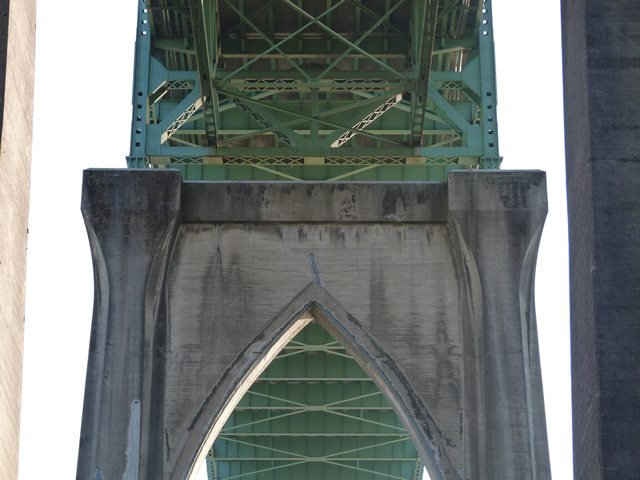
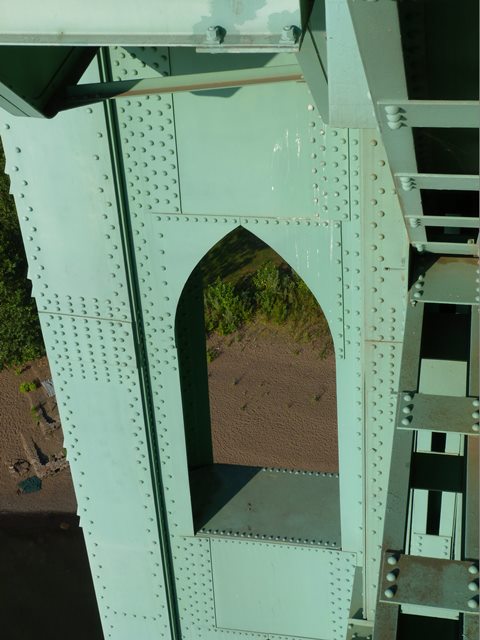
Tower archway over sidewalk.
![]()
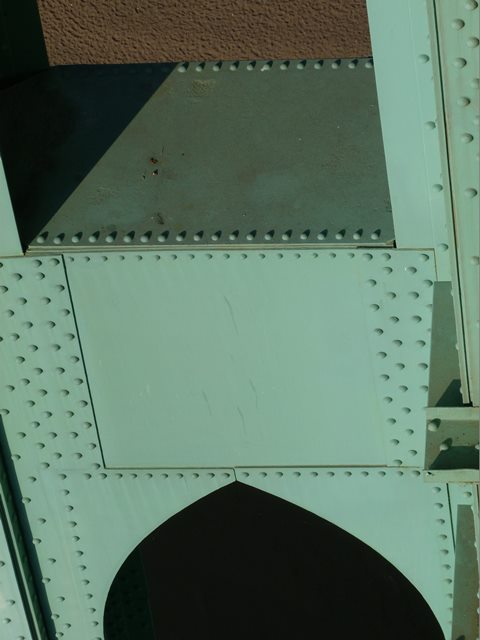
Details of tower archway over sidewalk.
![]()


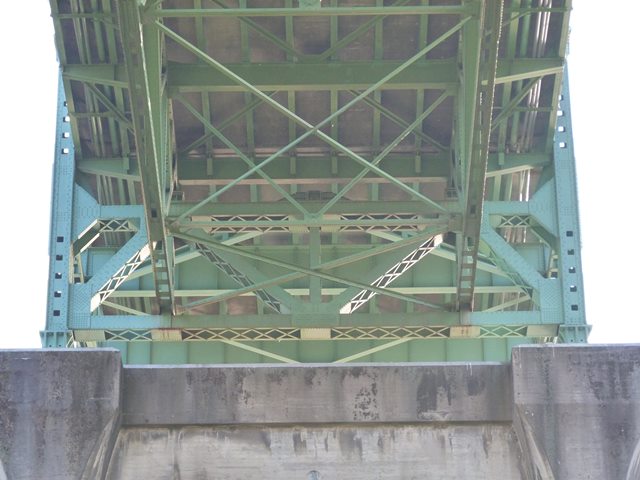
Tower details below deck as viewed from on bridge.
![]()
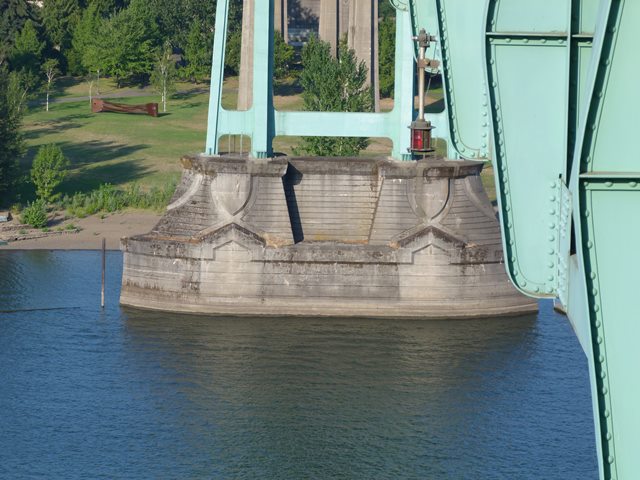
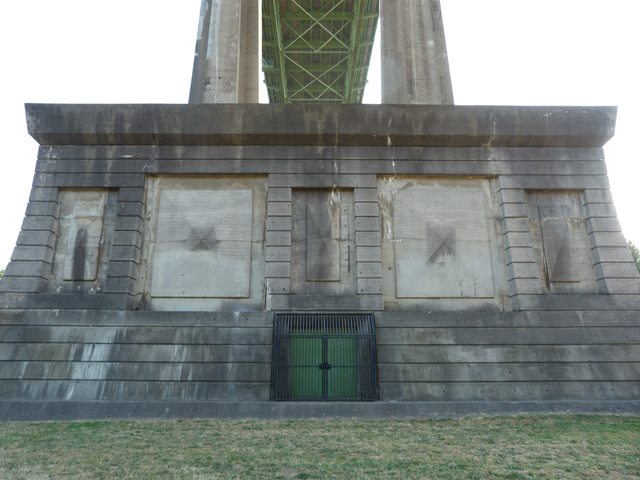
Concrete foundation for tower.
![]()

Tower details below deck as viewed from beside bridge.
![]()
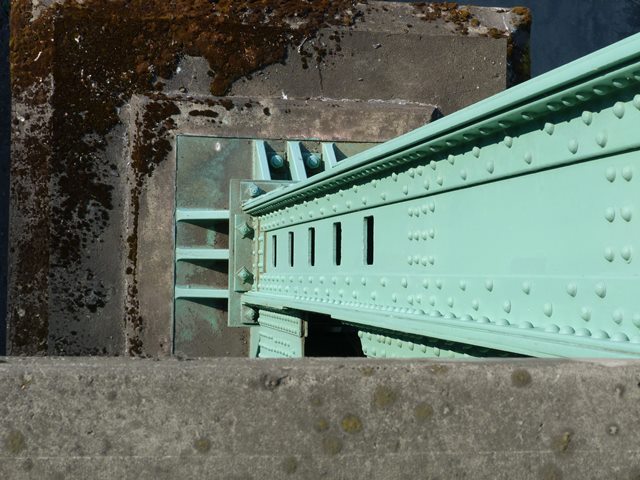
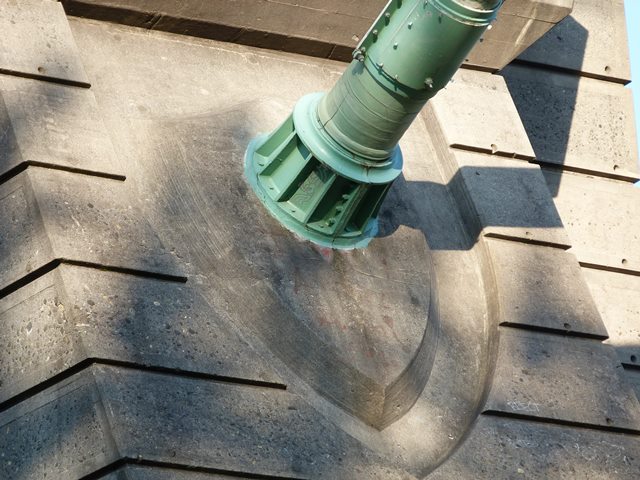
Steel tower bearing on concrete foundation.
![]()
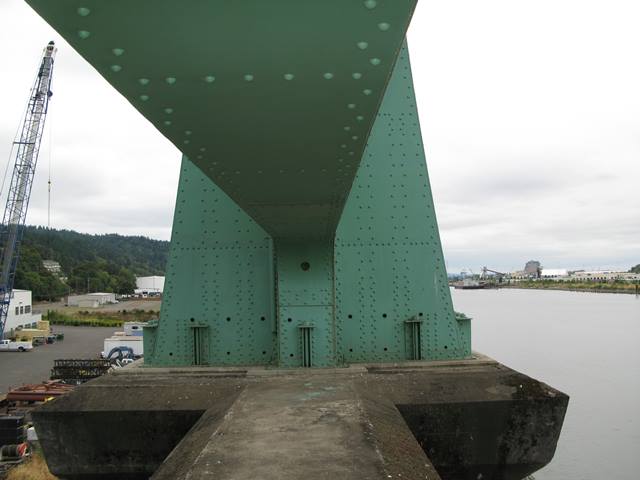
Photo Credit: ODOT
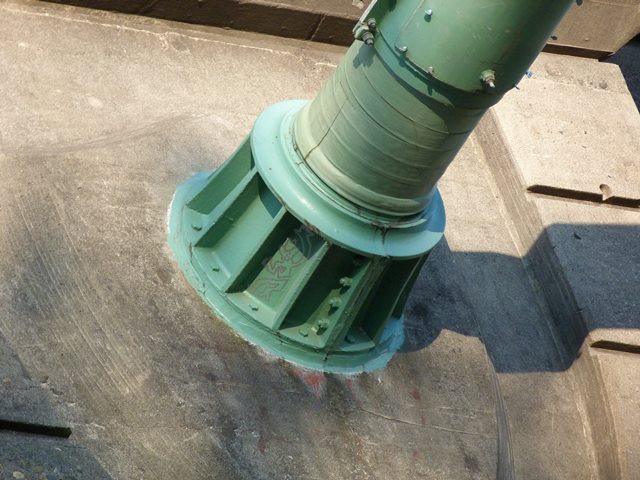
Steel tower bearing on concrete foundation.
![]()
Cable saddle.
![]()
Finials.
![]()

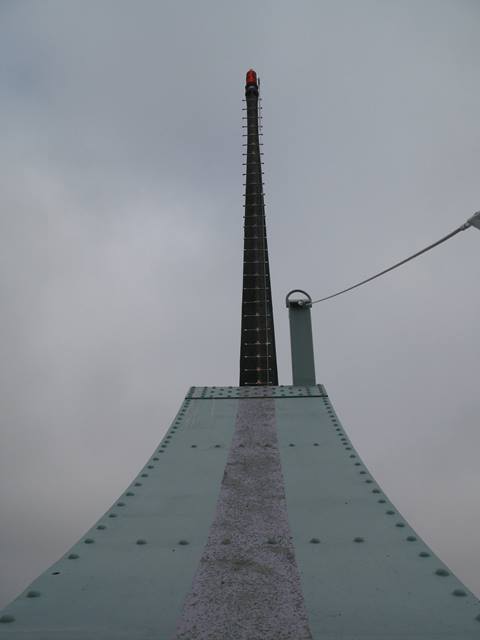
Photo Credit: ODOT
Finials as viewed from top of tower.
![]()

Photo Credit: ODOT
Looking at tower from concrete tower foundation.
![]()
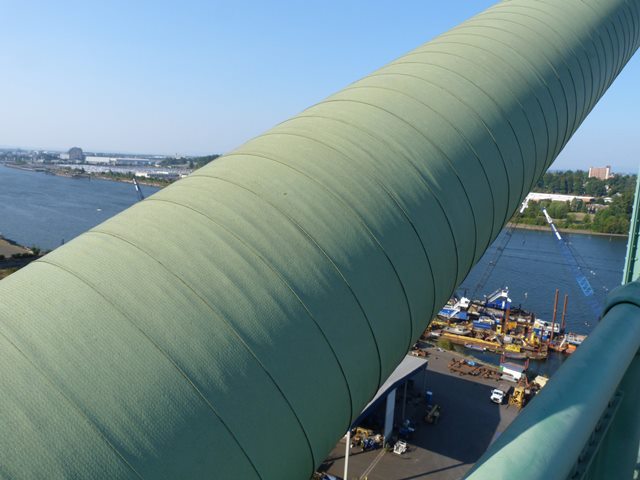
Main cable overview.
![]()
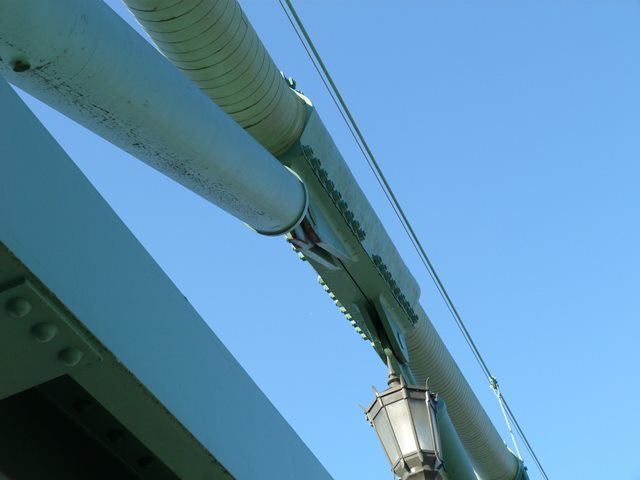
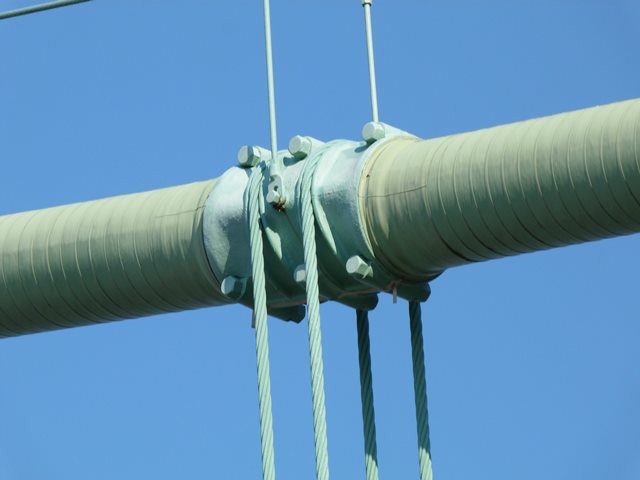
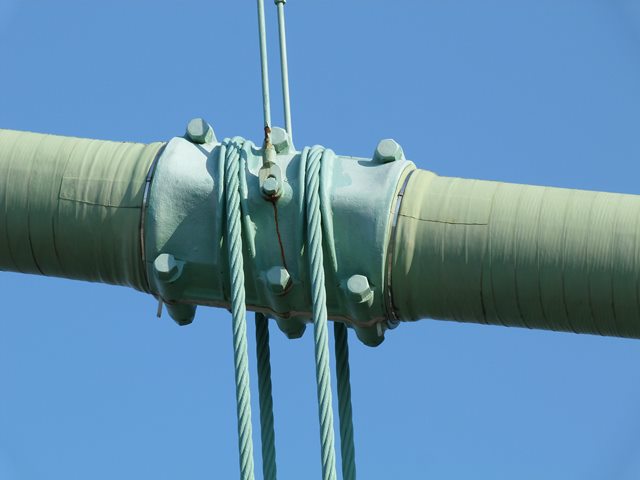
Main cable details.
![]()
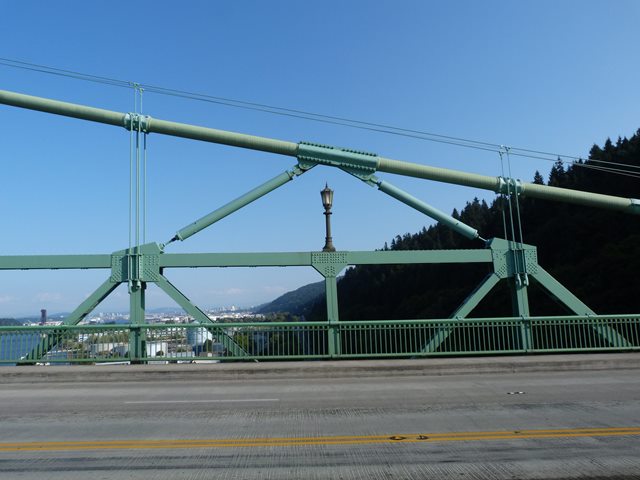
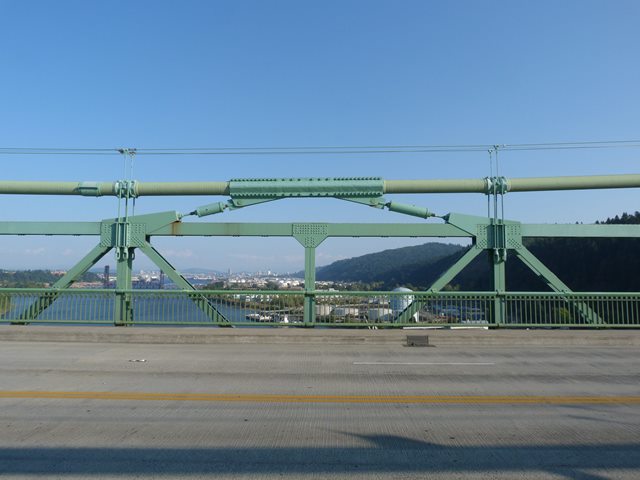
Added piston-like supports to main cable and stiffening truss near center of bridge.
![]()
Suspenders.
![]()
Suspenders hanging from main cable.
![]()
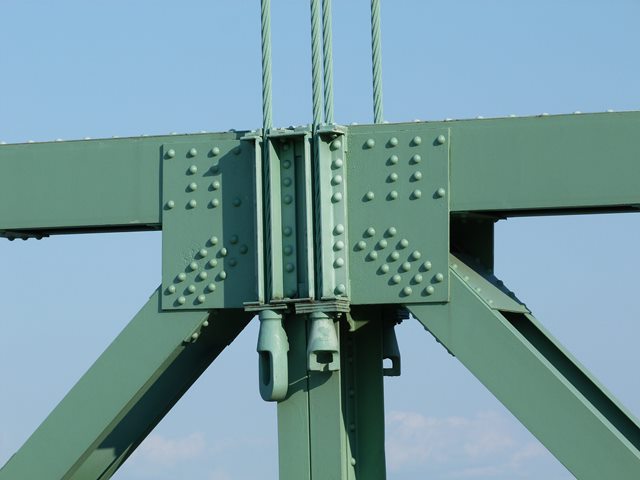
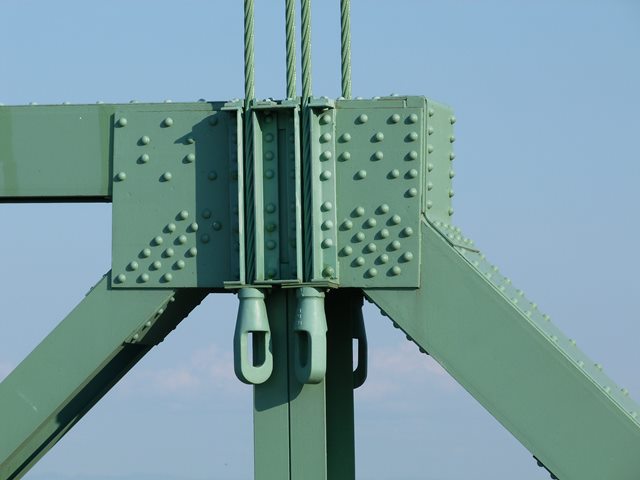
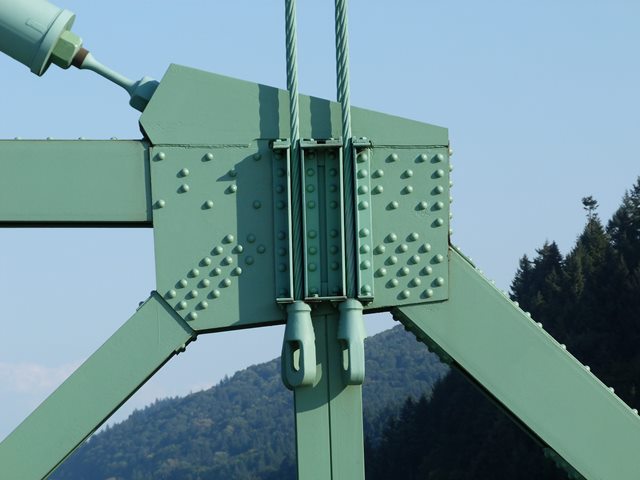
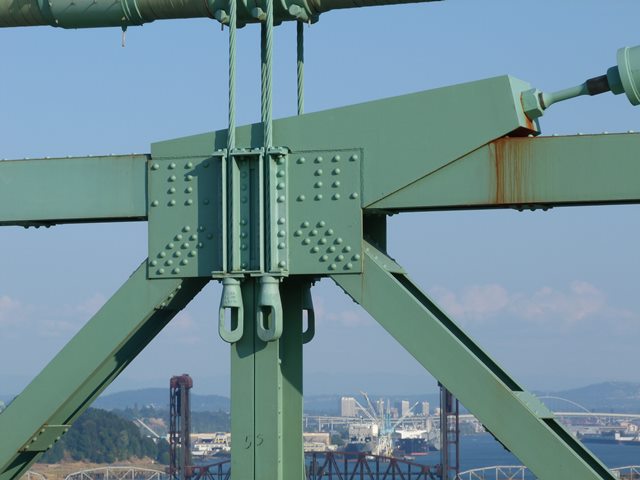
Suspender connections to top chord of stiffening truss.
![]()
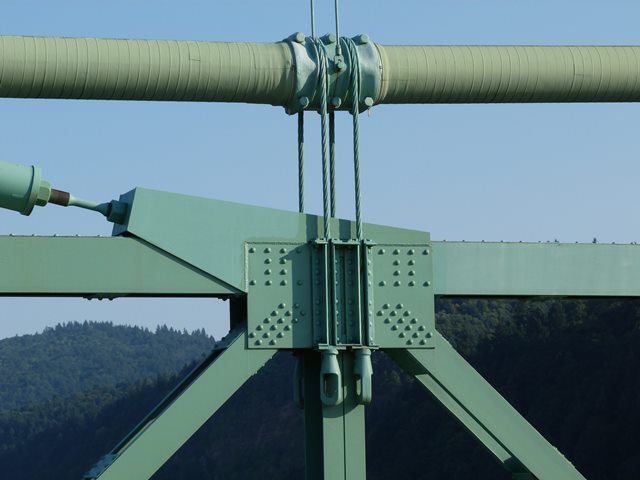
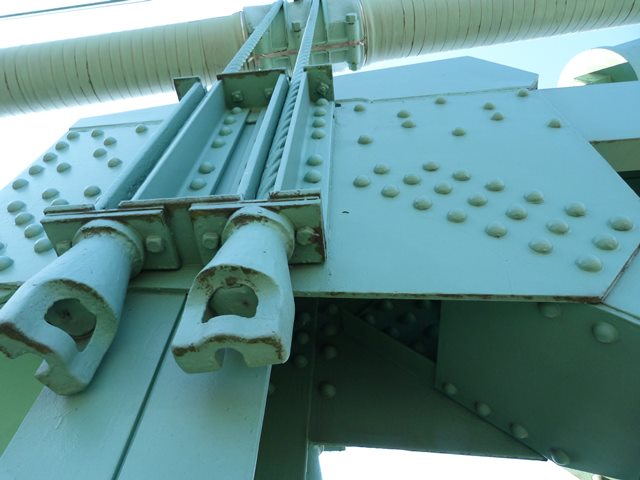
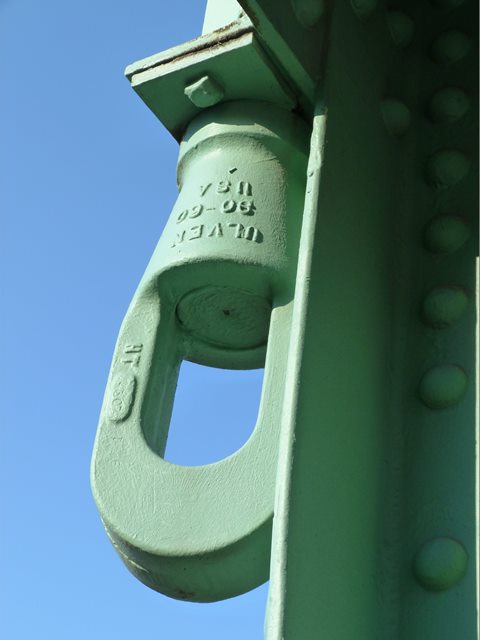
Details of suspender connections to top chord of stiffening truss.
![]()
Cable bent details.
![]()

Bearing at cable bent.
![]()


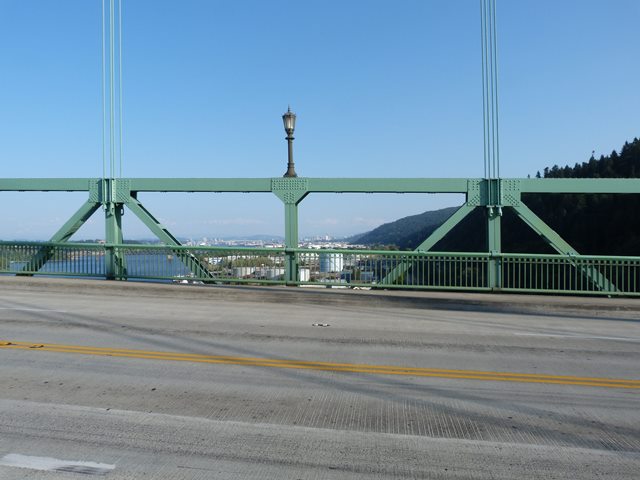
Stiffening truss as seen from beside bridge.
![]()
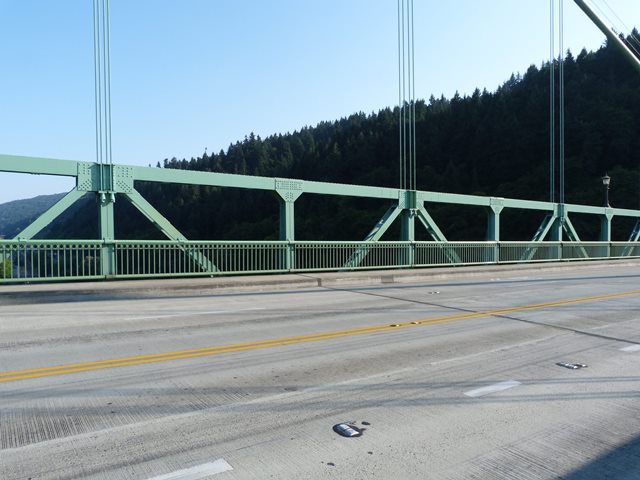
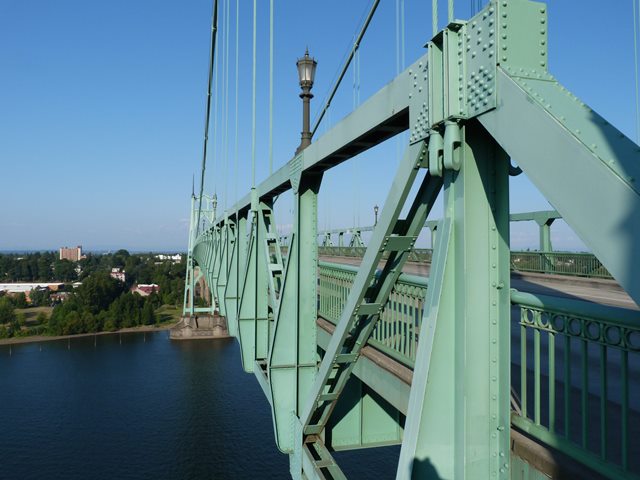
Stiffening truss as seen from on bridge.
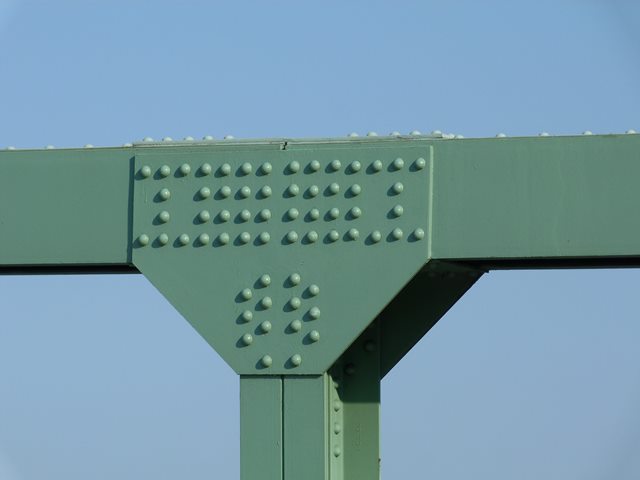
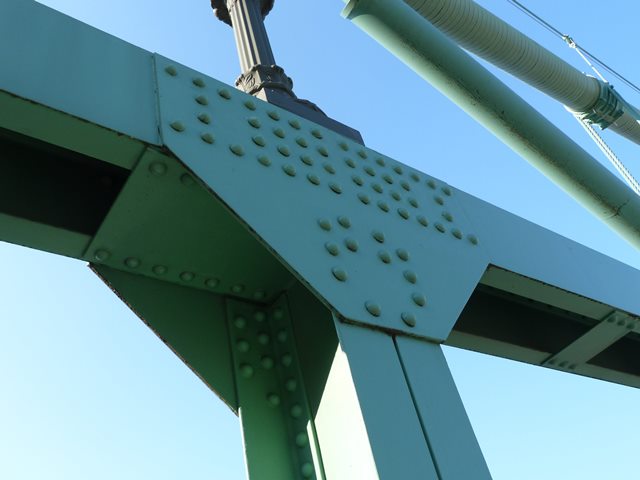
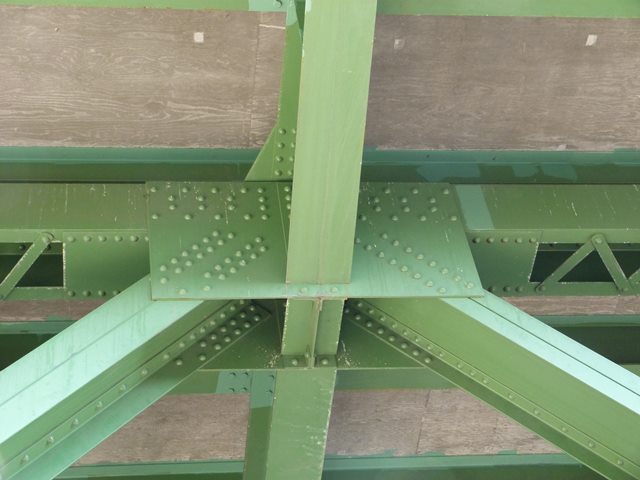
Stiffening truss top chord connections.
![]()
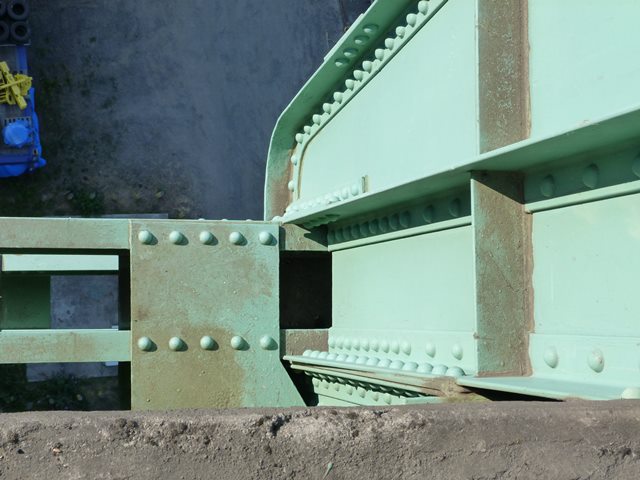

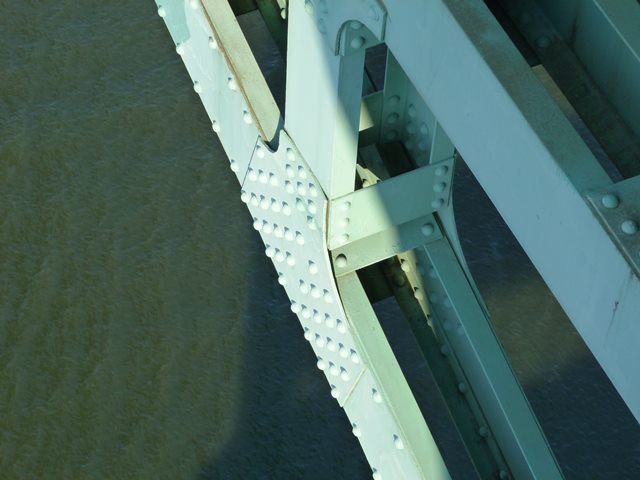


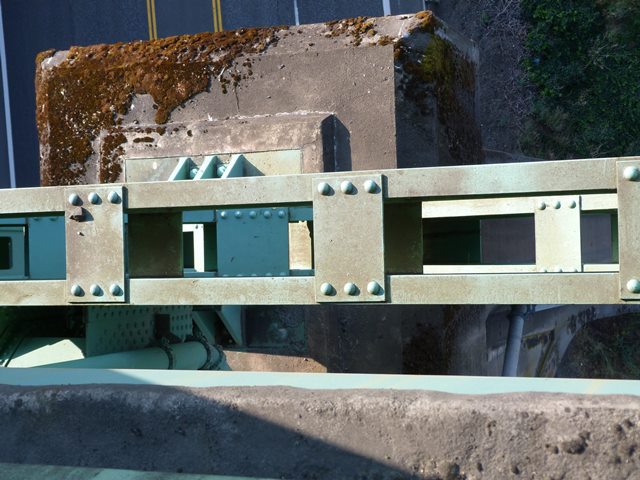
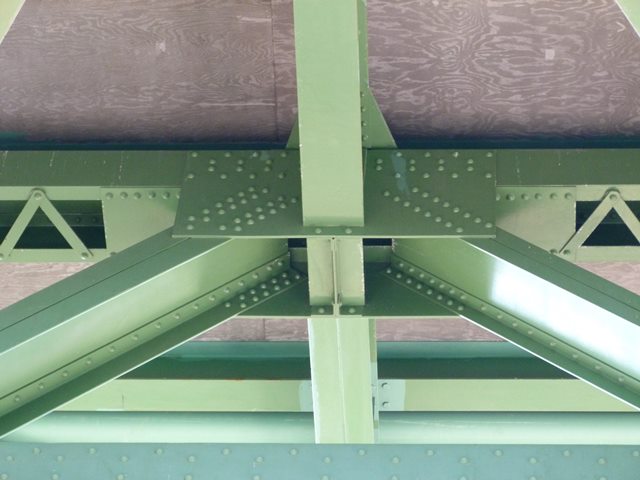
Stiffening truss bottom chord connections.
![]()
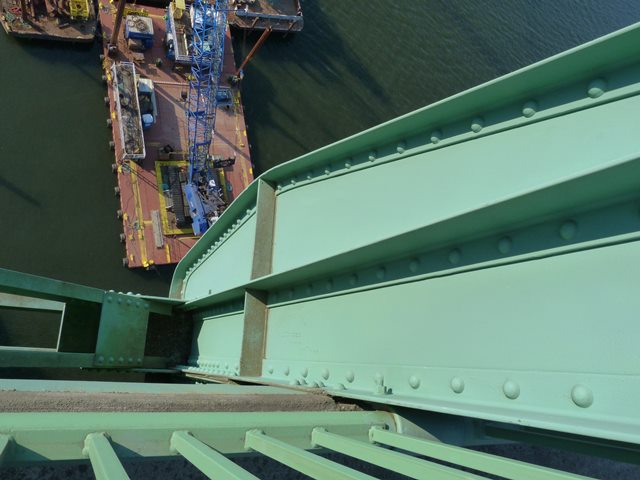
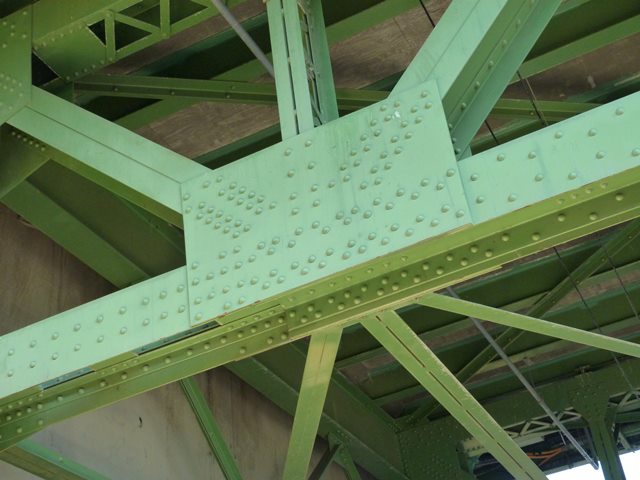
Stiffening truss top chord.
![]()
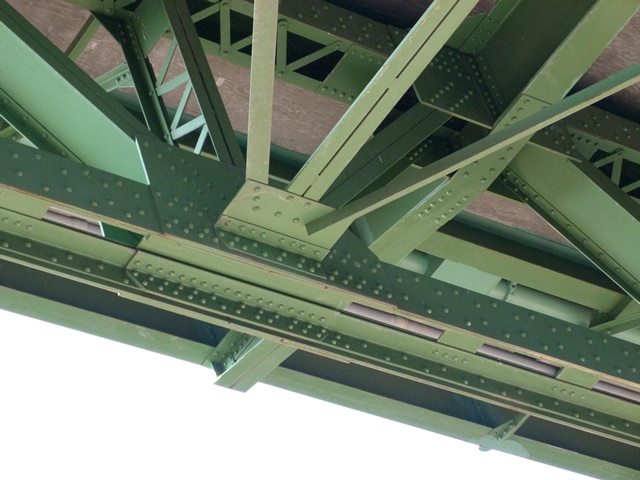
Stiffening truss bottom chord.
![]()


Stiffening truss vertical members.
![]()


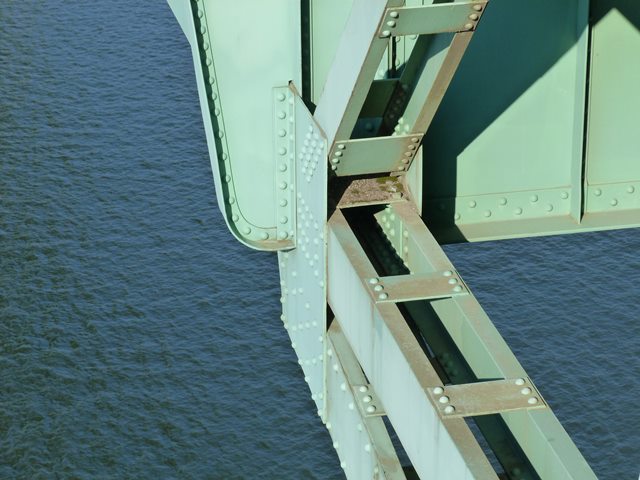
Stiffening truss diagonal members.
![]()

End post for stiffening truss.
![]()

Floor beam.
![]()

Lateral bracing.
![]()
Northeastern deck truss spans.
![]()

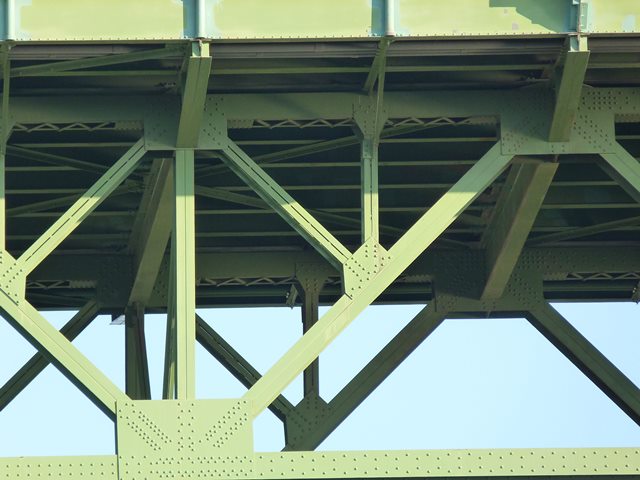


Deck truss span details.
![]()

Deck truss top chord connections.
![]()


Deck truss bottom chord connections.
![]()
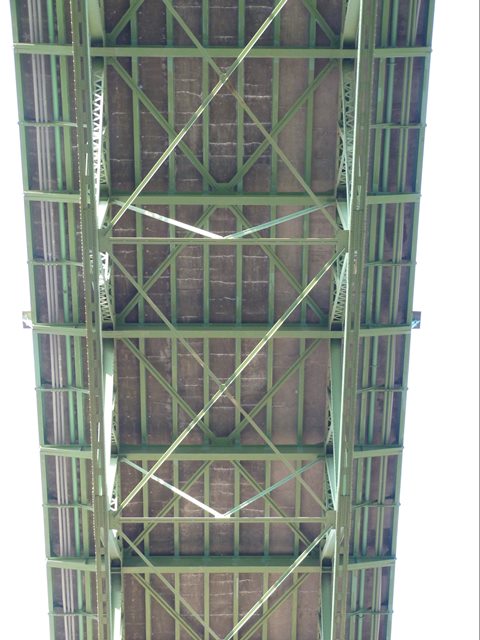

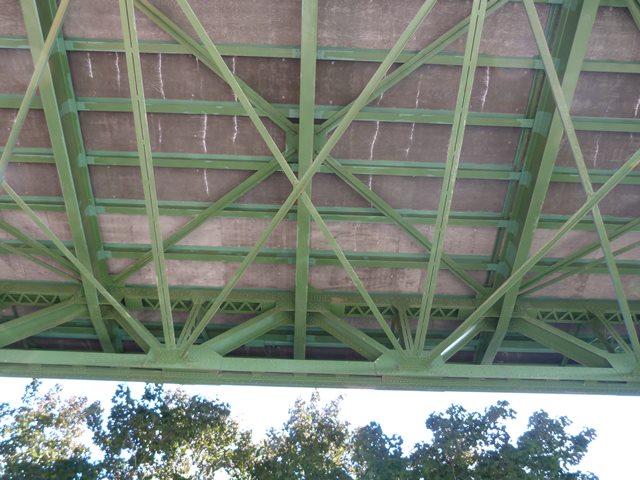
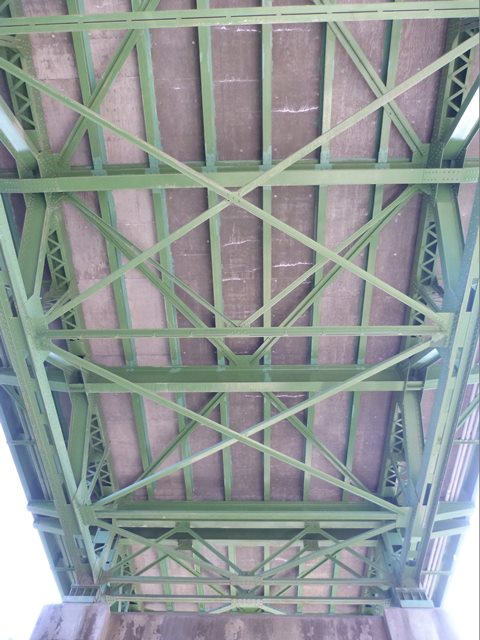


Views under deck truss approach spans.
![]()
Southwestern approach spans.
![]()
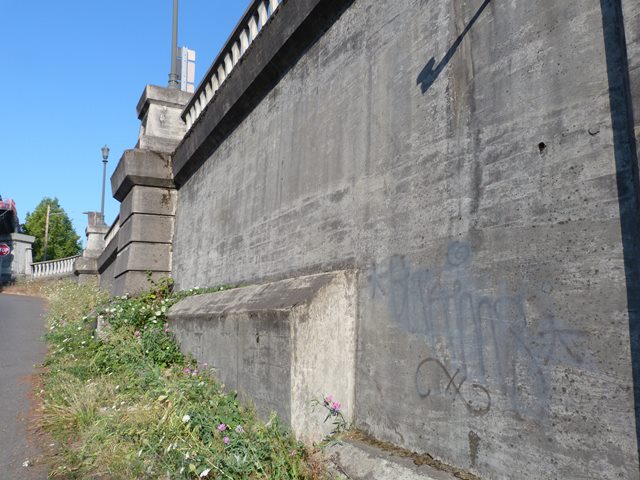
Substructure for southwestern approach spans.
![]()
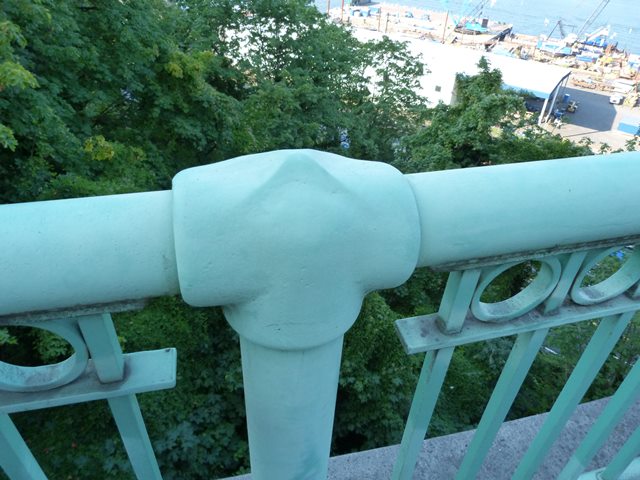
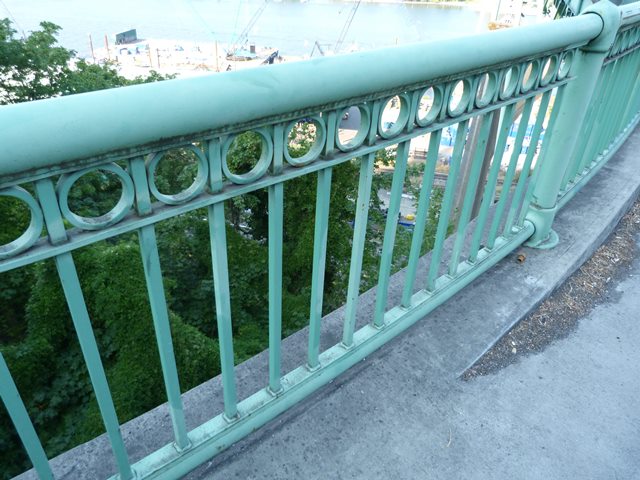
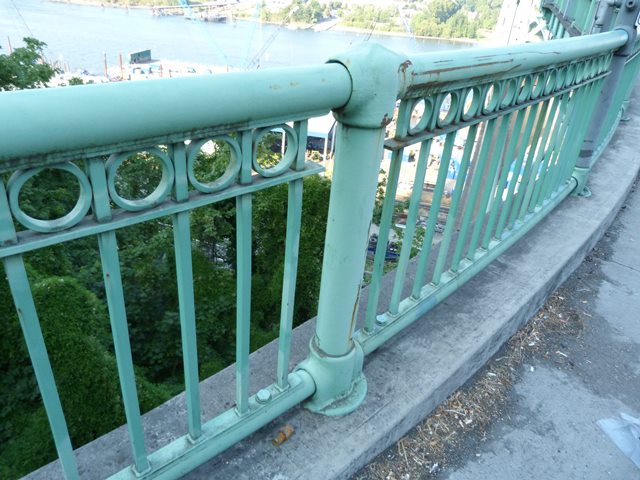
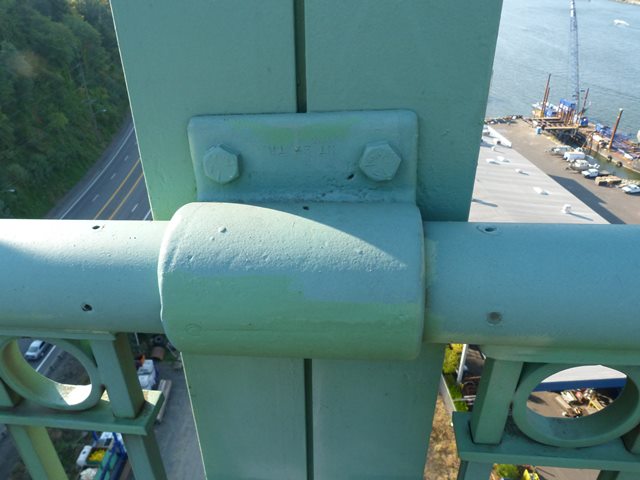
Railing.
![]()
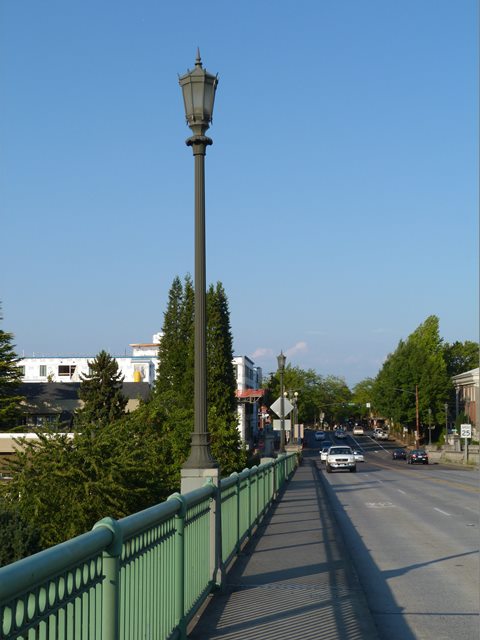
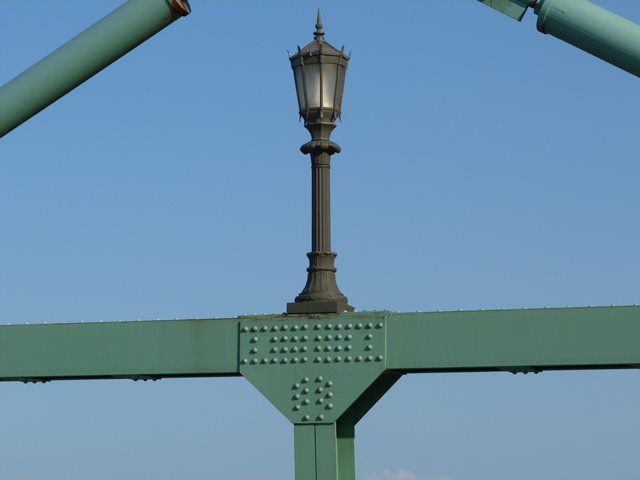
Lighting on bridge.
![]()


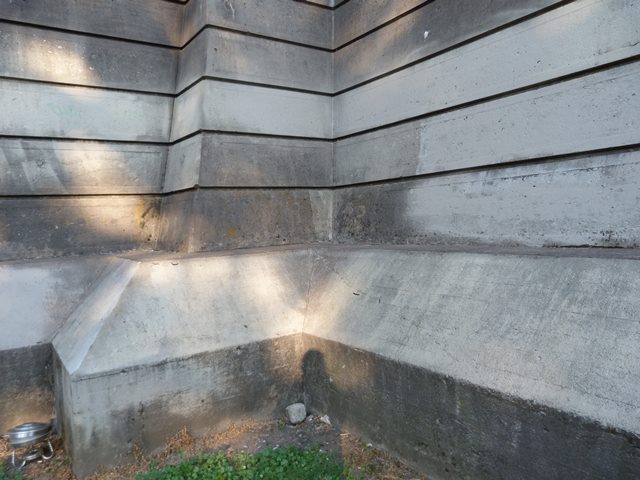
Northeast abutment.
![]()


Abutment details.
![]()


Railing at abutment.
![]()

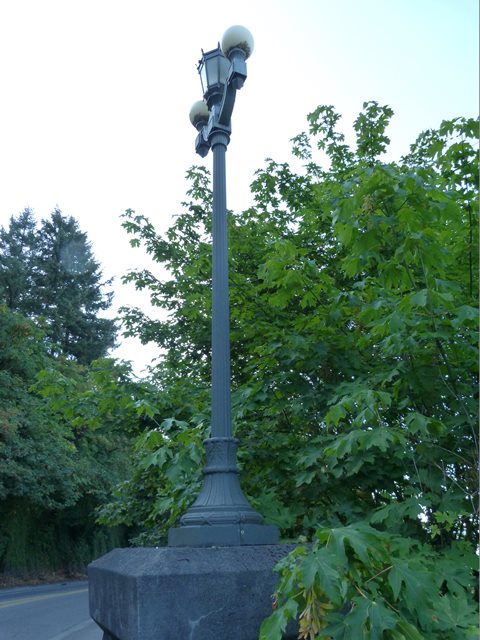
Lighting at abutment.
![]()

ODOT Marker.
![]()
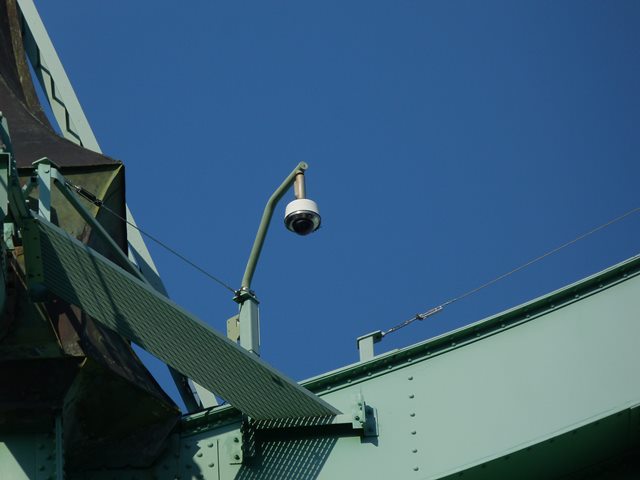
Camera on bridge.
![]()
Piers.
![]()
Pier details.
![]()
Northeast anchorage overview.
![]()
Anchorage details.
![]()
Main cable where it enters anchorage.
![]()


Photo Credit: ODOT
Anchorage interior.
![]()

Photo Credit: ODOT
Anchorage interior showing the main cable splaying out.
![]()


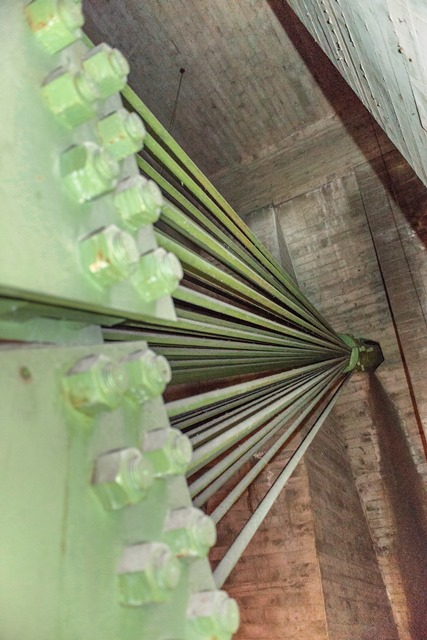
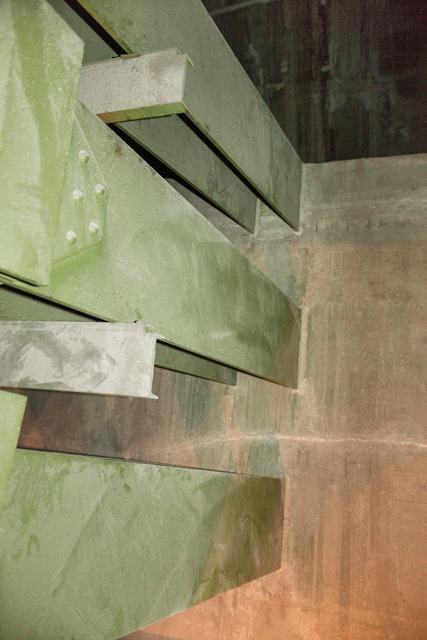
Photo Credit: ODOT
Anchorage interior showing the actual anchoring of the cables into the anchorage.
![]()
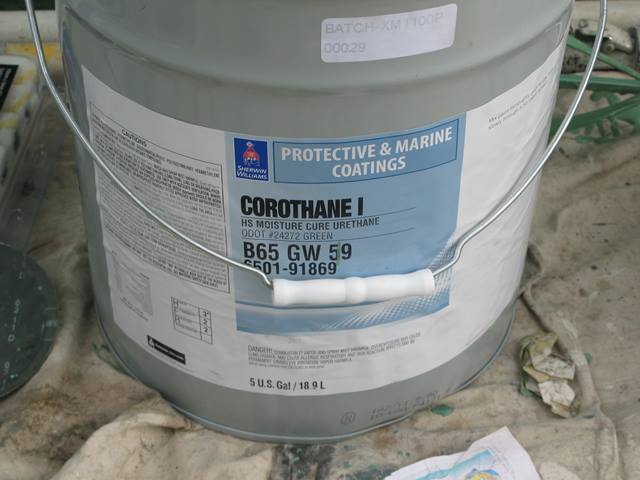
Photo Credit: ODOT
Paint used on bridge.
![]()
![]()

![]()