Uncredited photos on this page taken by: Nathan Holth. Unless stated in a caption, all photos are Copyright with All Rights Reserved. Learn about reuse of our photos.
![]()

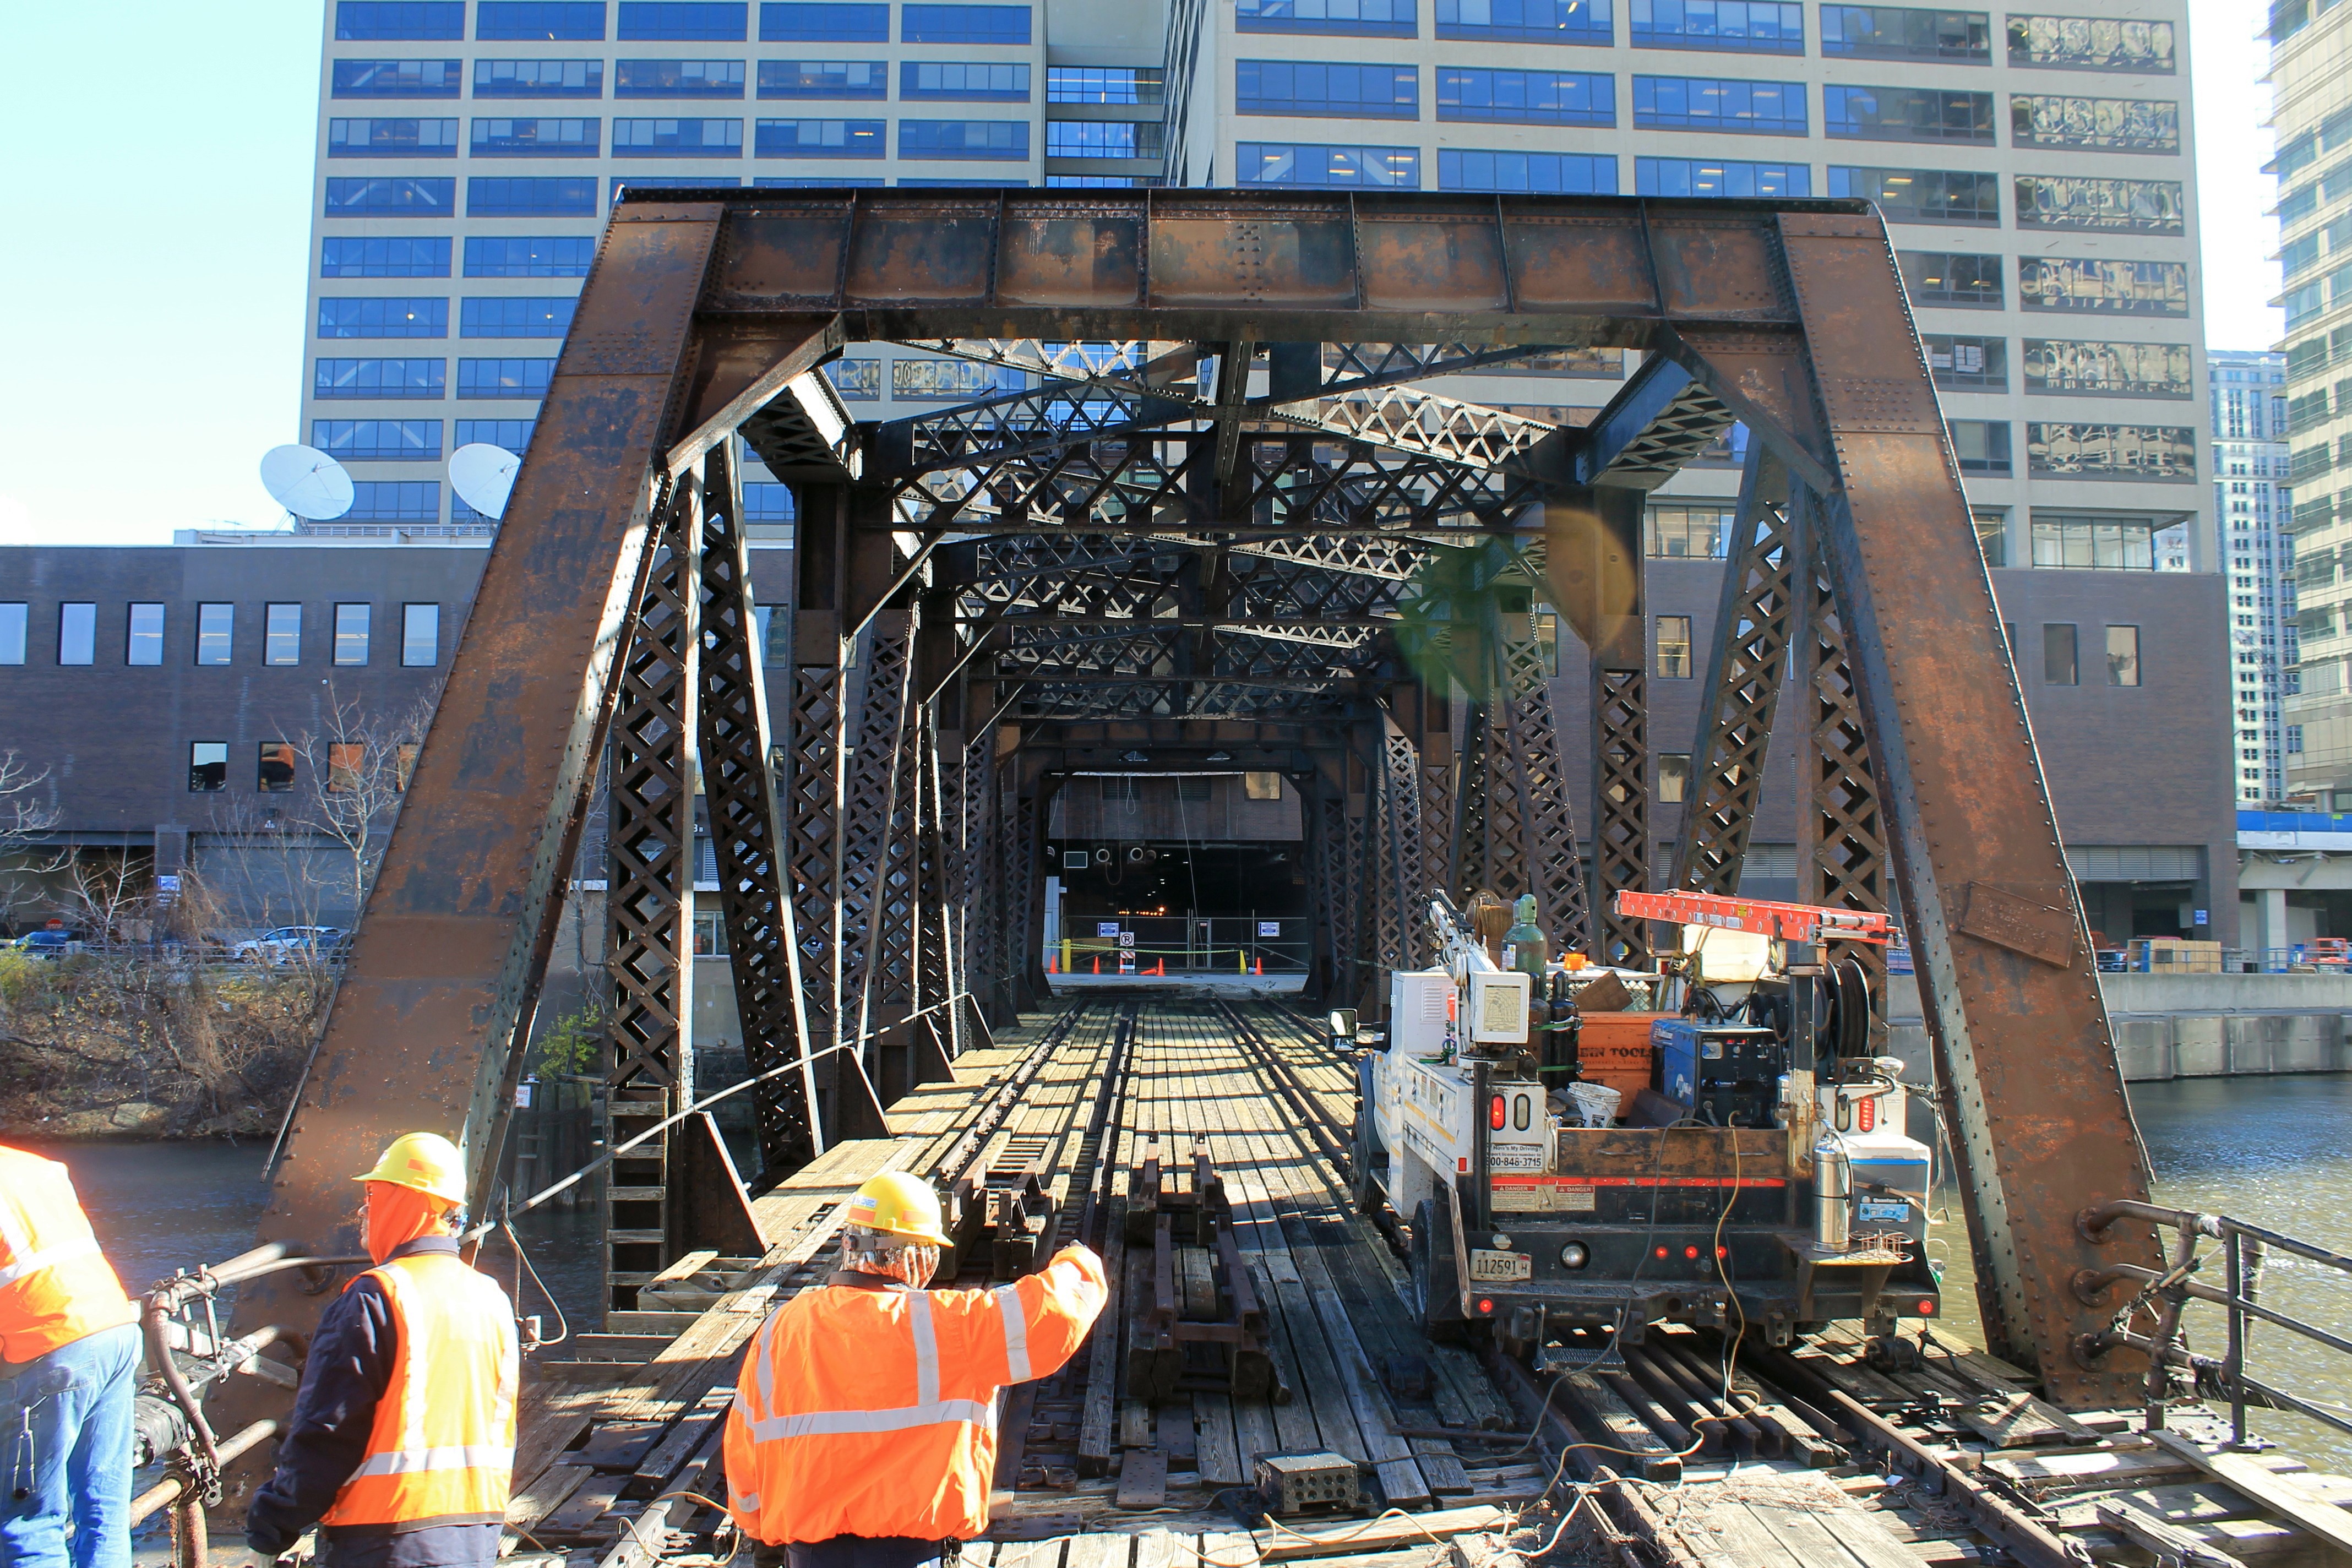

Photo Credit: Royce and Bobette Haley
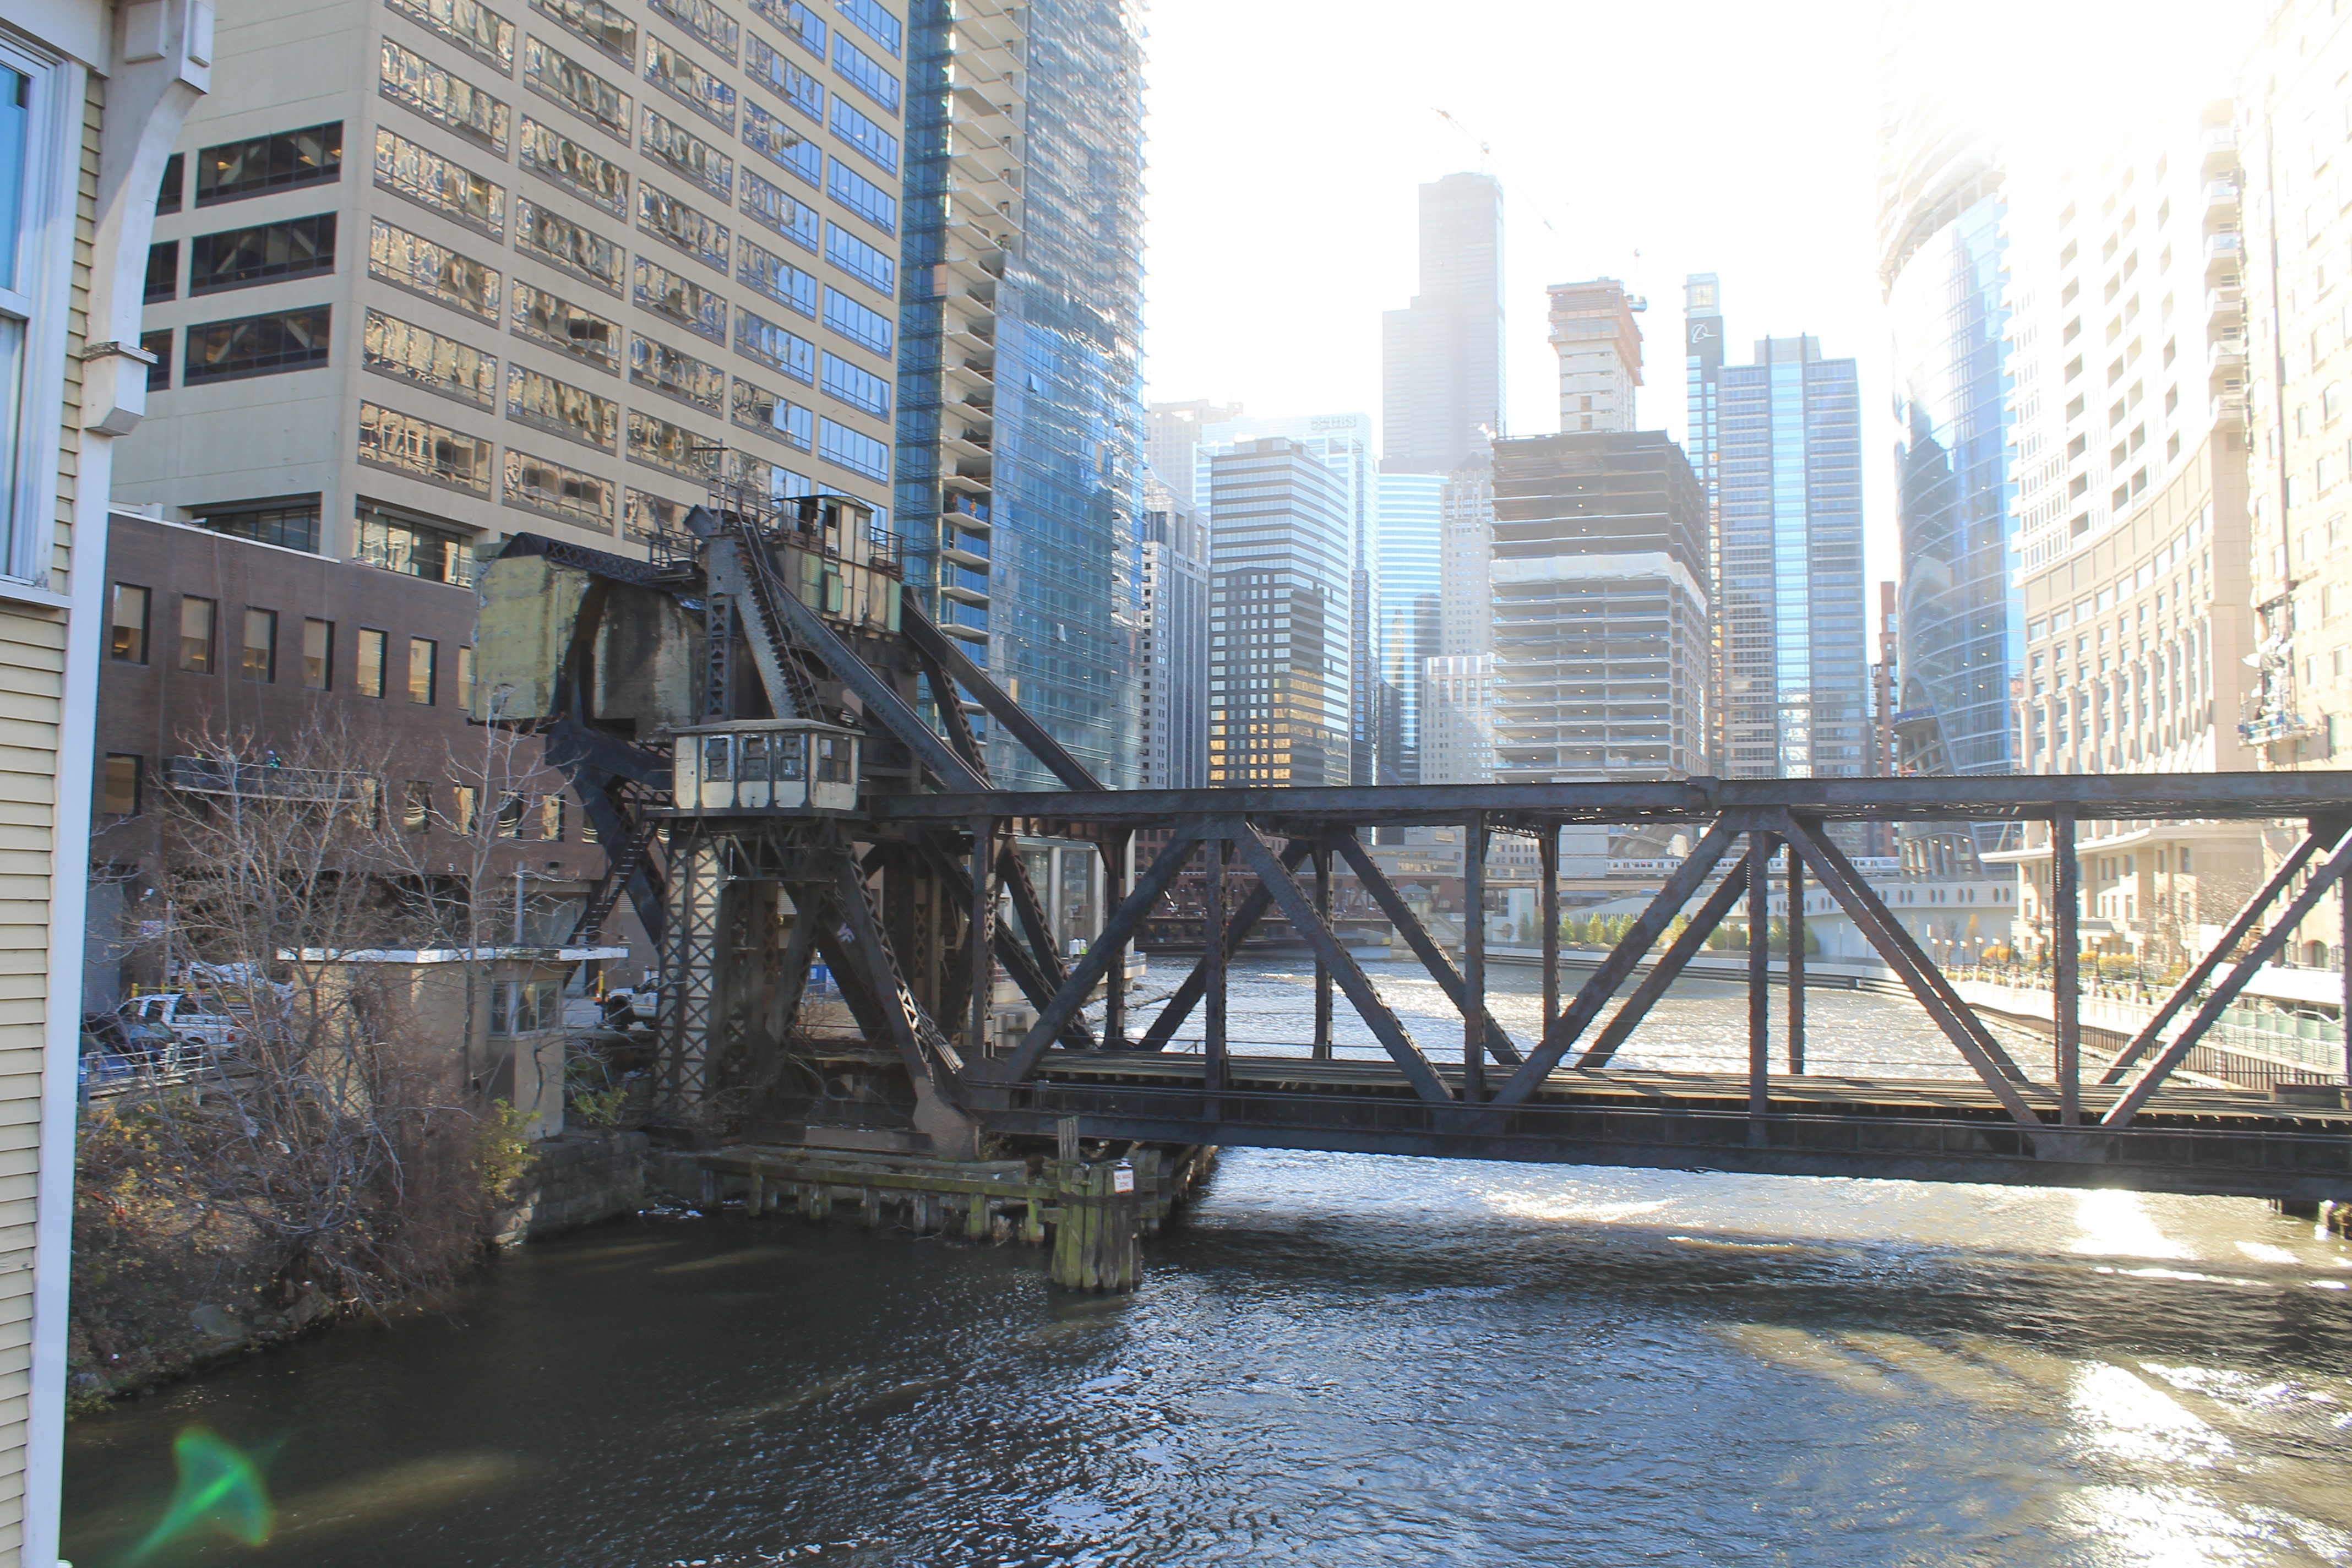
Portal views facing east, bridge in lowered position.
![]()


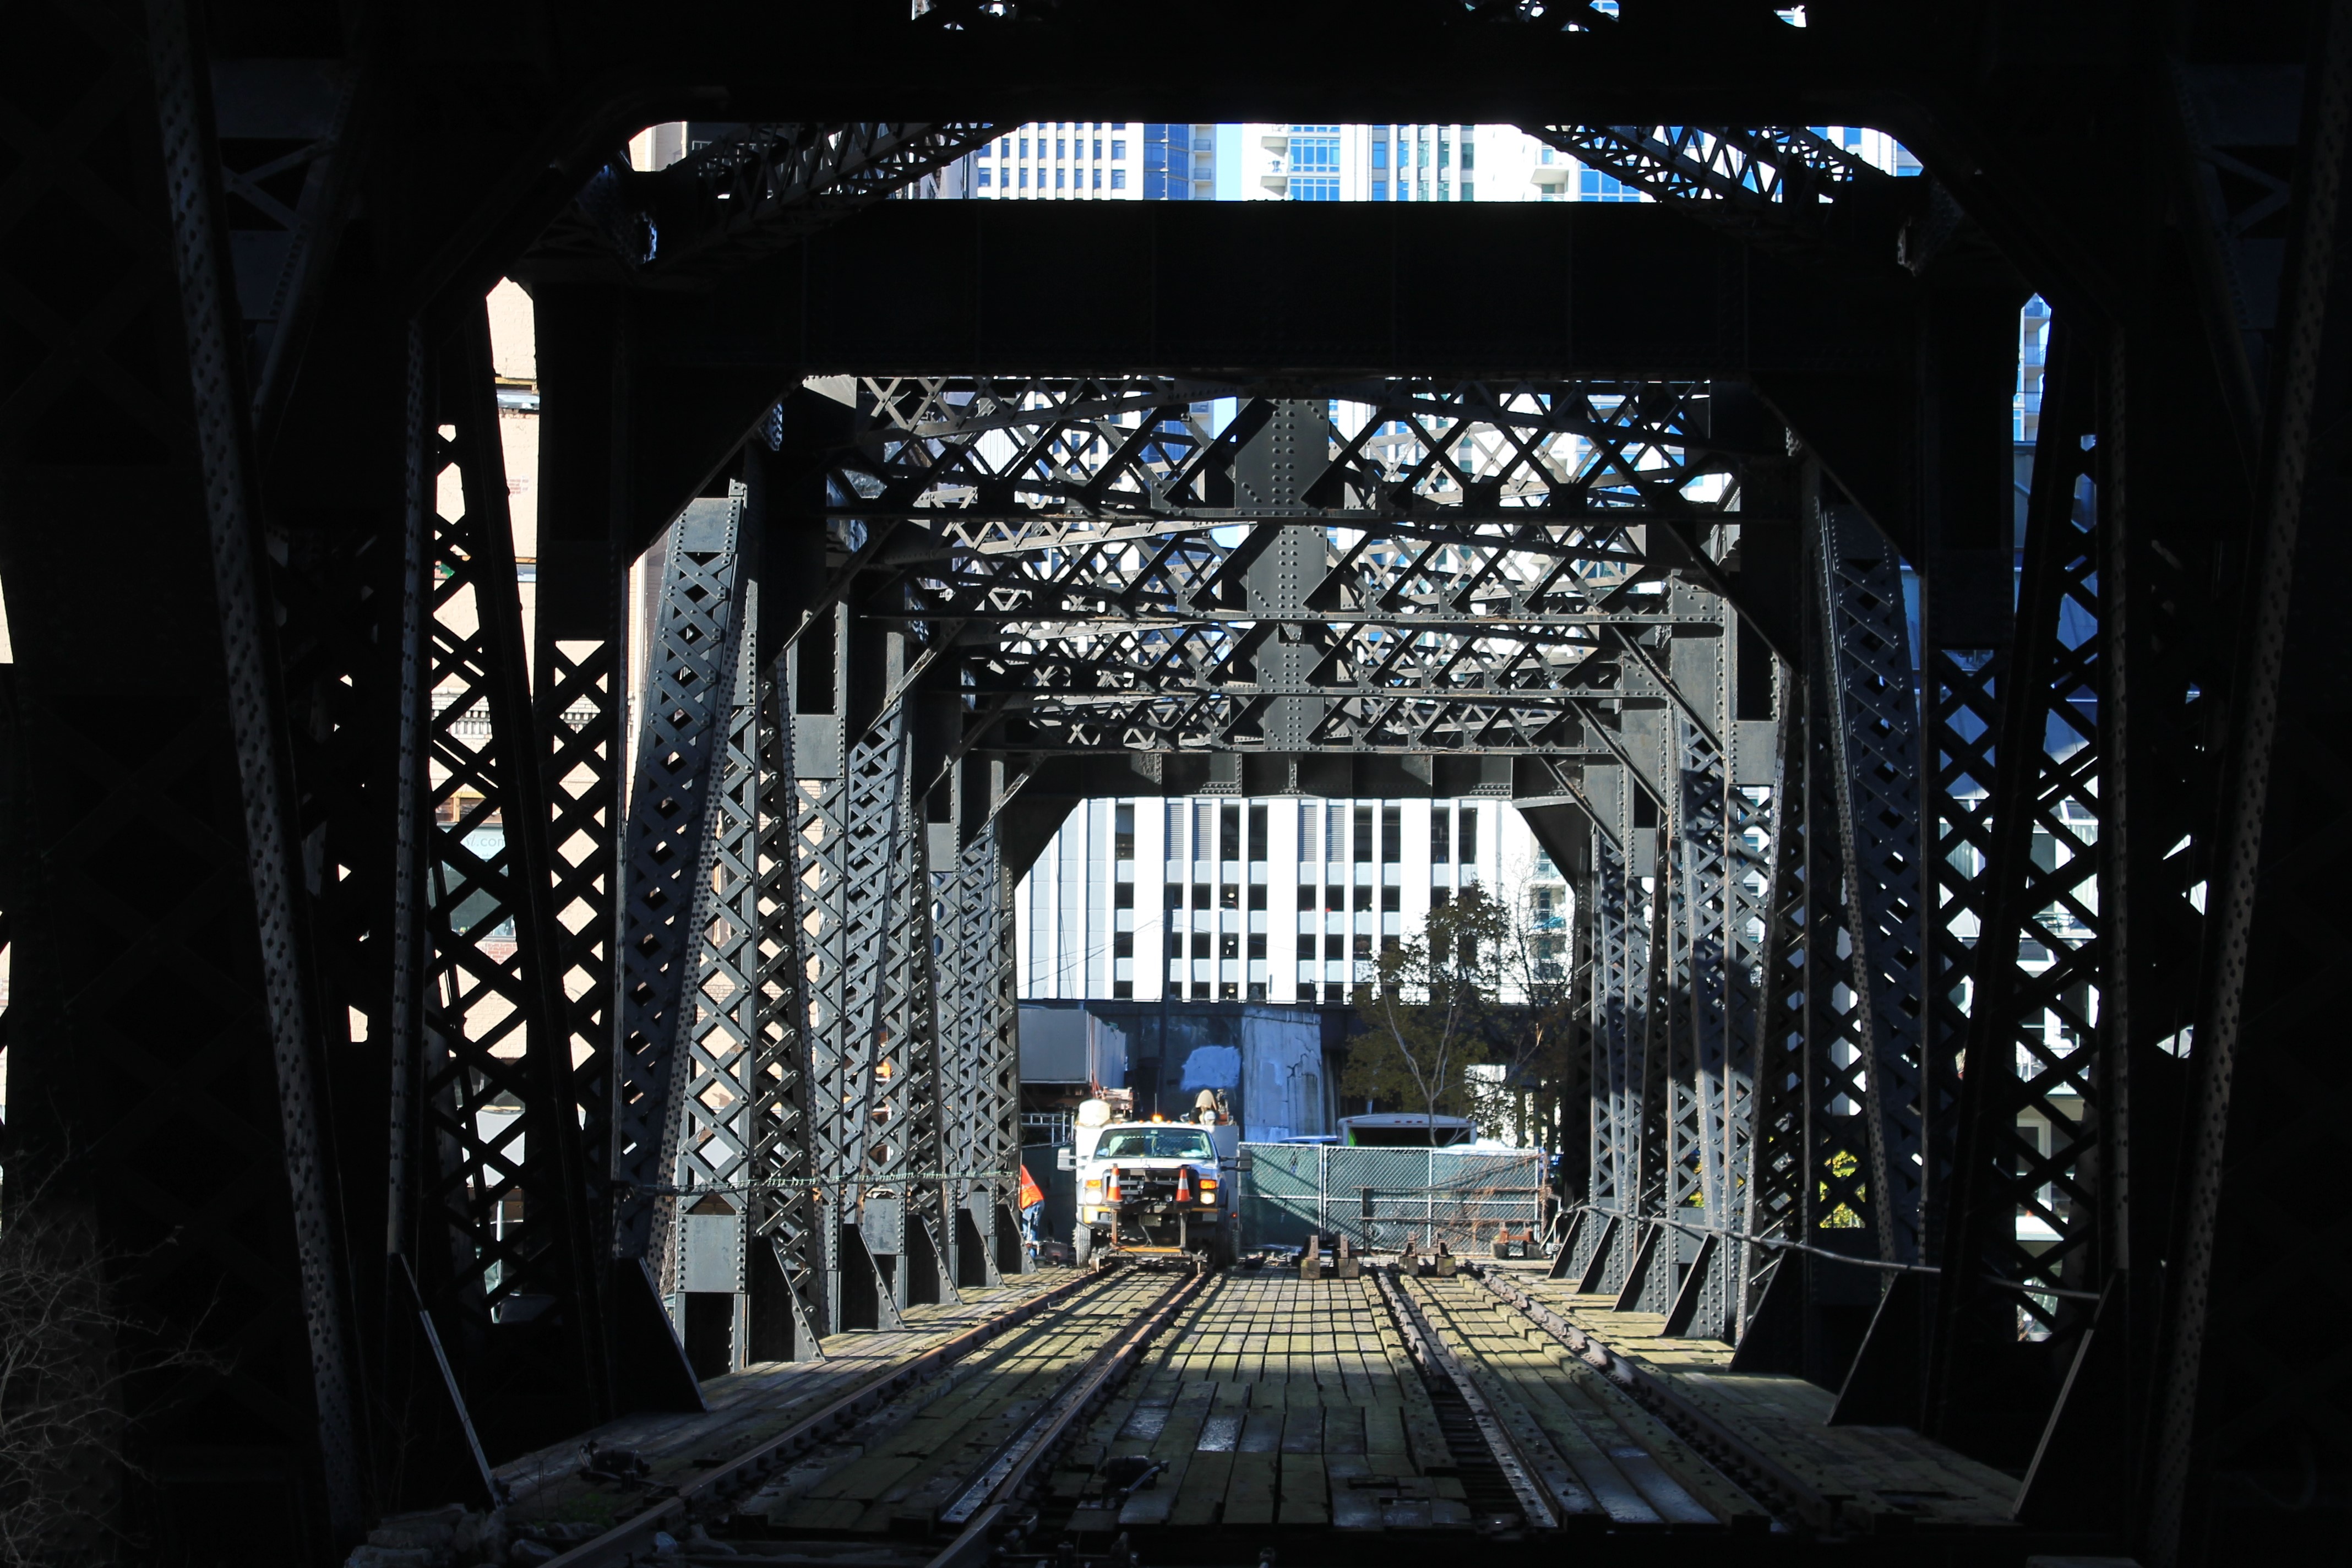
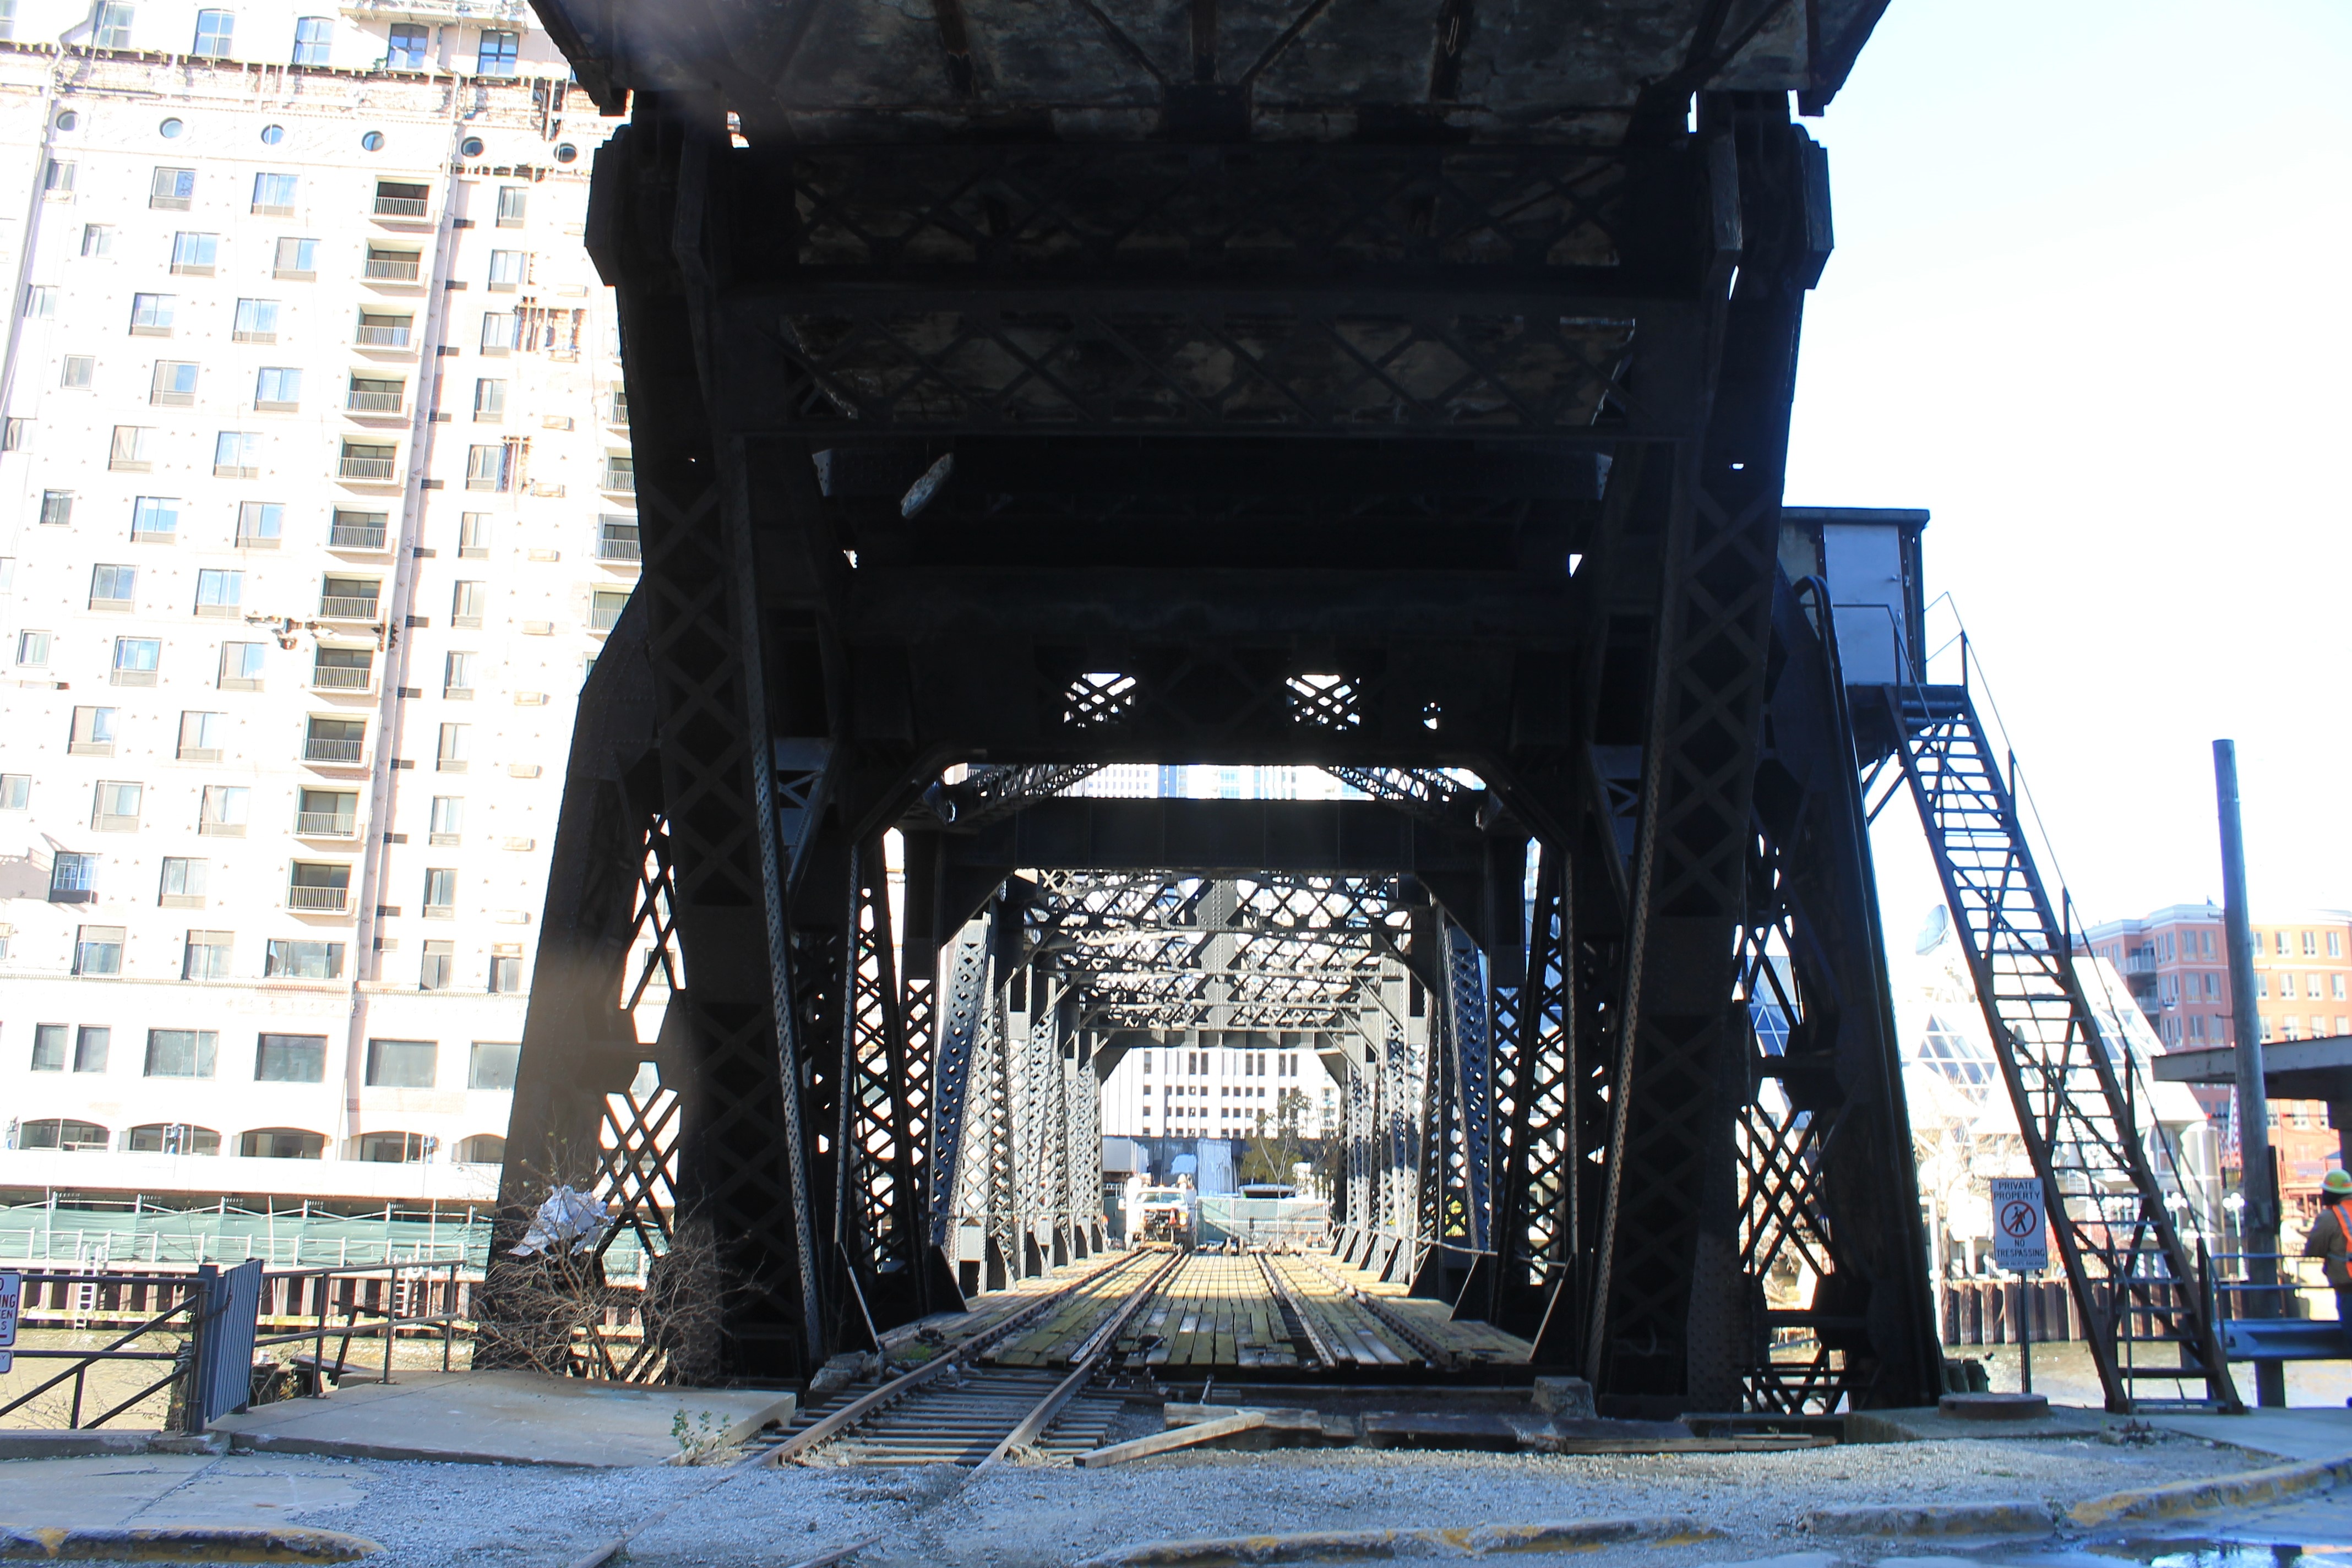
Photo Credit: Royce and Bobette Haley
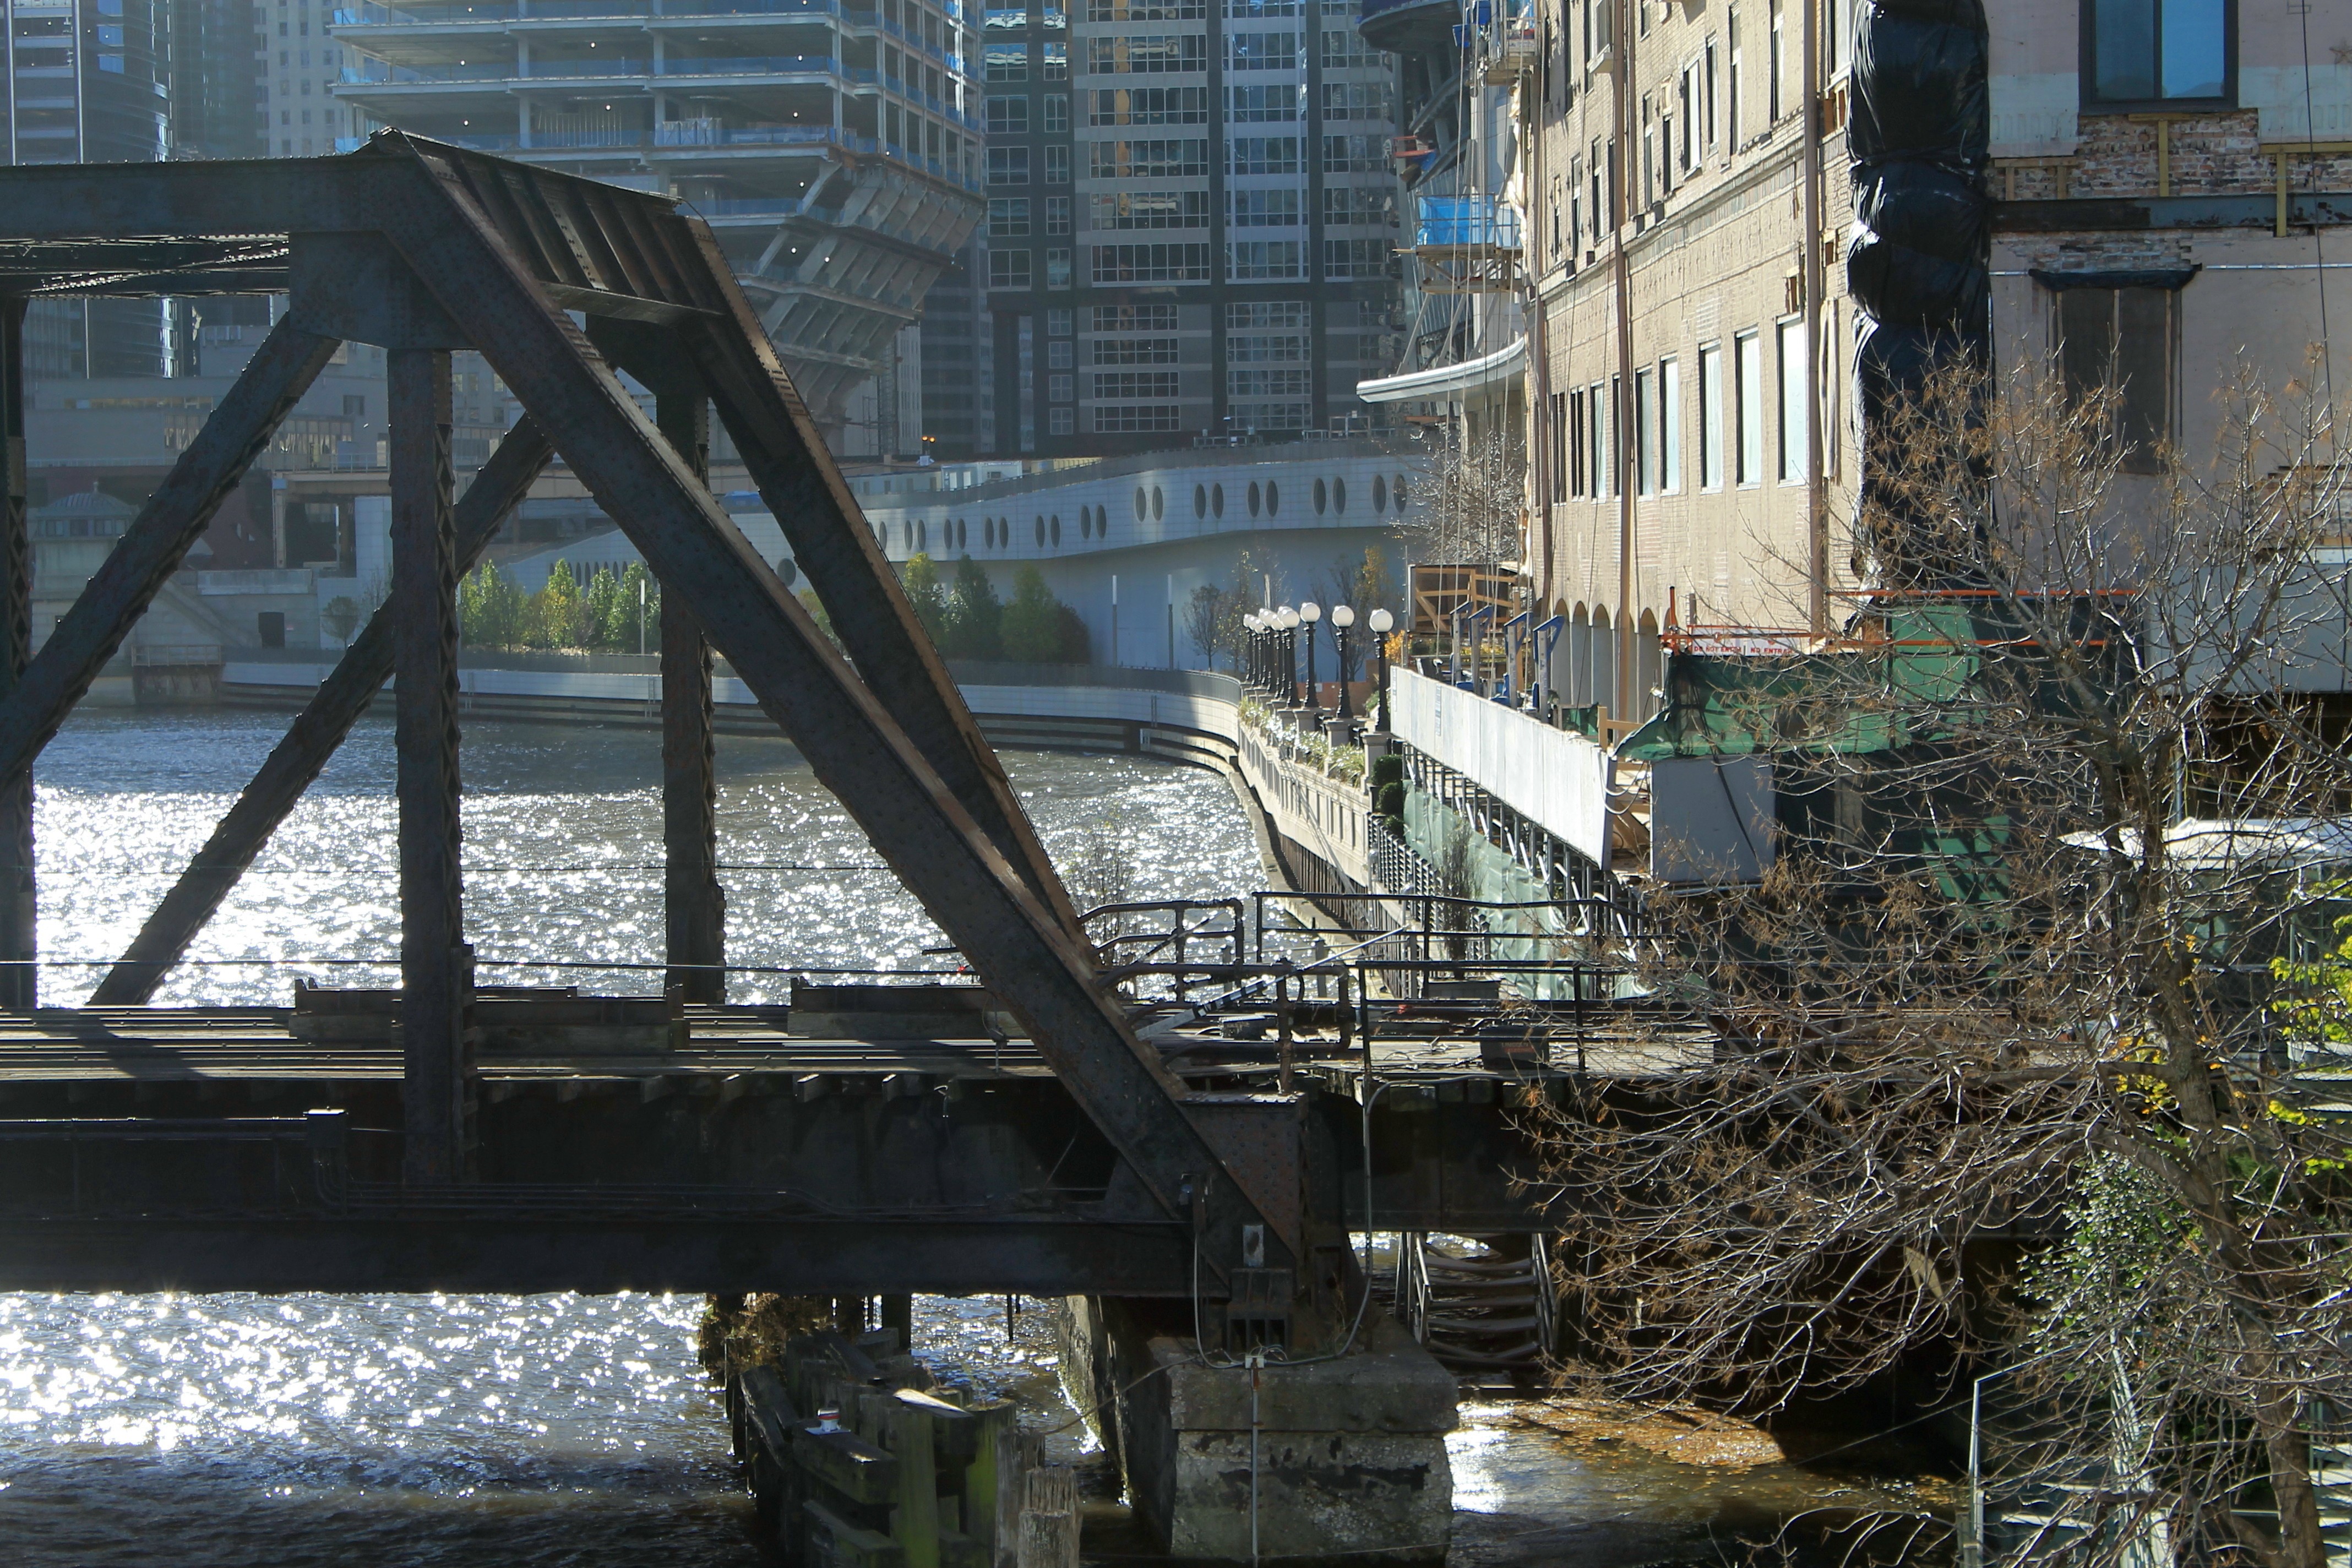
Portal views facing west, bridge in lowered position.
![]()


Photo Credit: Royce and Bobette Haley
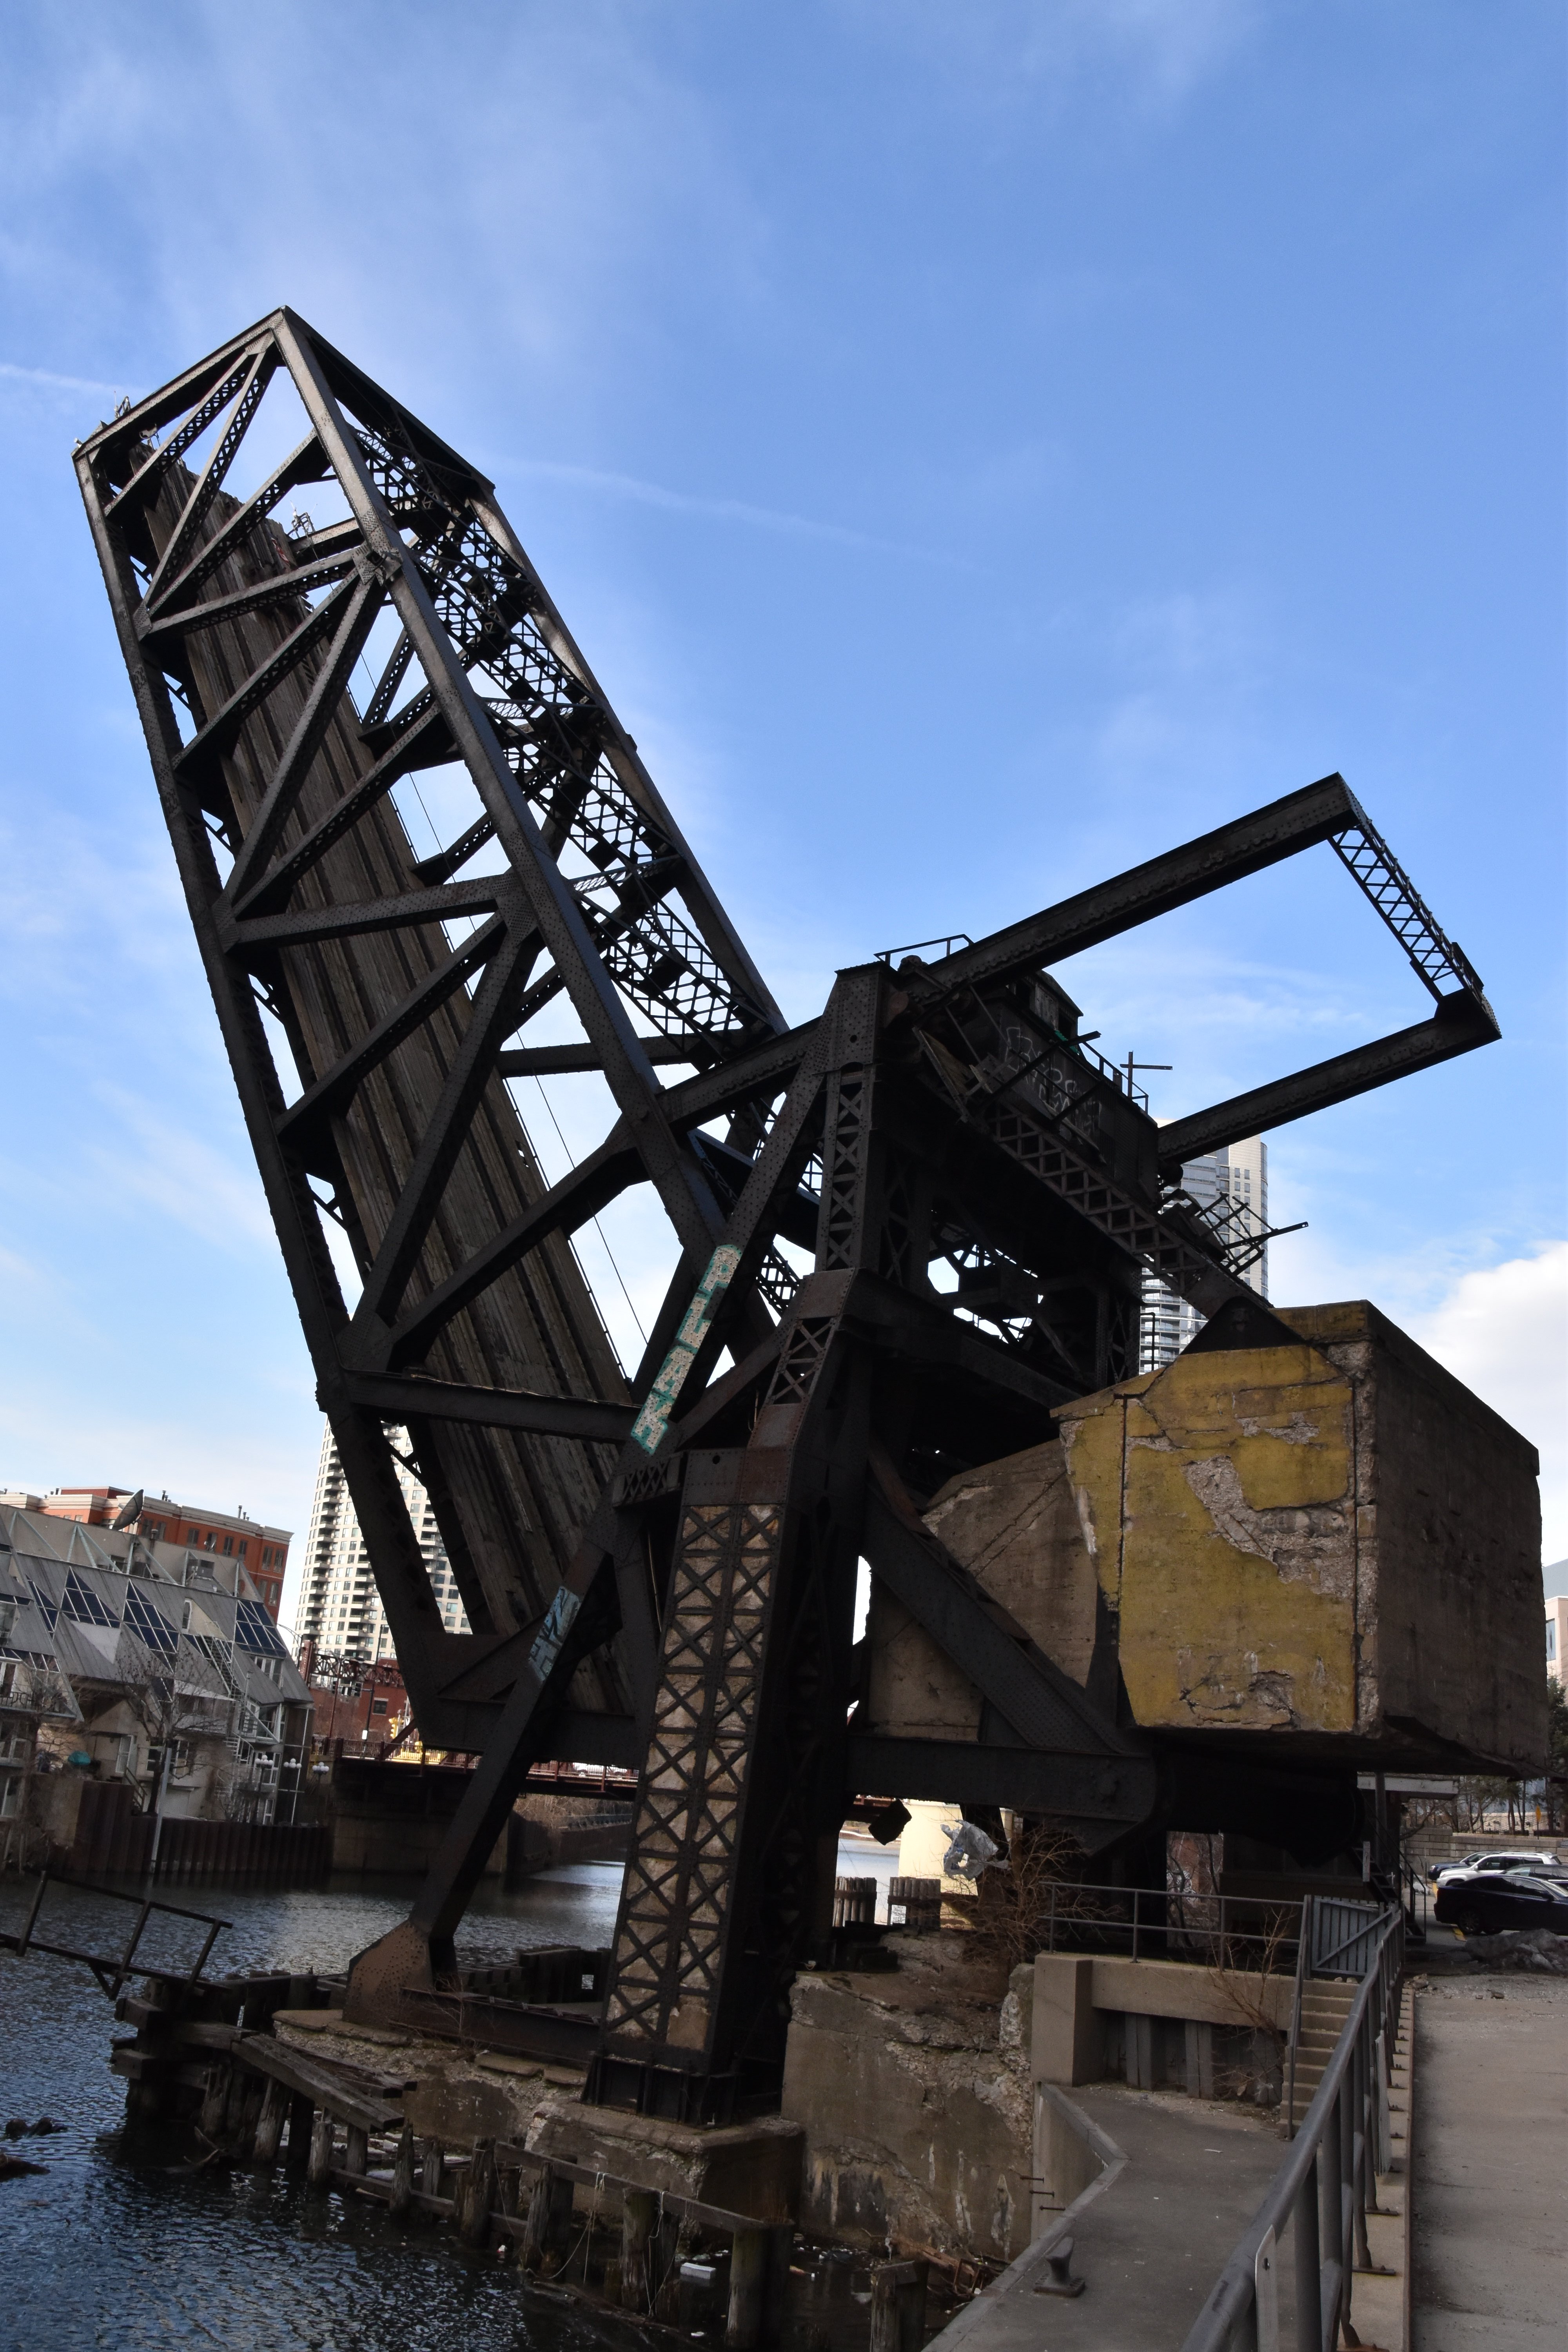
Portal views facing west, bridge in raised position.
![]()
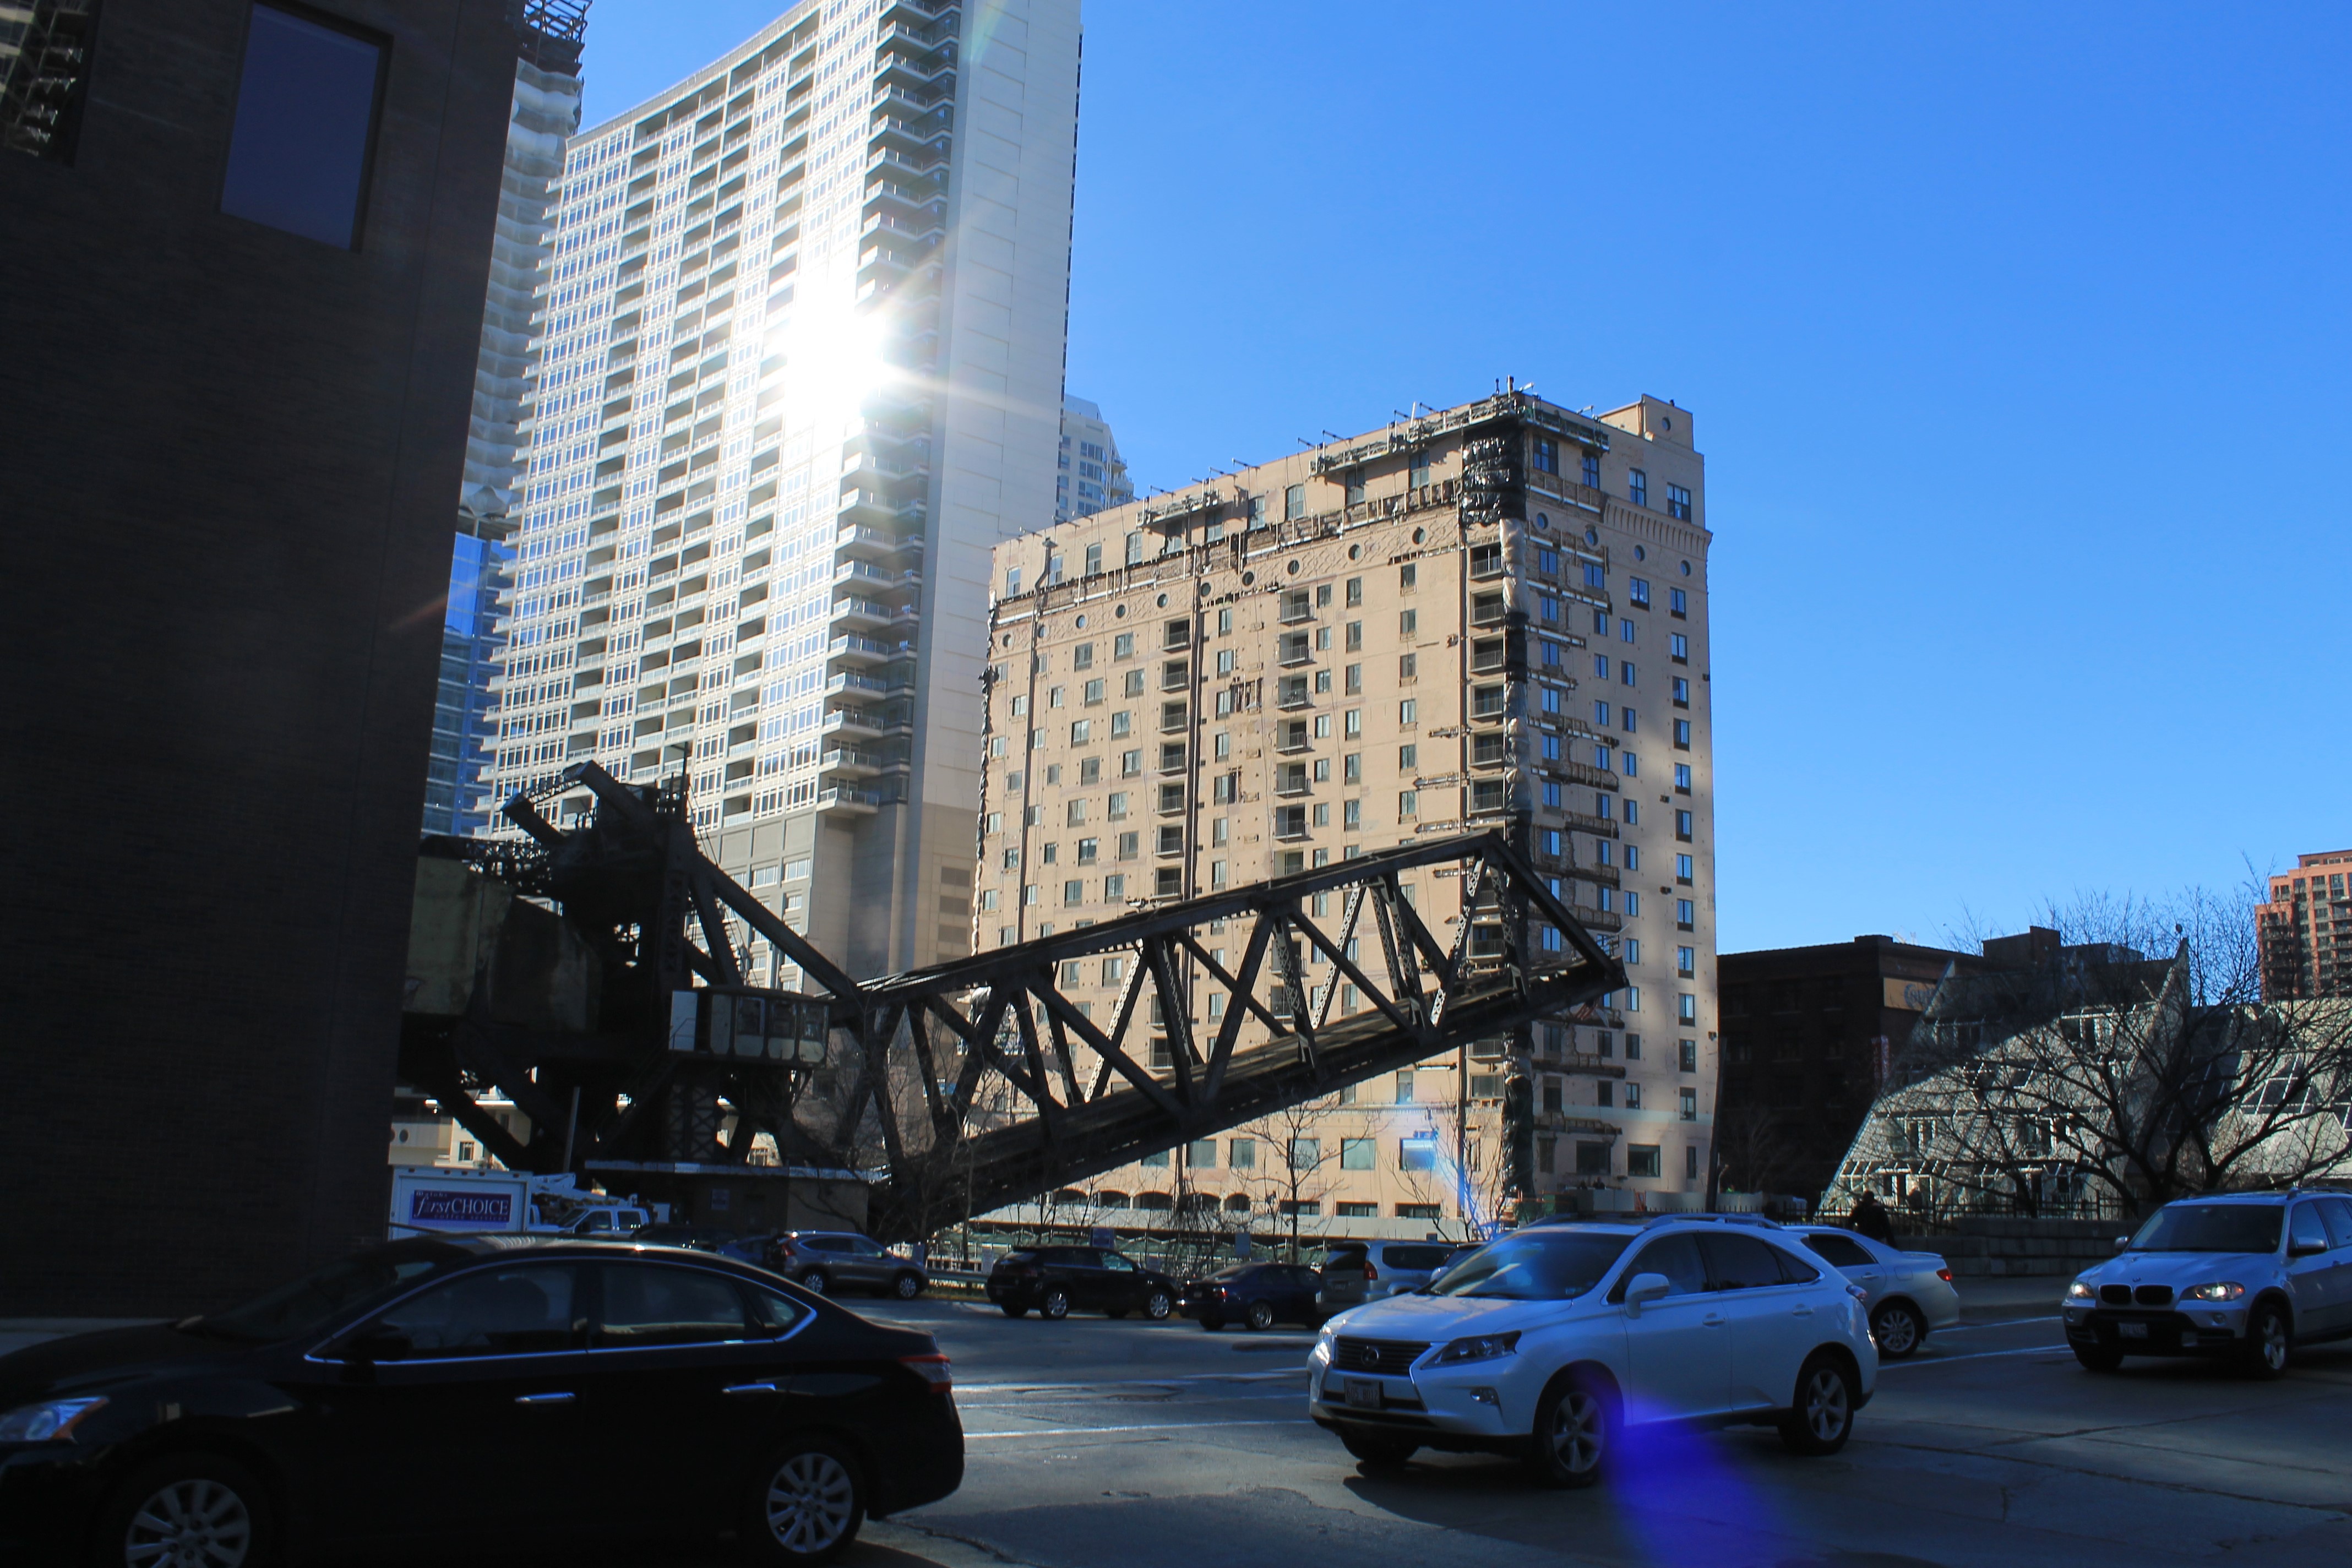


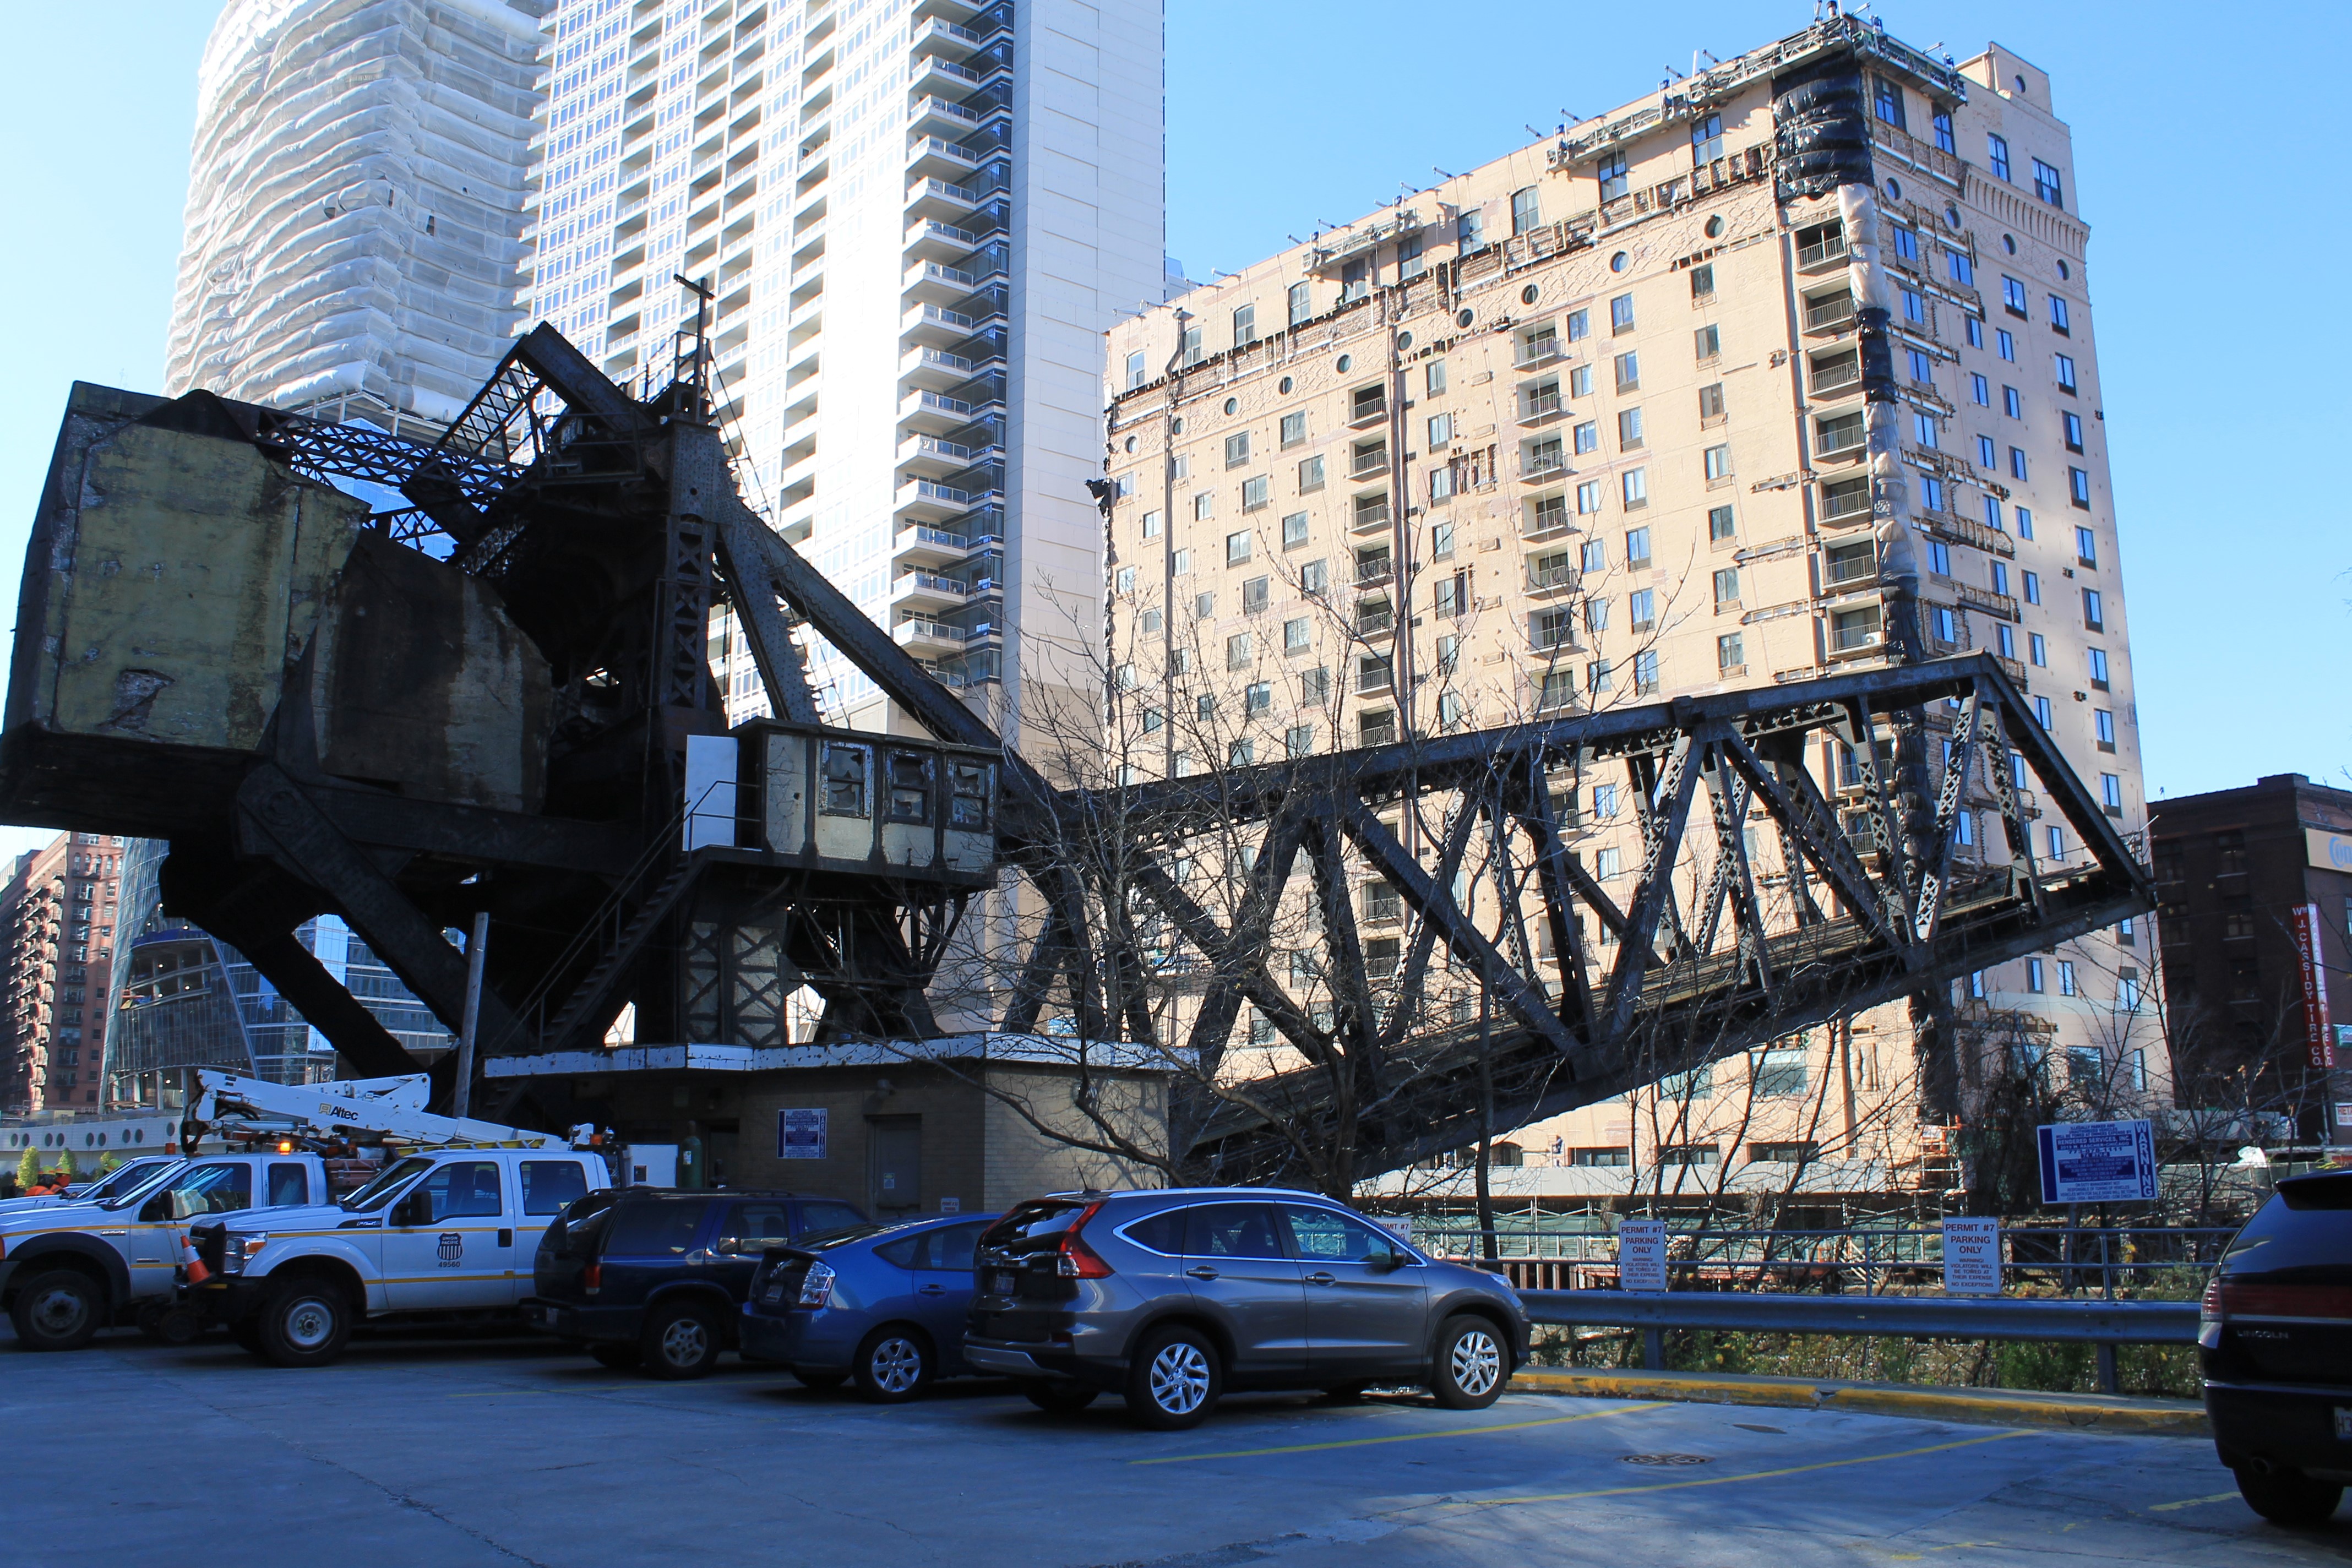


Photo Credit: Royce and Bobette Haley
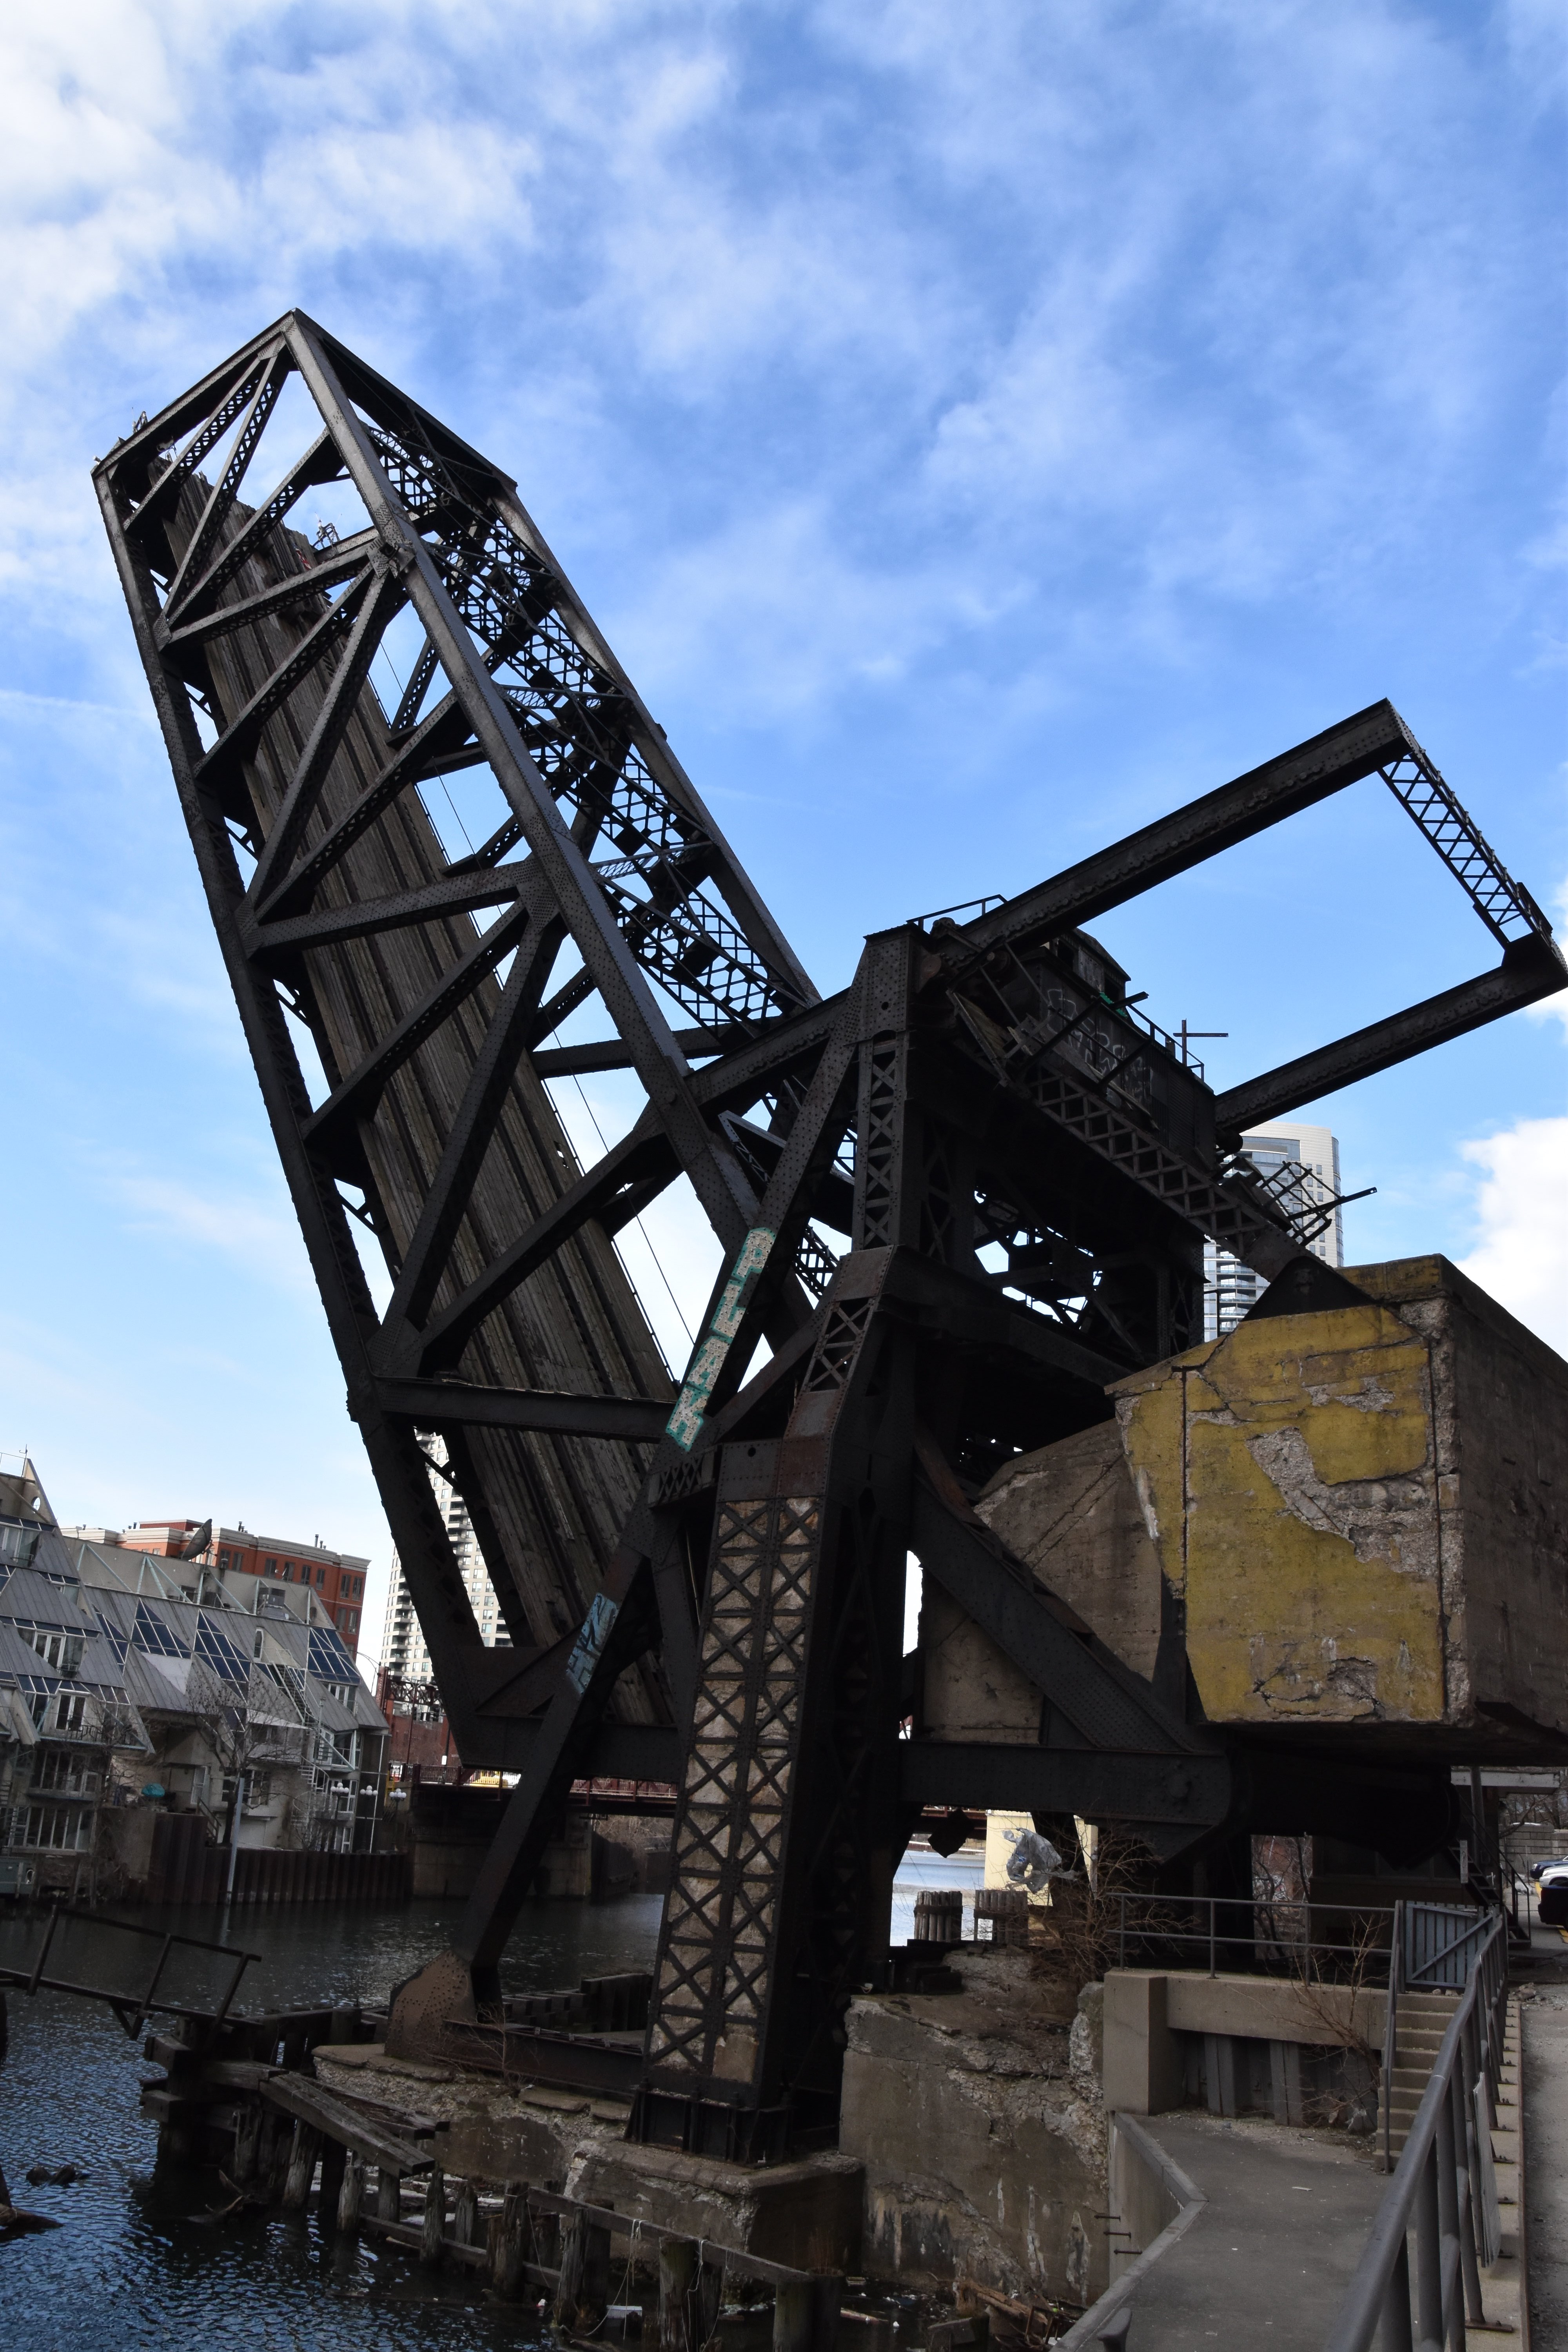
Elevation from northwest quadrant, bridge partially lowered.
![]()


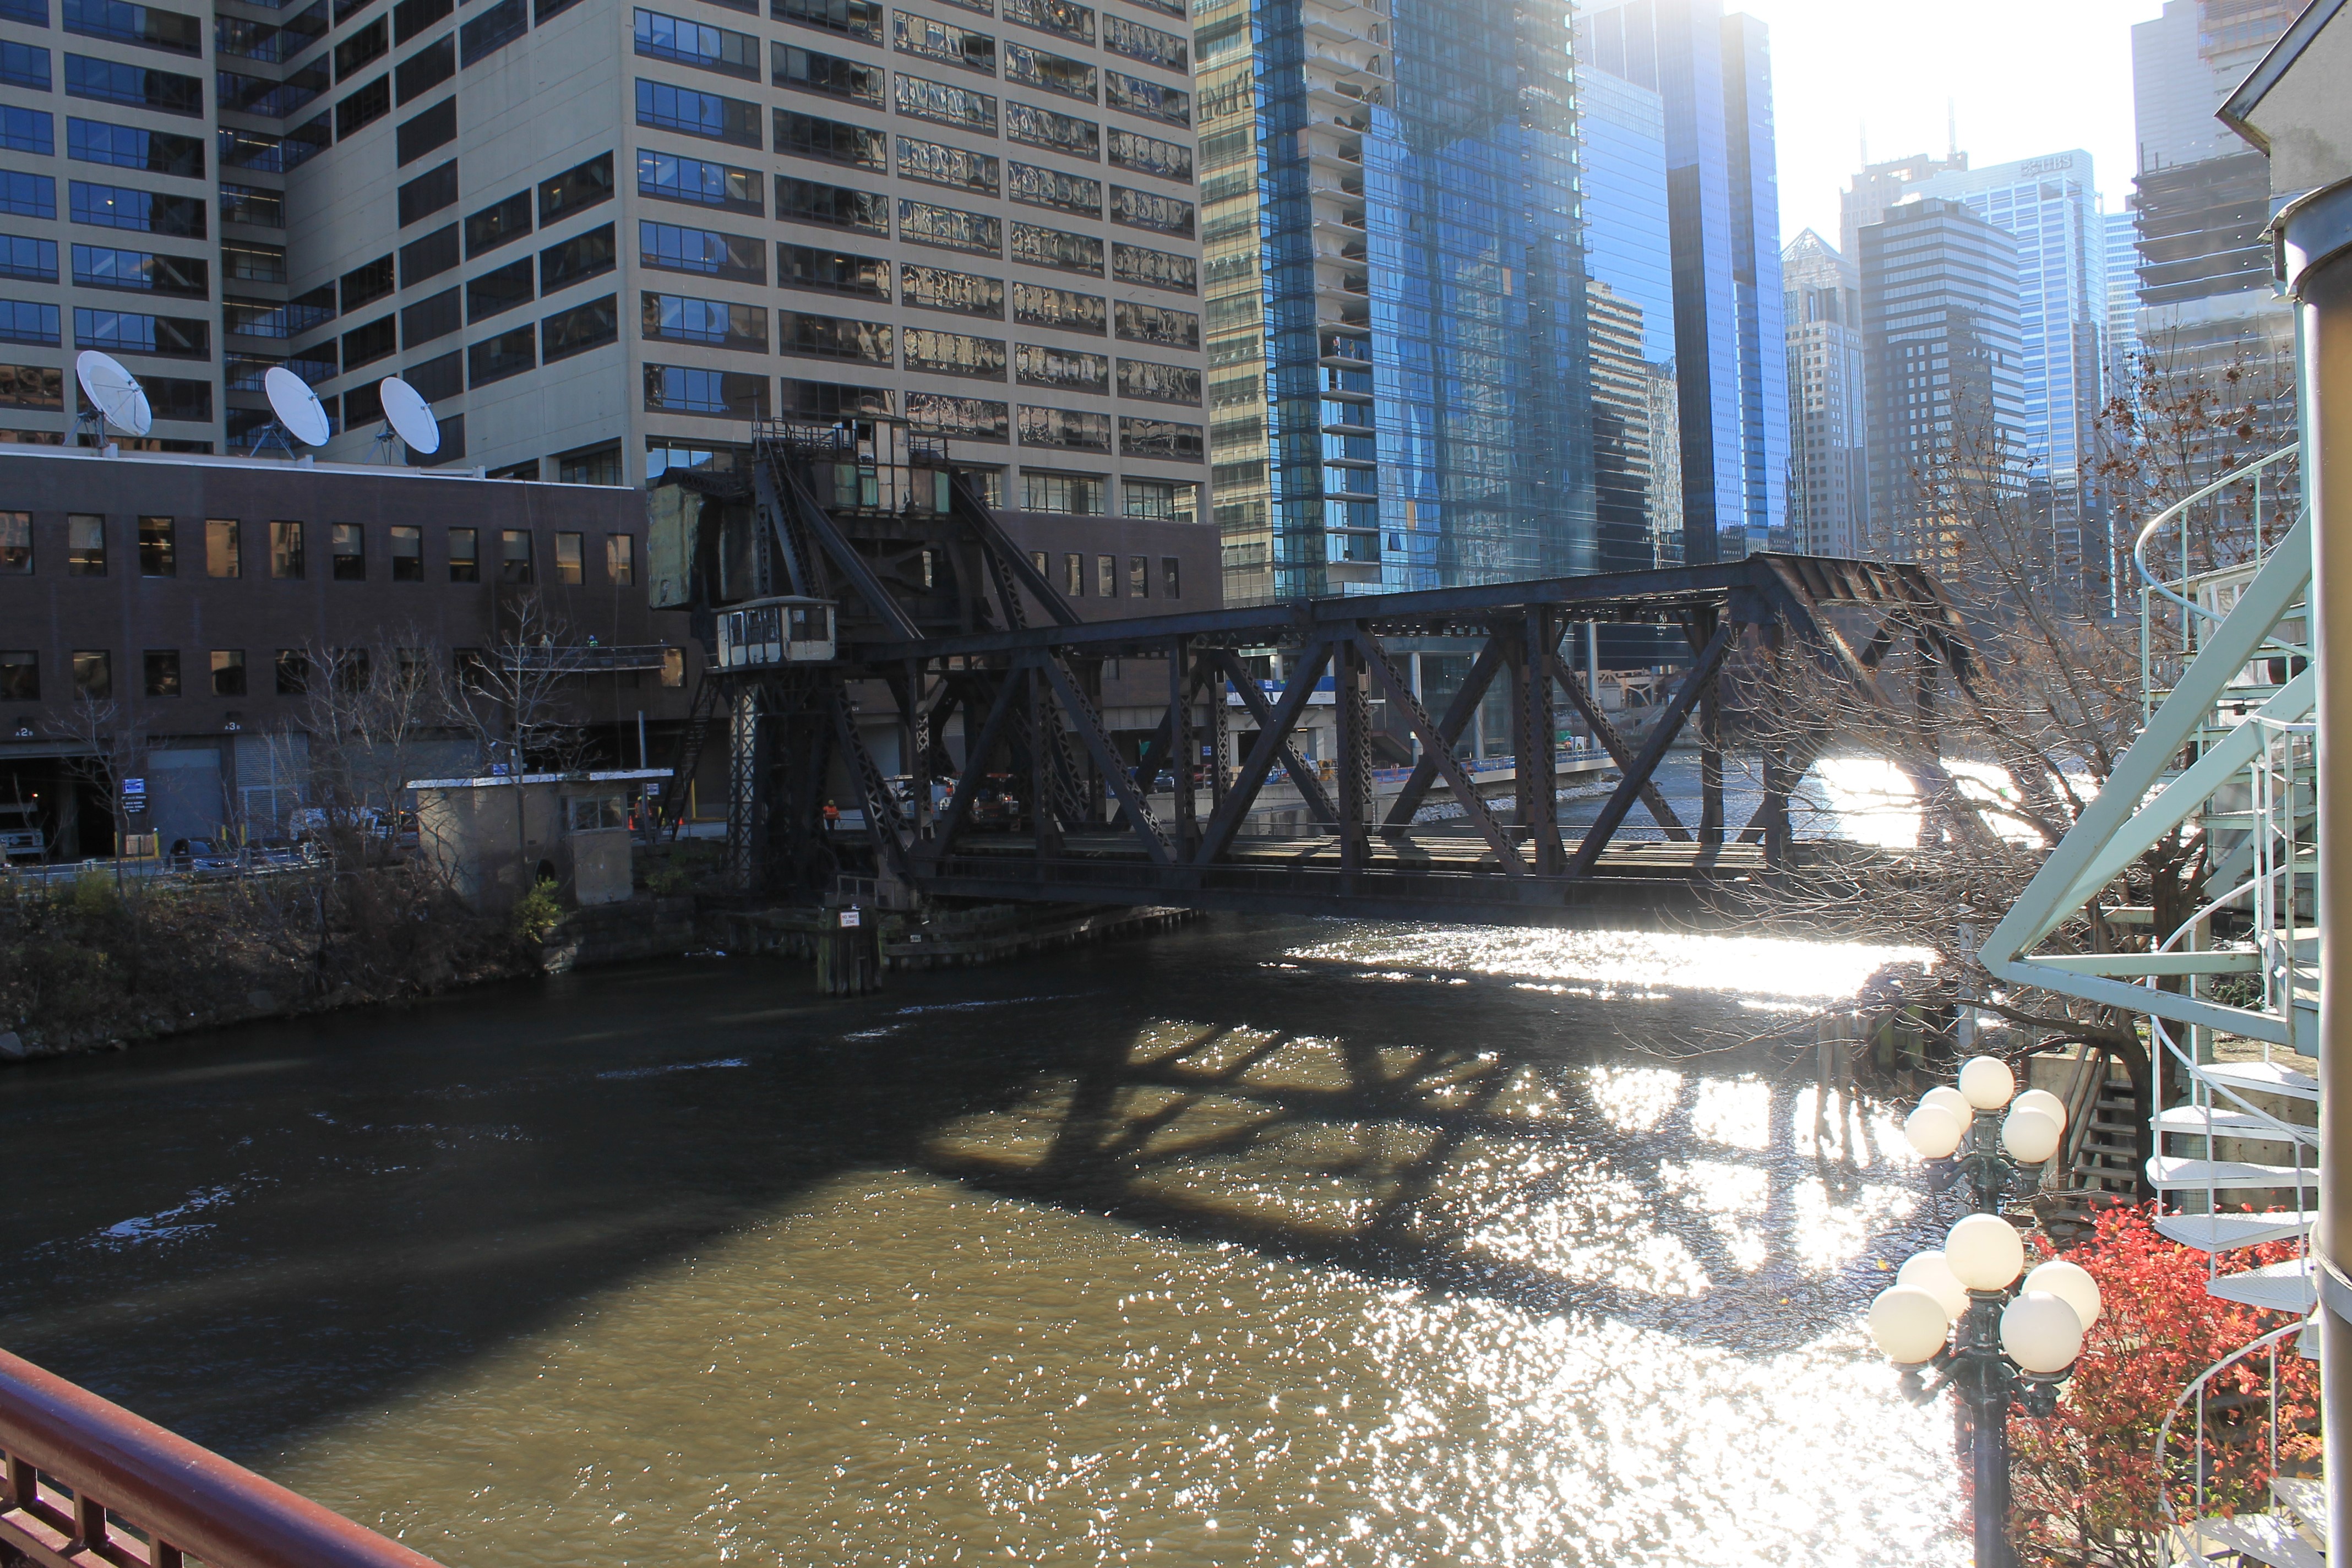

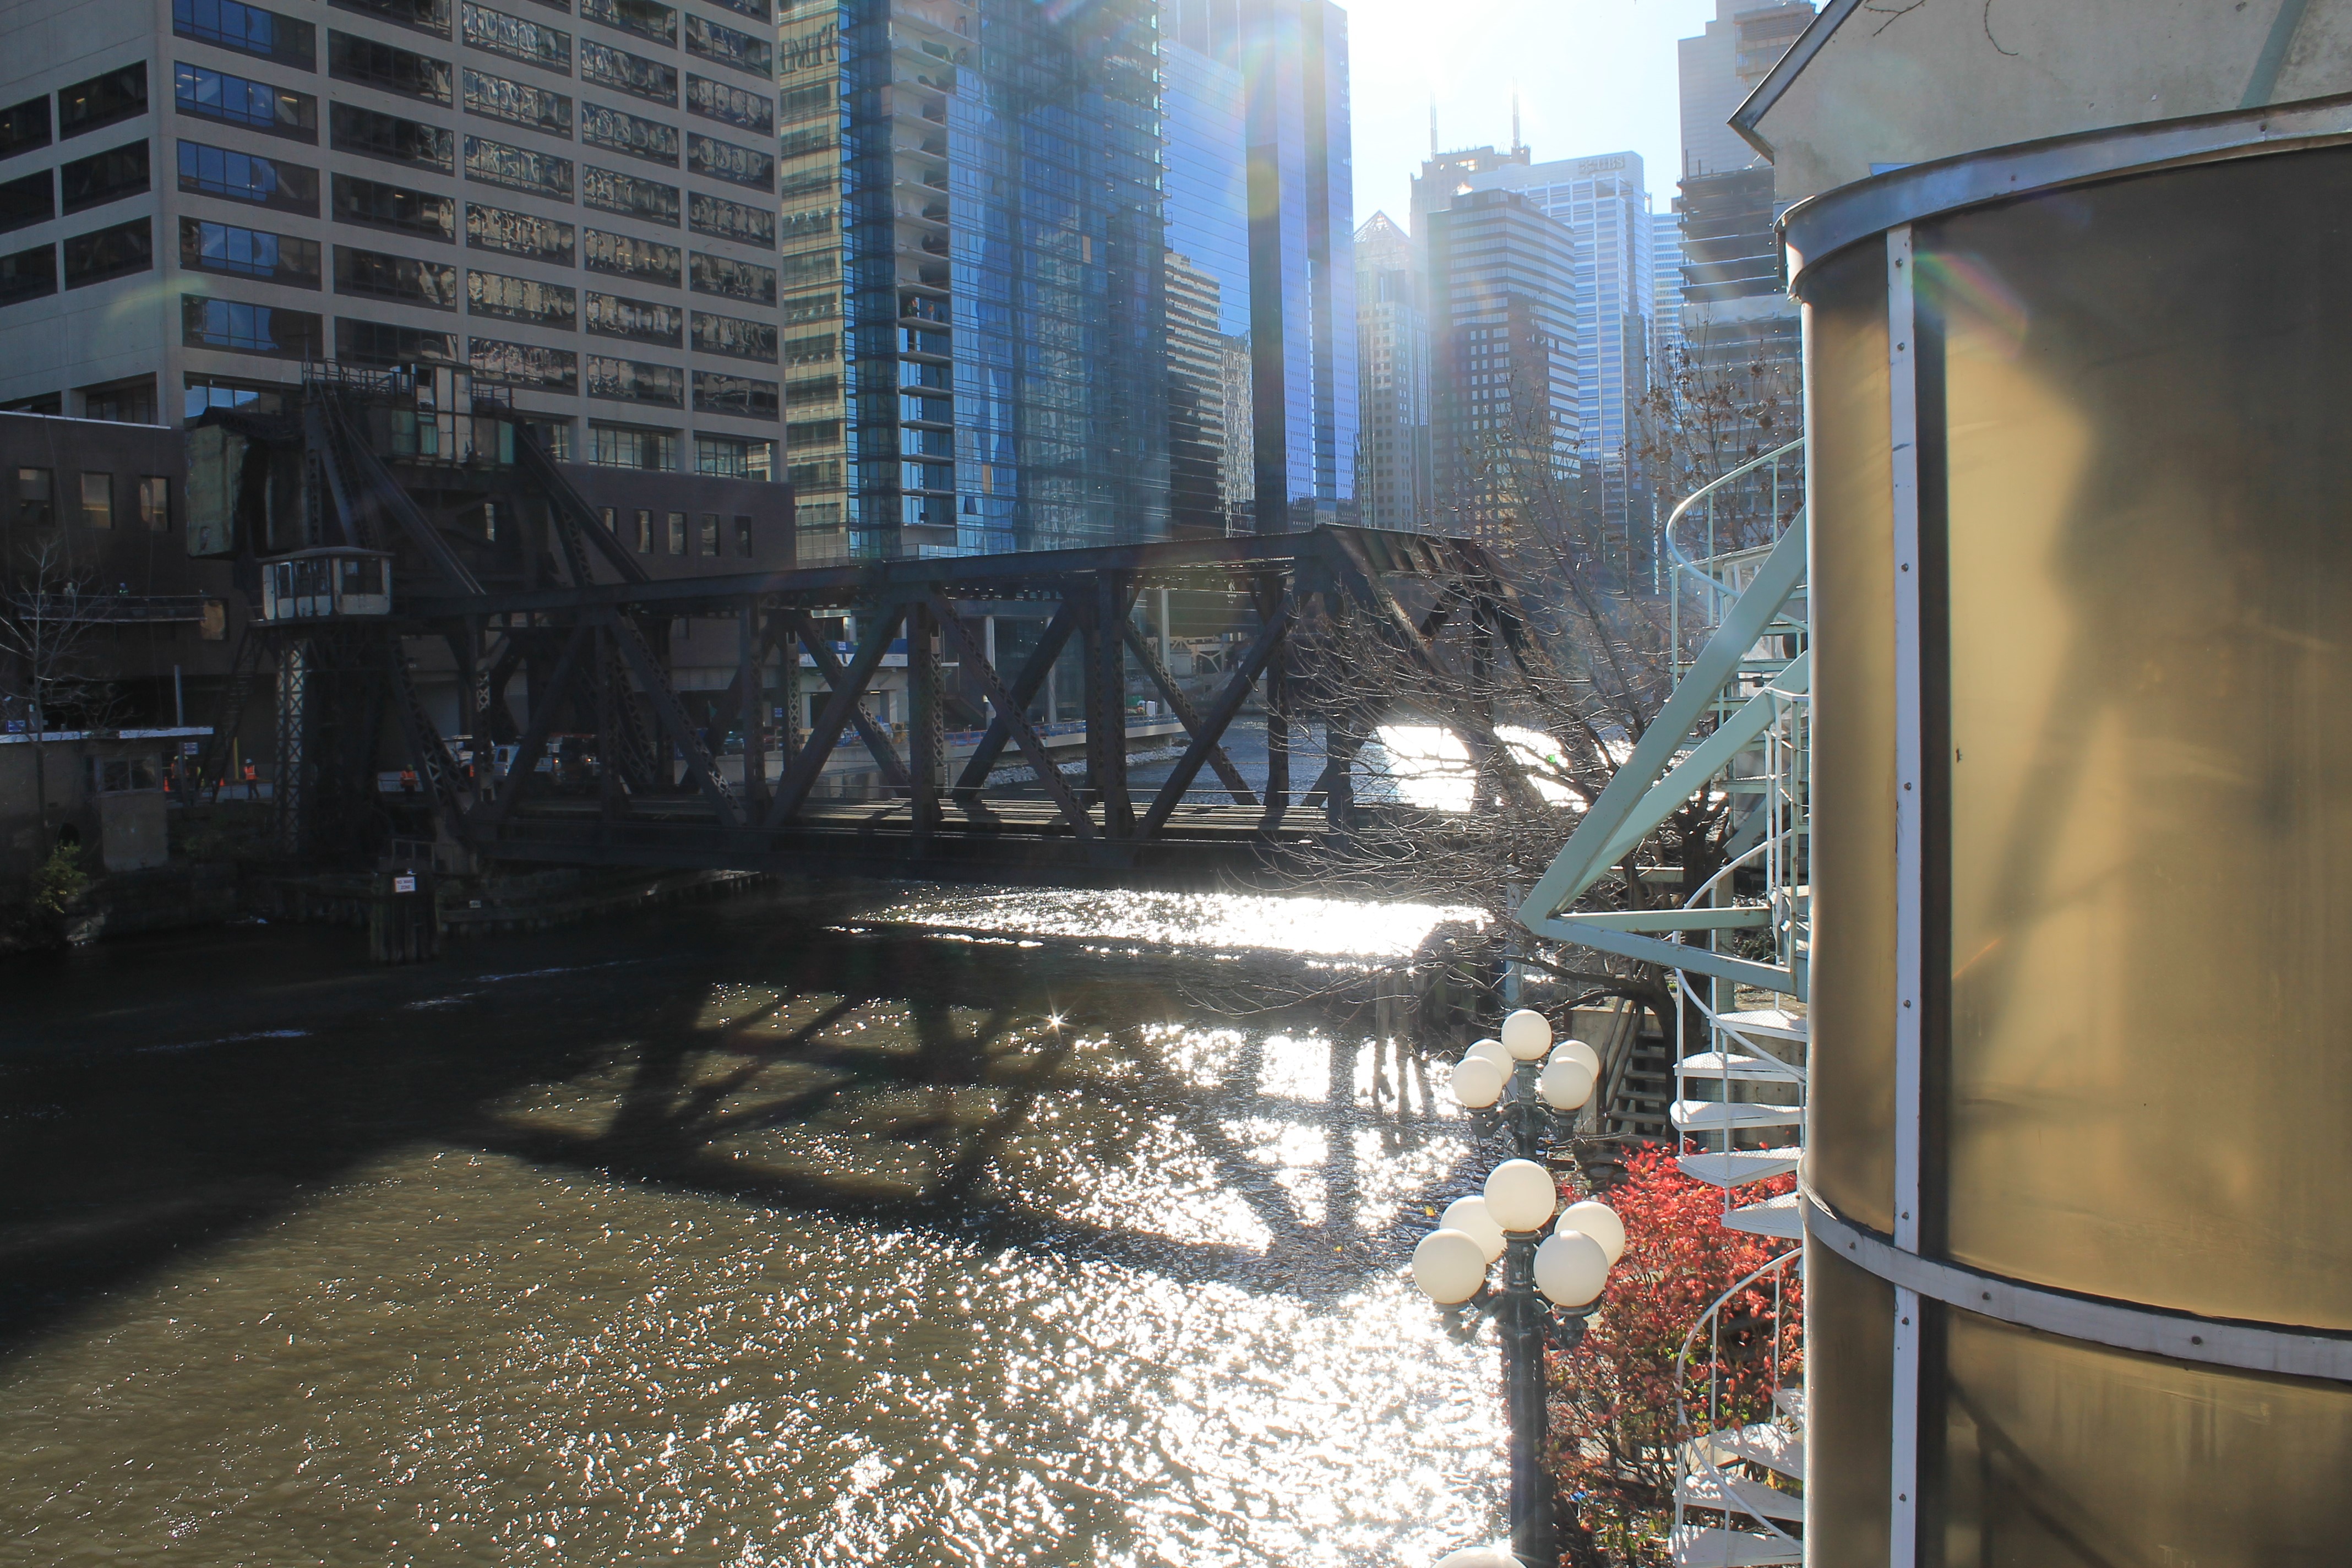
Photo Credit: Royce and Bobette Haley
Elevation from northeast quadrant, bridge lowered.
![]()
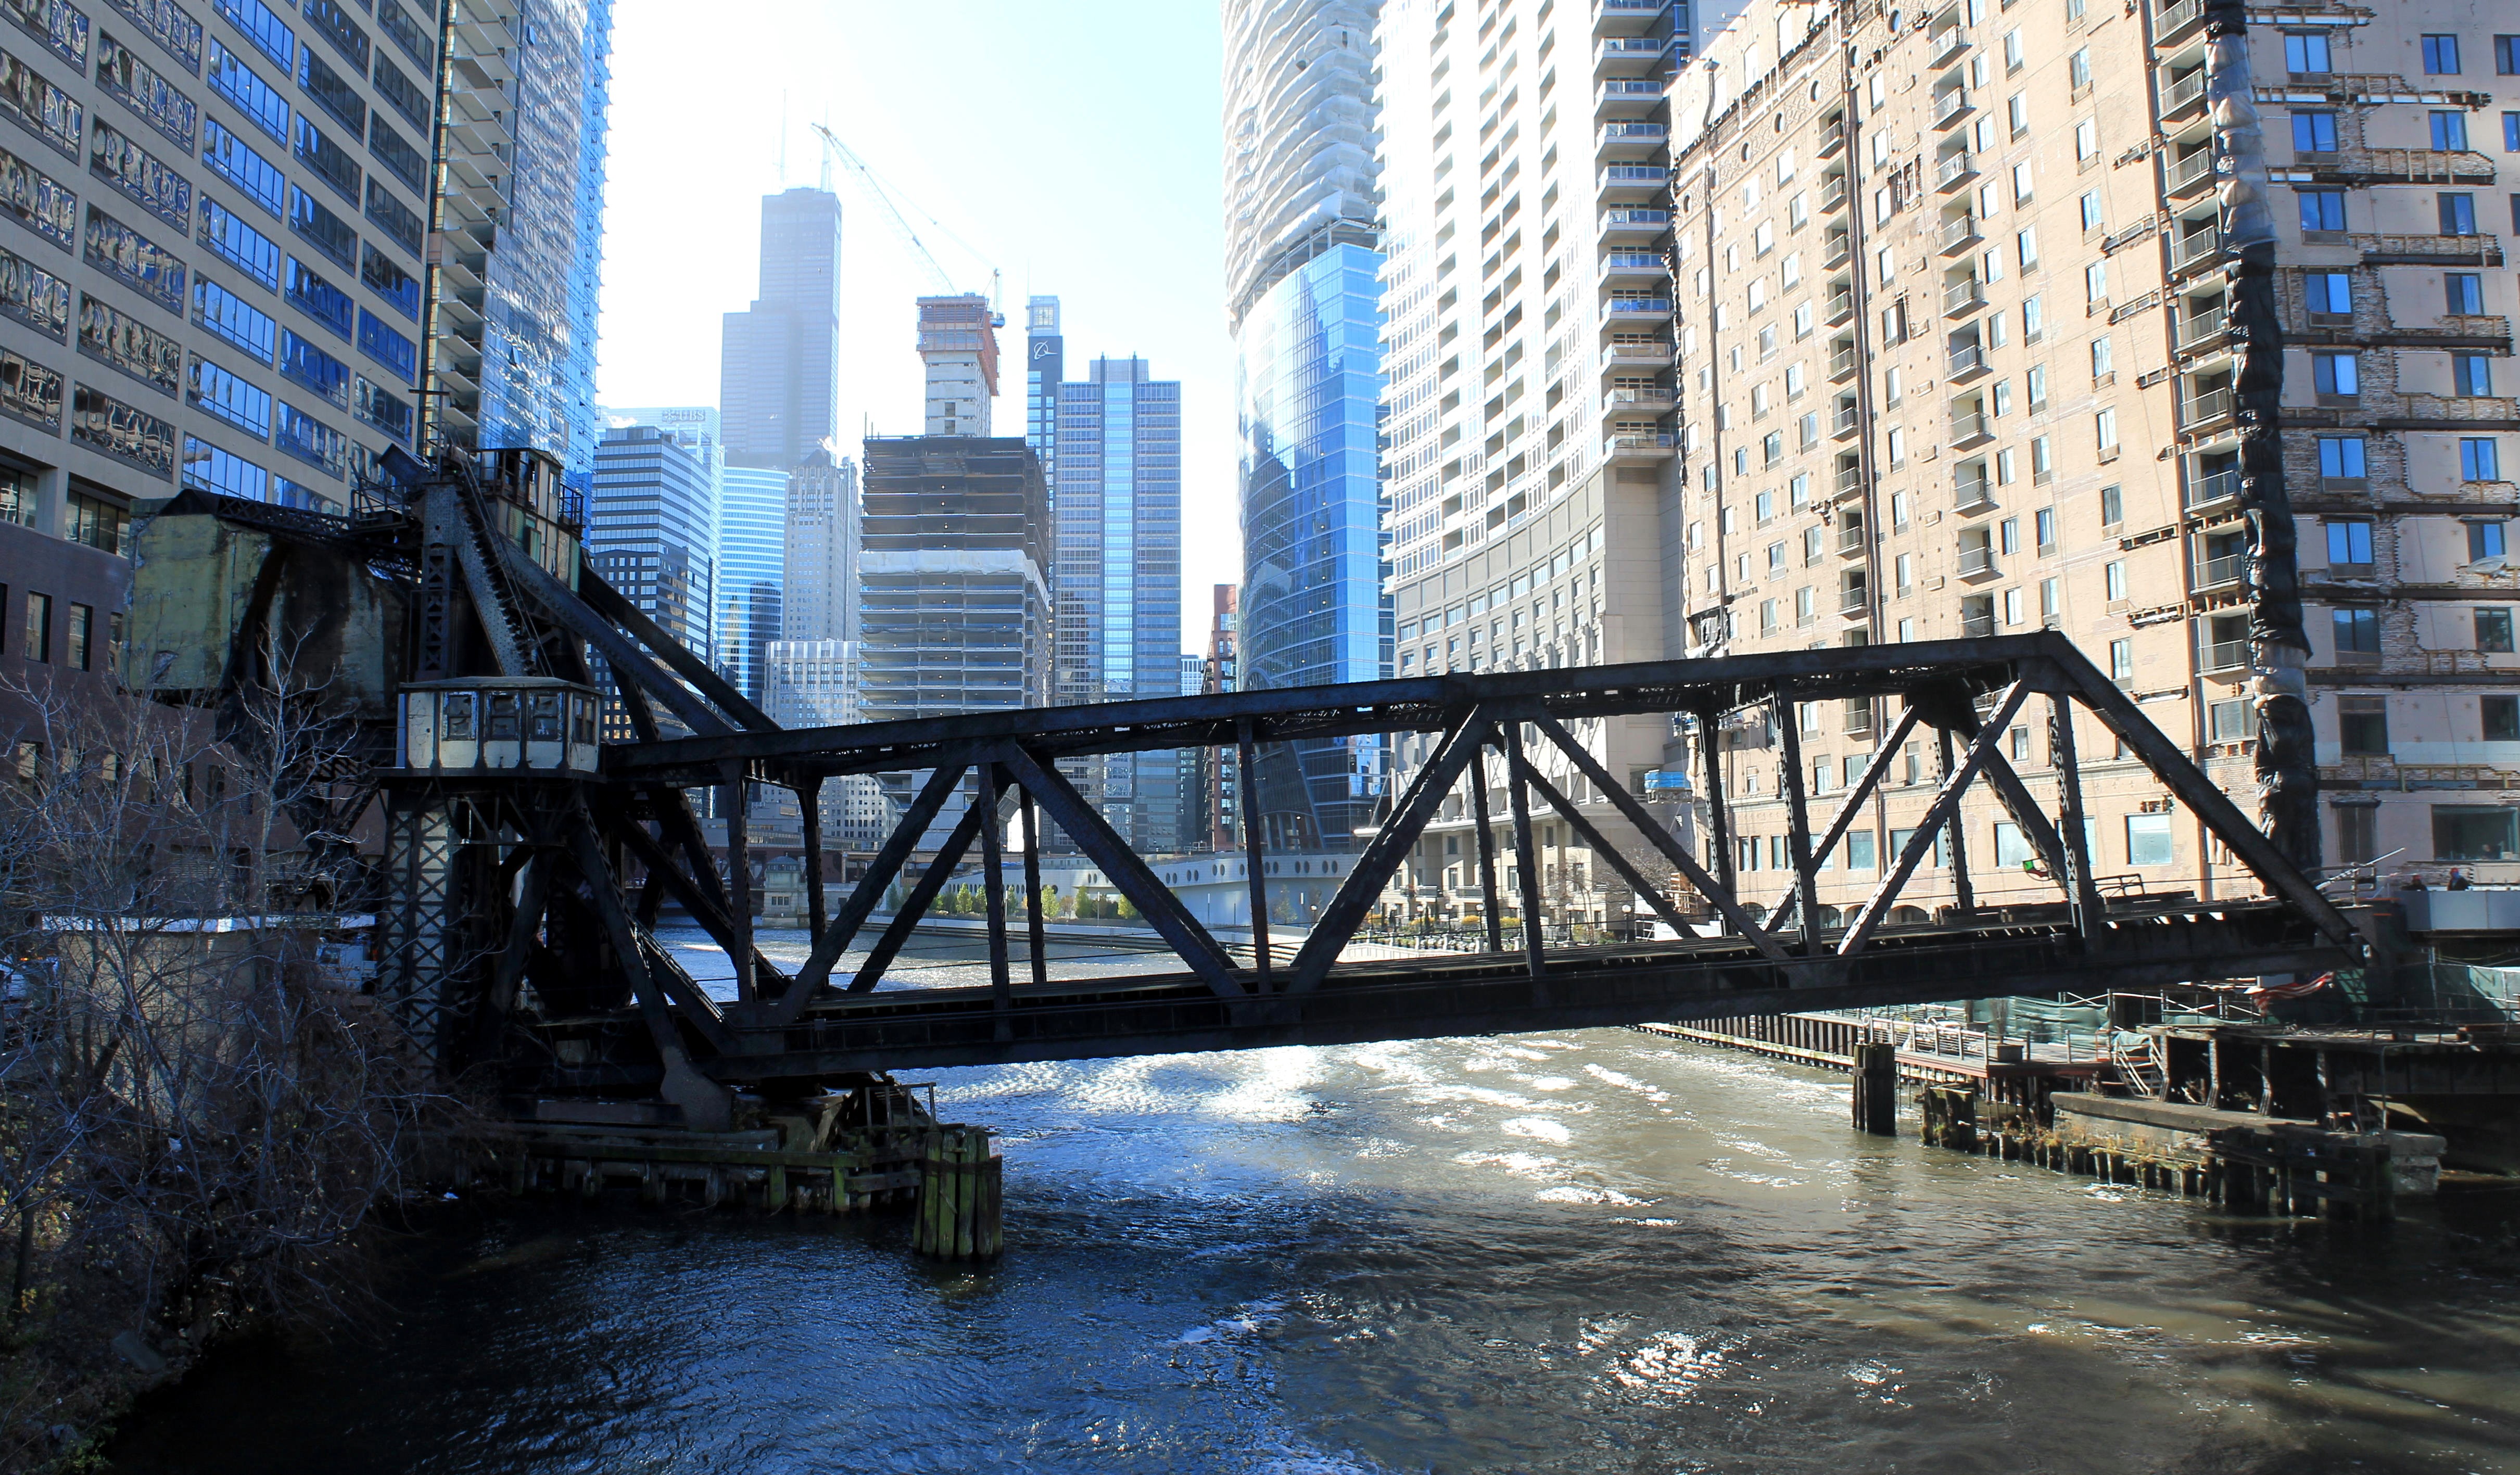


Photo Credit: Royce and Bobette Haley
North elevation, bridge partially lowered.
![]()

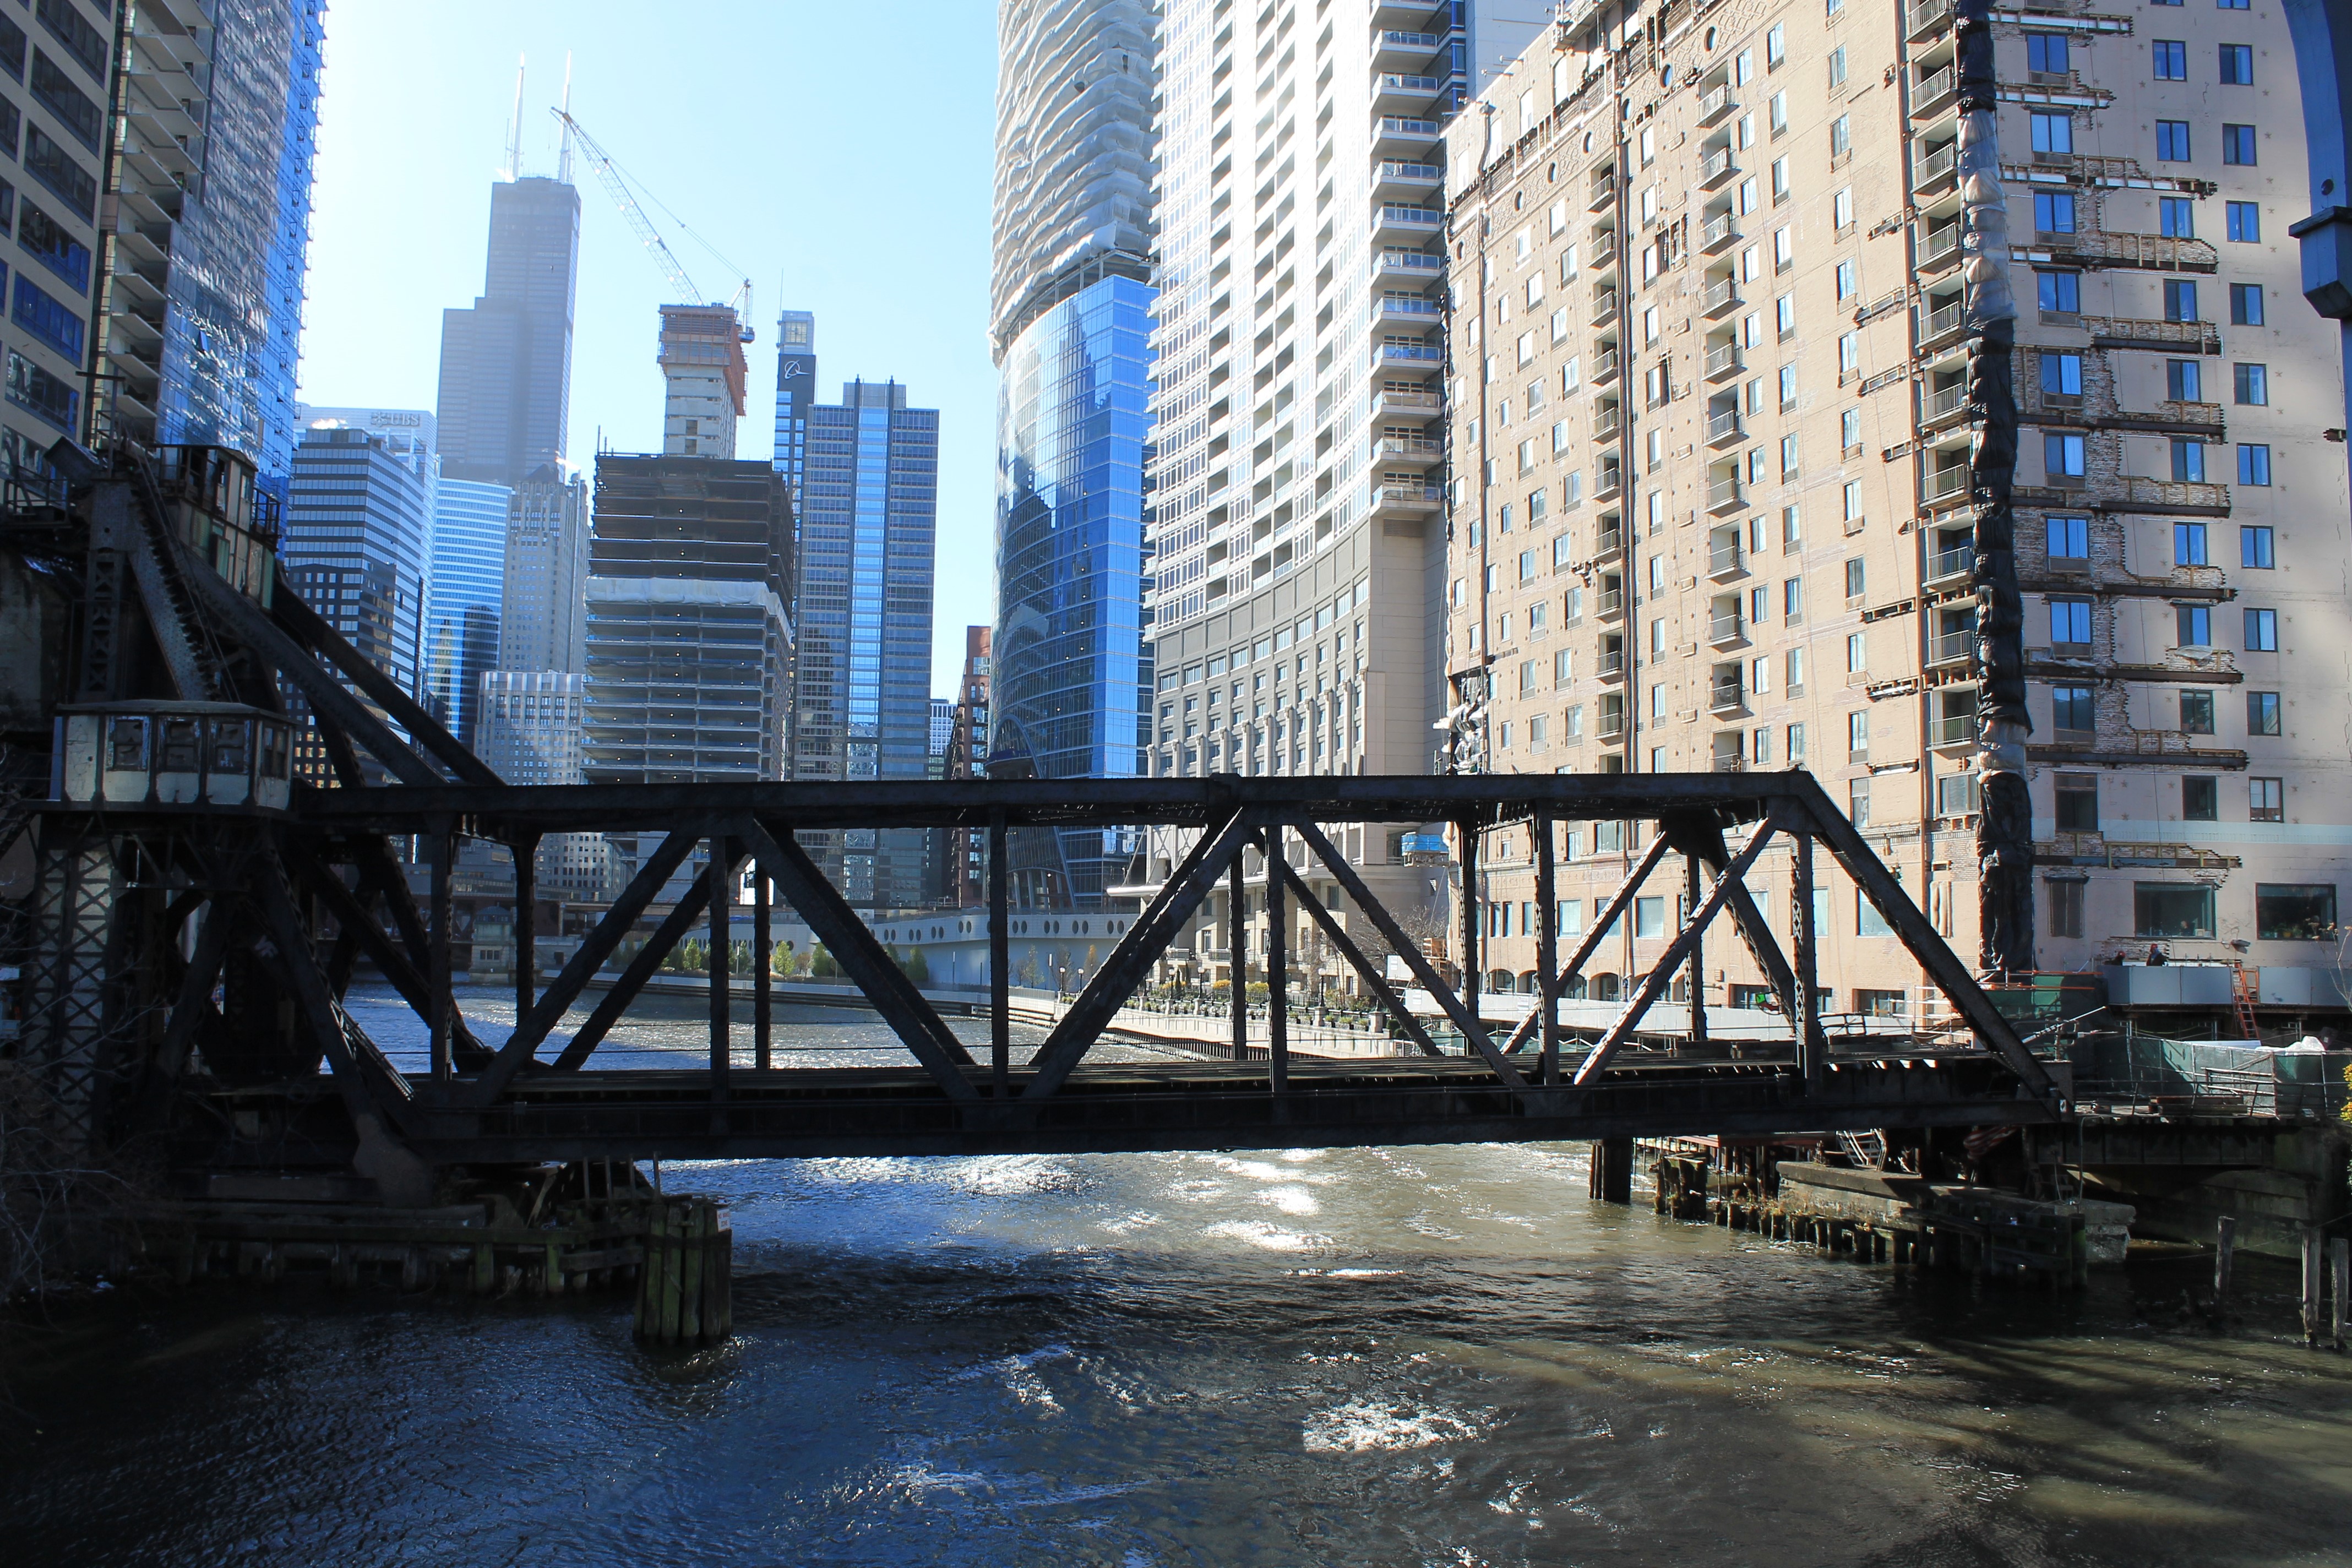
Photo Credit: Royce and Bobette Haley
North elevation, bridge partially lowered, panoramic views.
![]()

![]()
Photo Credit: Royce and Bobette Haley
North elevation, bridge lowered, panoramic views.
![]()


Photo Credit: Royce and Bobette Haley
North elevation, bridge lowered.
![]()
Photo Credit: Royce and Bobette Haley
North elevation showing machinery tower, bridge lowered.
![]()


Photo Credit: Royce and Bobette Haley
North elevation showing bascule leaf, bridge lowered.
![]()


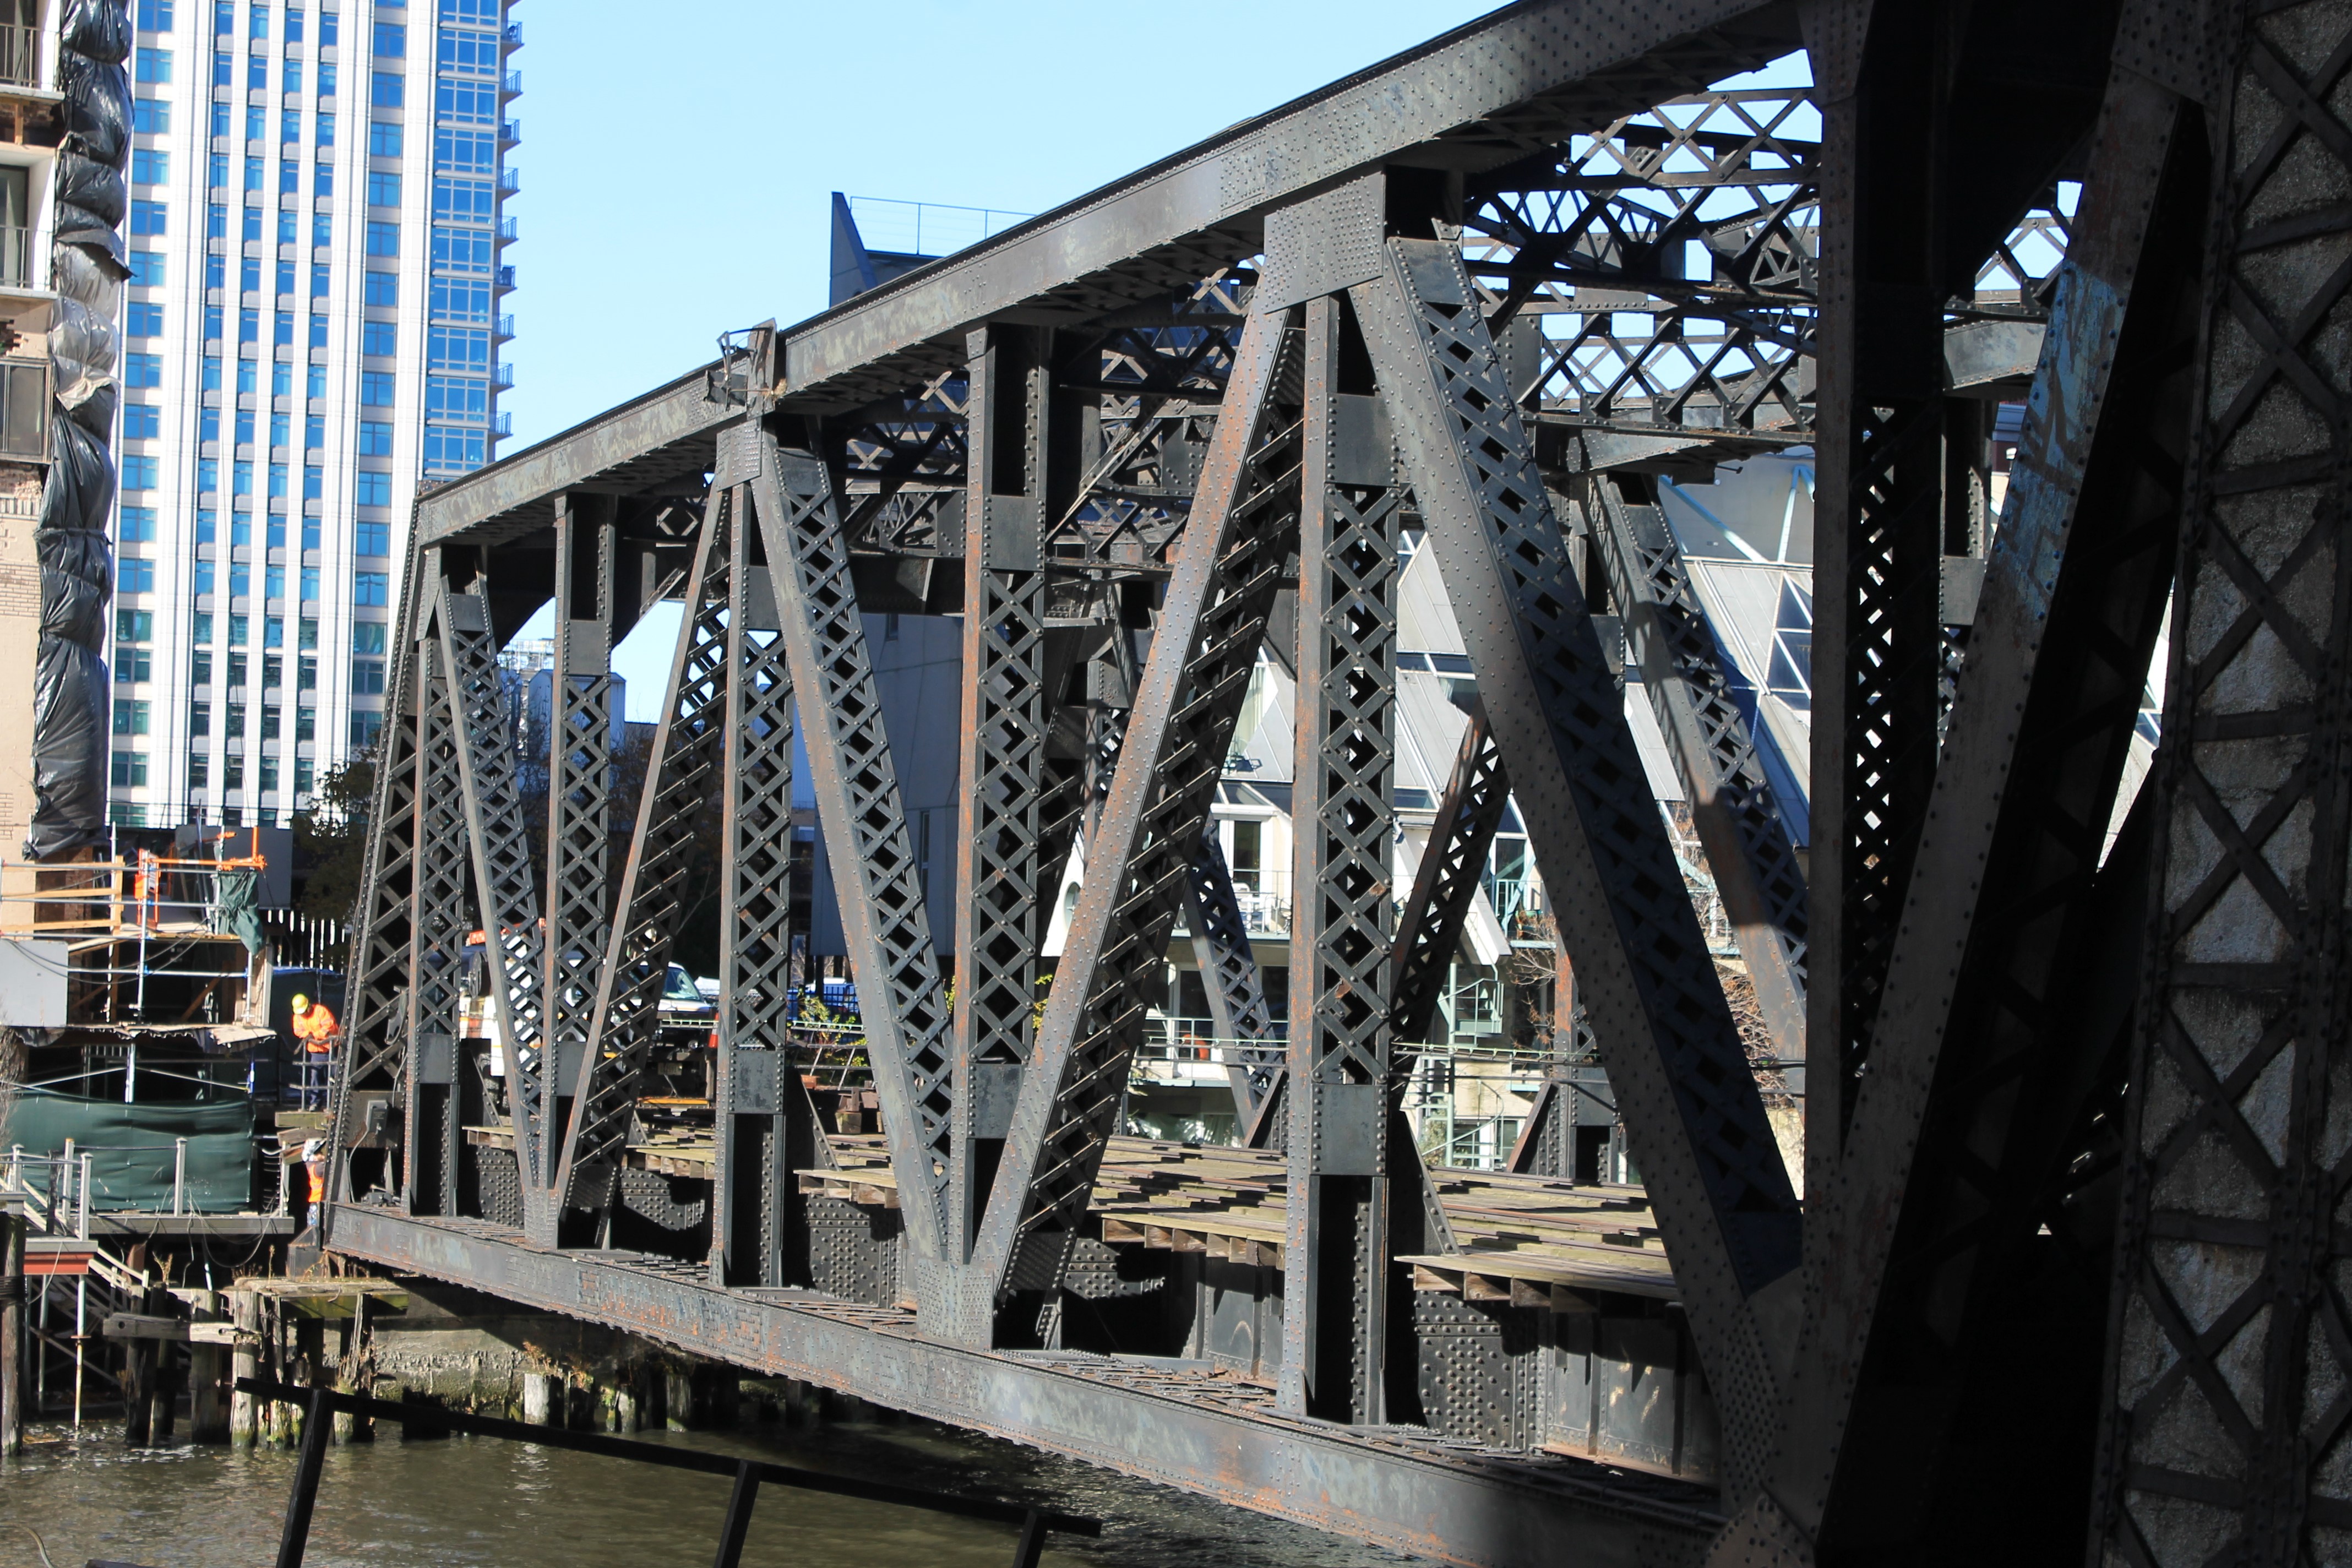
Photo Credit: Royce and Bobette Haley
View beside bridge from southeast quadrant, bridge lowered.
![]()

Photo Credit: Royce and Bobette Haley
View beside bridge from southeast quadrant, bridge lowered, panoramic view.
![]()


Photo Credit: Royce and Bobette Haley
Counterweight trunnion.
![]()


Photo Credit: Royce and Bobette Haley
Lowered leaf on end bearing.
![]()
Photo Credit: Royce and Bobette Haley
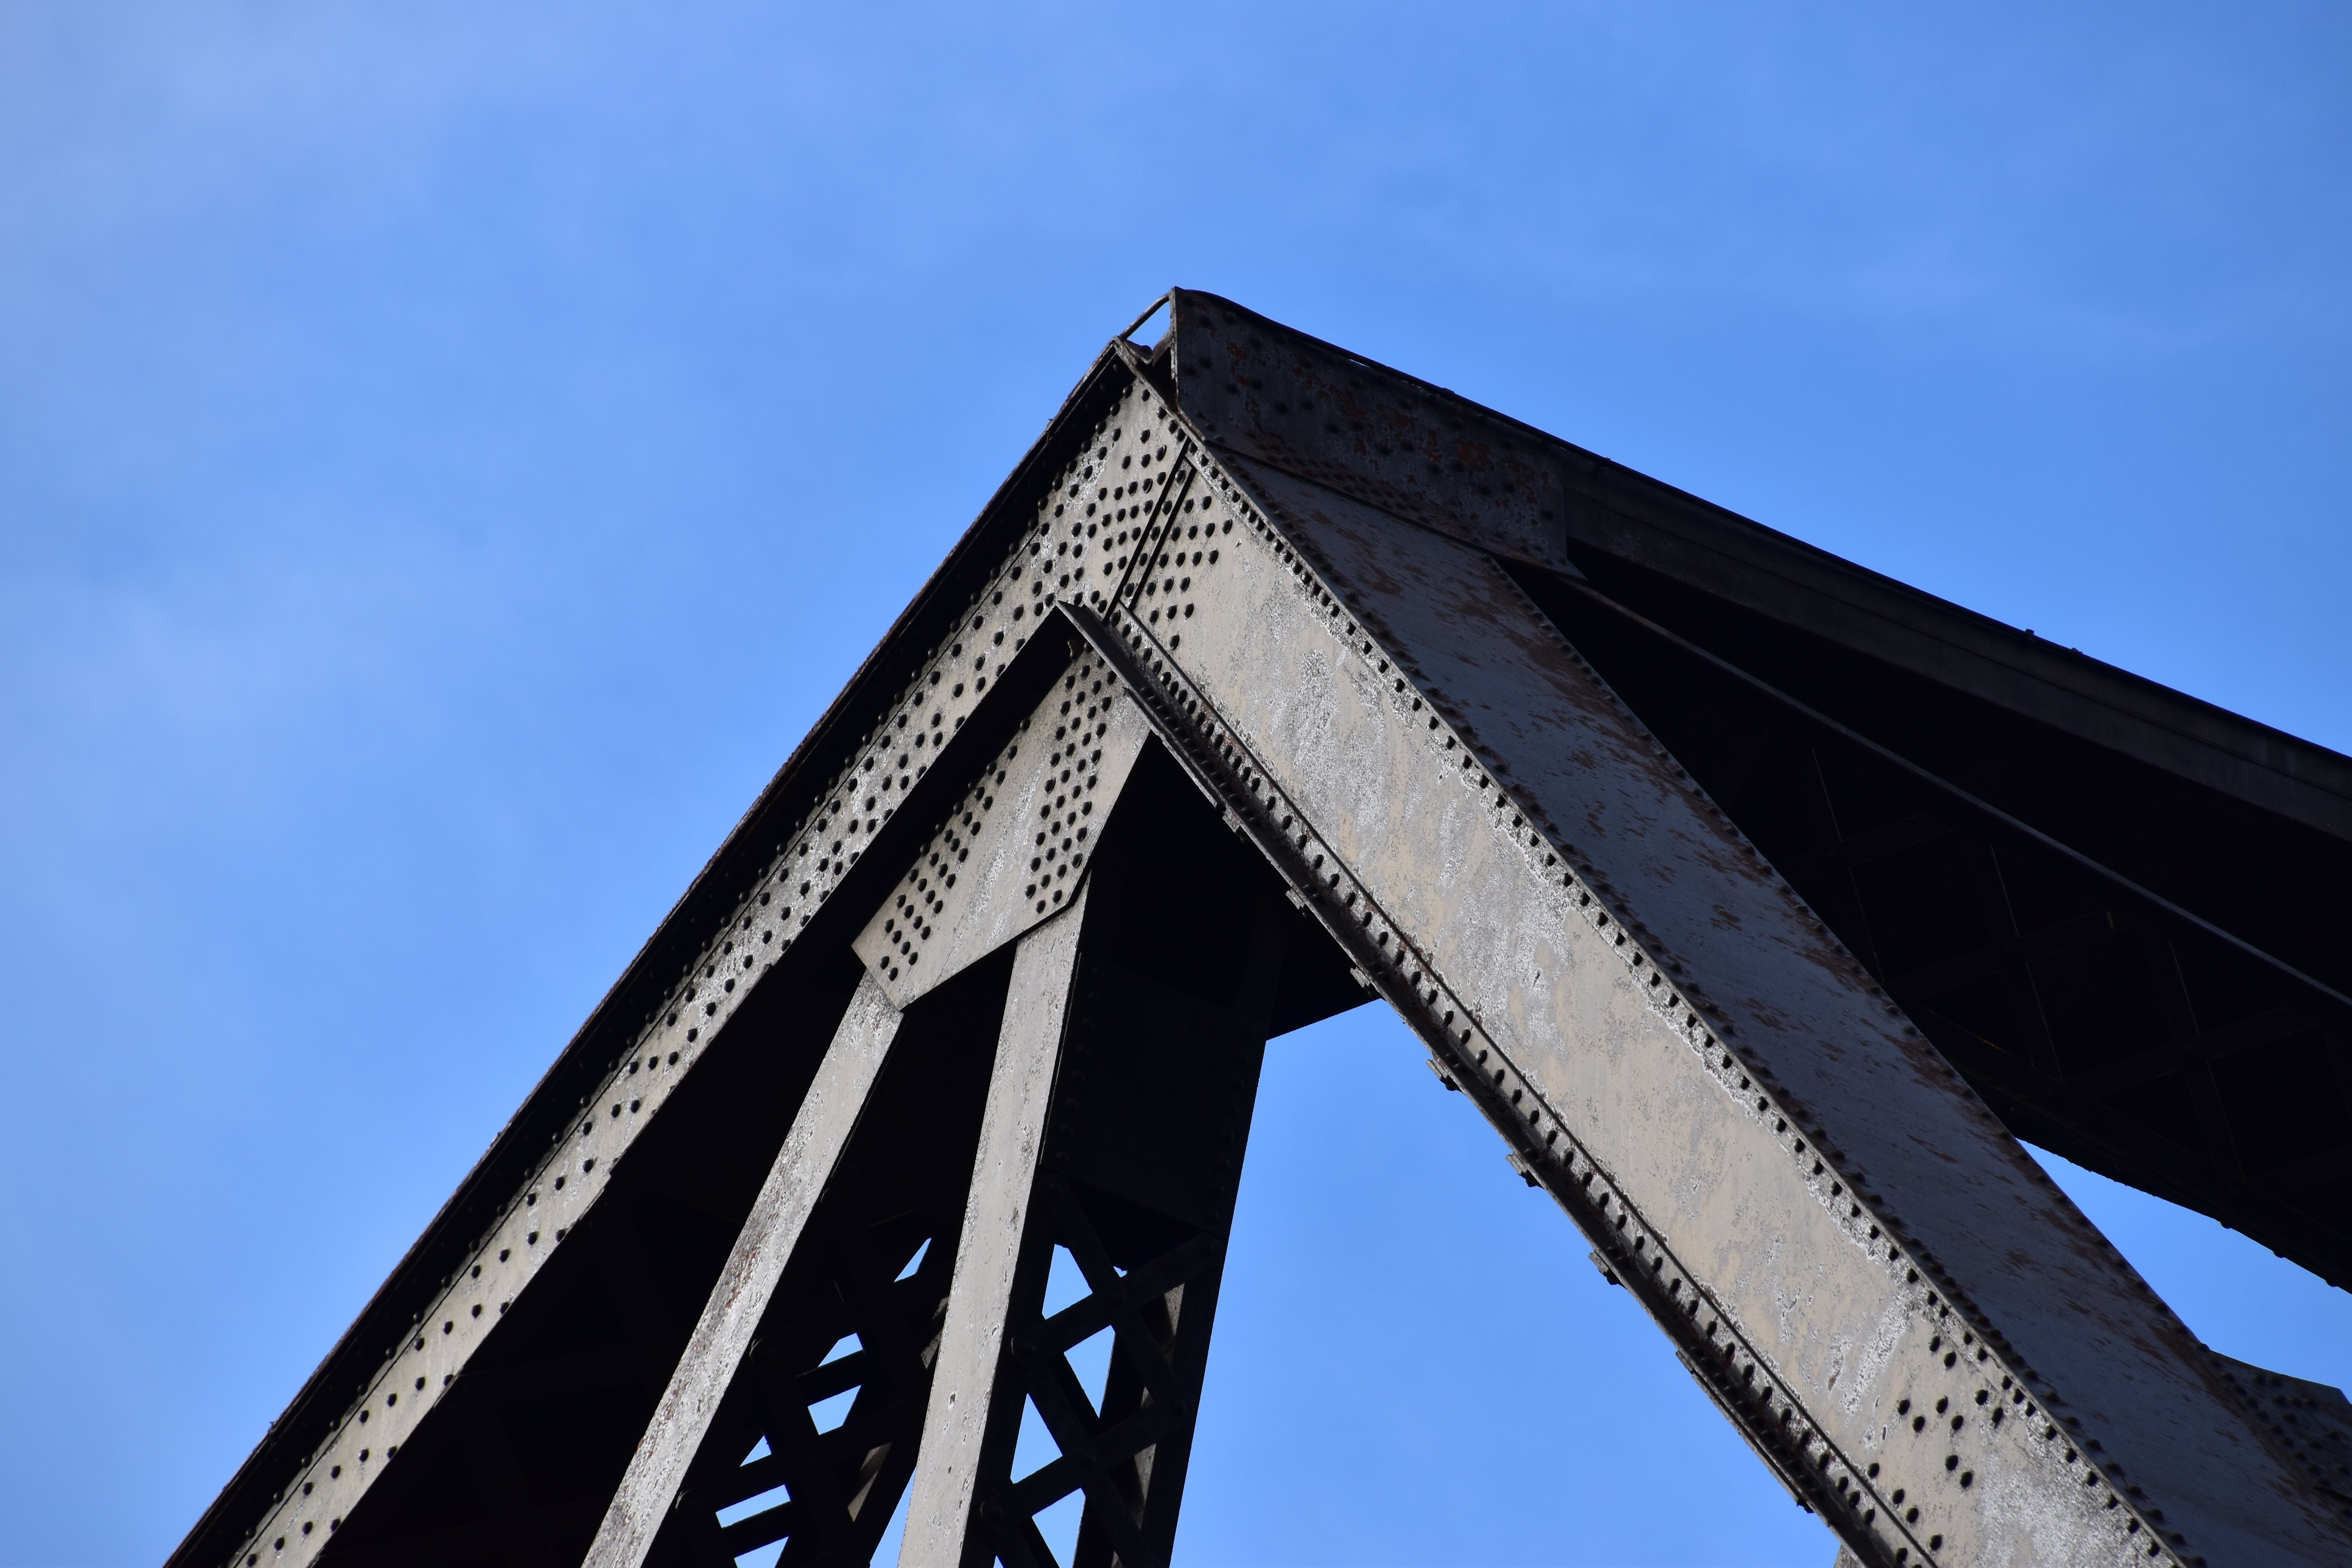
End posts with bridge lowered.
![]()


Photo Credit: Royce and Bobette Haley
Portal bracing.
![]()

Photo Credit: Royce and Bobette Haley
End post and railing.
![]()


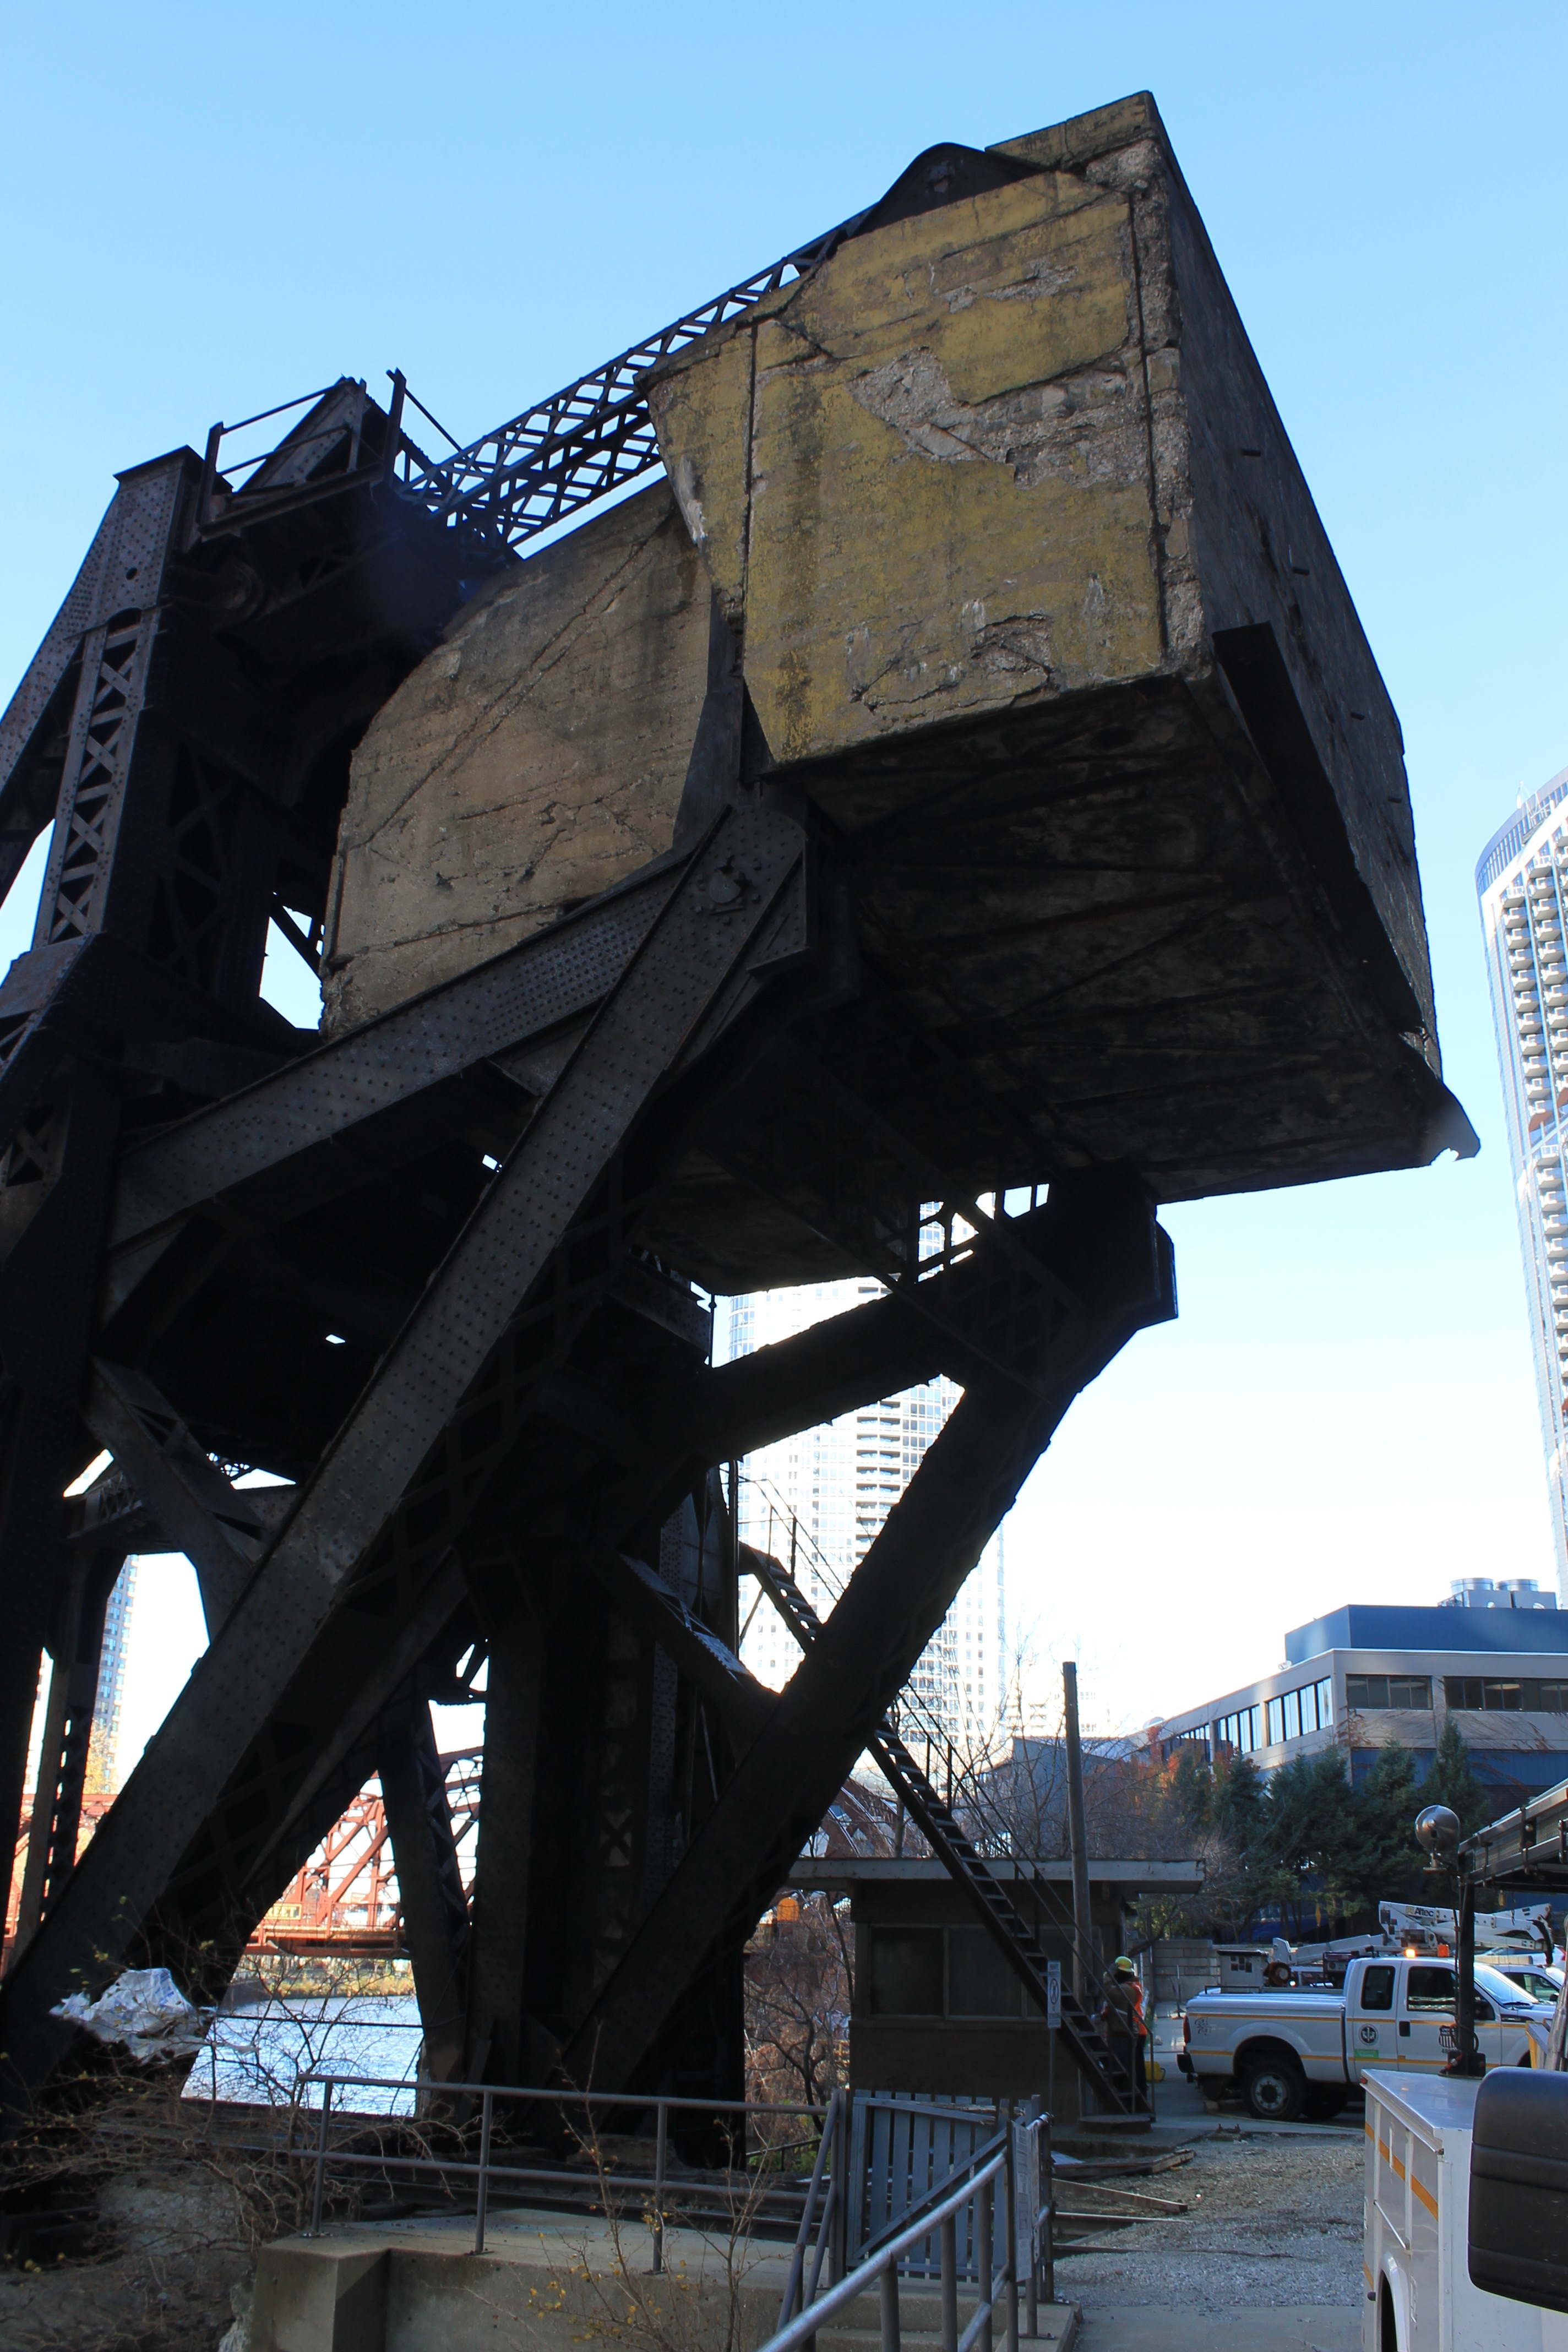

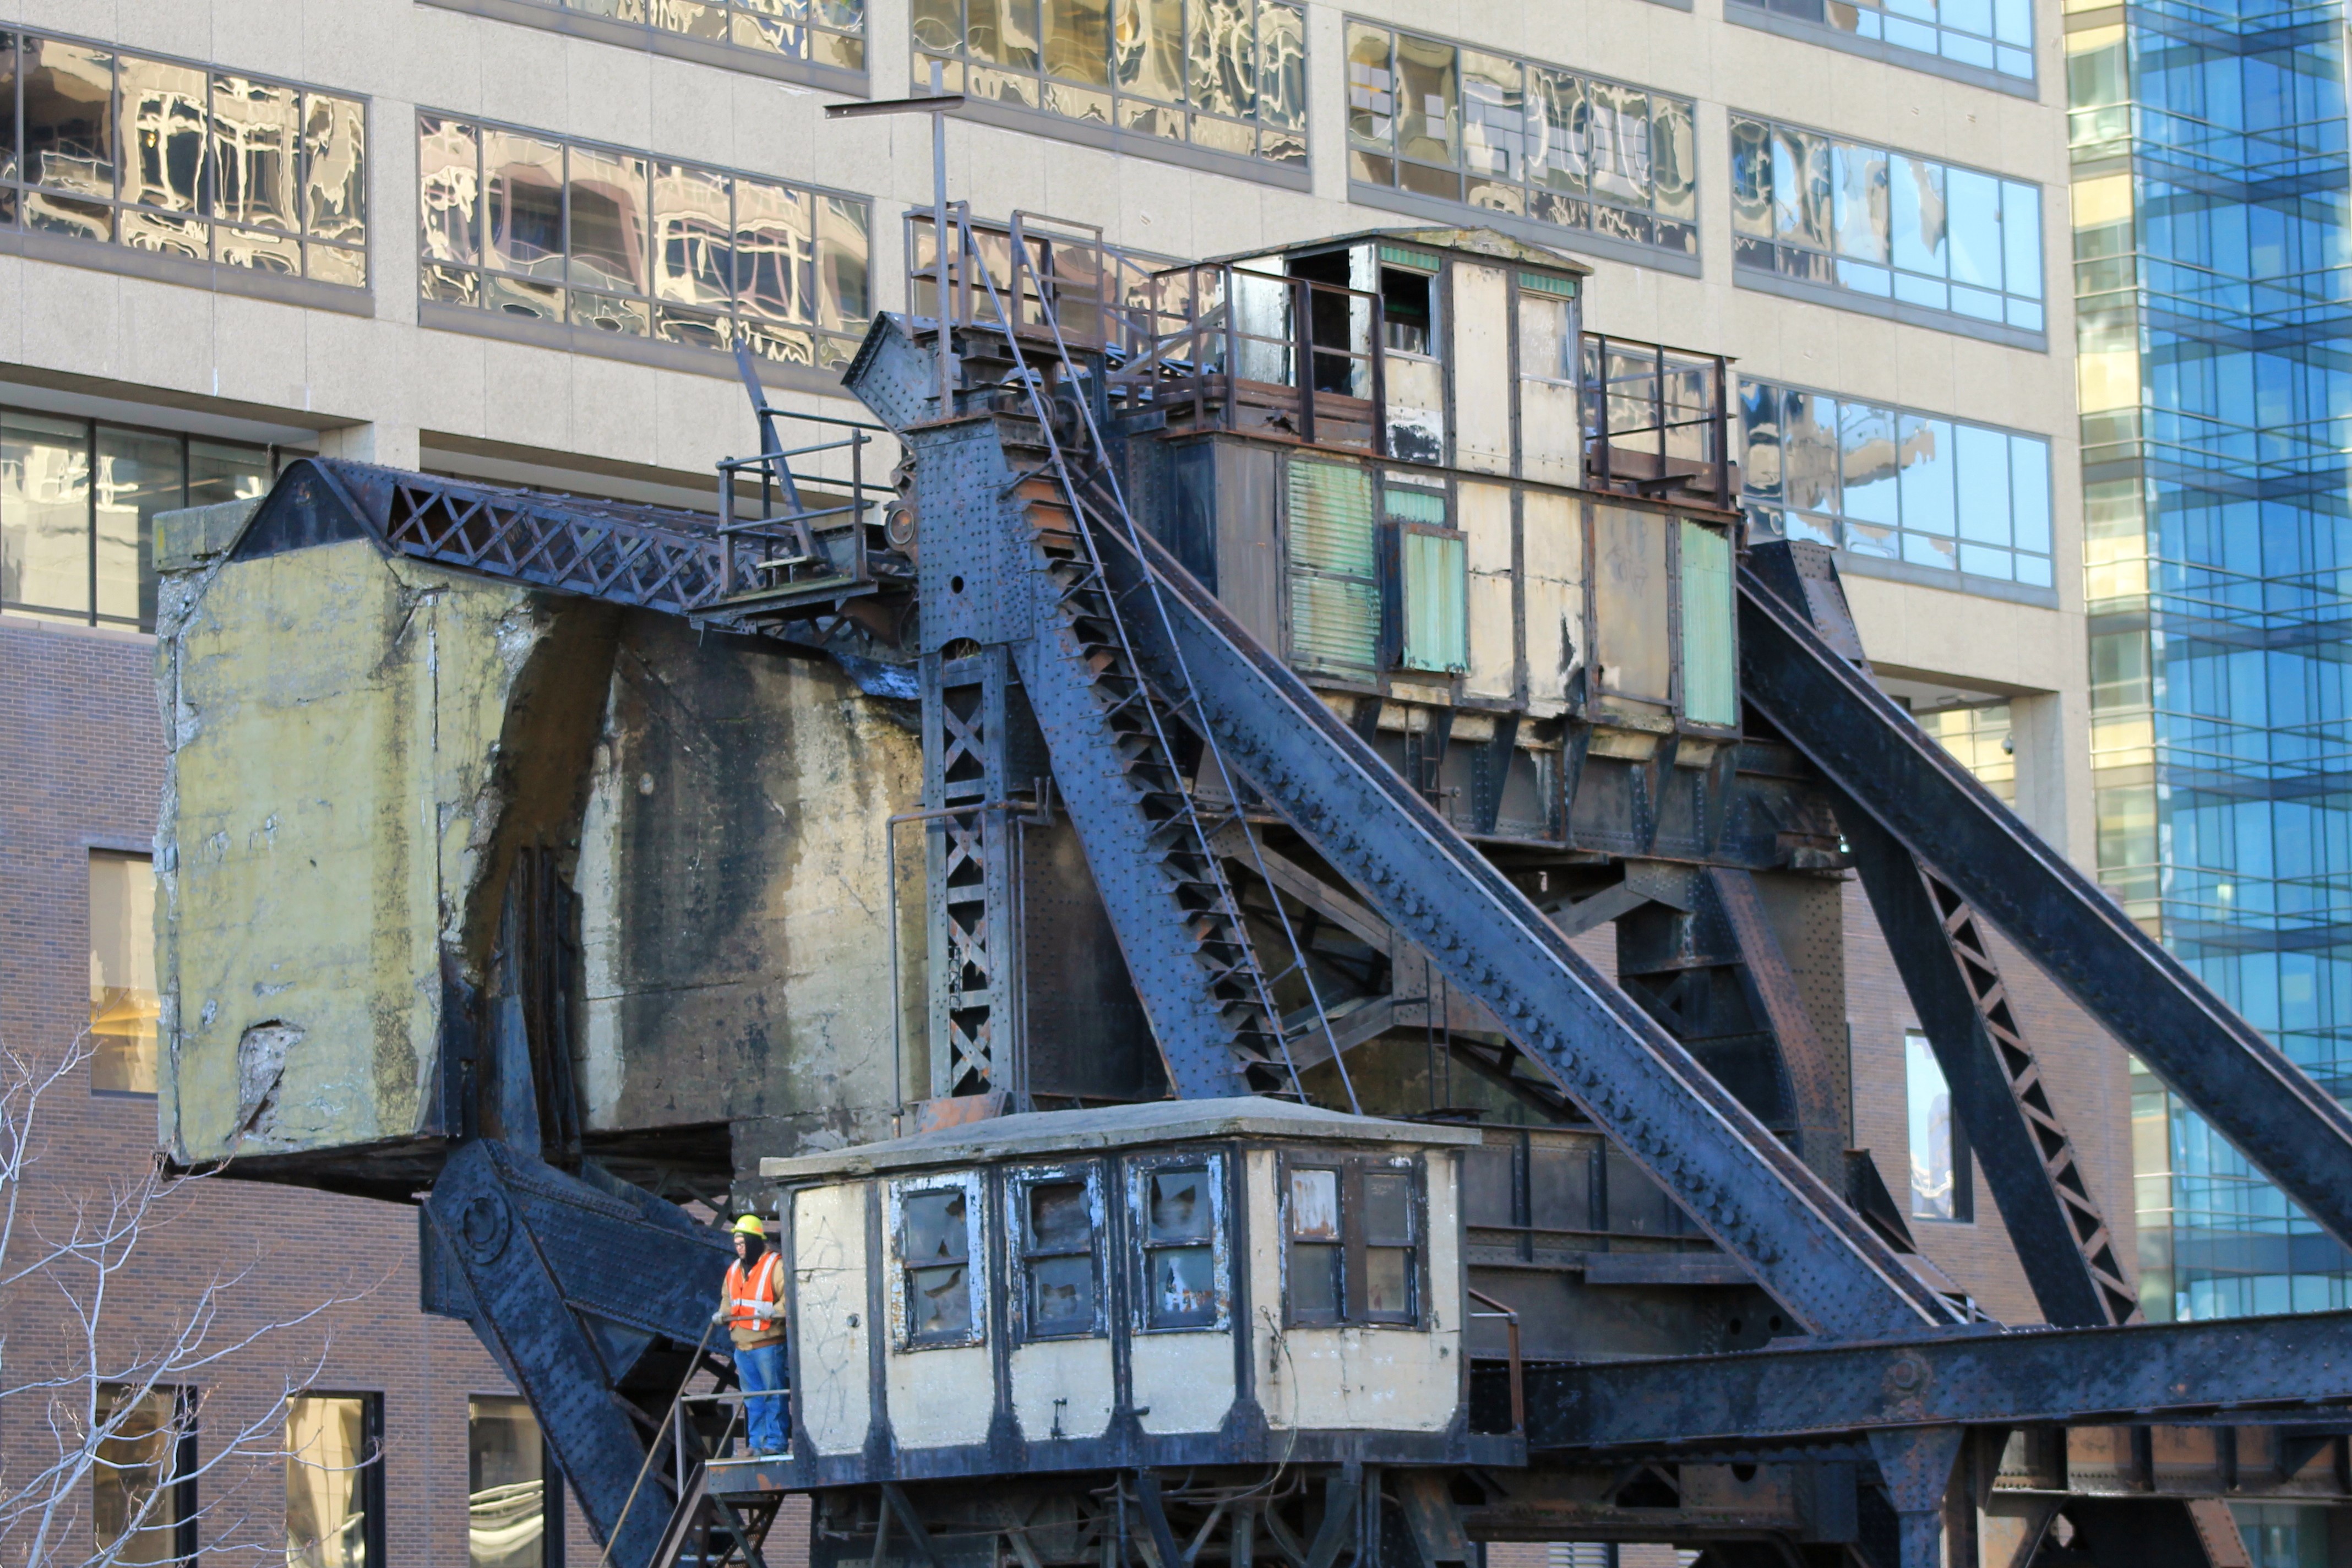

Photo Credit: Royce and Bobette Haley
Counterweight and machinery as seen with bridge in lowered position.
![]()


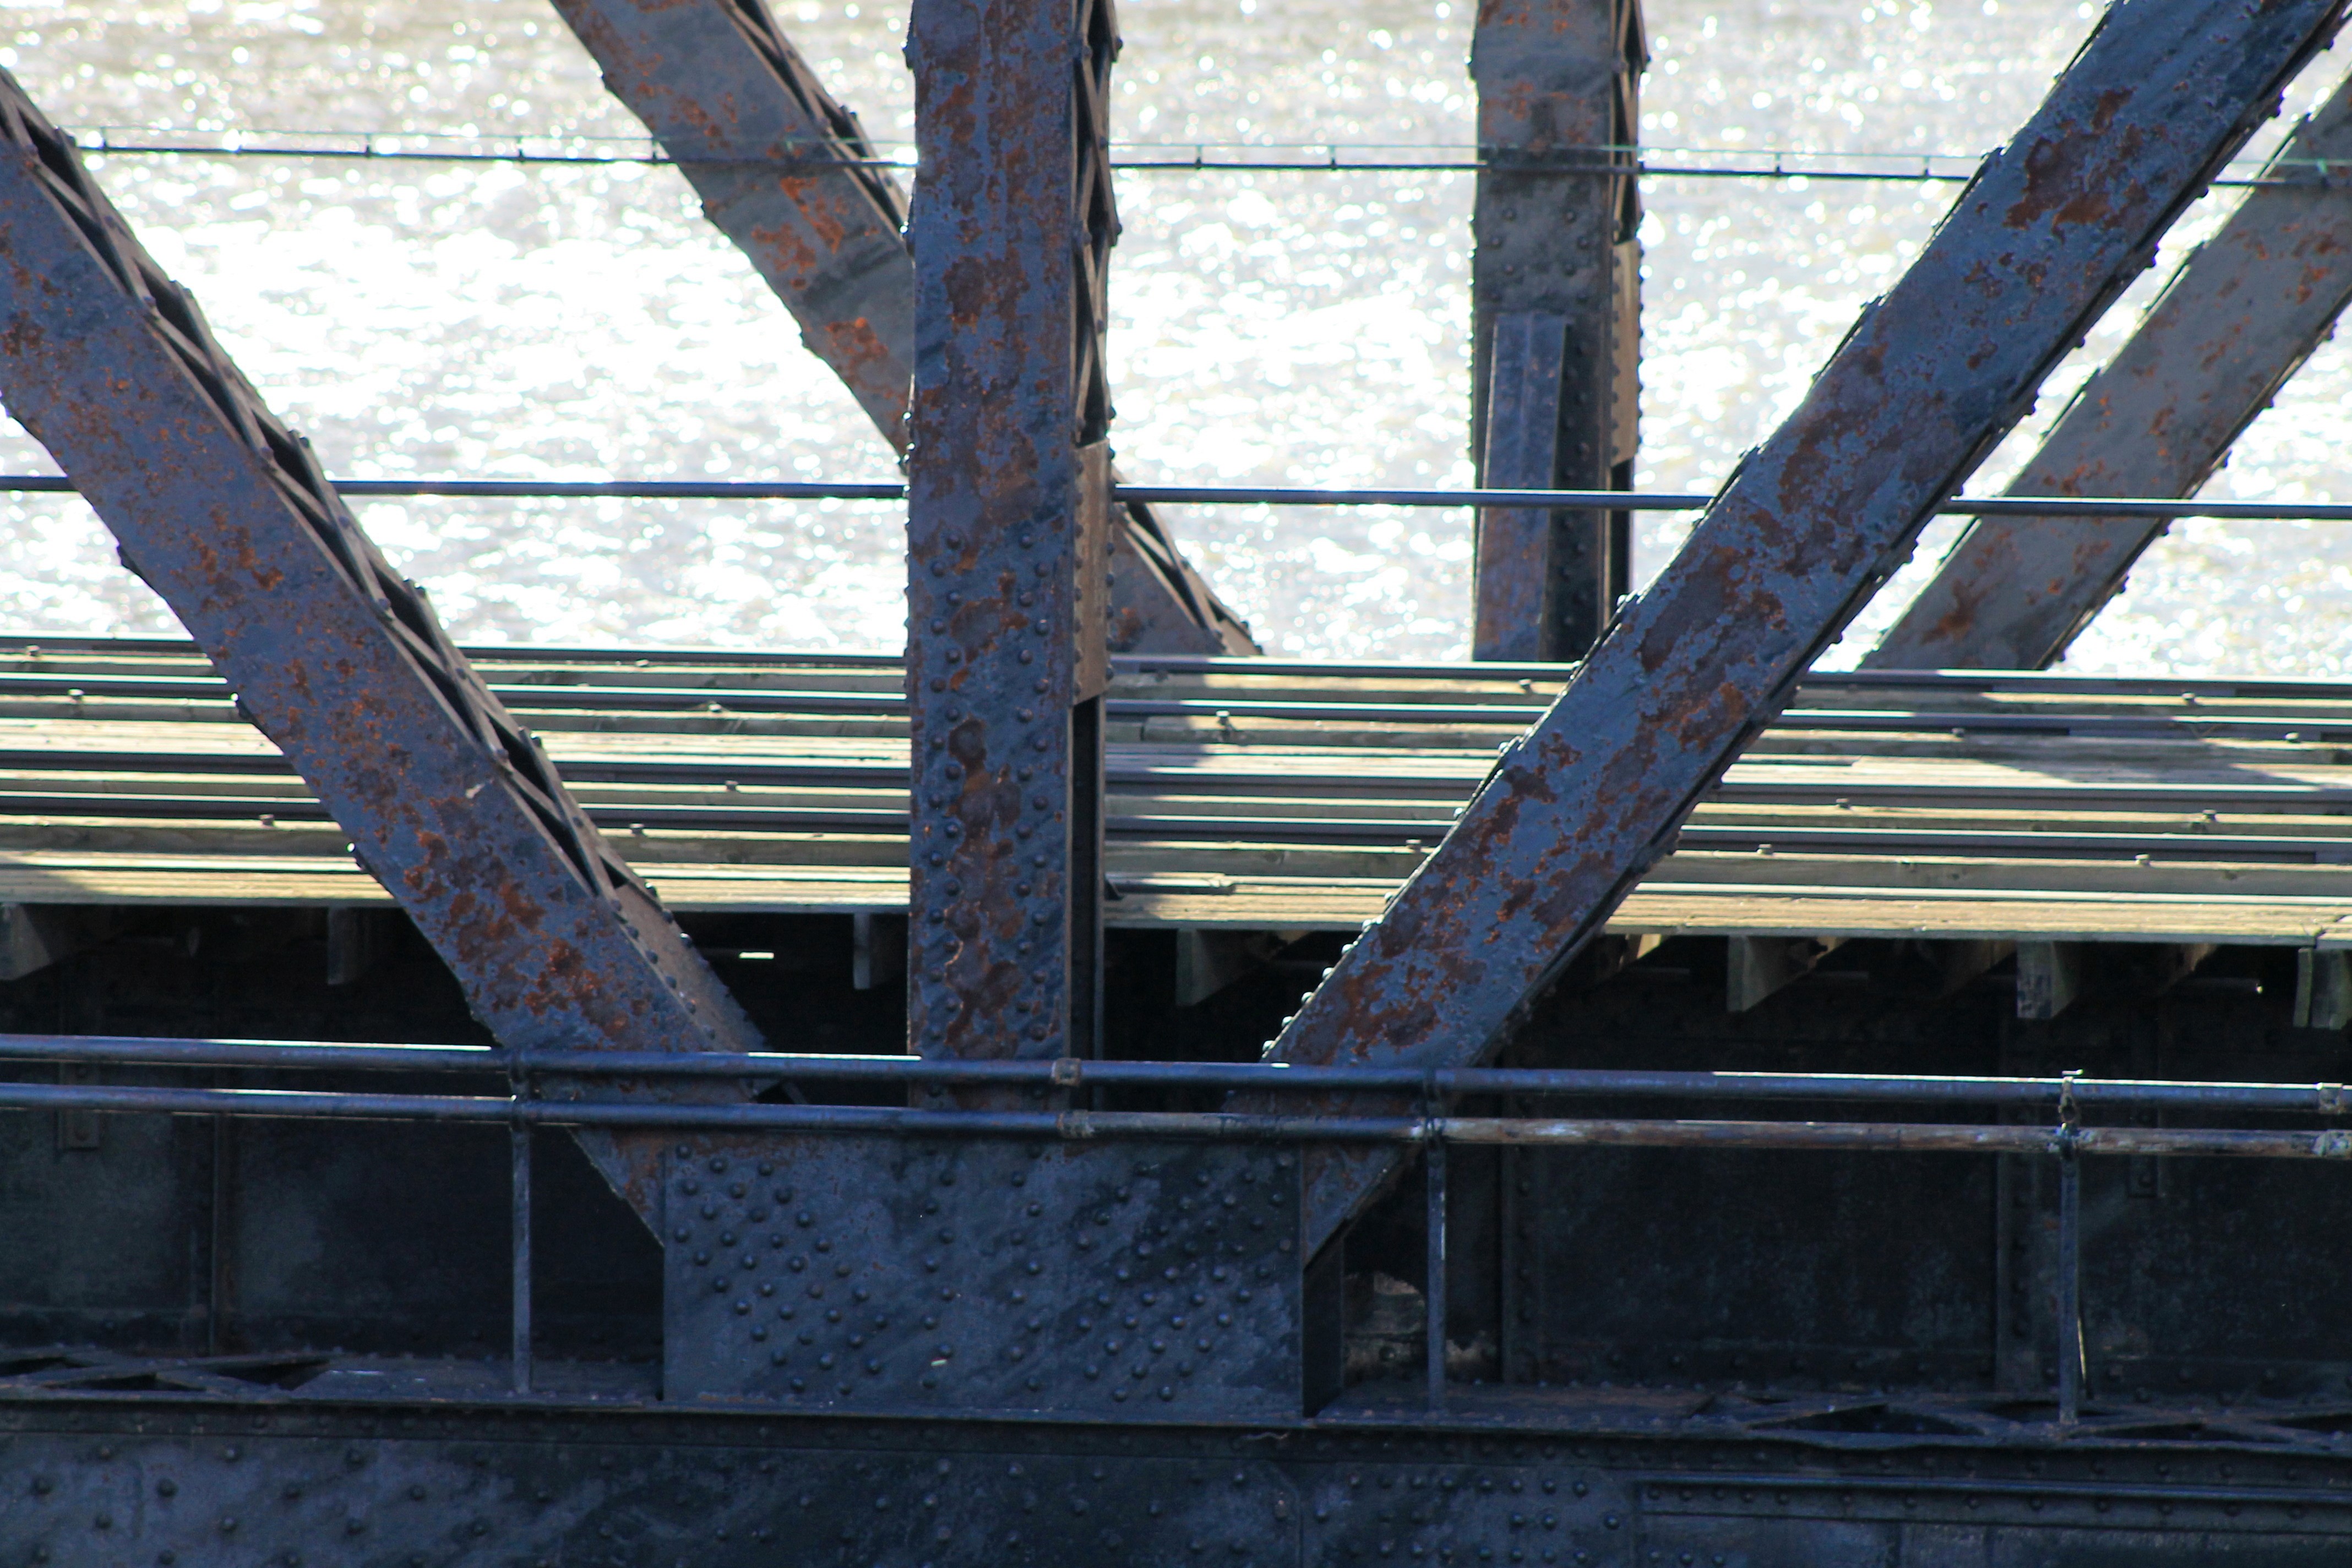


Photo Credit: Royce and Bobette Haley
Bridge details shown with bridge in lowered position.
![]()


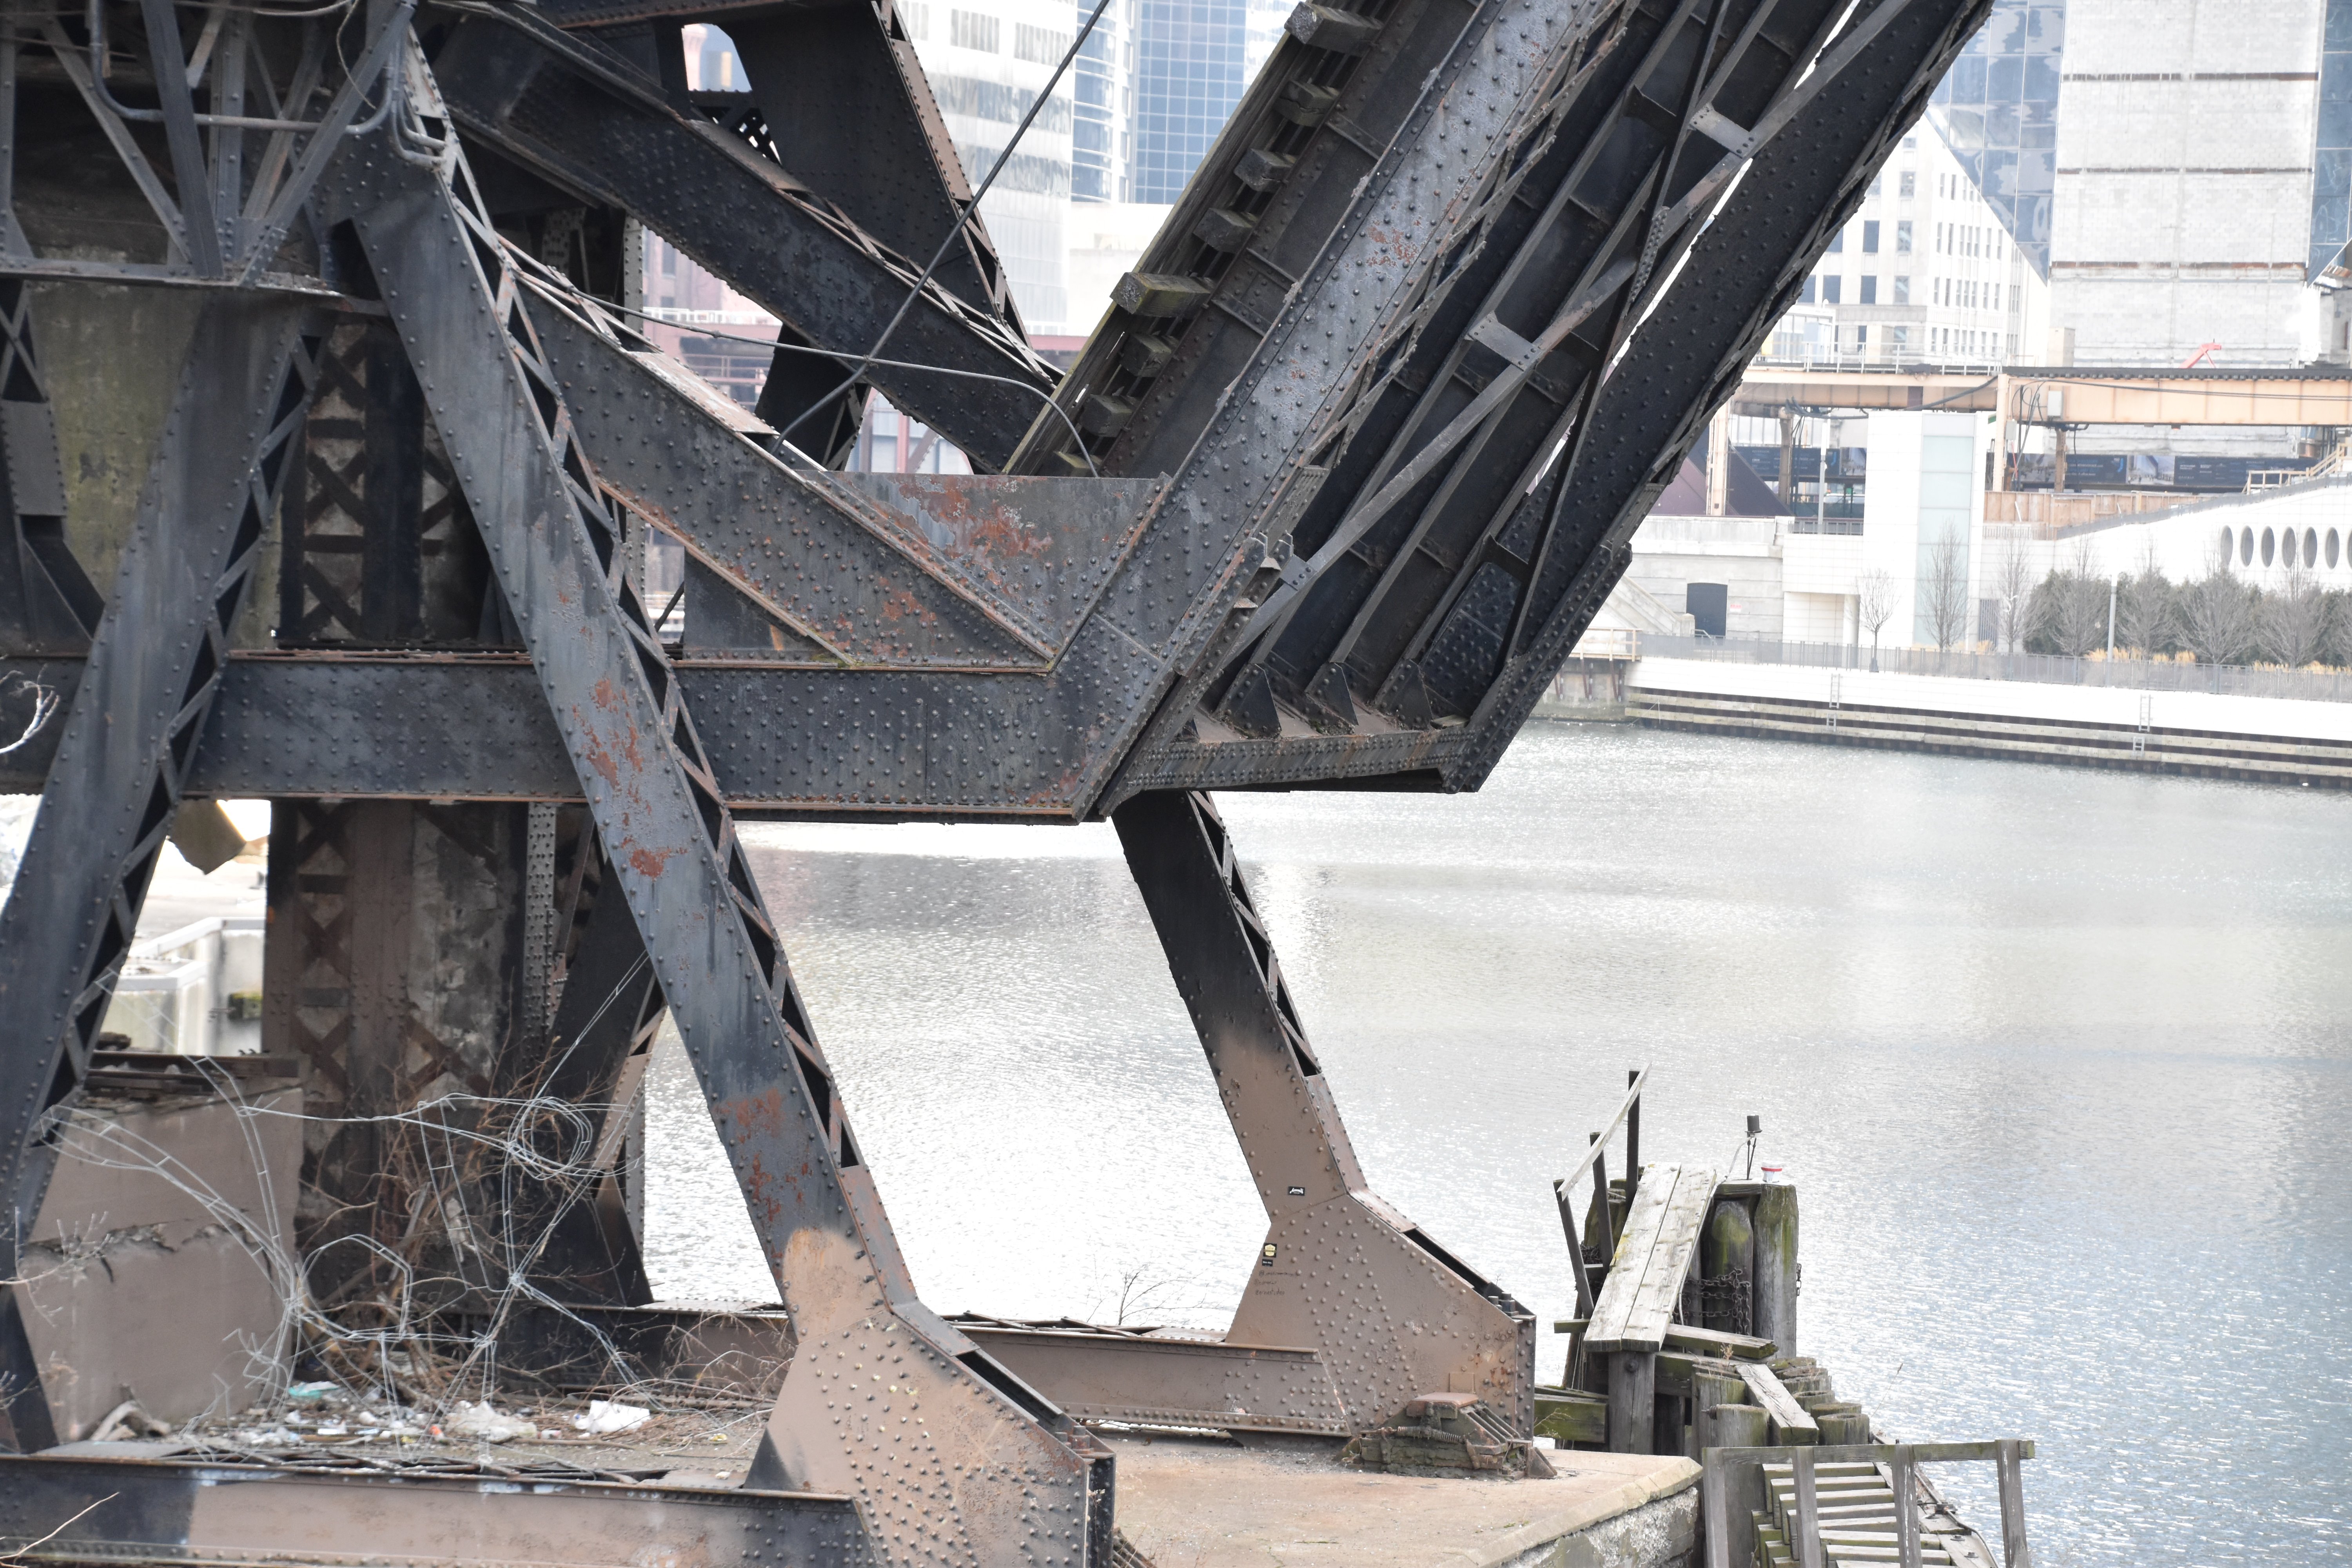
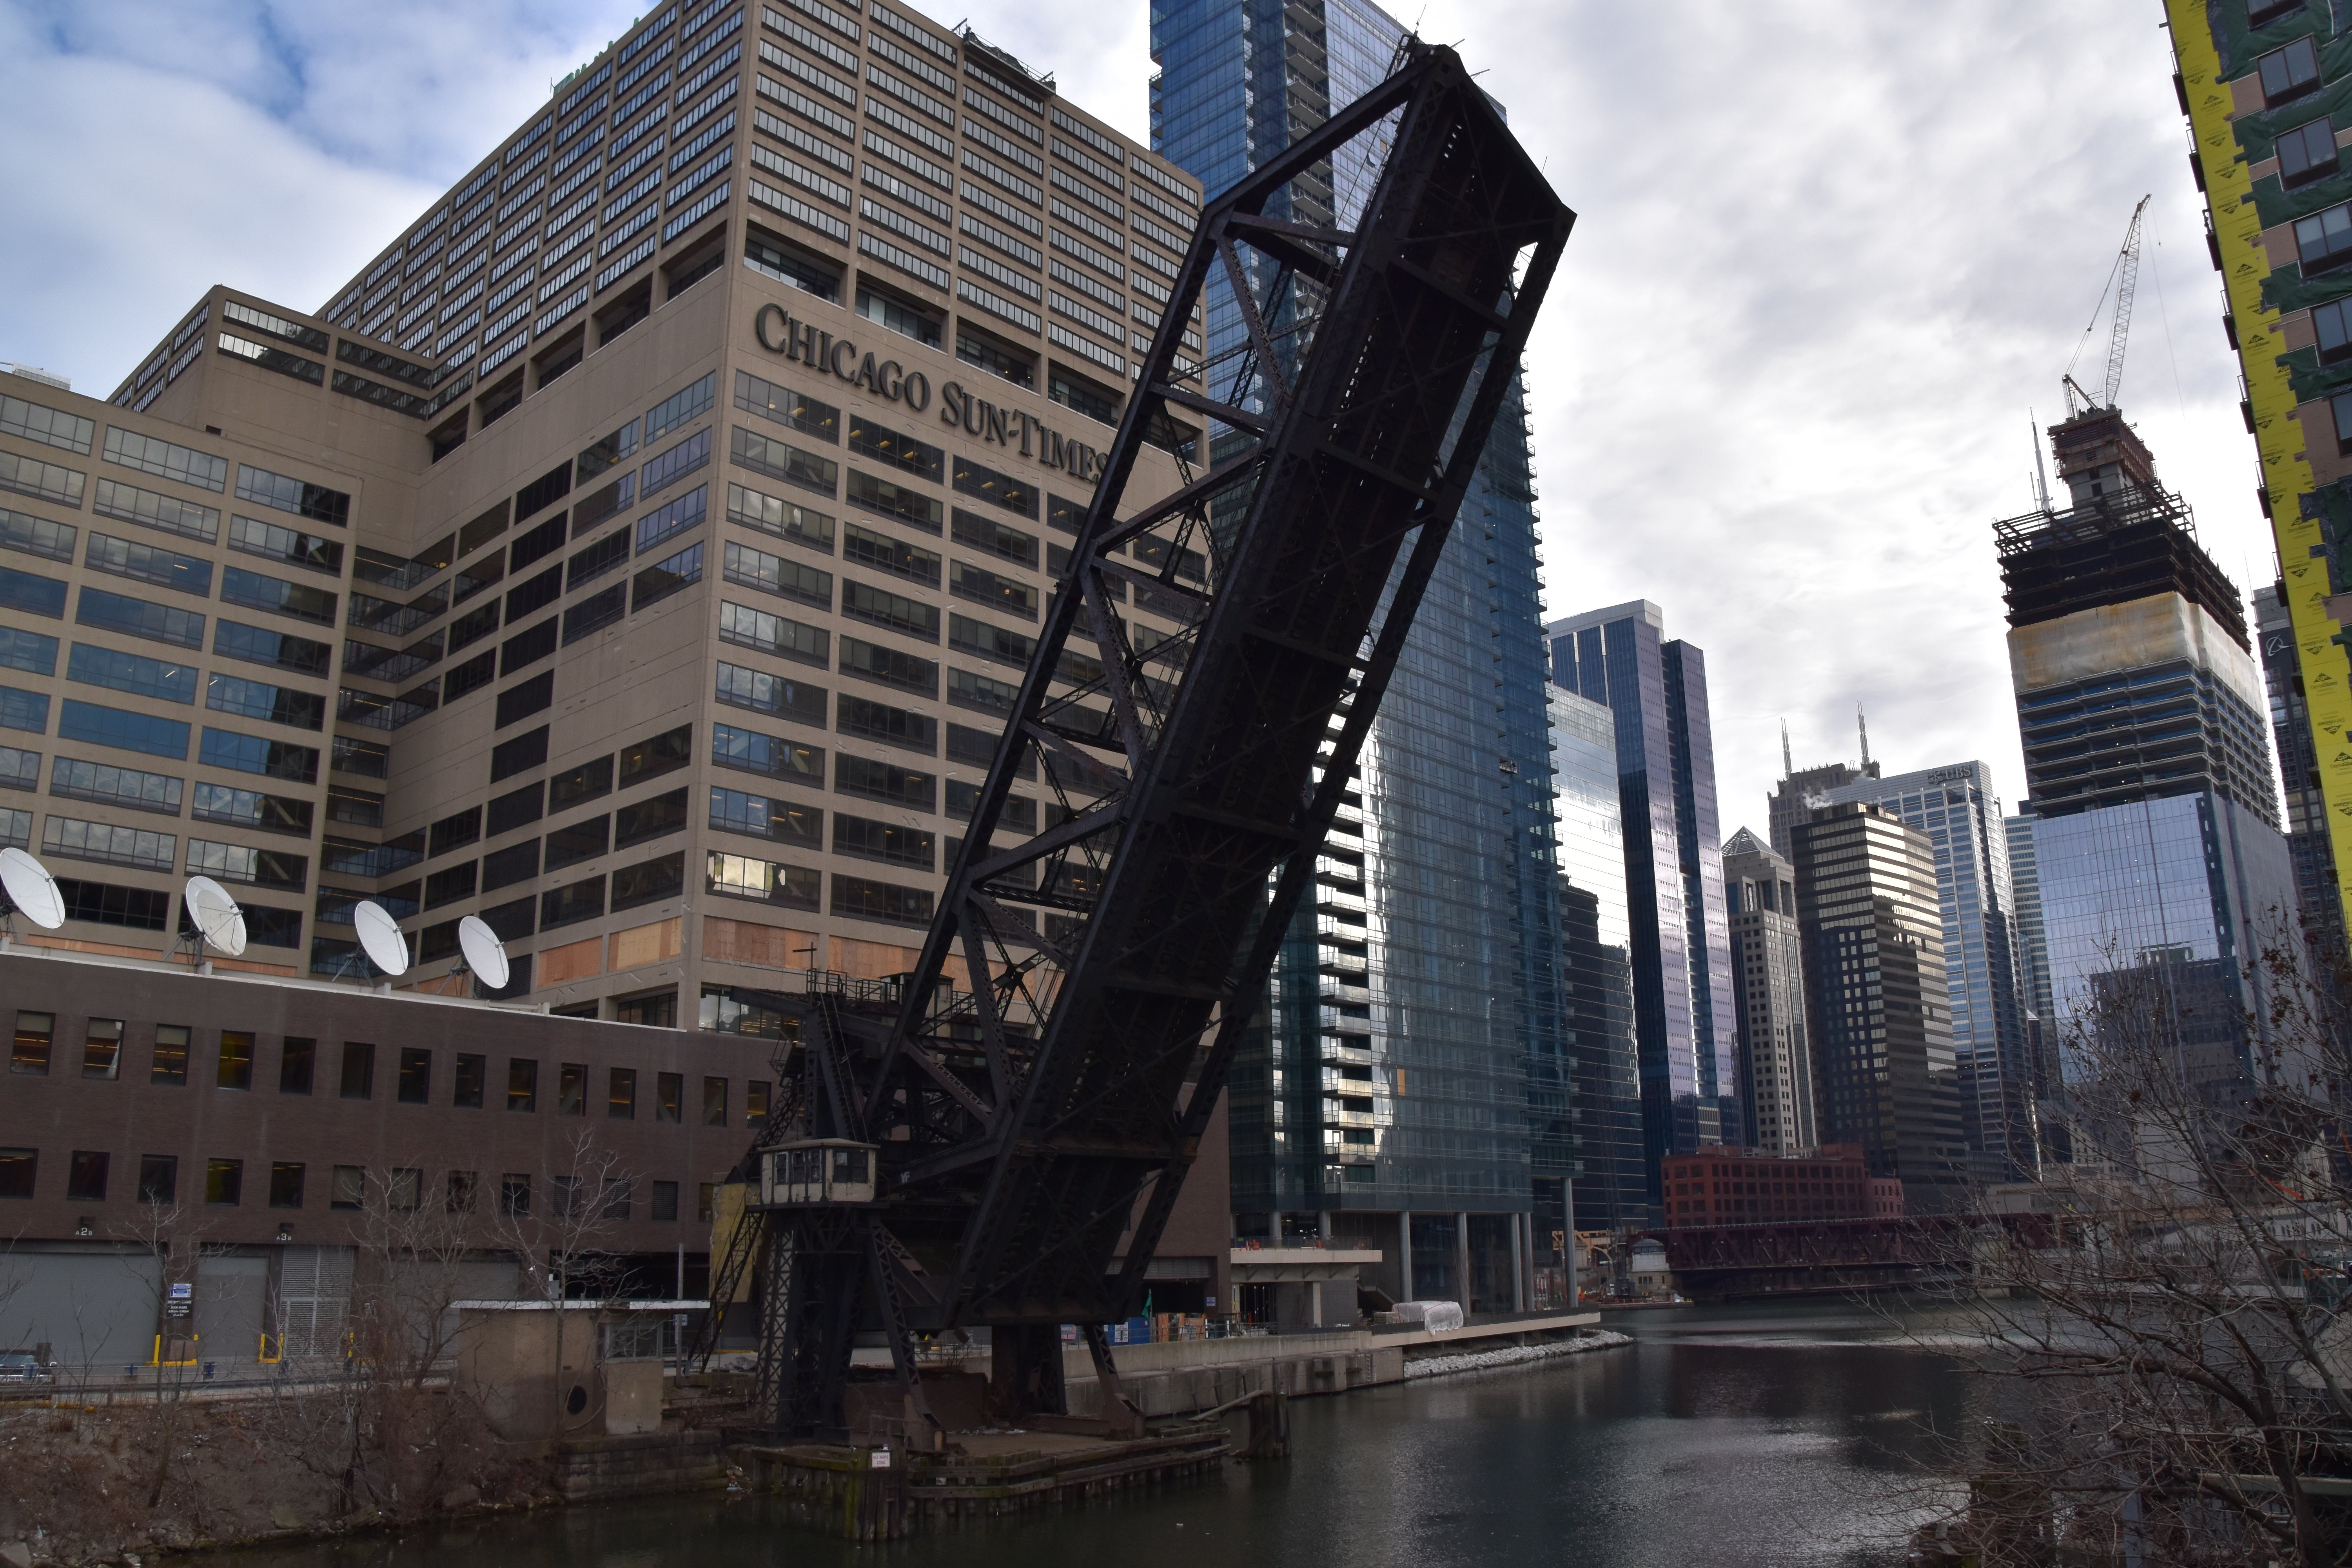
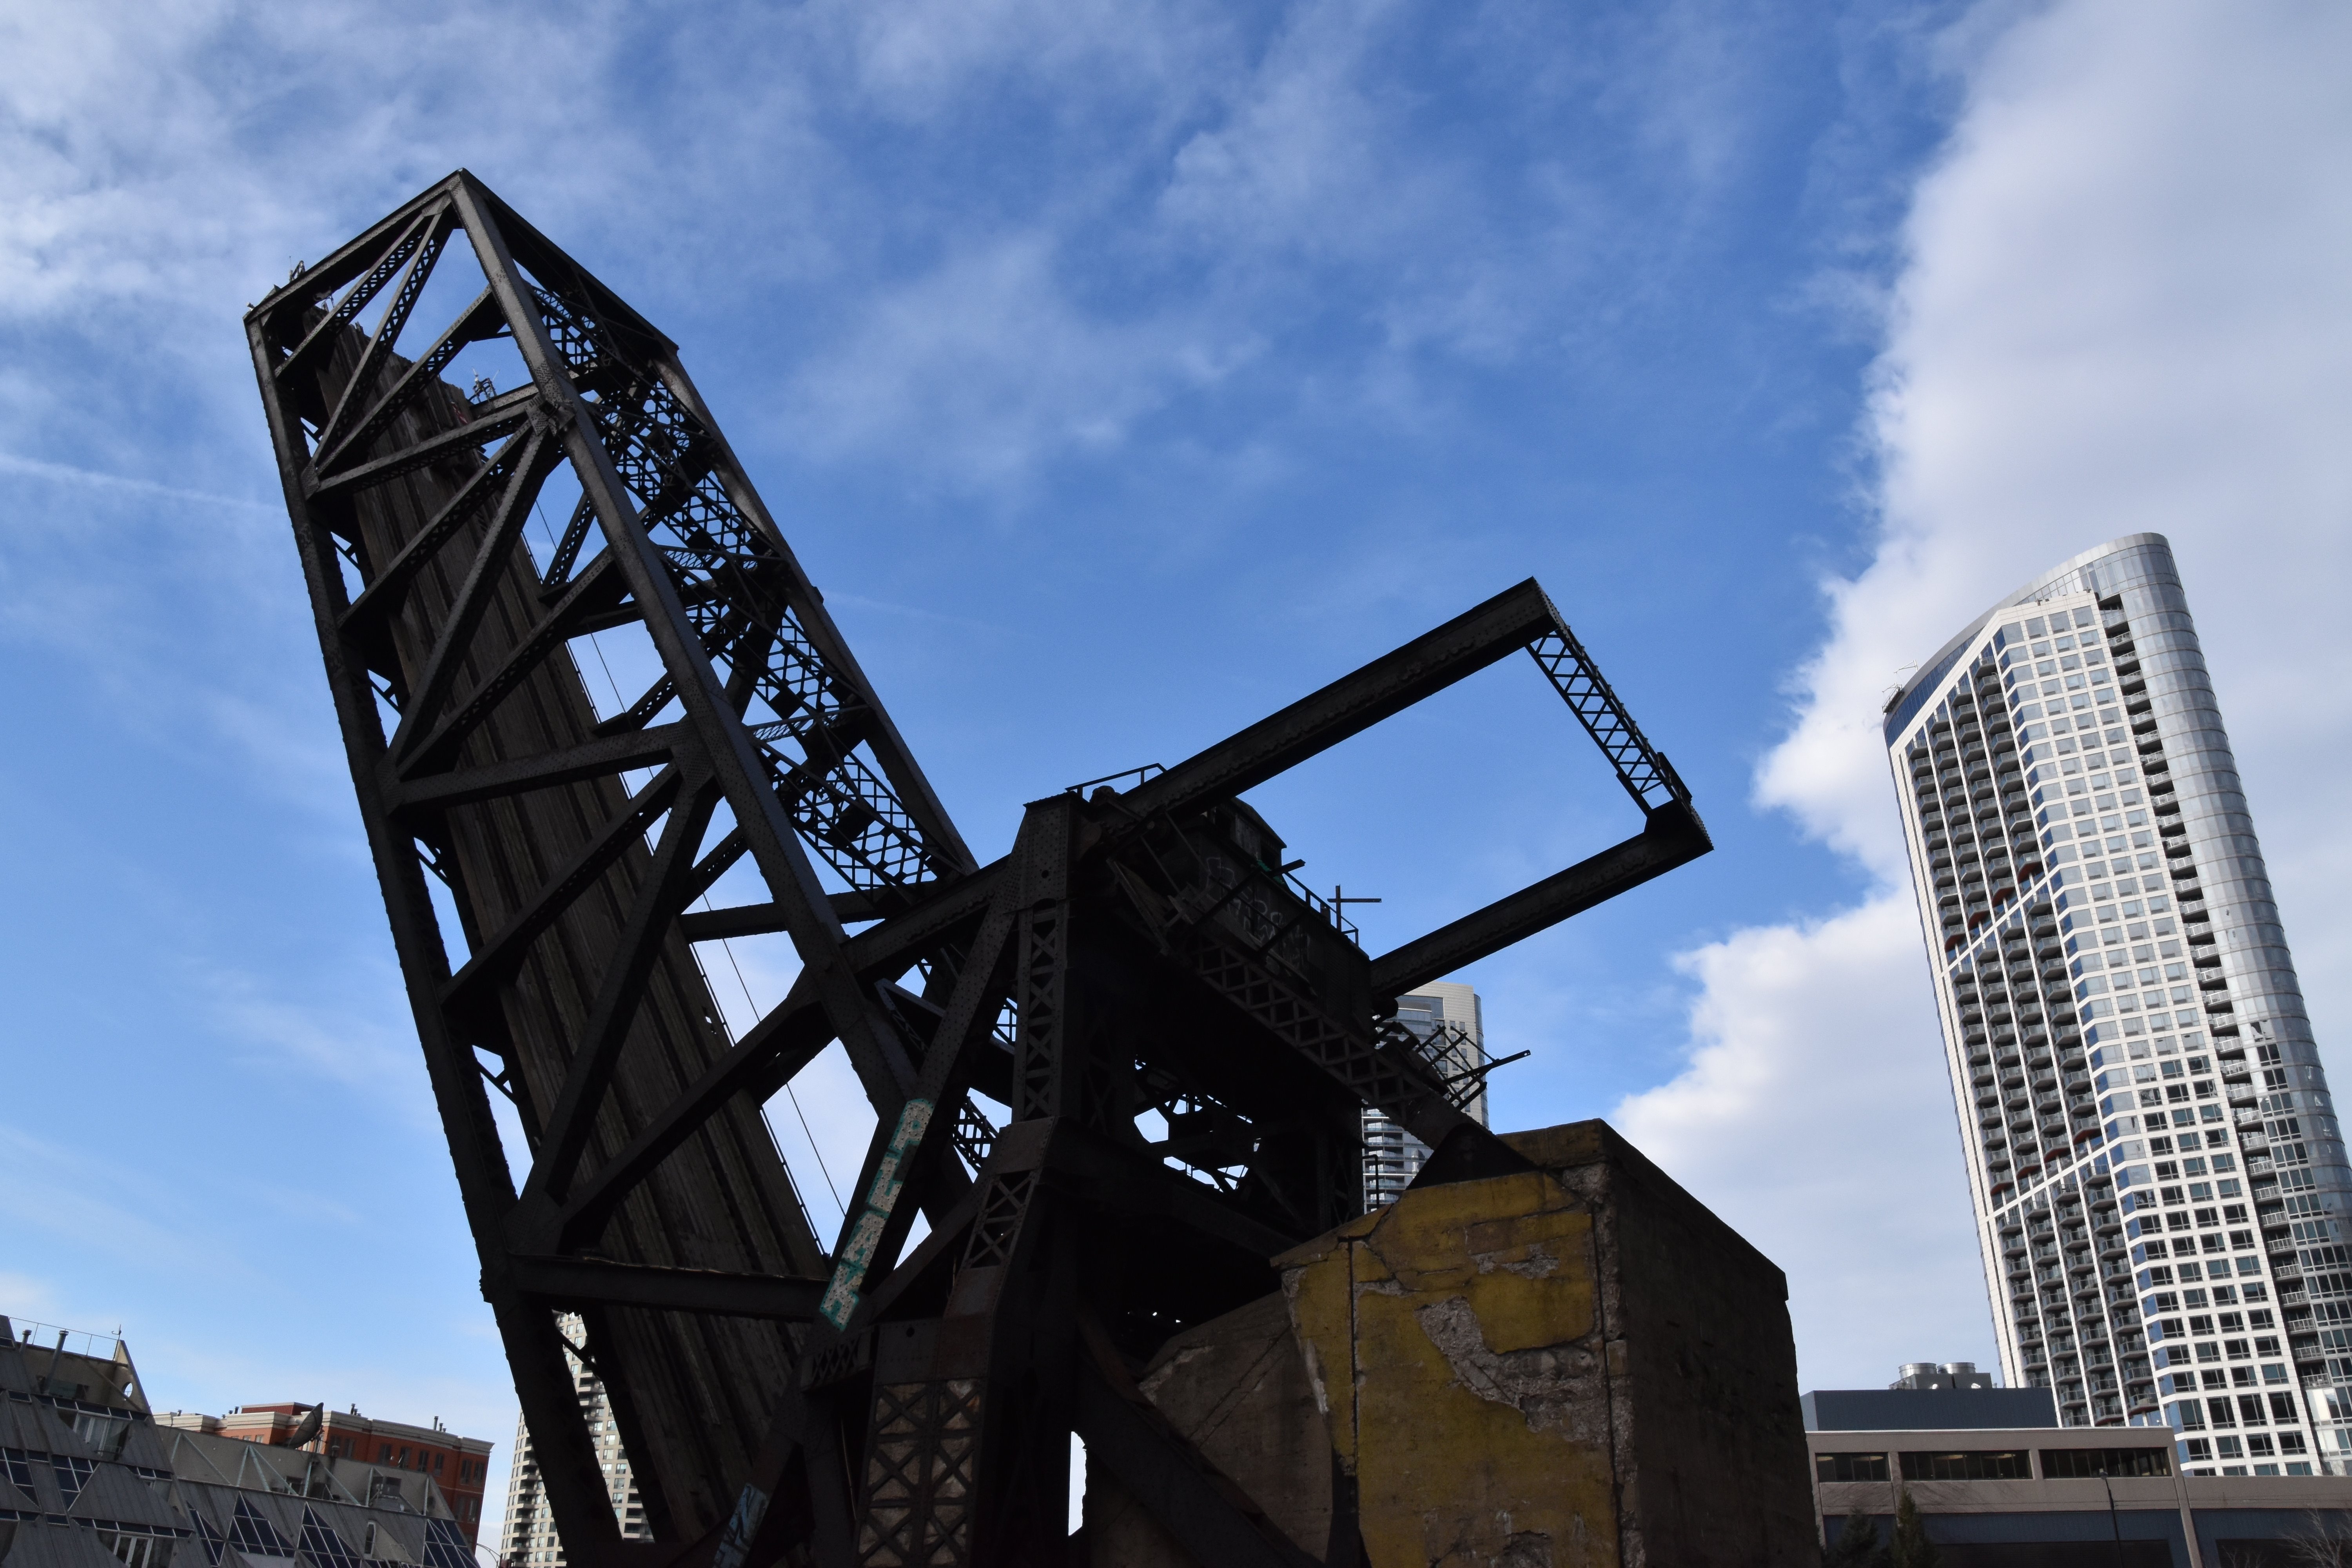
Looking at raised leaf facing east.
![]()
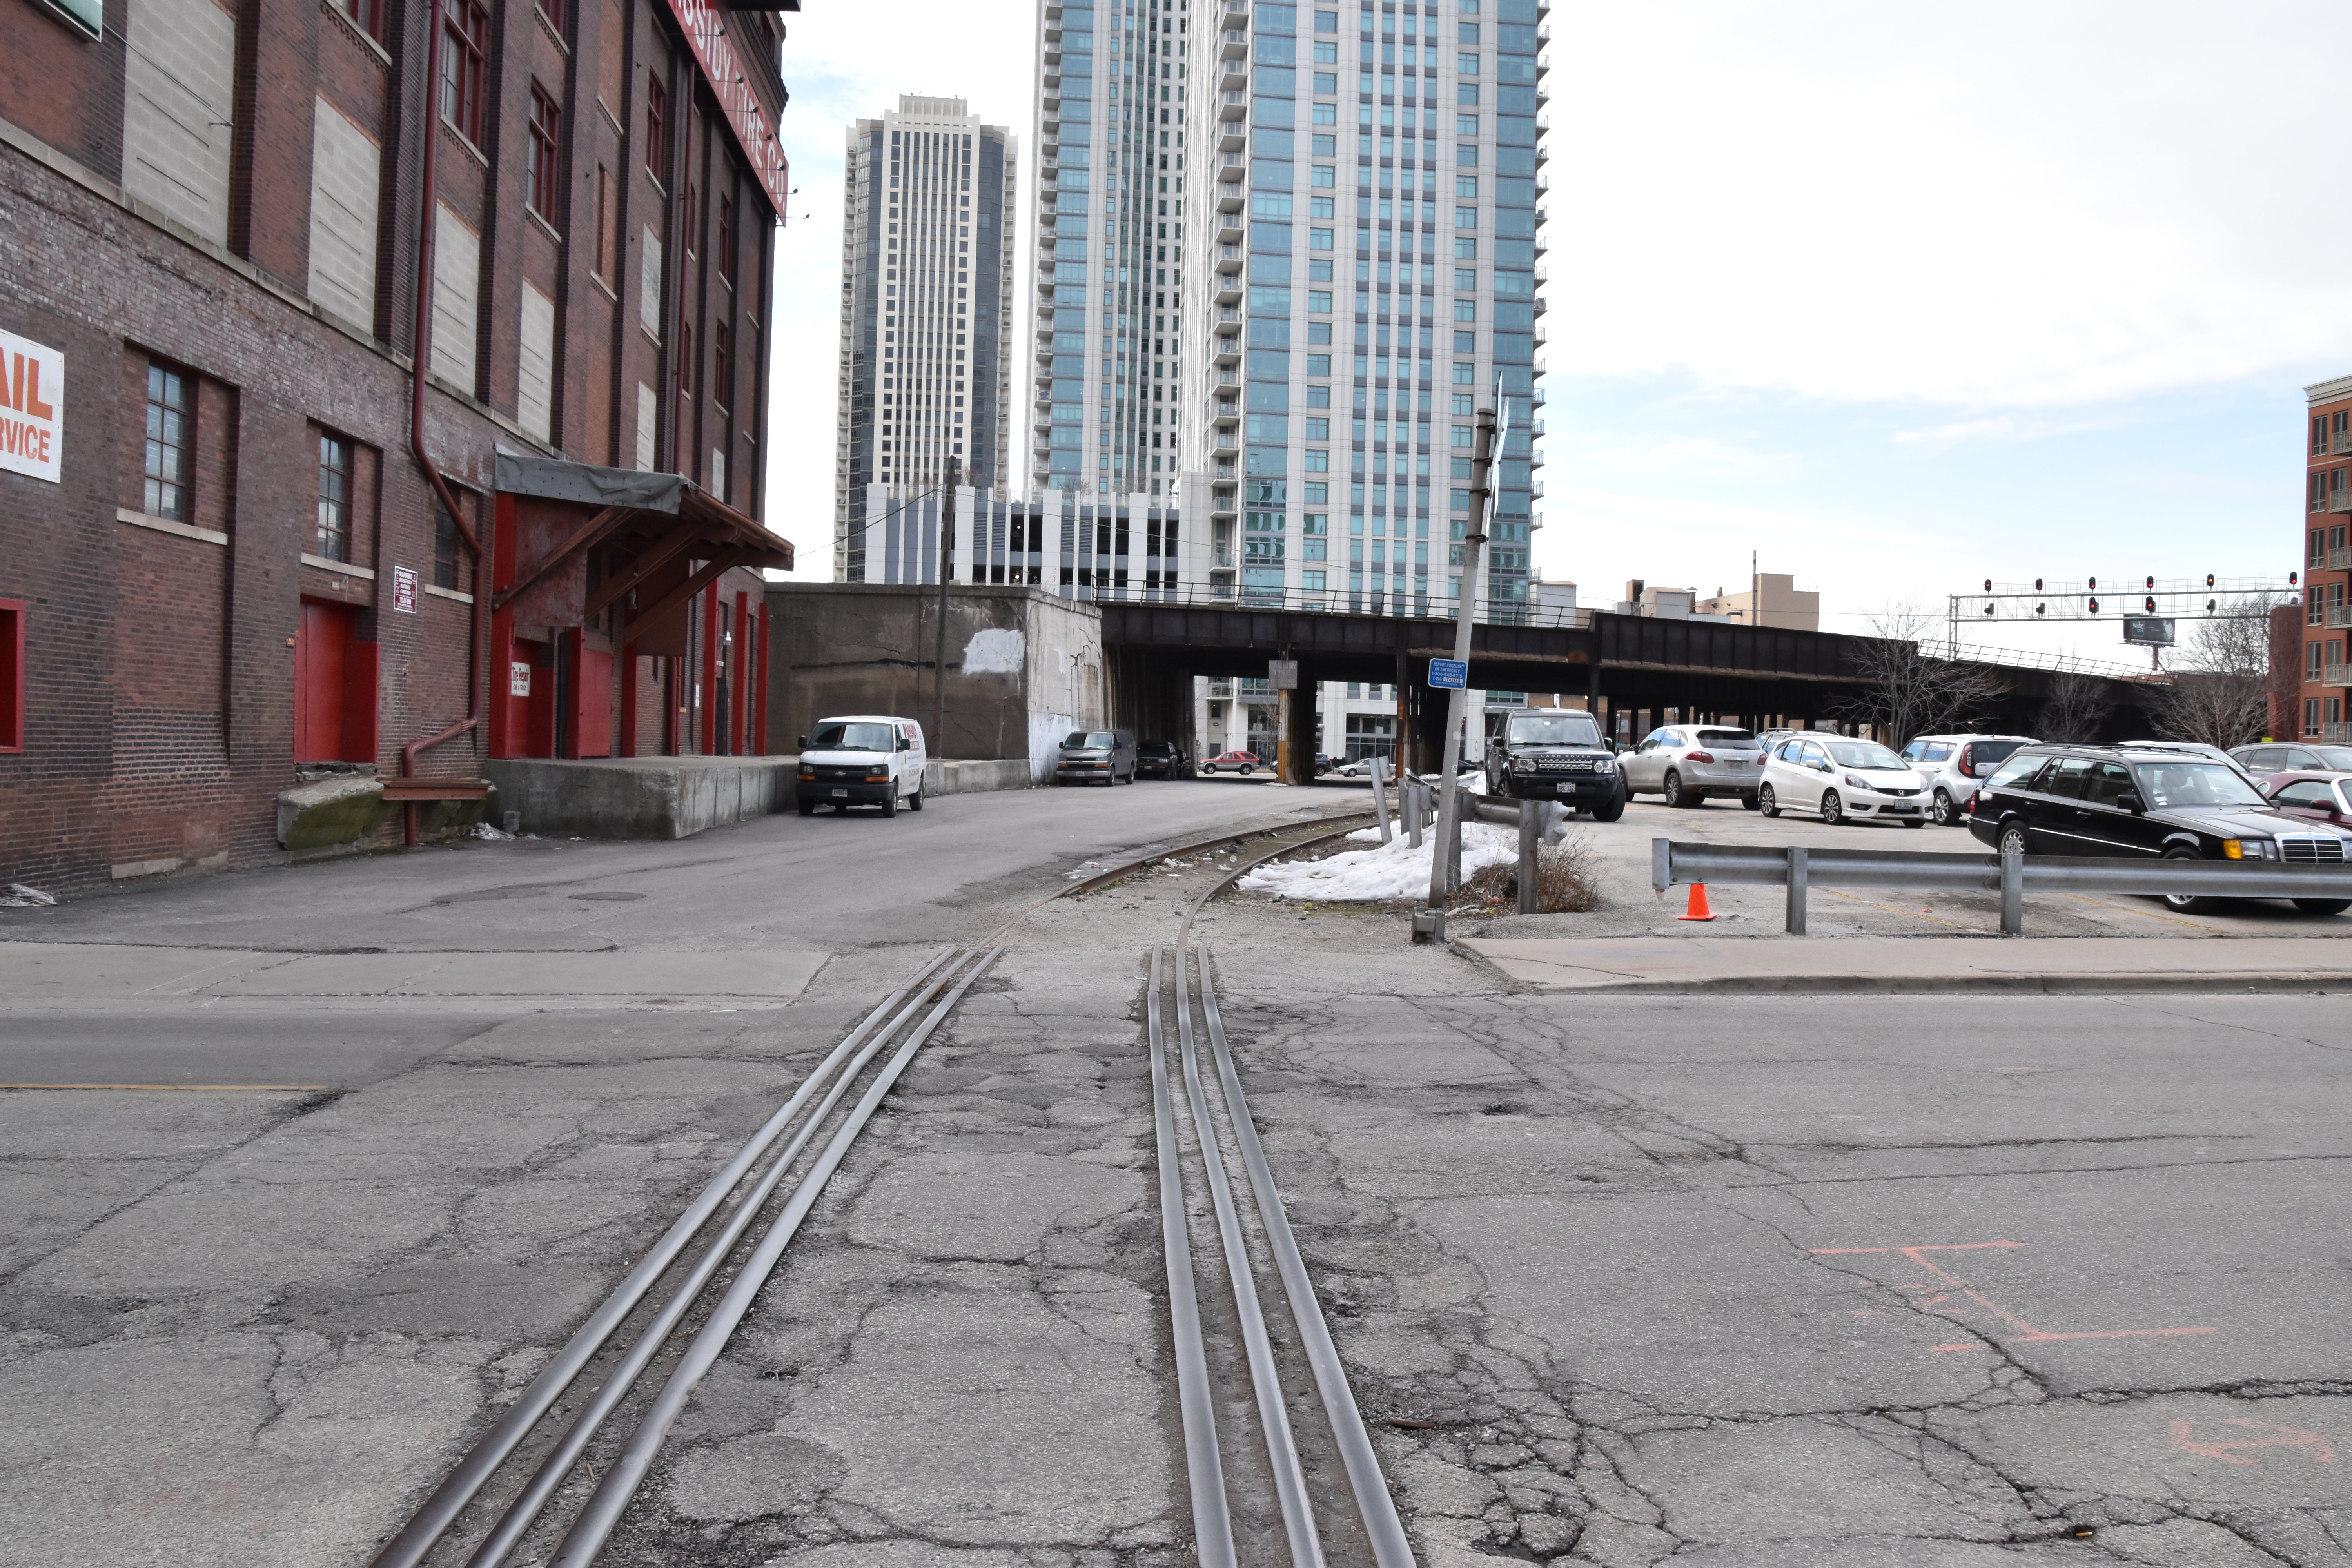
Approaching railroad west of bridge.
![]()
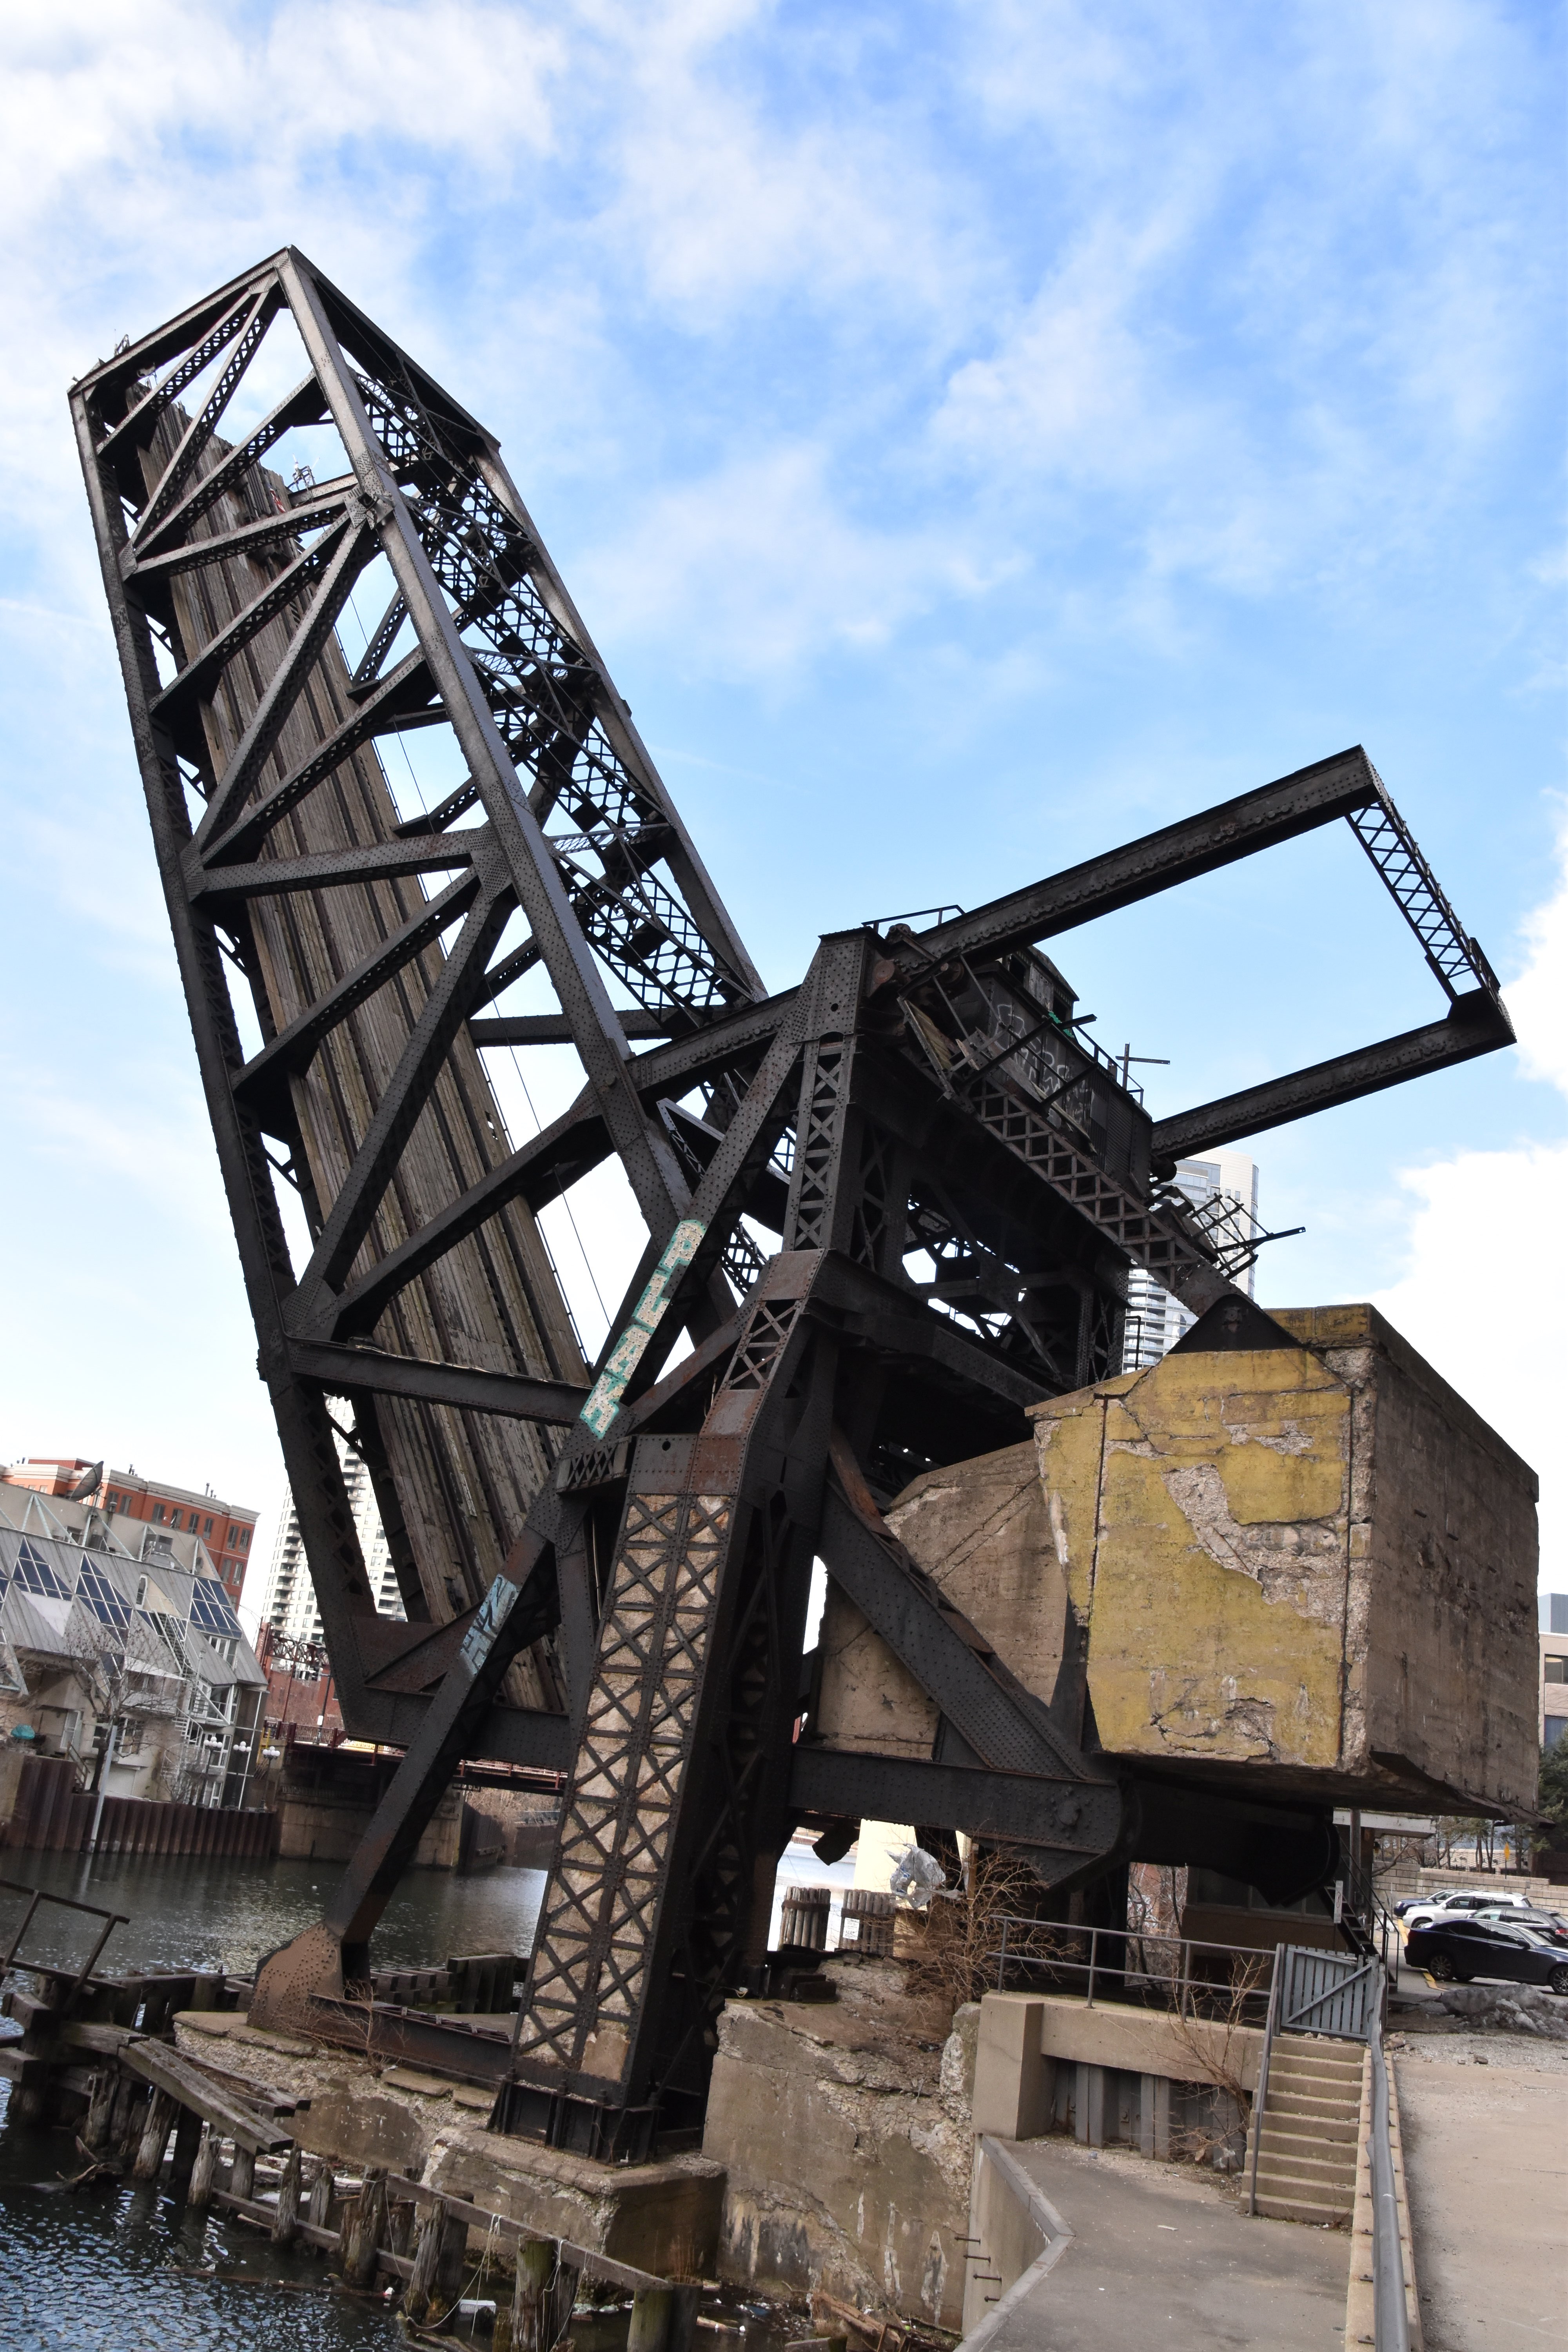
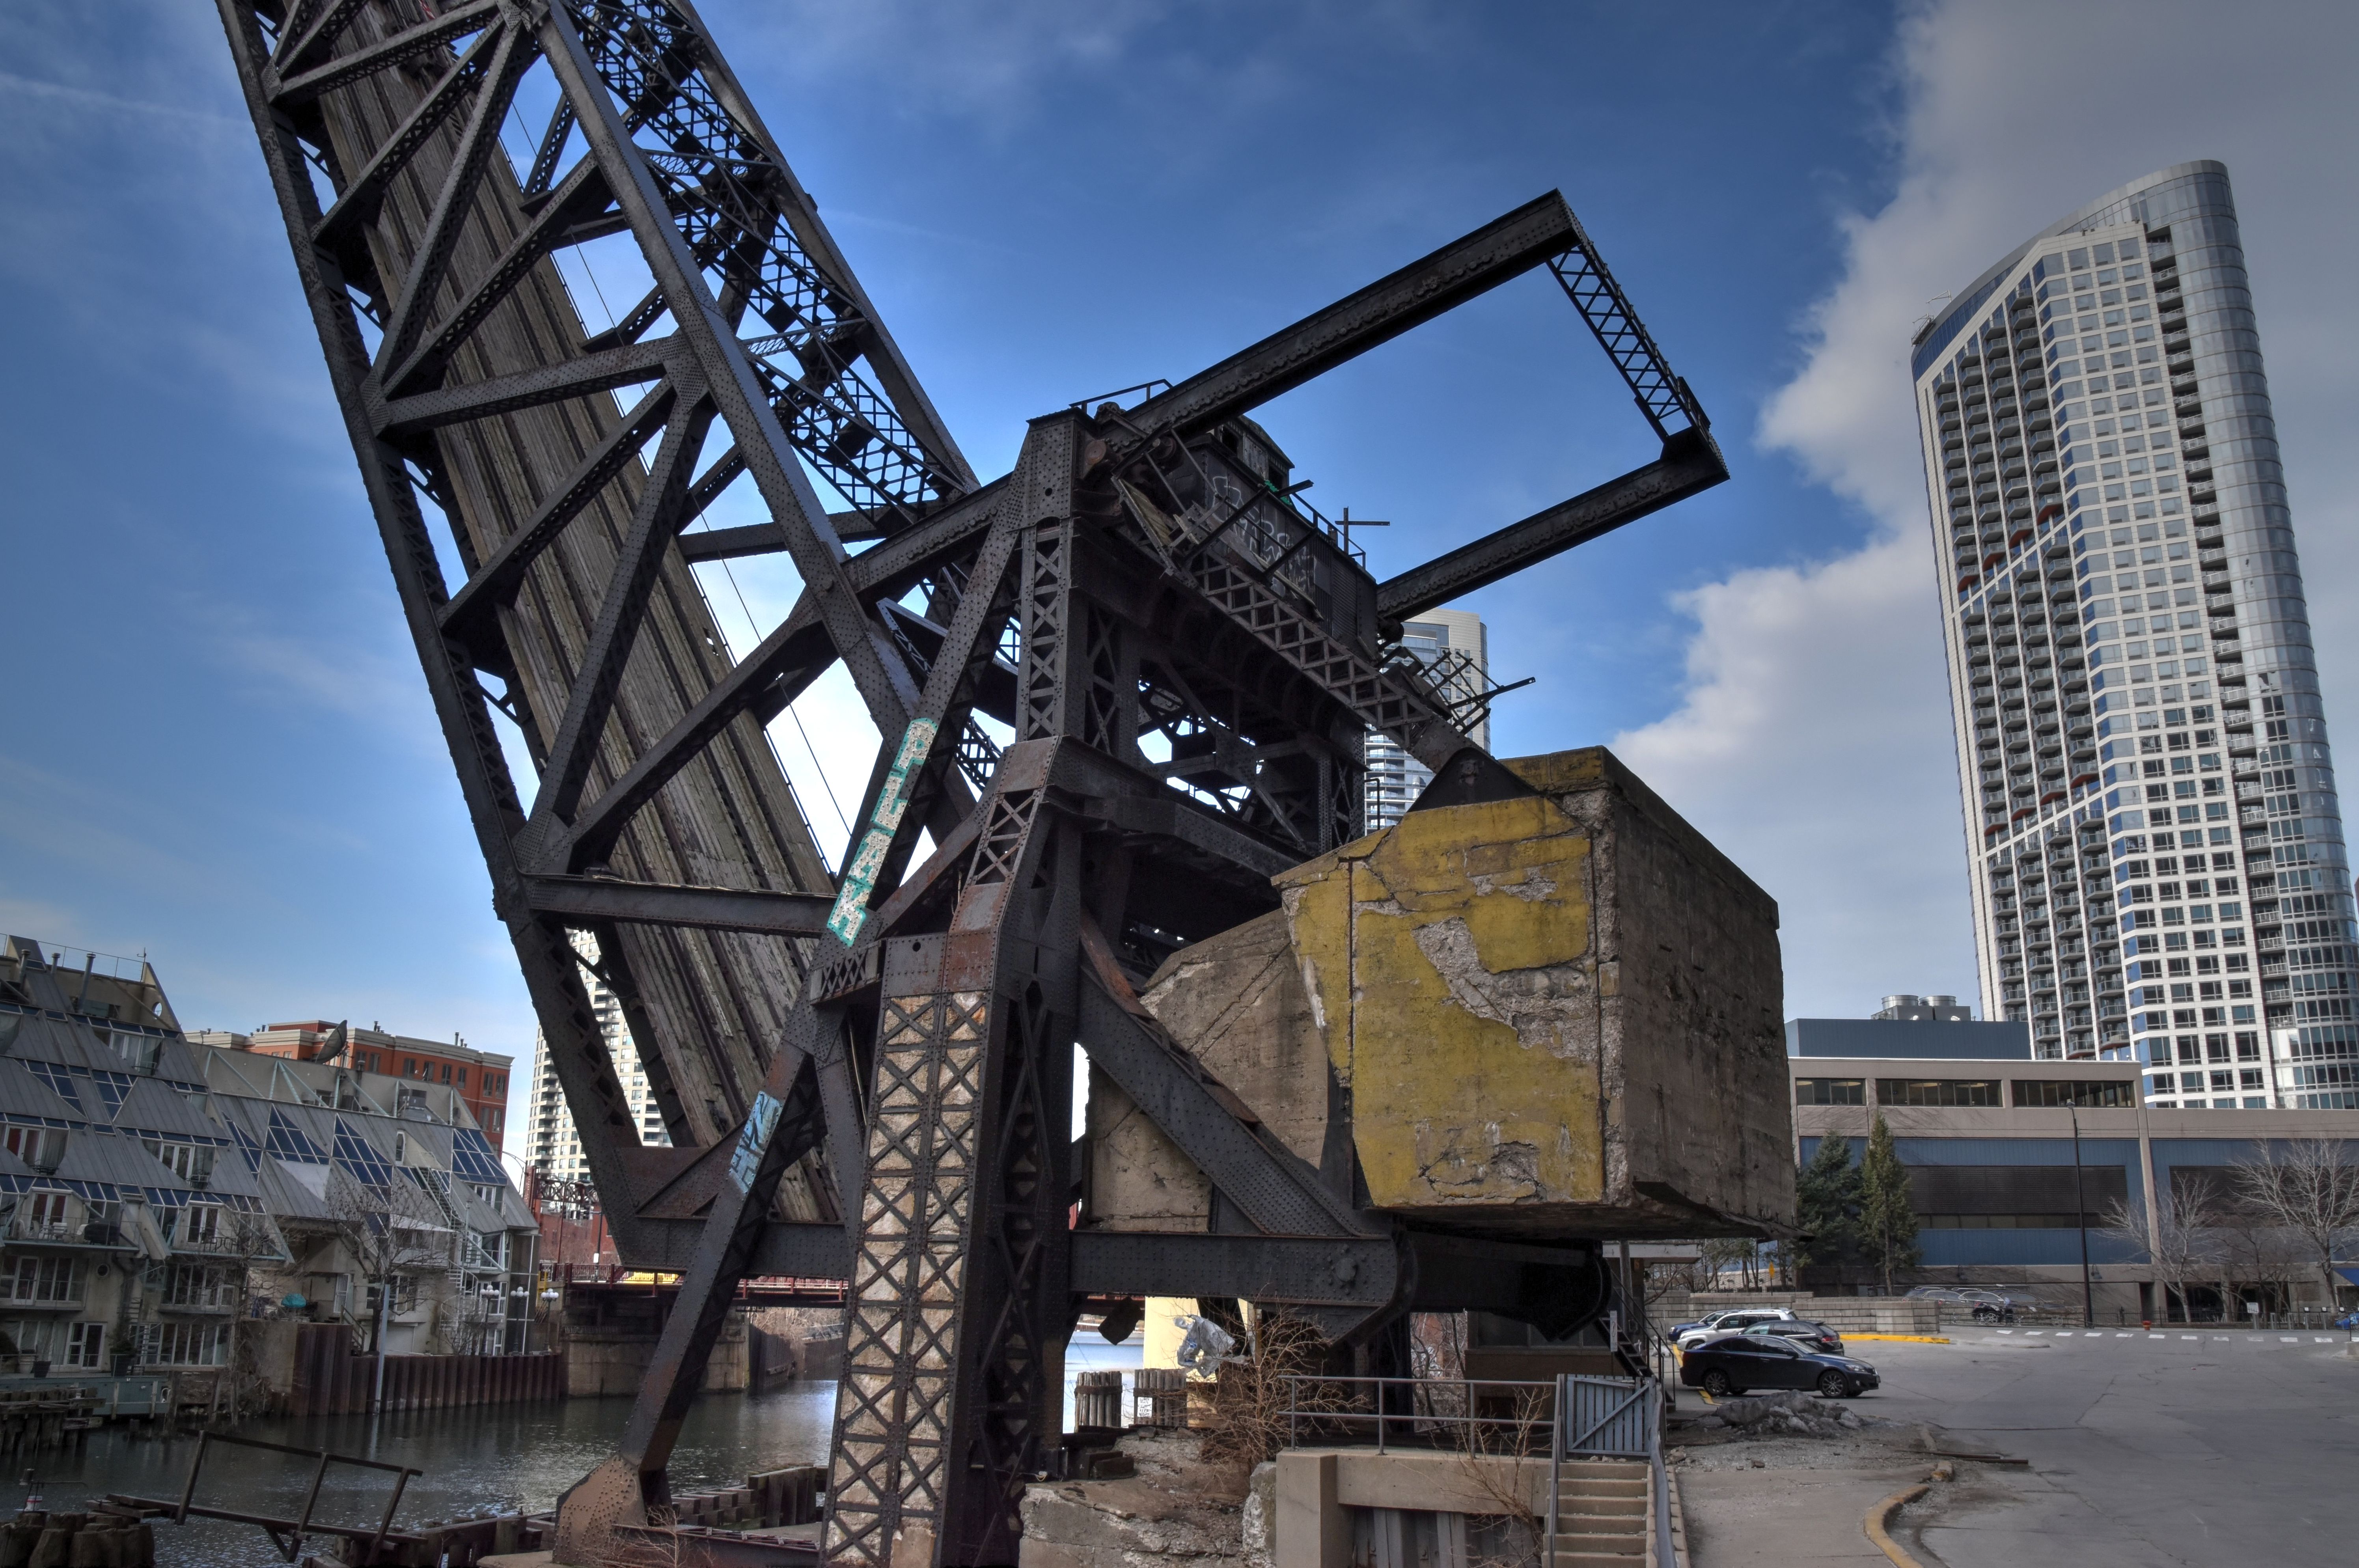
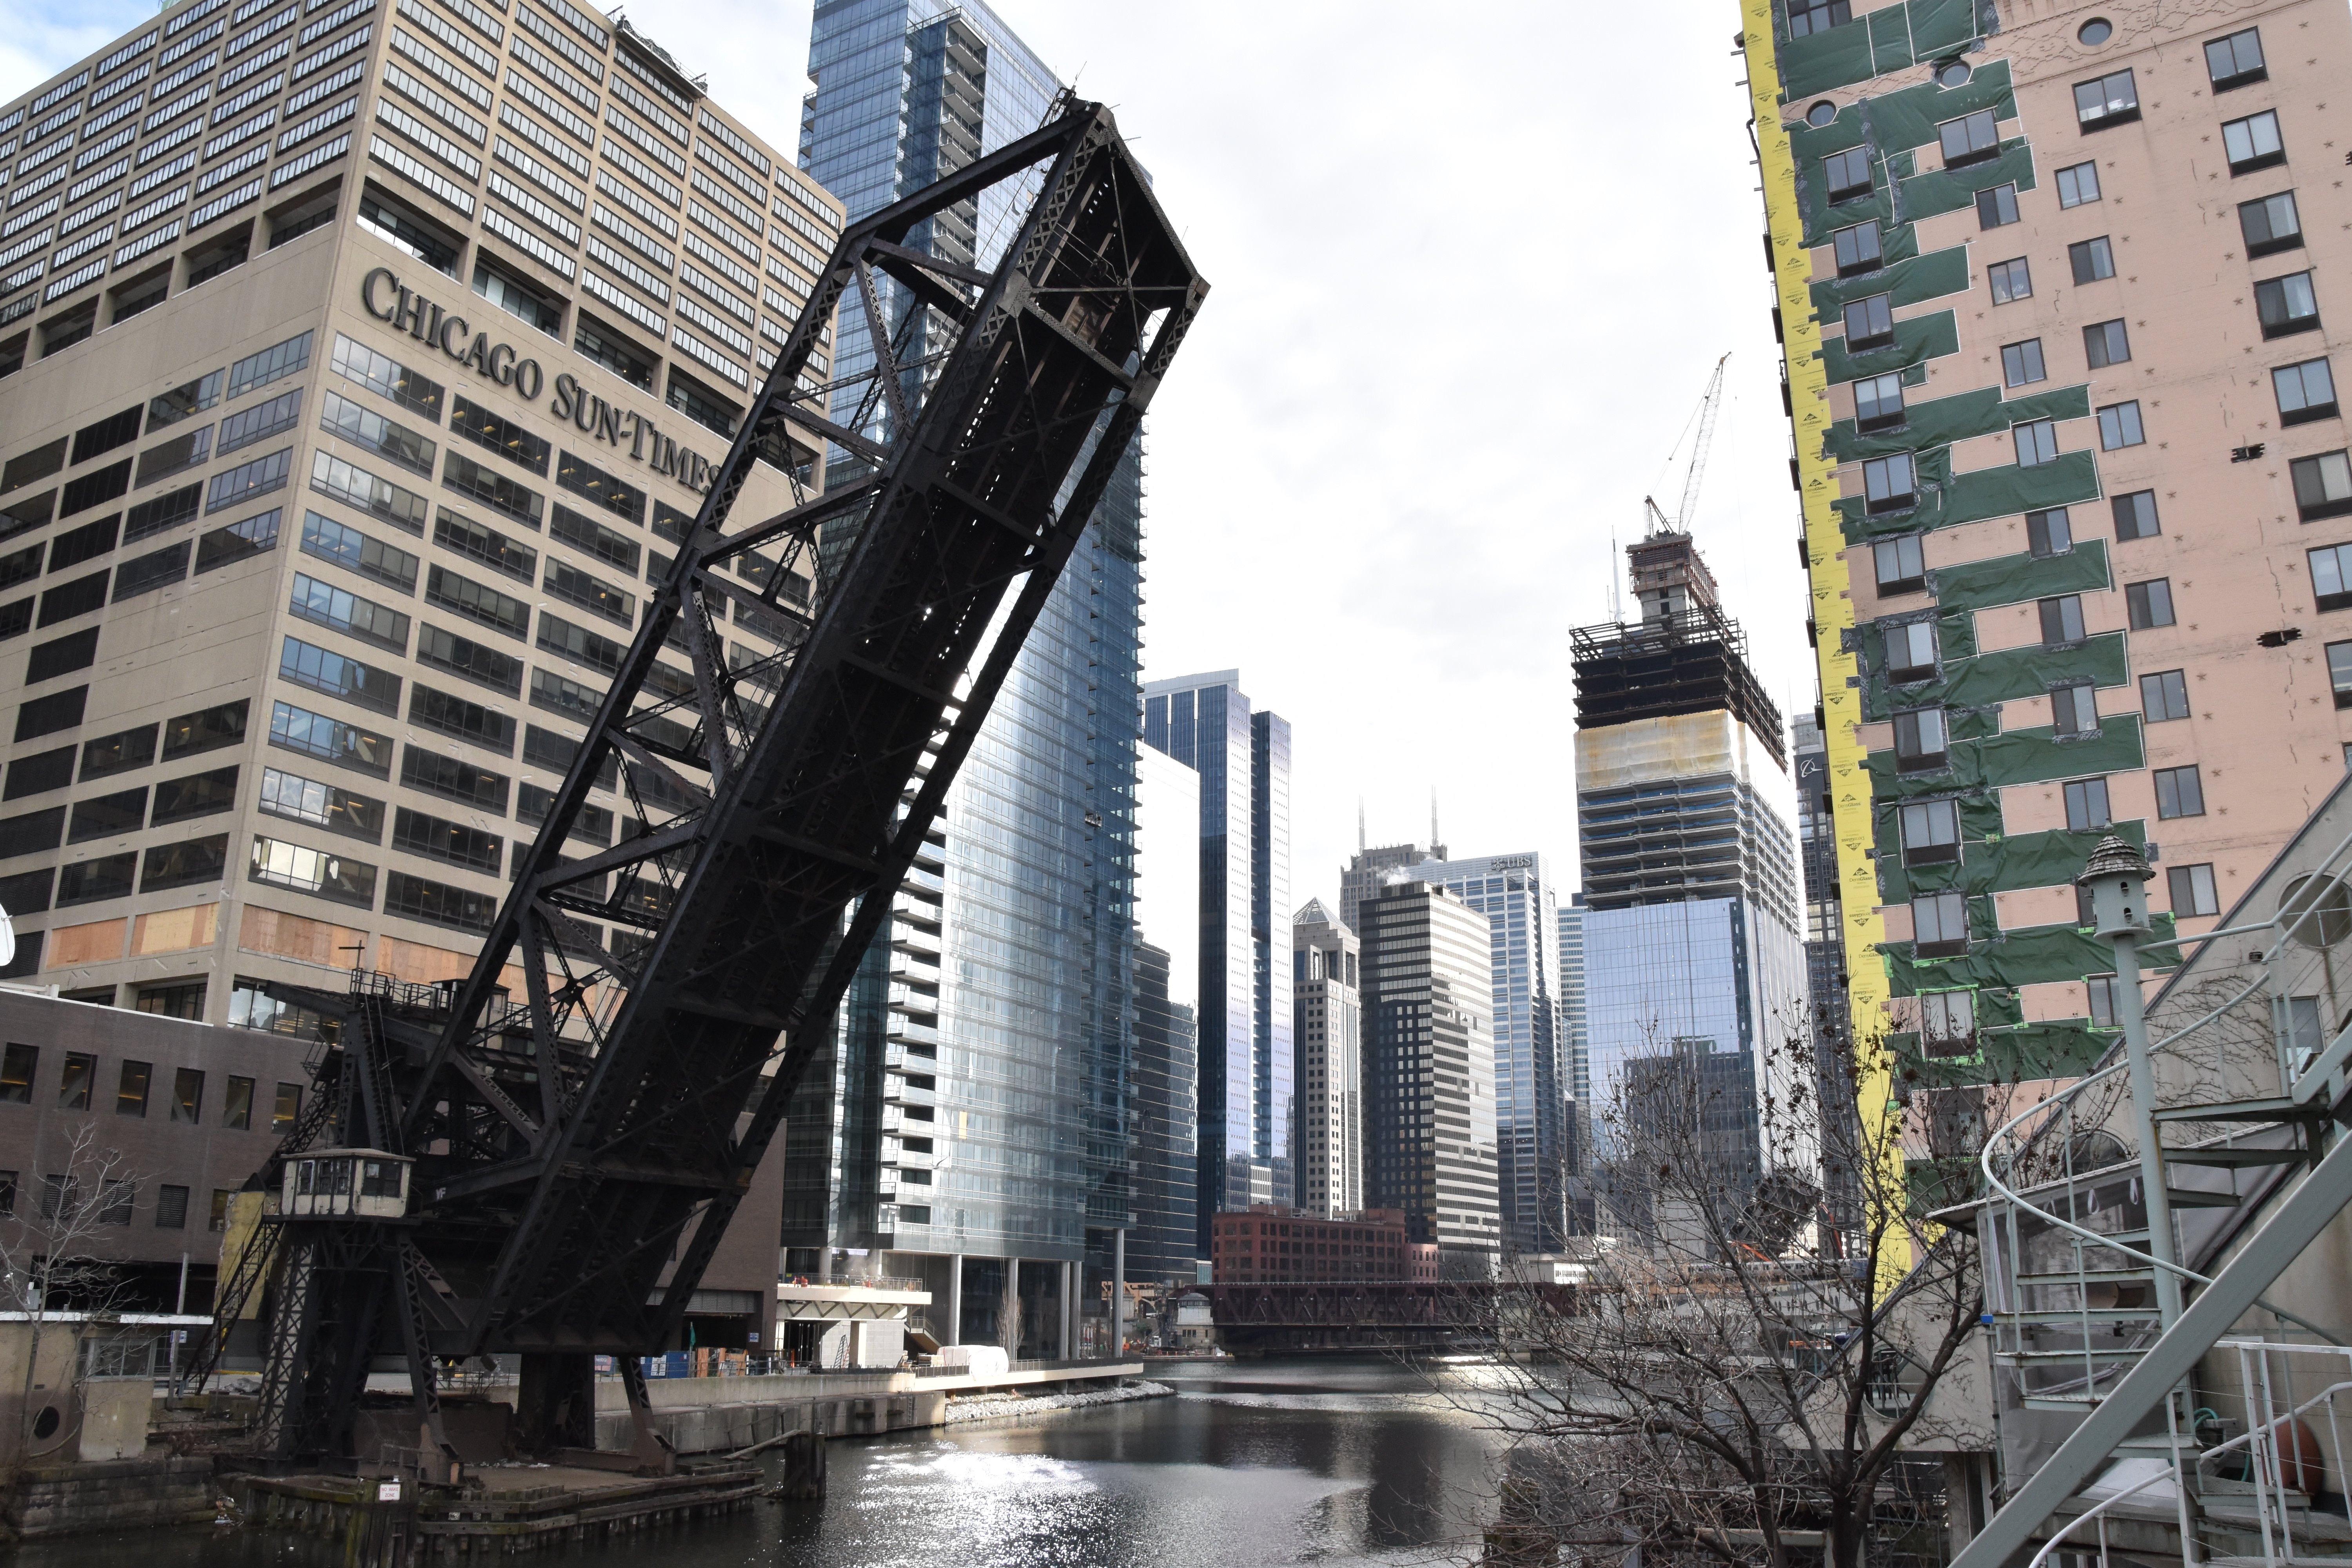
Oblique view from southeast quadrant.
![]()


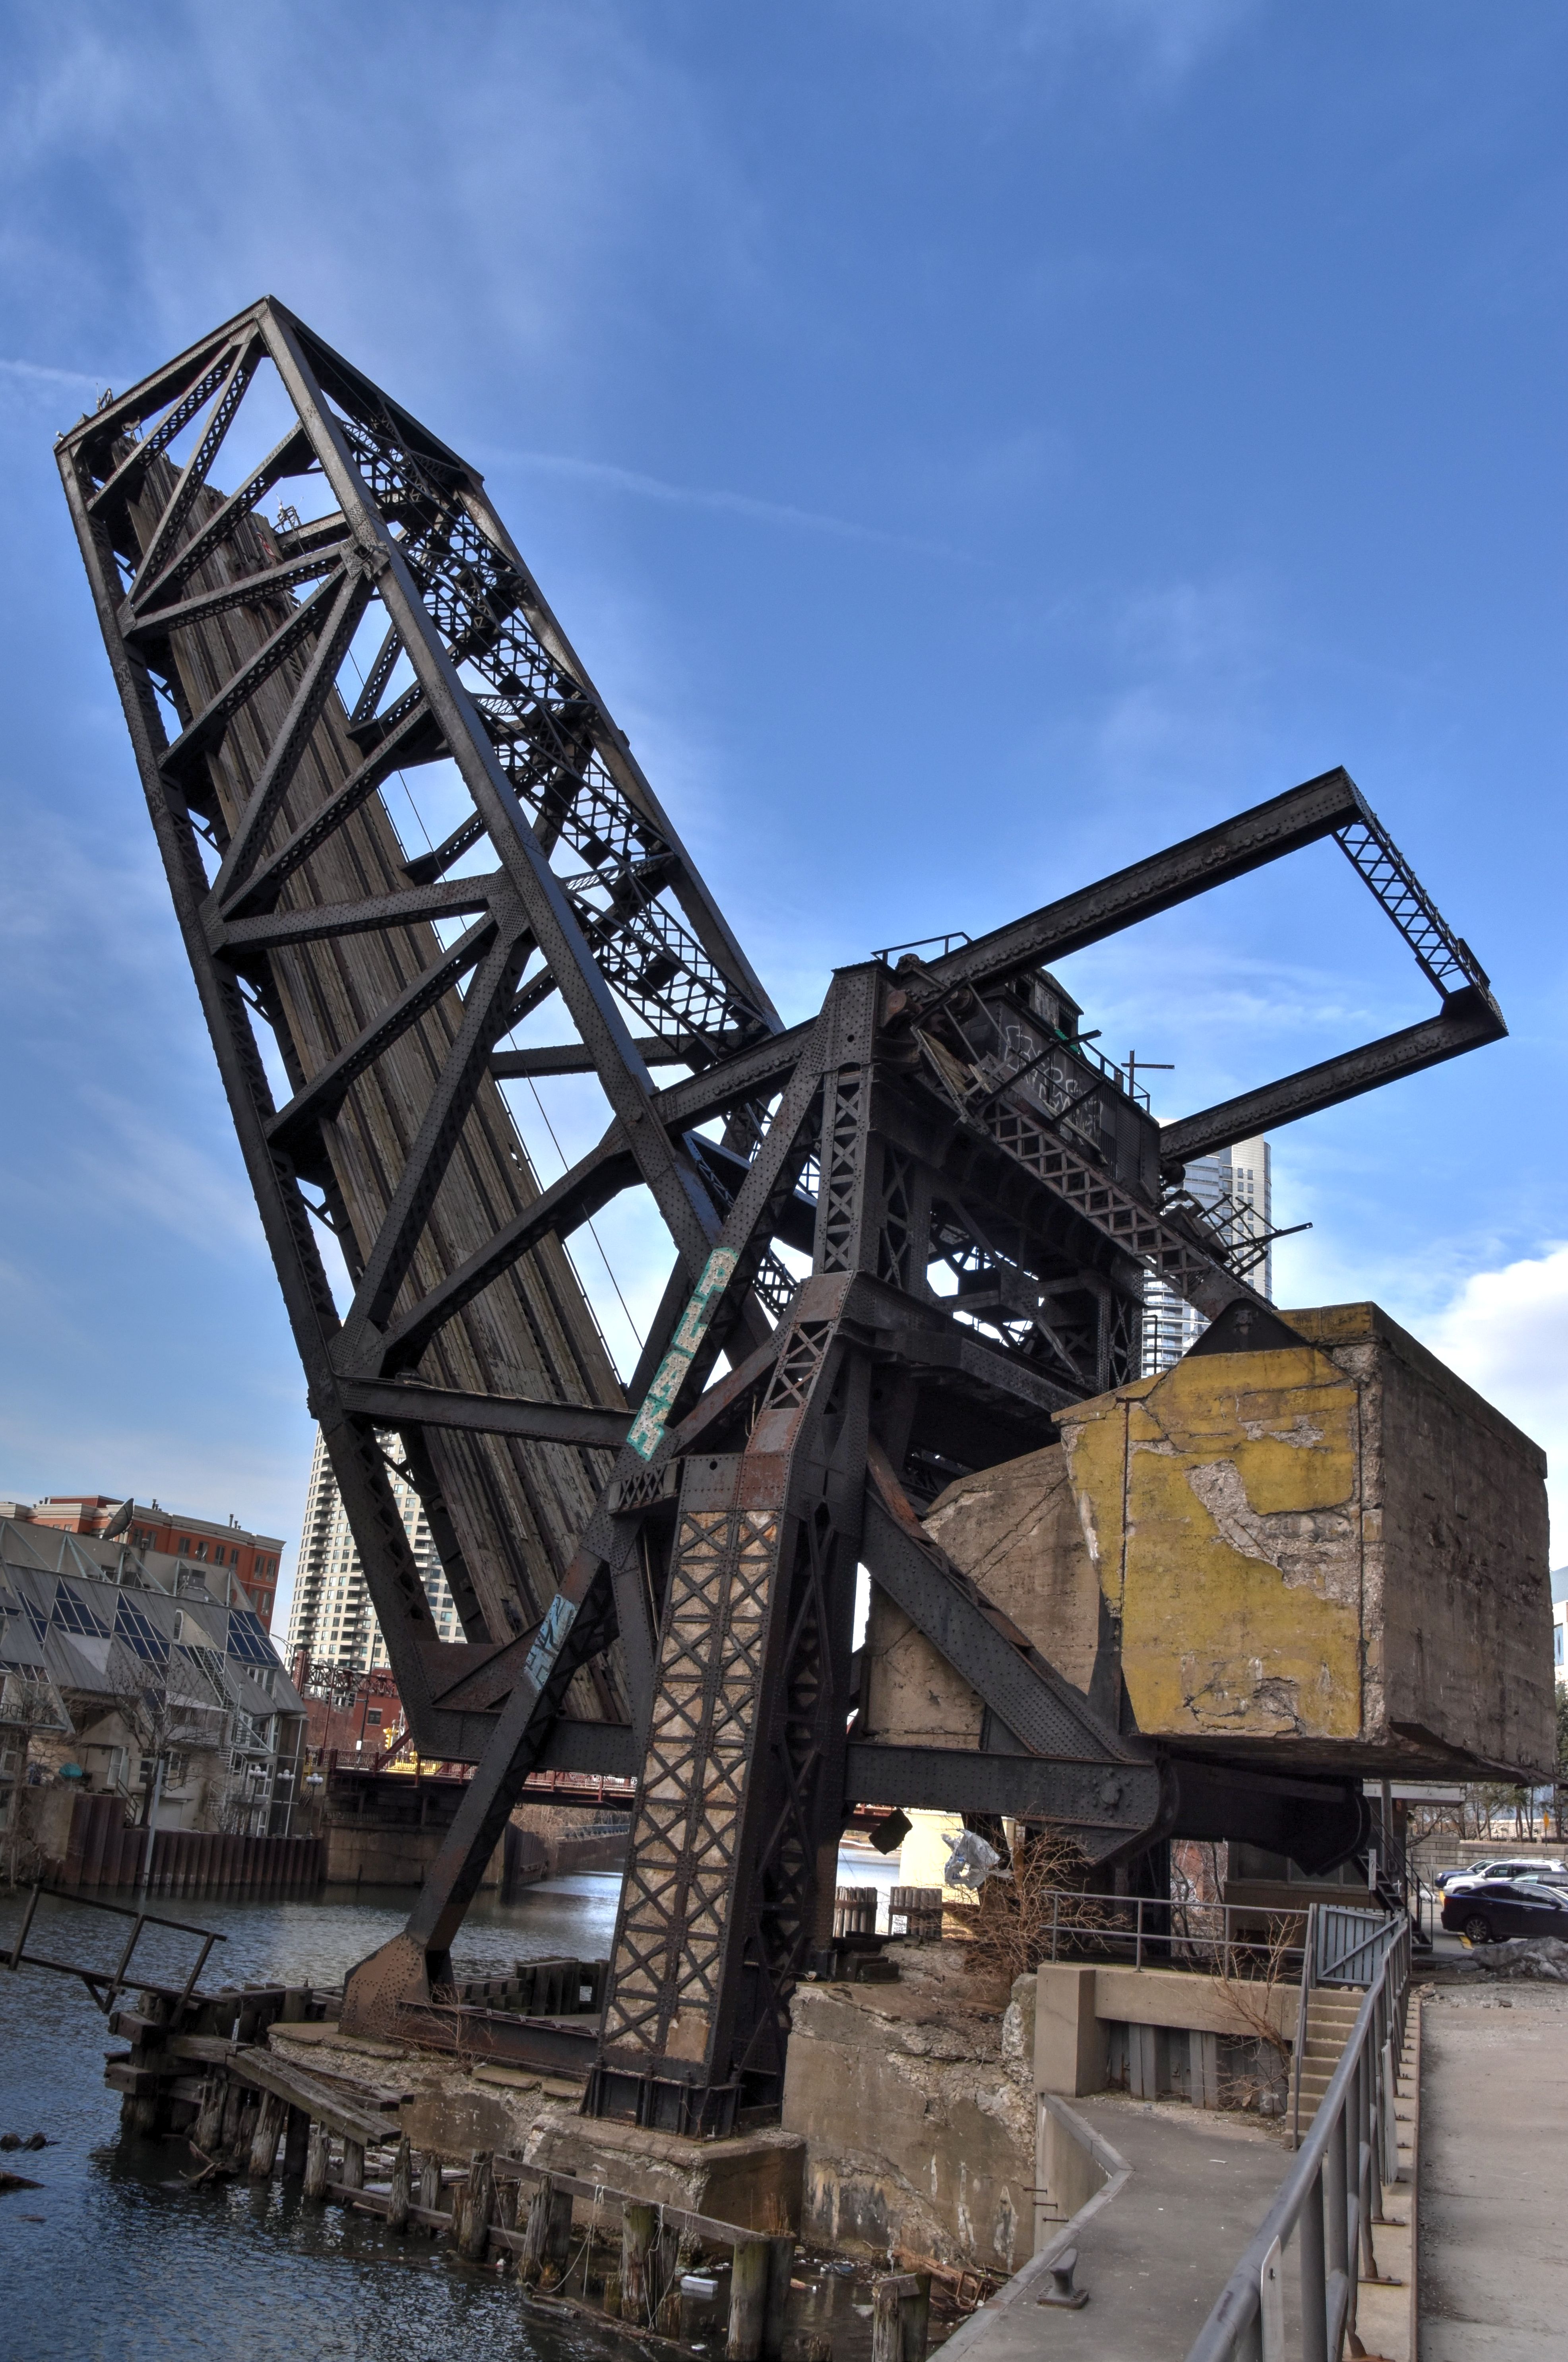


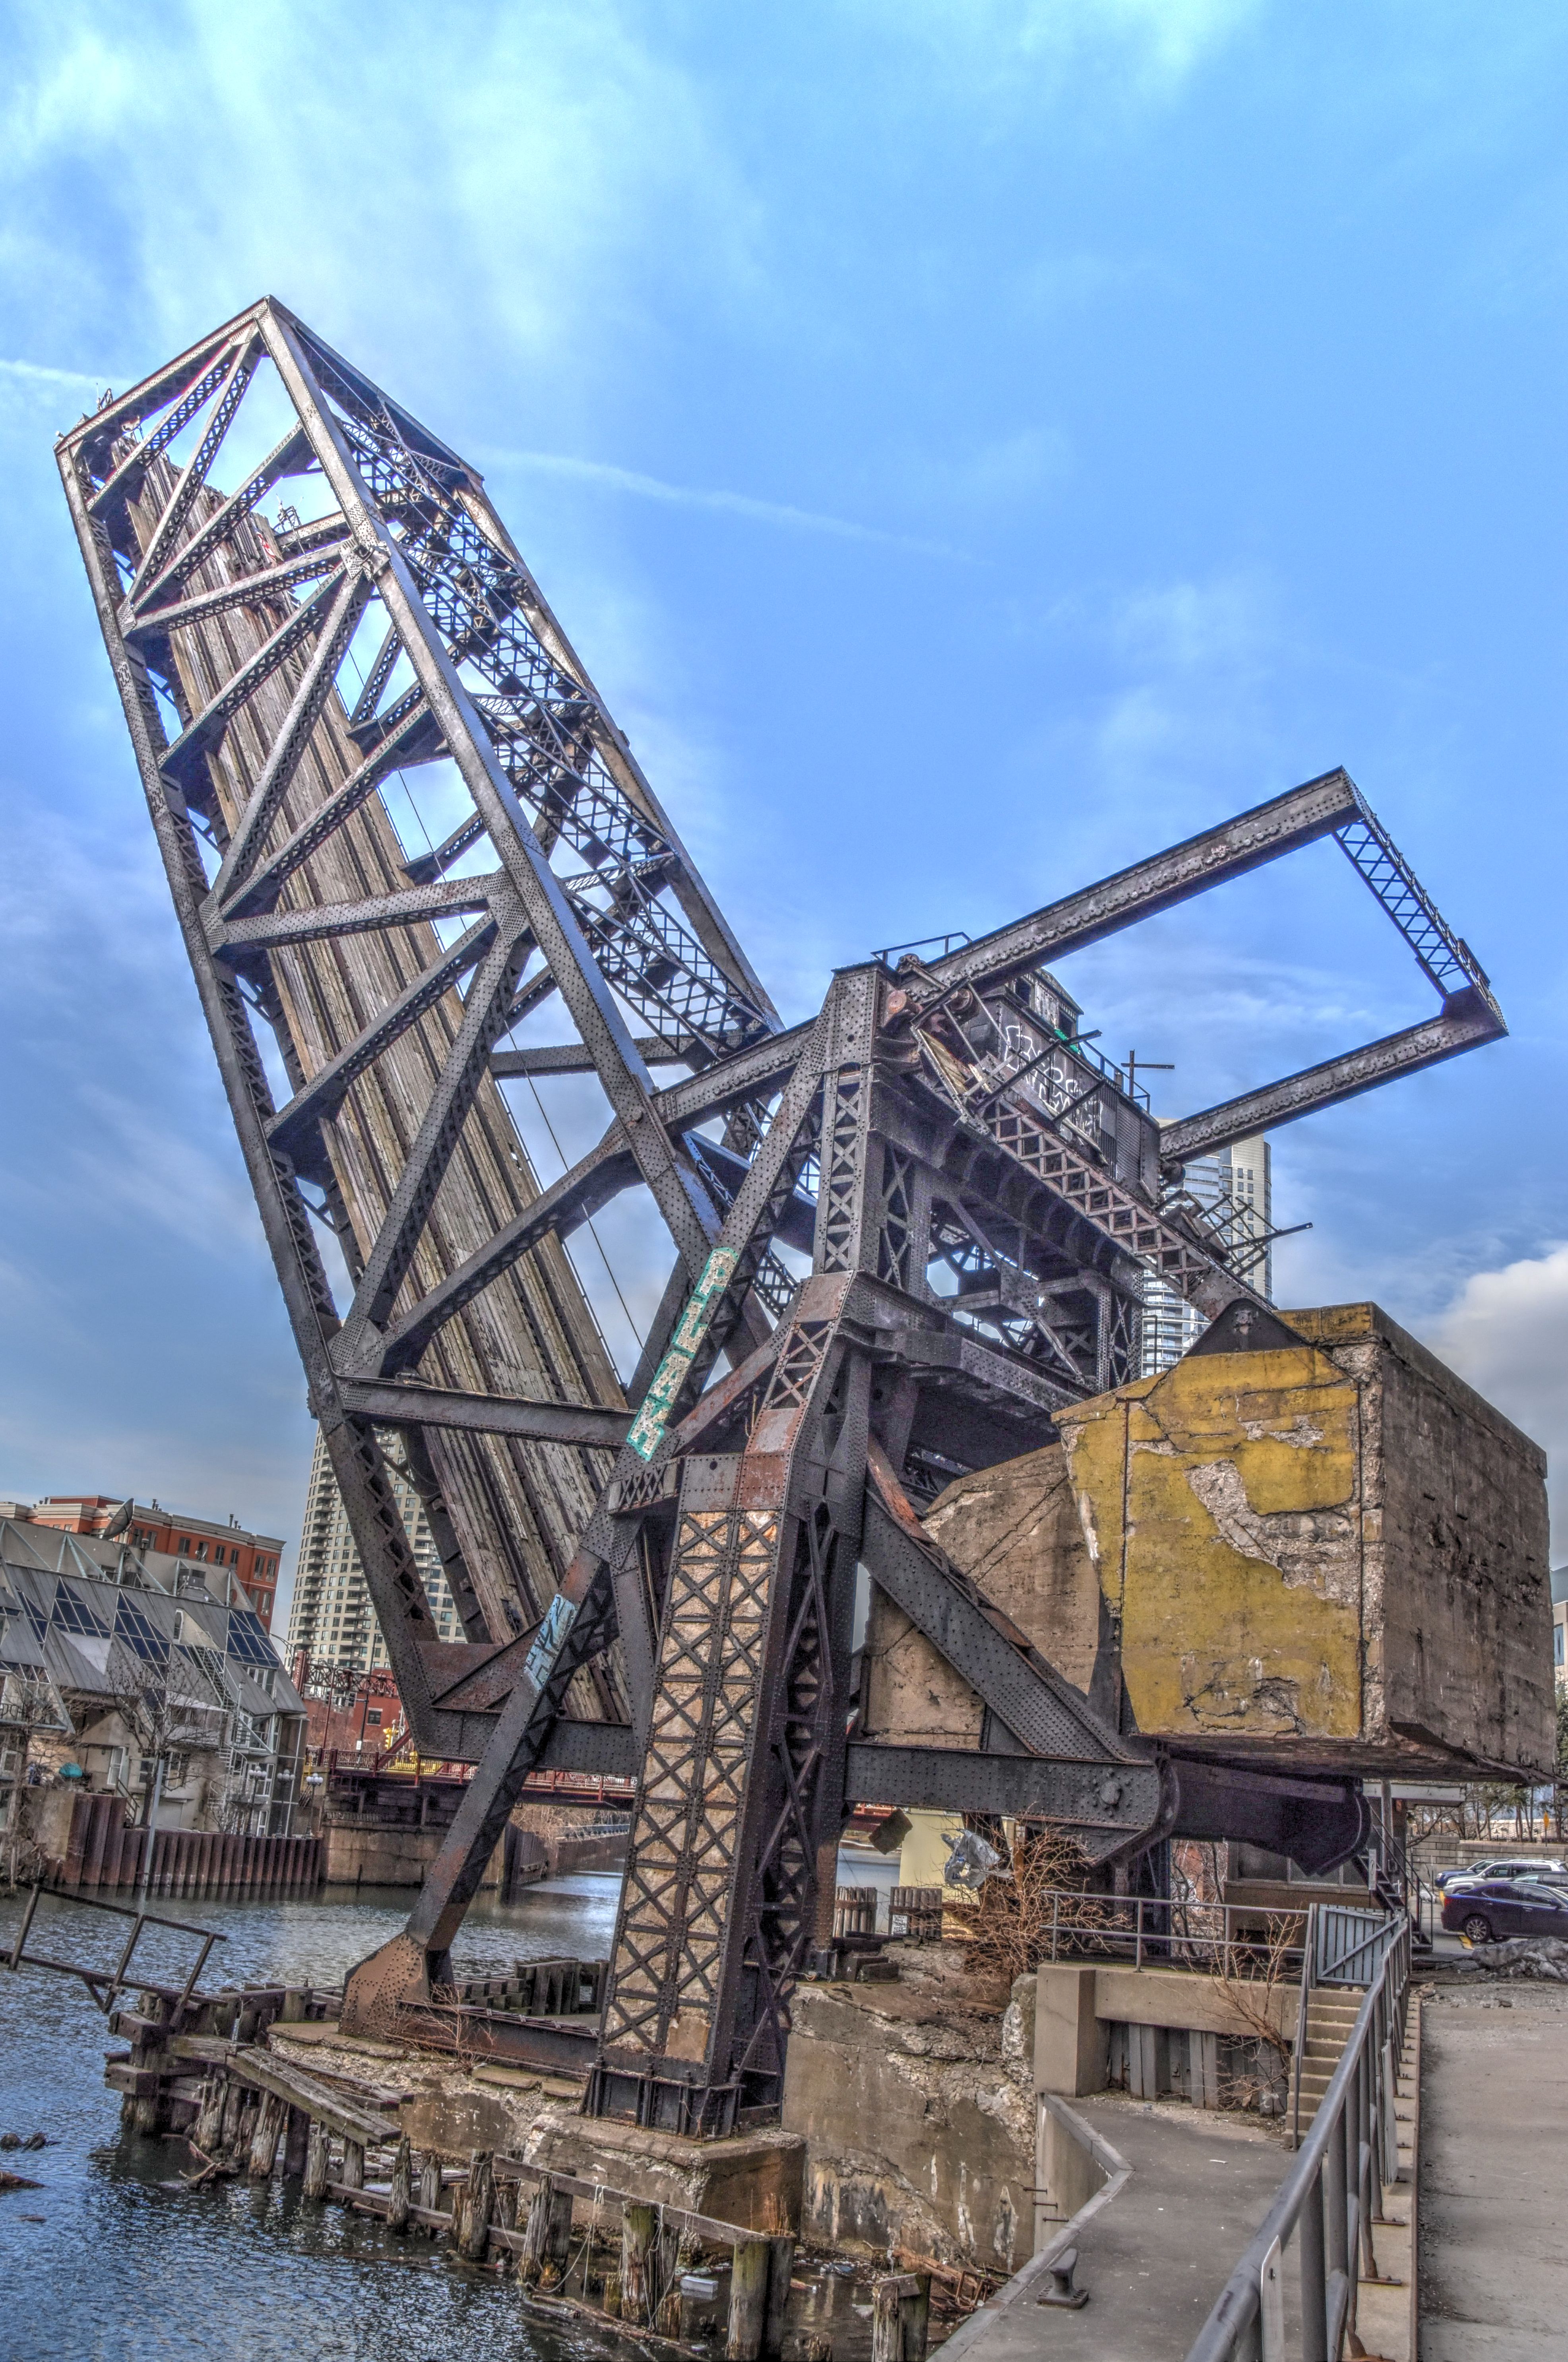
HDR Photos: Oblique view from southeast quadrant.
![]()

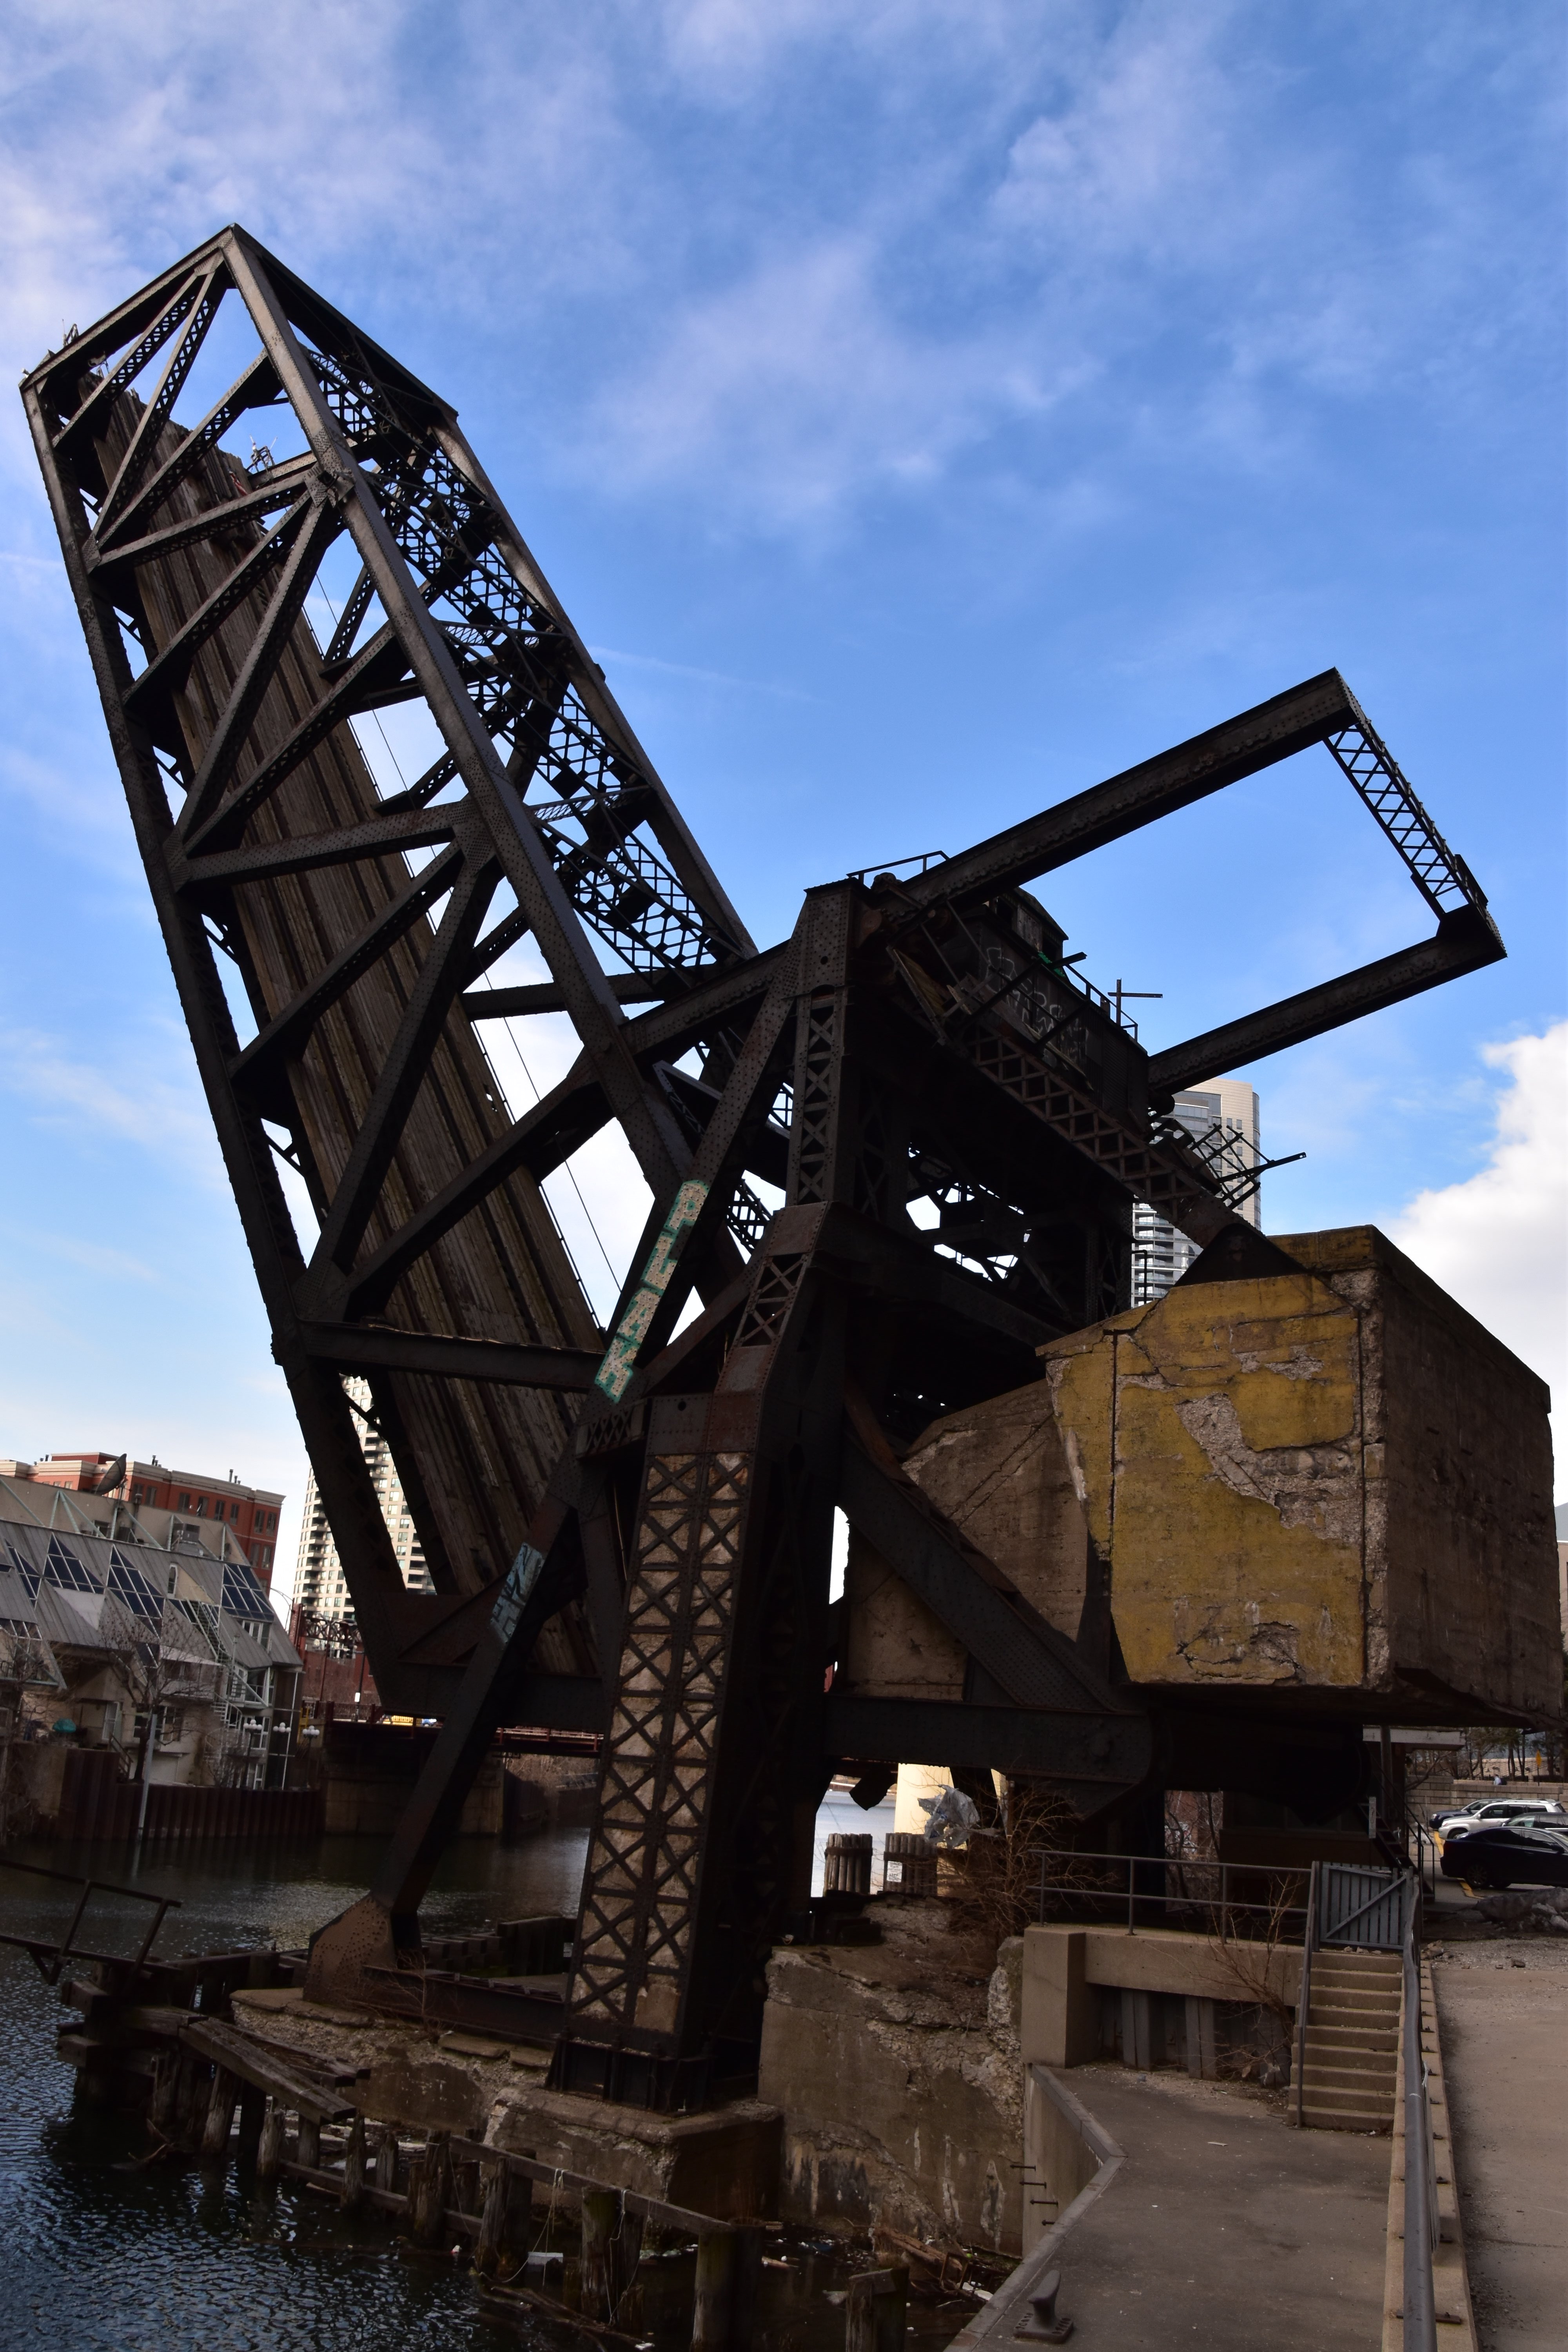
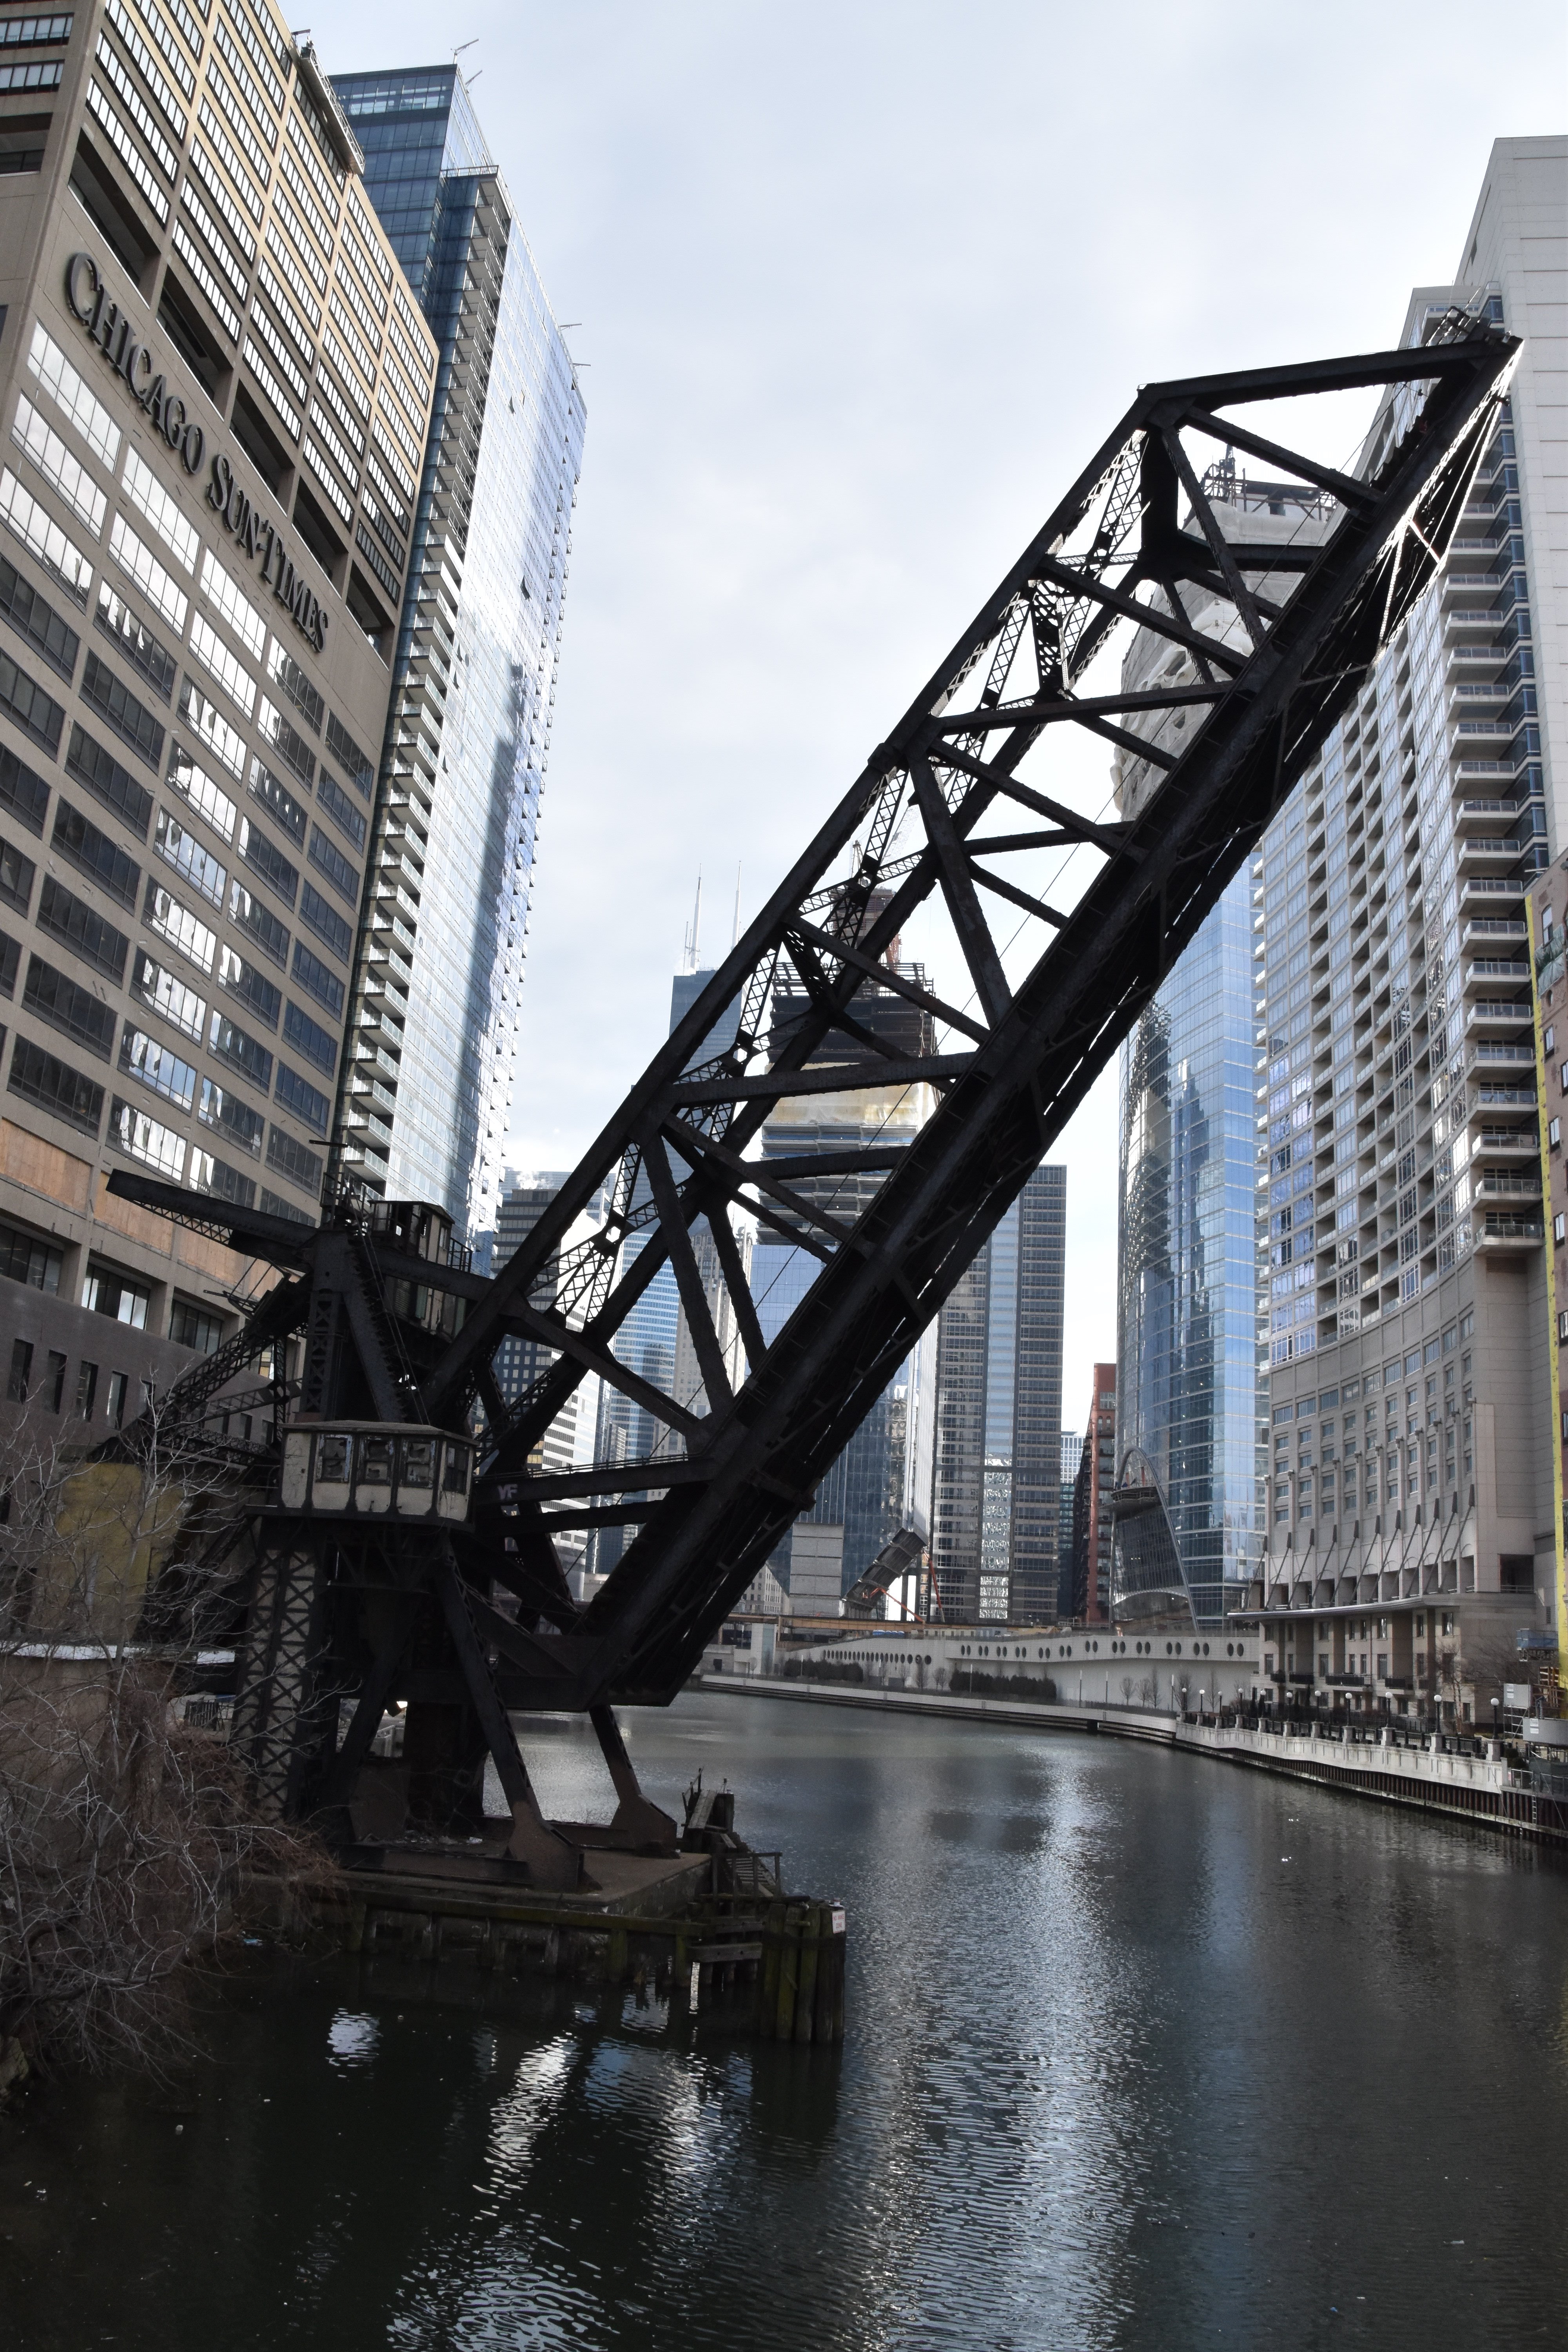
View beside bridge from southeast quadrant.
![]()


Elevation from northwest quadrant.
![]()


HDR Photos: Elevation from northwest quadrant.
![]()

North elevation.
![]()


Elevation from northeast quadrant.
![]()


View beside bridge from northeast quadrant.
![]()

View beside bridge from northeast quadrant.
![]()

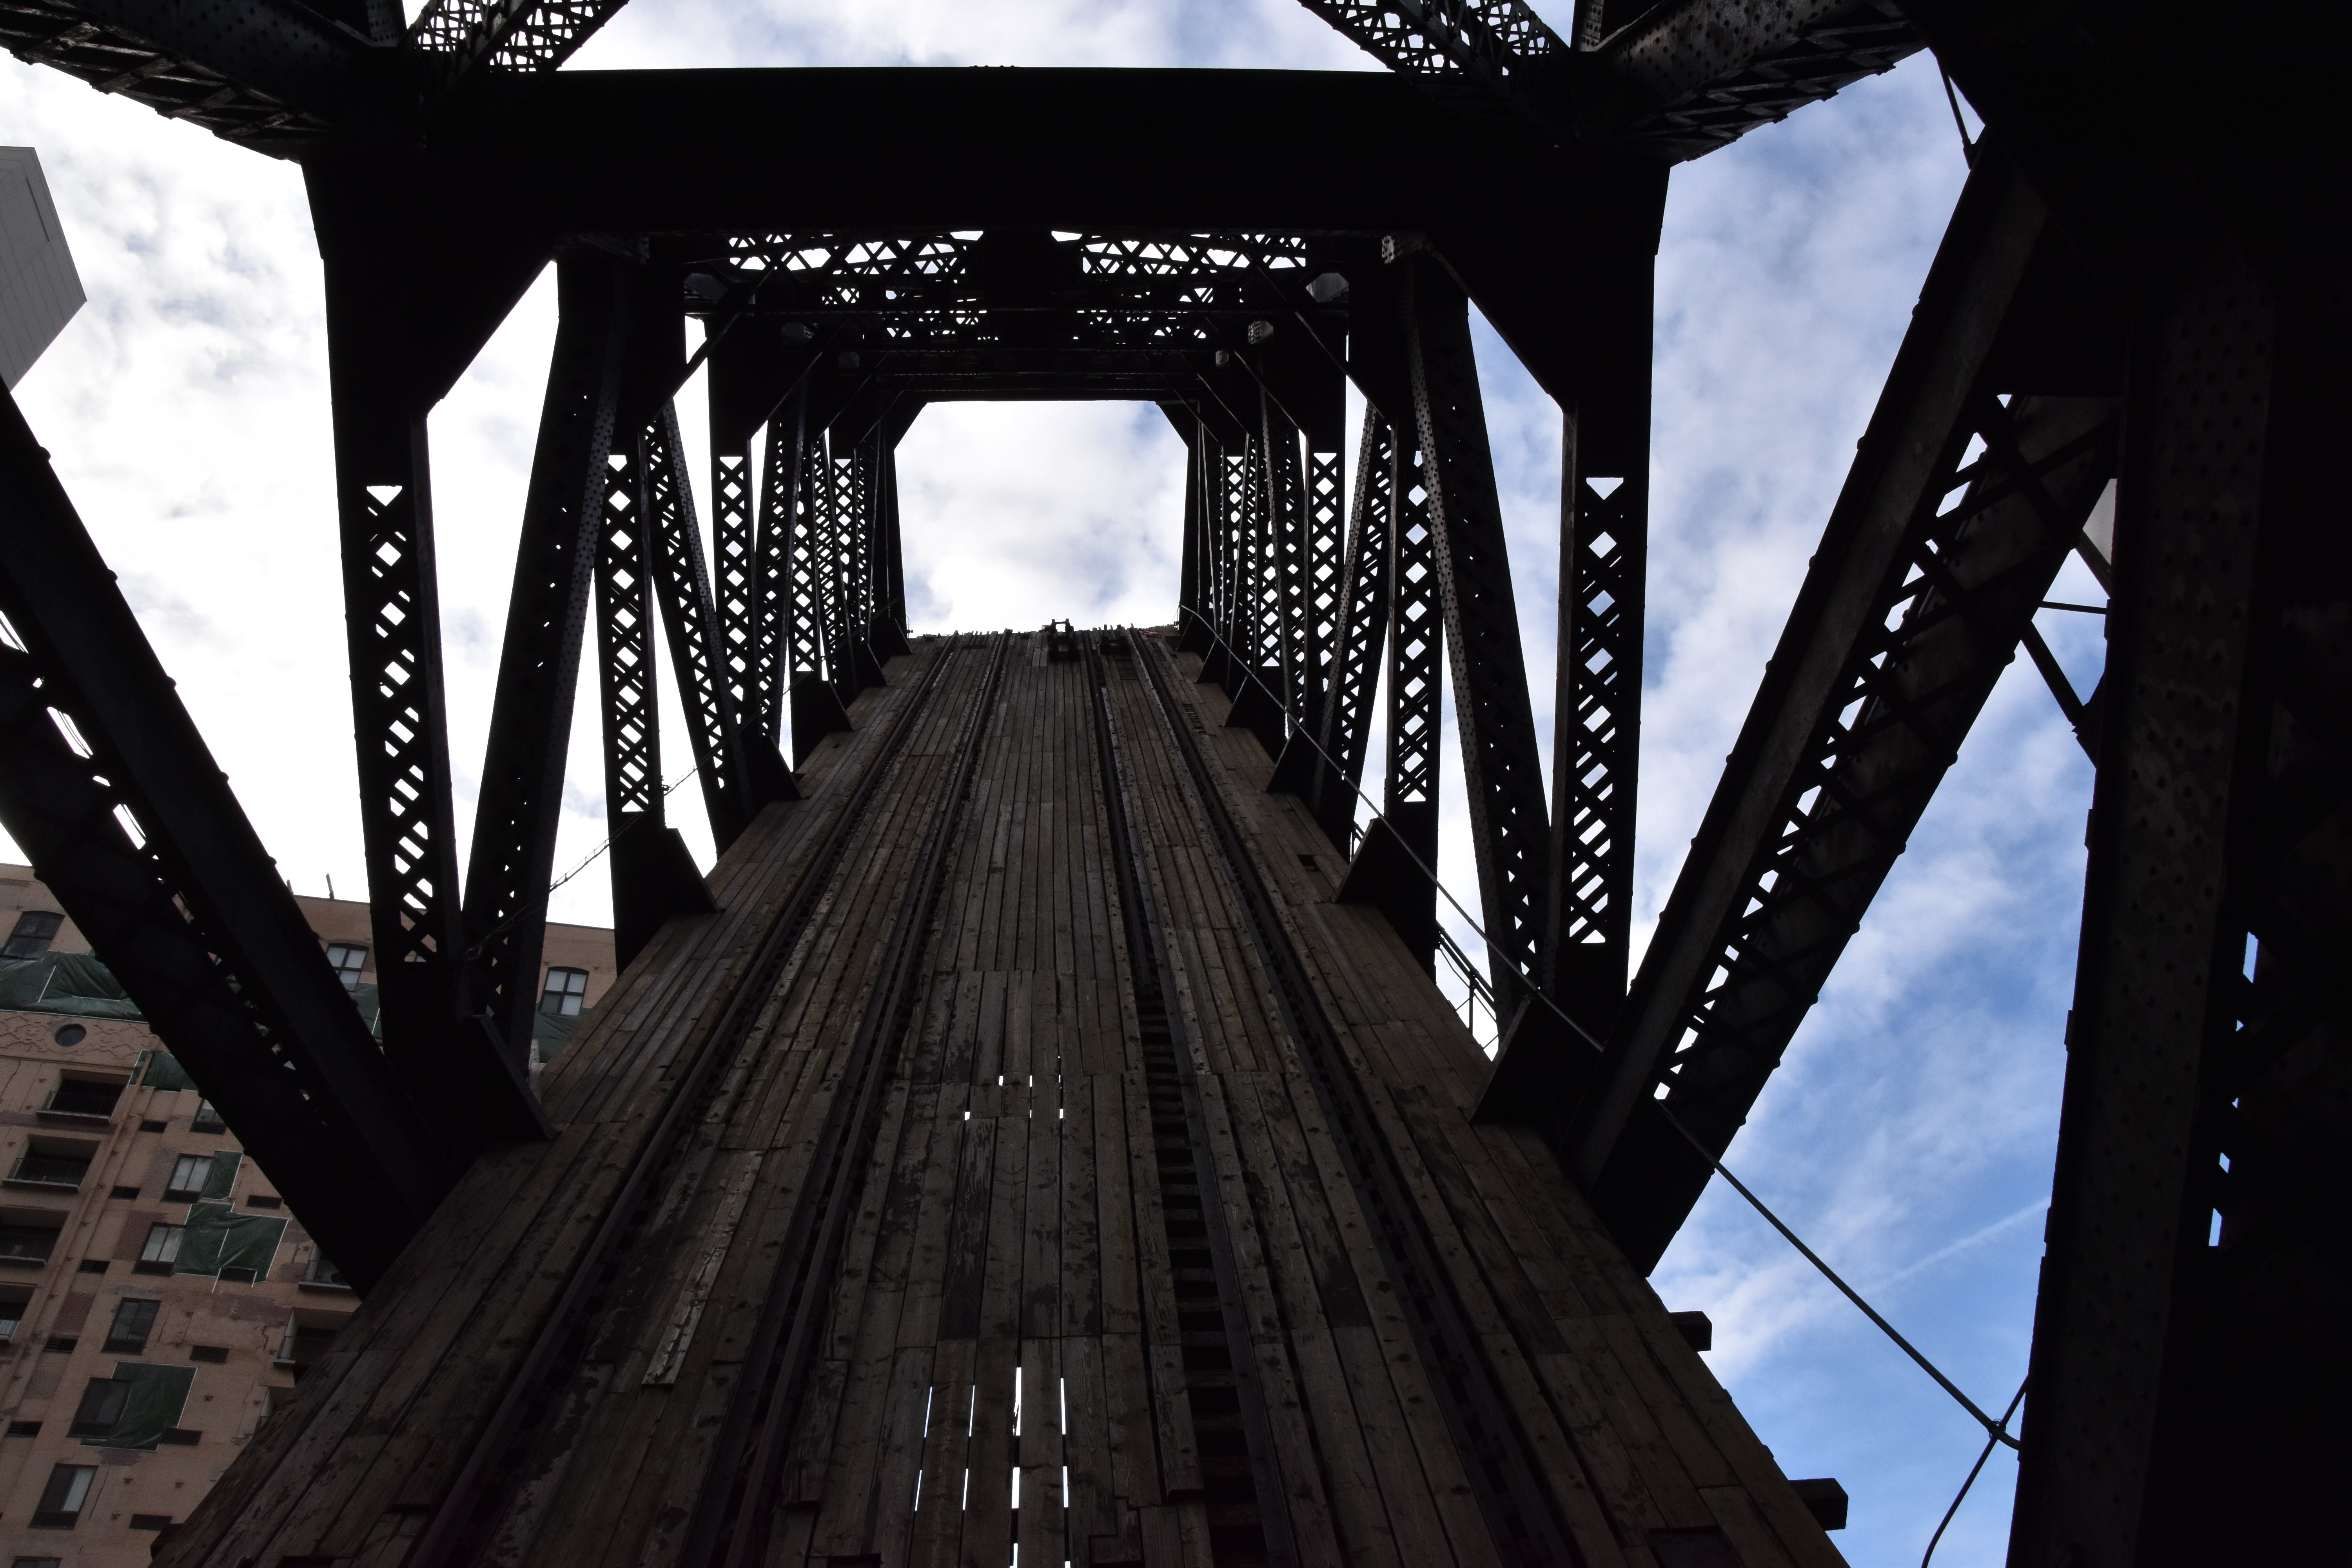


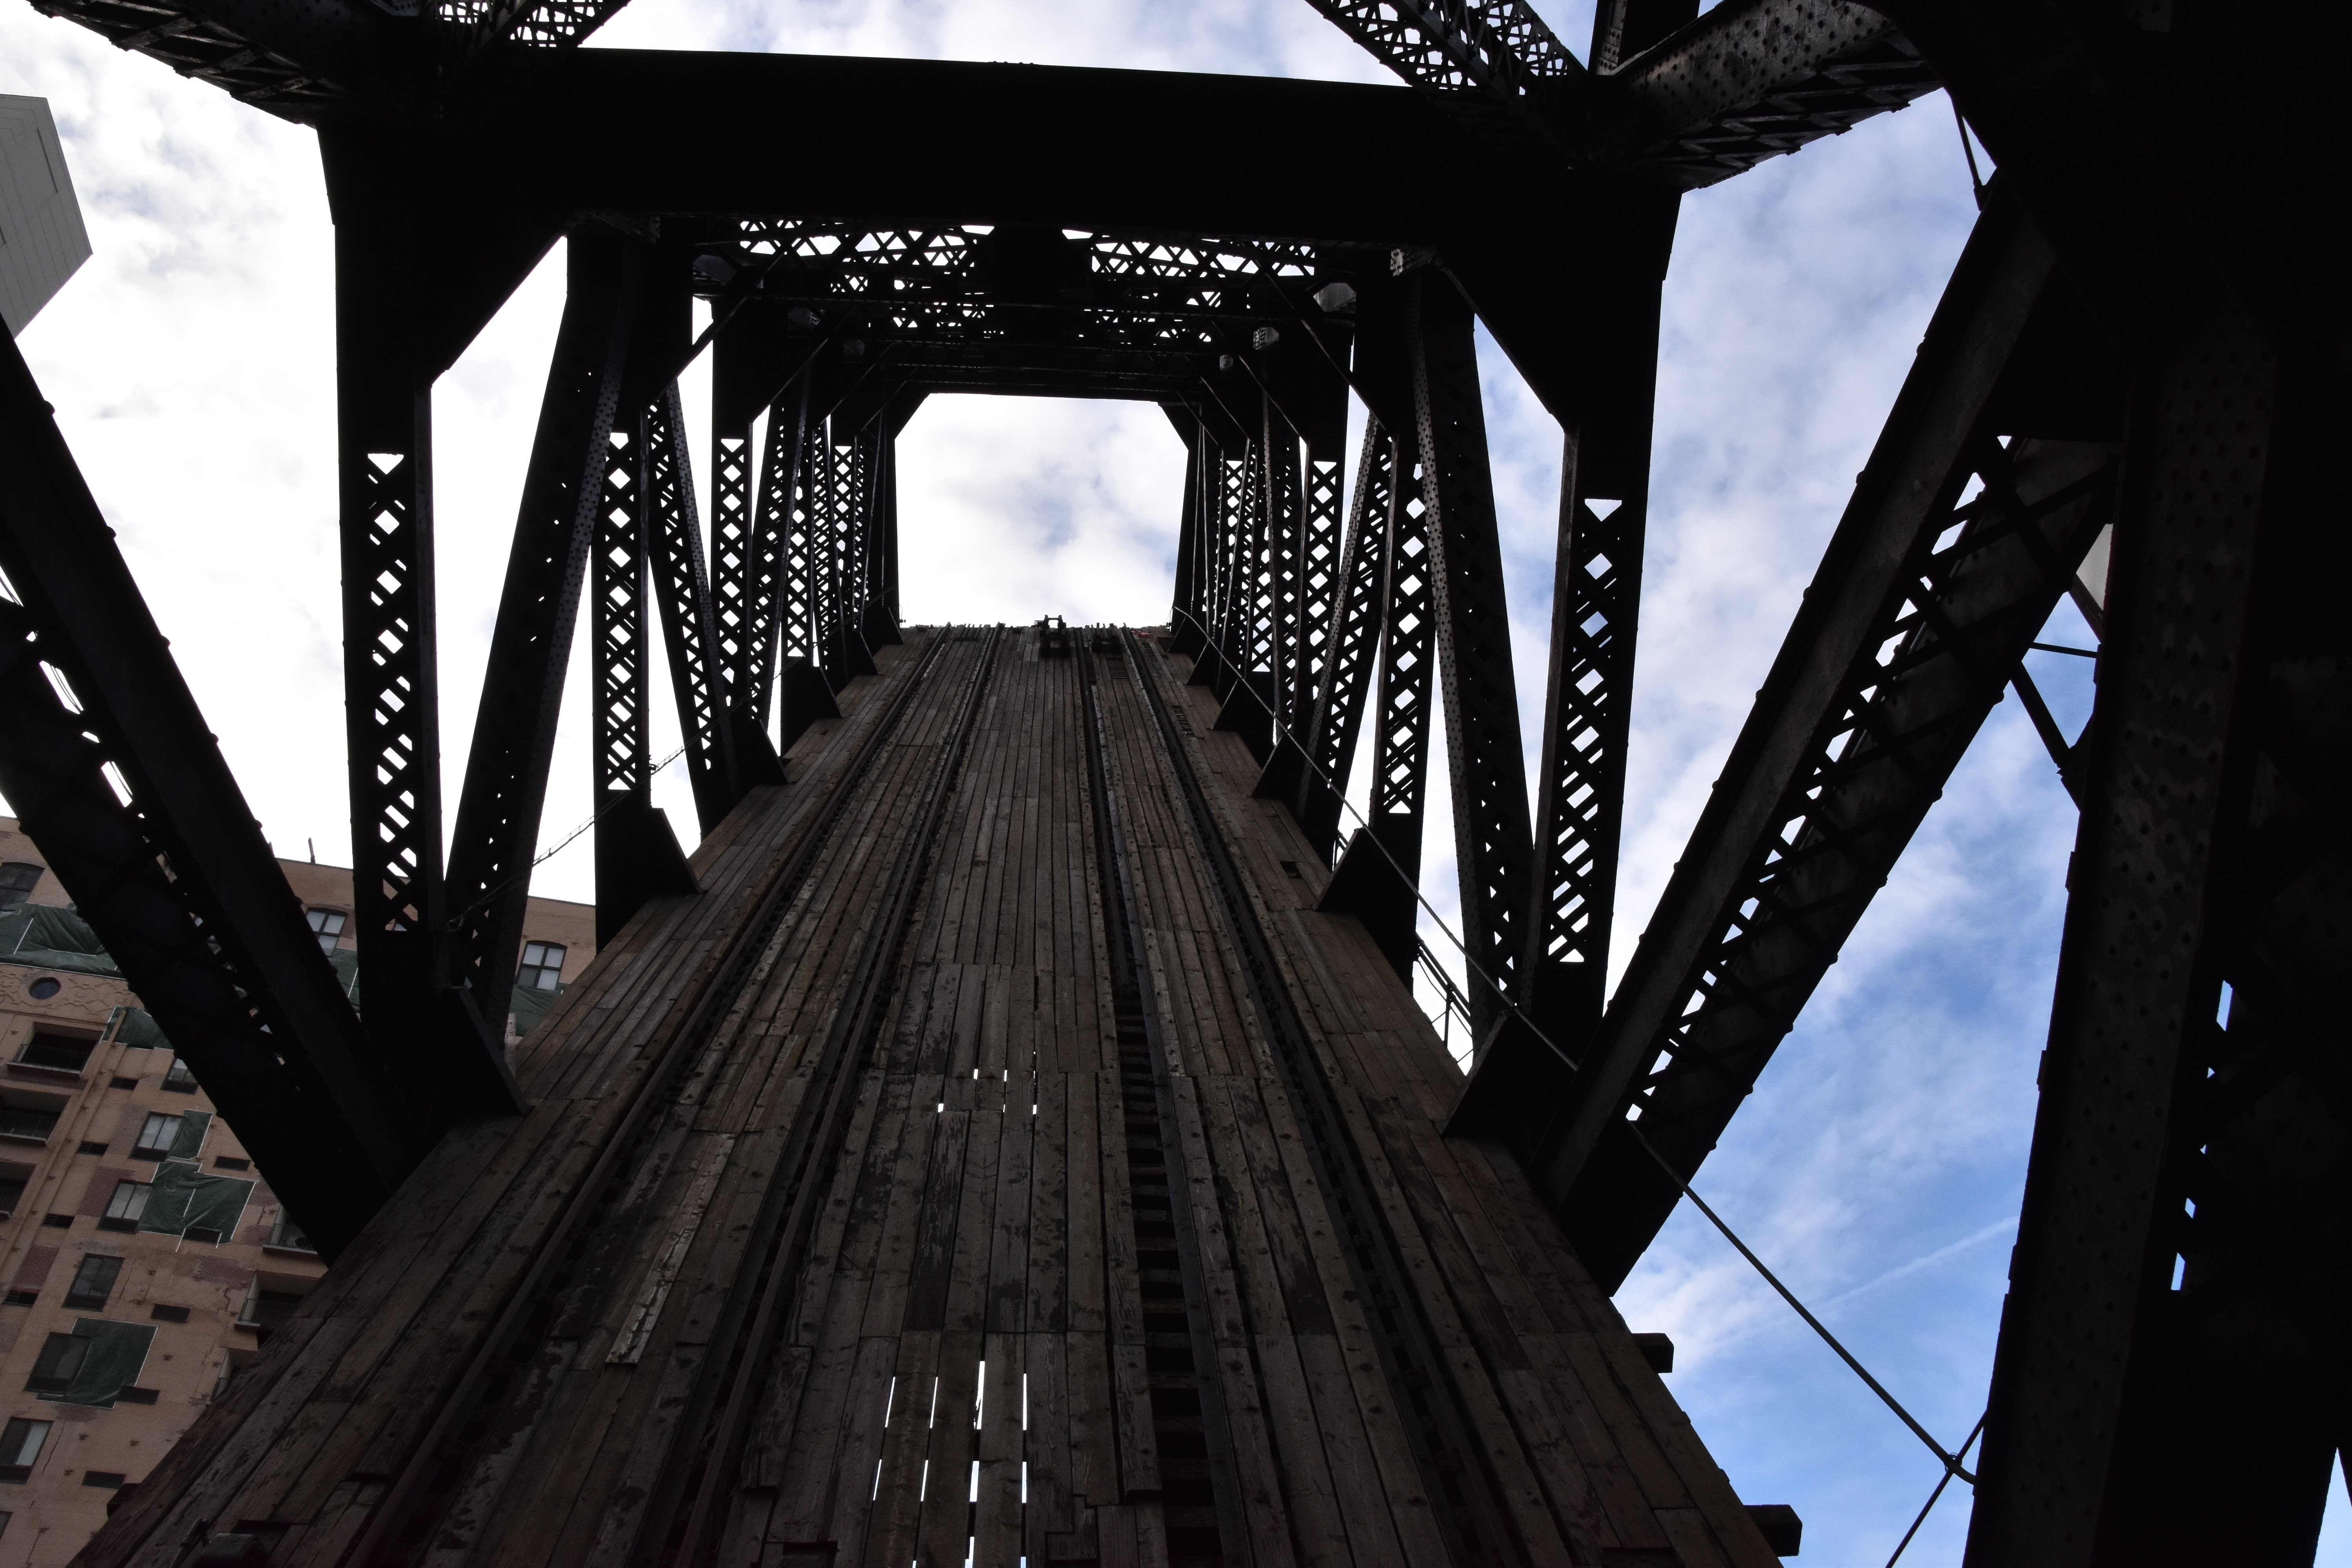
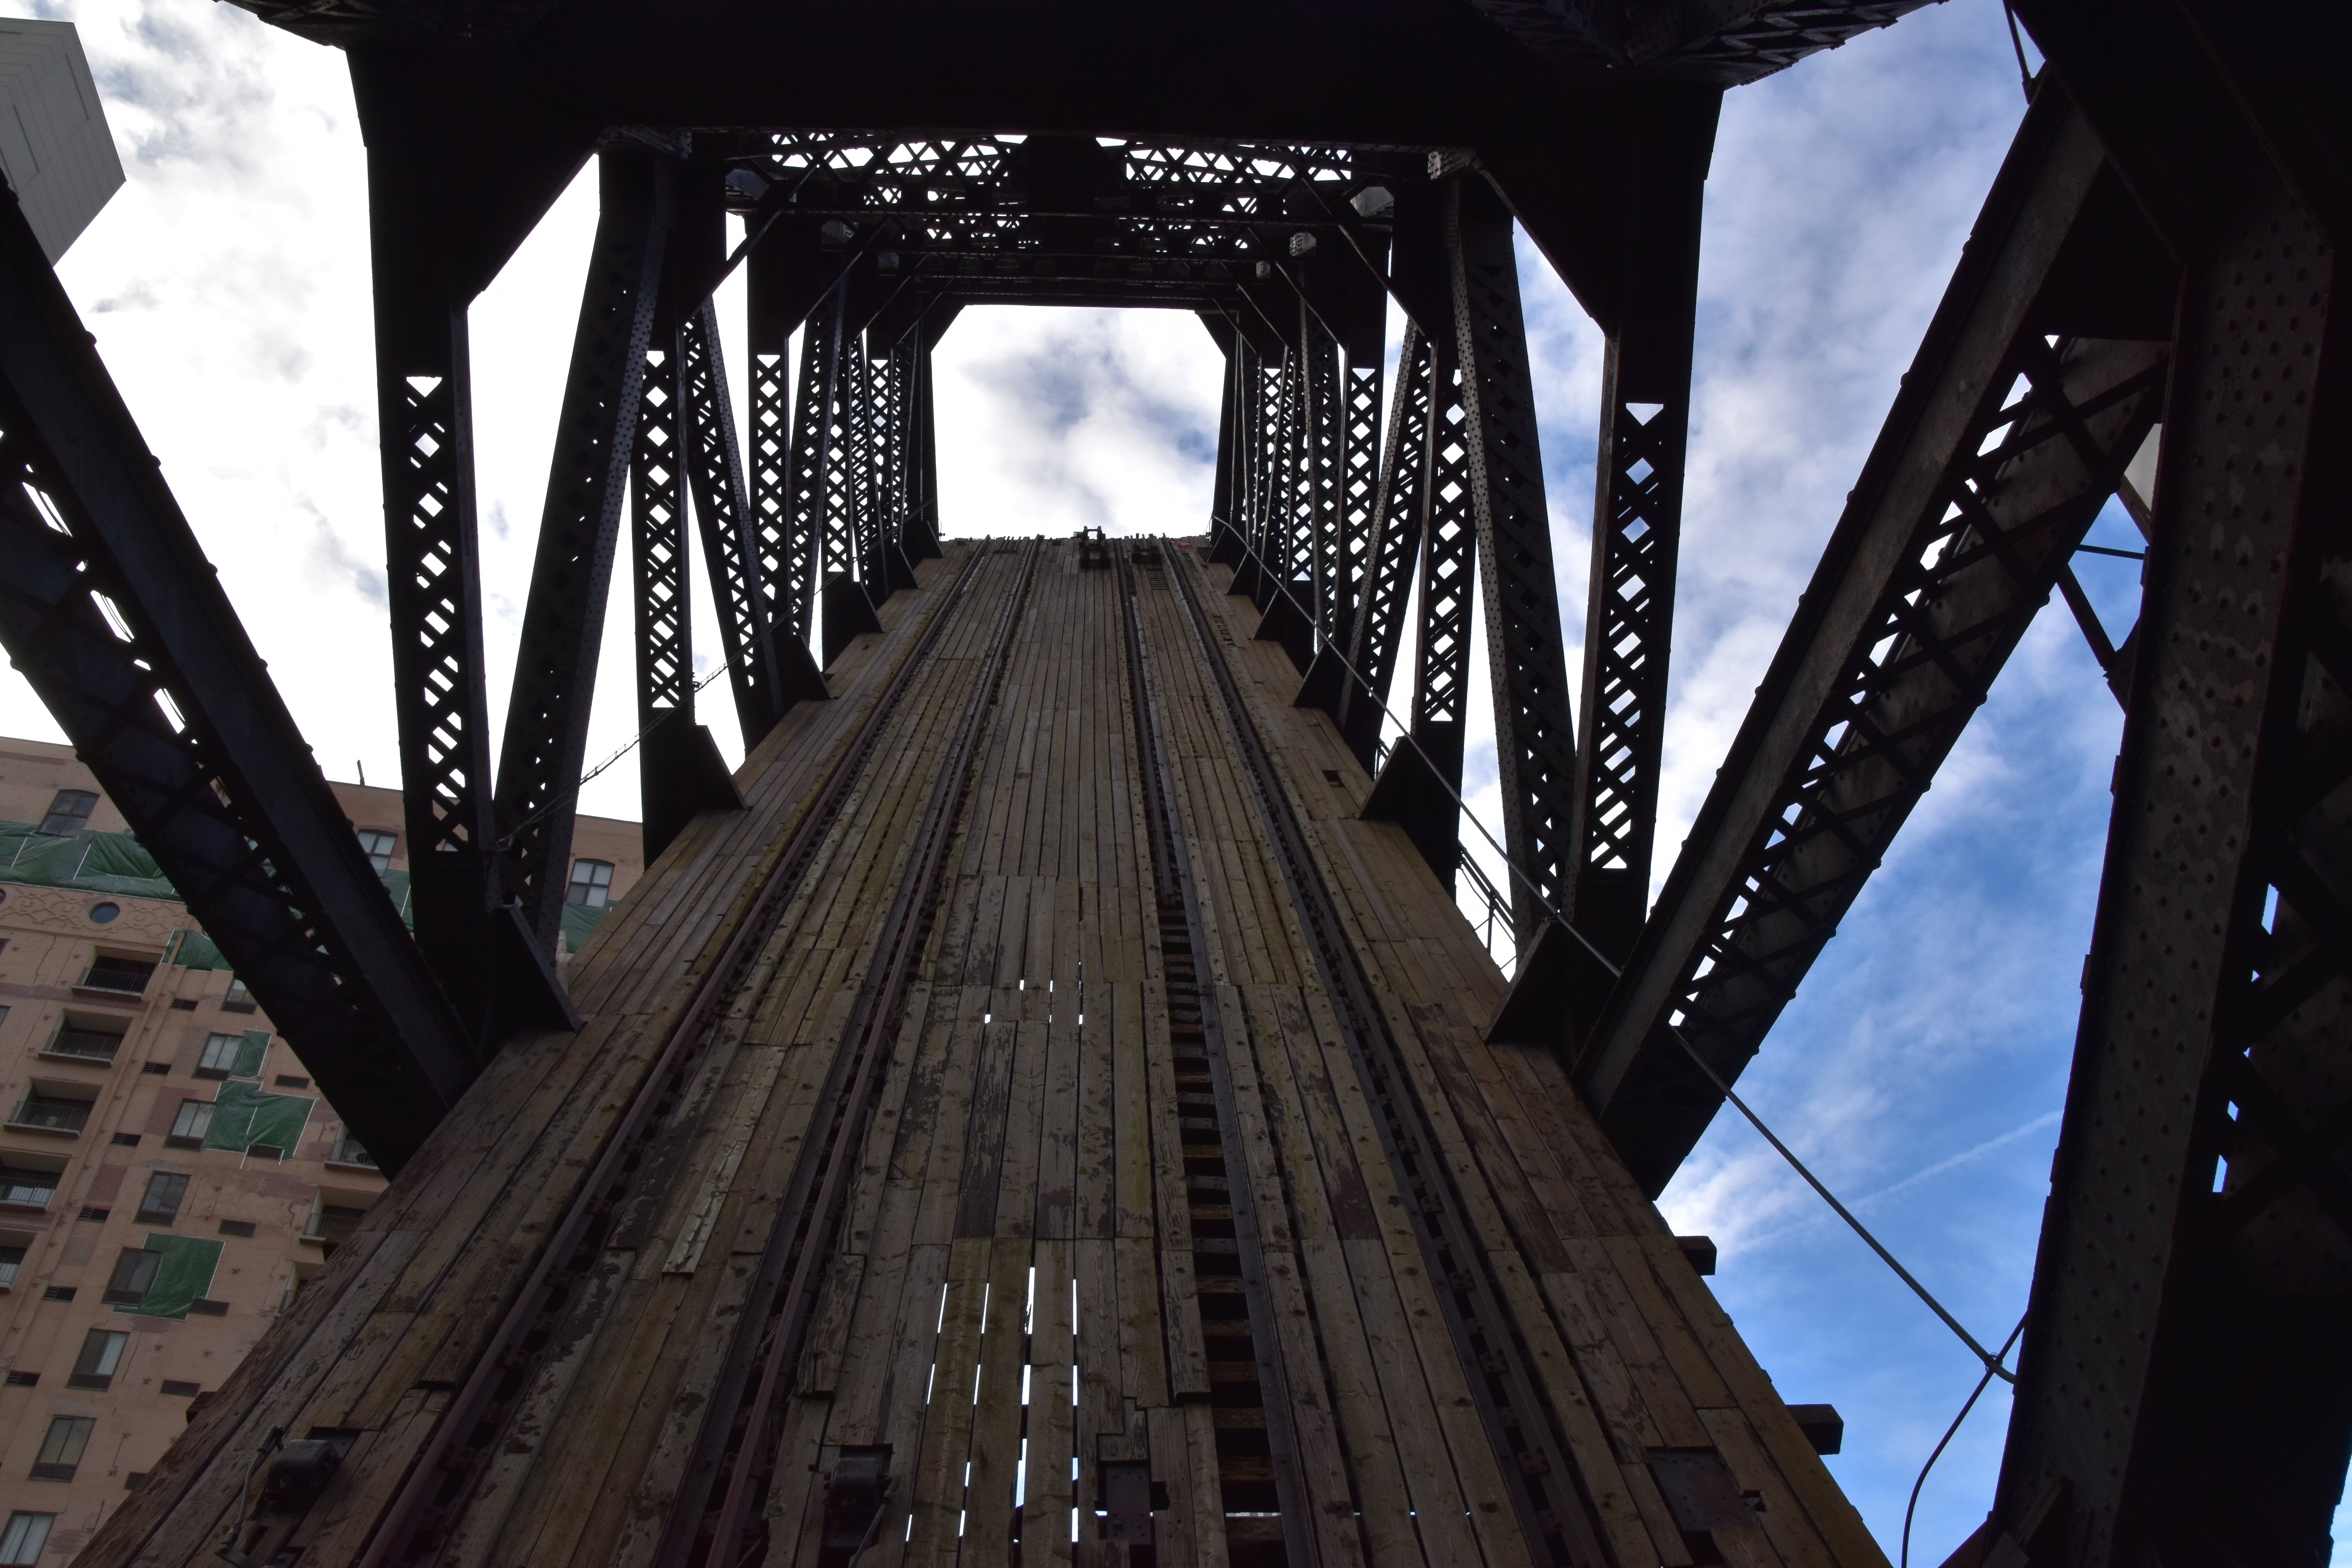
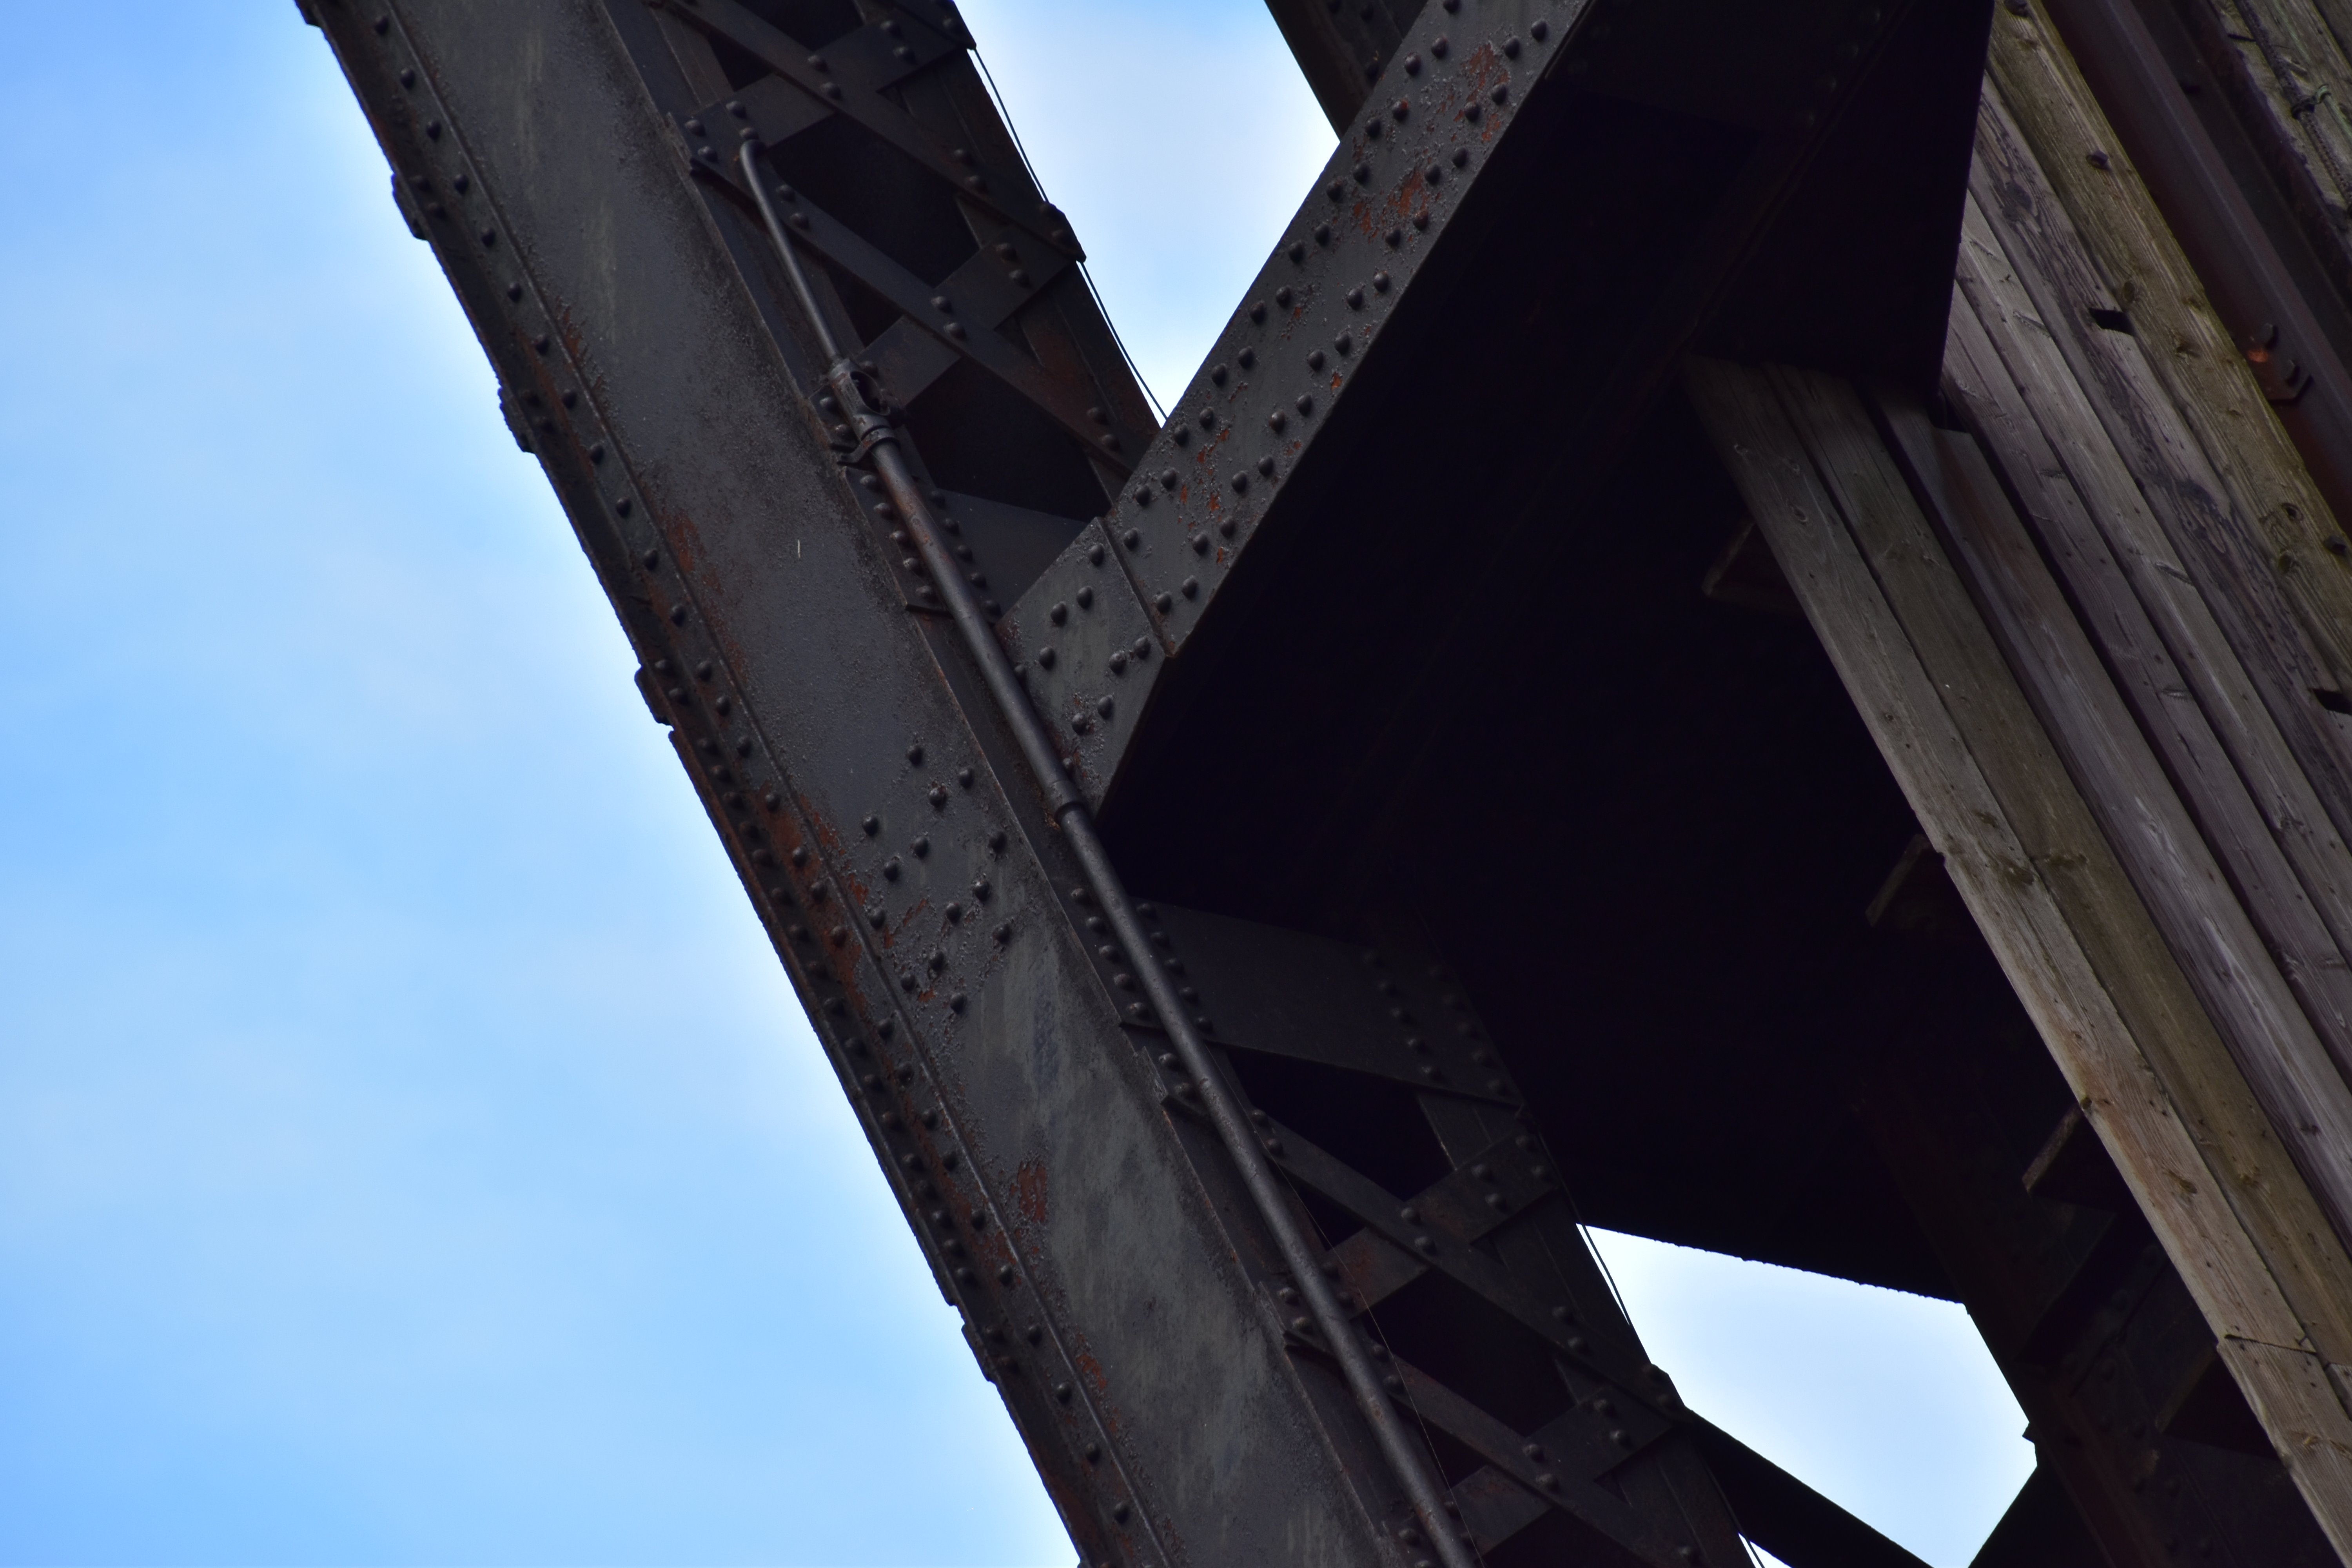
Portal view through raised leaf.
![]()
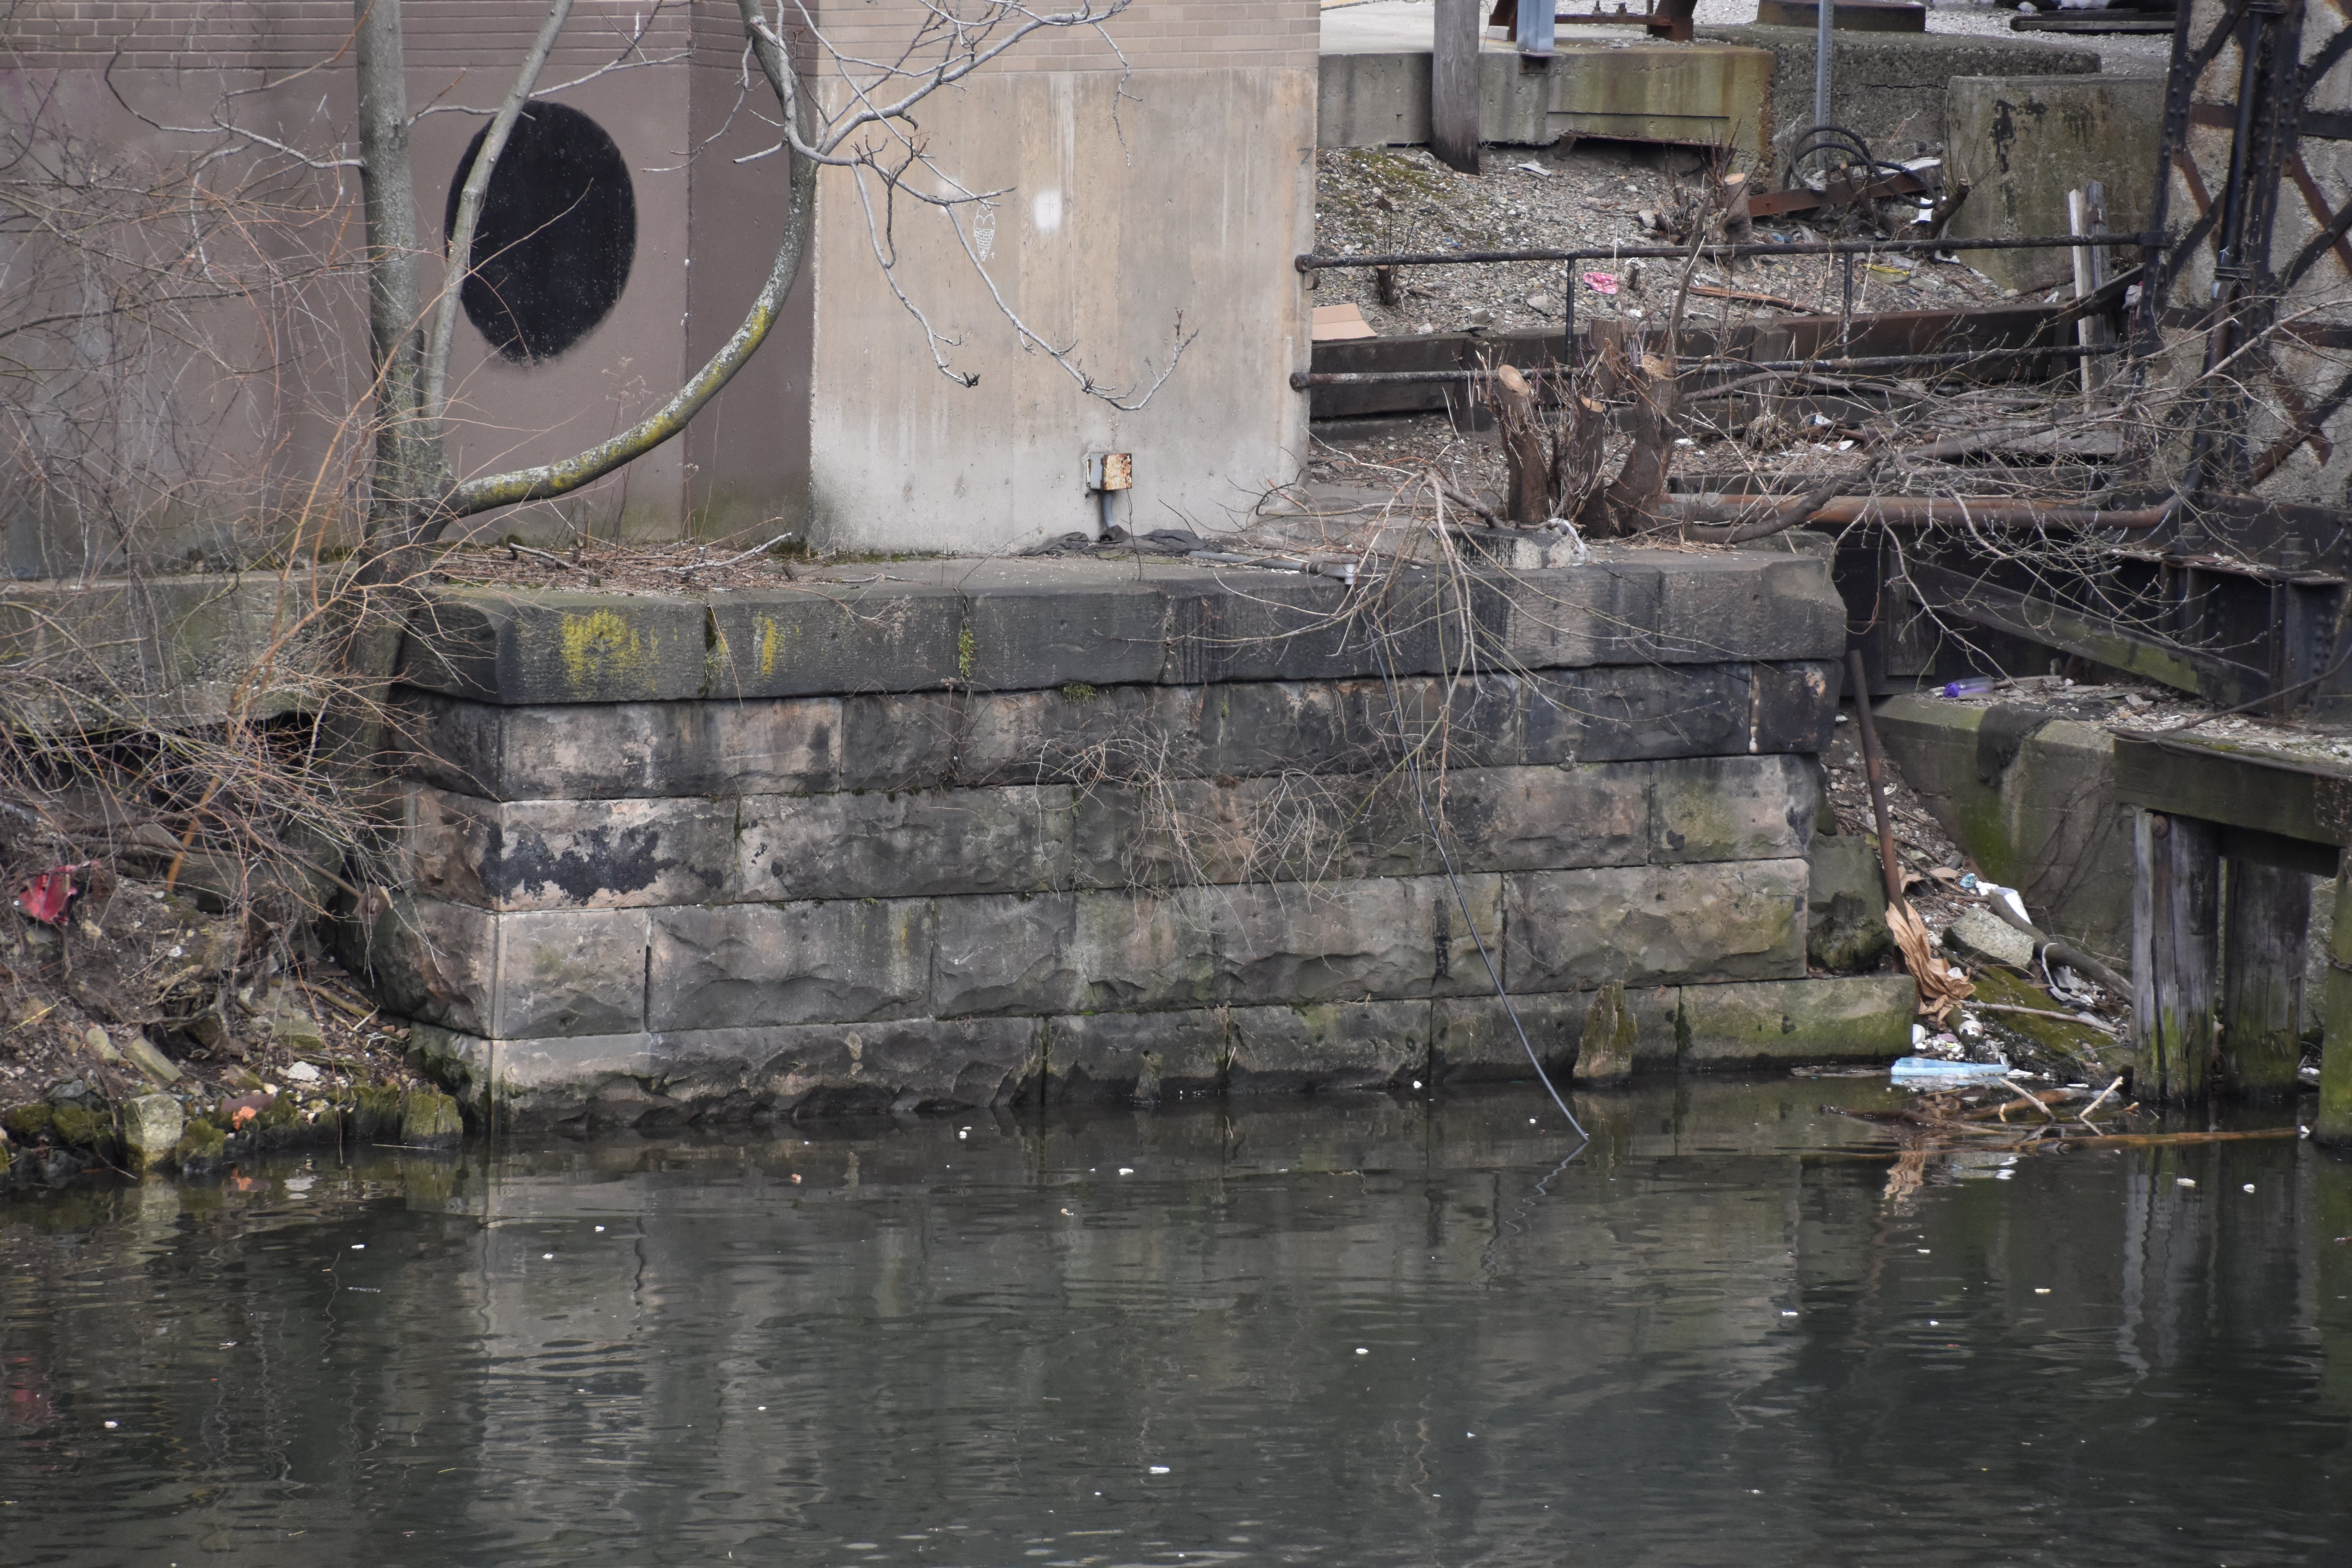


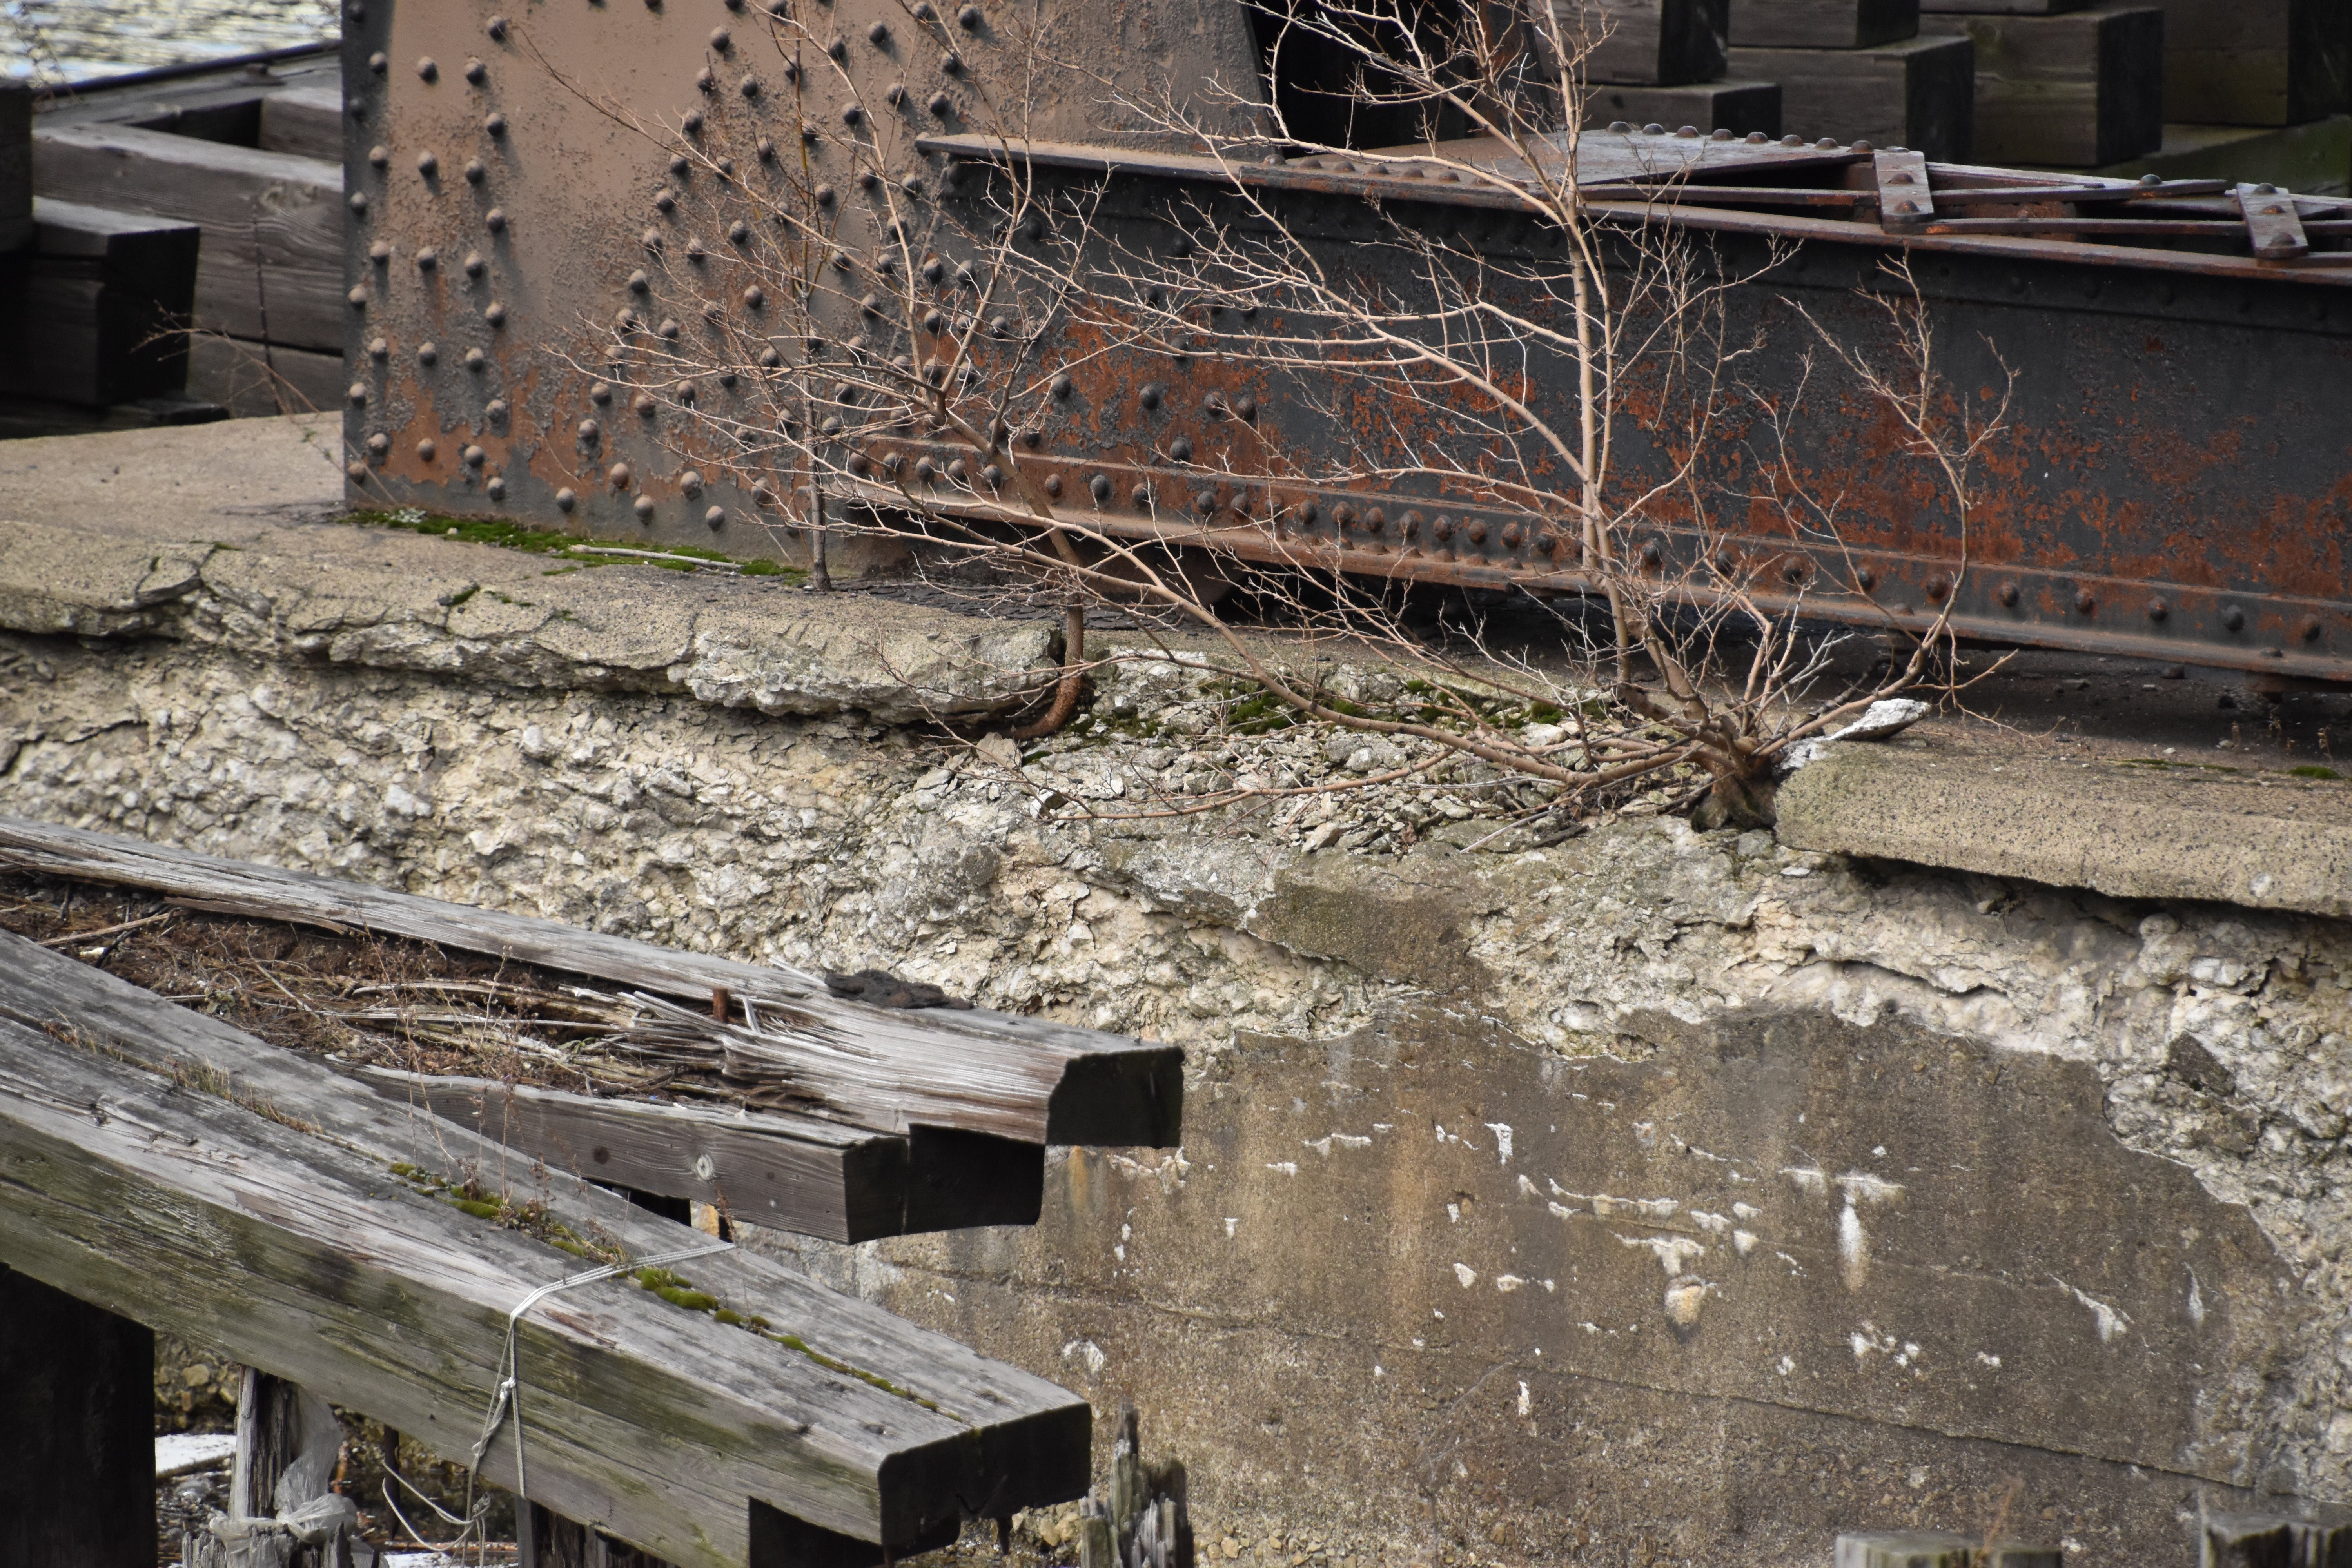
View showing stone abutment remains from previous bridge, located at east bank immediately north of the existing bridge.
![]()

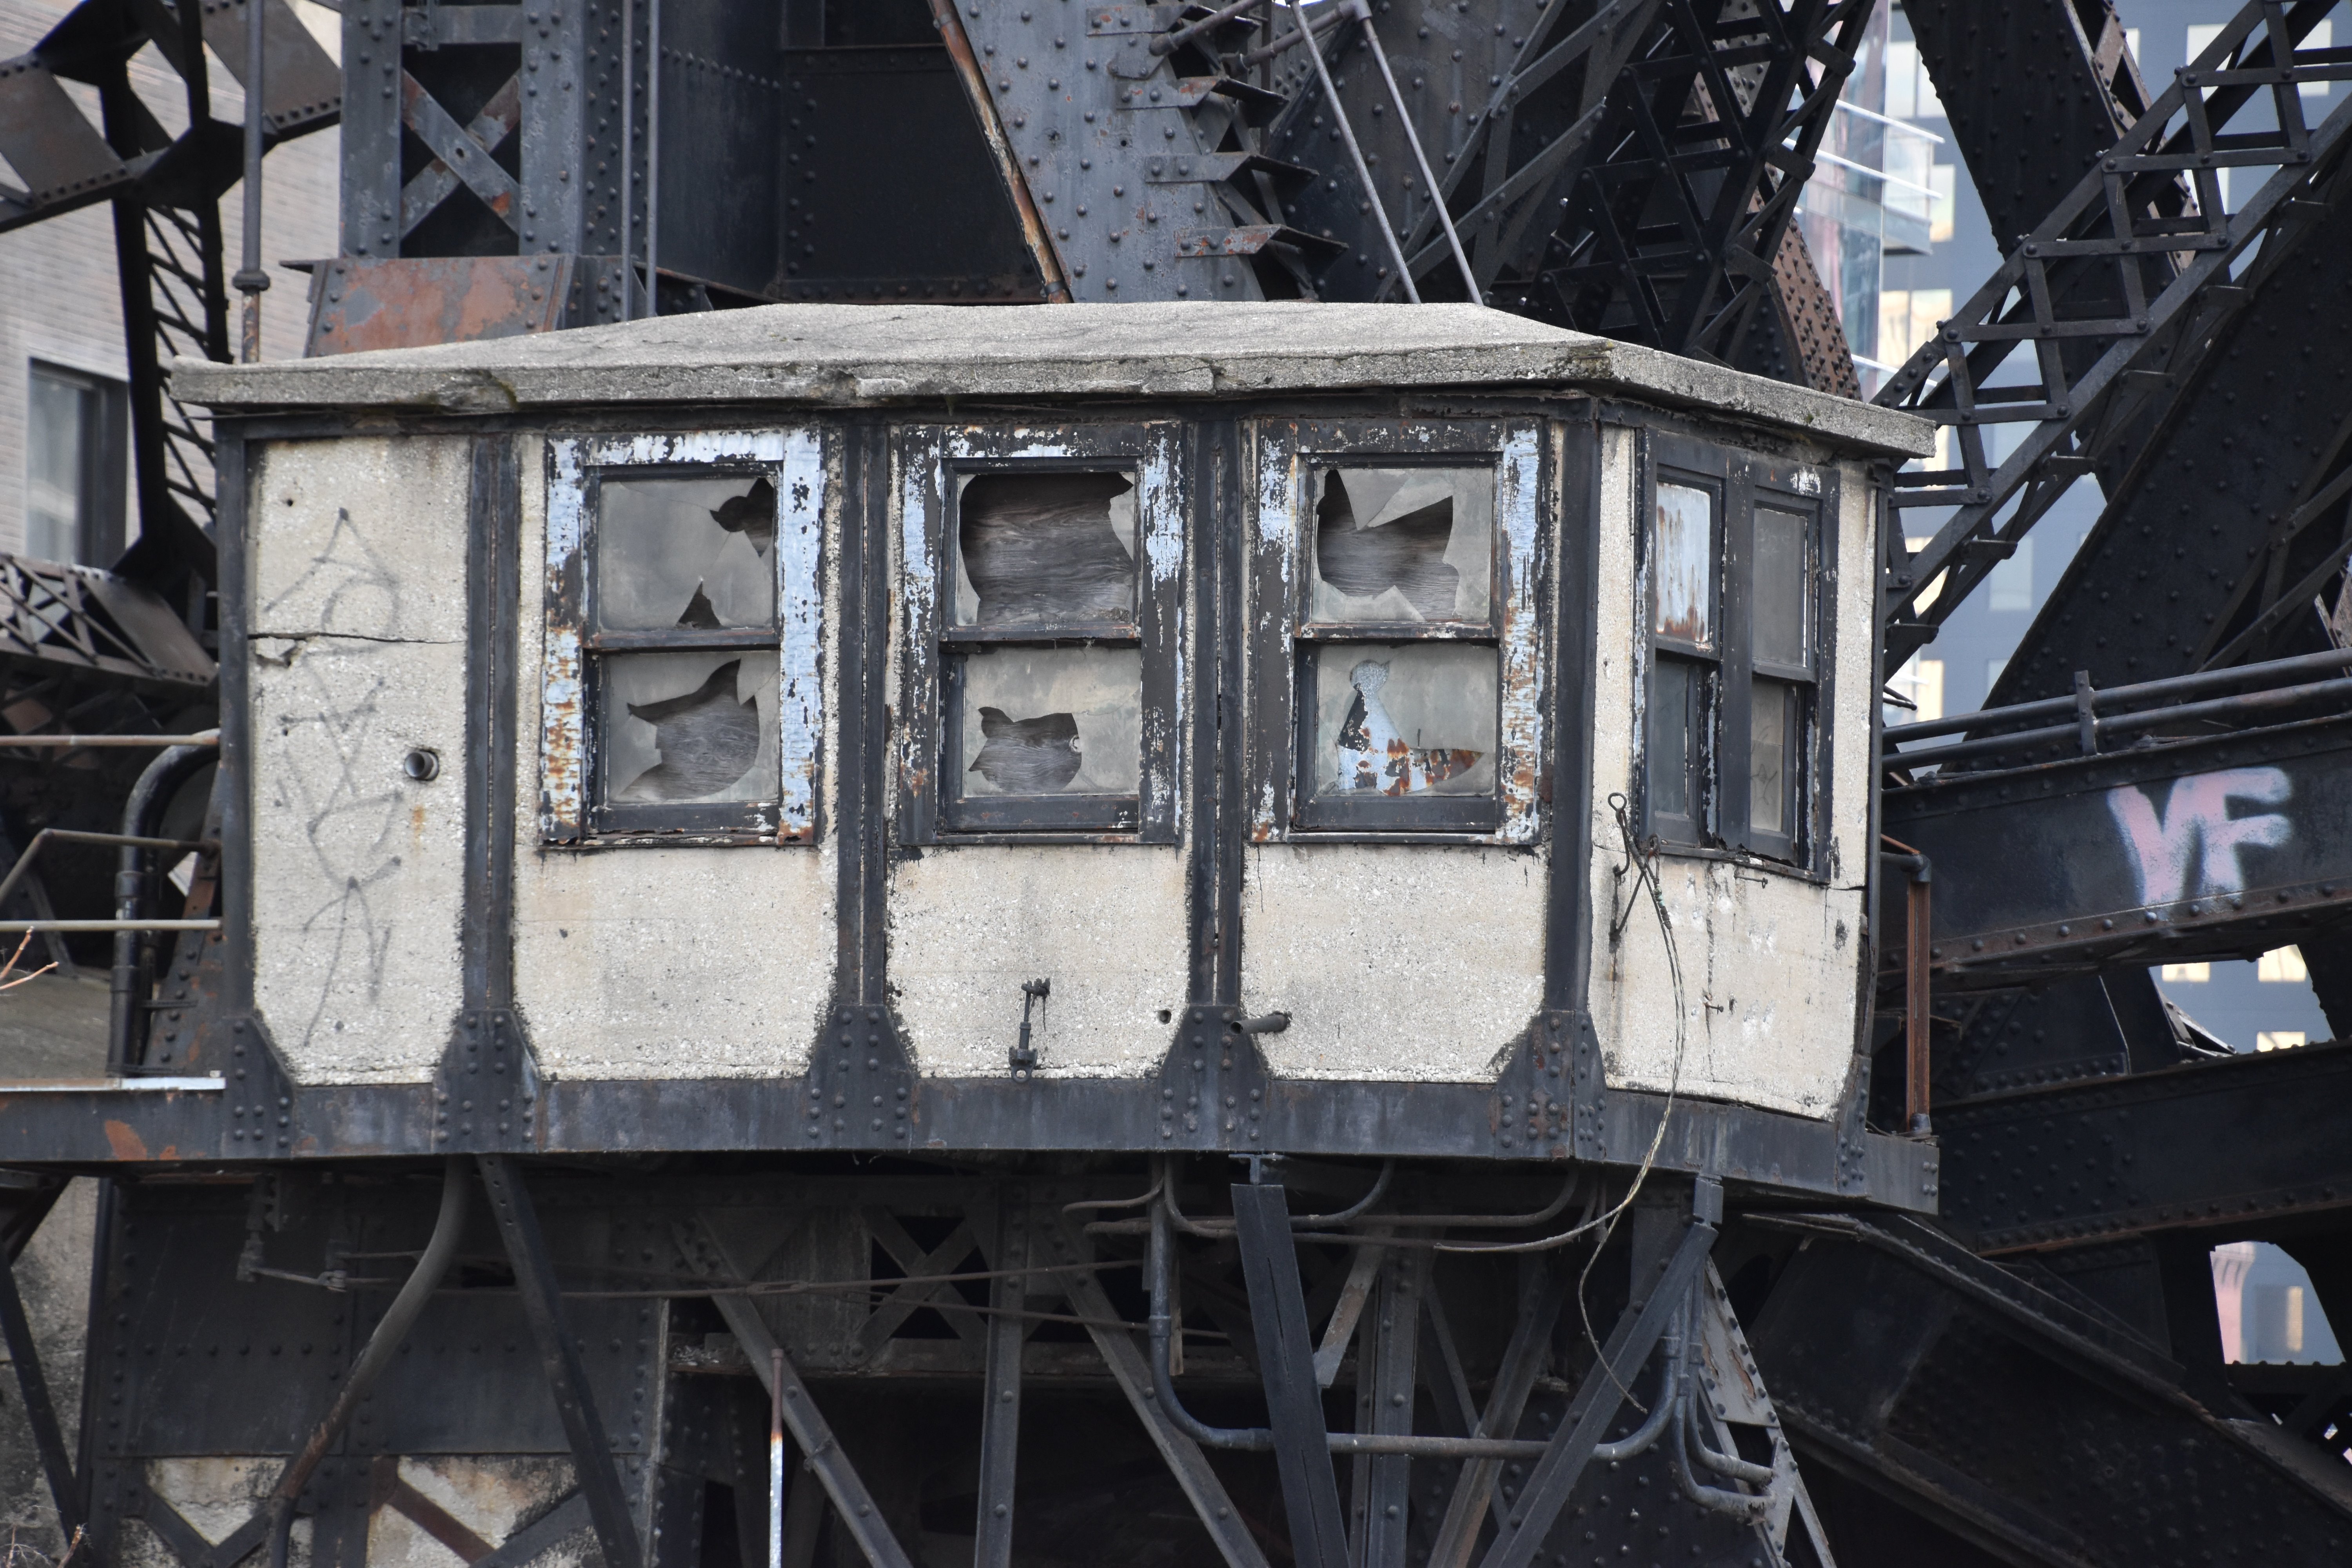

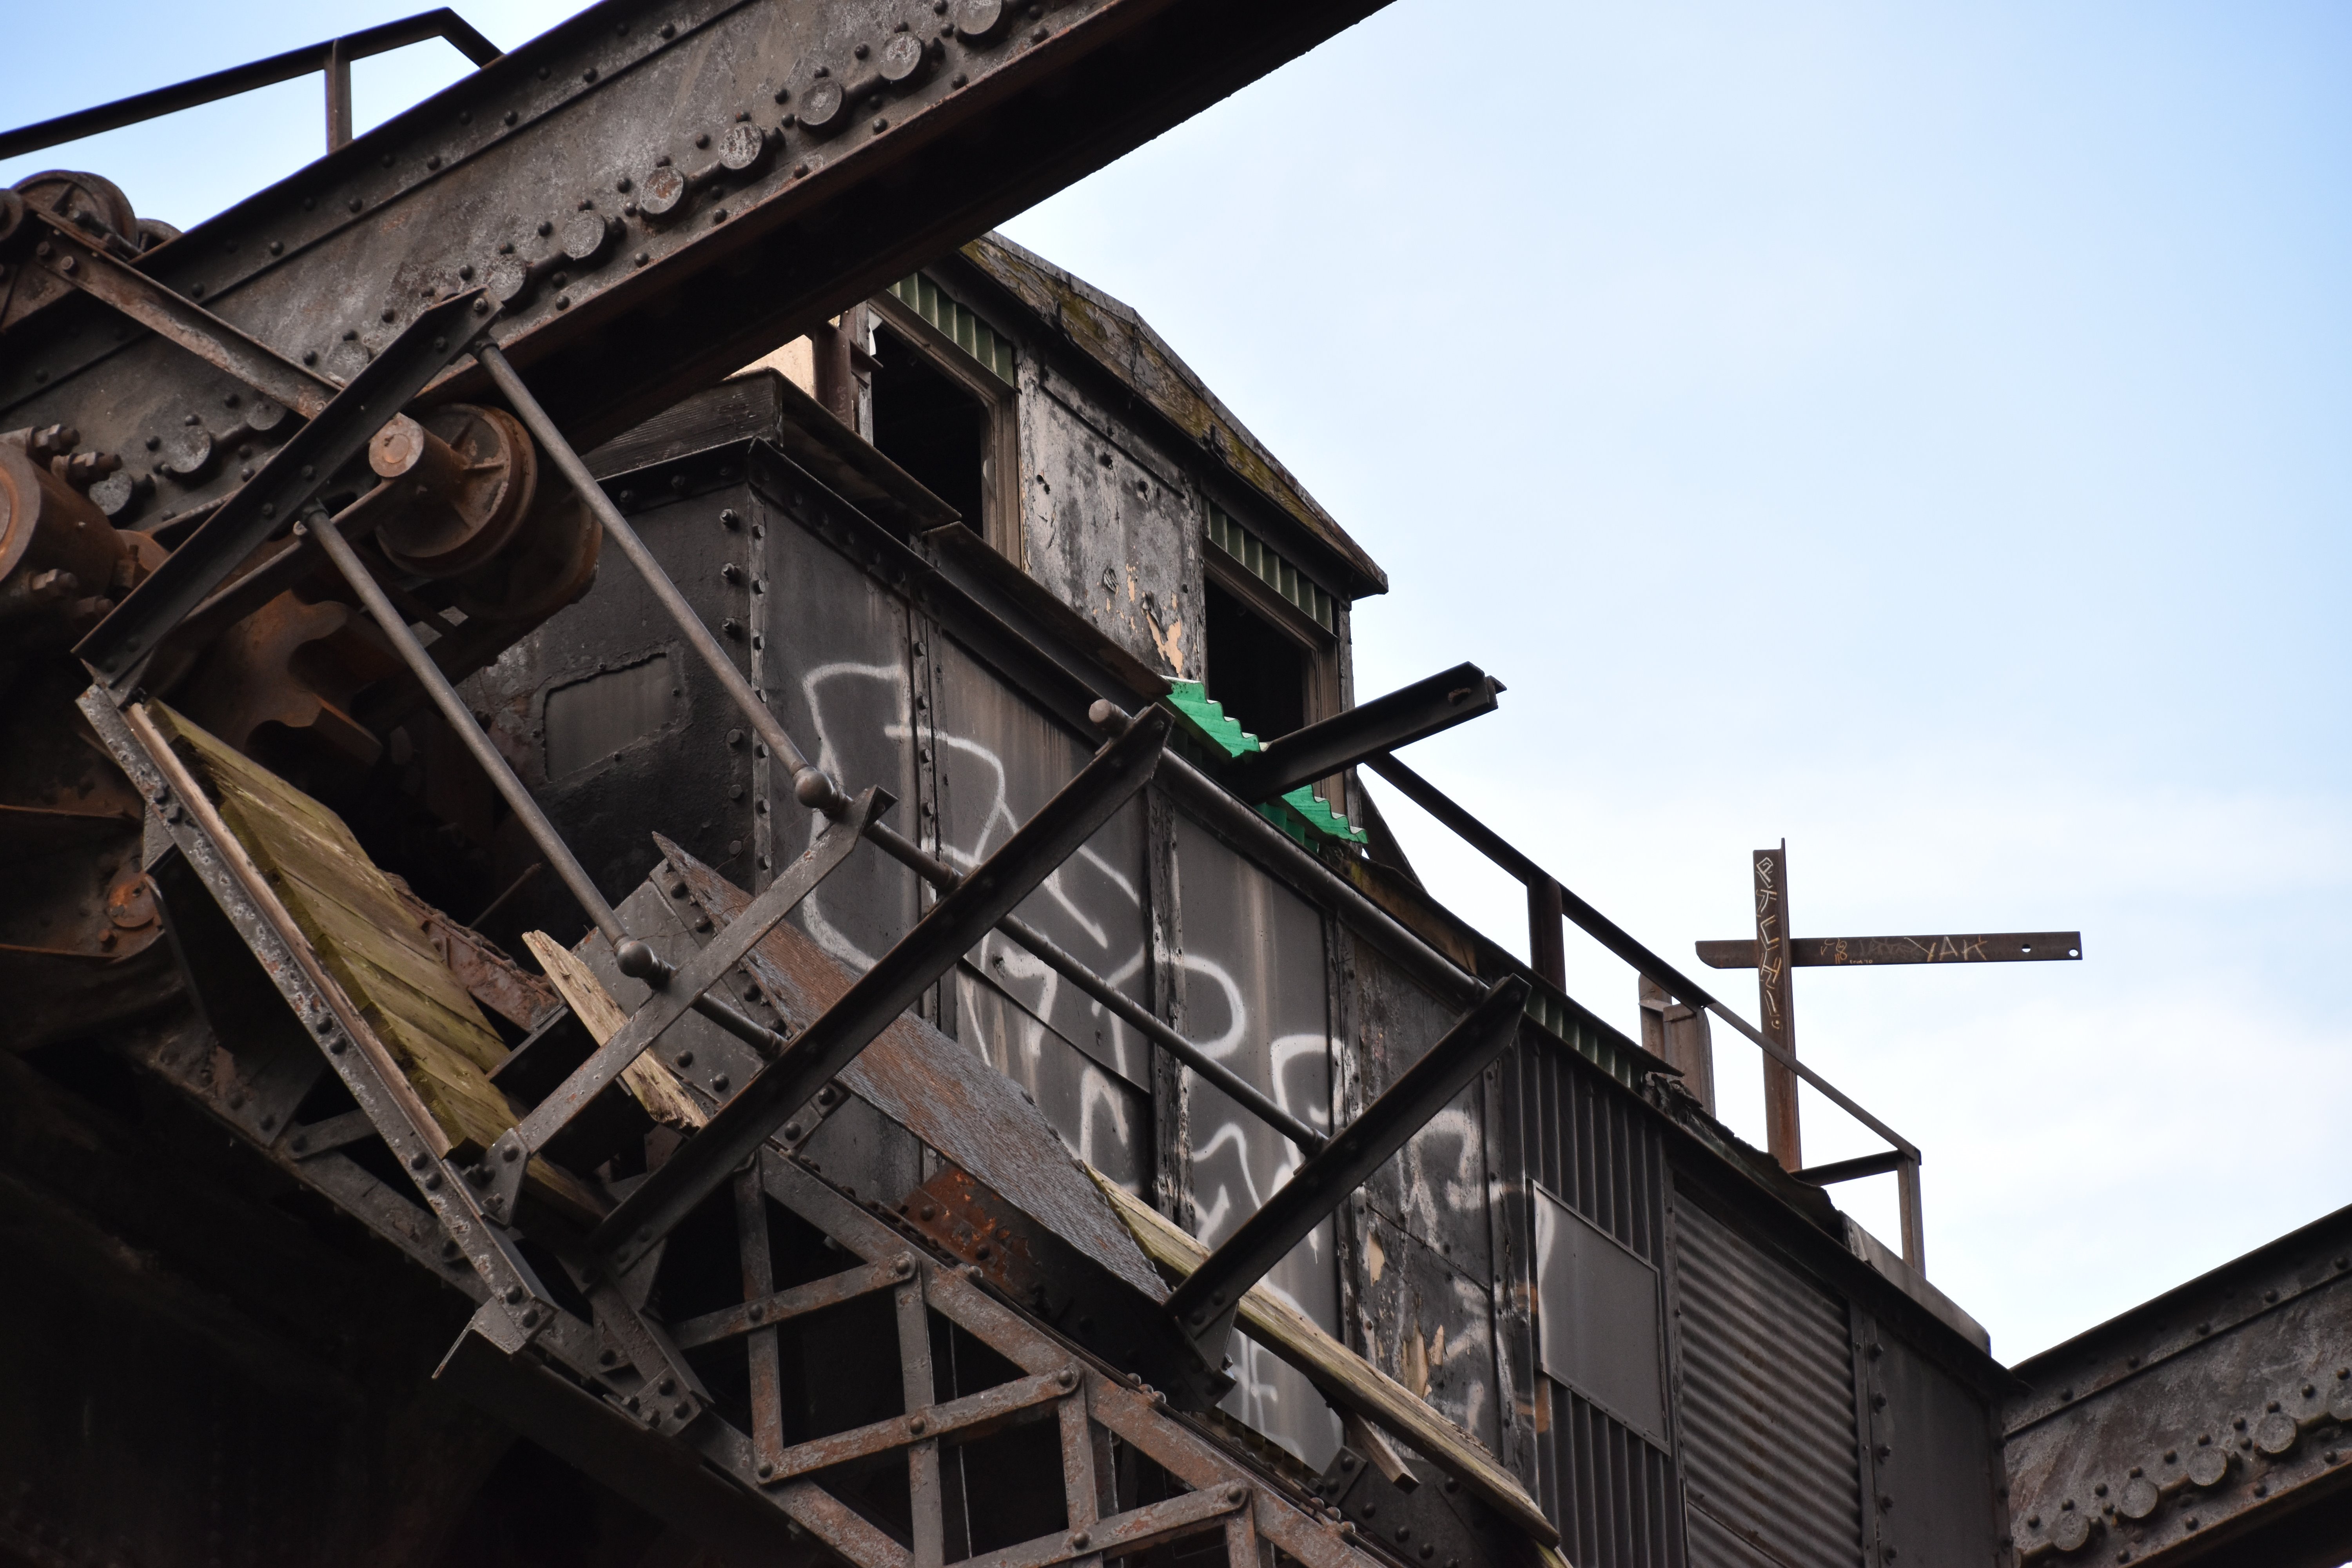
Bridgetender house.
![]()

Bridgetender house supports.
![]()


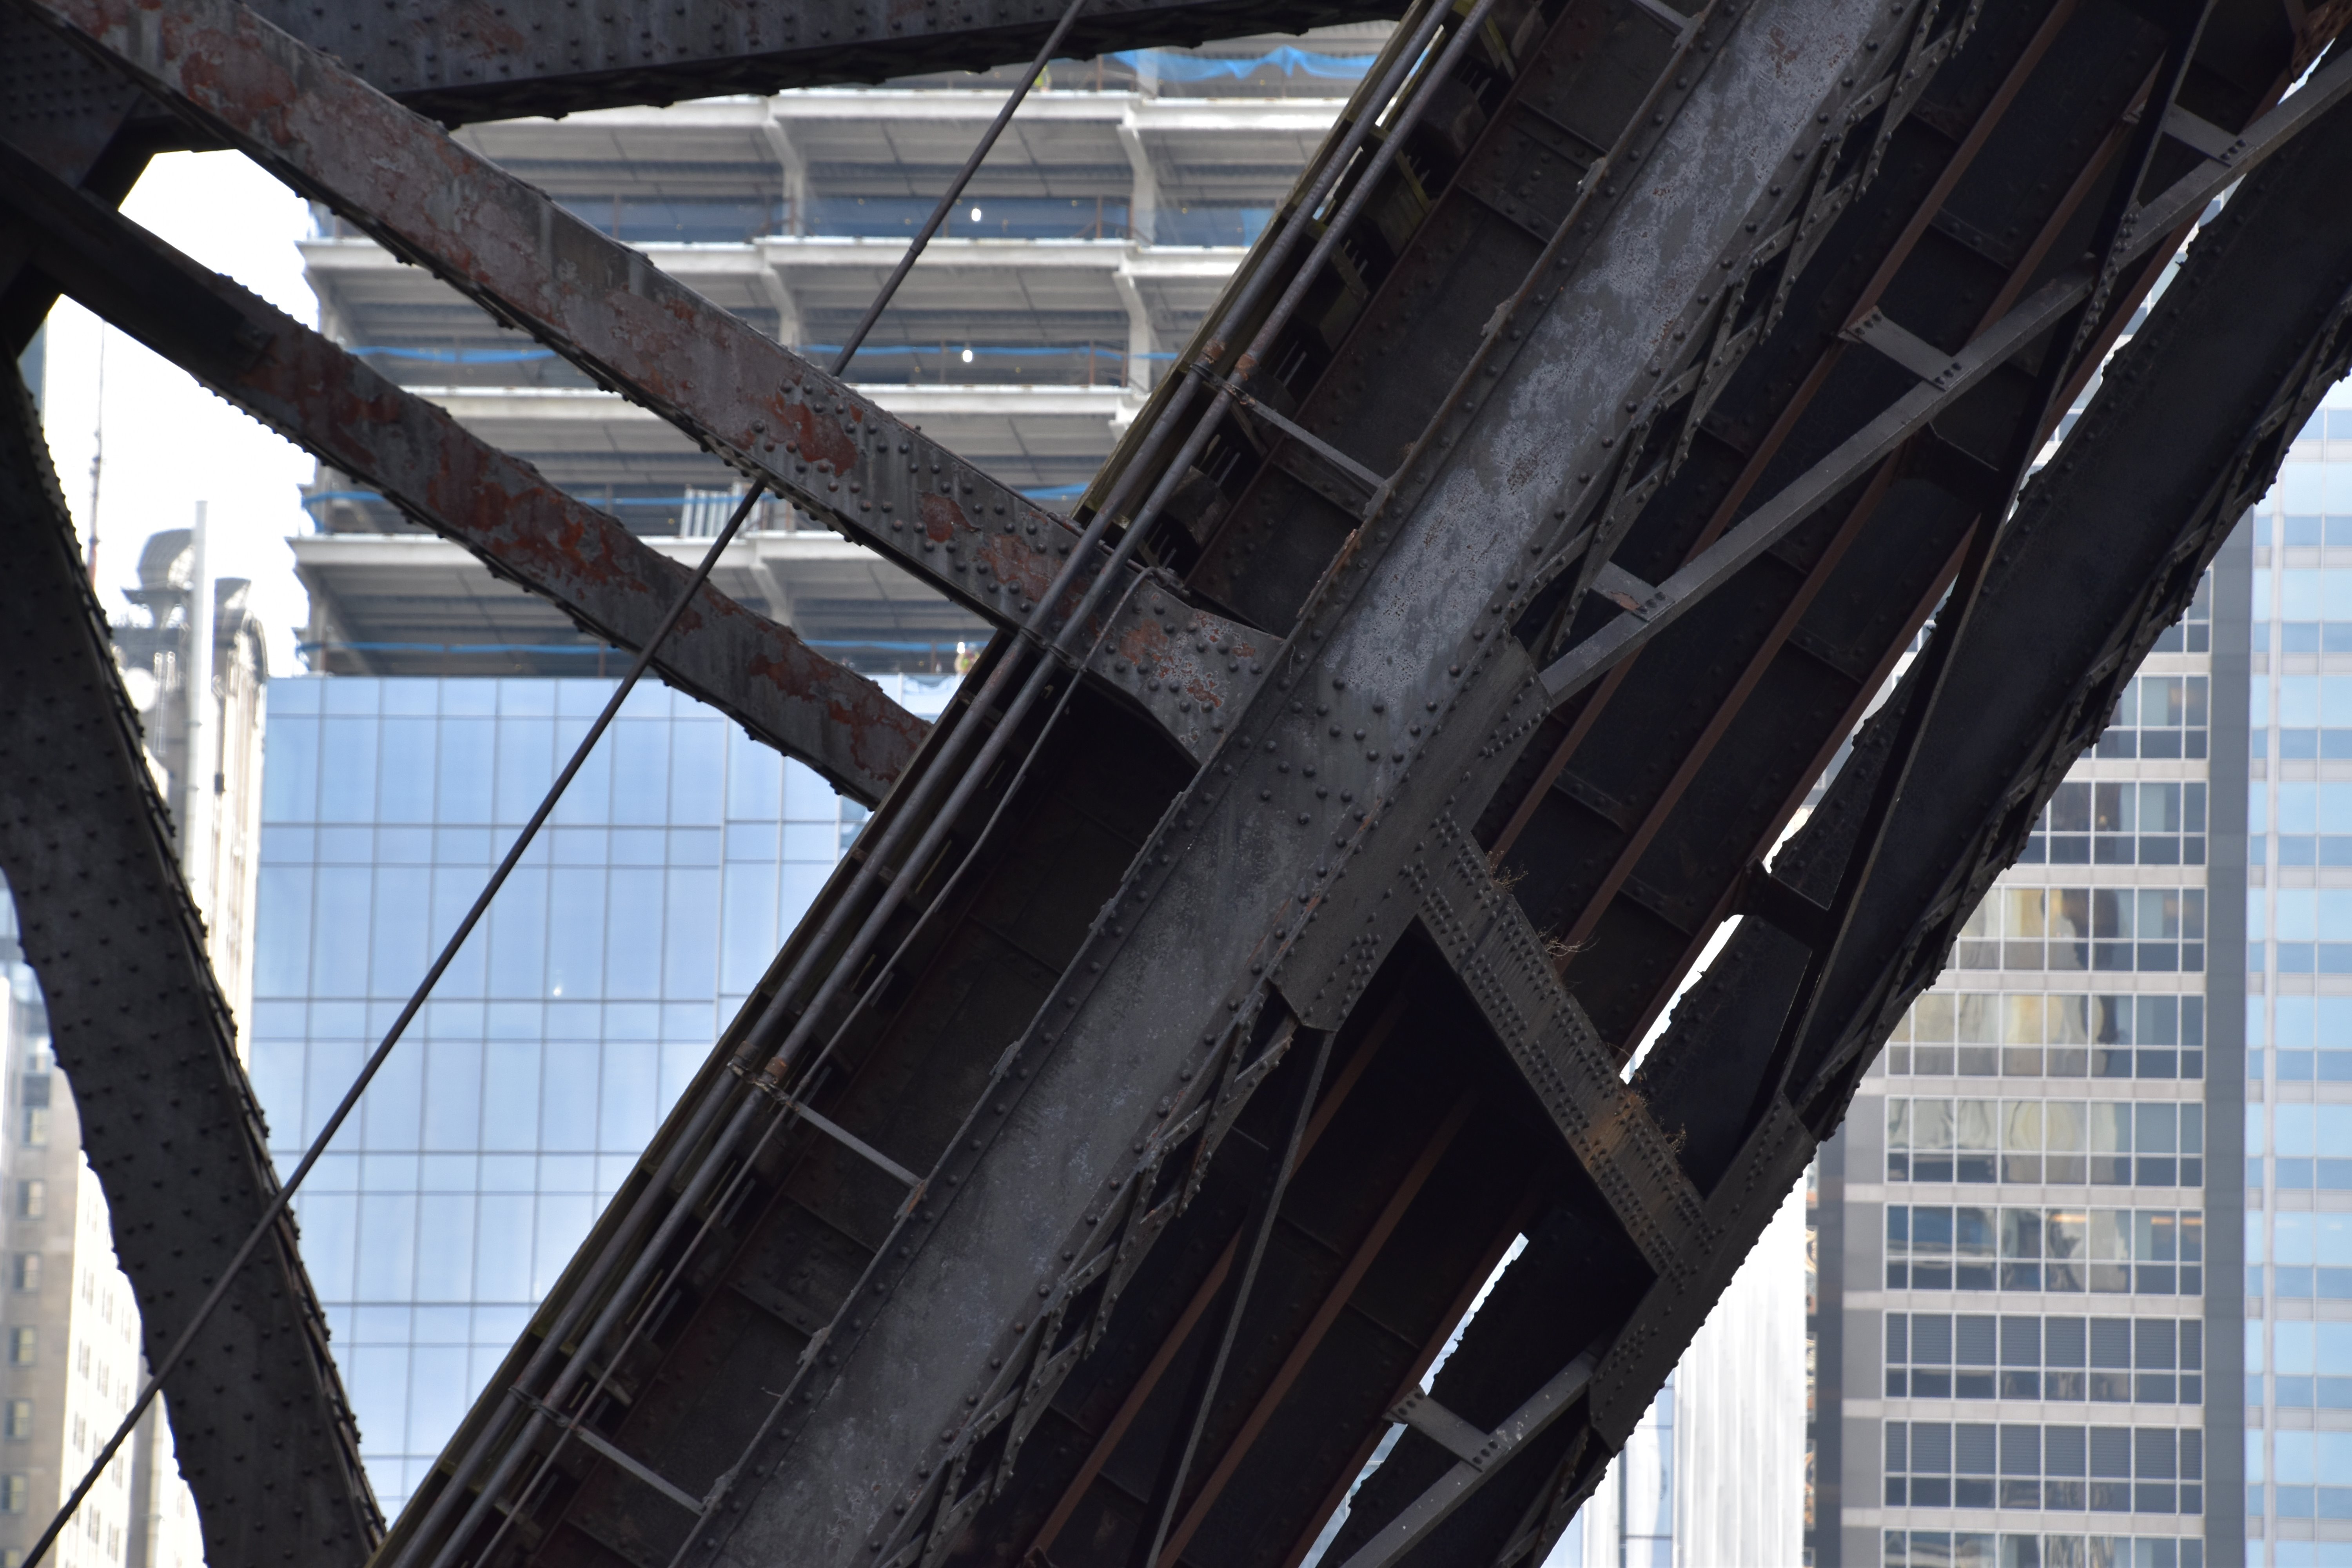
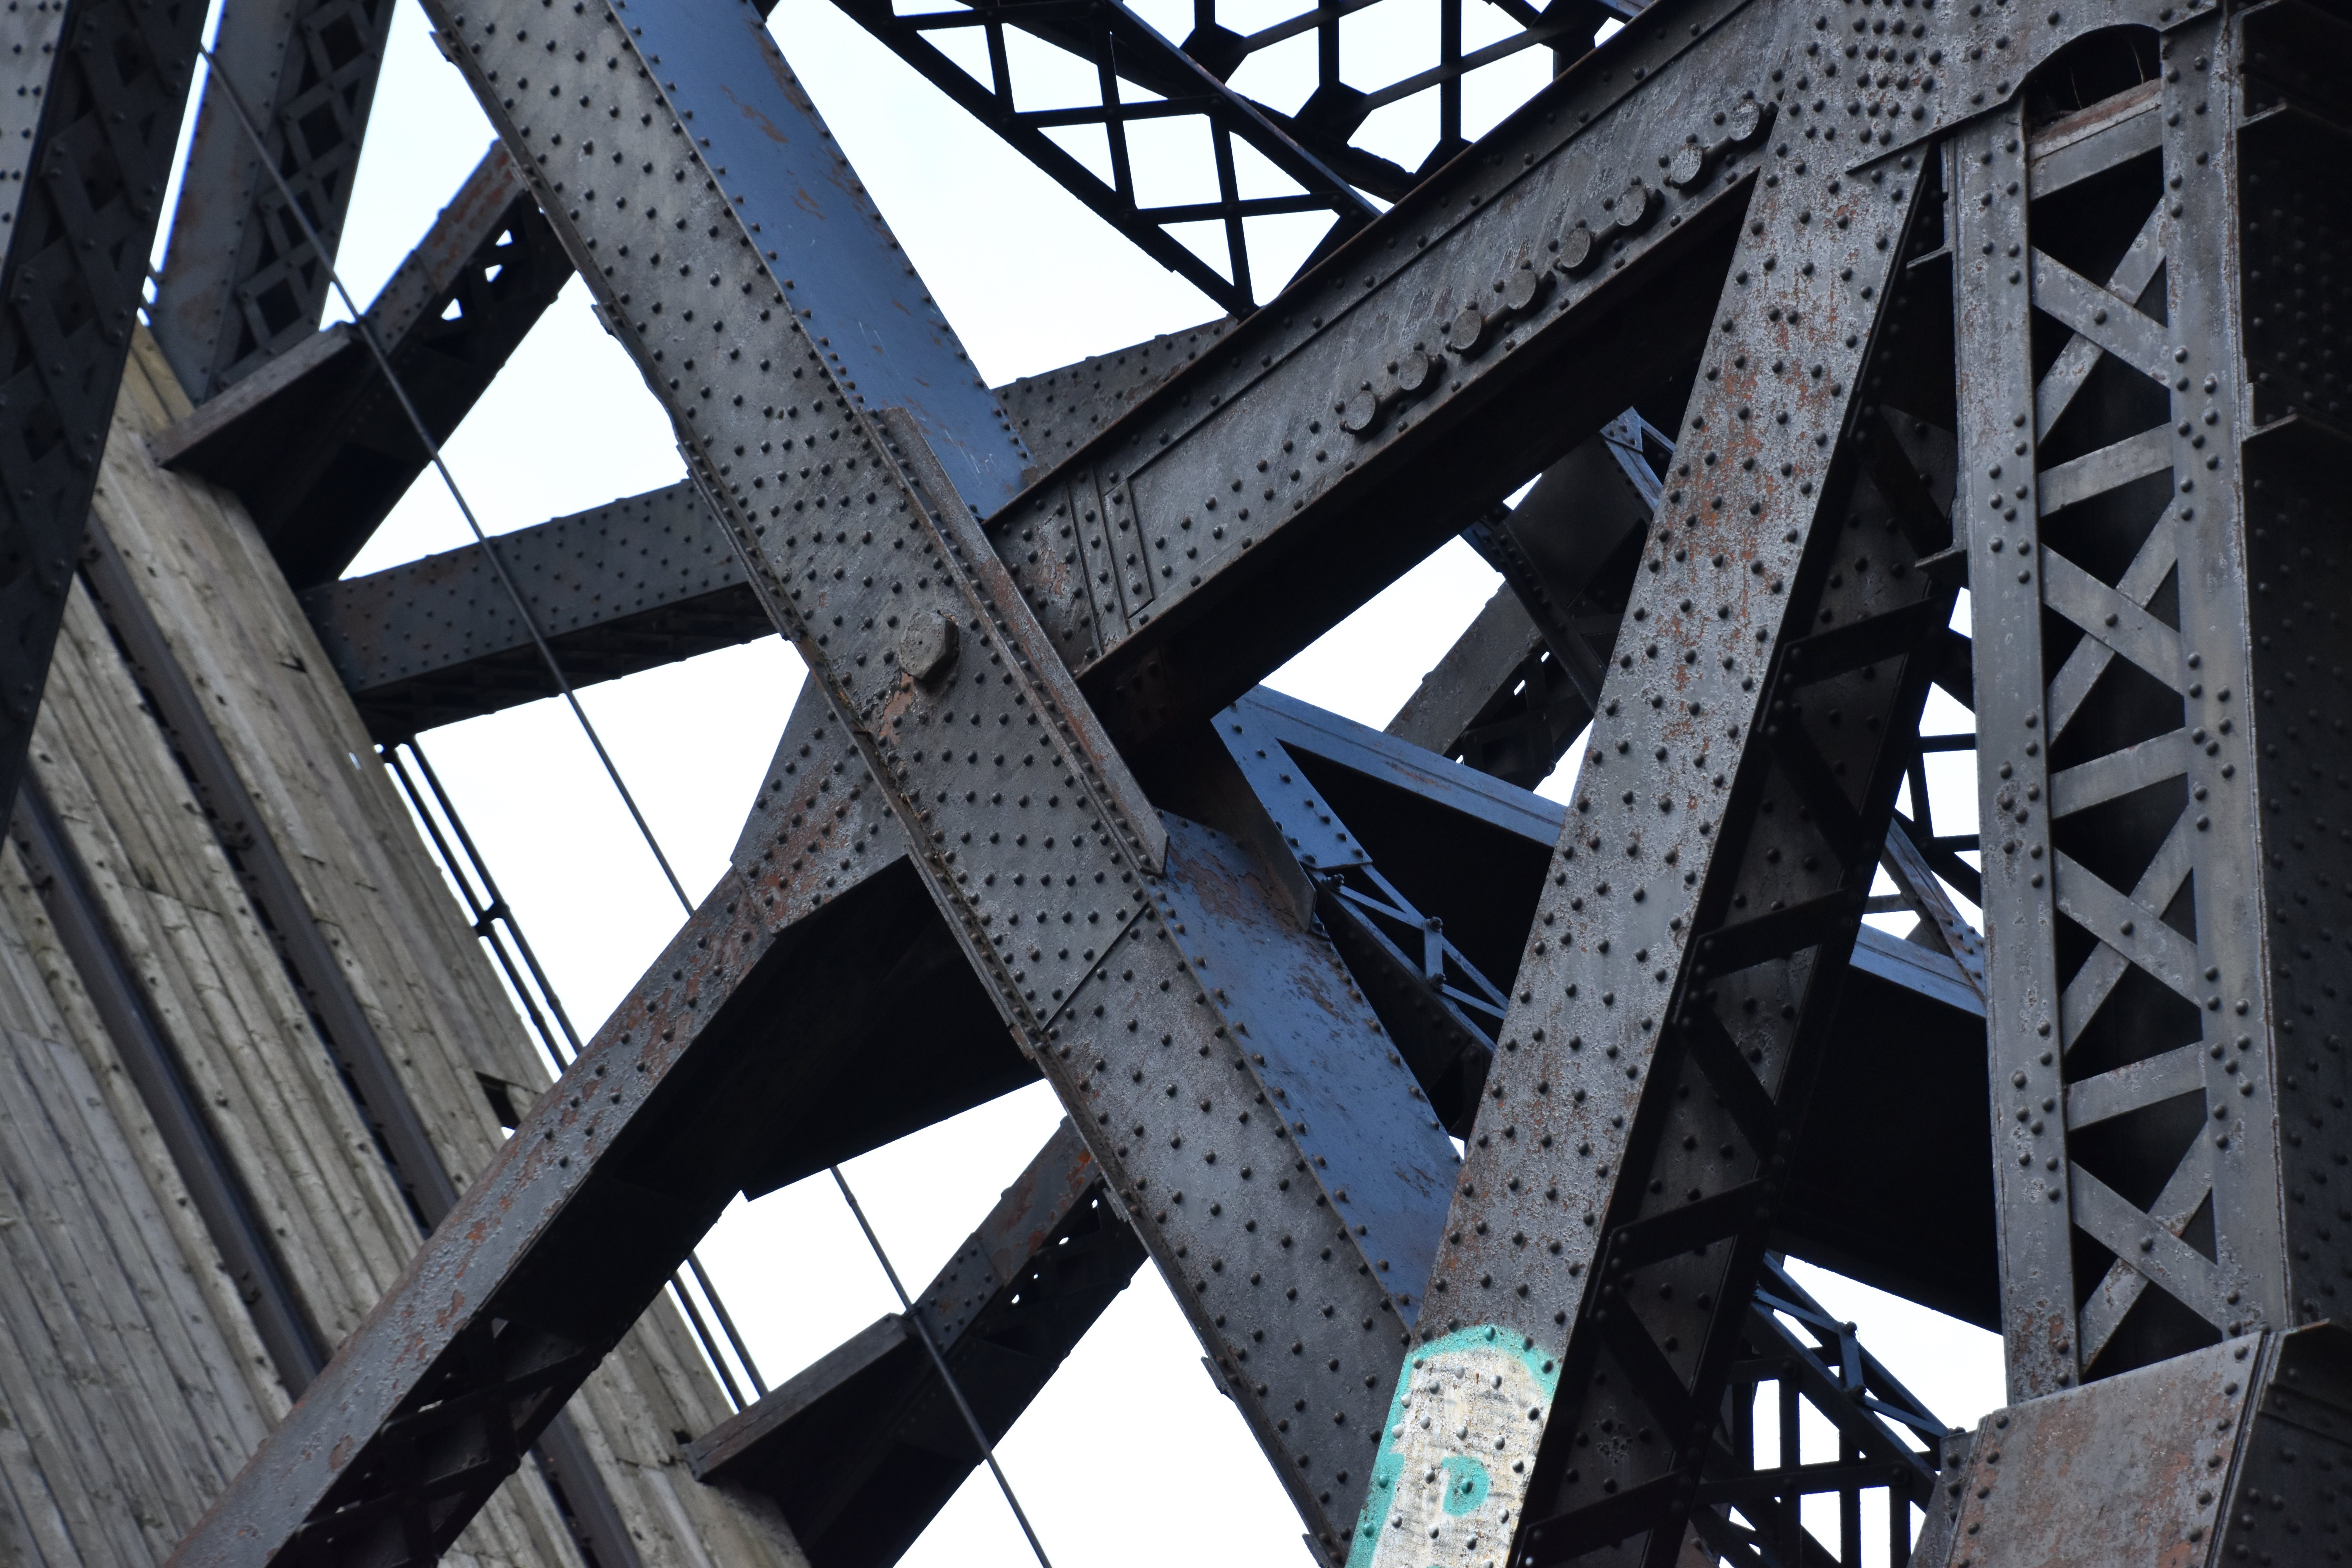
Top chord connections as viewed from on bridge.
![]()
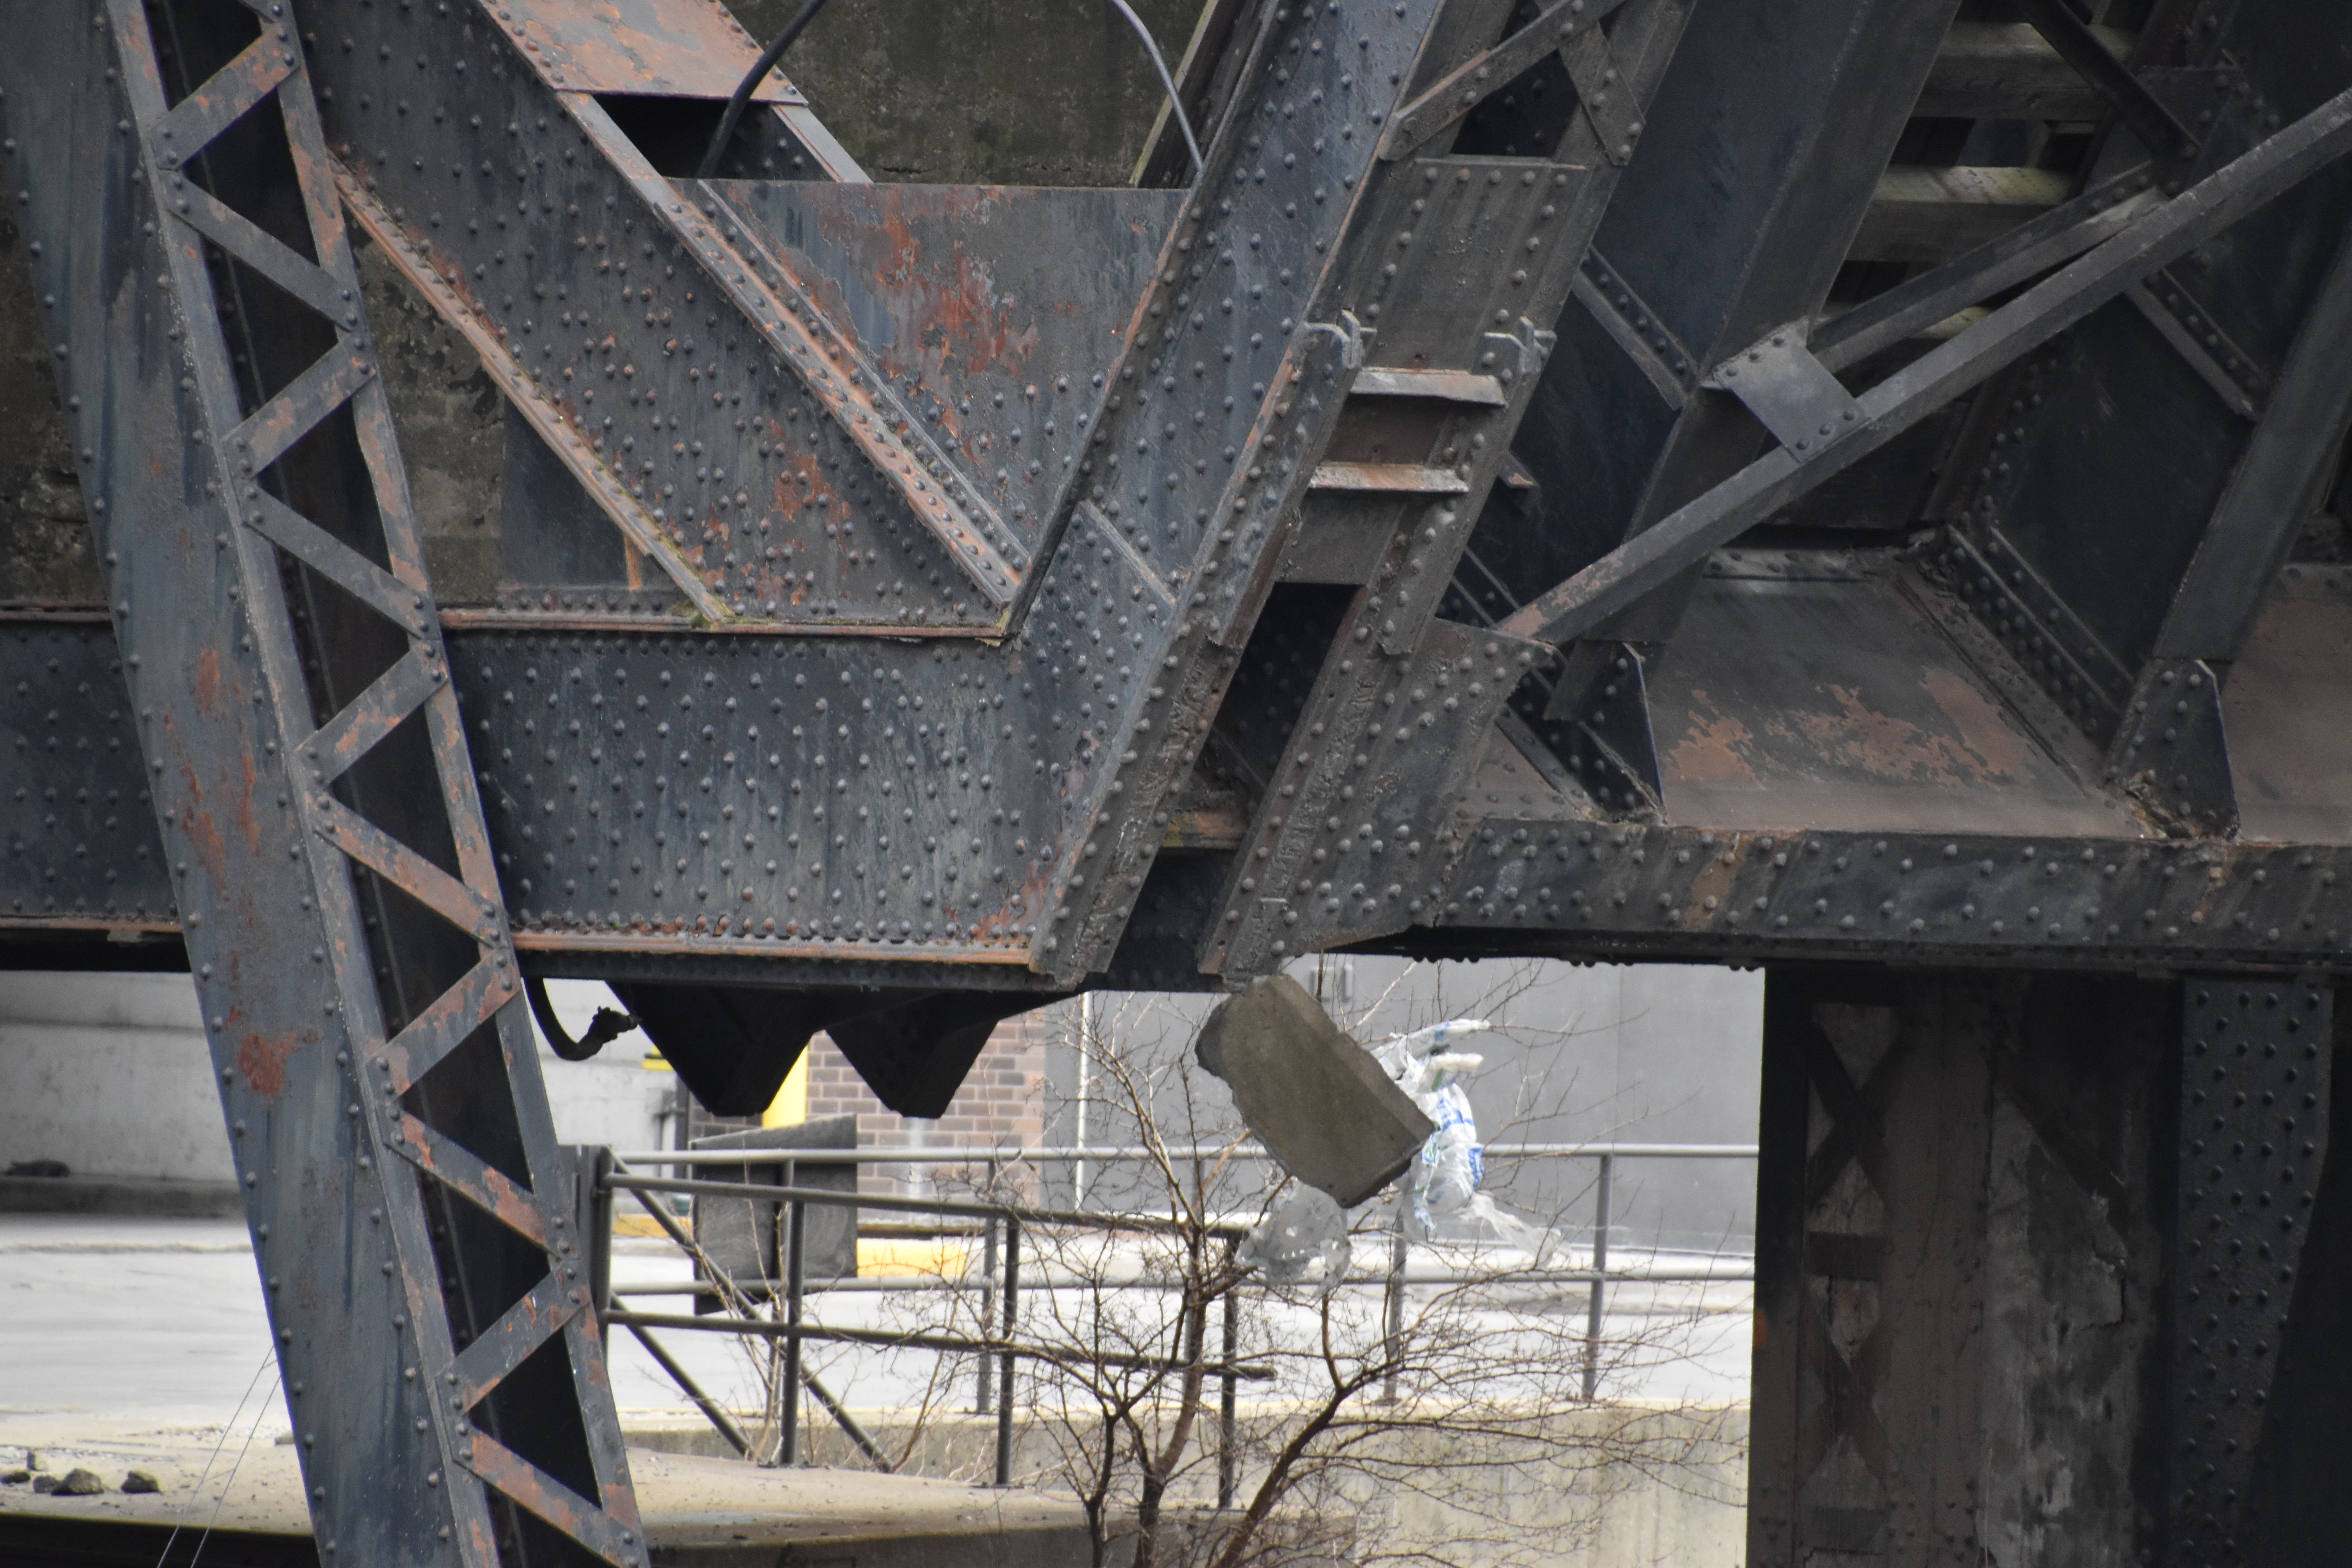
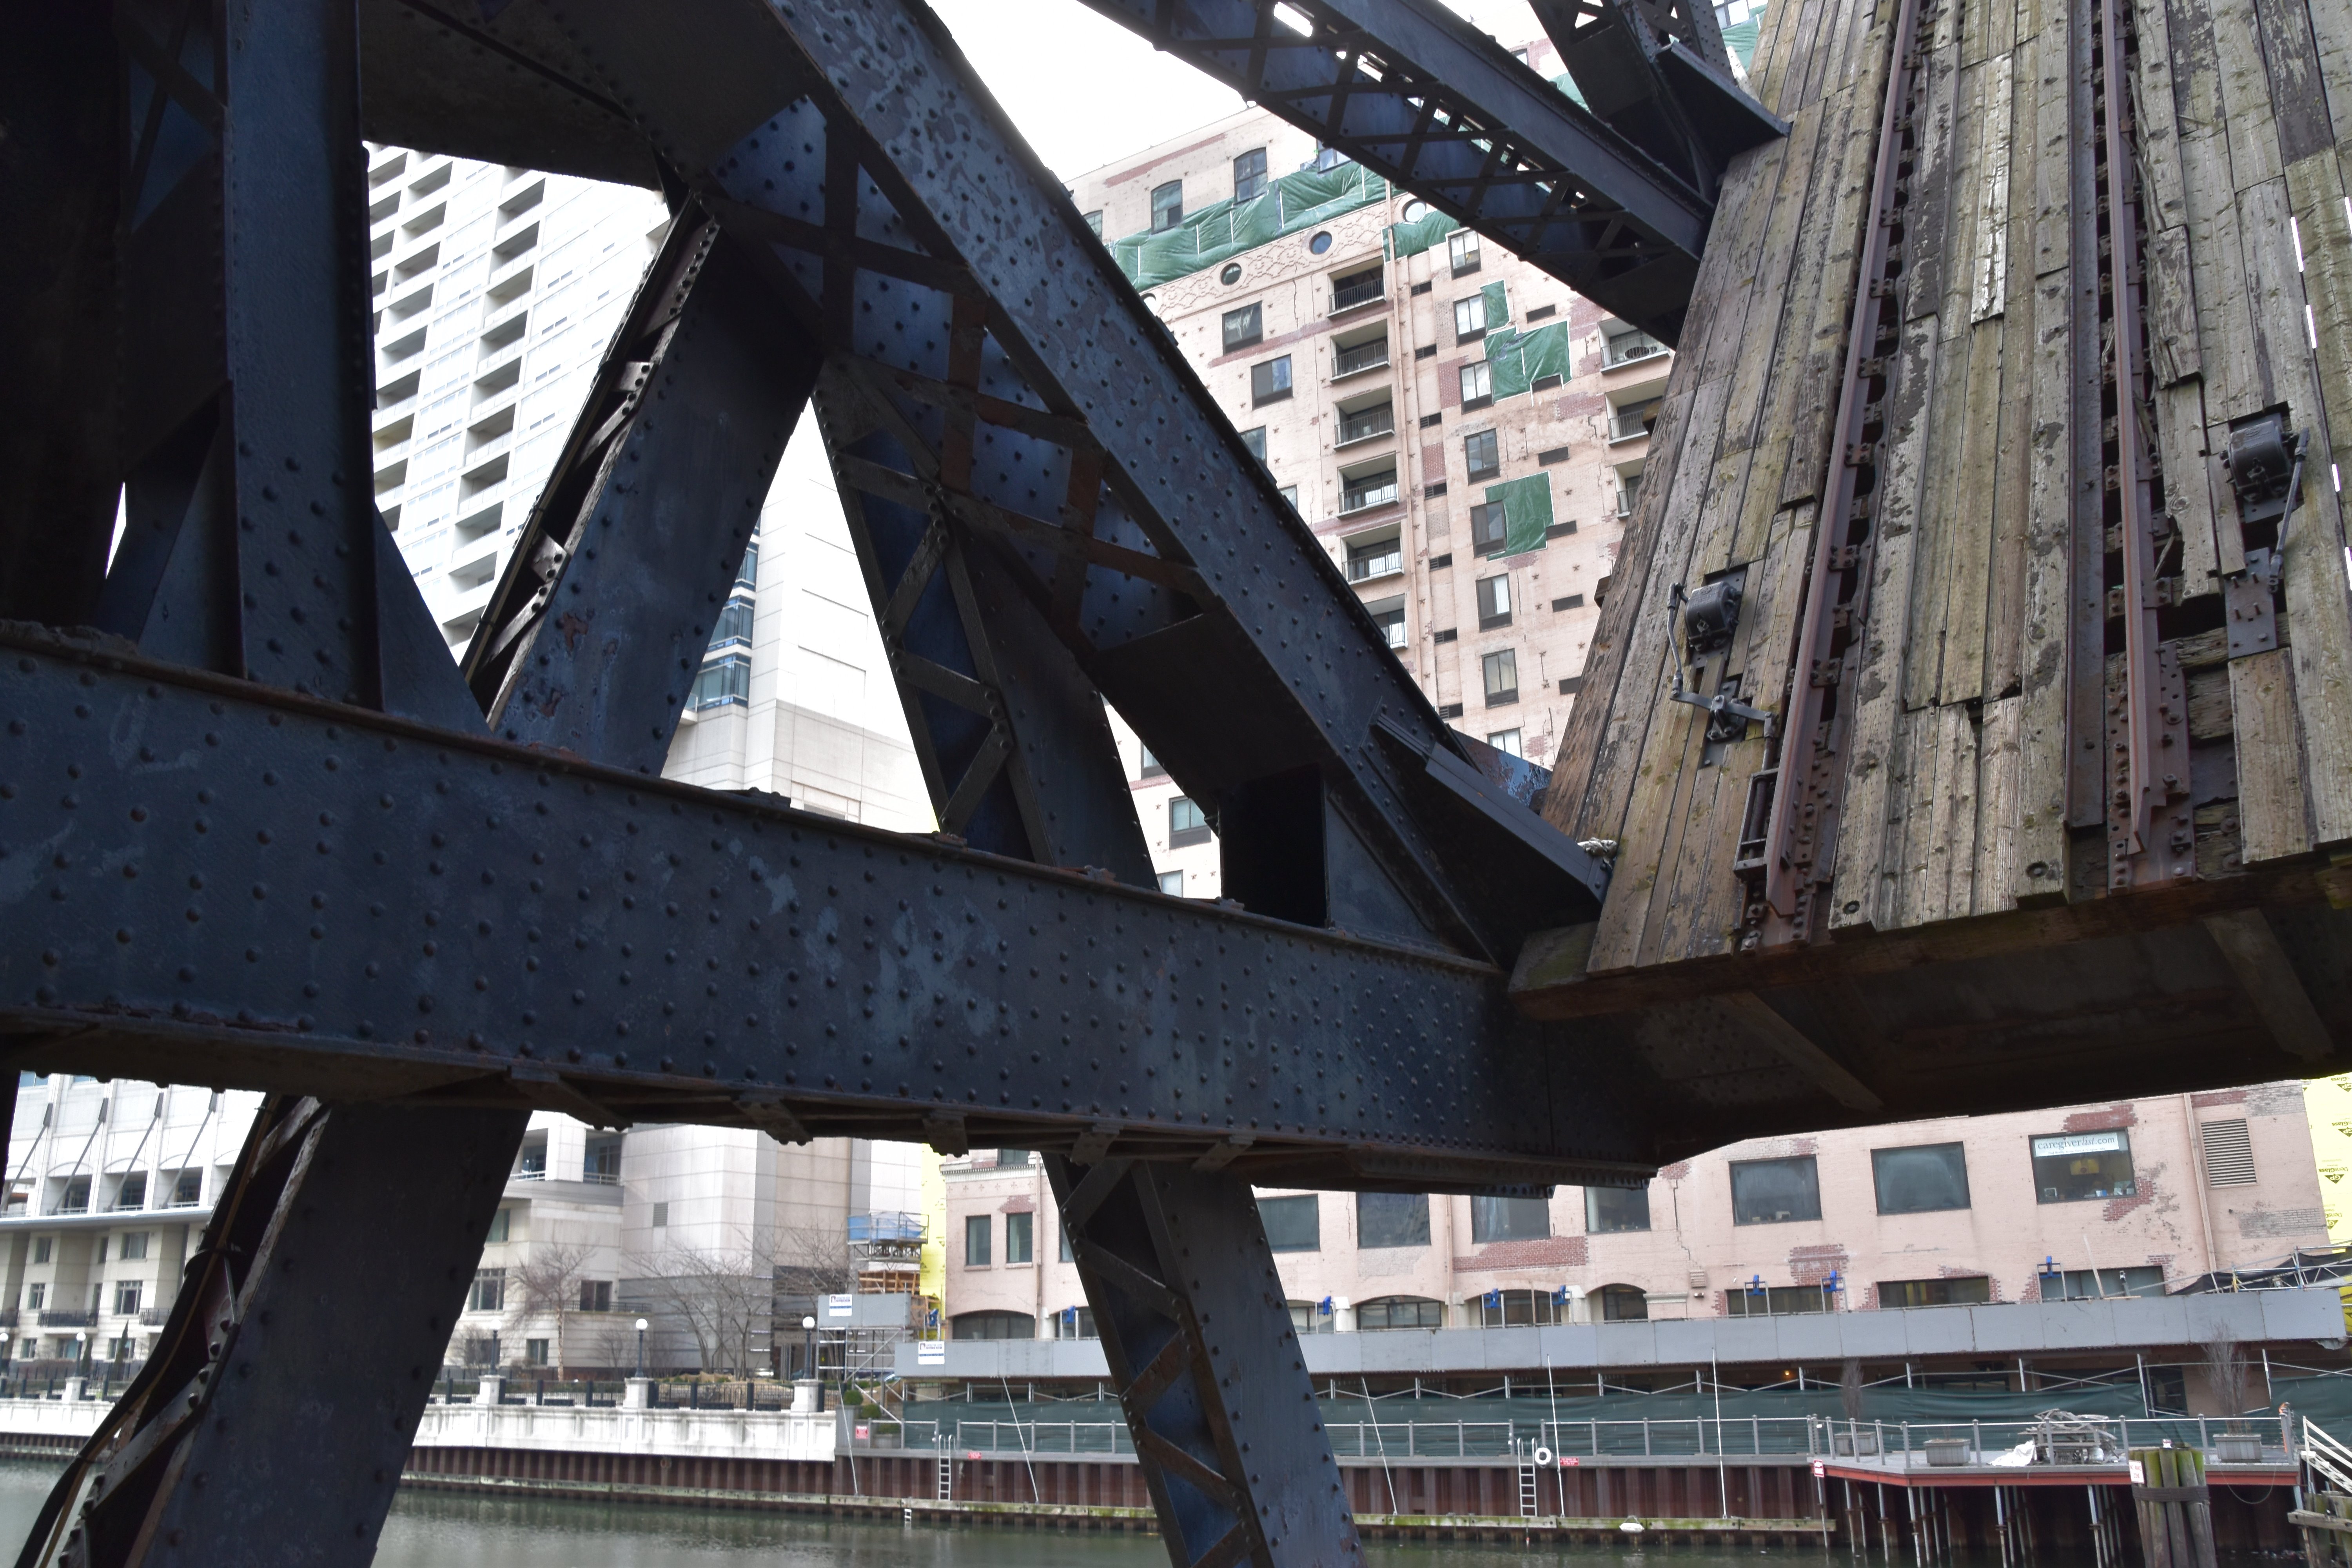
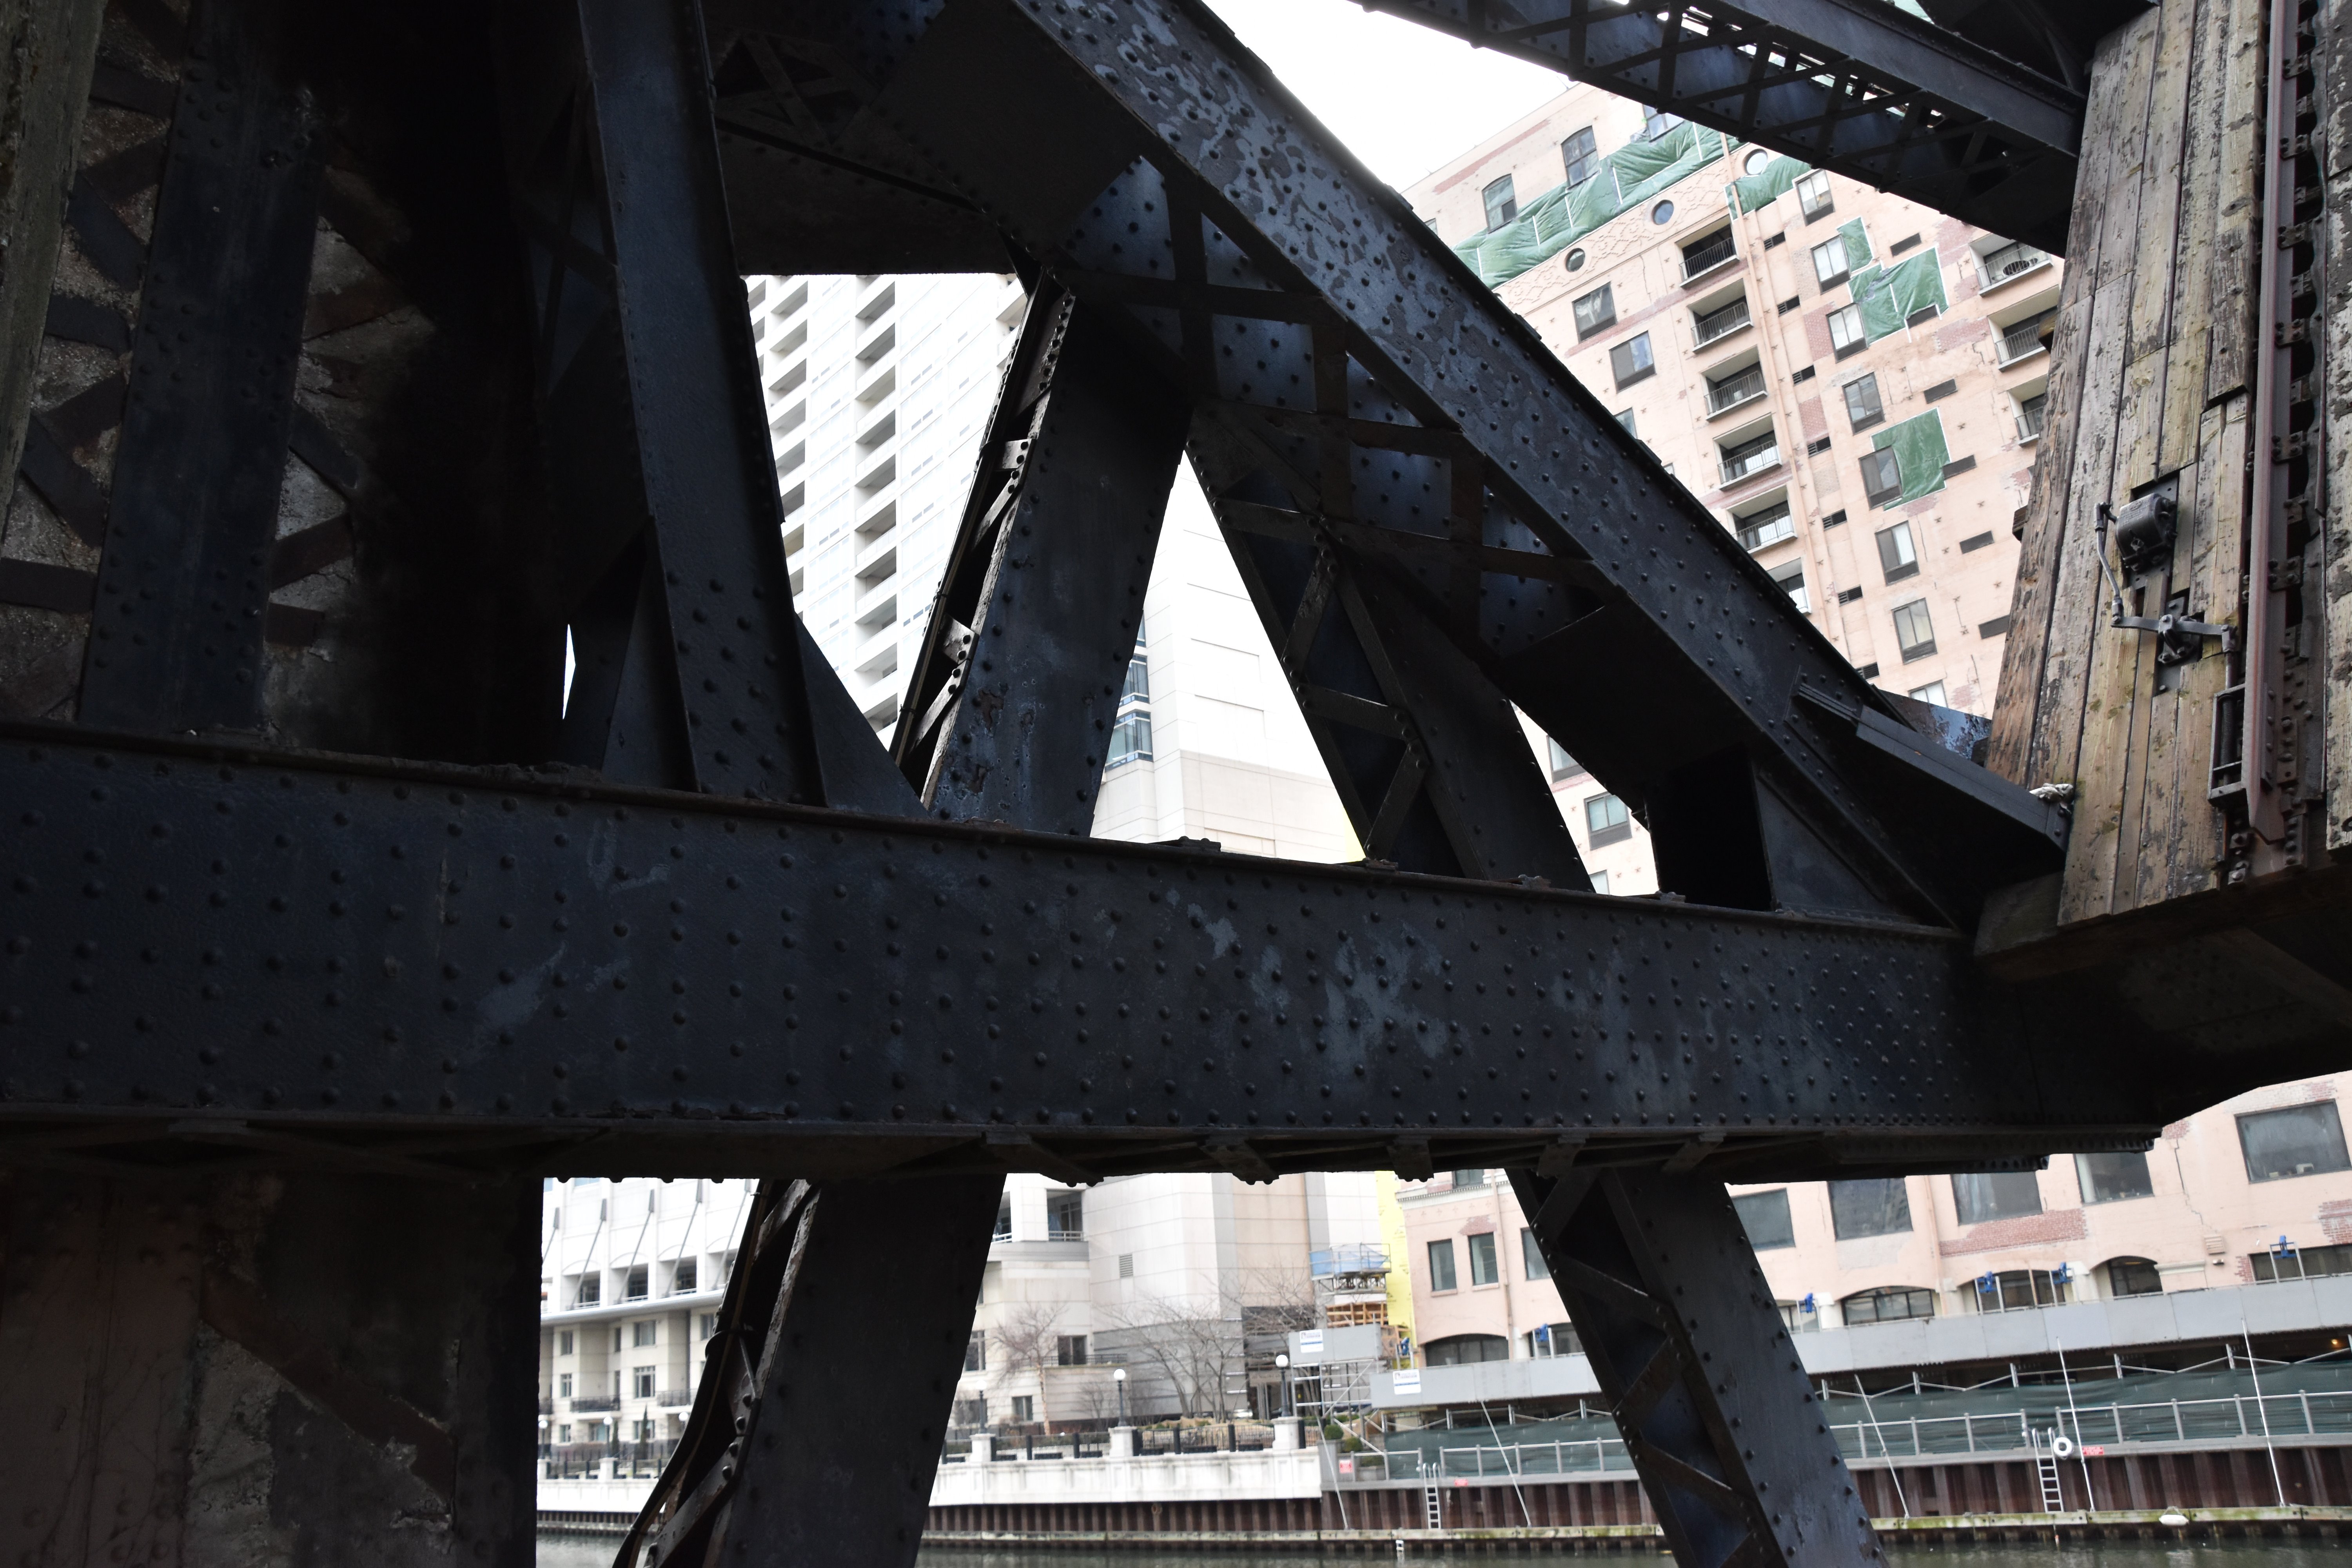
Bottom chord connections as viewed from beside bridge.
![]()

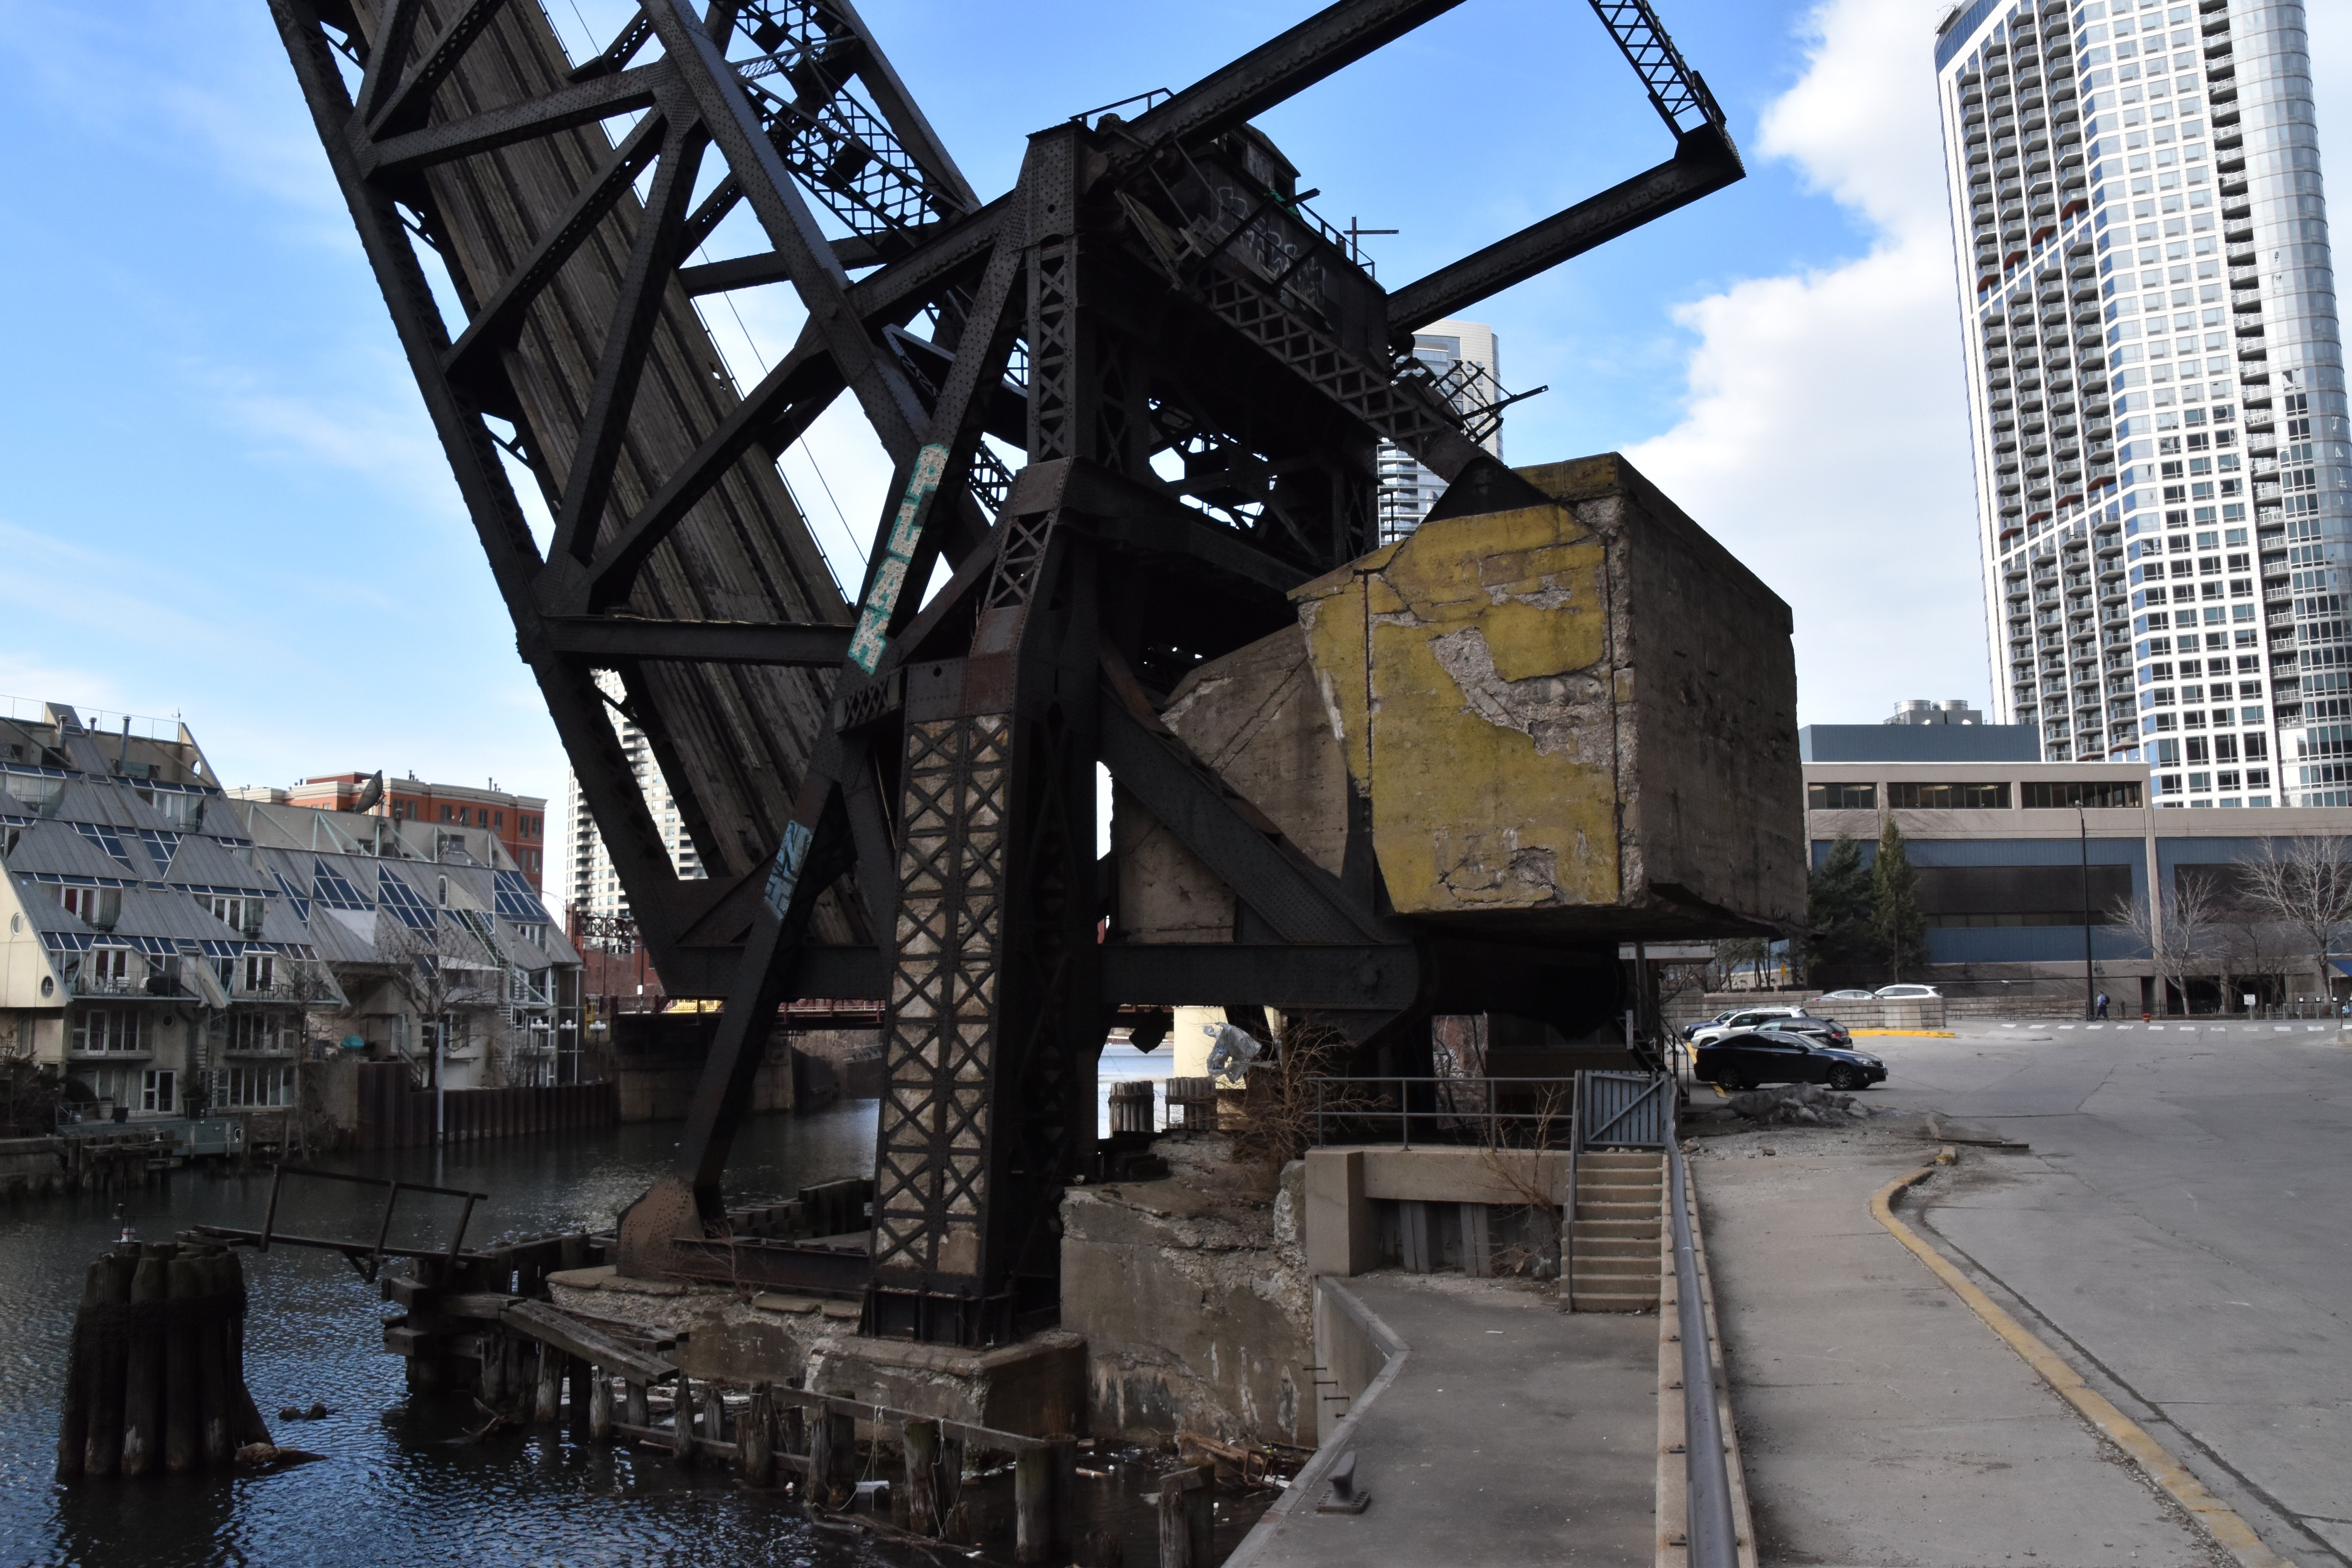
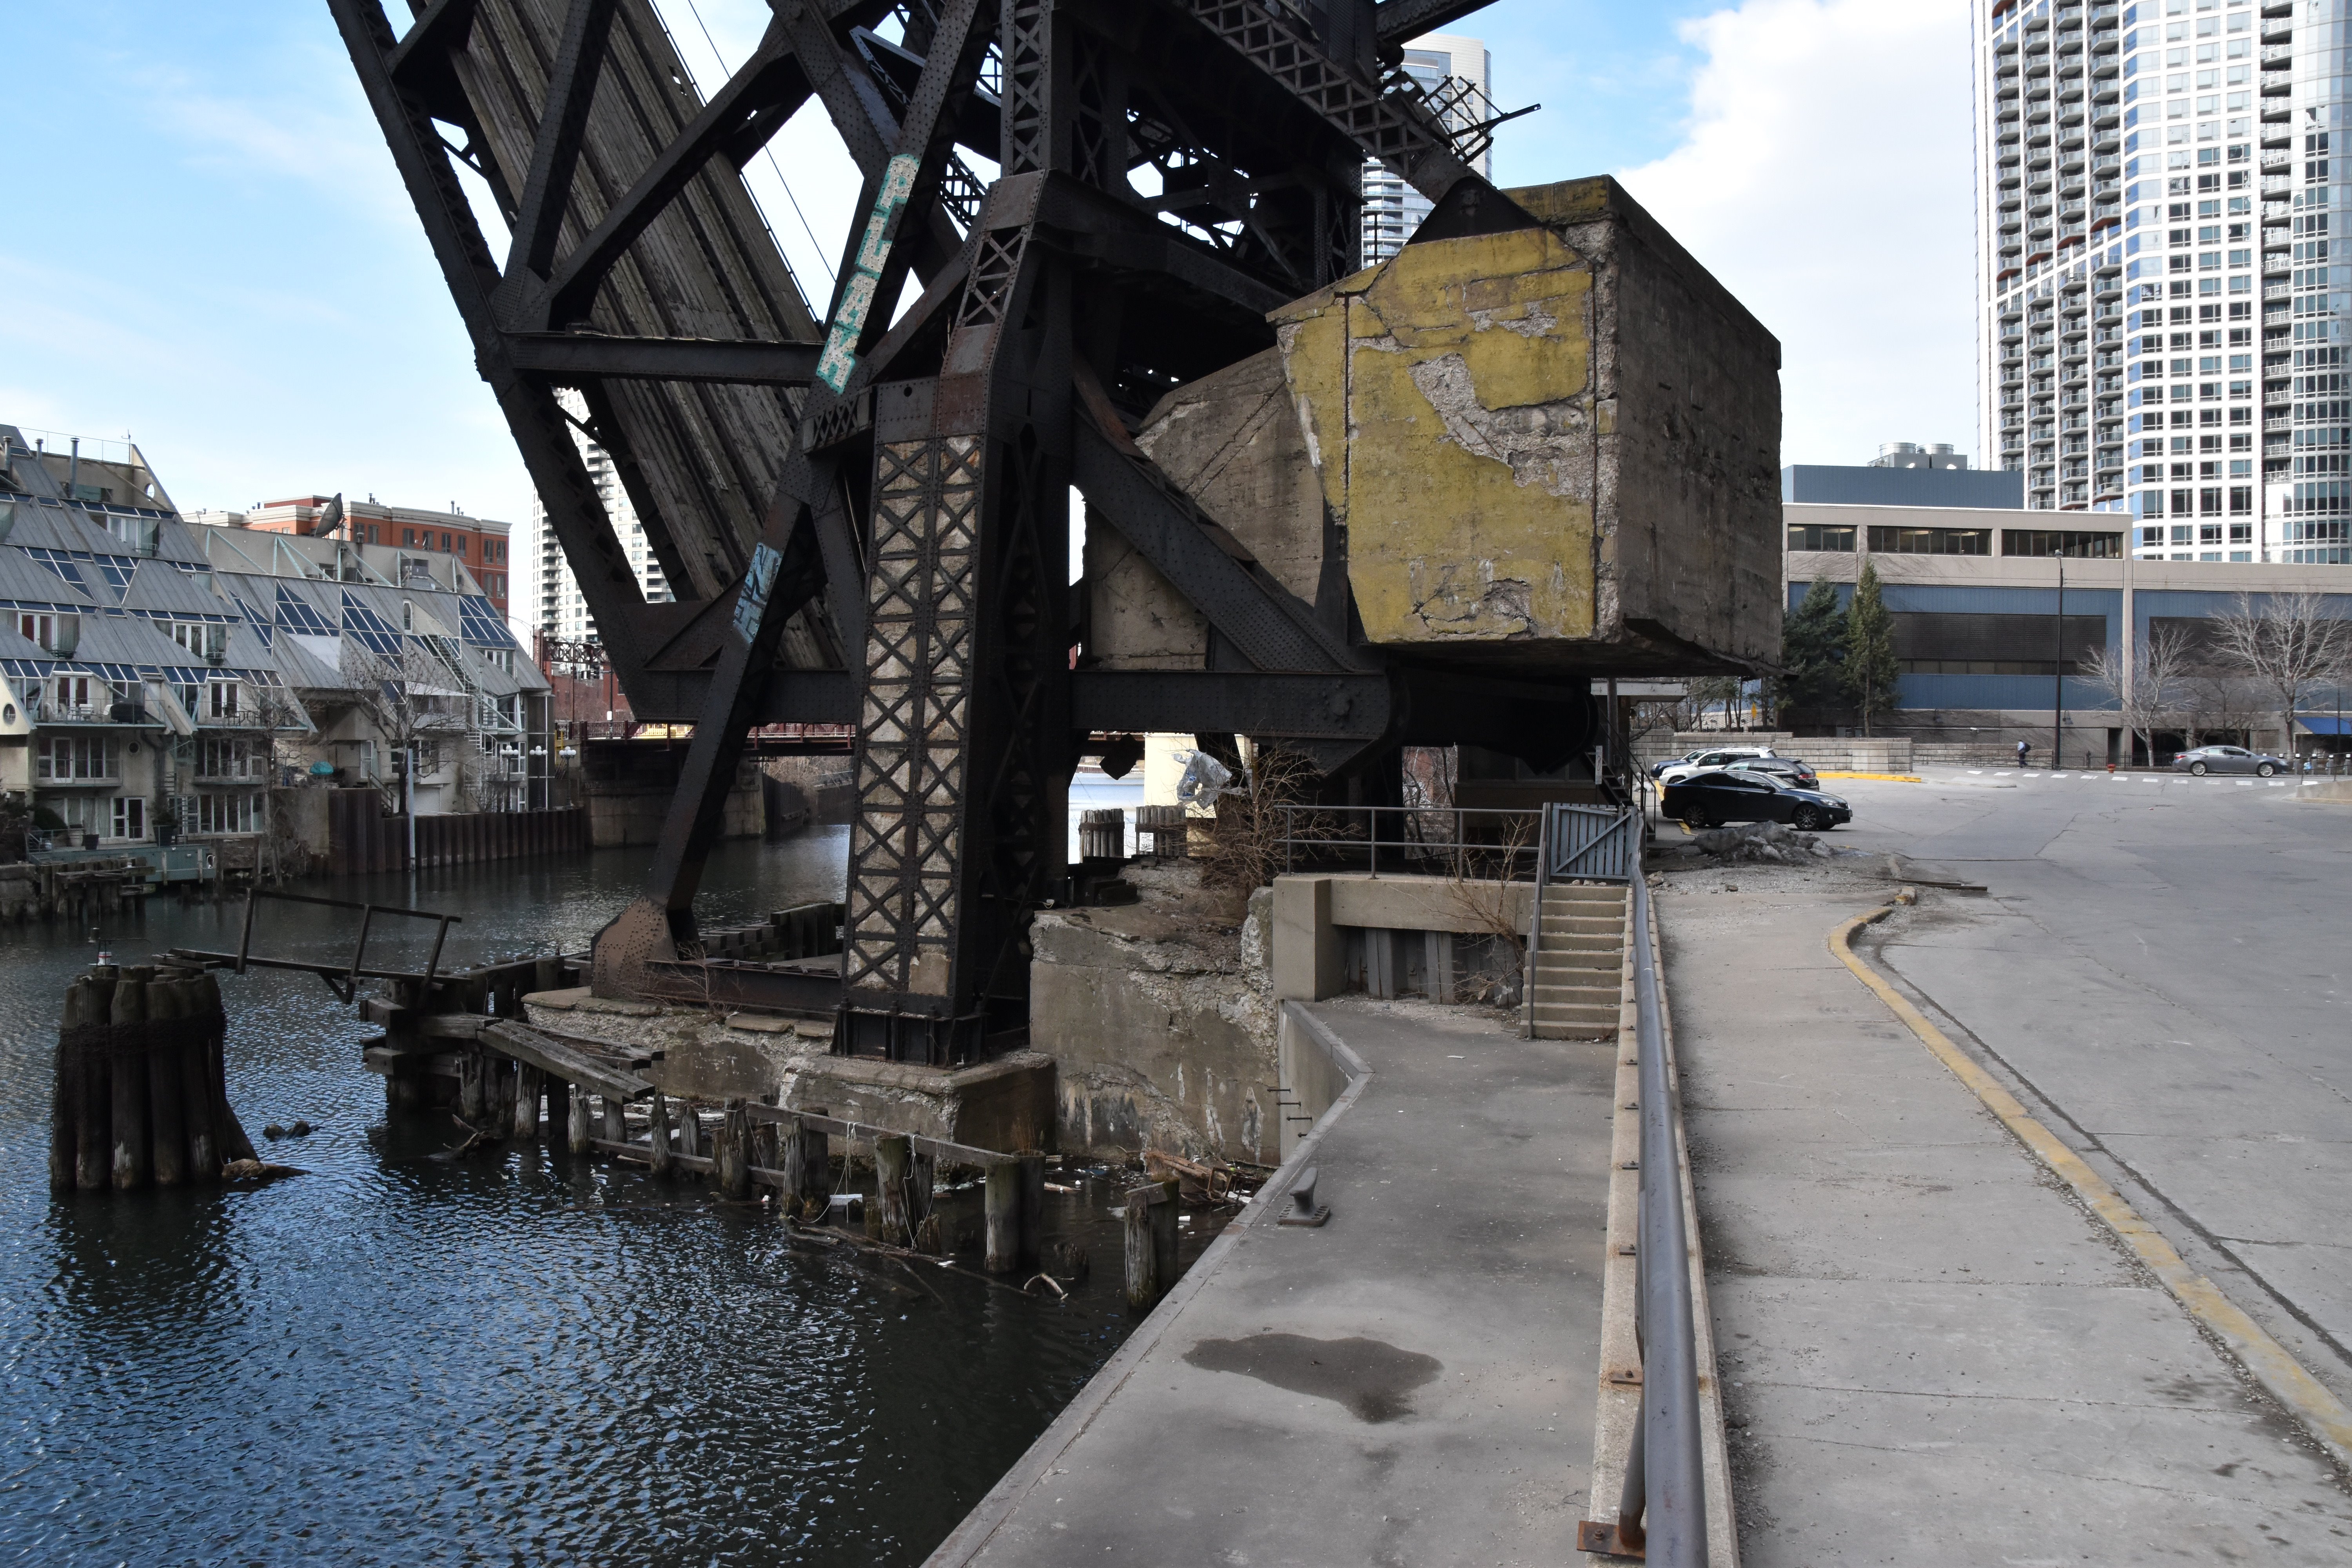
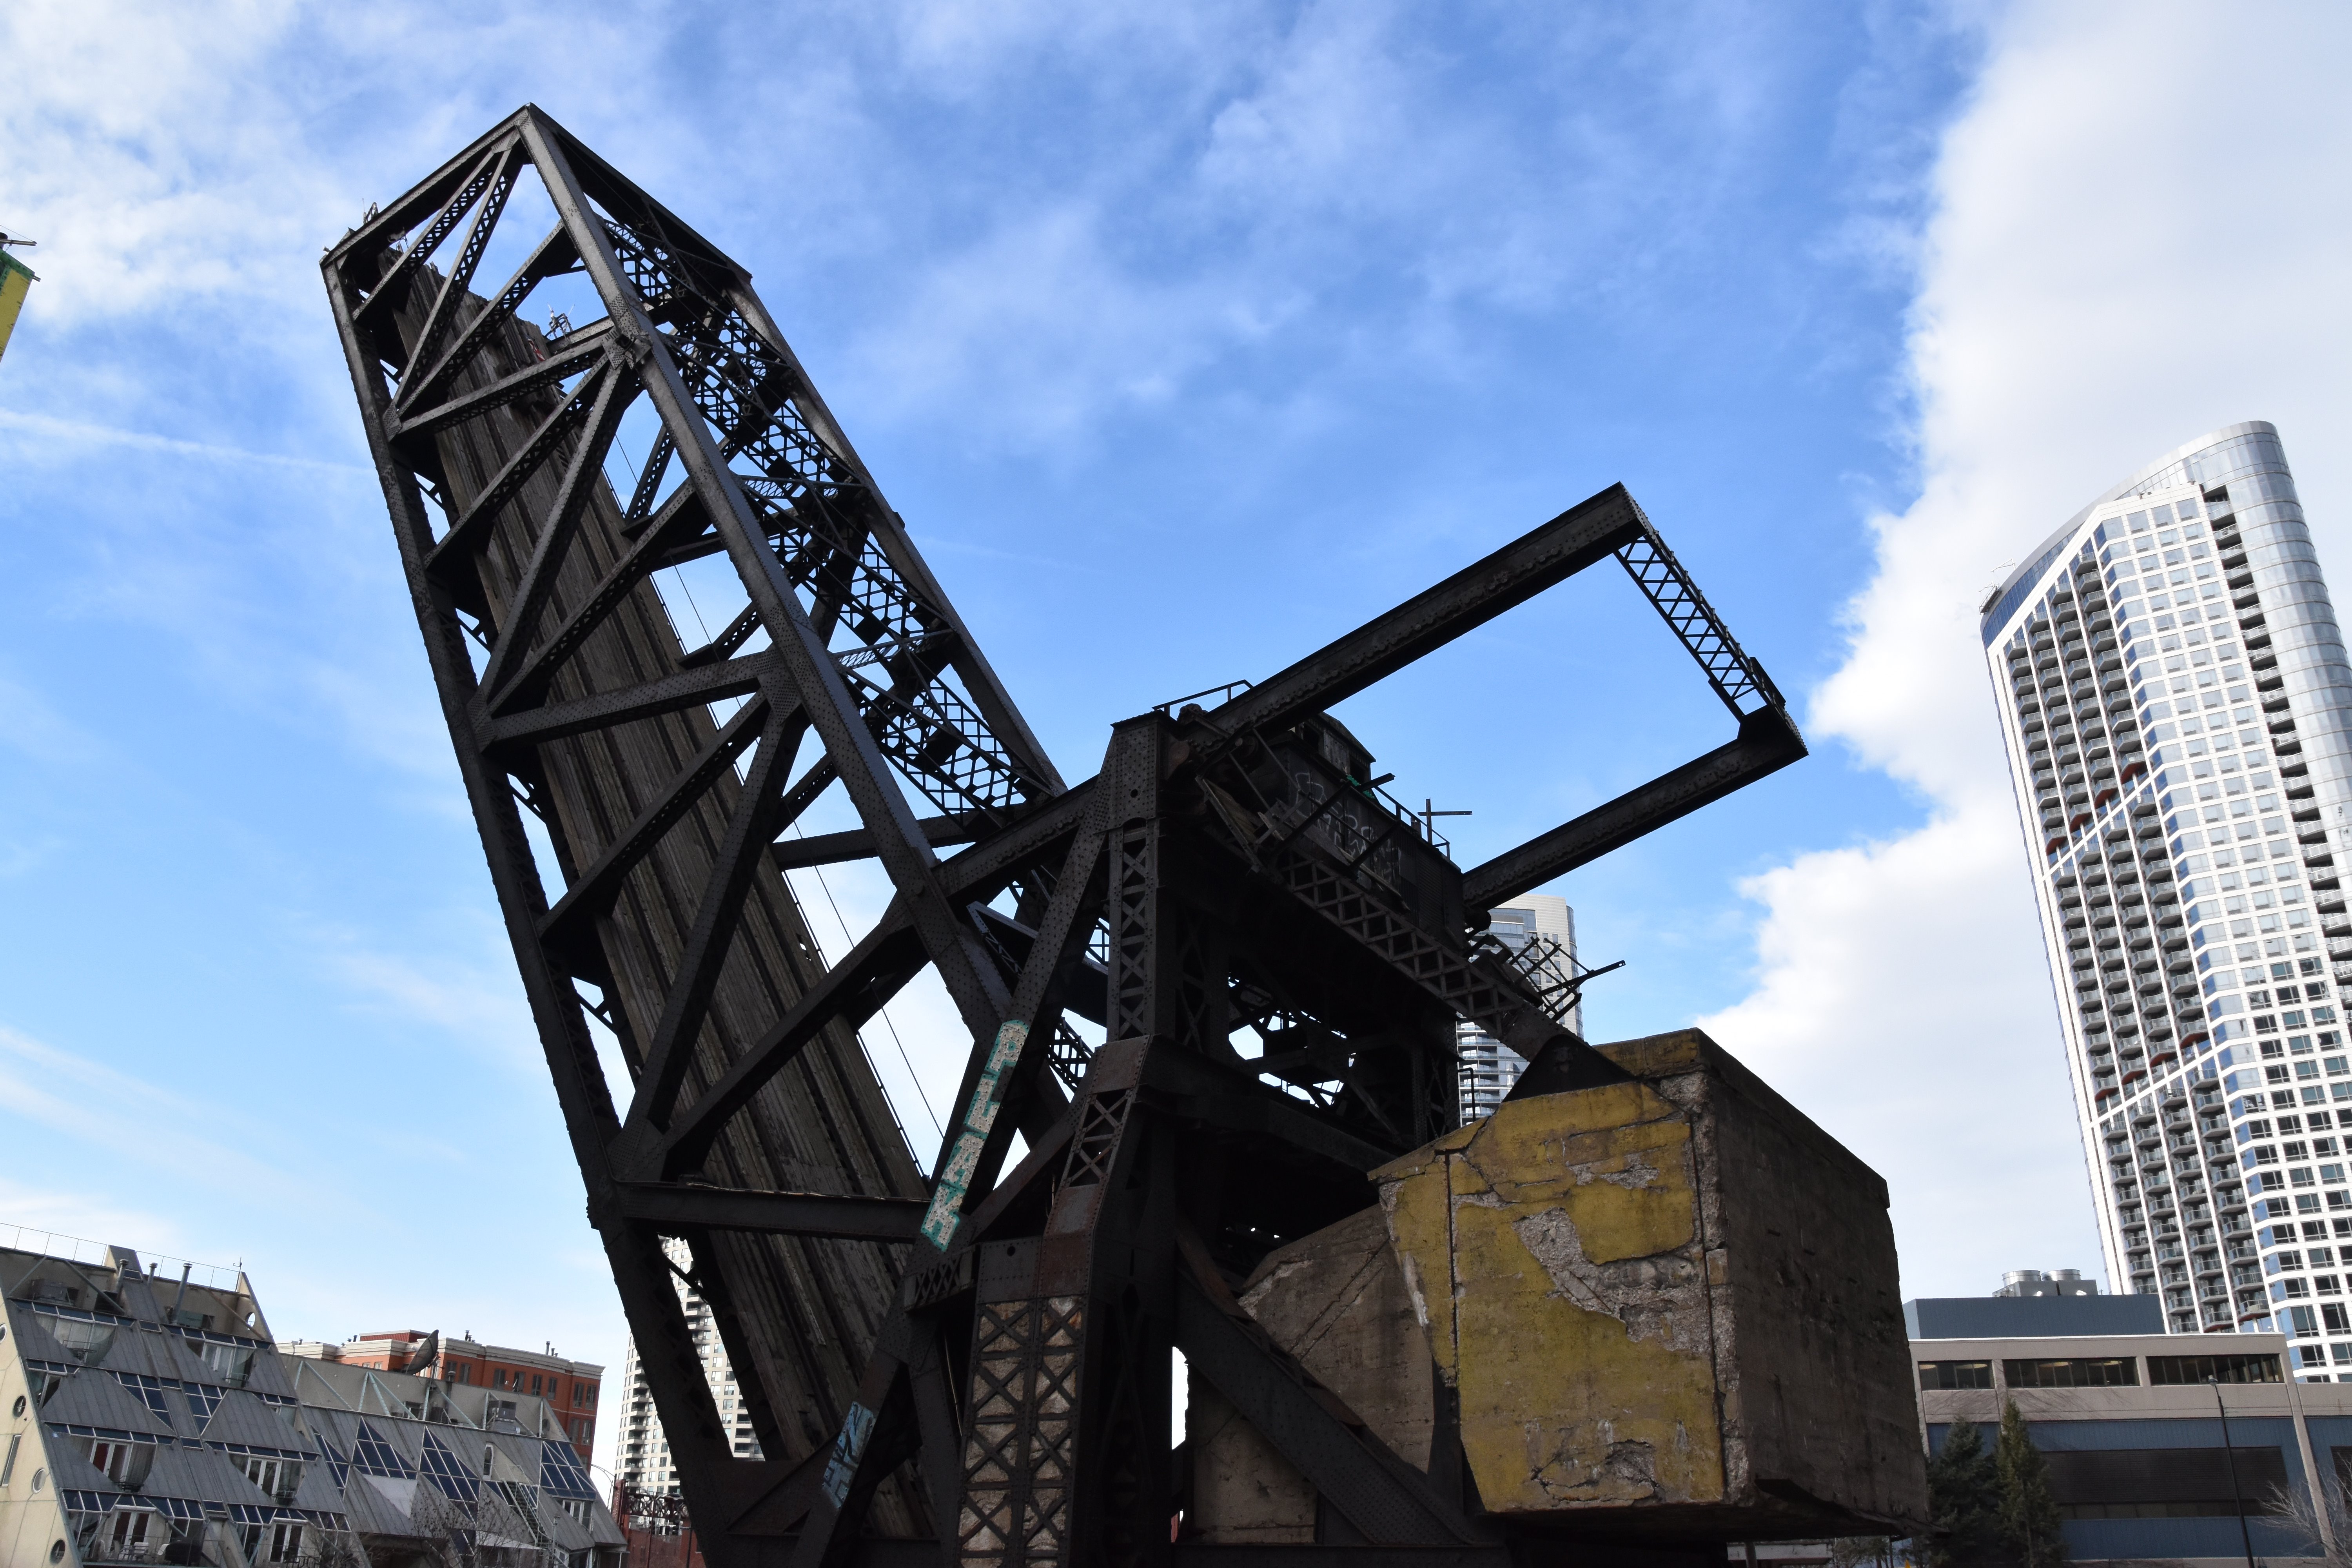
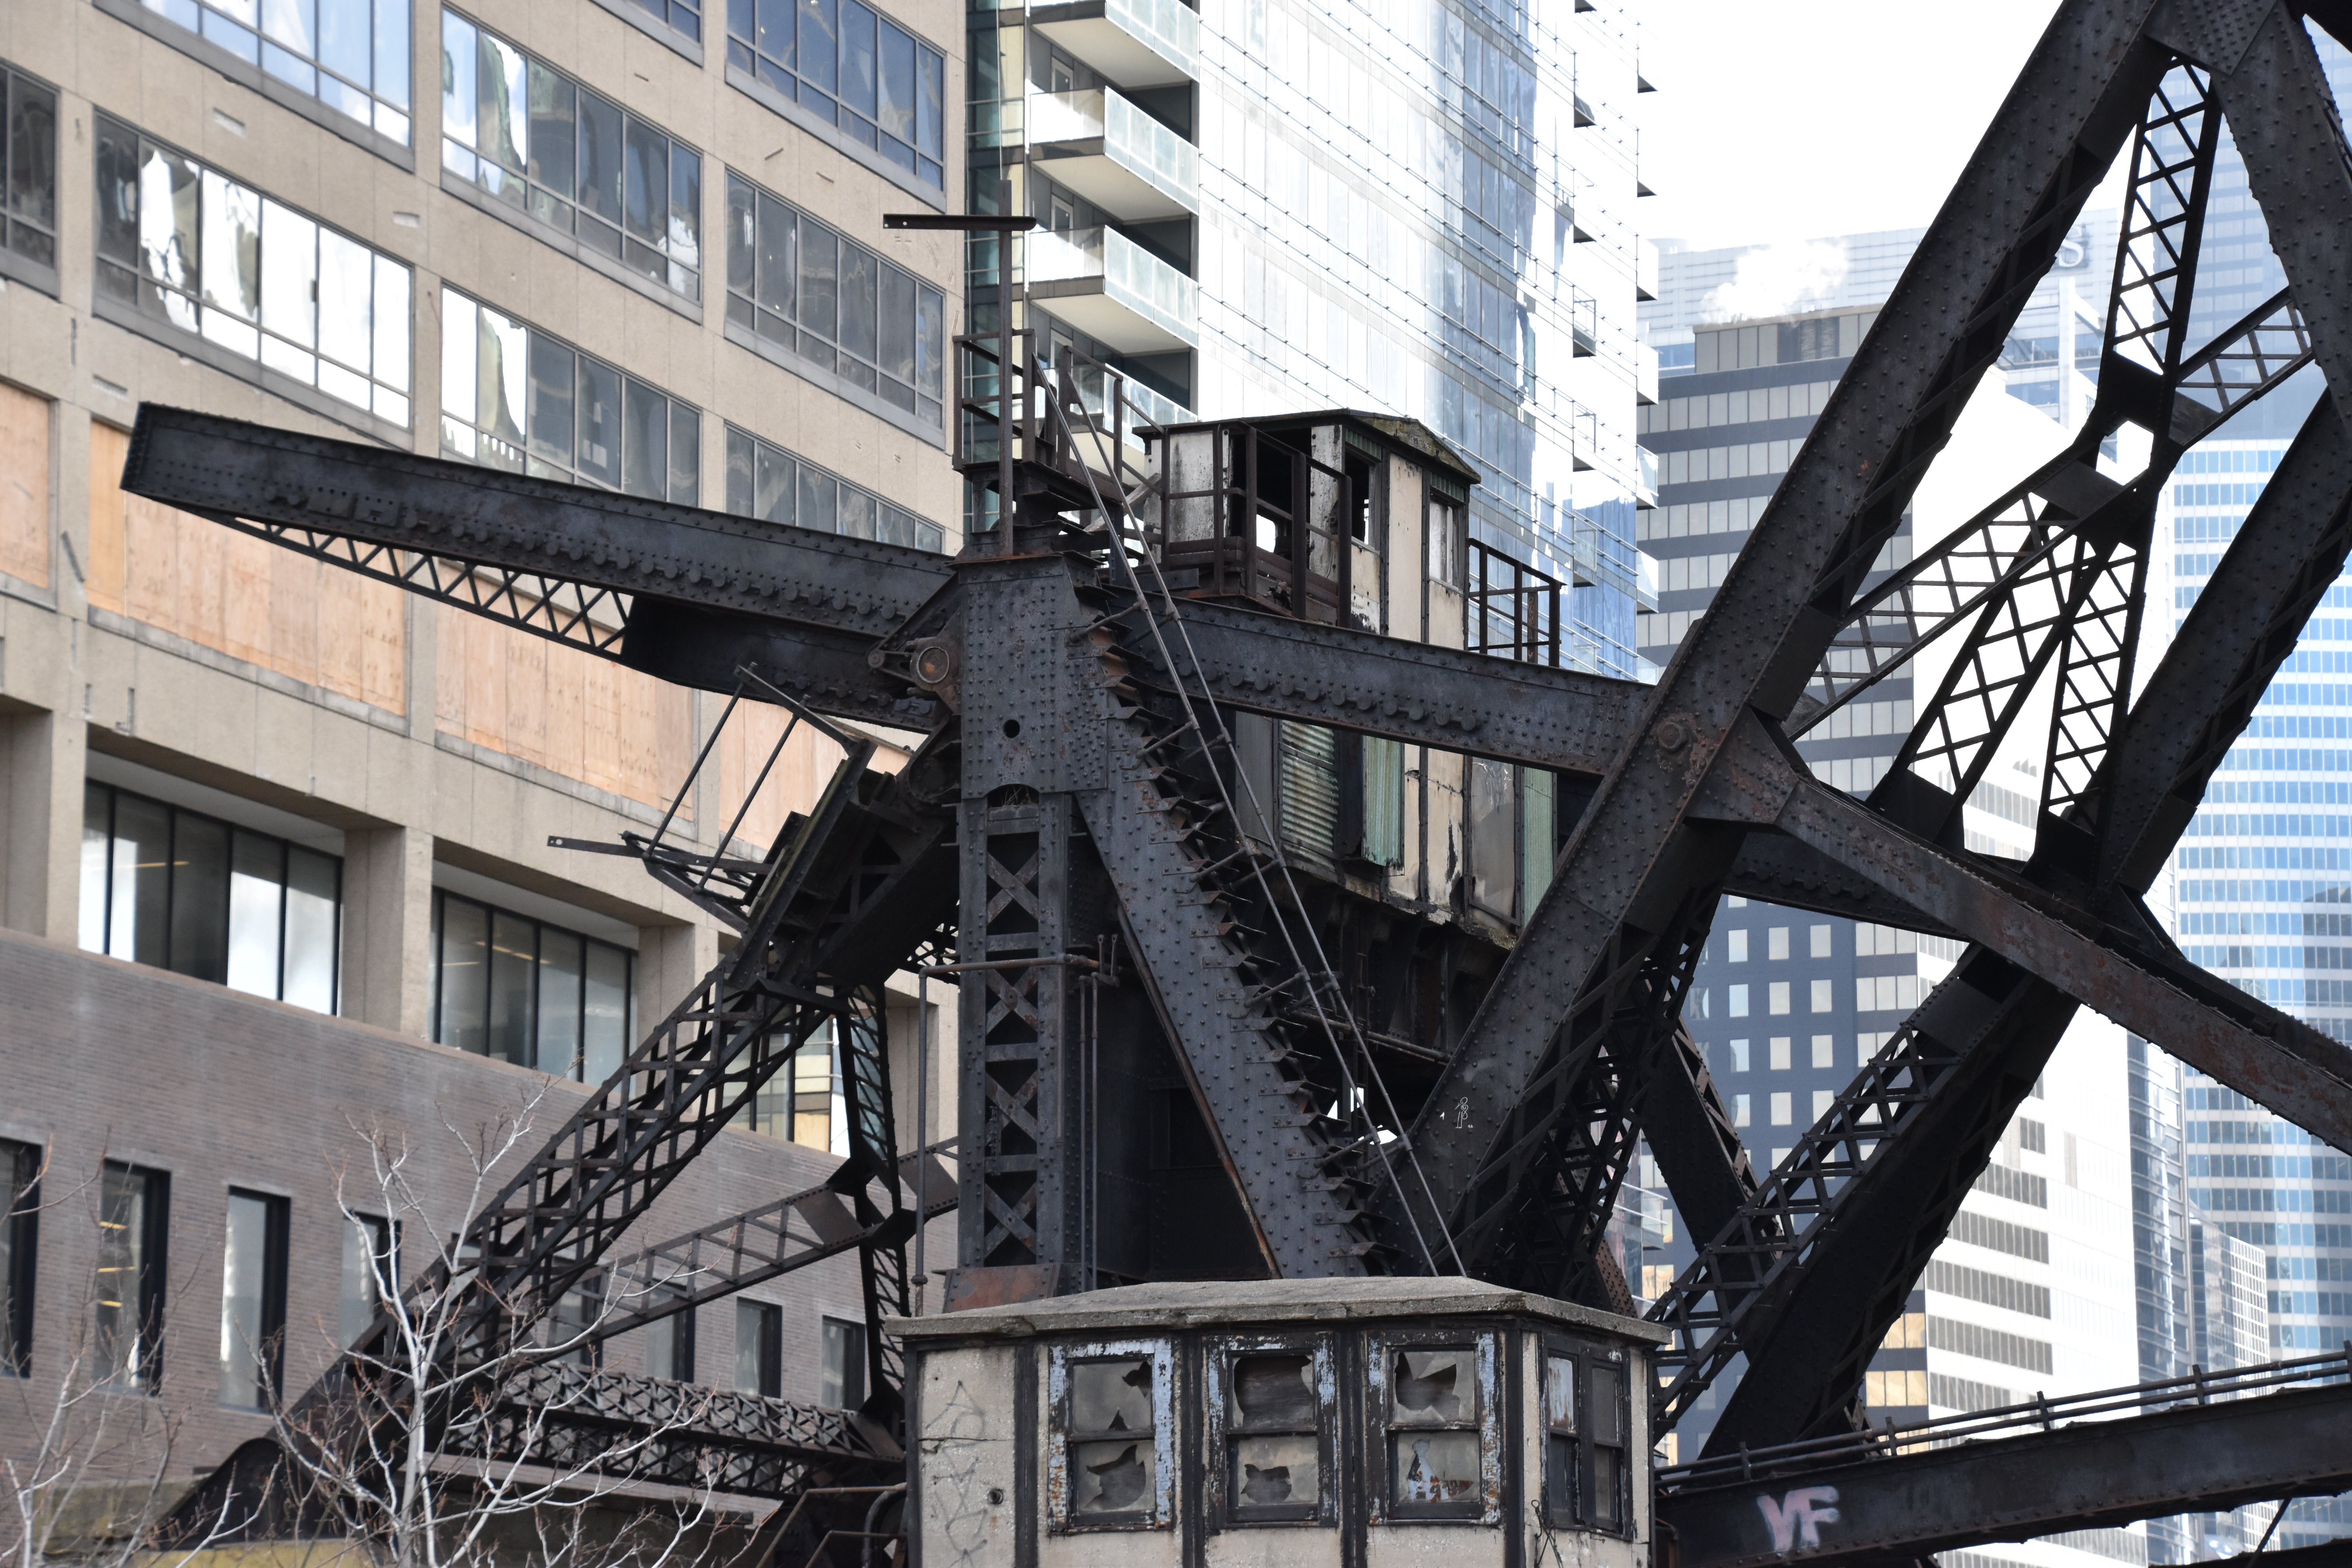
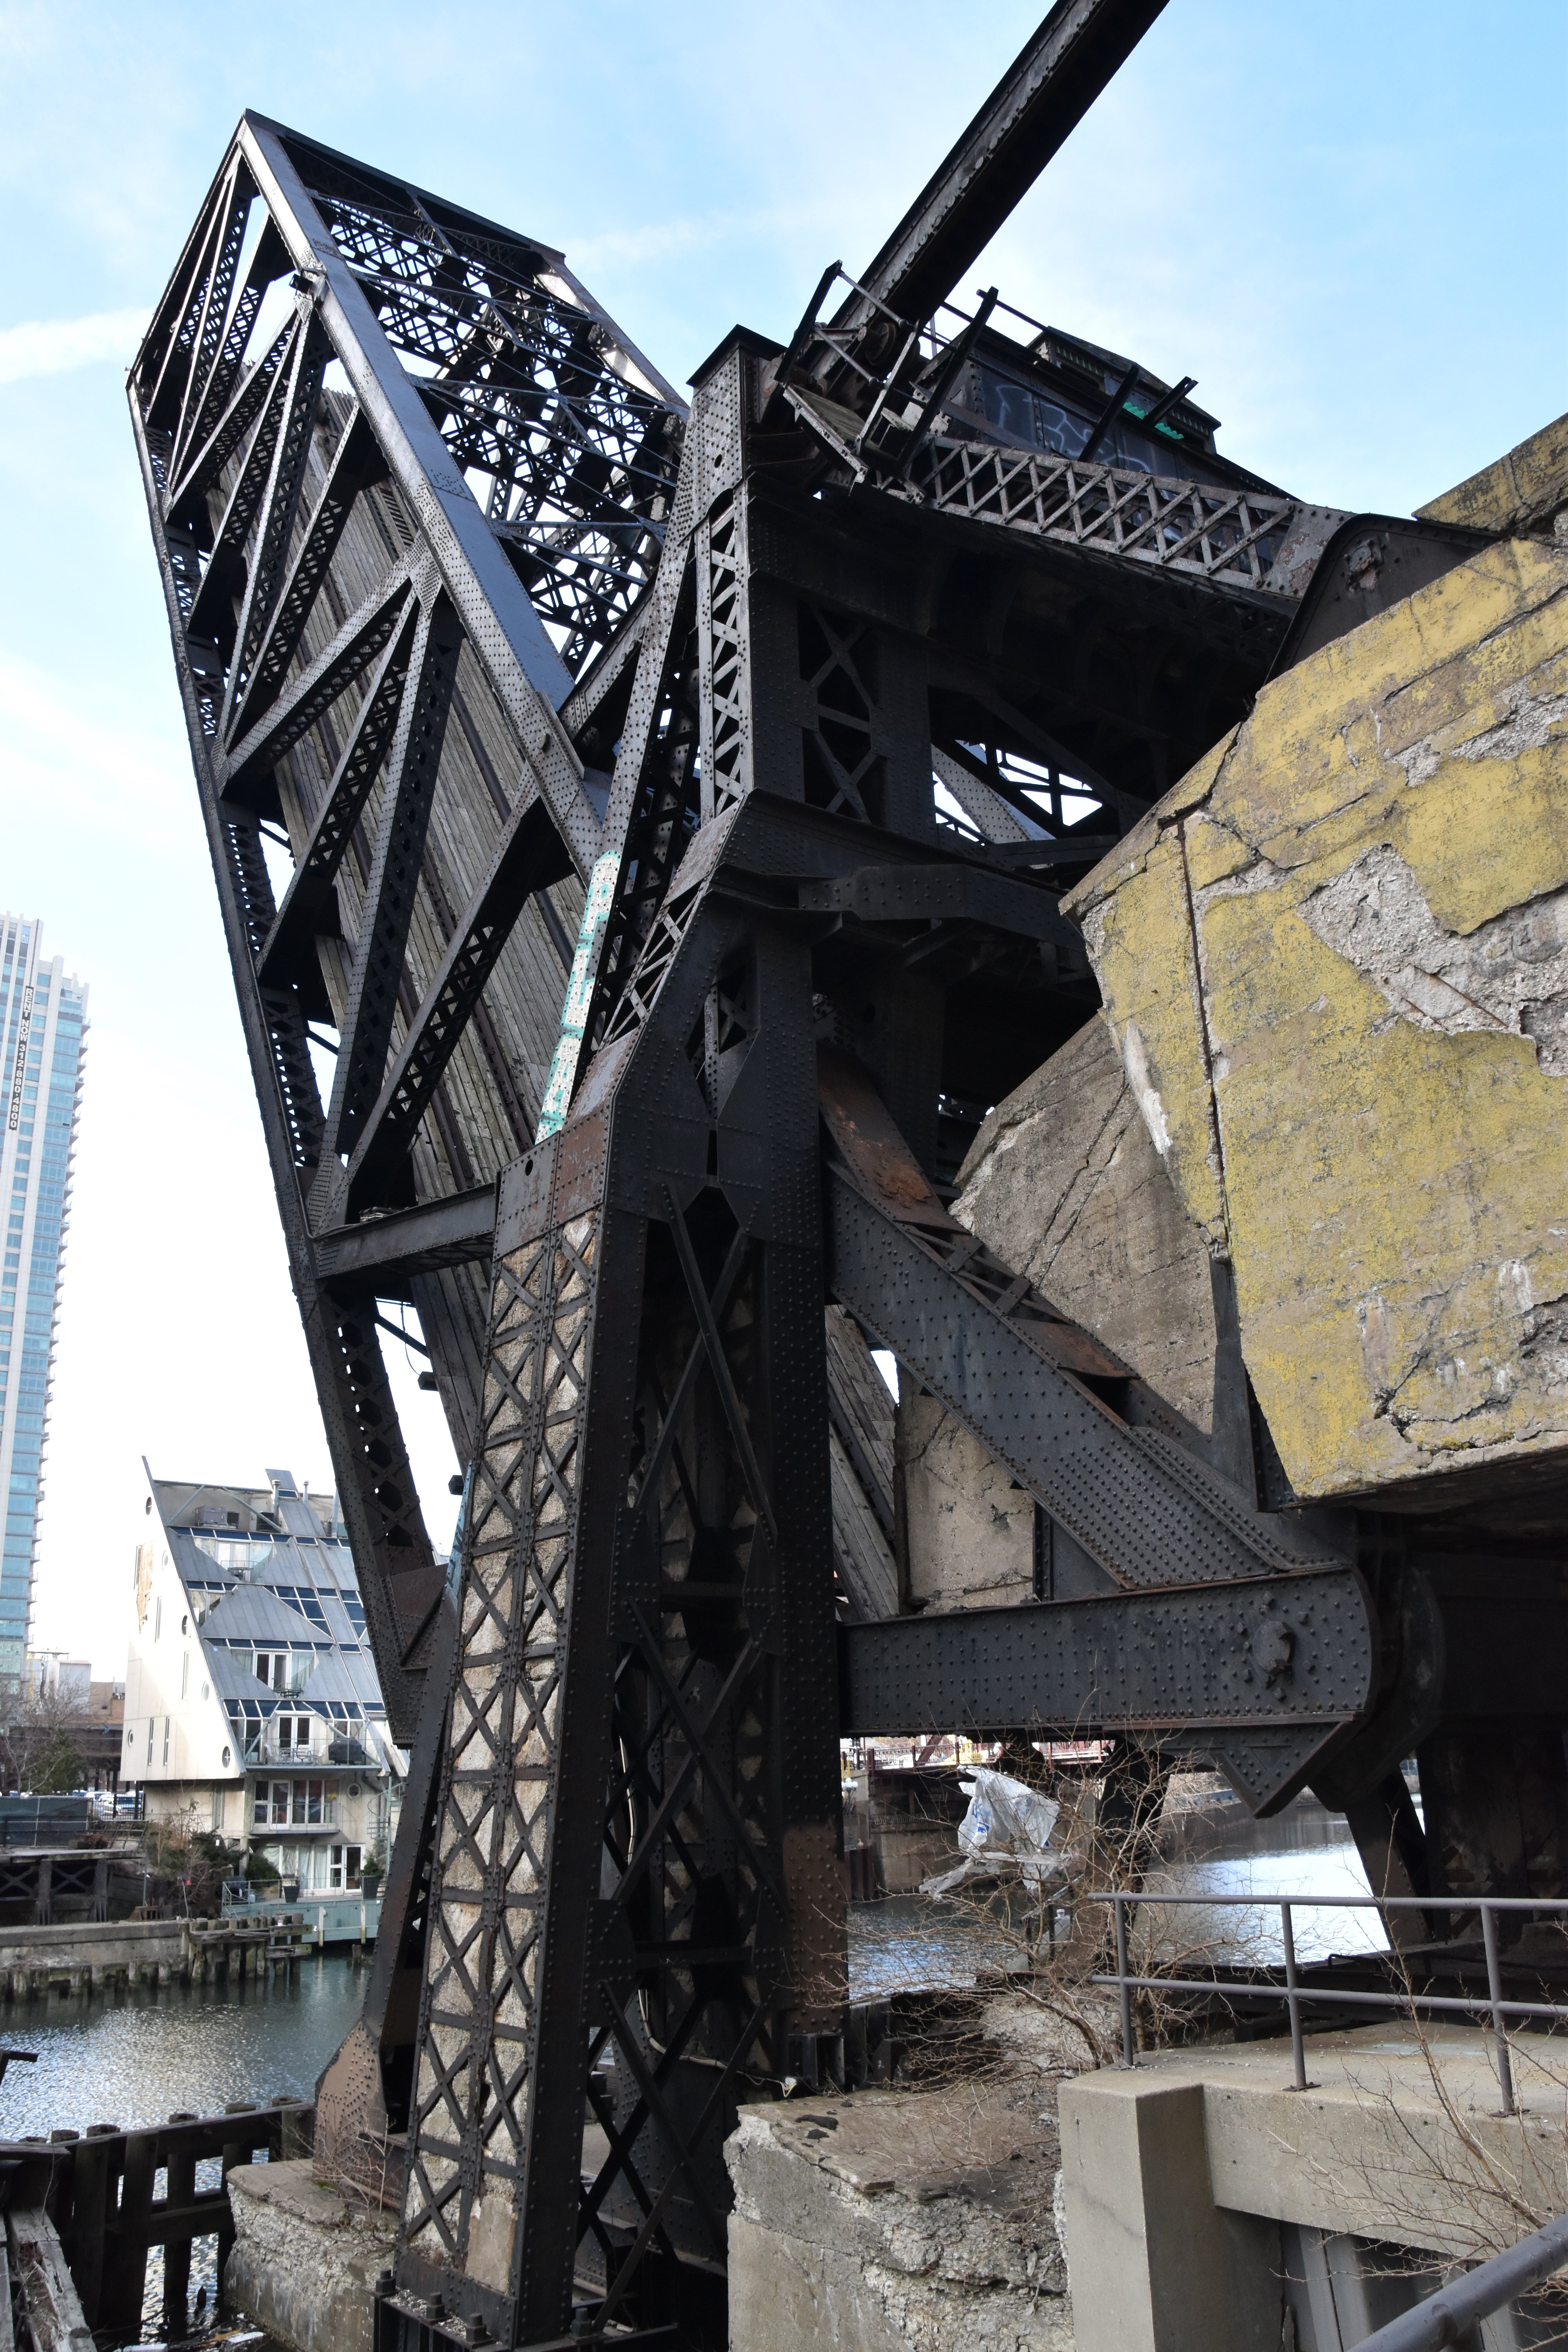
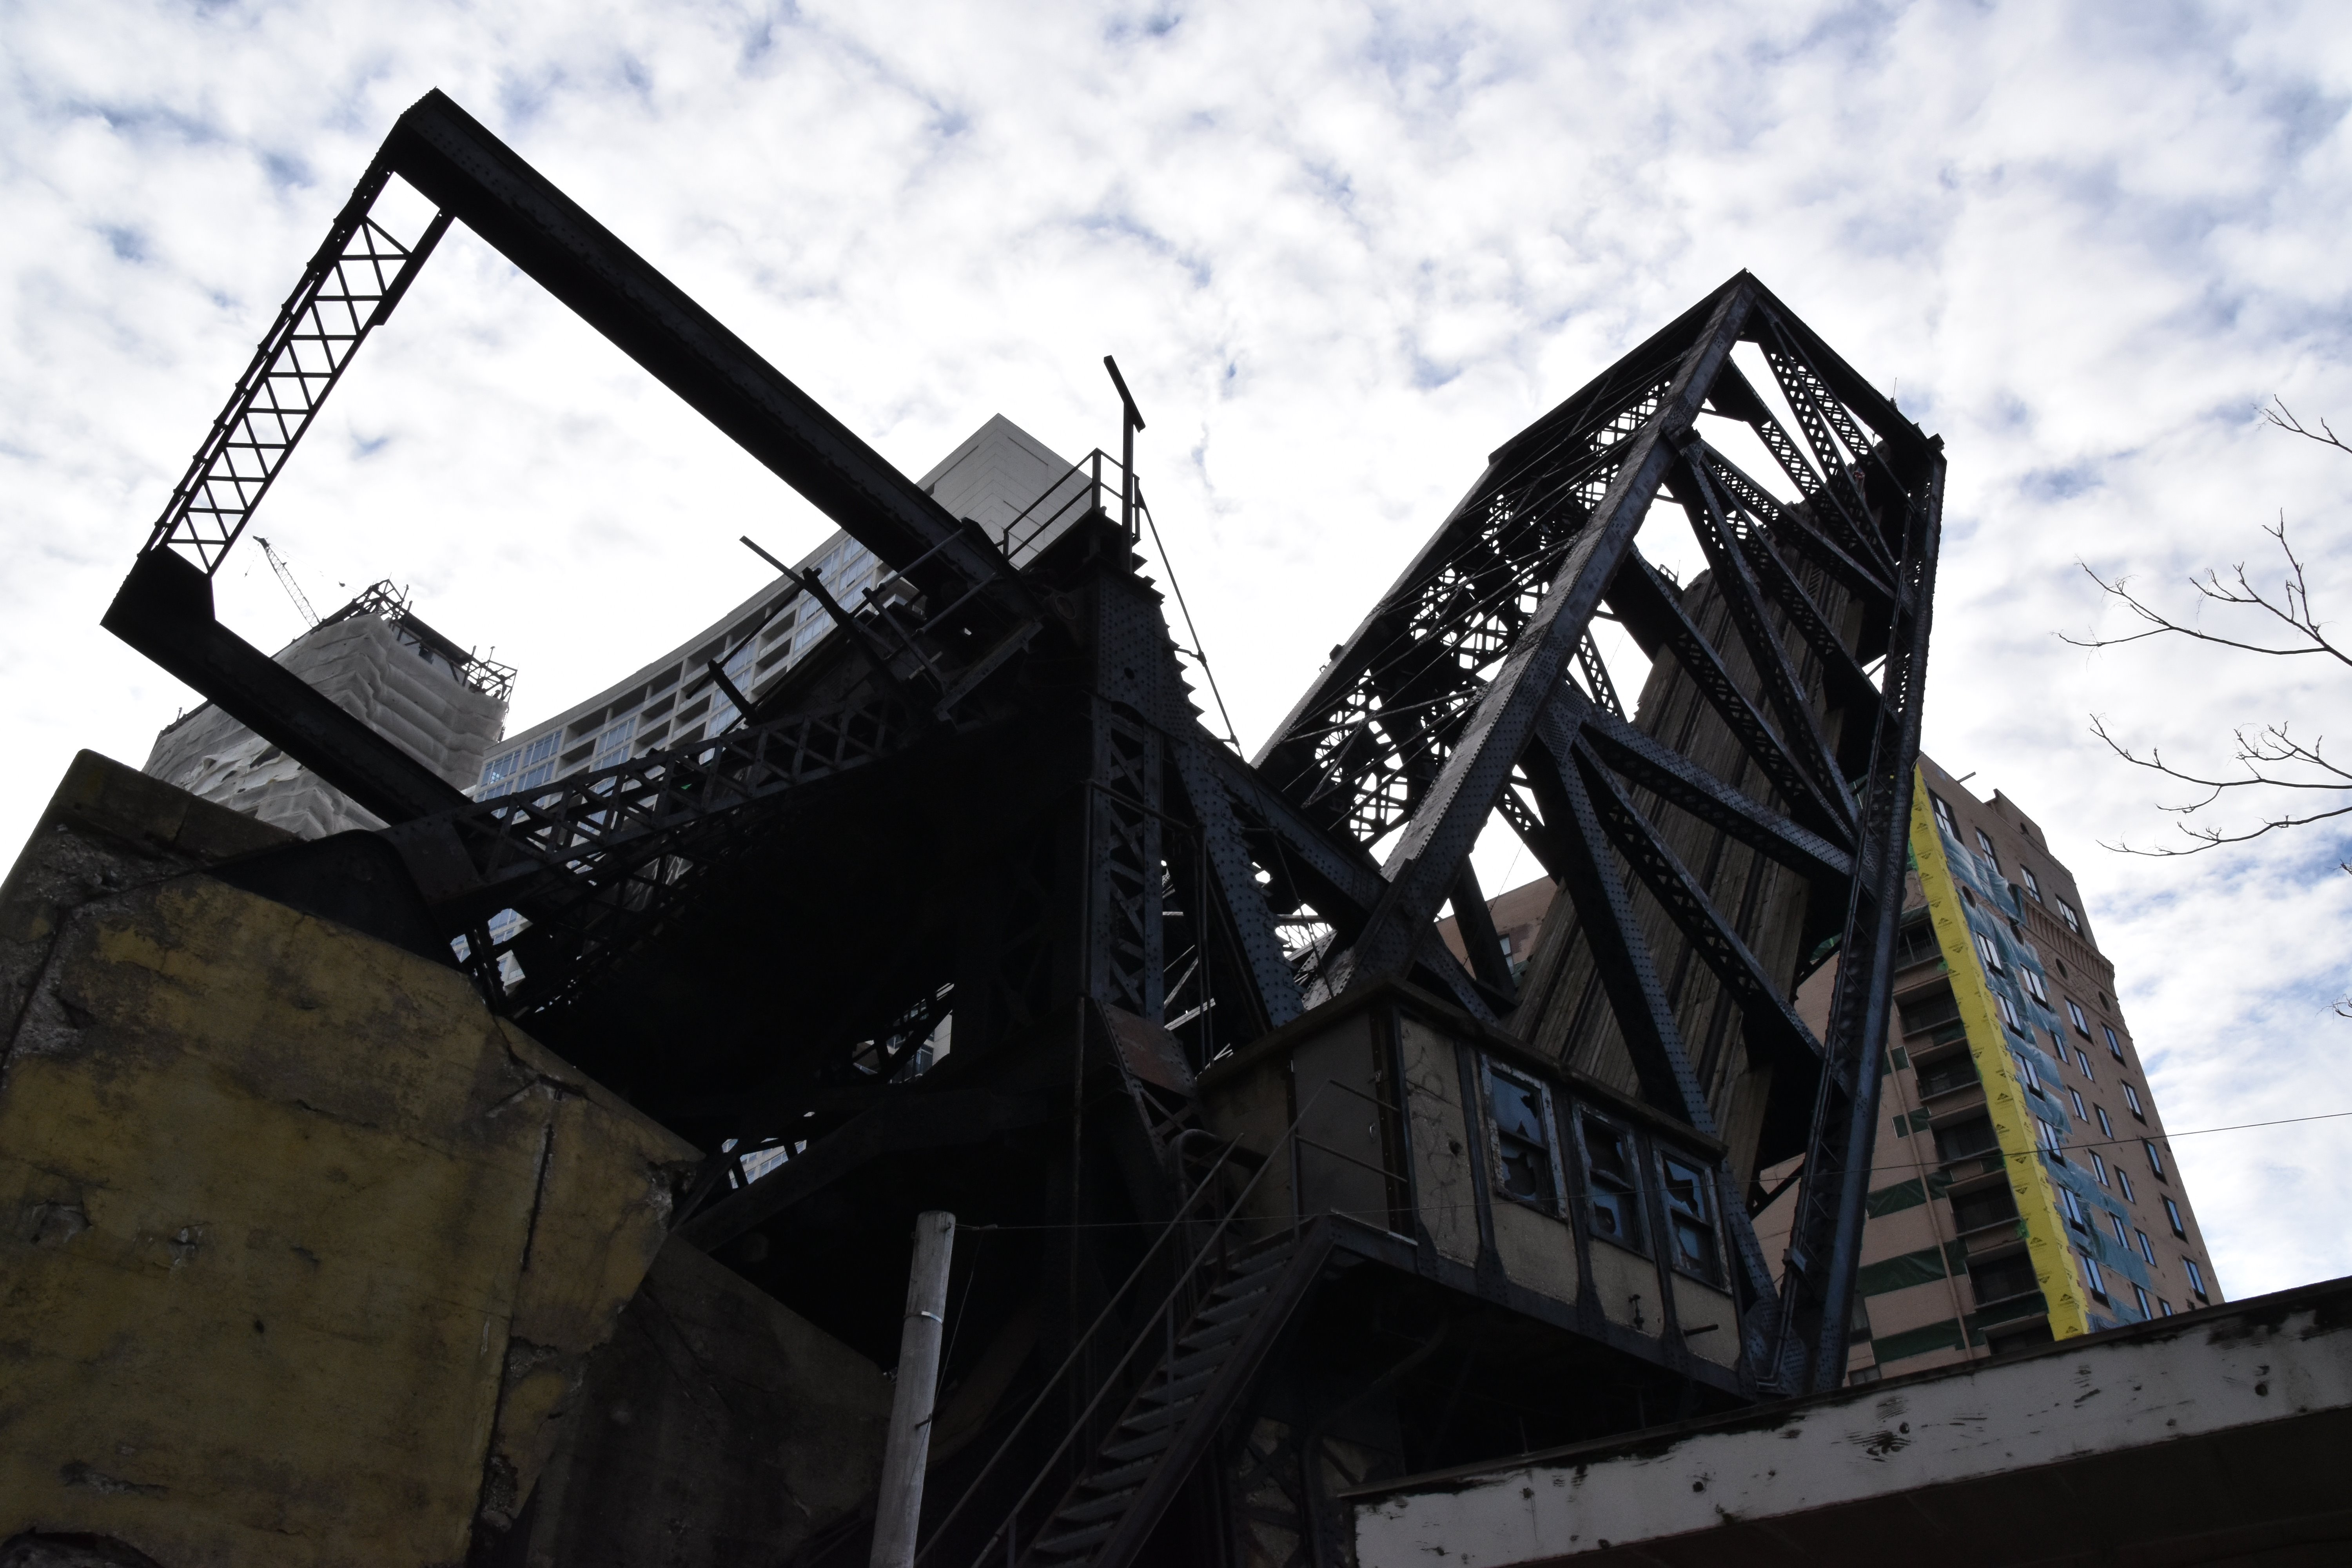
Machinery and counterweight tower viewed from southeast quadrant.
![]()
HDR Photos: Machinery and counterweight tower viewed from southeast quadrant.
![]()
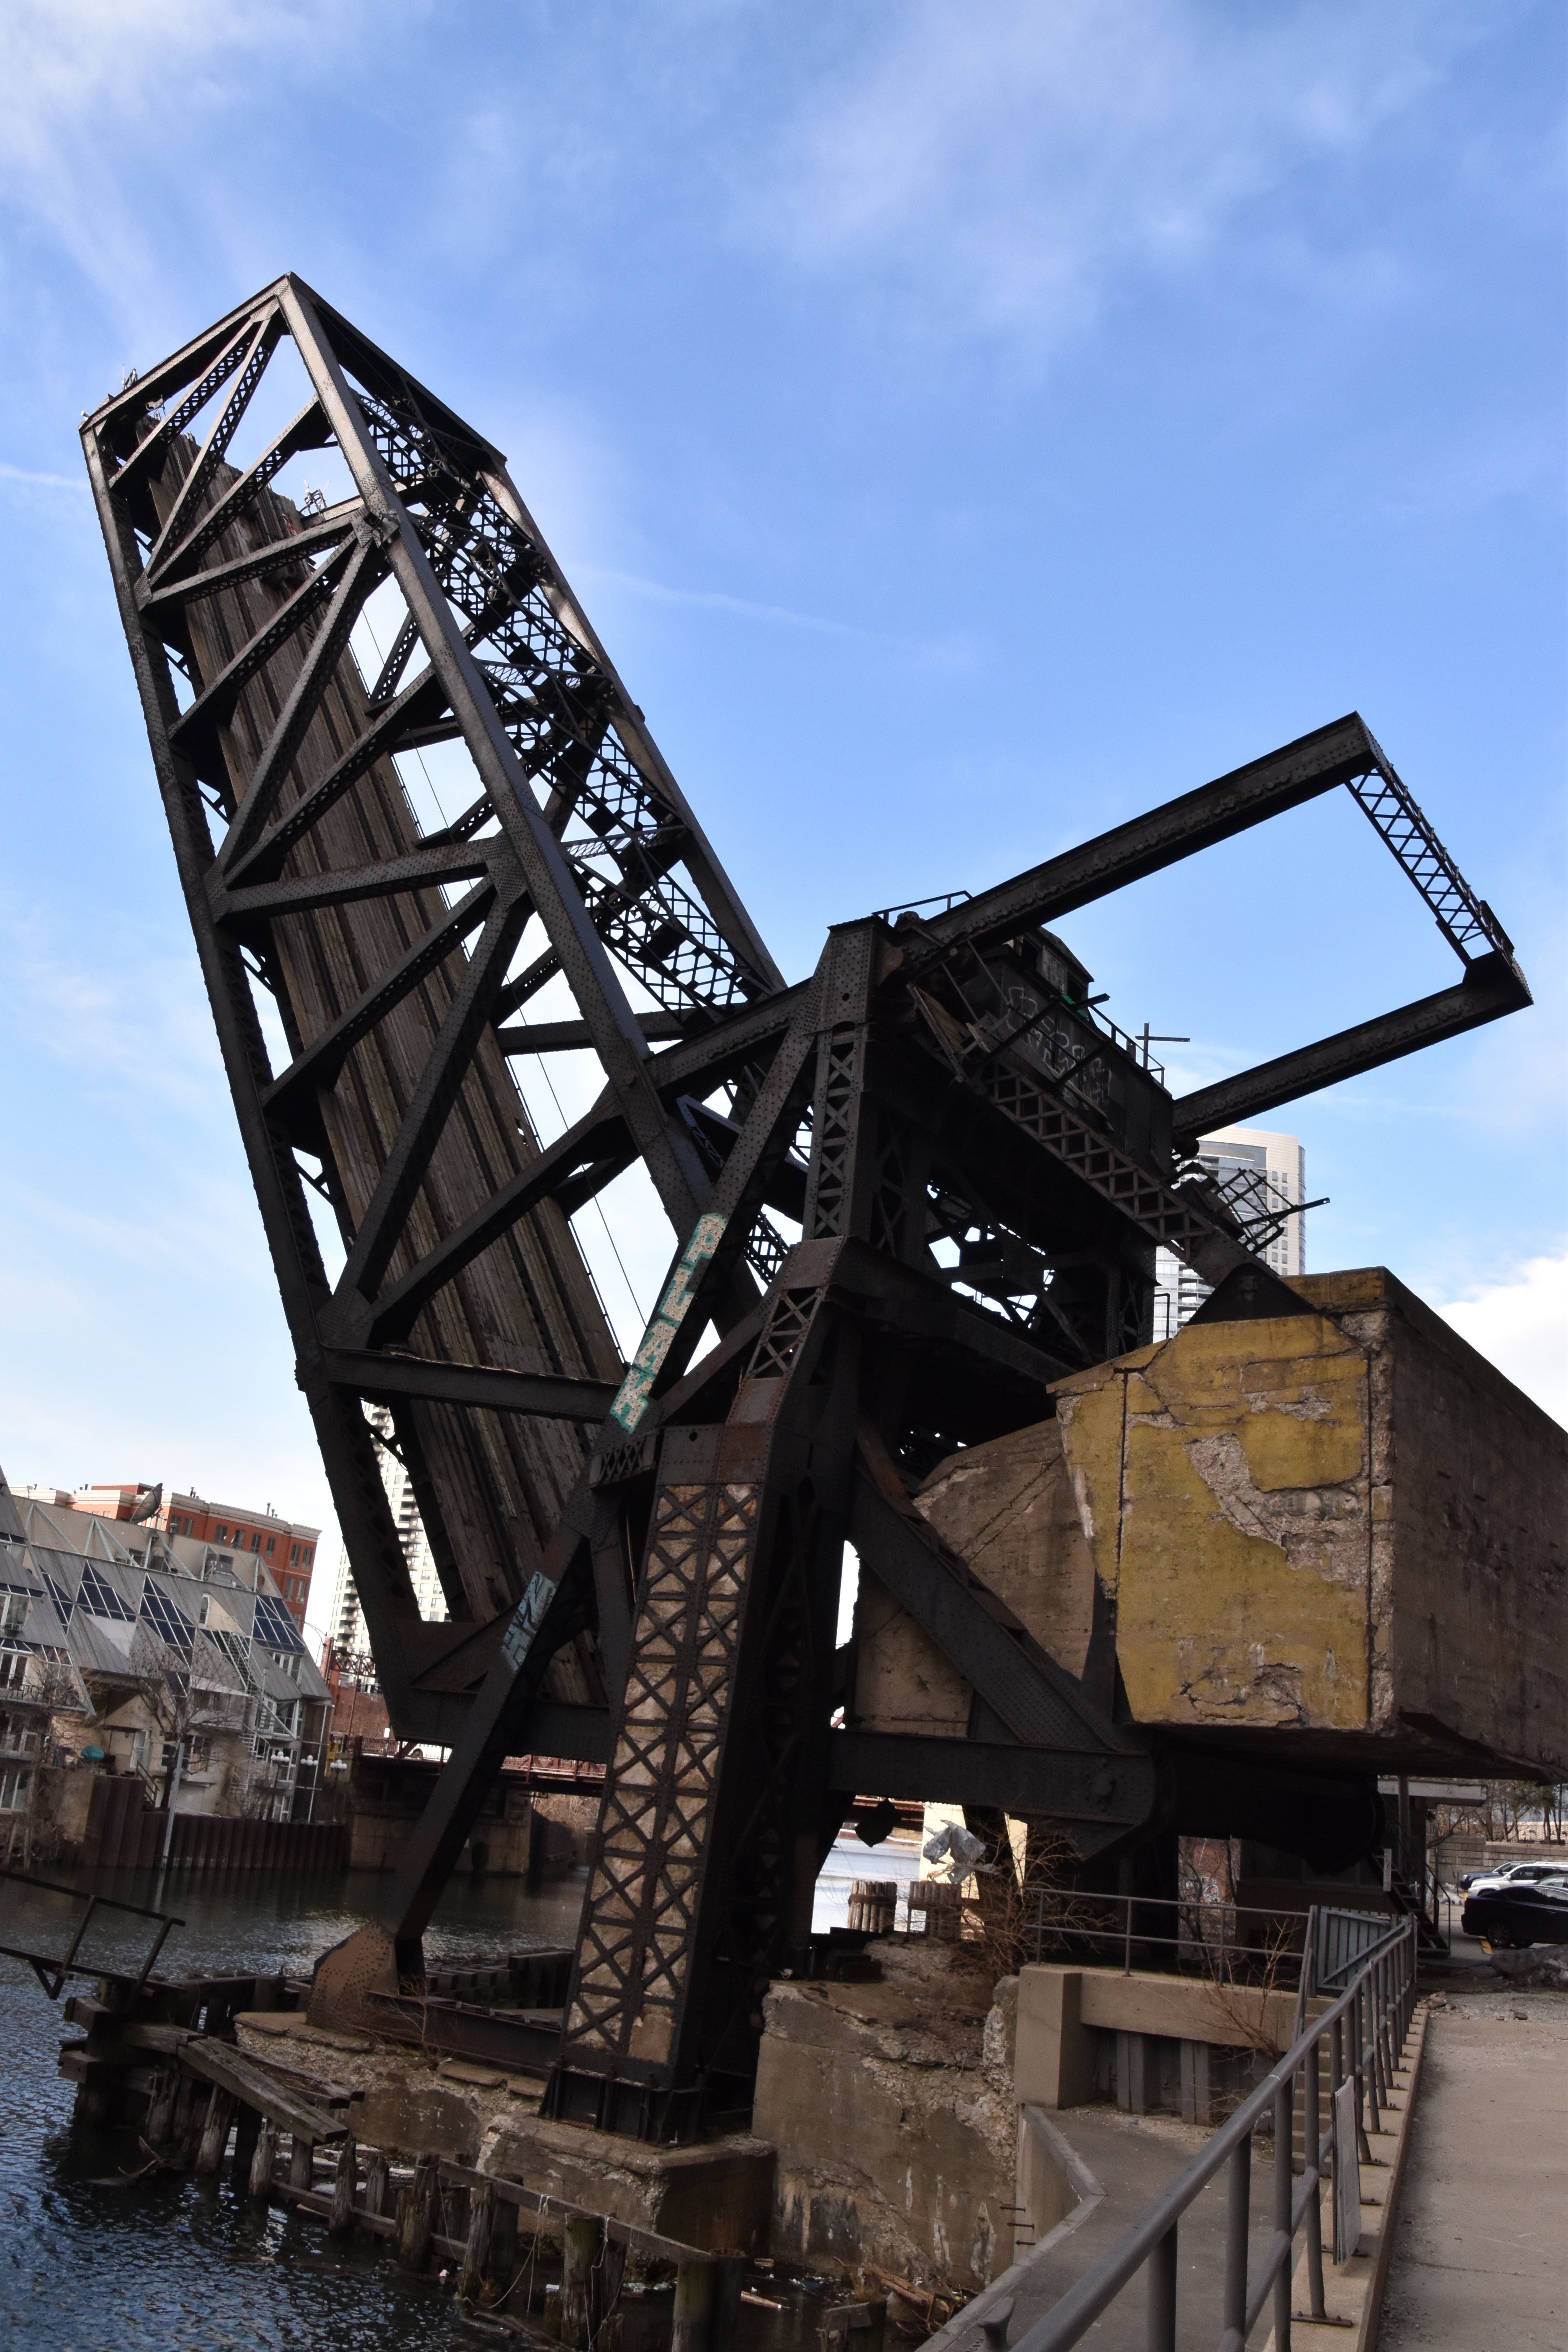
Bascule leaf viewed from southeast quadrant.
![]()


HDR Photos: Bascule leaf viewed from southeast quadrant.
![]()
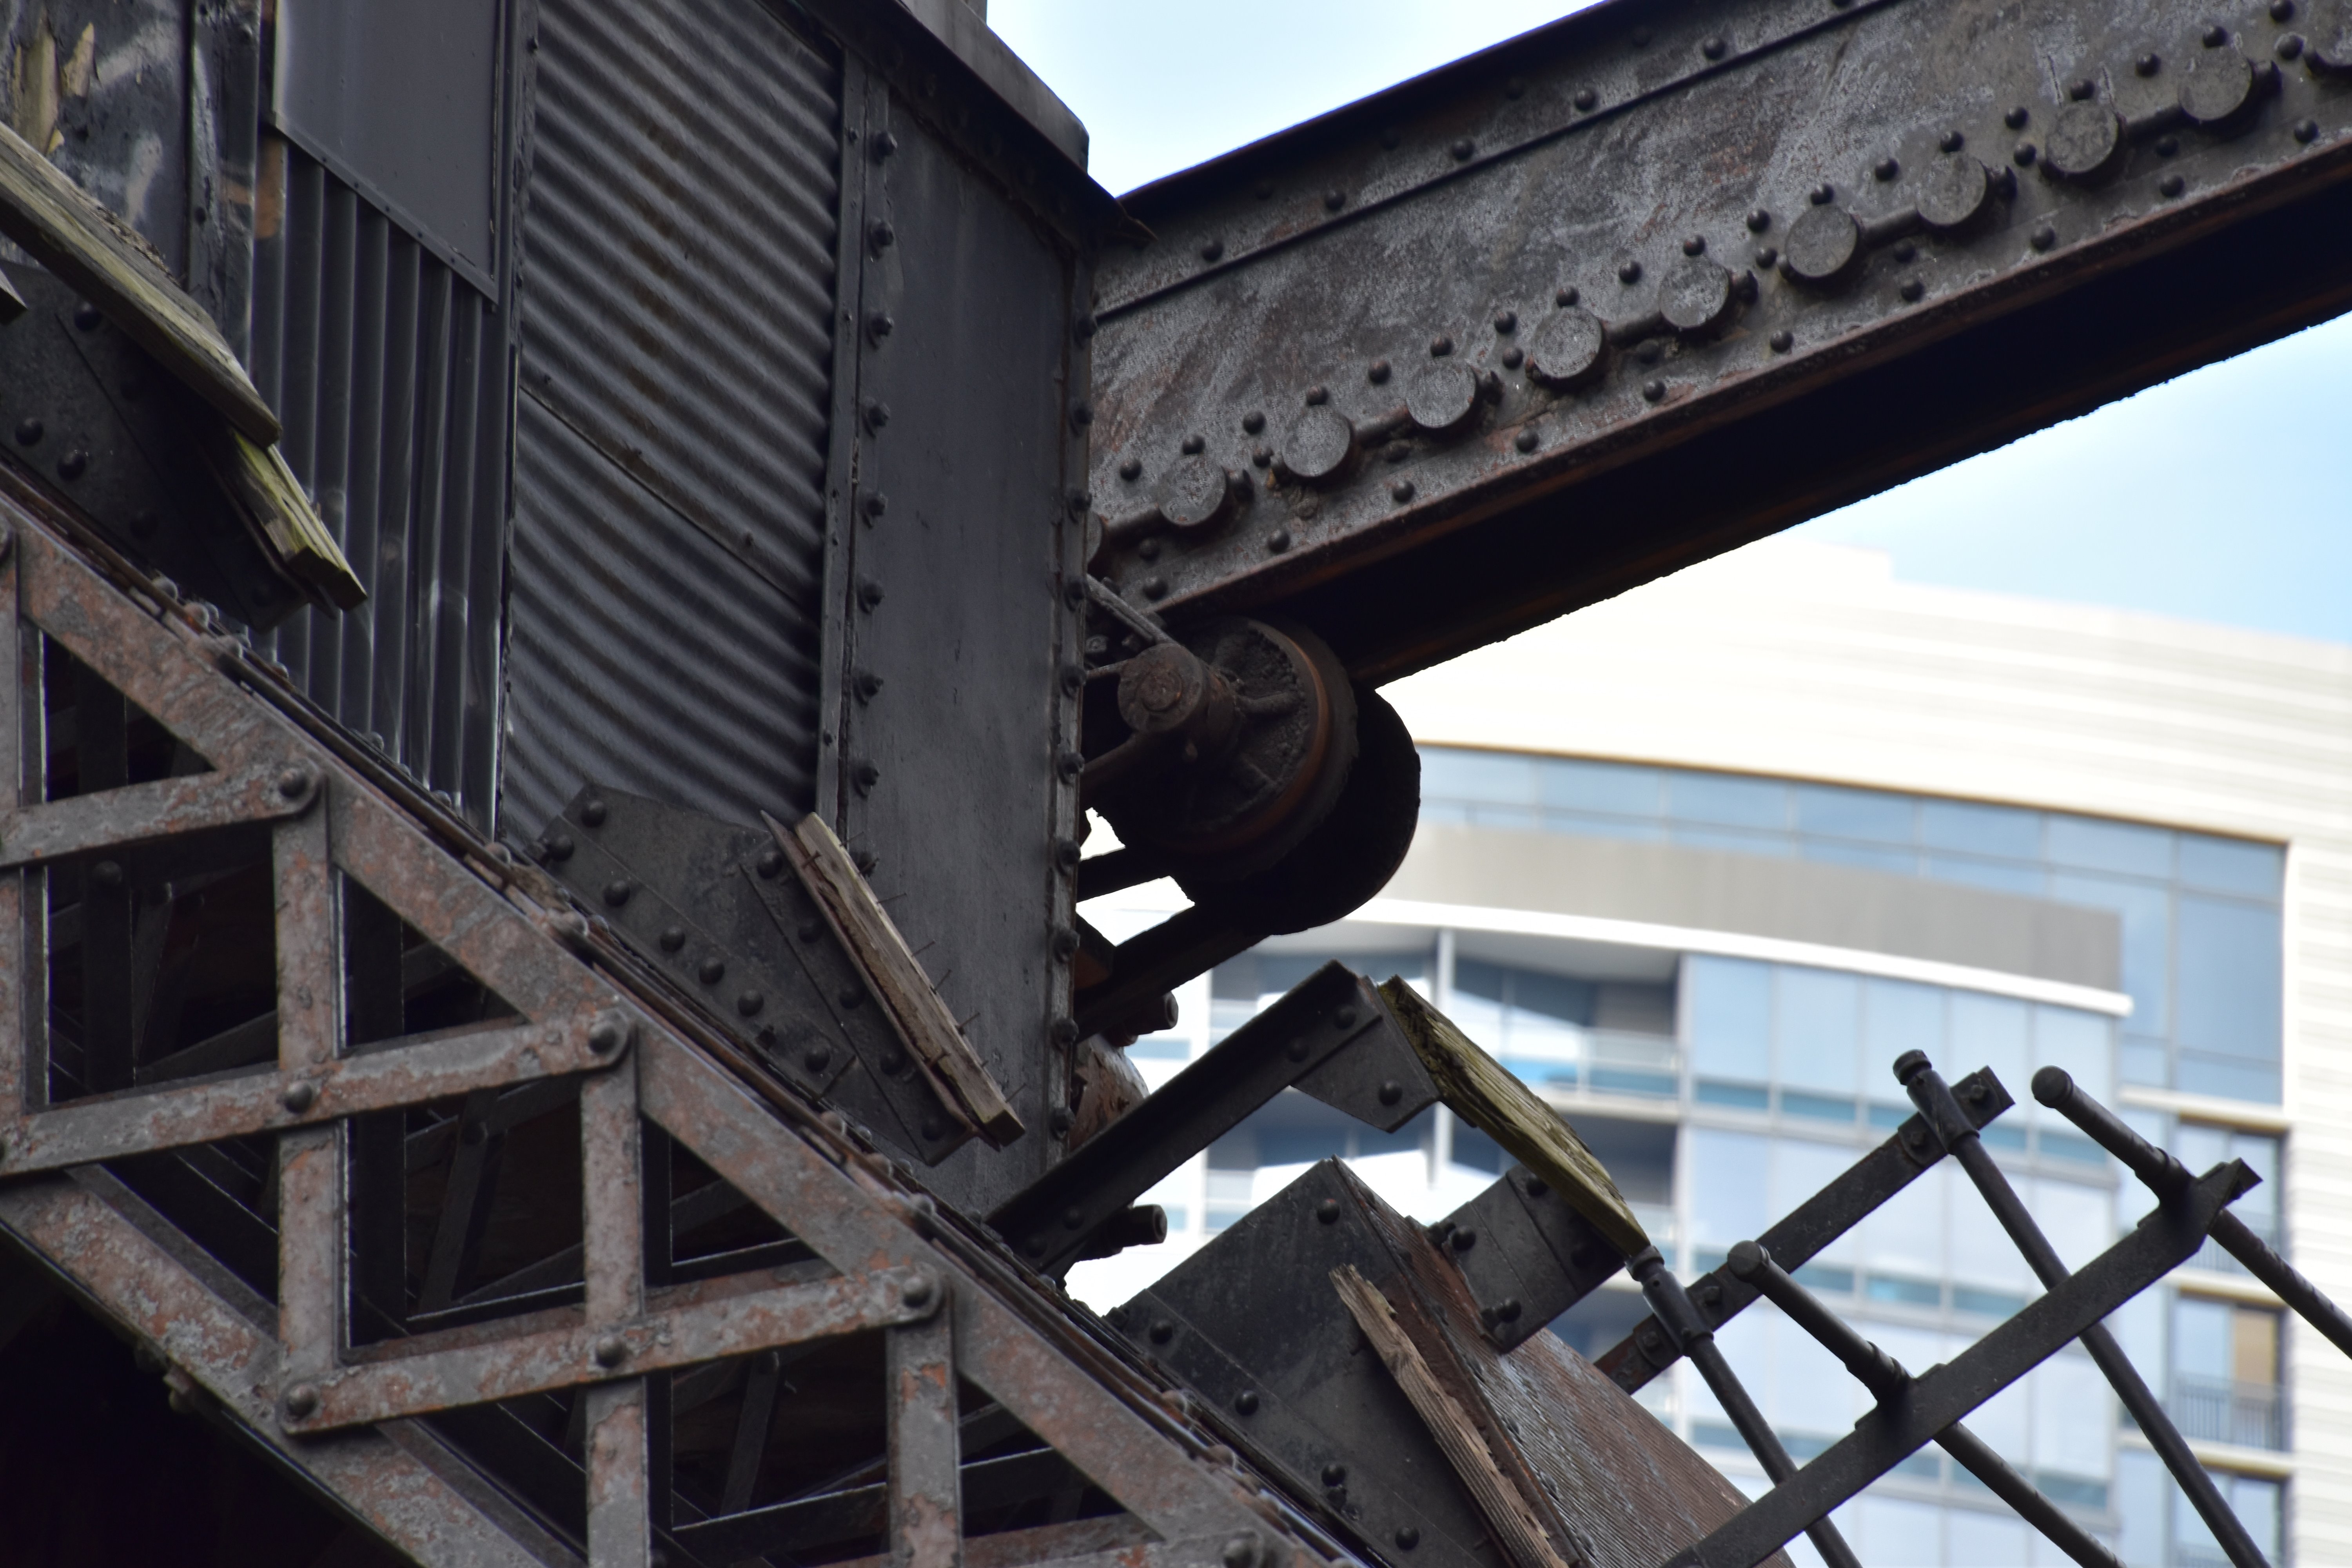
Mechanical details near link pin and operating pinion.
![]()
Operating strut details.
![]()
Operating strut connection to leaf.
![]()


Link pin at counterweight.
![]()

Looking up toward main trunnion.
![]()
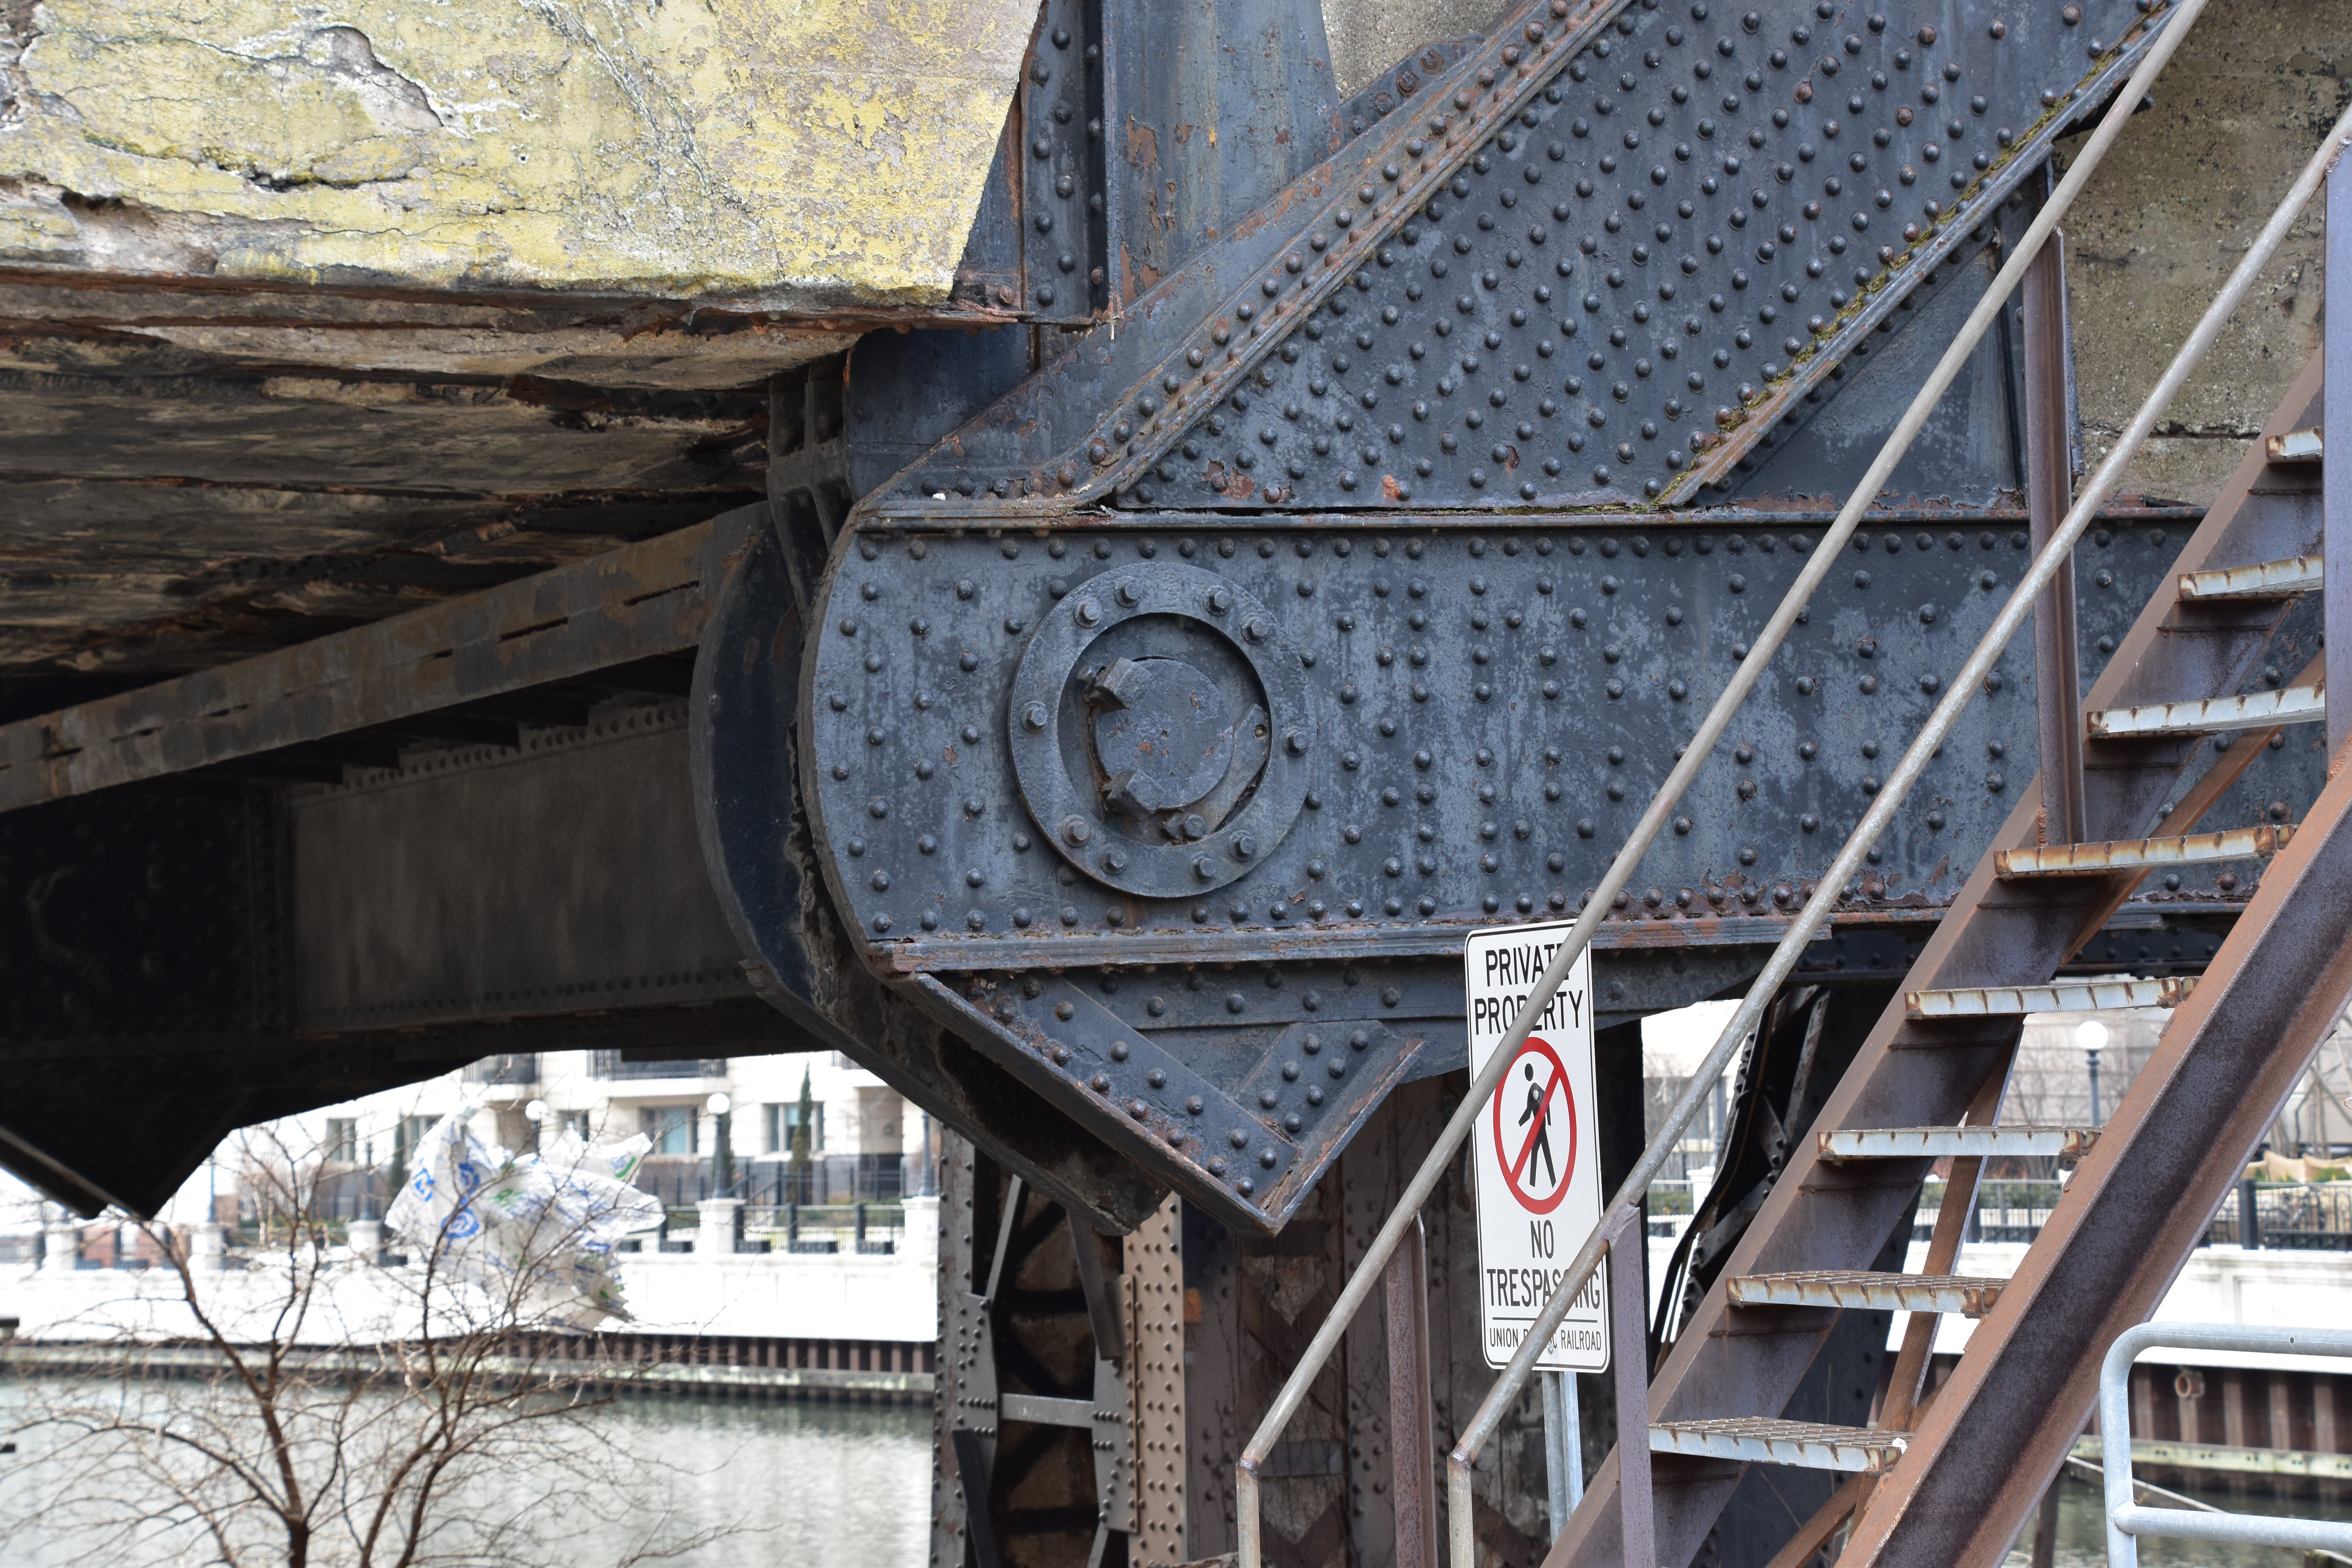
Counterweight trunnion.
![]()

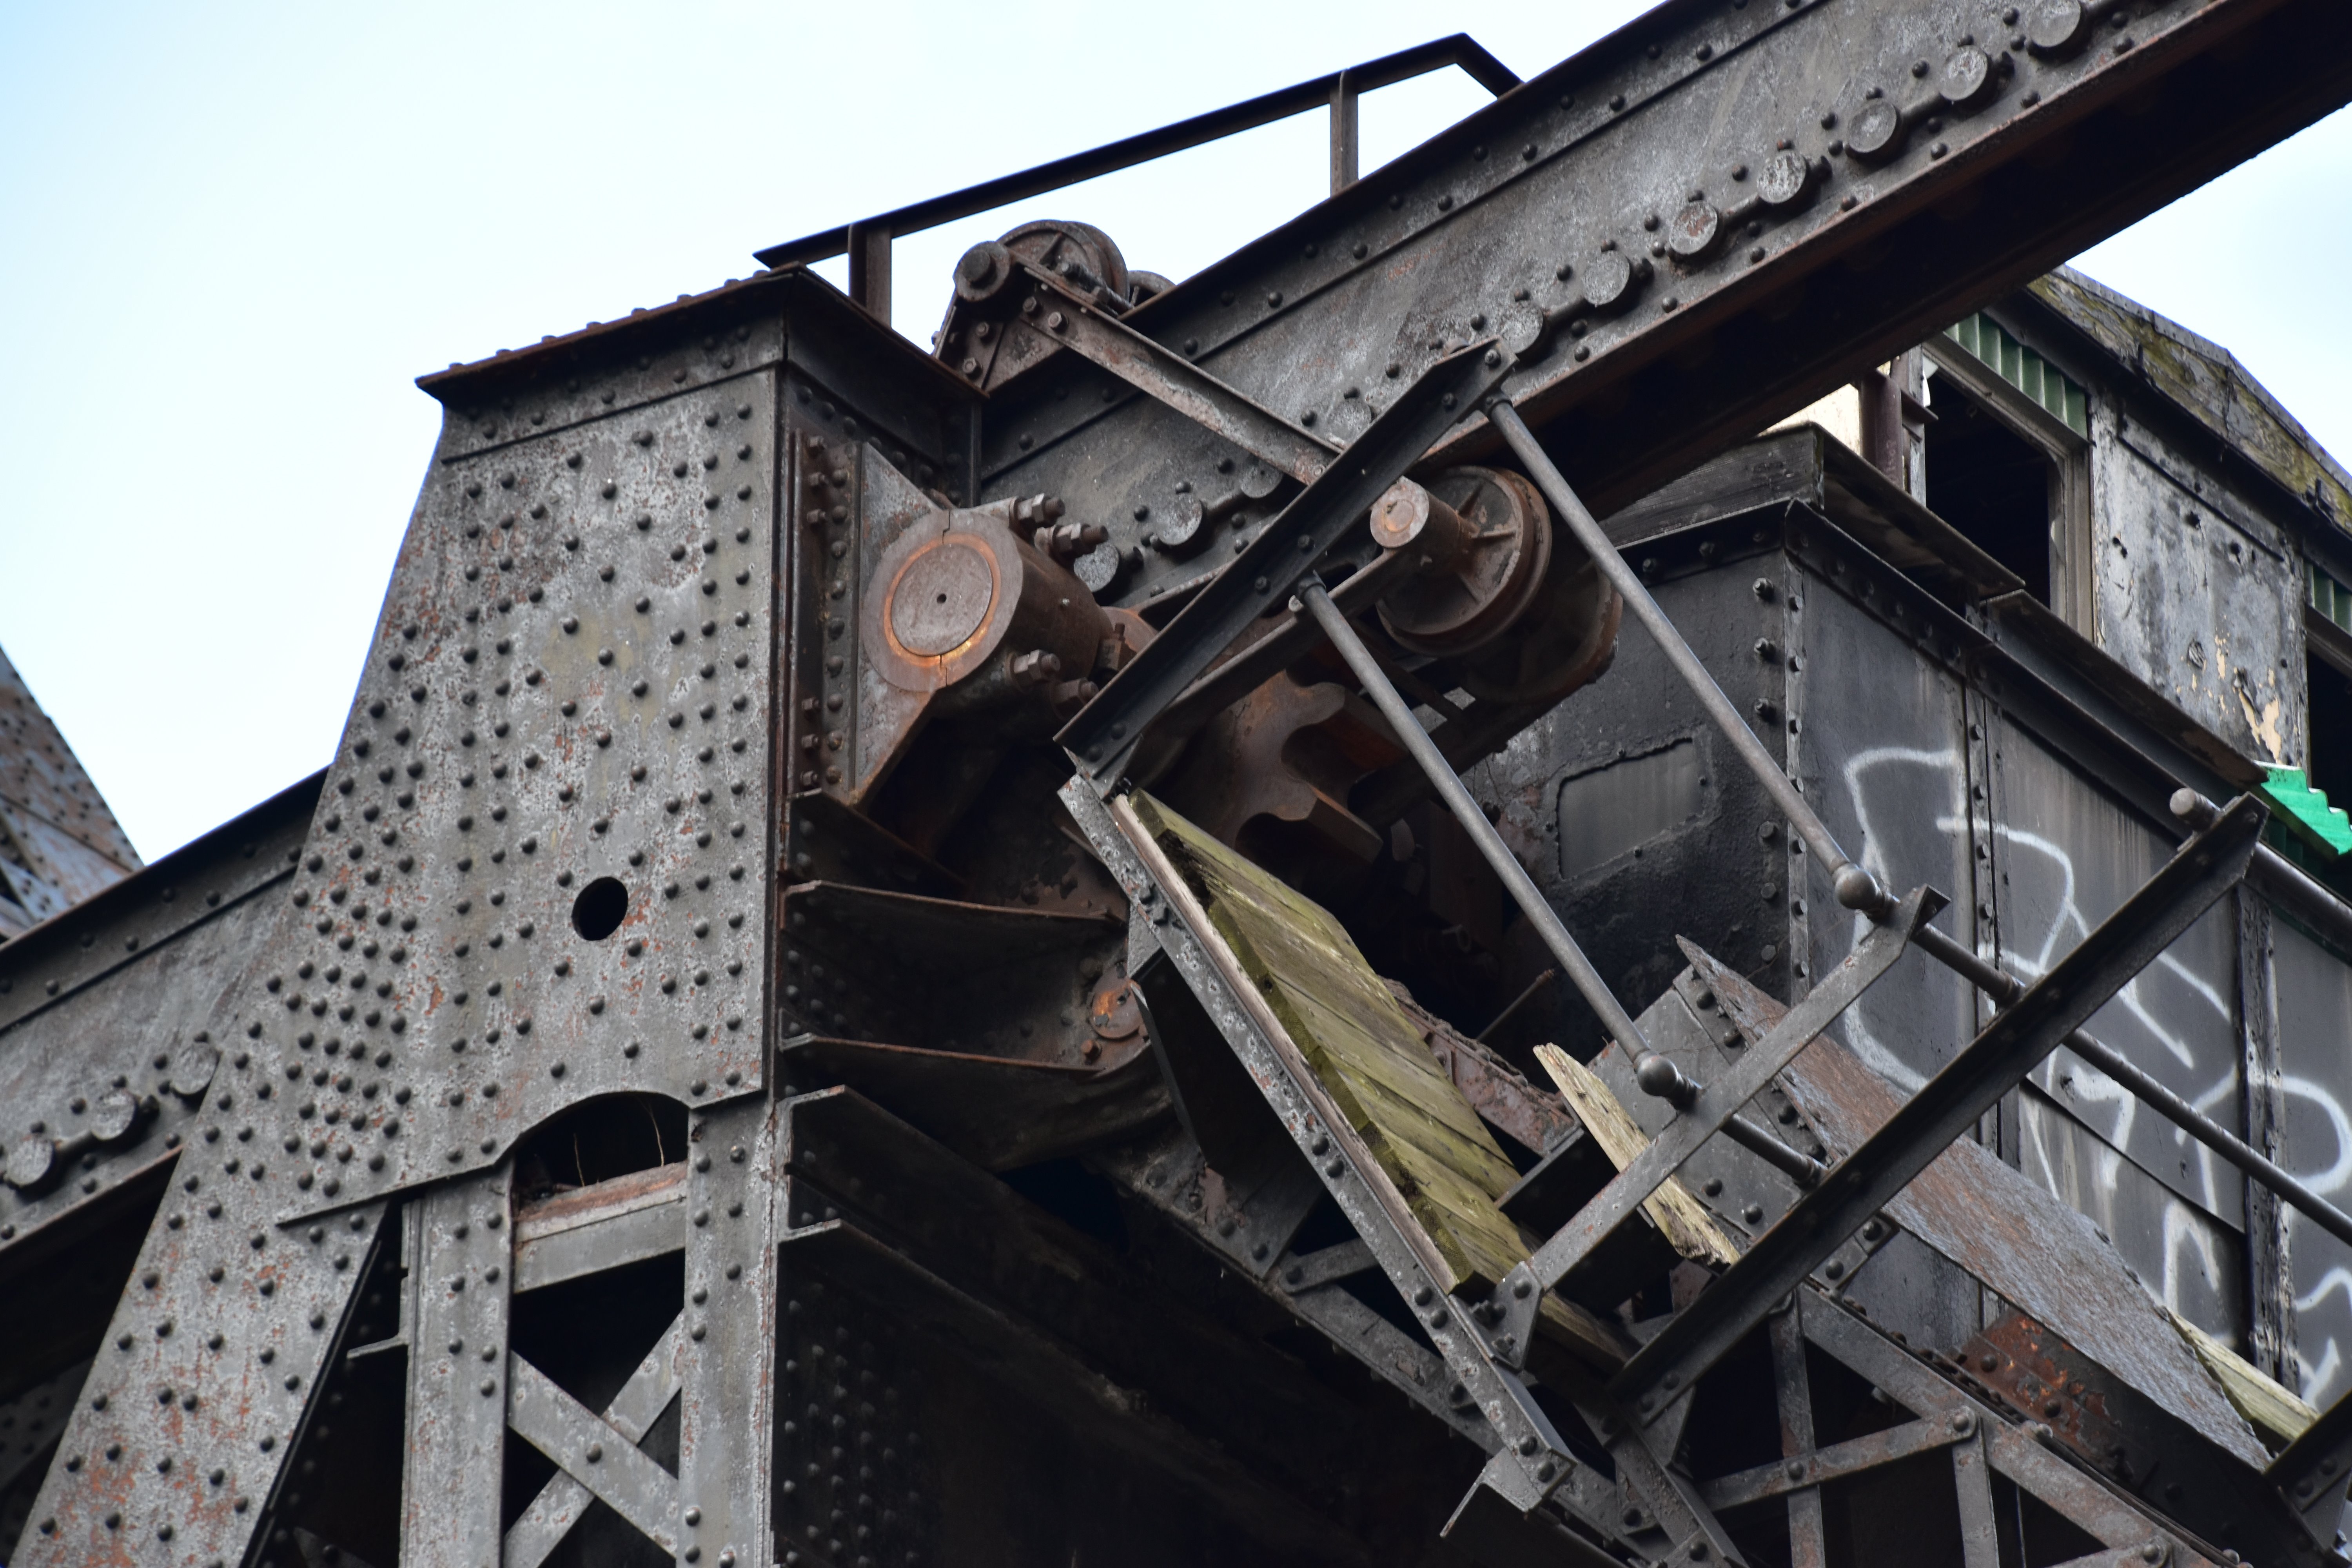
Looking up at machinery house.
![]()

Leaf bearing.
![]()


Counterweight tower posts.
![]()


Counterweight tower bearings.
![]()

Counterweight.
![]()
Counterweight details.
![]()

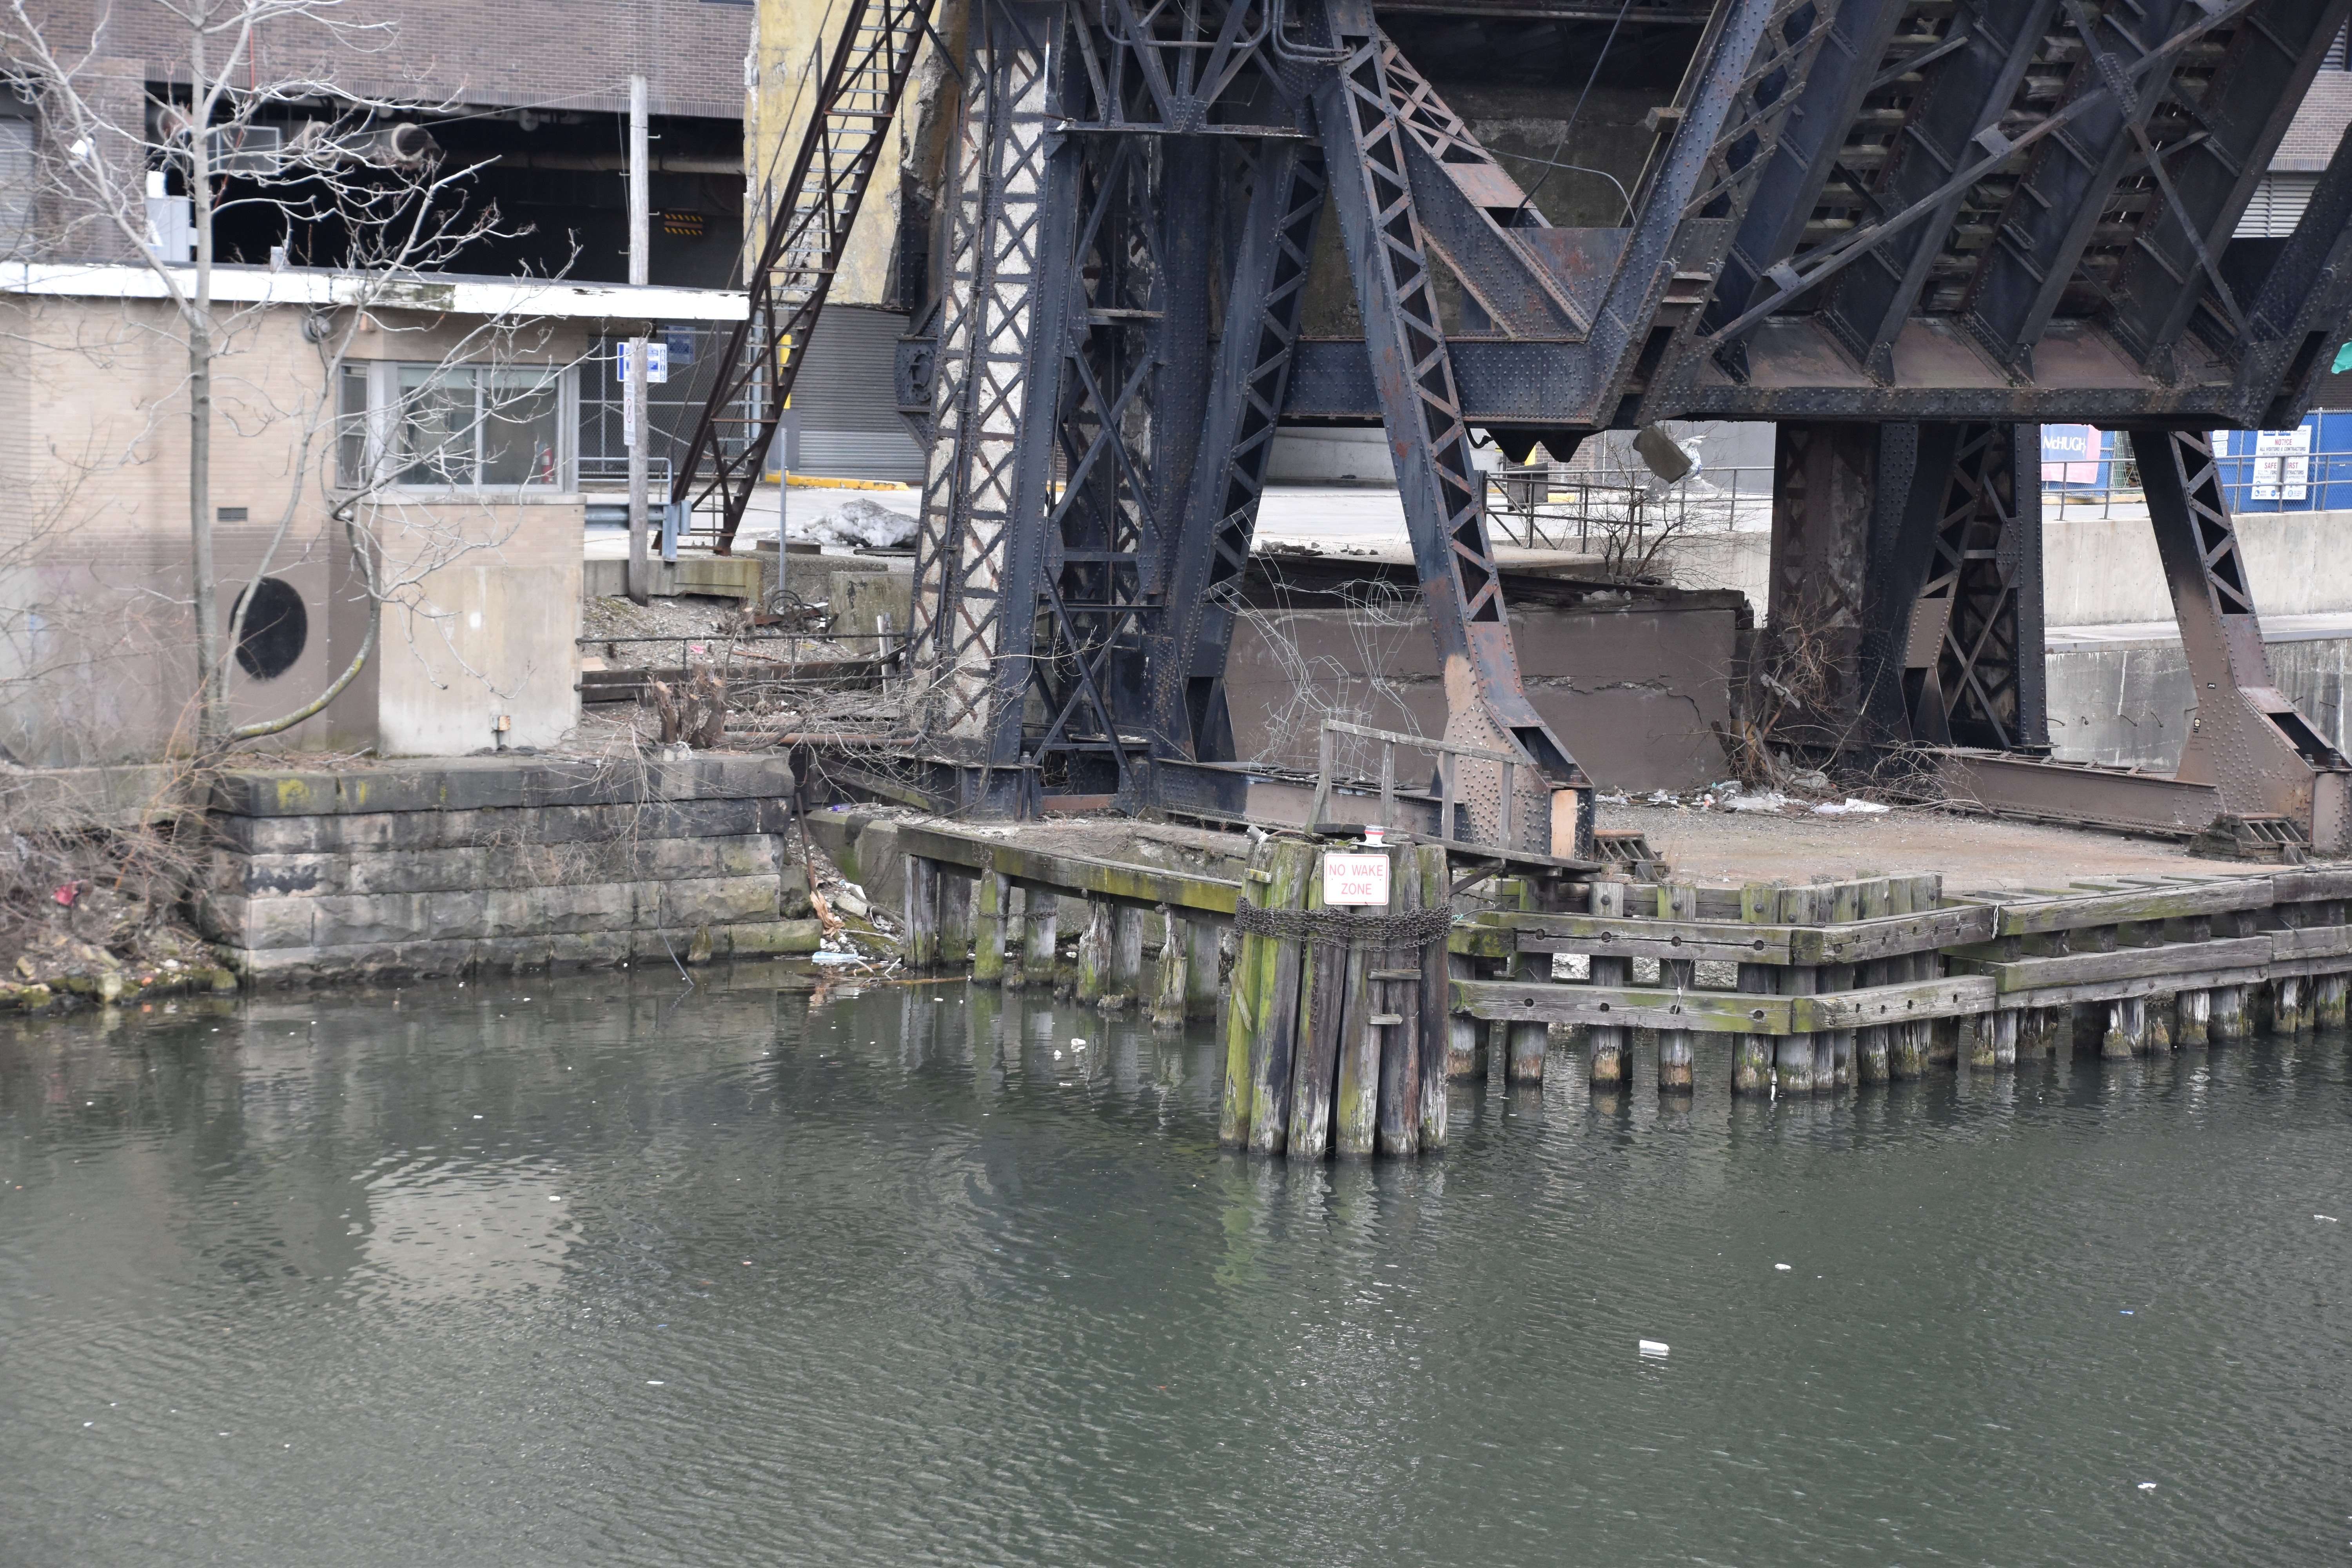
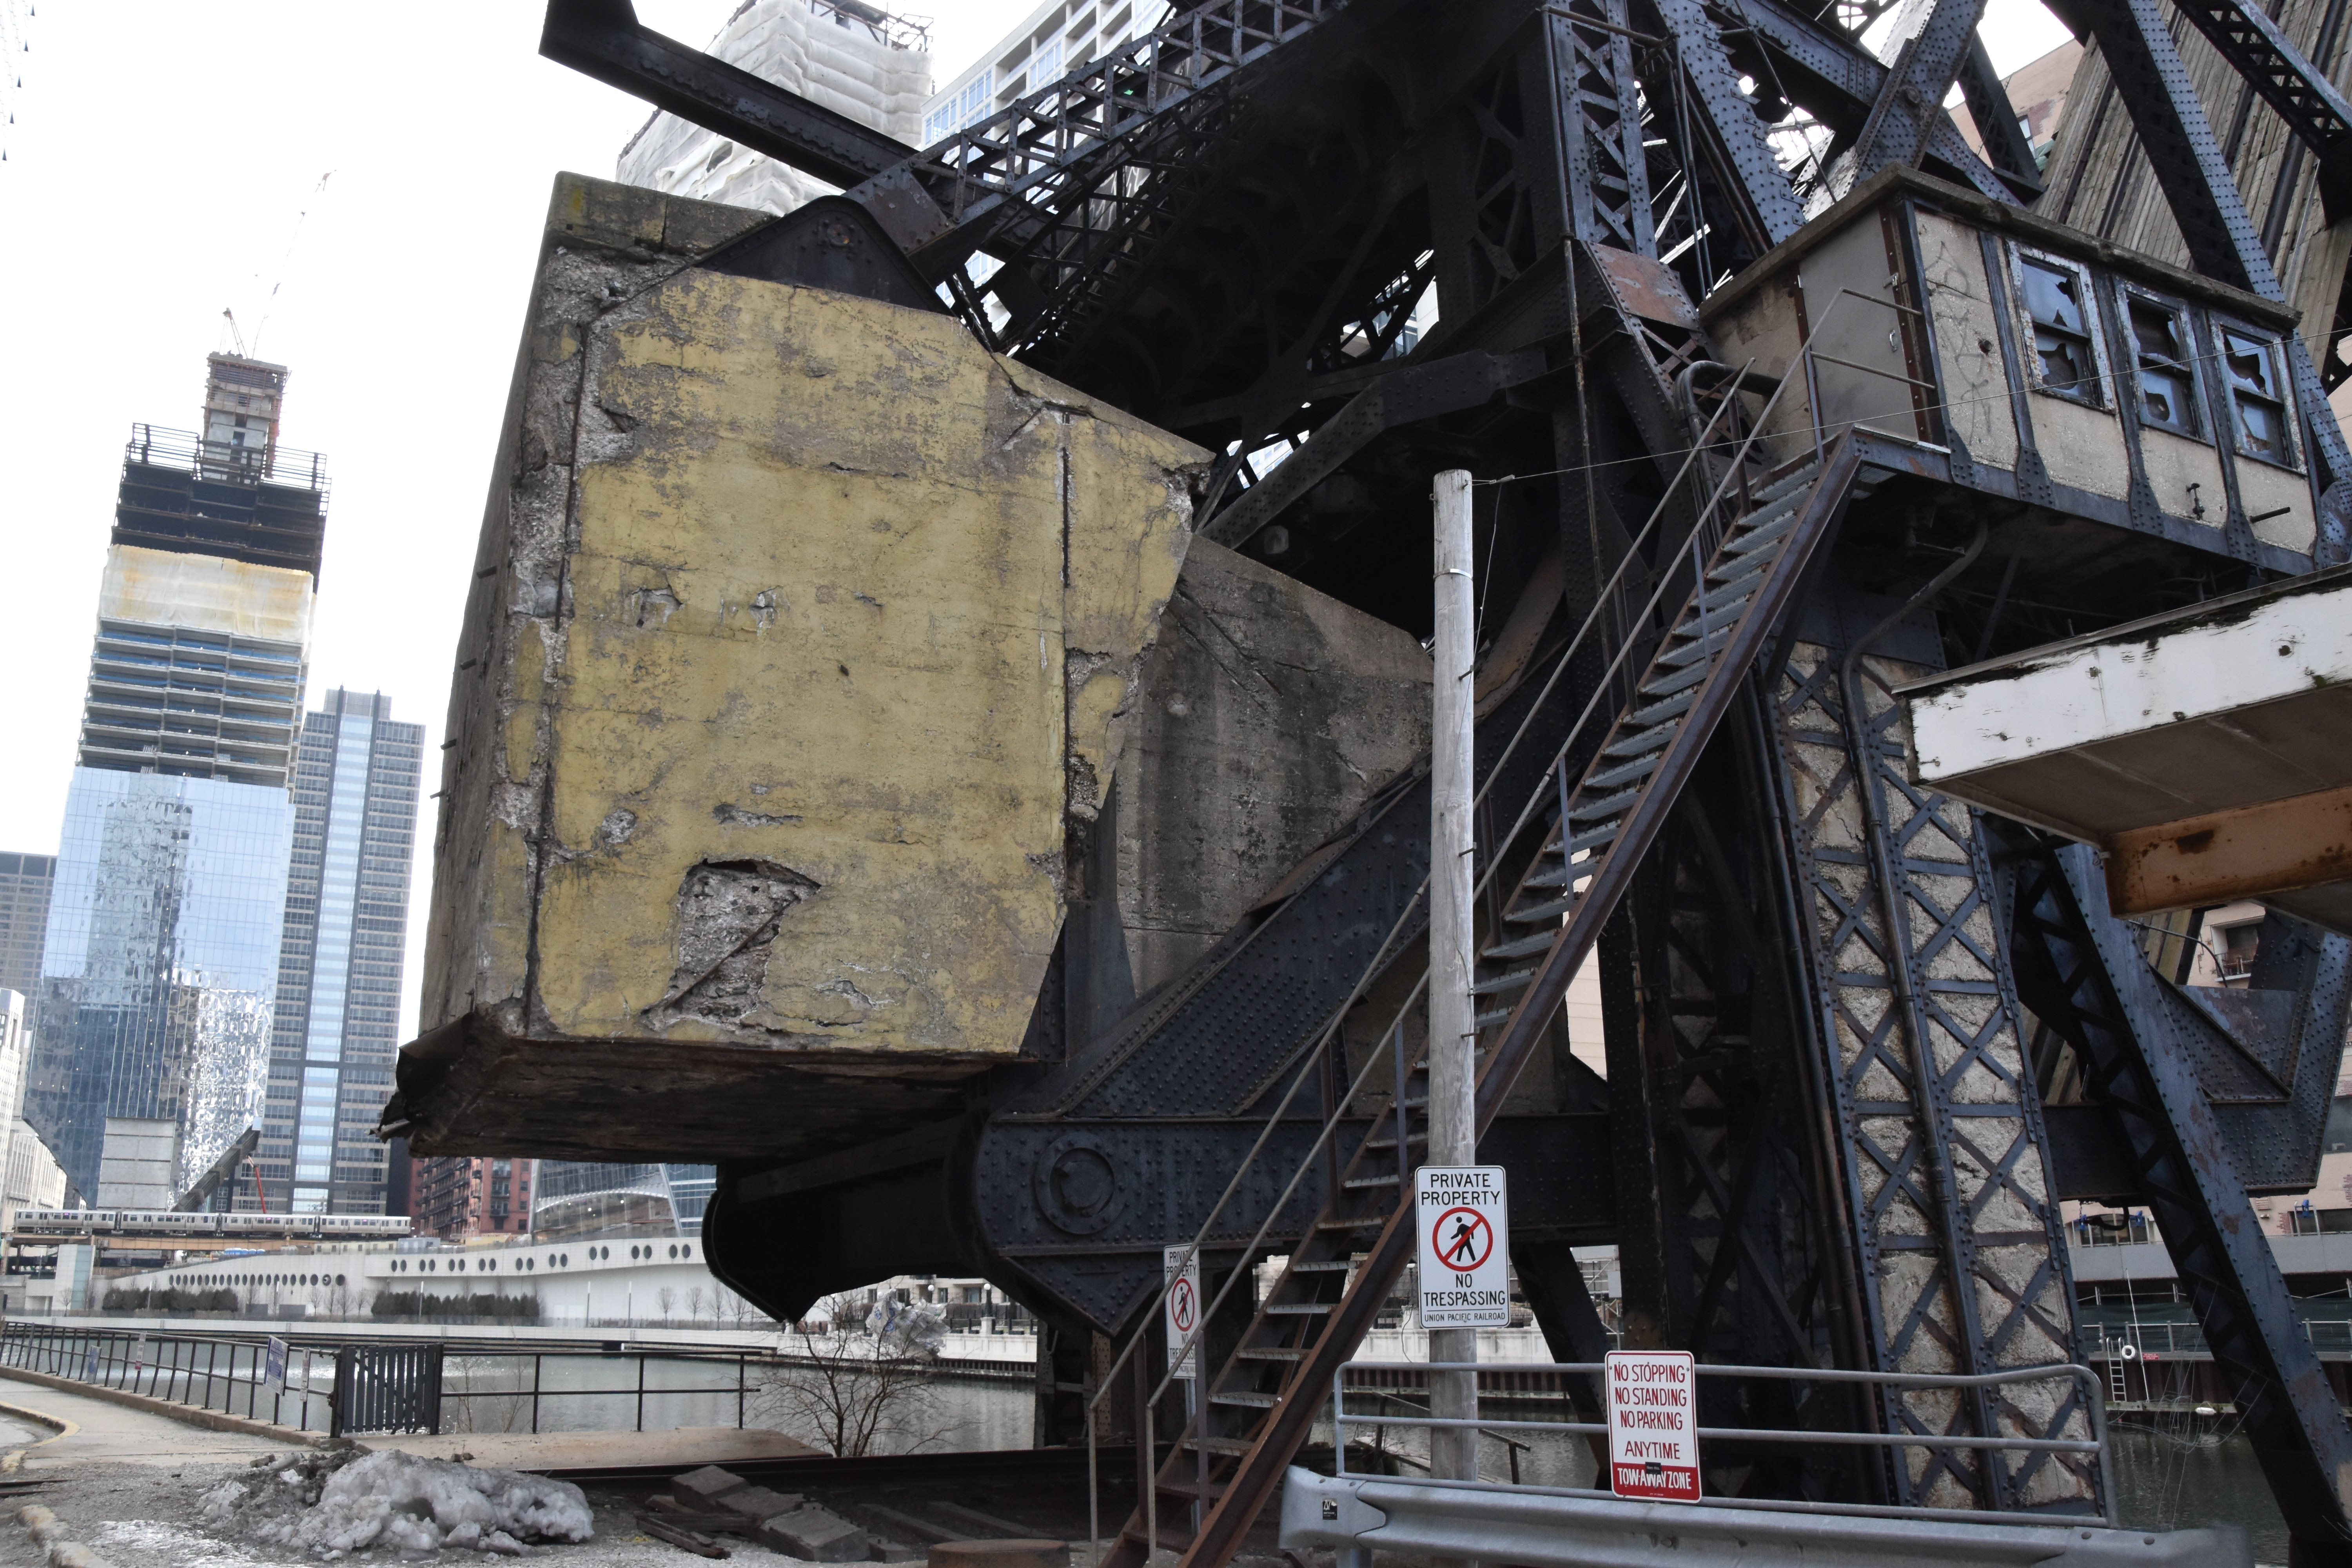
Bascule pier.
![]()


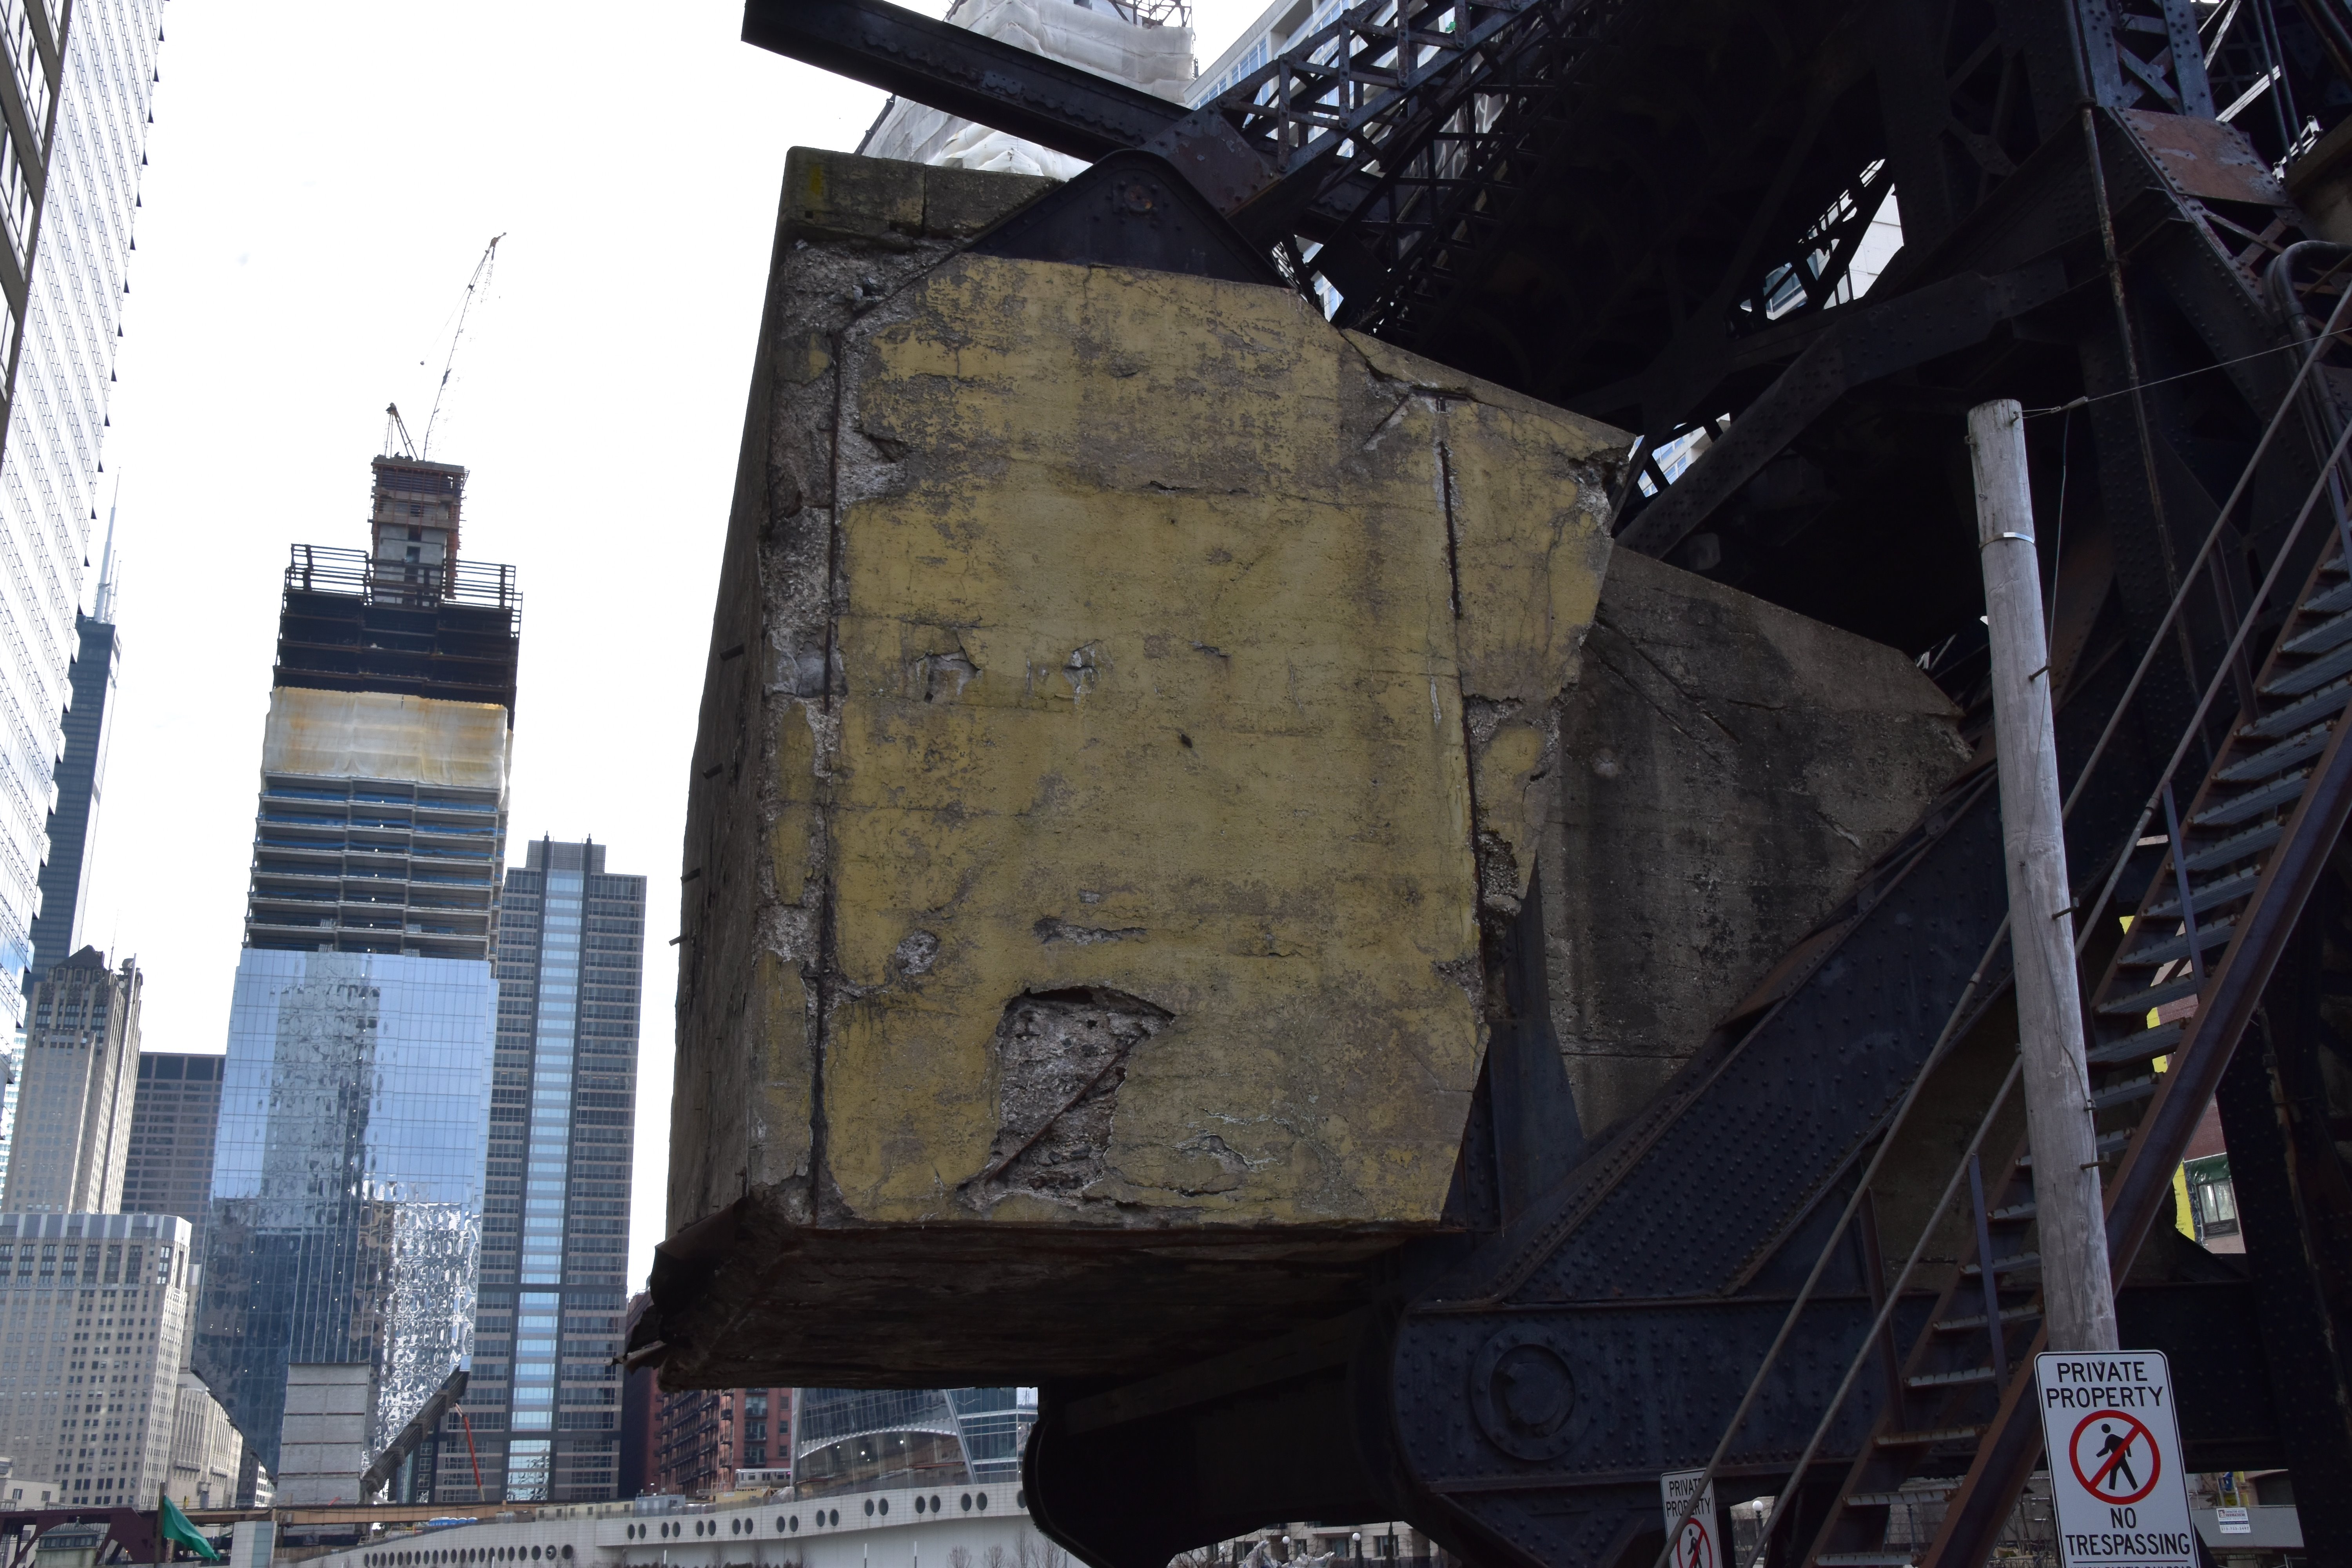
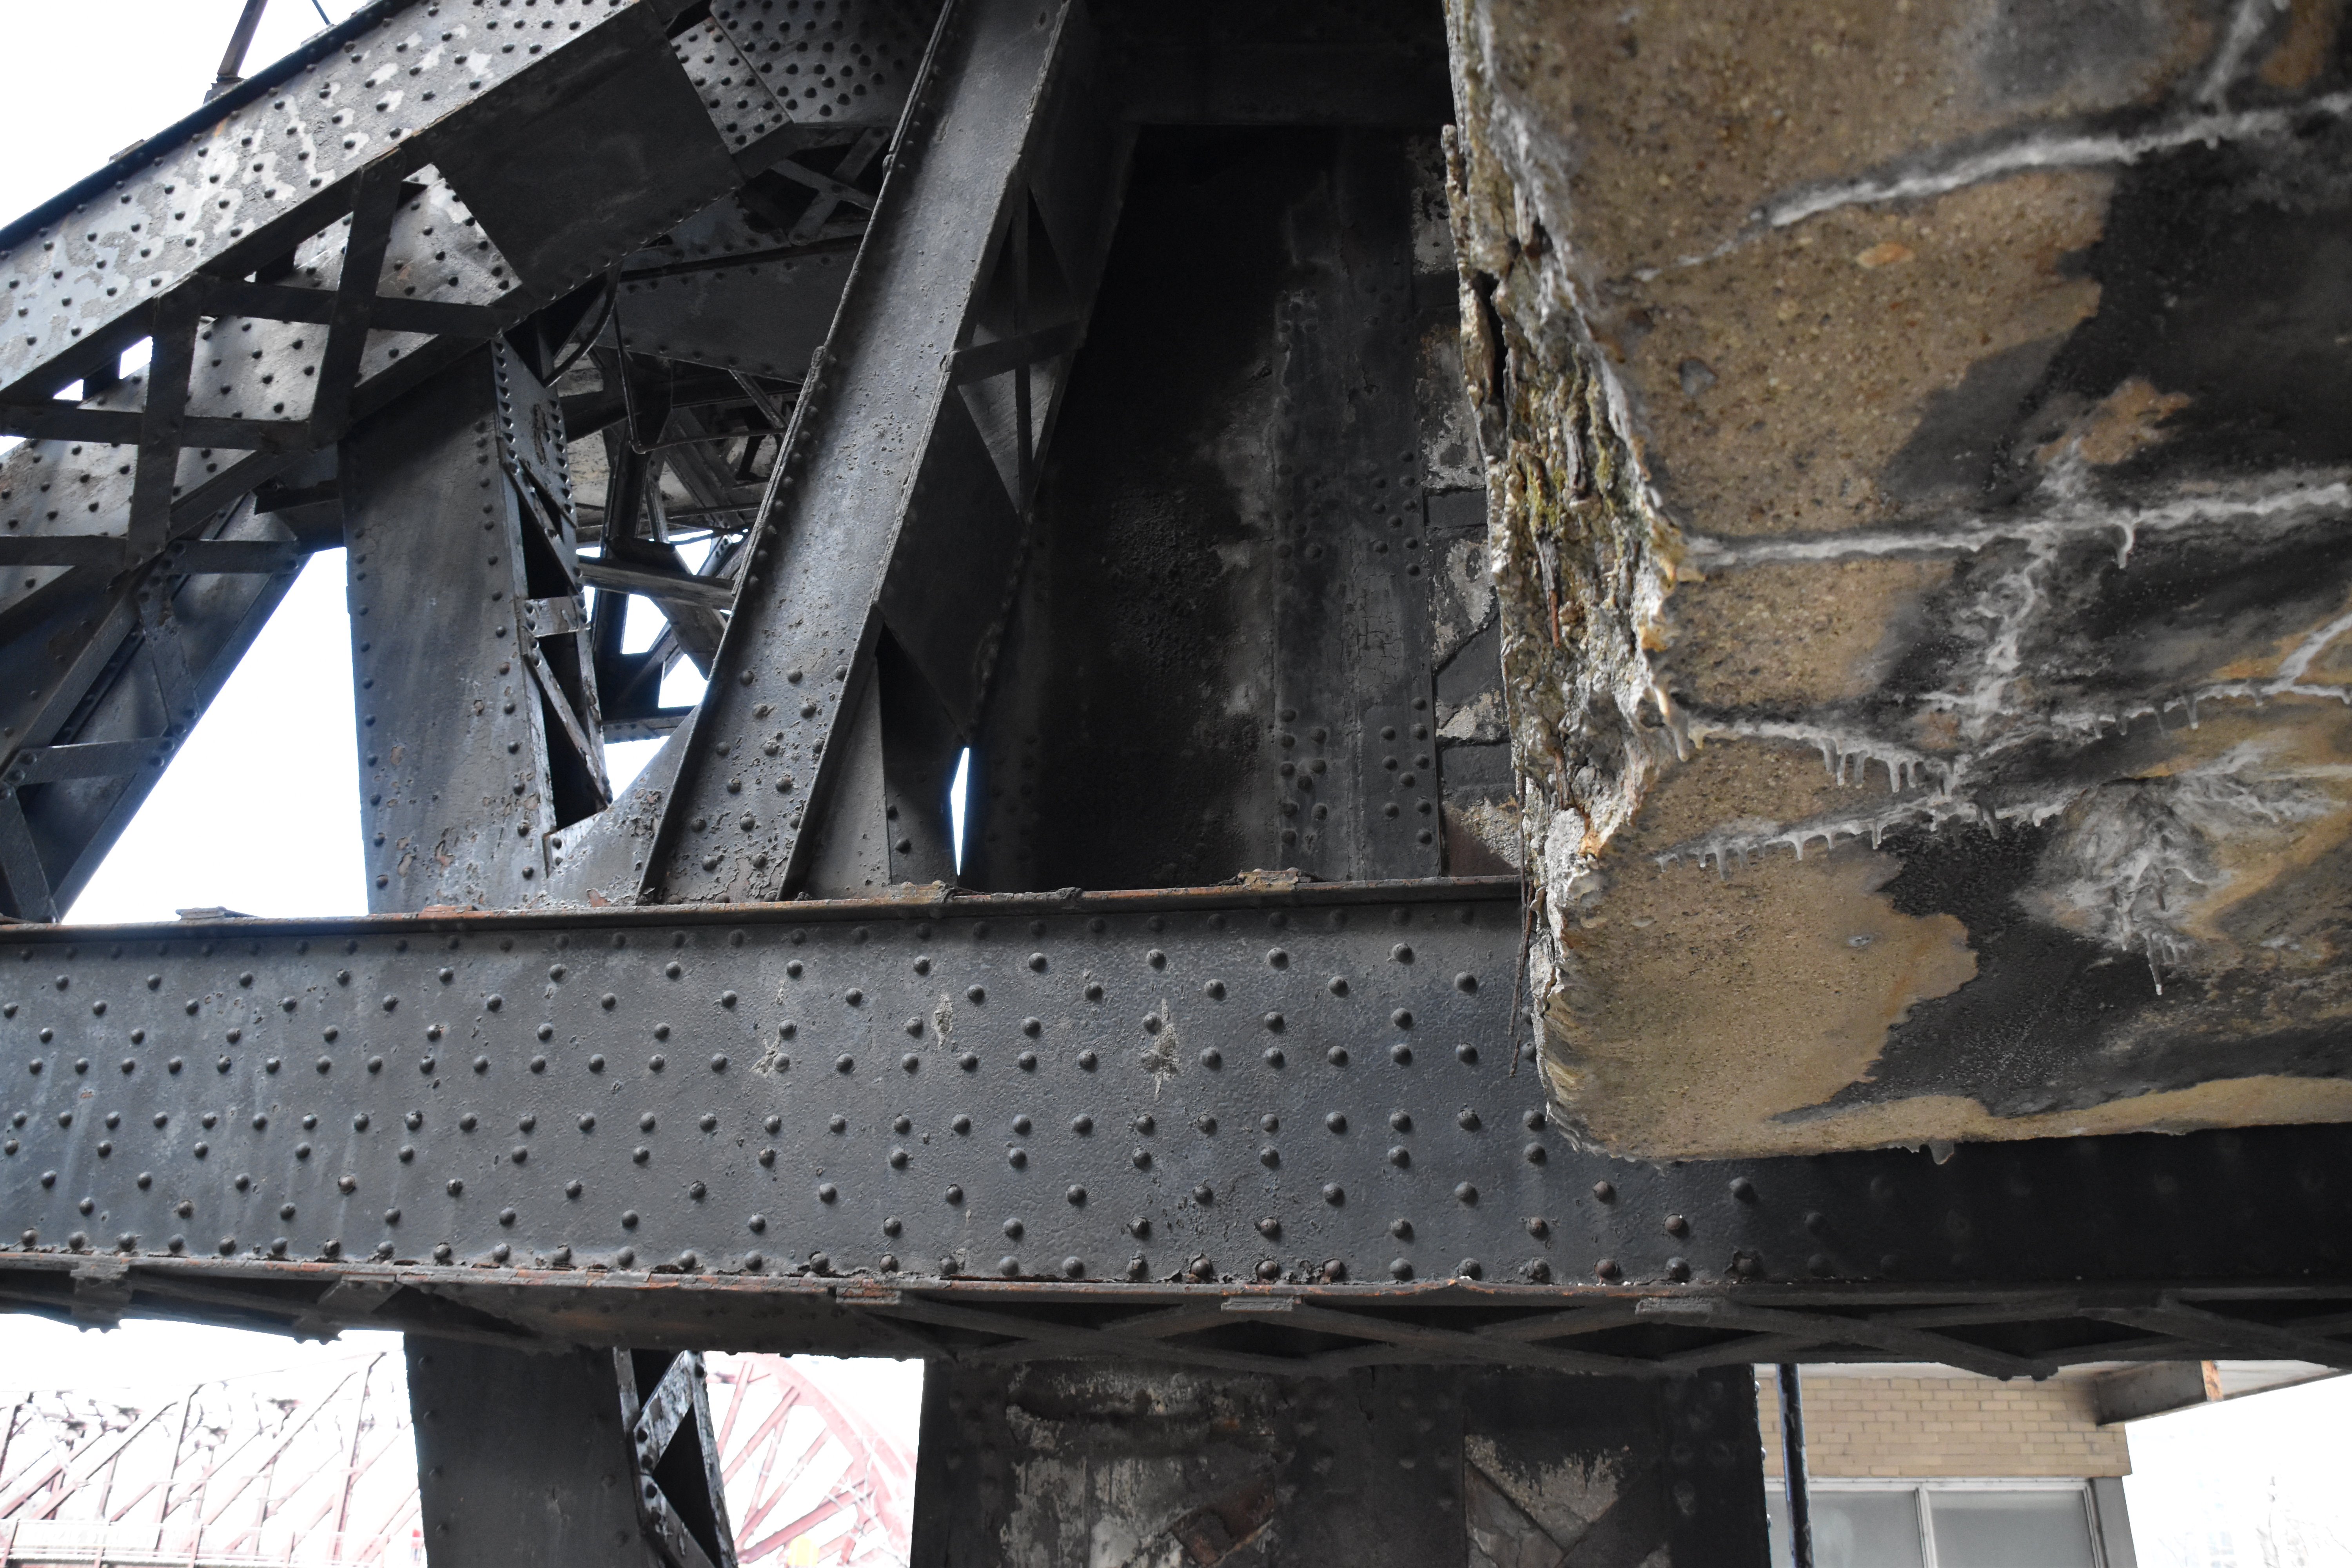
Spalling on bascule pier.
![]()


Deck.
![]()
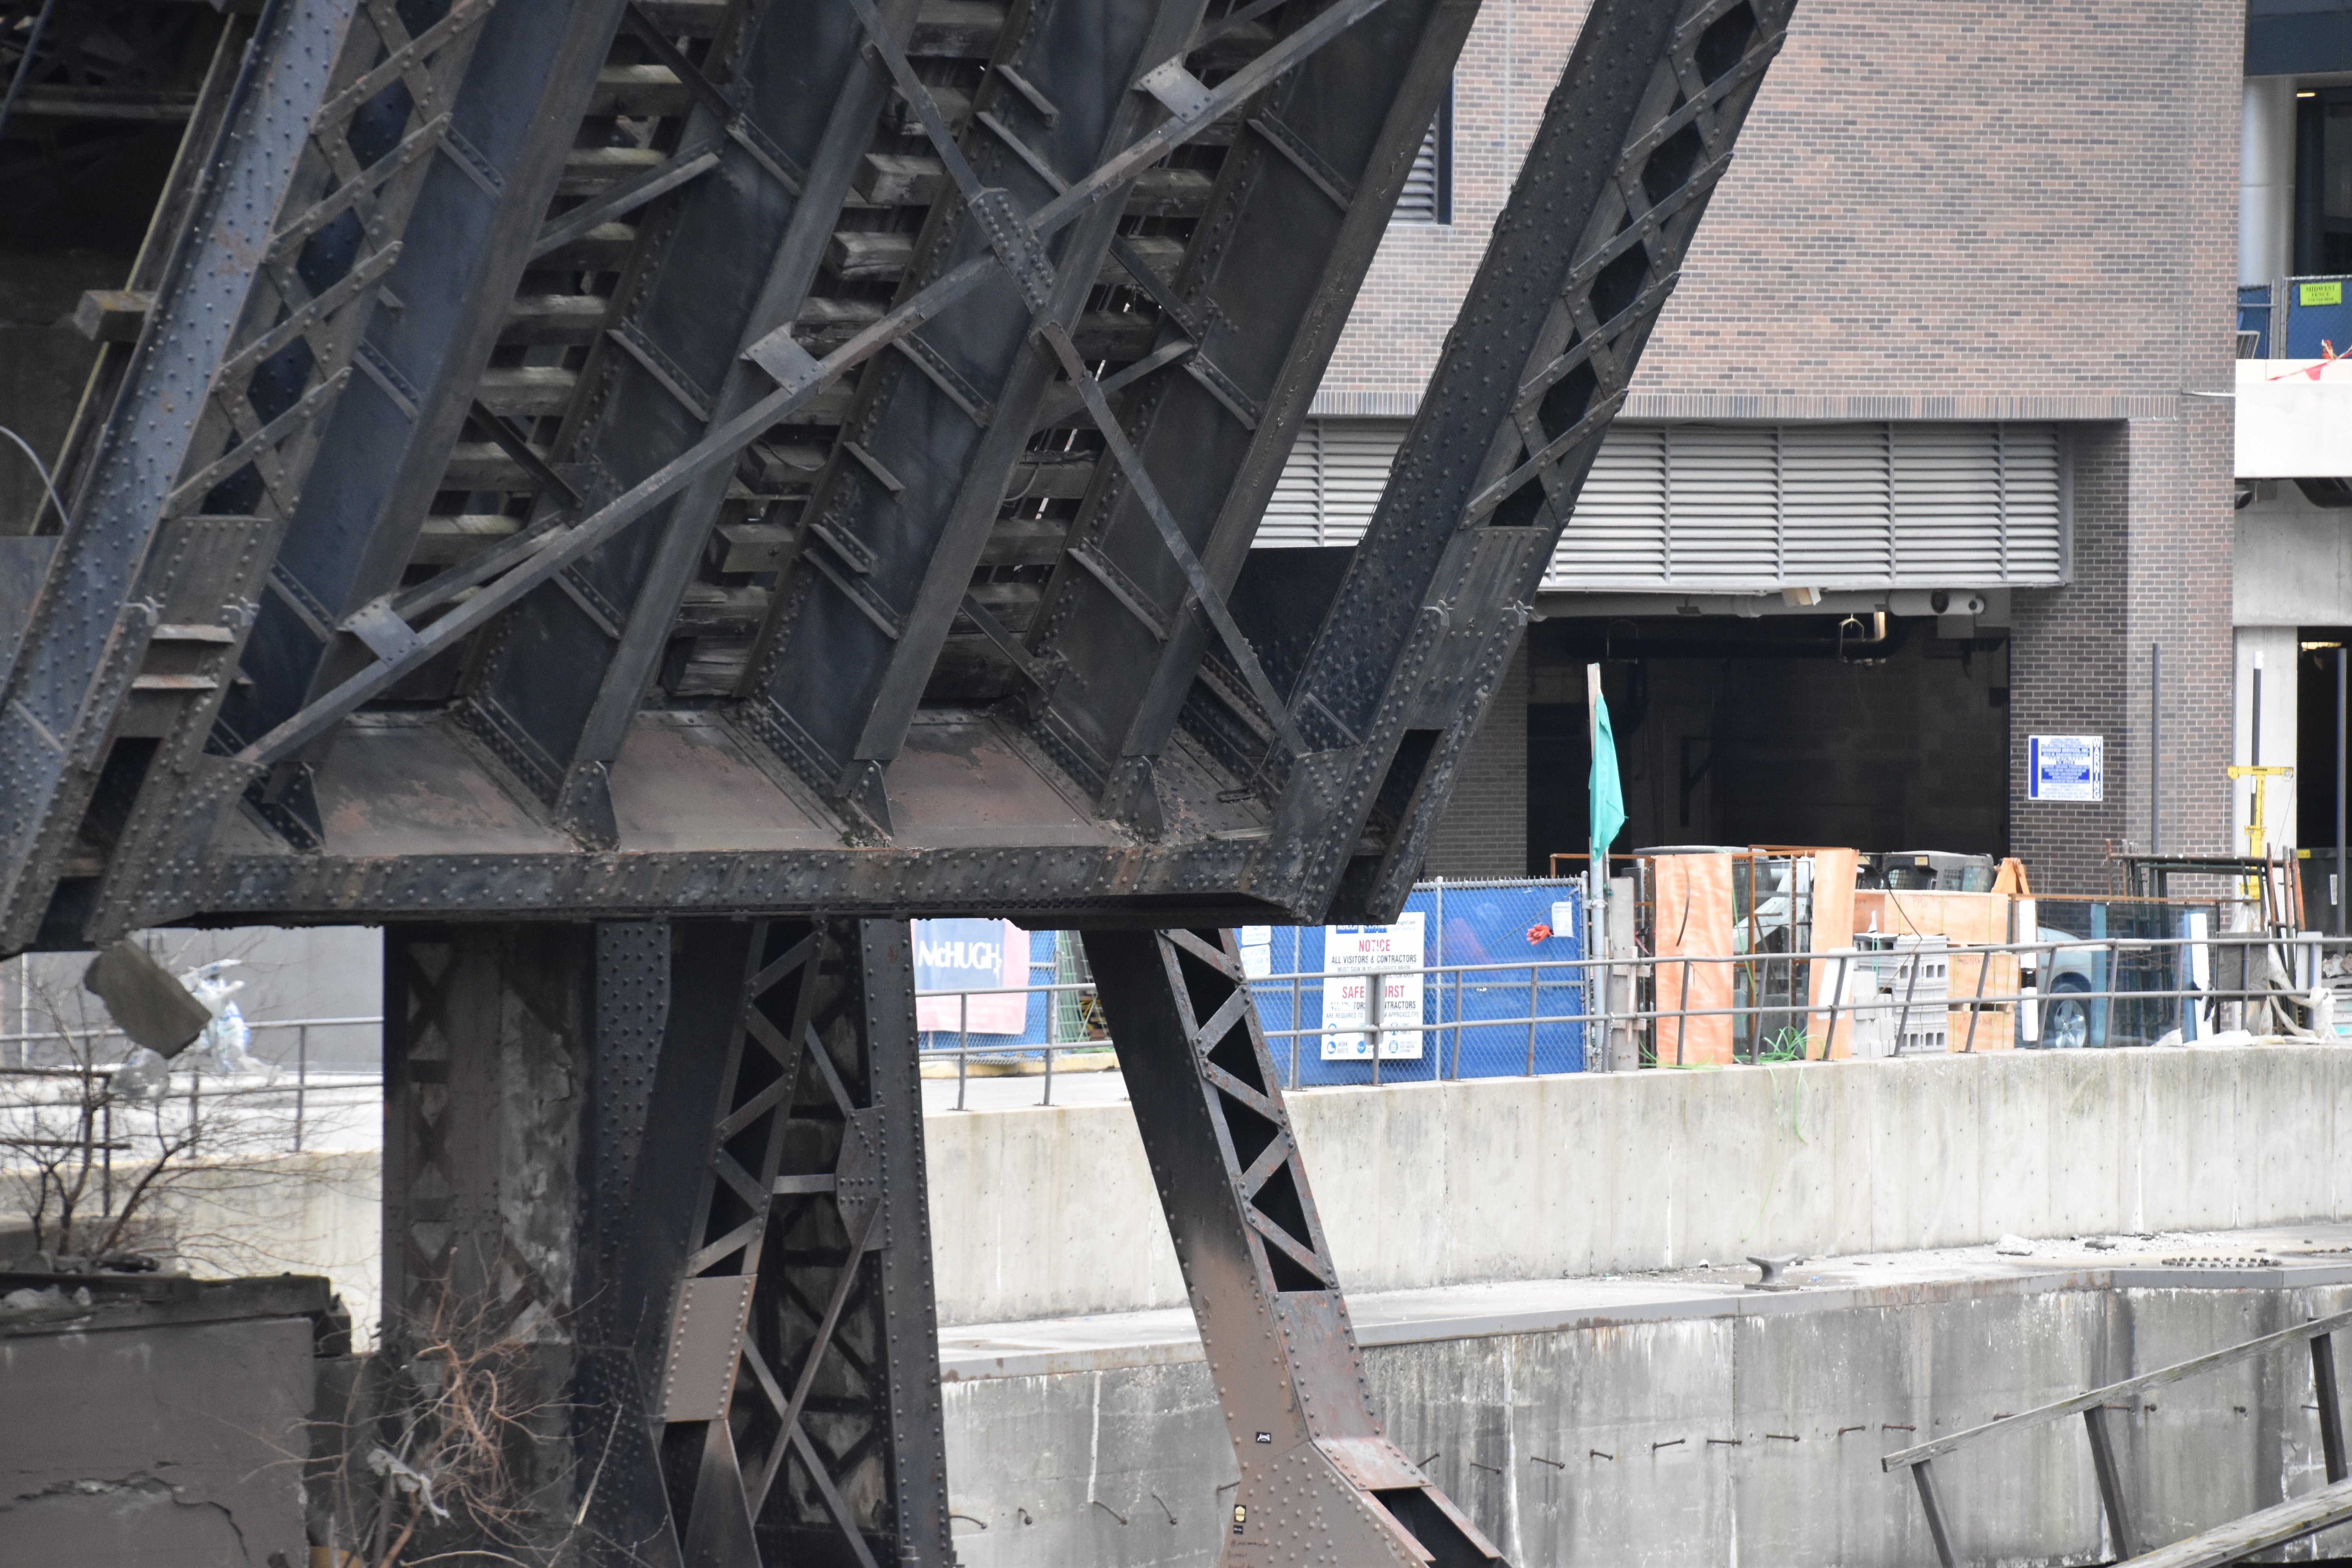


Views under bascule leaf.
![]()
Leaf end post details.
![]()
![]()

![]()