Uncredited photos on this page taken by: Nathan Holth. Unless stated in a caption, all photos are Copyright with All Rights Reserved. Learn about reuse of our photos.
![]()
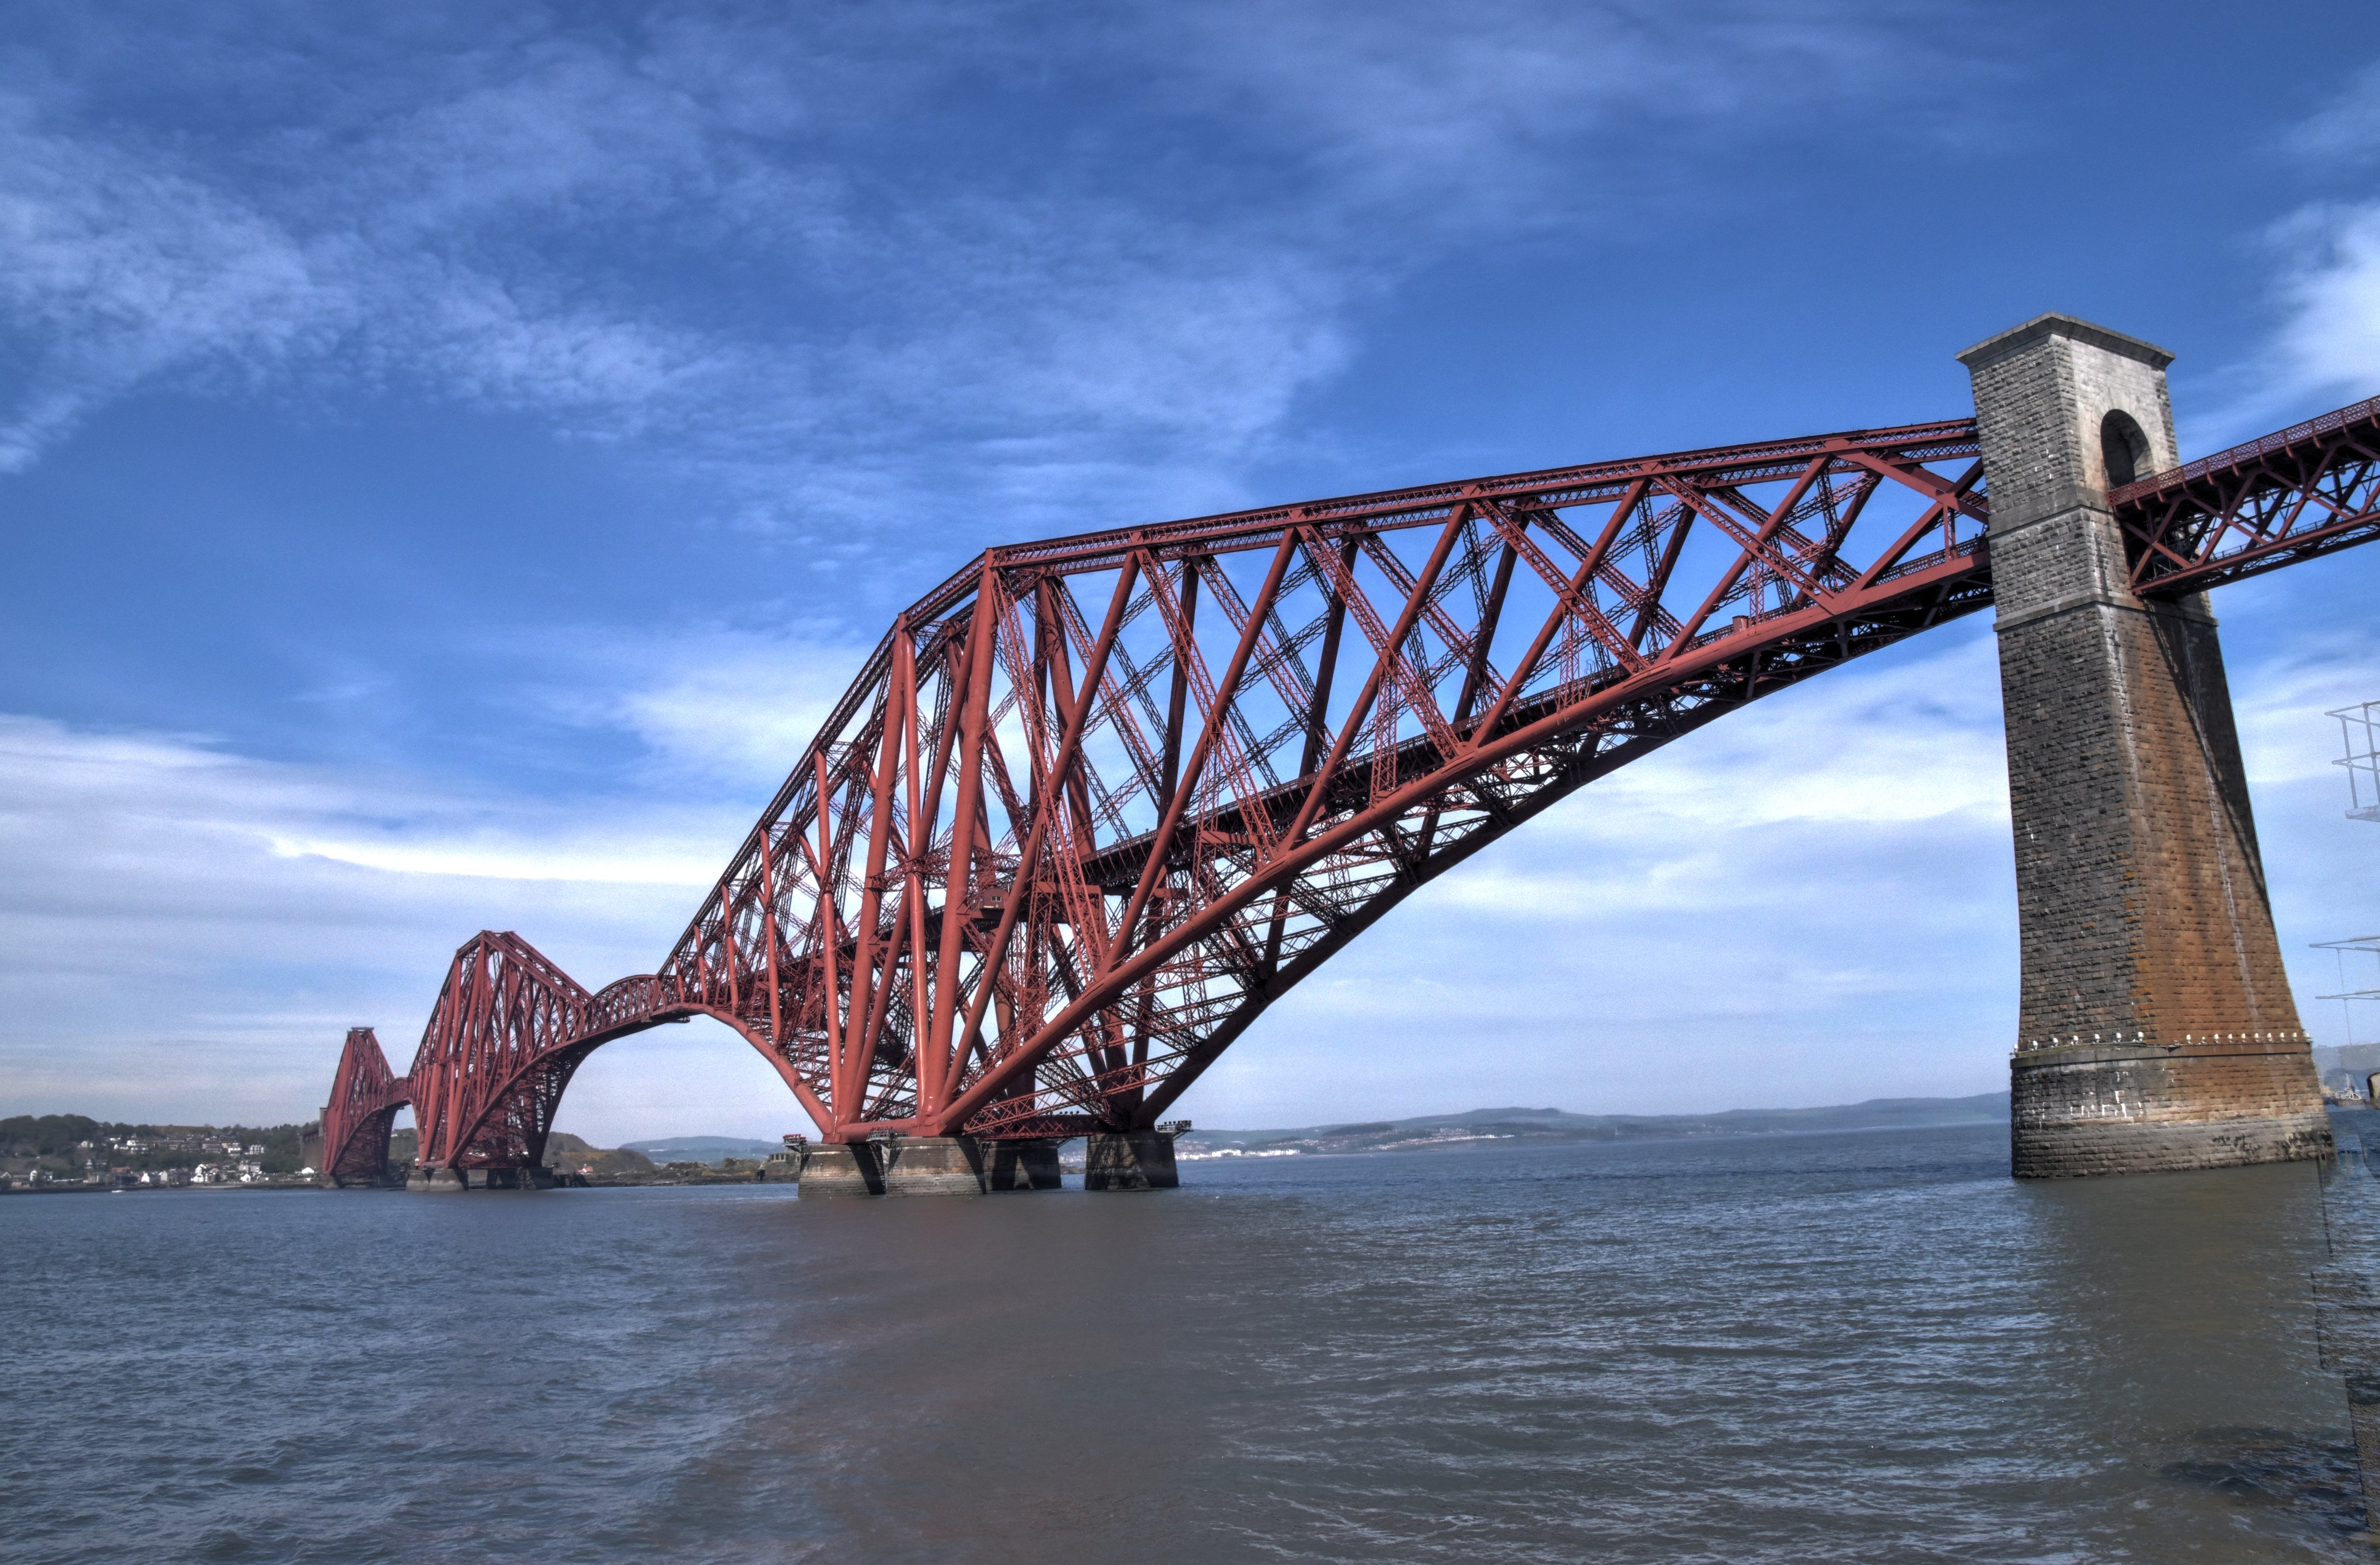


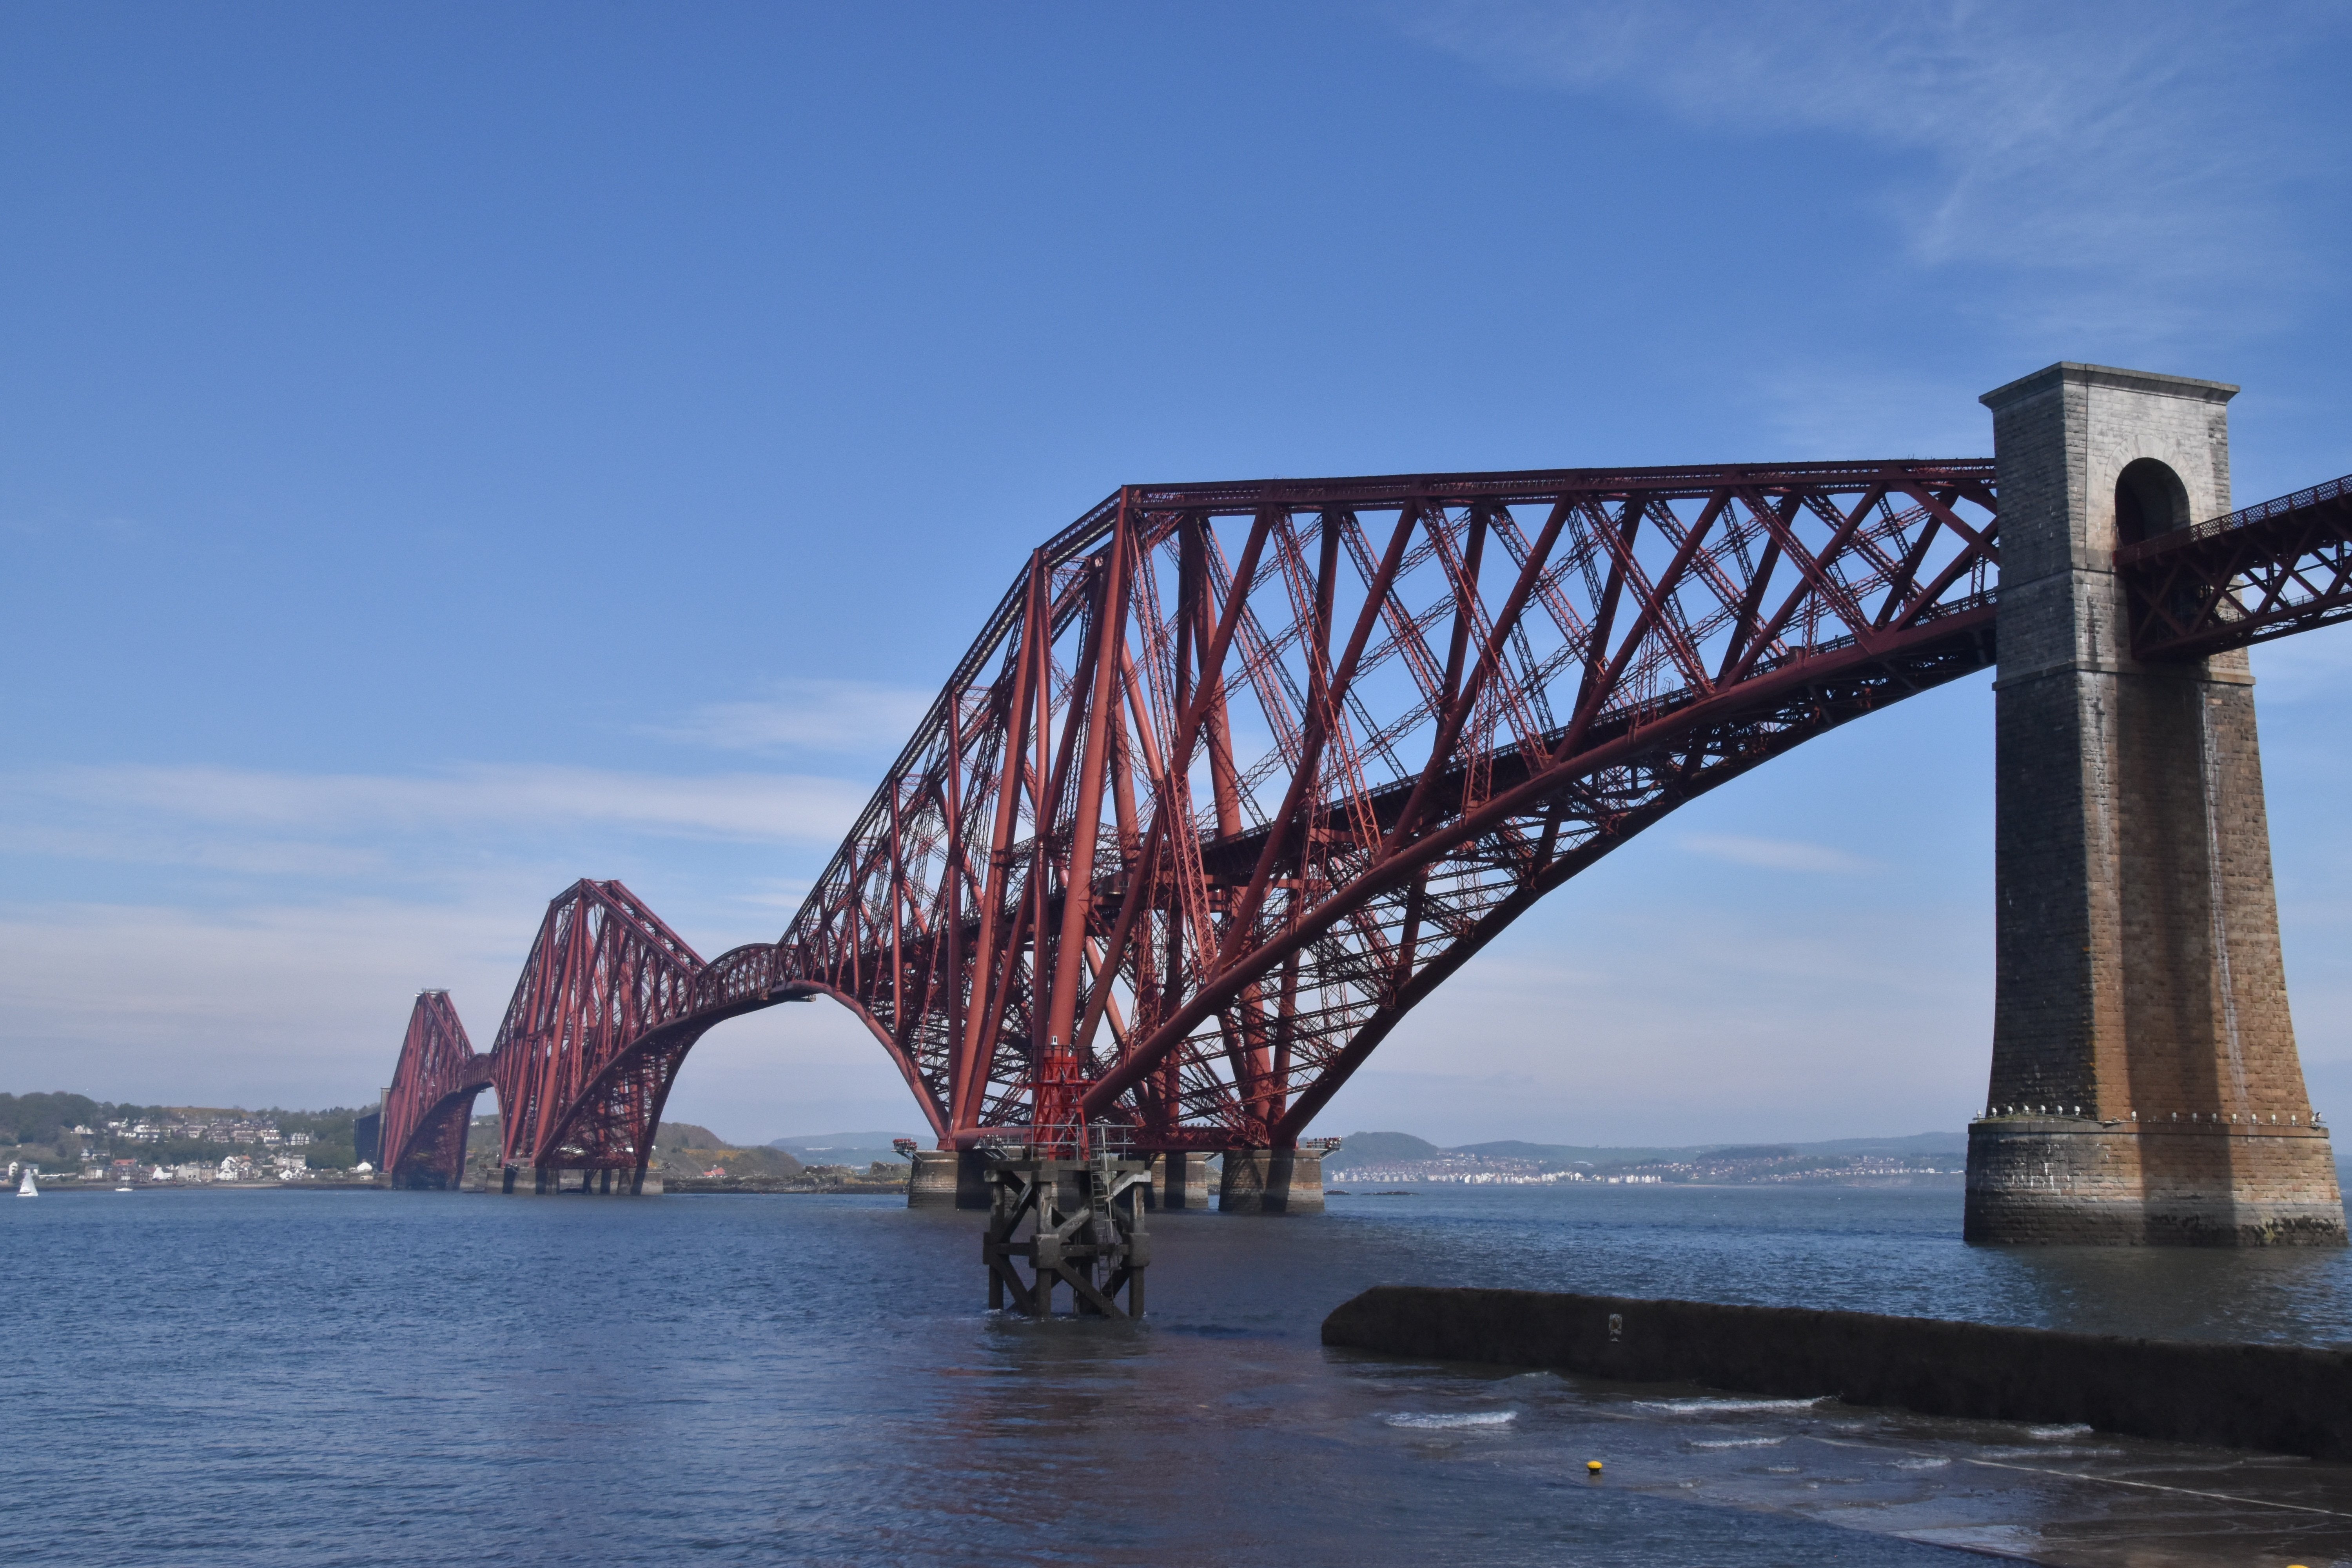


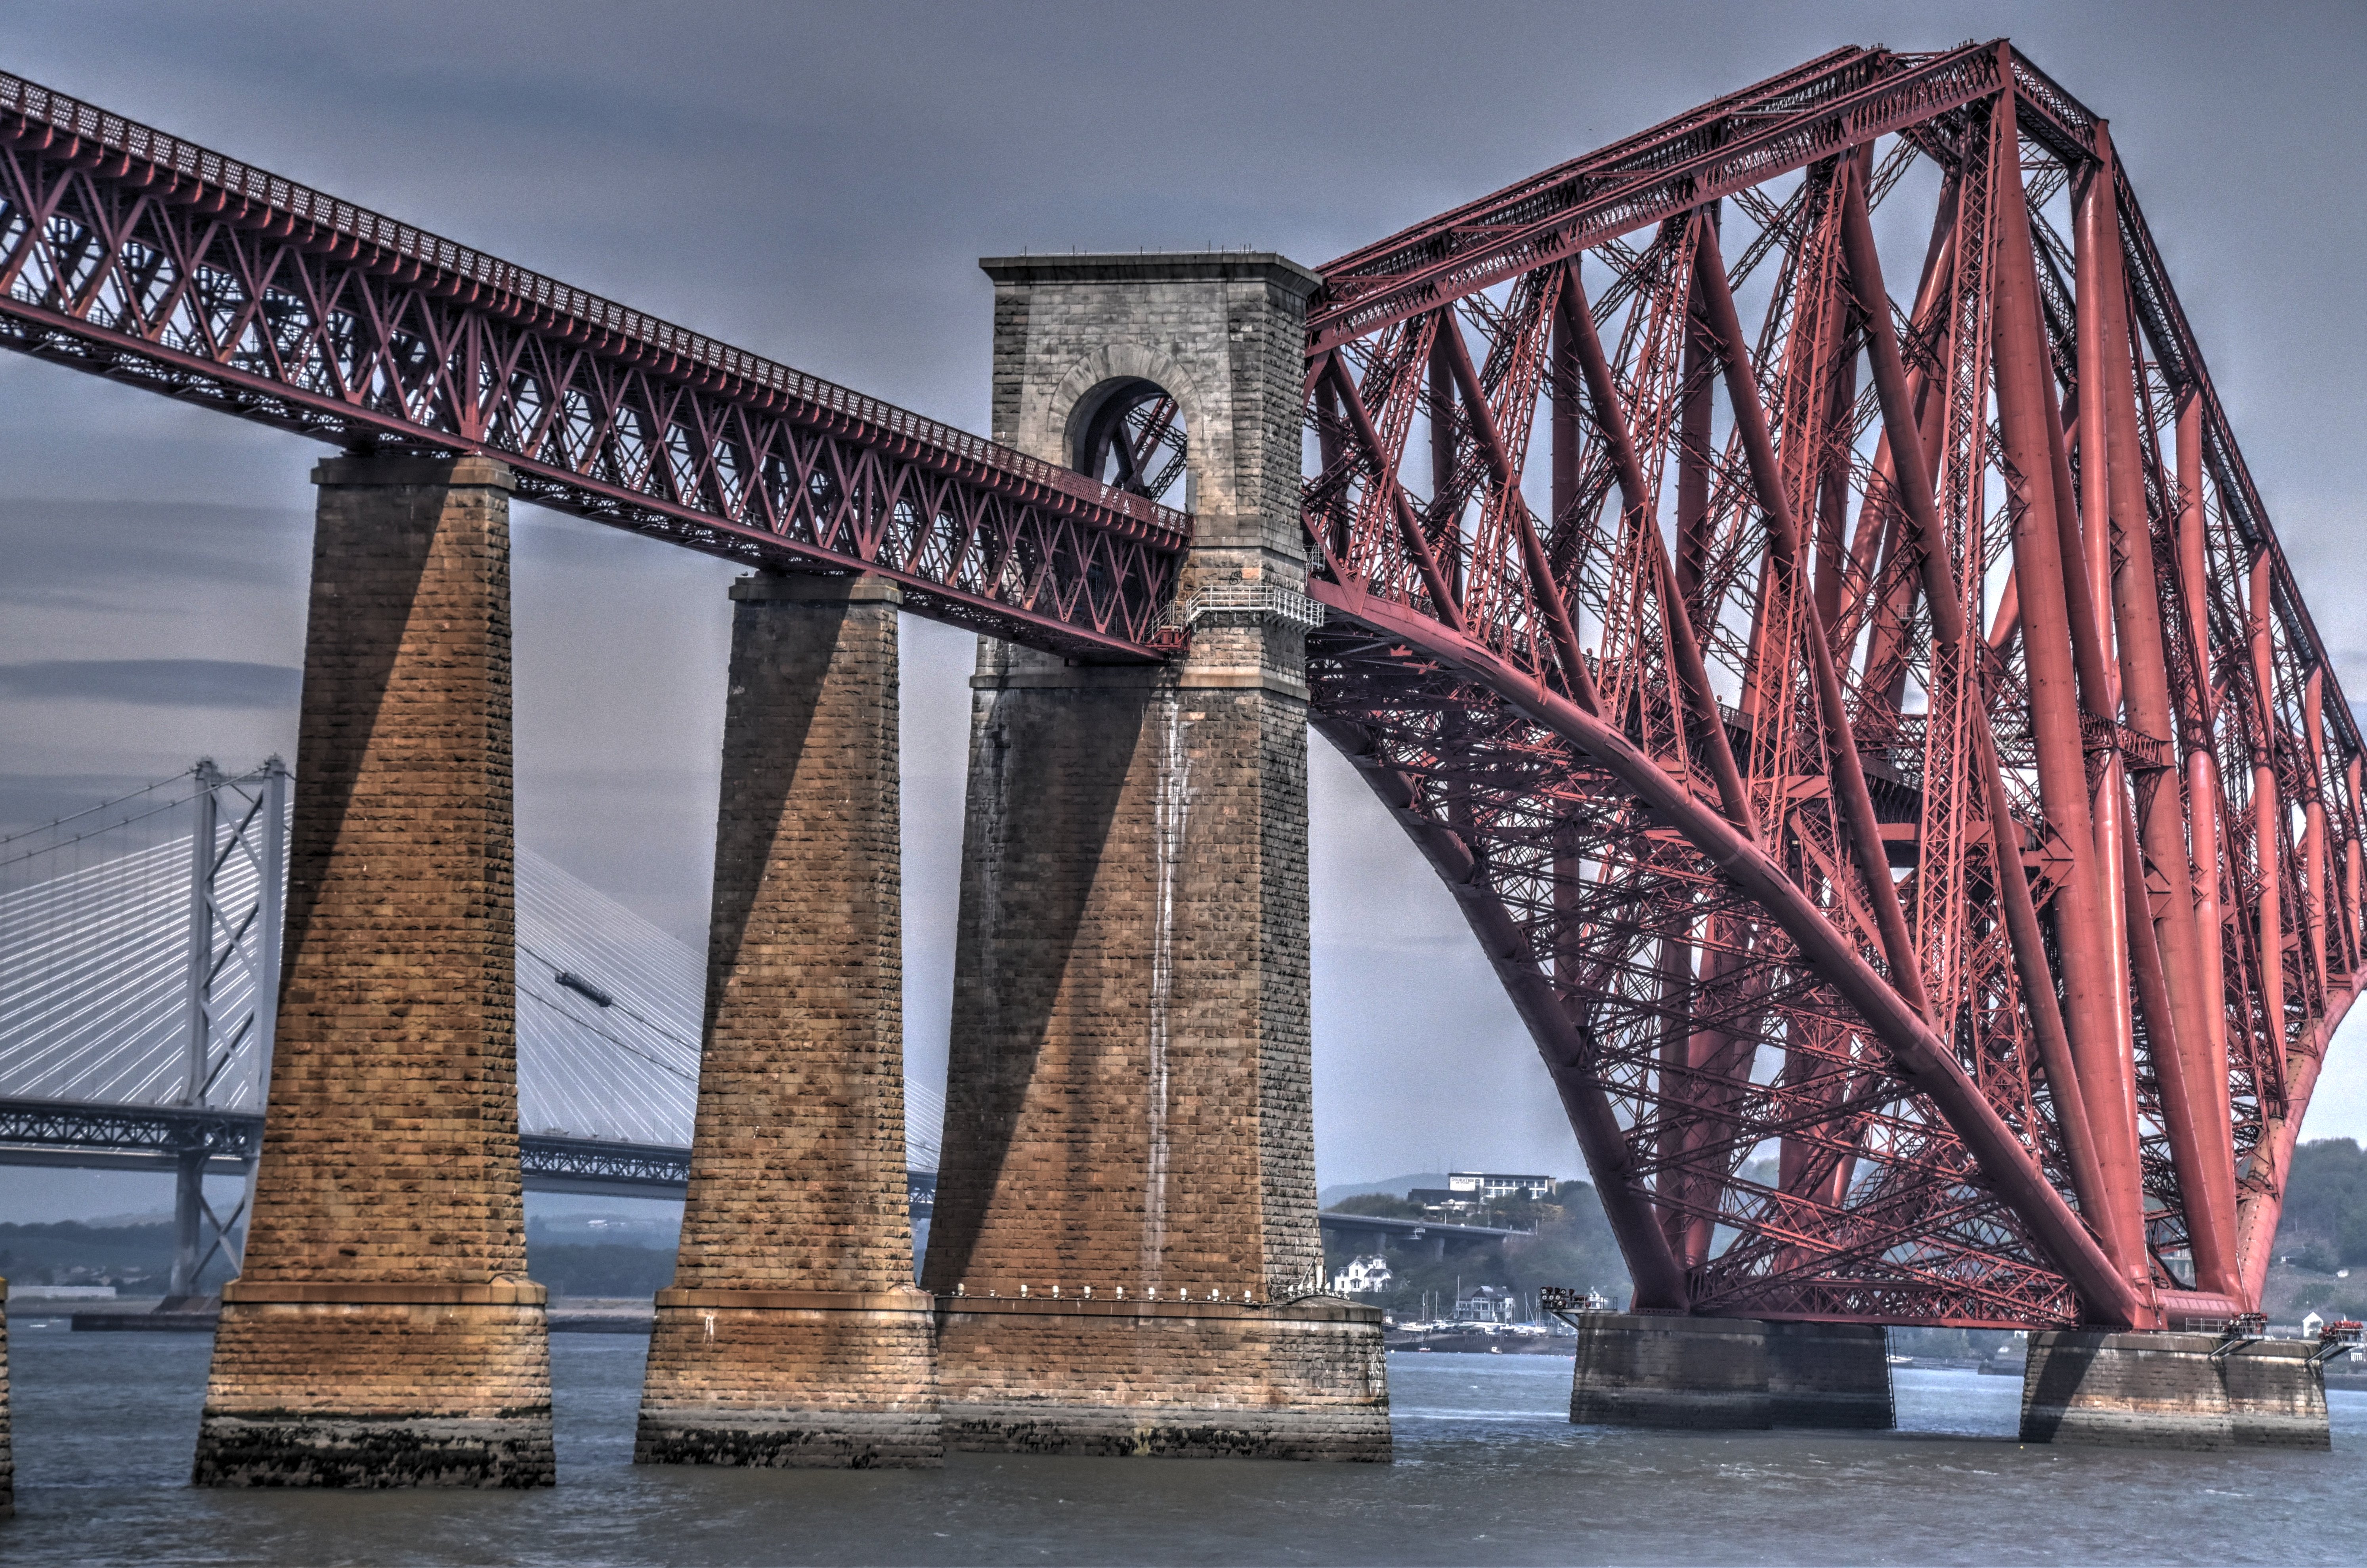
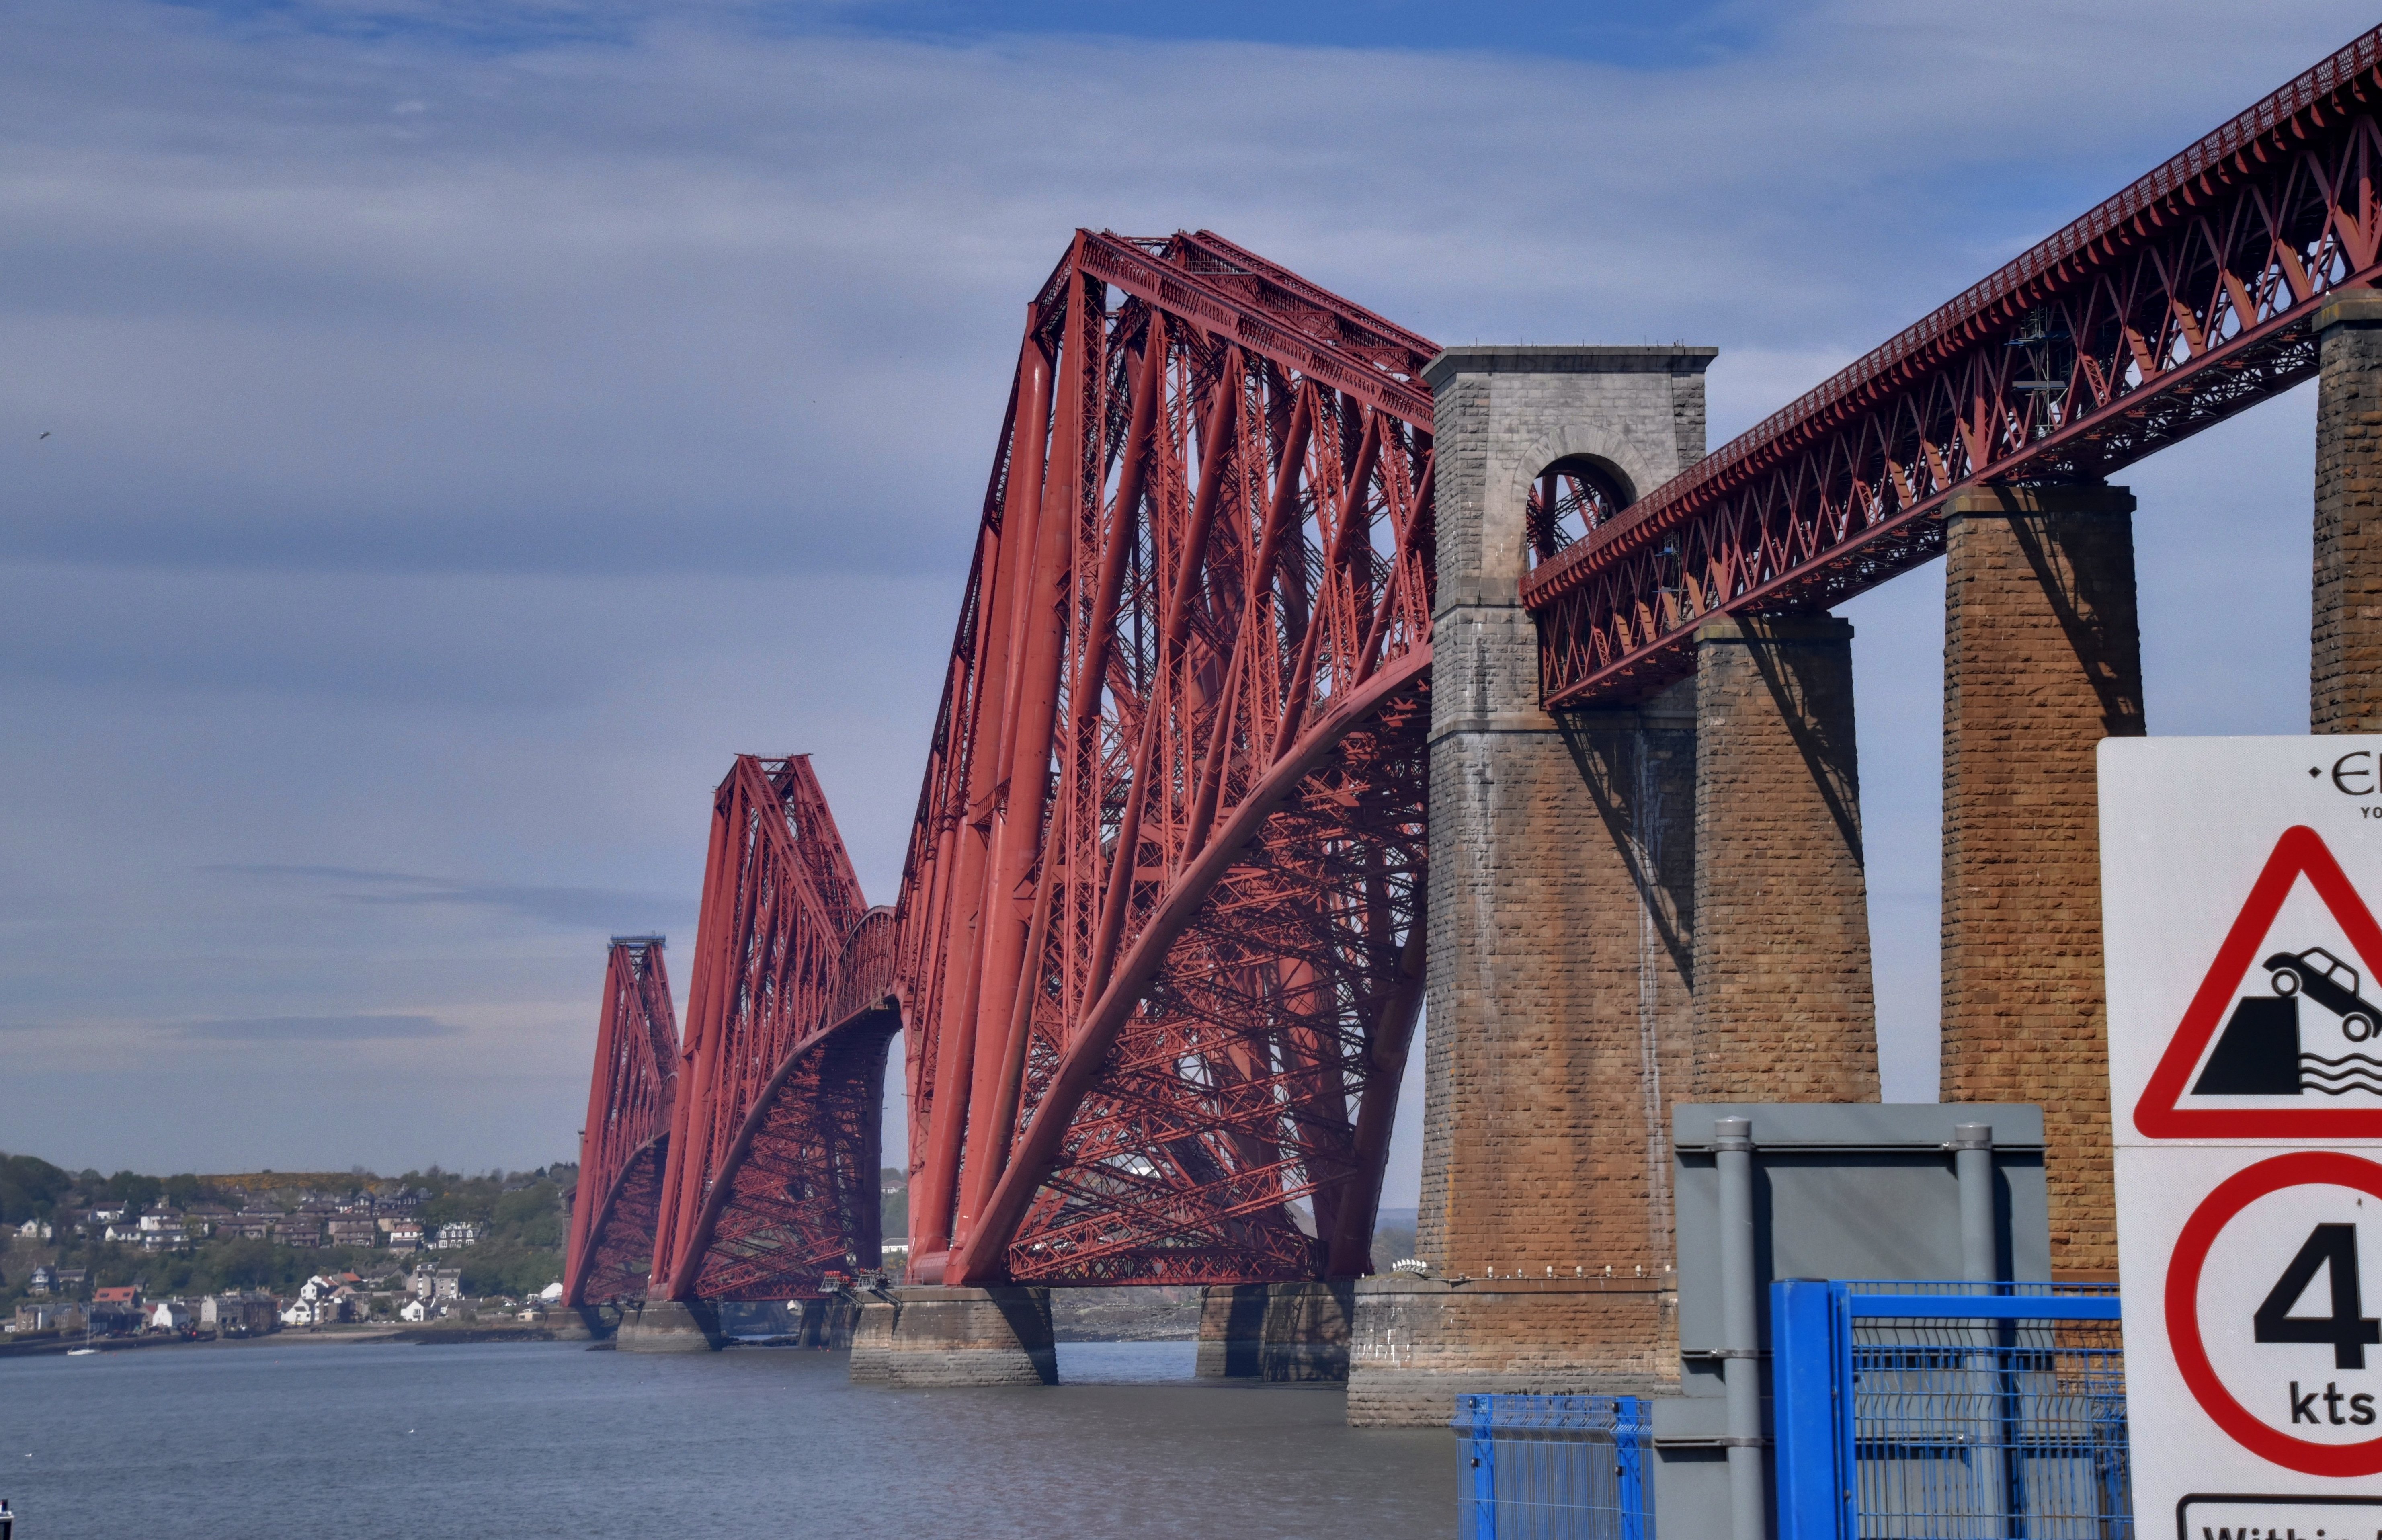
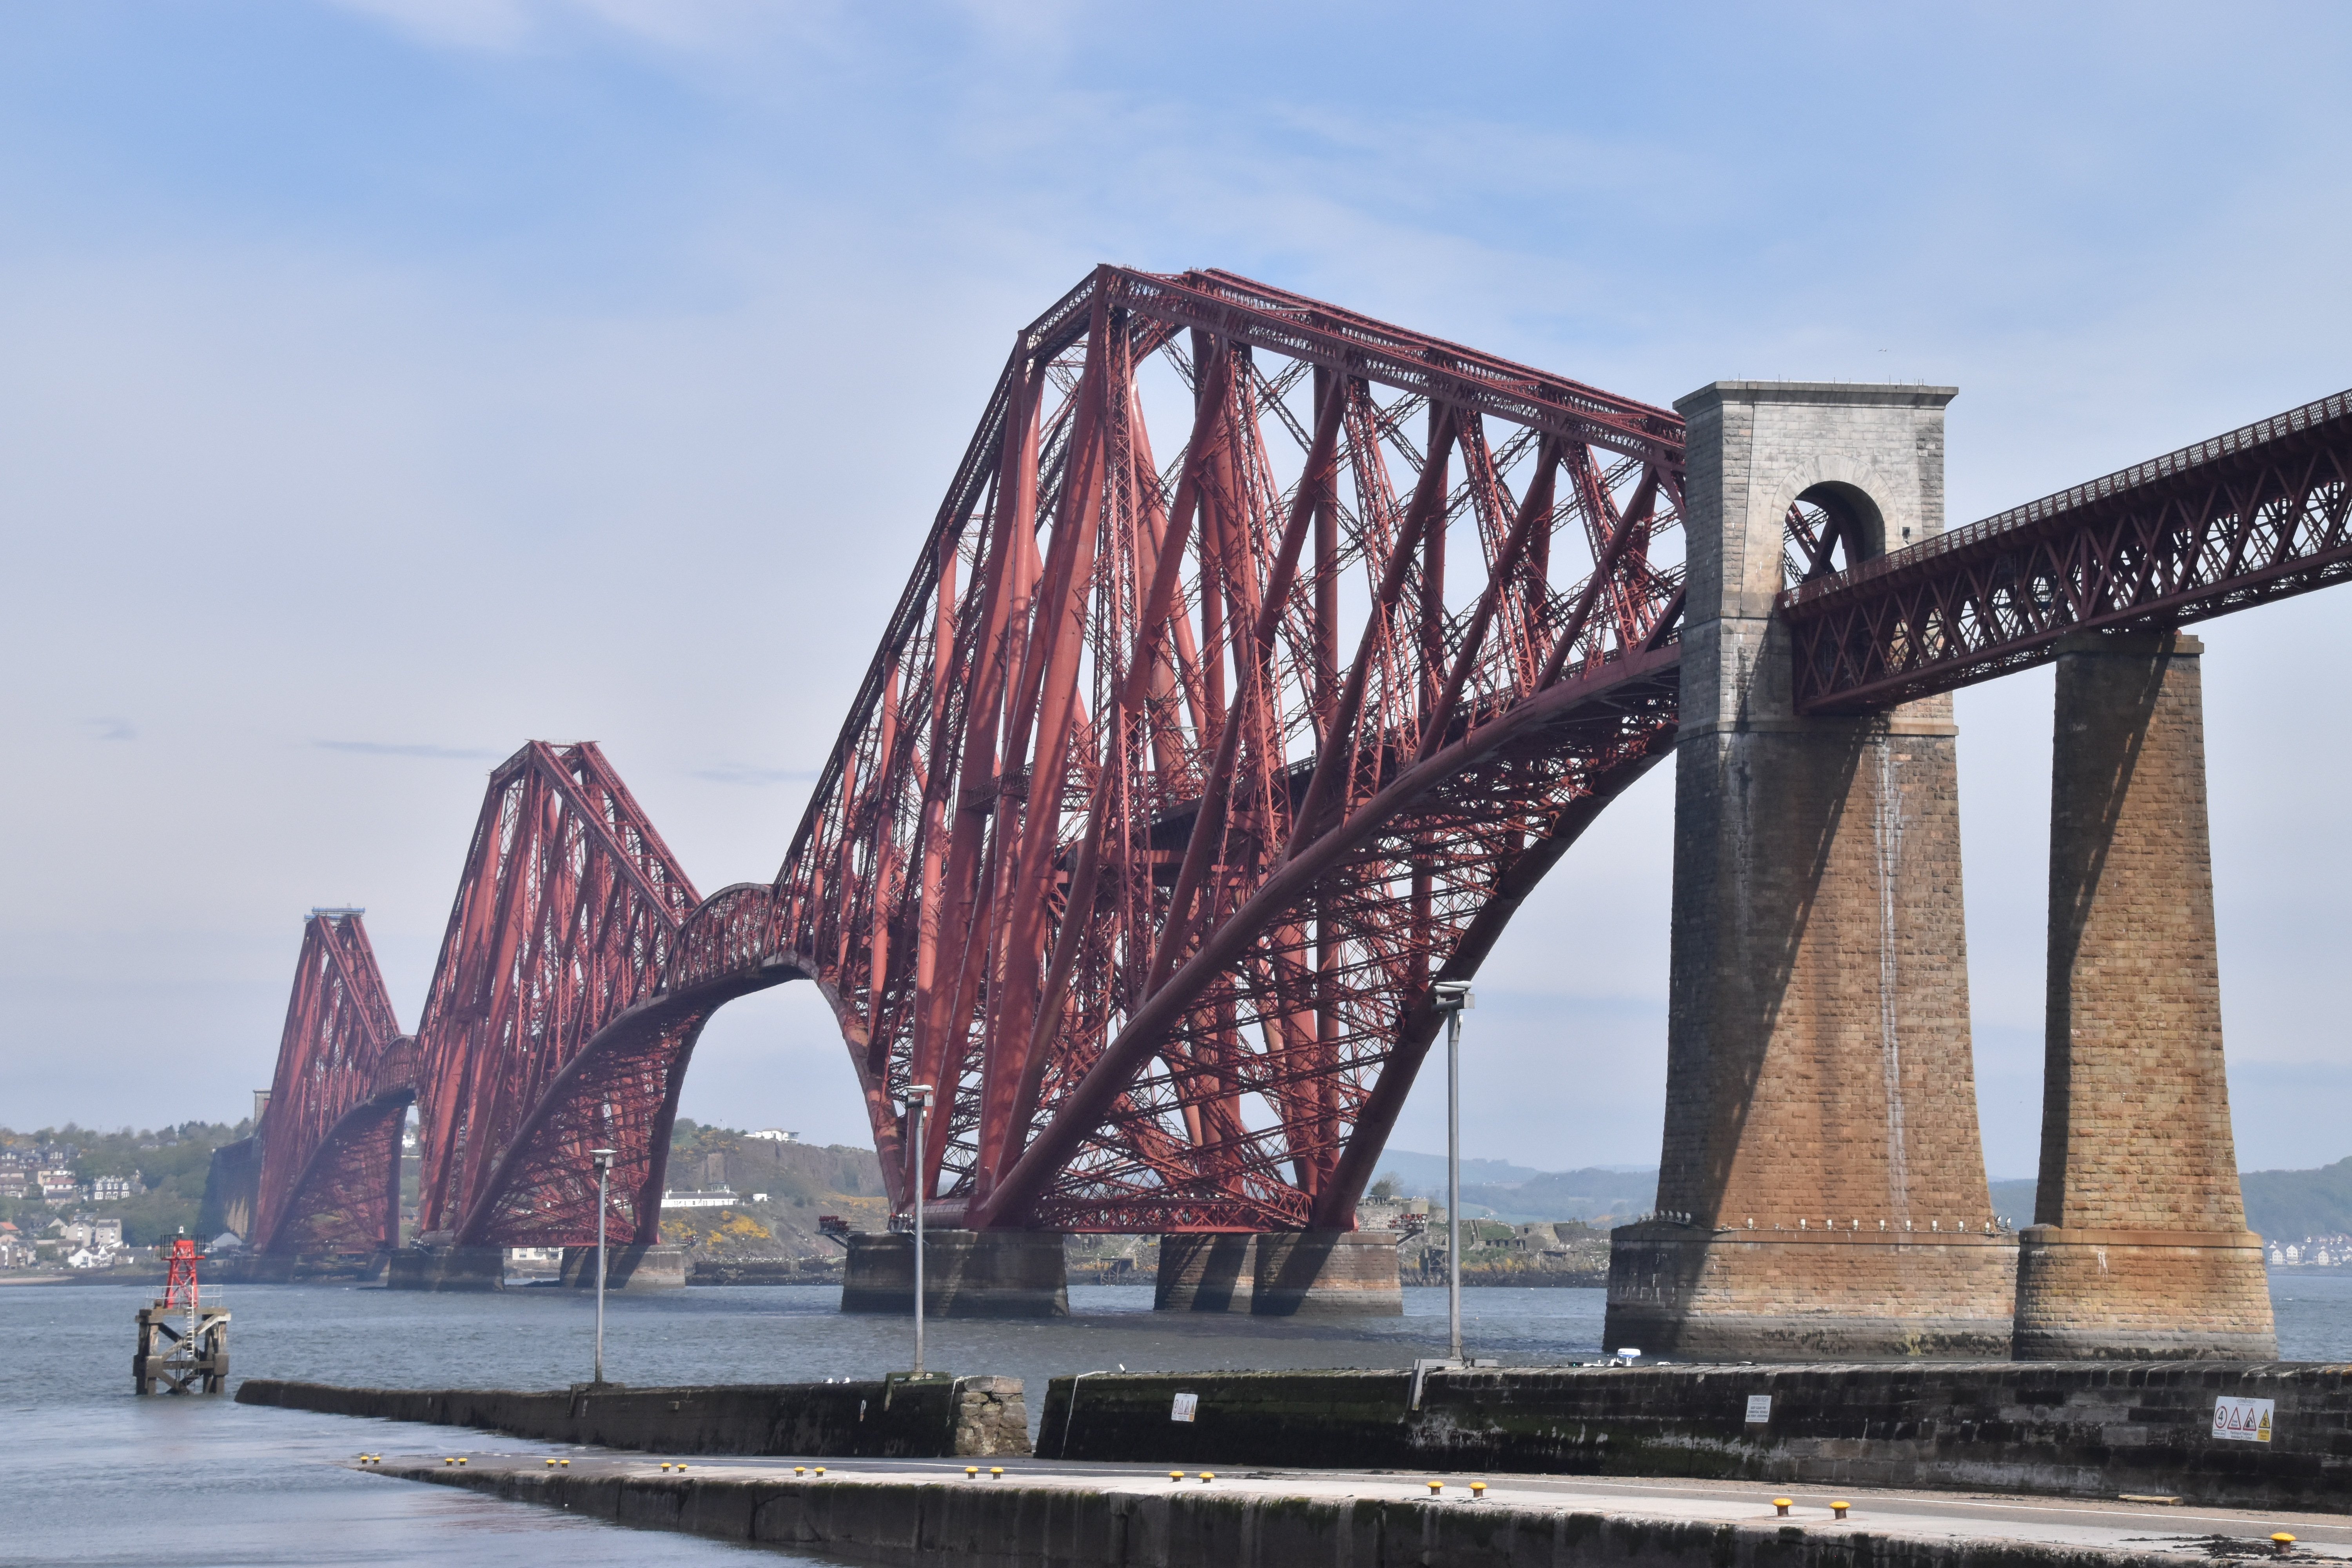
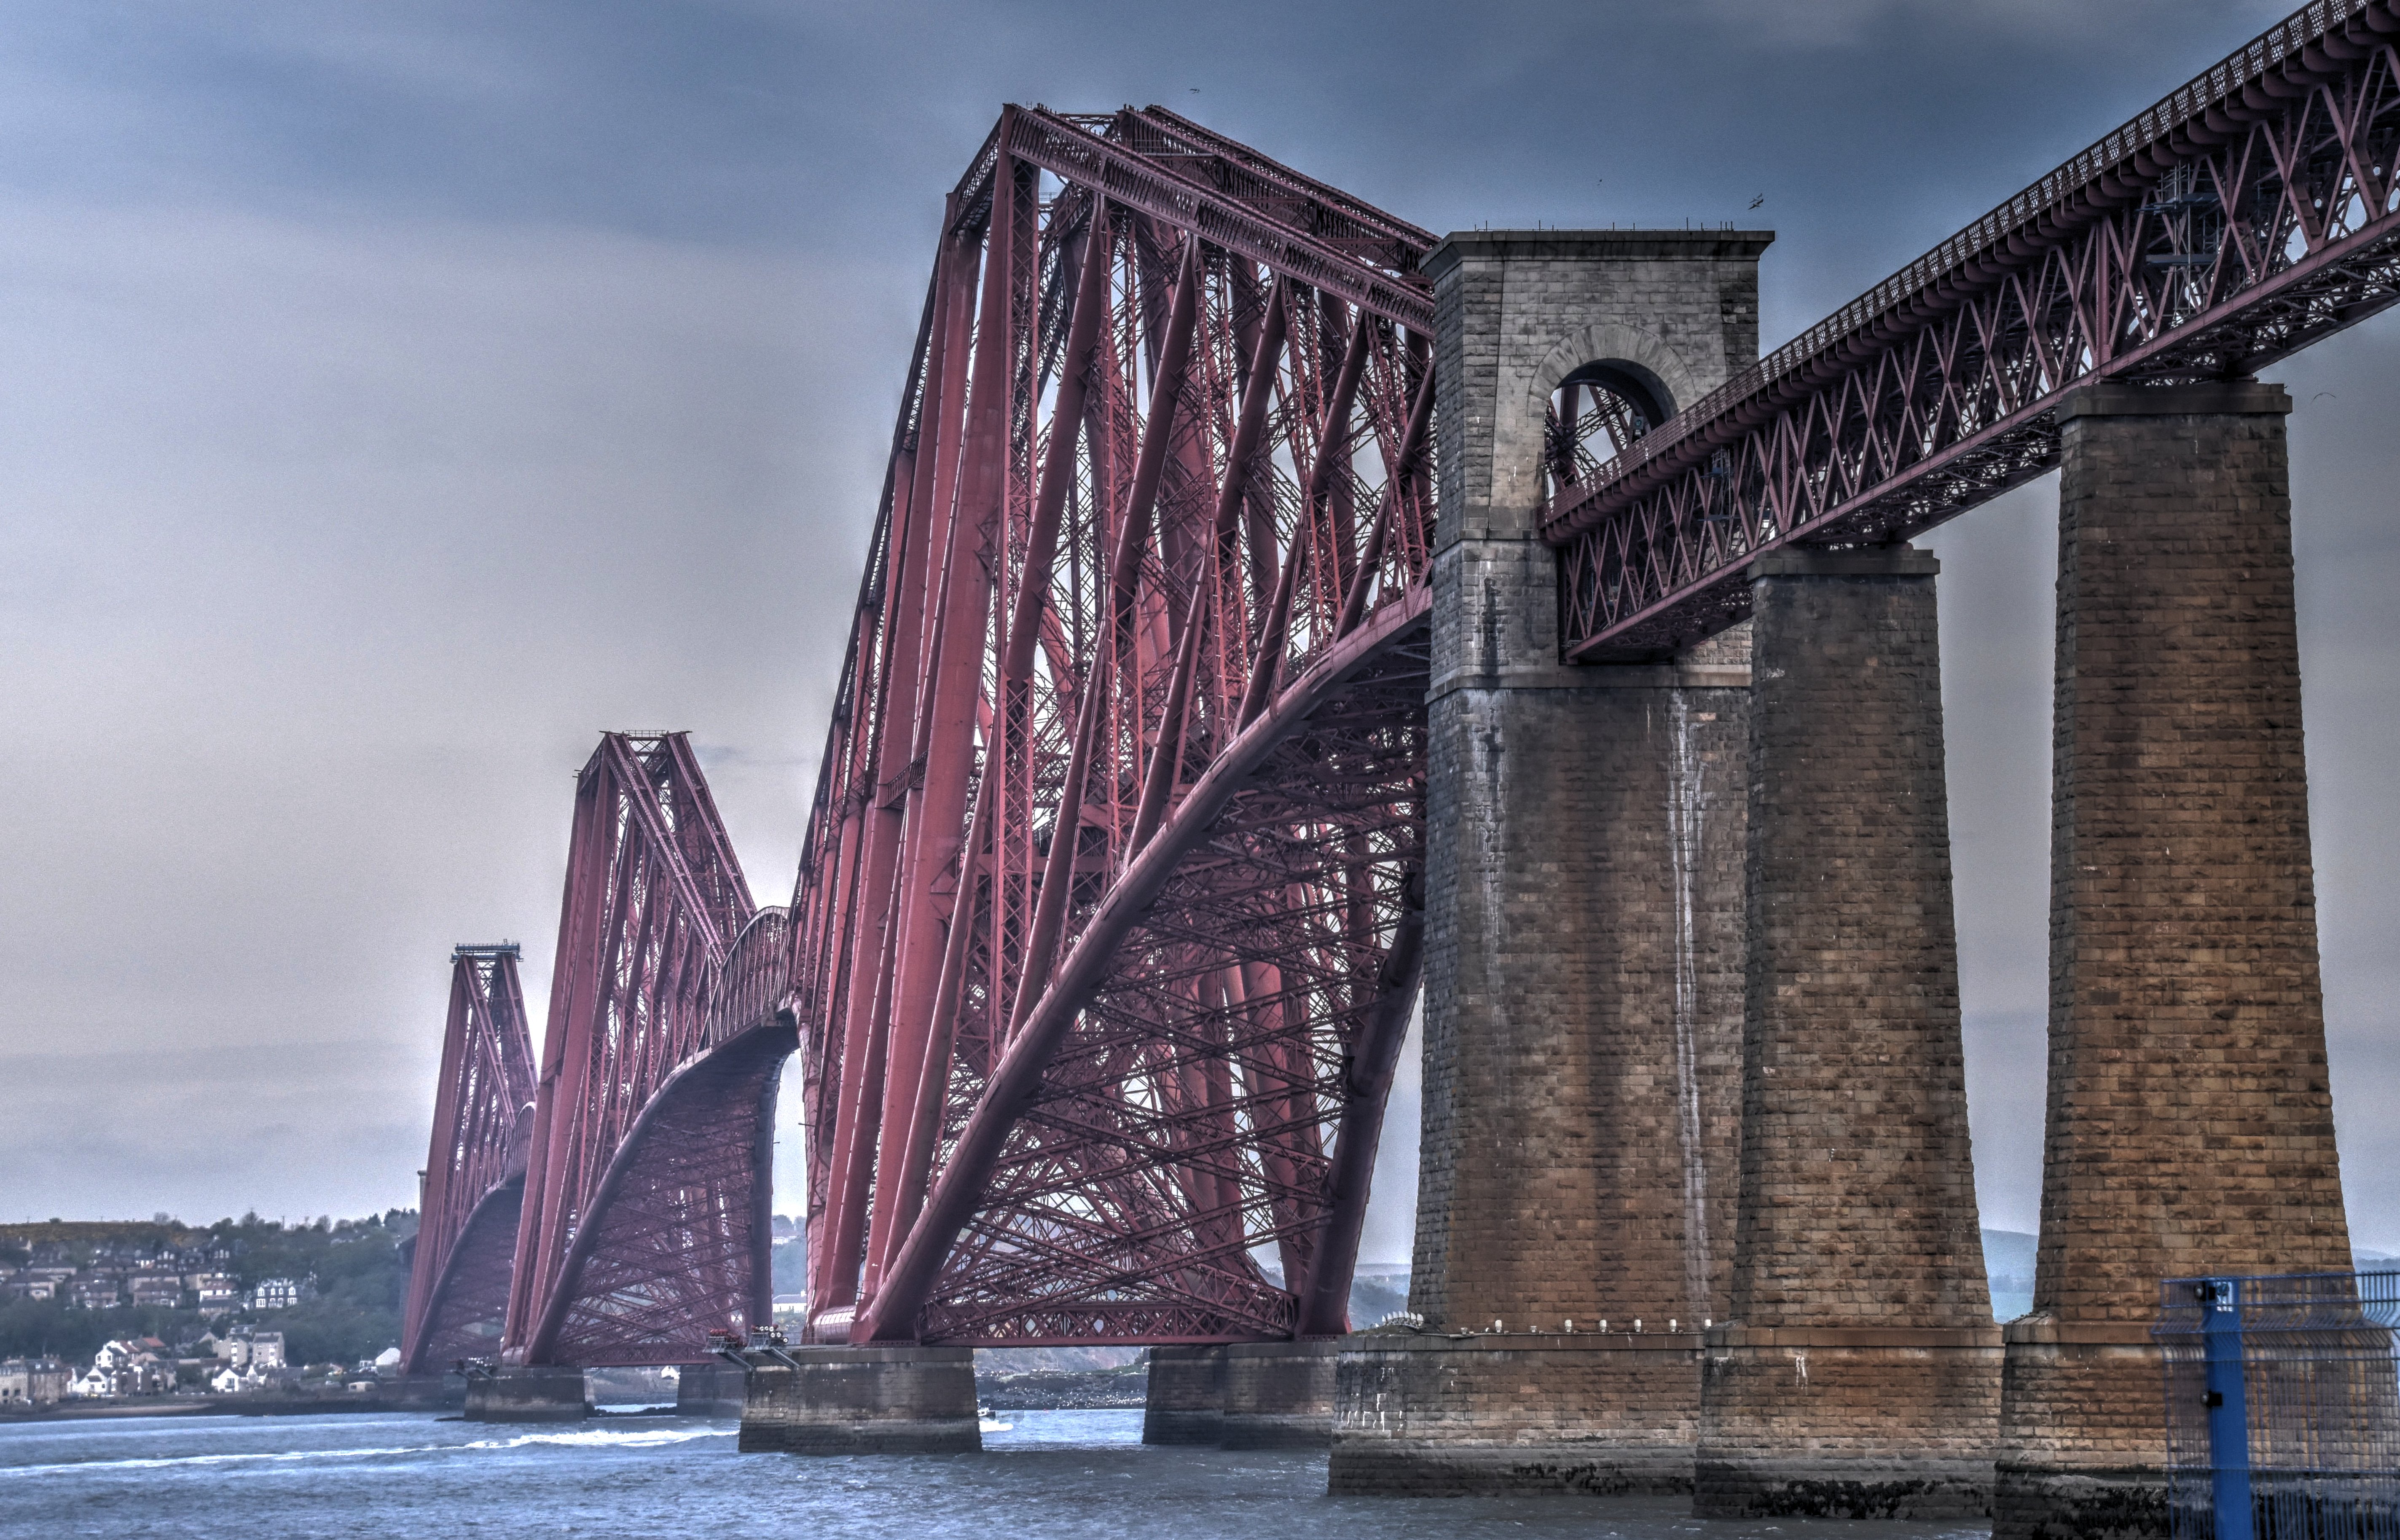
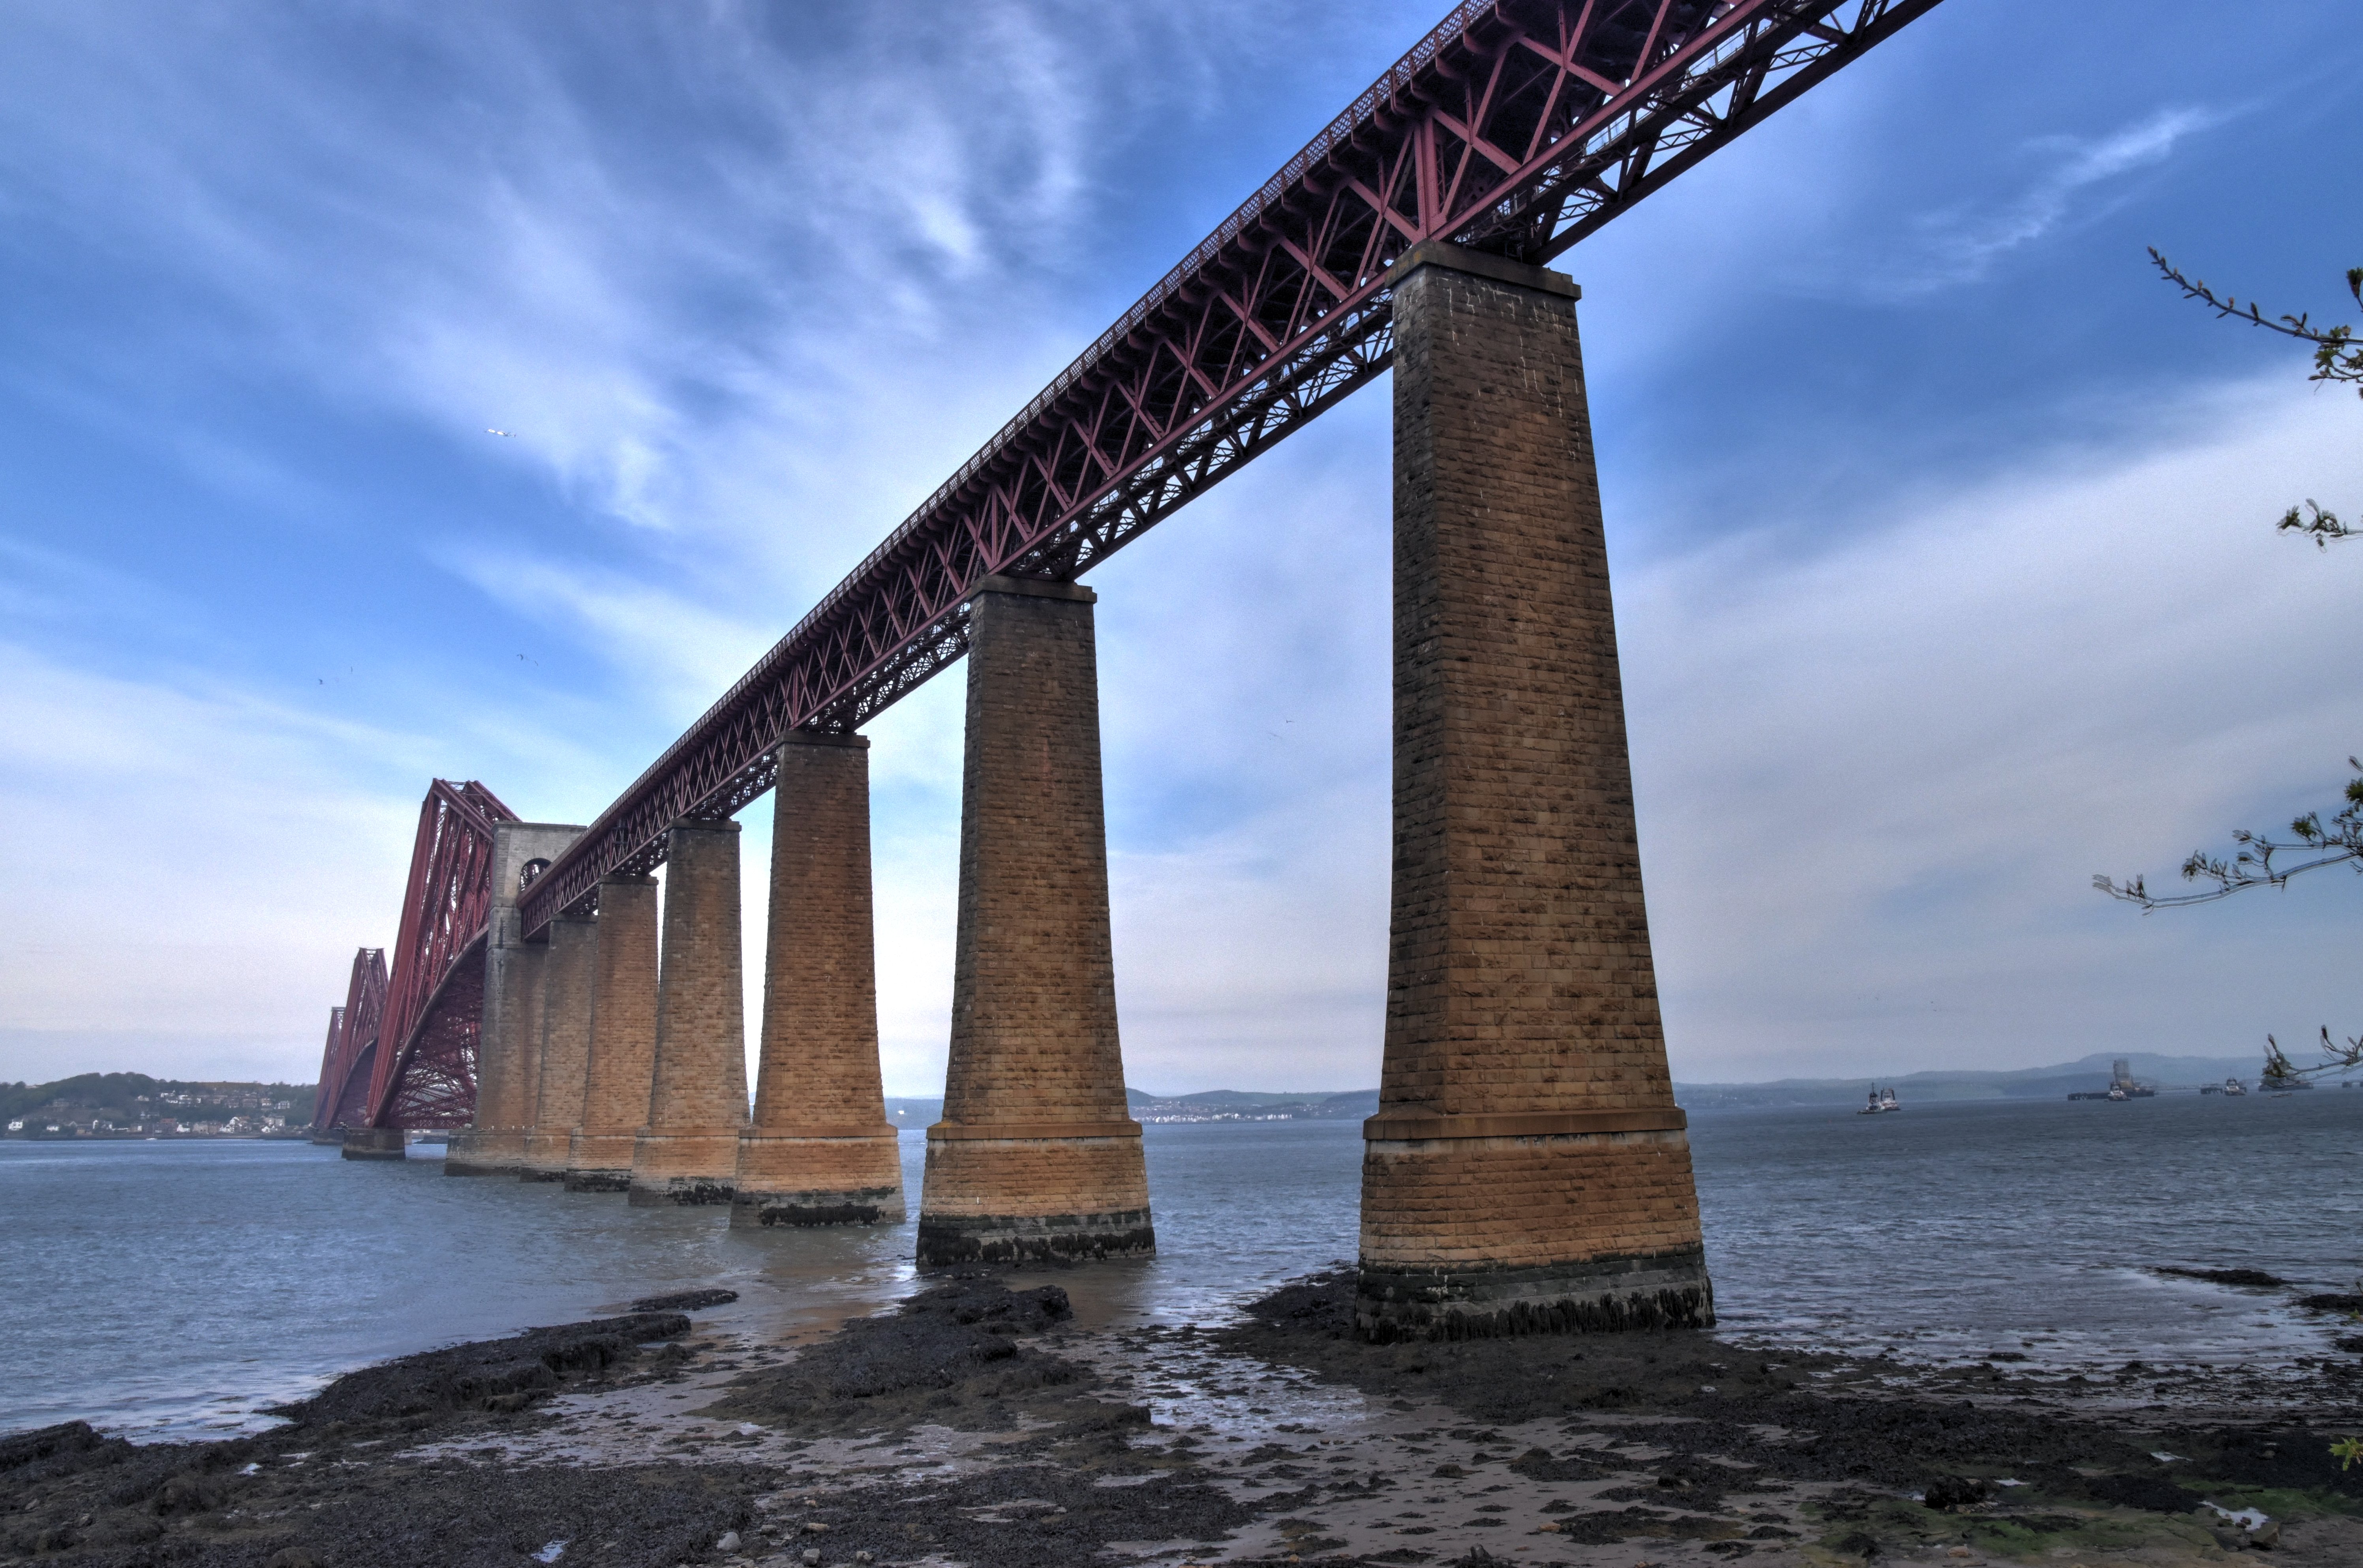
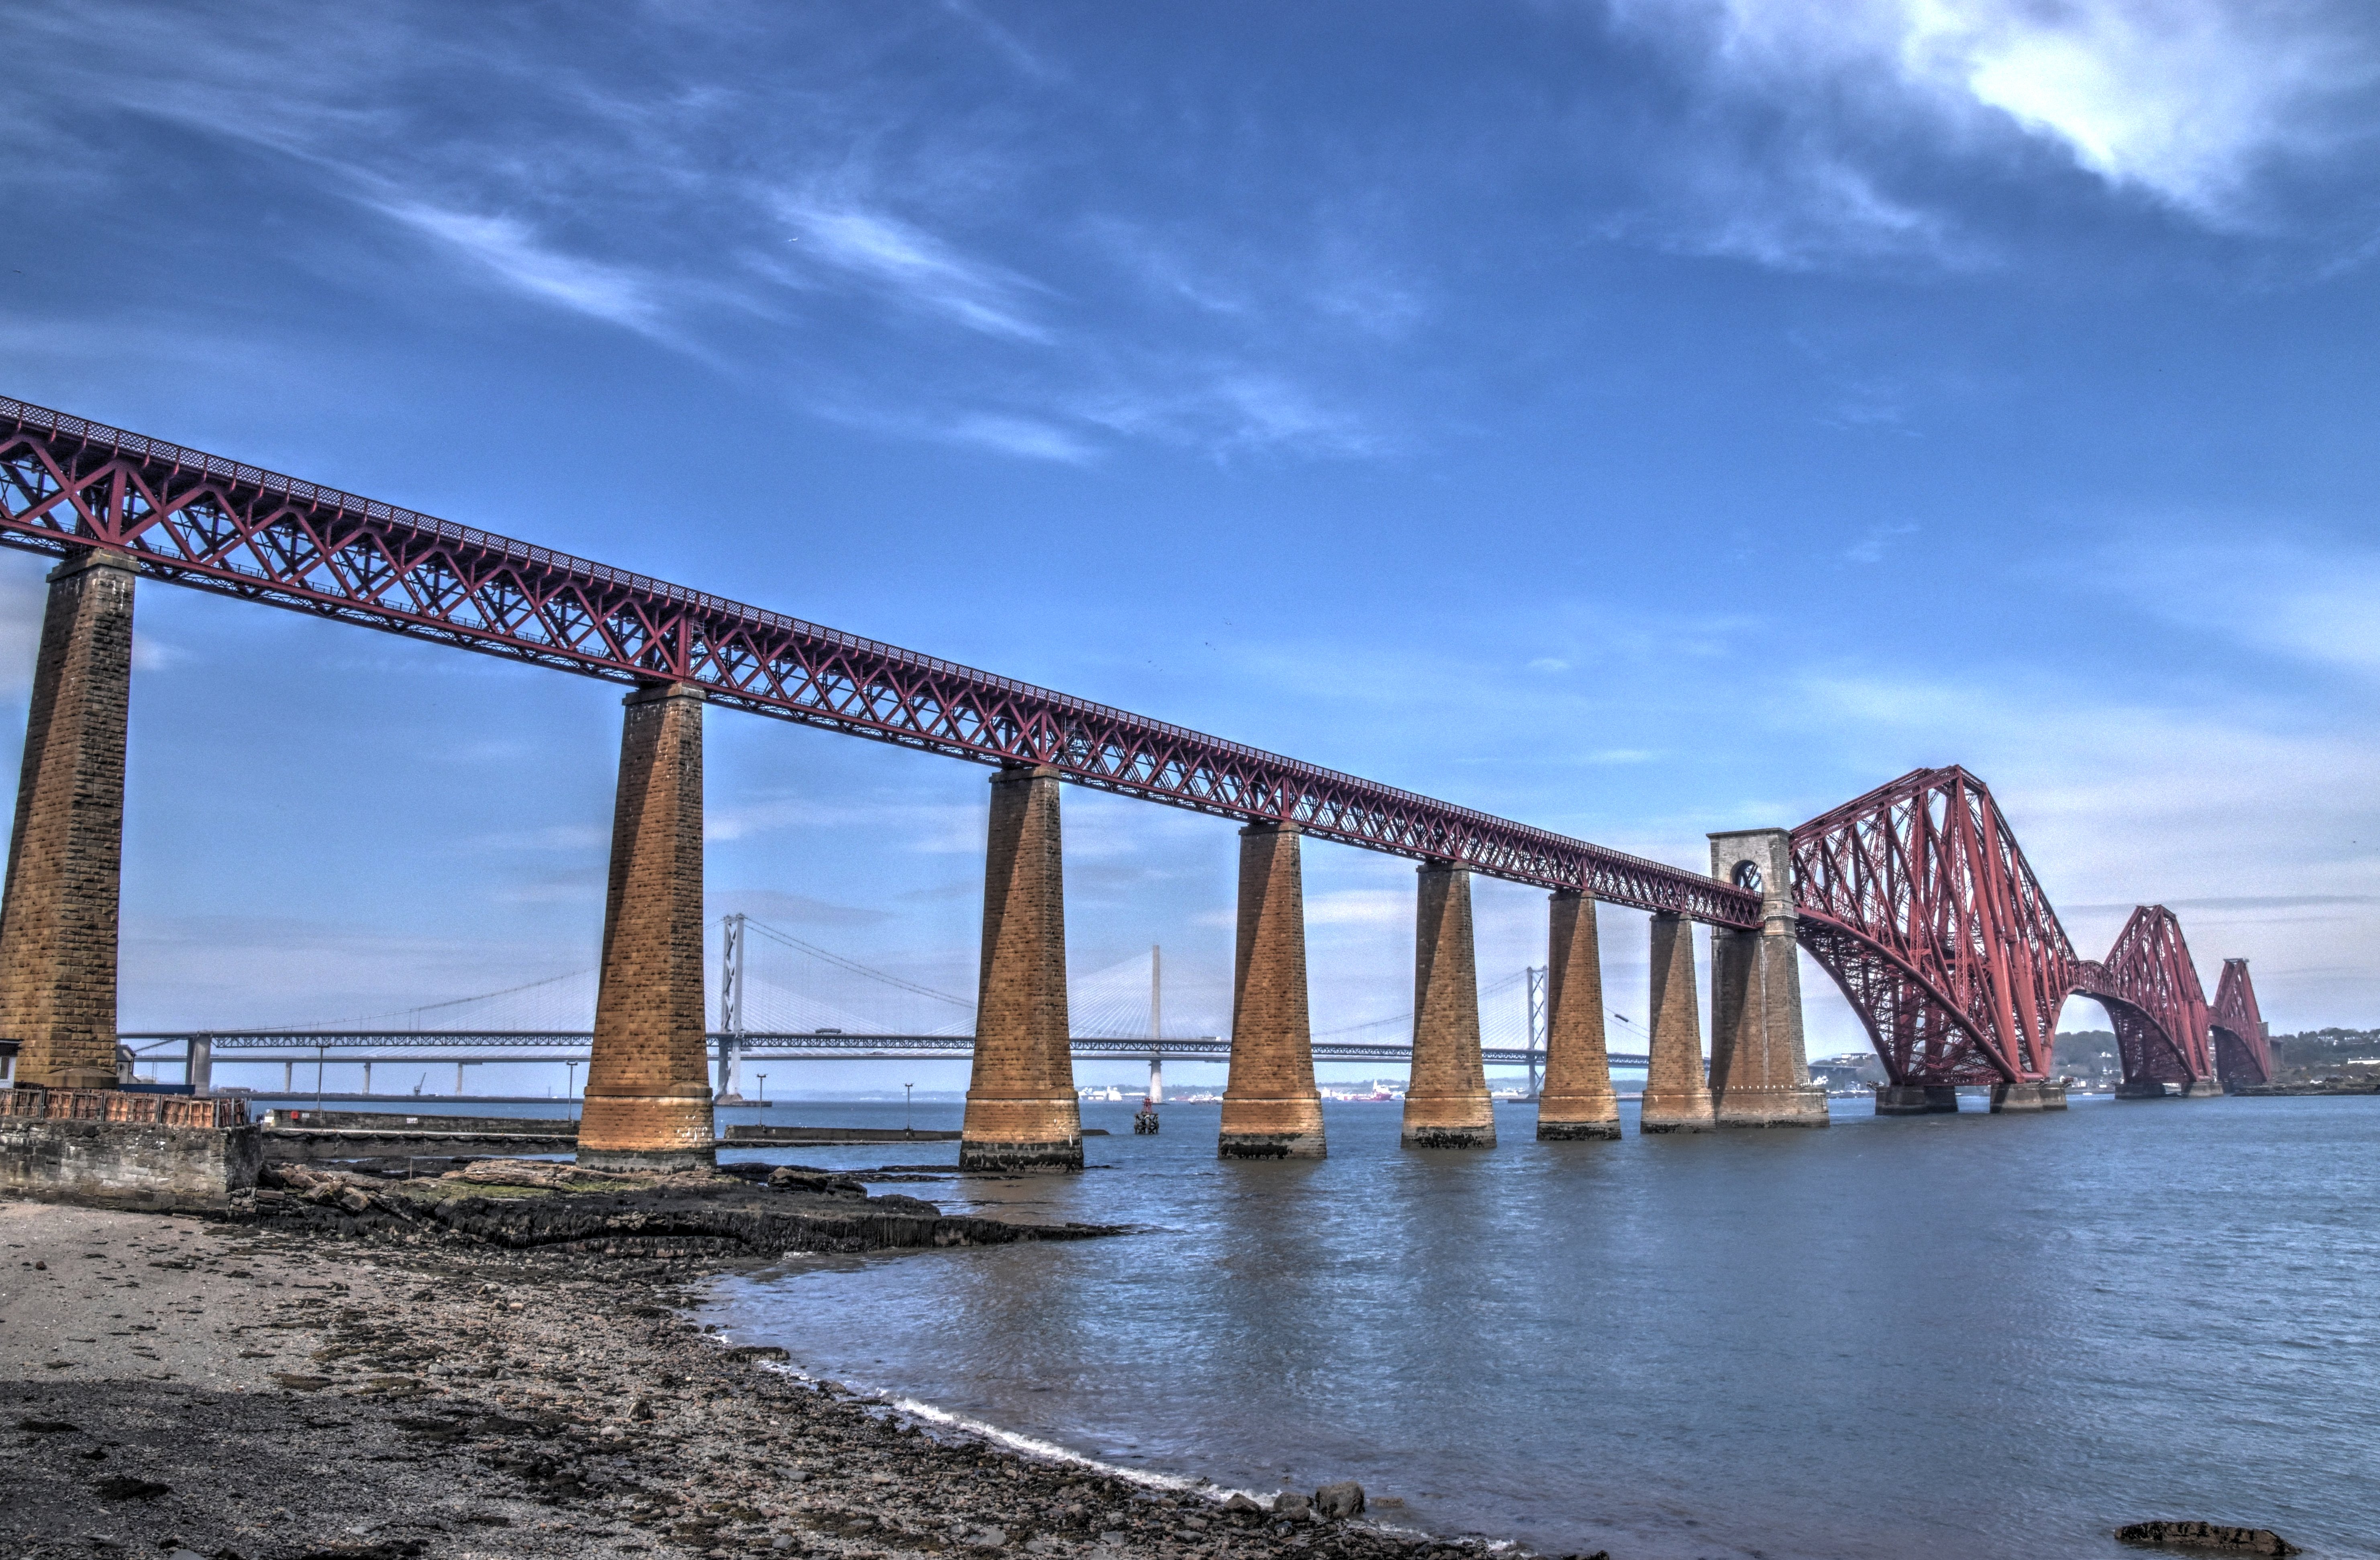
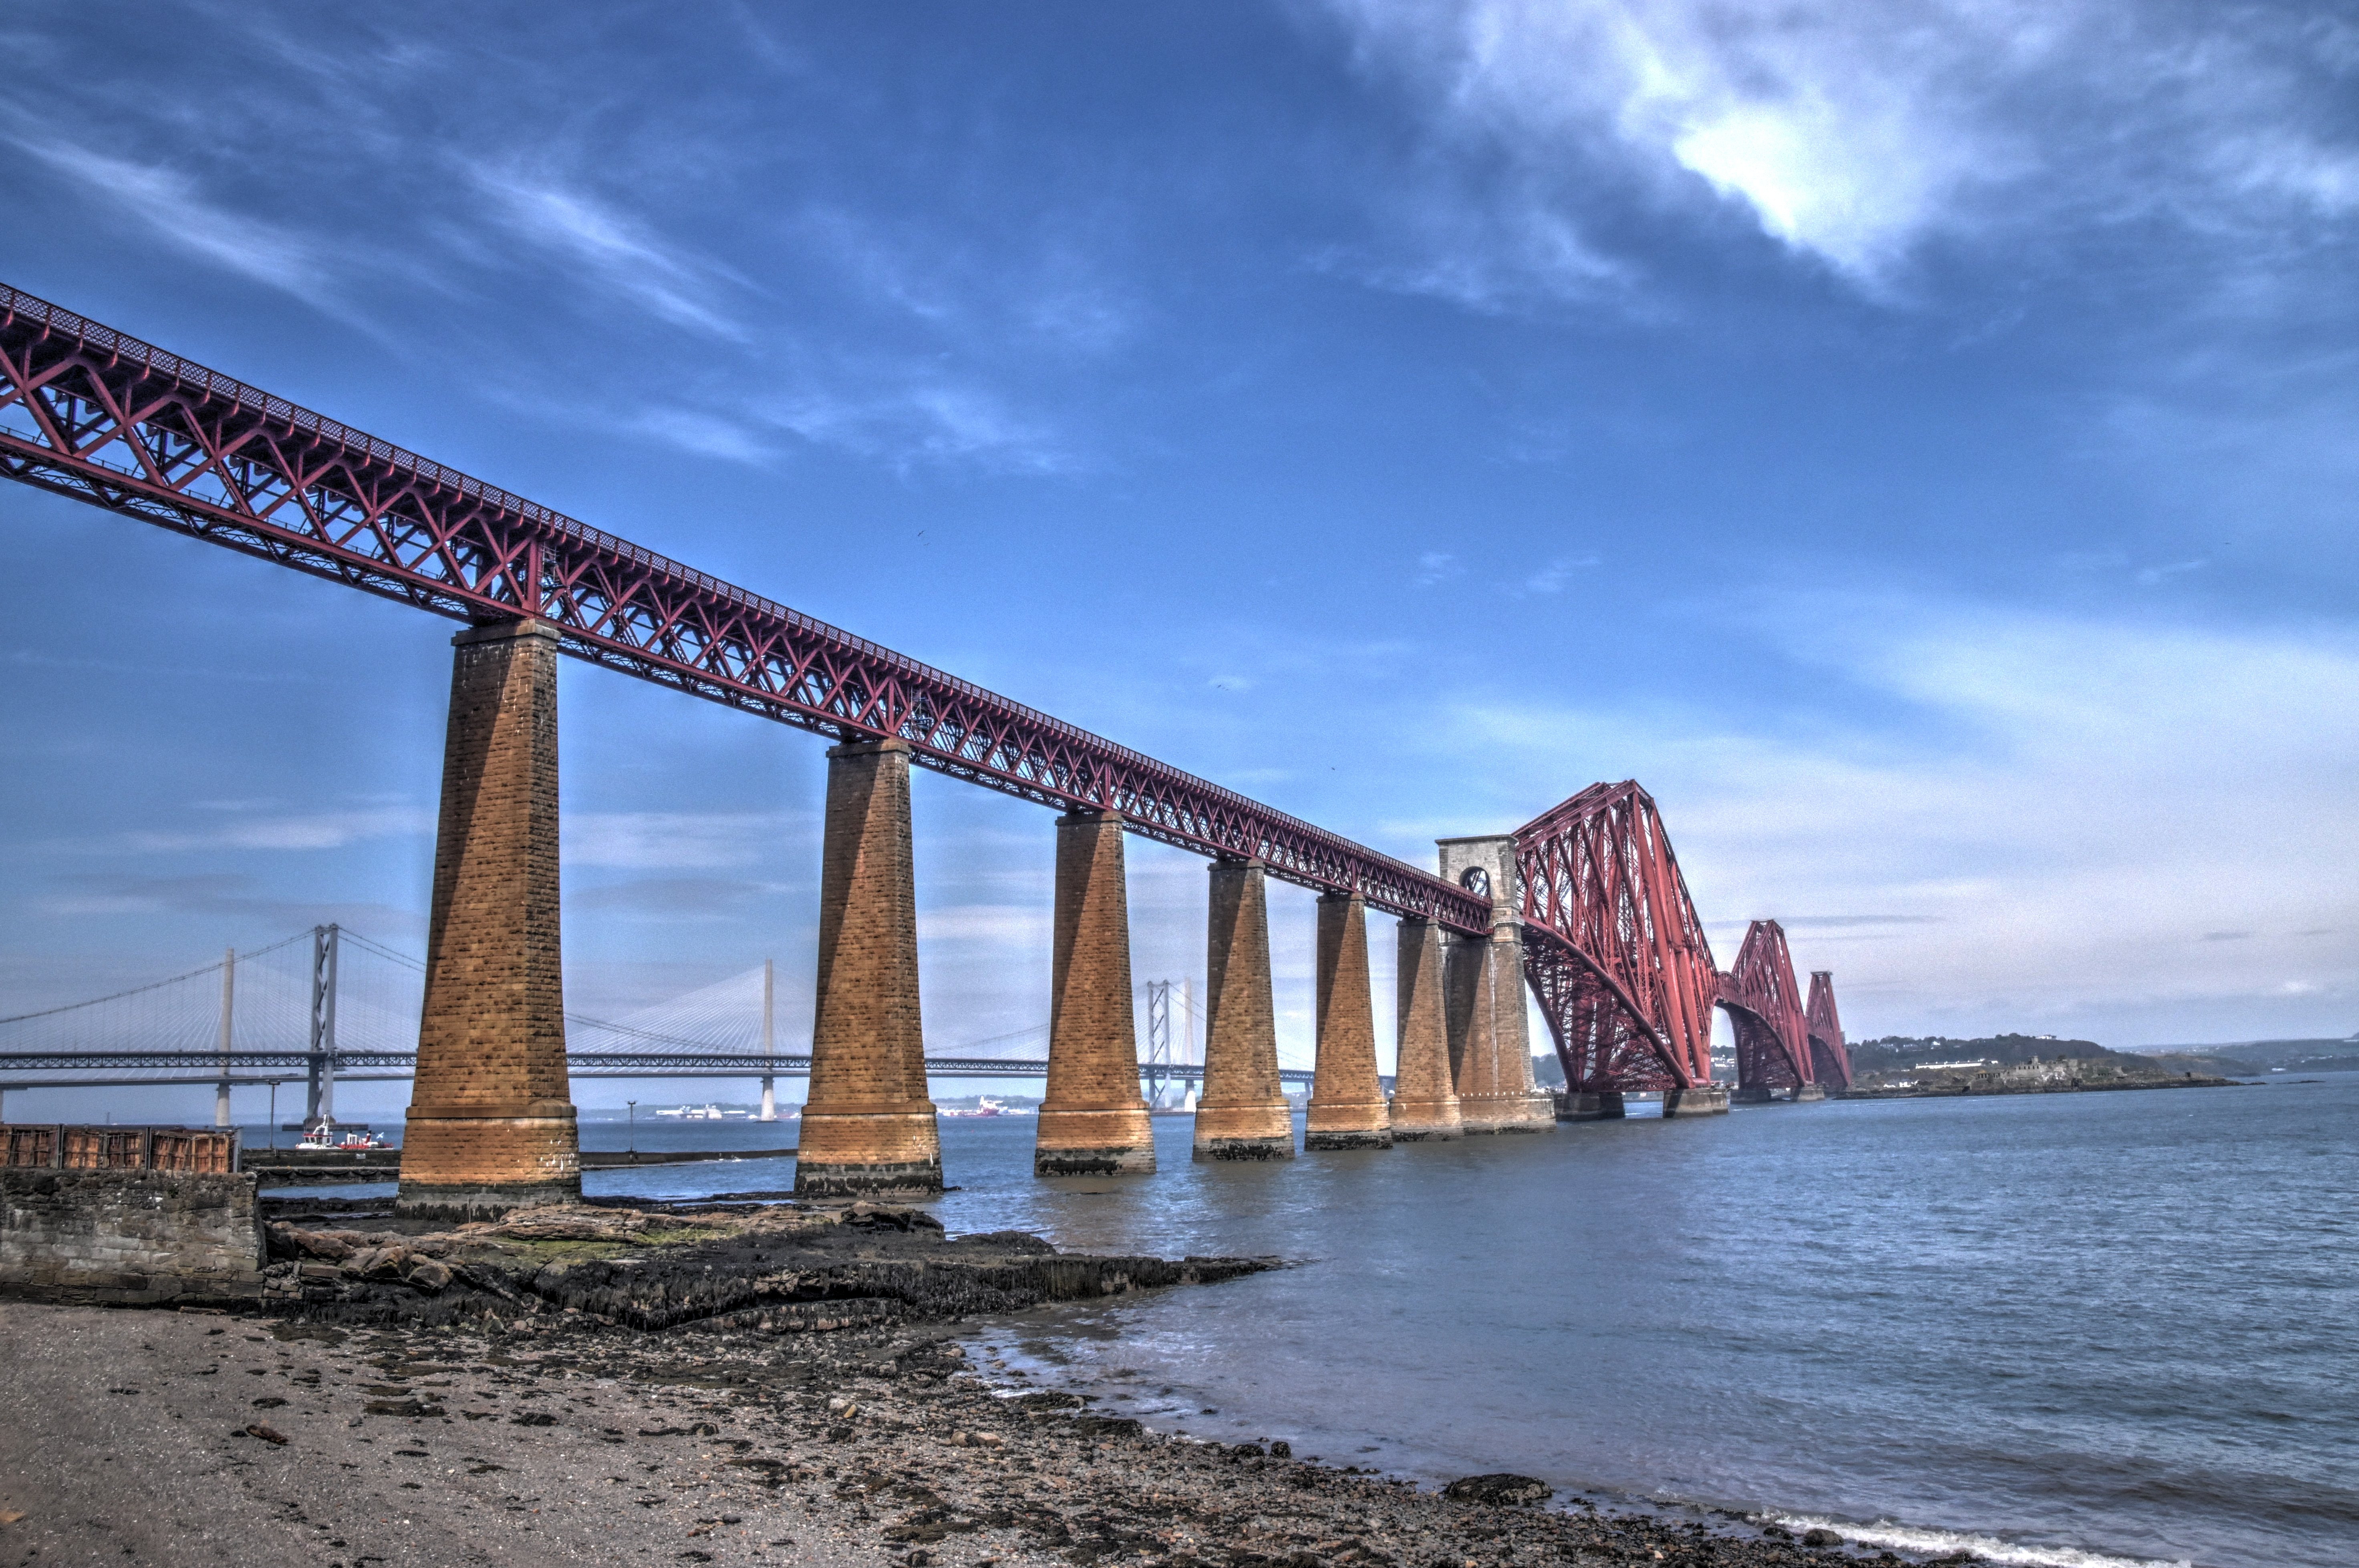
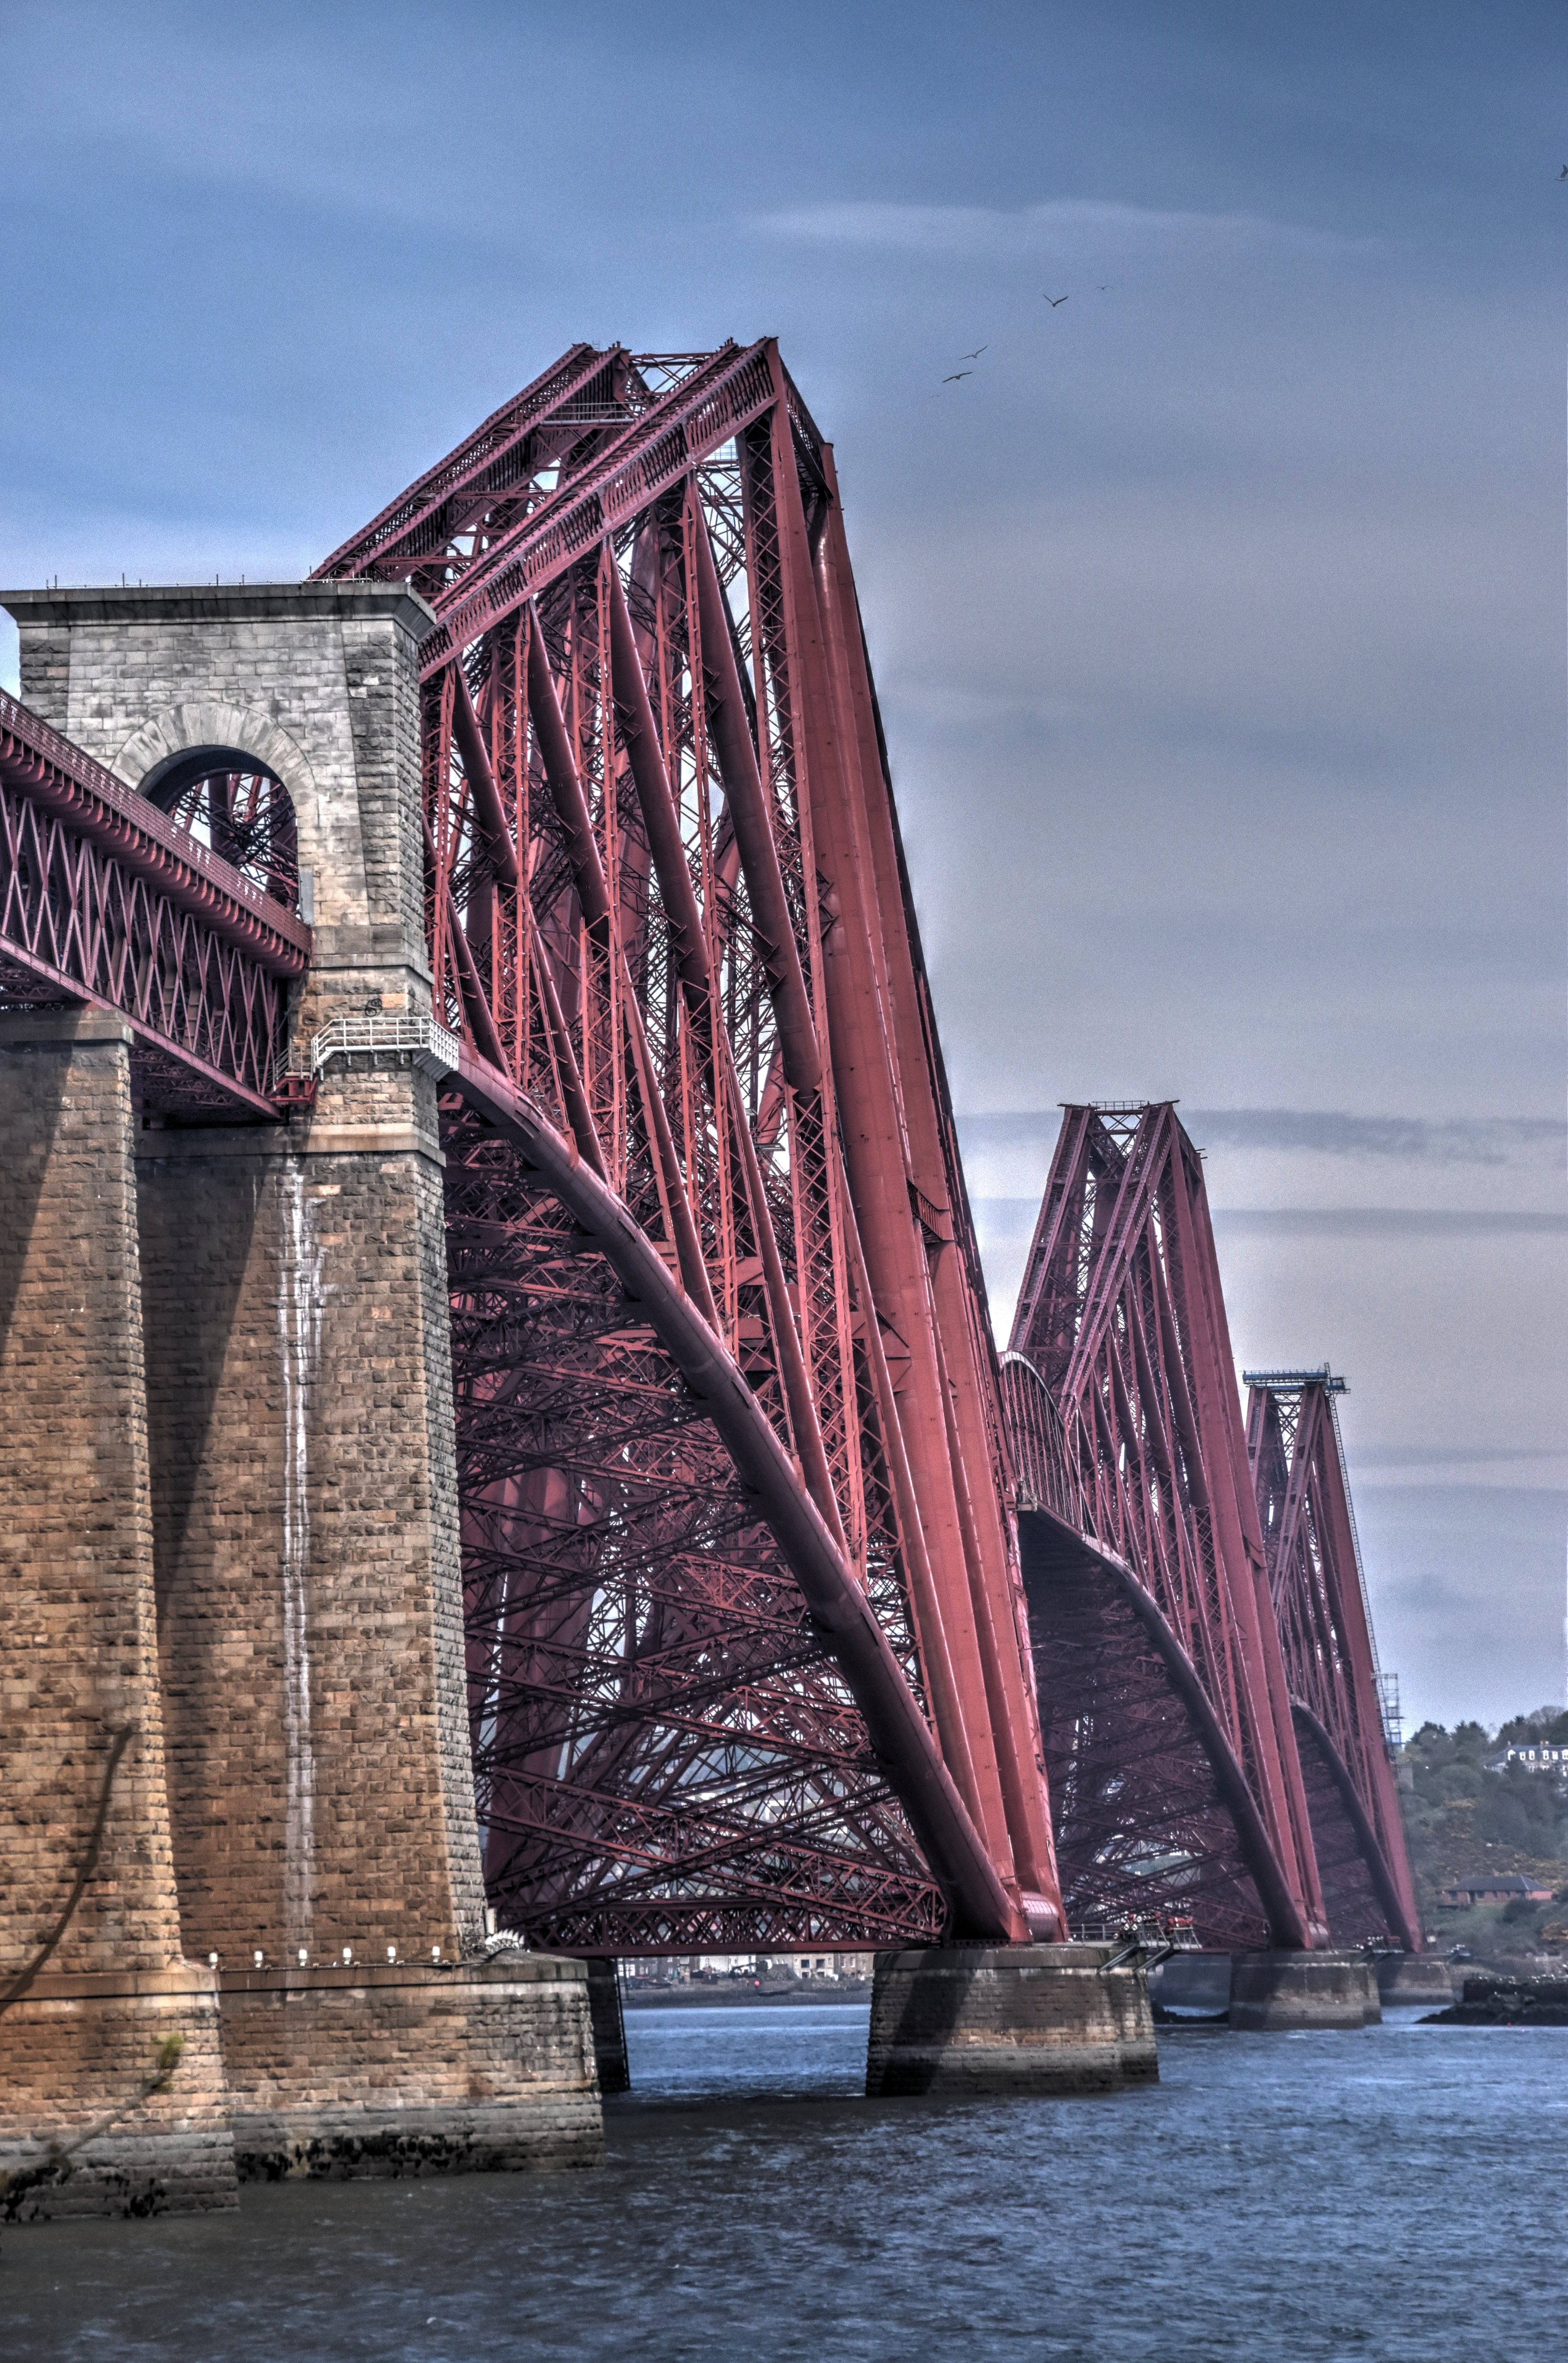
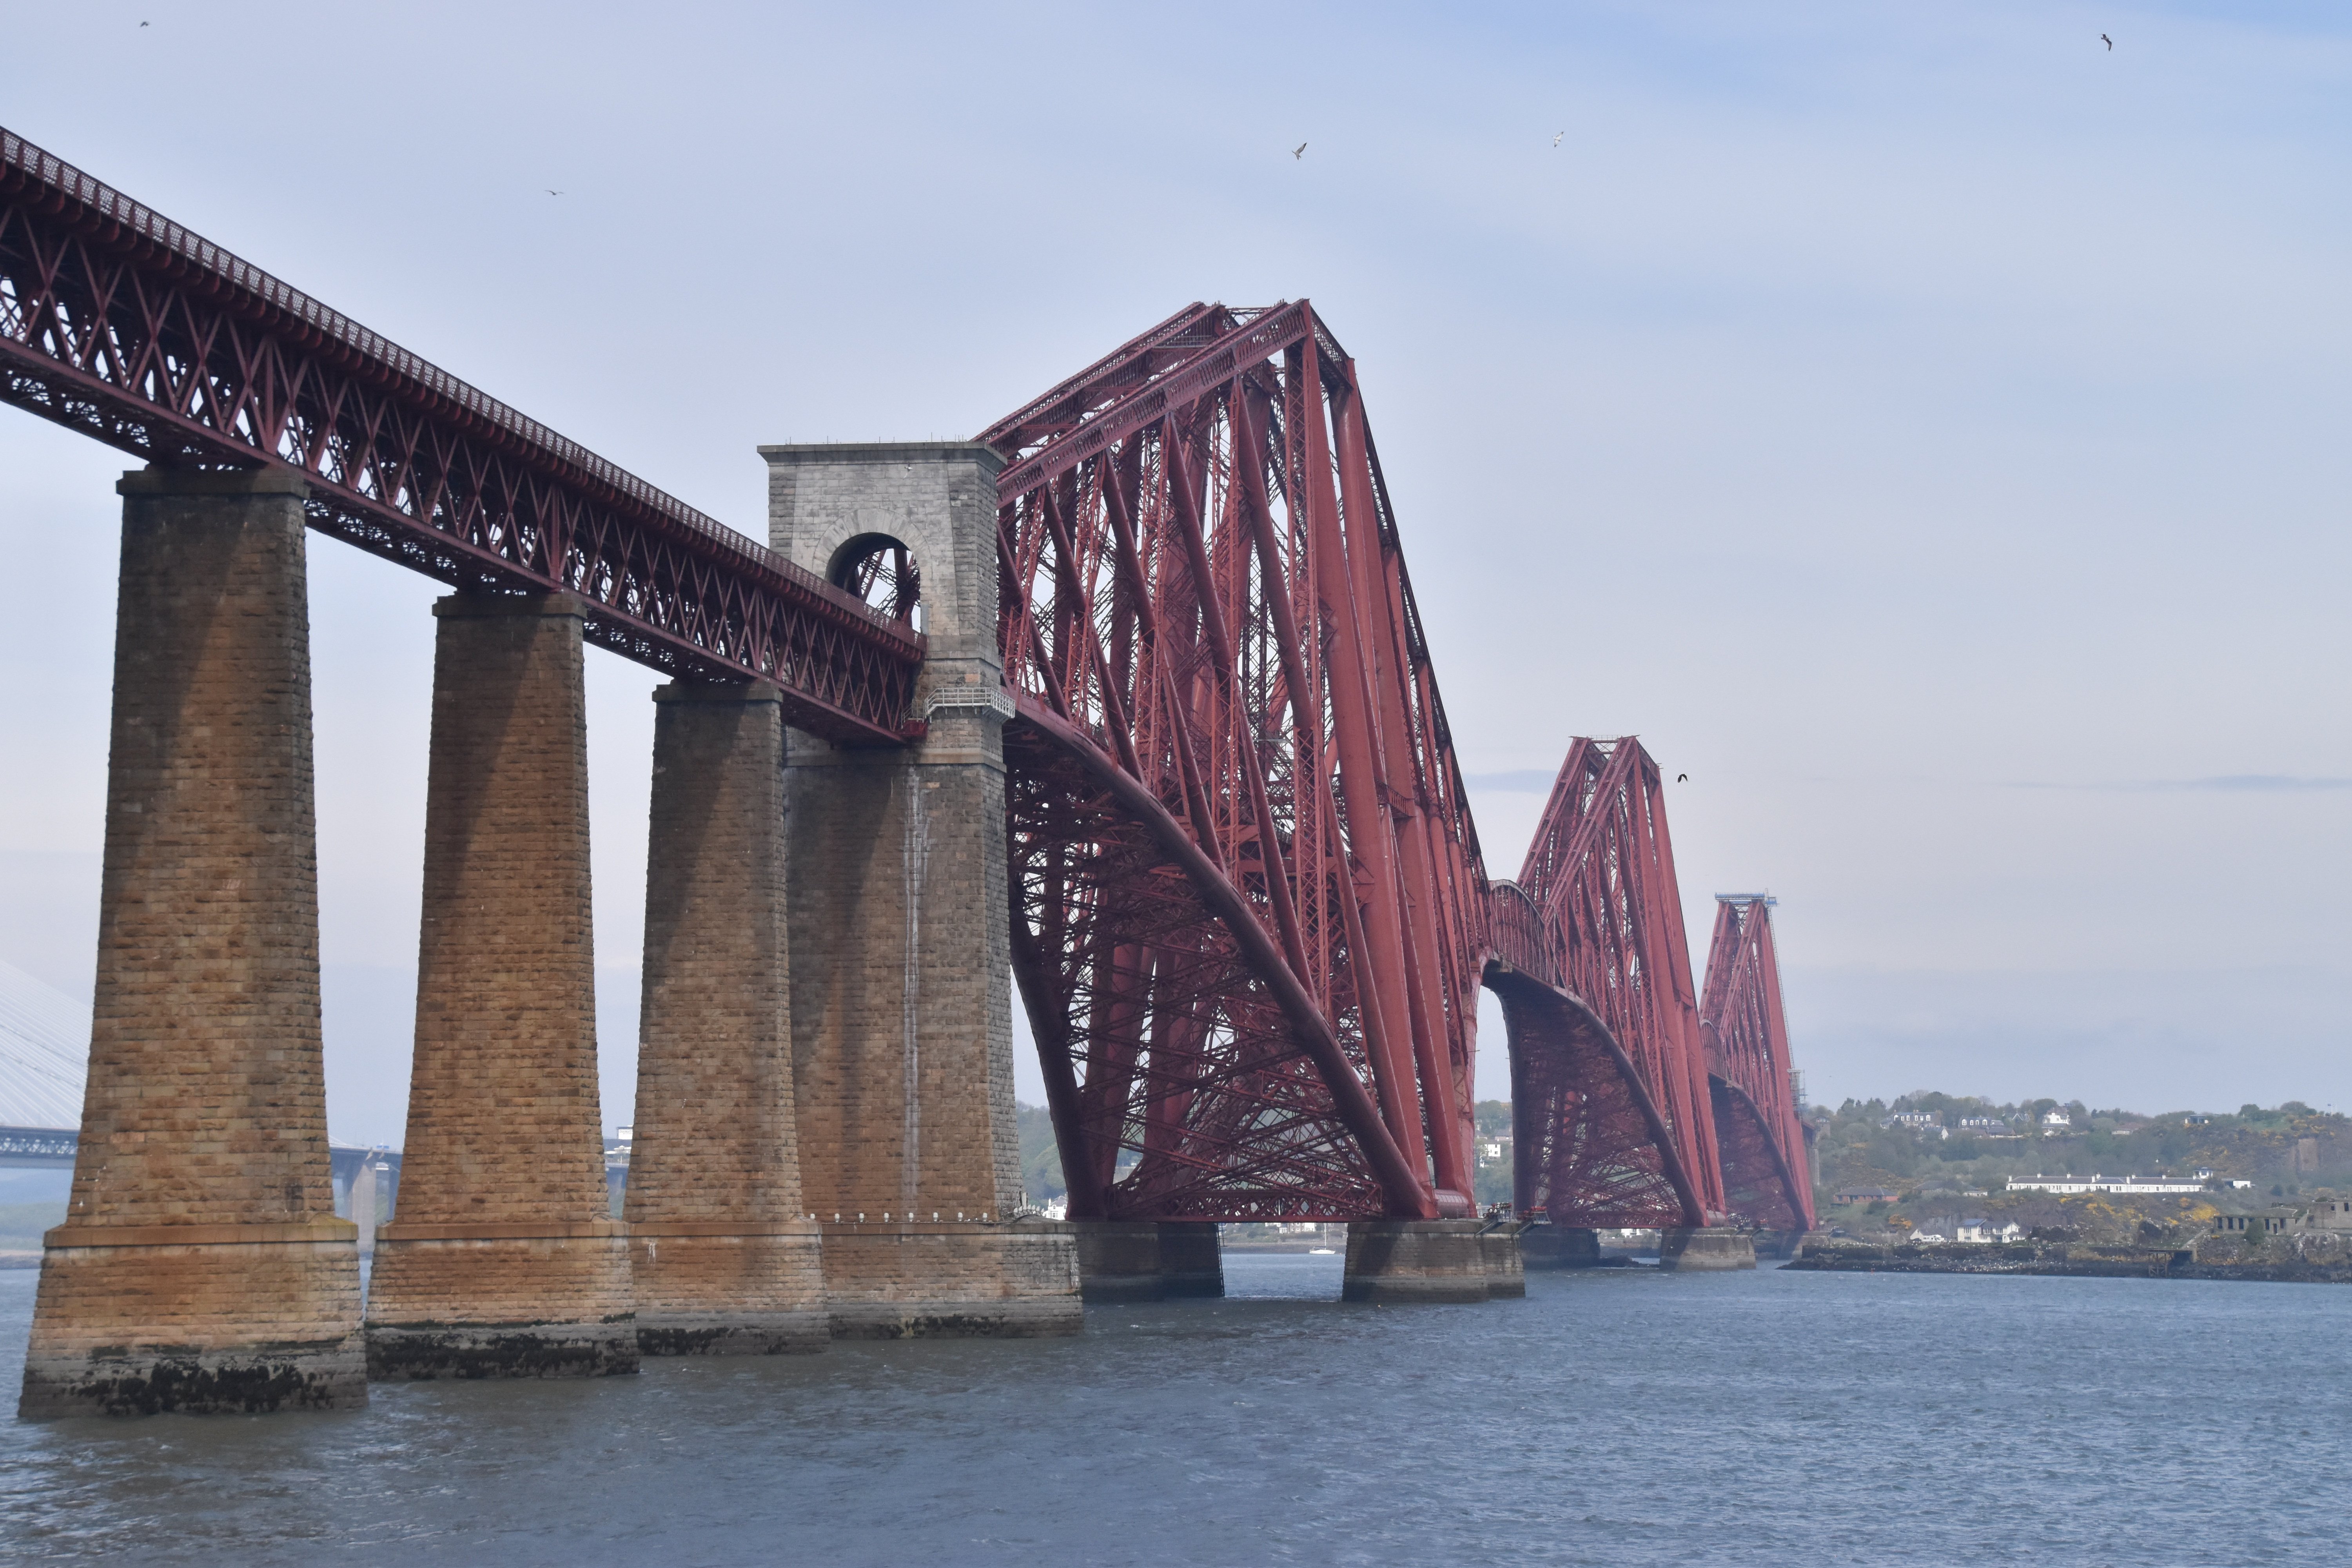
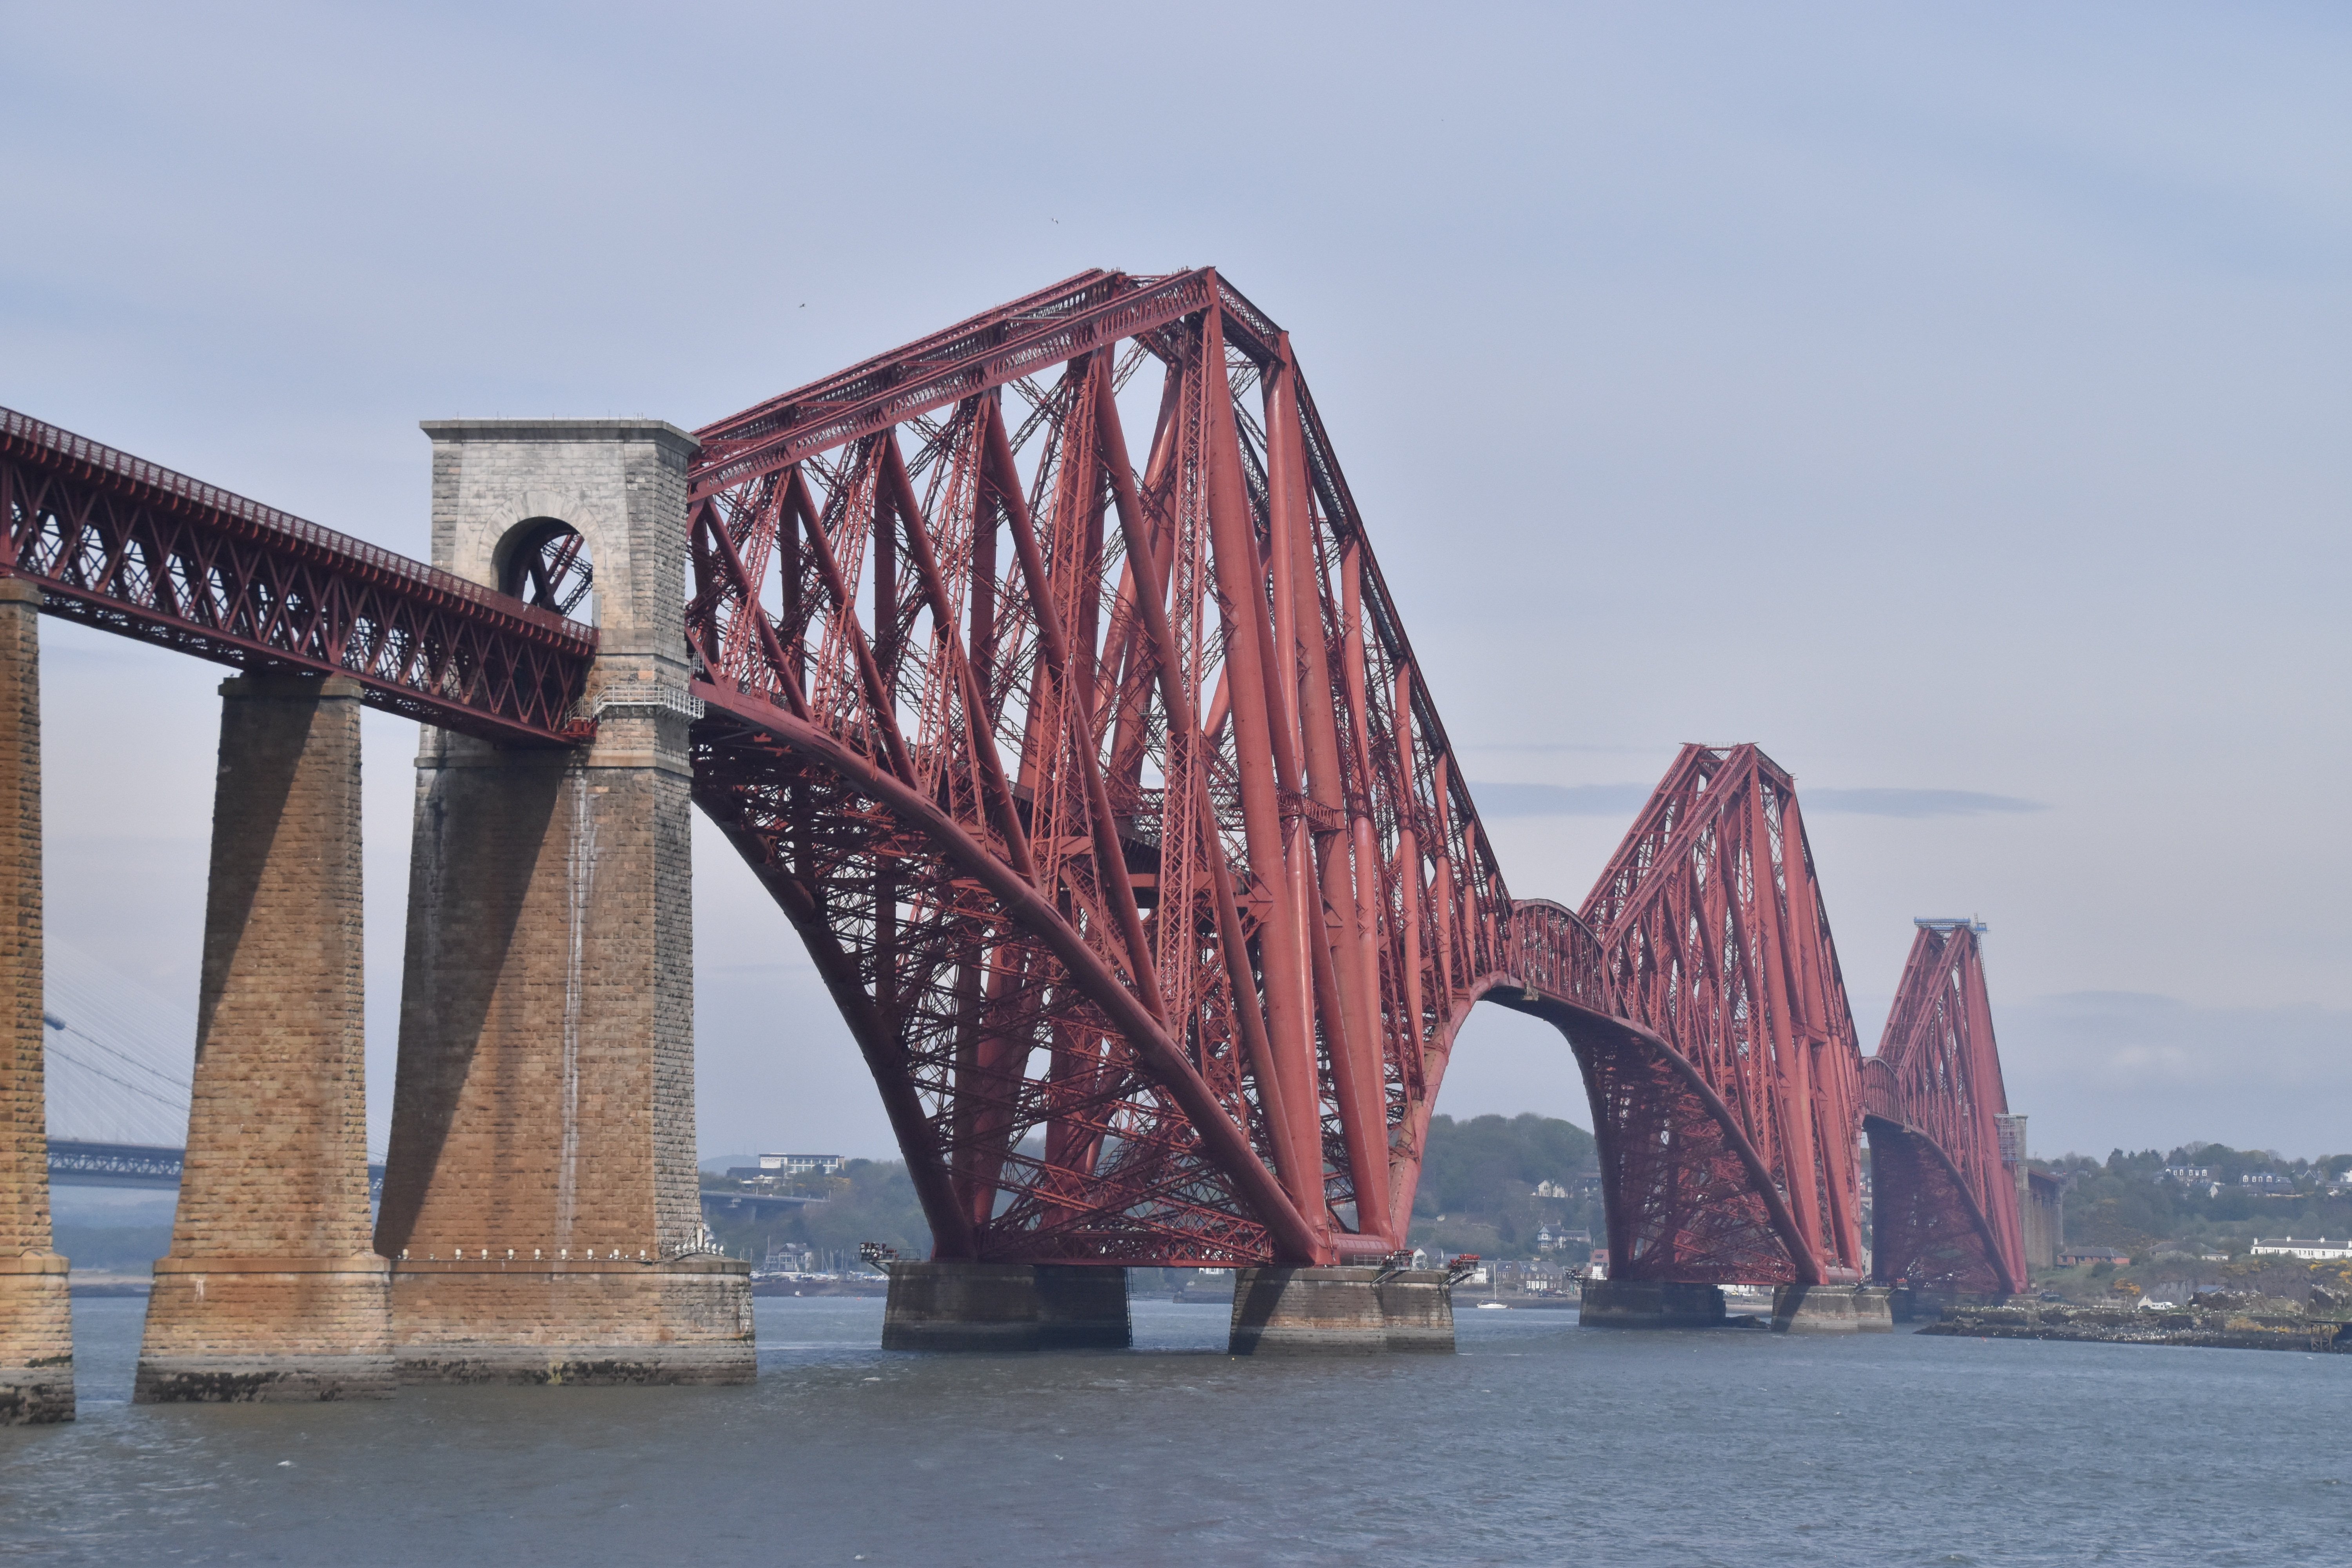
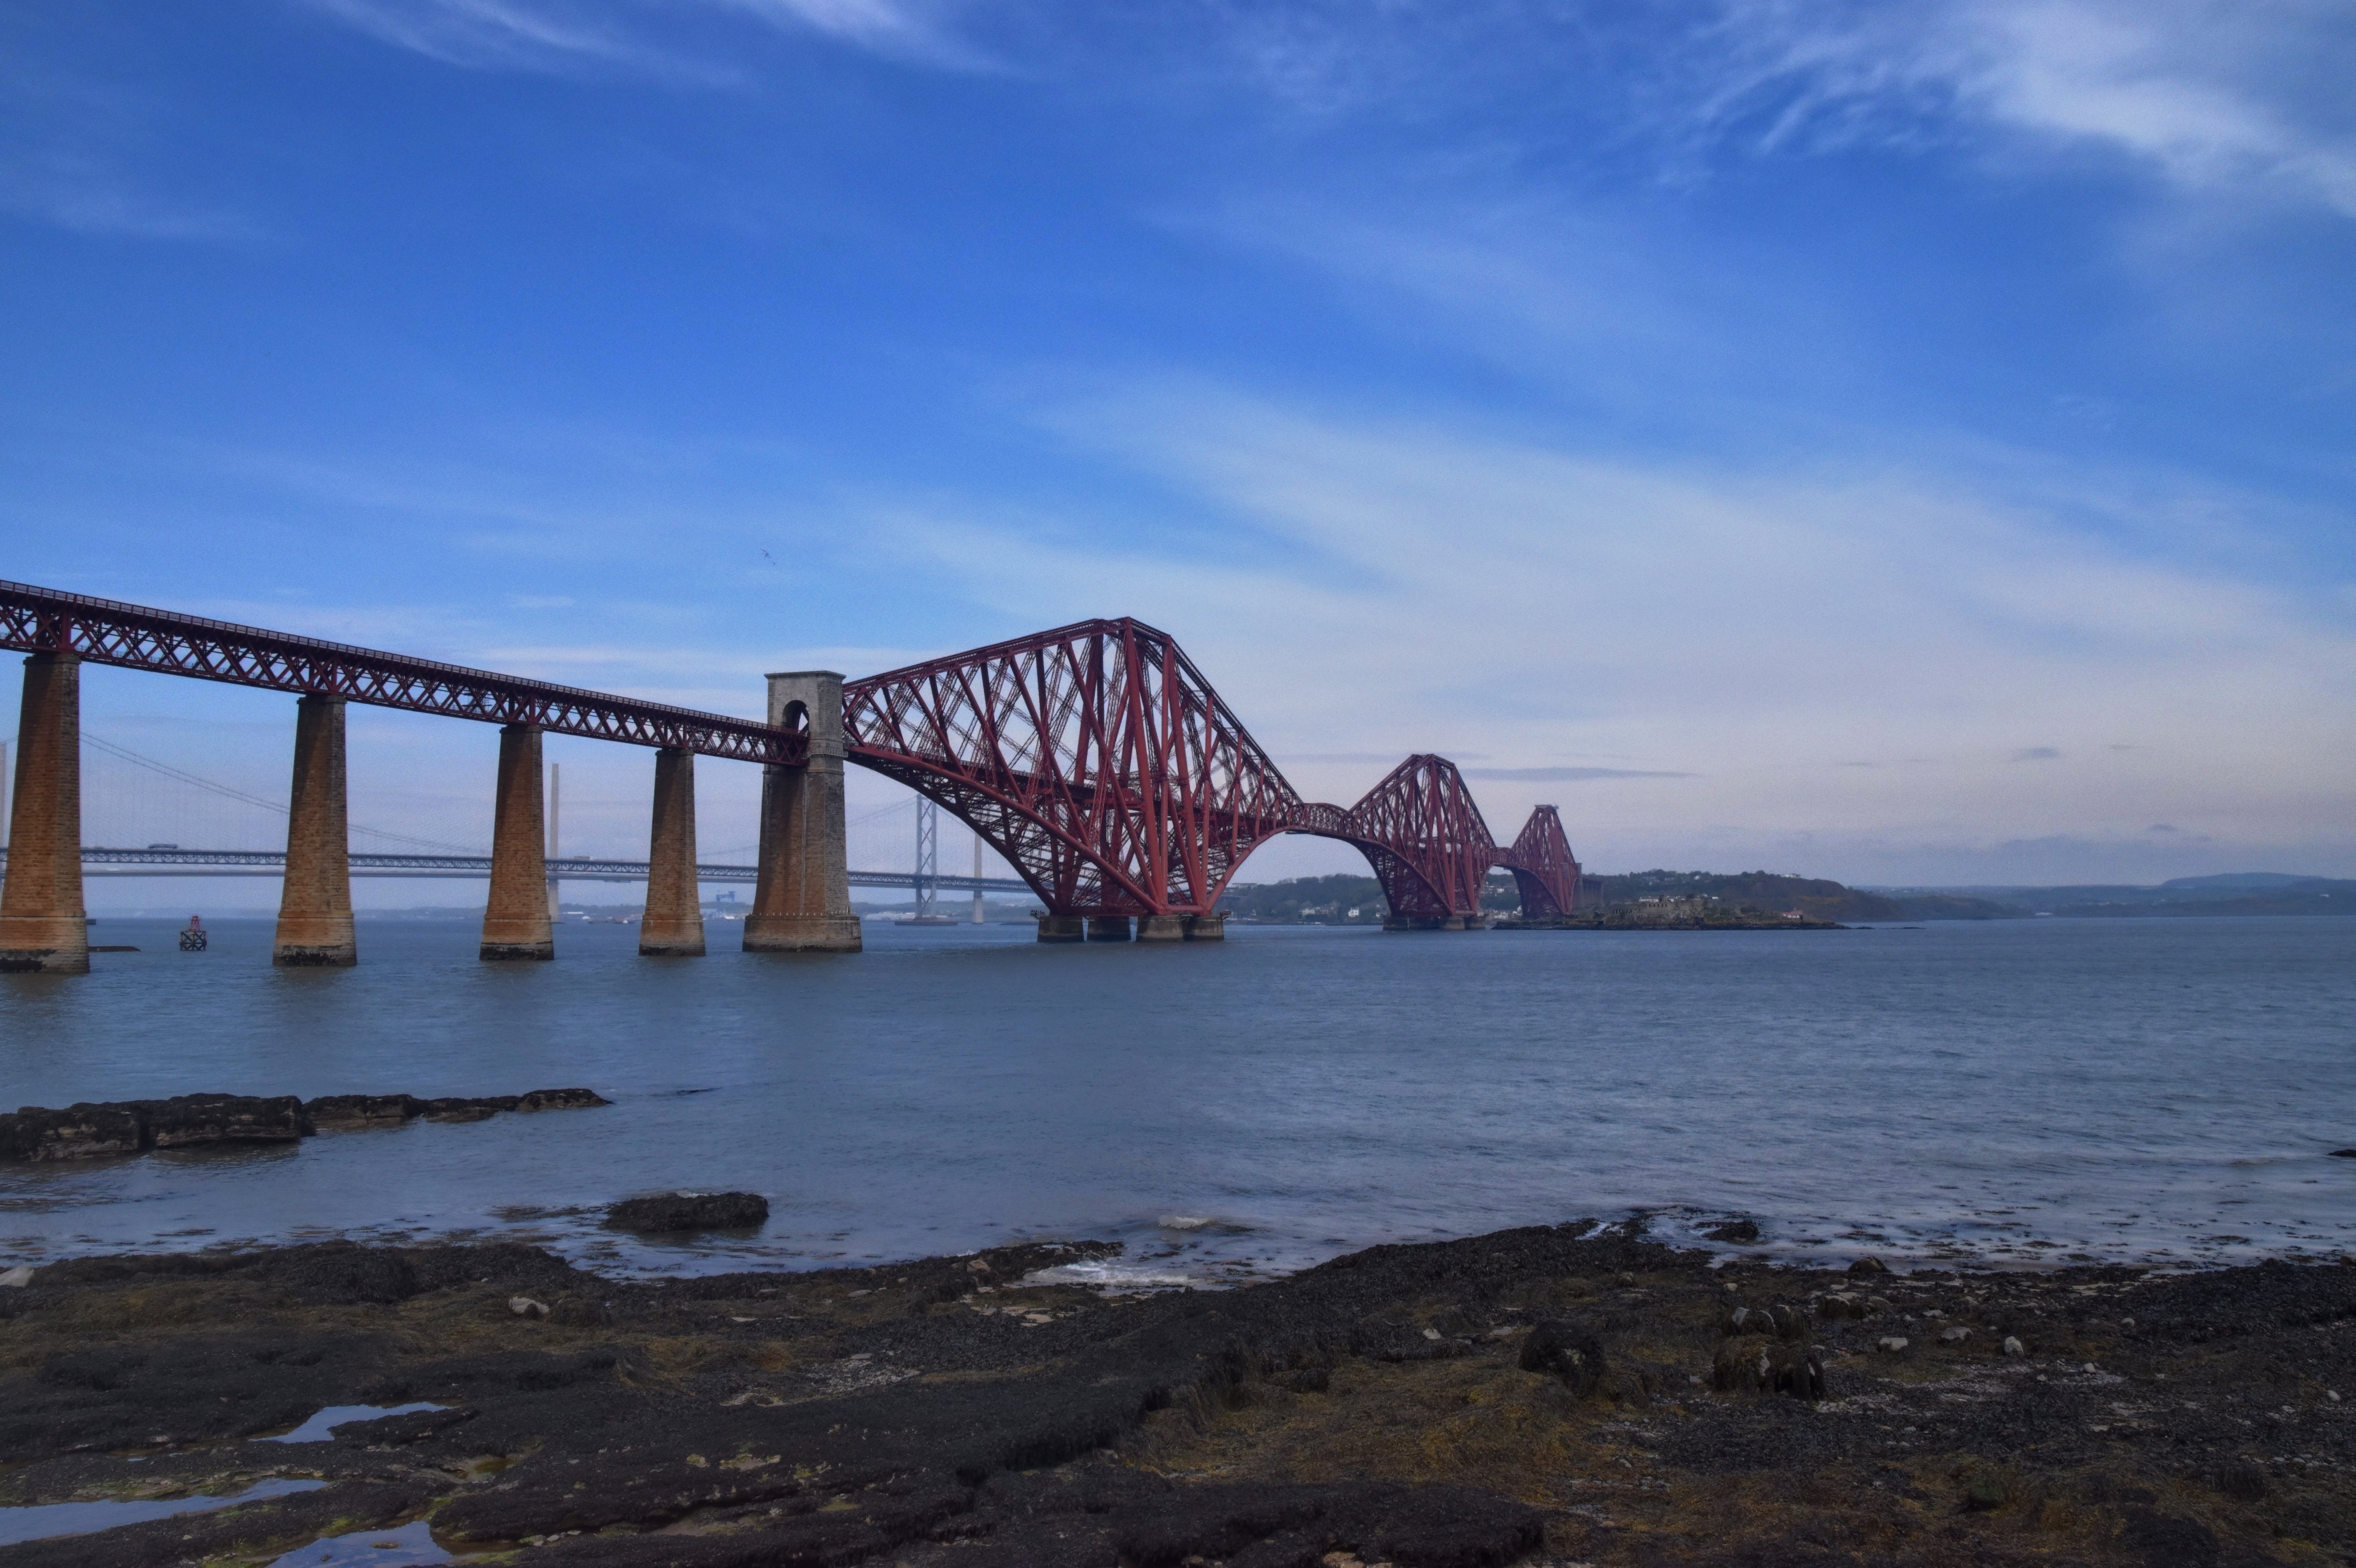
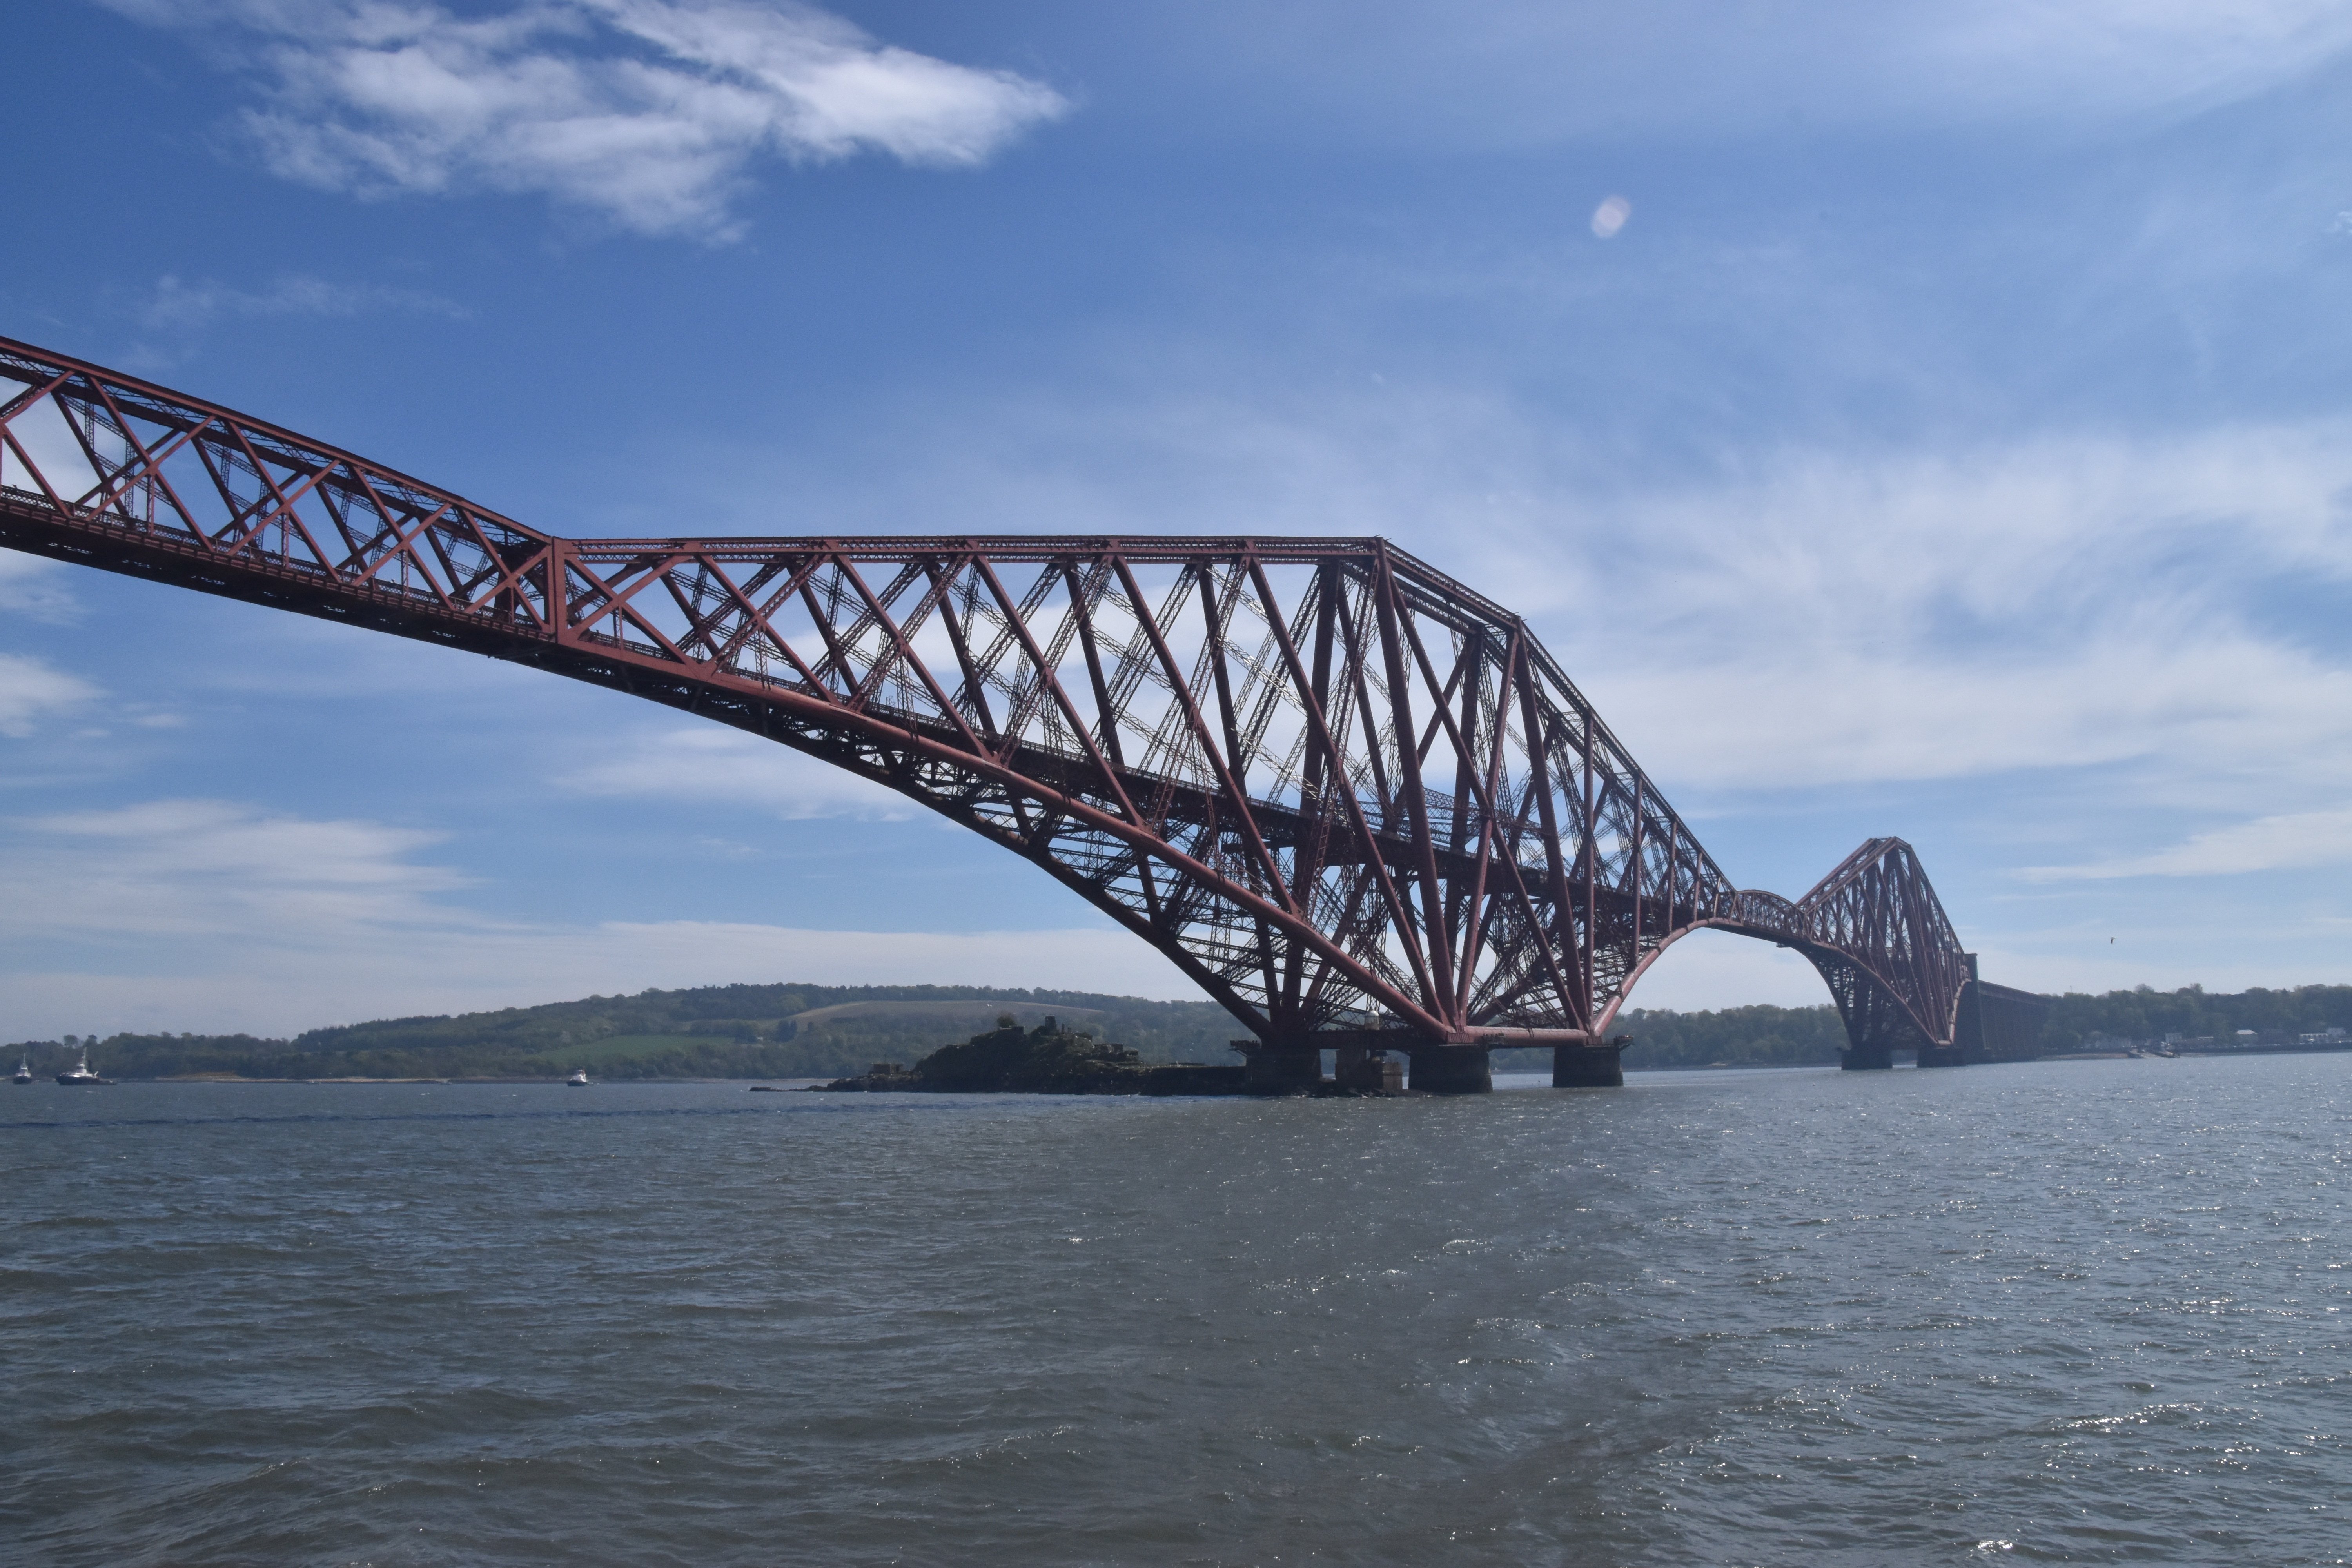
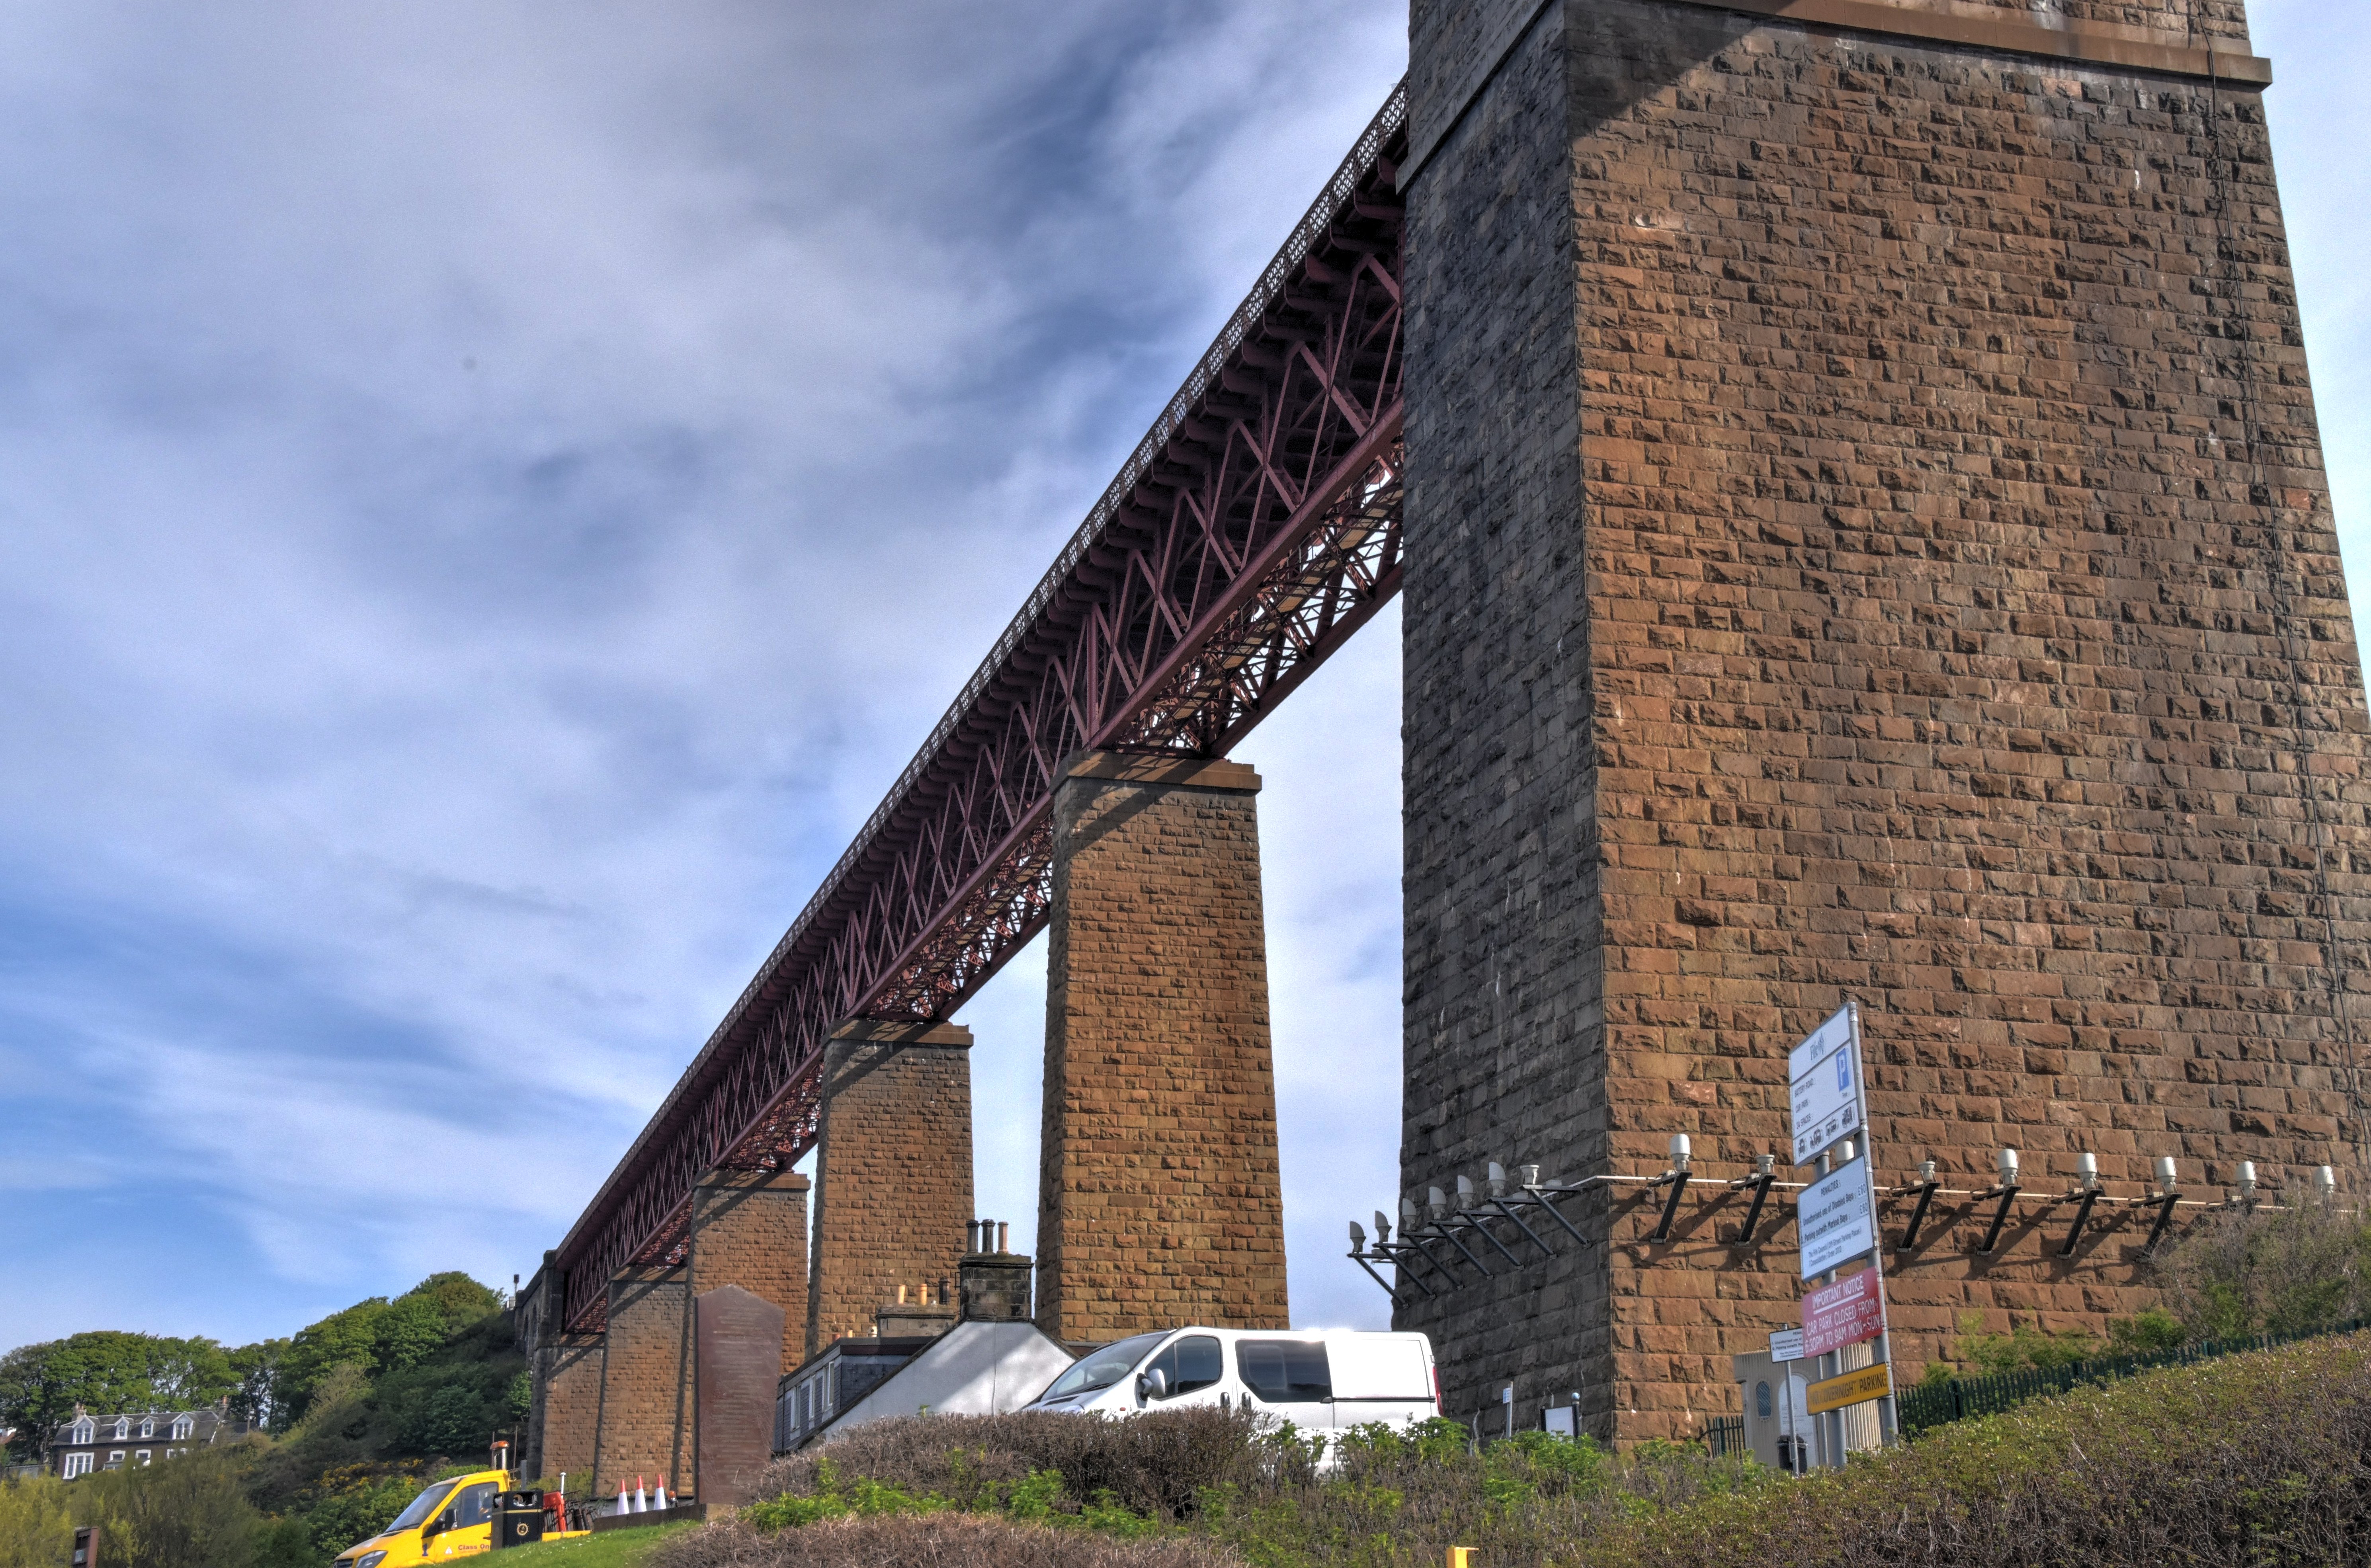
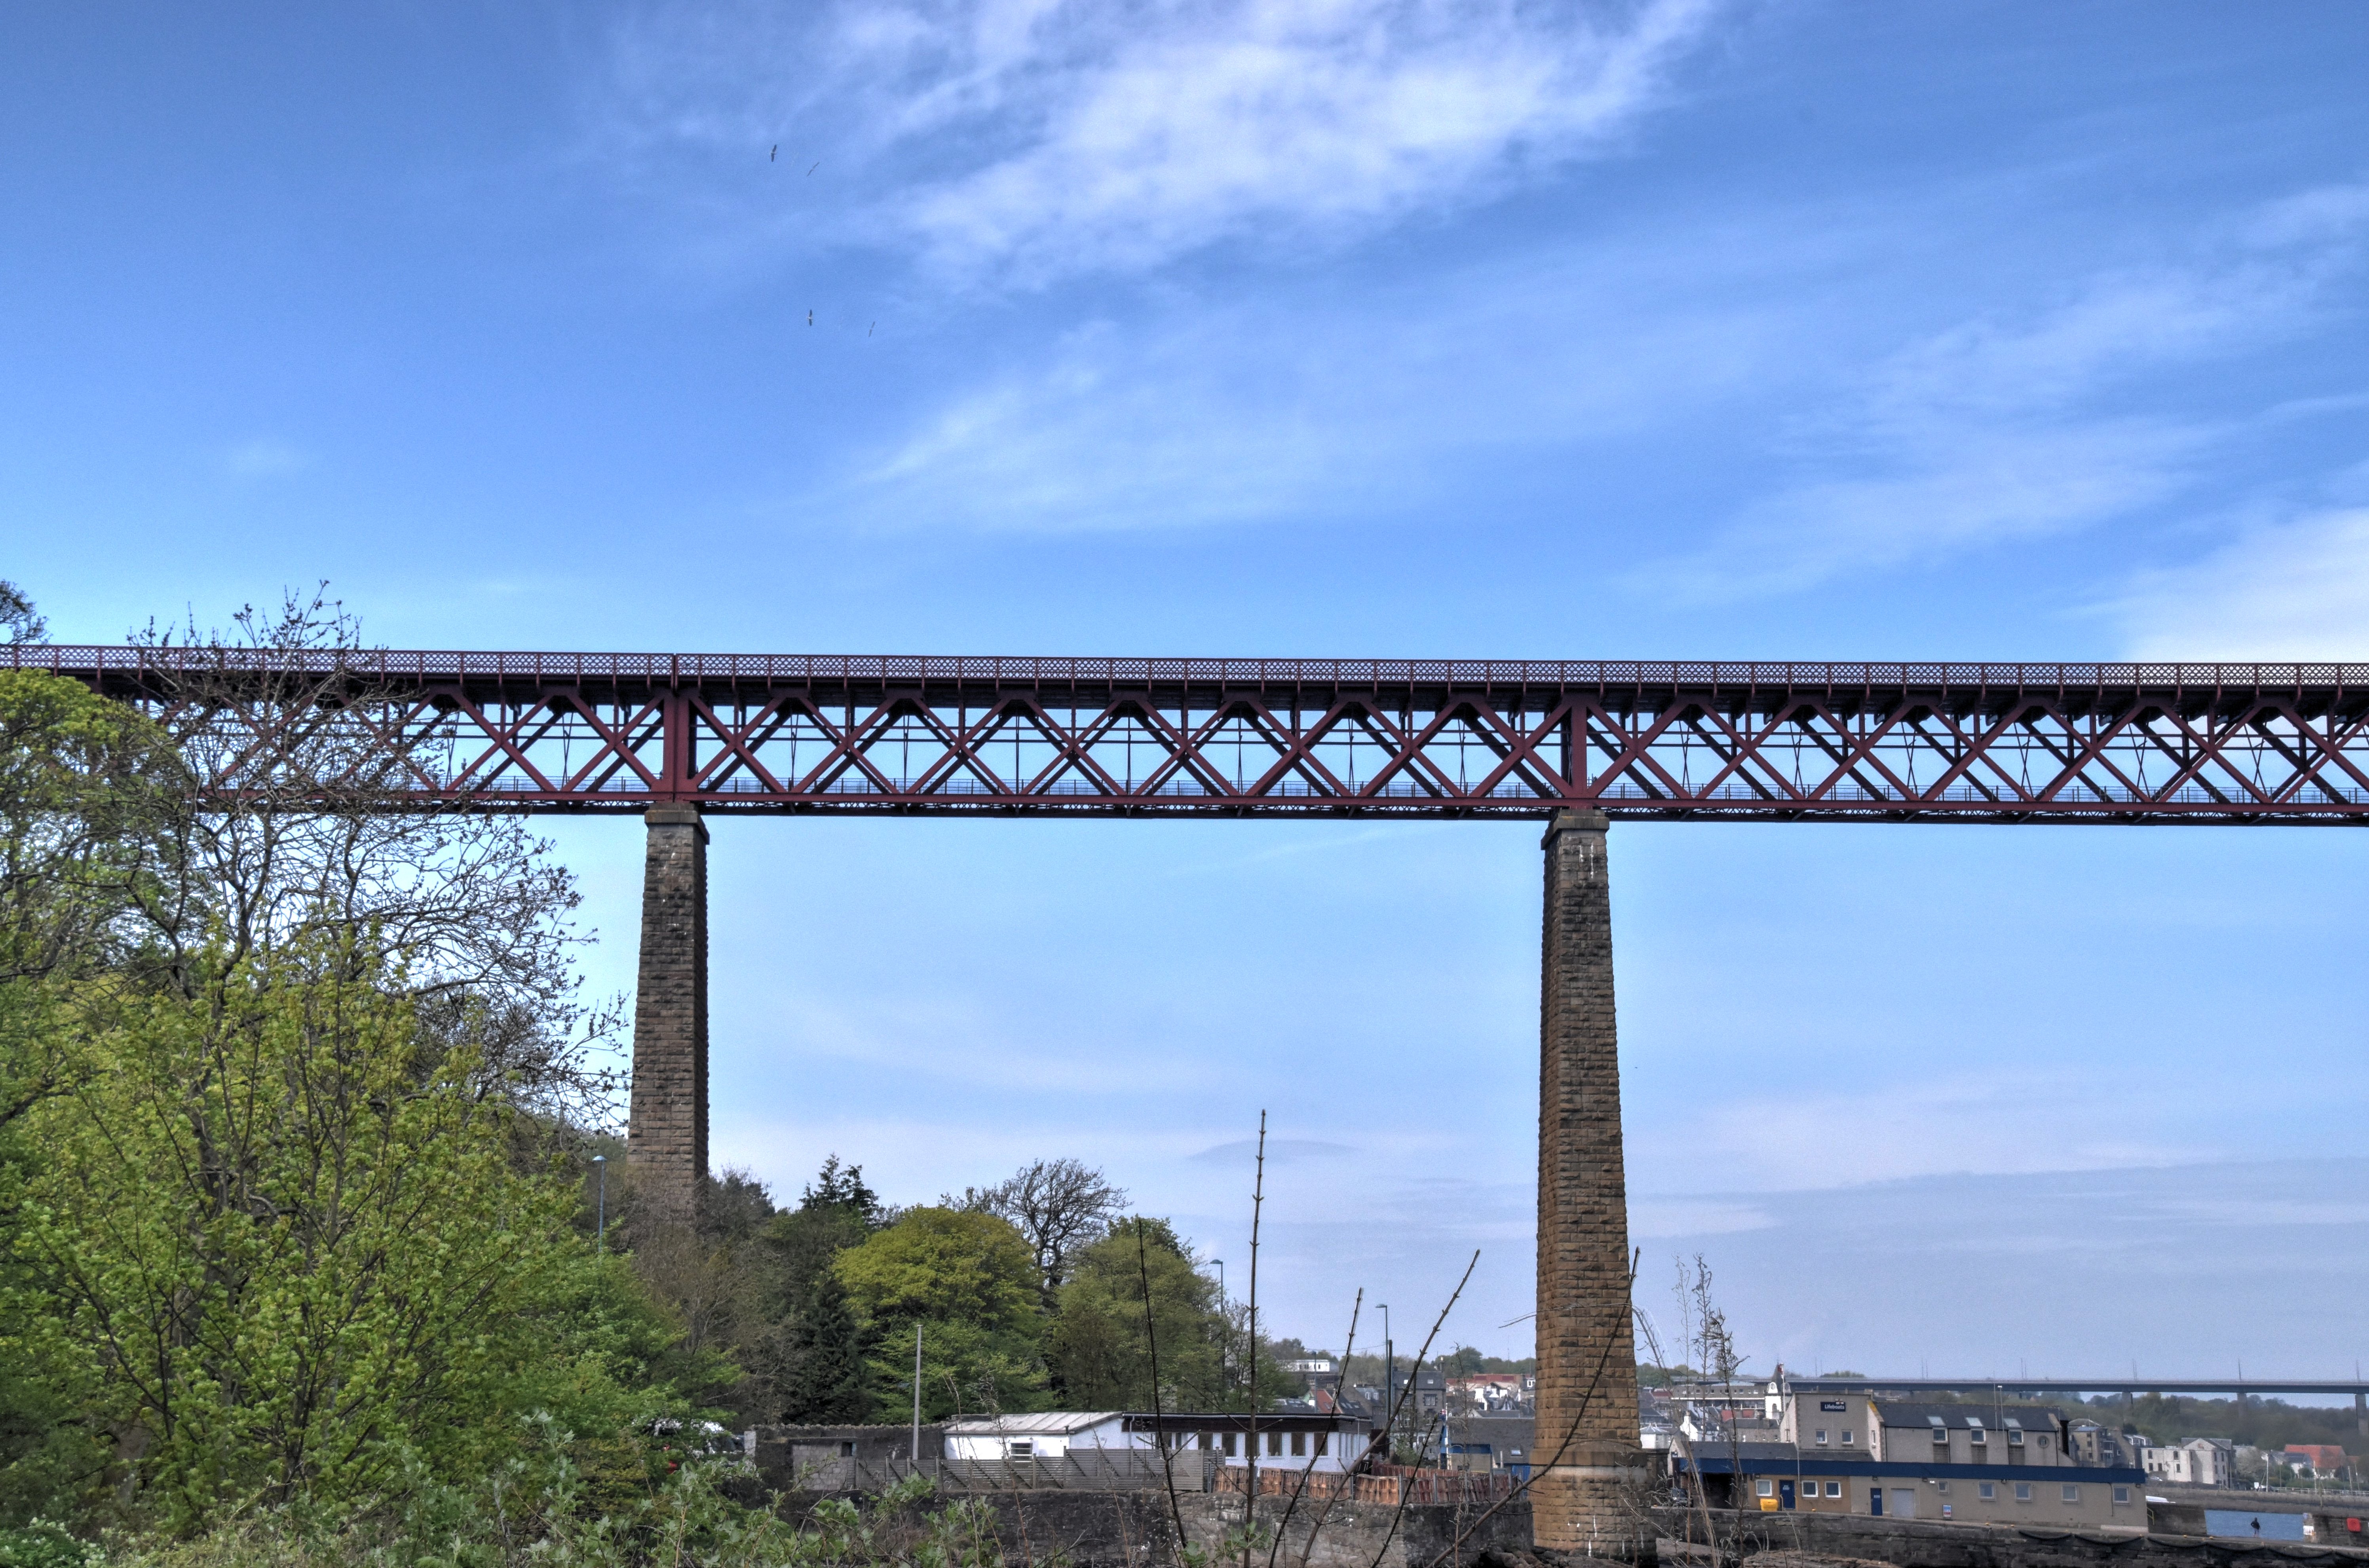
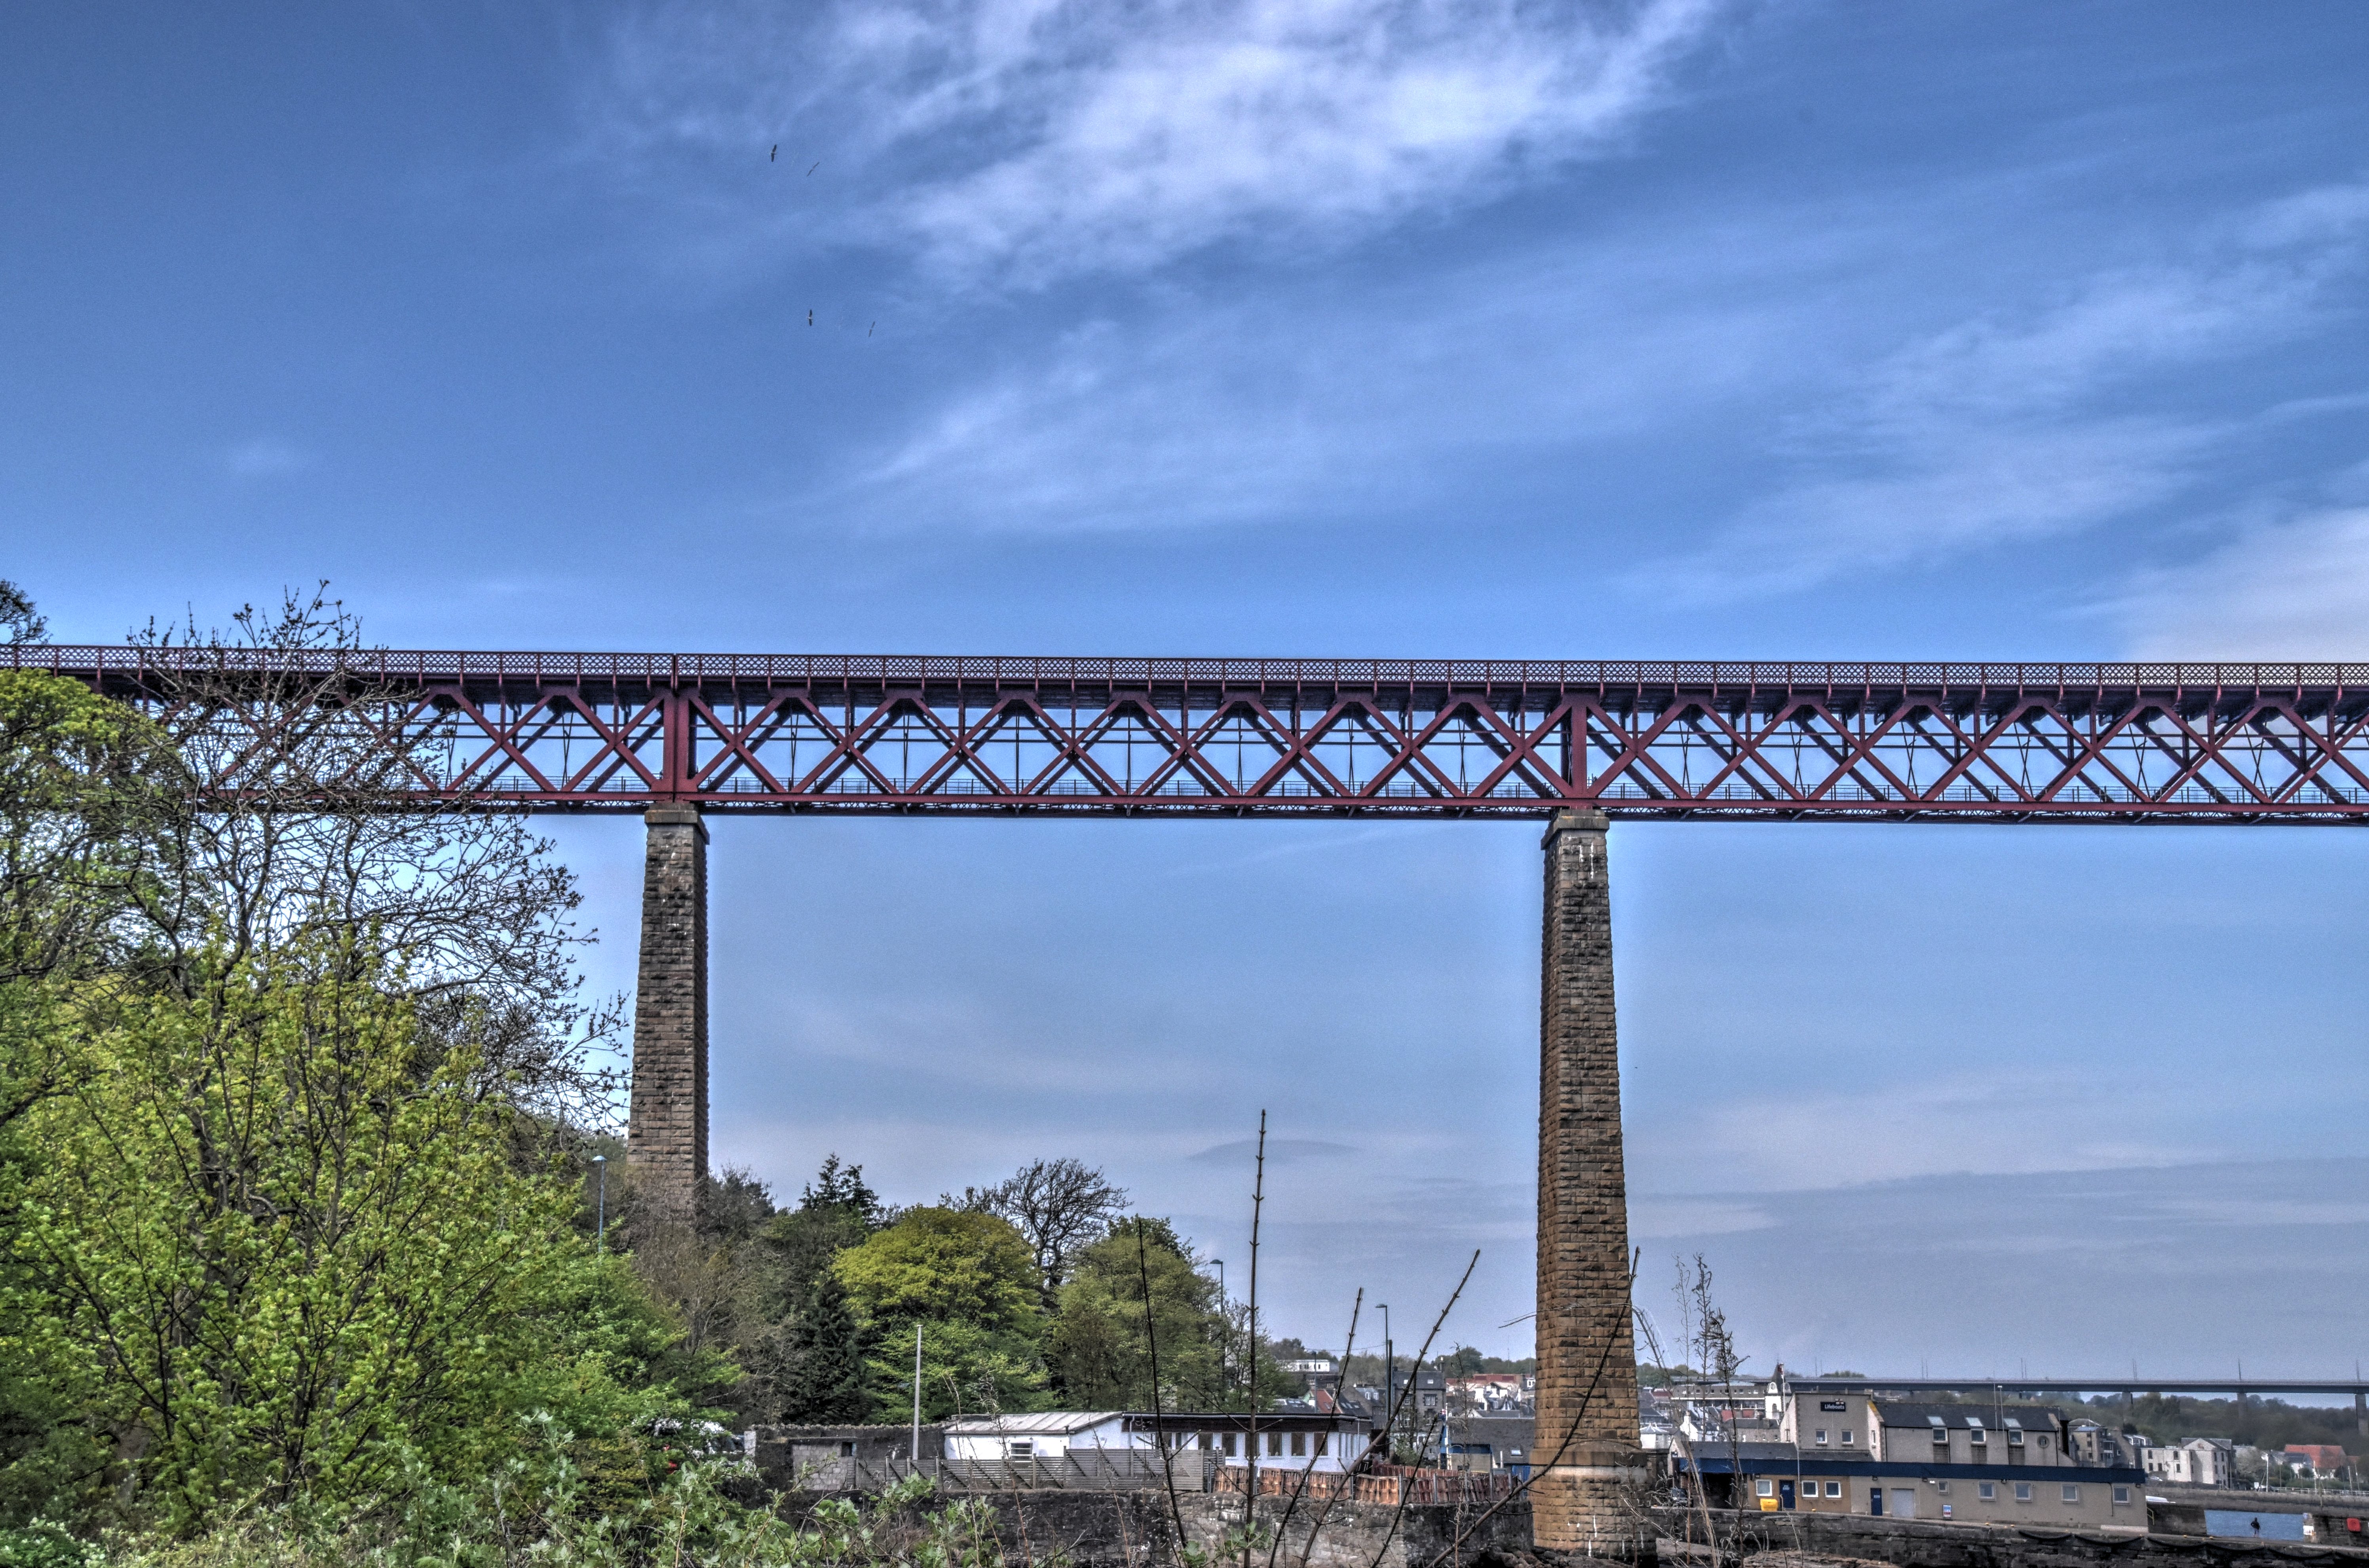
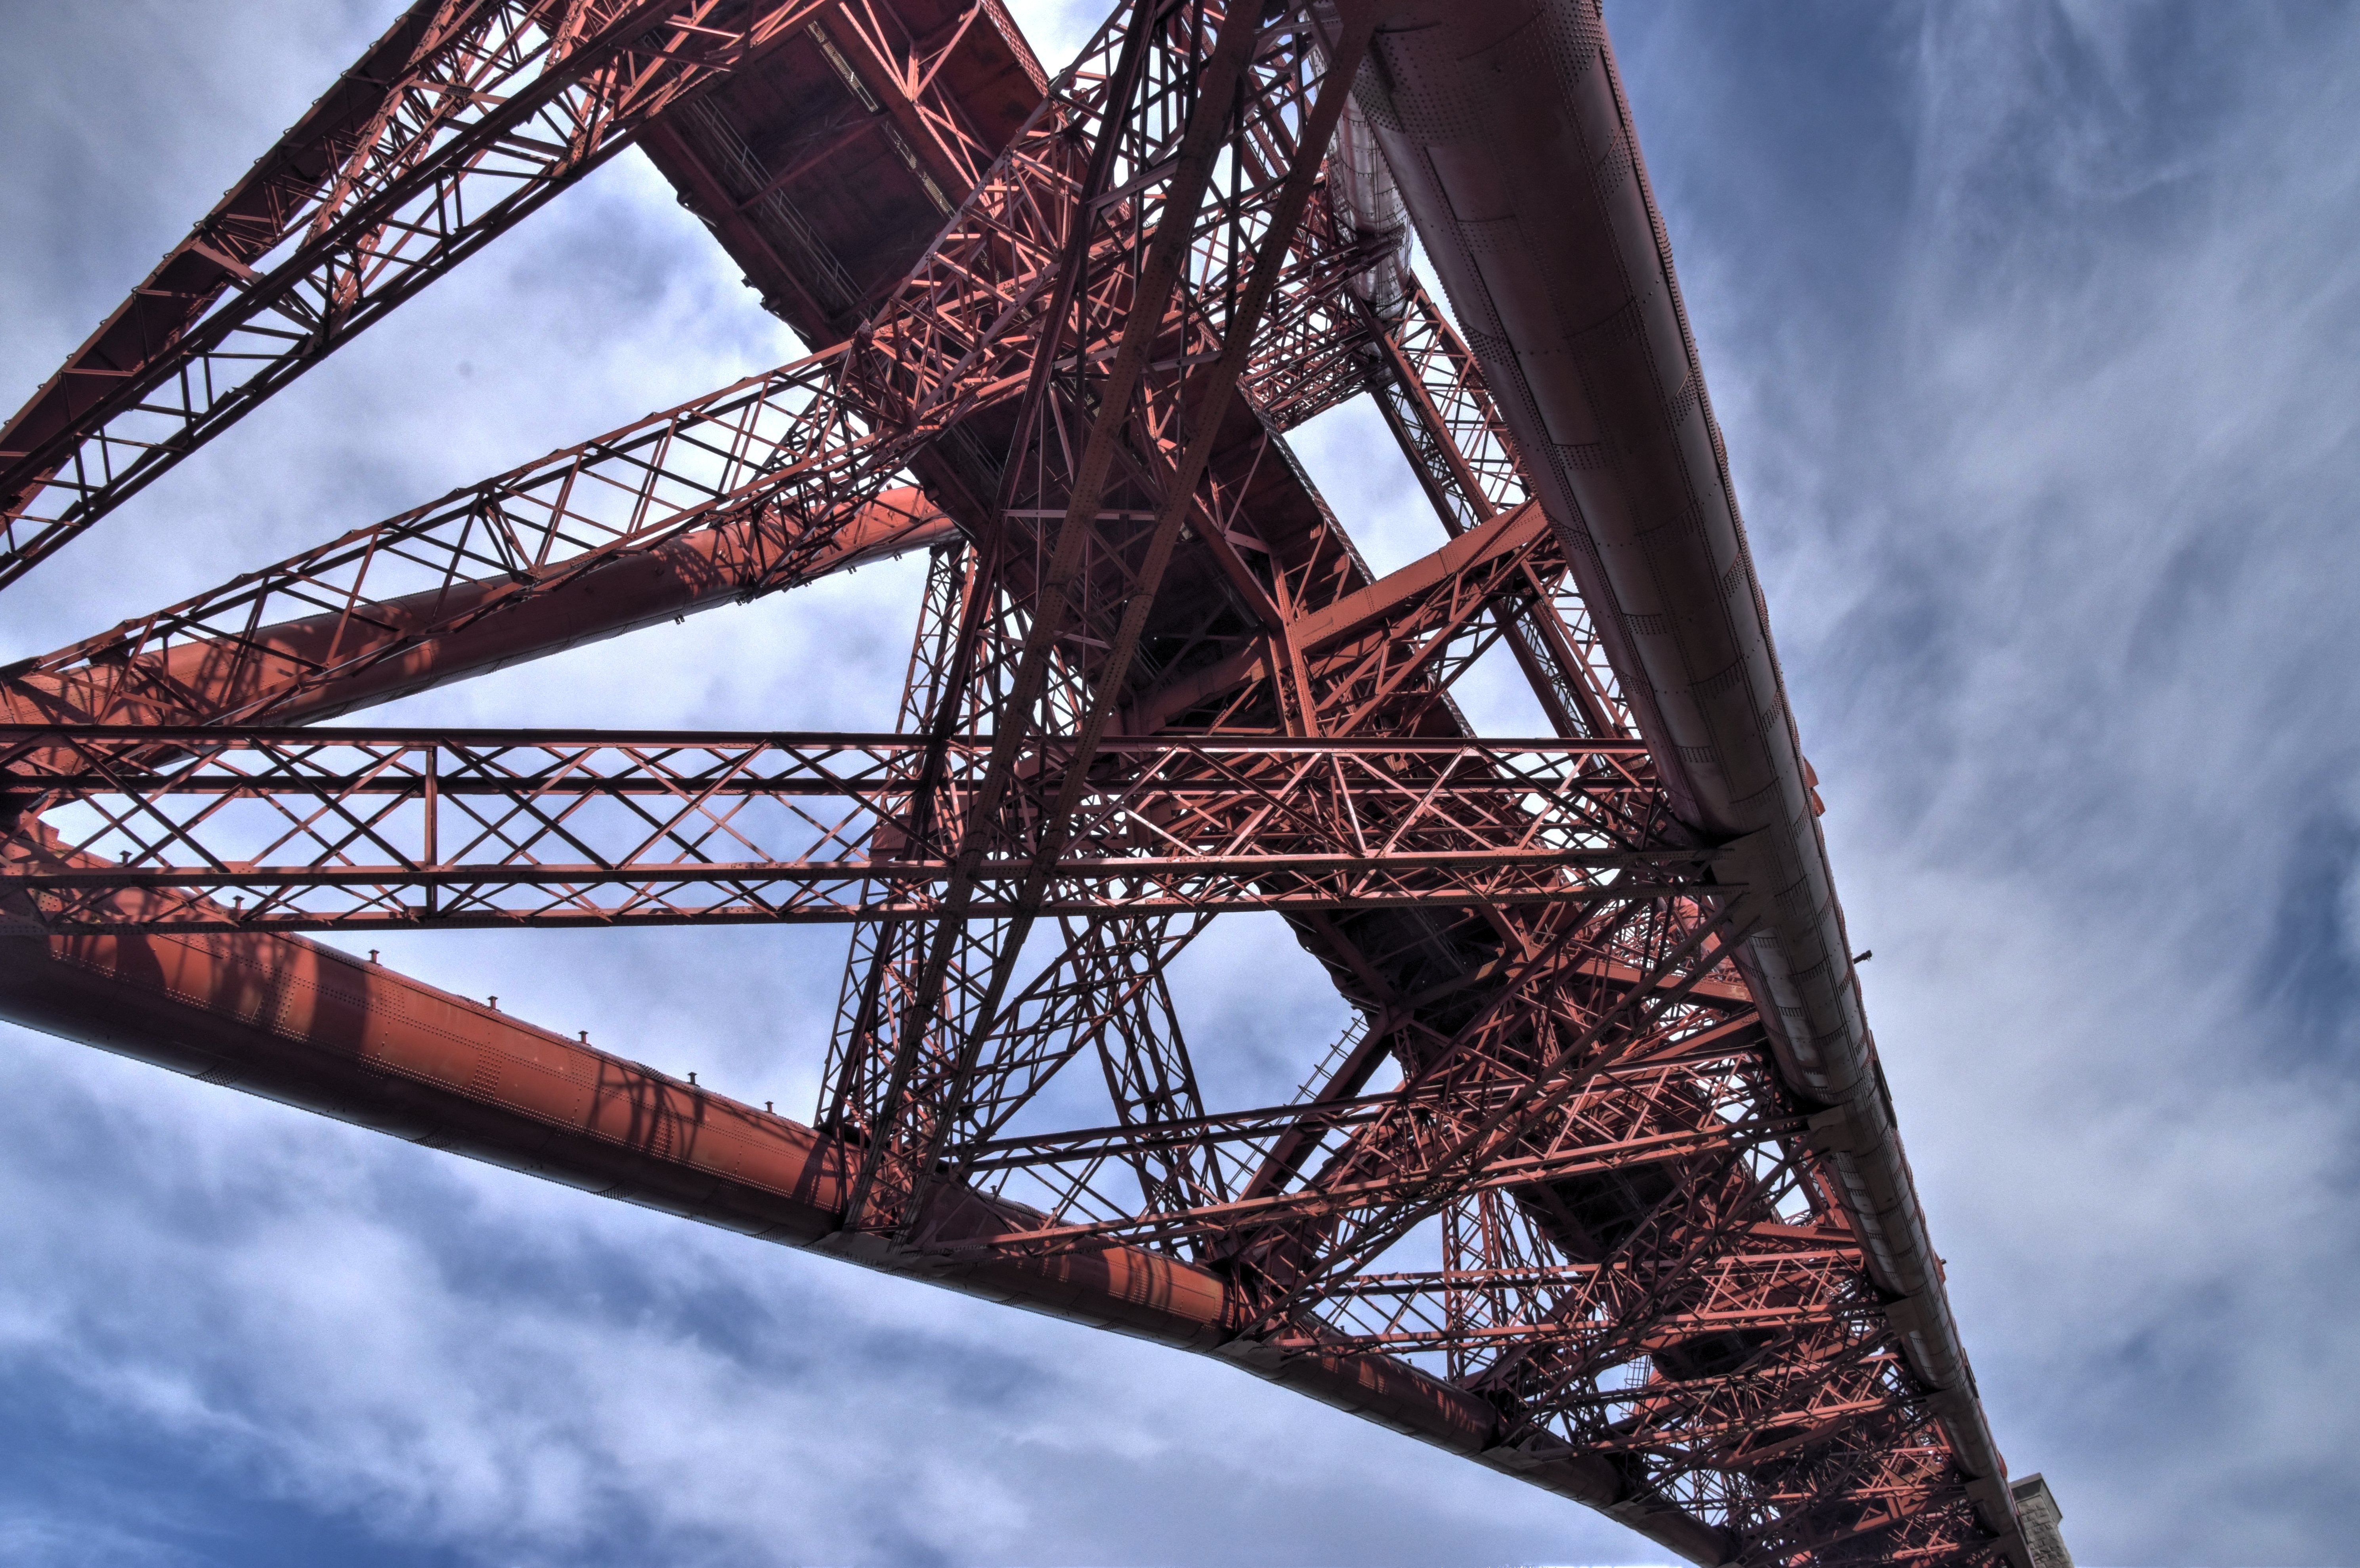
Oblique views of main spans from southwest quadrant, taken from near the anchor arm pier.
![]()

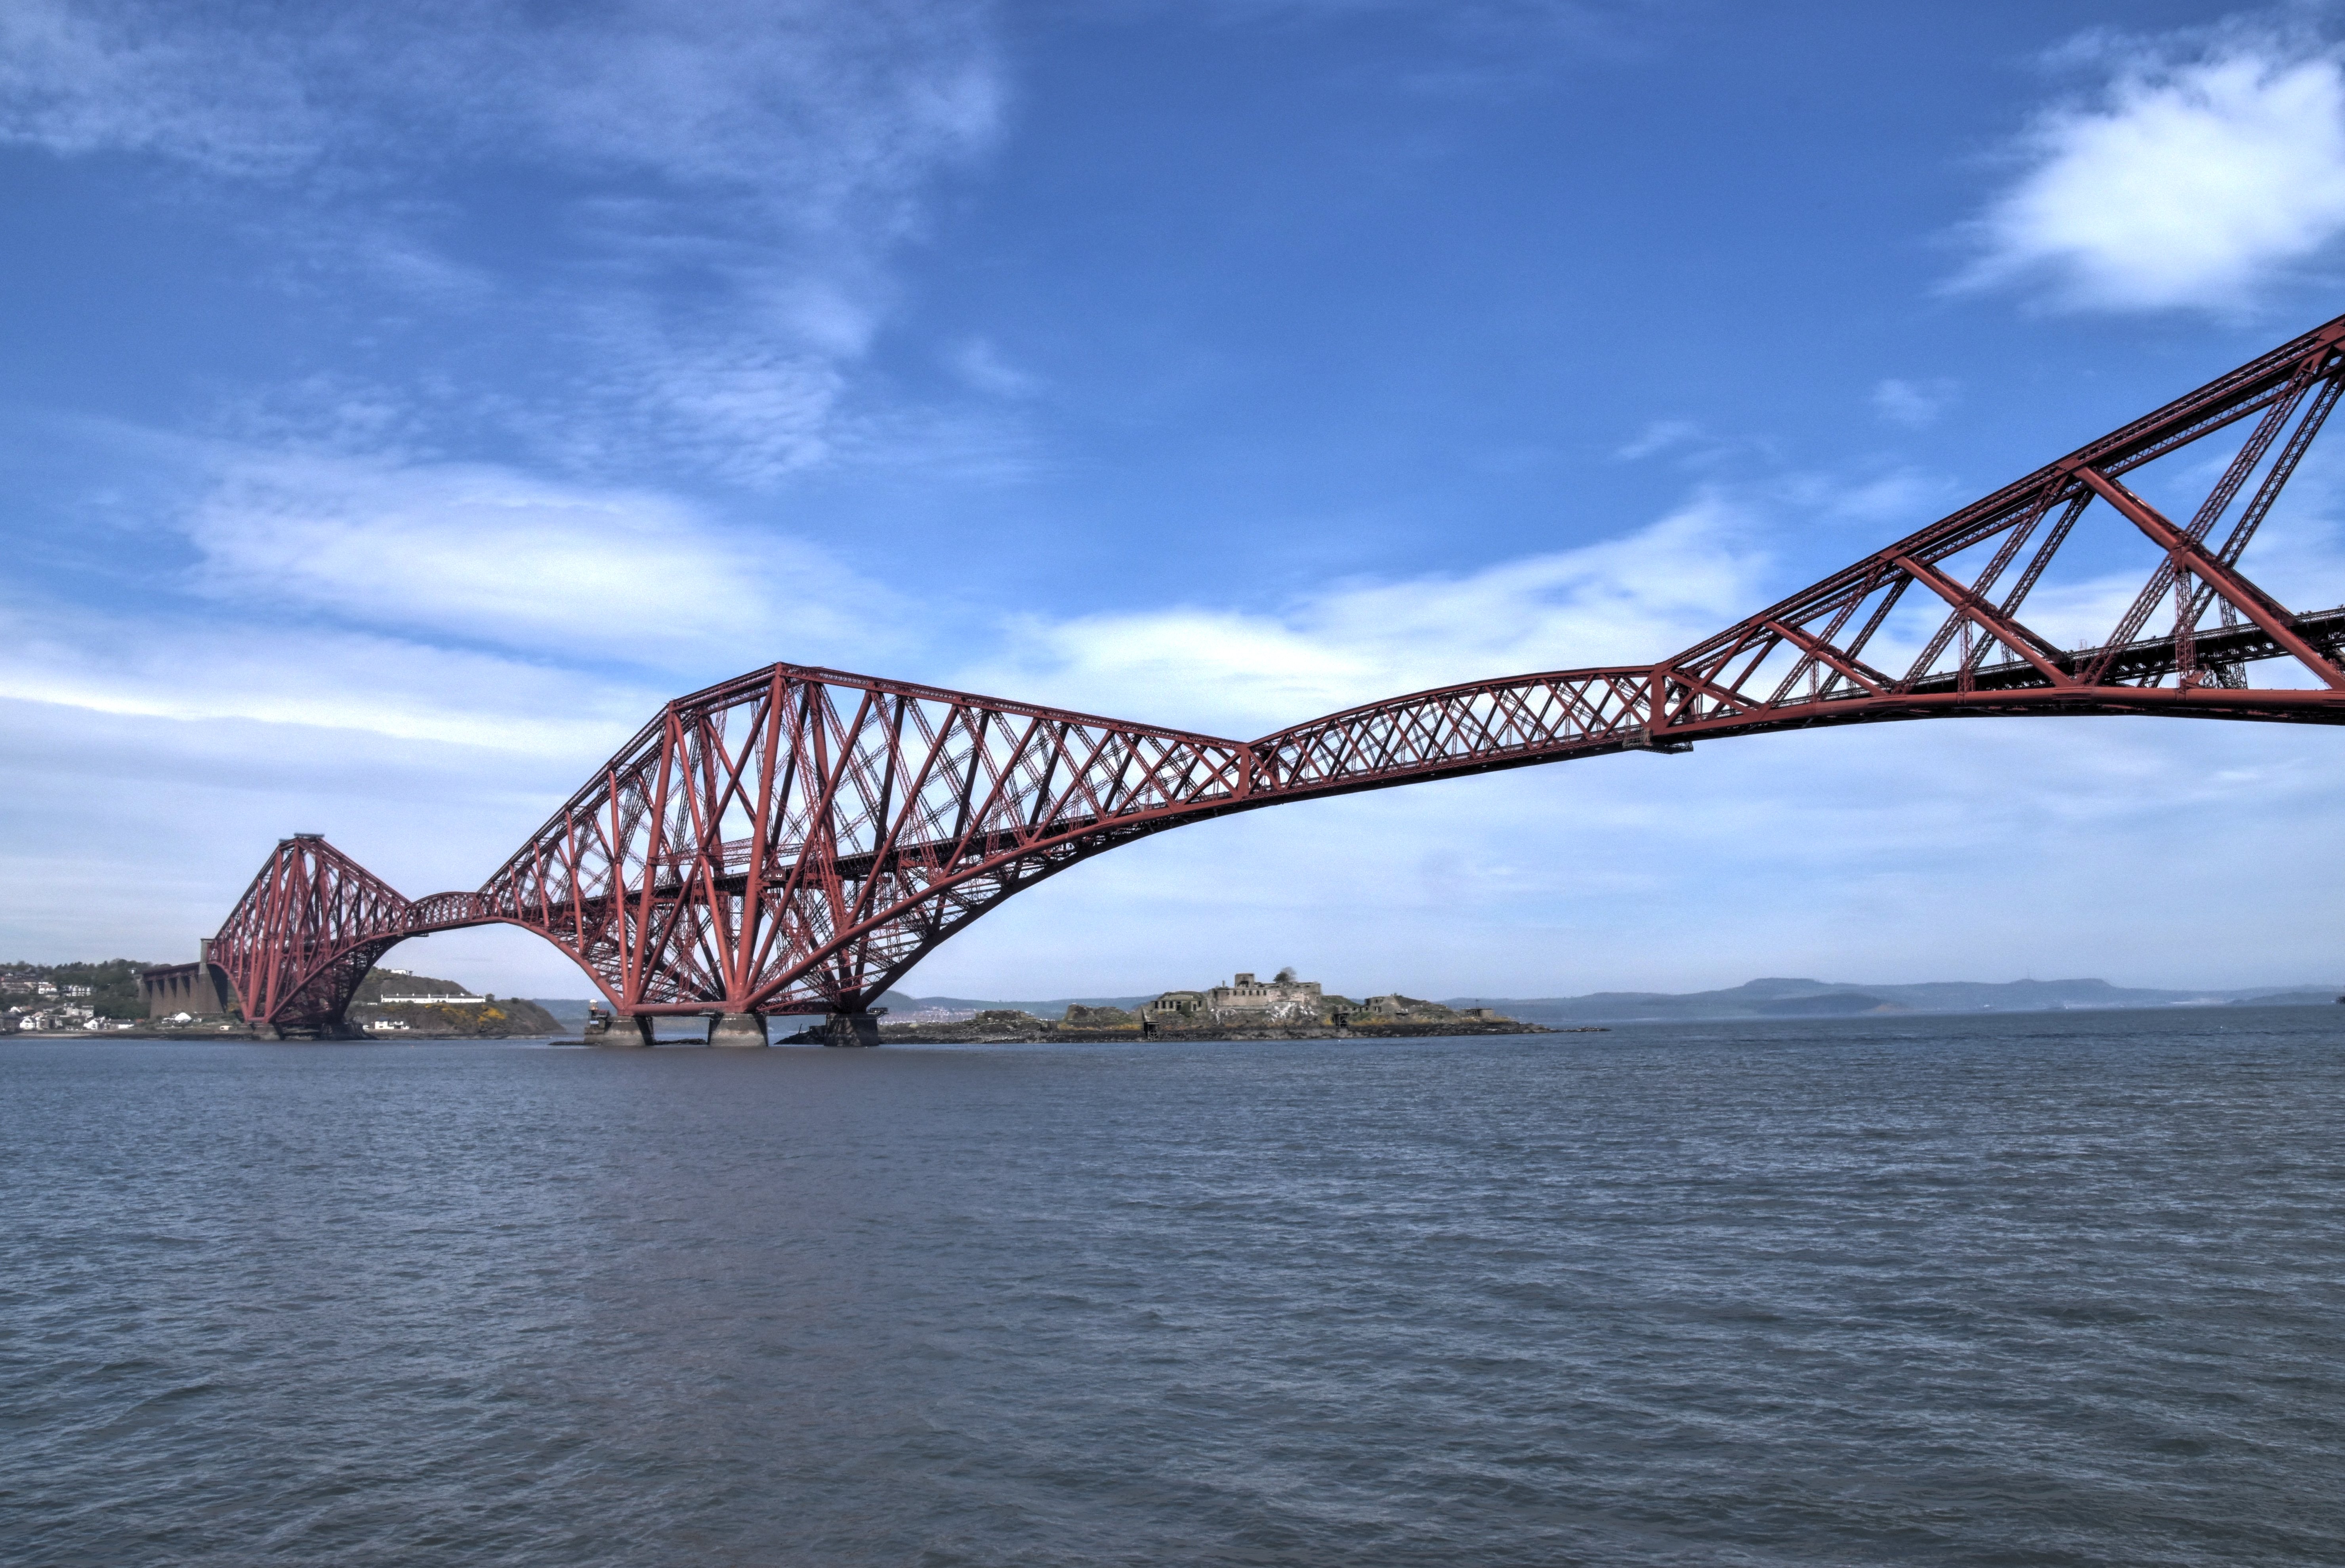


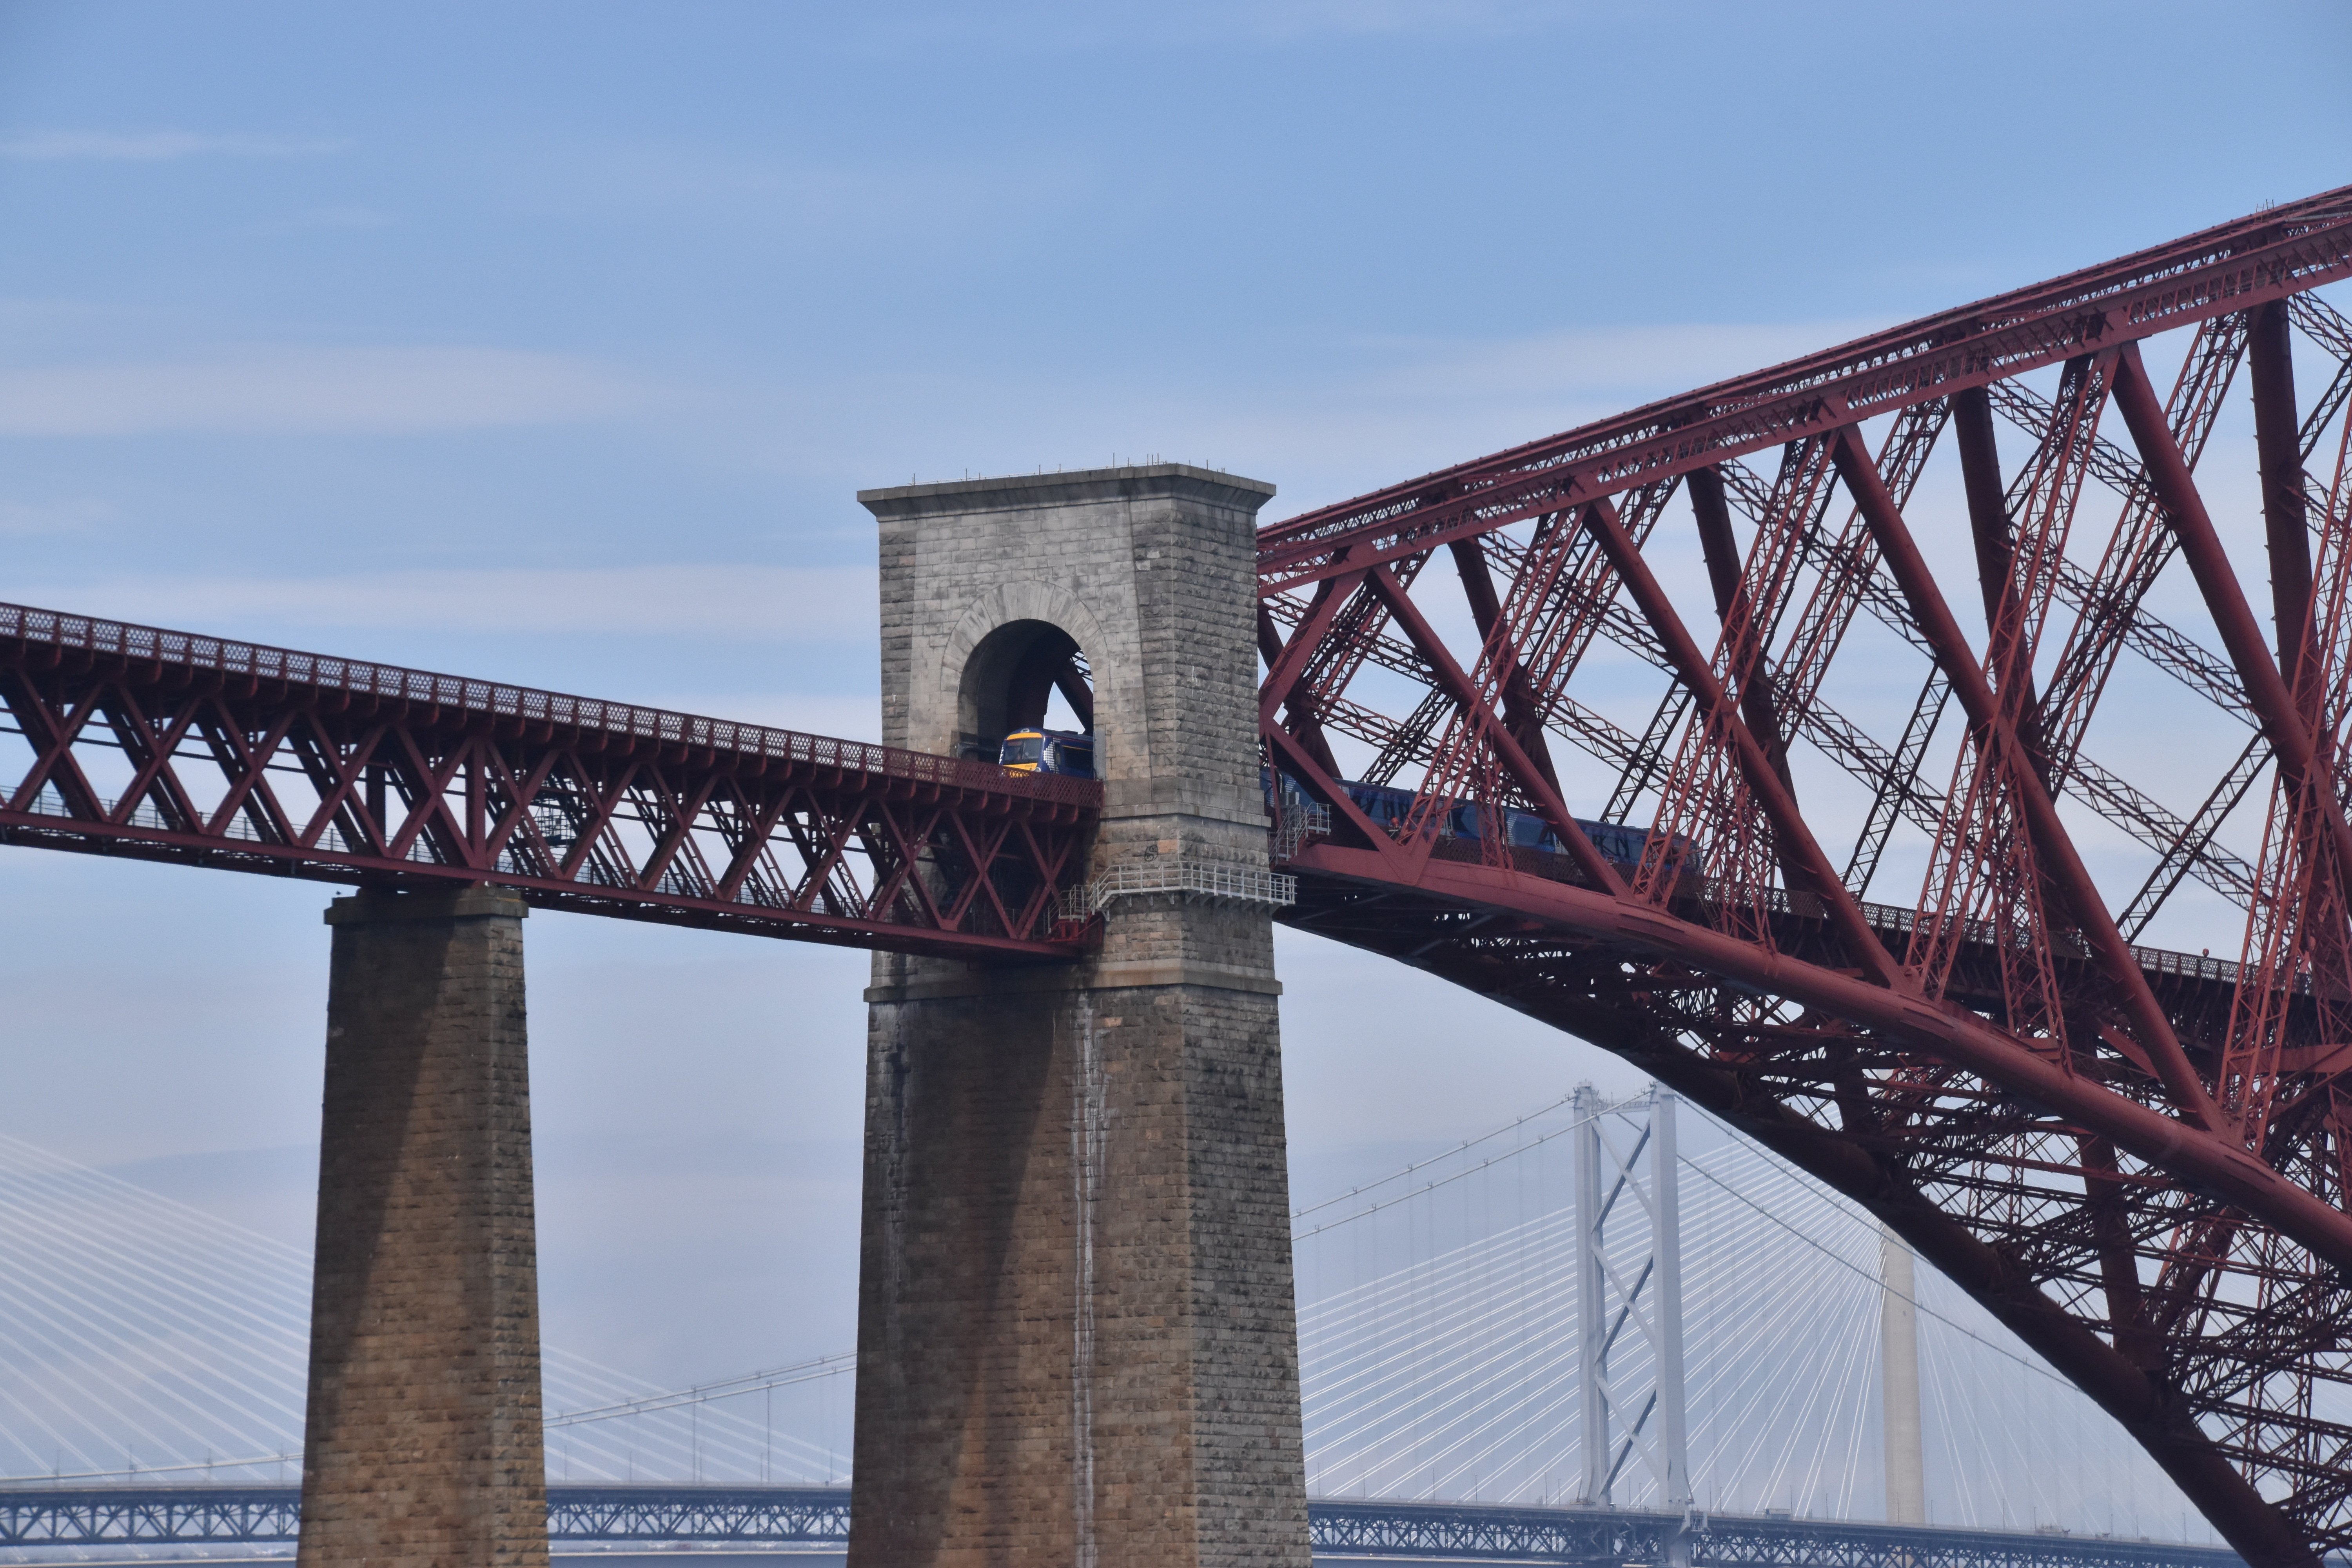
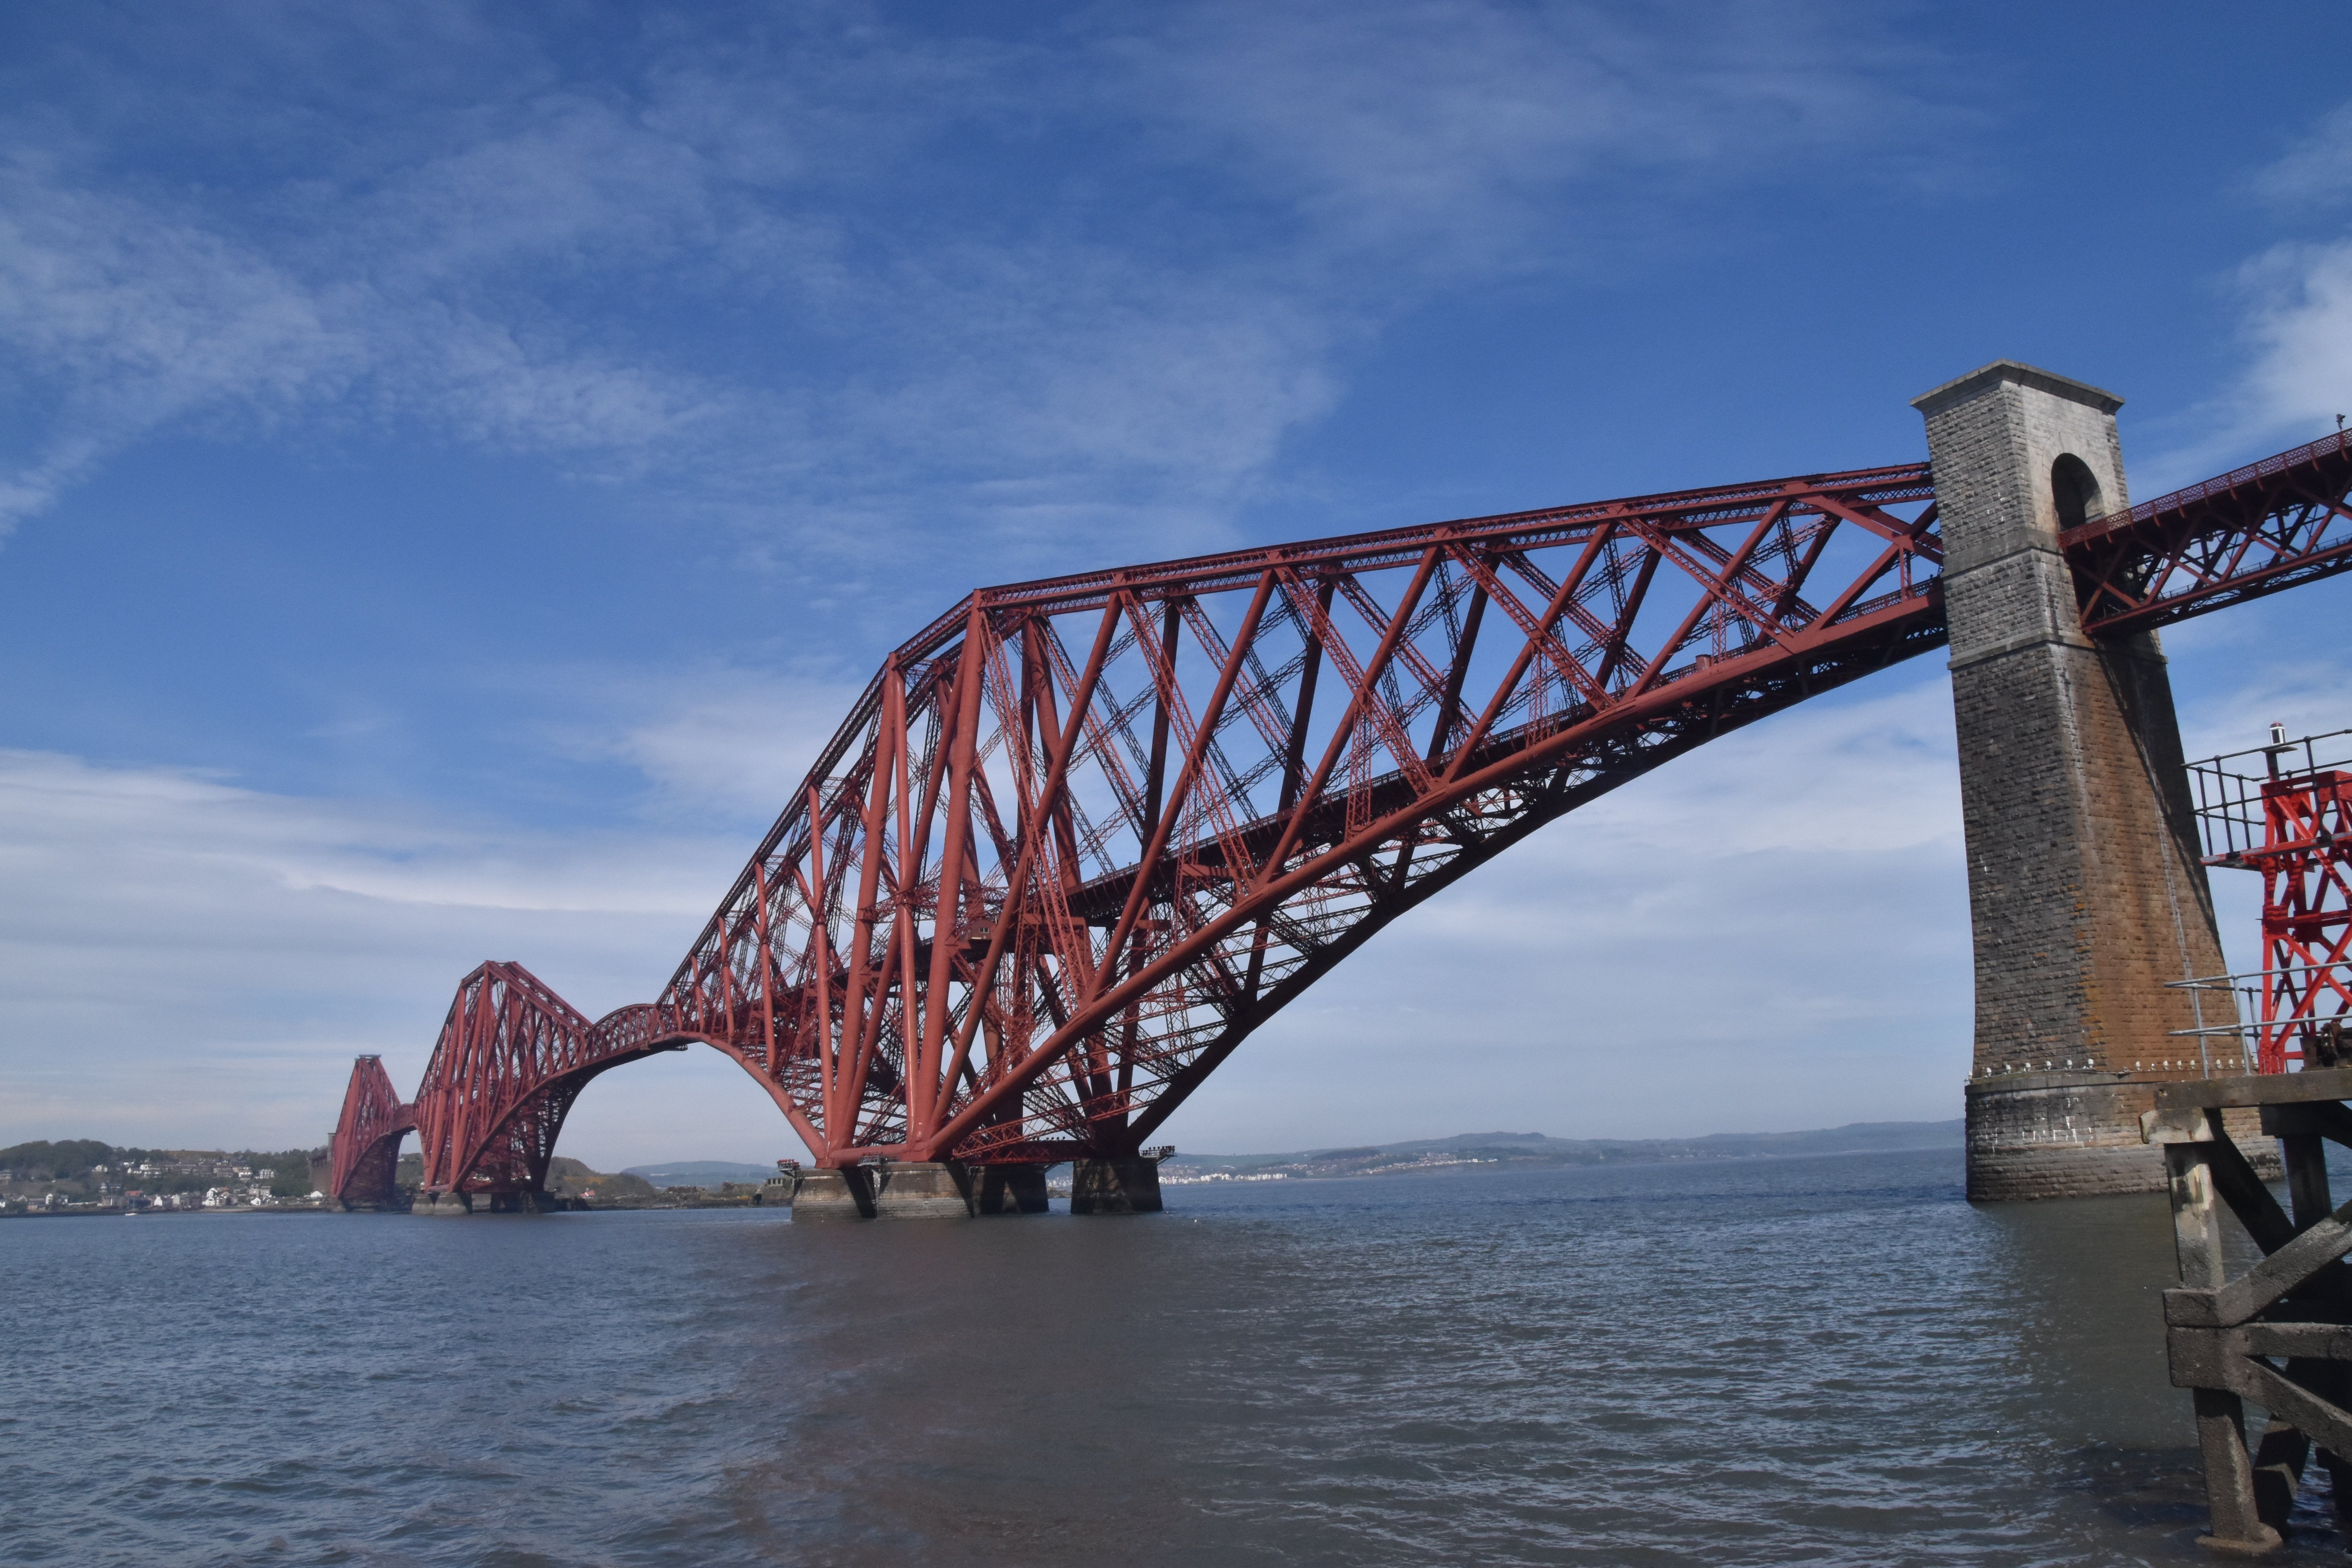
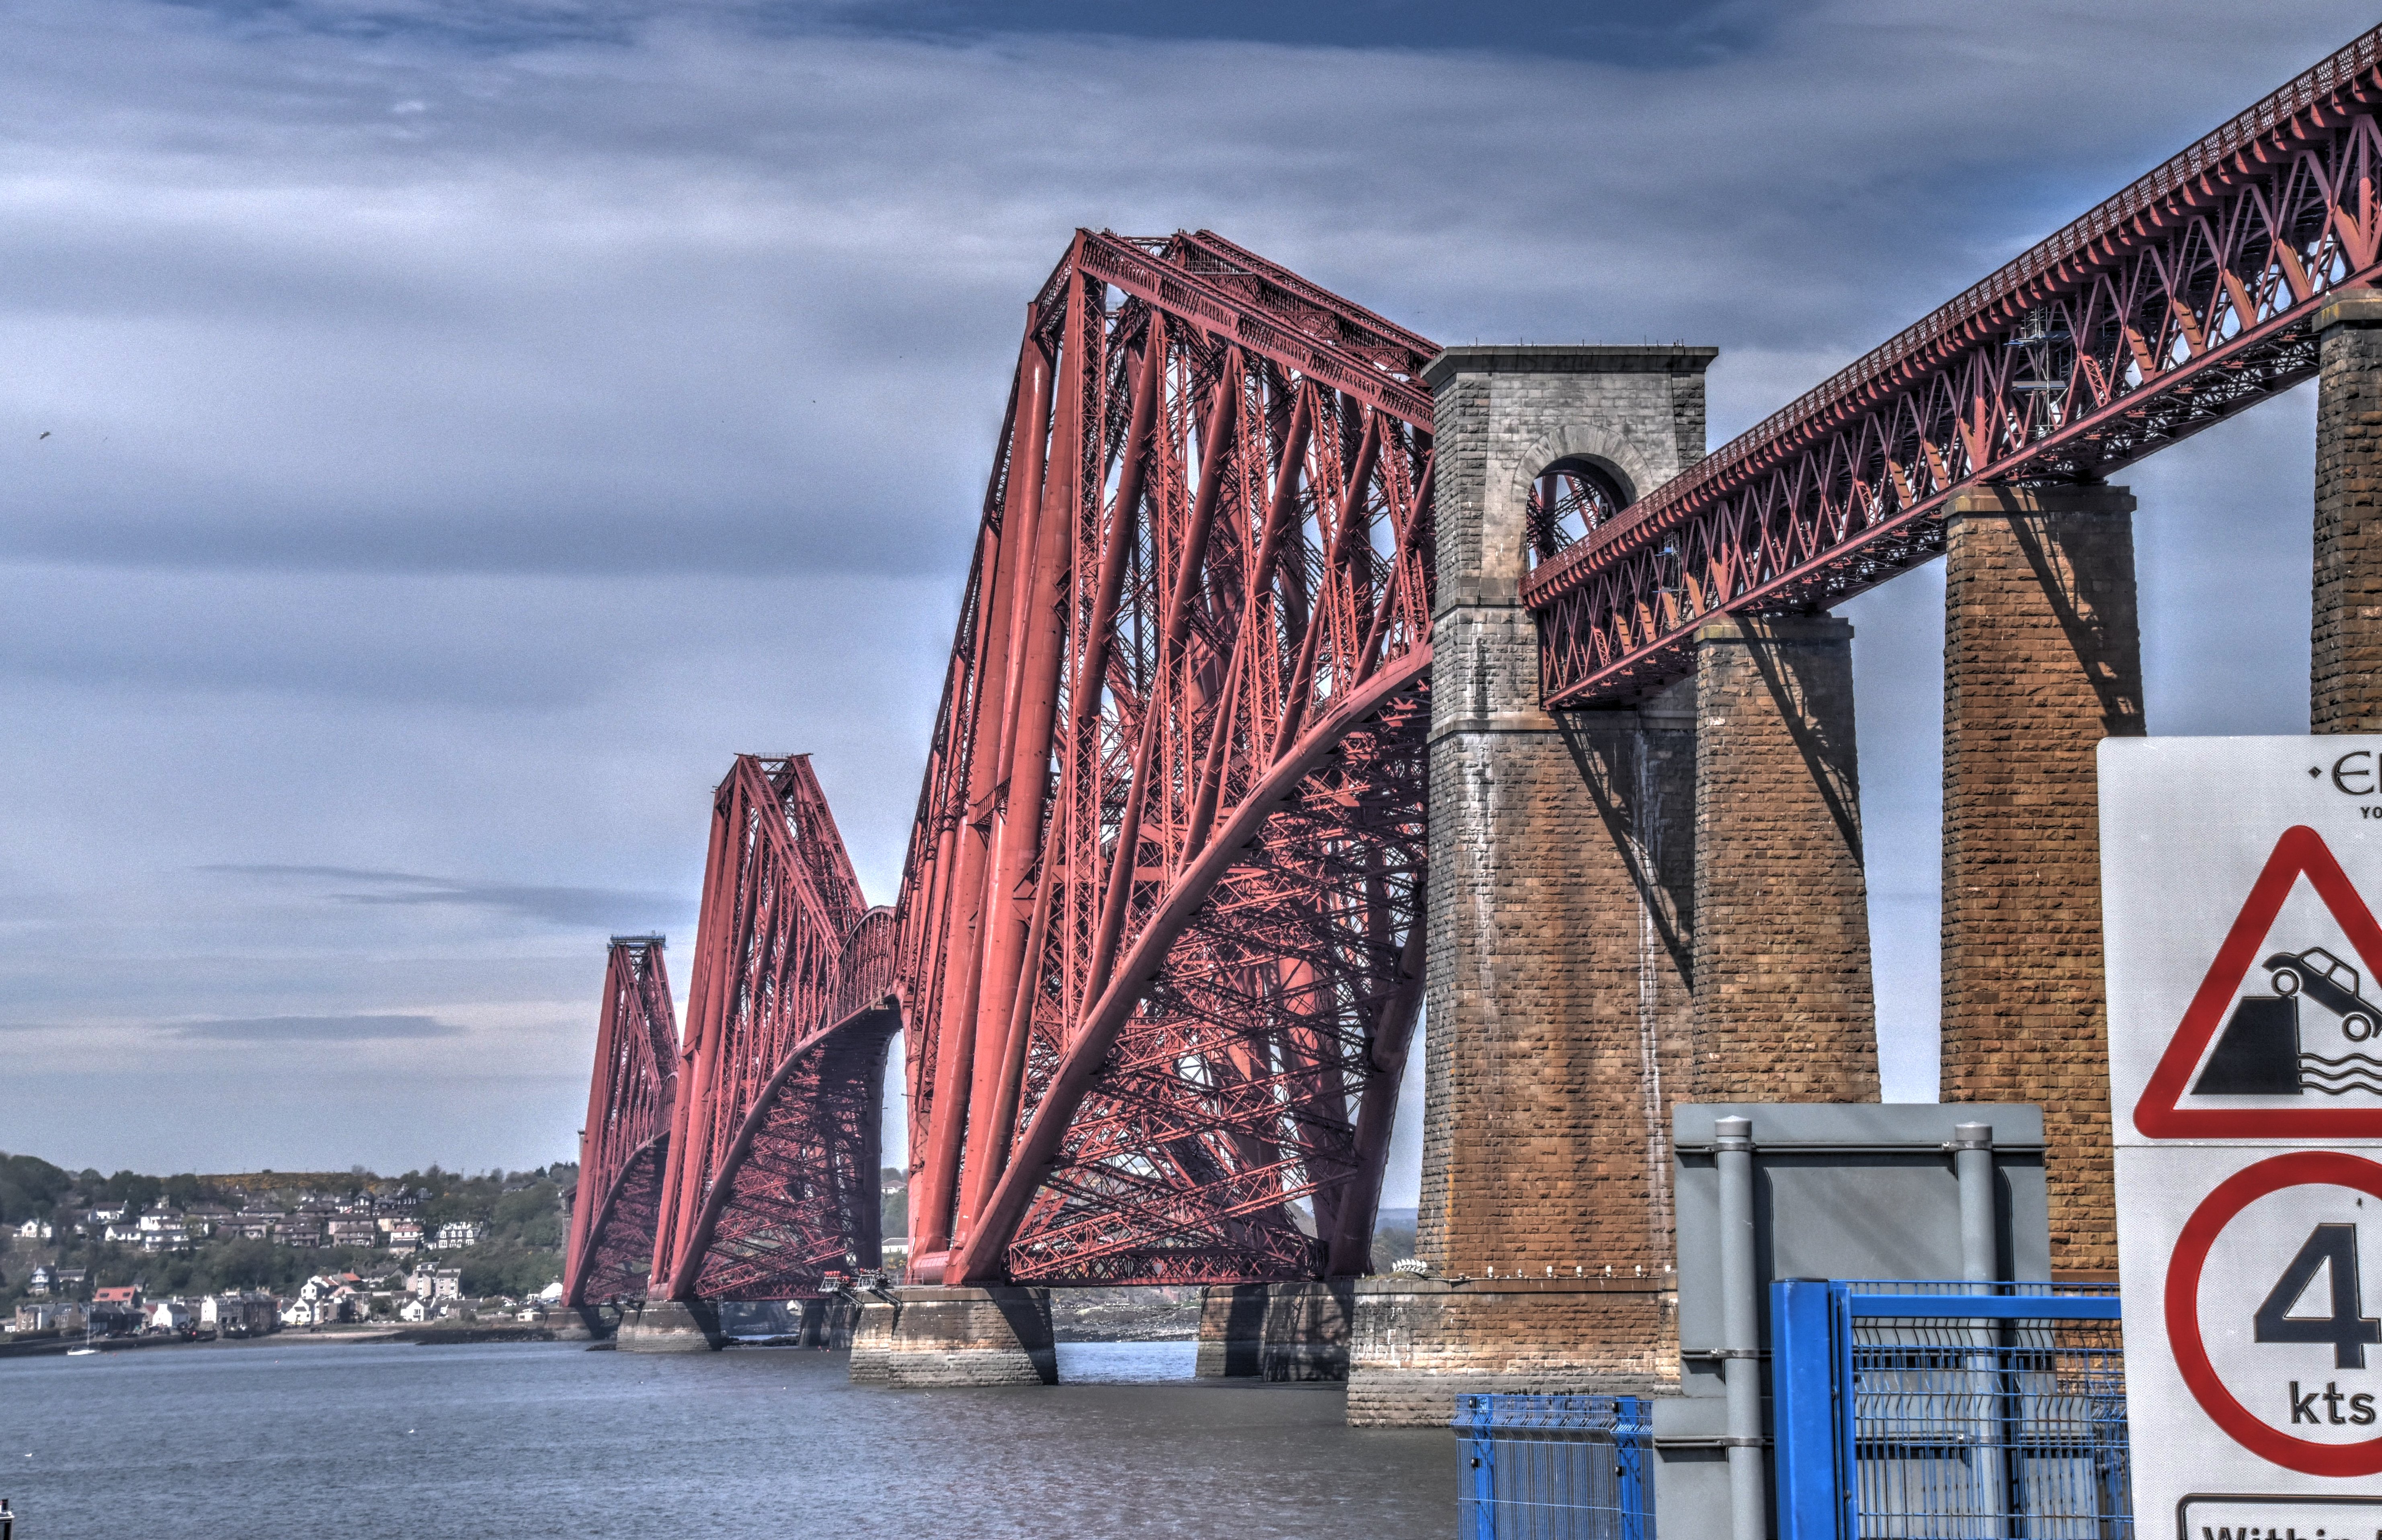
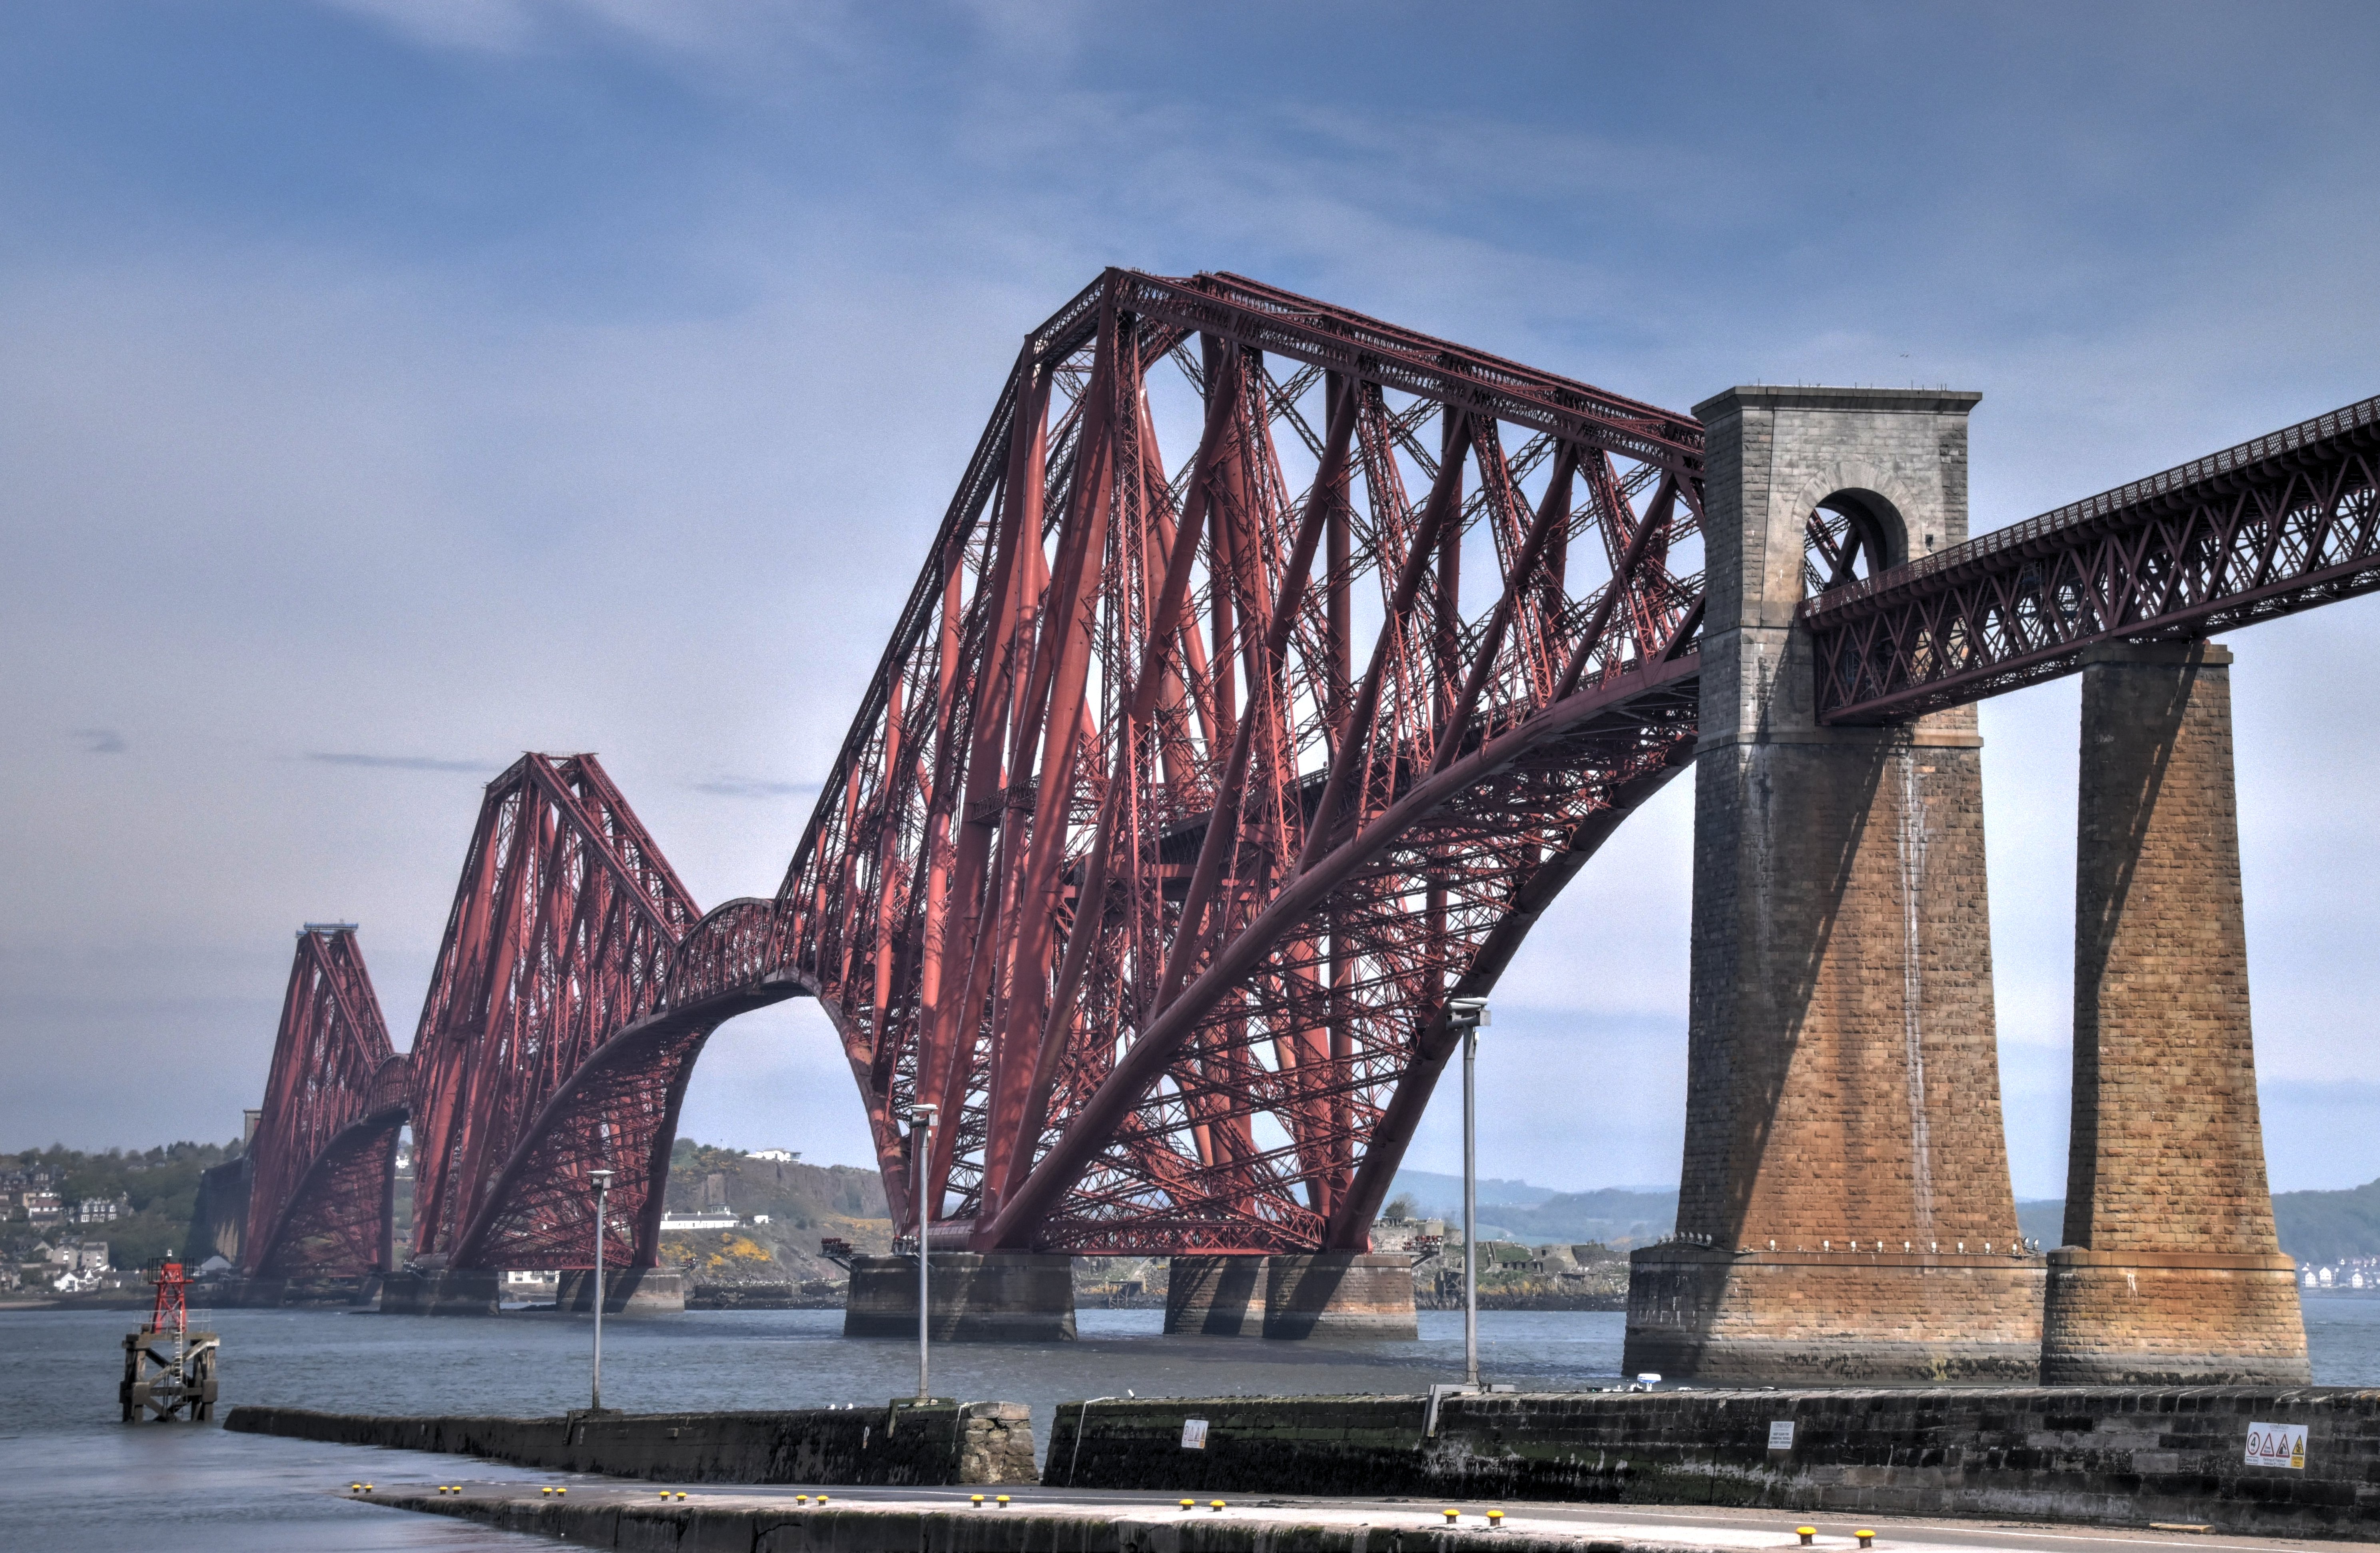
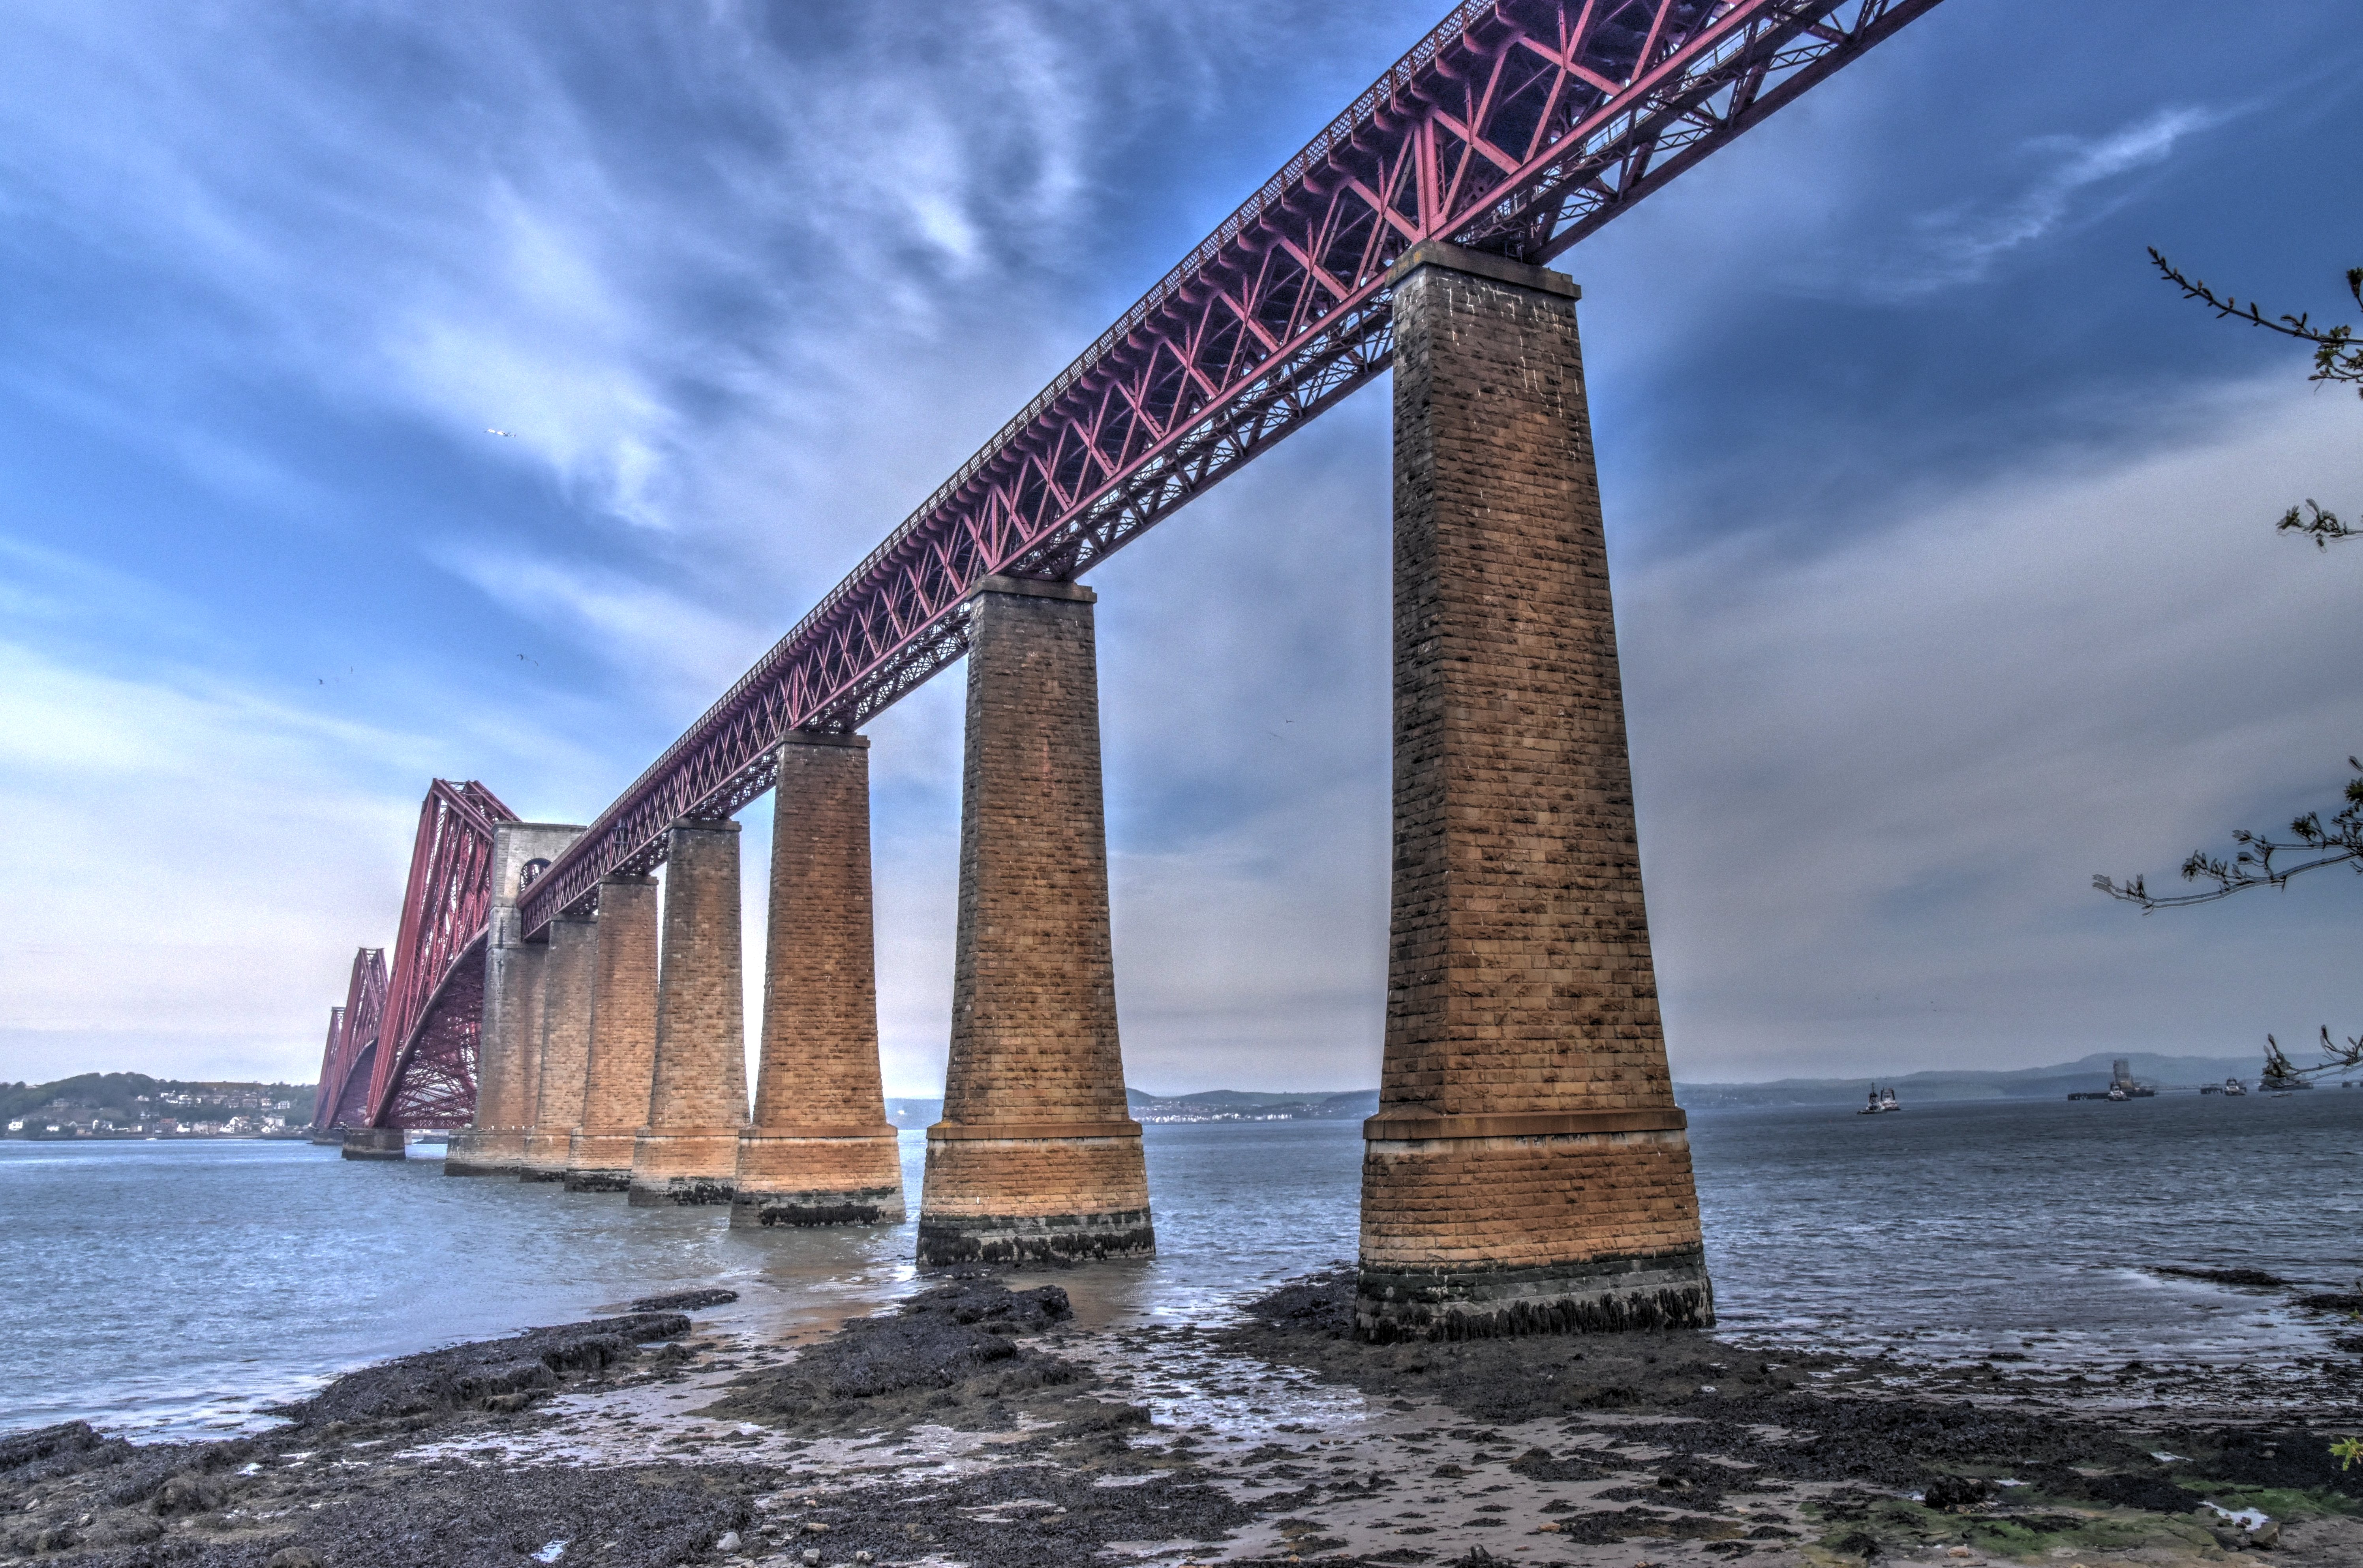
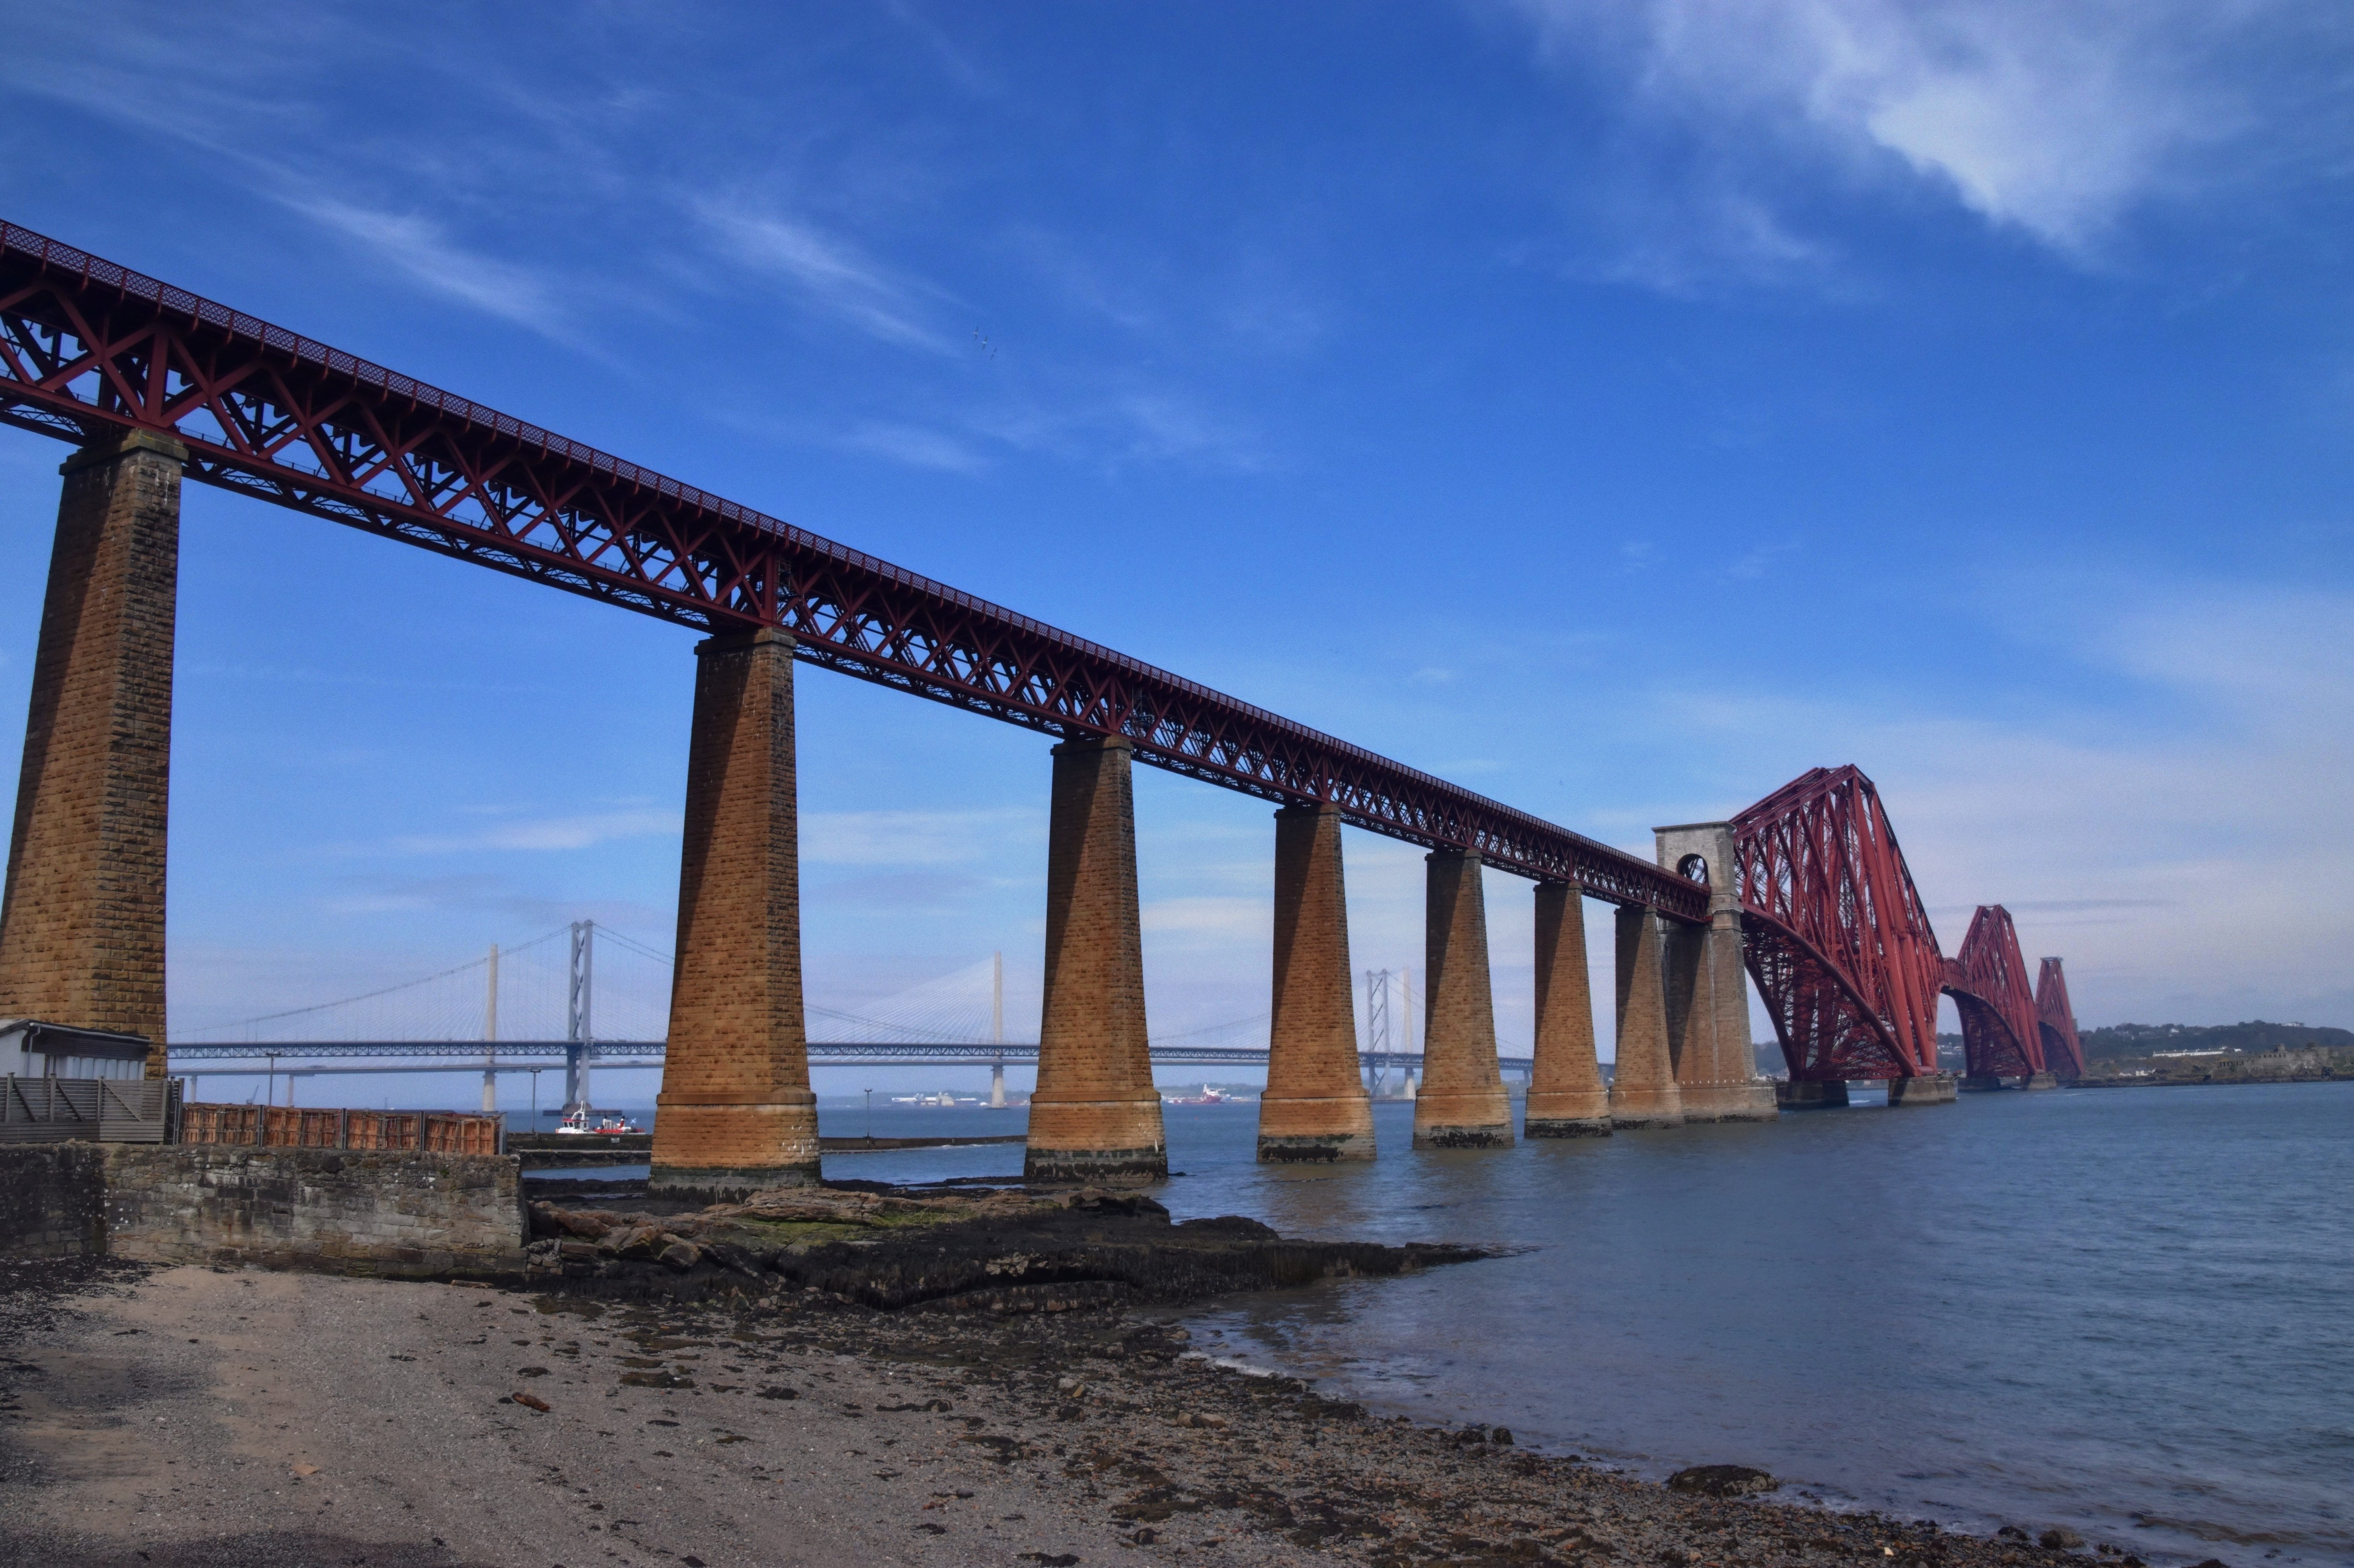
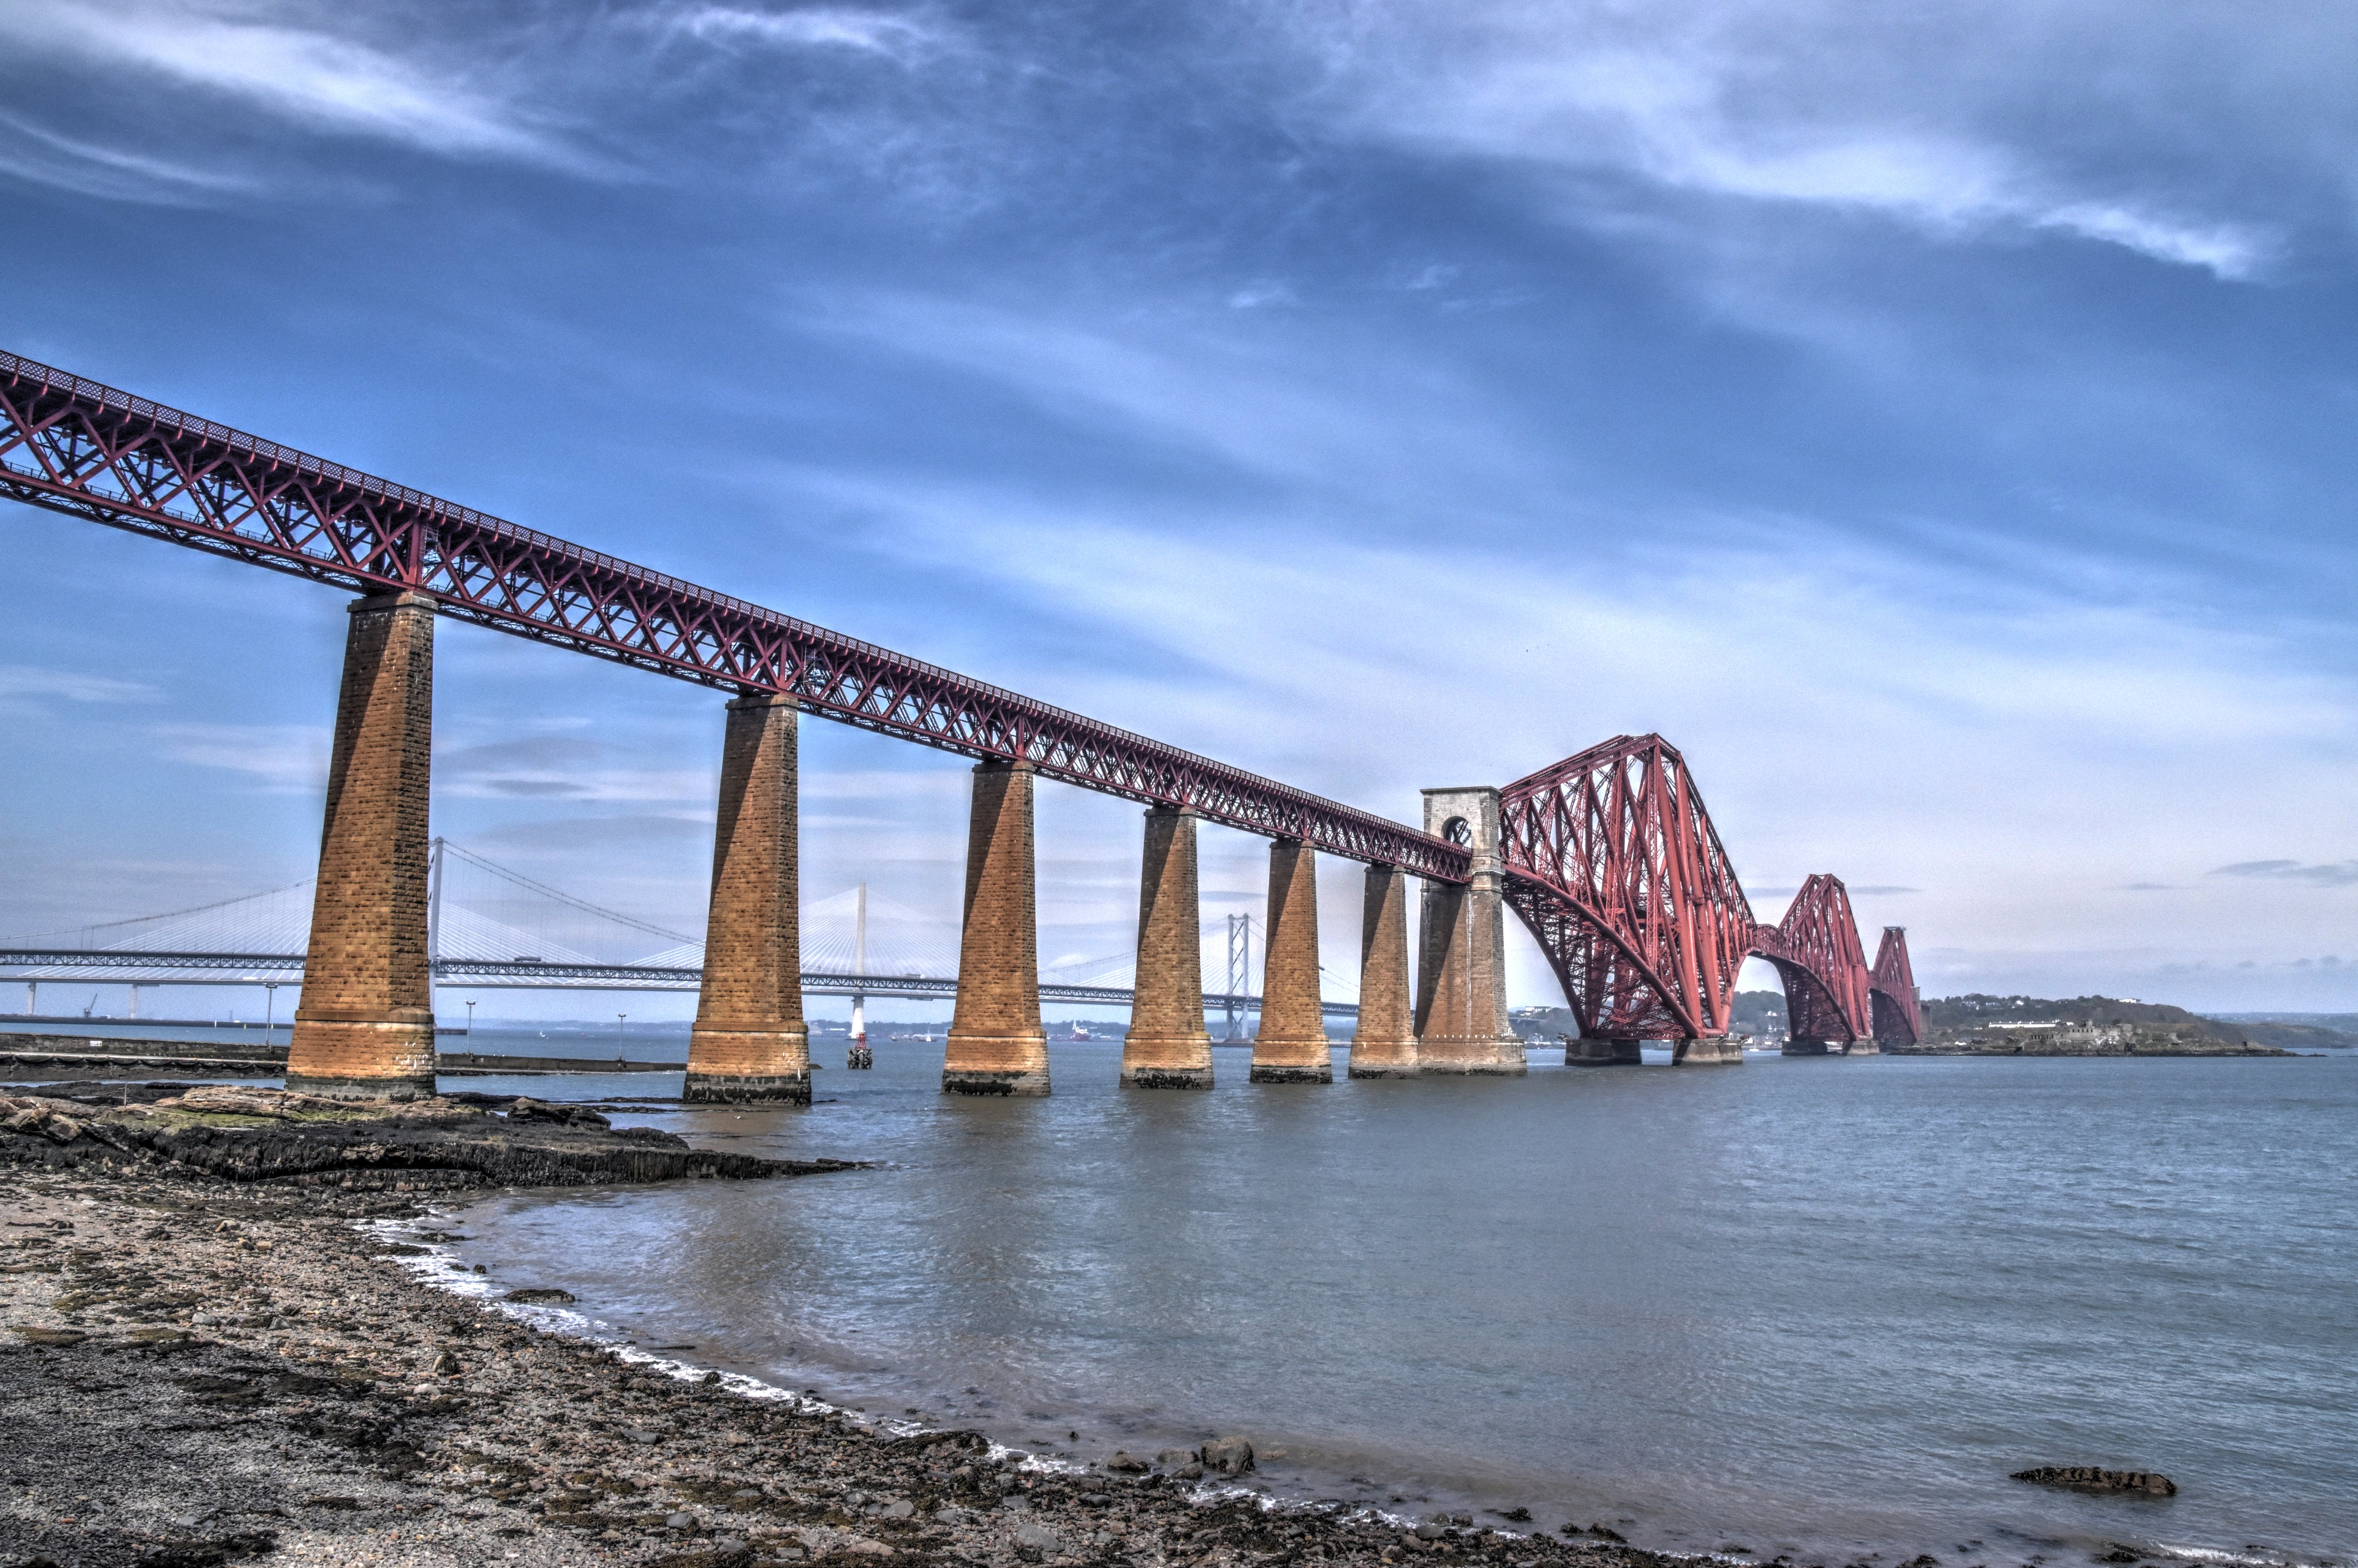
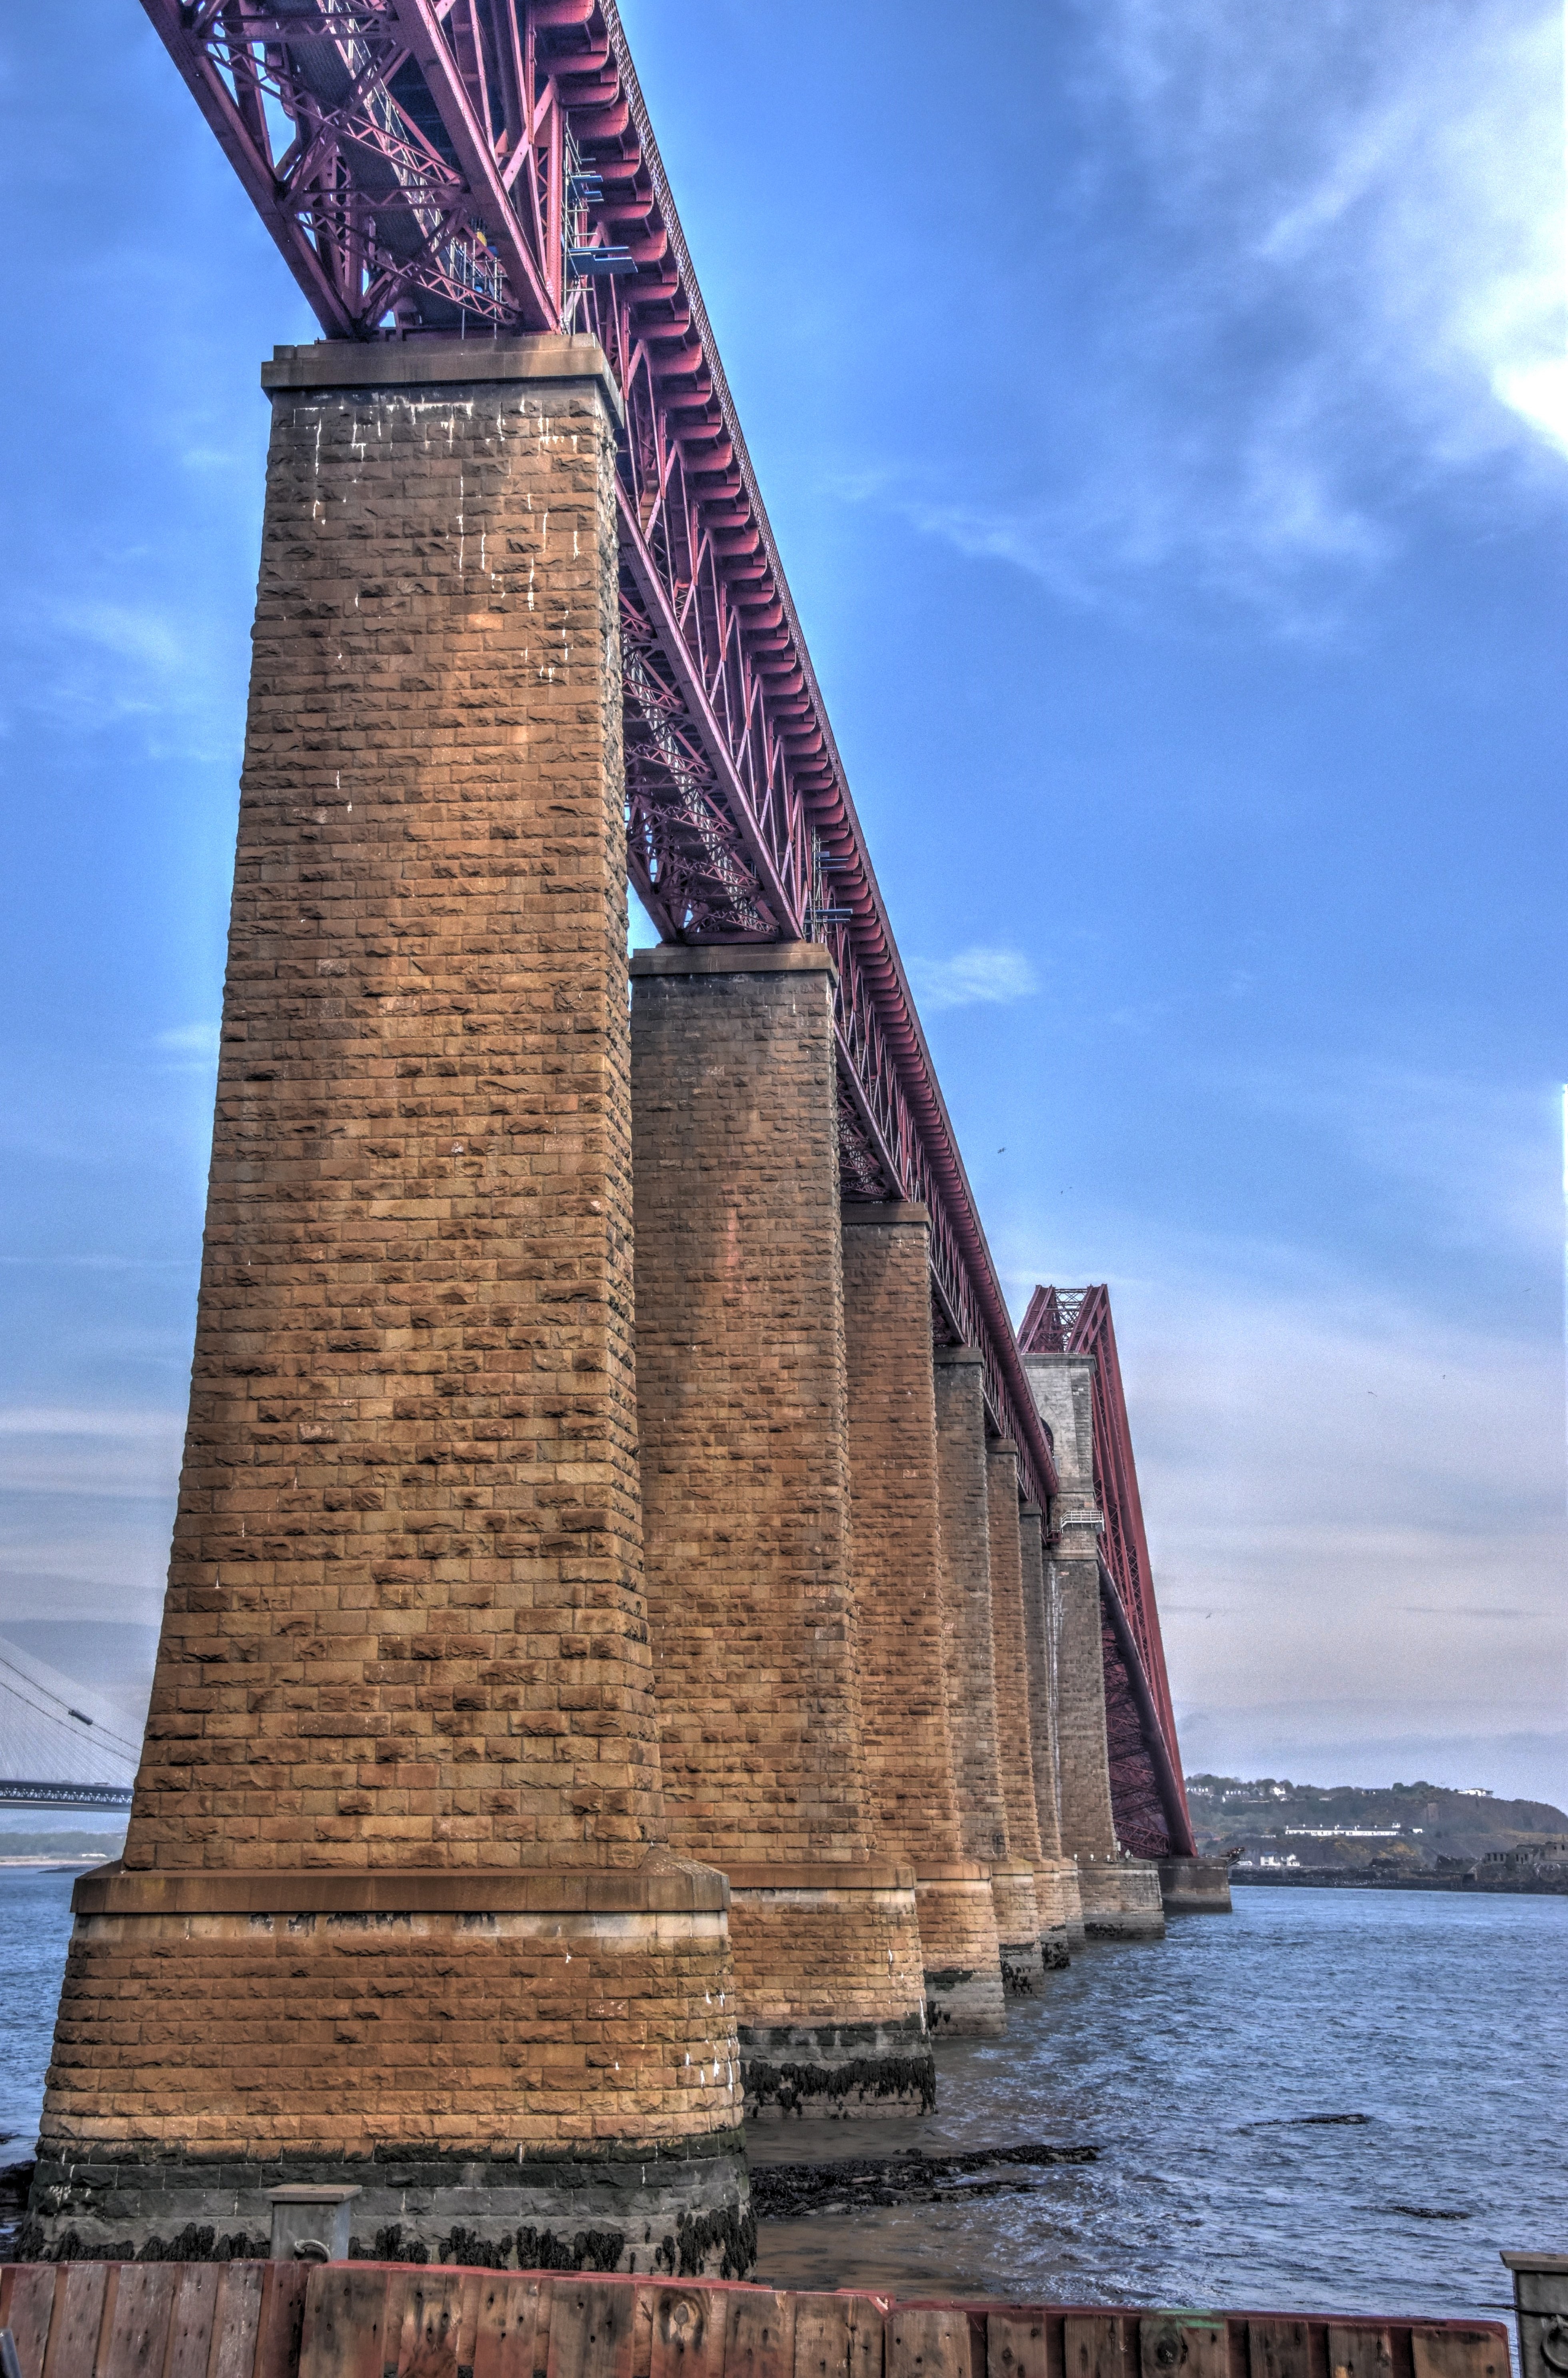
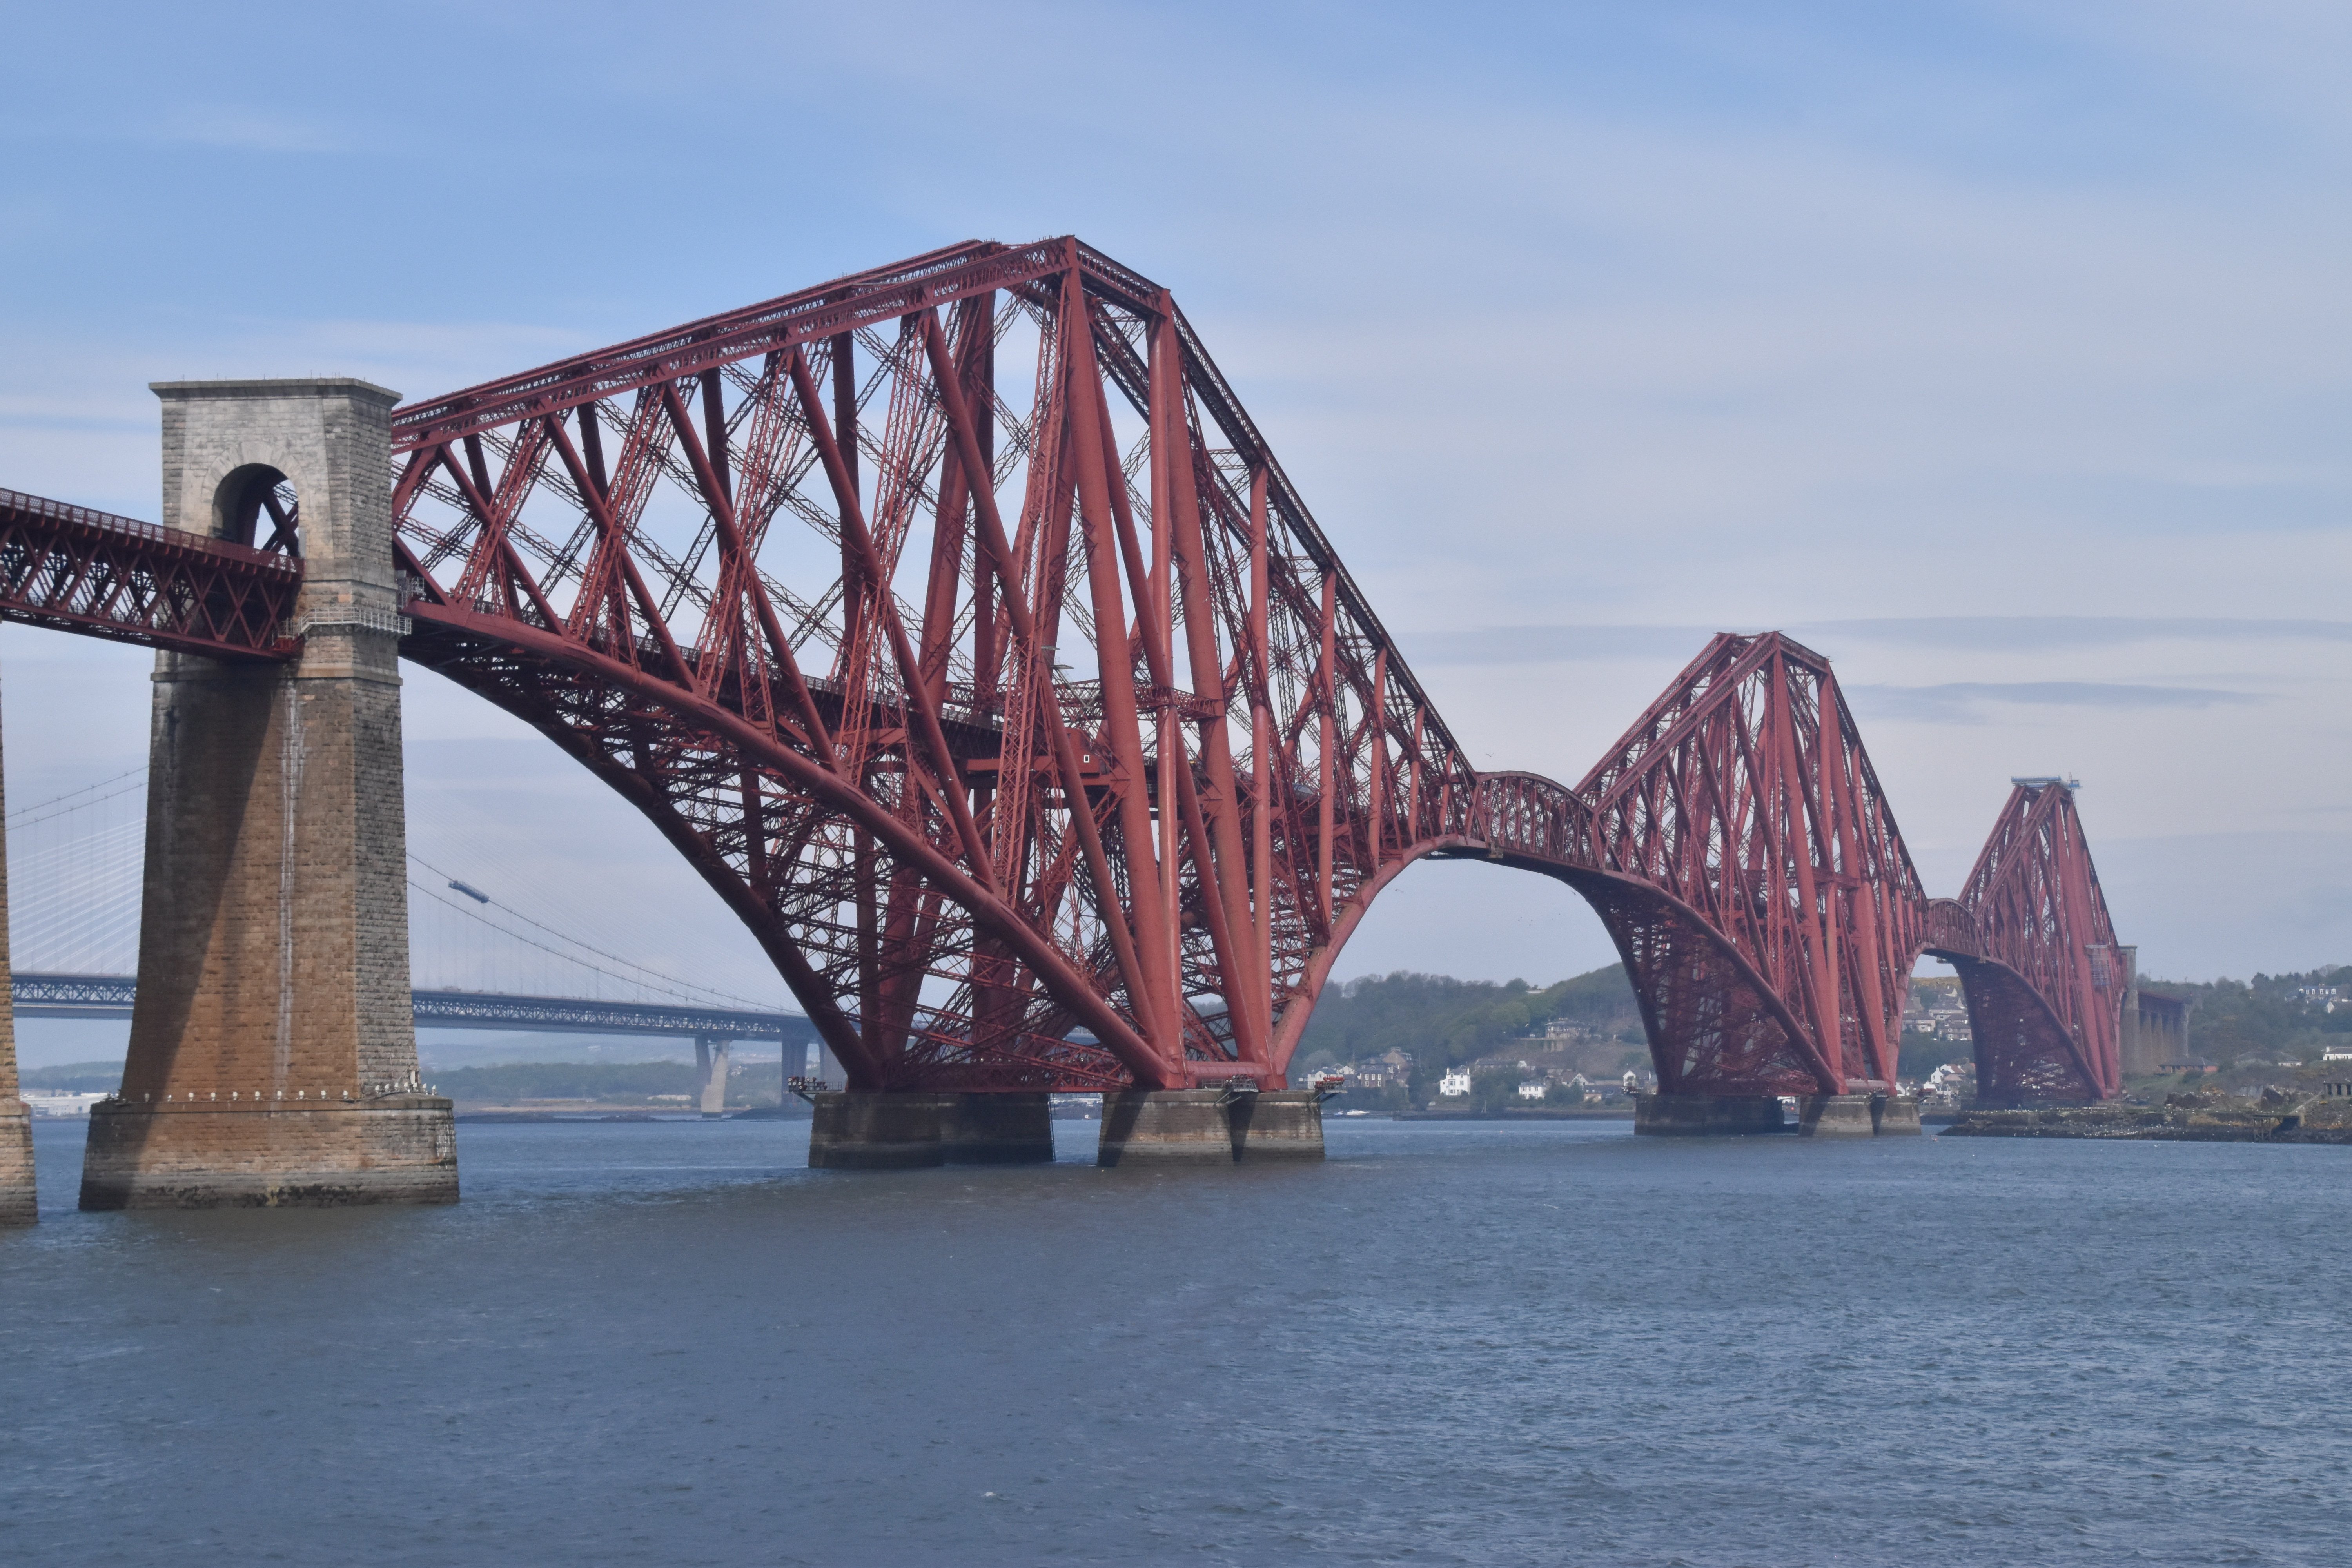
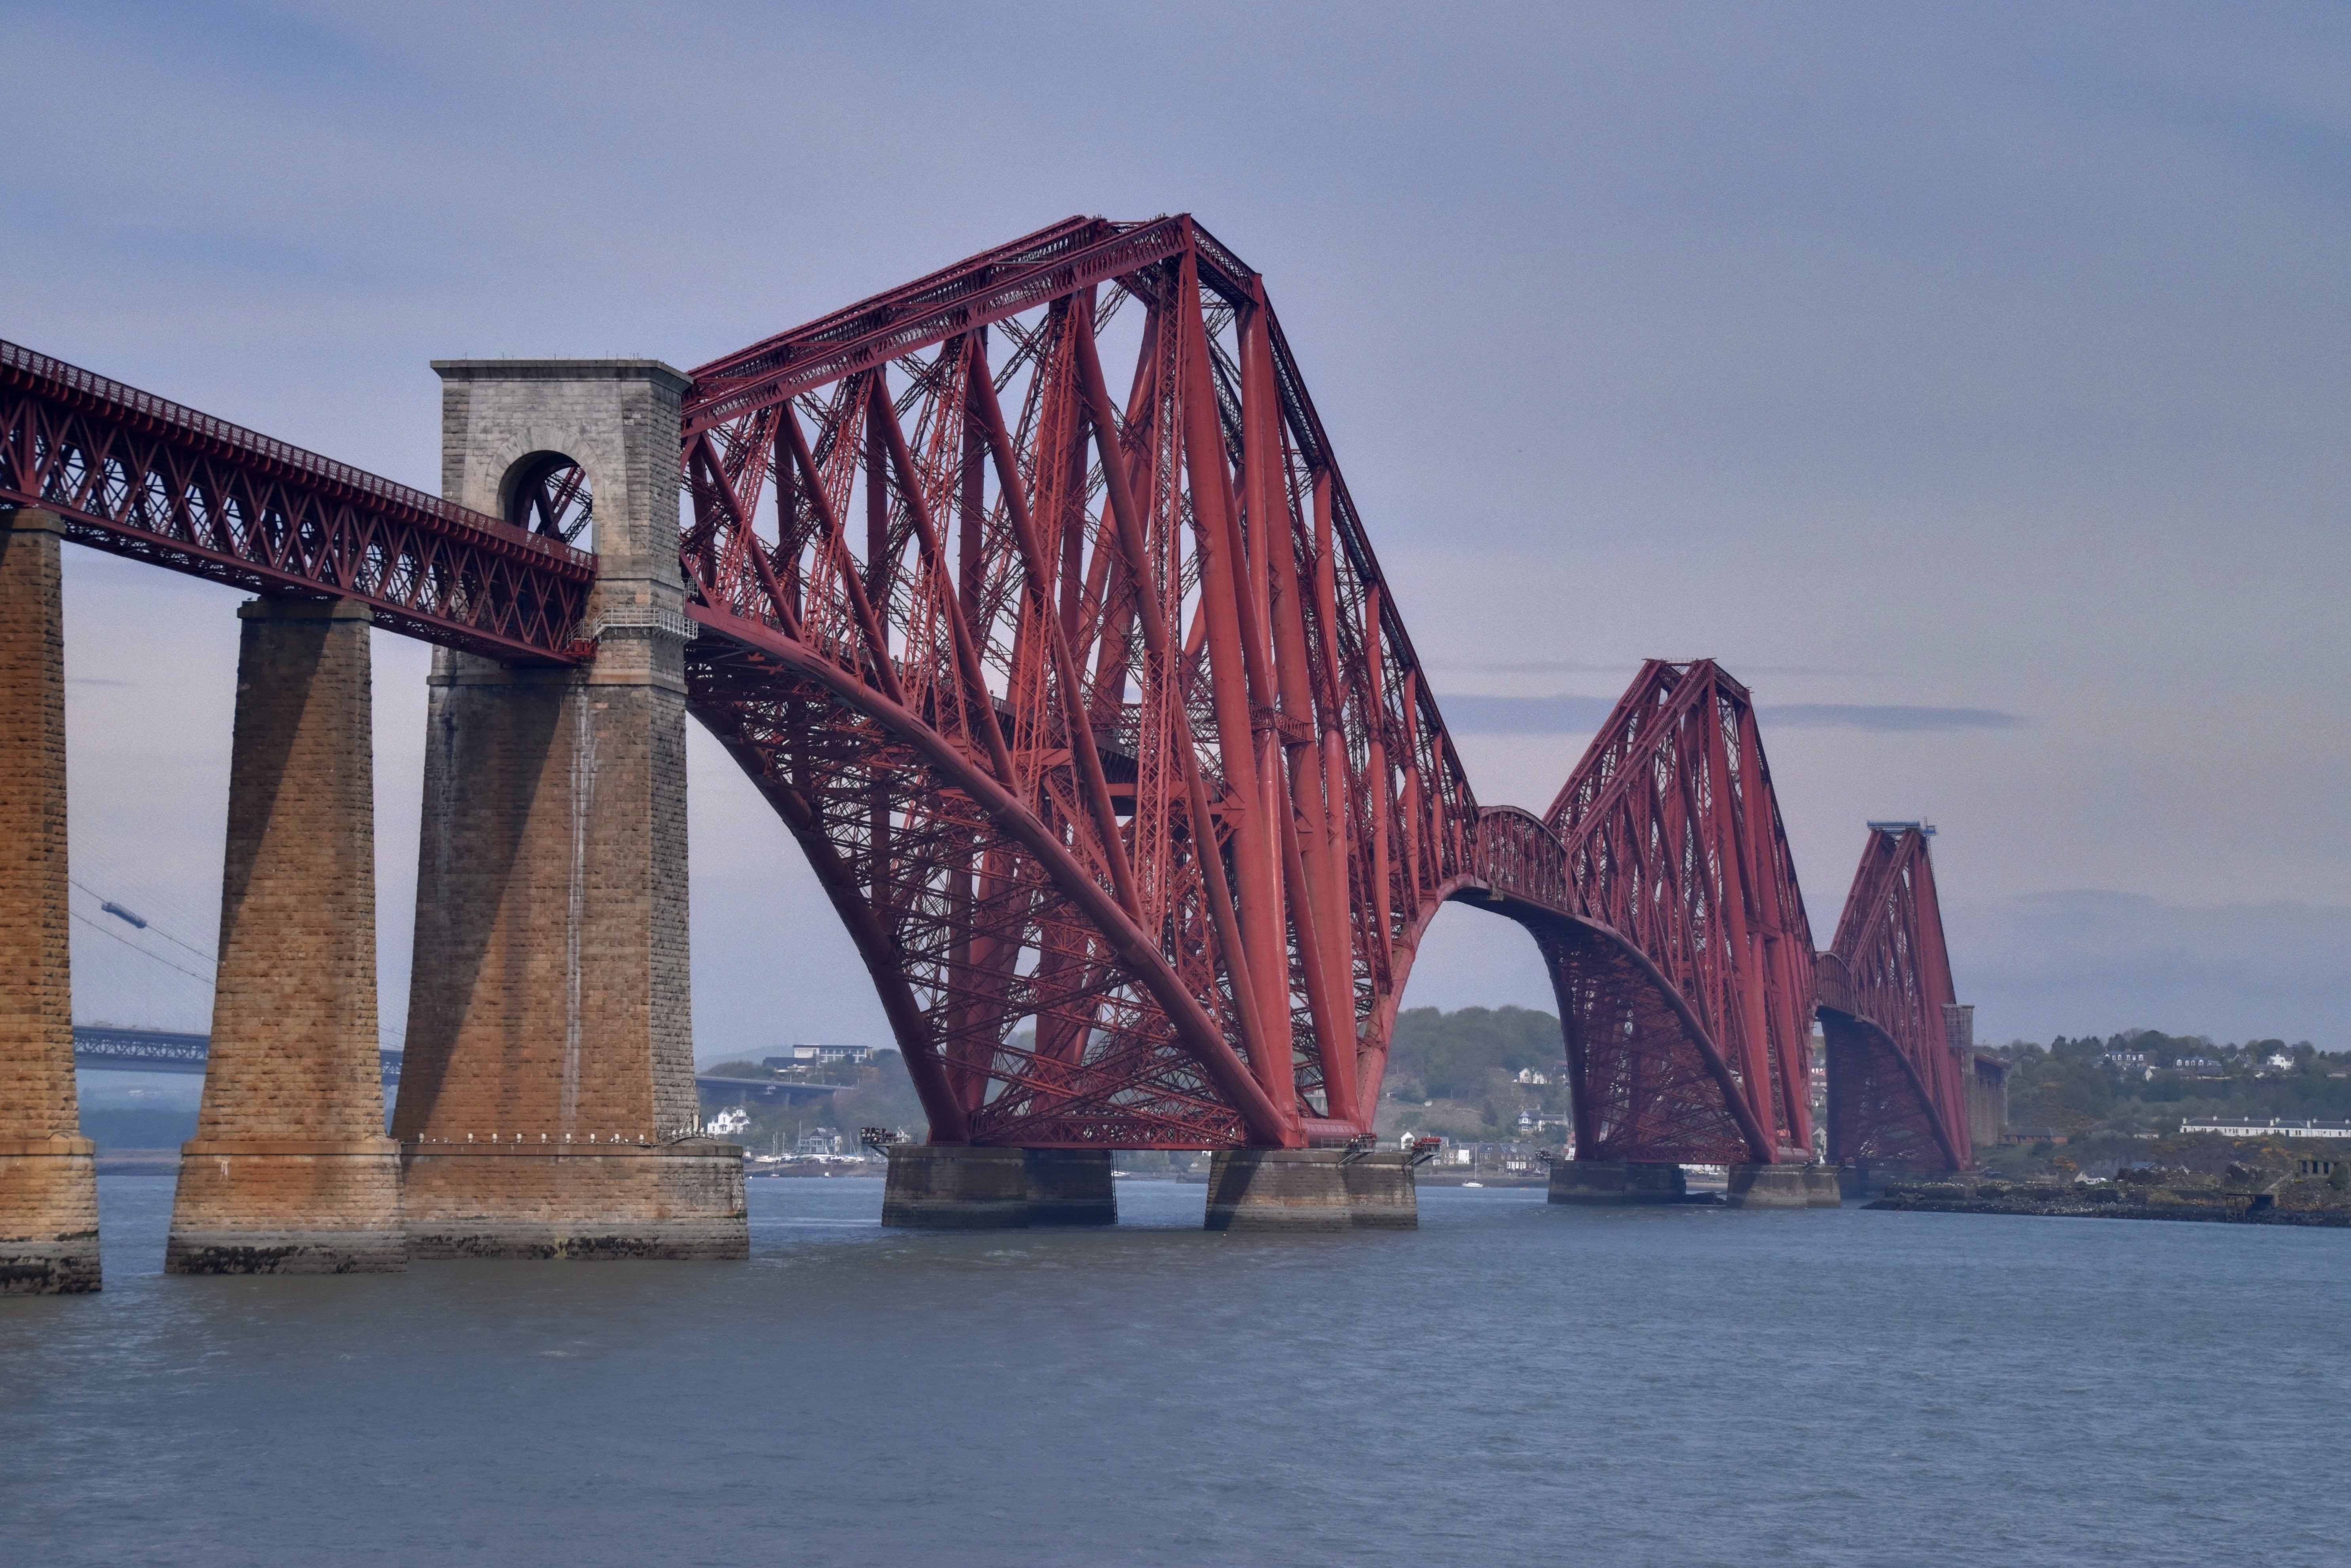
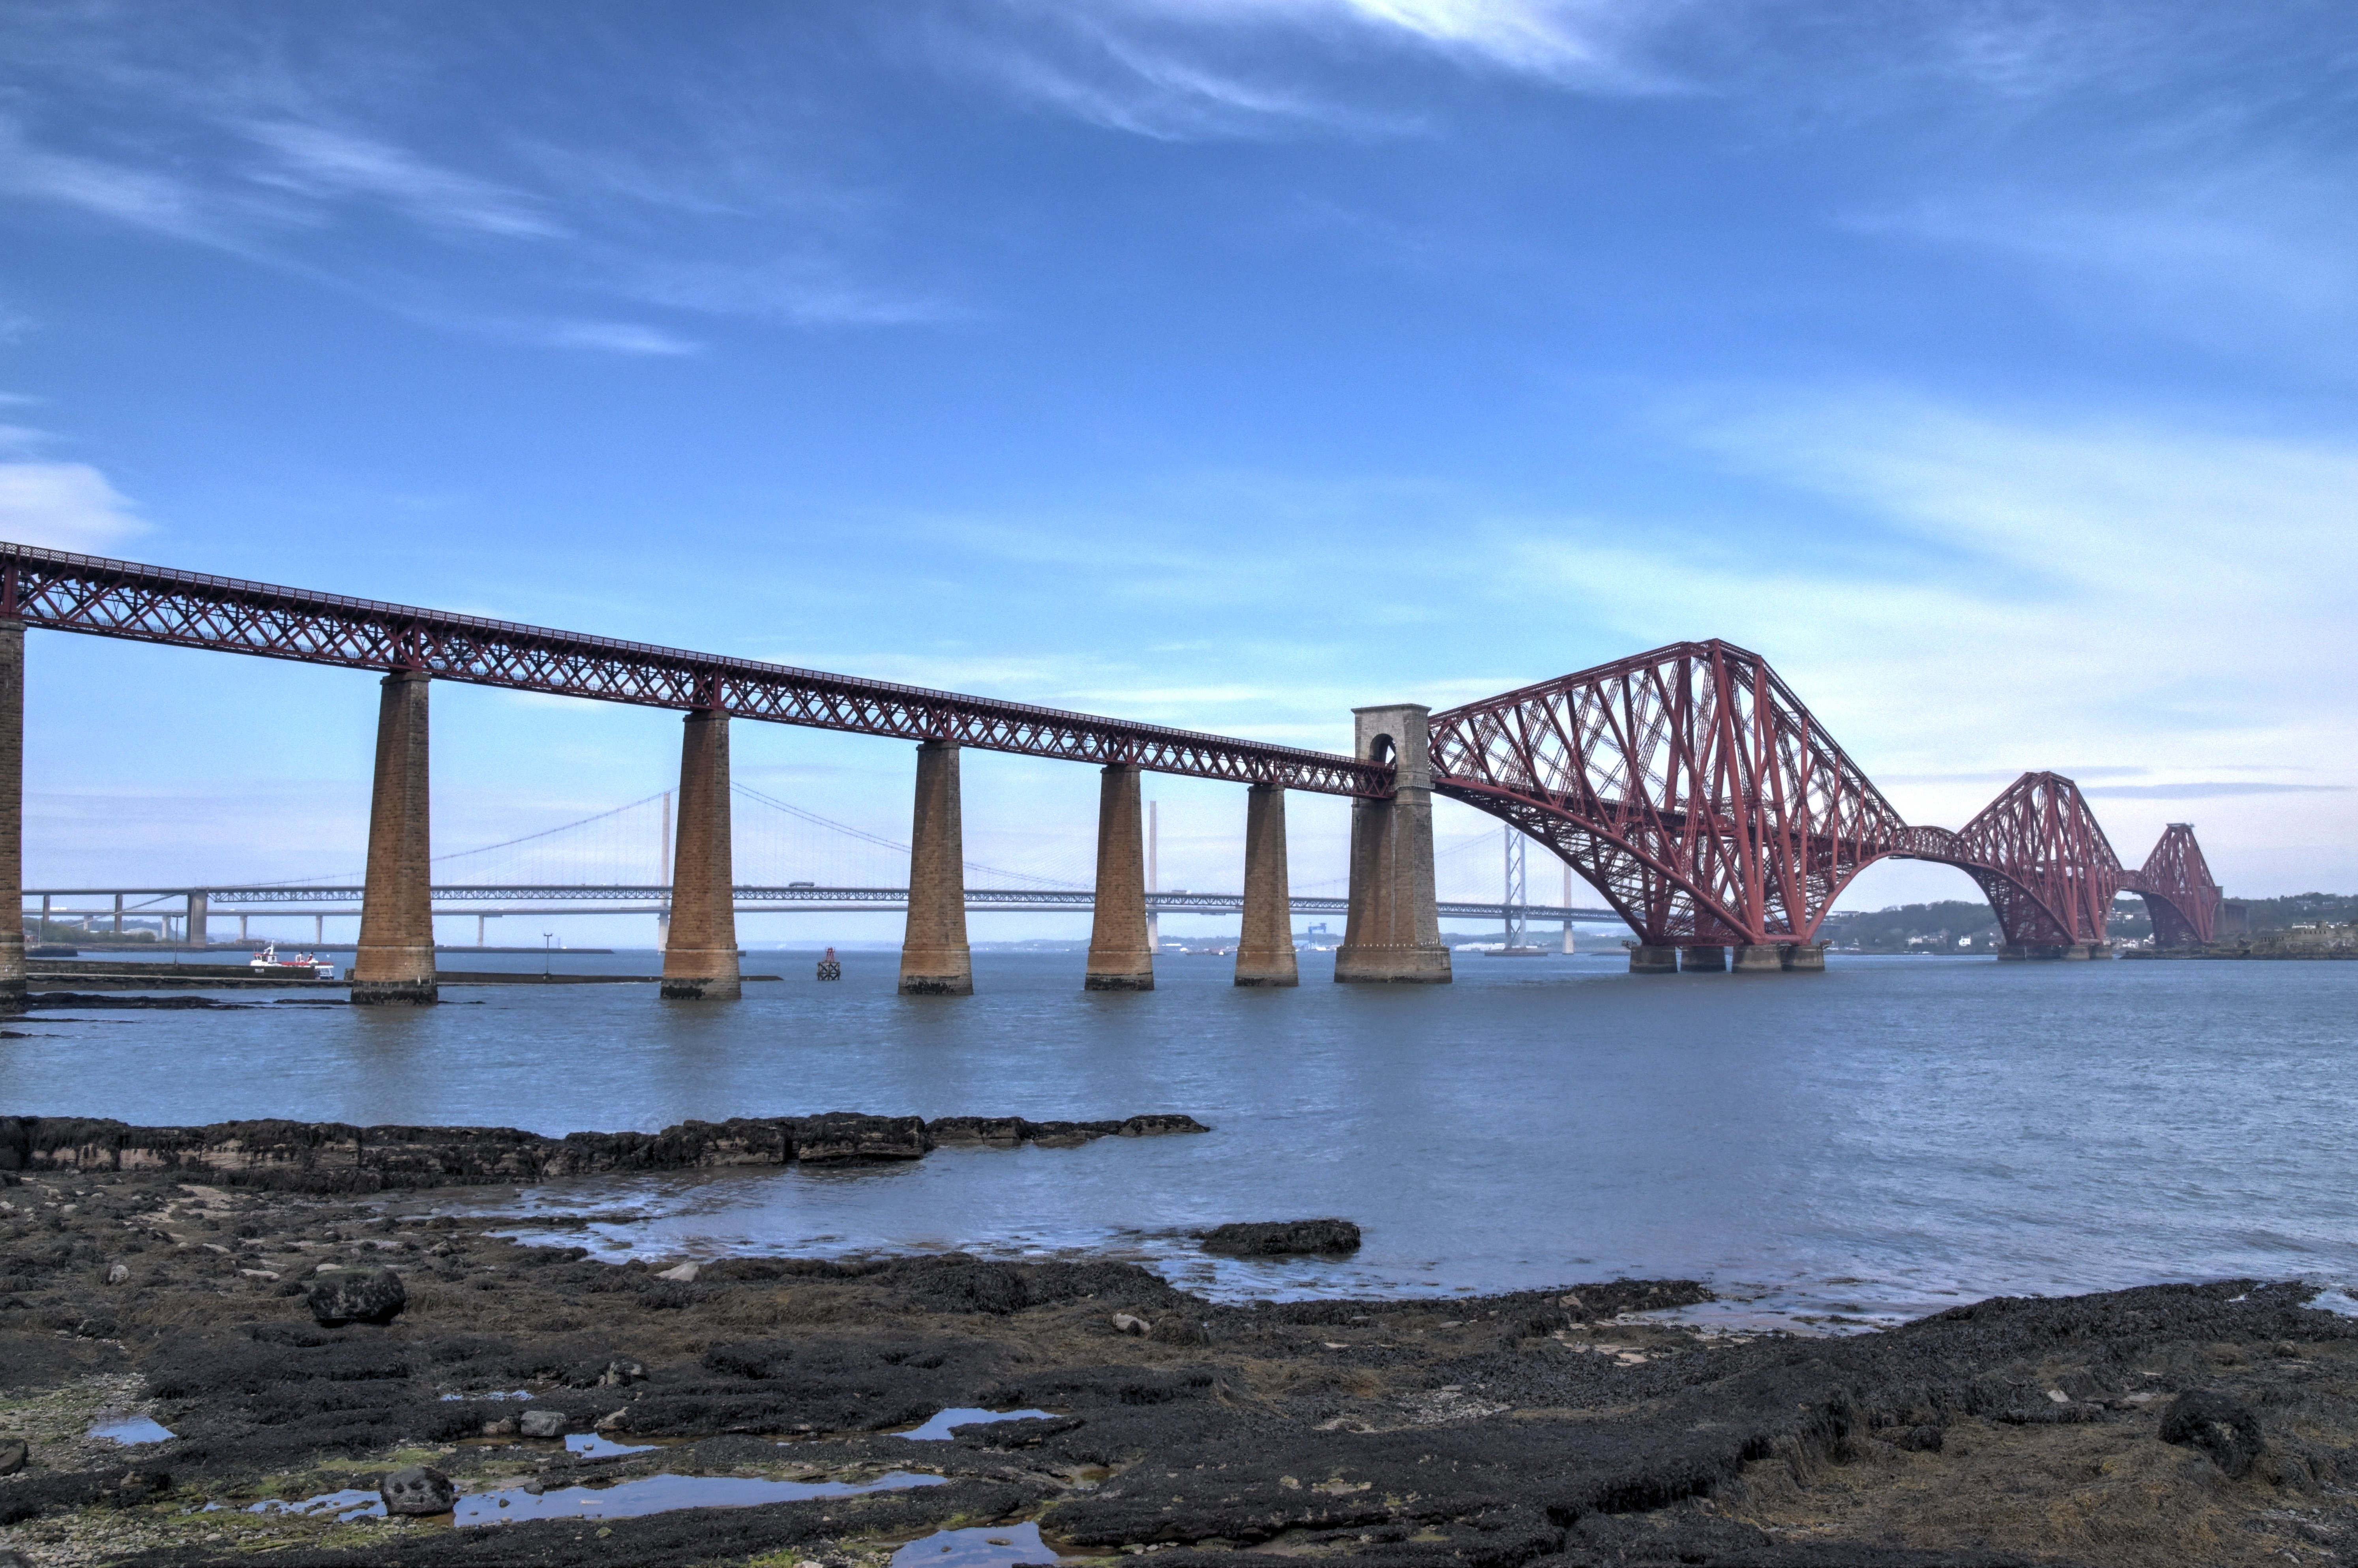
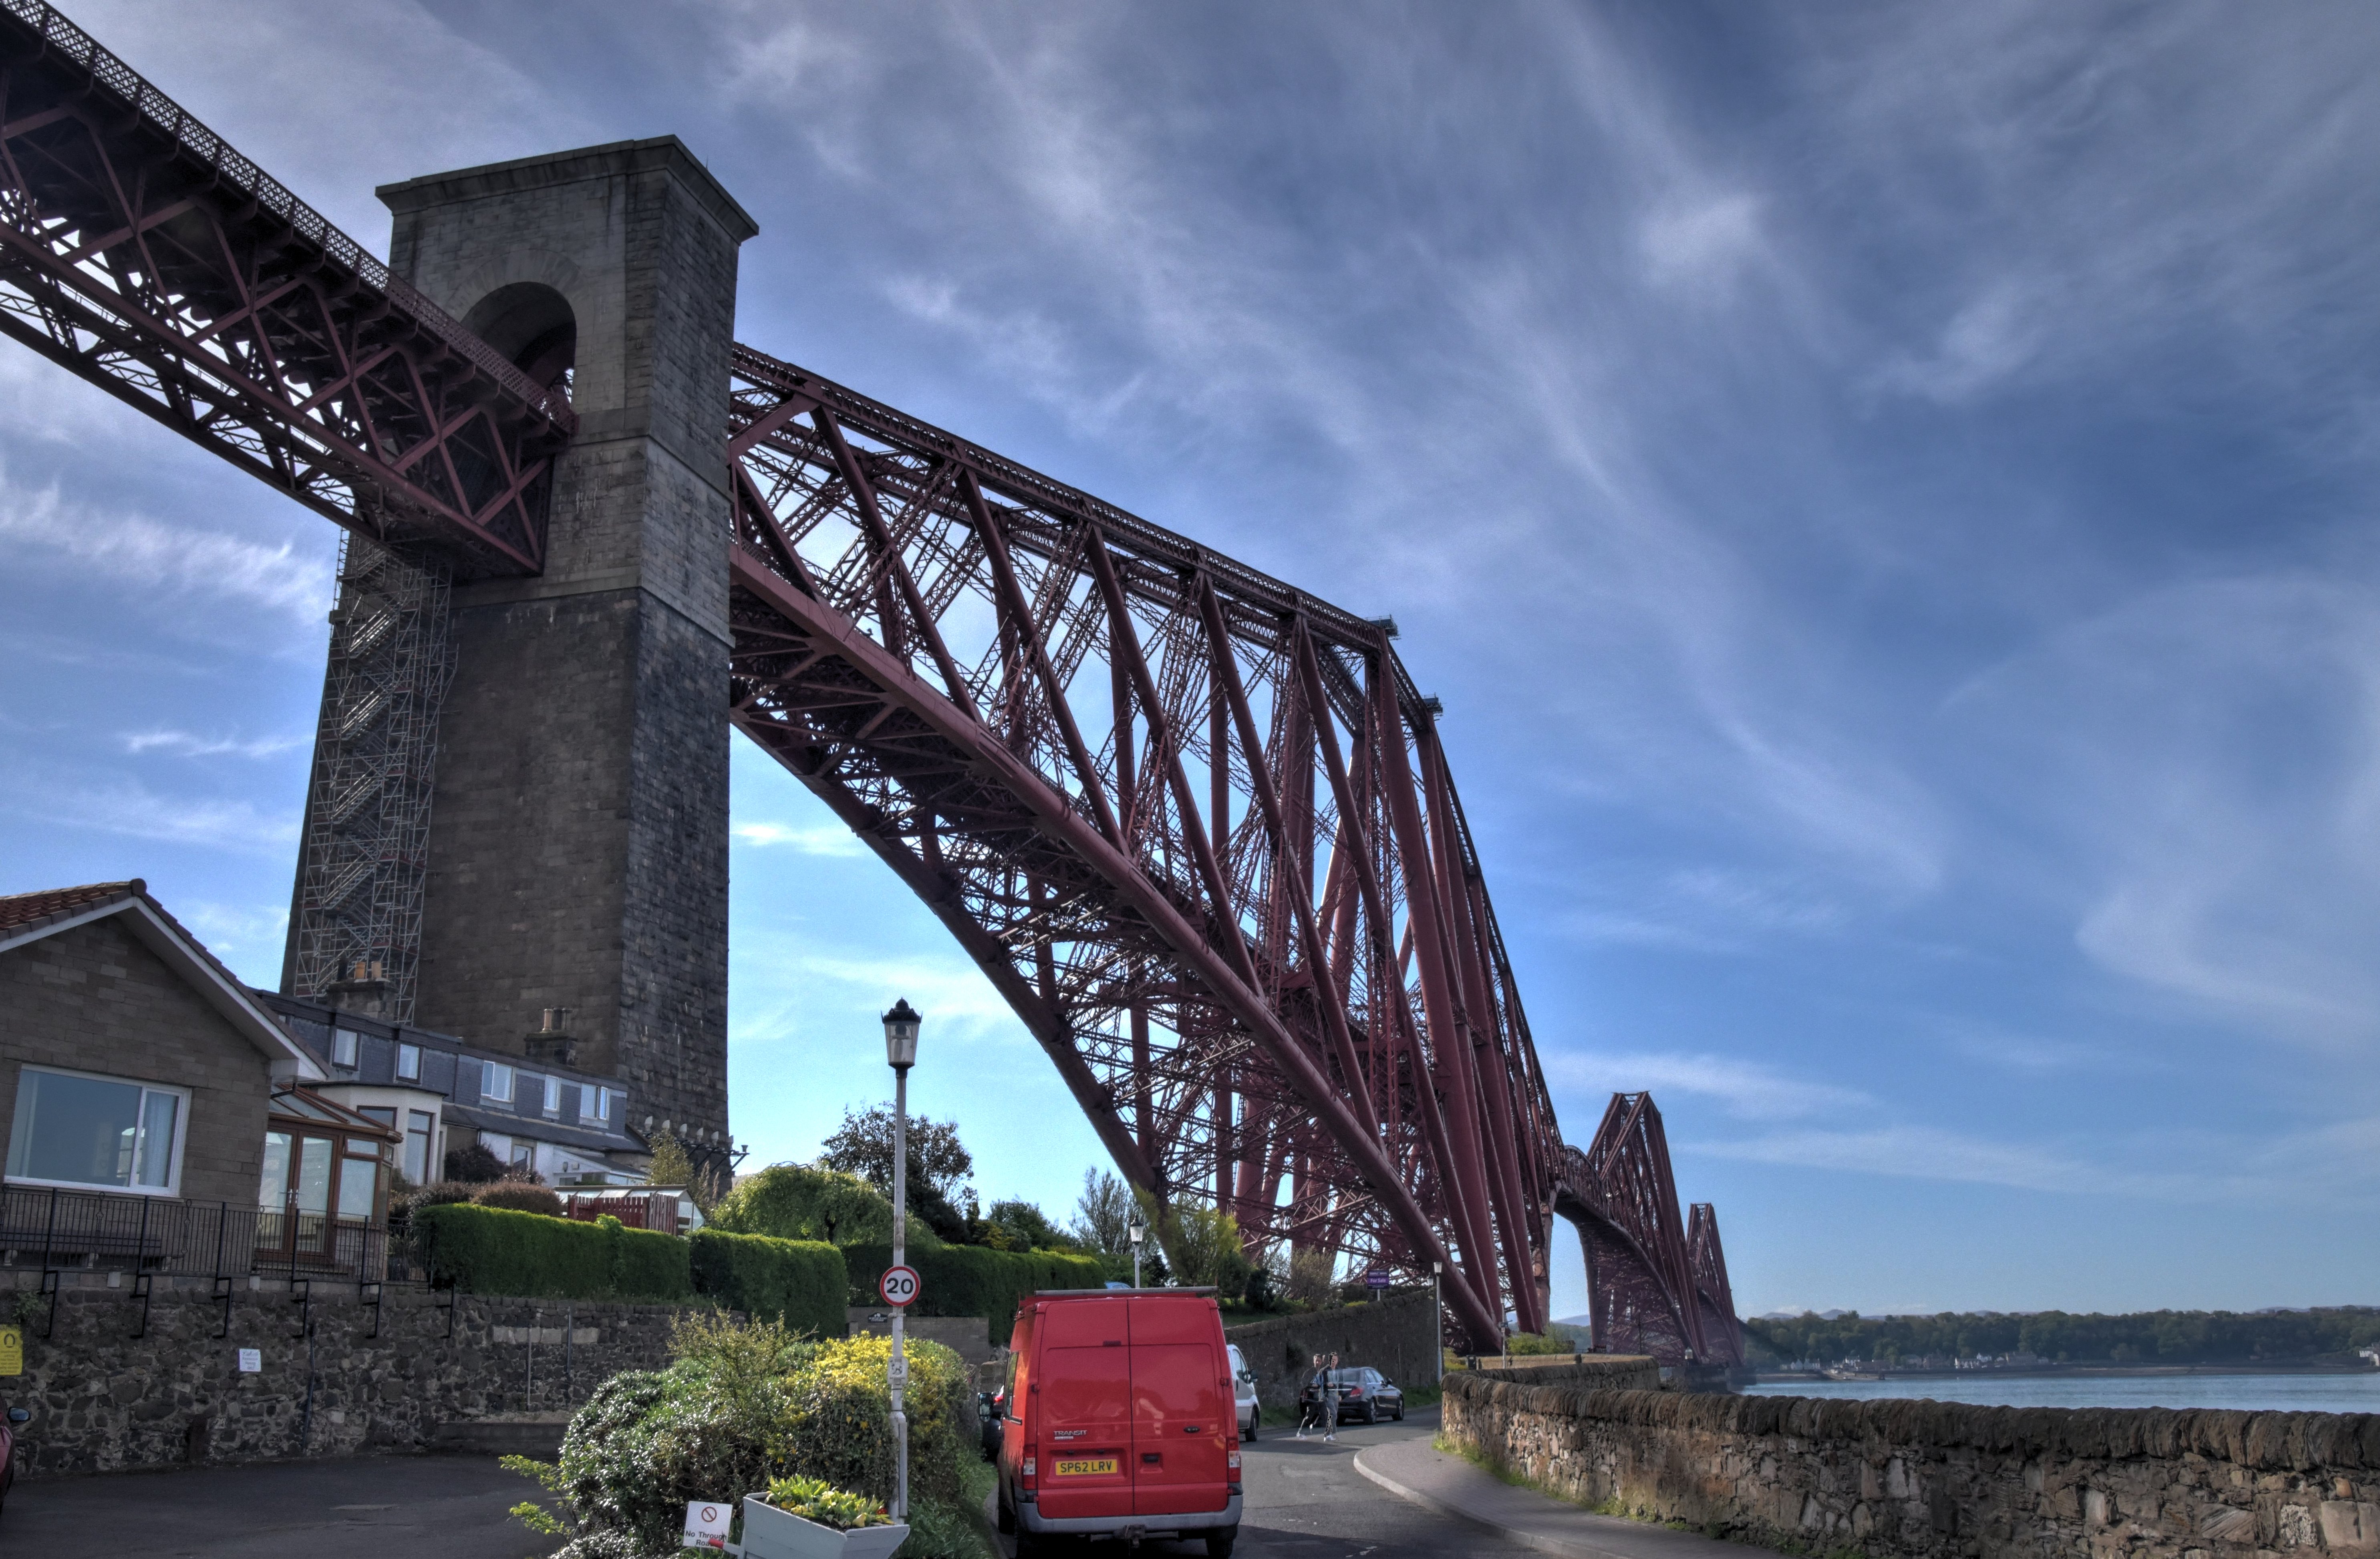
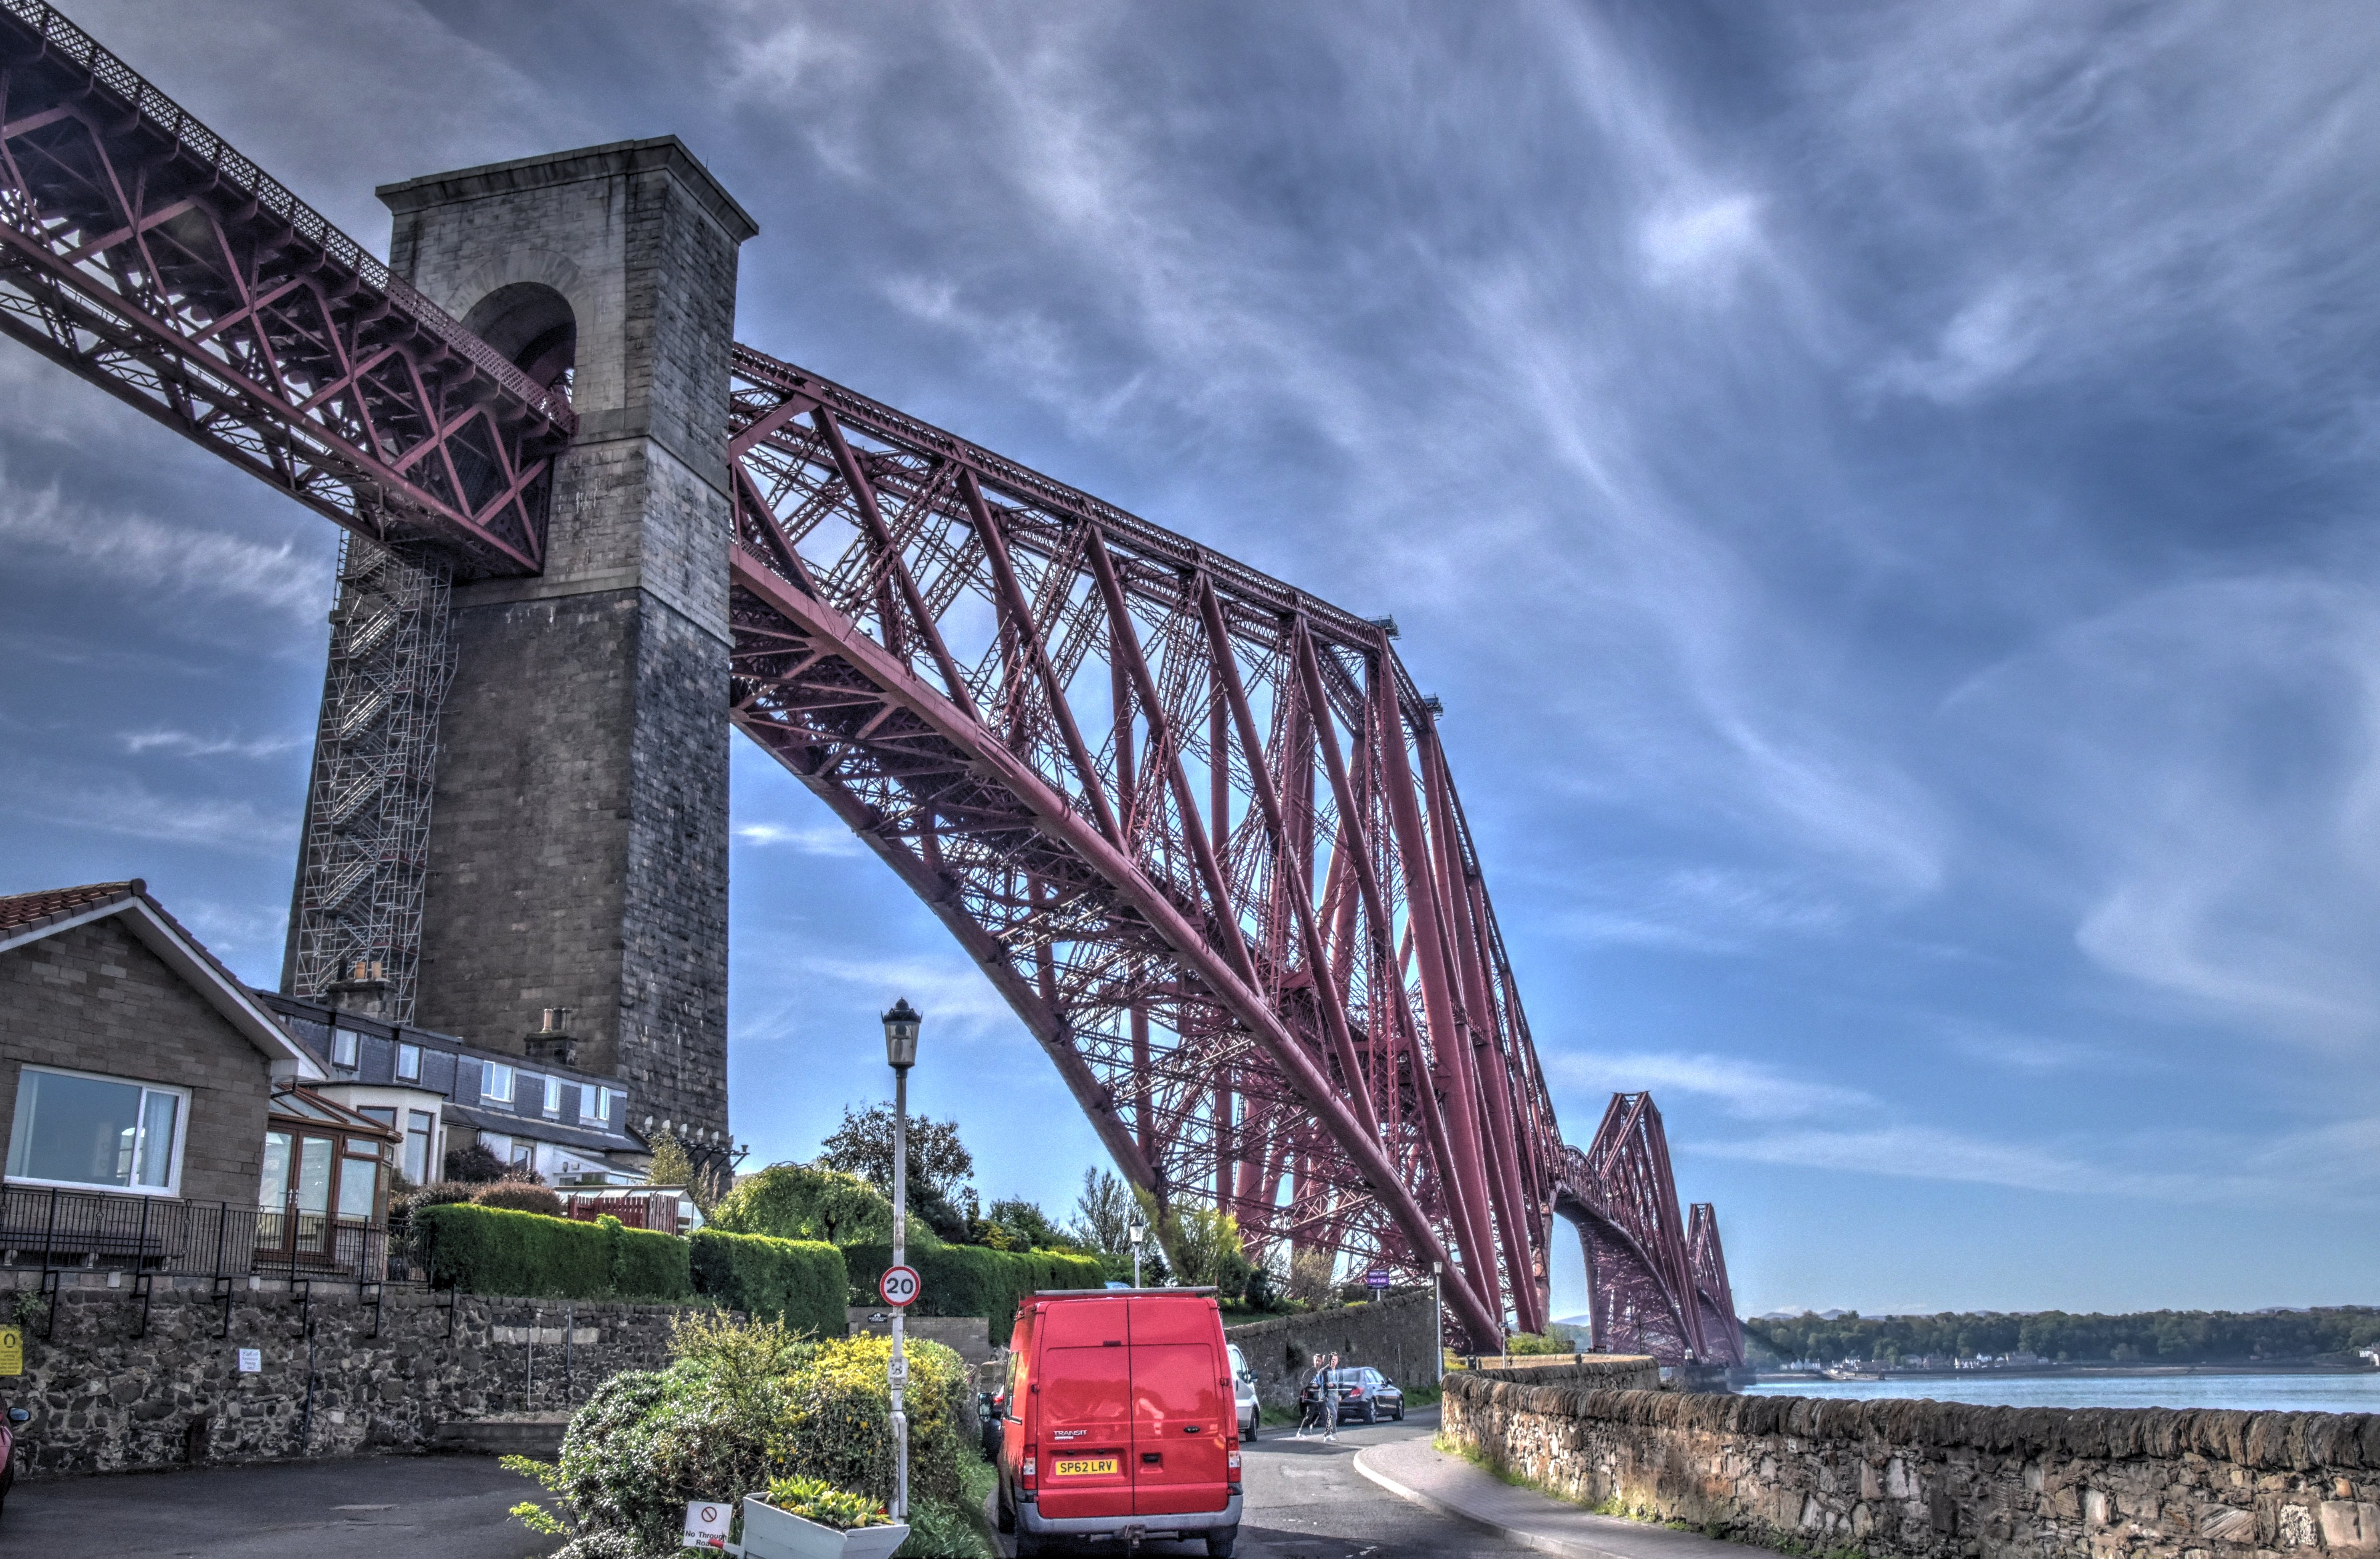
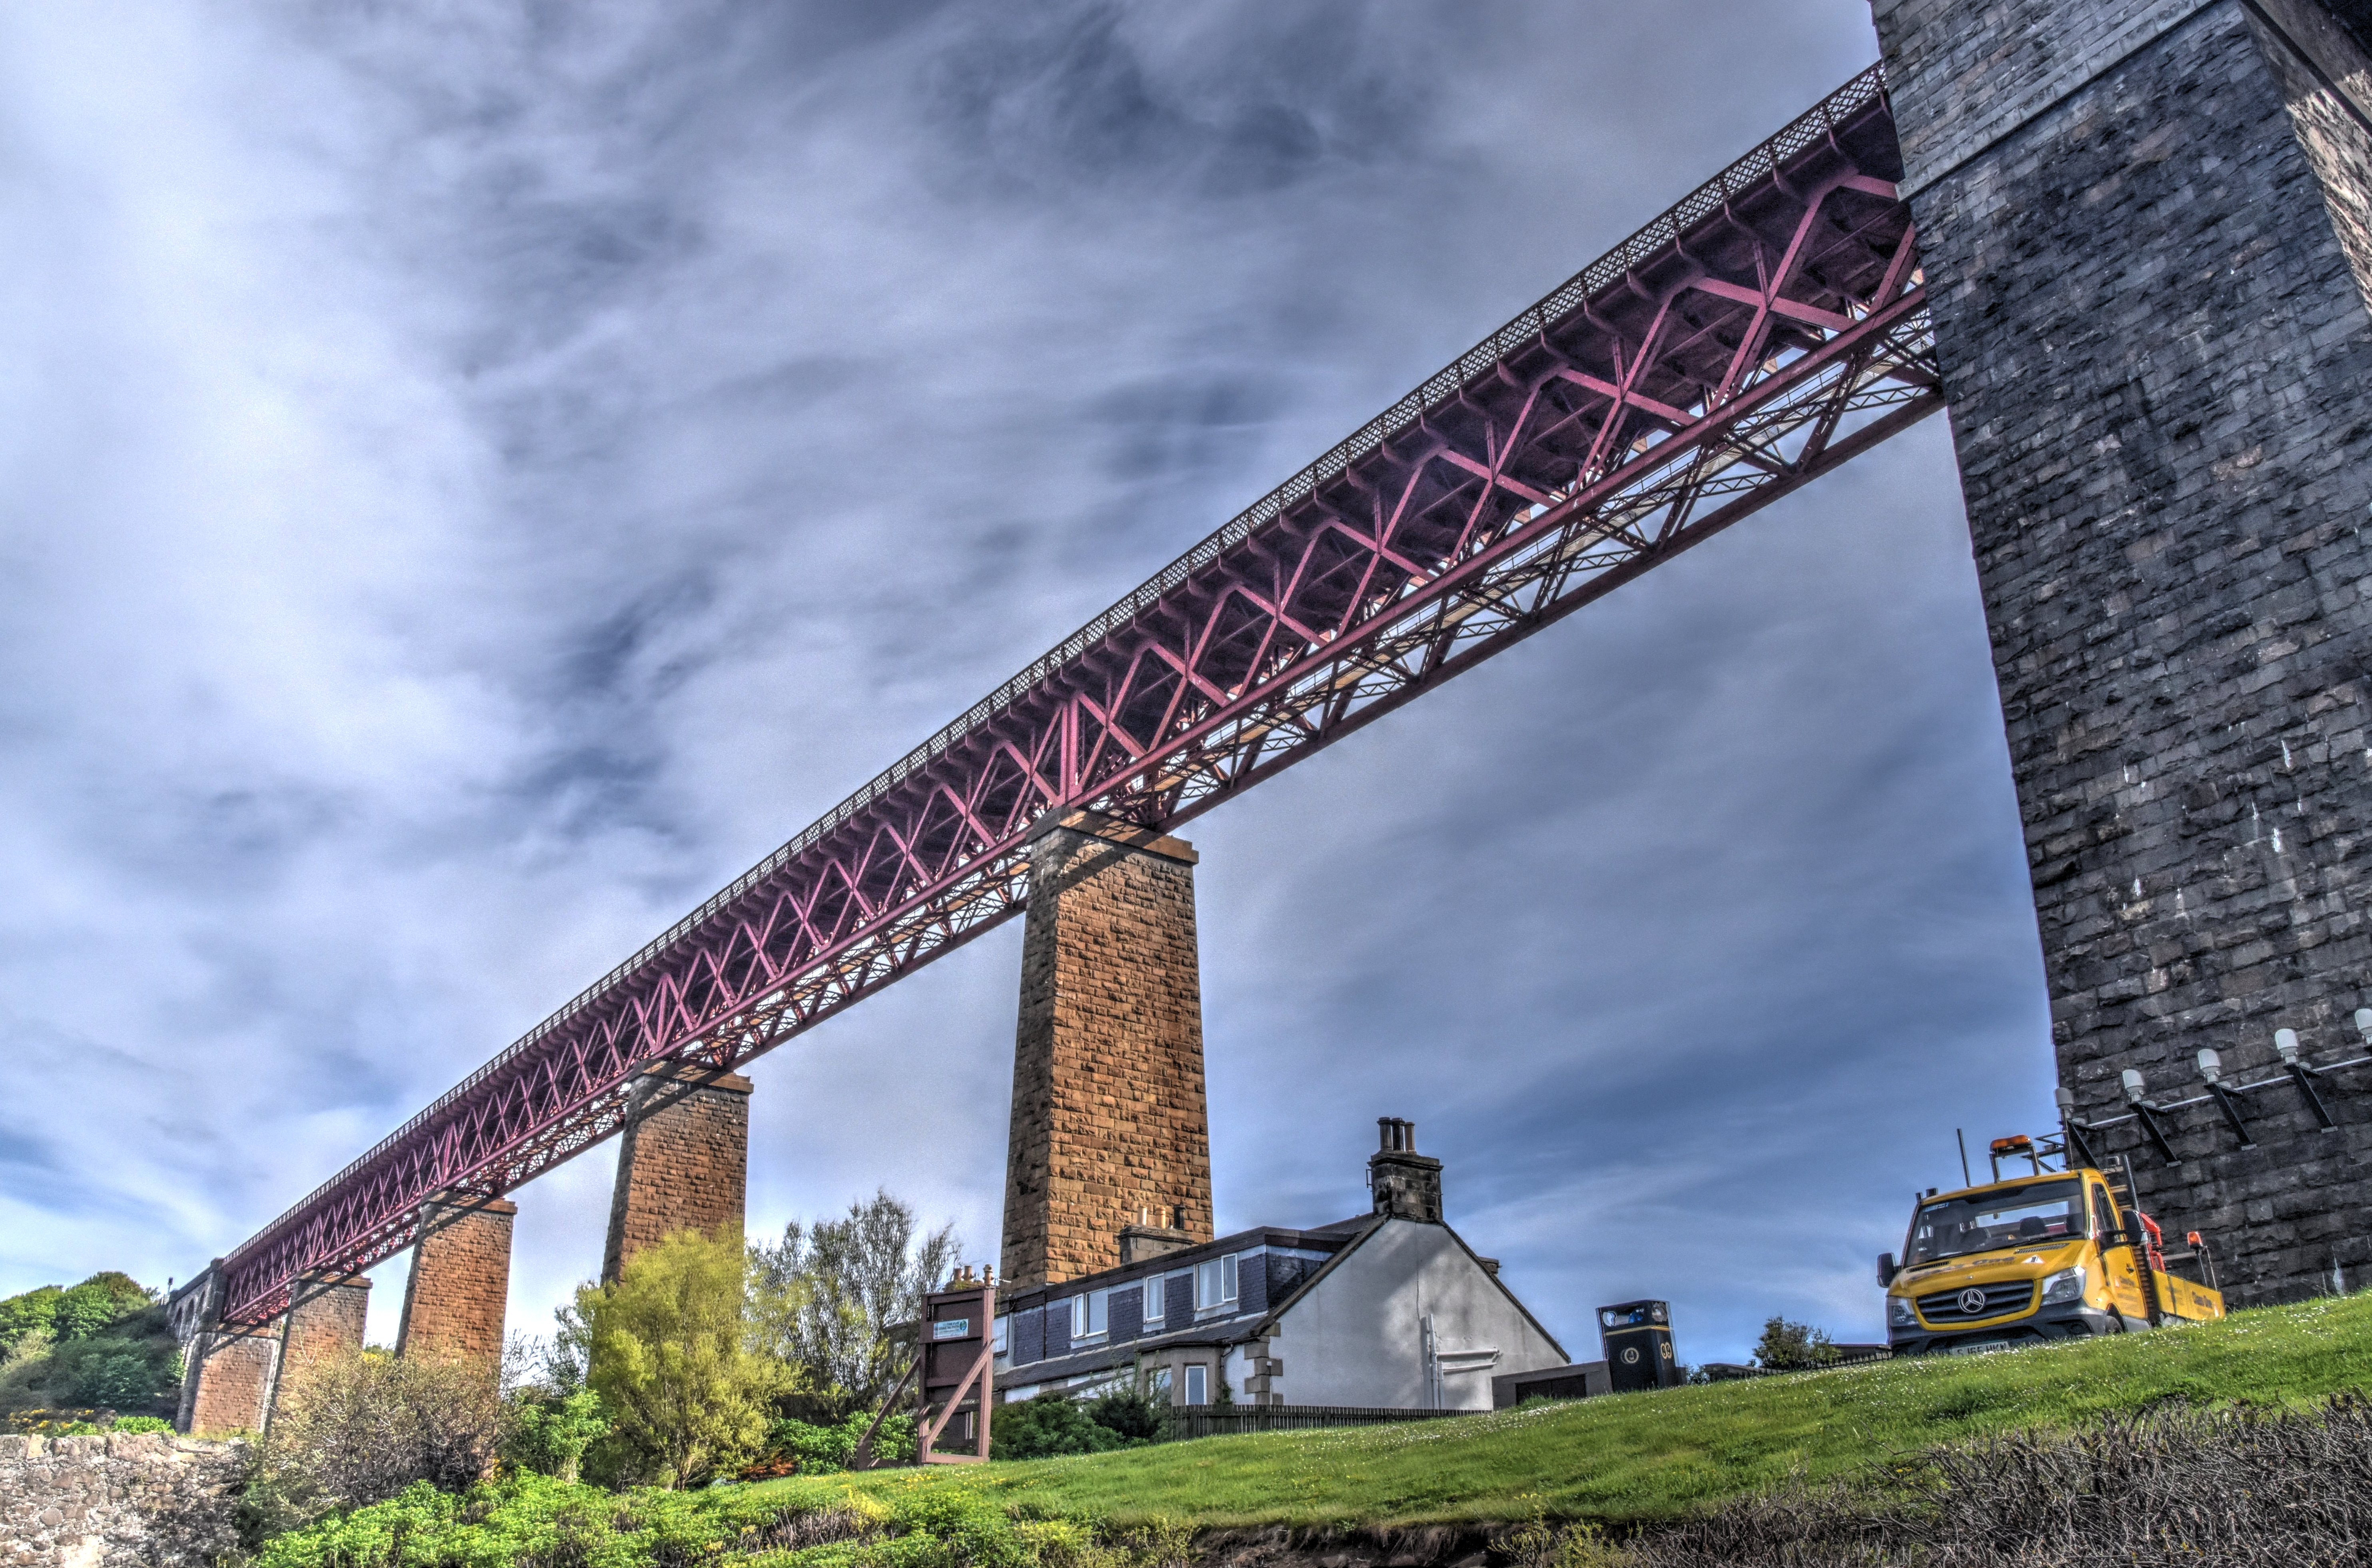
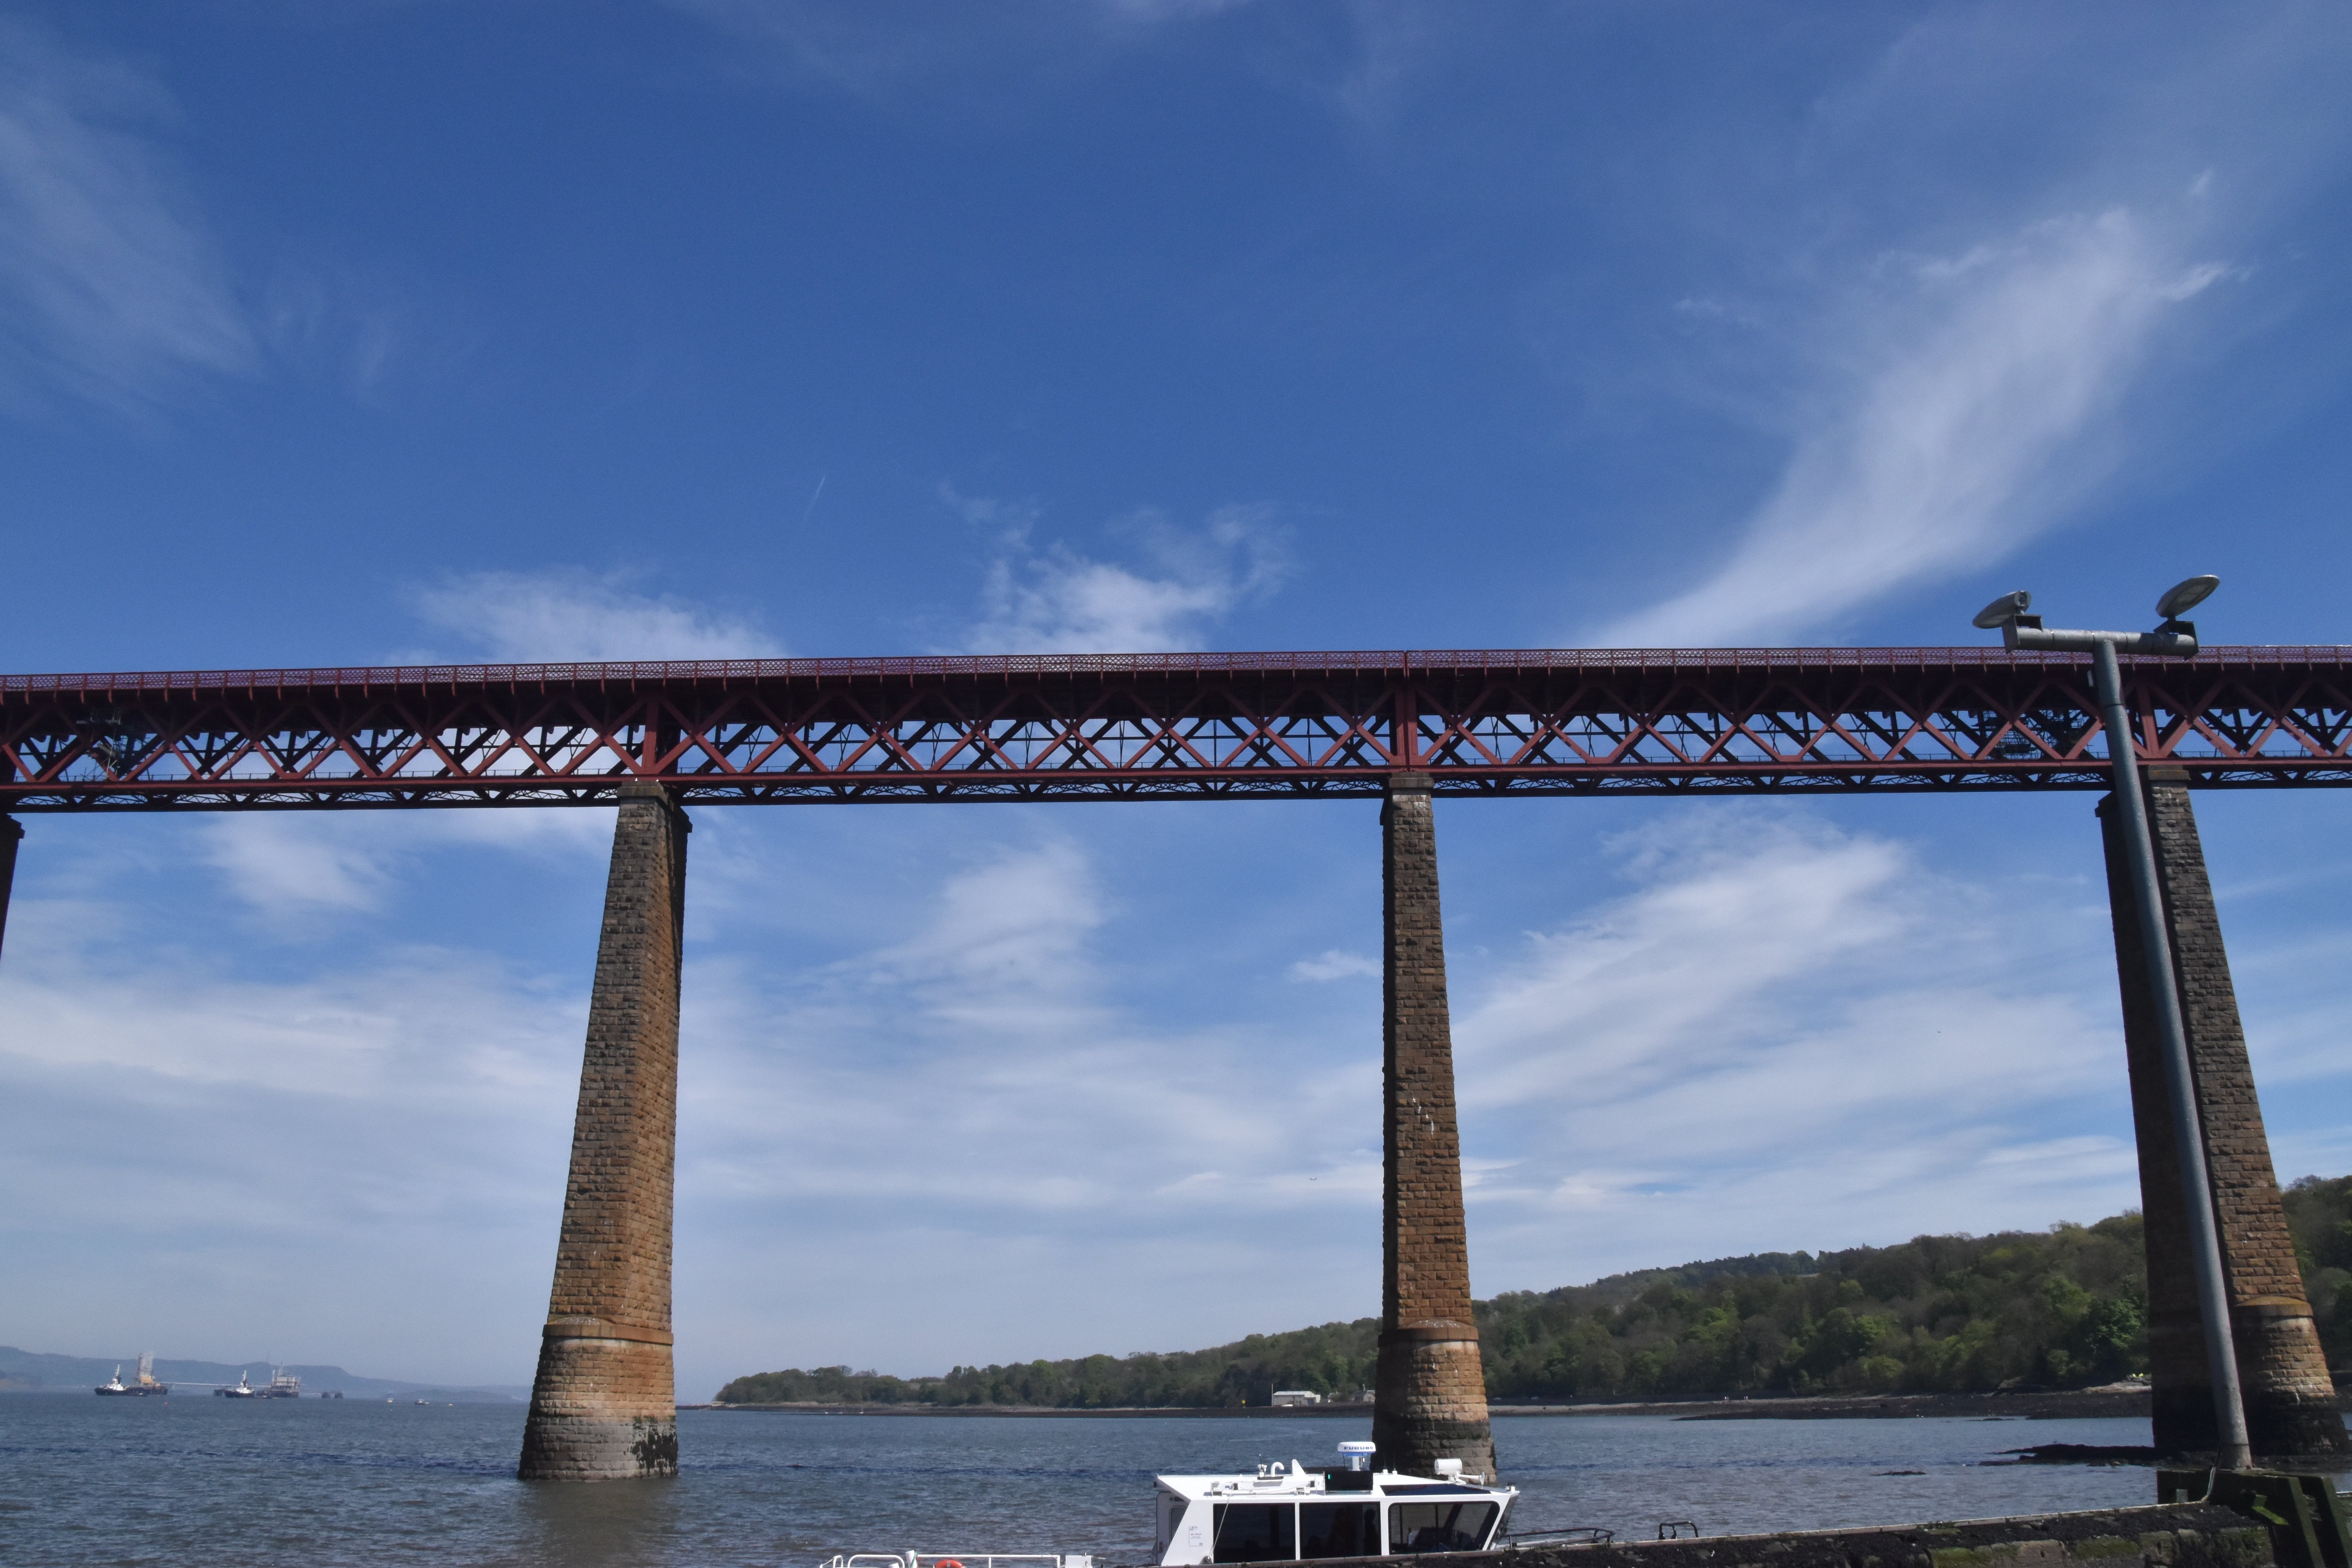
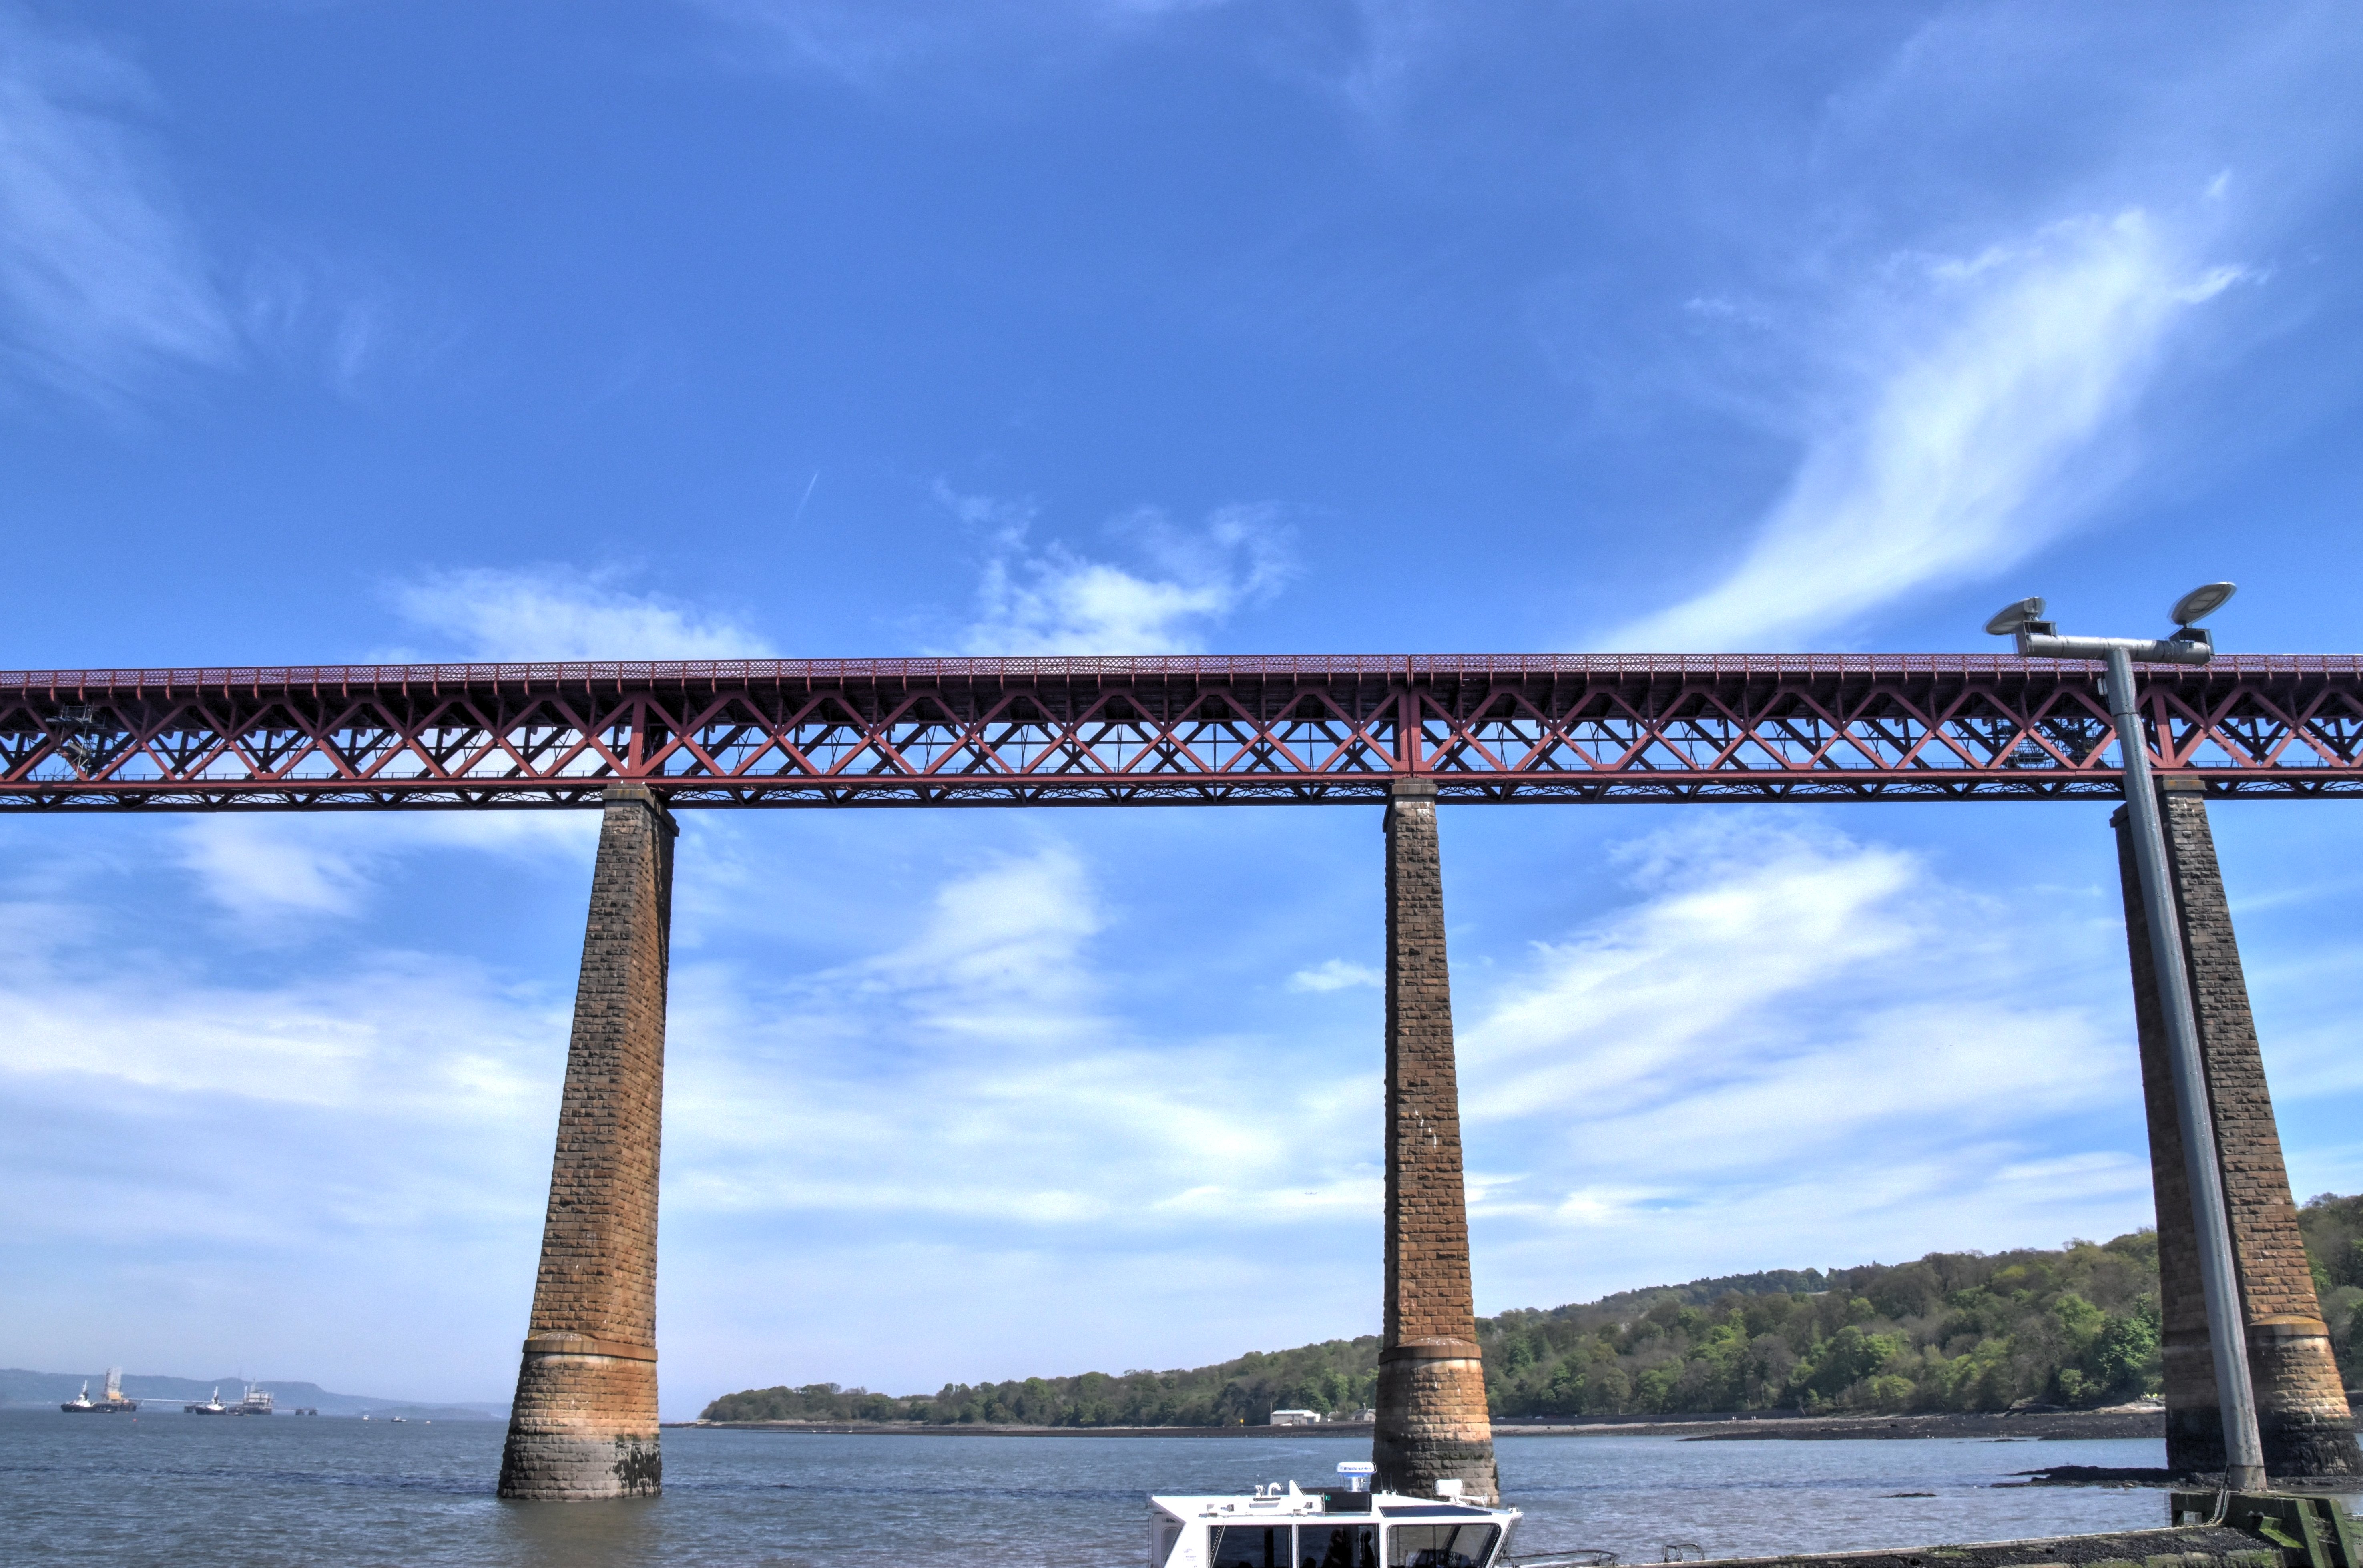
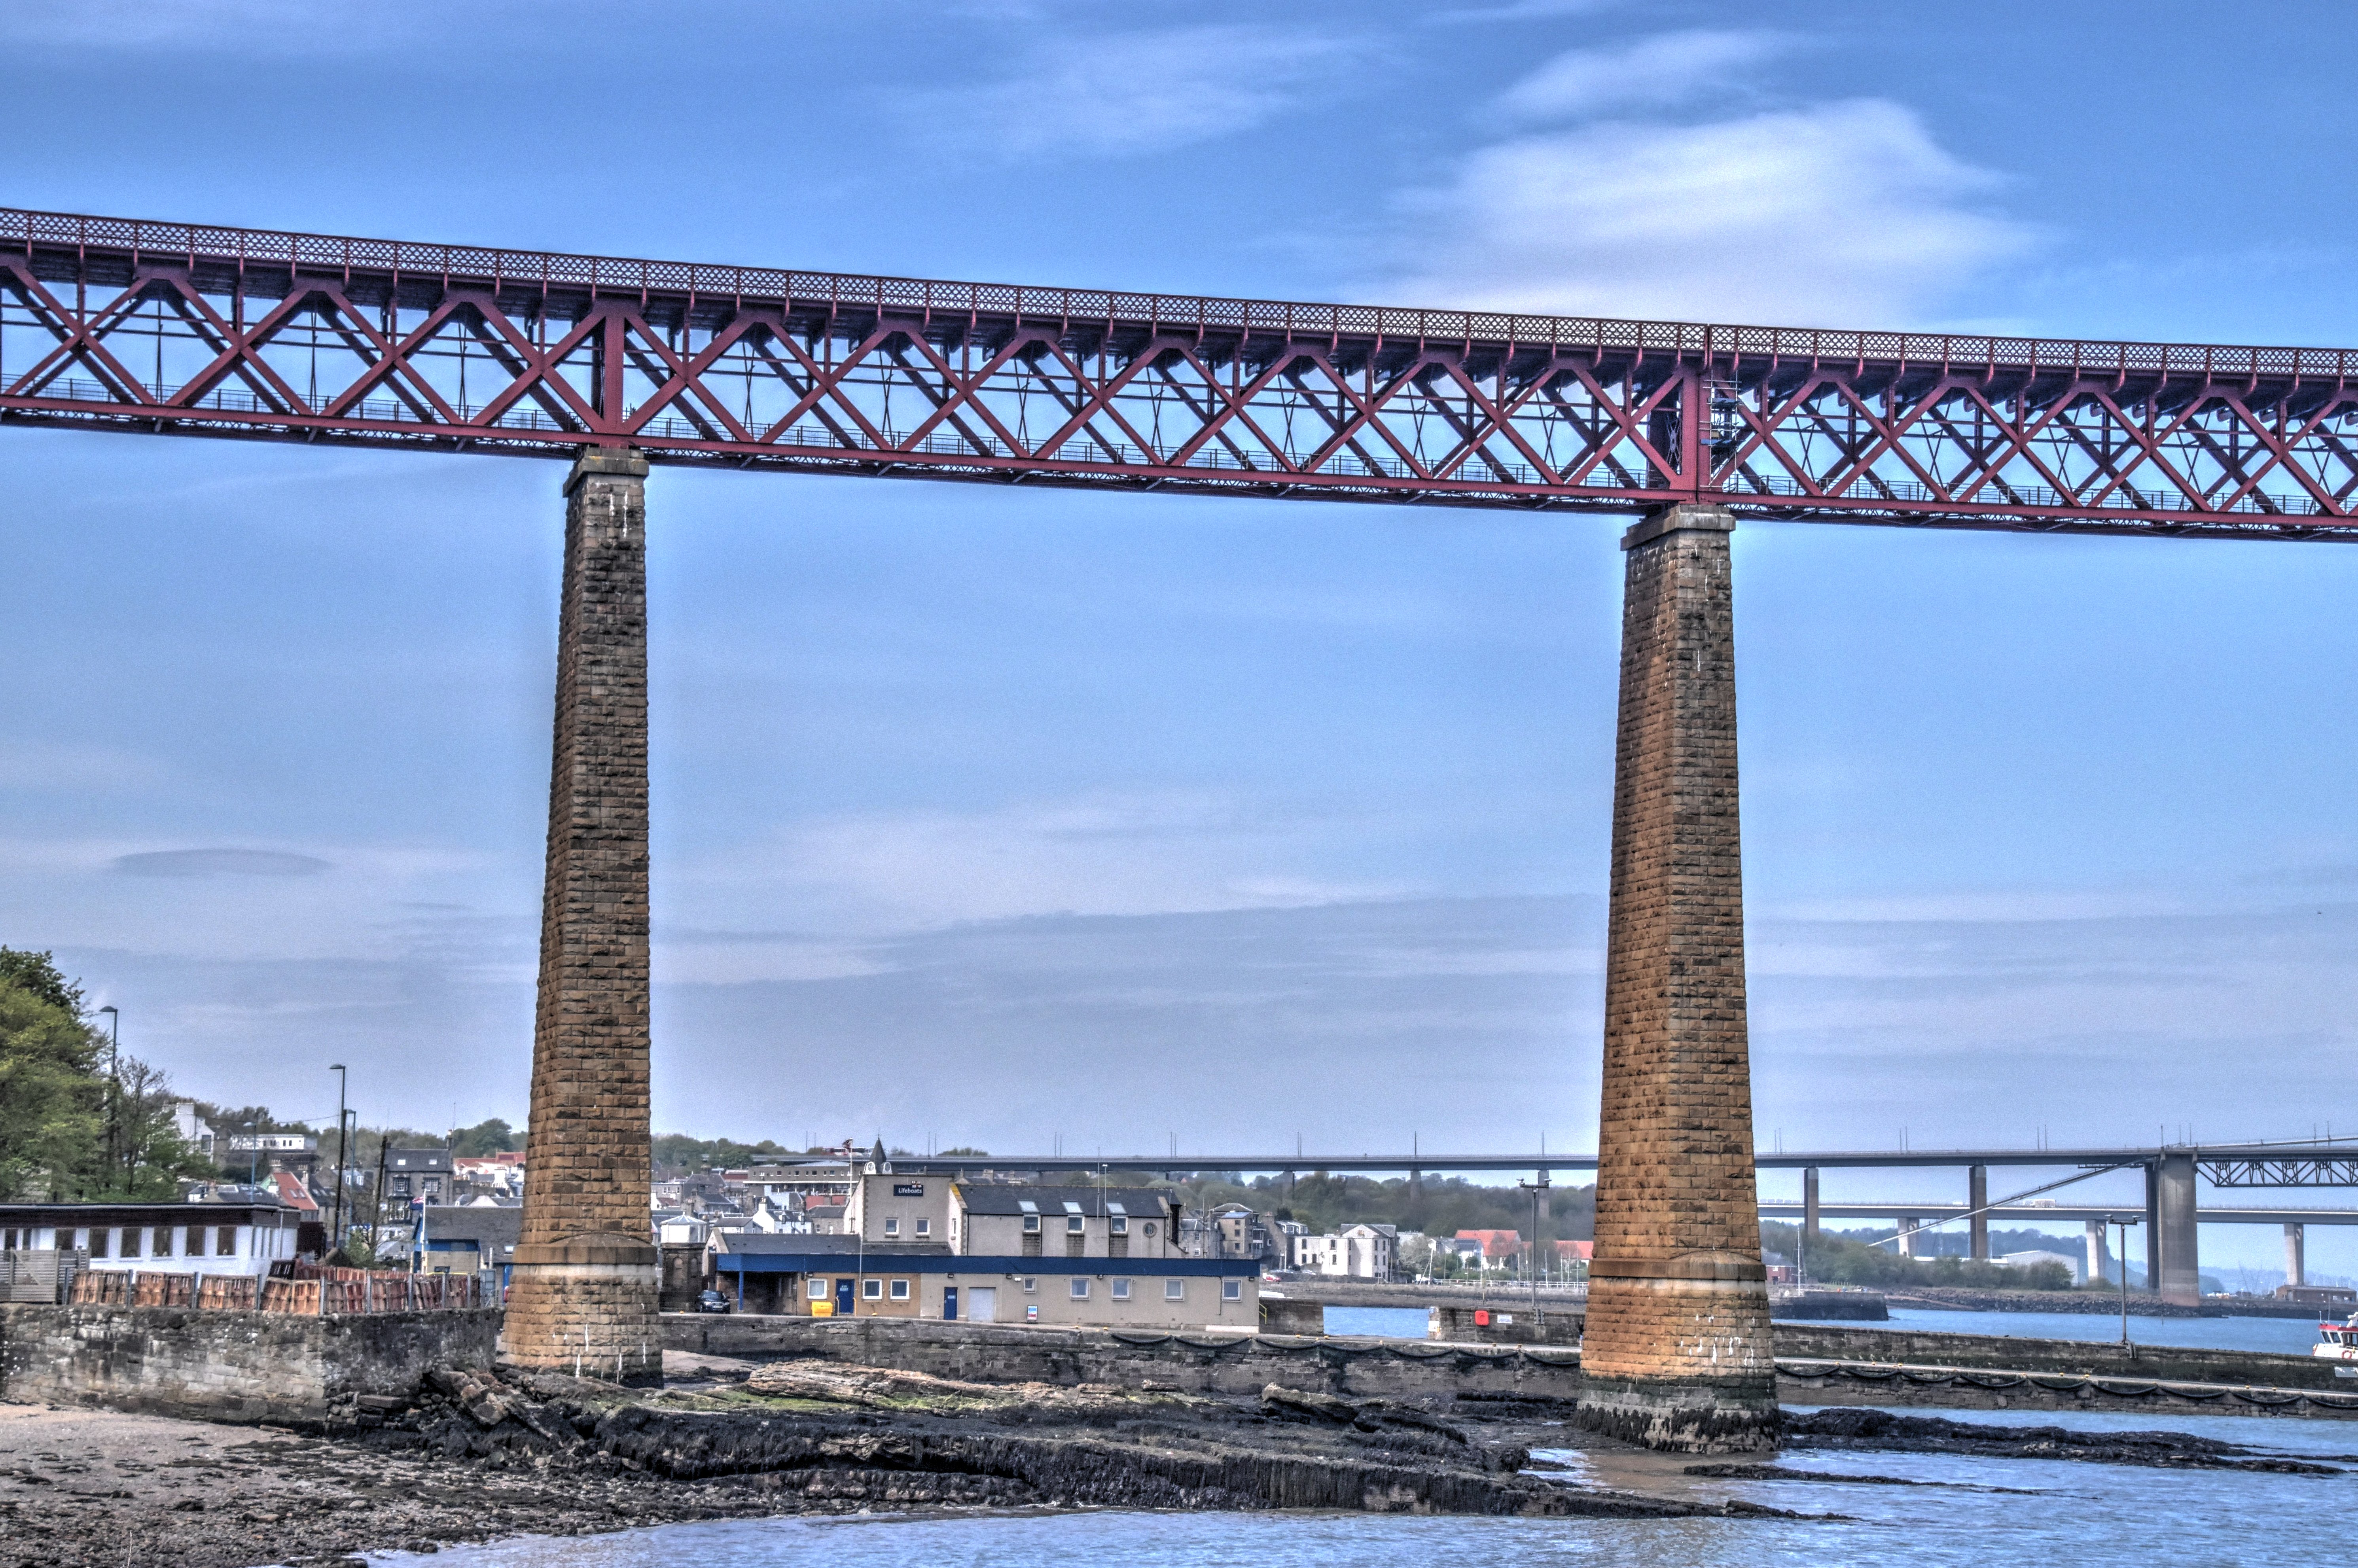
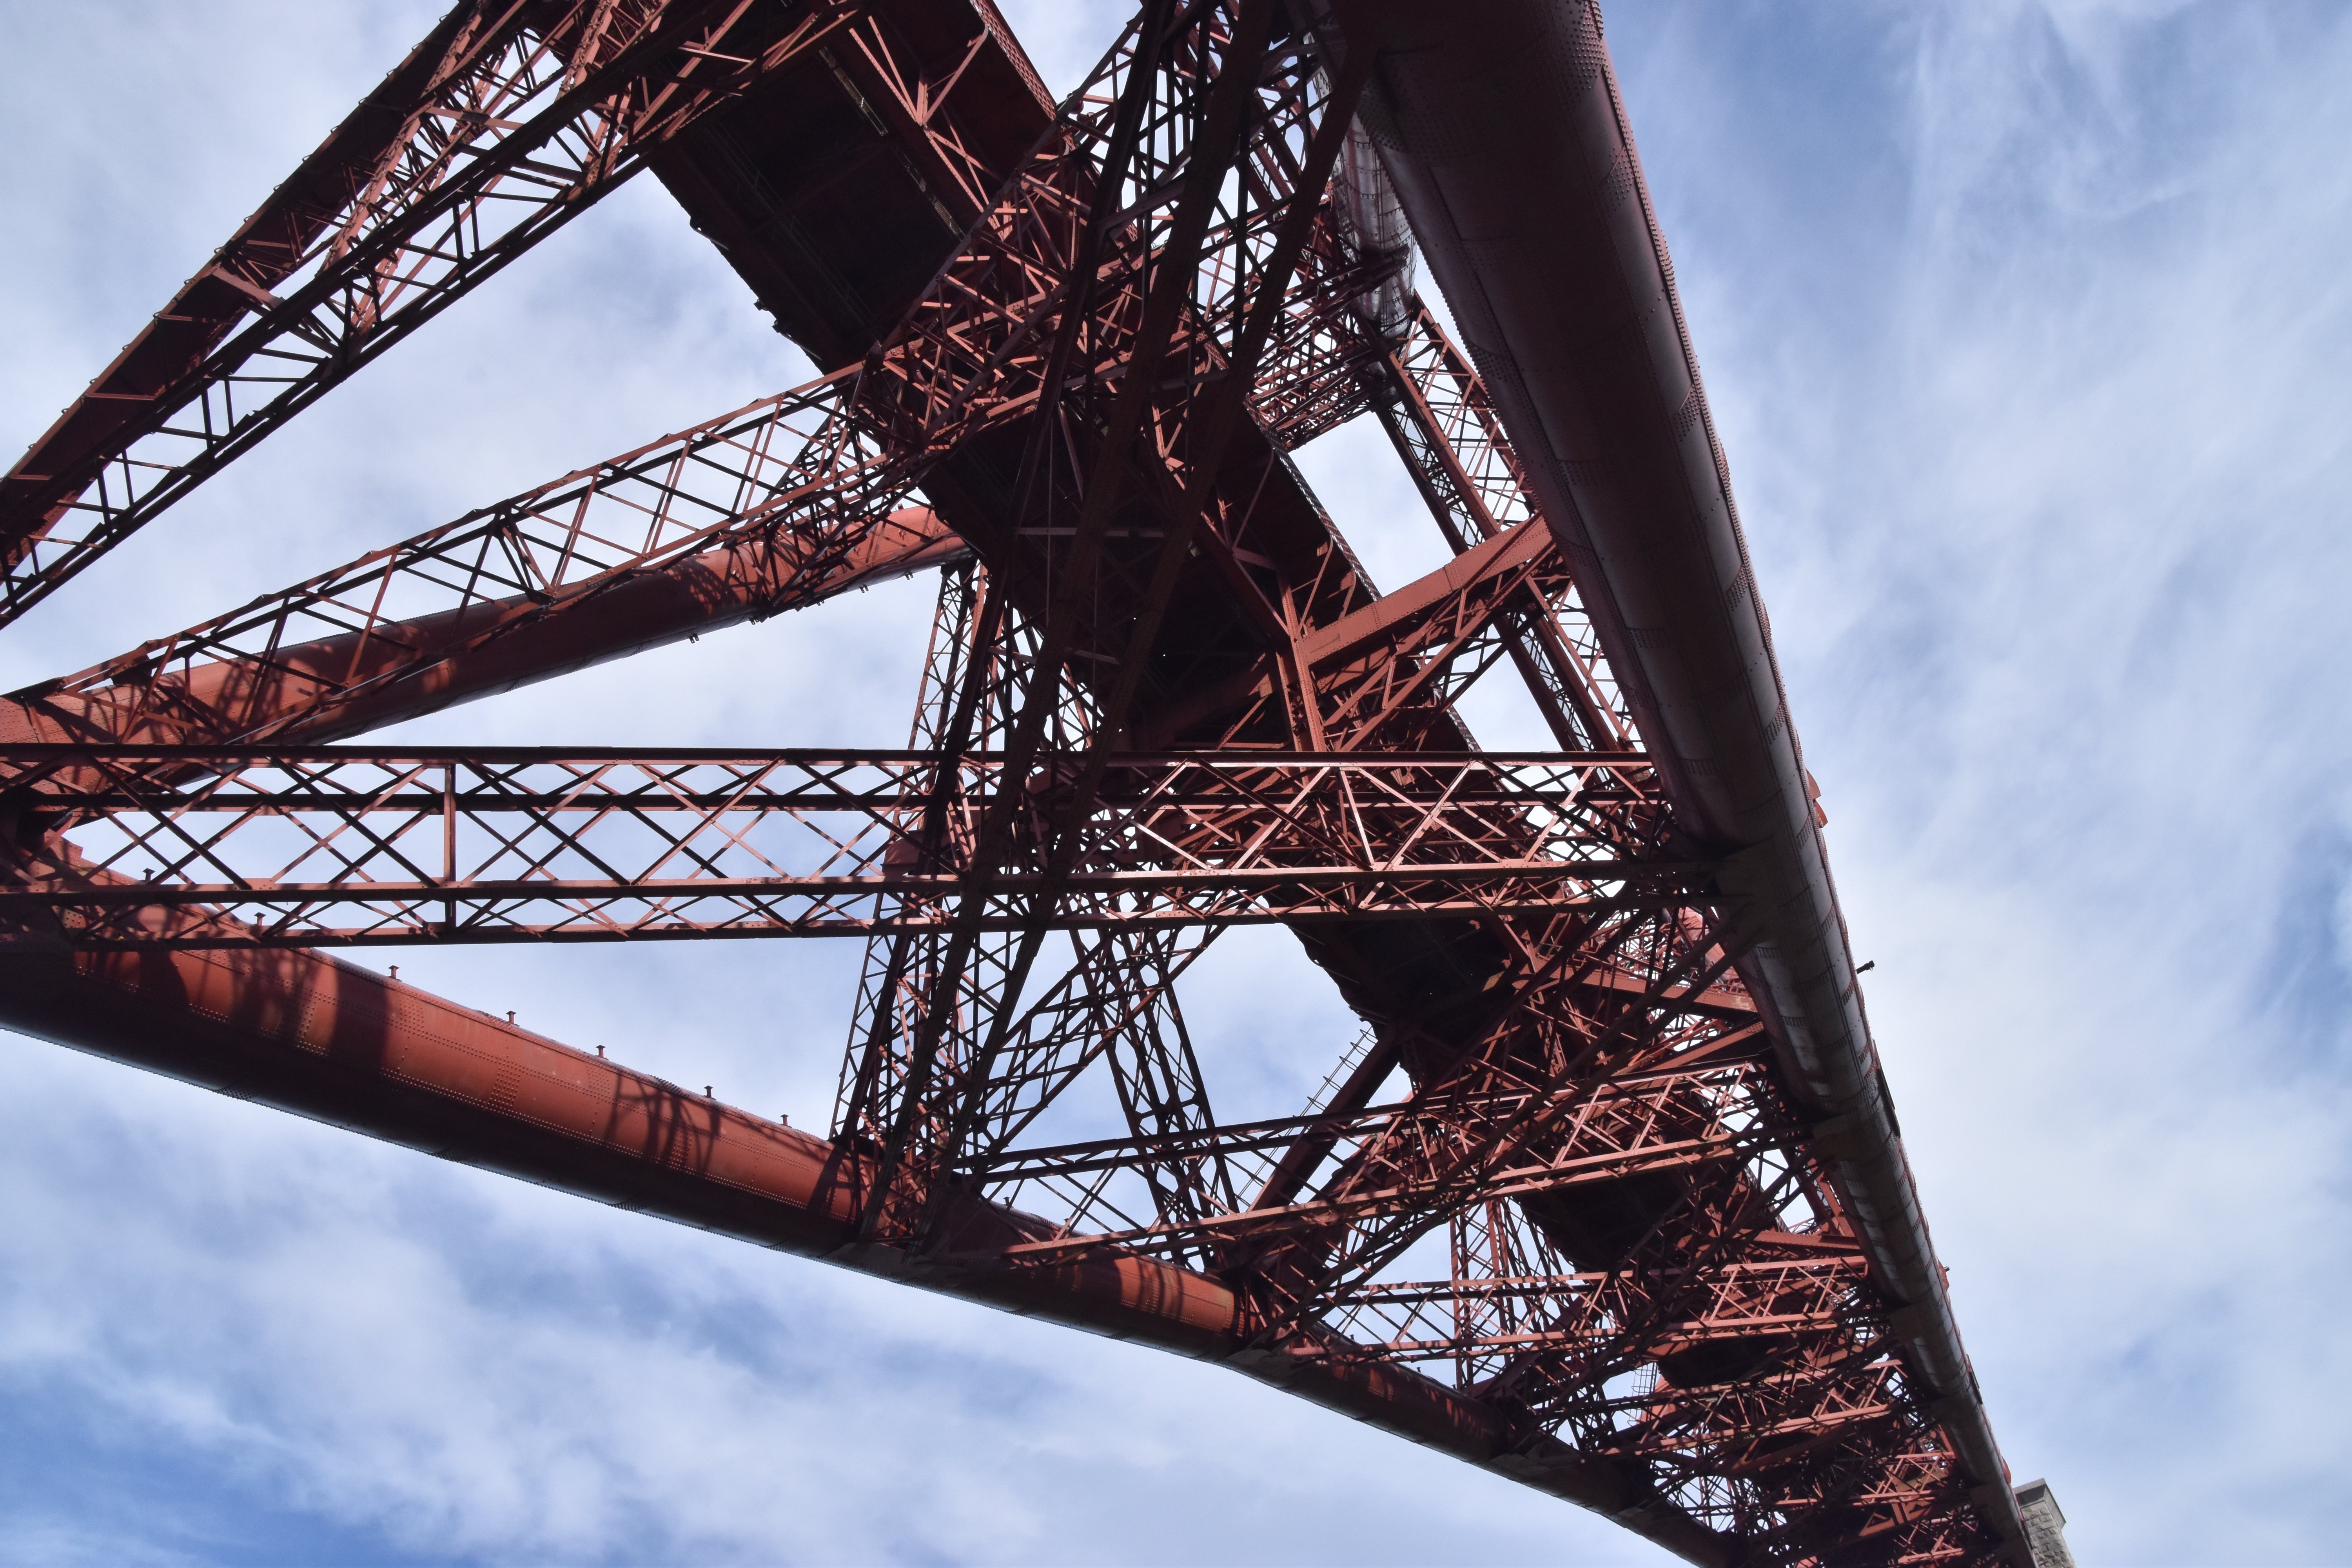
Views beside main spans from southwest quadrant.
![]()


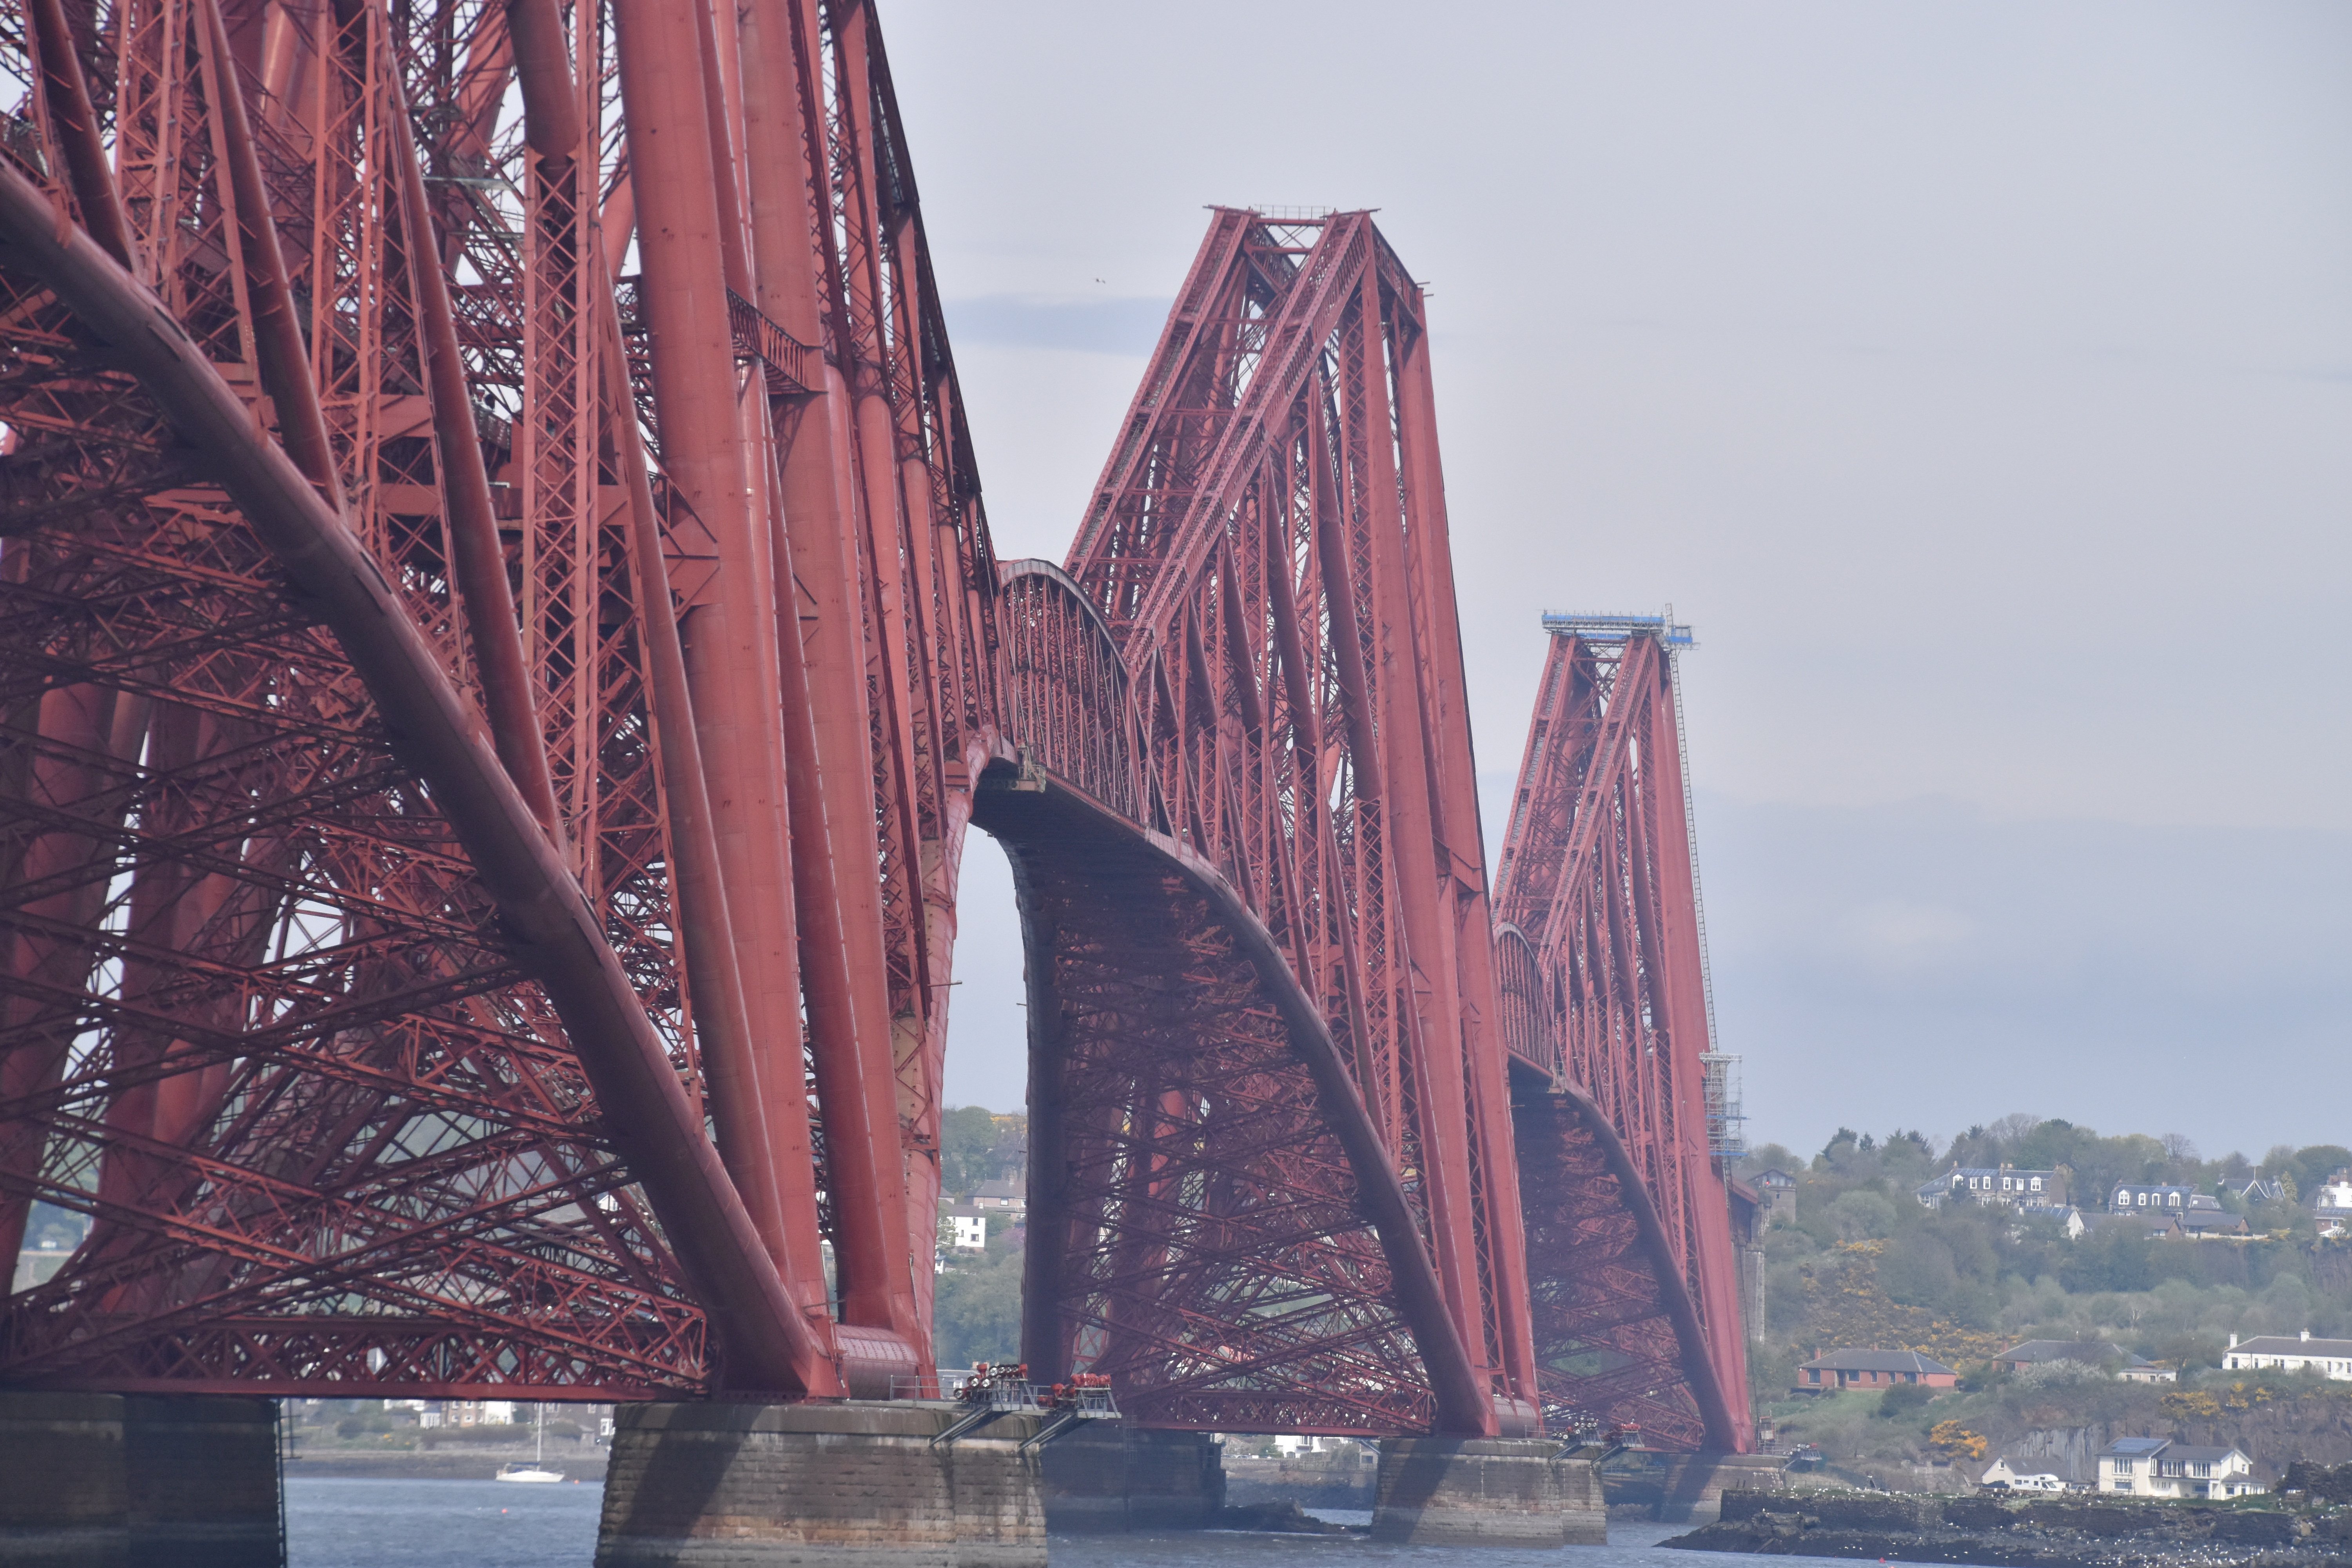
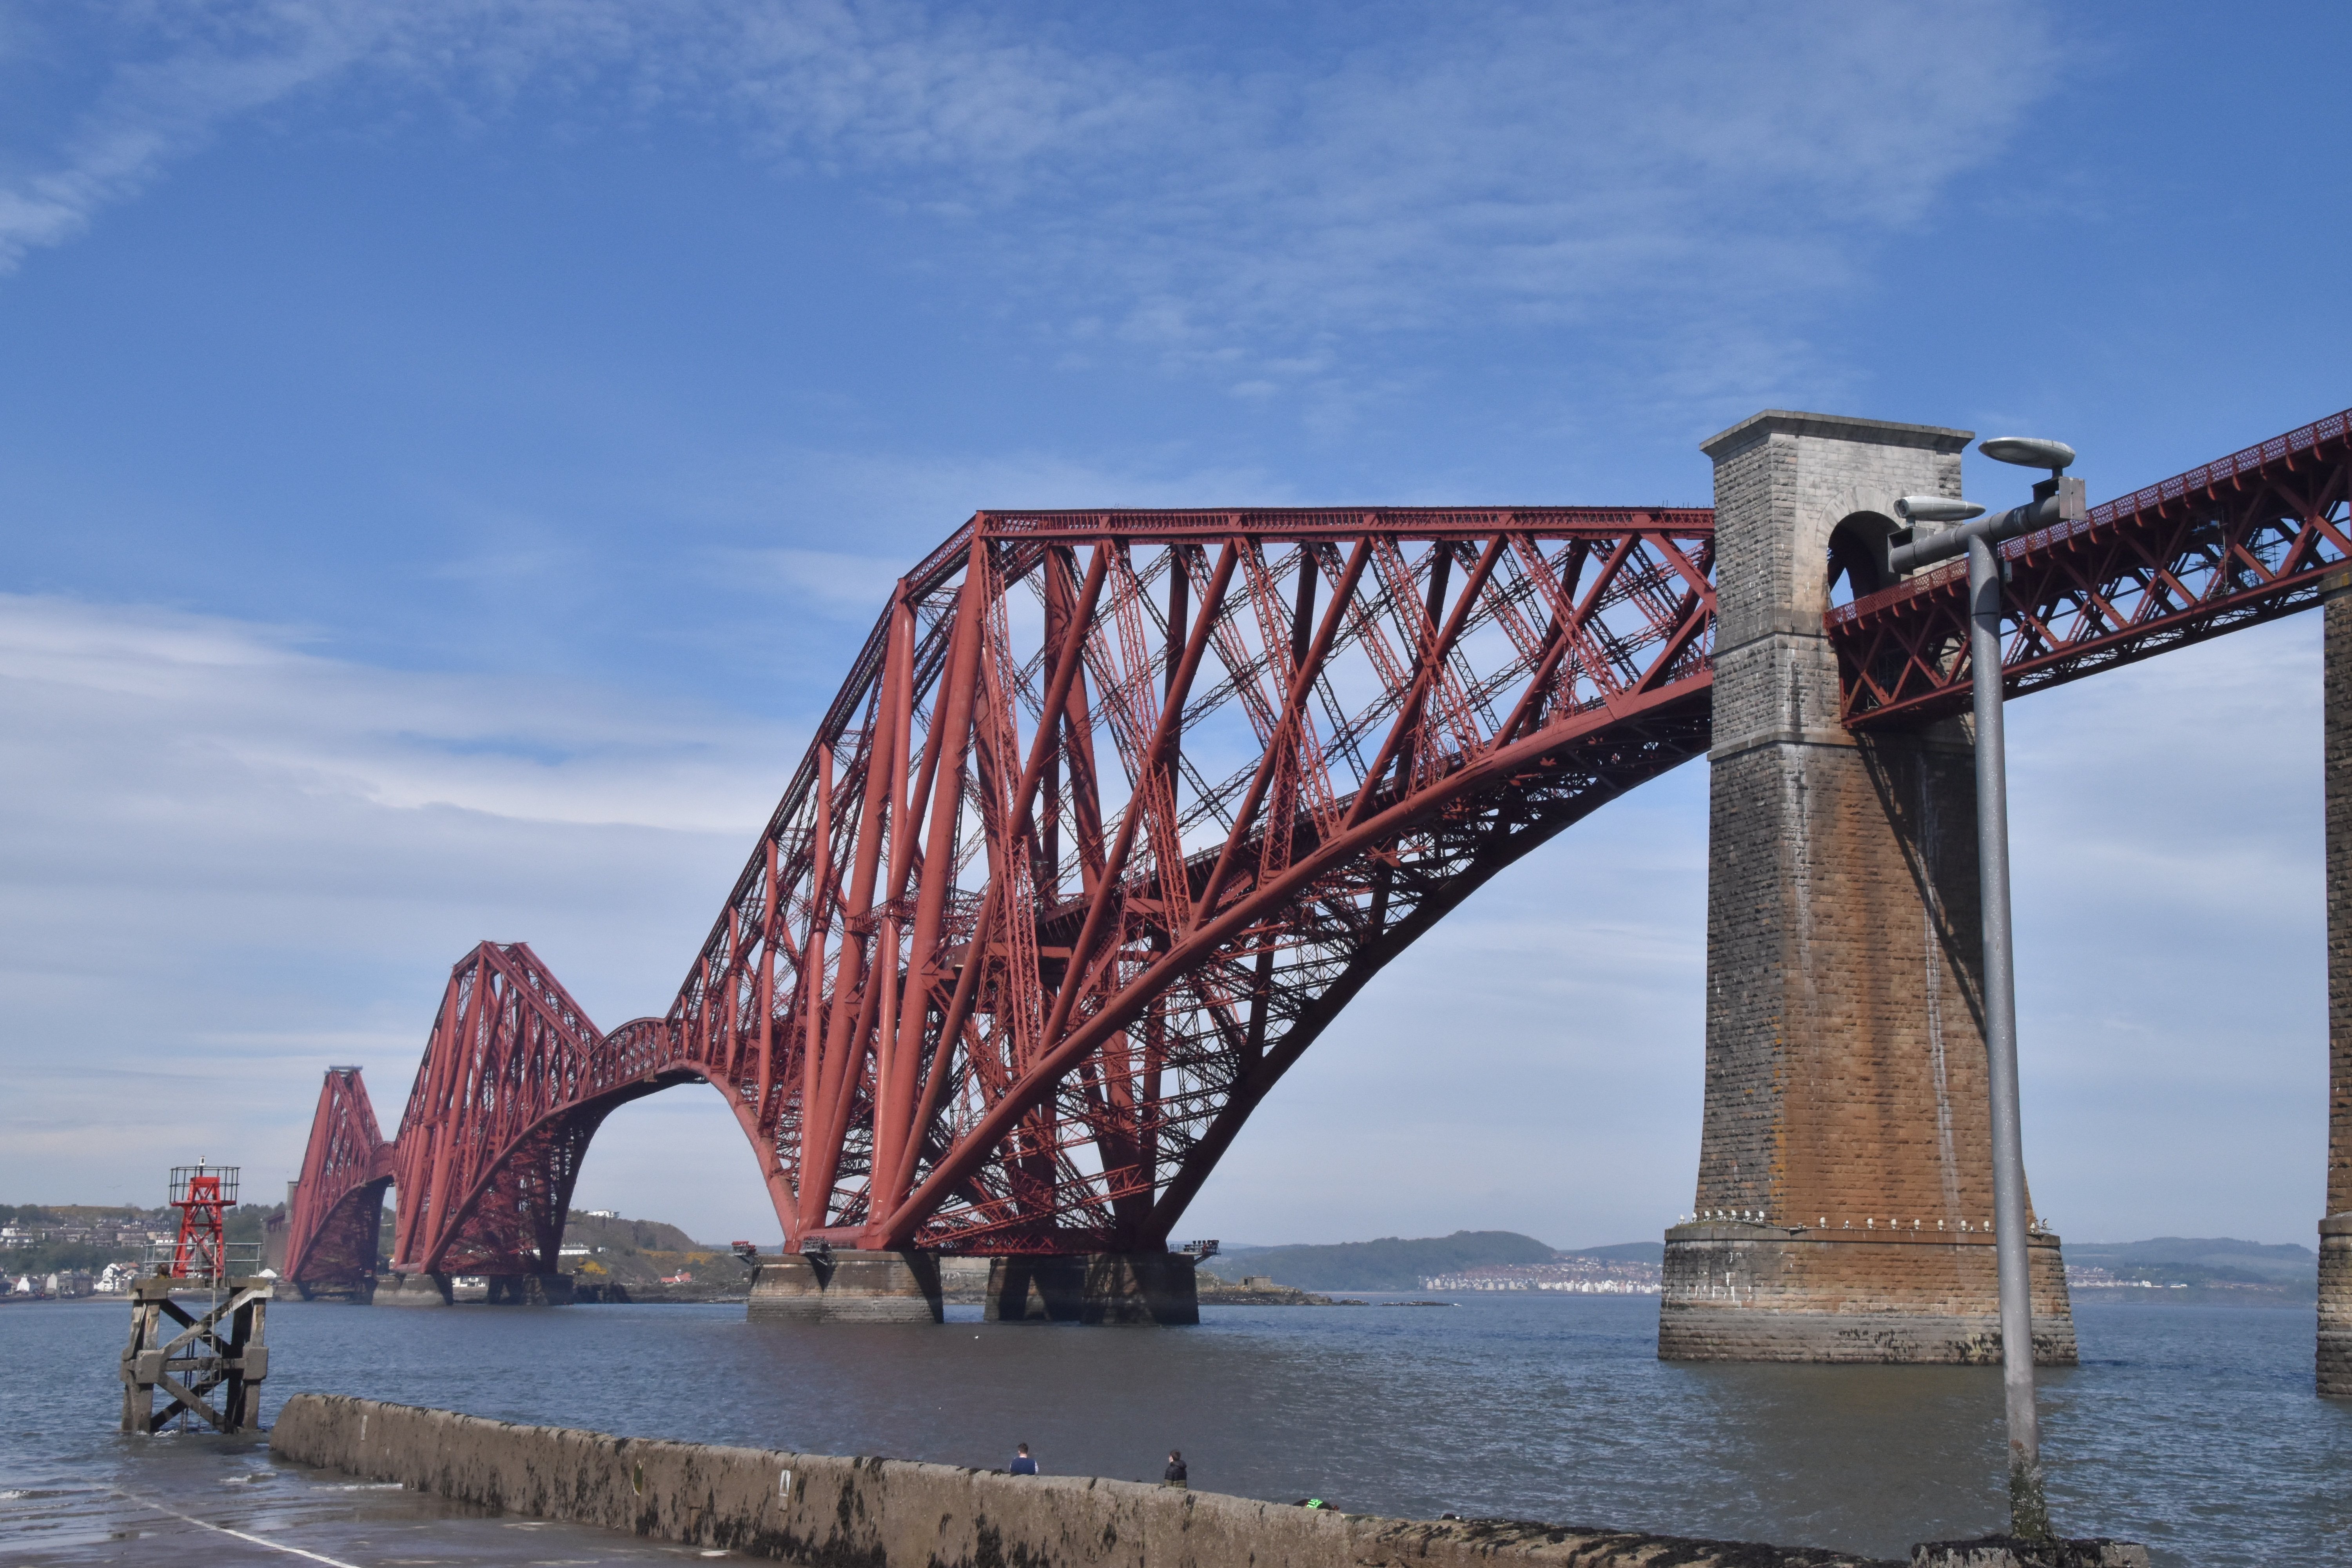
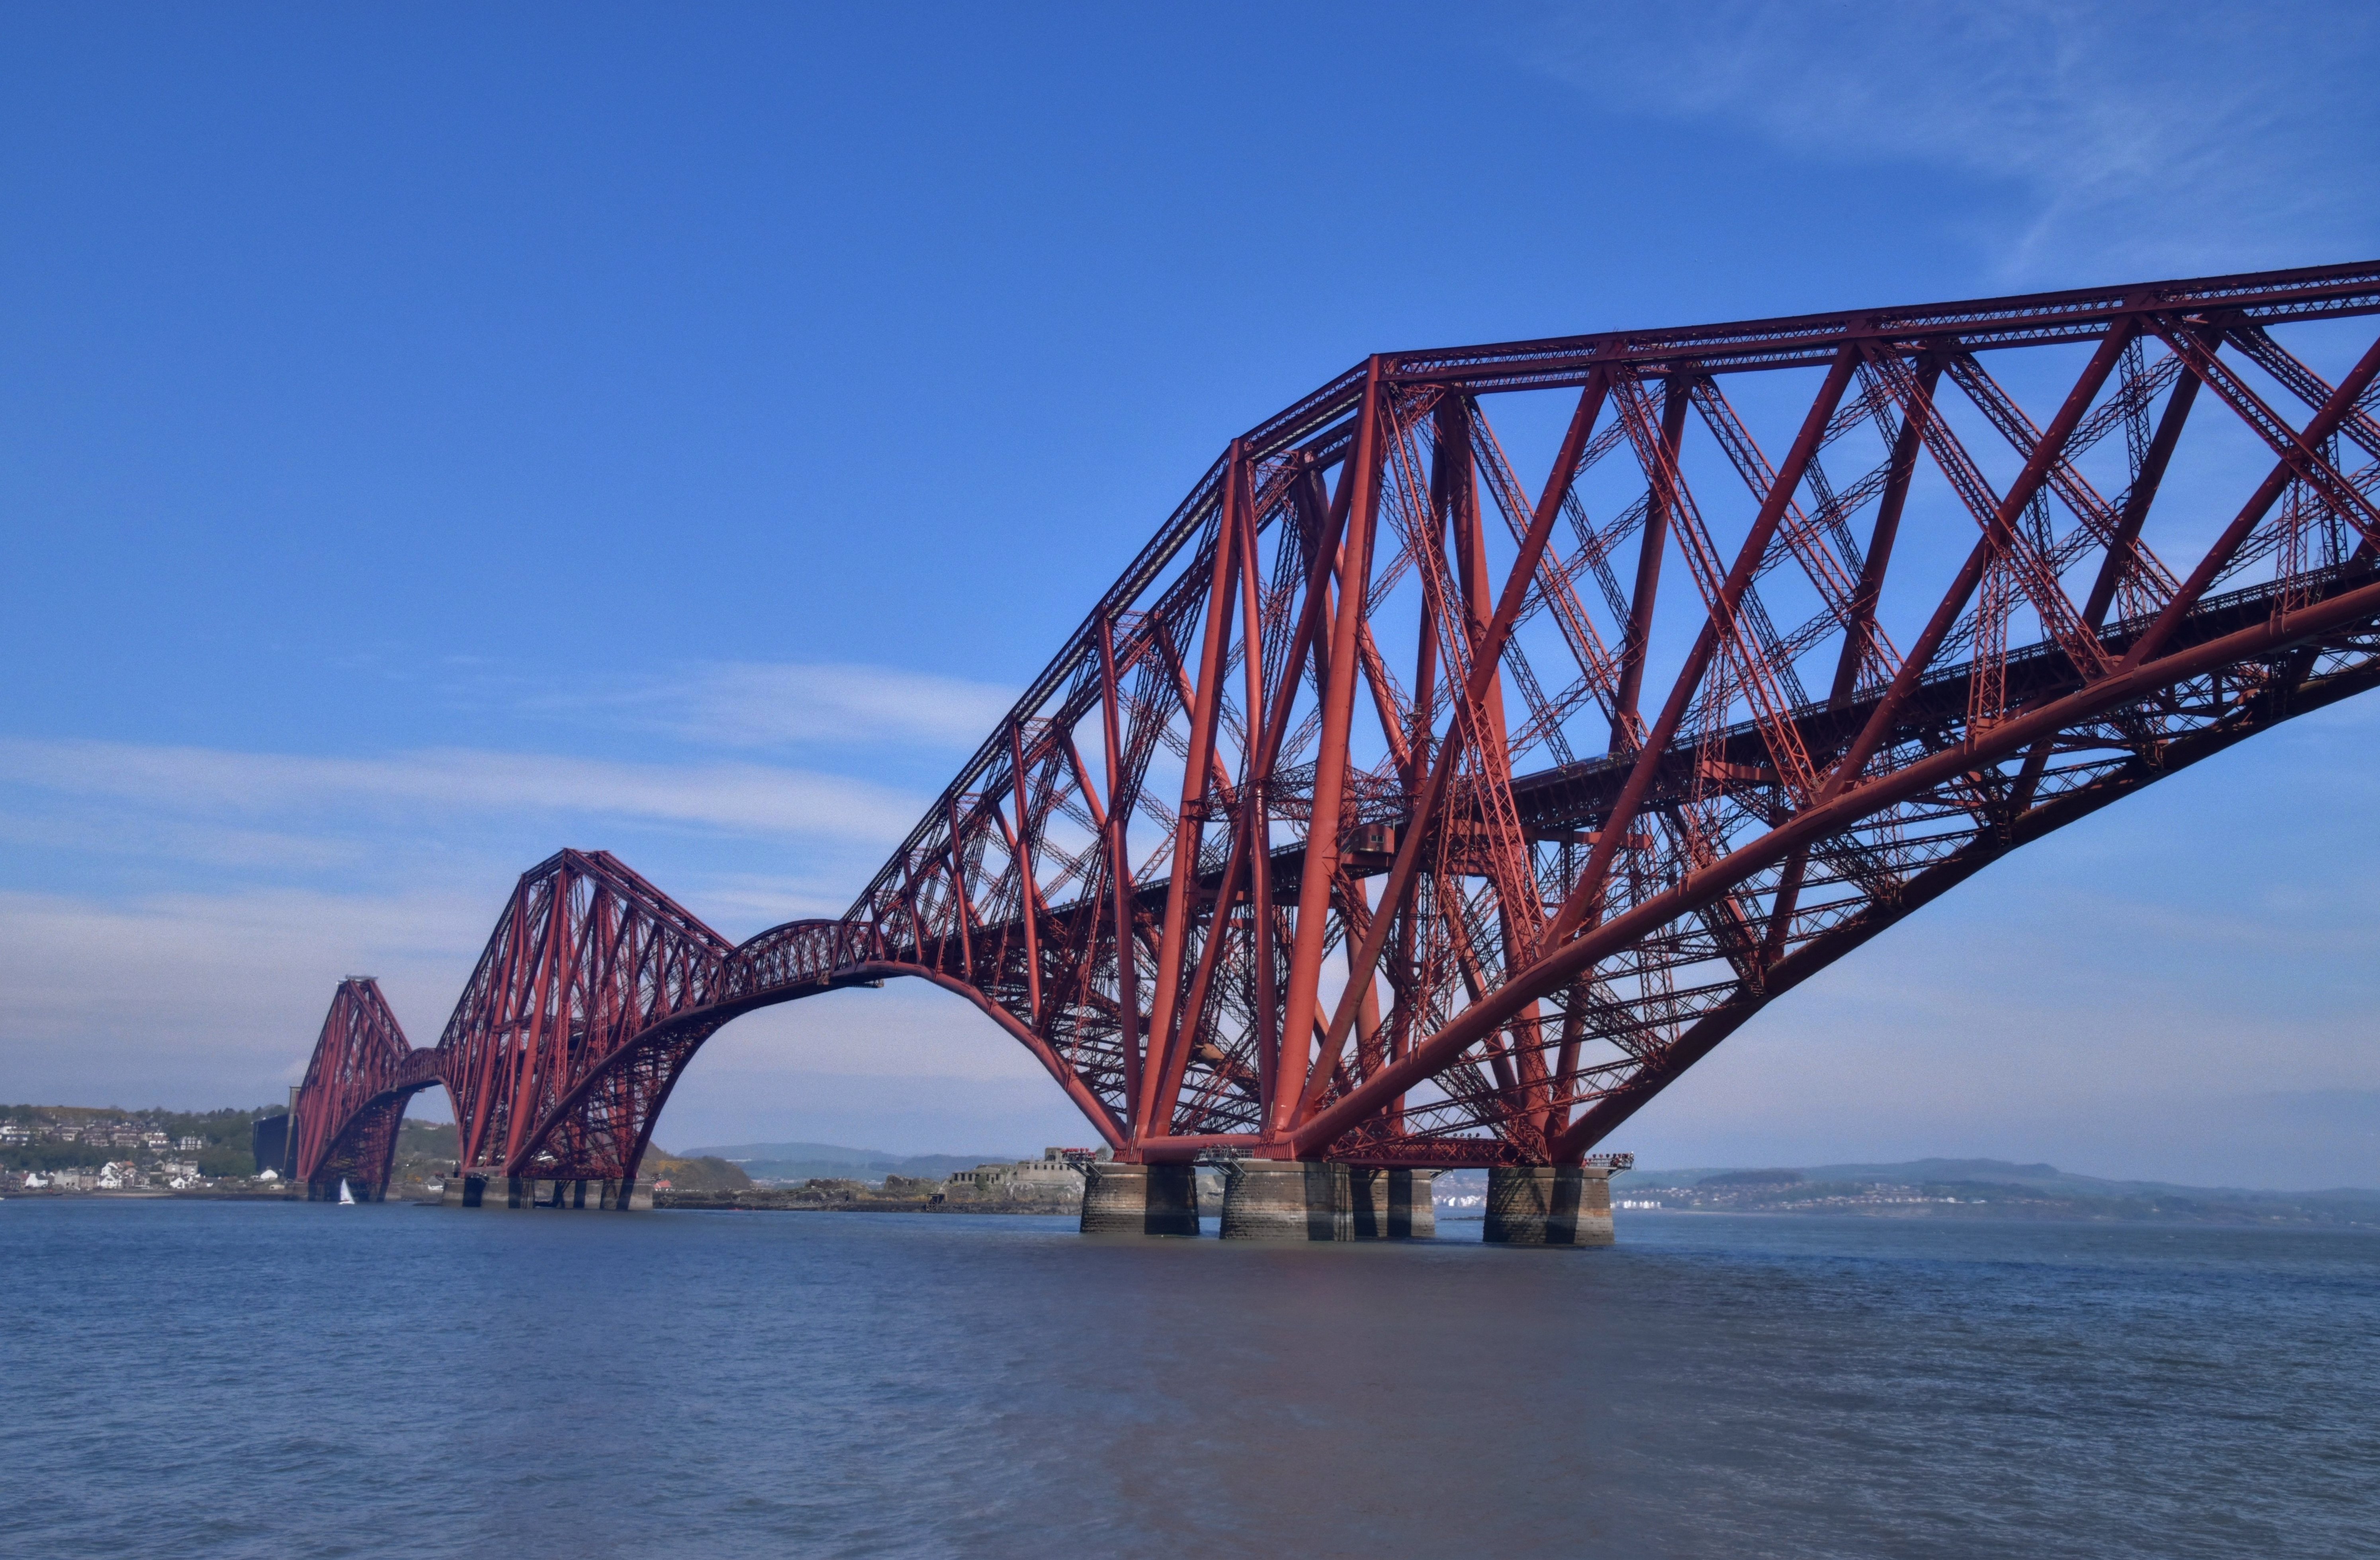
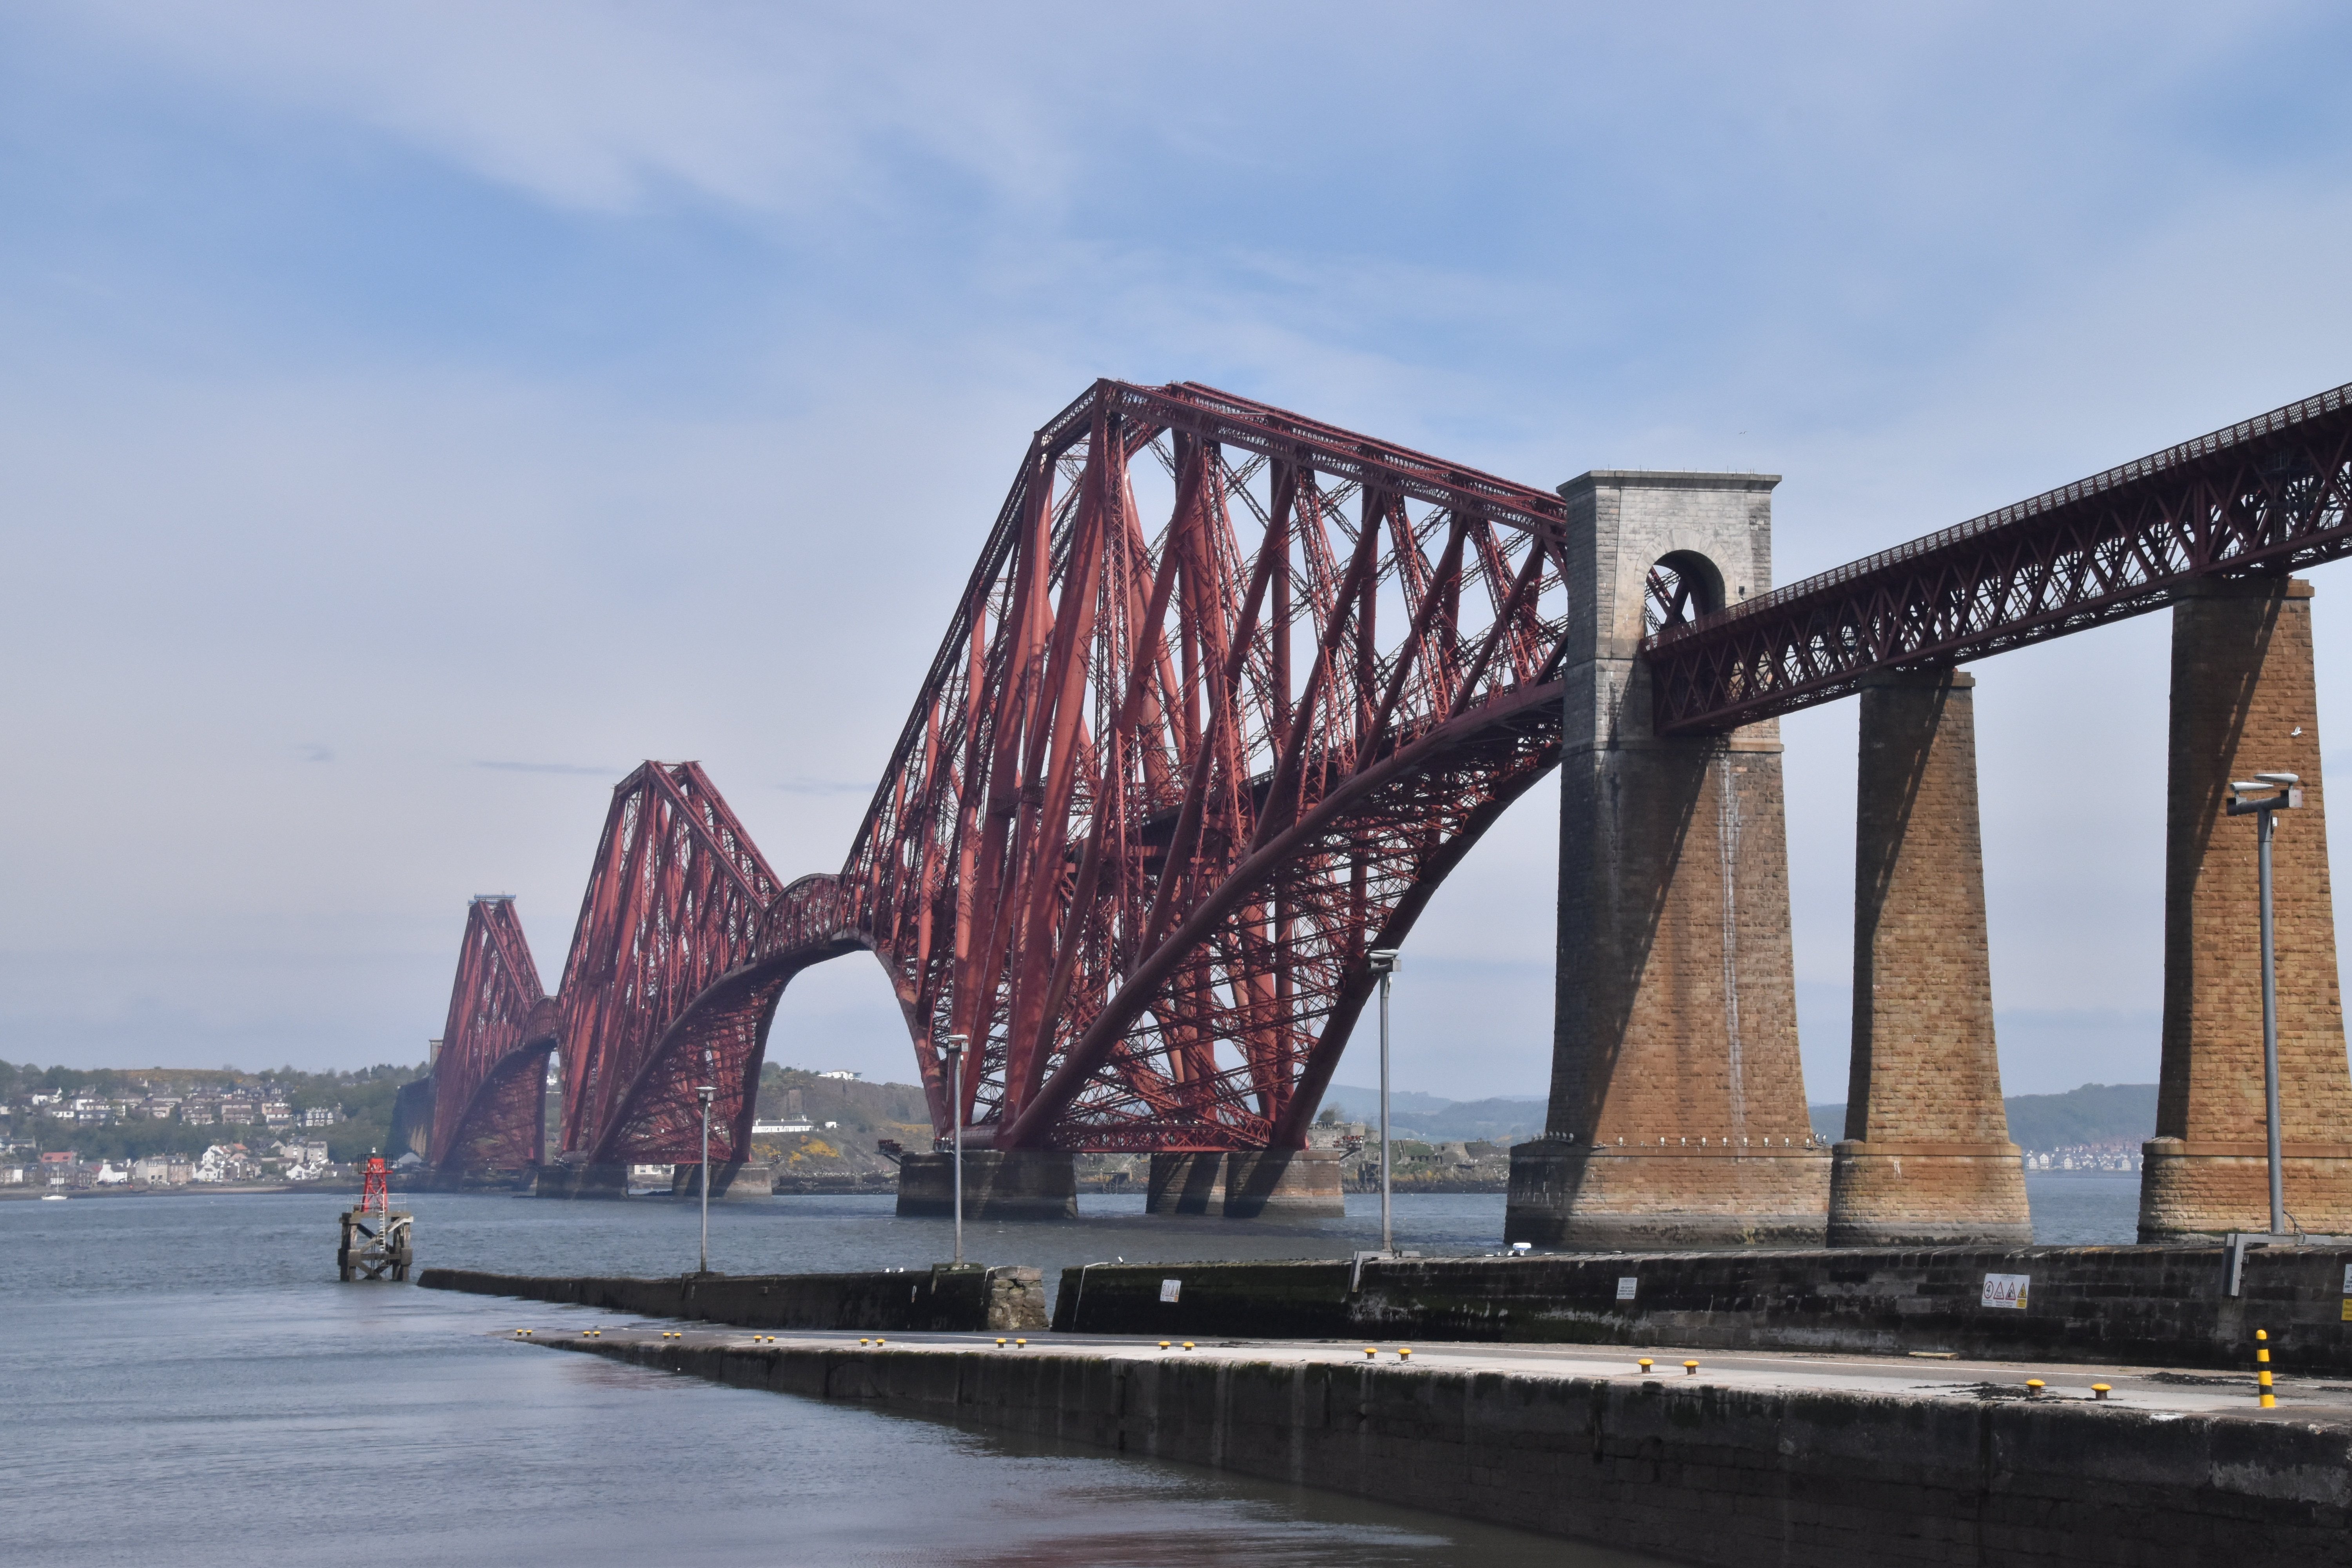
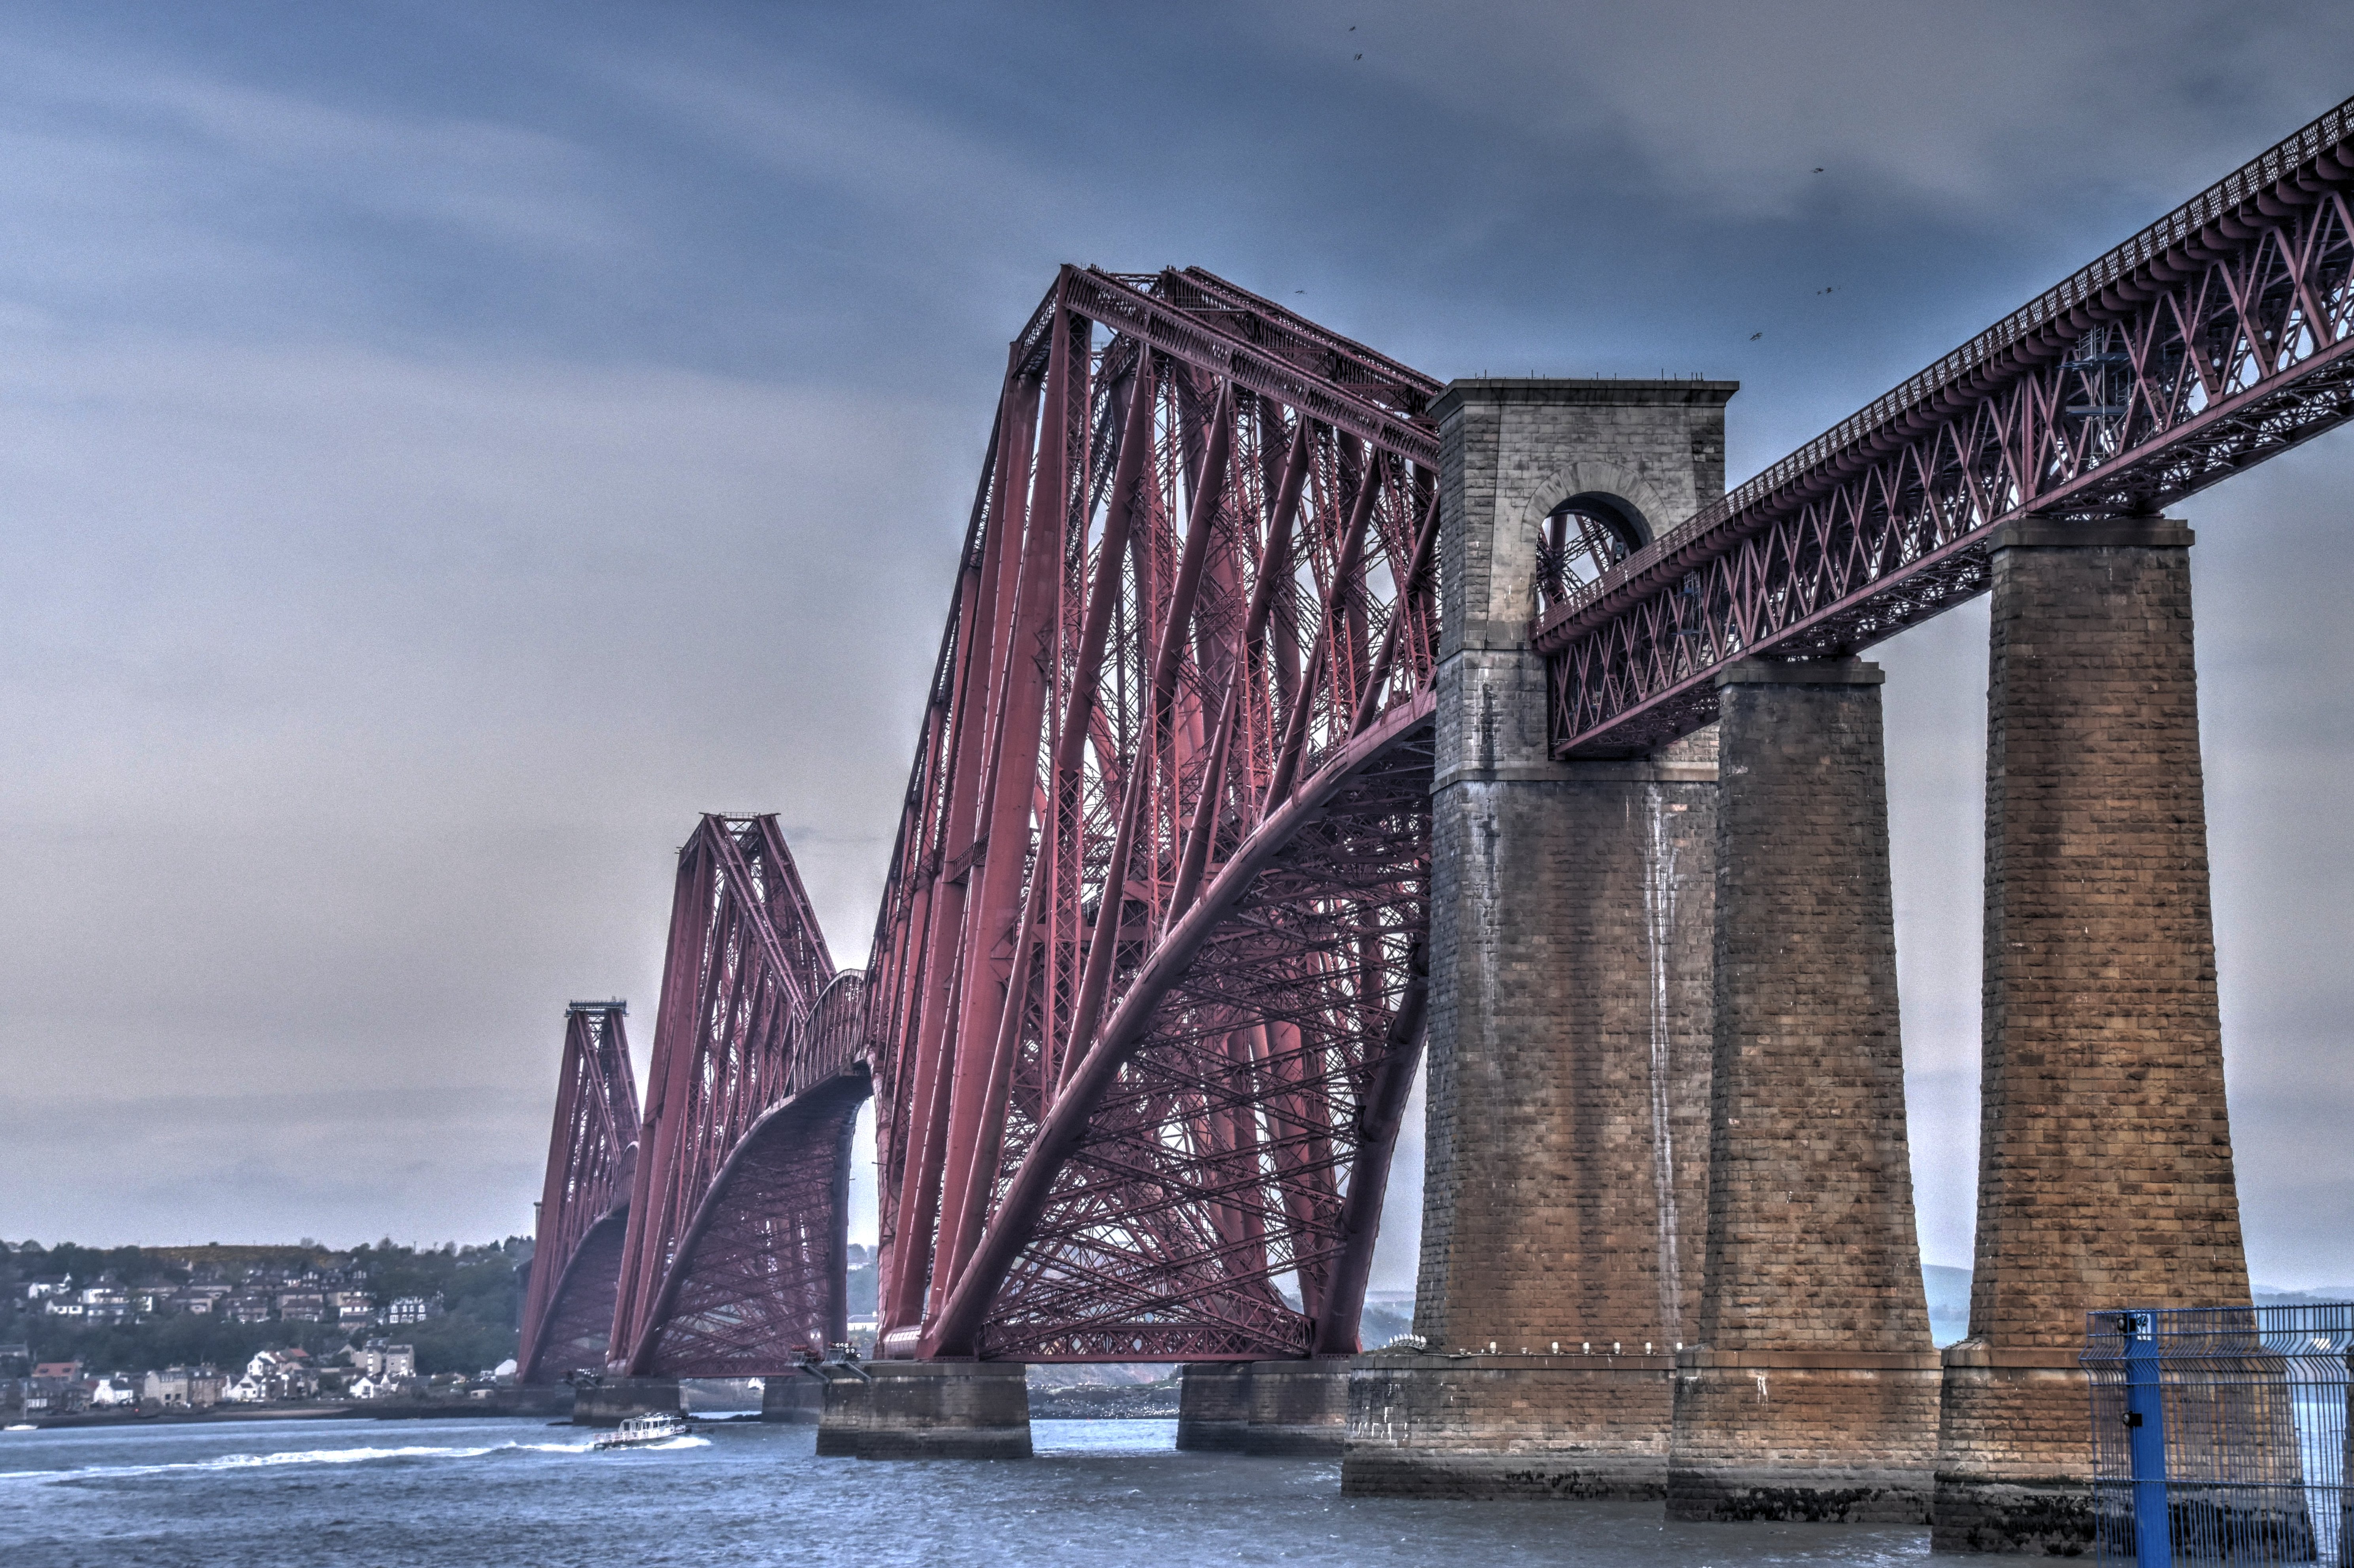
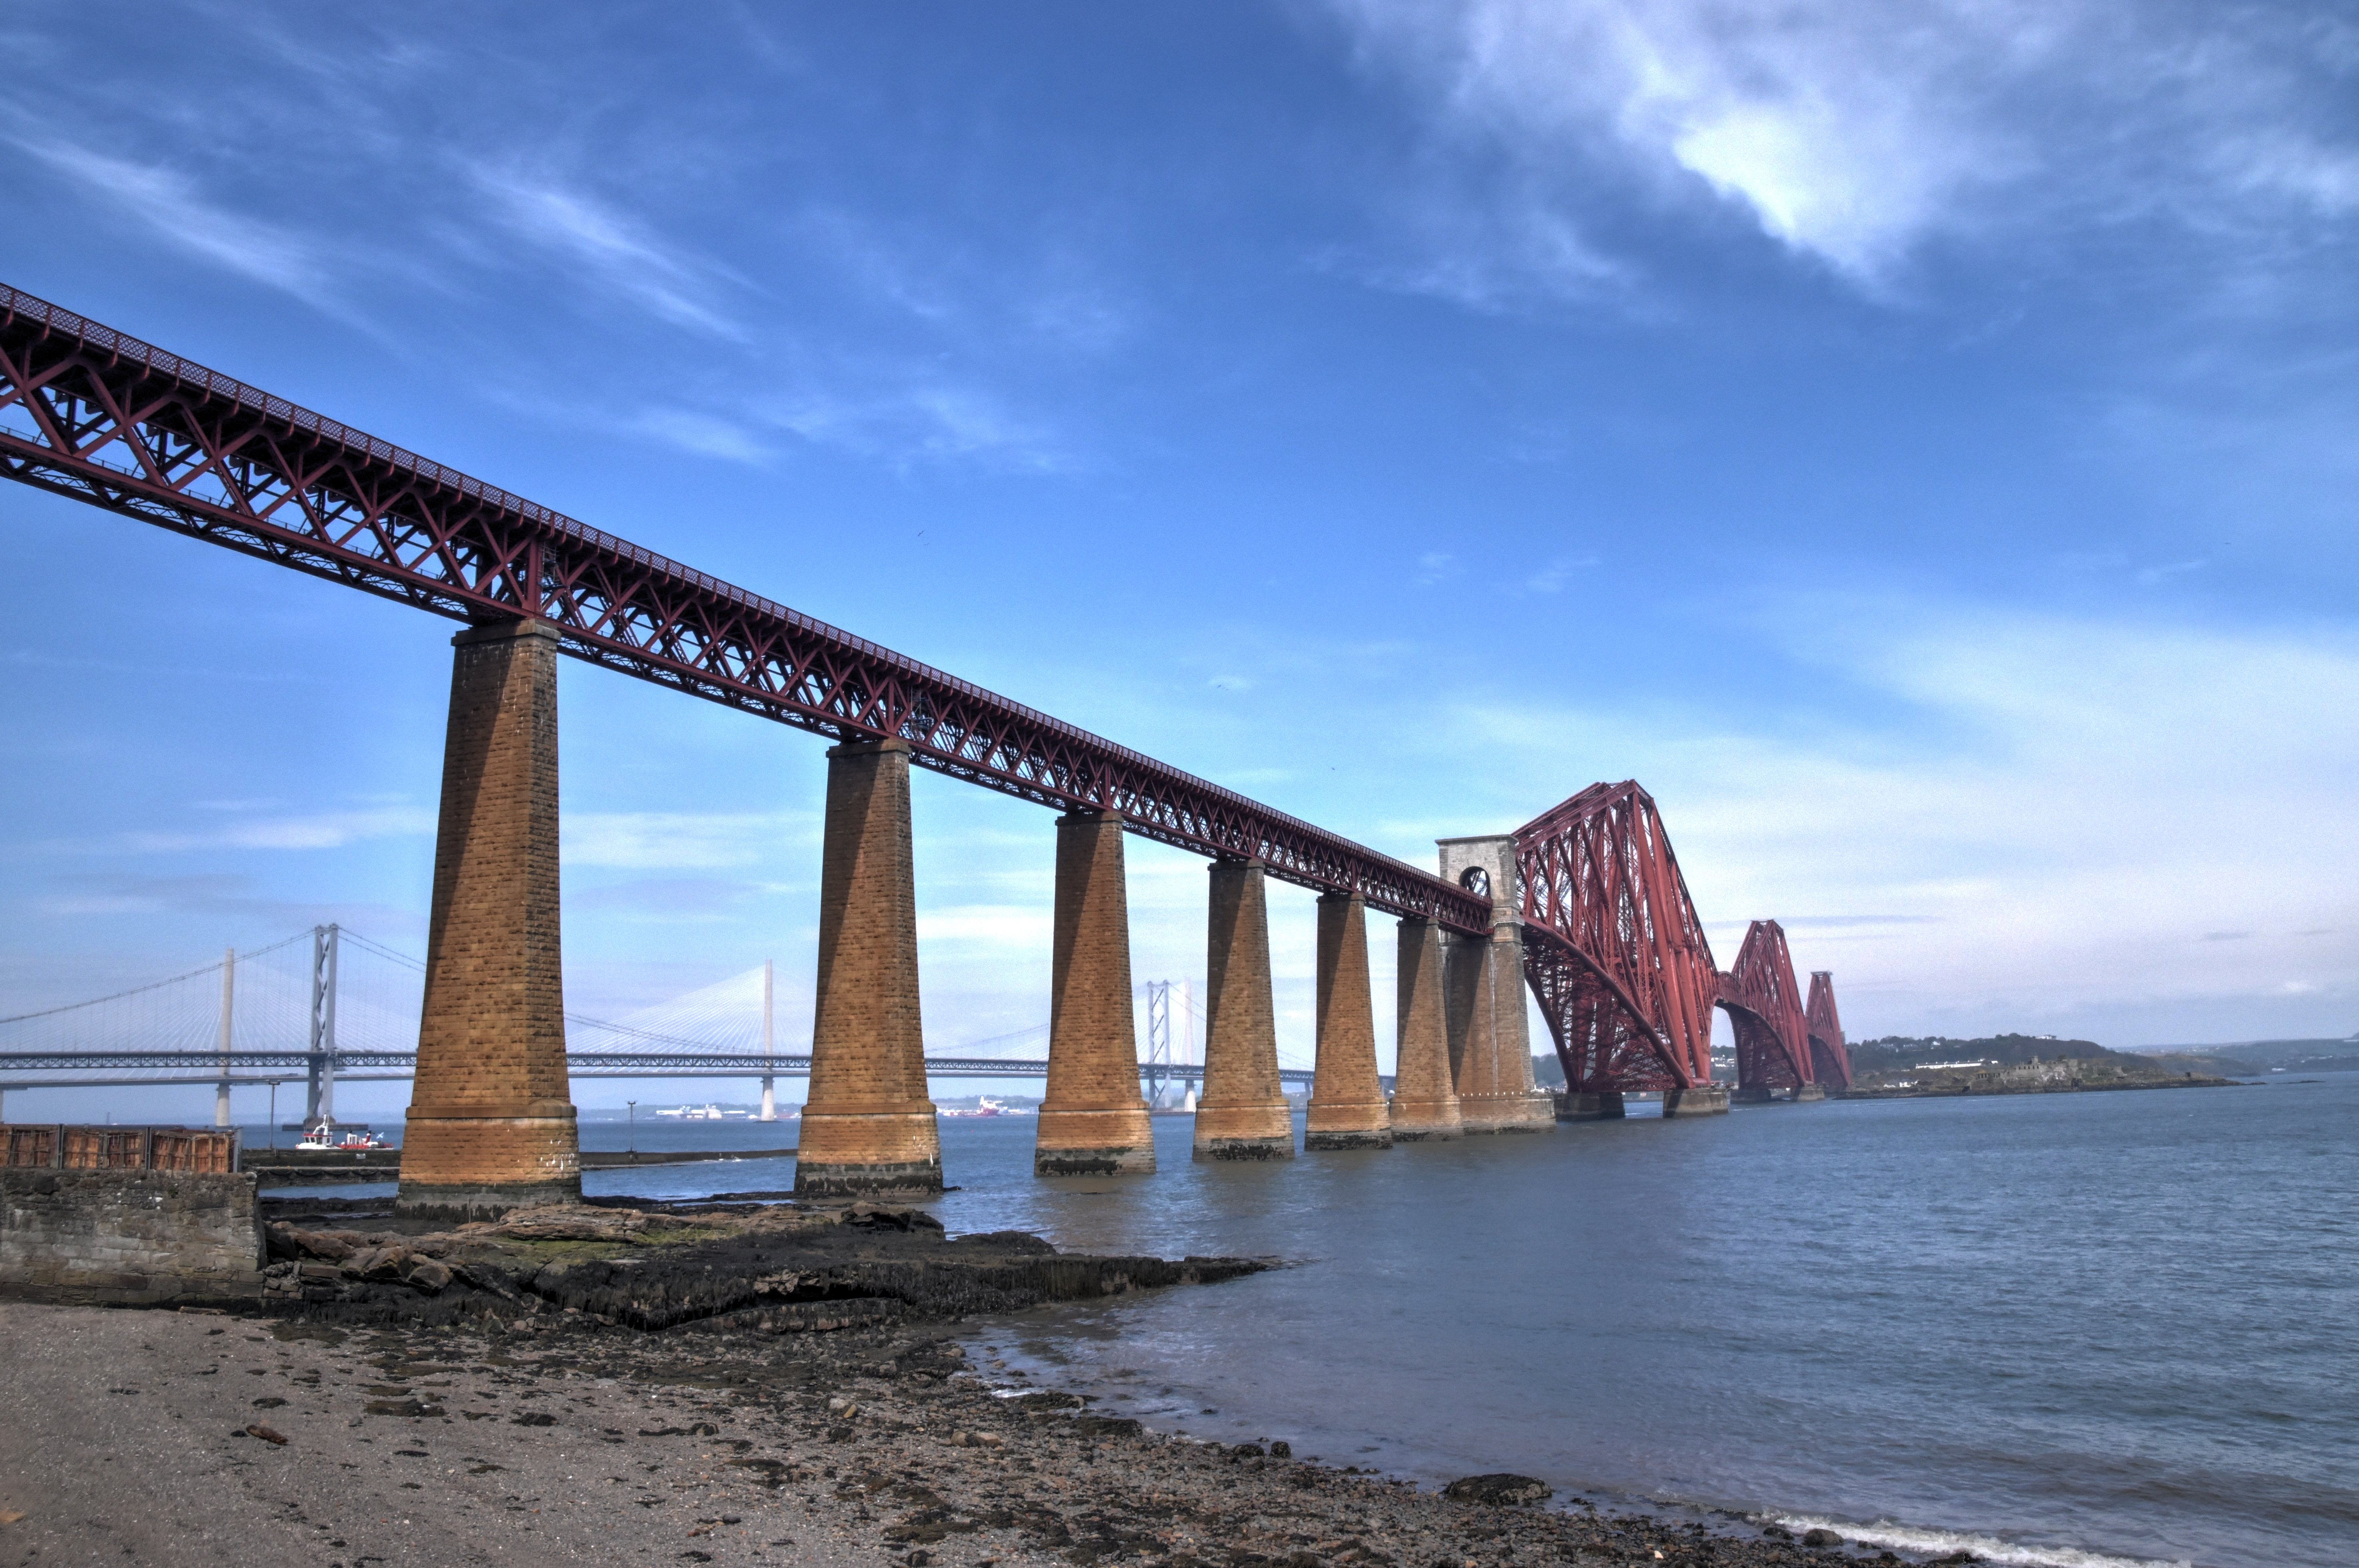
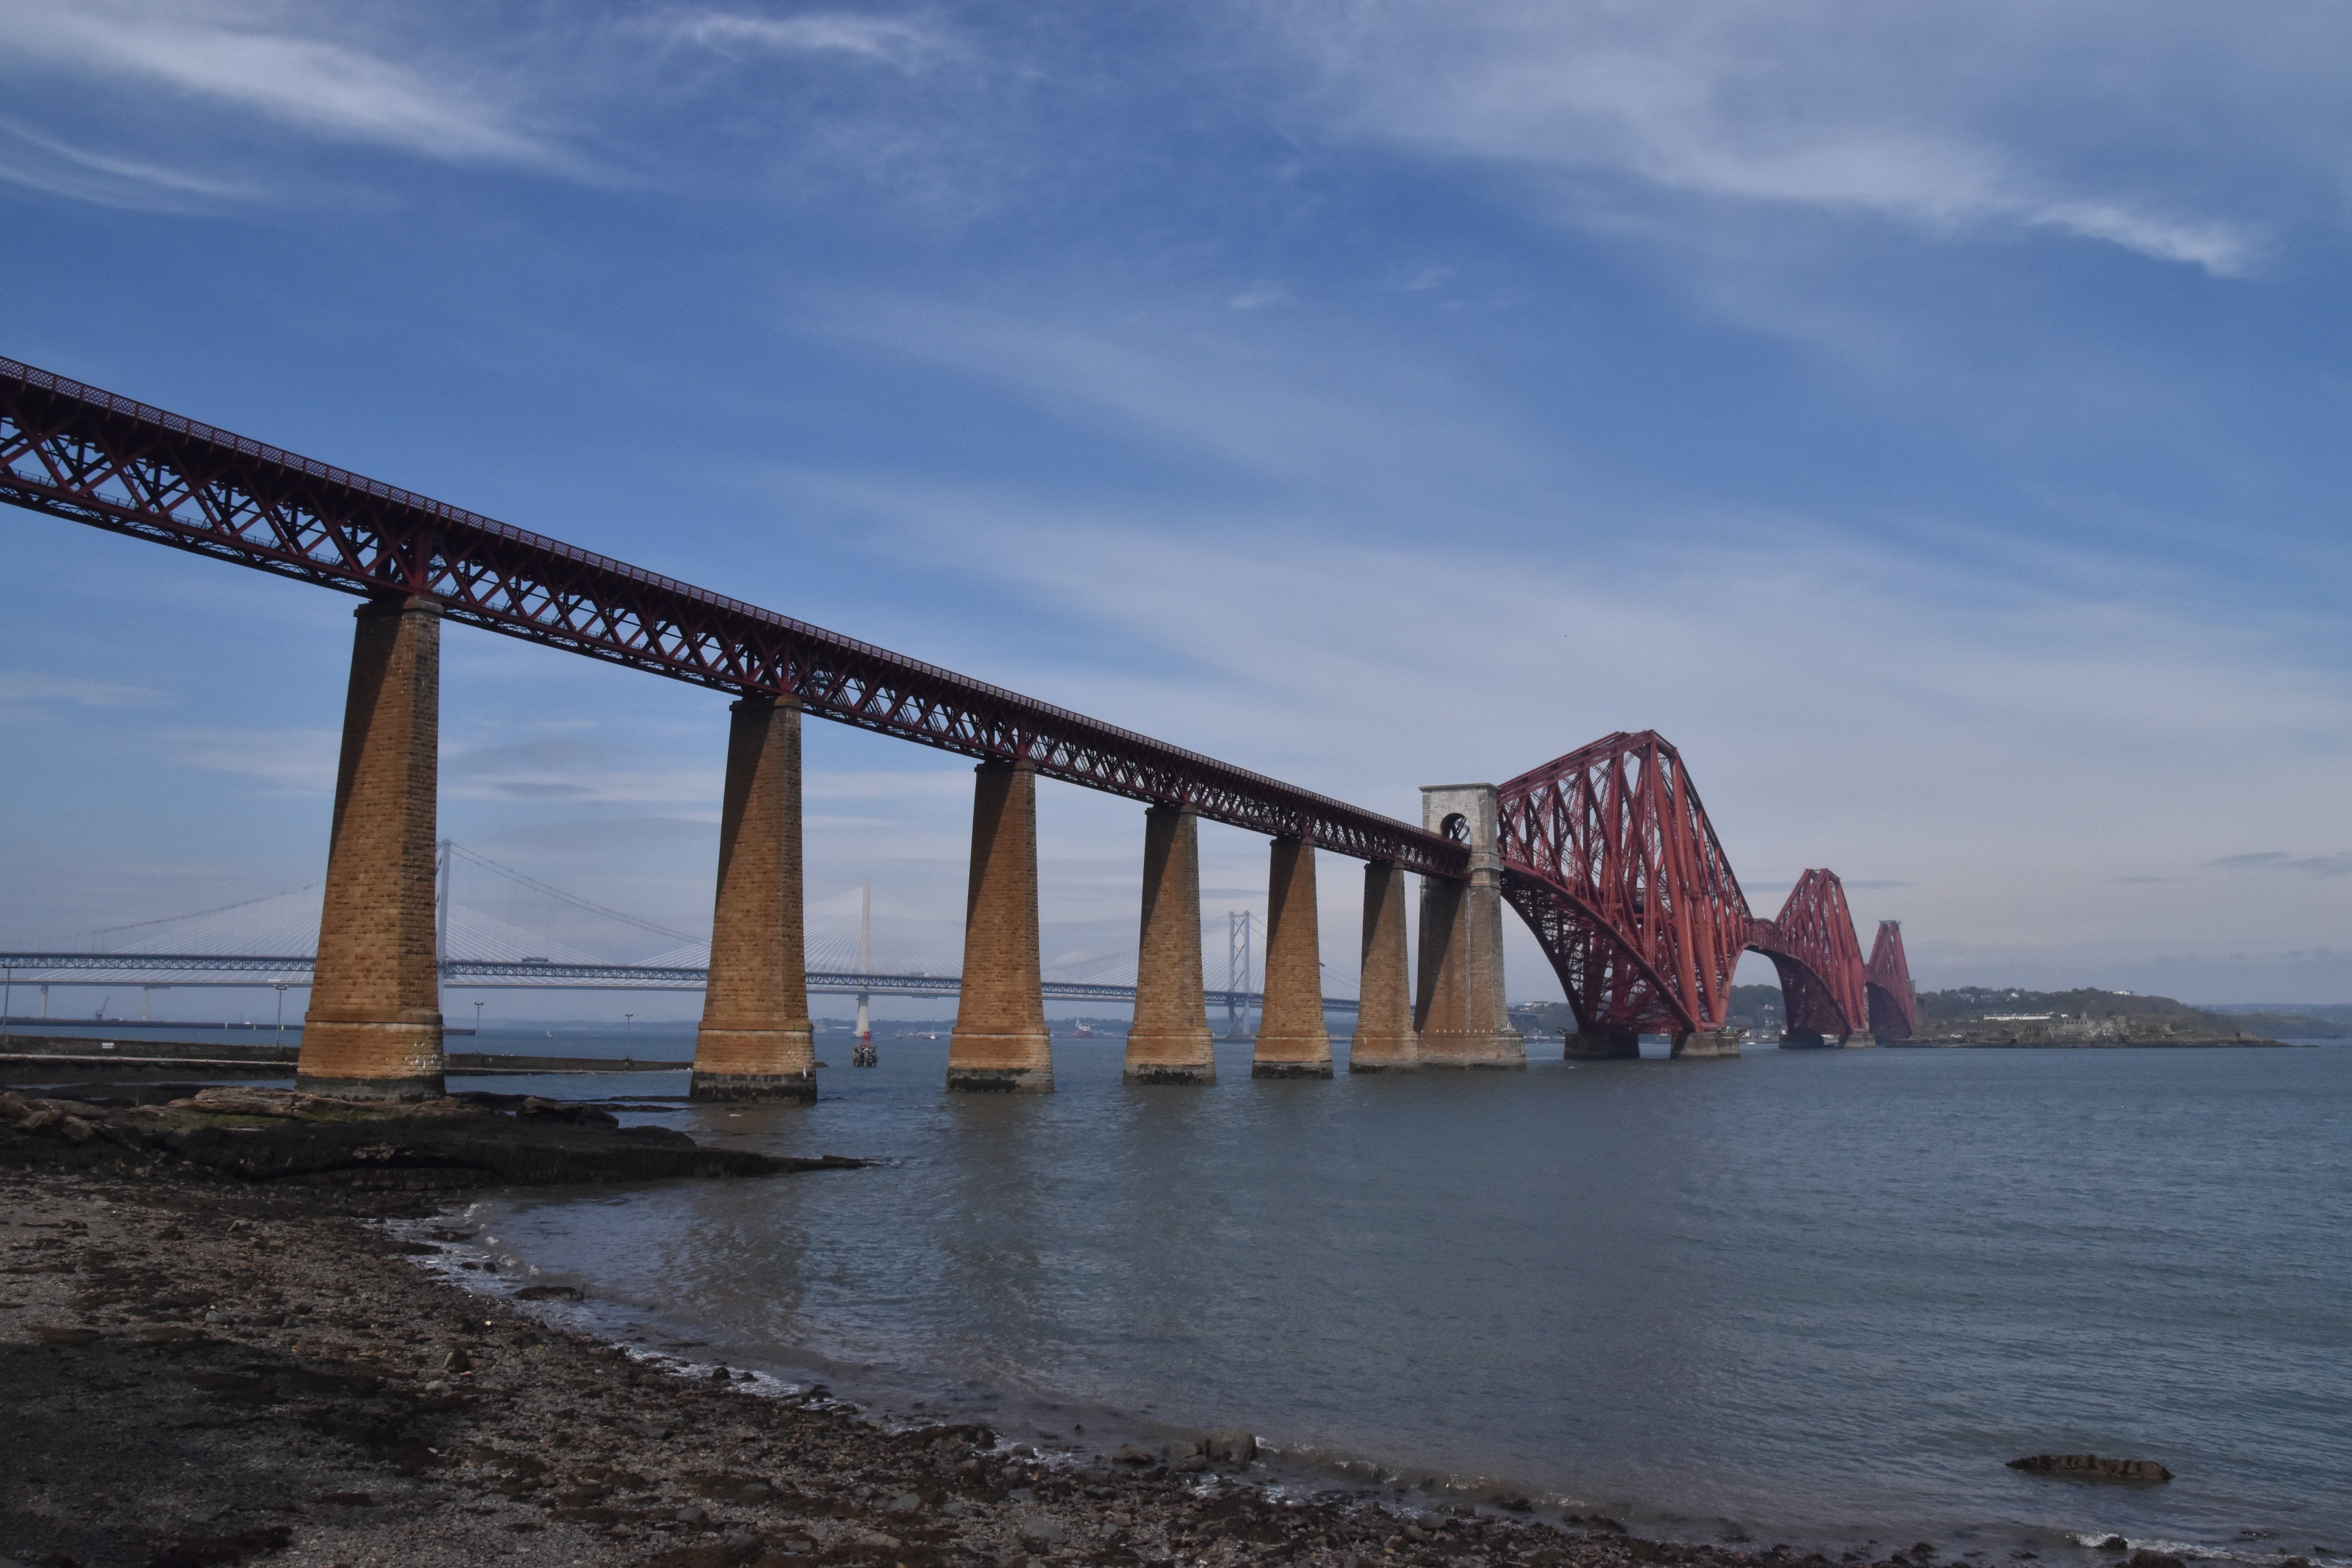
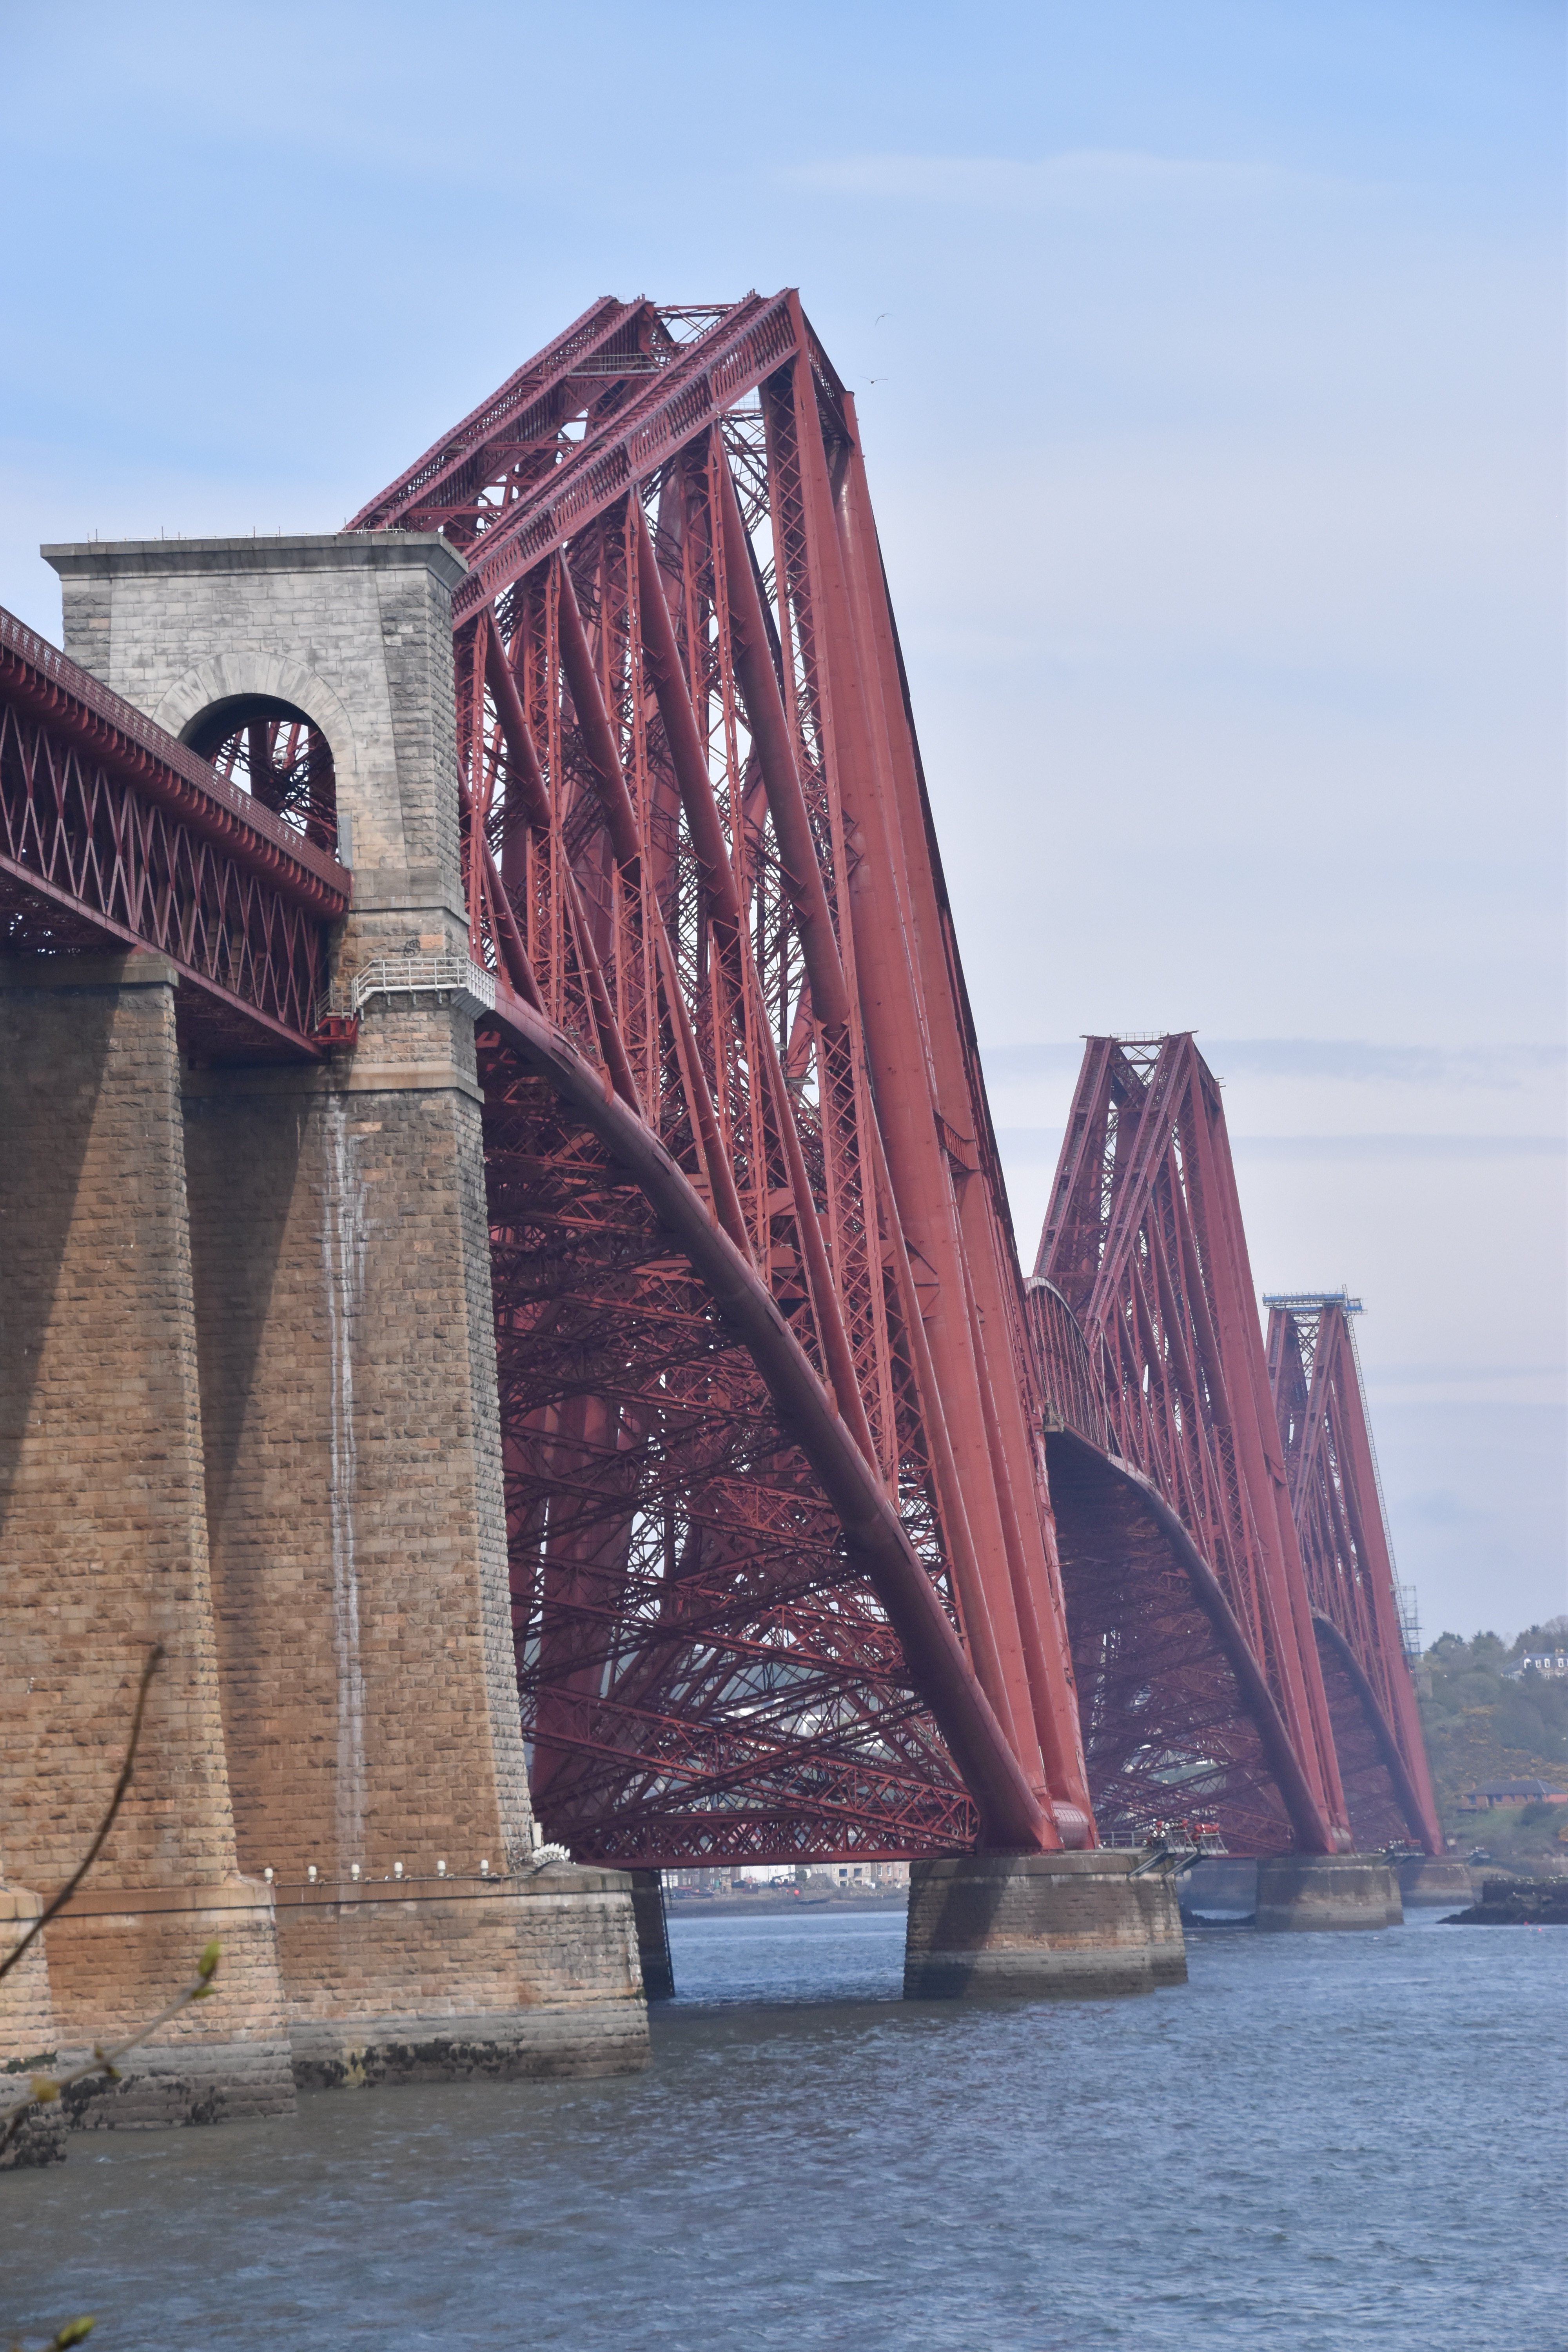
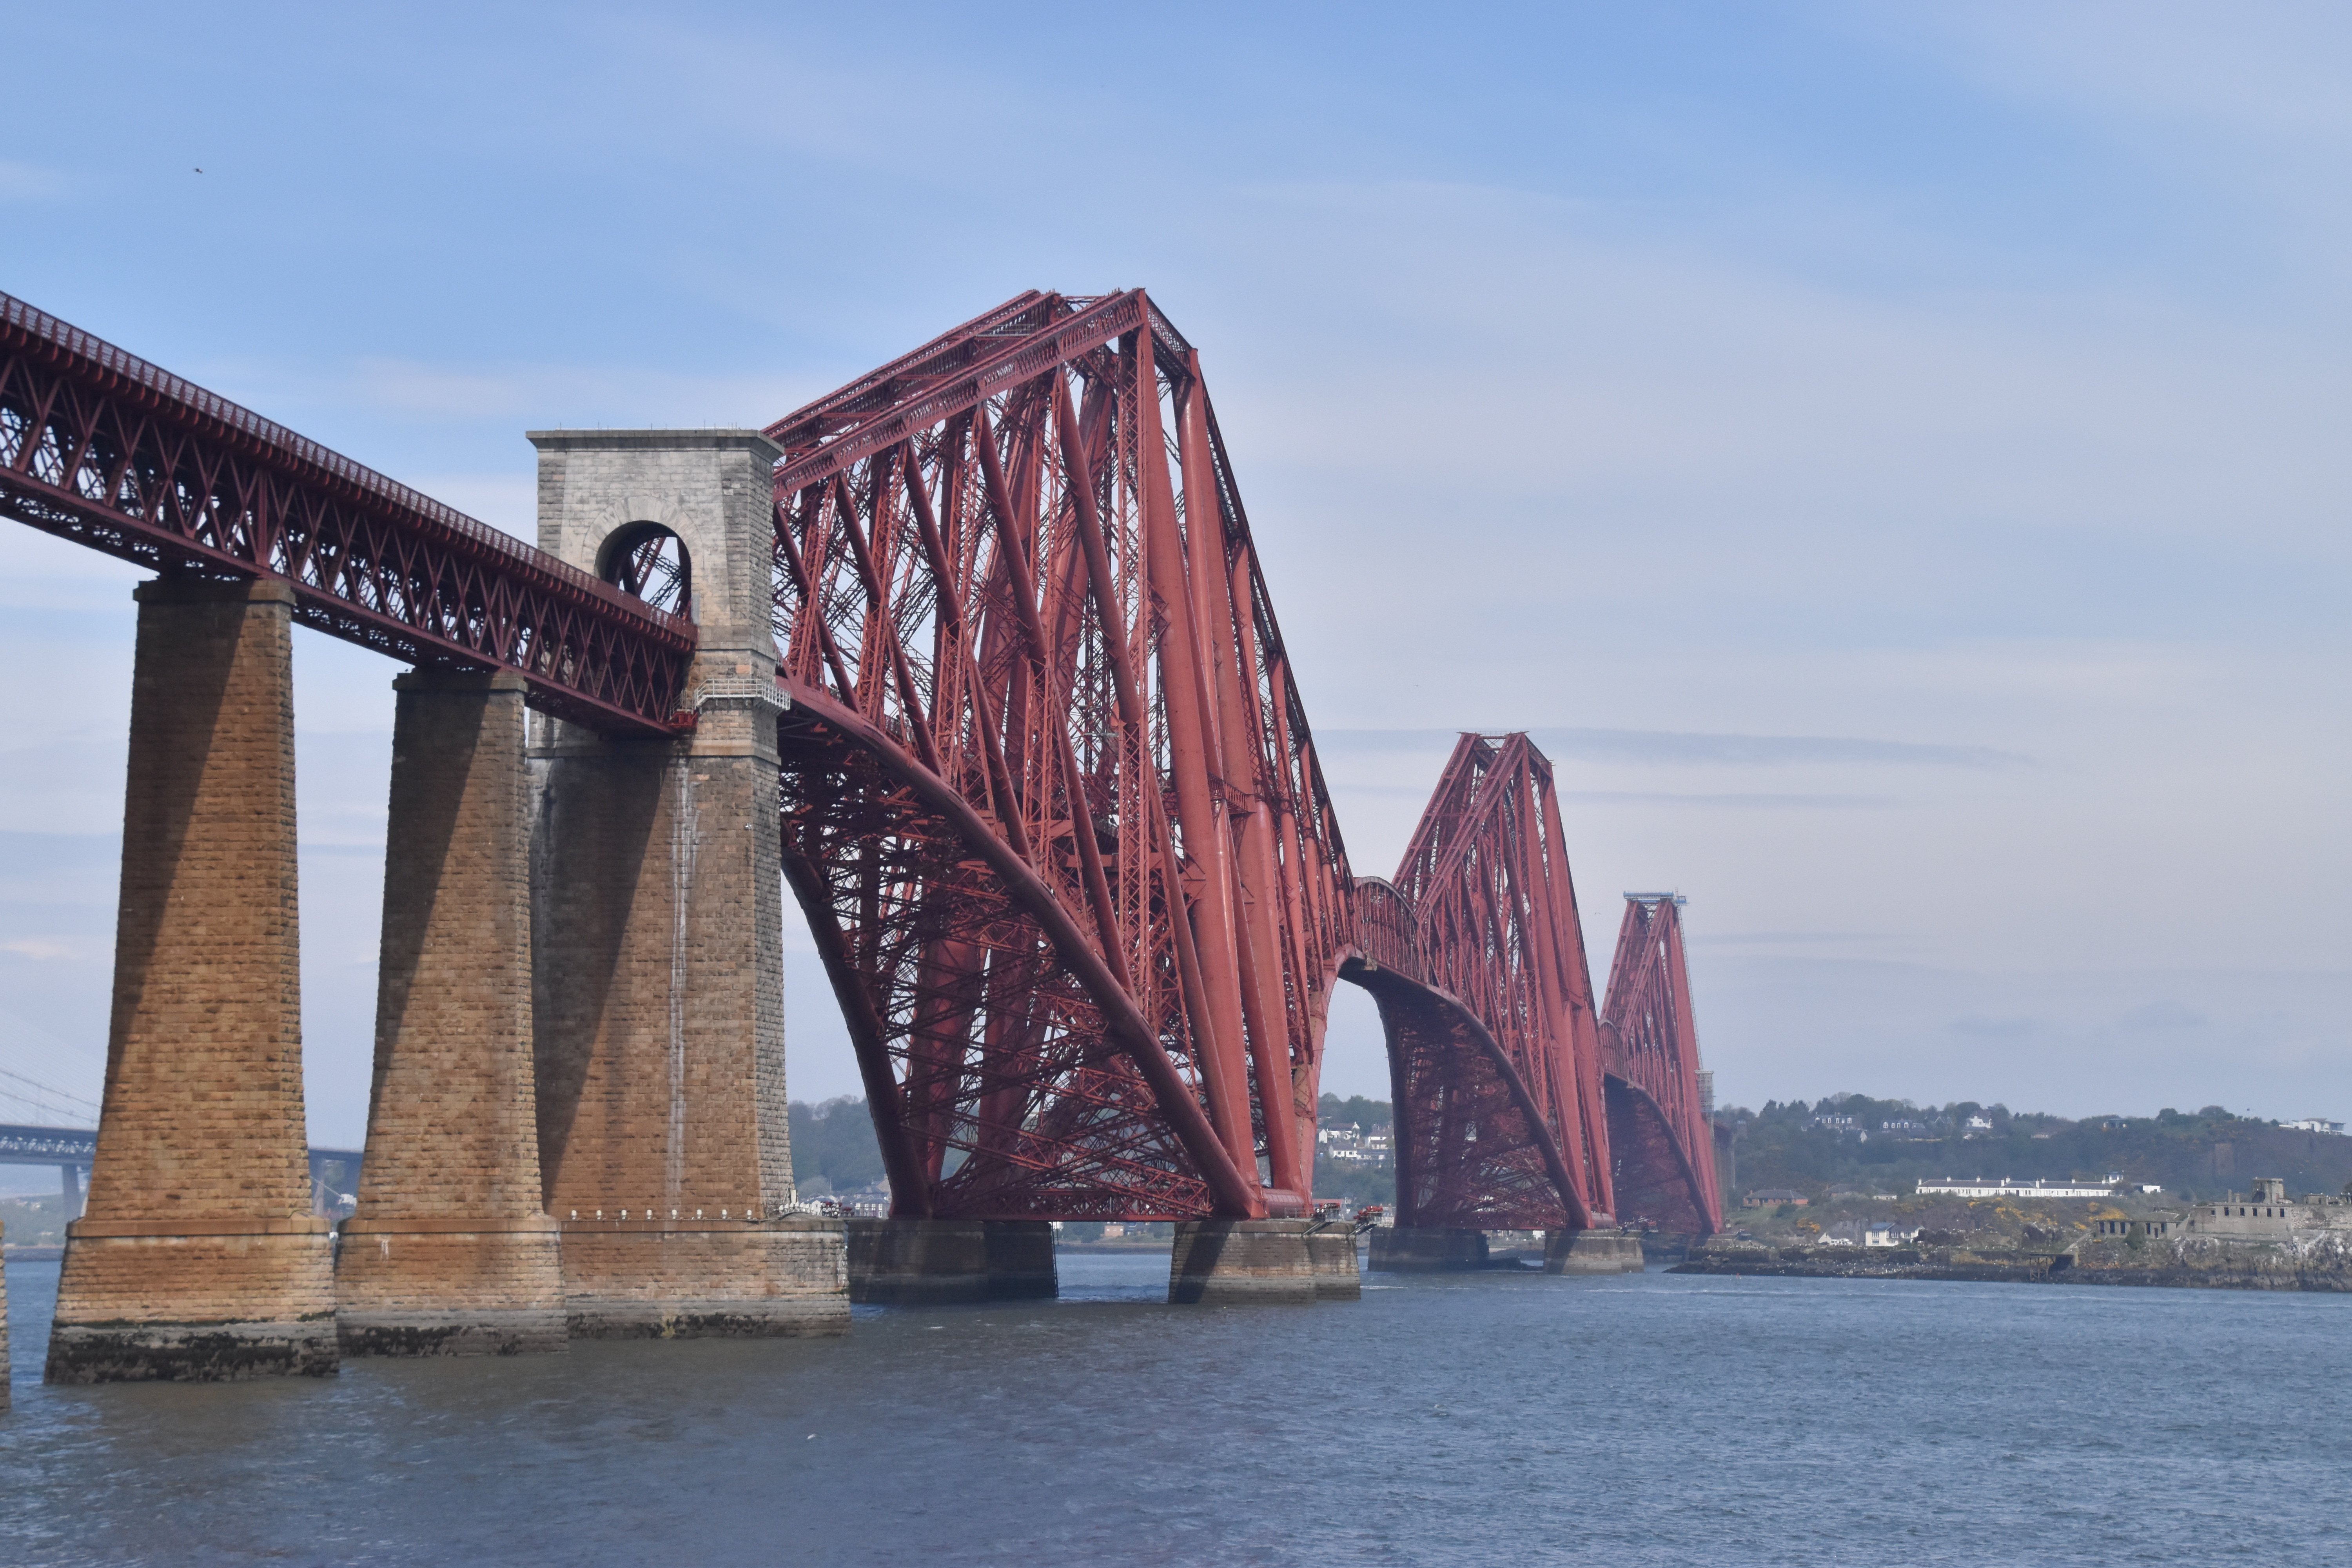
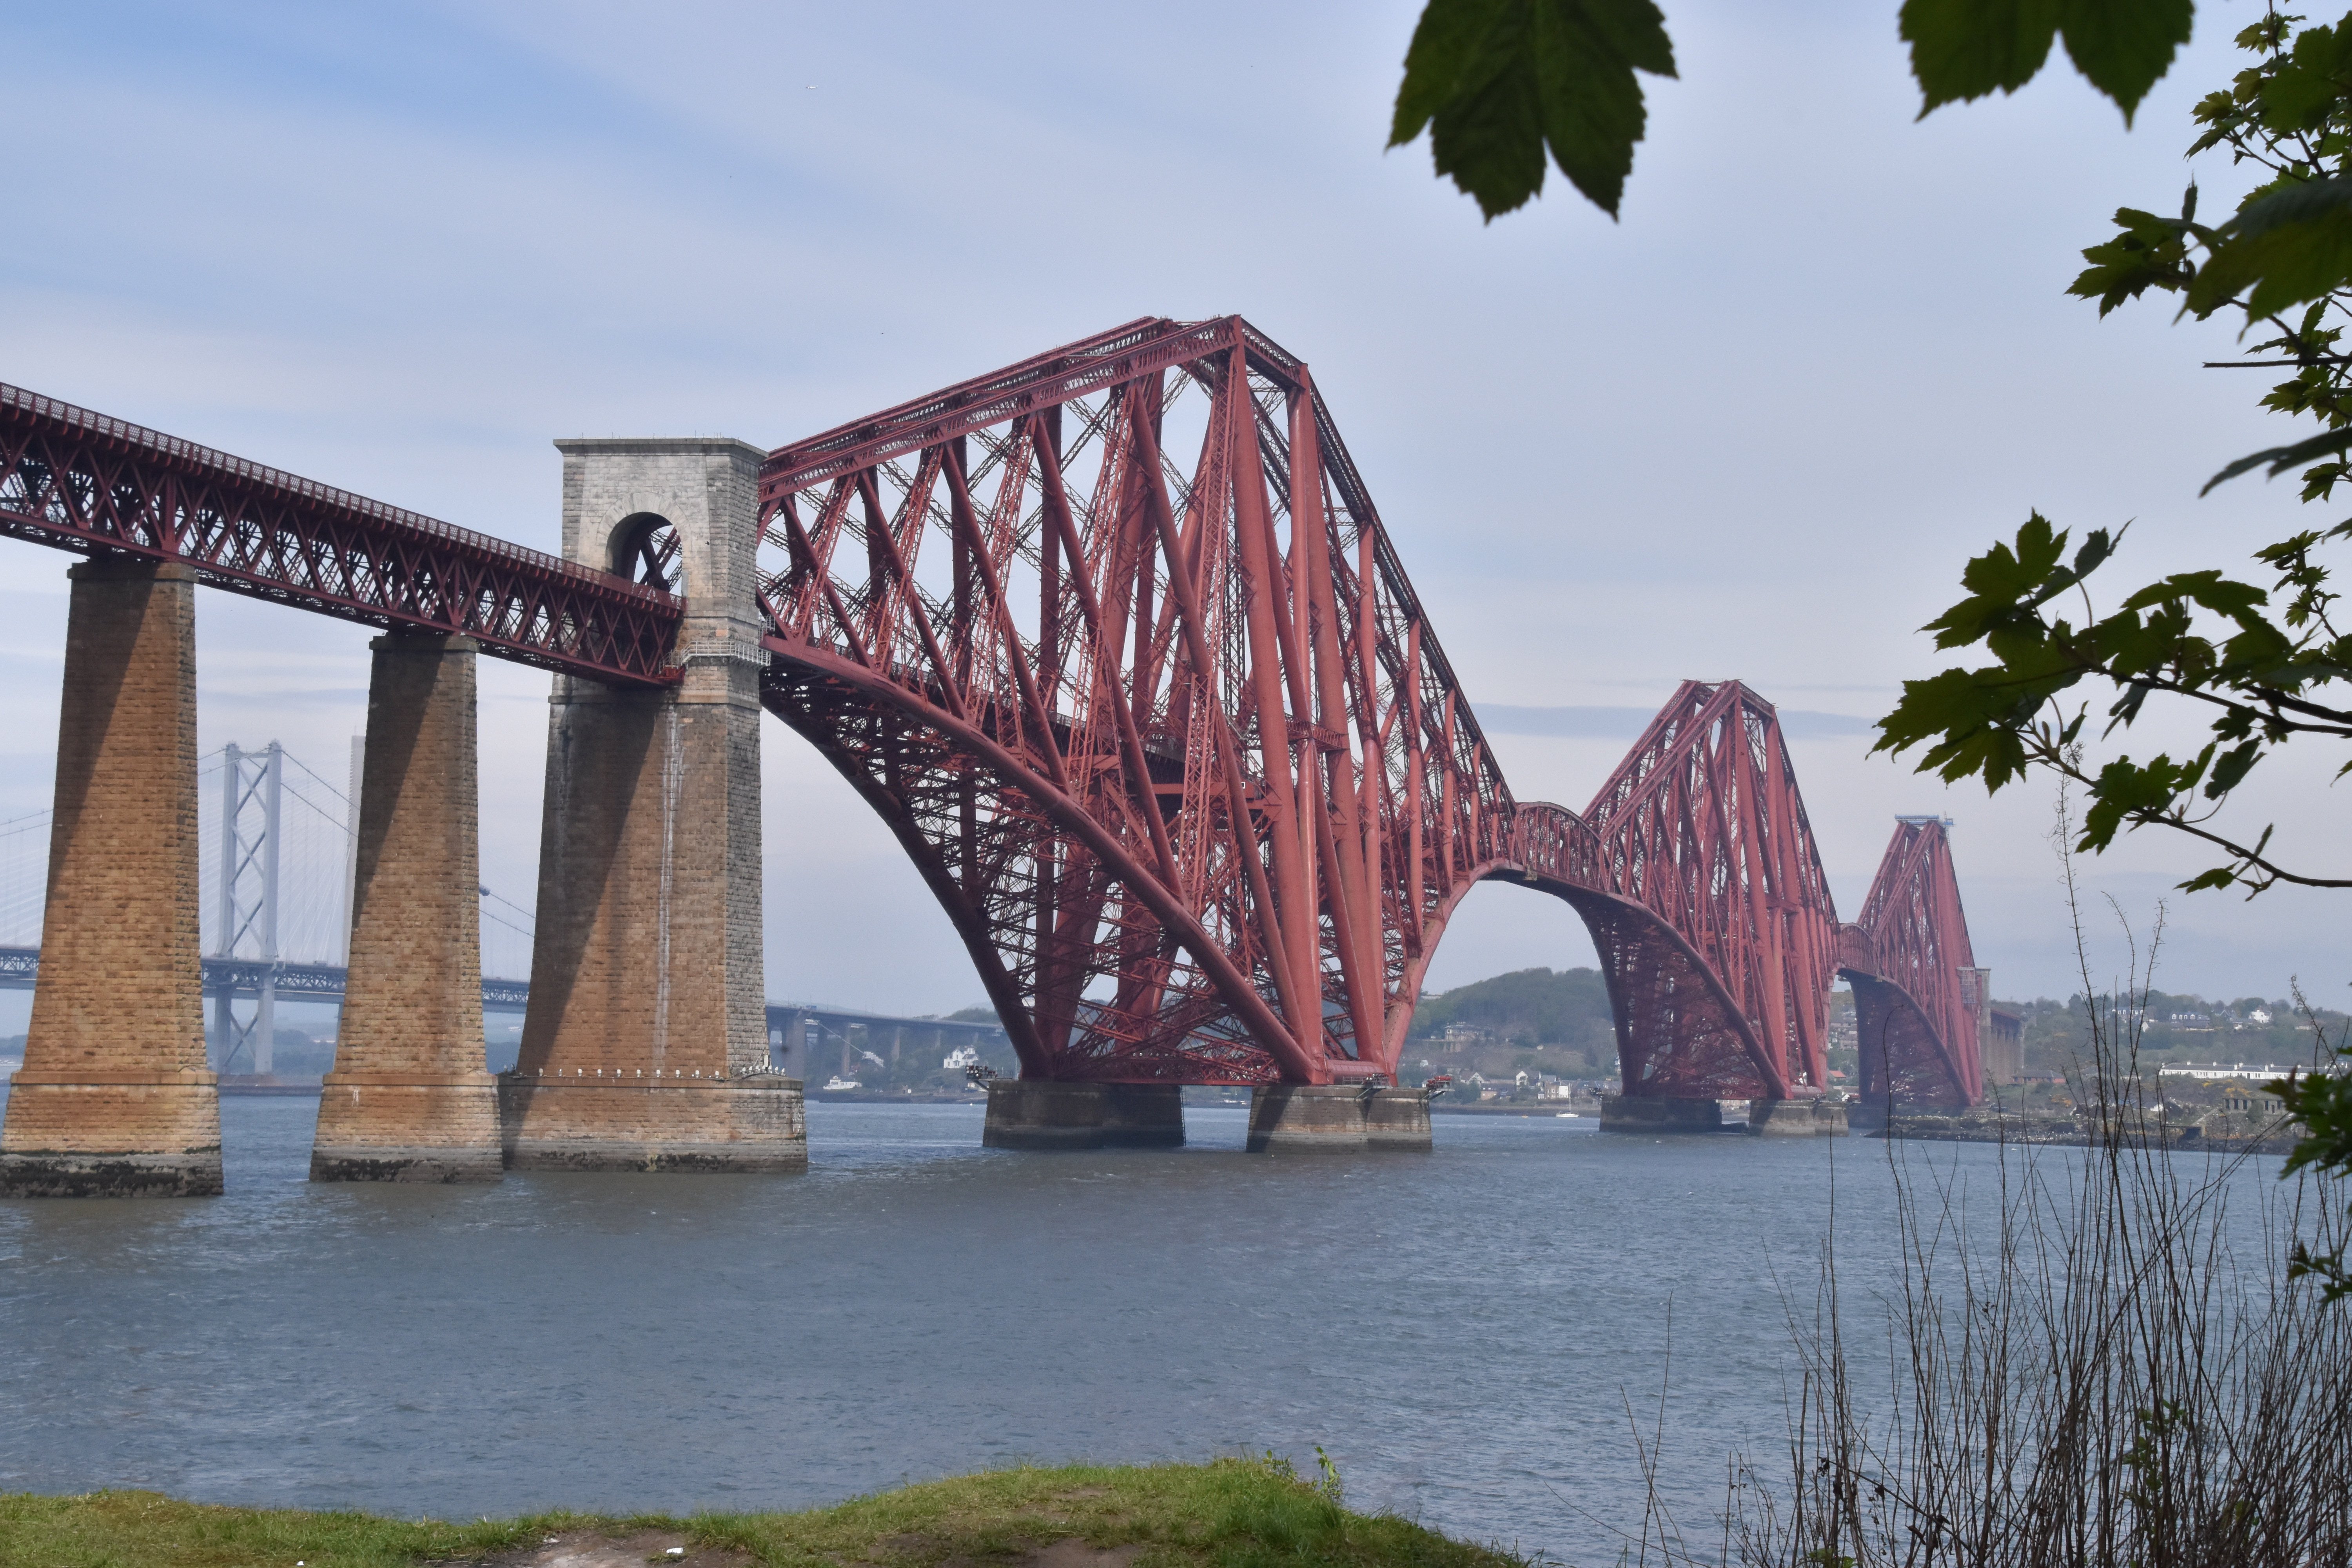
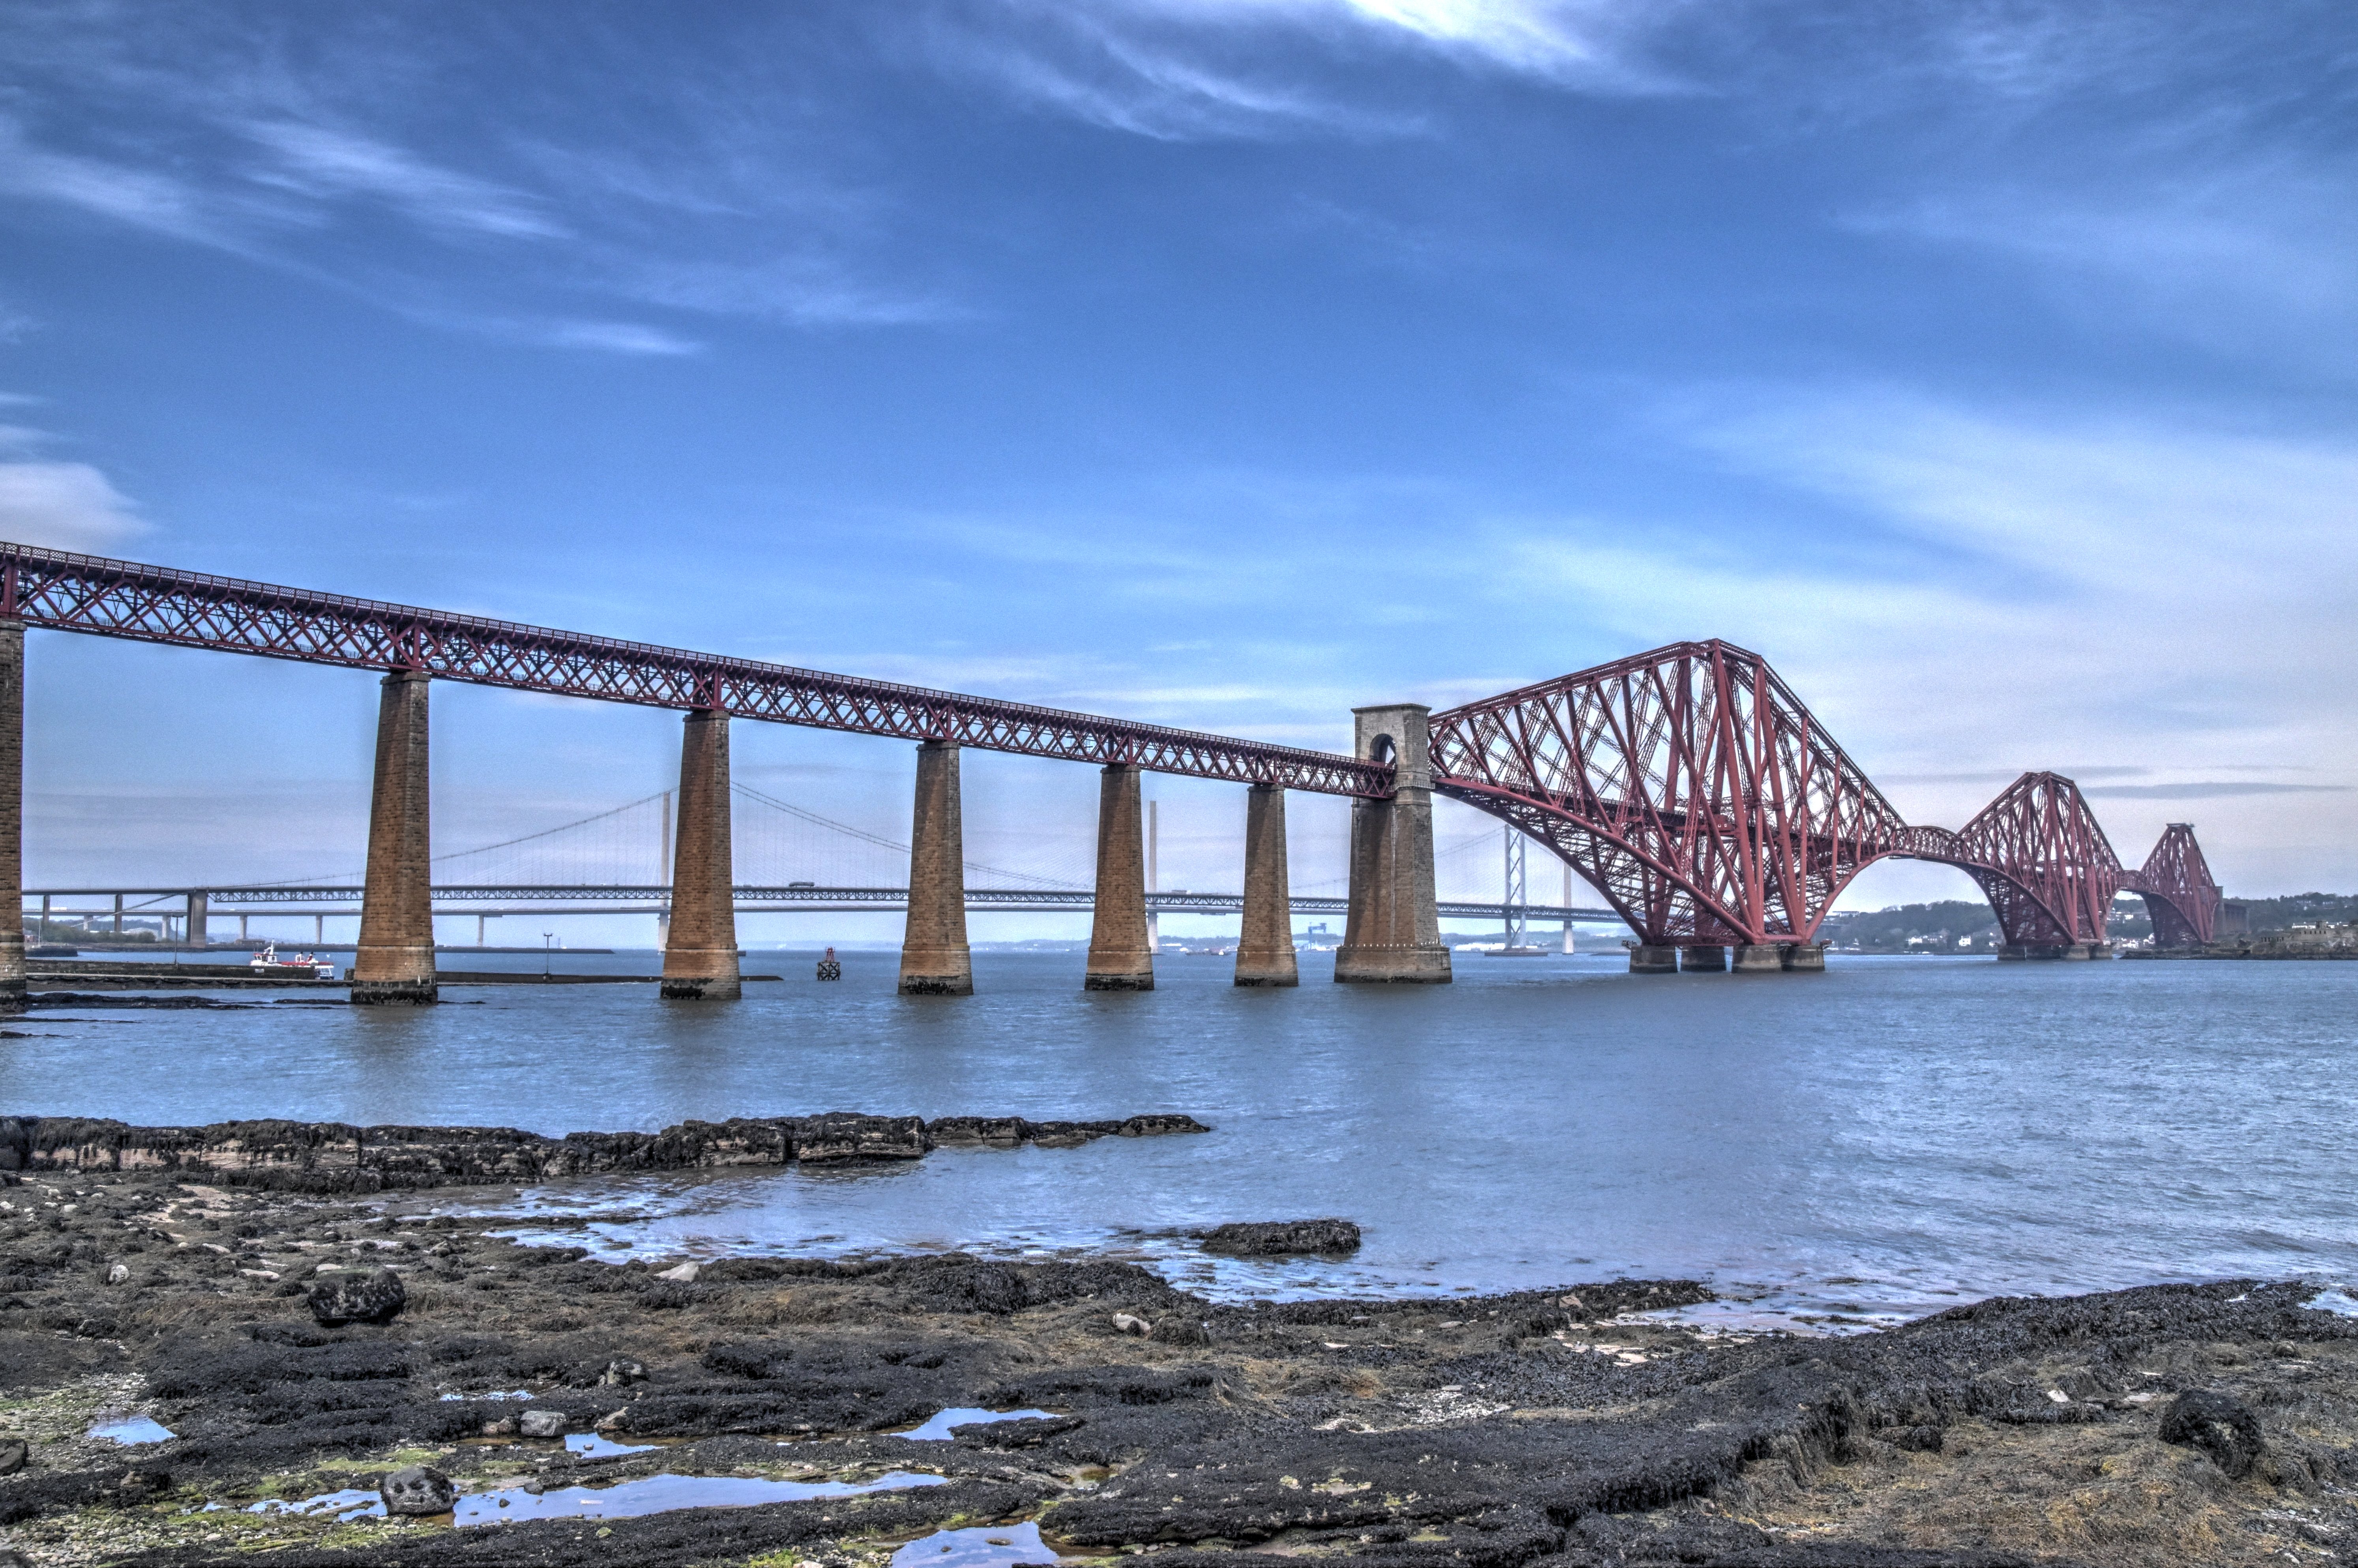
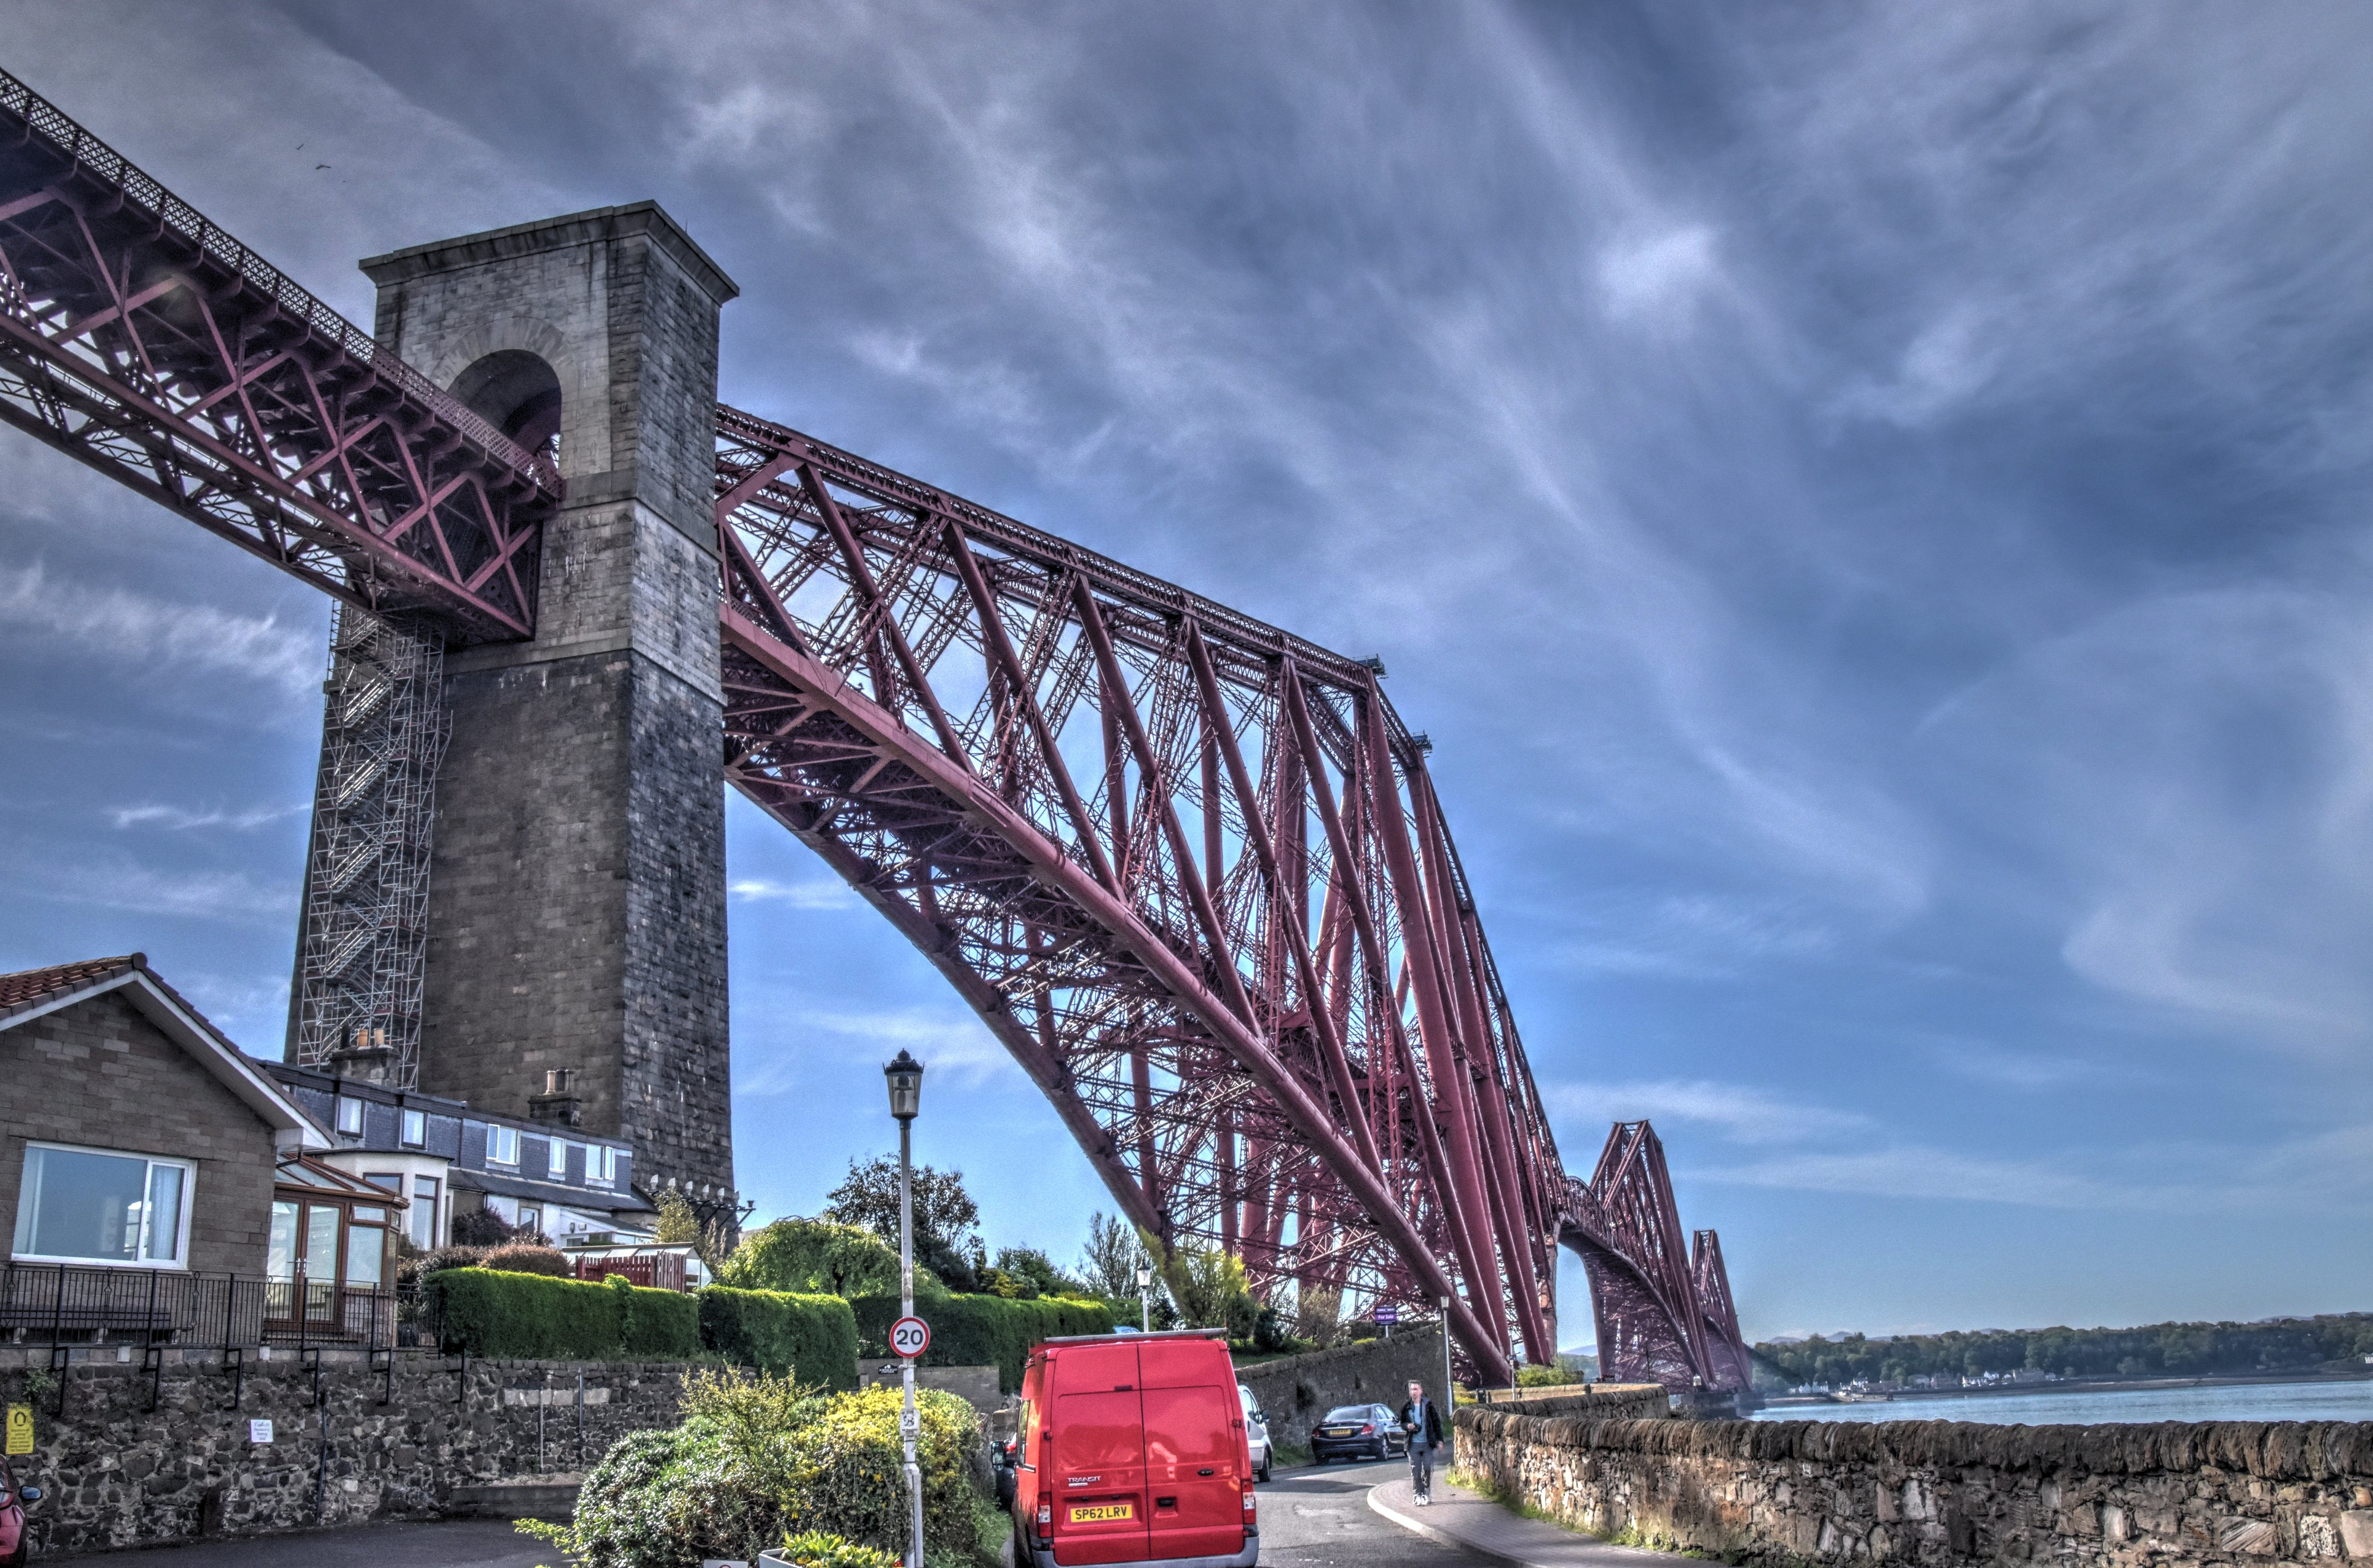
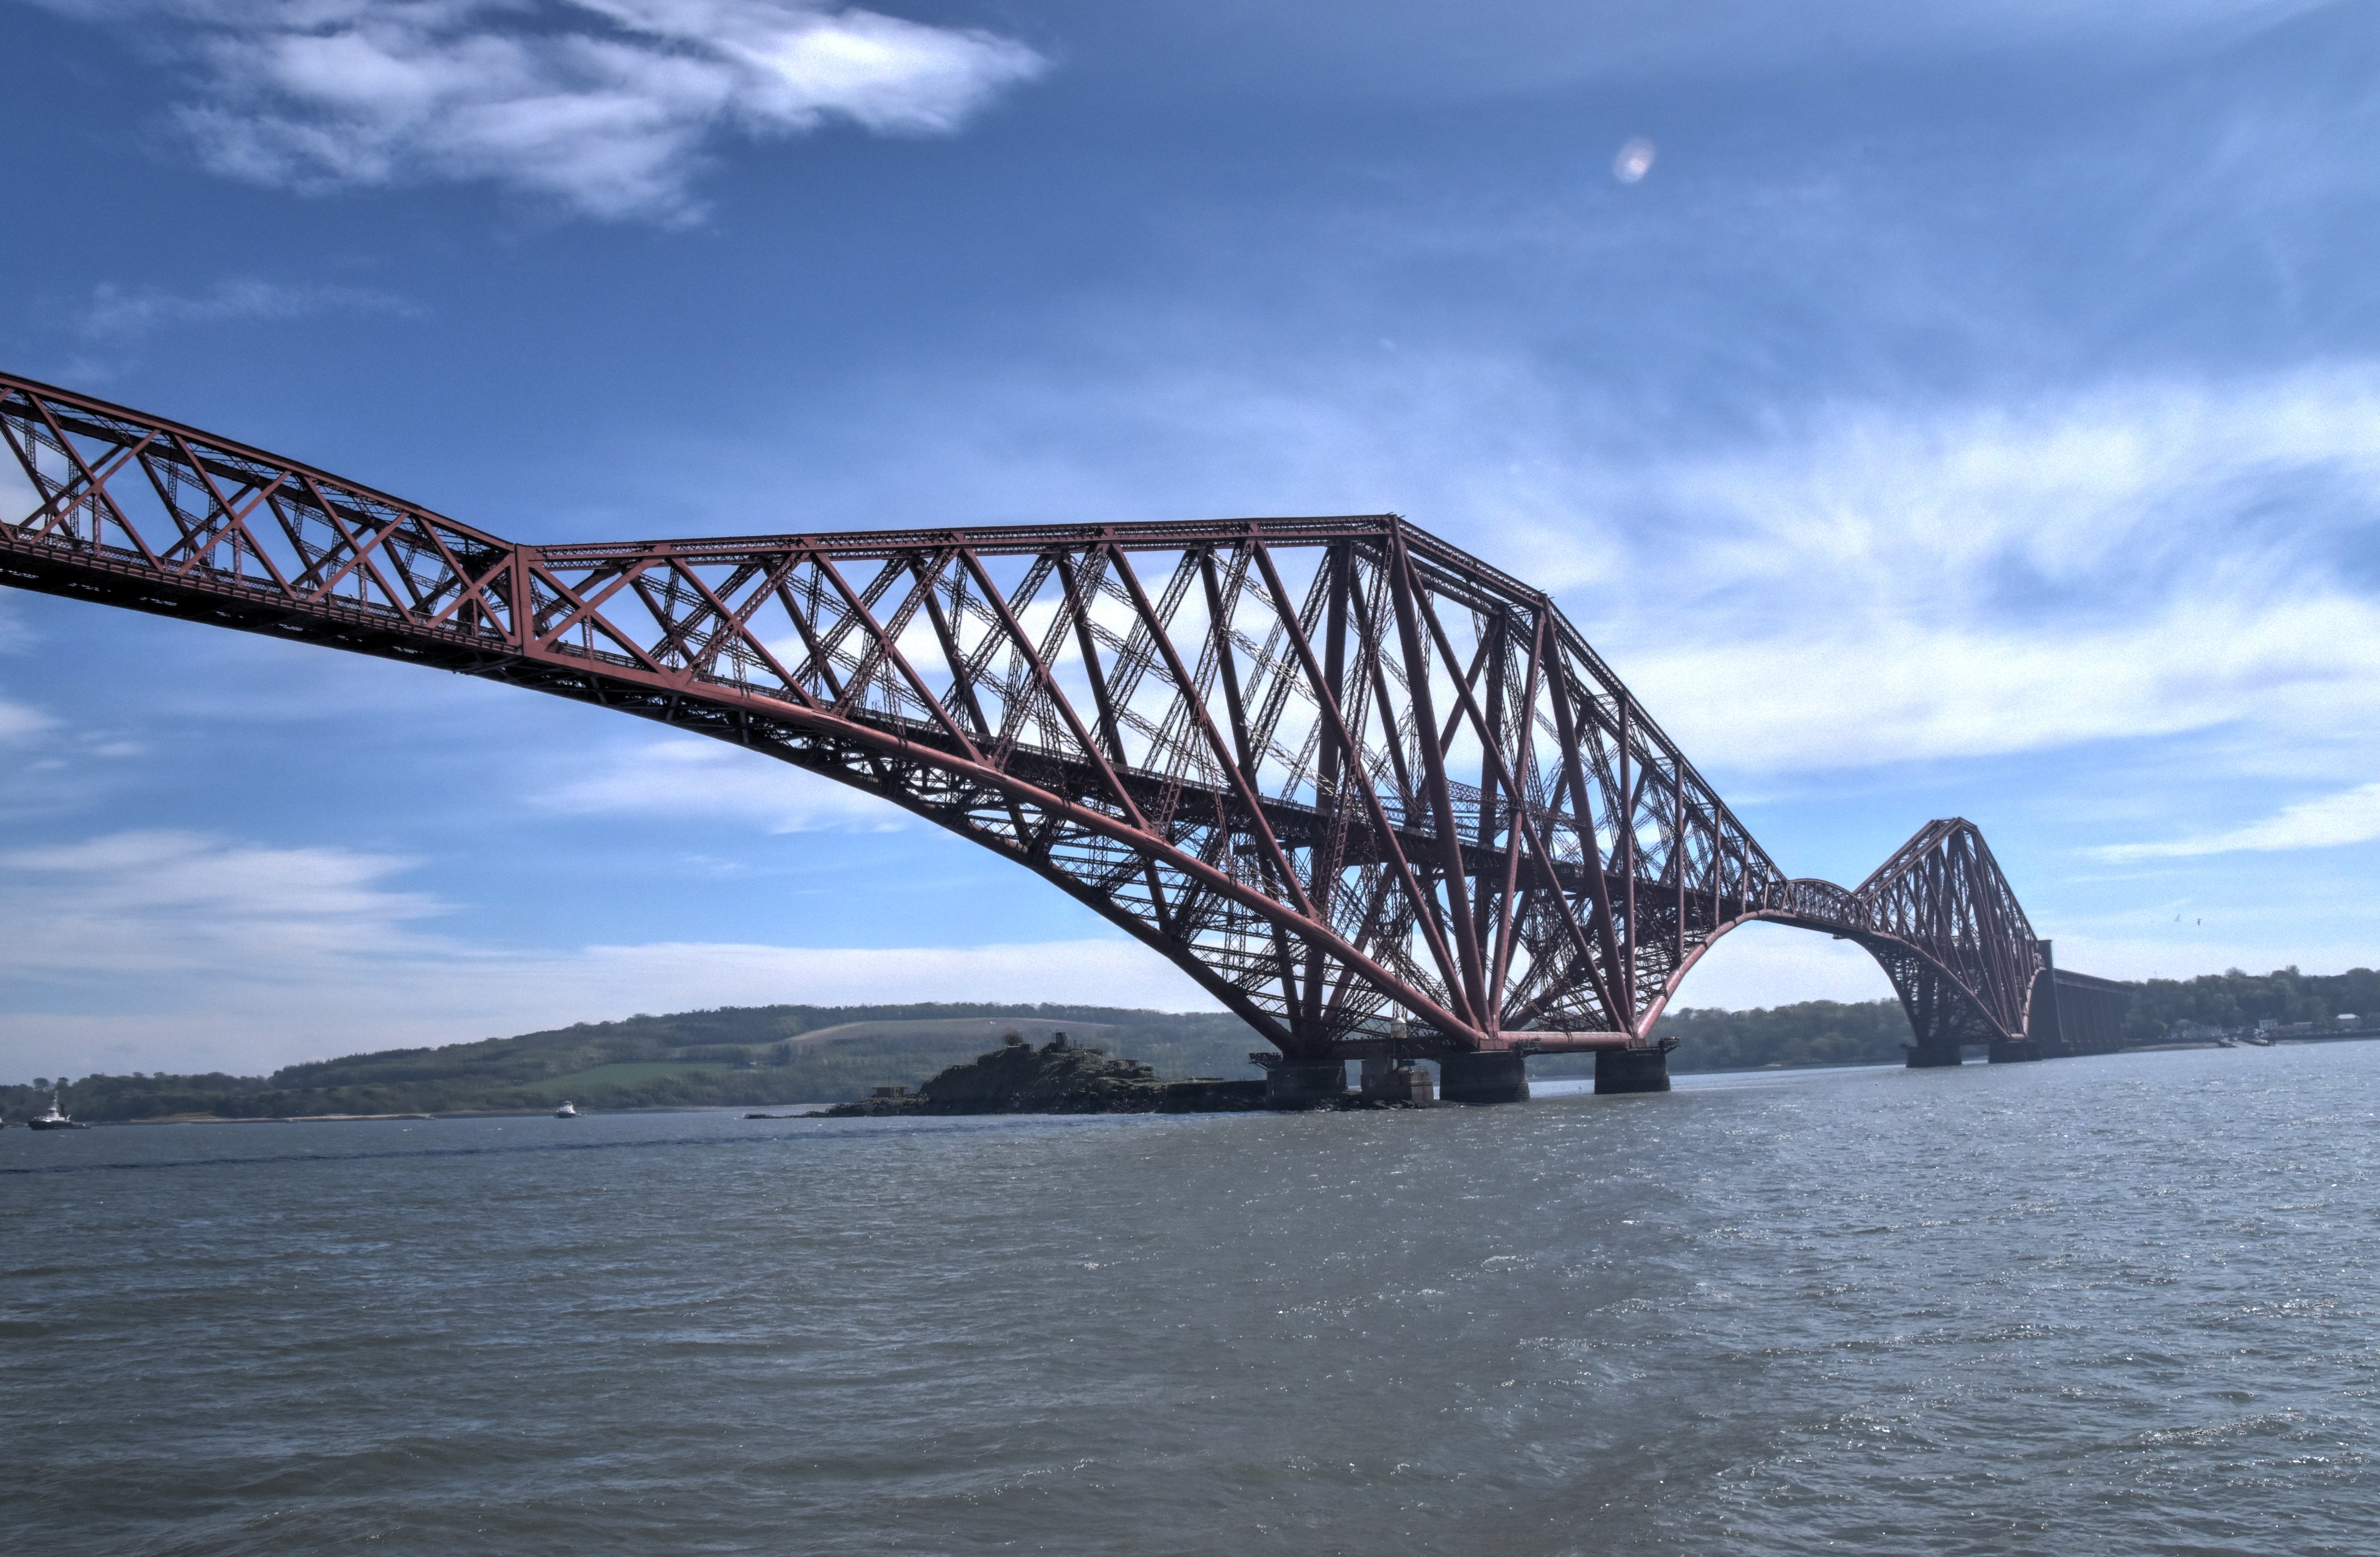
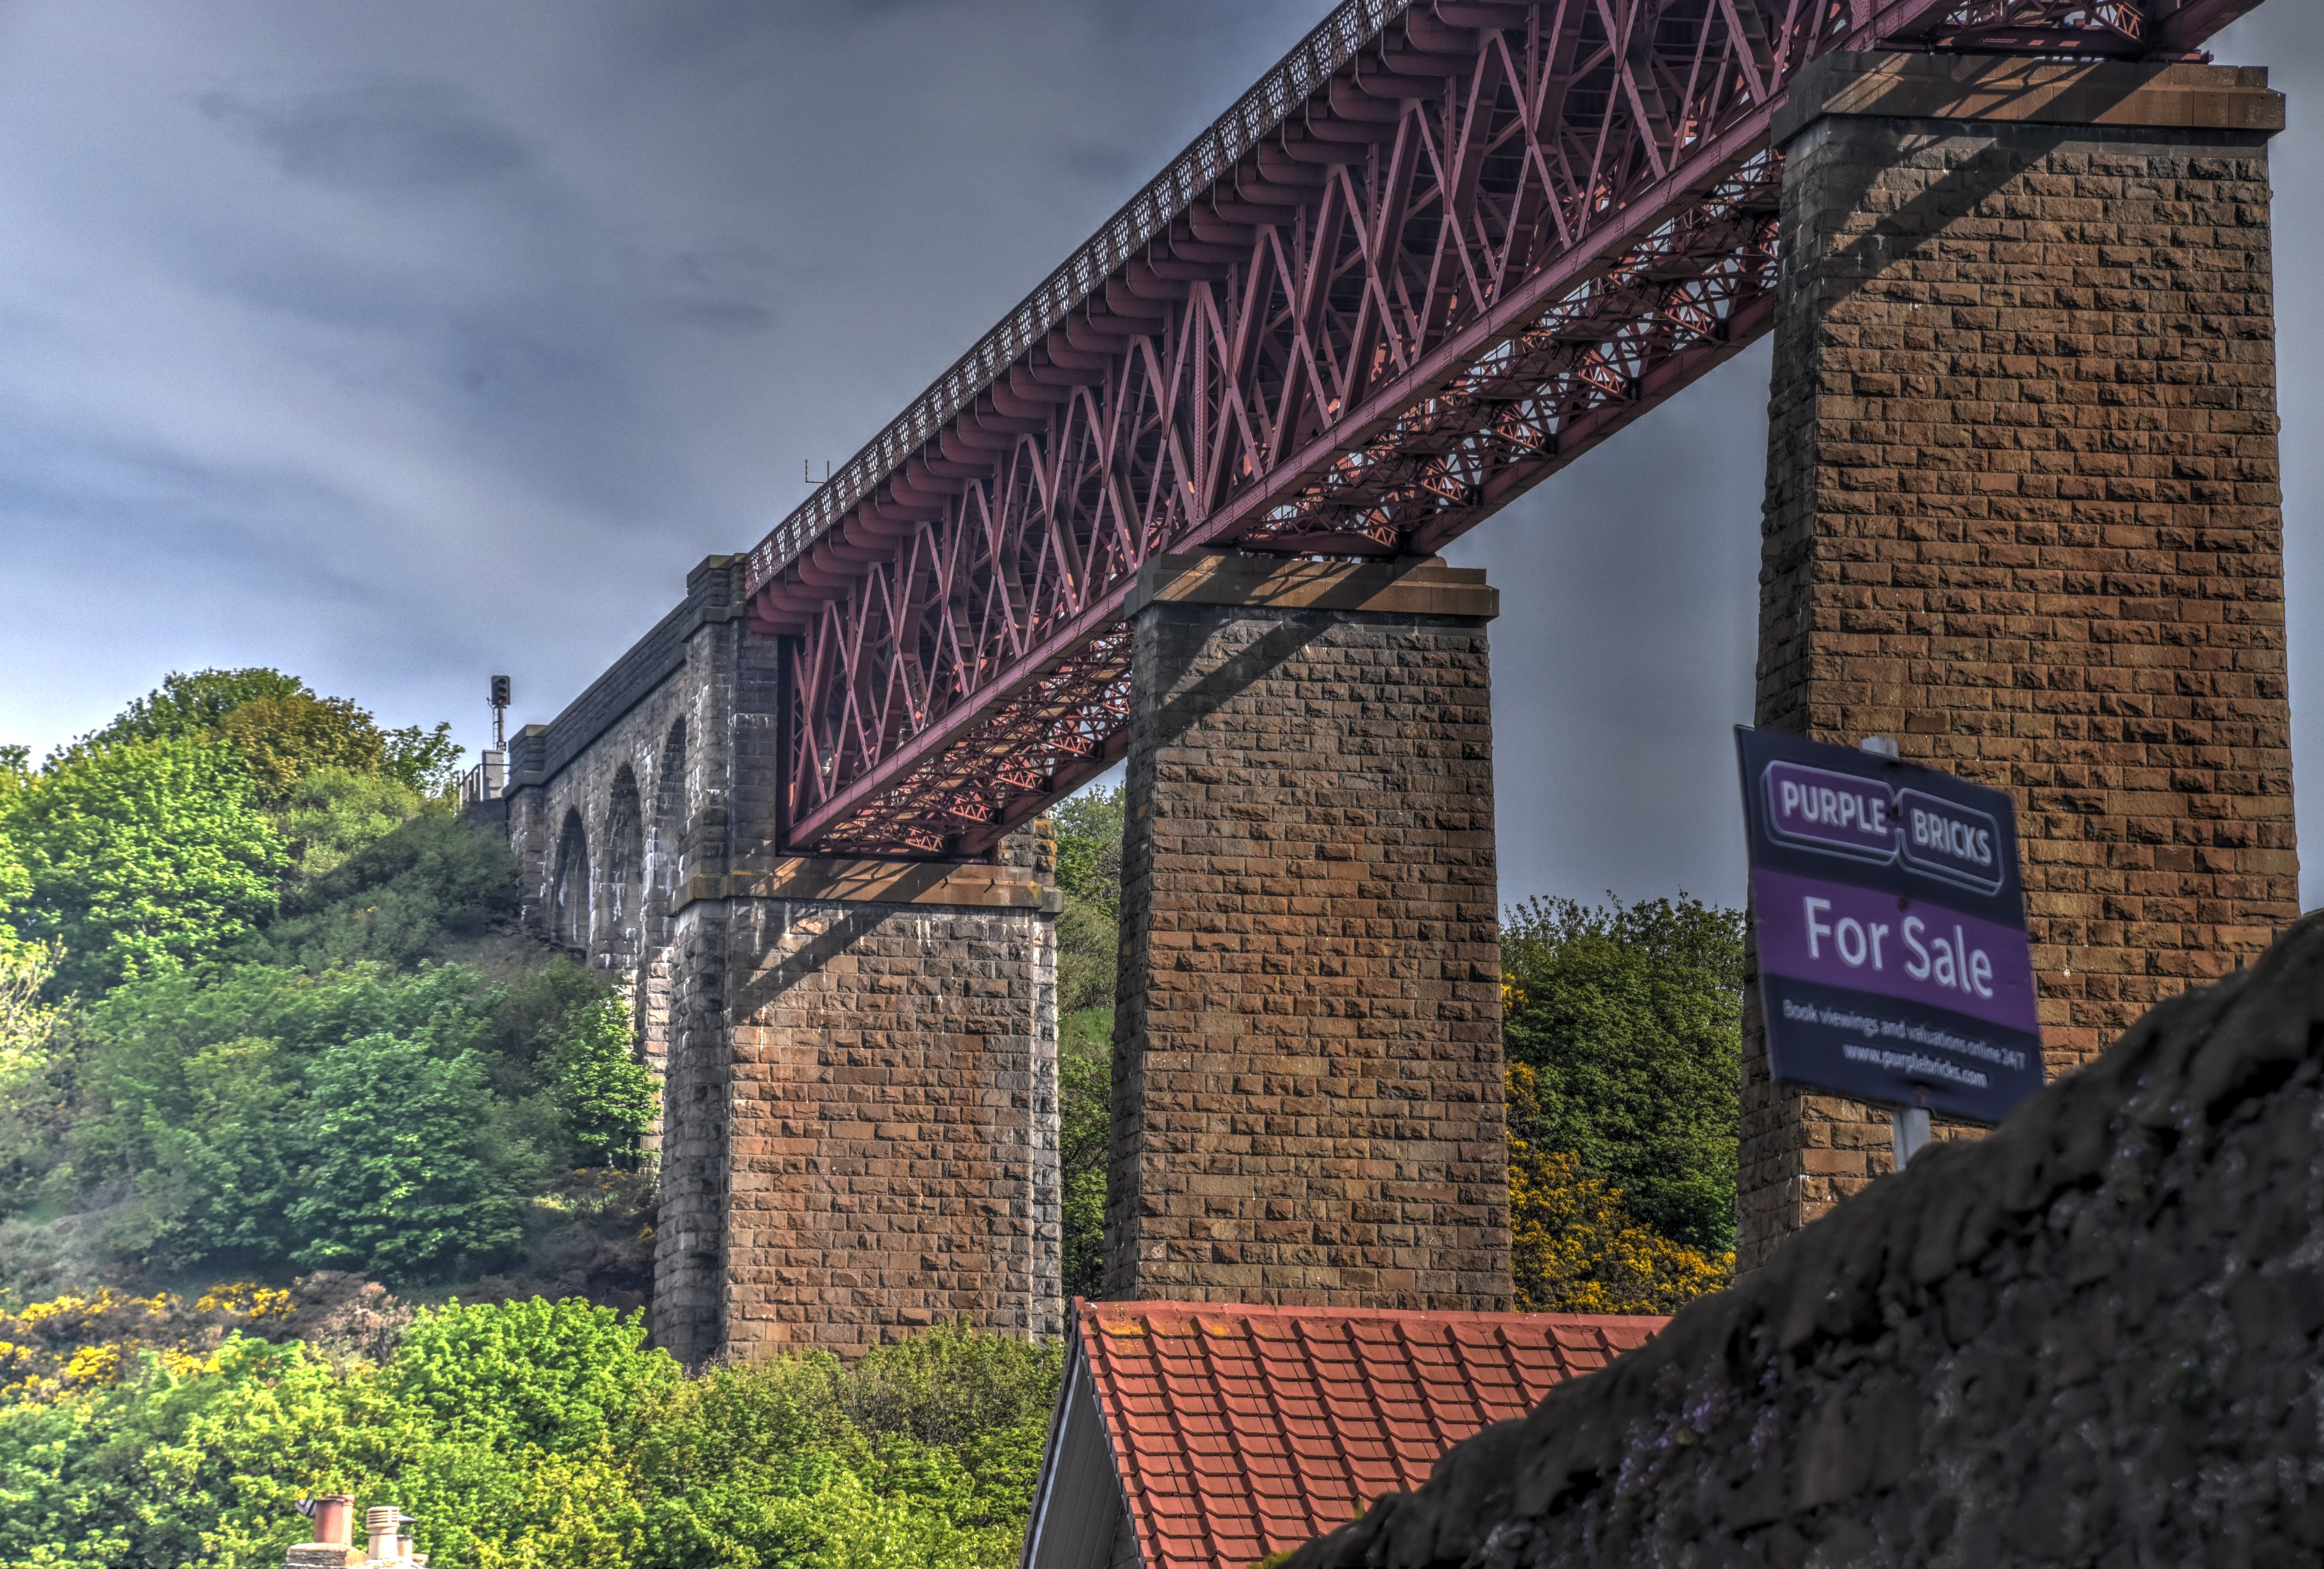
Oblique views of main spans from southwest quadrant. Afternoon views.
![]()


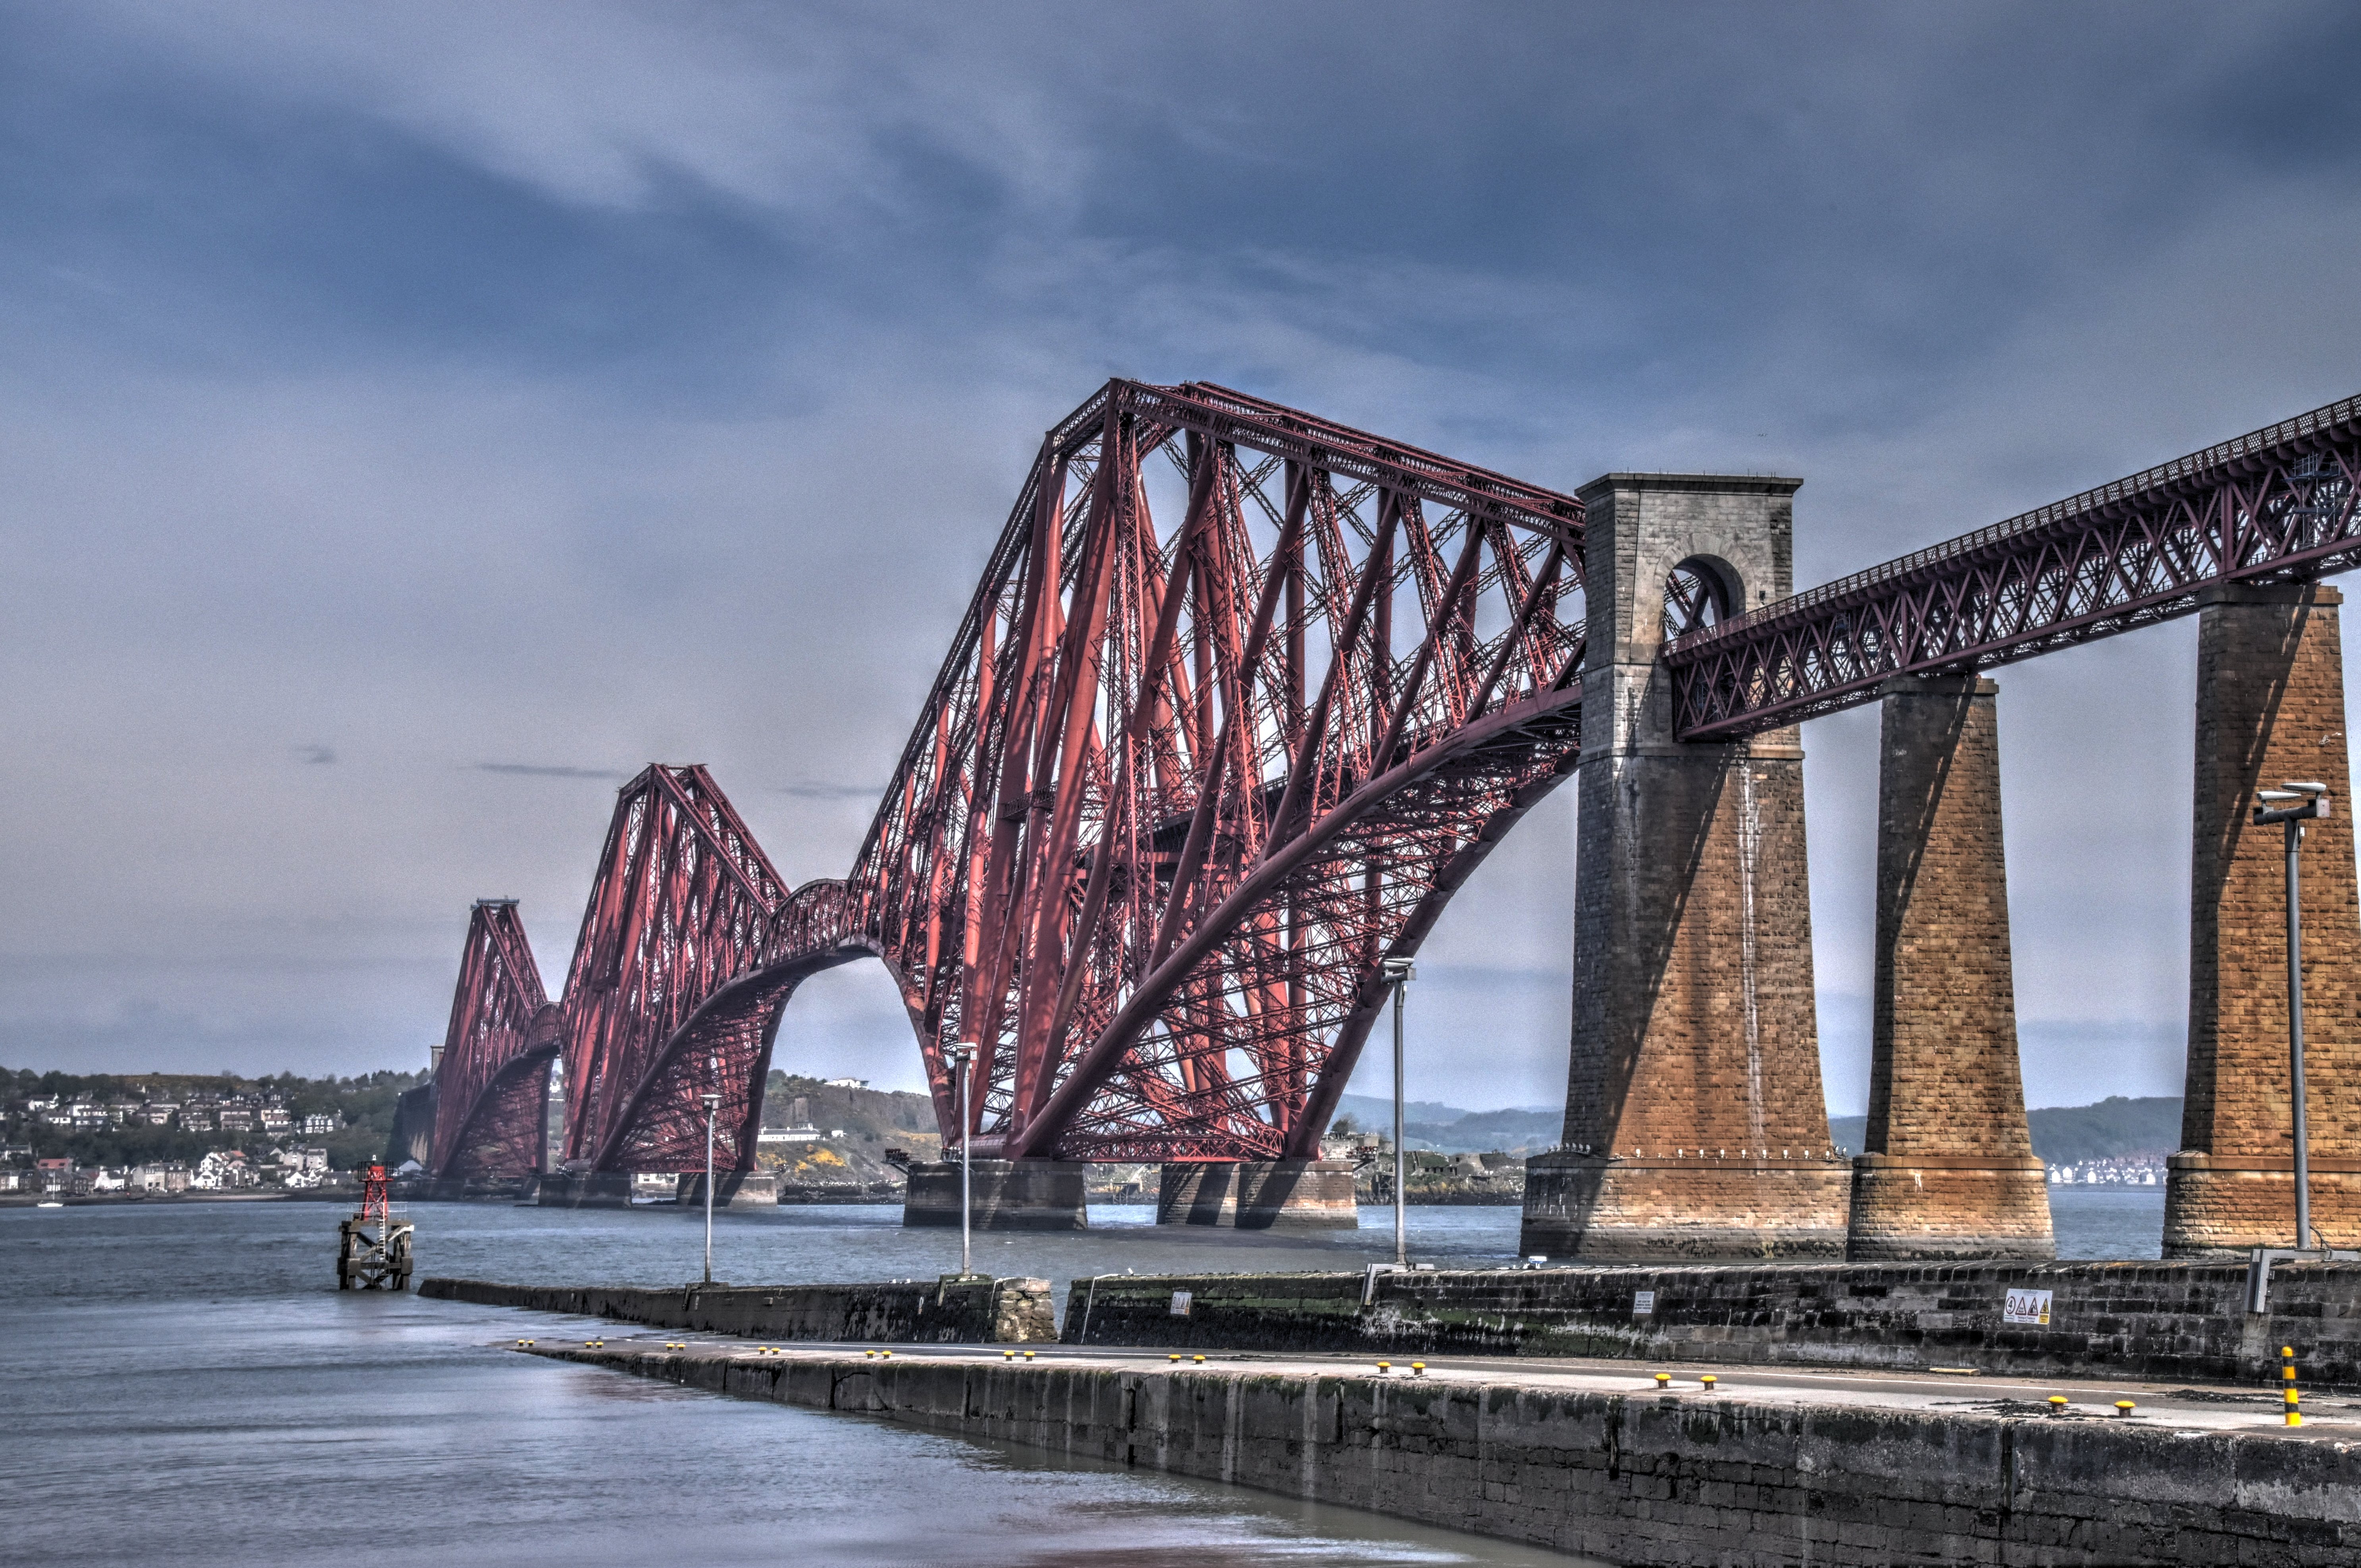


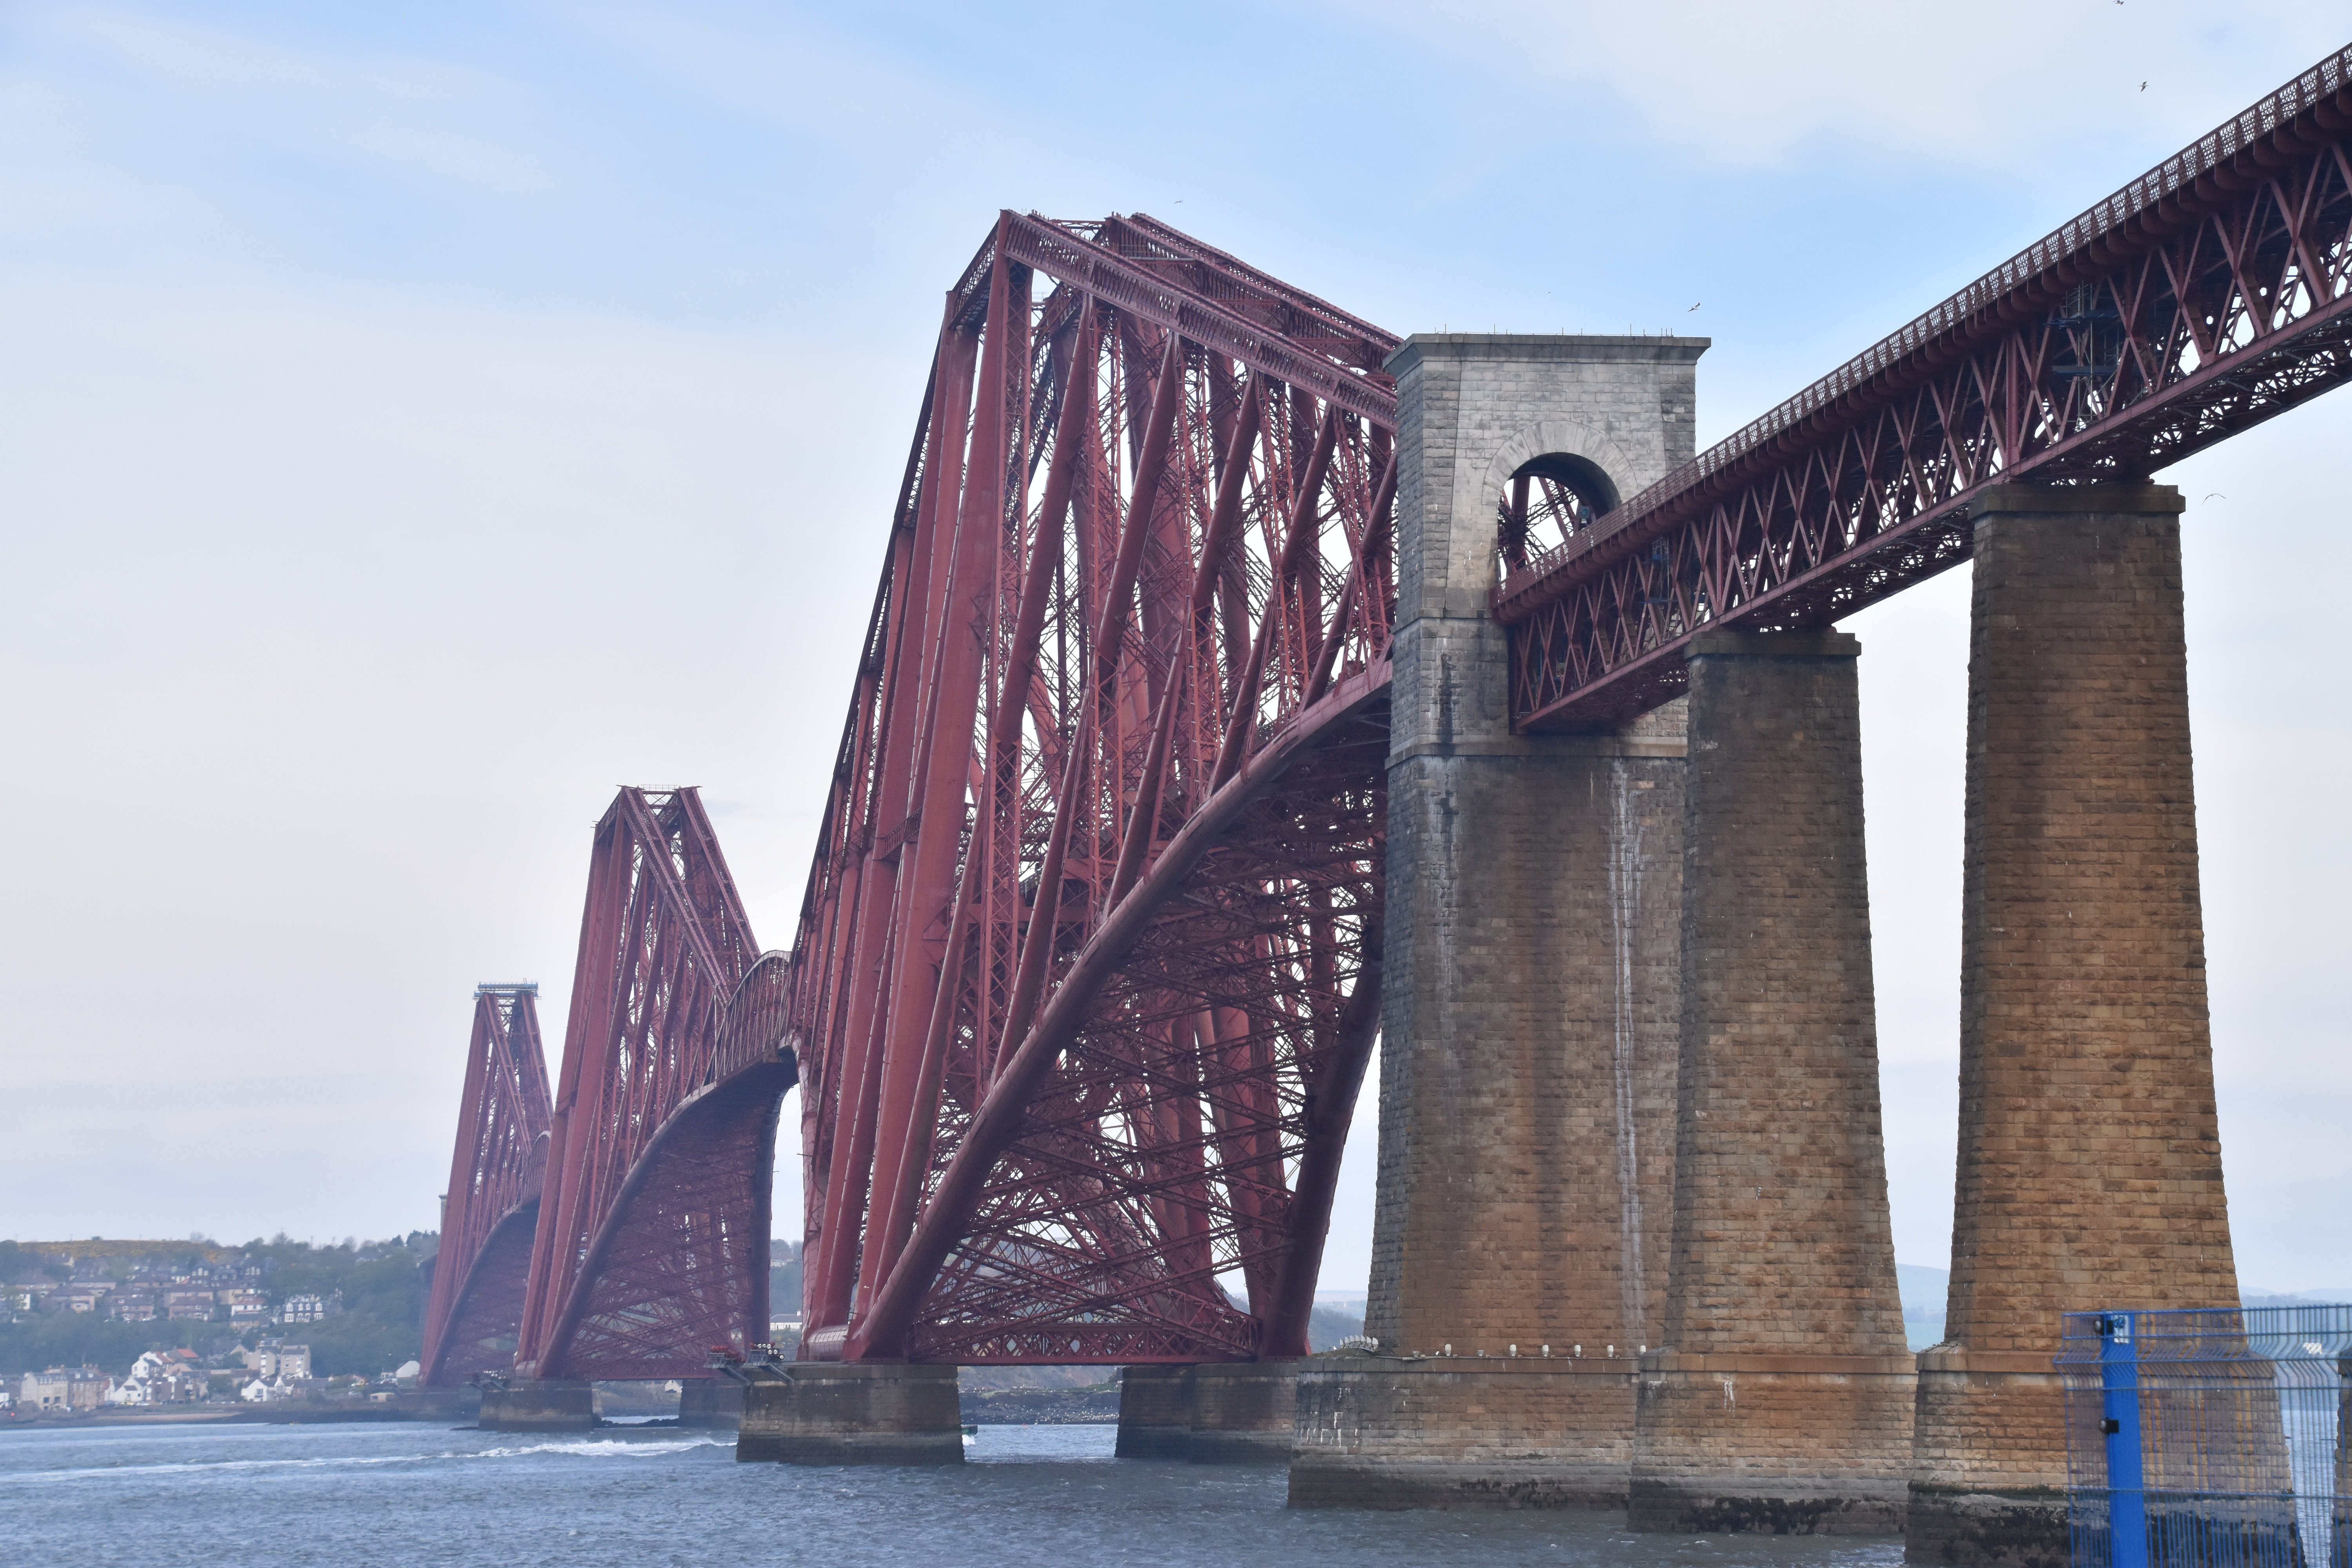


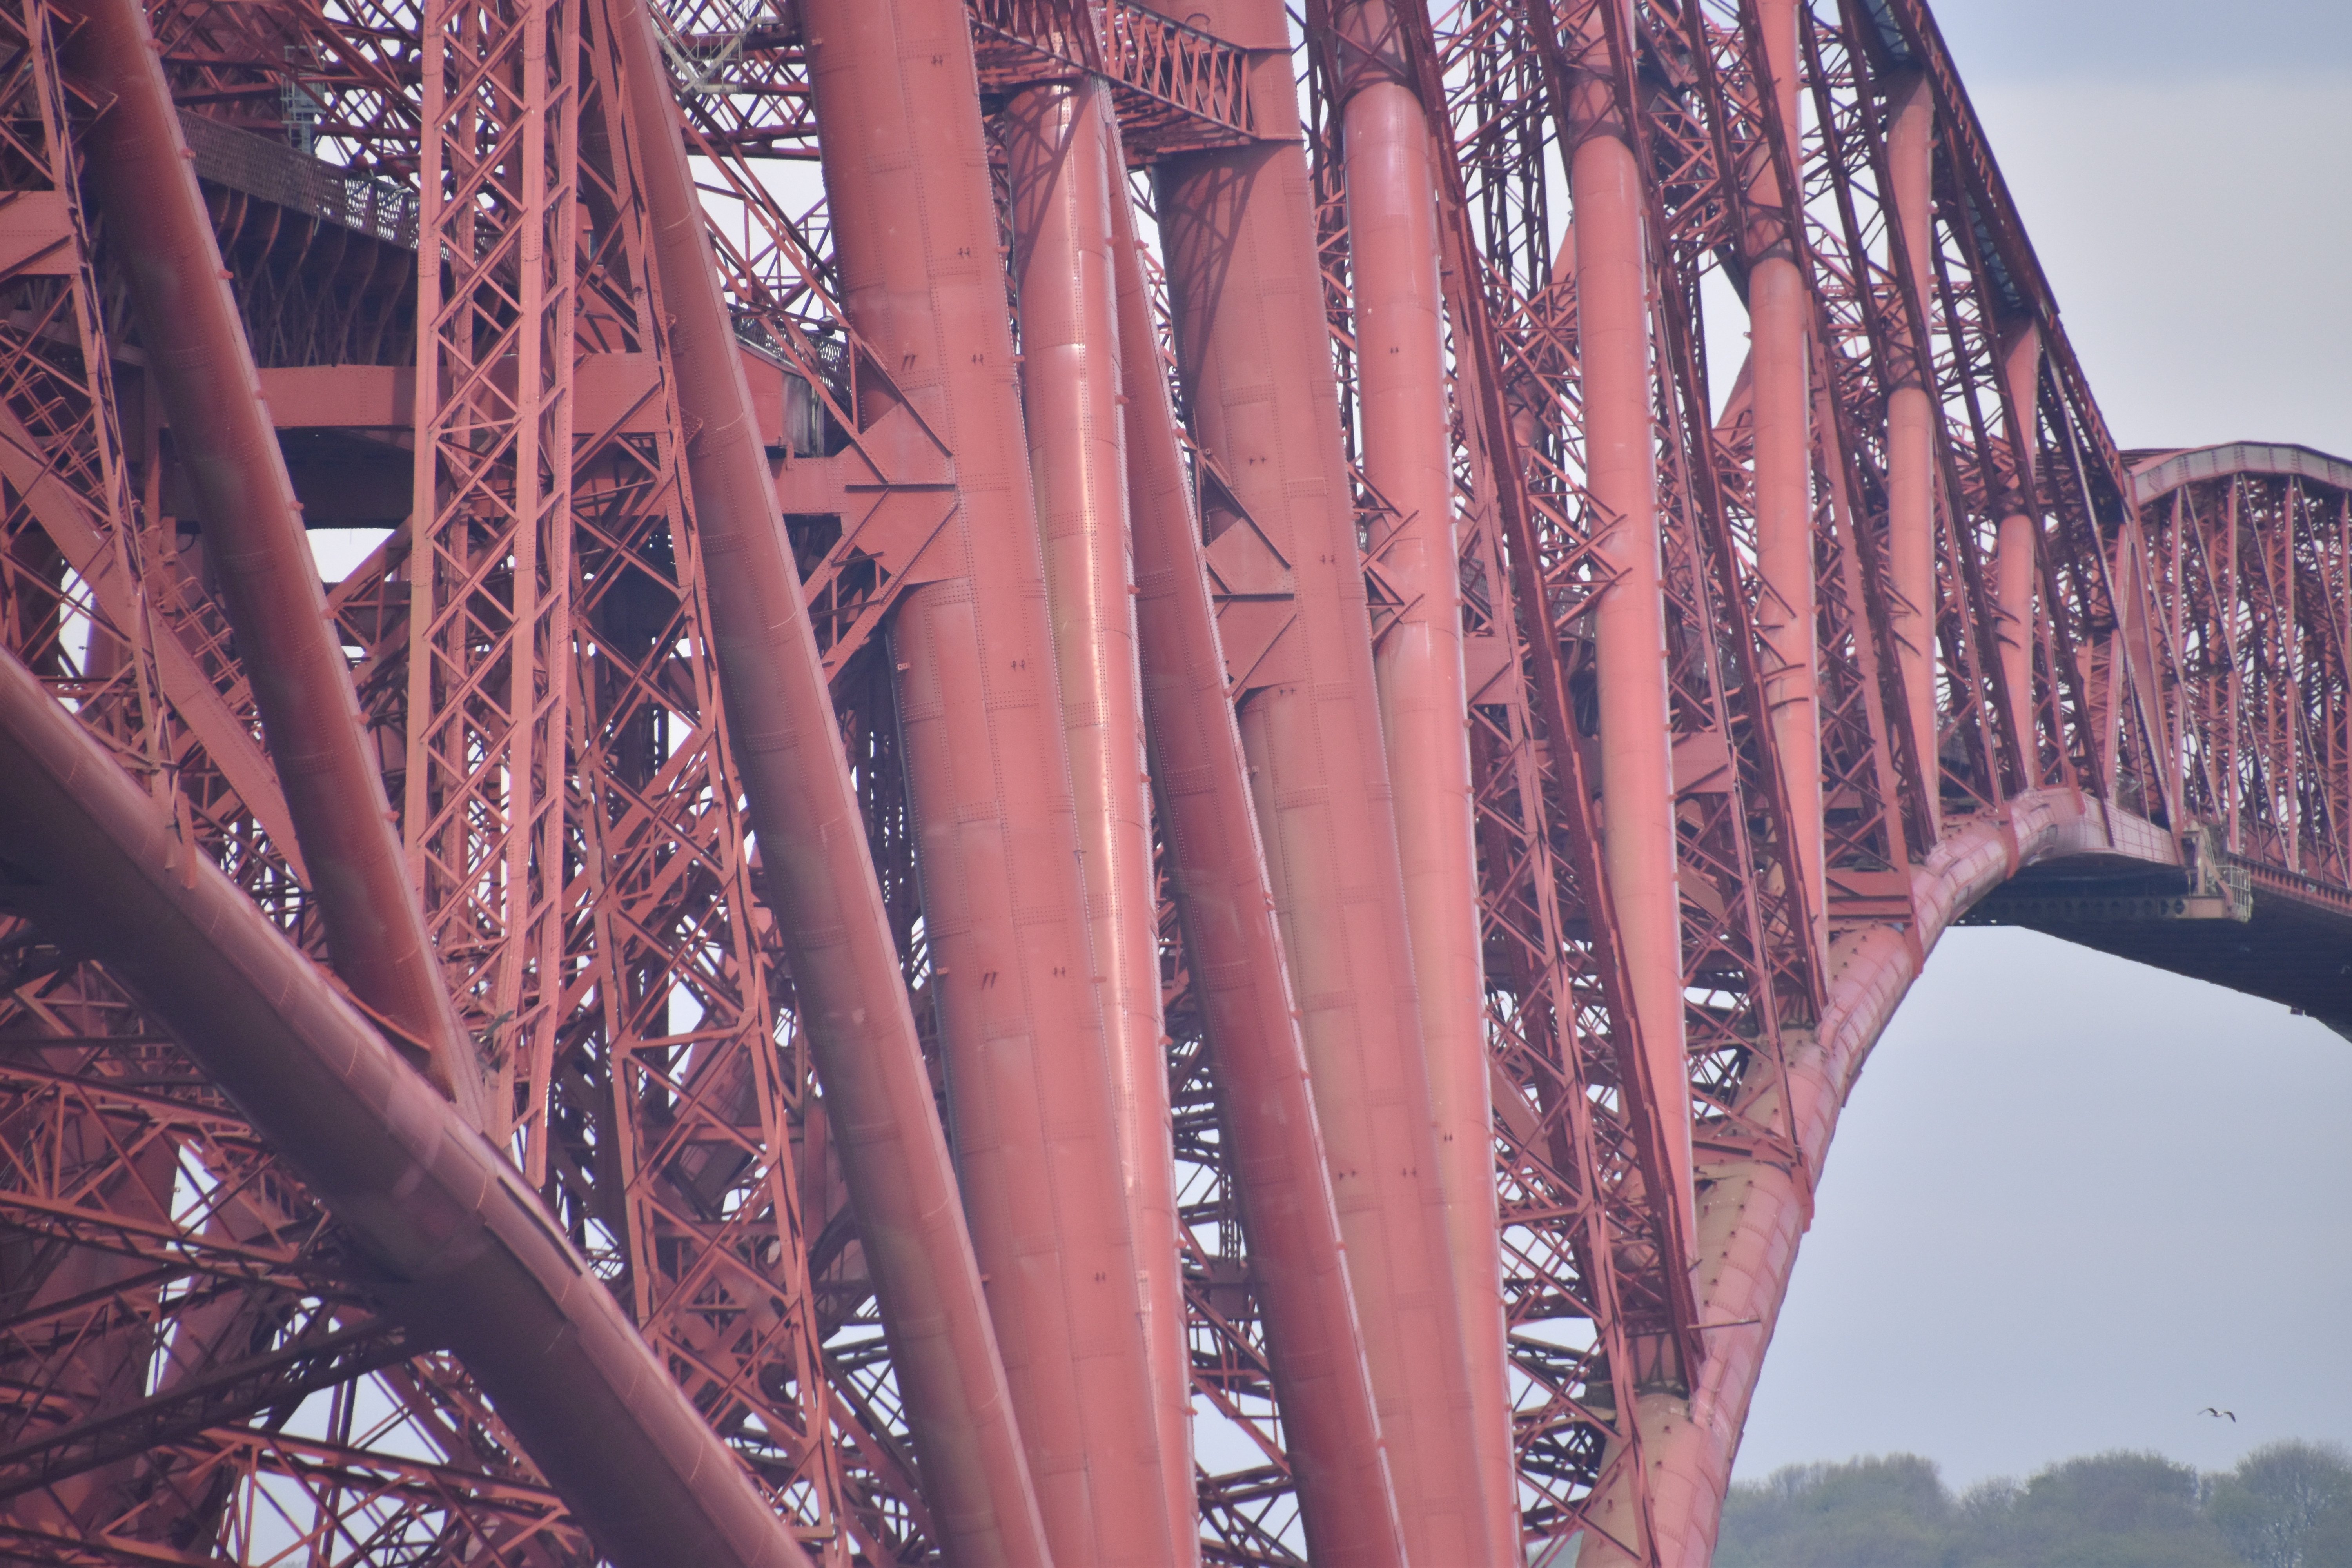
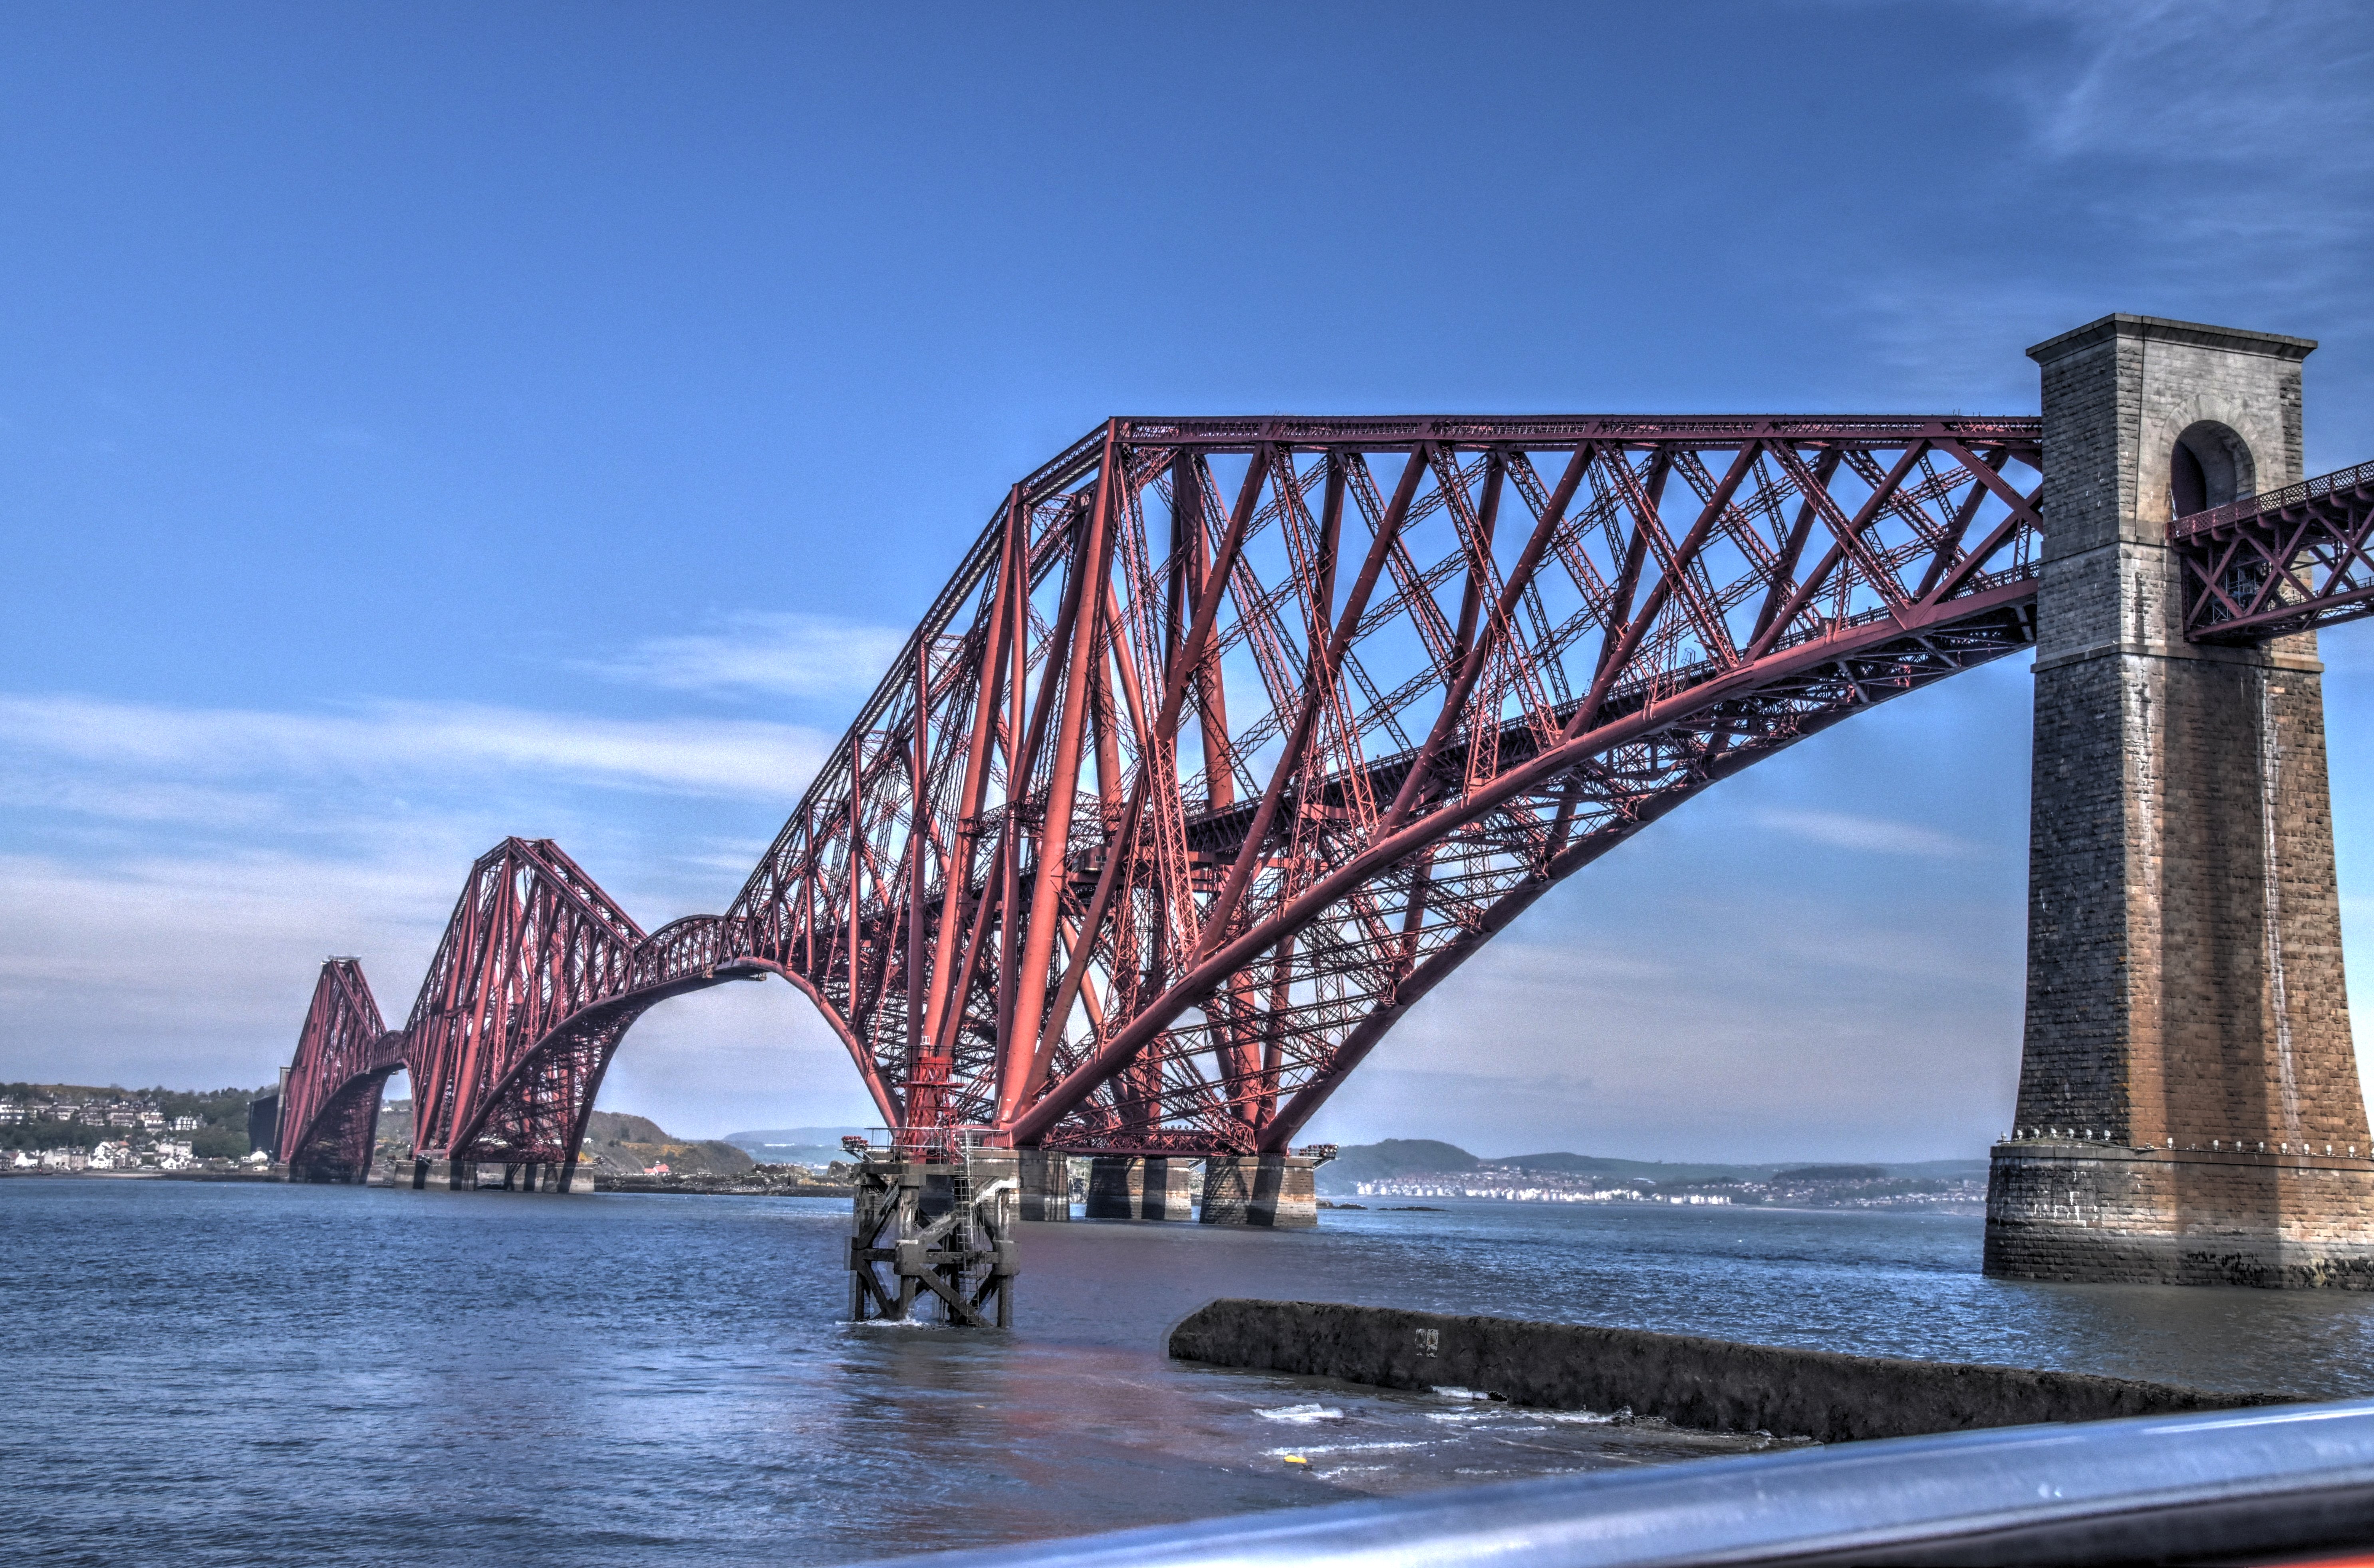
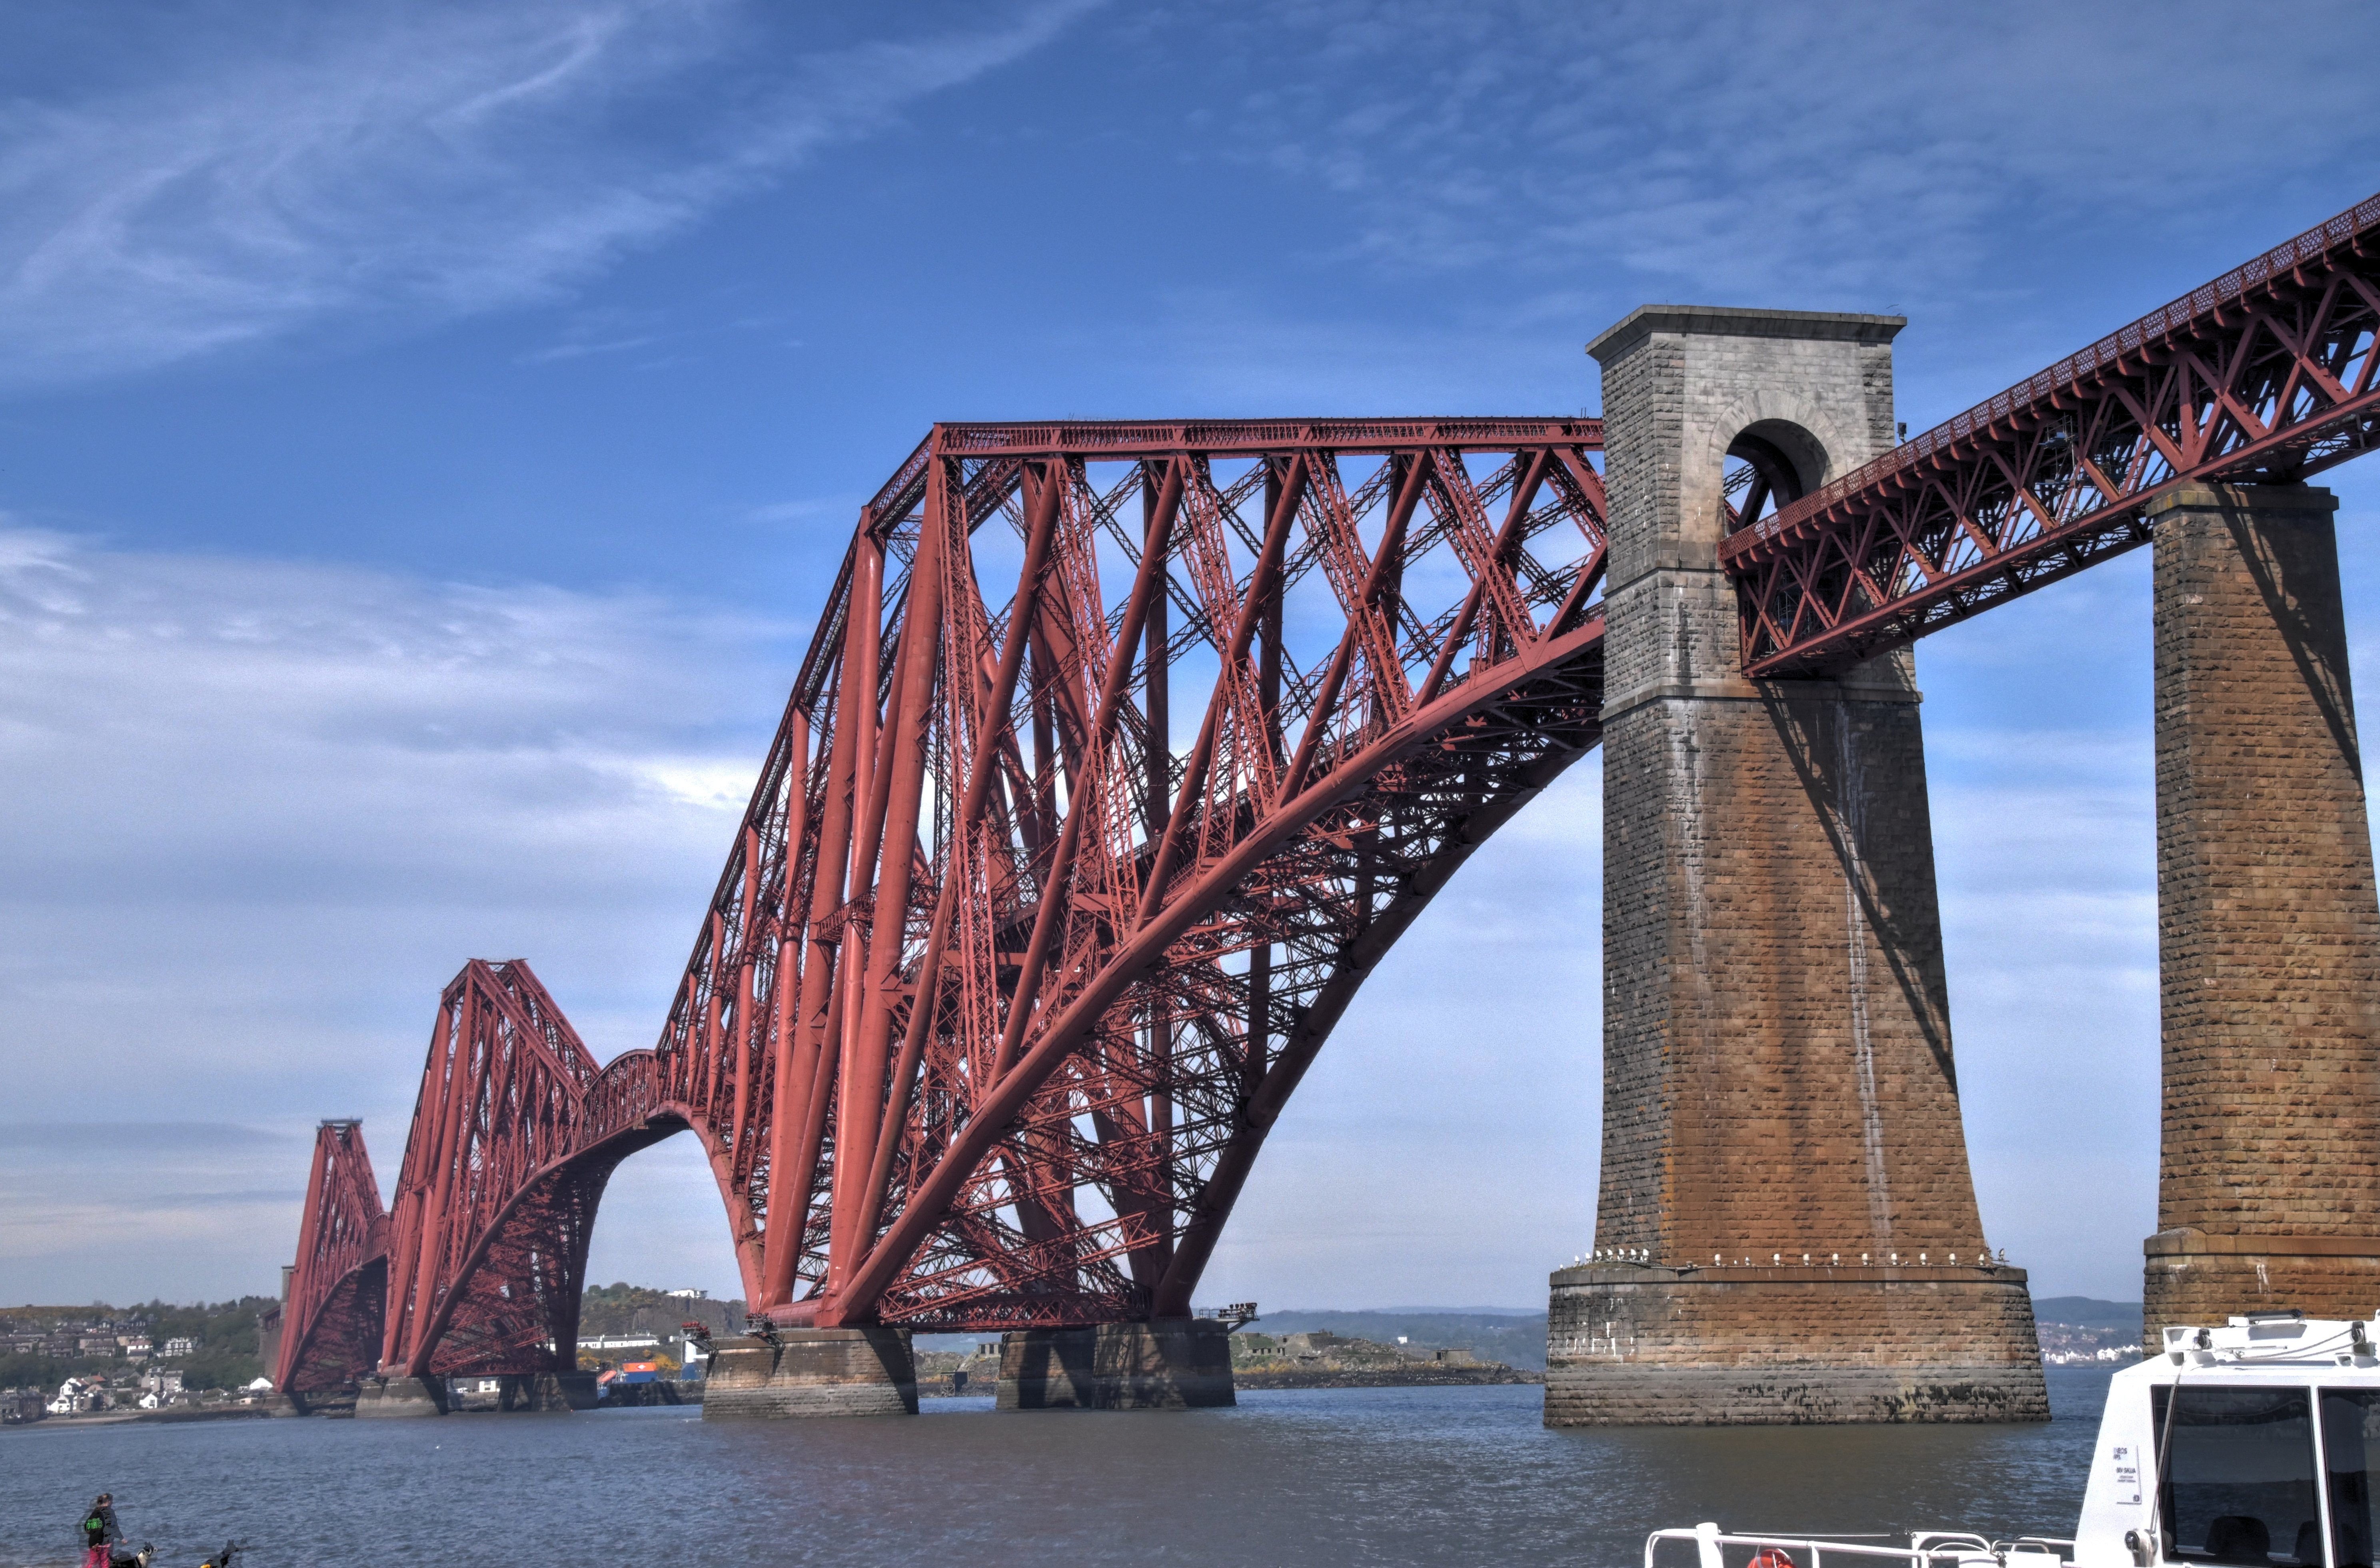
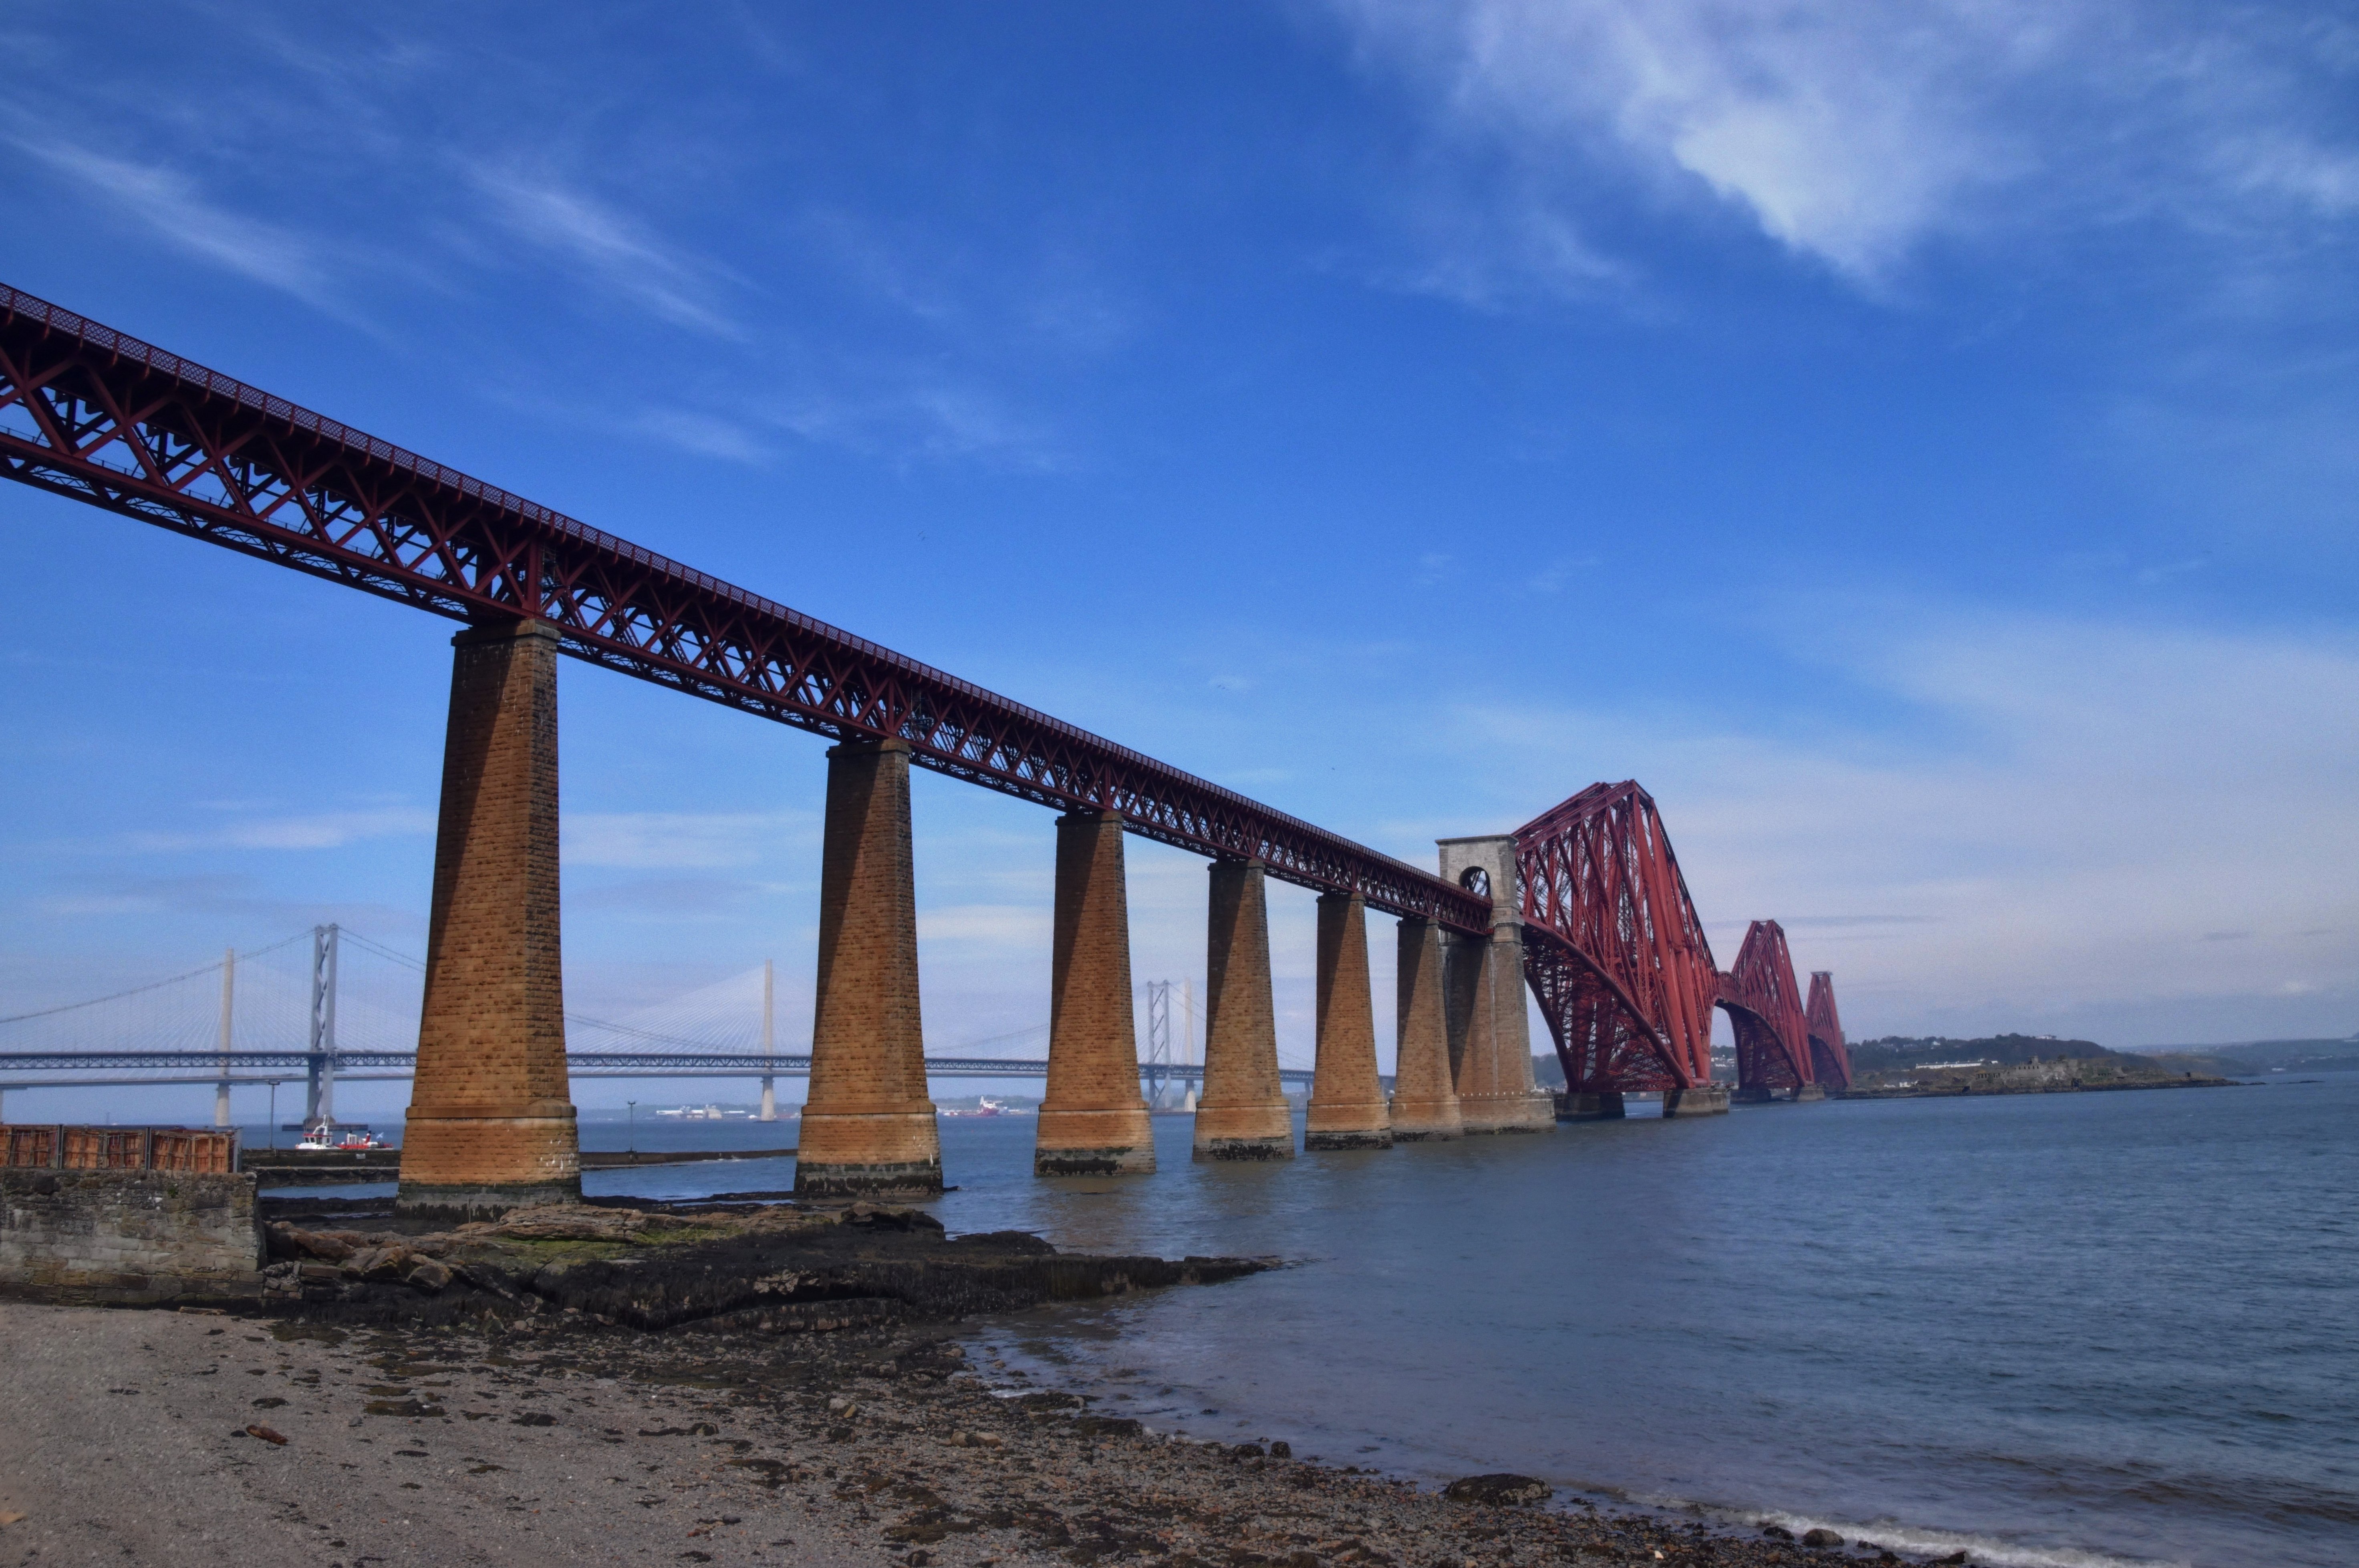
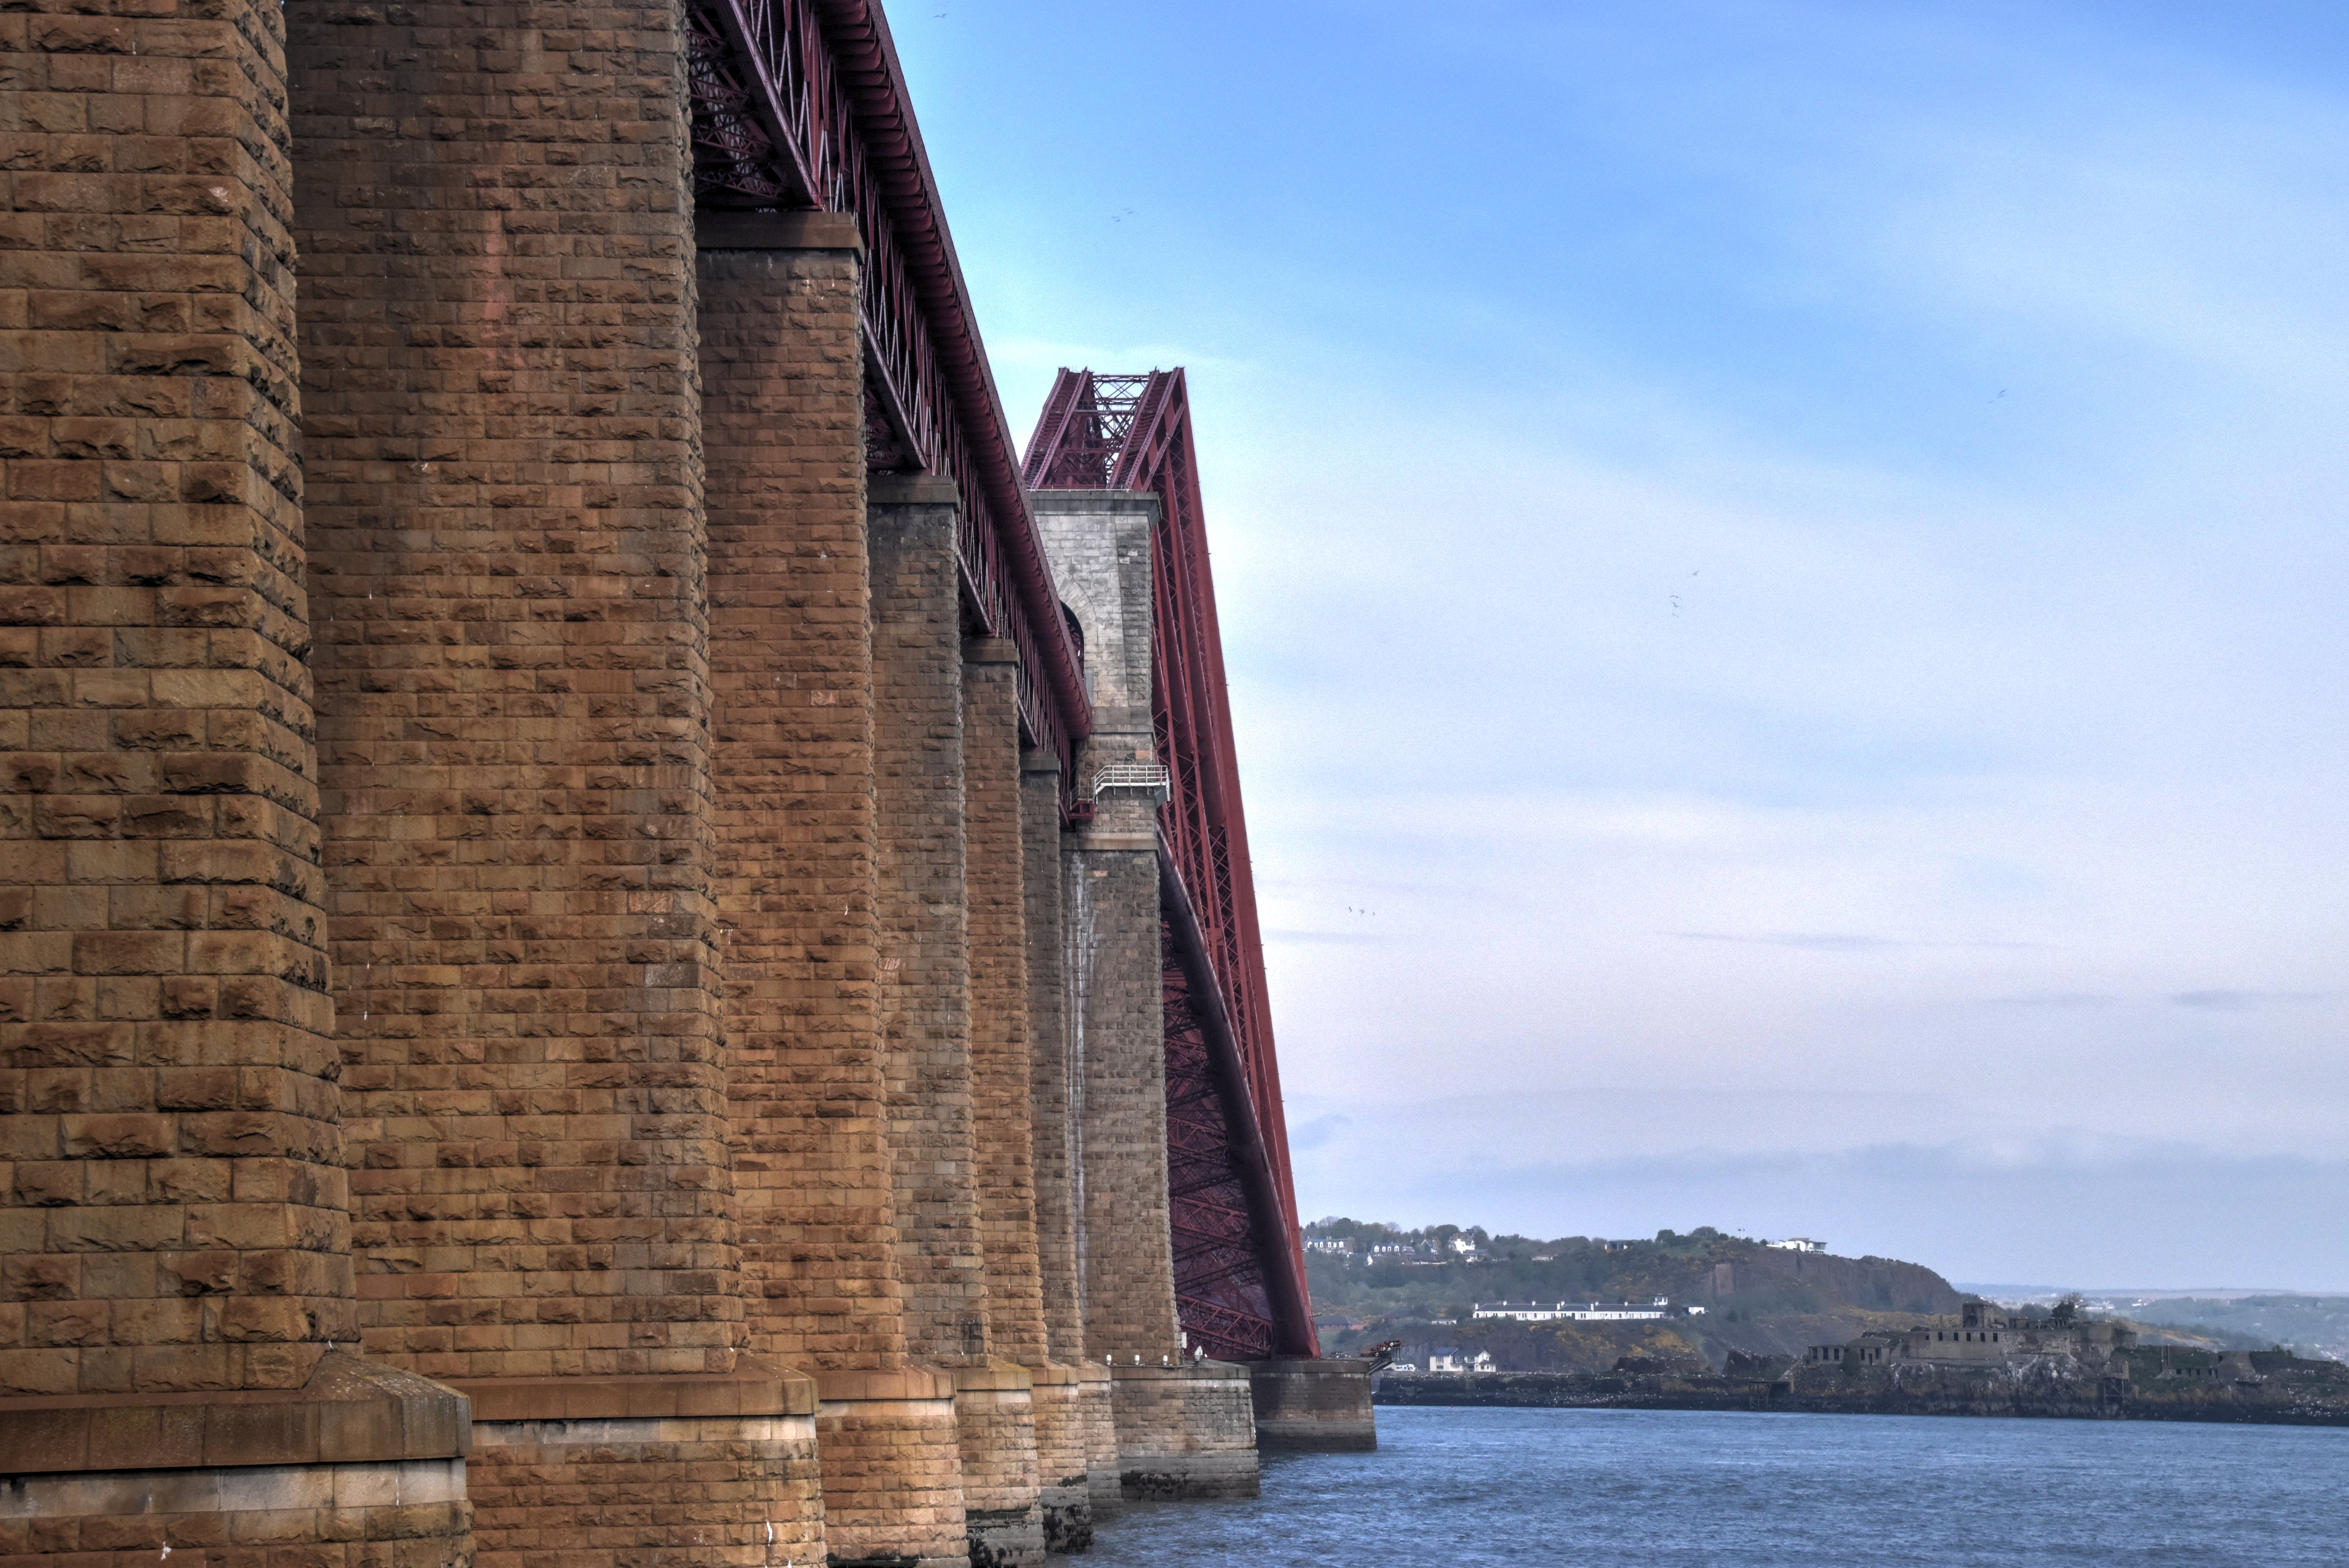
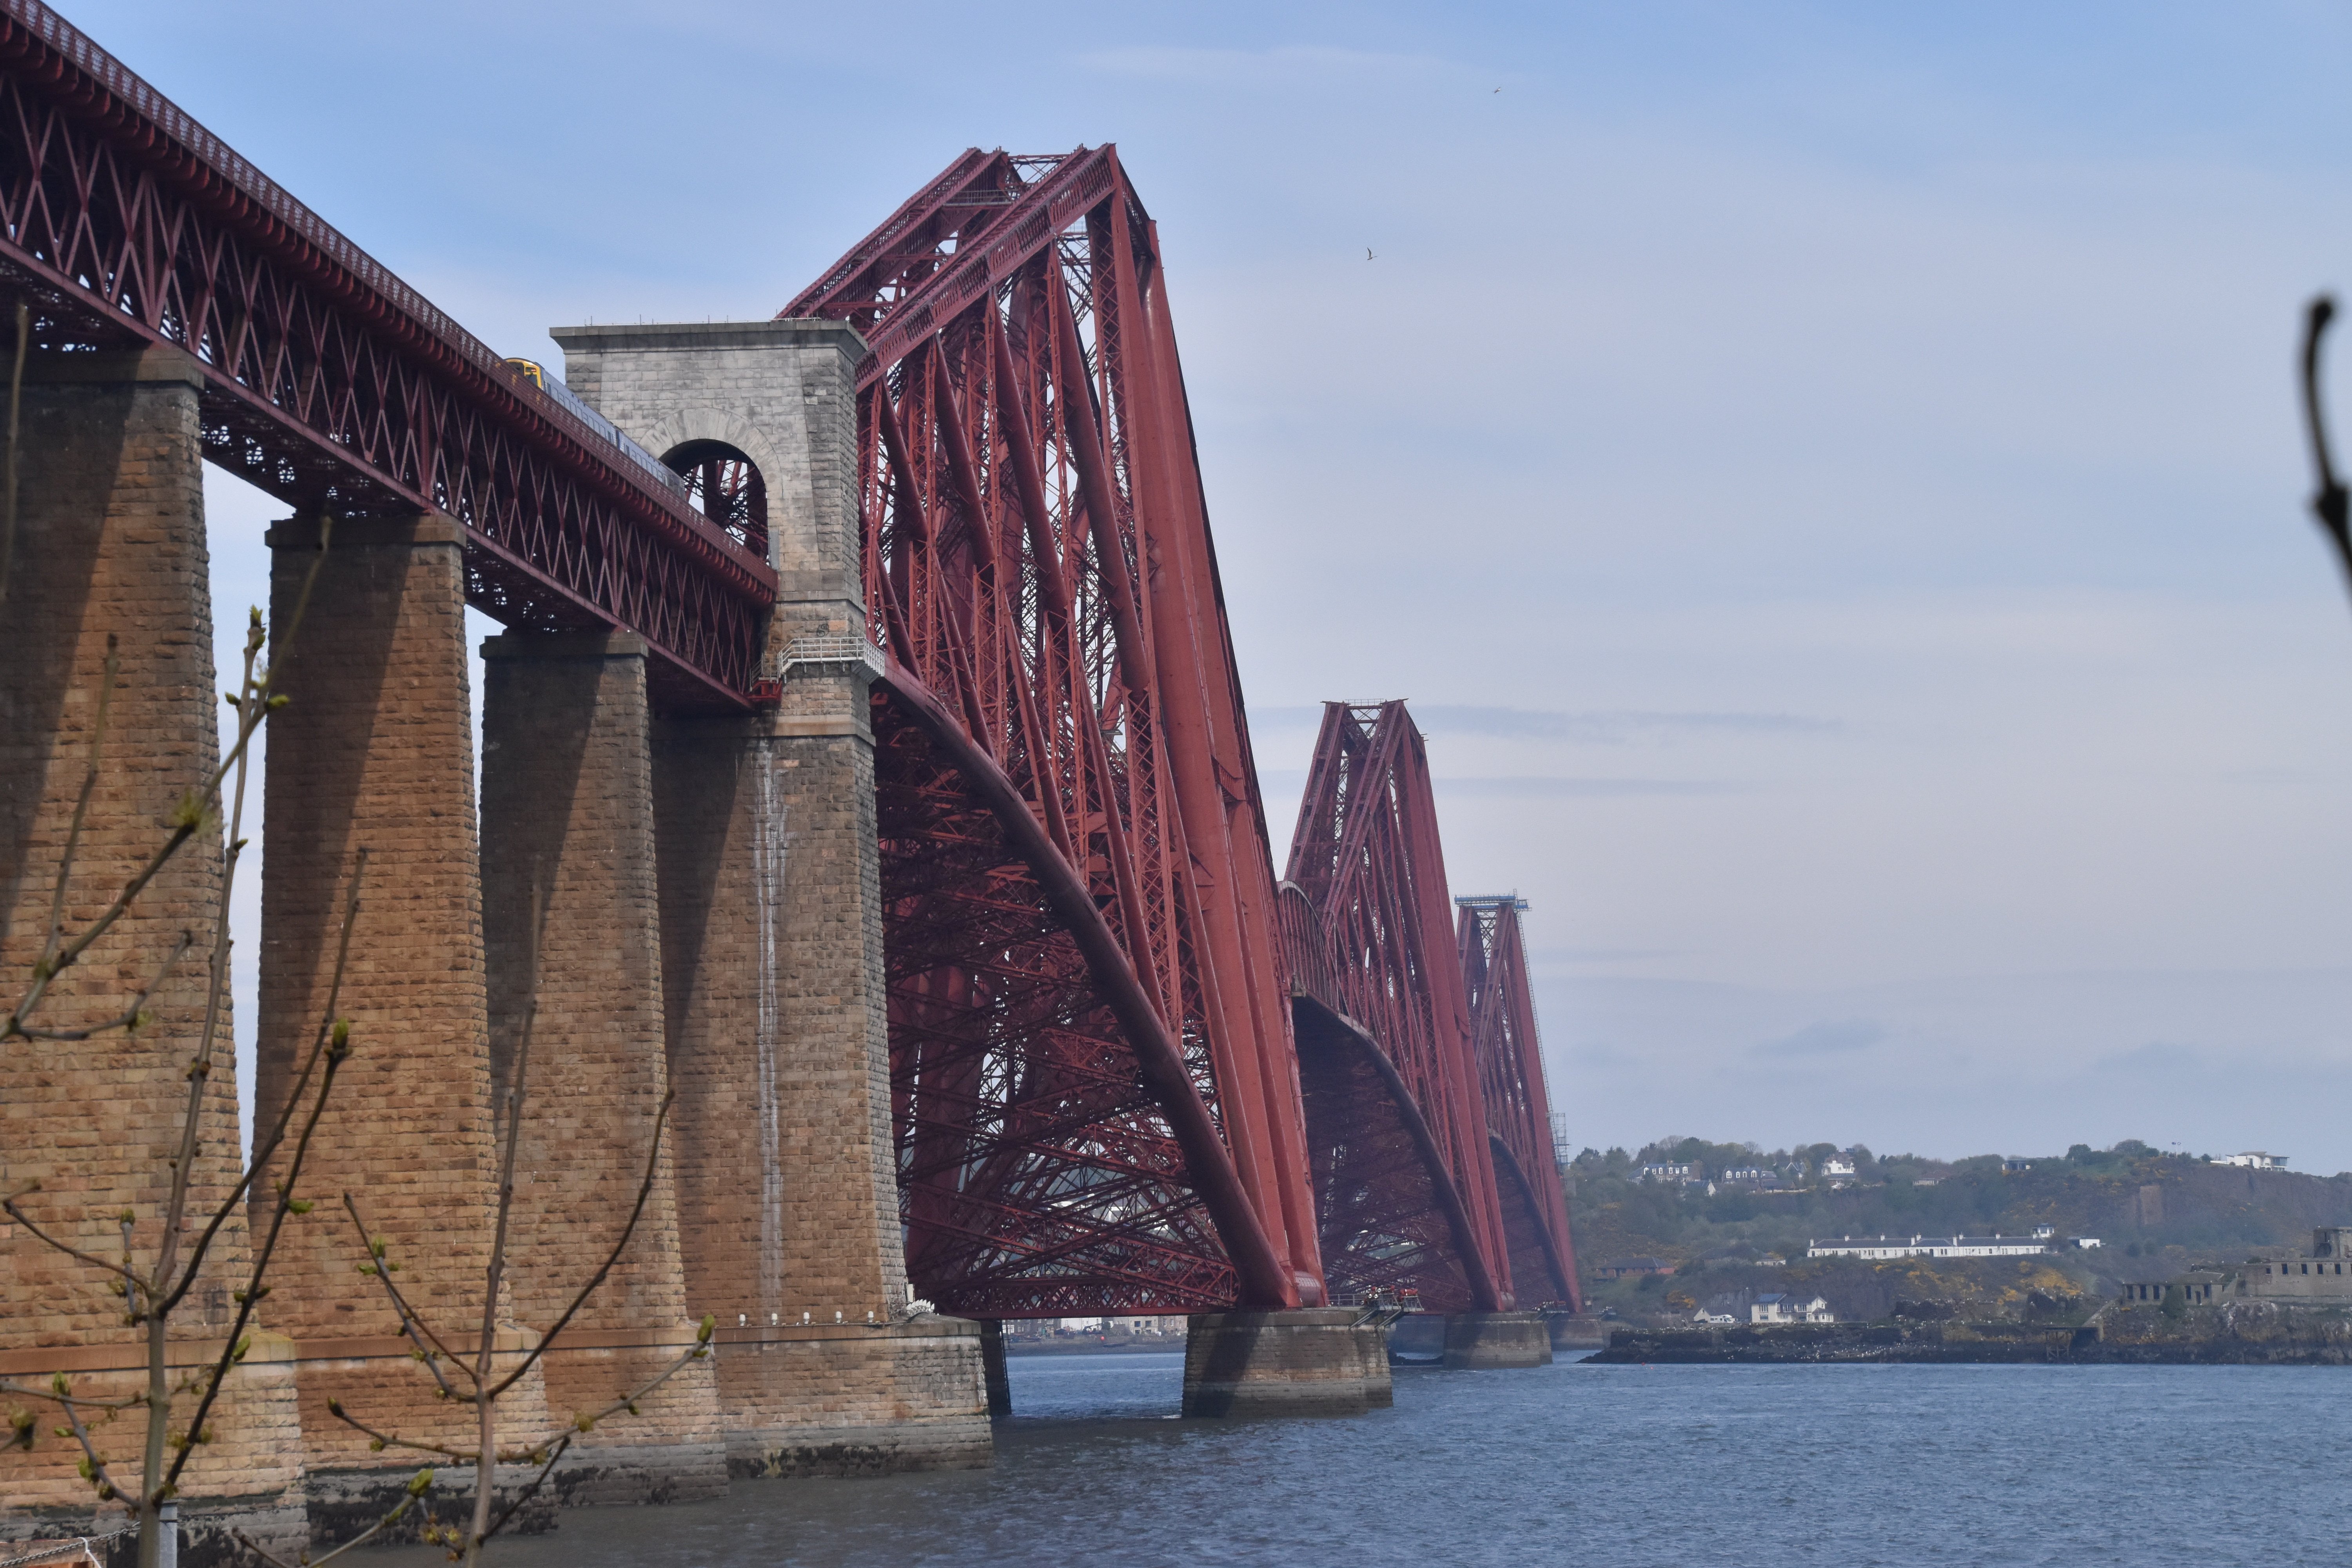
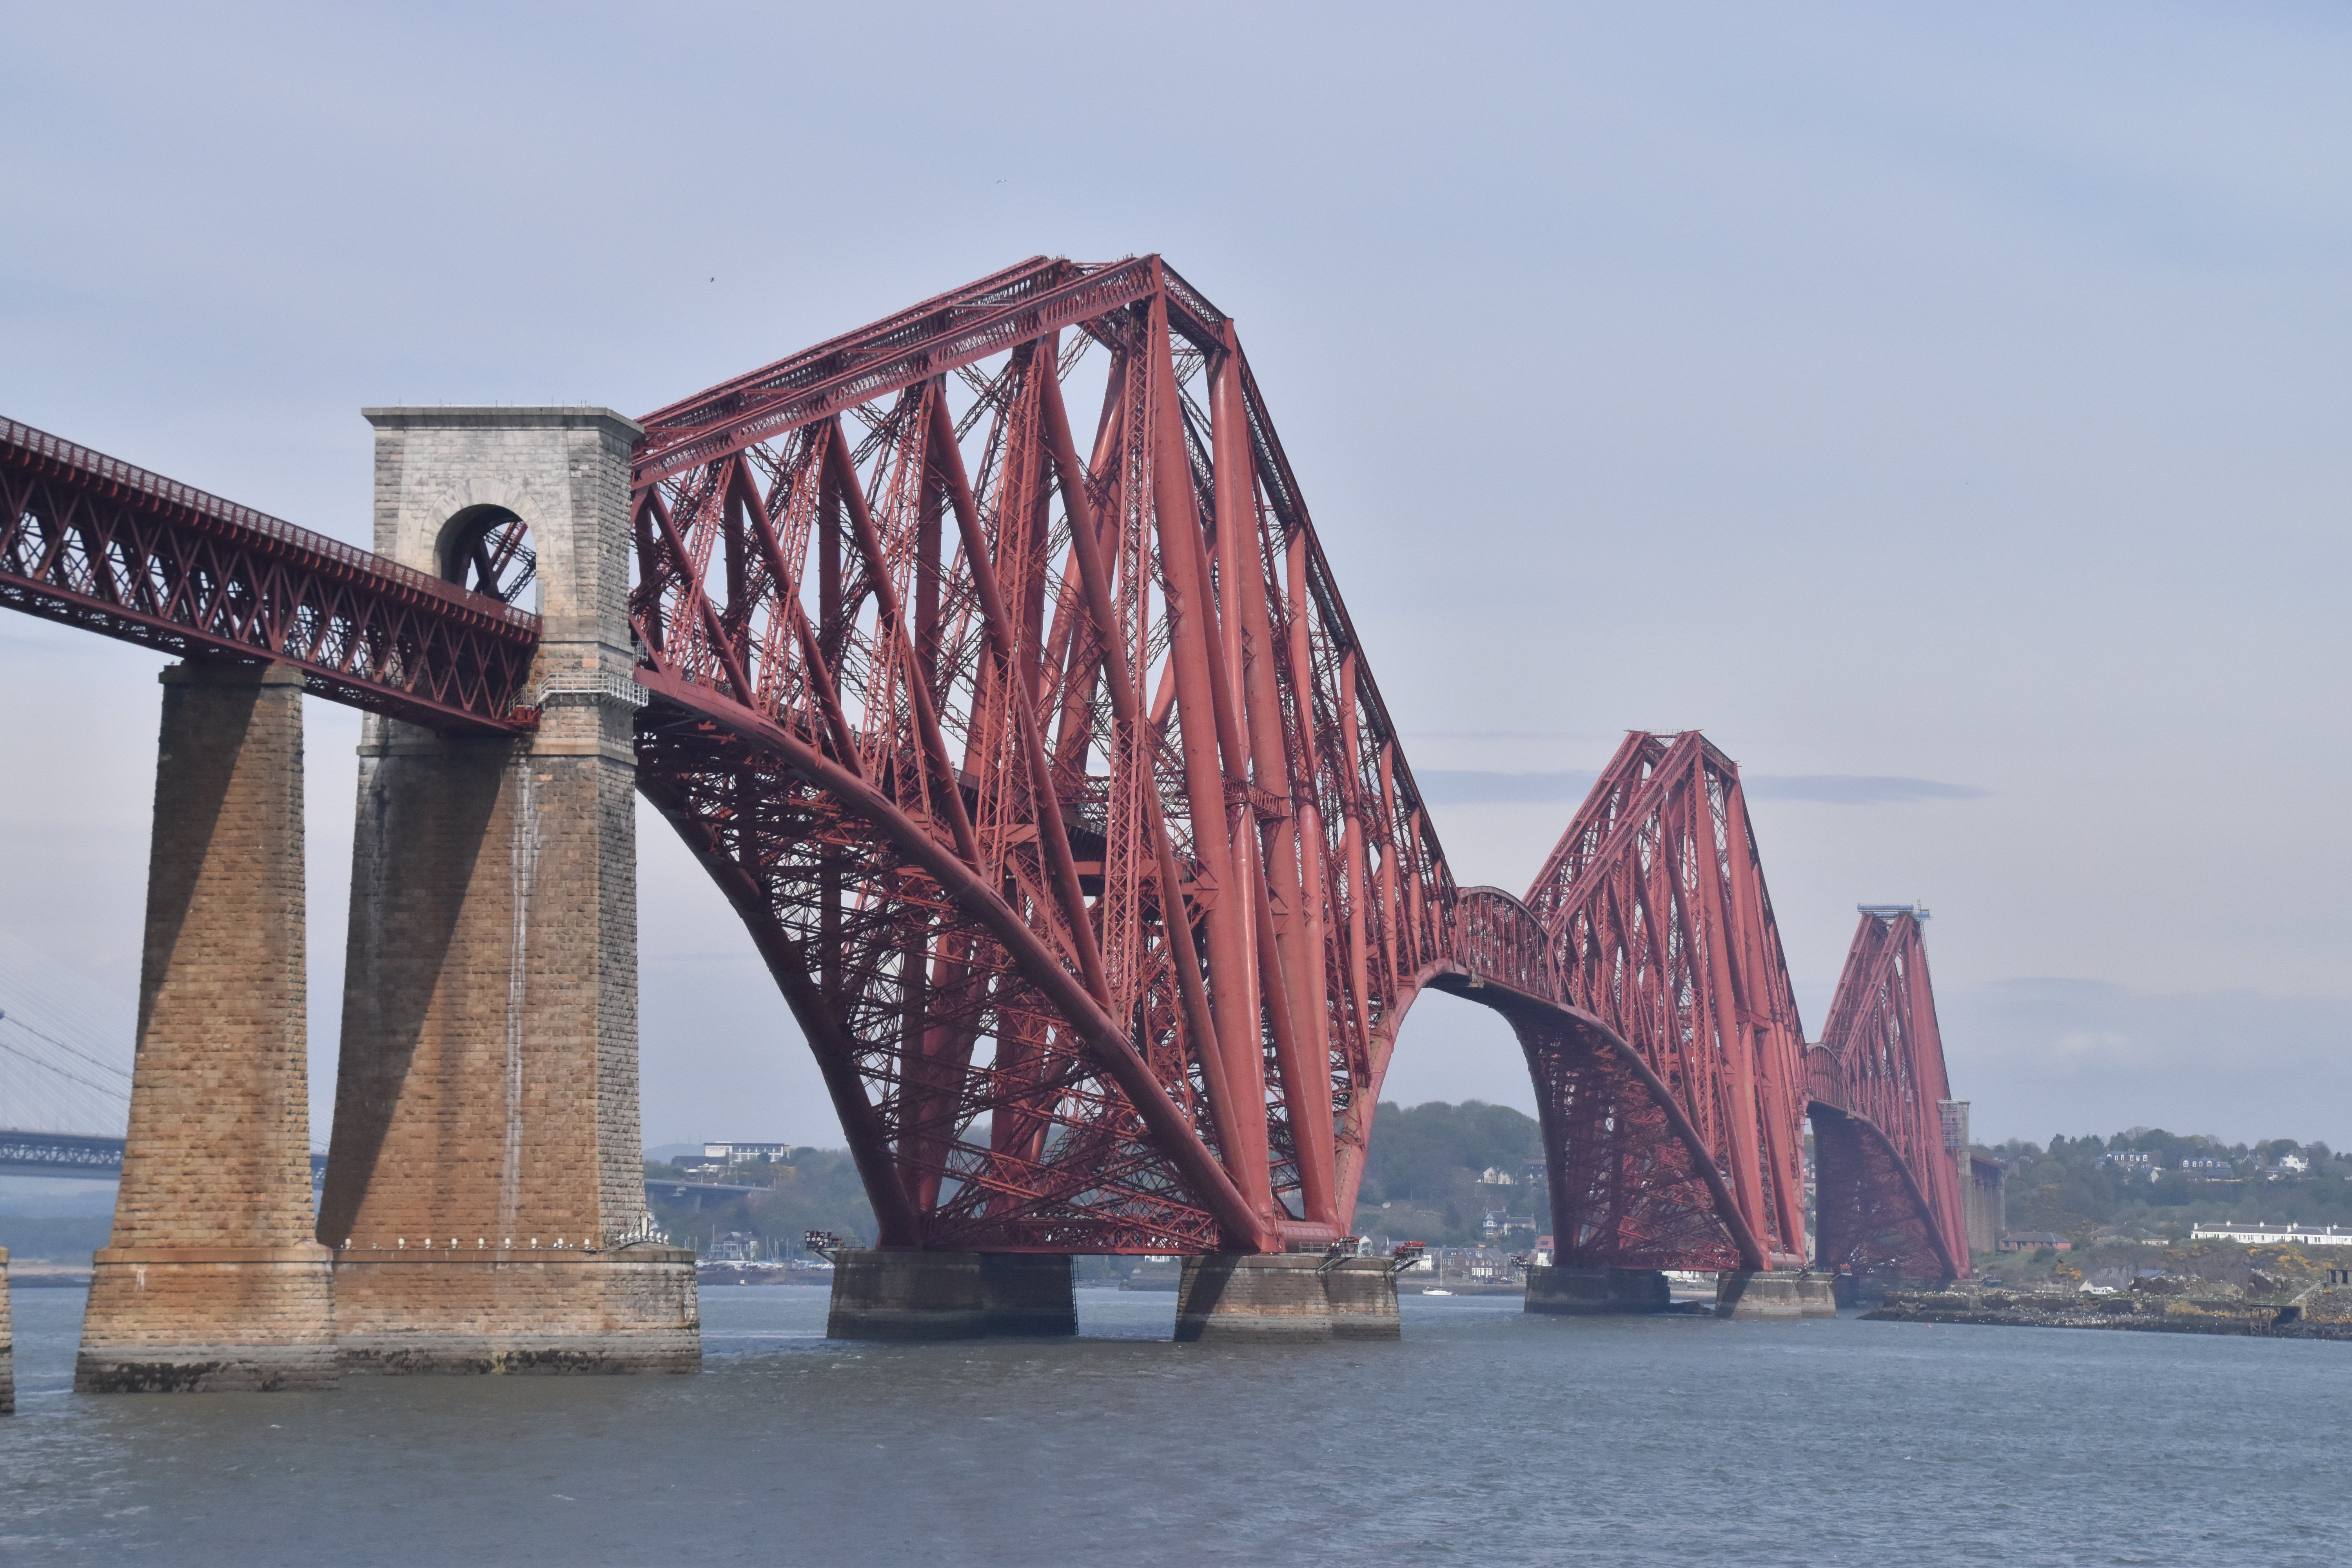
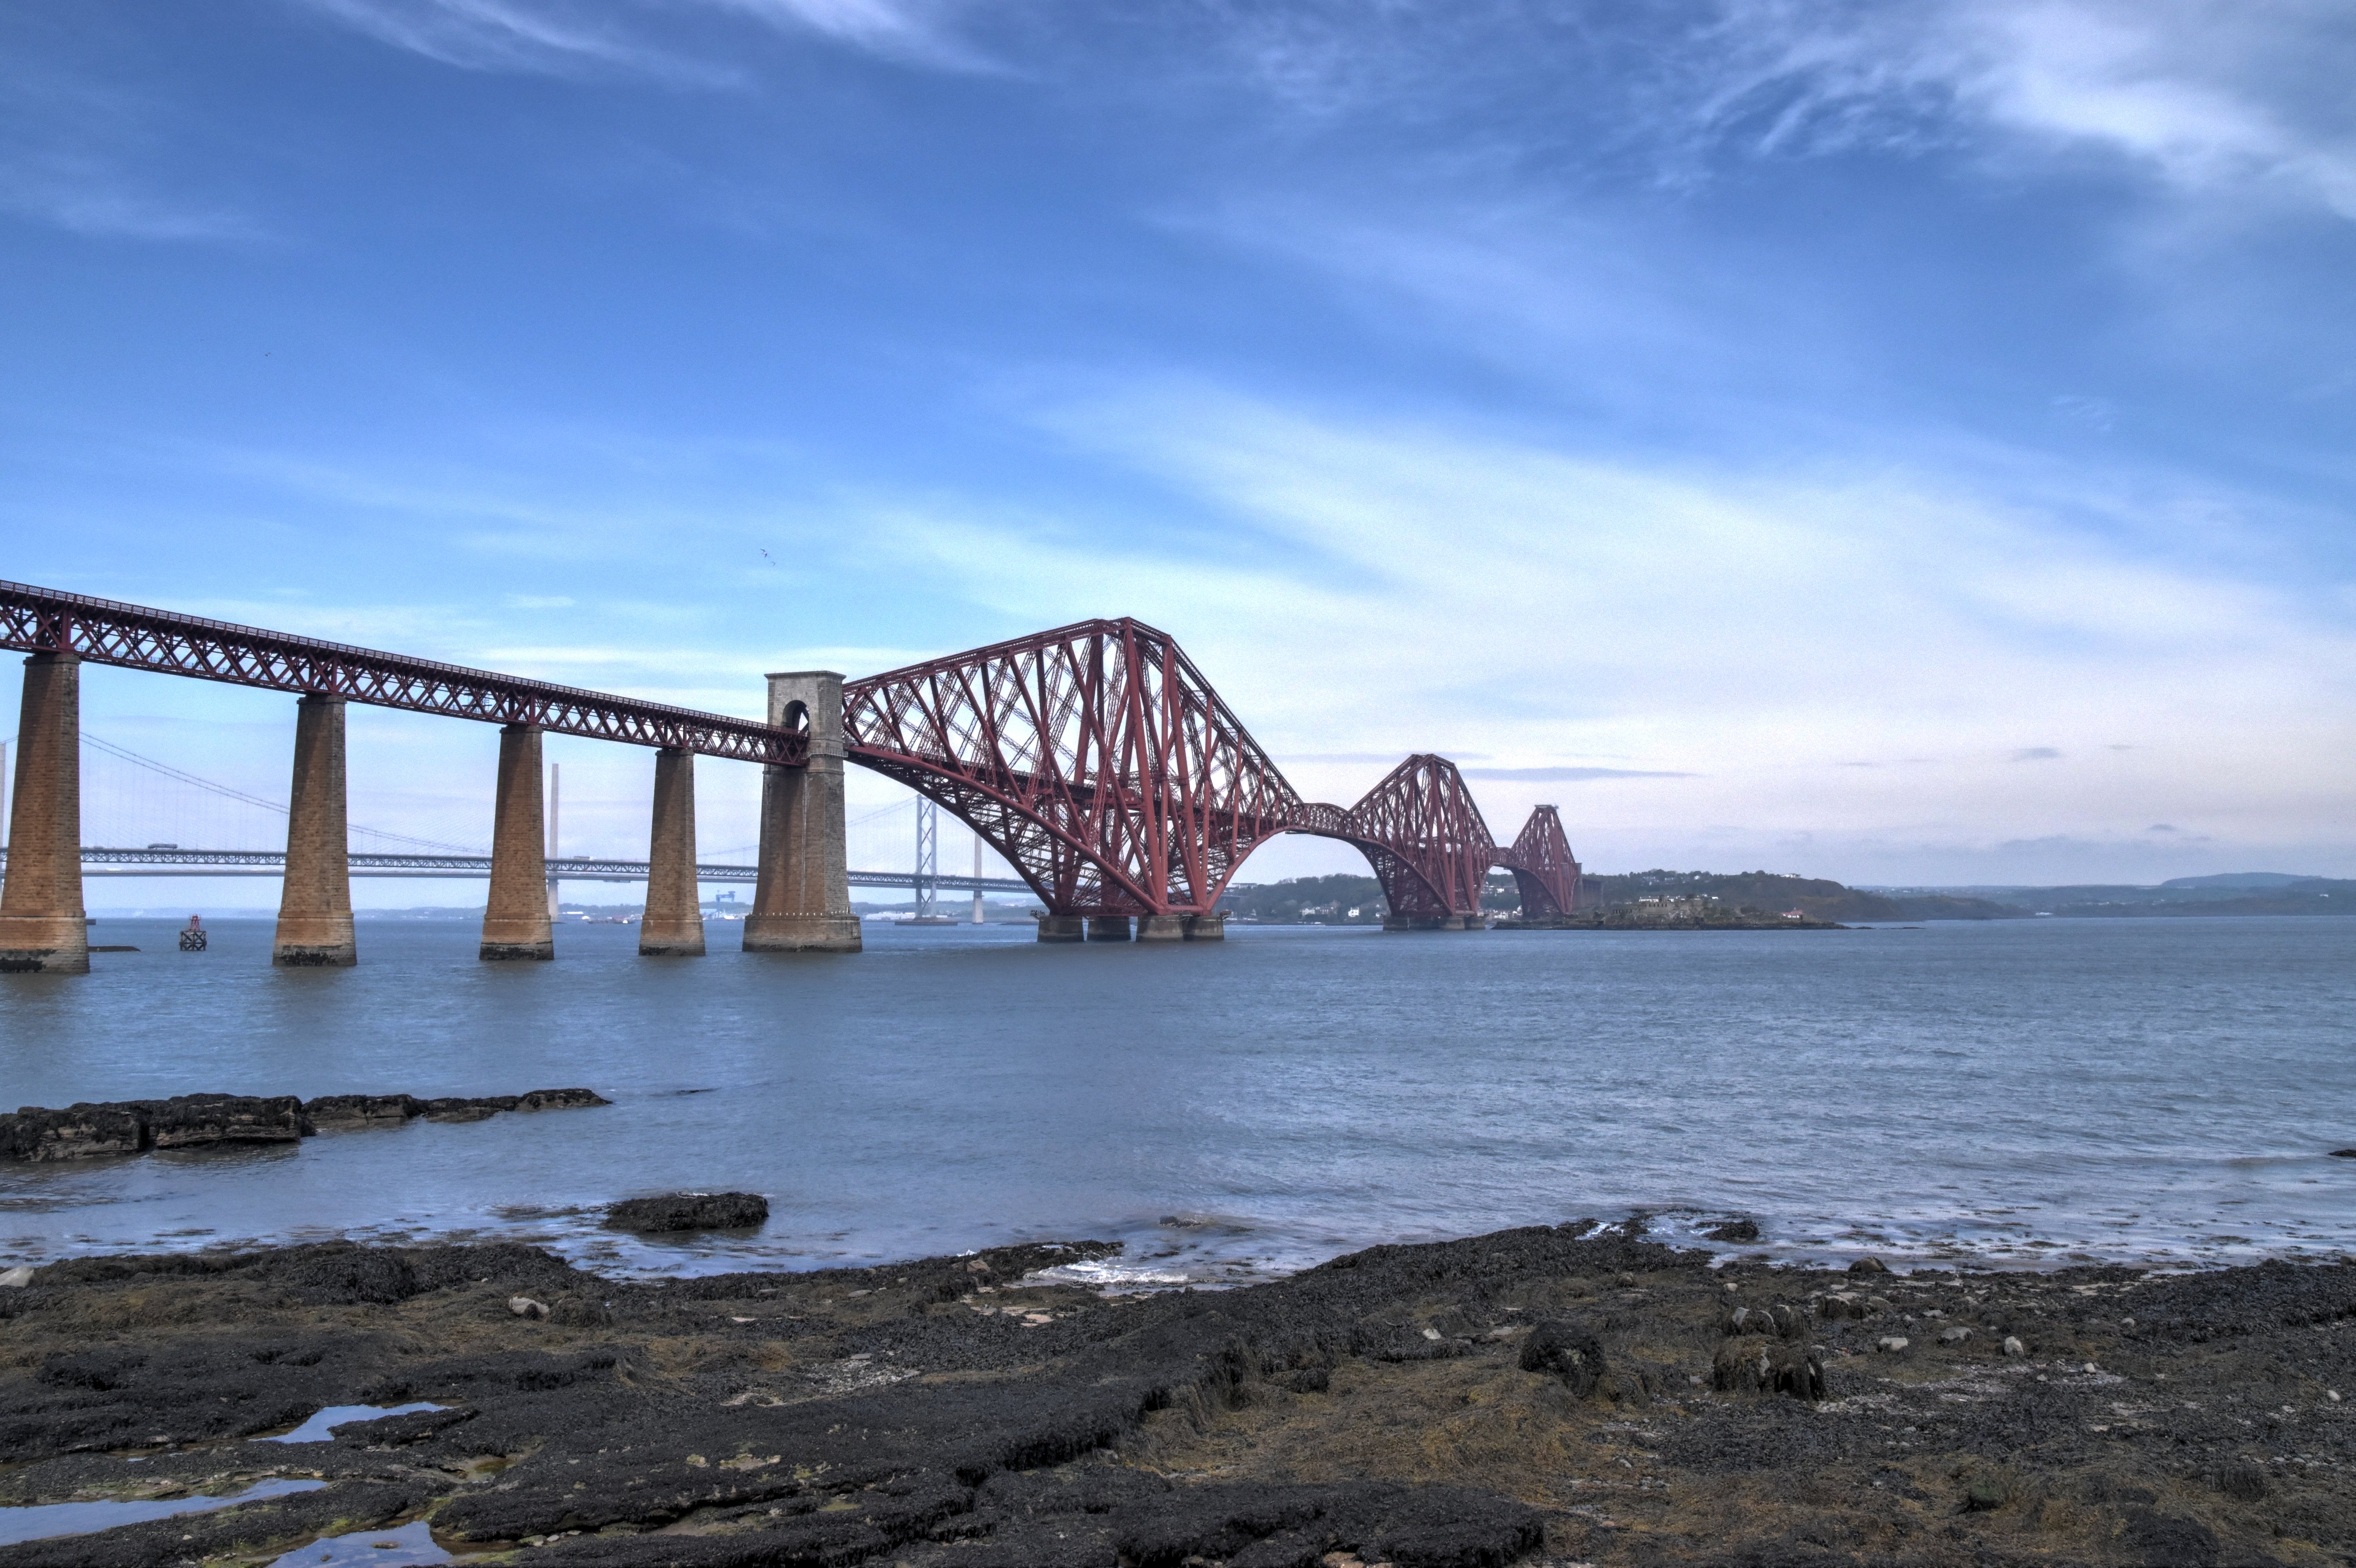
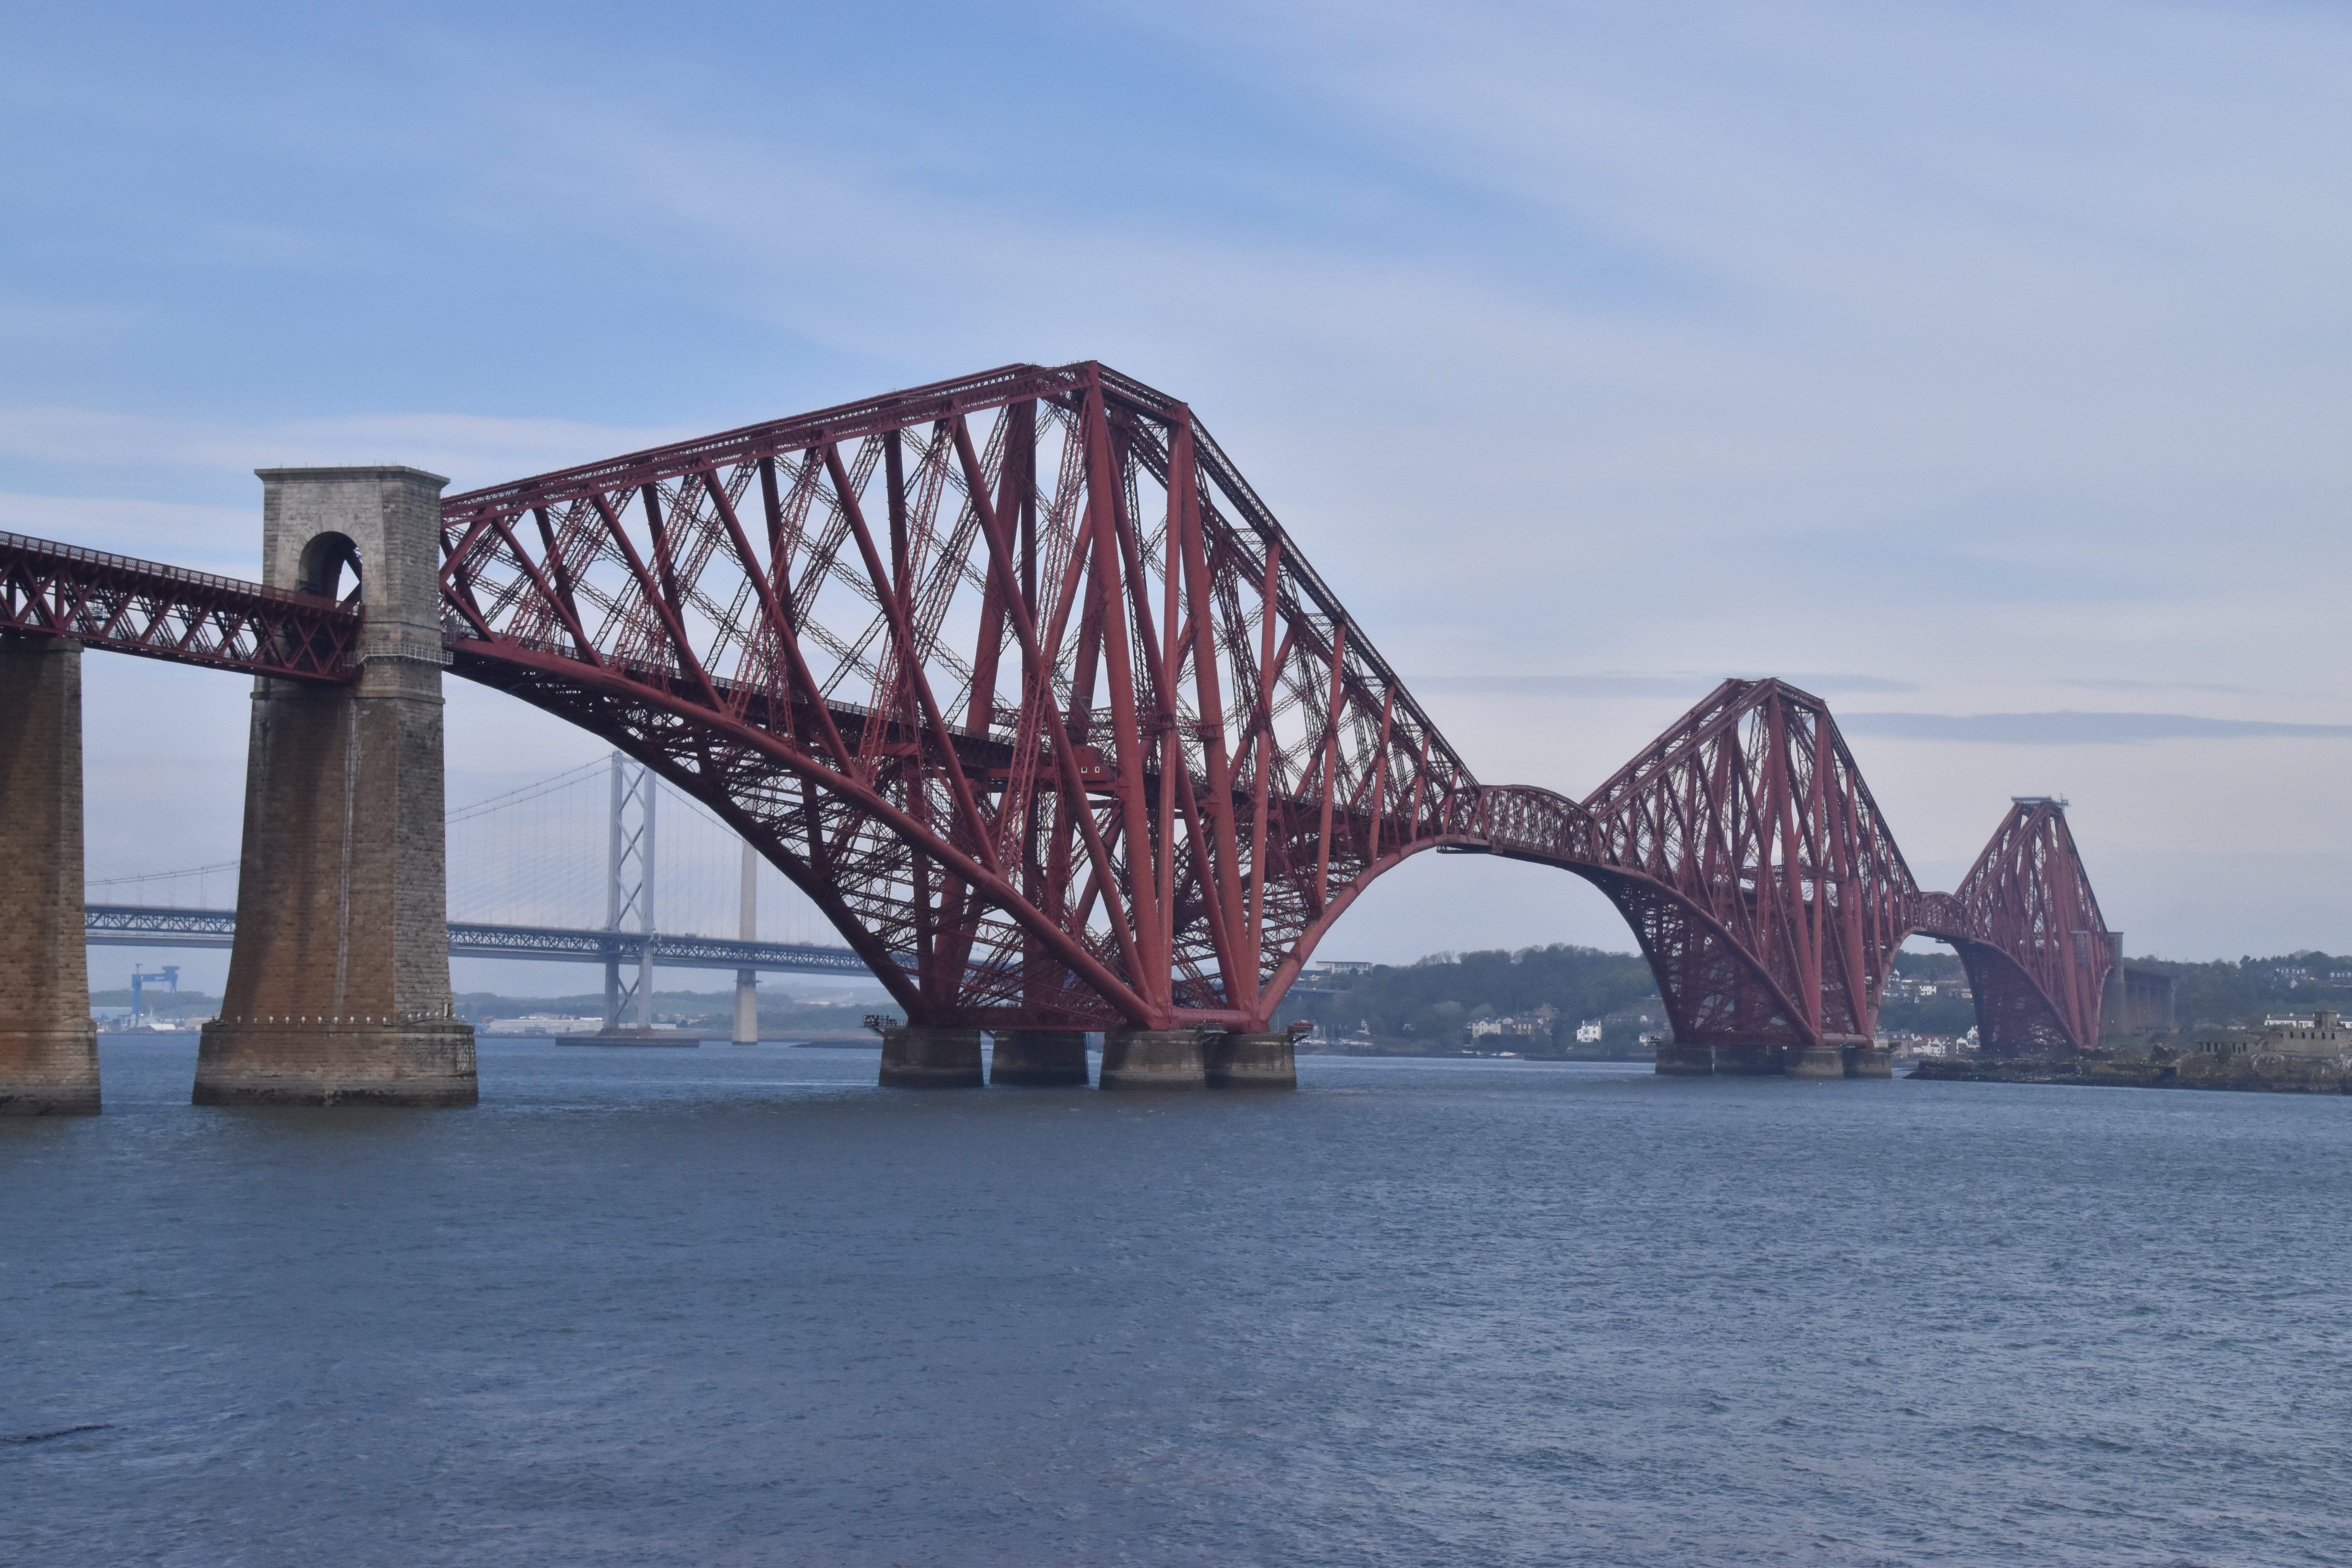
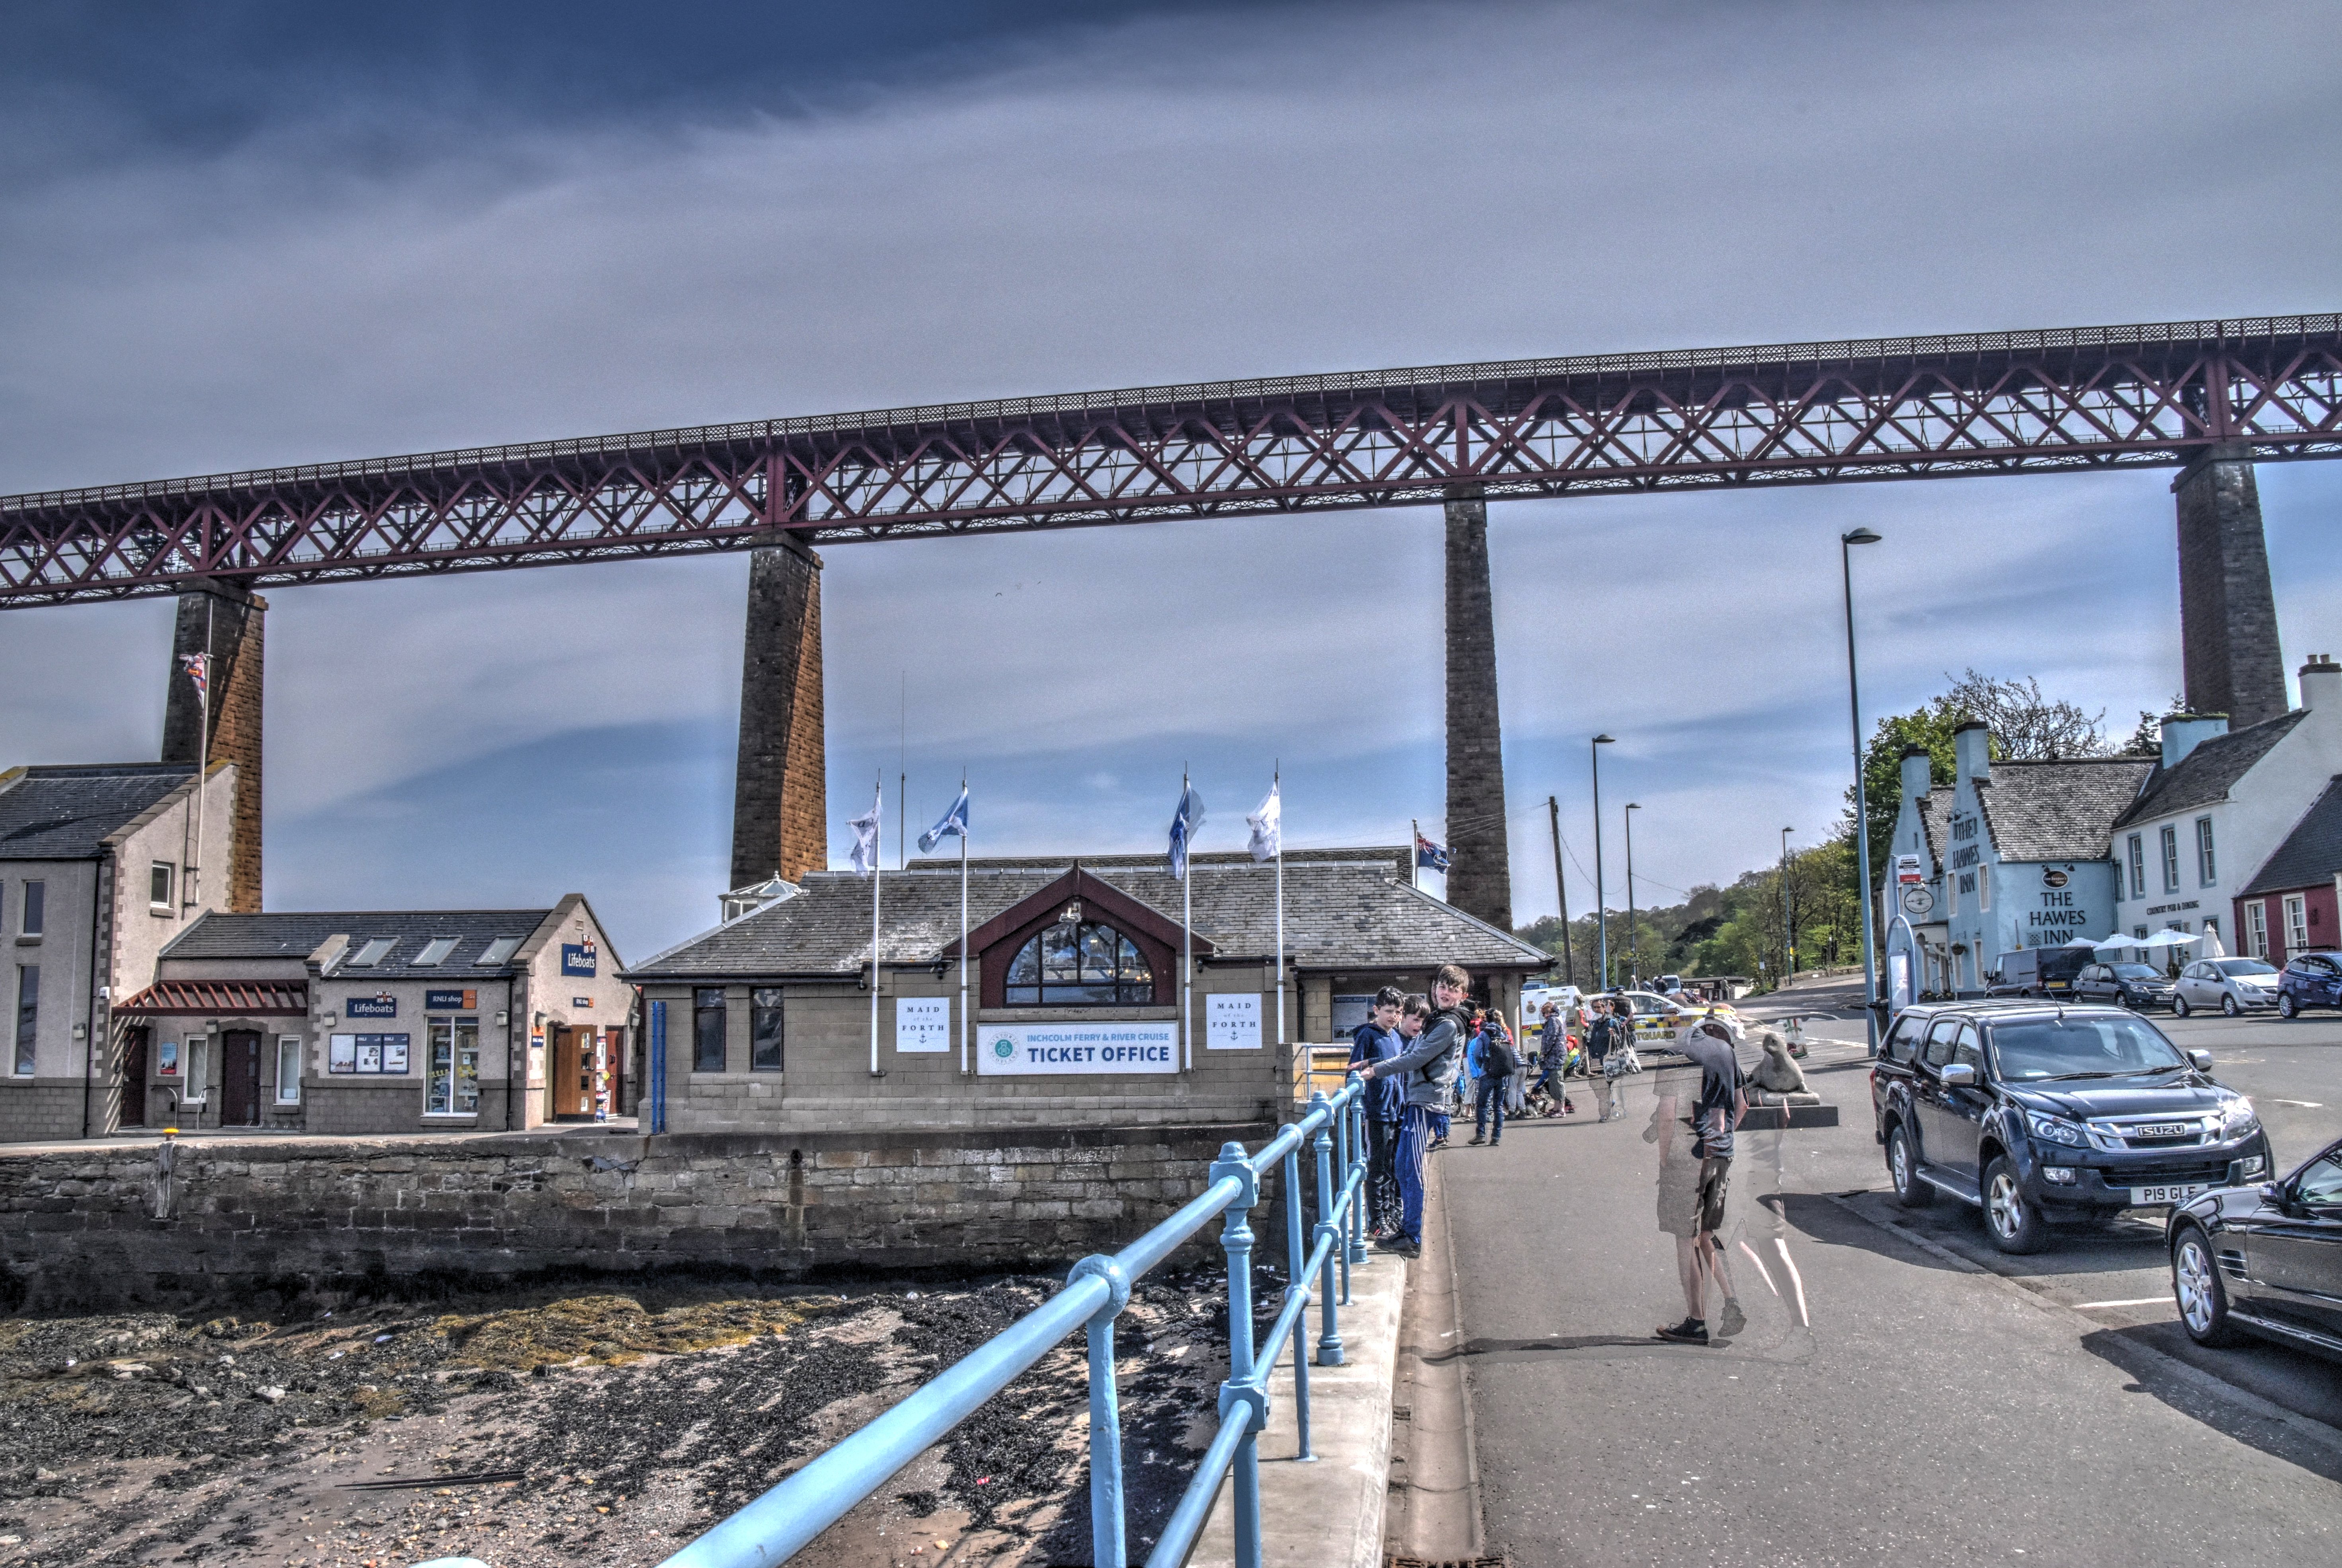
Oblique views of main spans from southwest quadrant. Midday views.
![]()
![]()
![]()
![]()
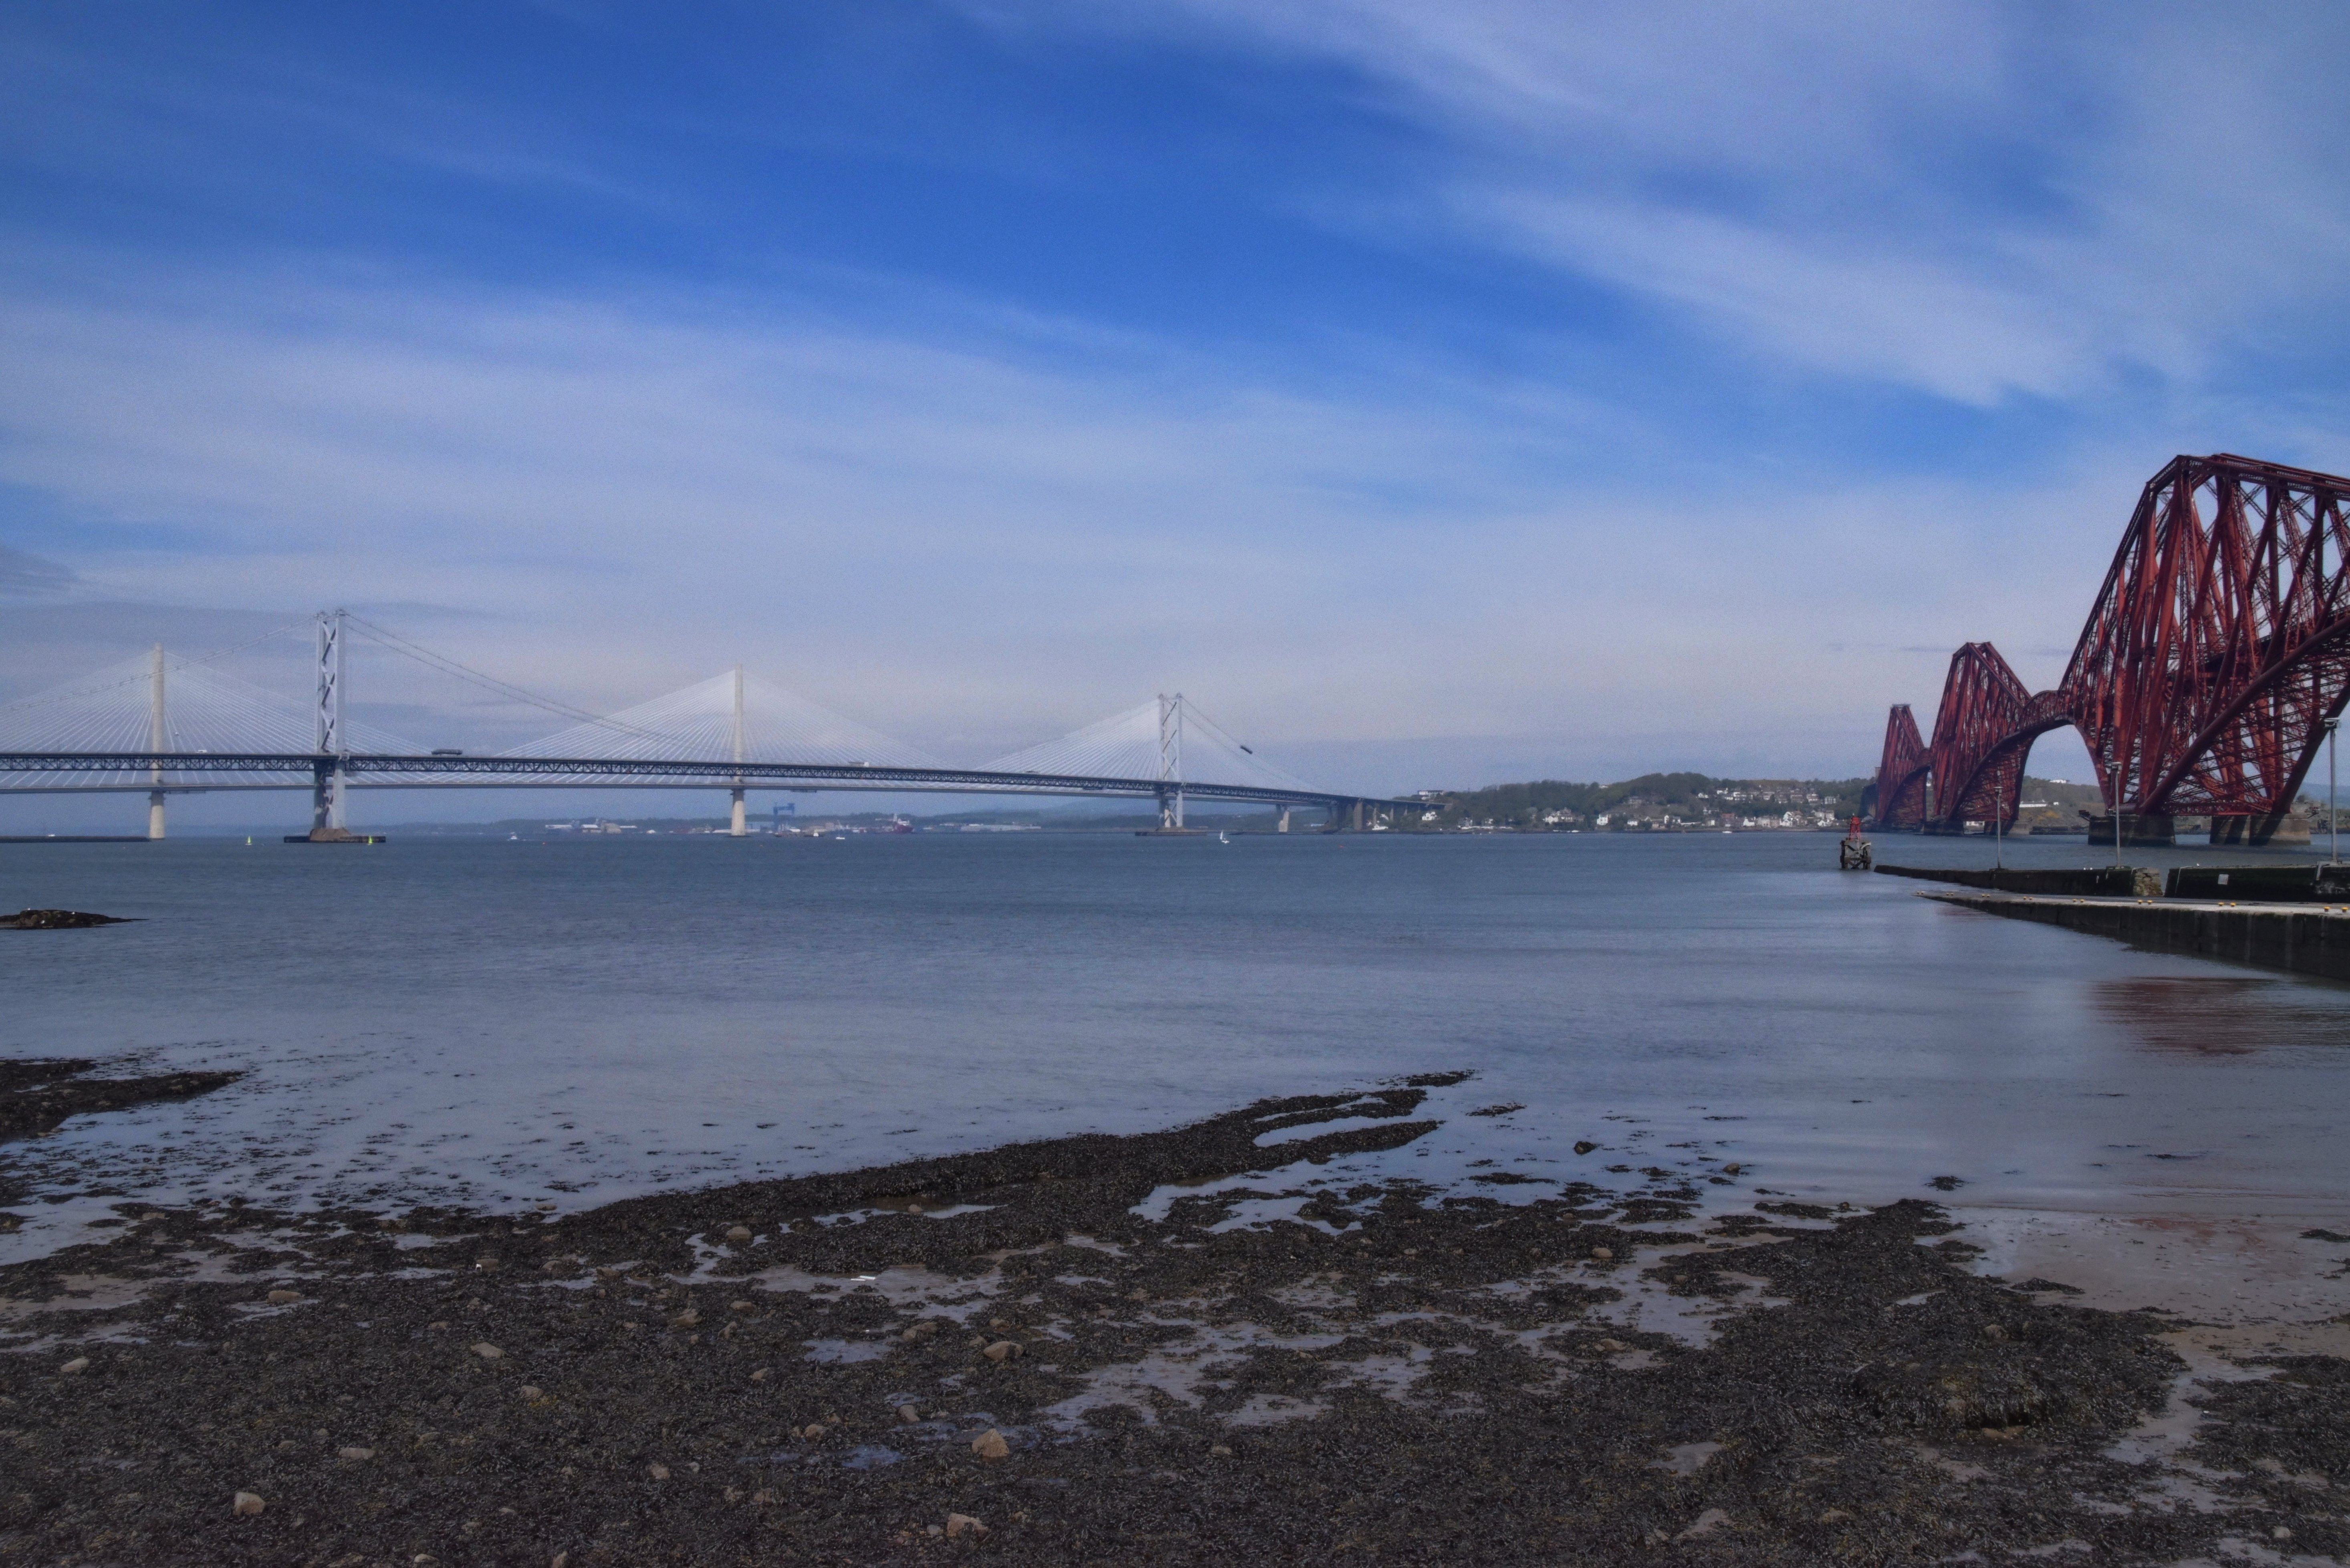
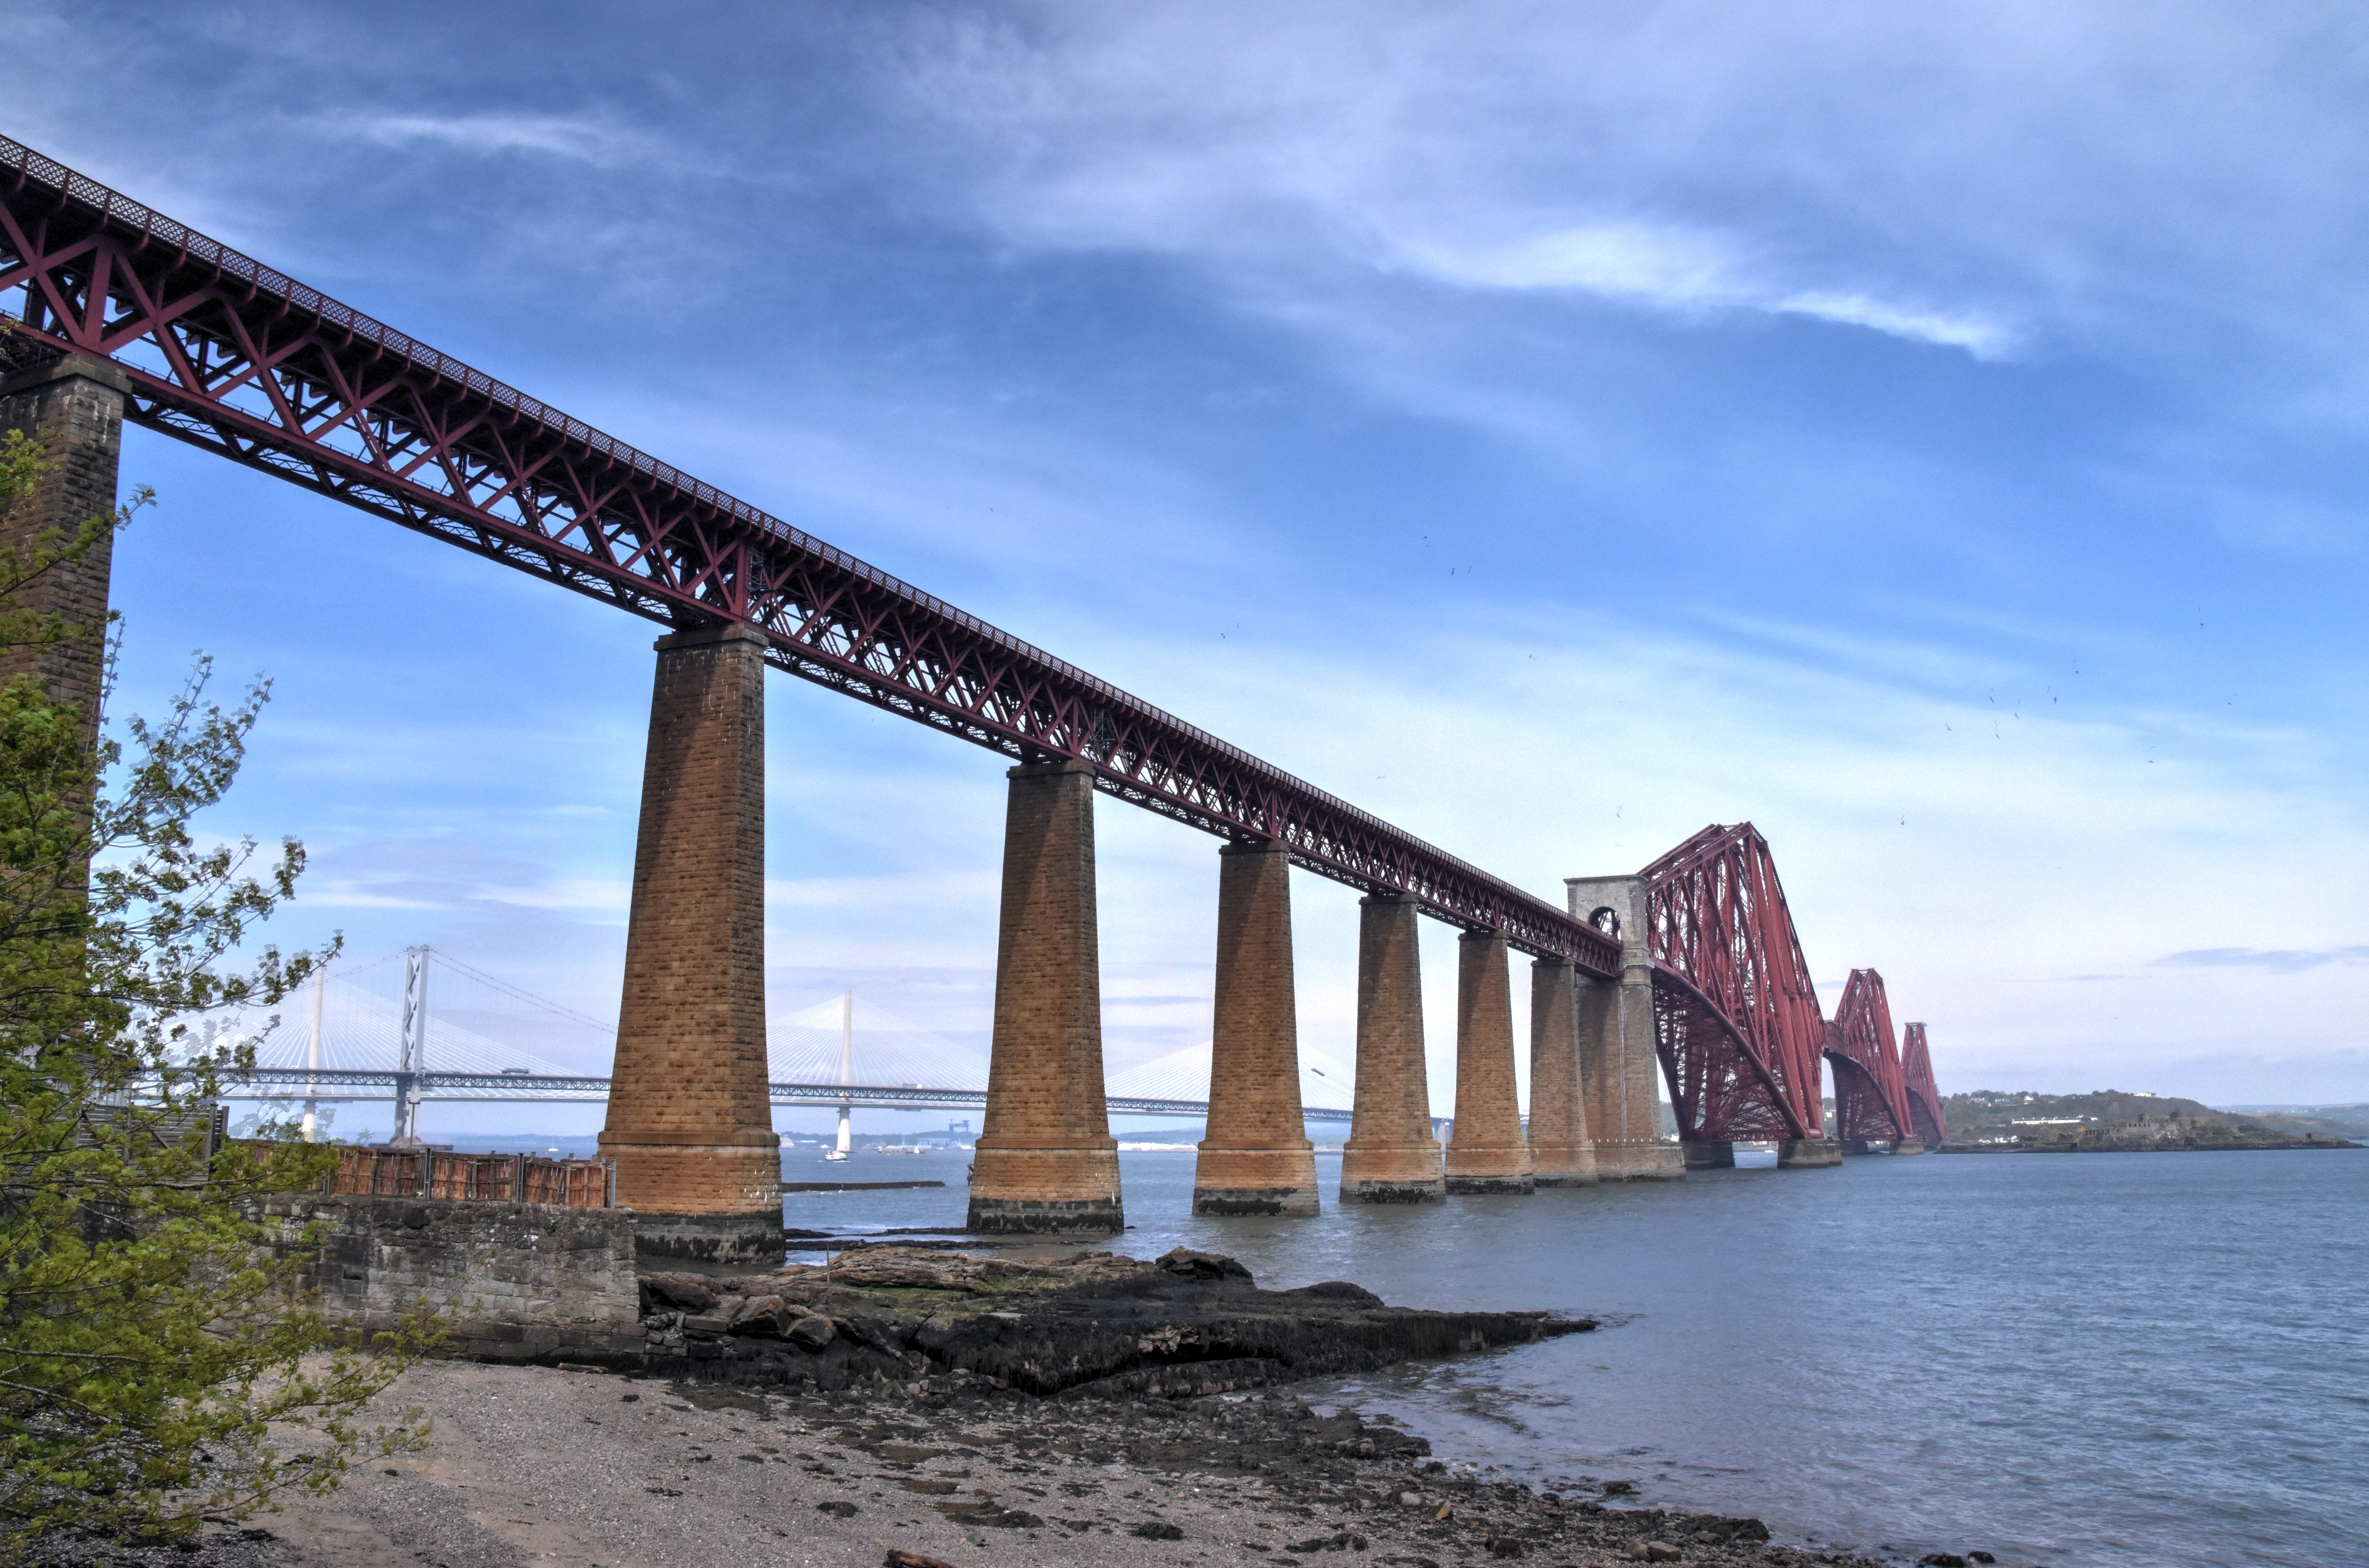
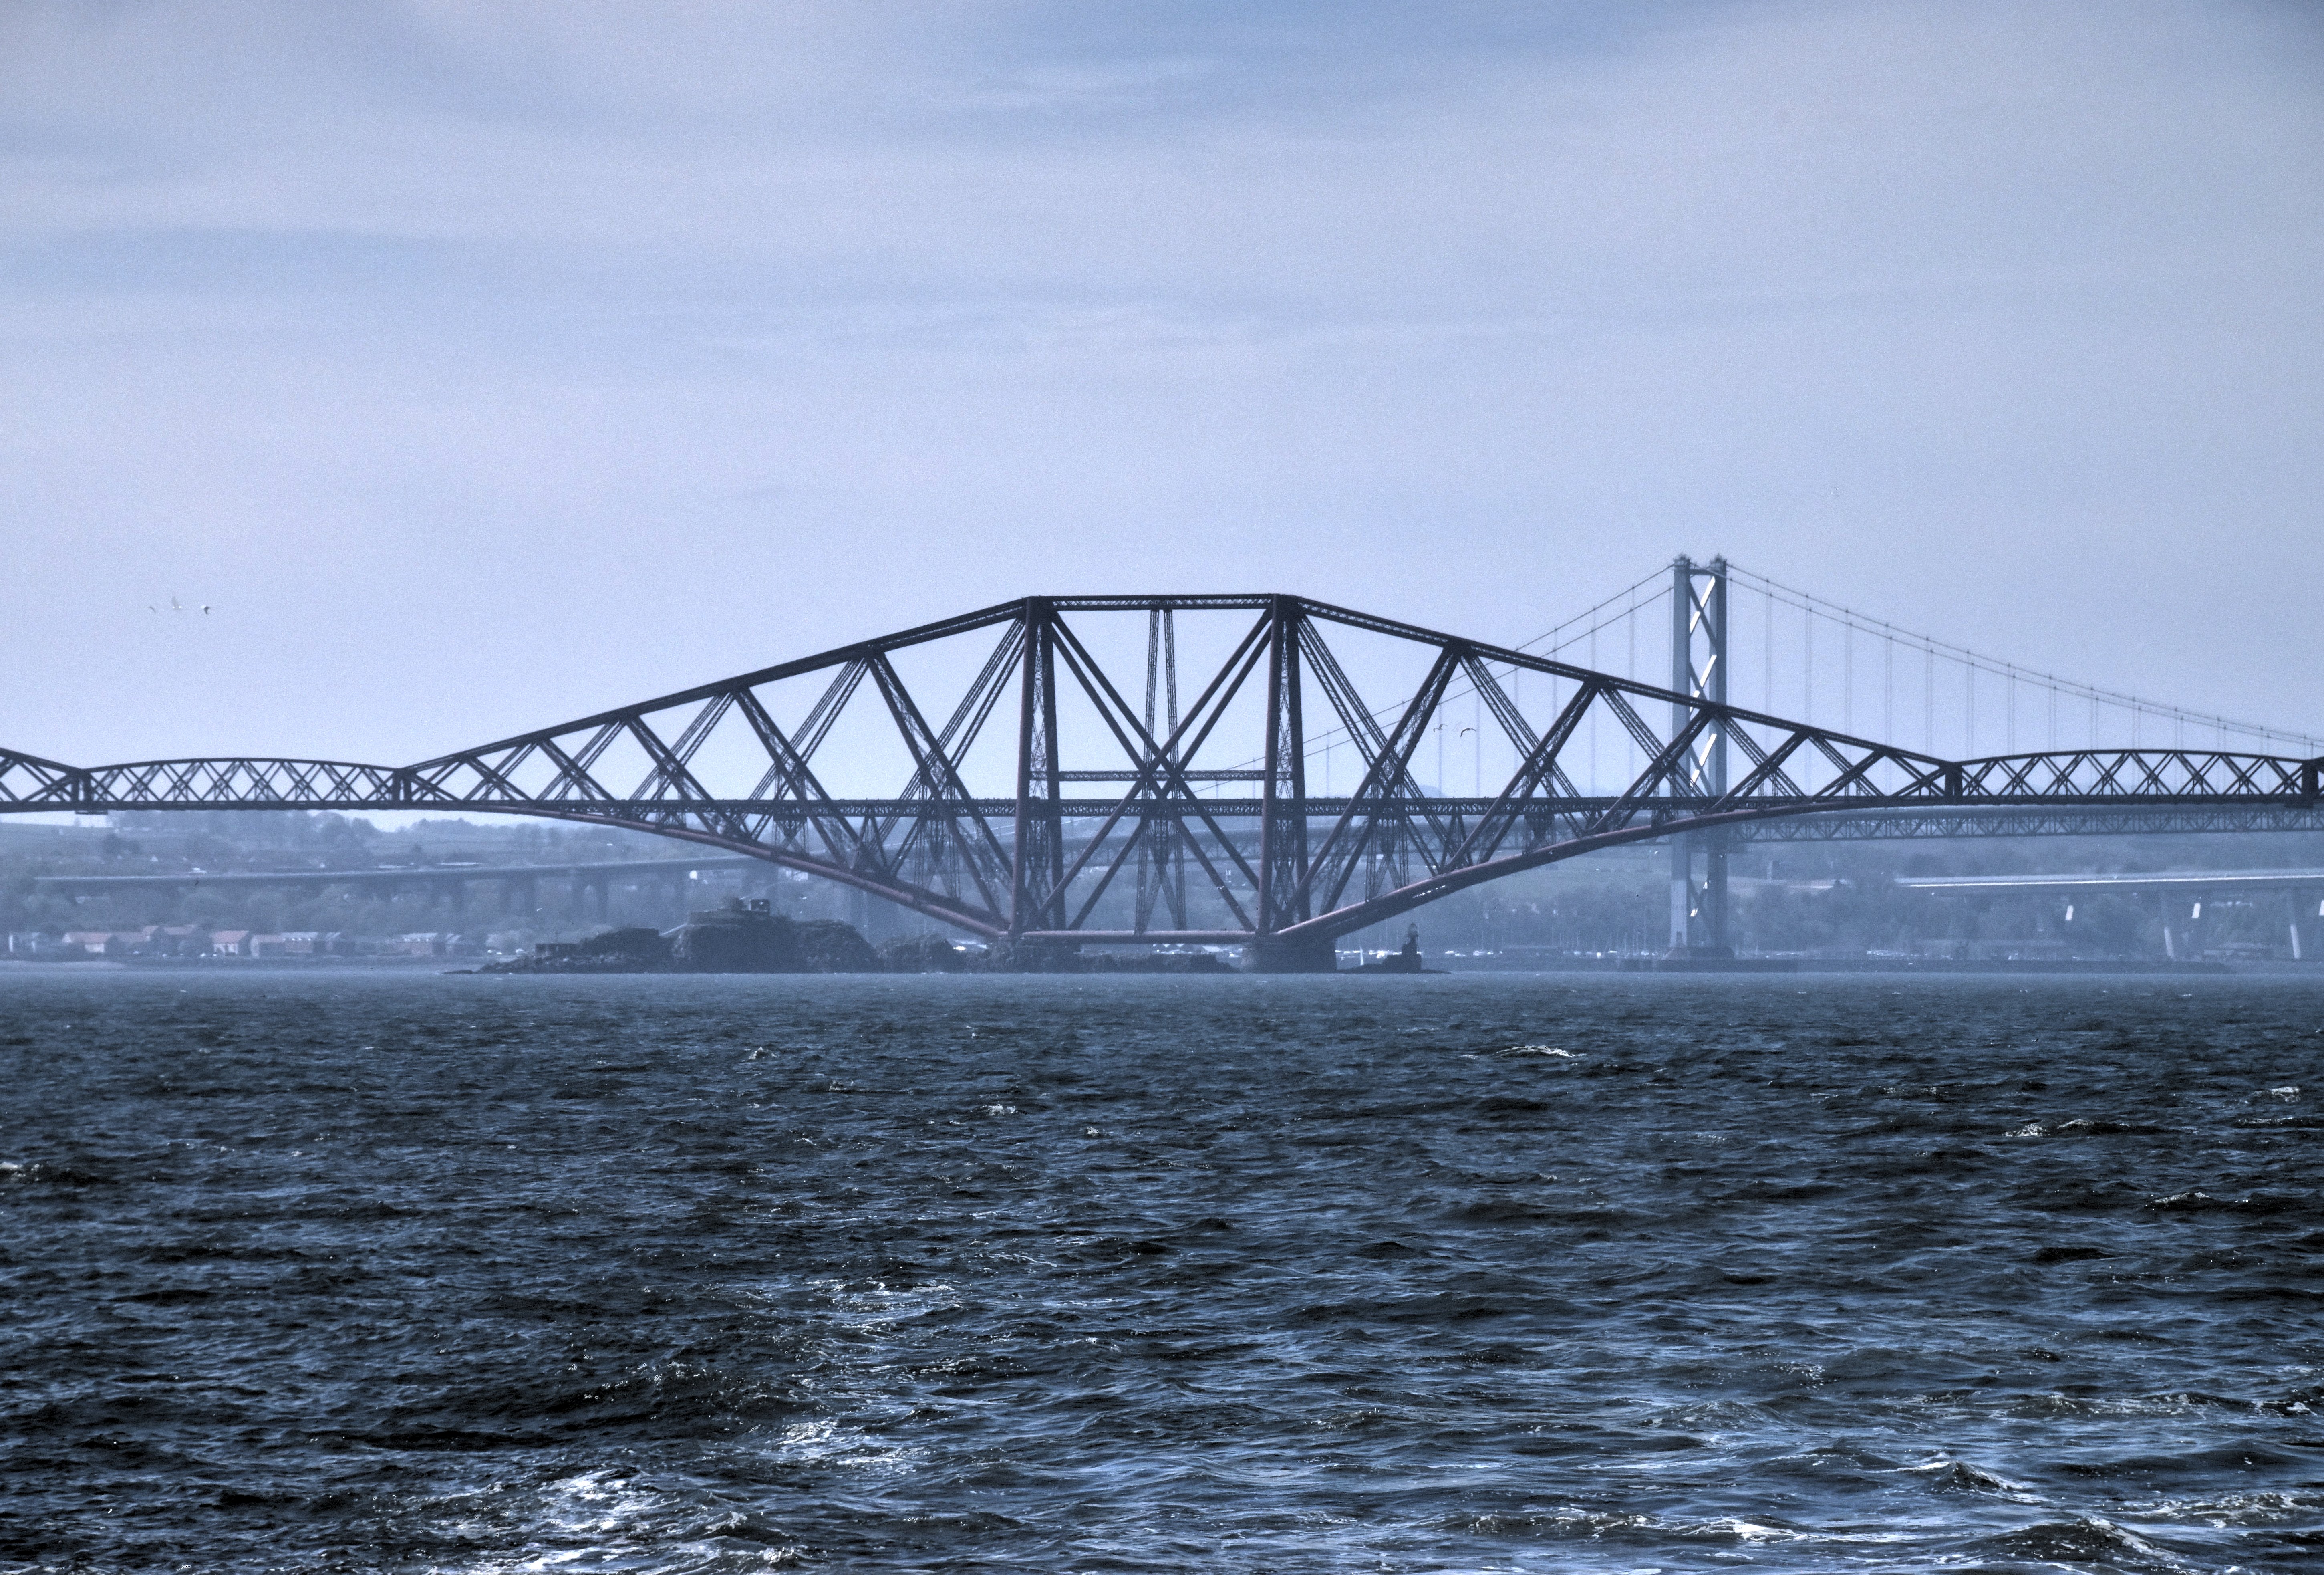
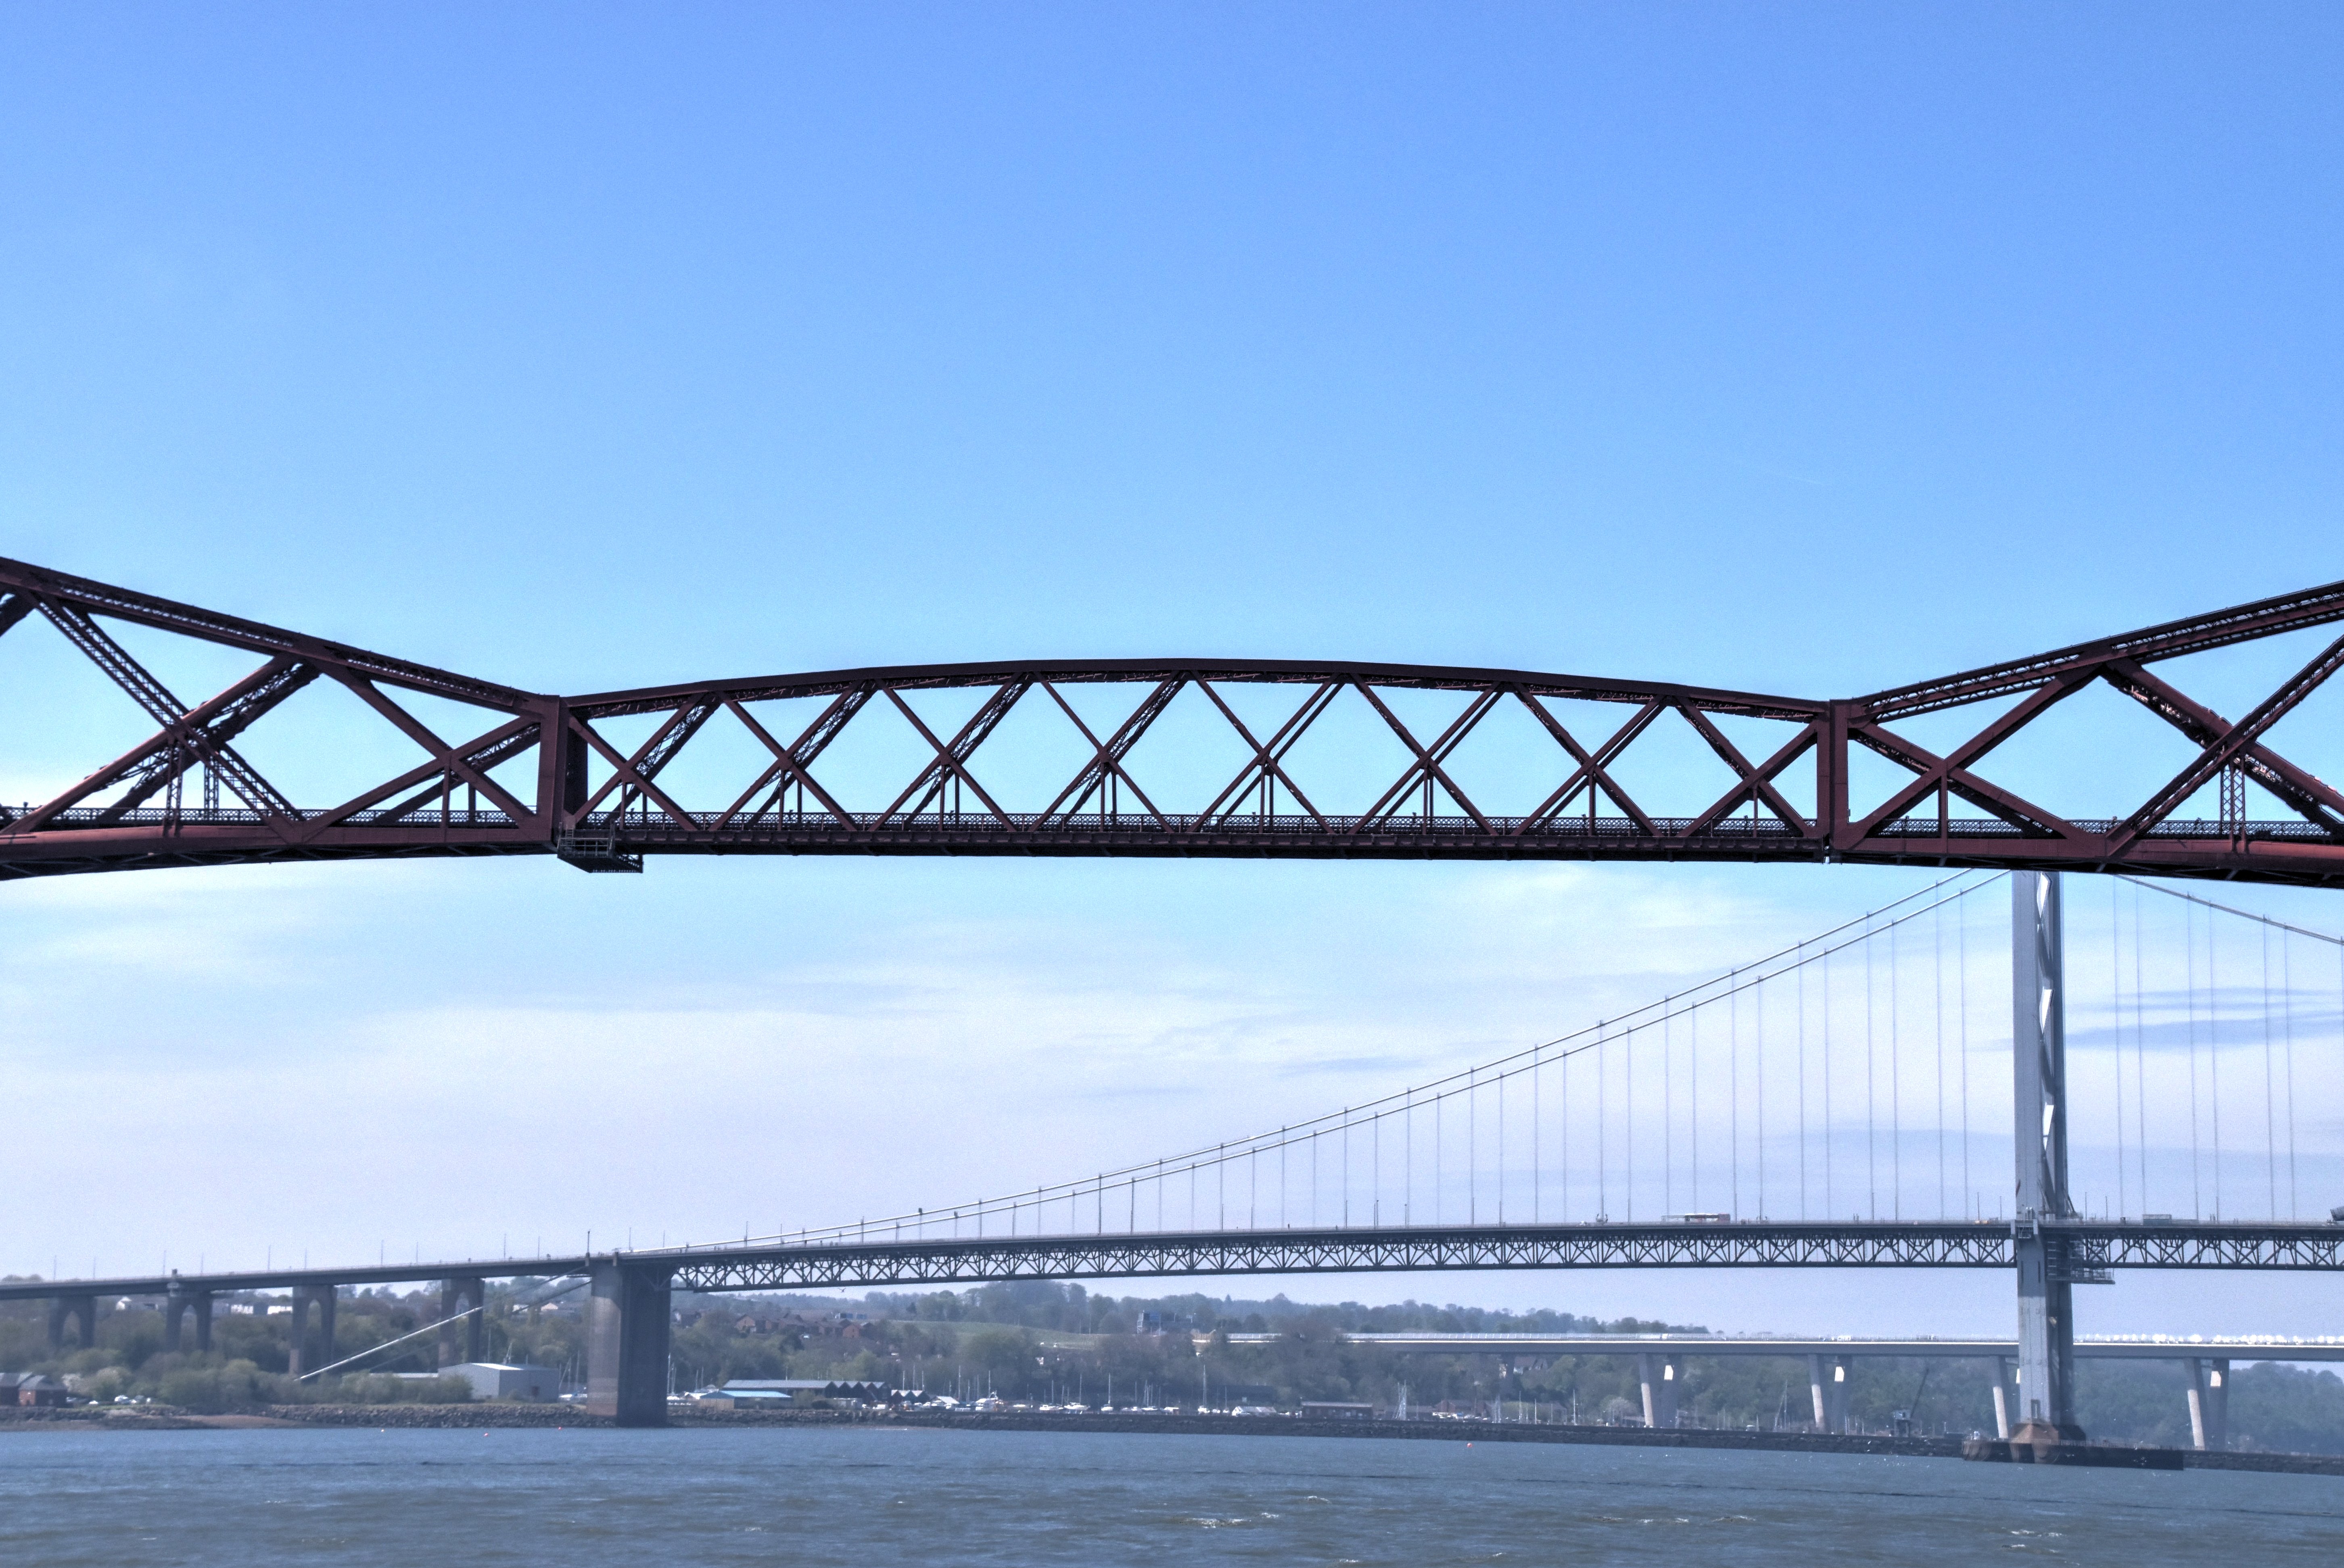
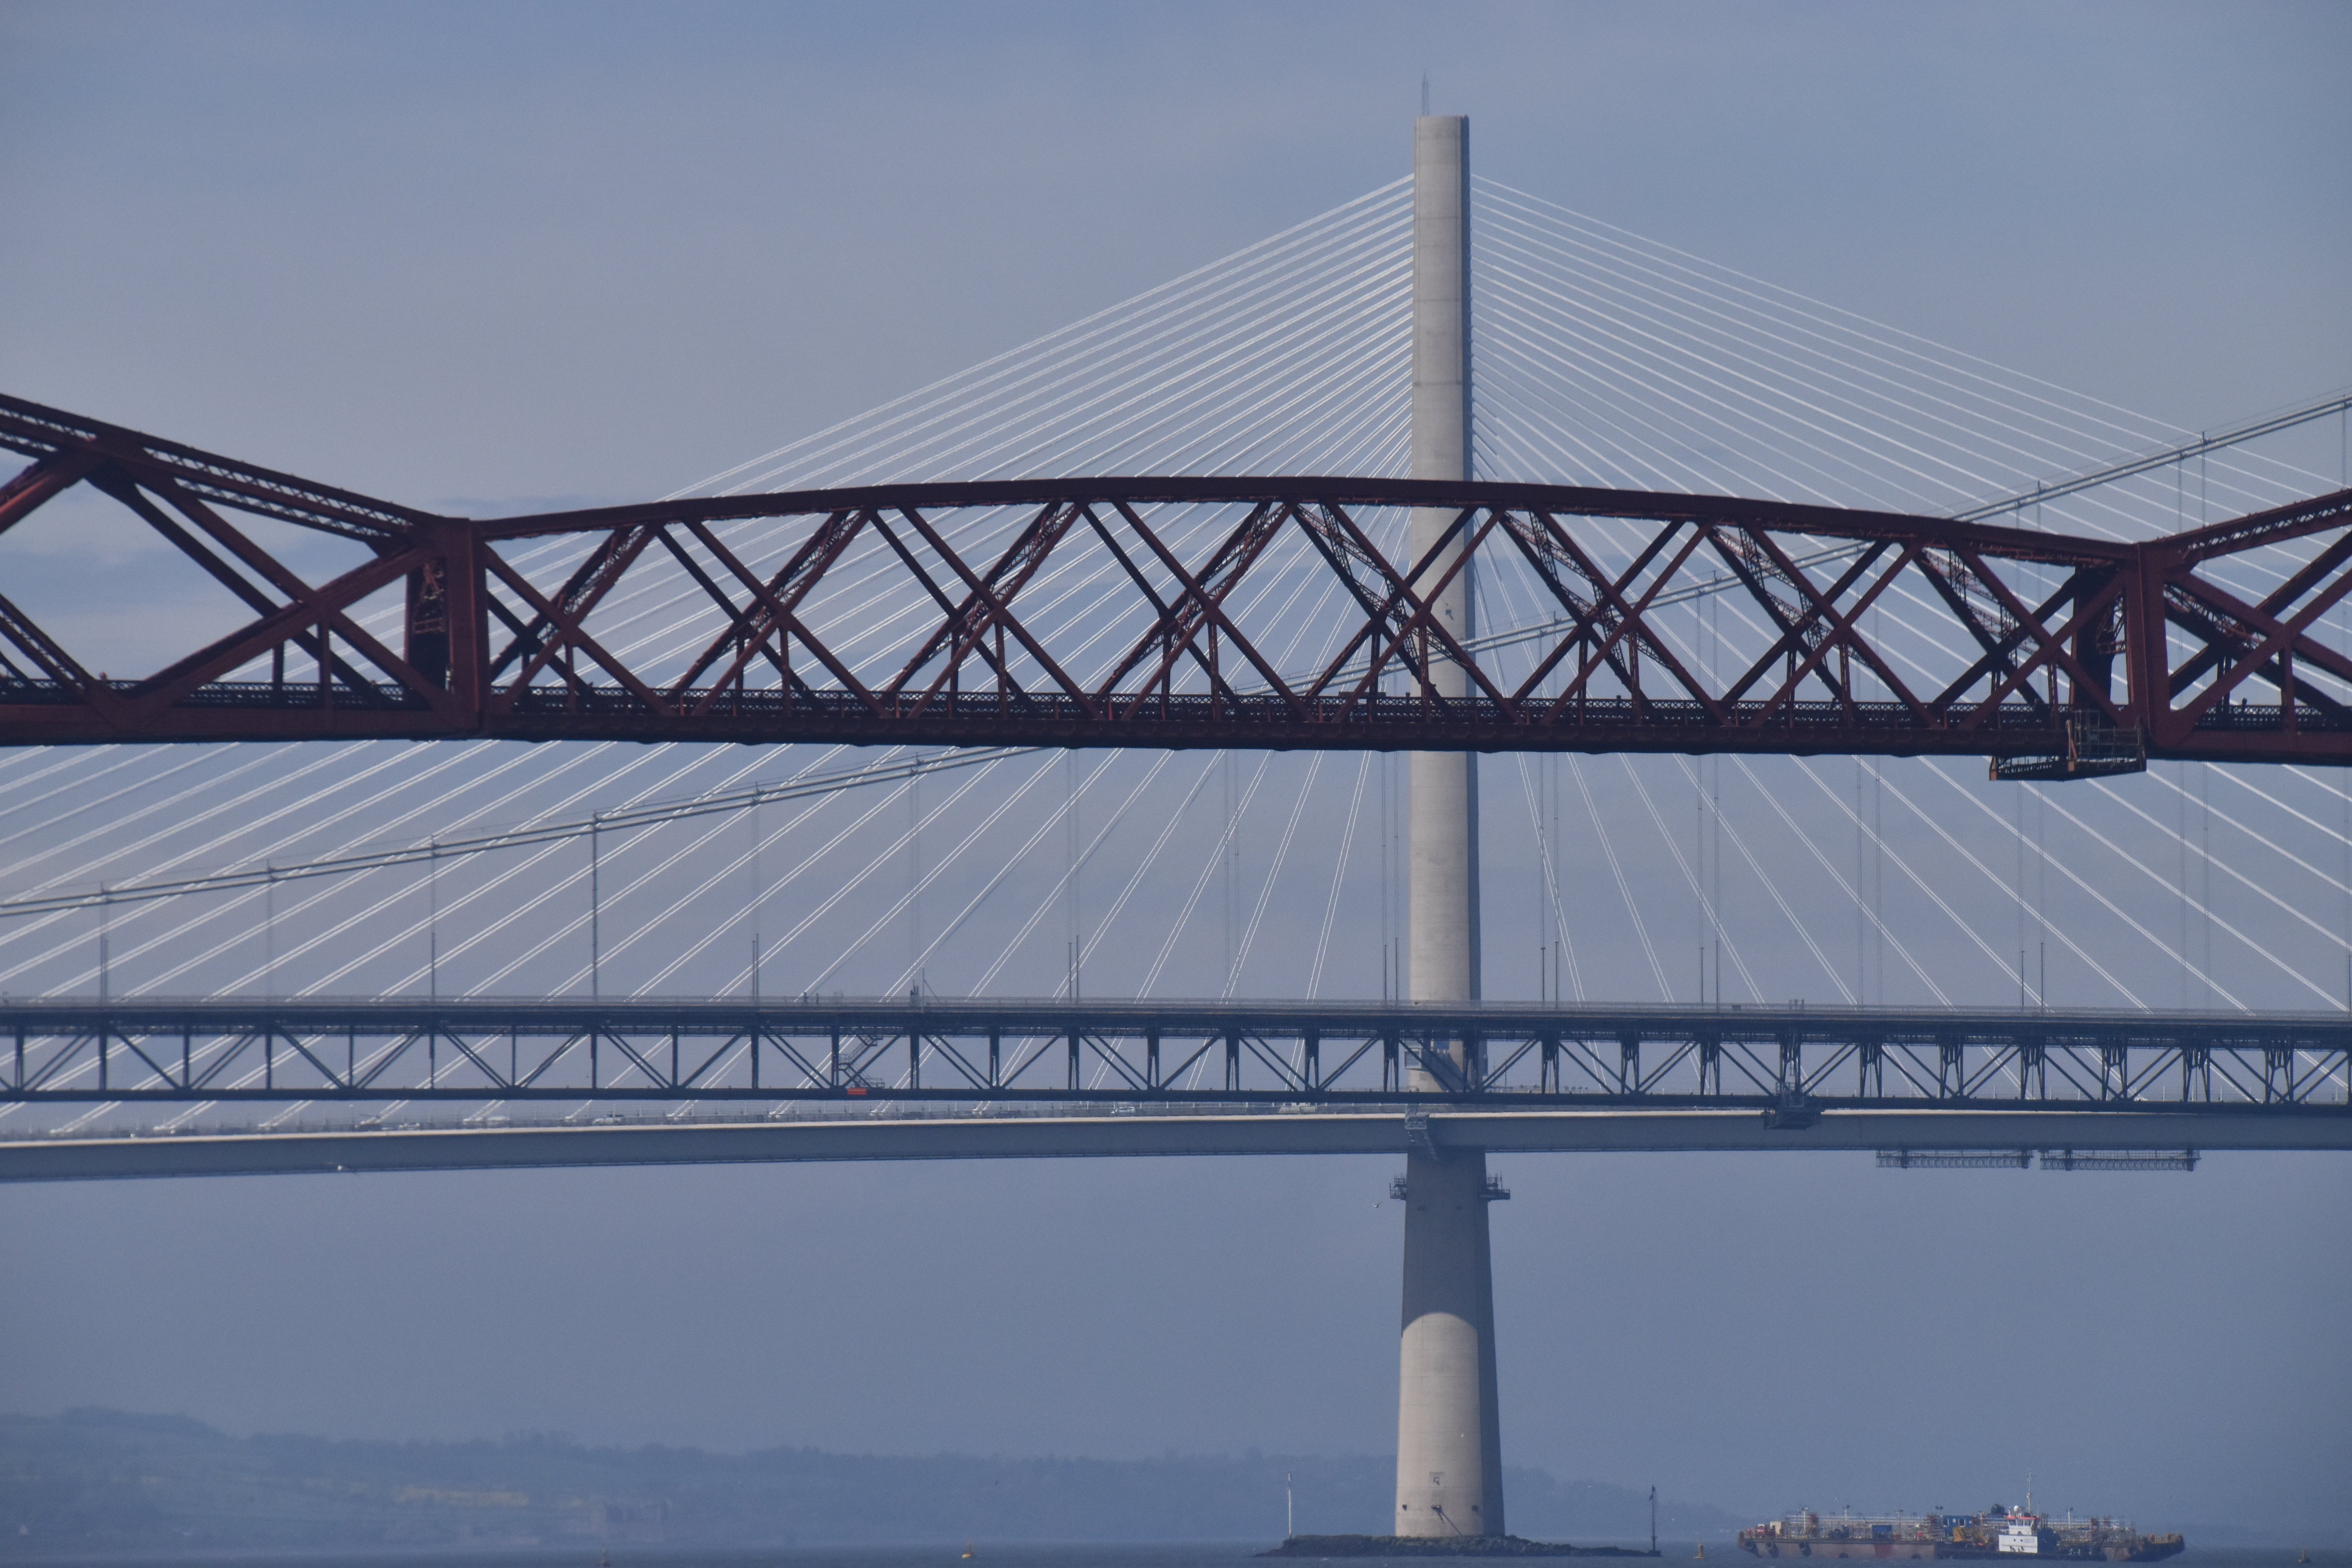
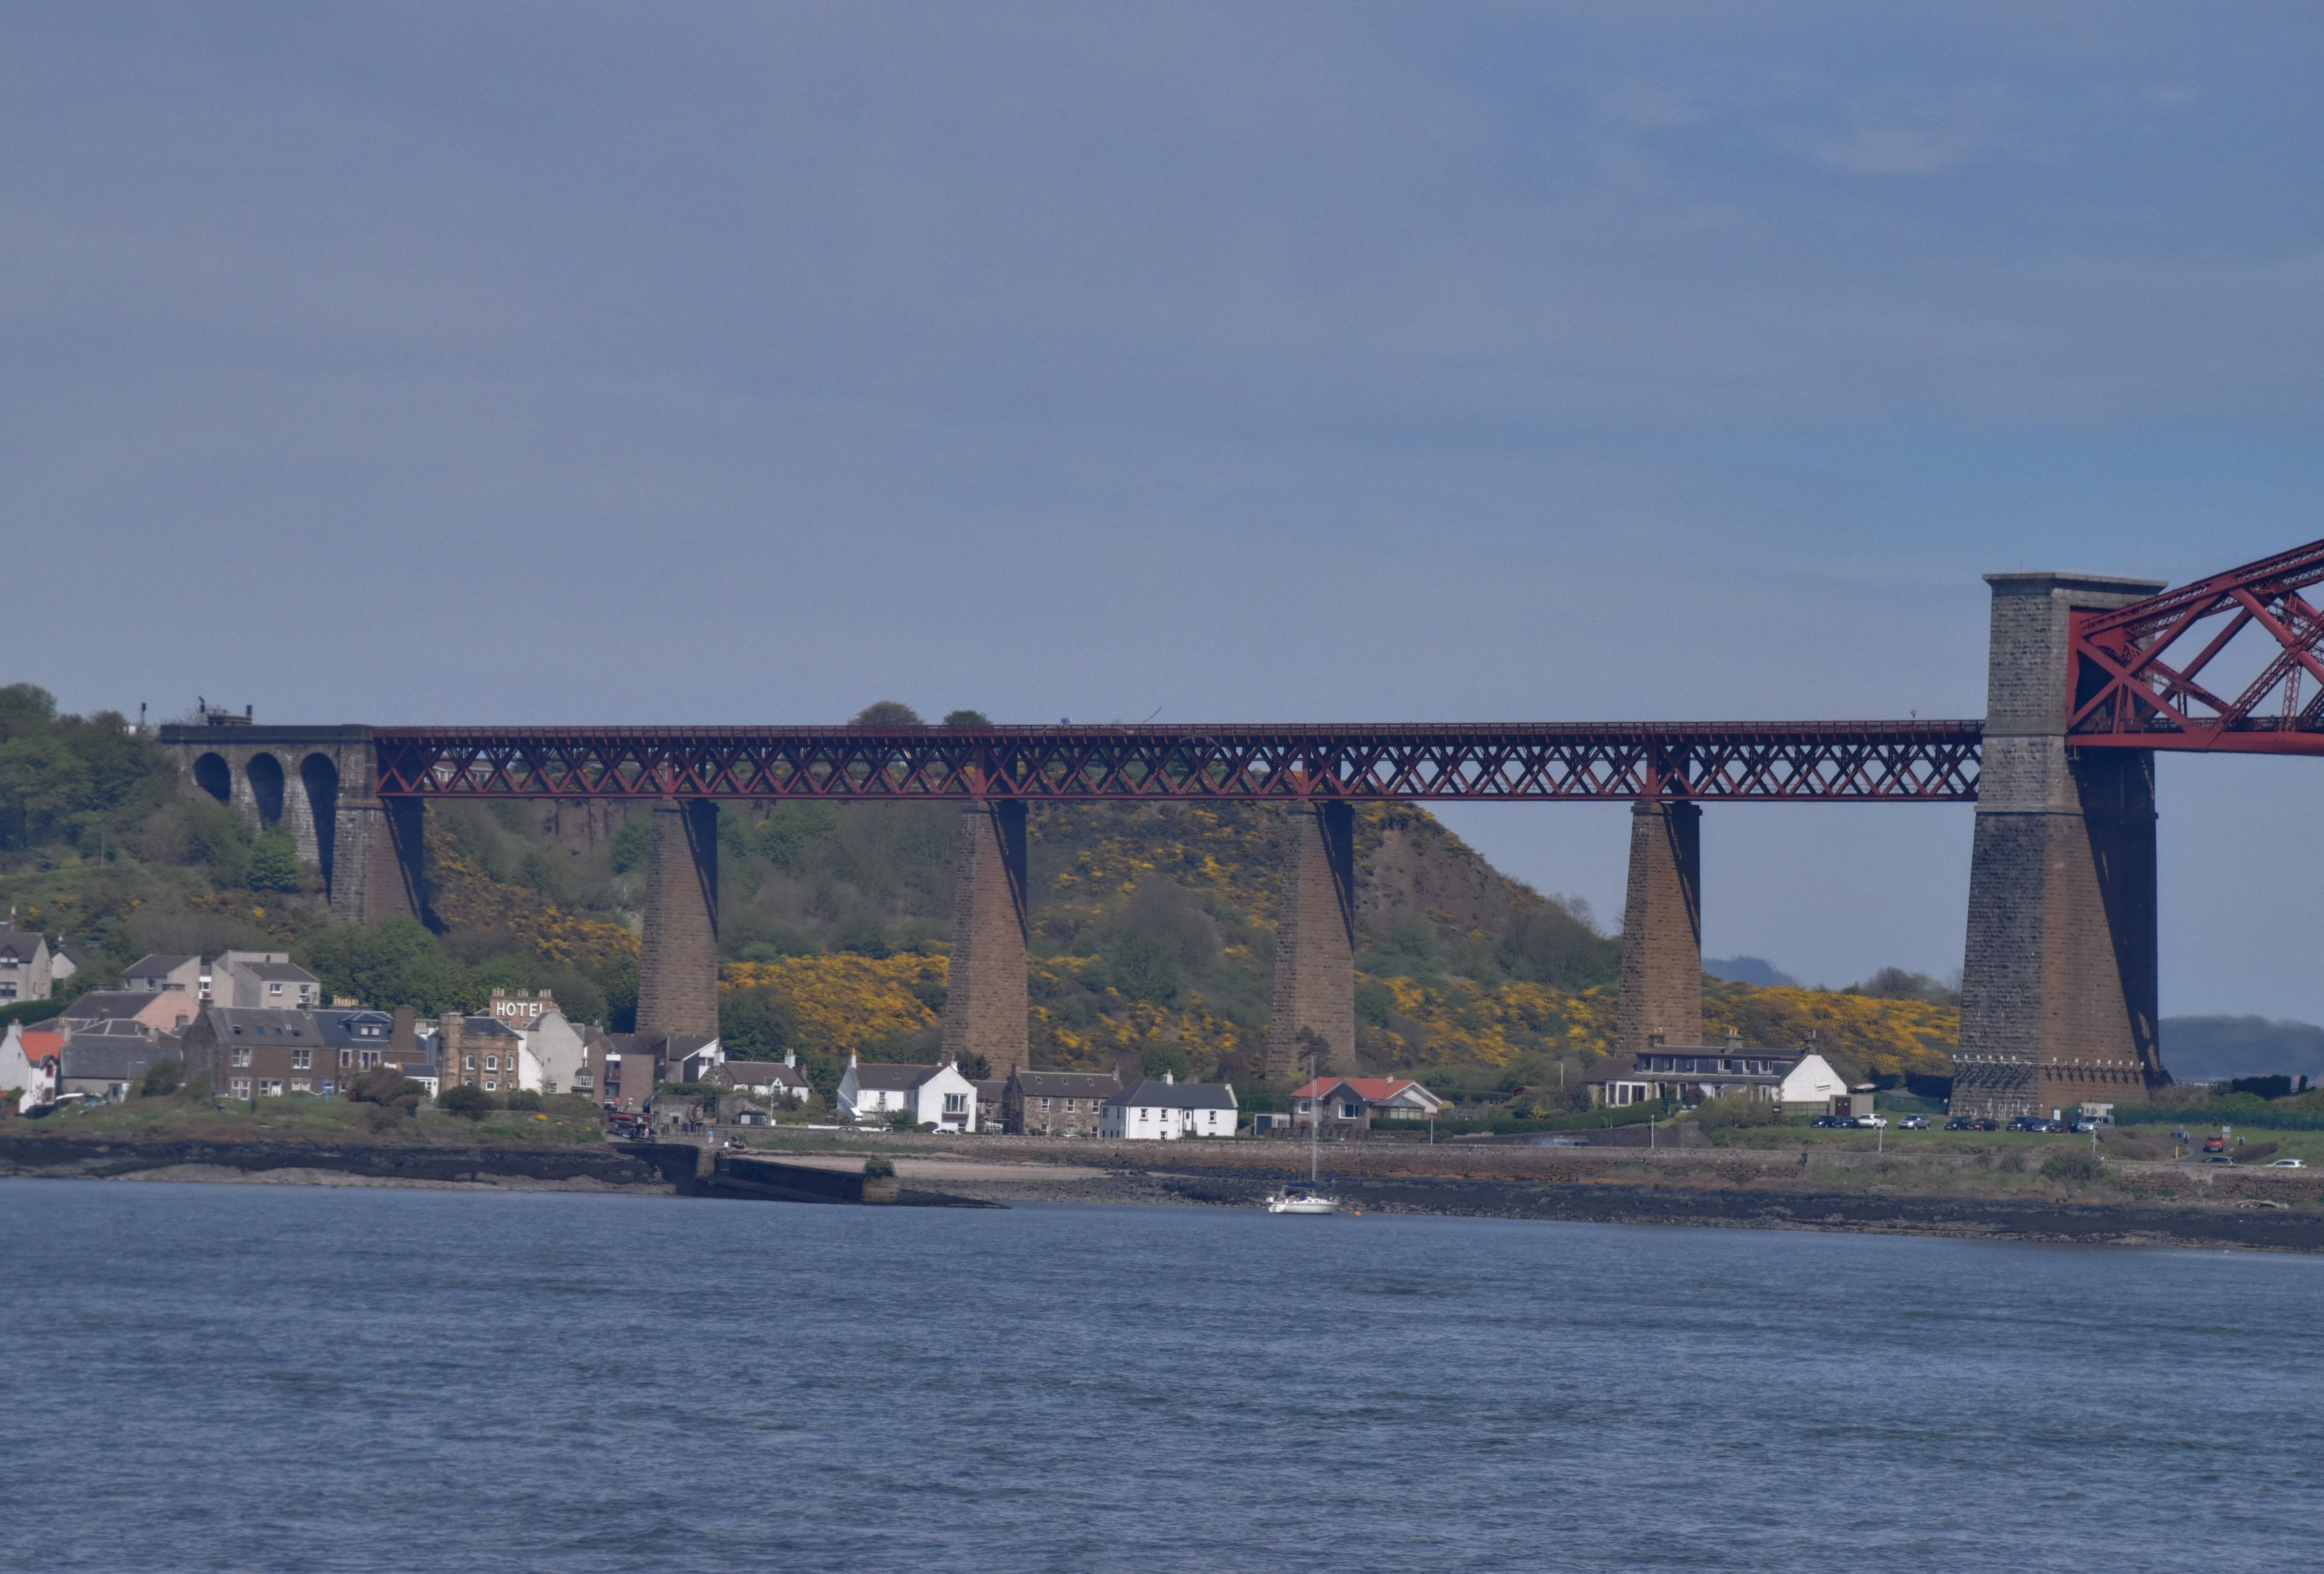
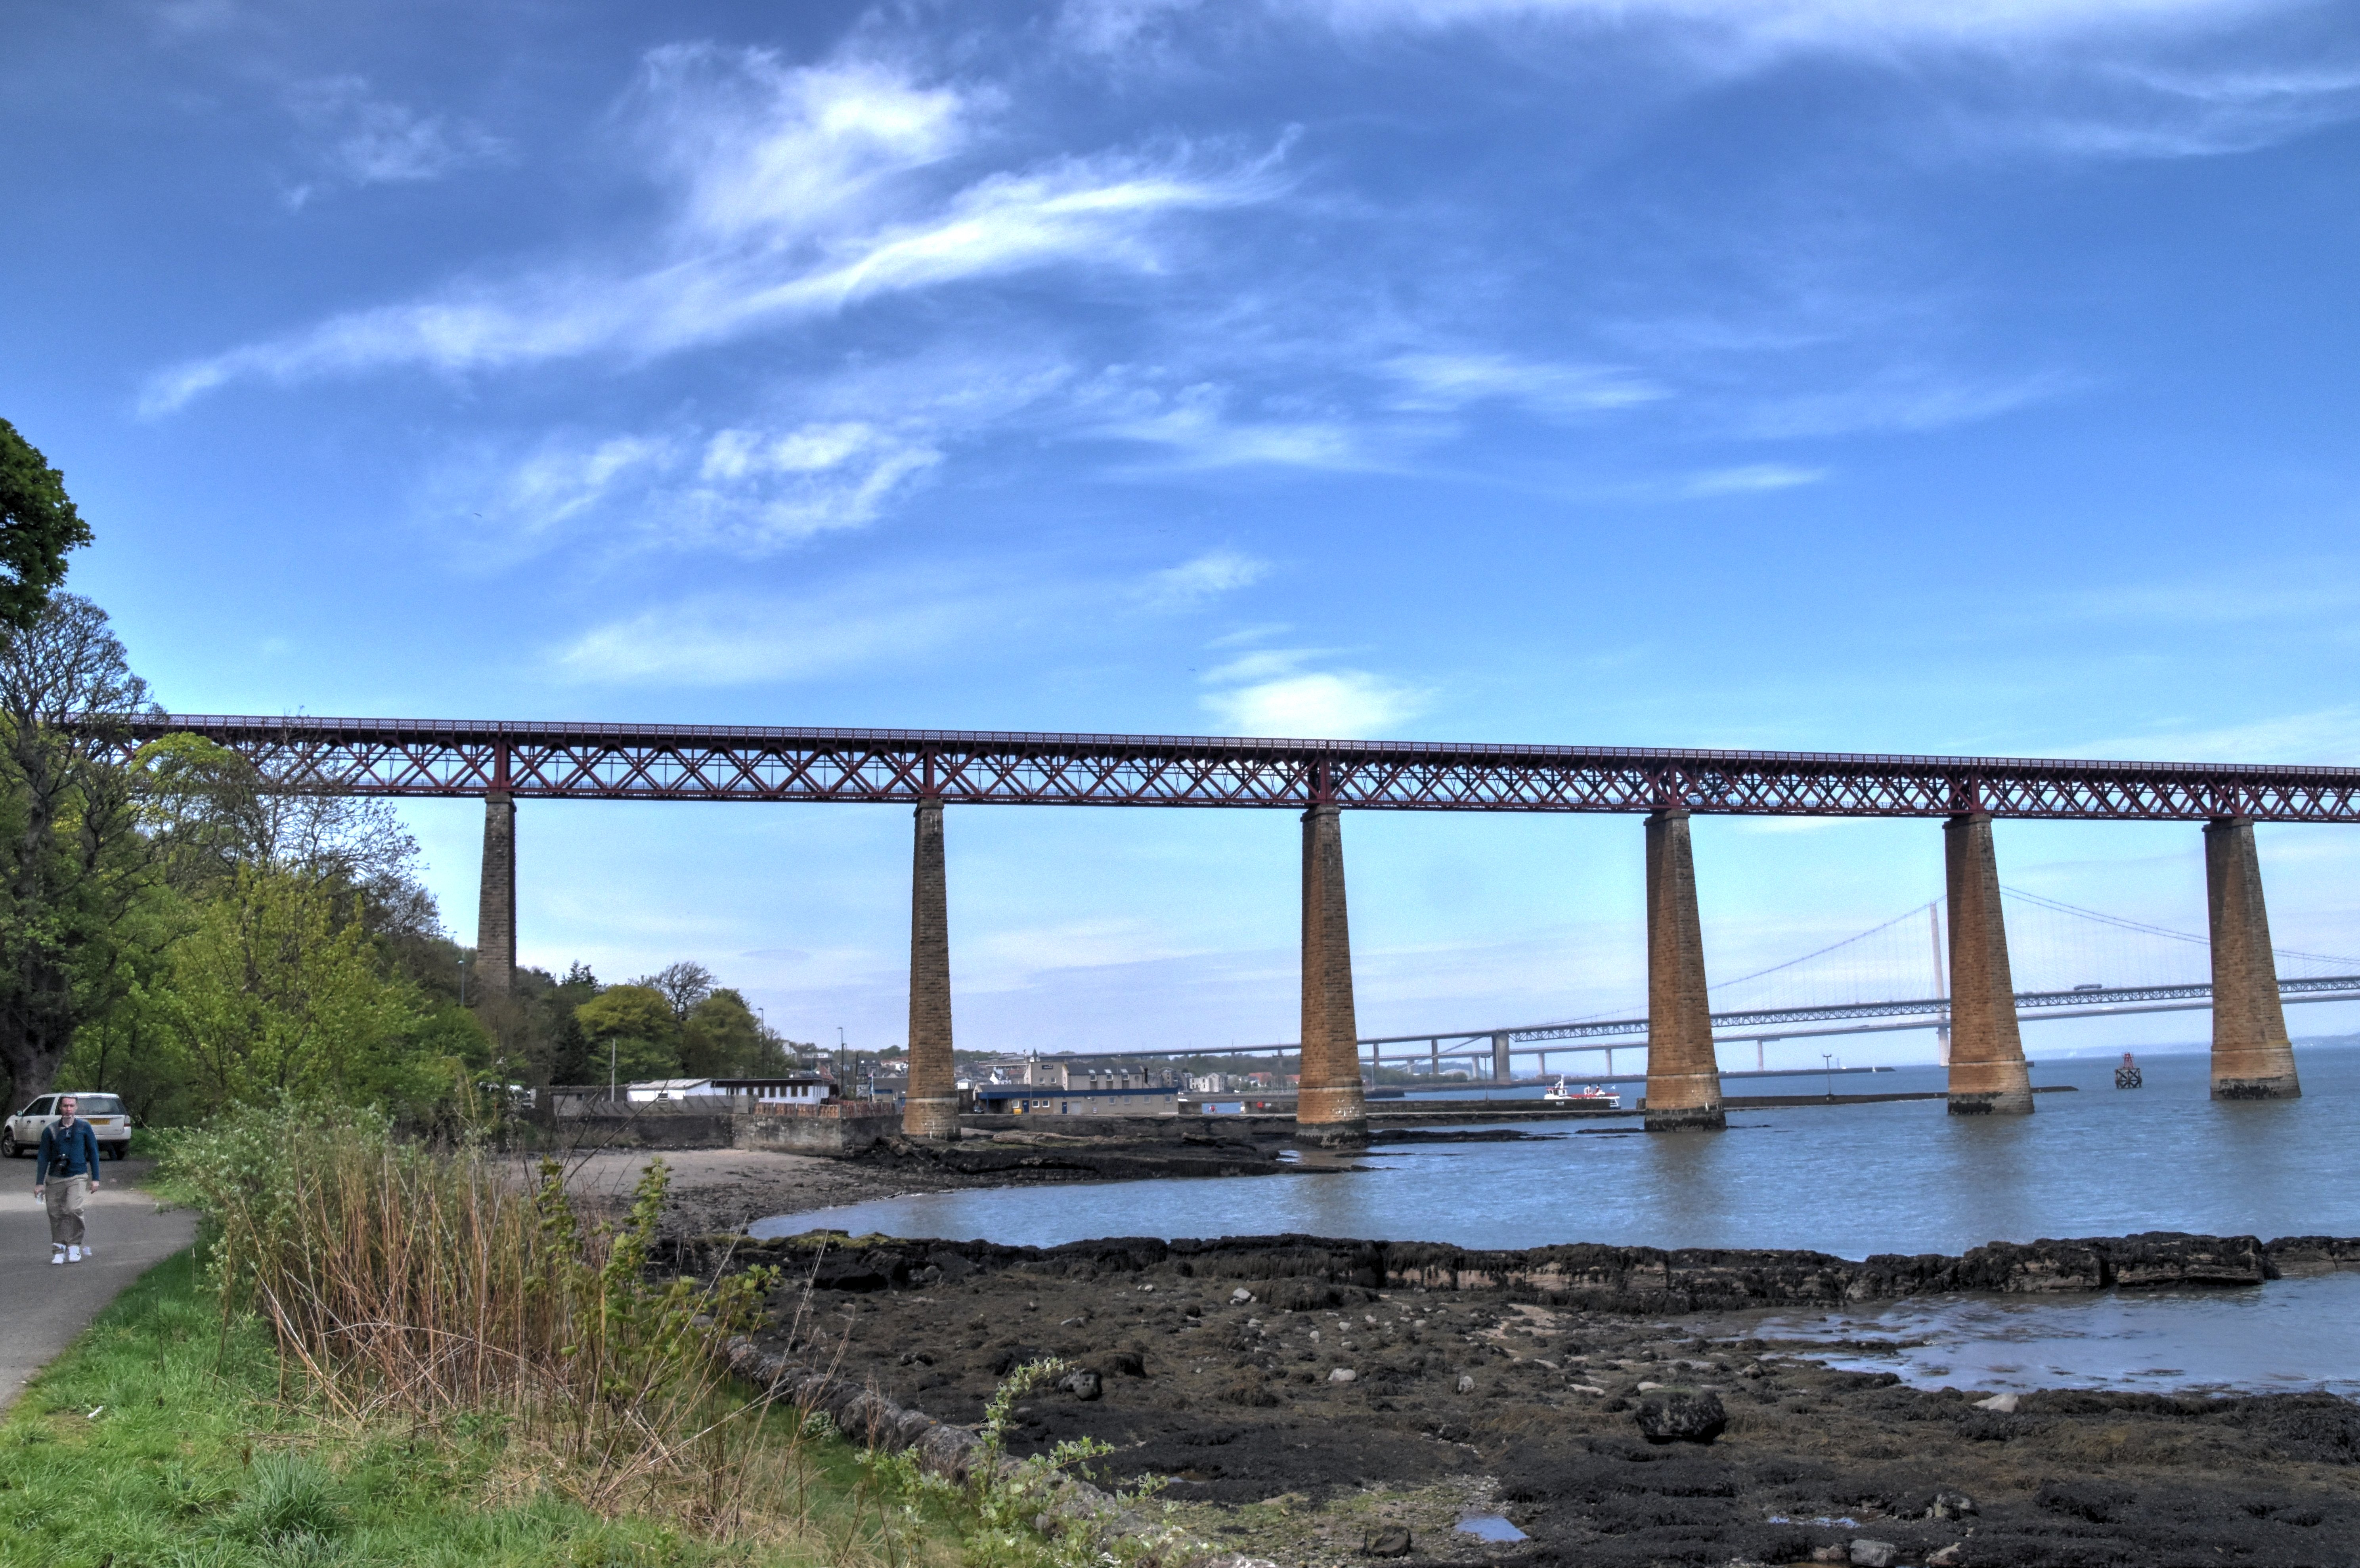
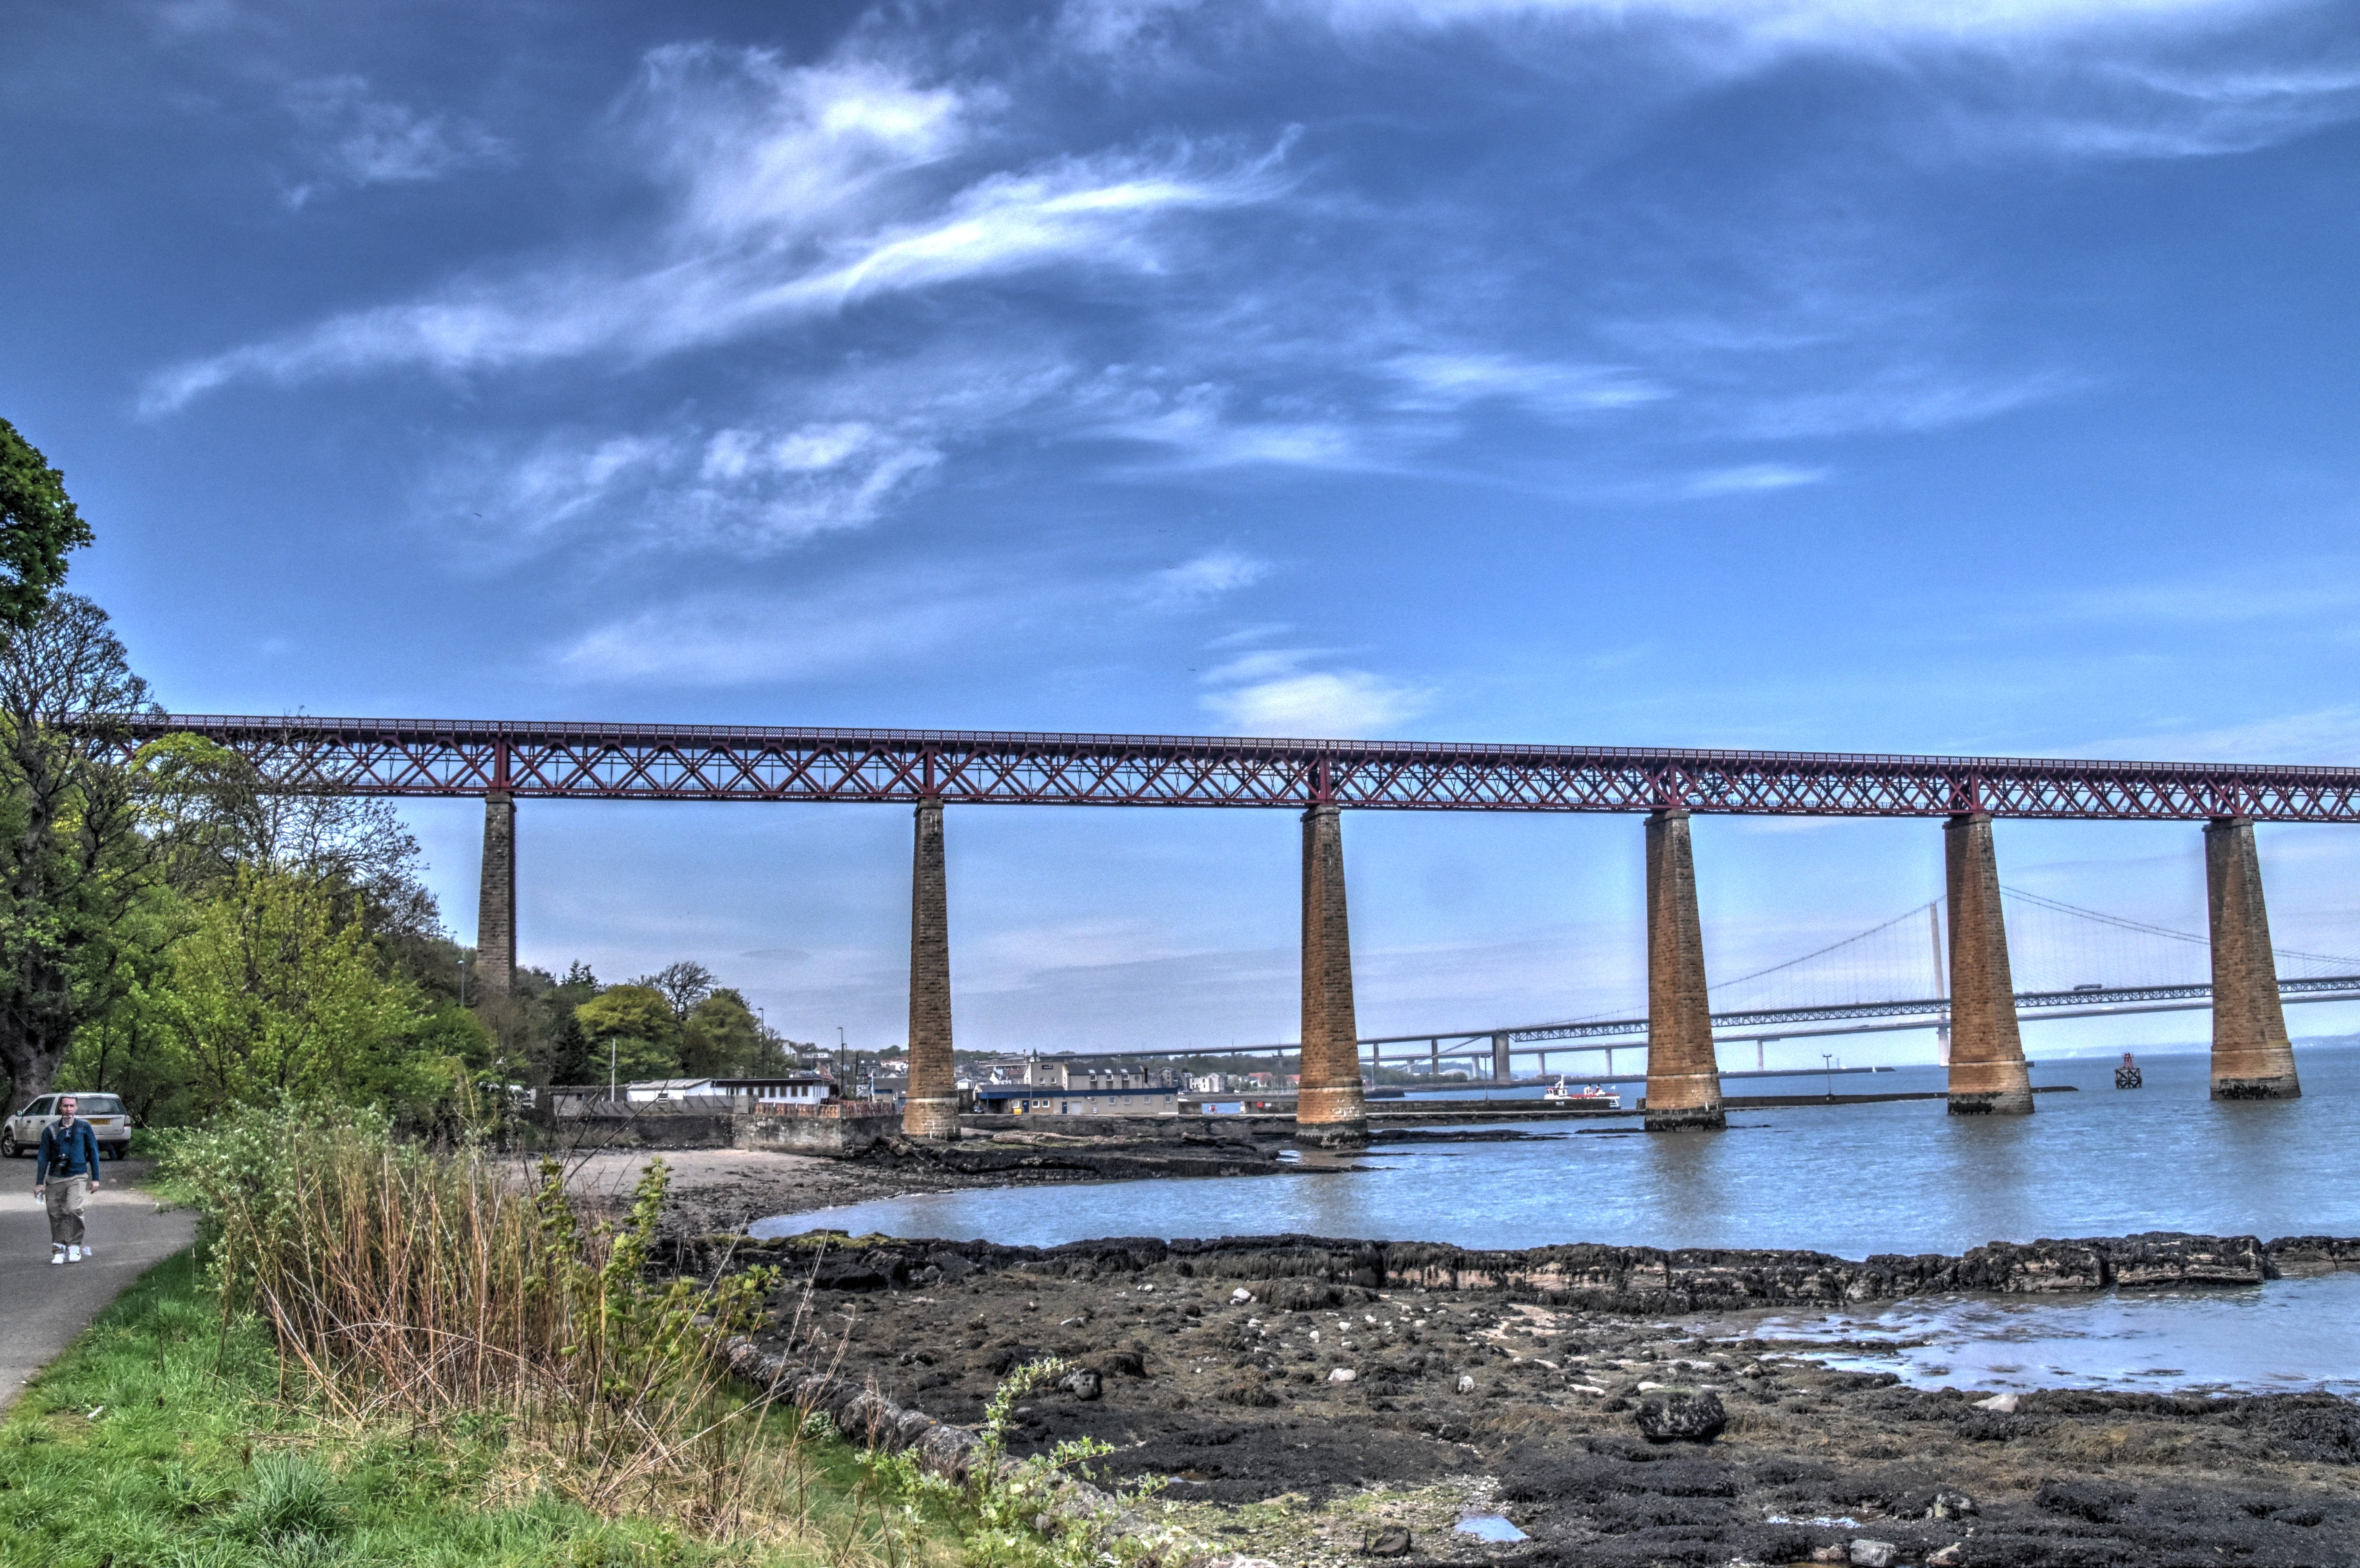
Panoramic view from southwest quadrant showing road bridge to the left.
![]()


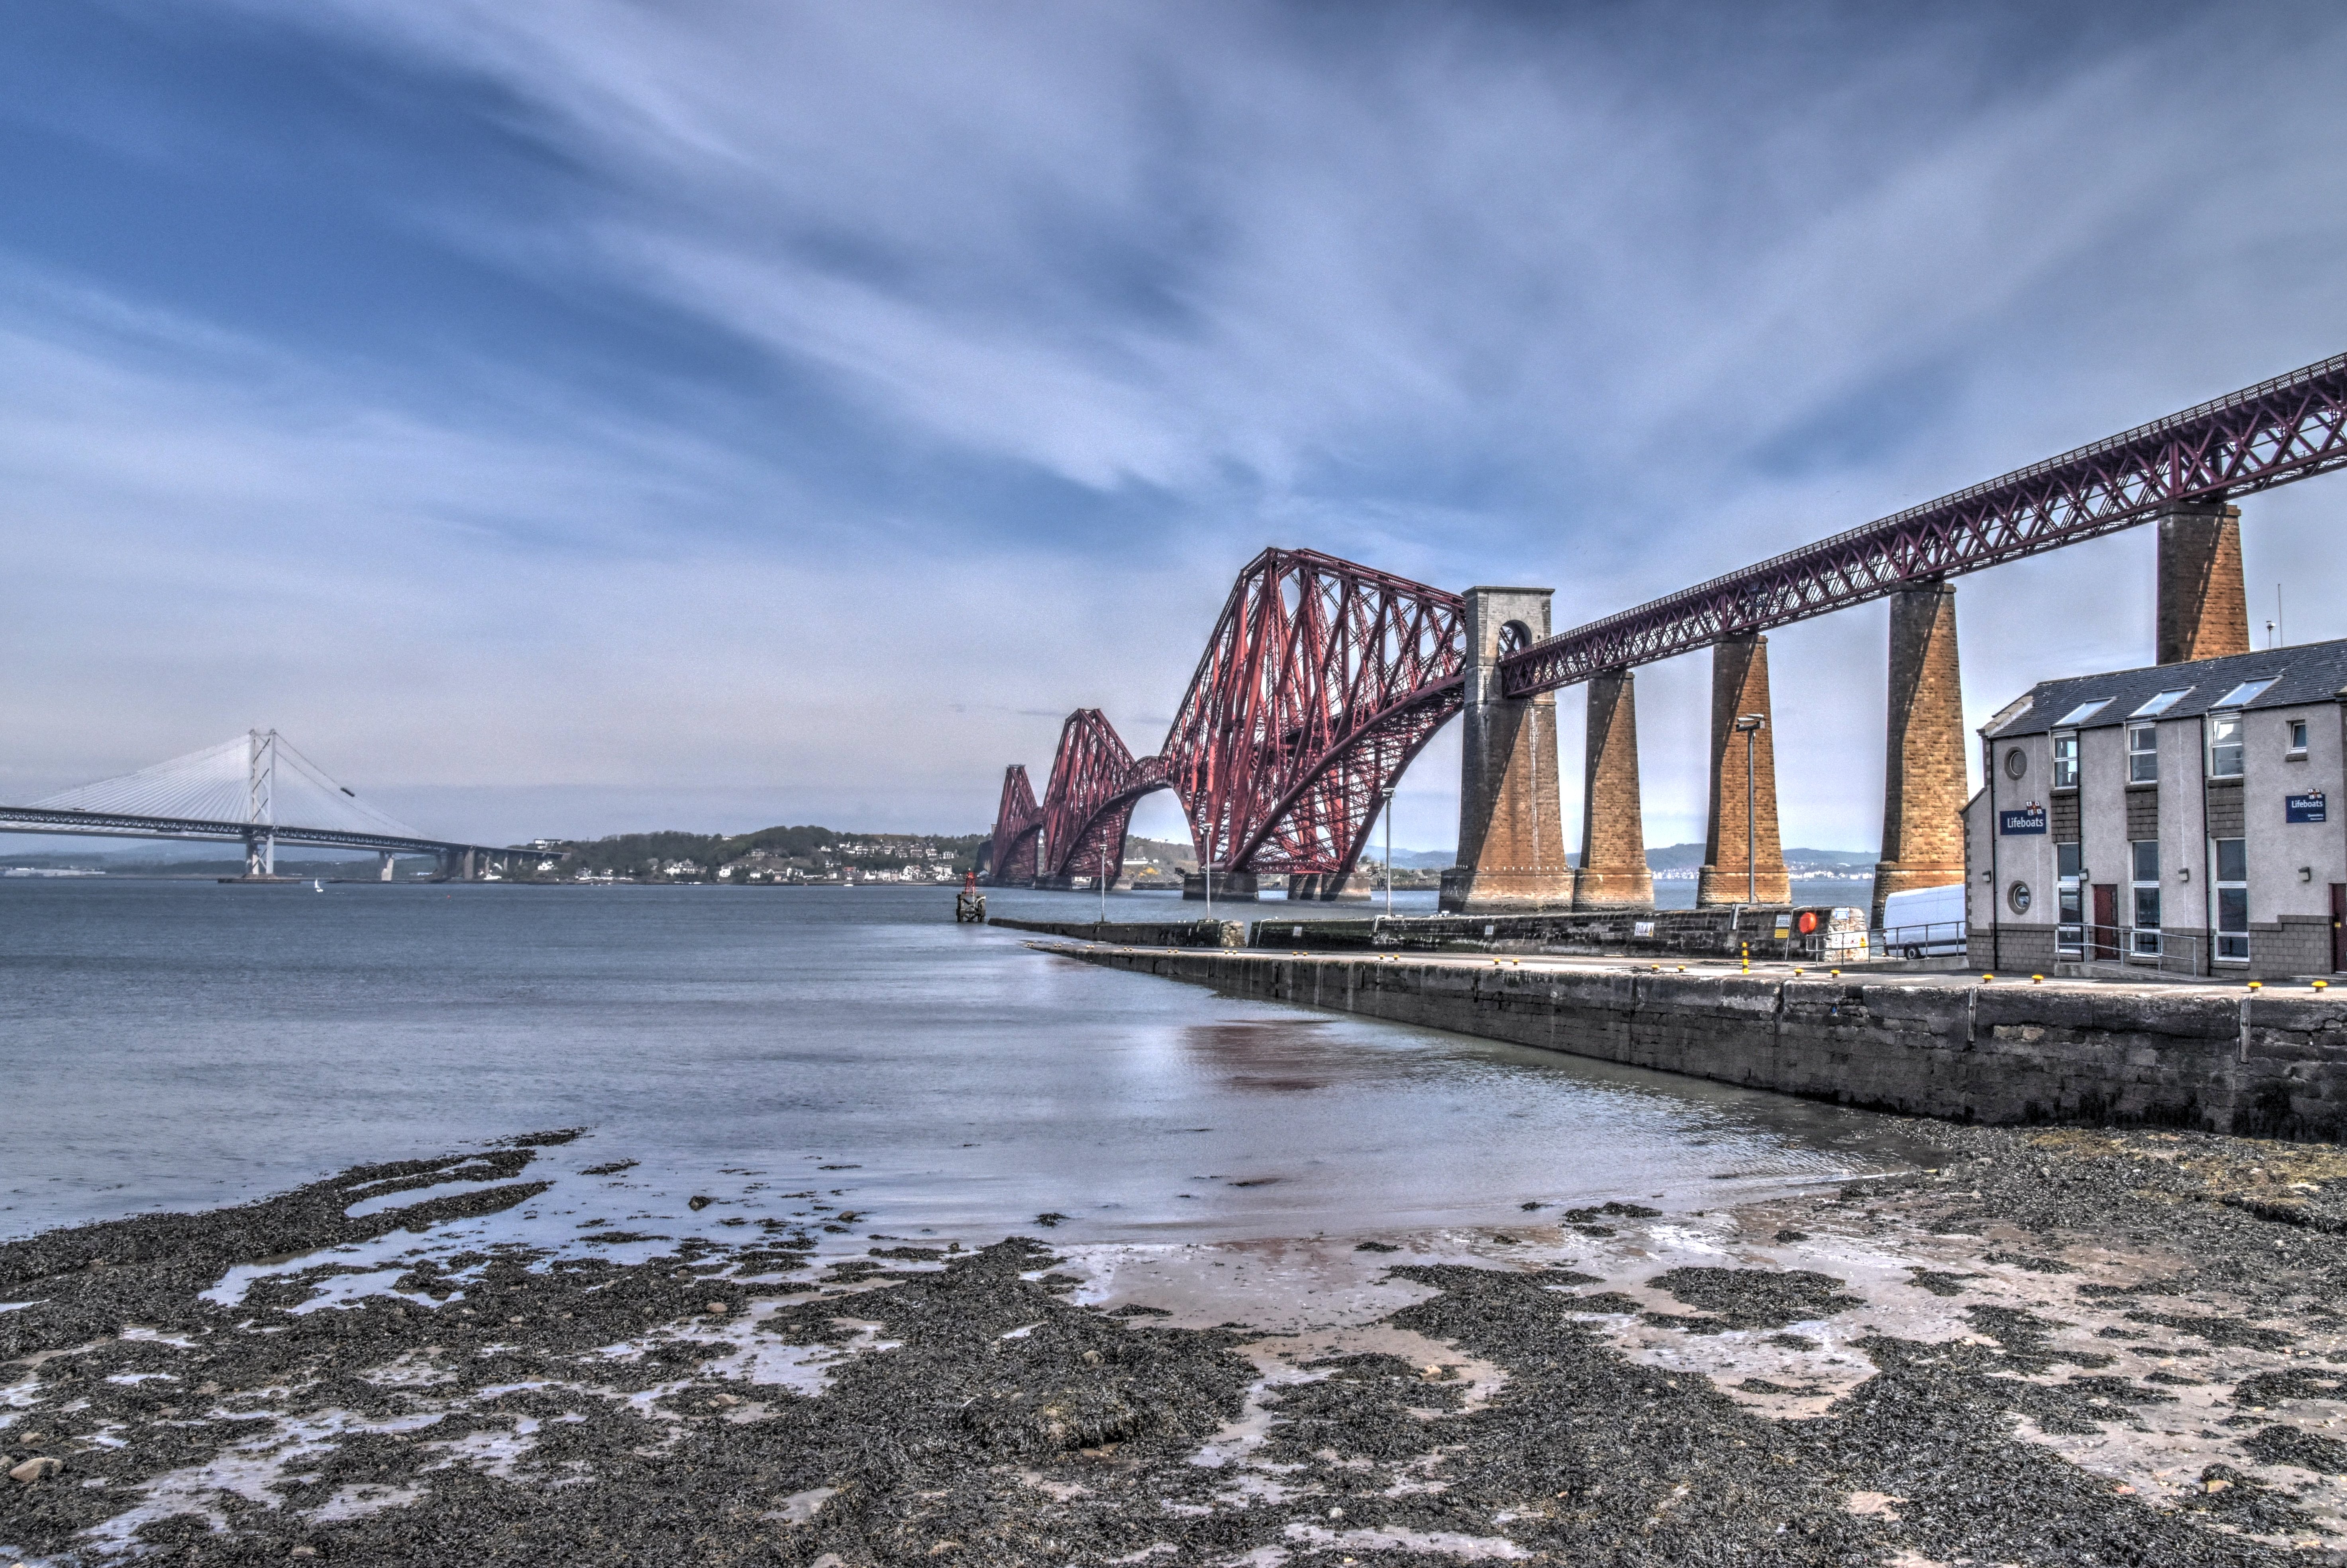
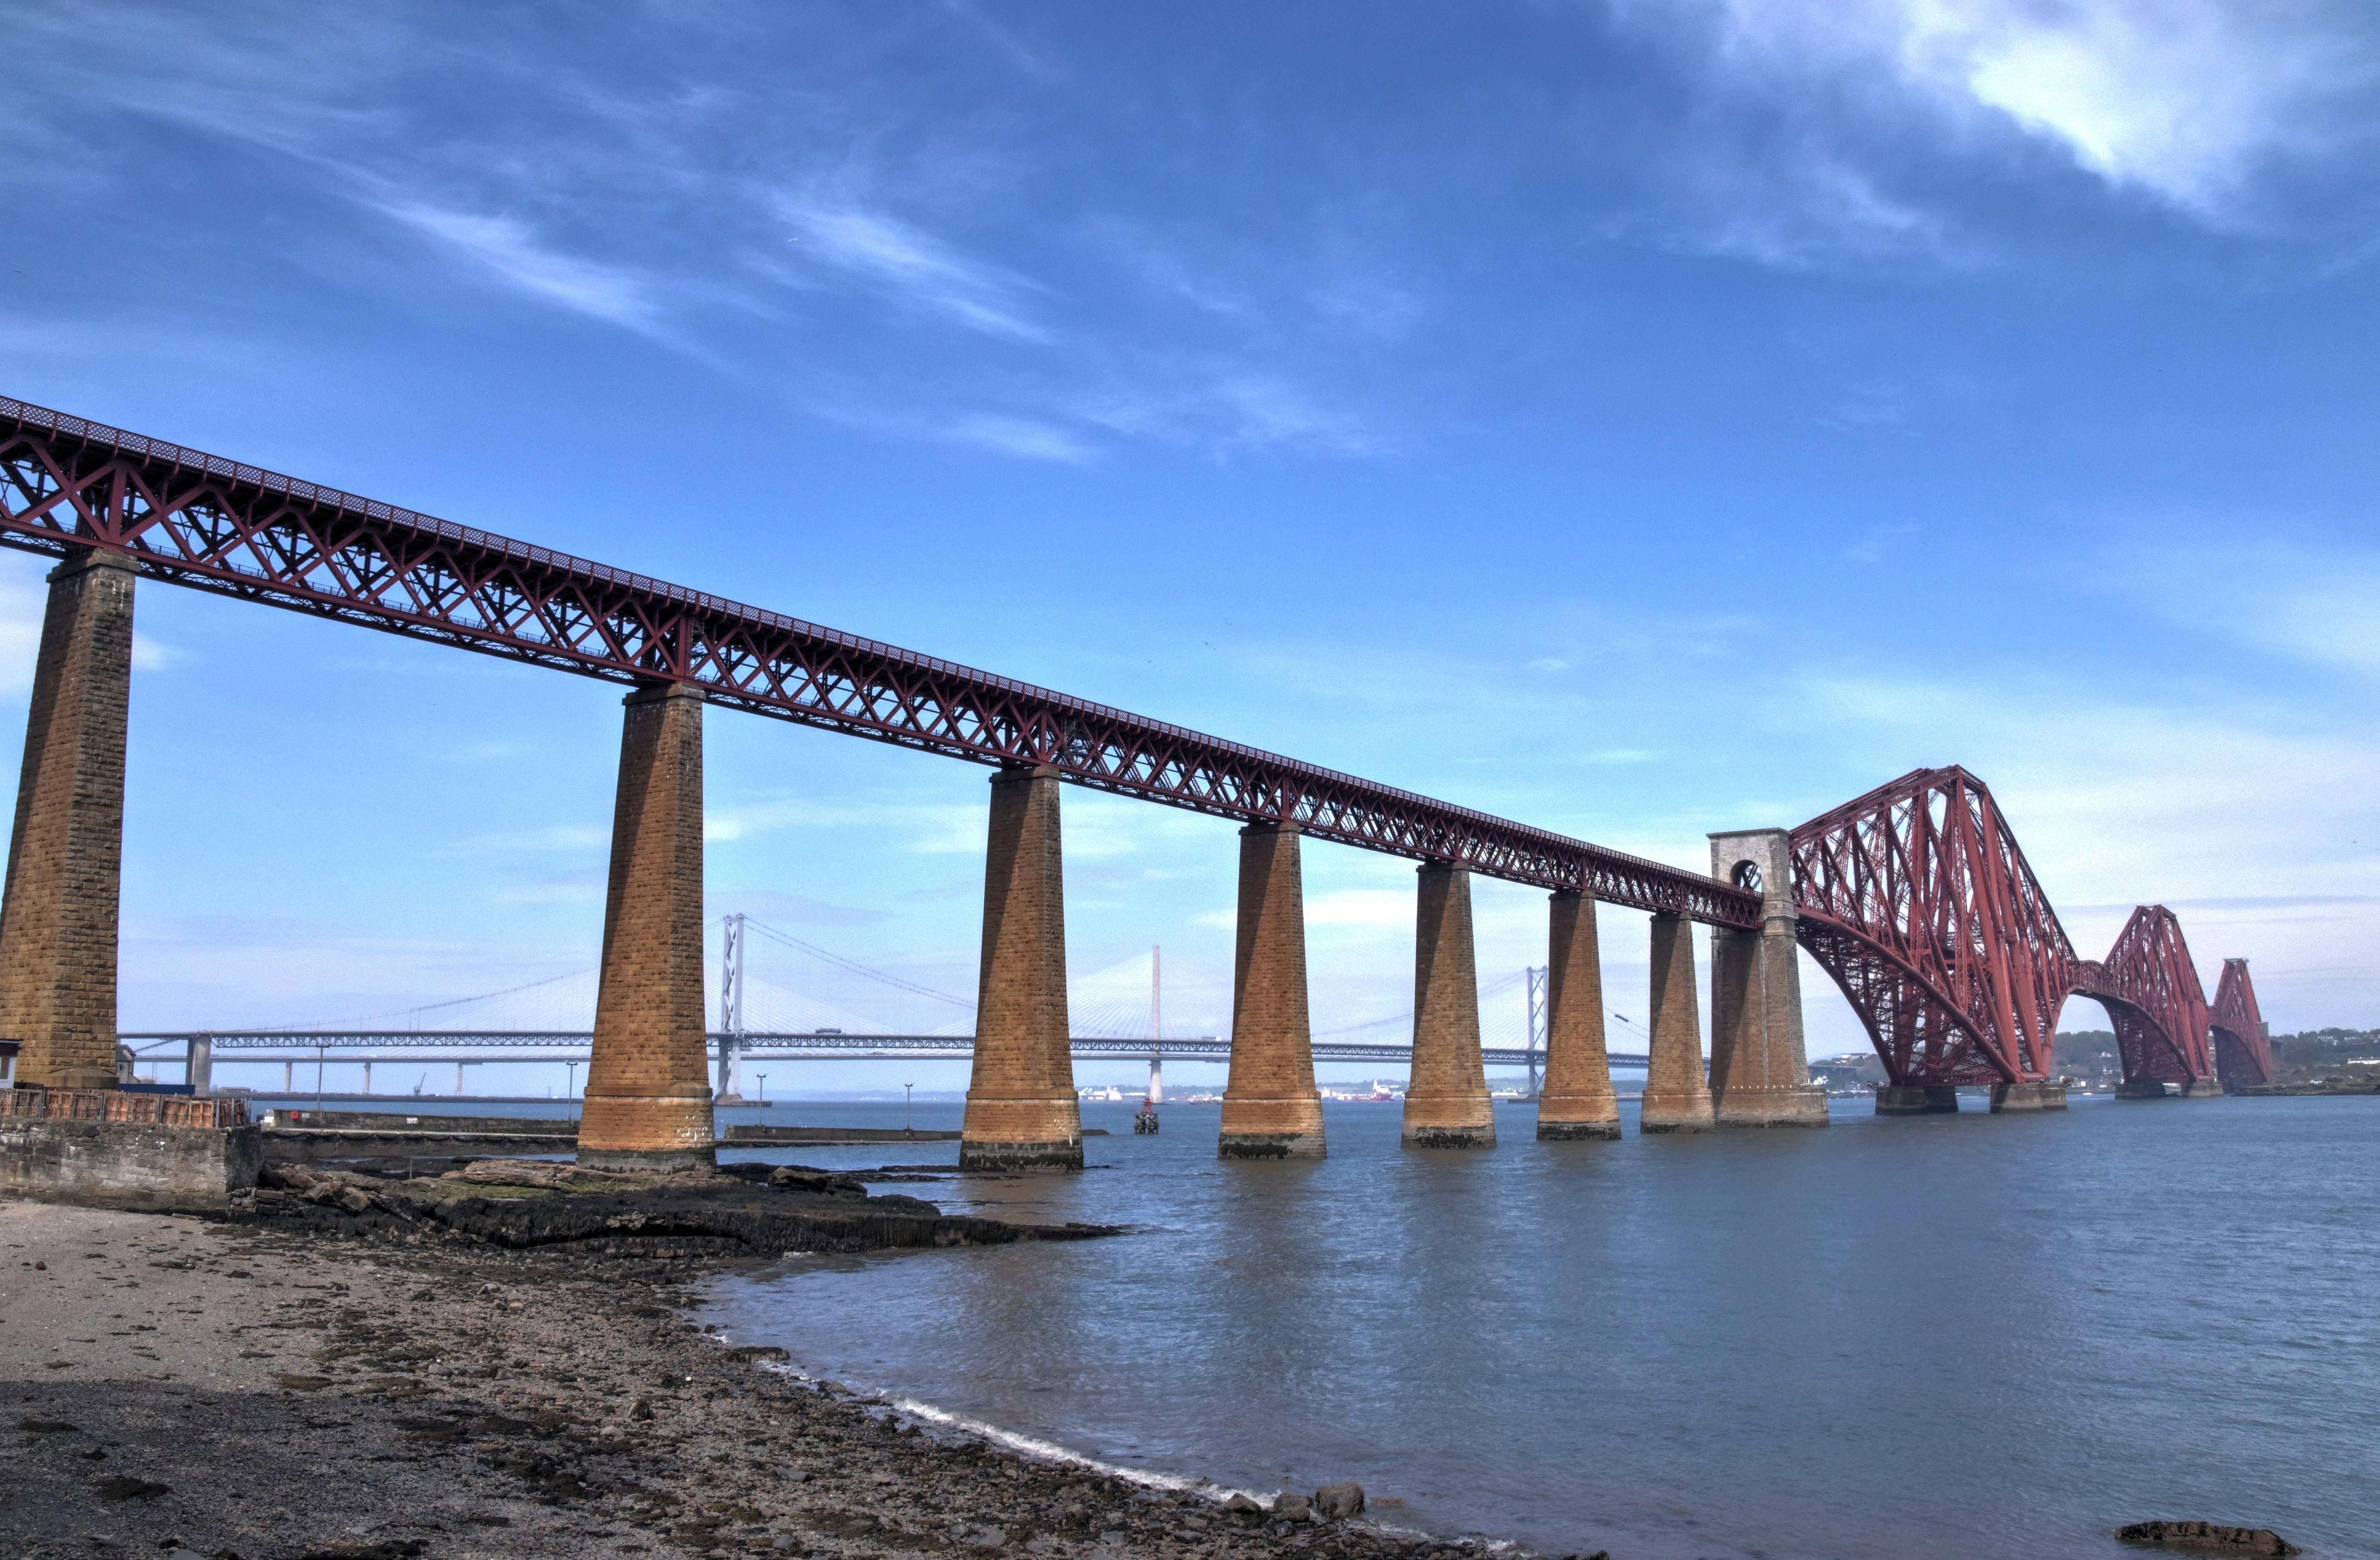
Views from southwest quadrant showing road bridge to the left.
![]()

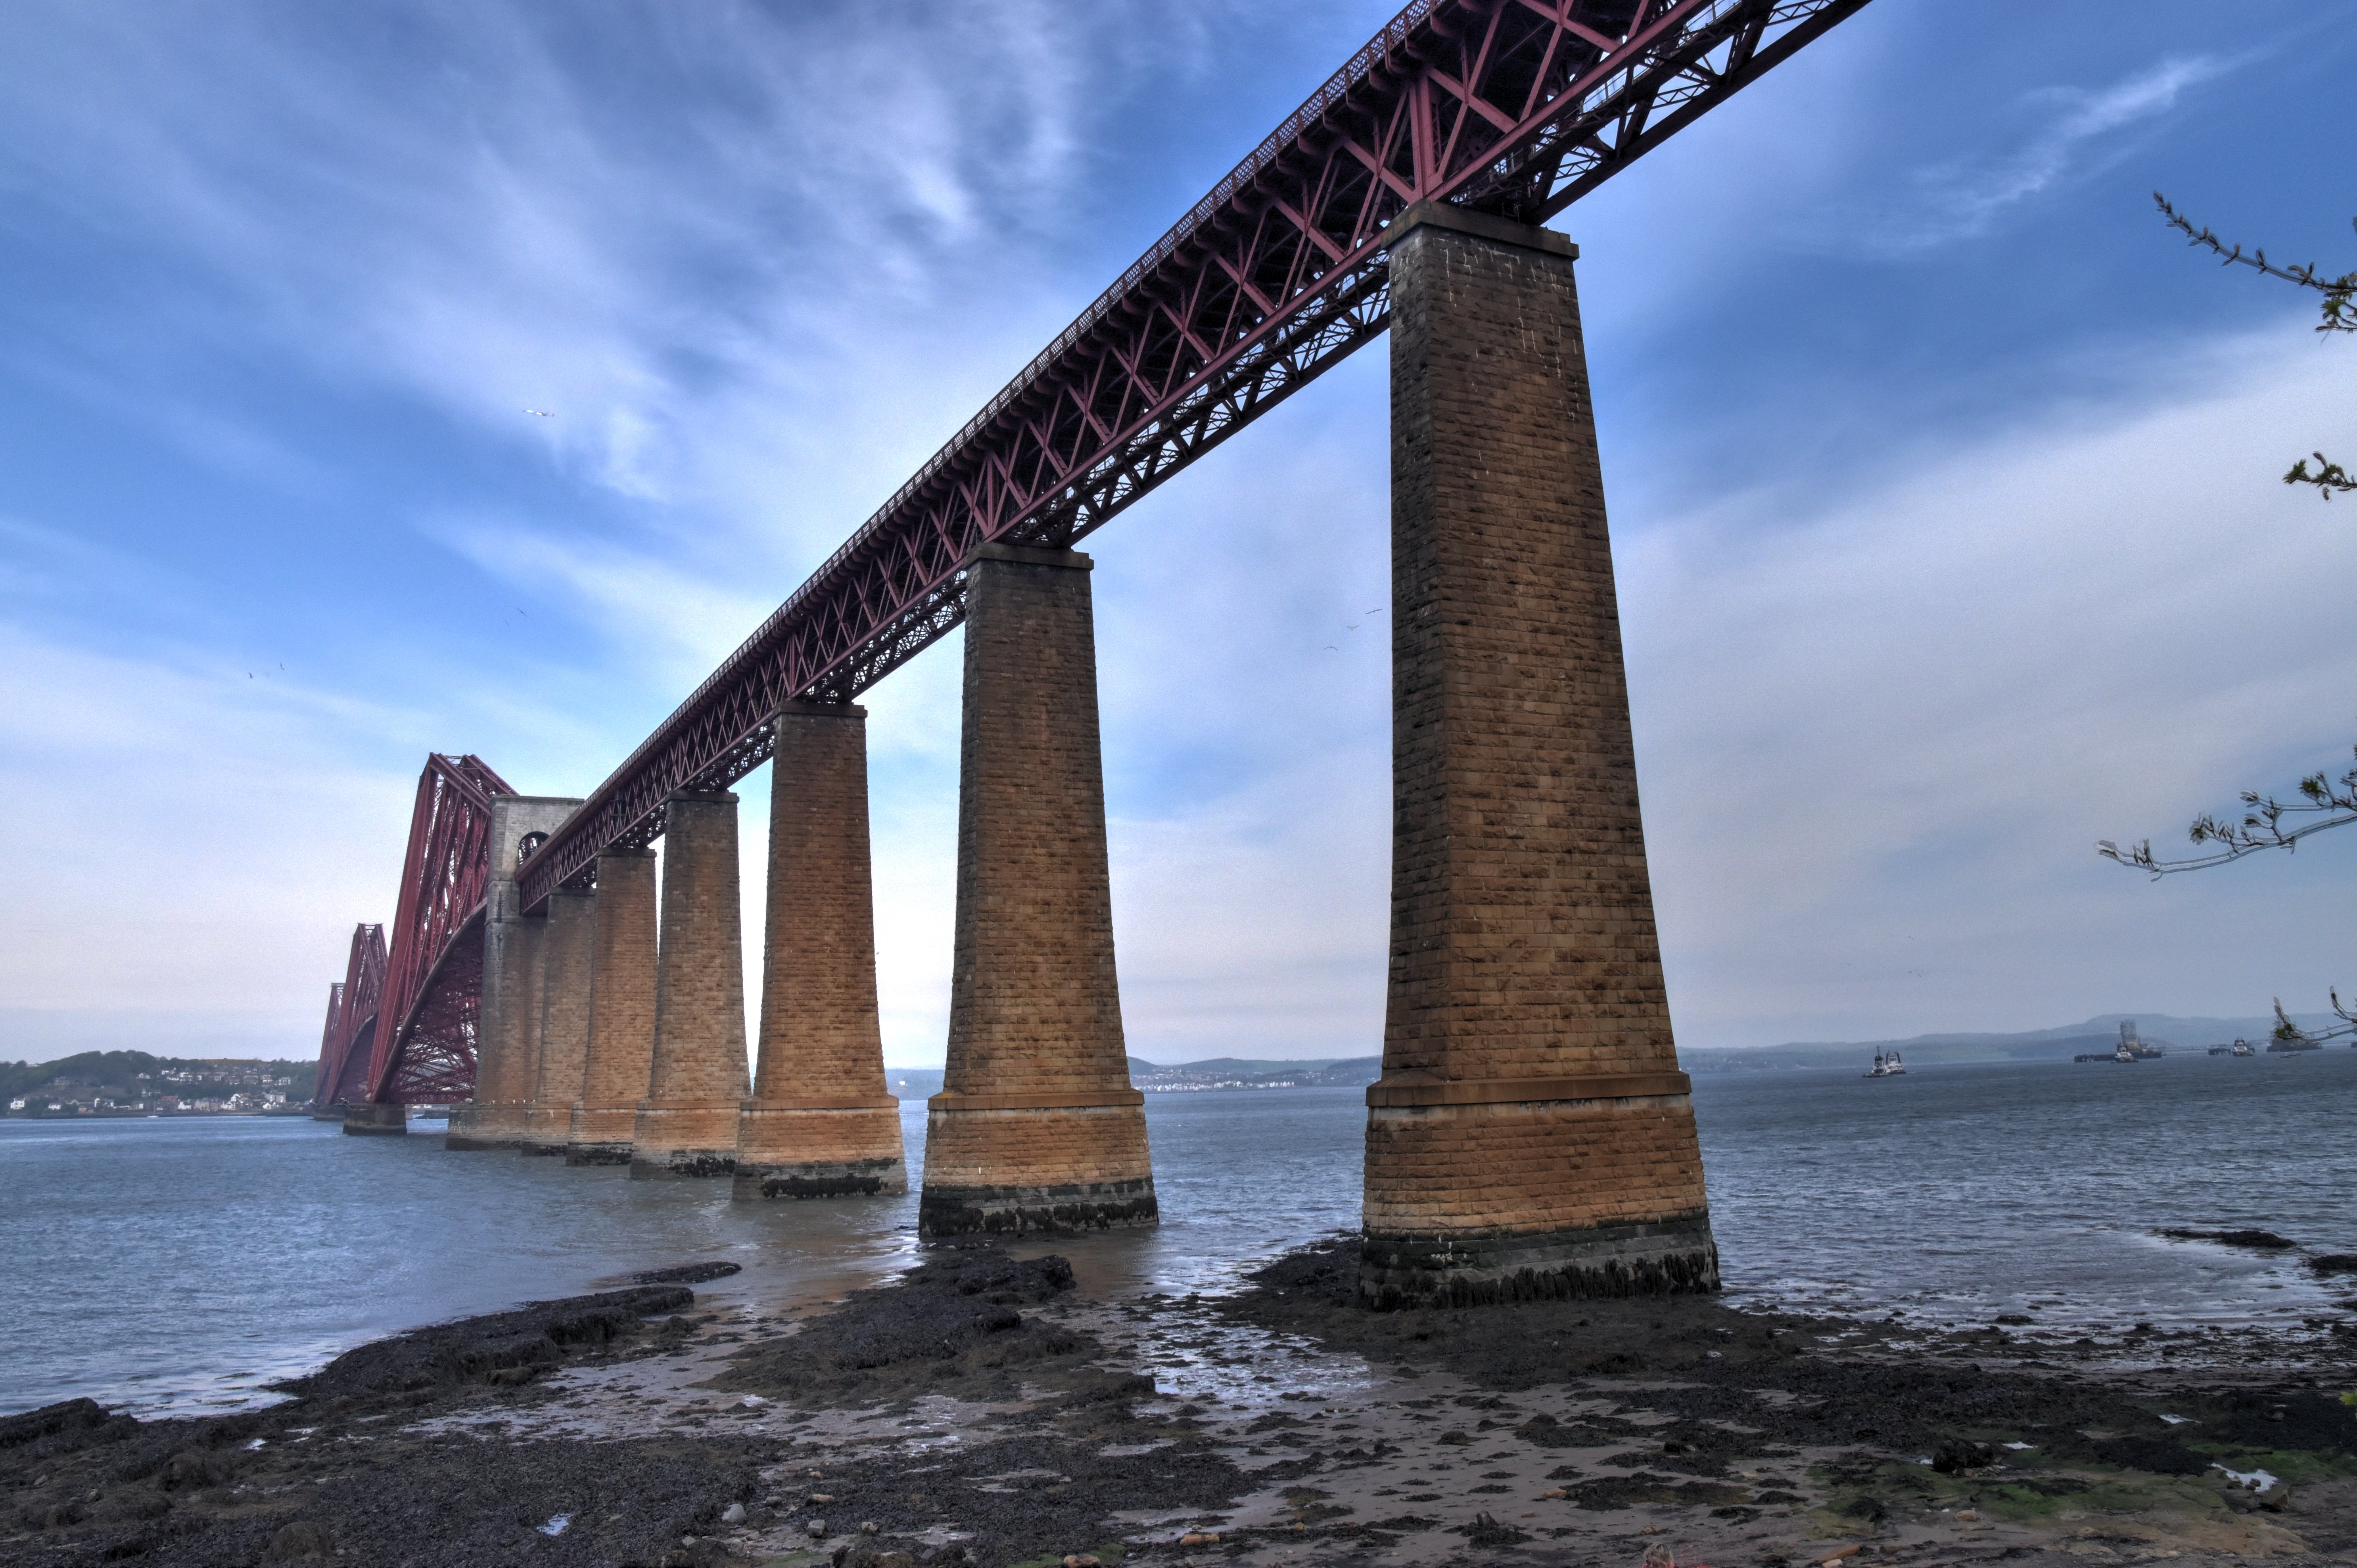

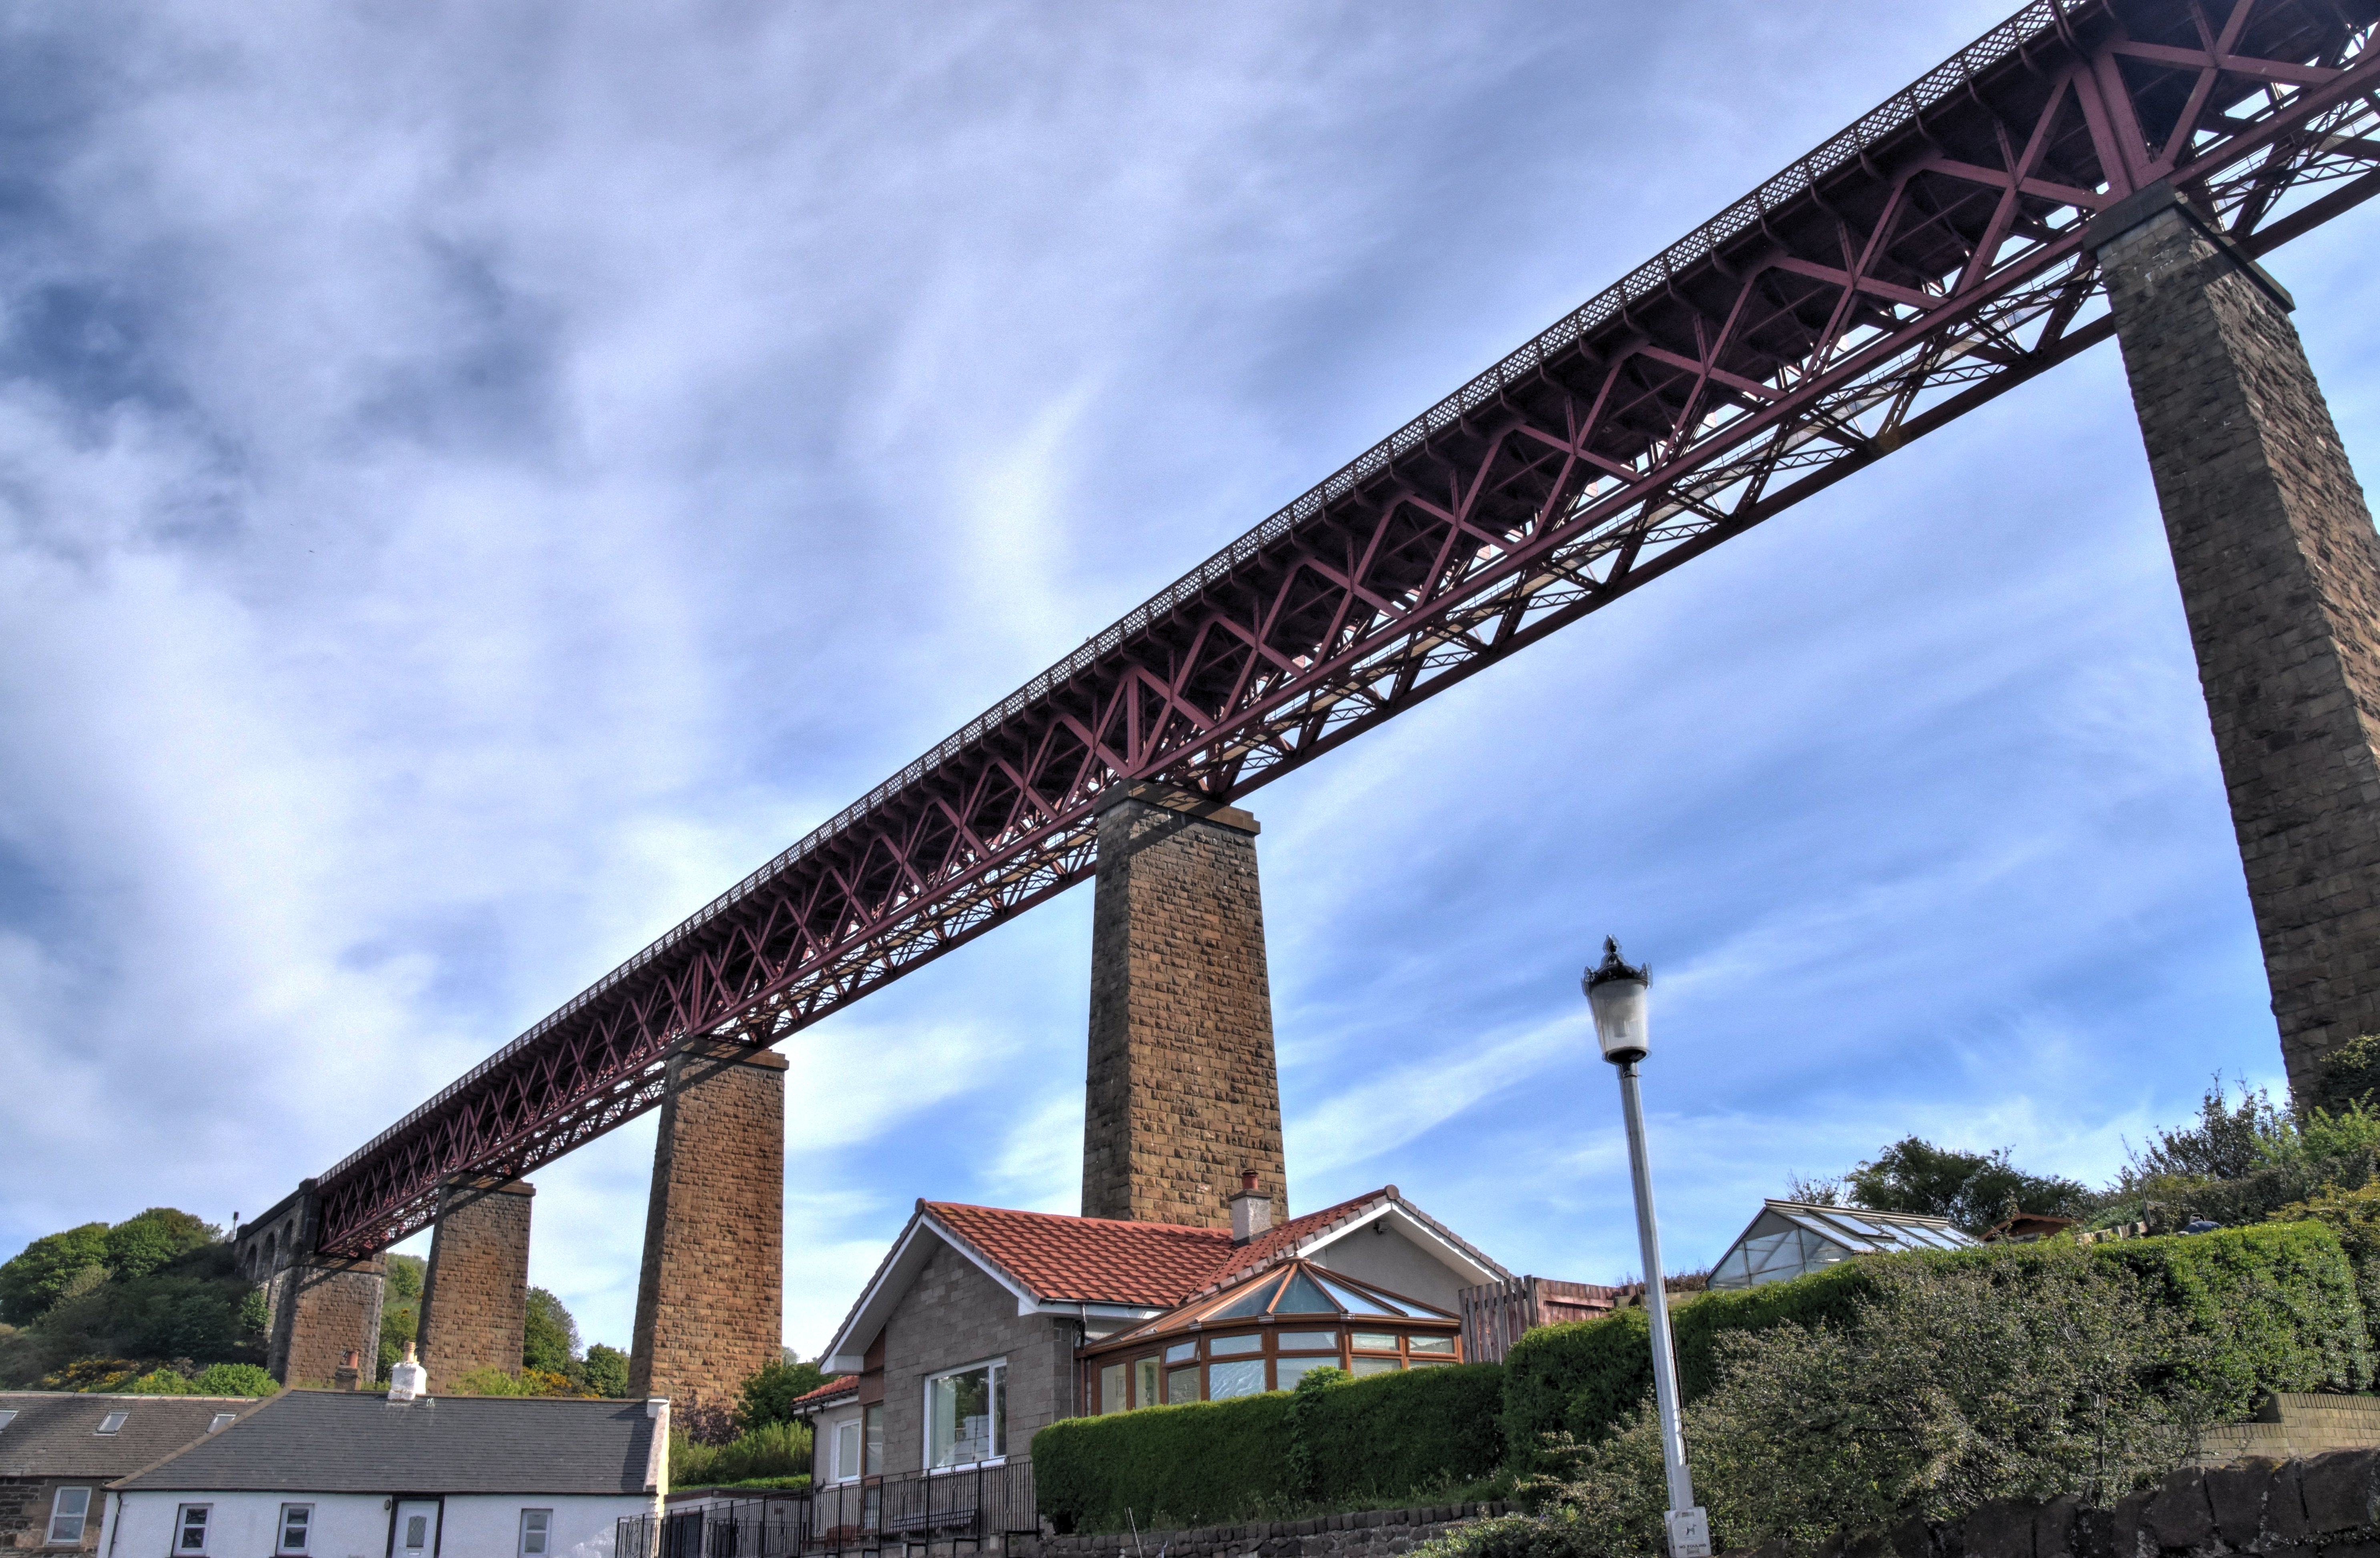
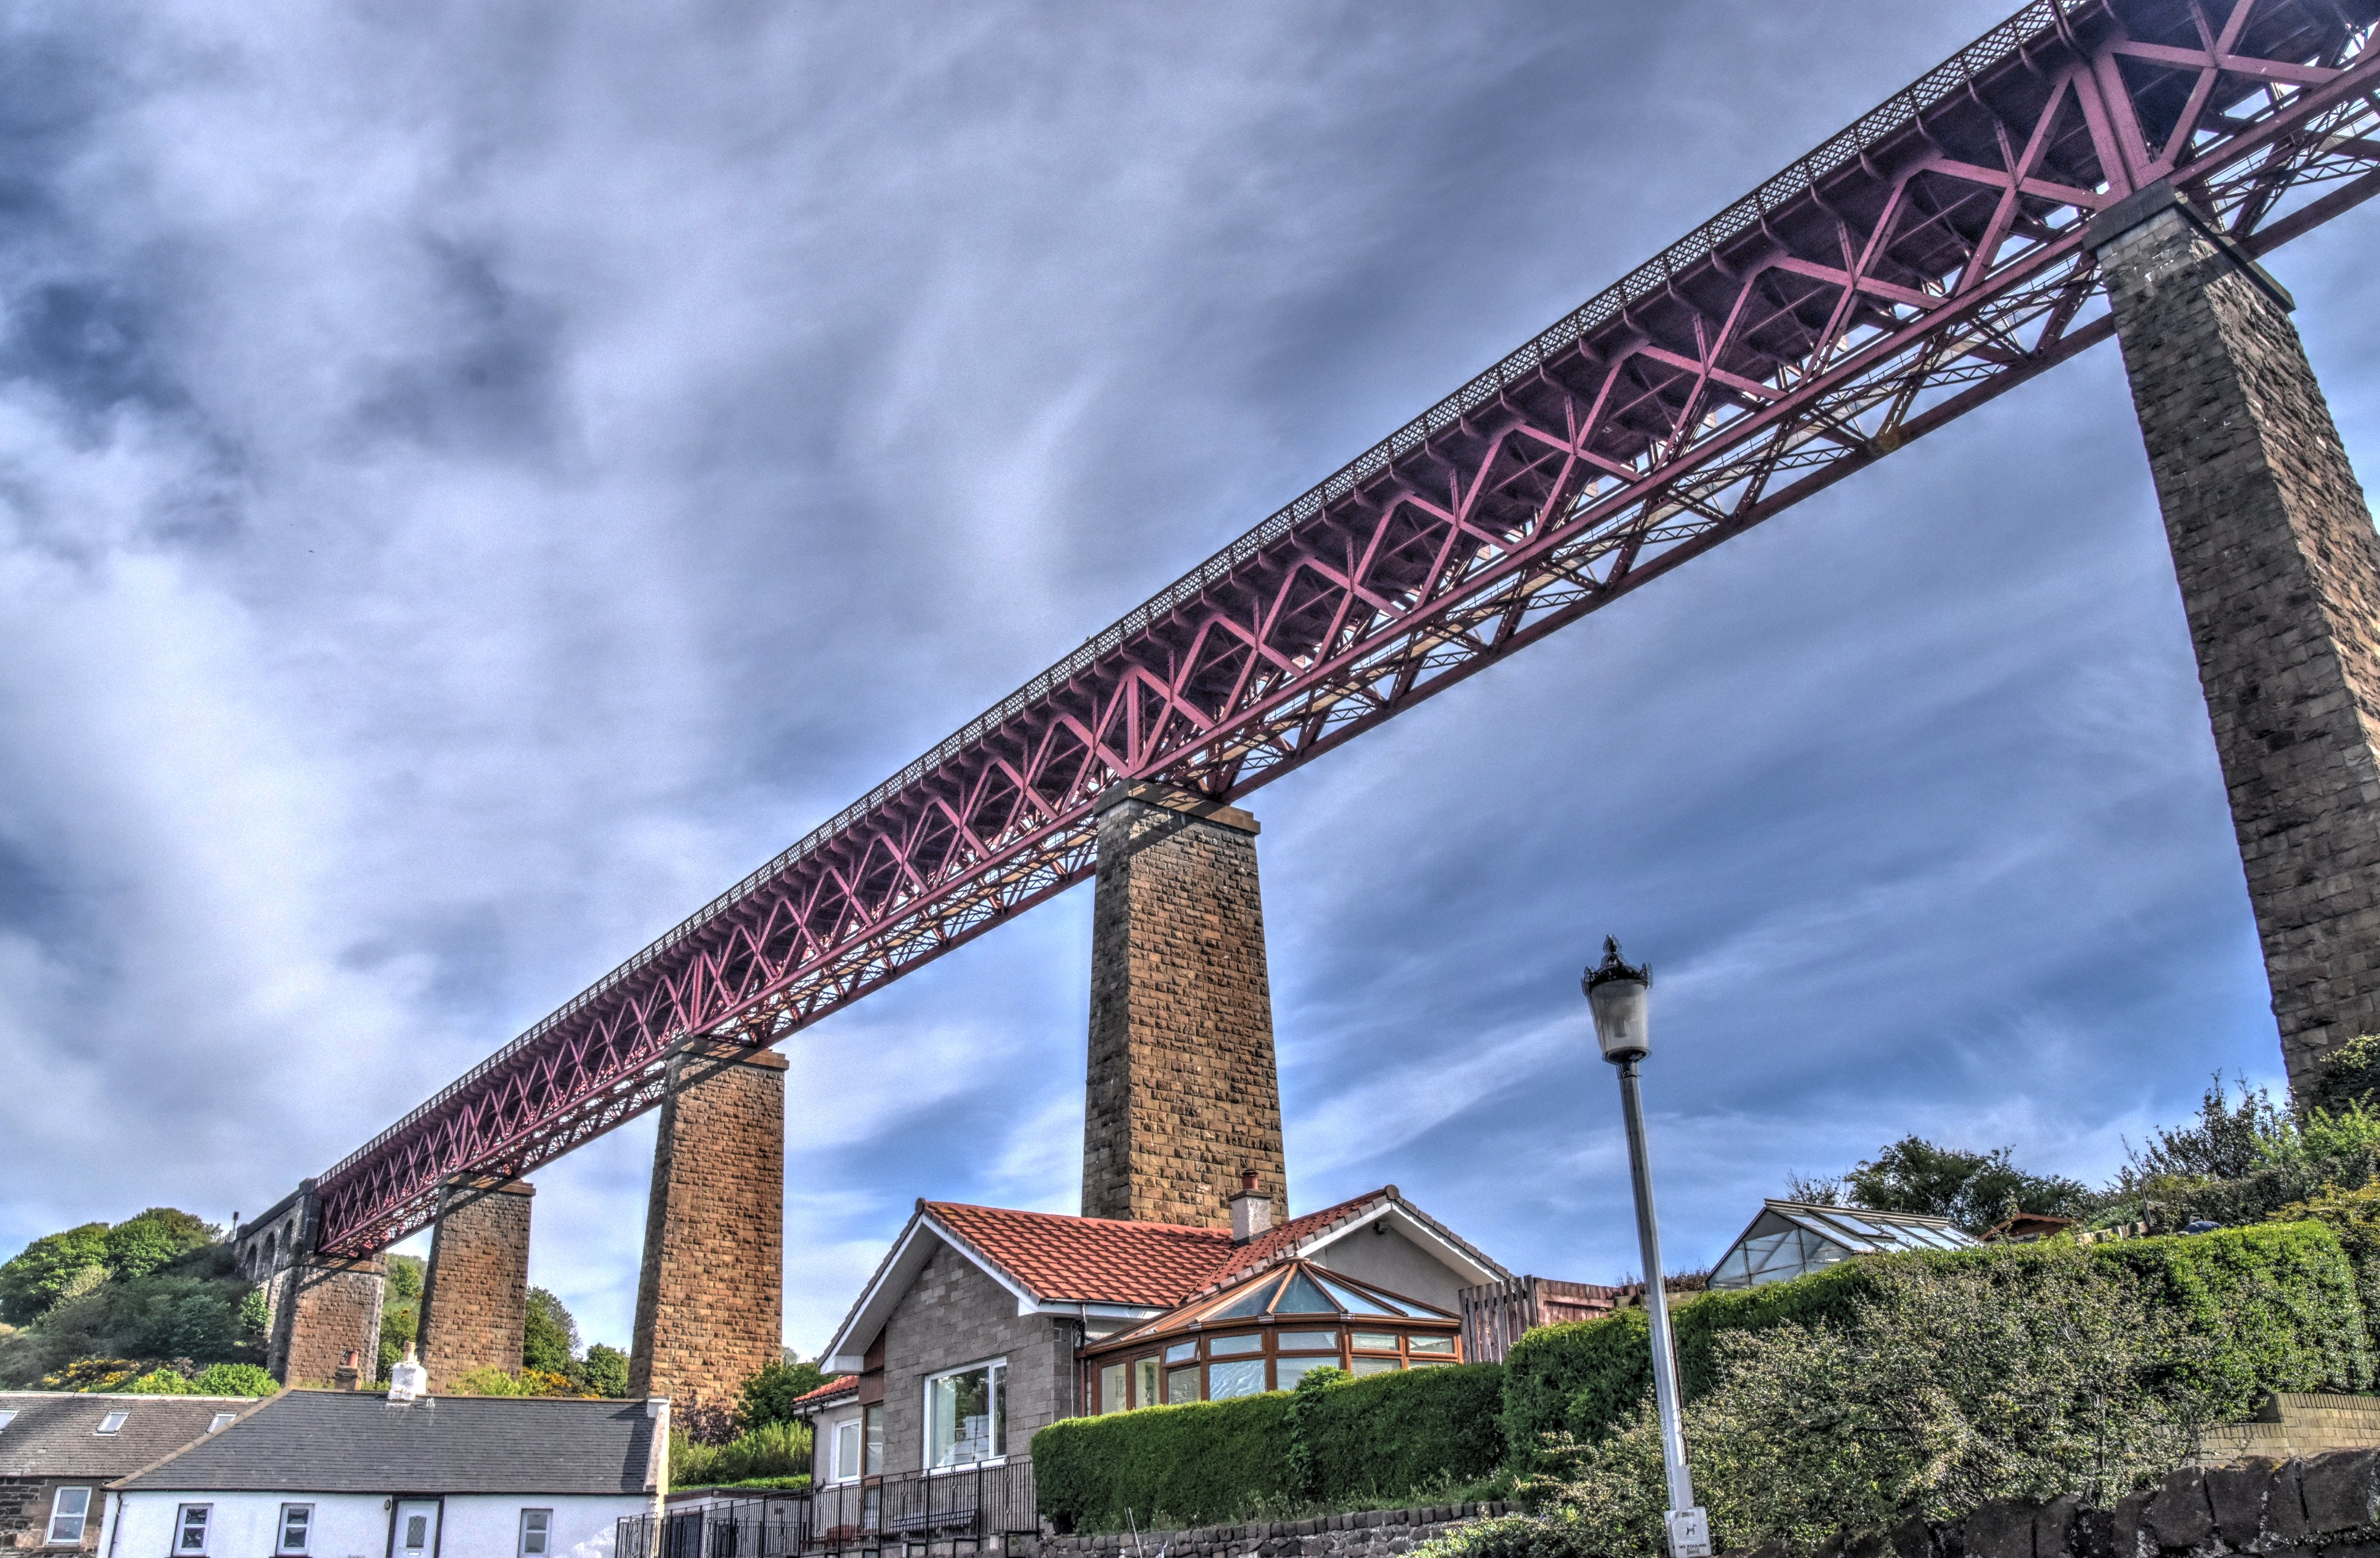
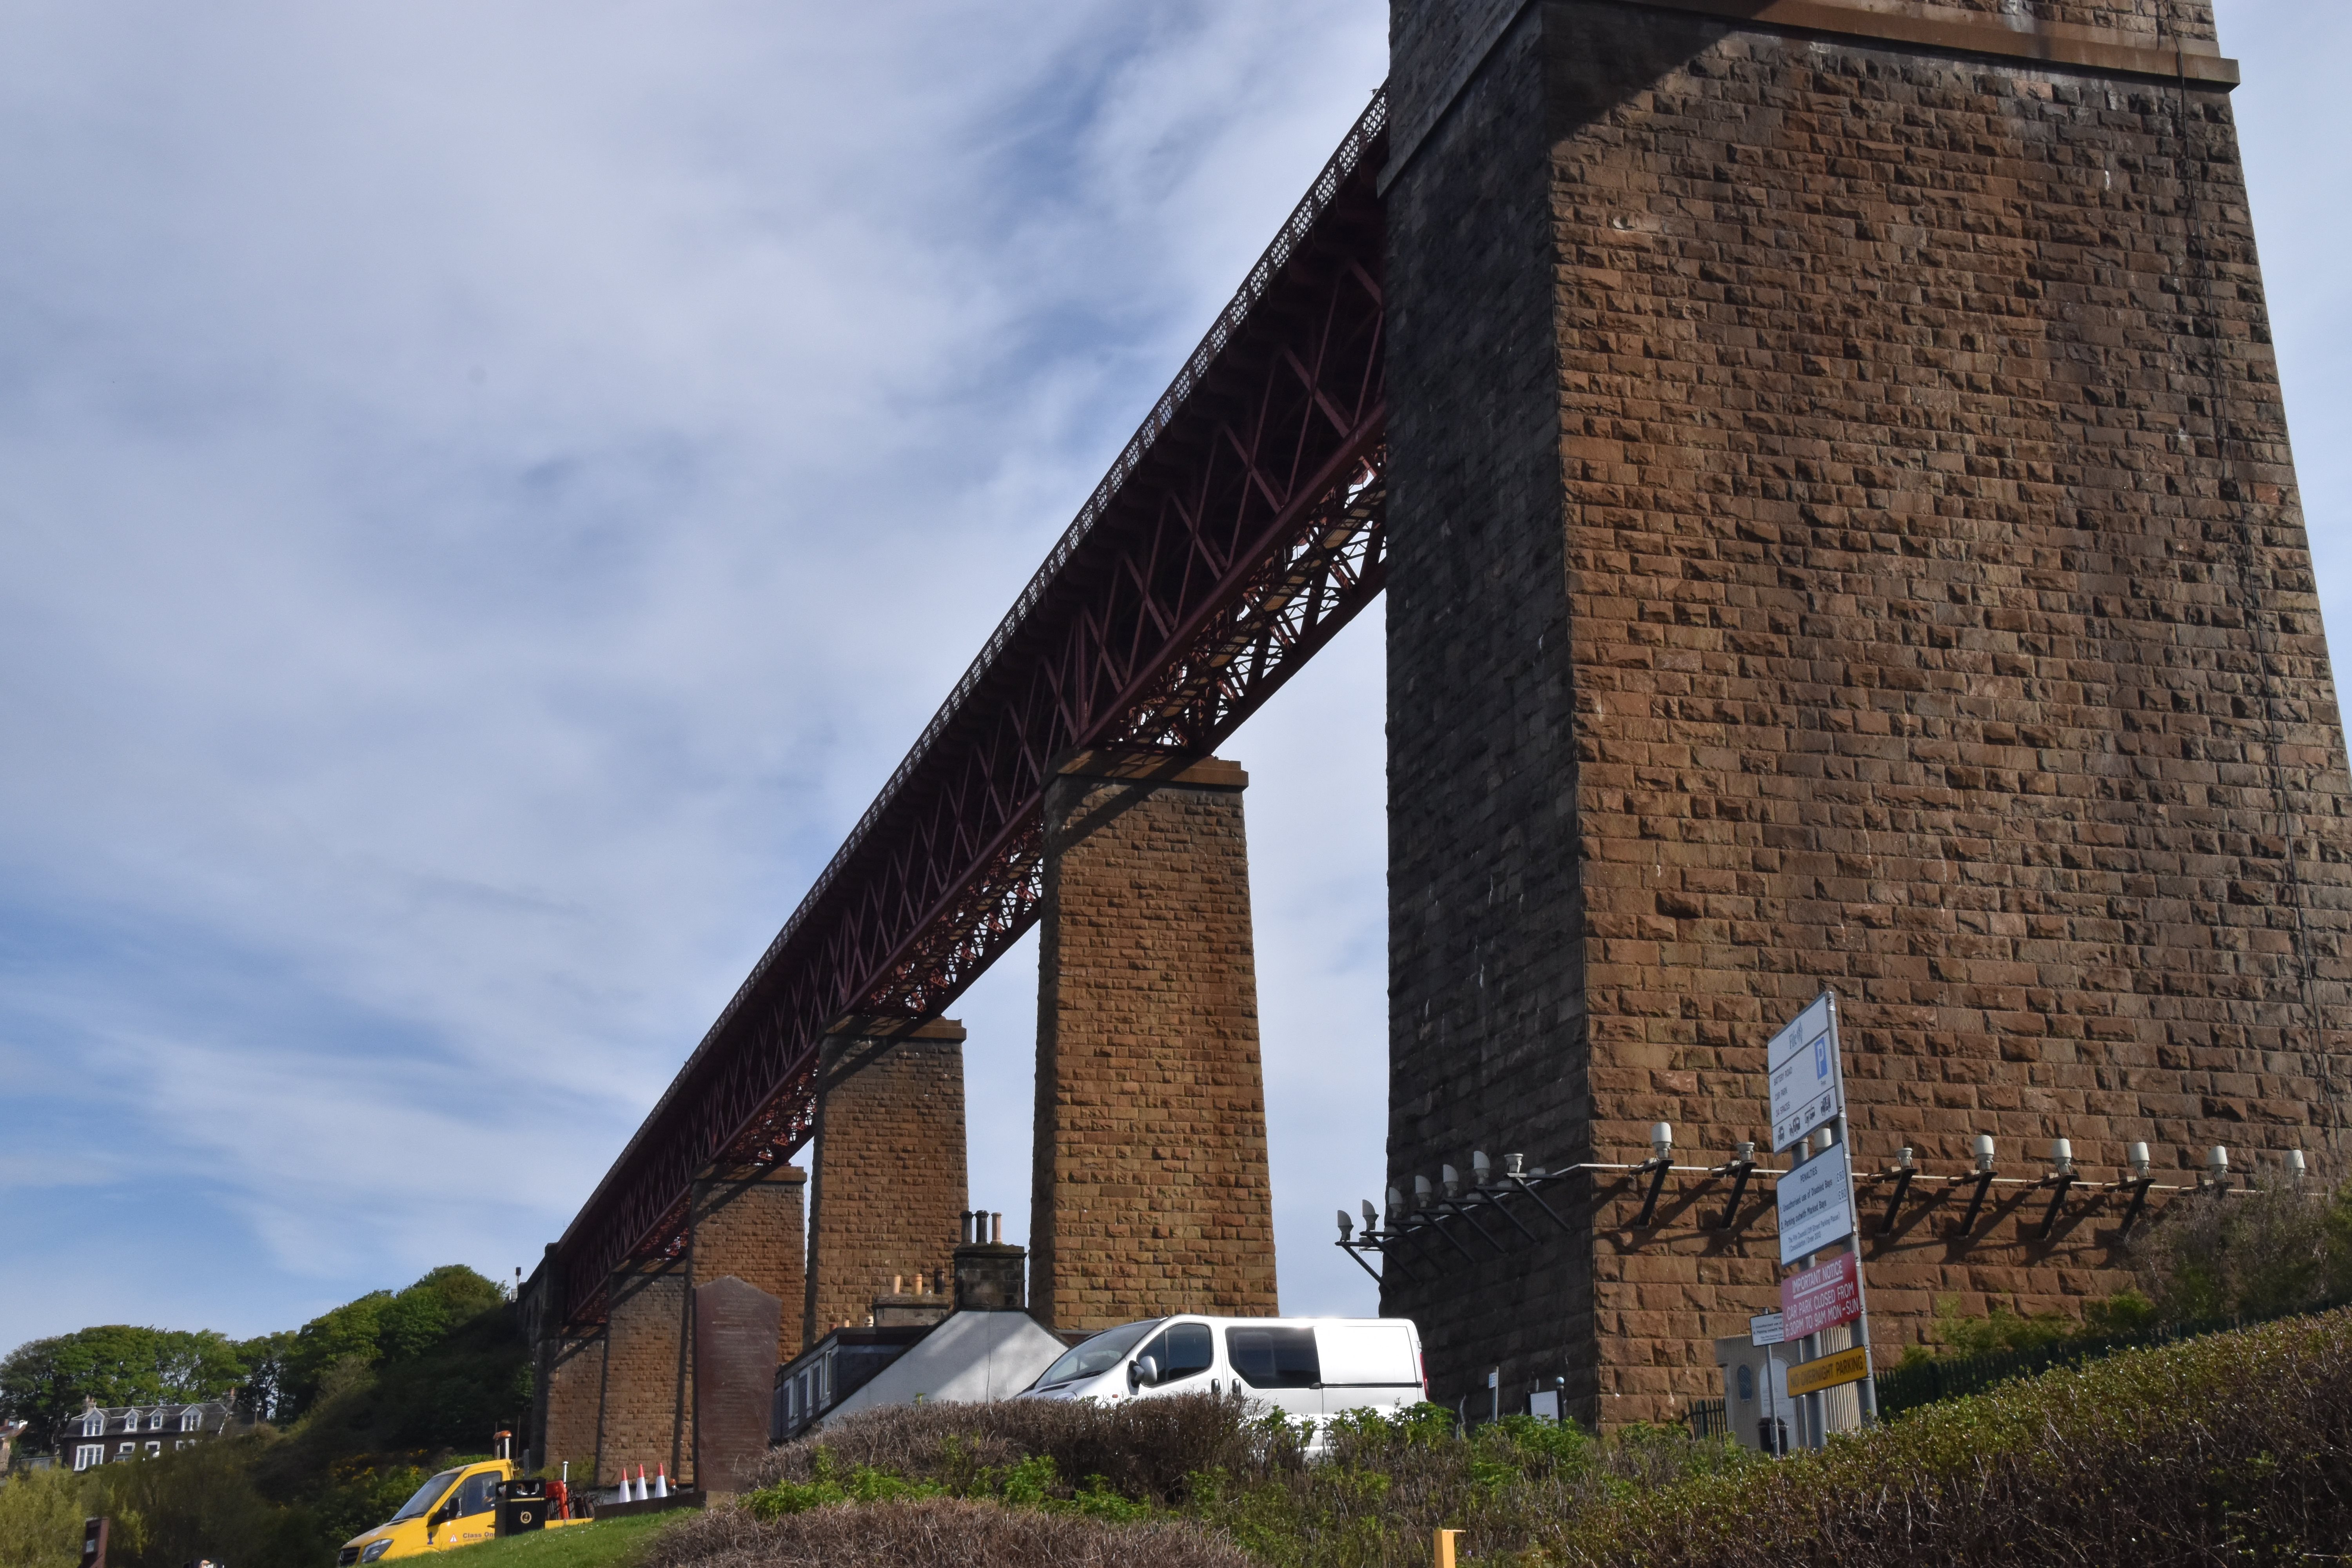
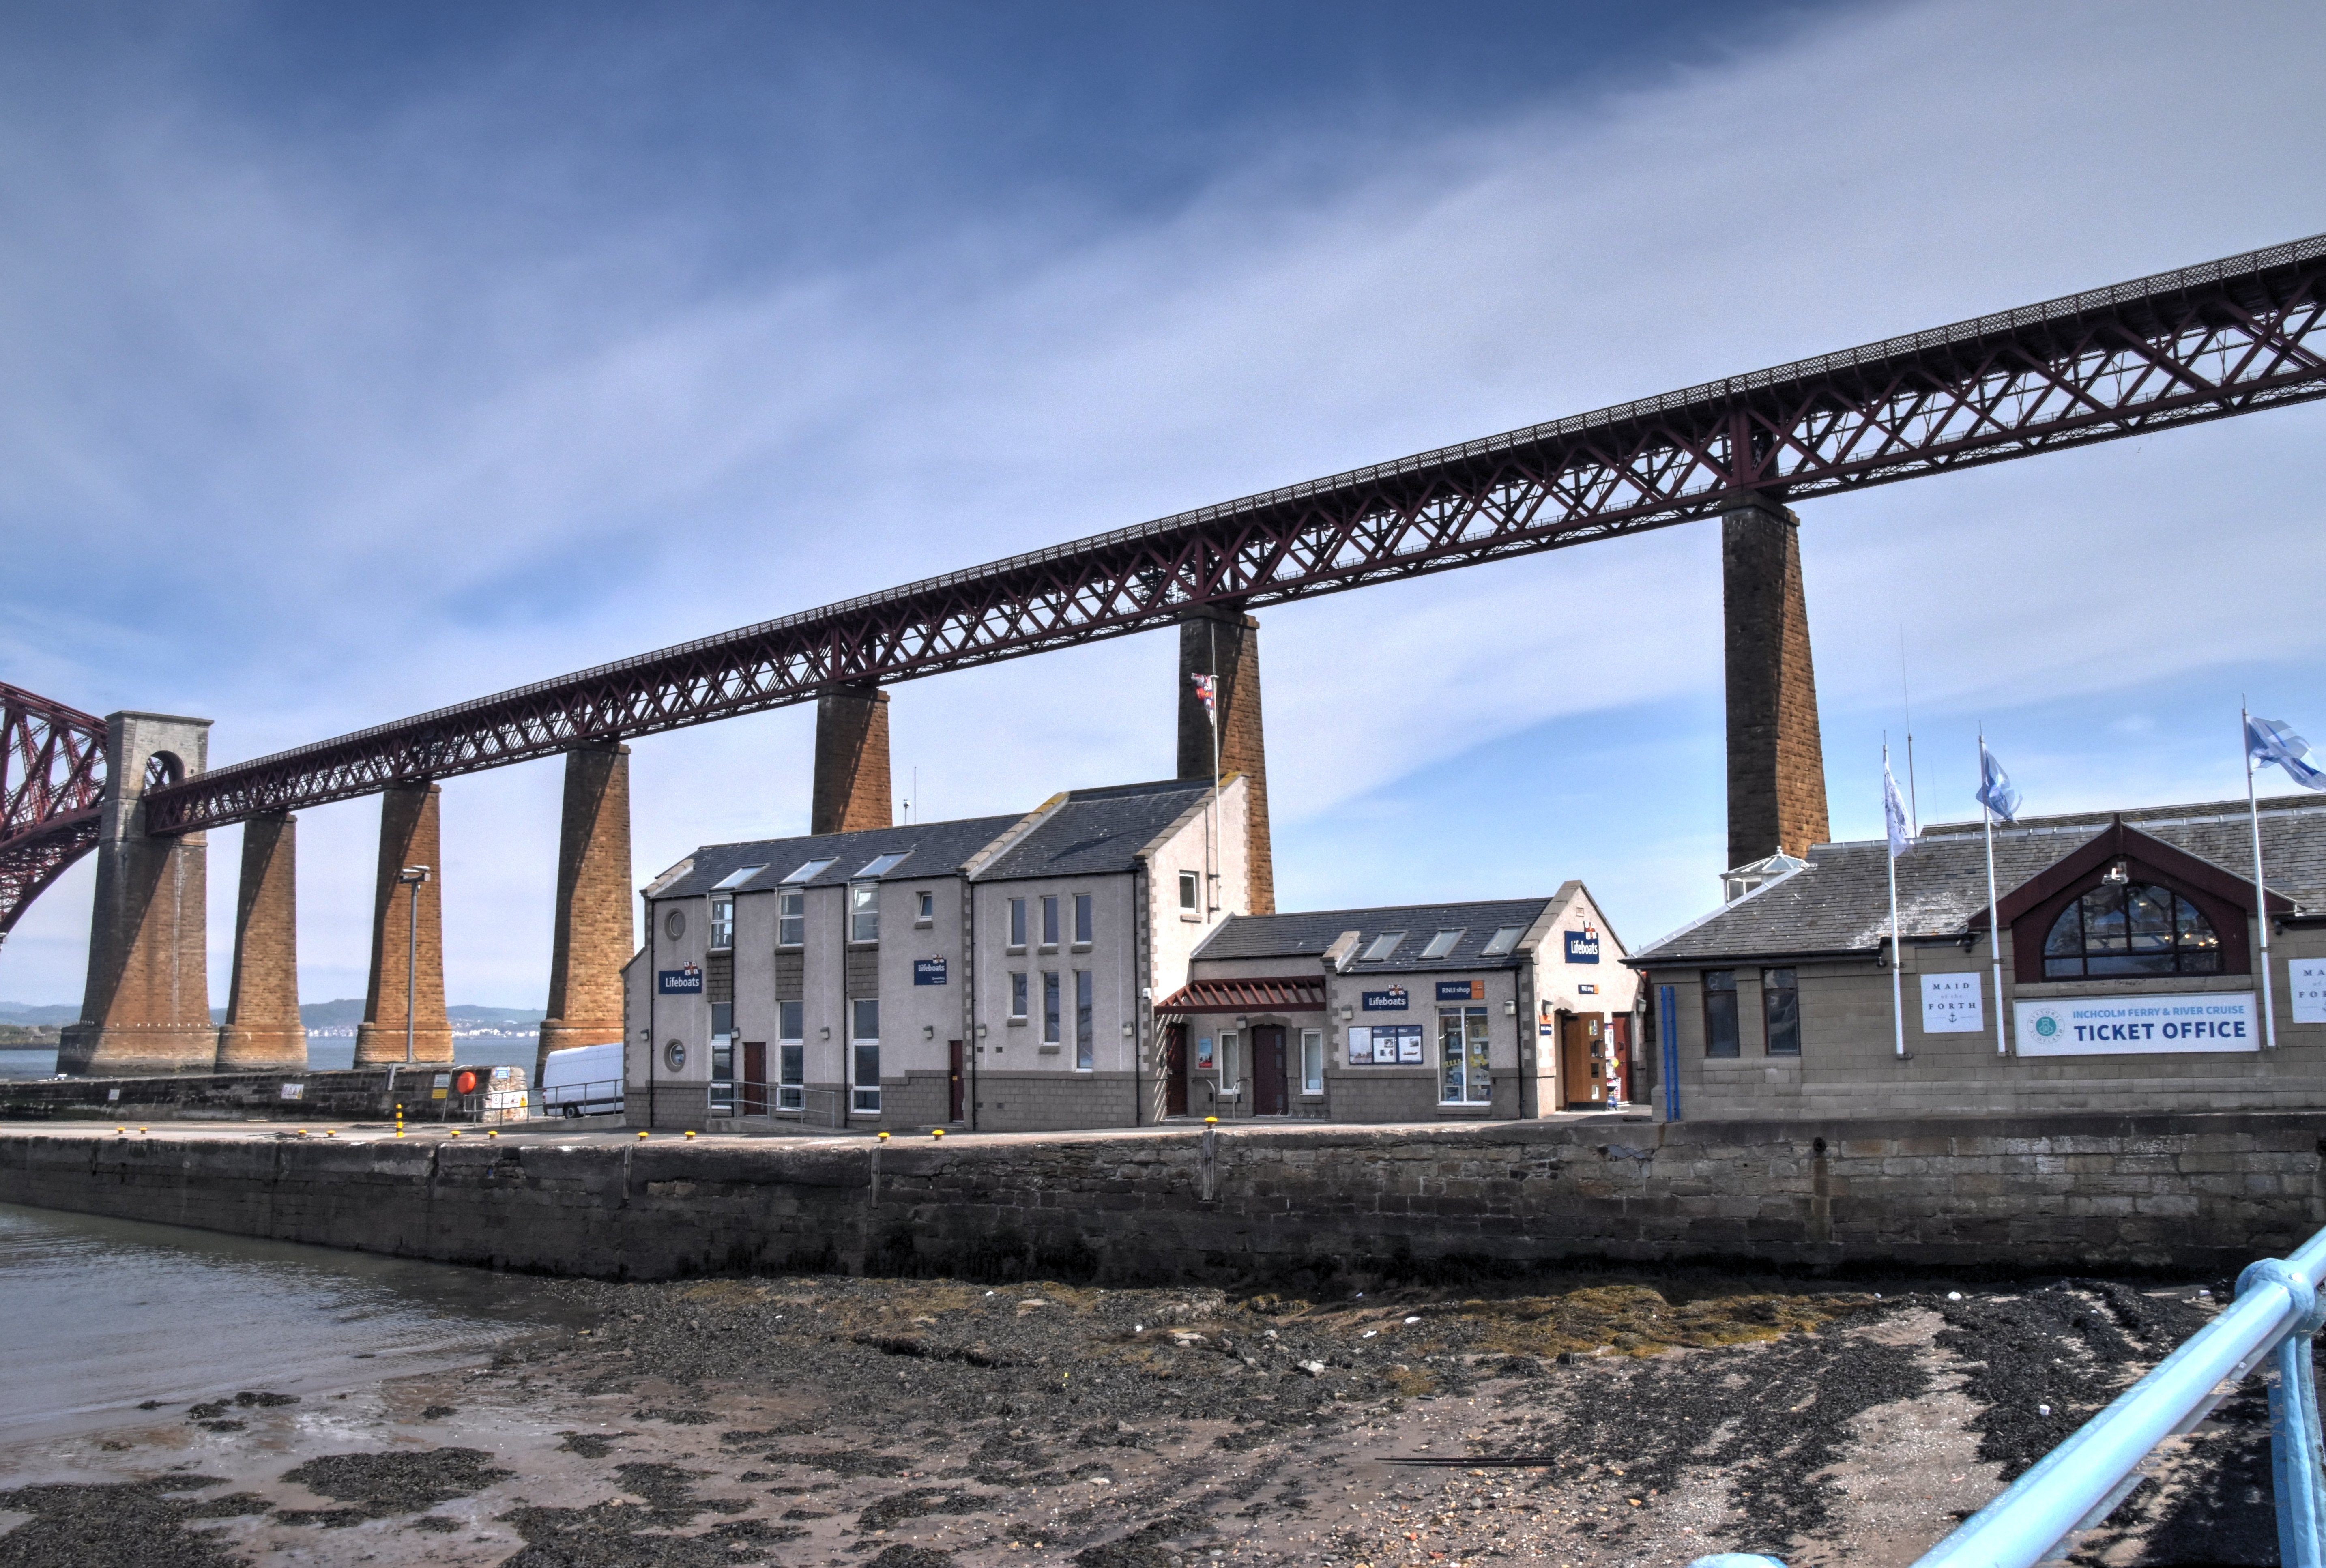
Views beside bridge from southwest quadrant.
![]()


Views beside bridge from southeast quadrant.
![]()


Views directly beside bridge from southeast quadrant.
![]()


Views beside bridge showing main spans from southeast quadrant.
![]()
![]()
![]()
Panoramic views beside bridge from southeast quadrant.
![]()


Oblique views of main spans from southeast quadrant.
![]()
![]()
![]()
Panoramic elevation from southeast quadrant.
![]()


Elevation from southeast quadrant.
![]()


Elevation of main spans from southeast quadrant.
![]()


Views beside bridge from northwest quadrant.
![]()

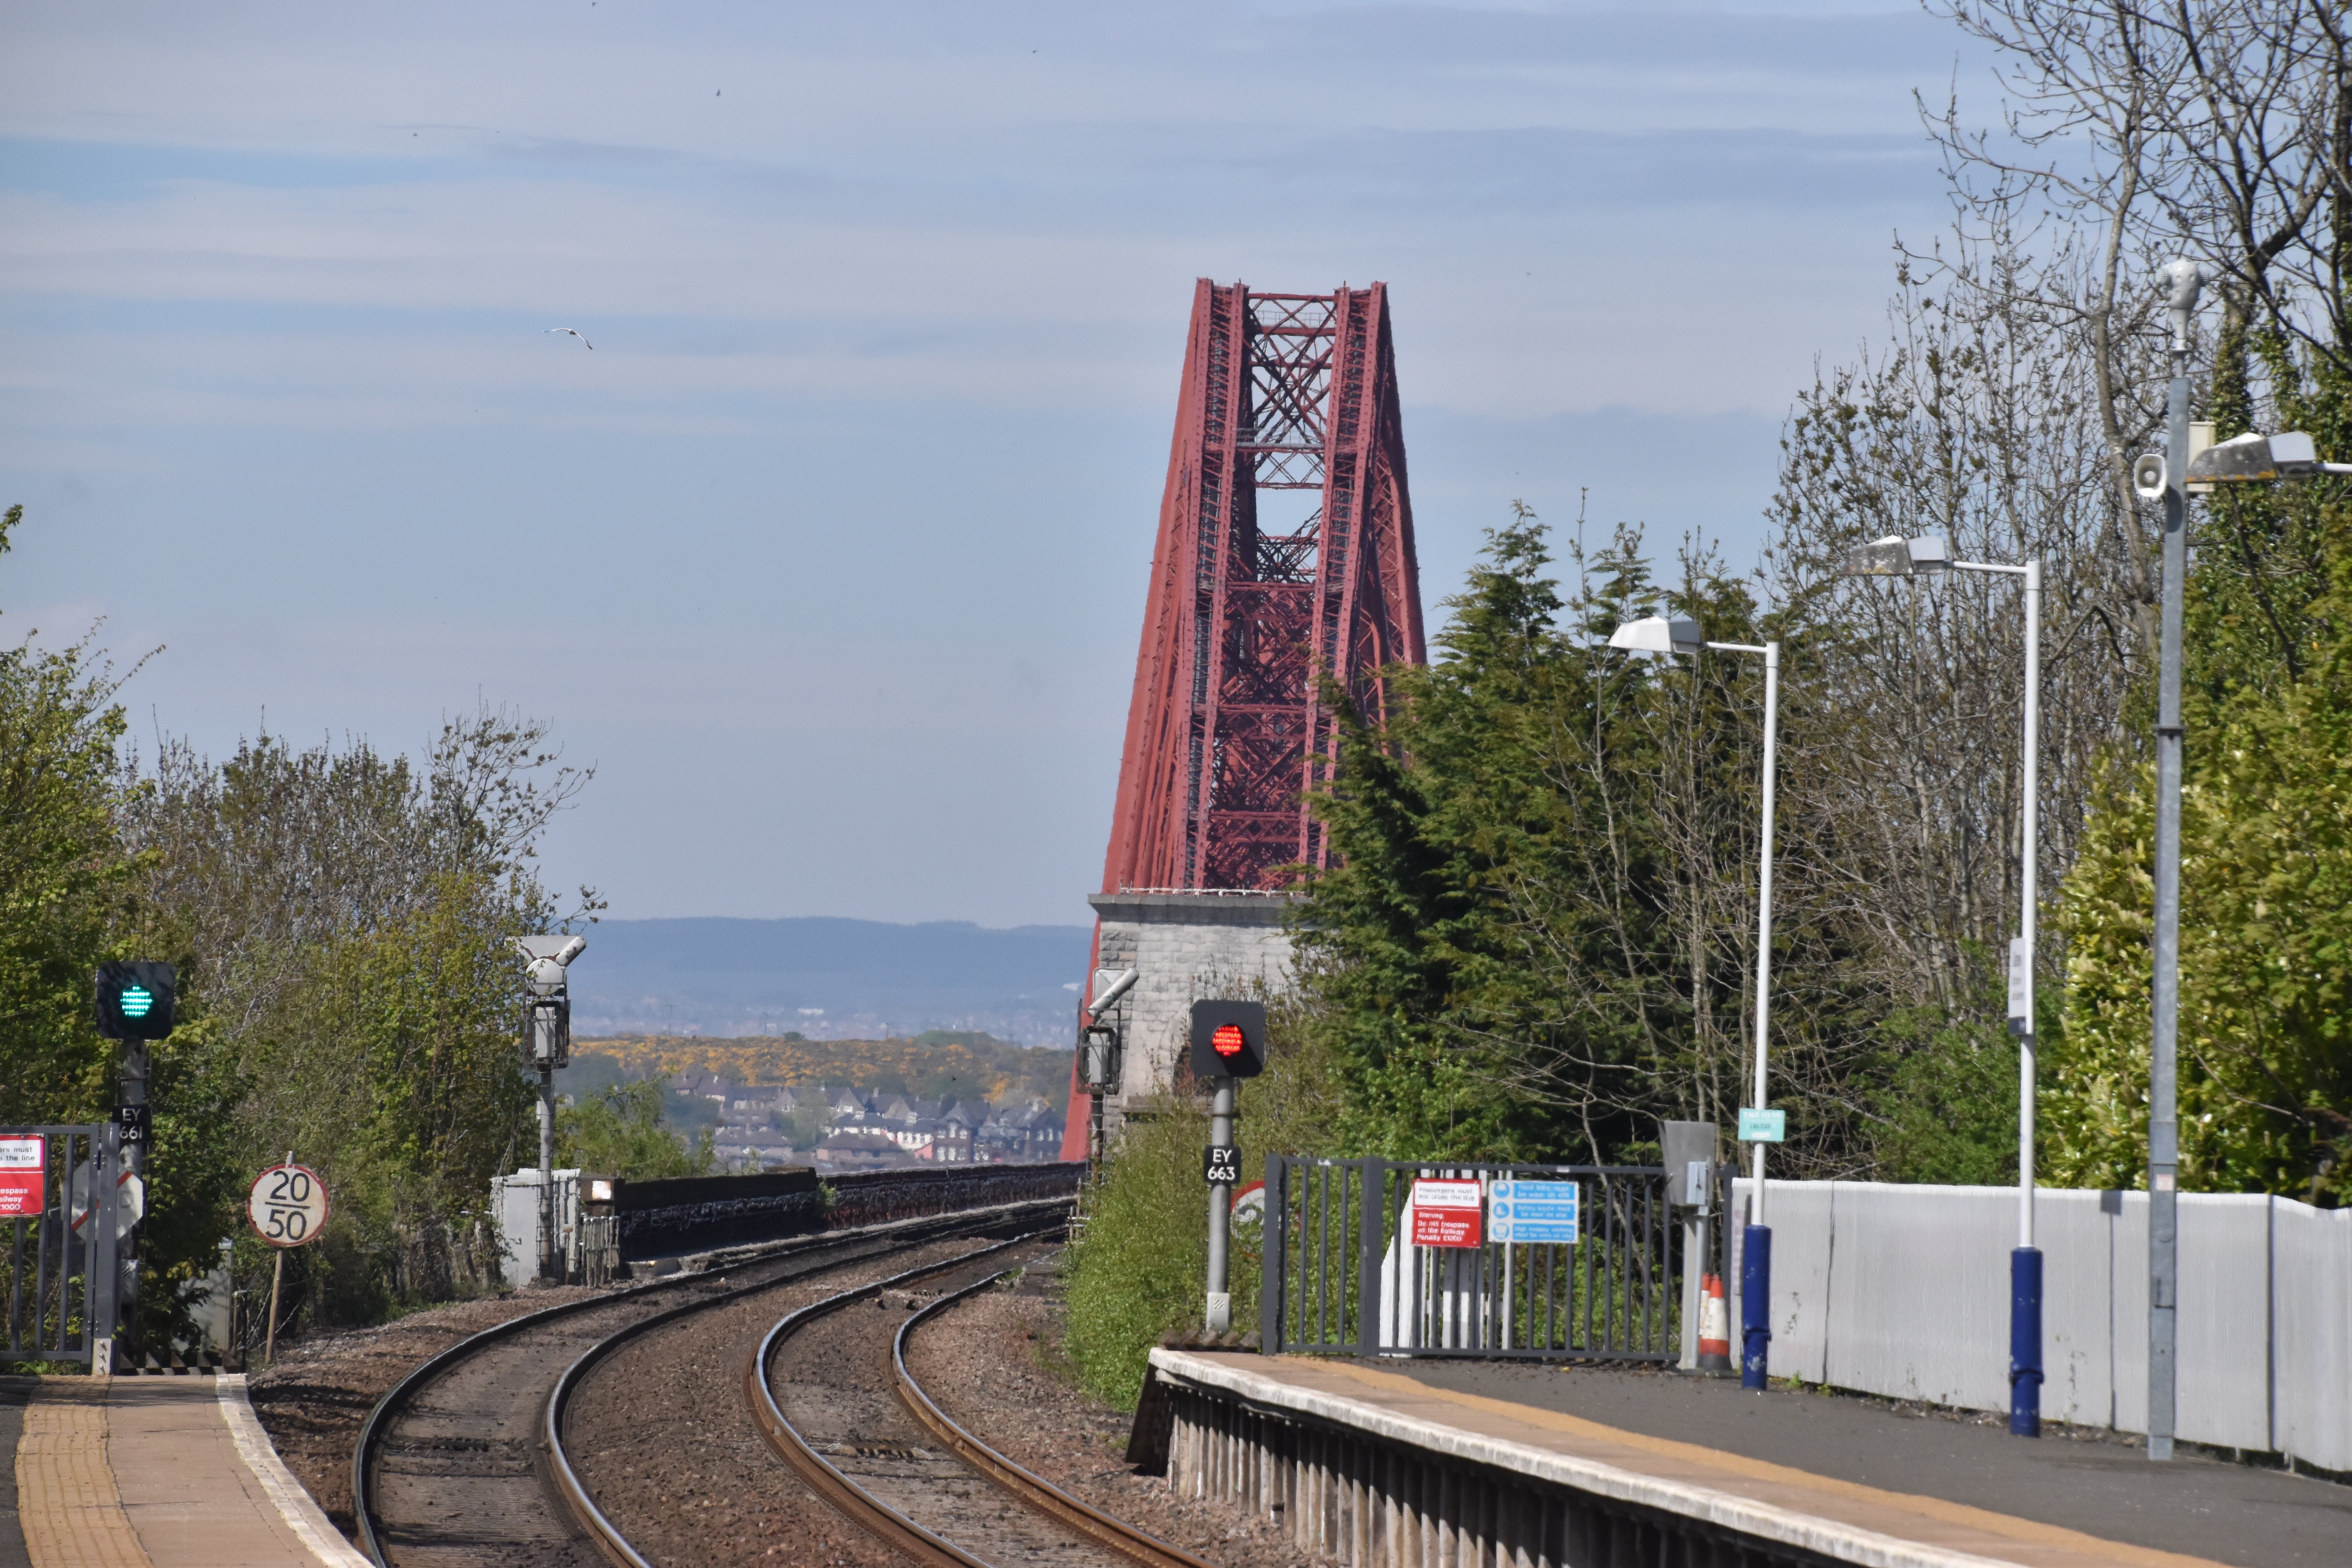


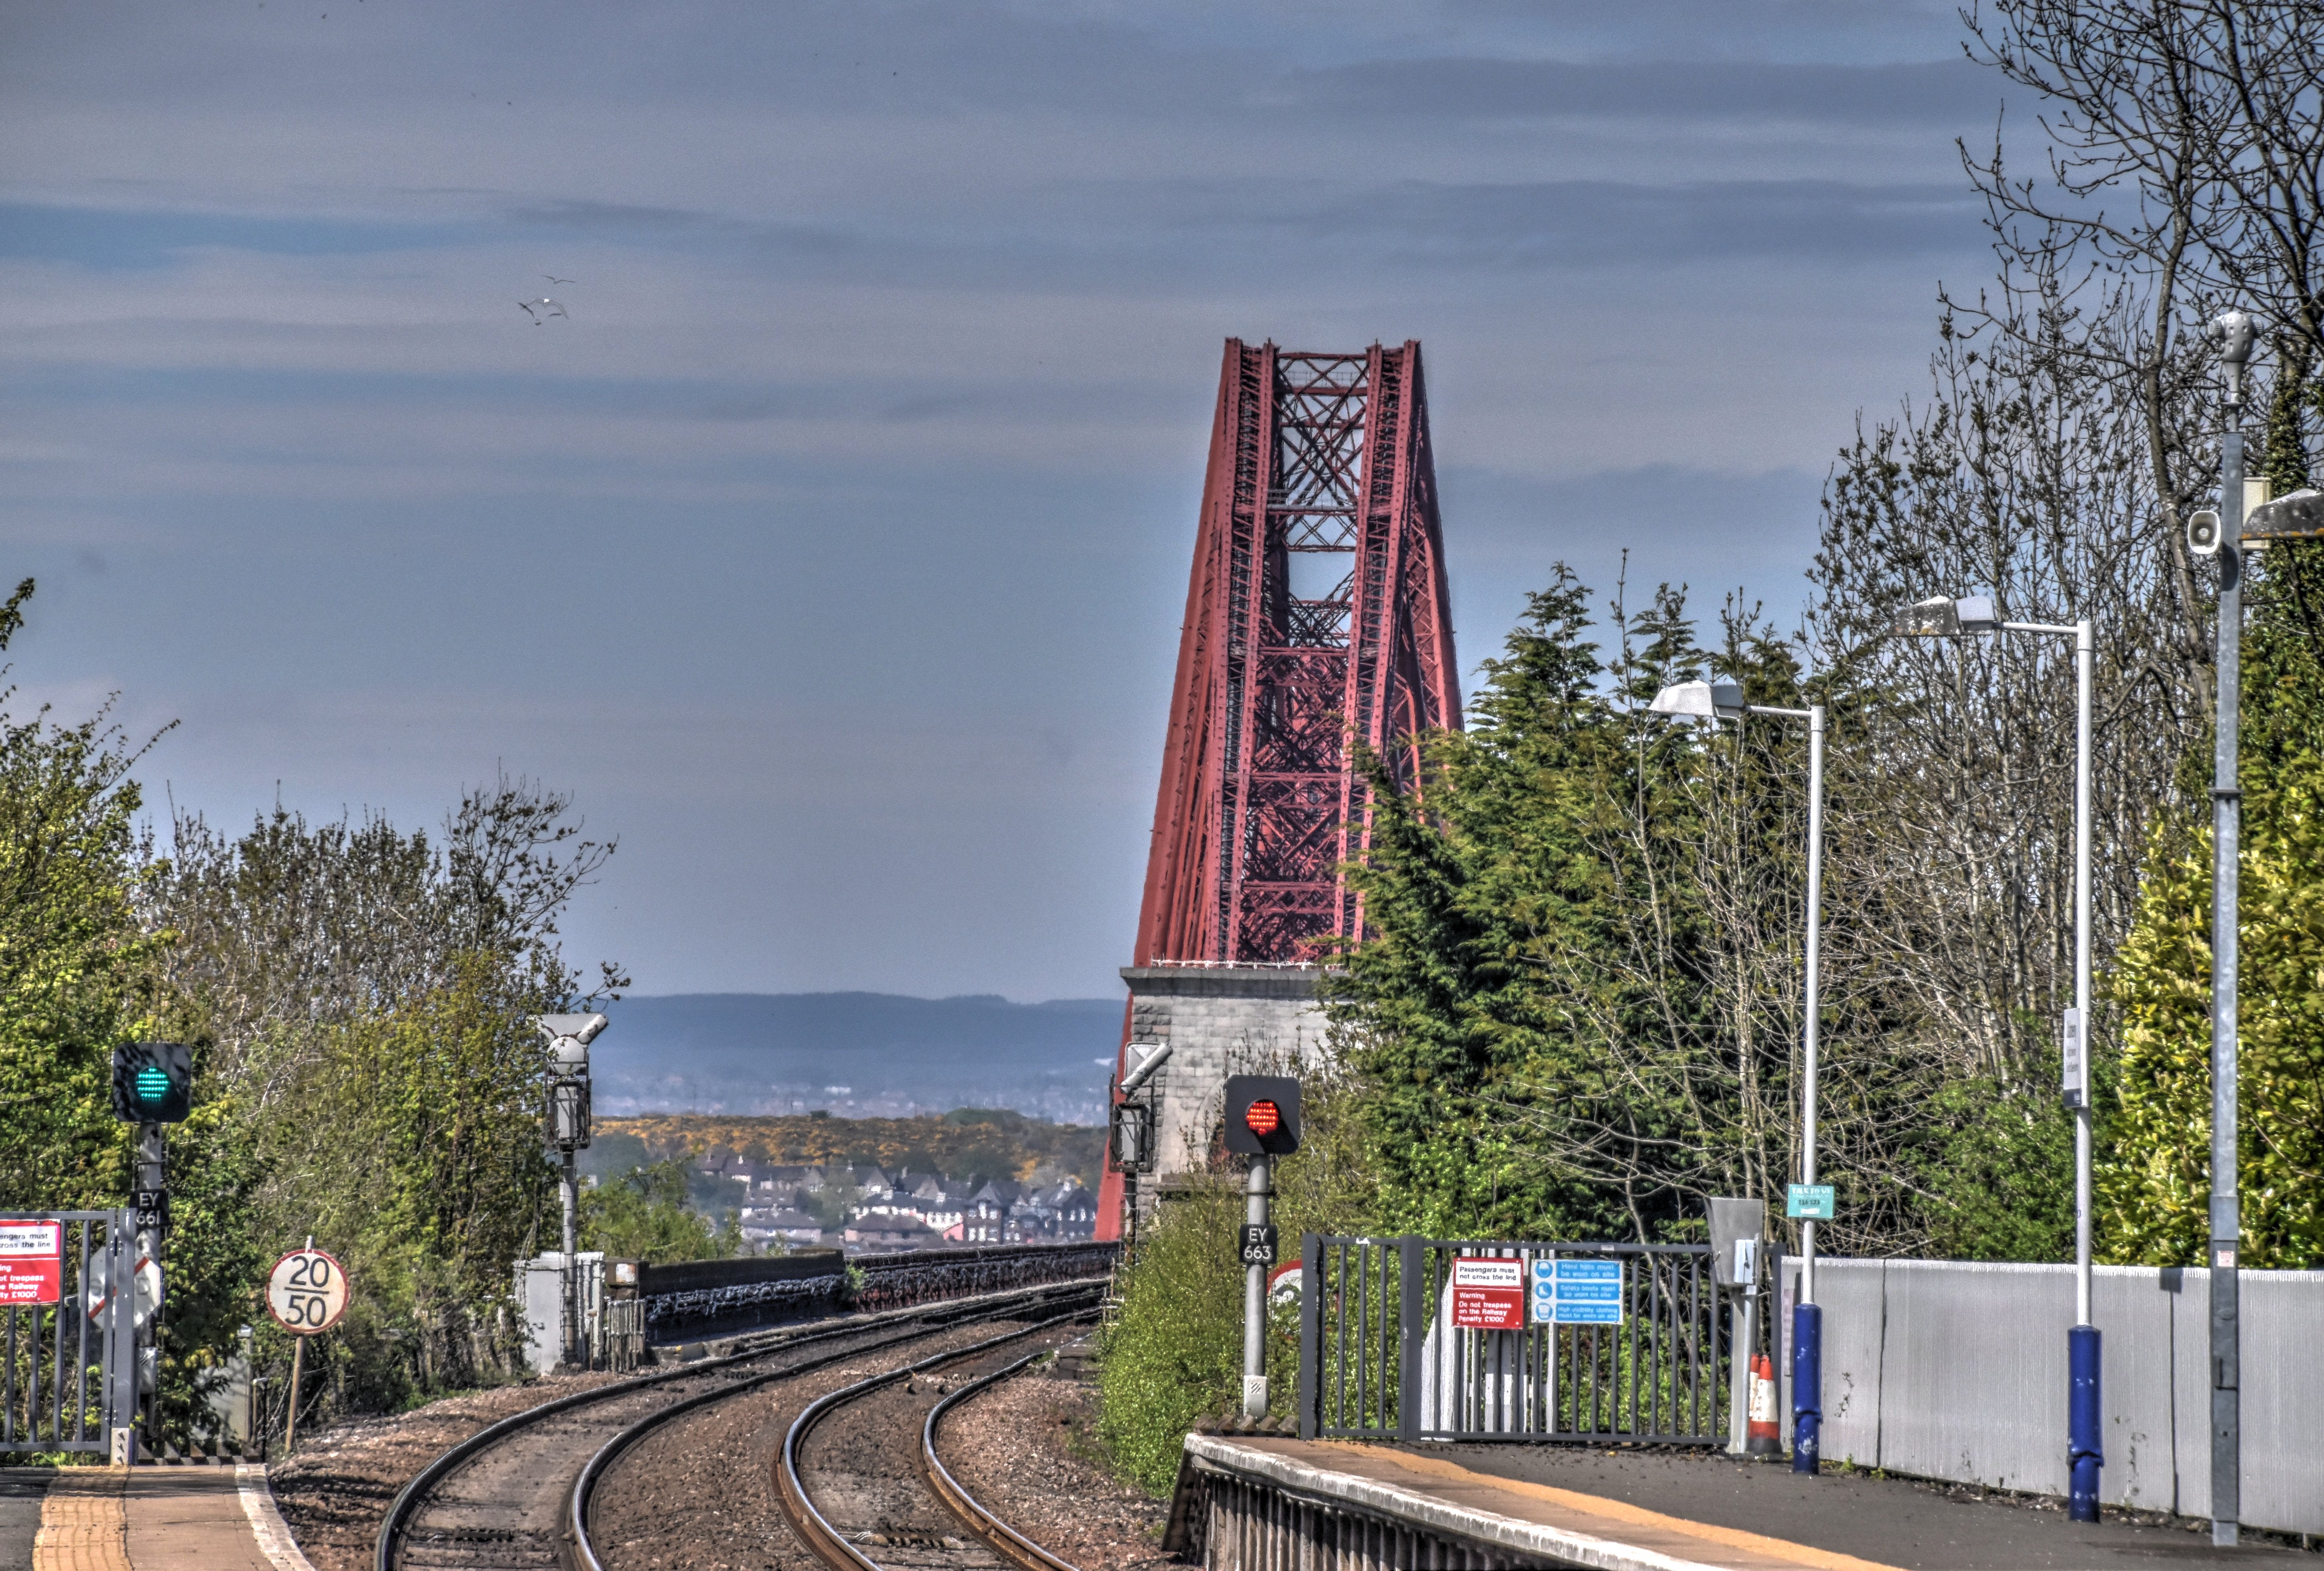
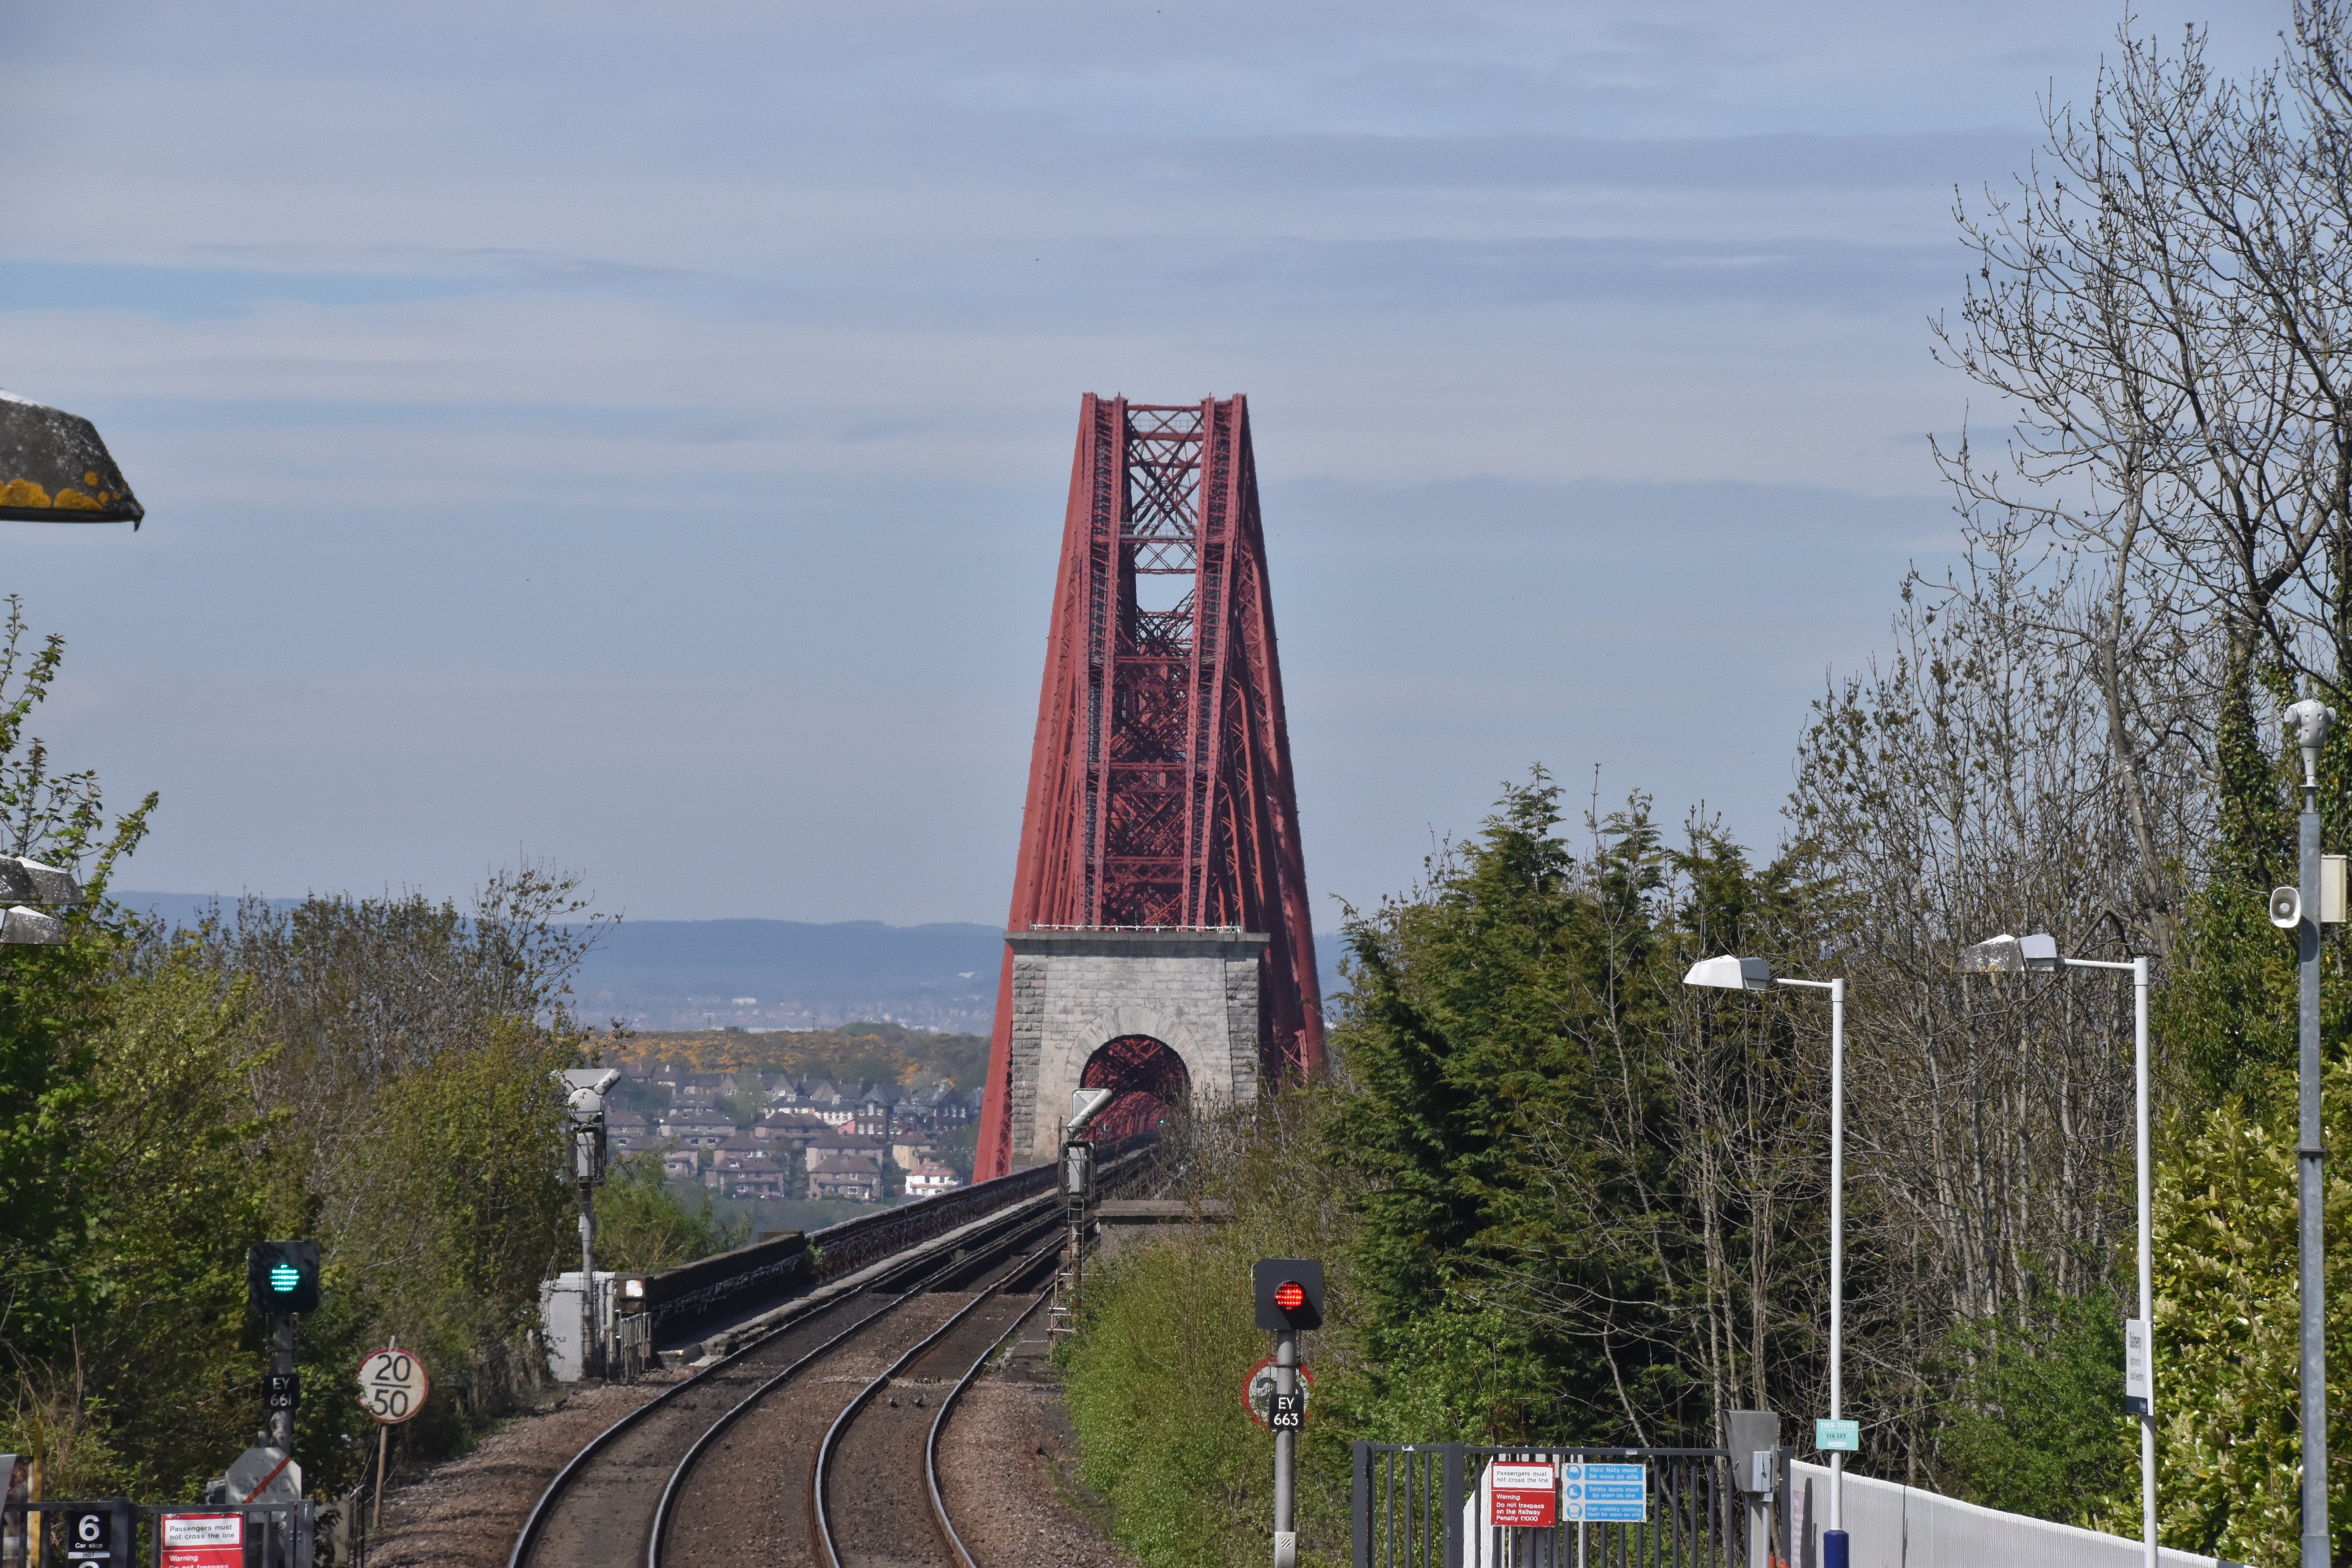


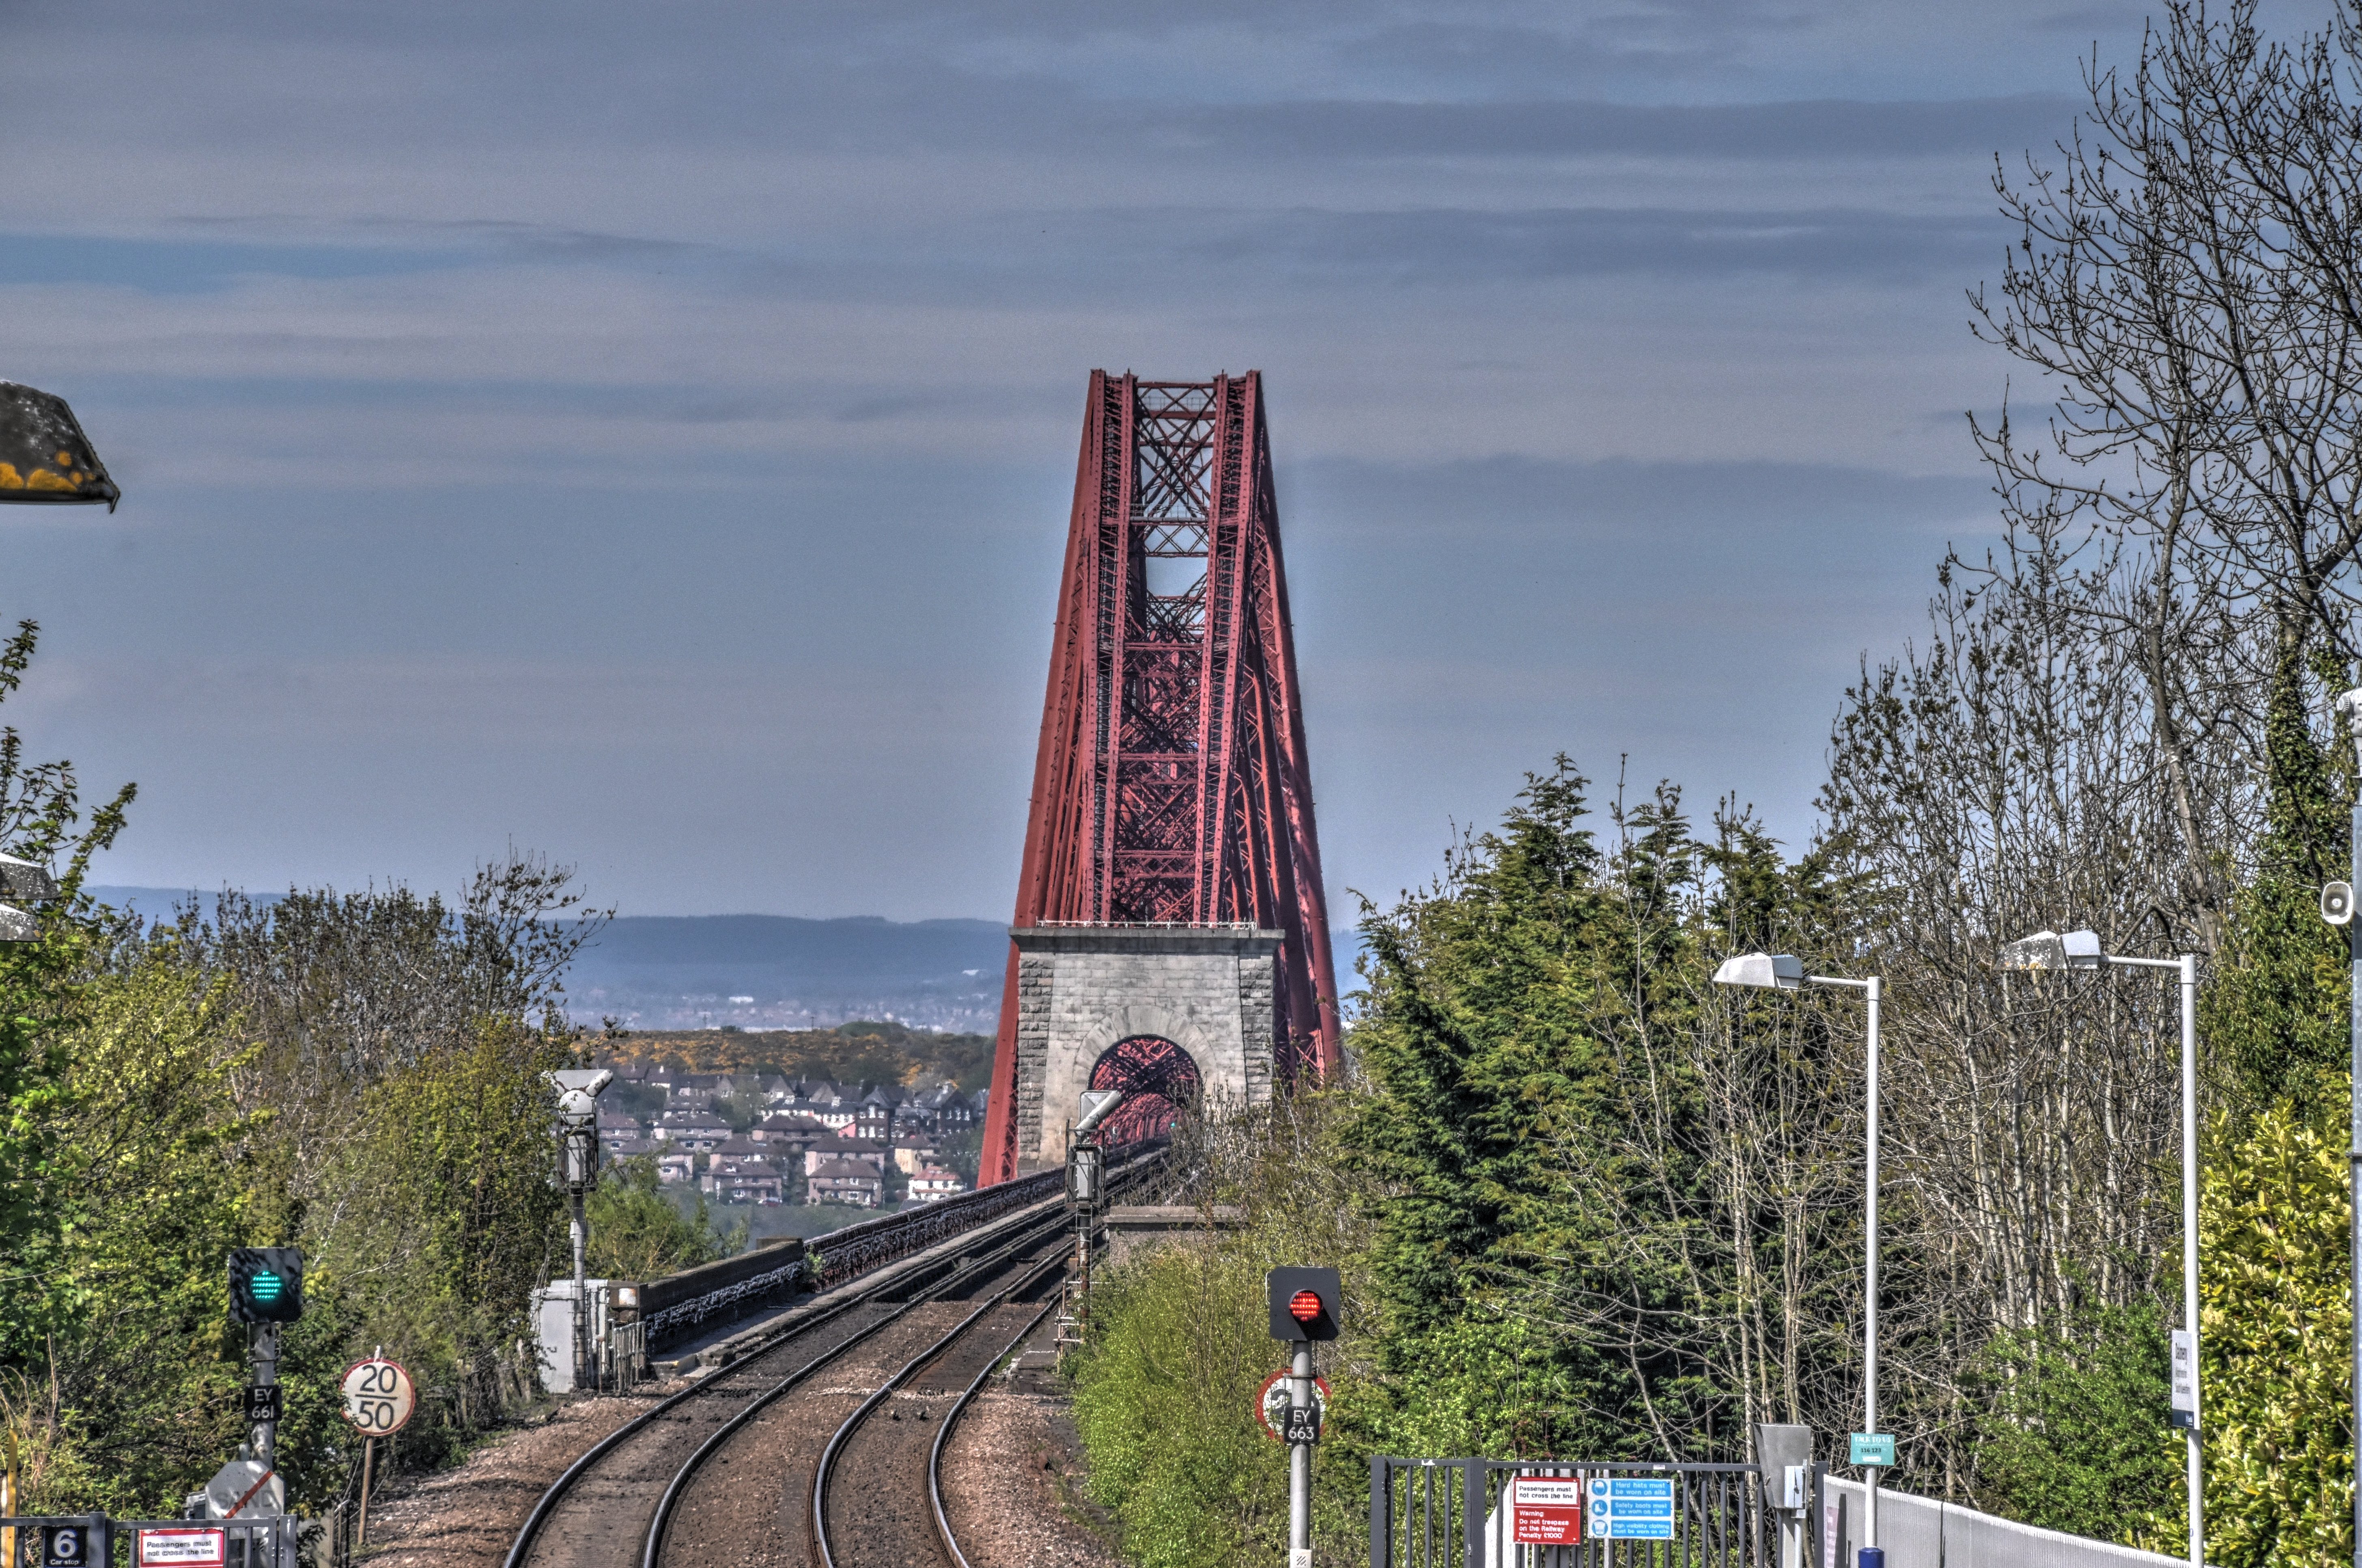


Portal views facing north as seen from Dalmeny Station.
![]()
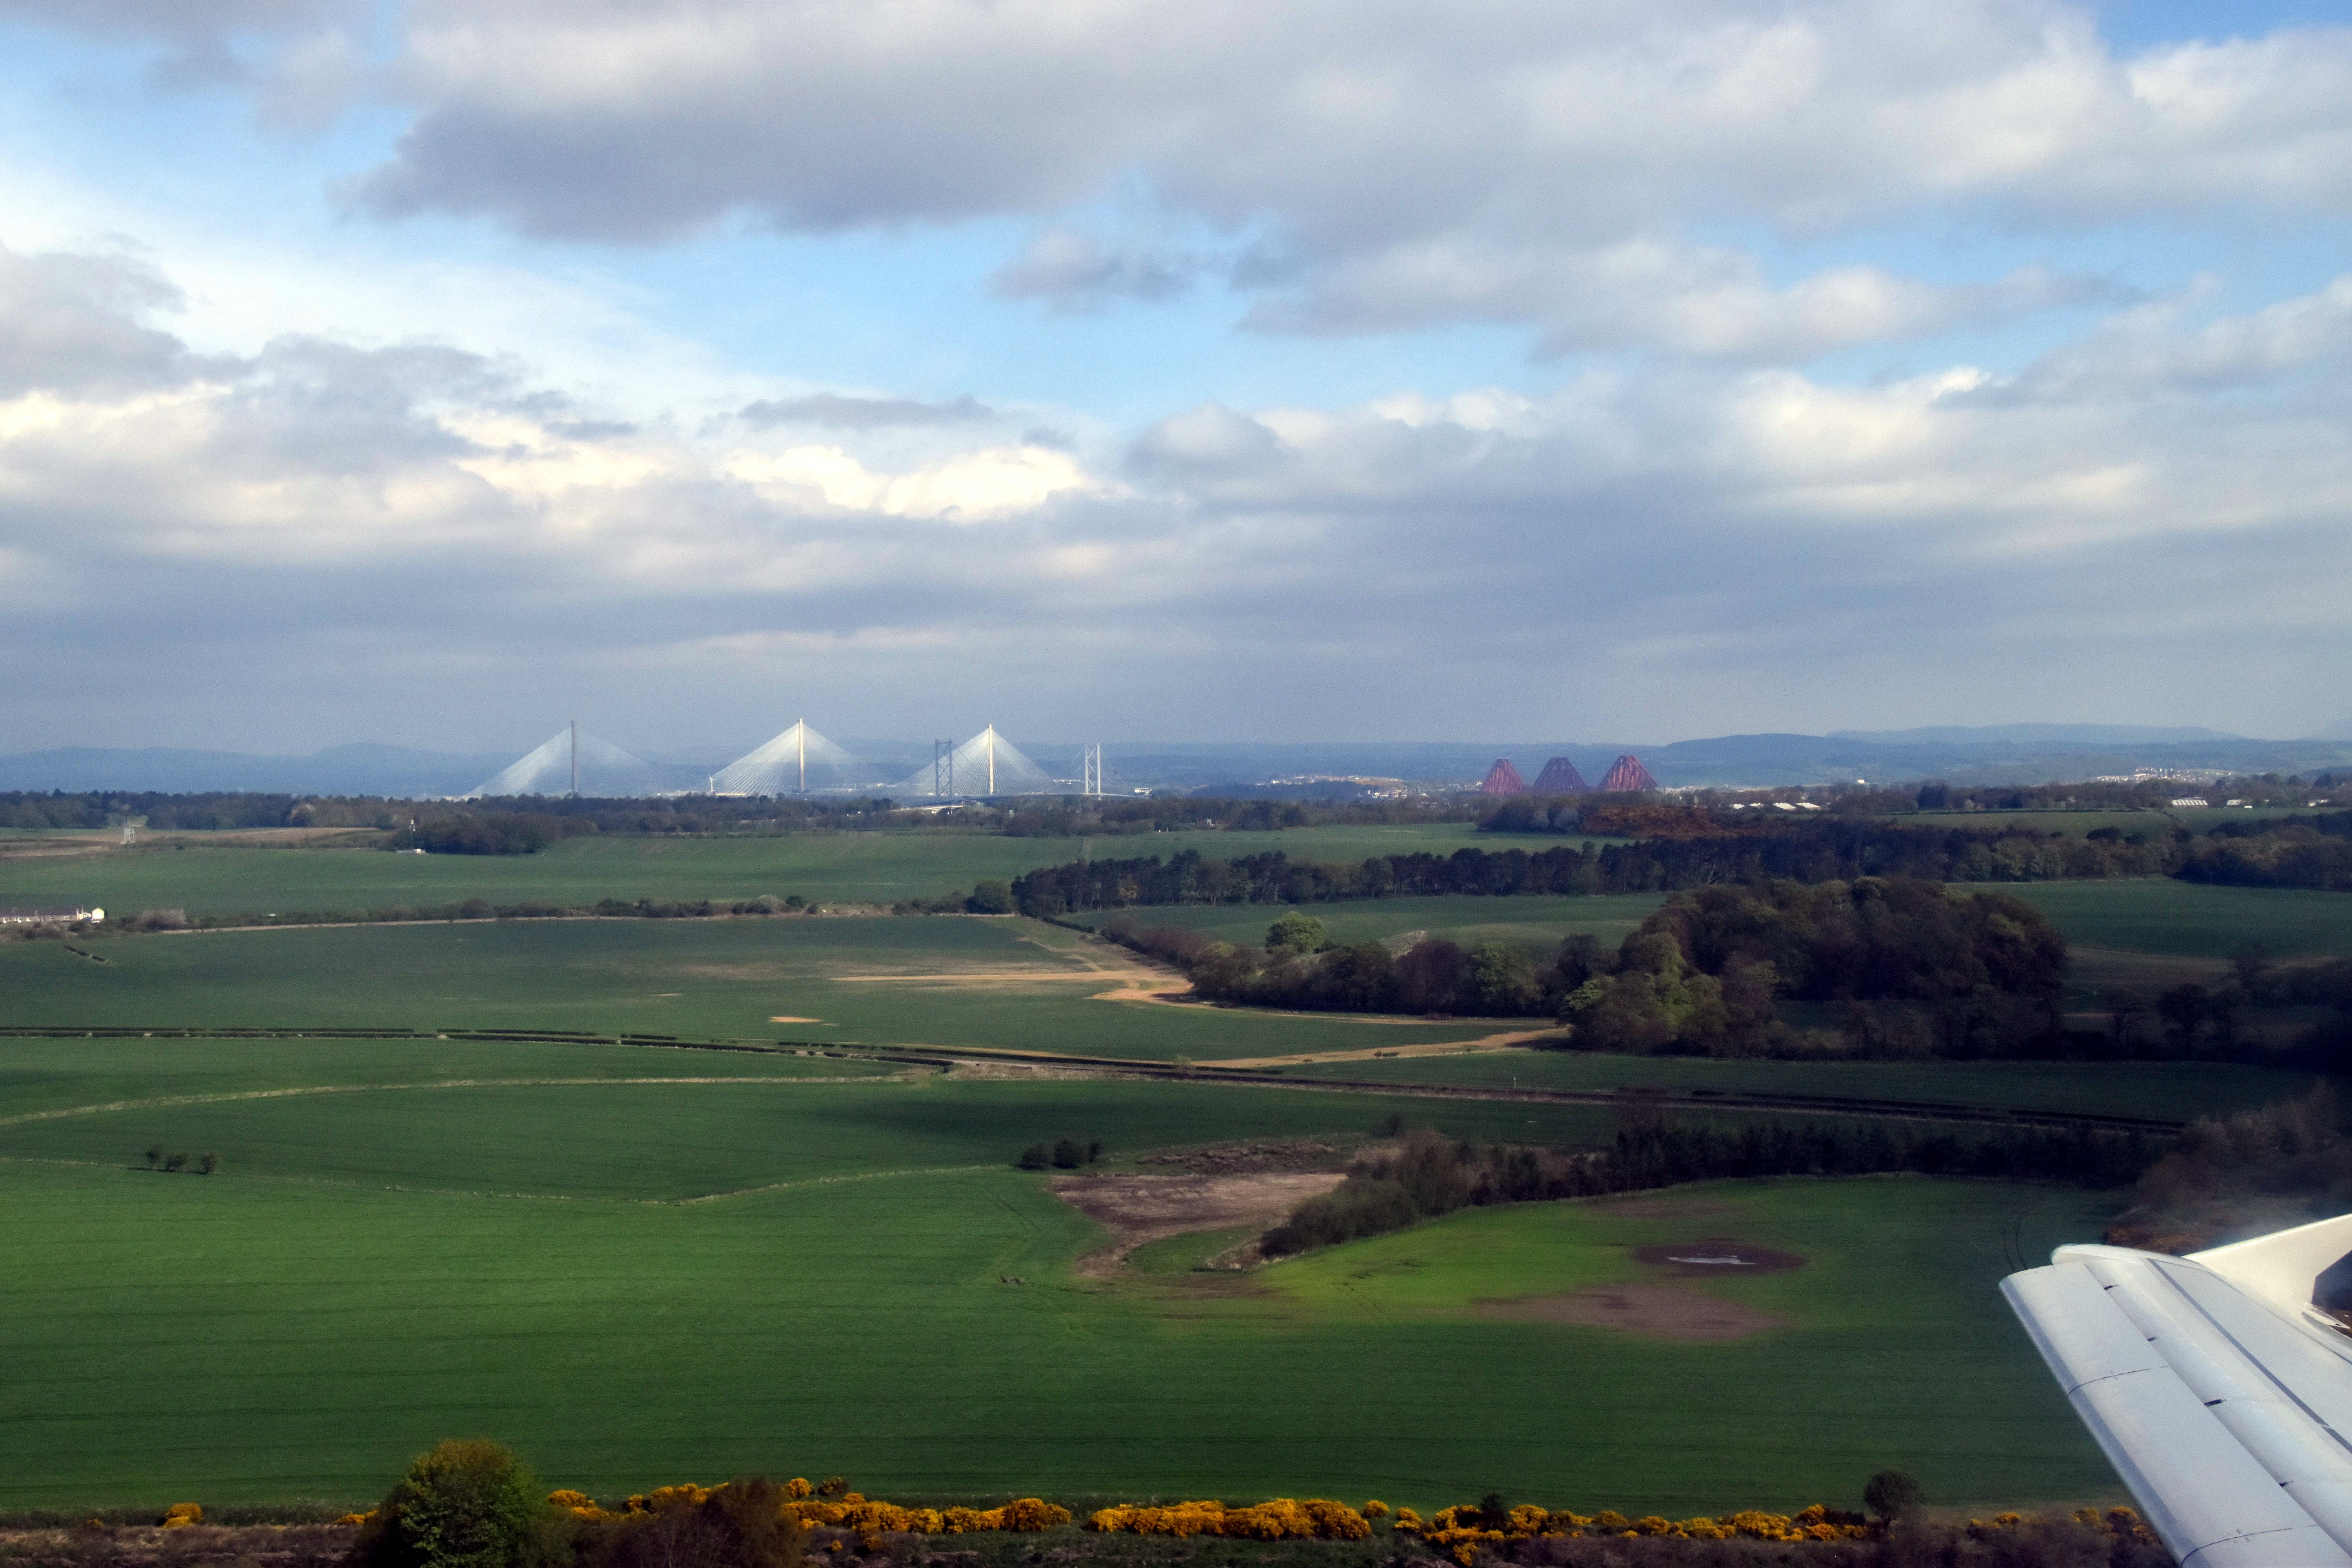
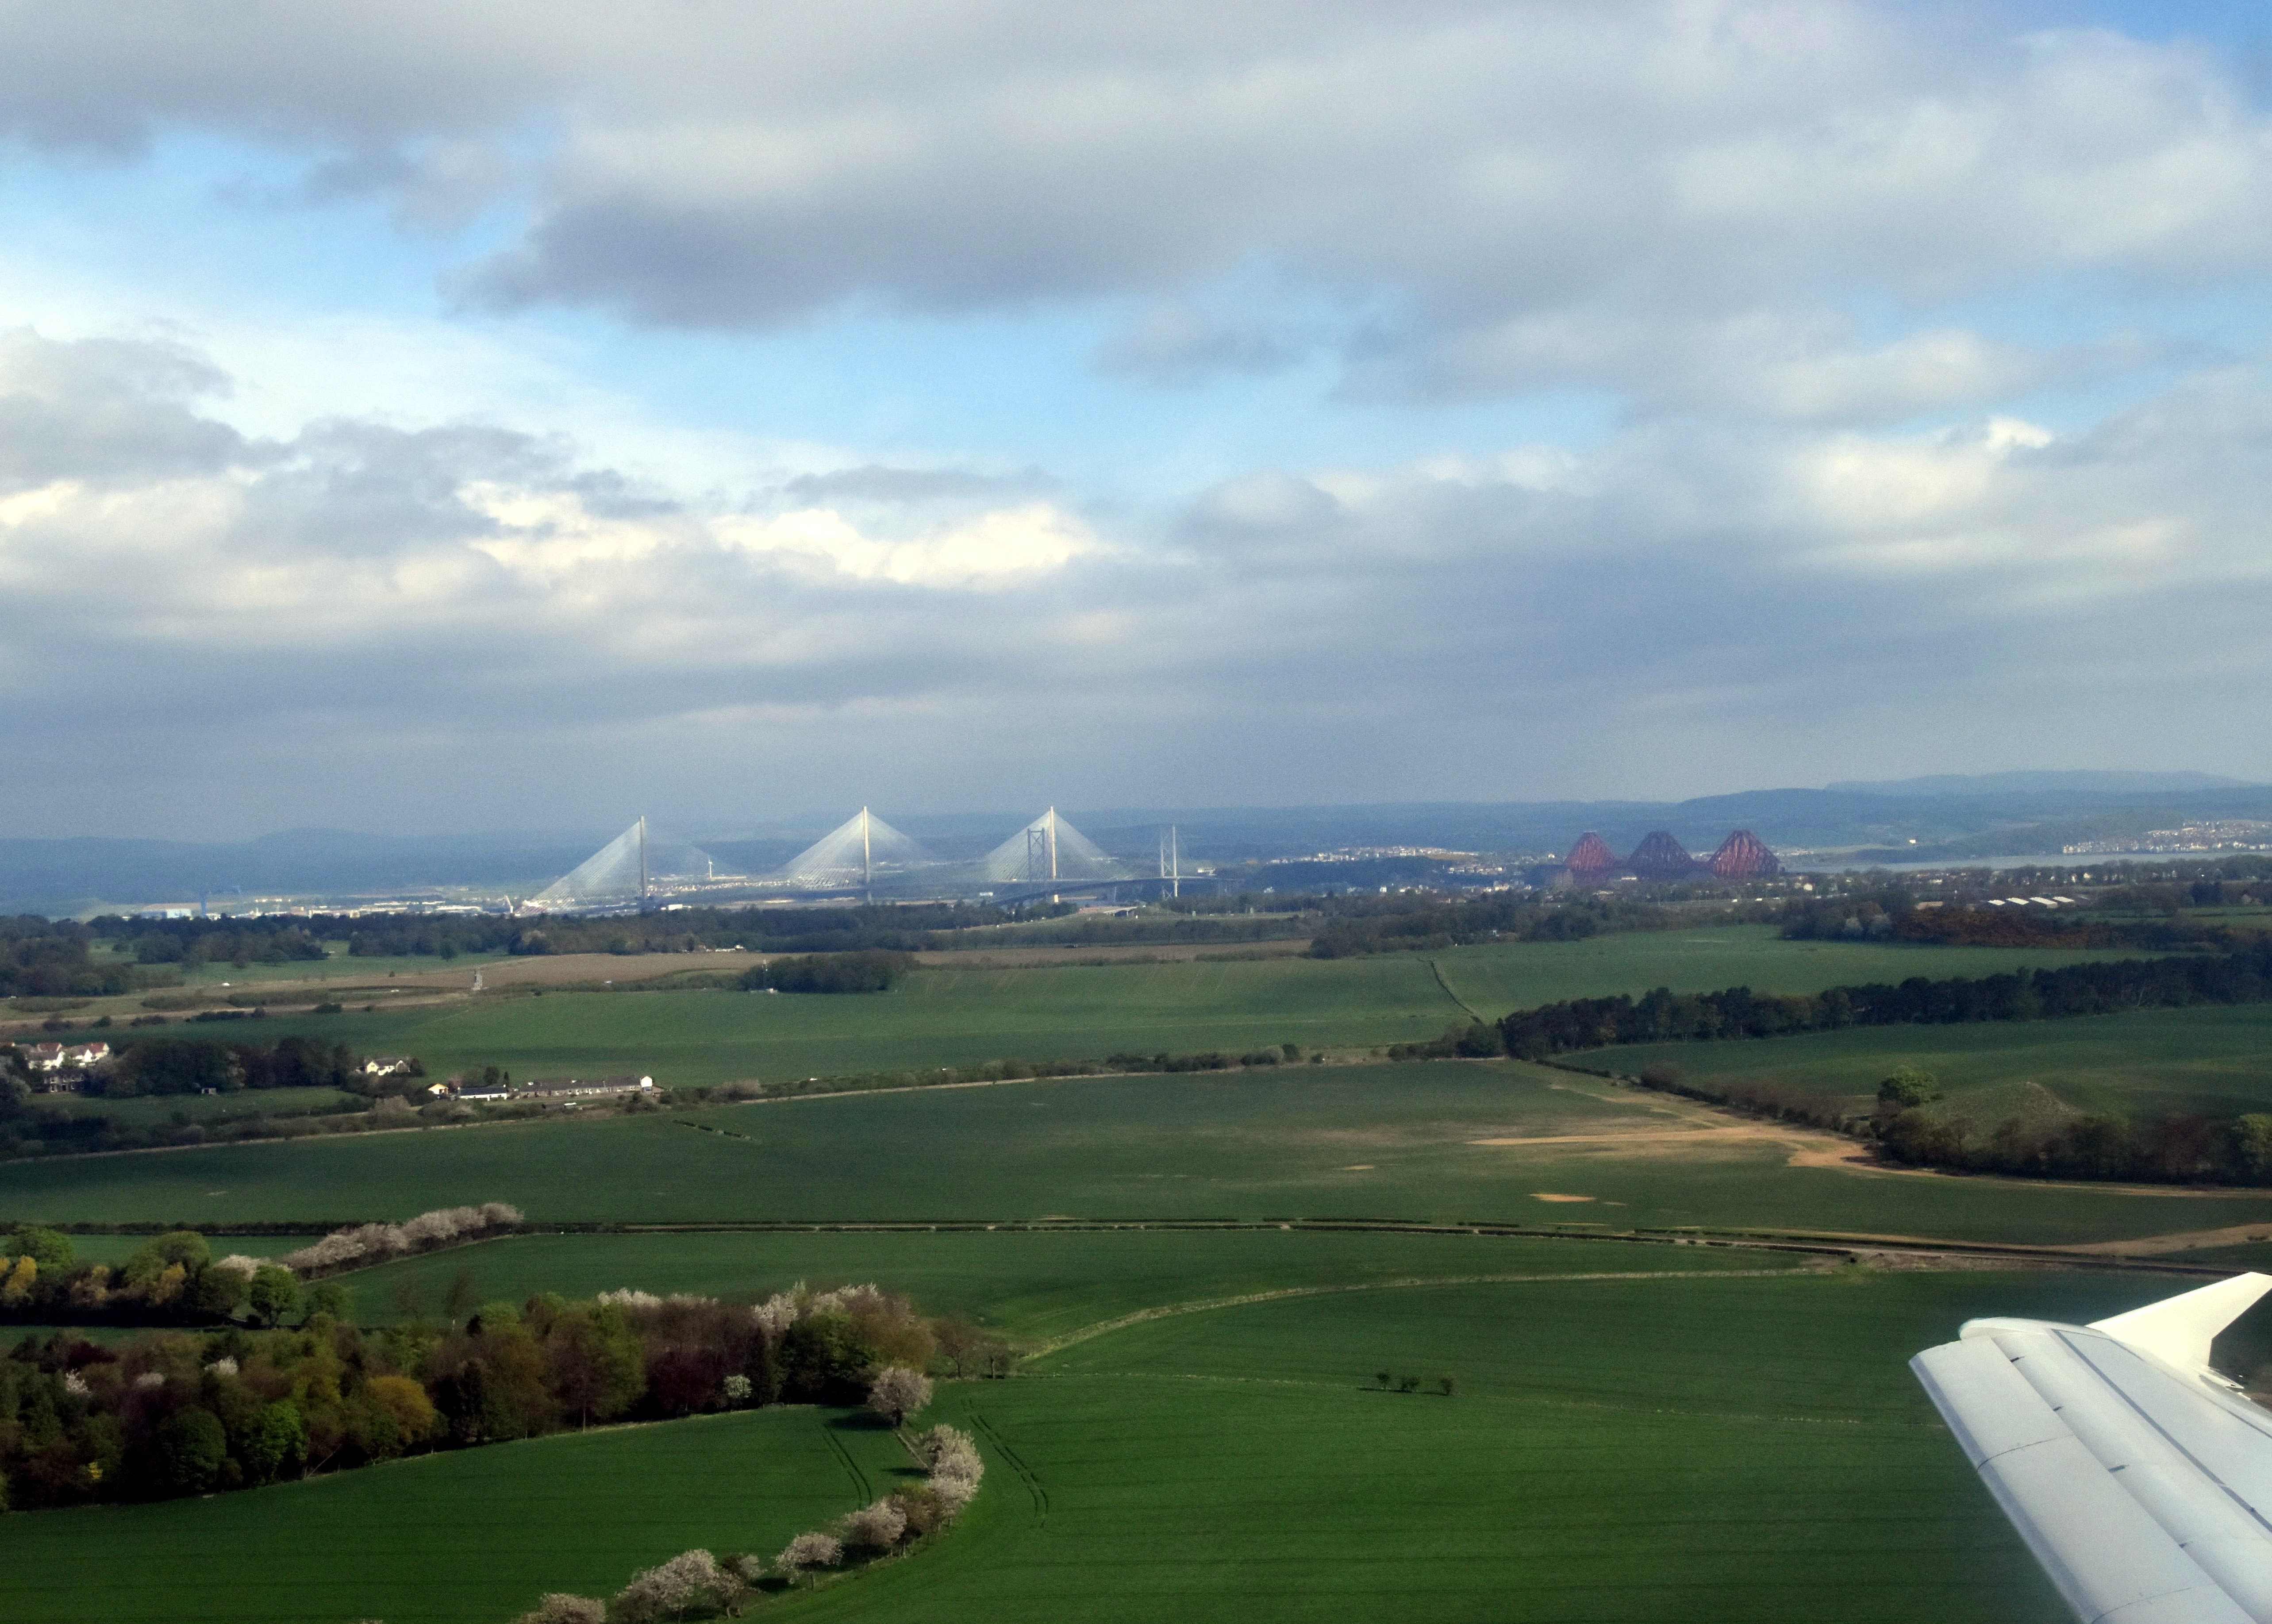

Overview from airplane taking off from Edinburgh showing the three bridges, with the rail bridge to the right. View from from southwest quadrant.
![]()


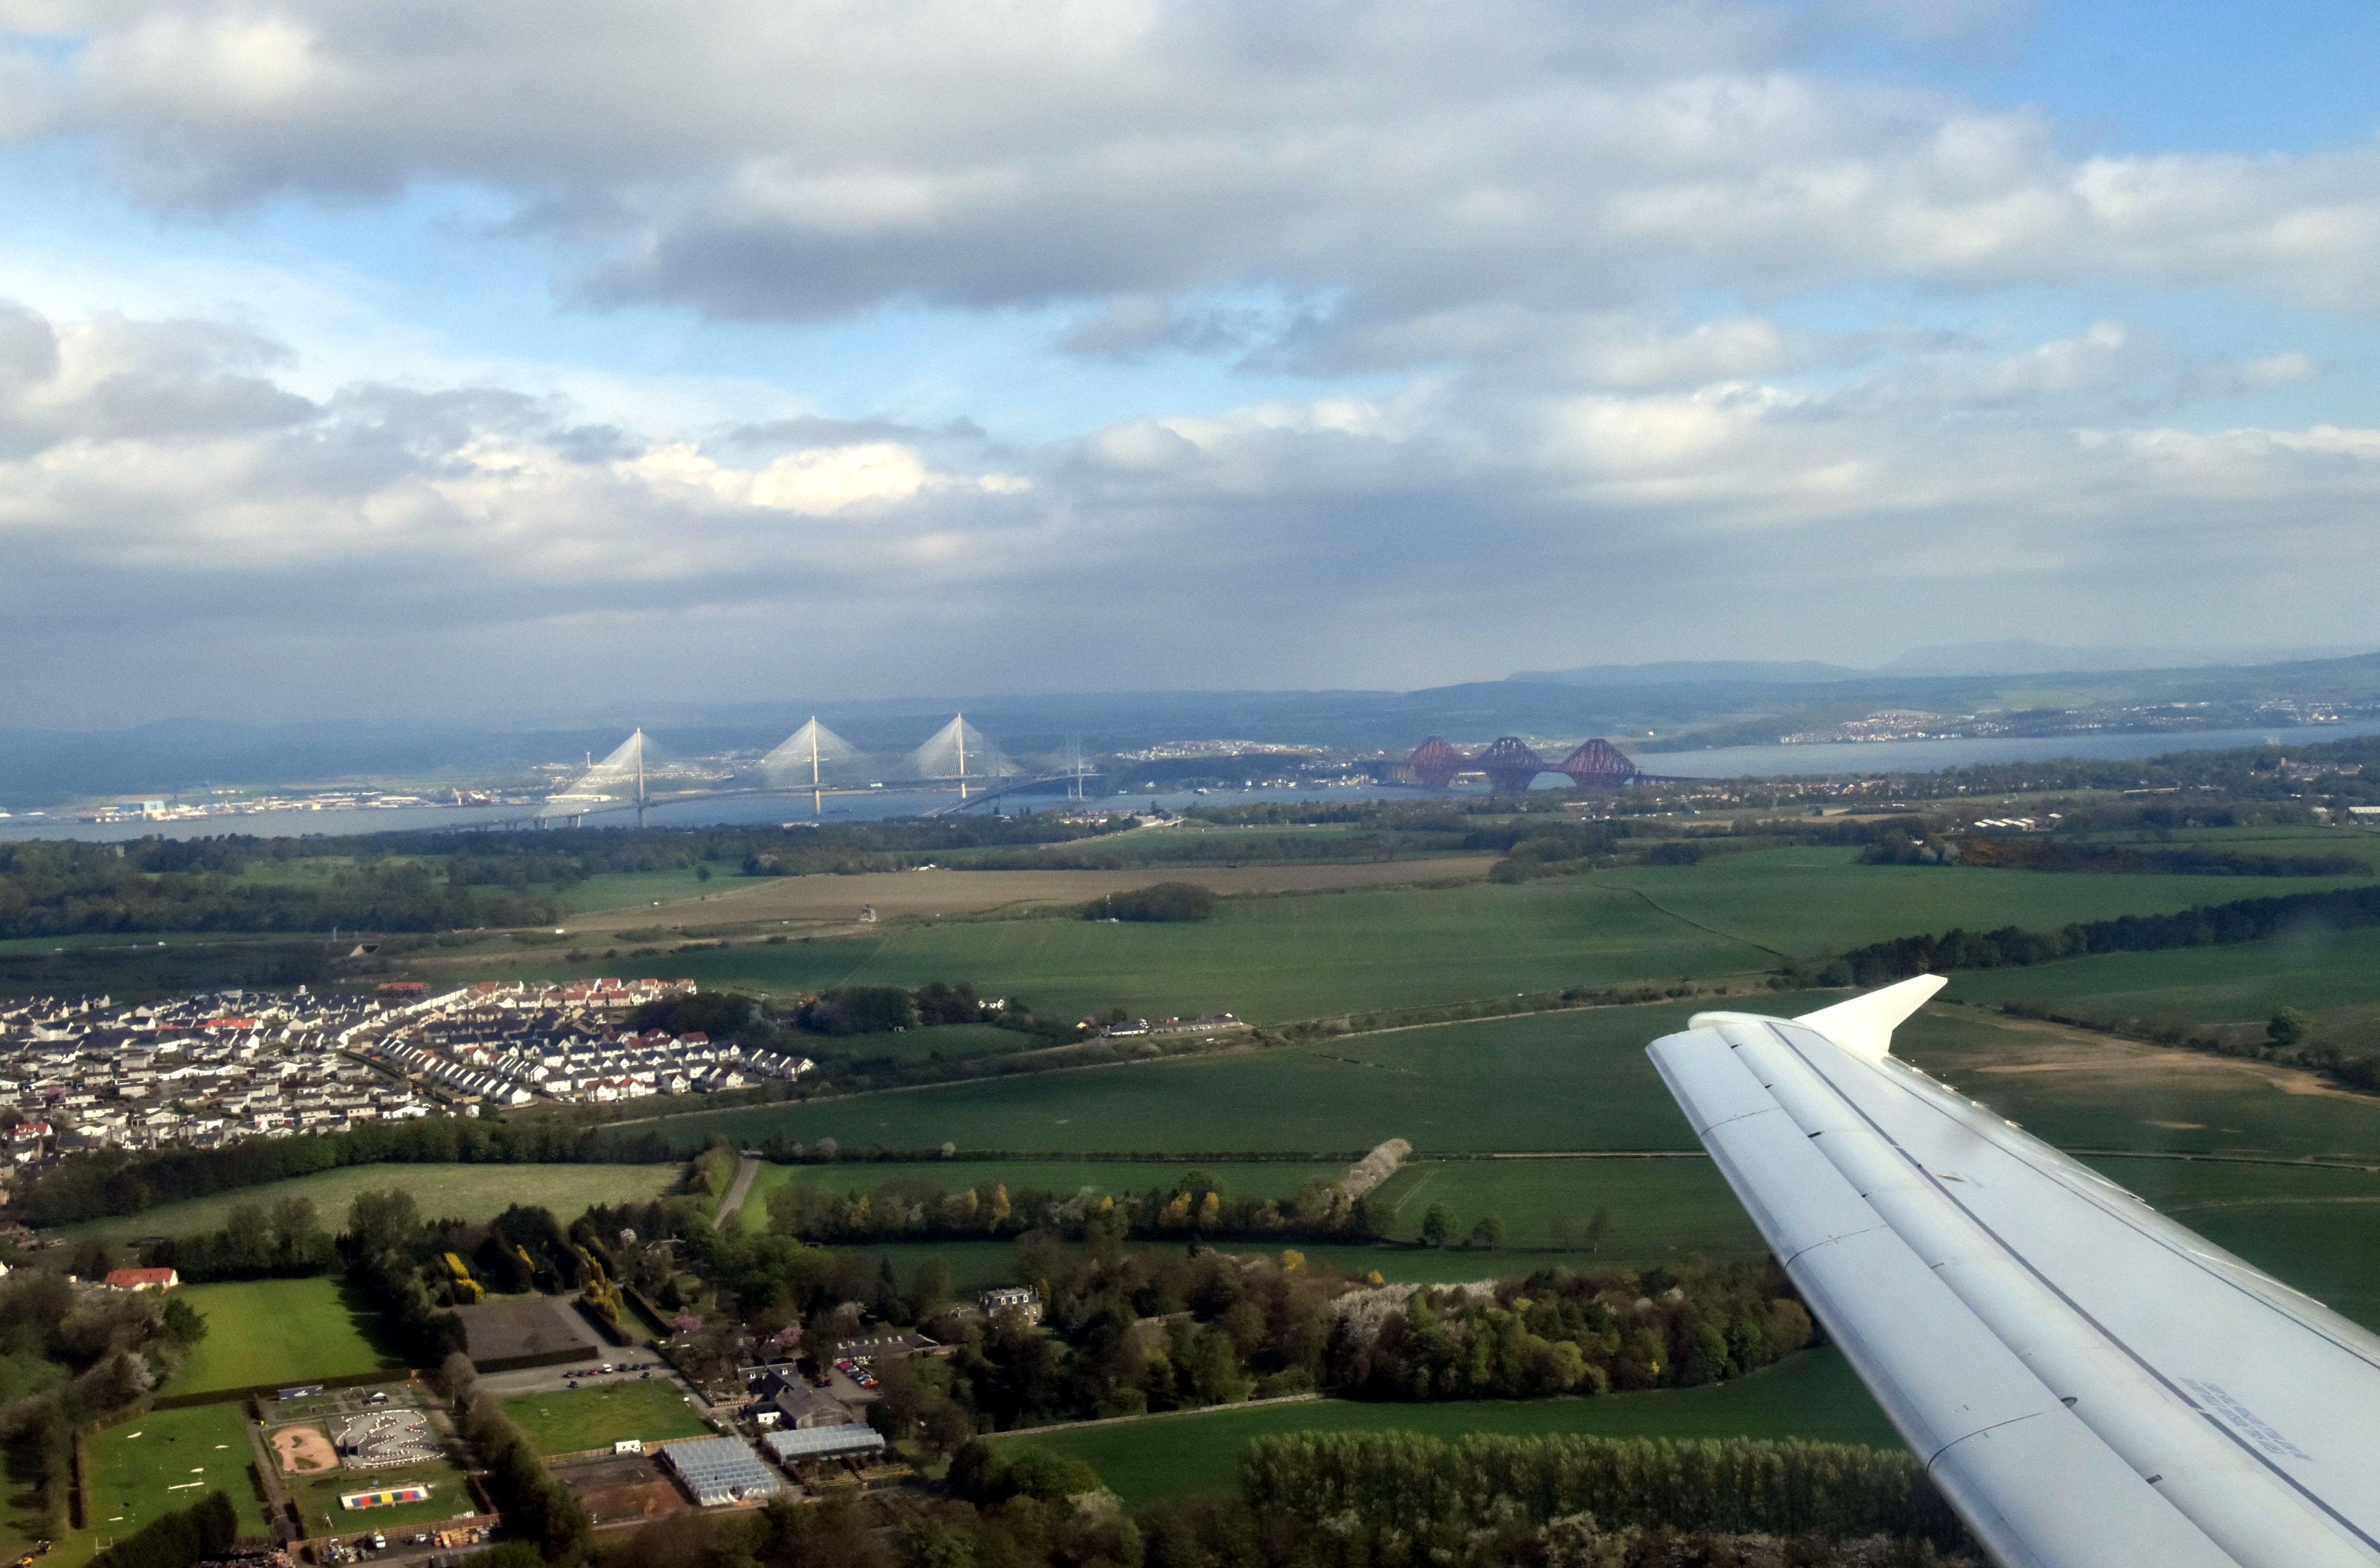
View of bridge from southwest quadrant as seen from airplane taking off from Edinburgh.
![]()

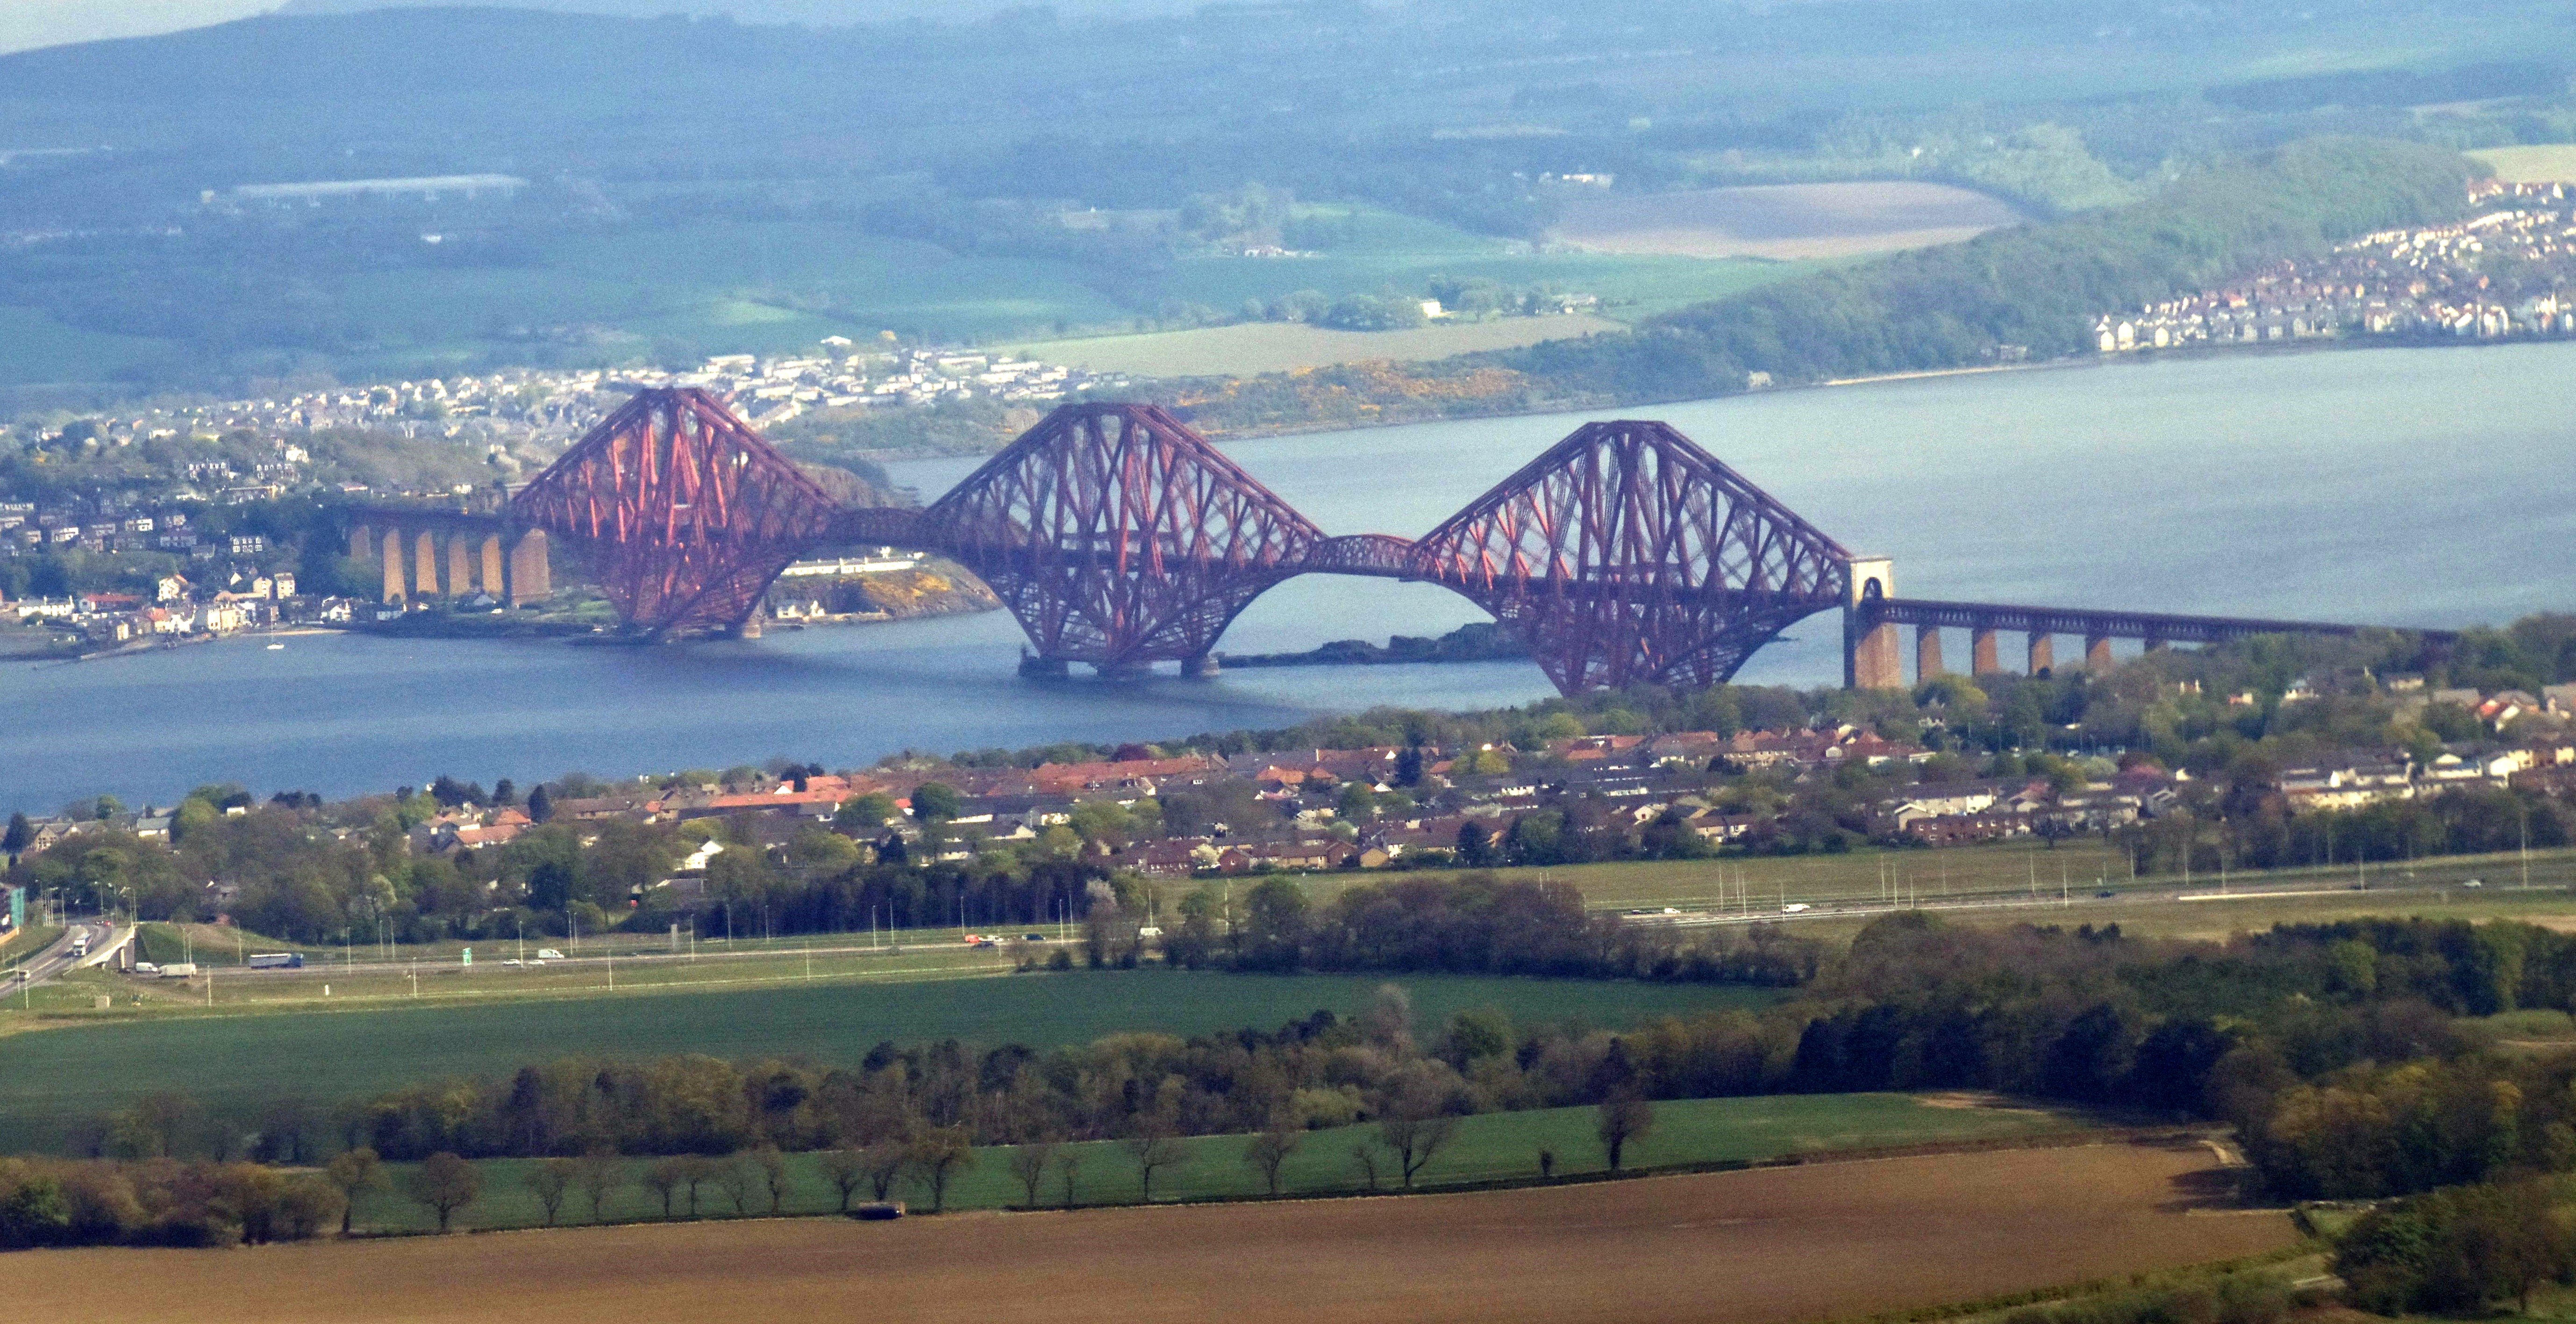
View of bridges over the hills as seen from distant highway.
![]()
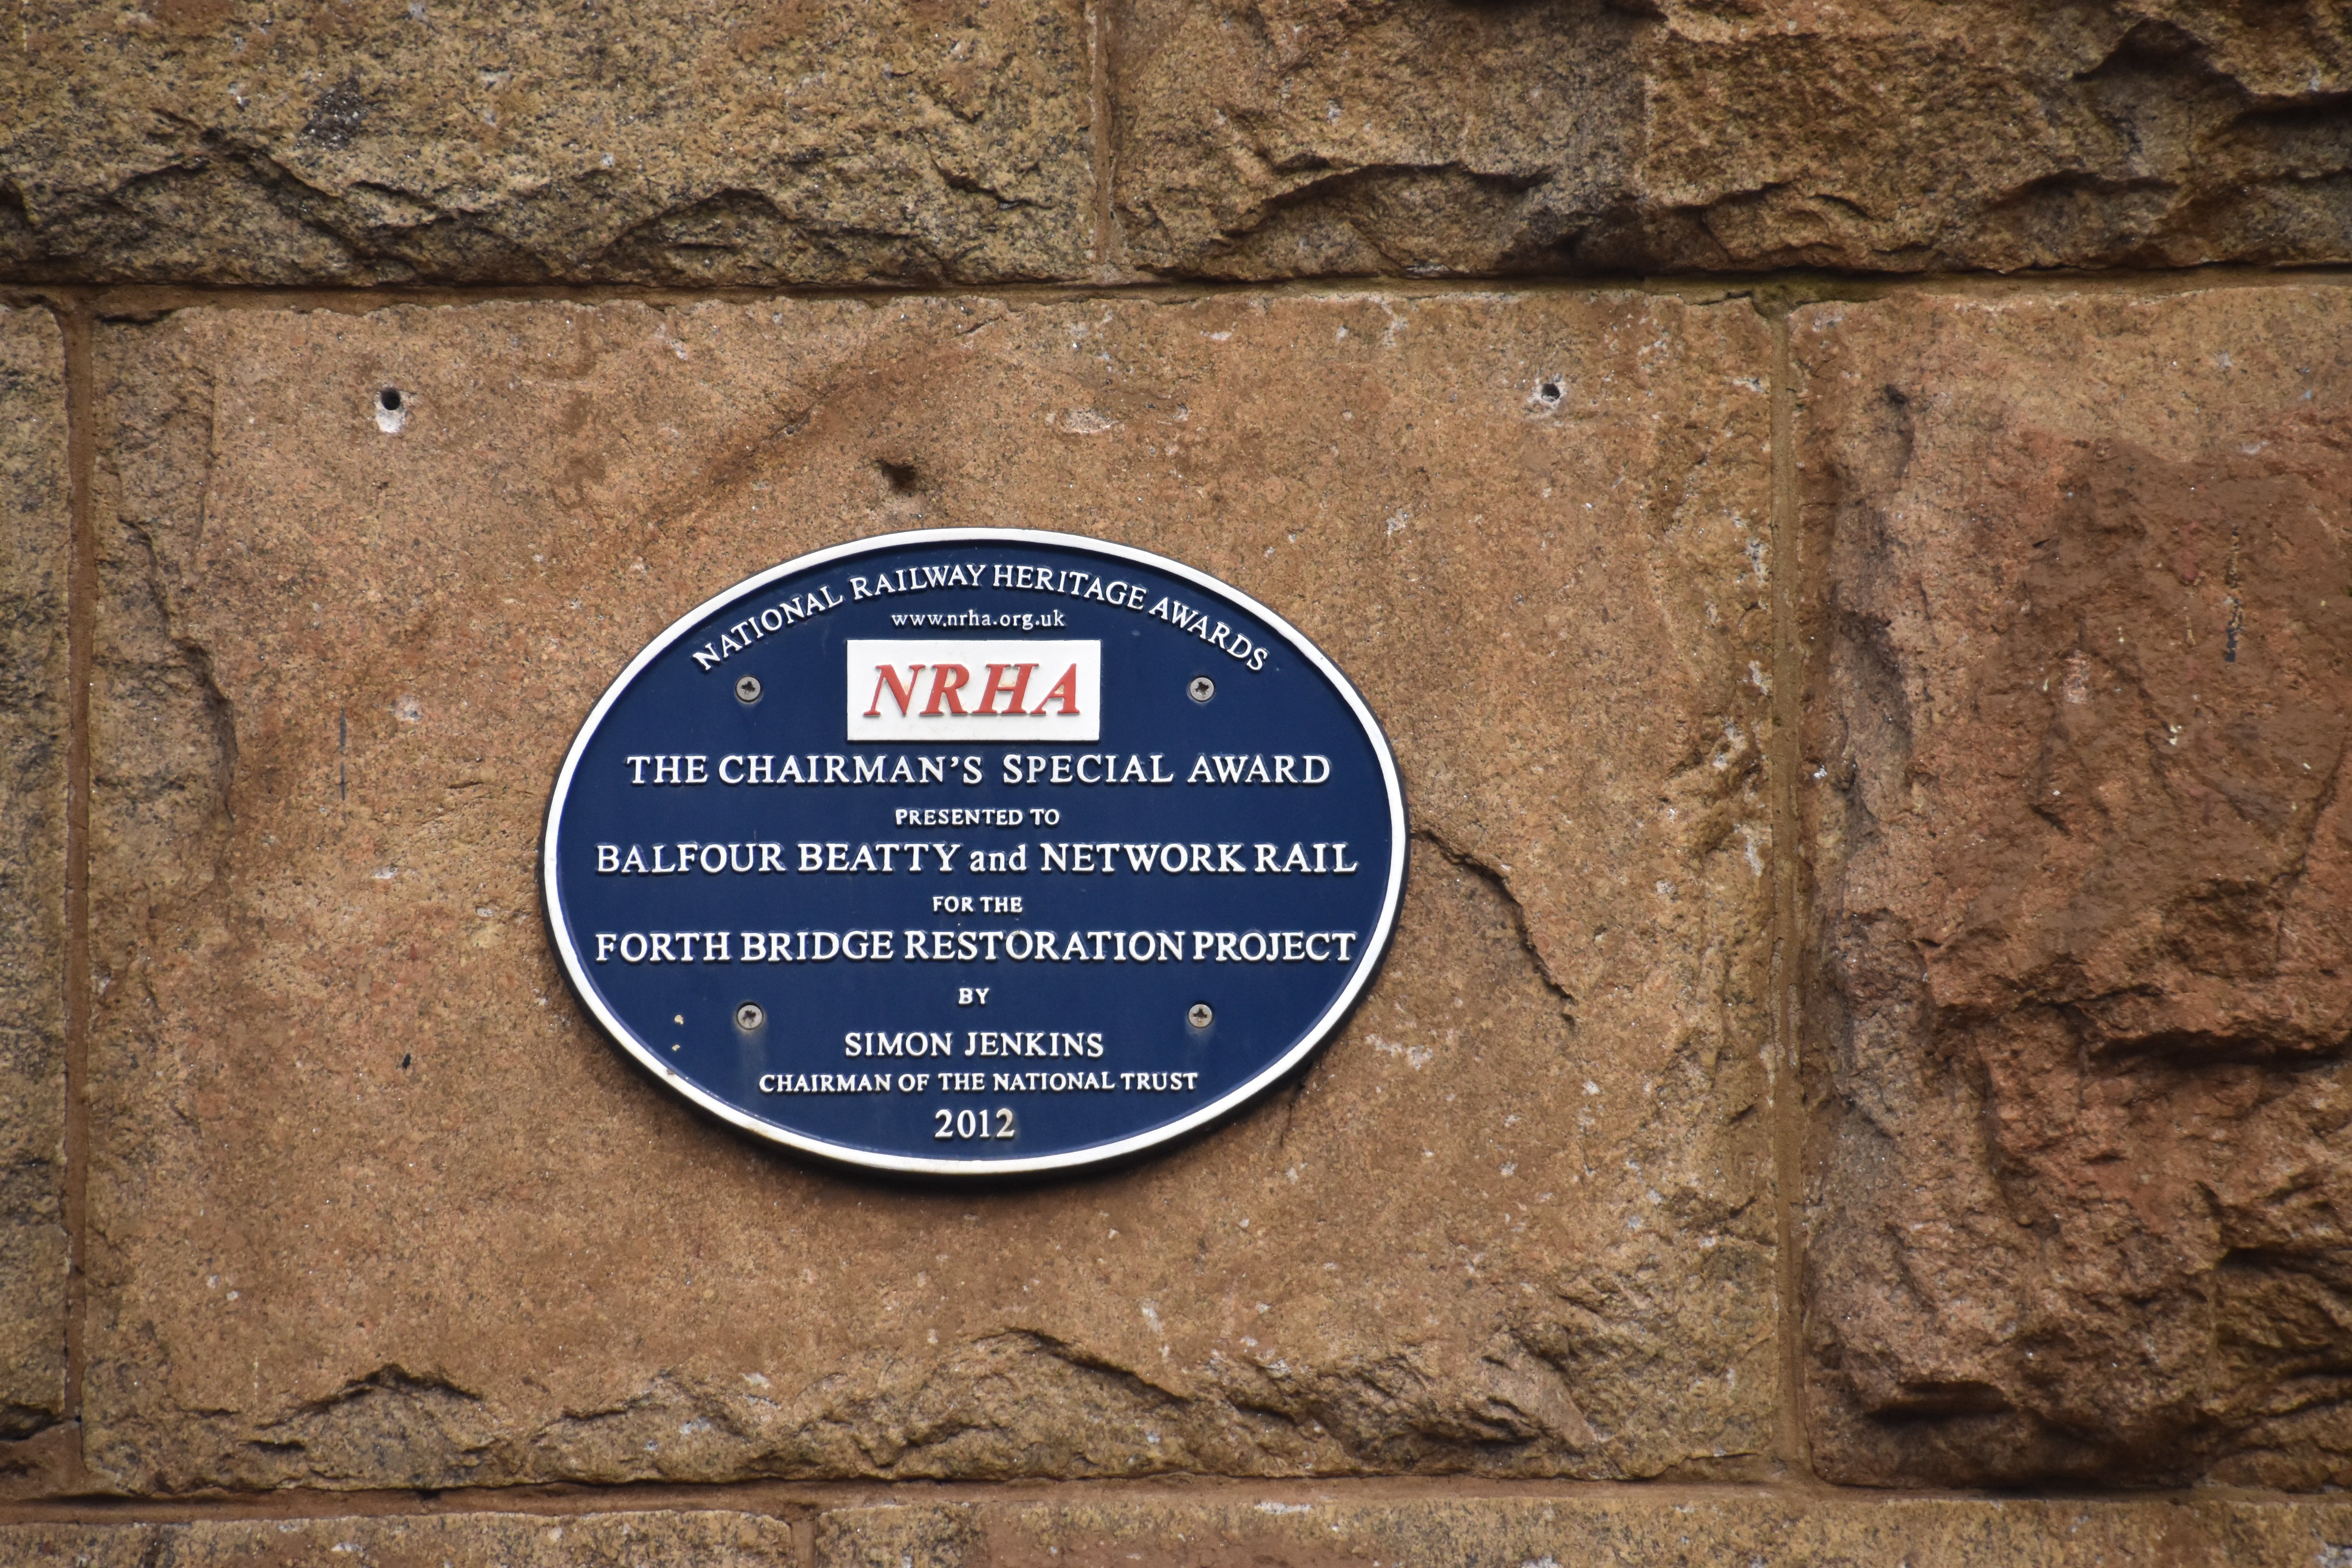
National Railway Heritage Award plaque.
![]()
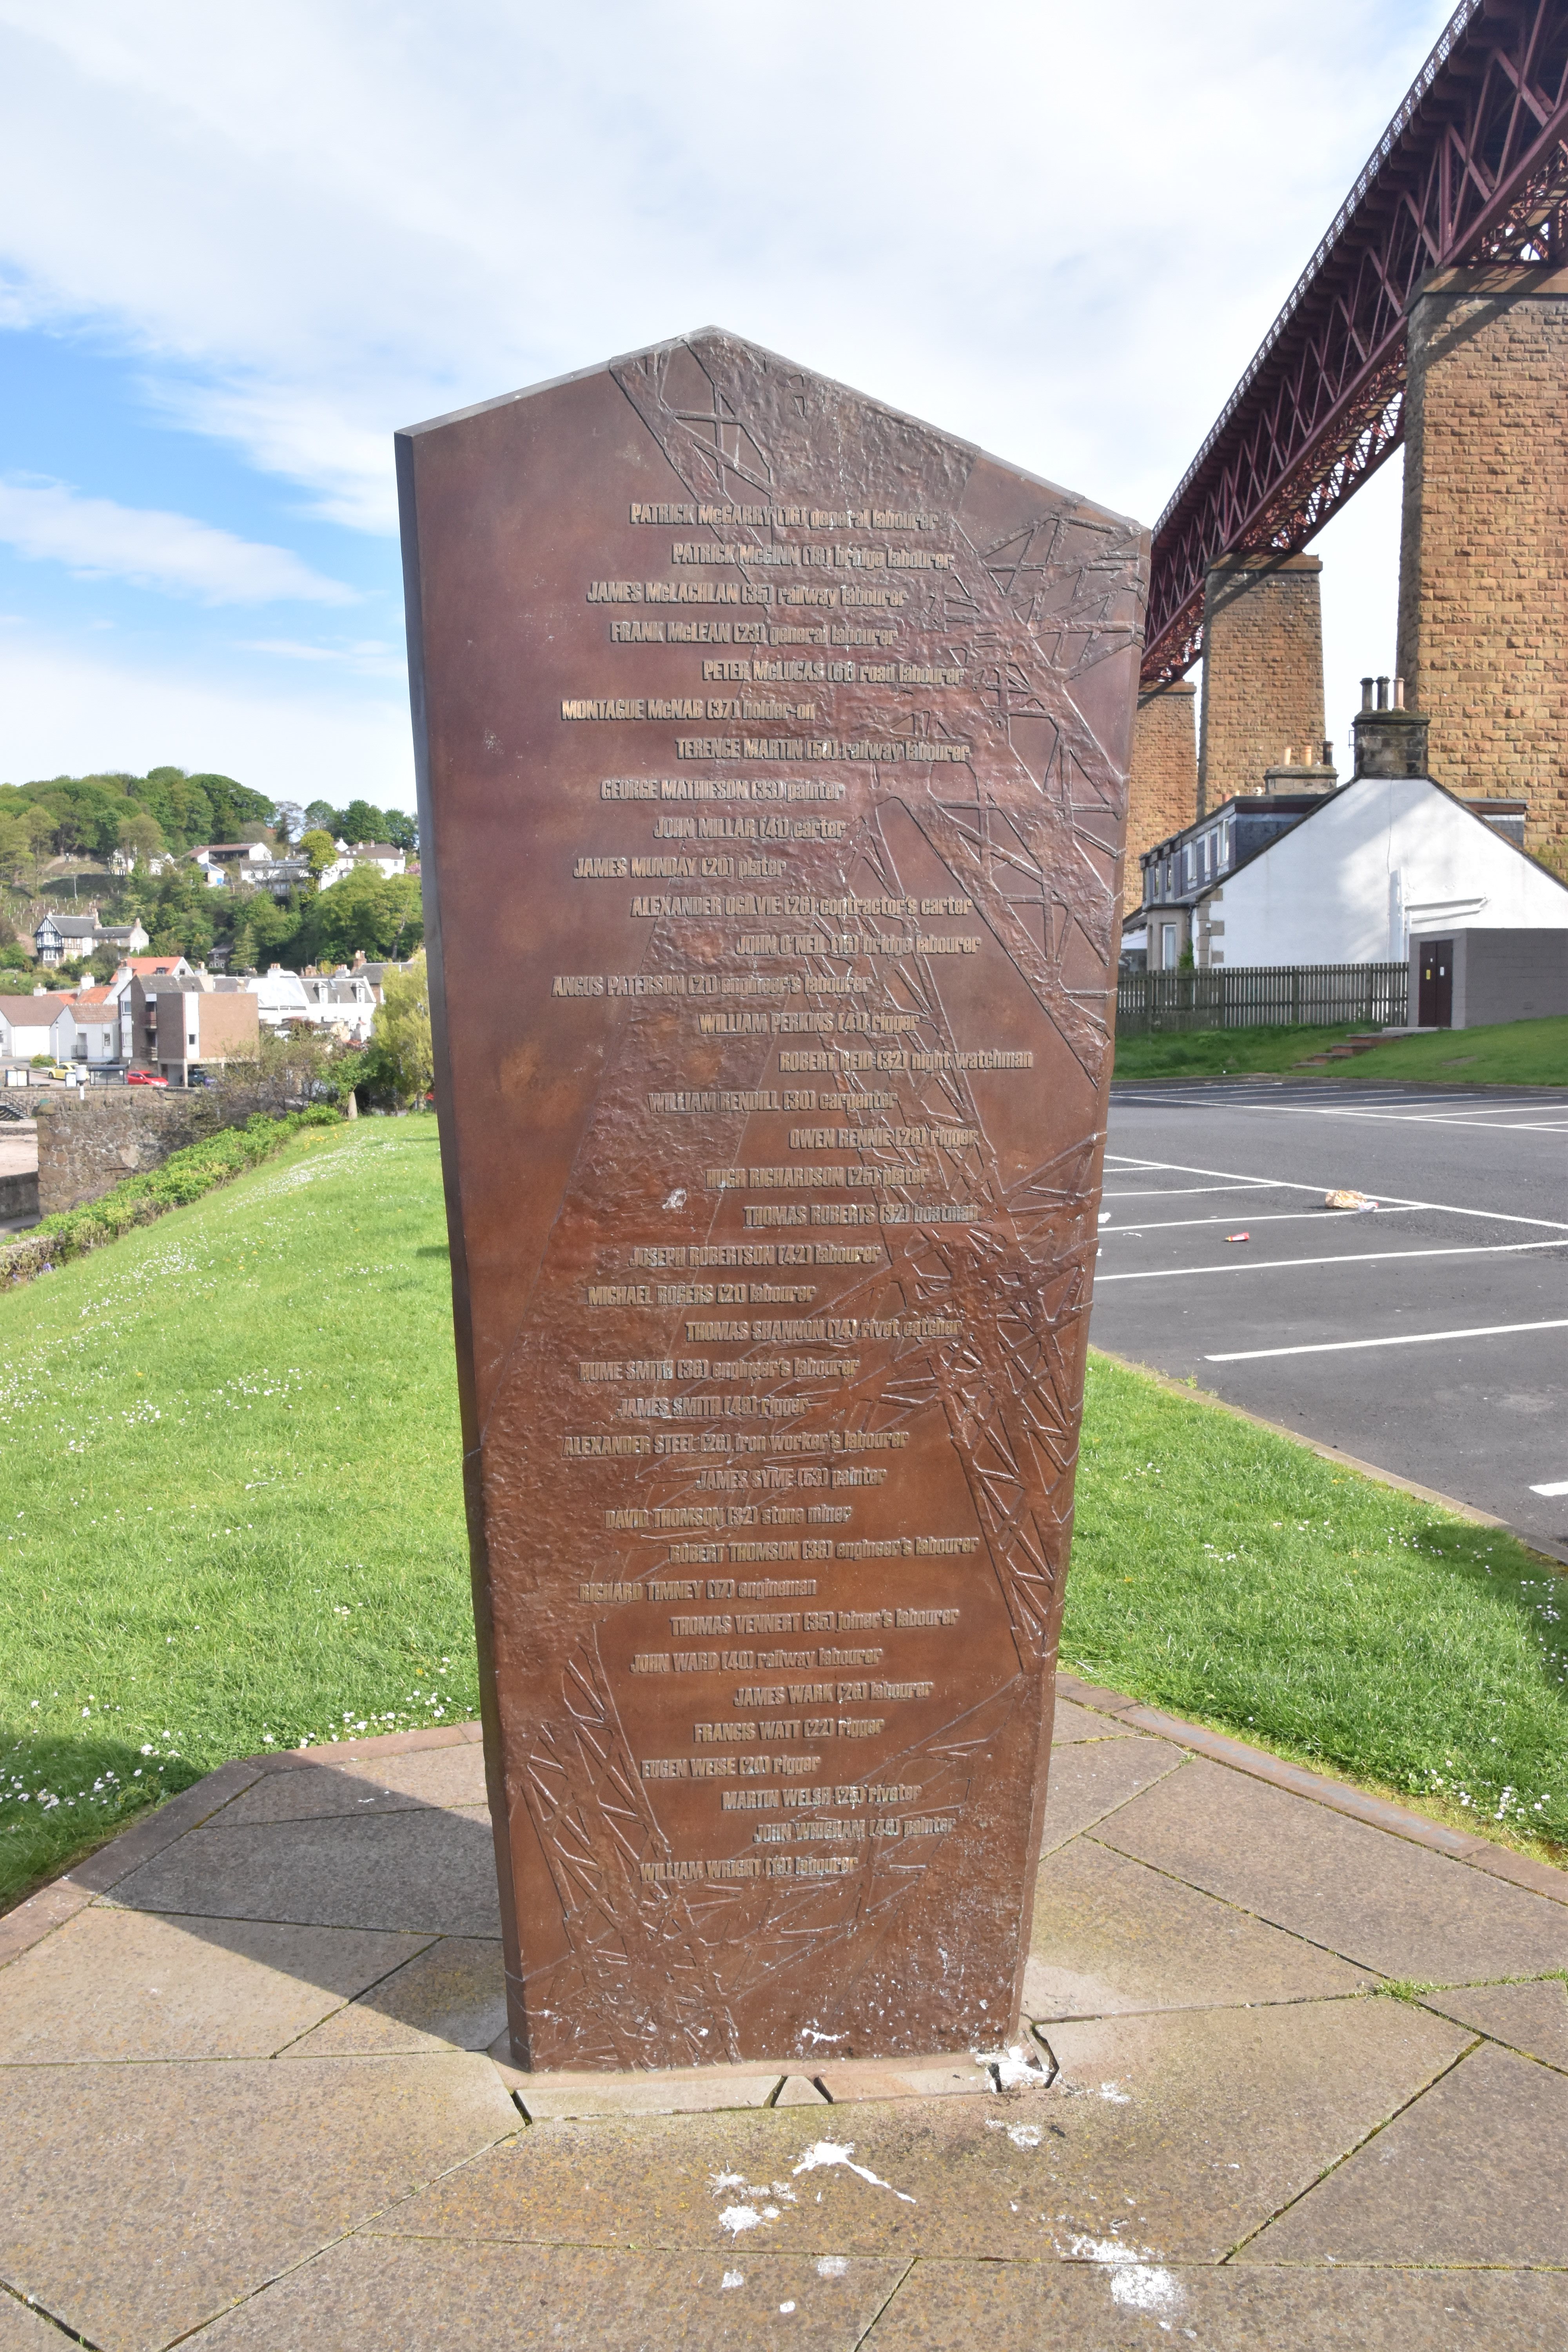
Memorial sign for workers who died building the bridge. For a full/detailed list, see the referenced document on the narrative page.
![]()

Saltire Award plaque.
![]()

International Historic Civil Engineering Landmark plaque.
![]()


Views of pier with kayaker under the bridge for scale.
![]()
![]()
![]()
![]()
![]()
![]()
![]()
![]()
![]()
![]()
![]()
![]()
![]()
![]()
![]()
![]()
![]()
![]()
![]()
![]()
![]()
![]()
![]()
![]()
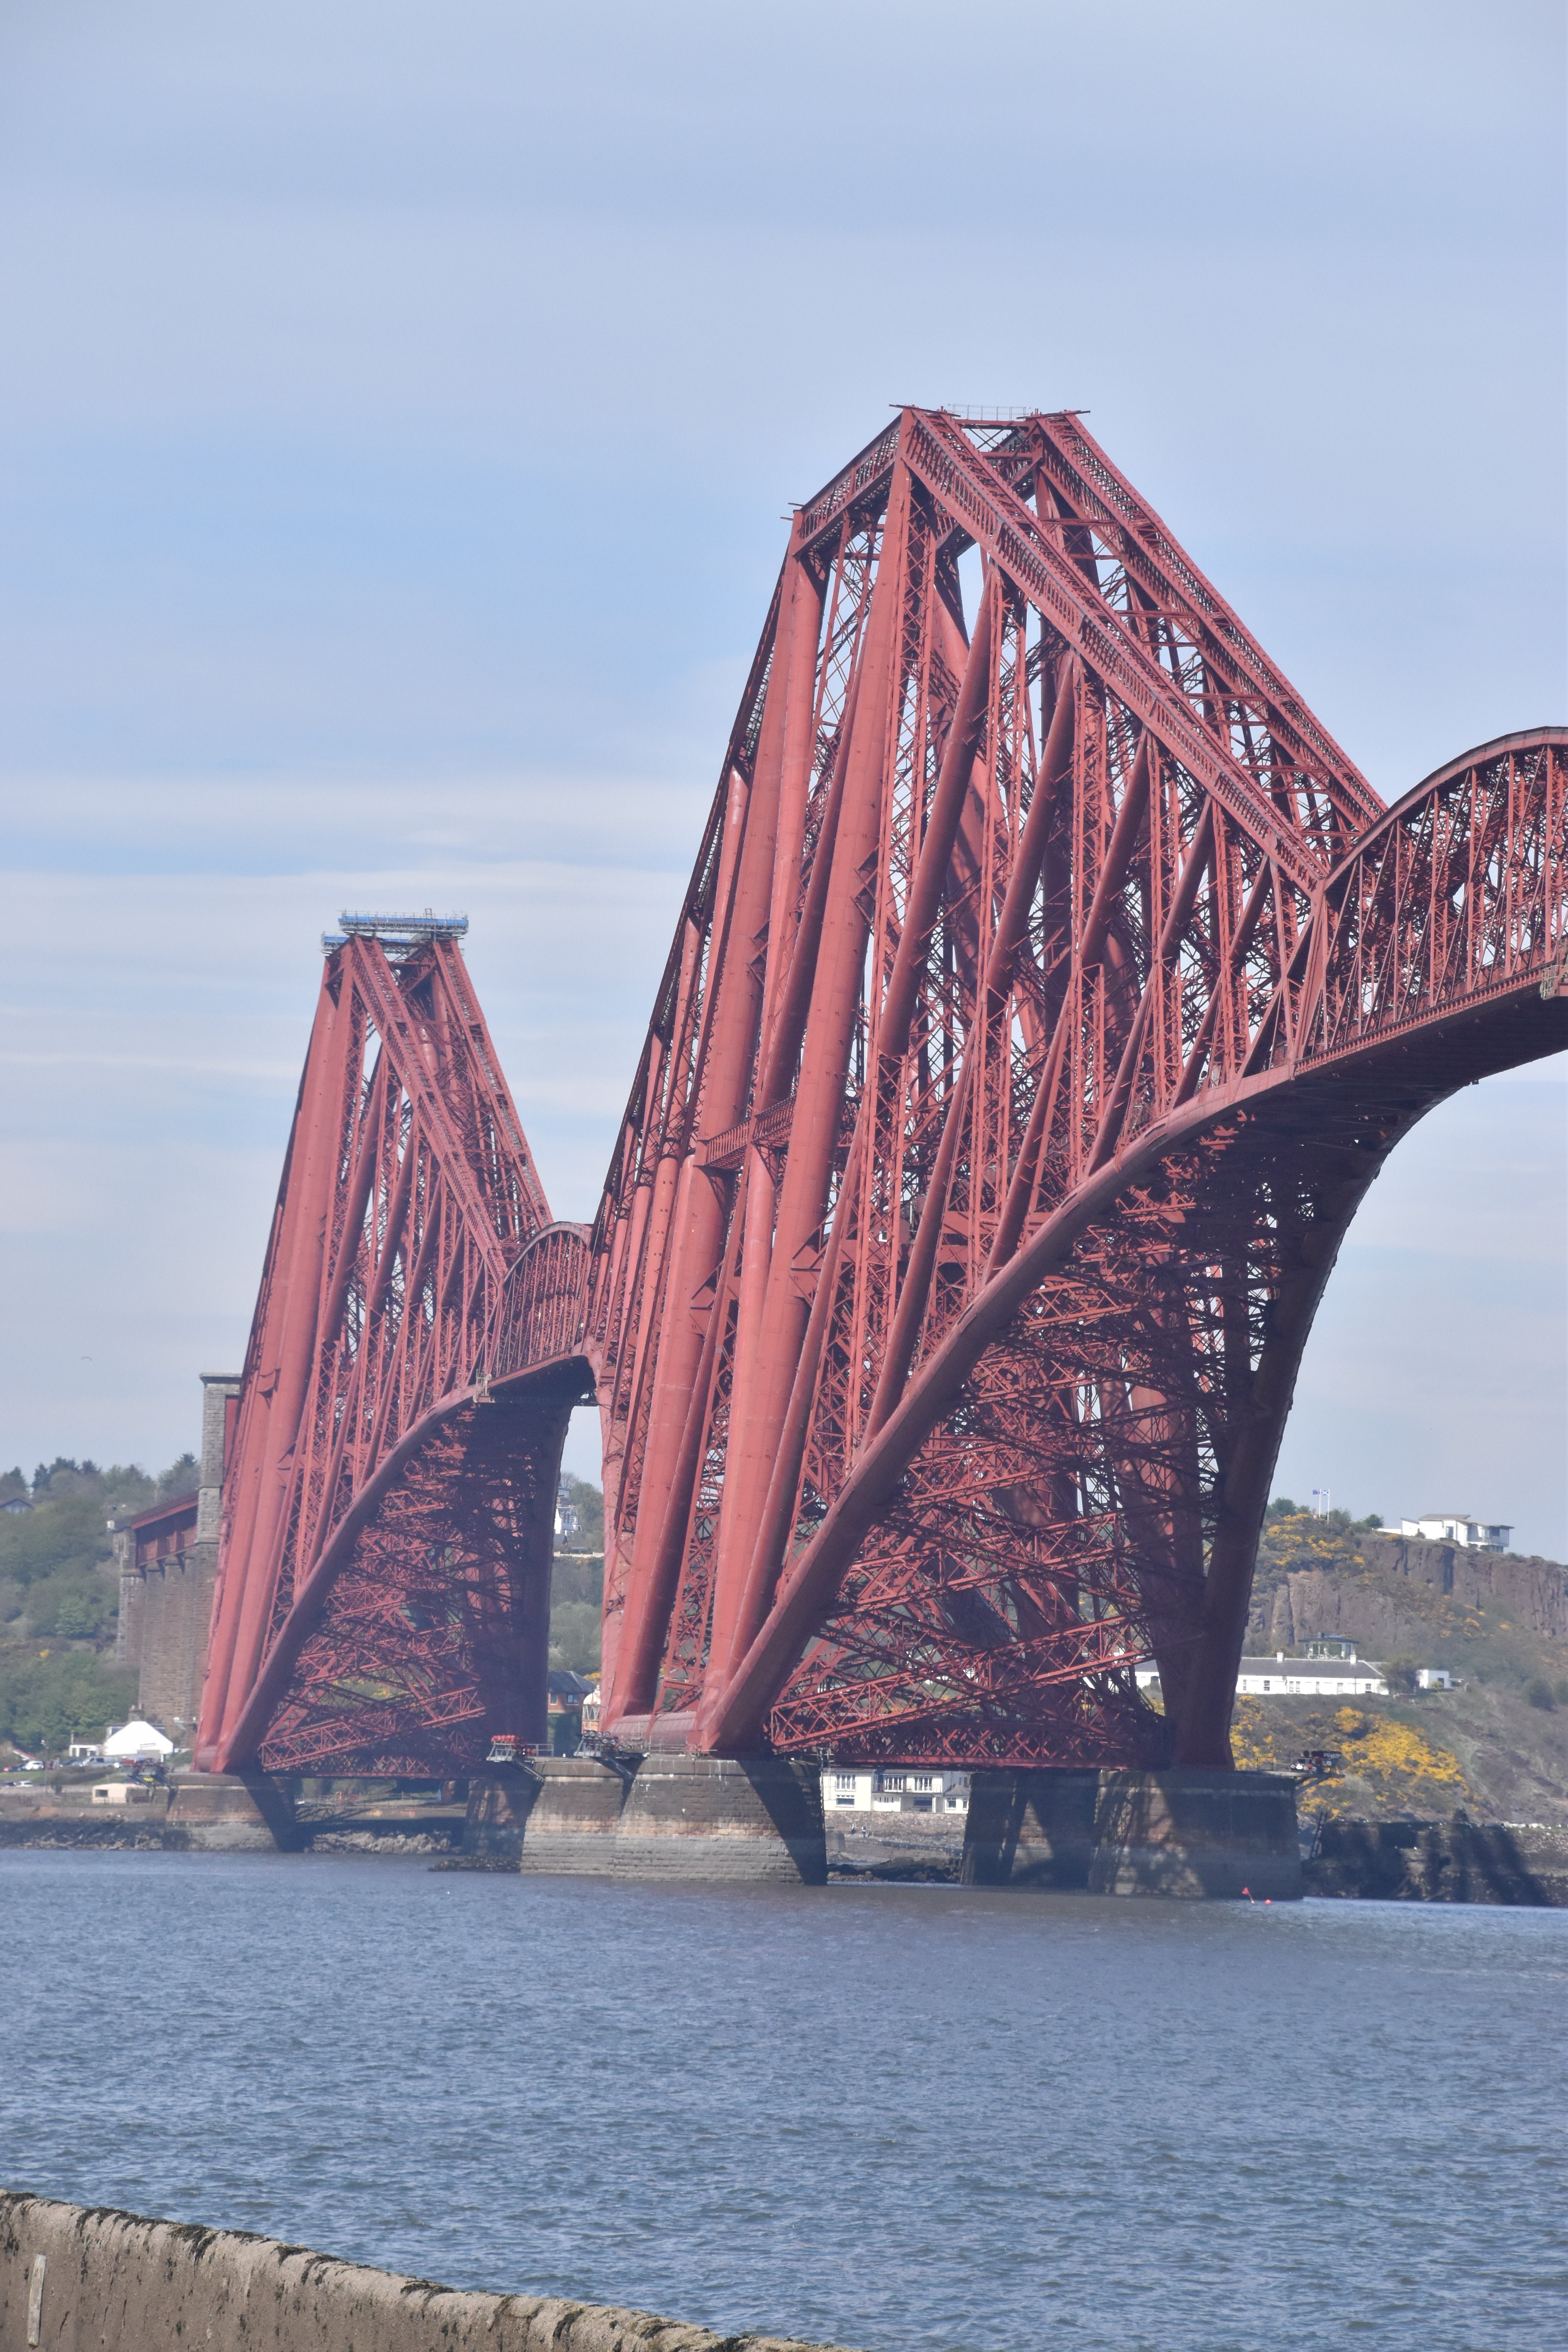
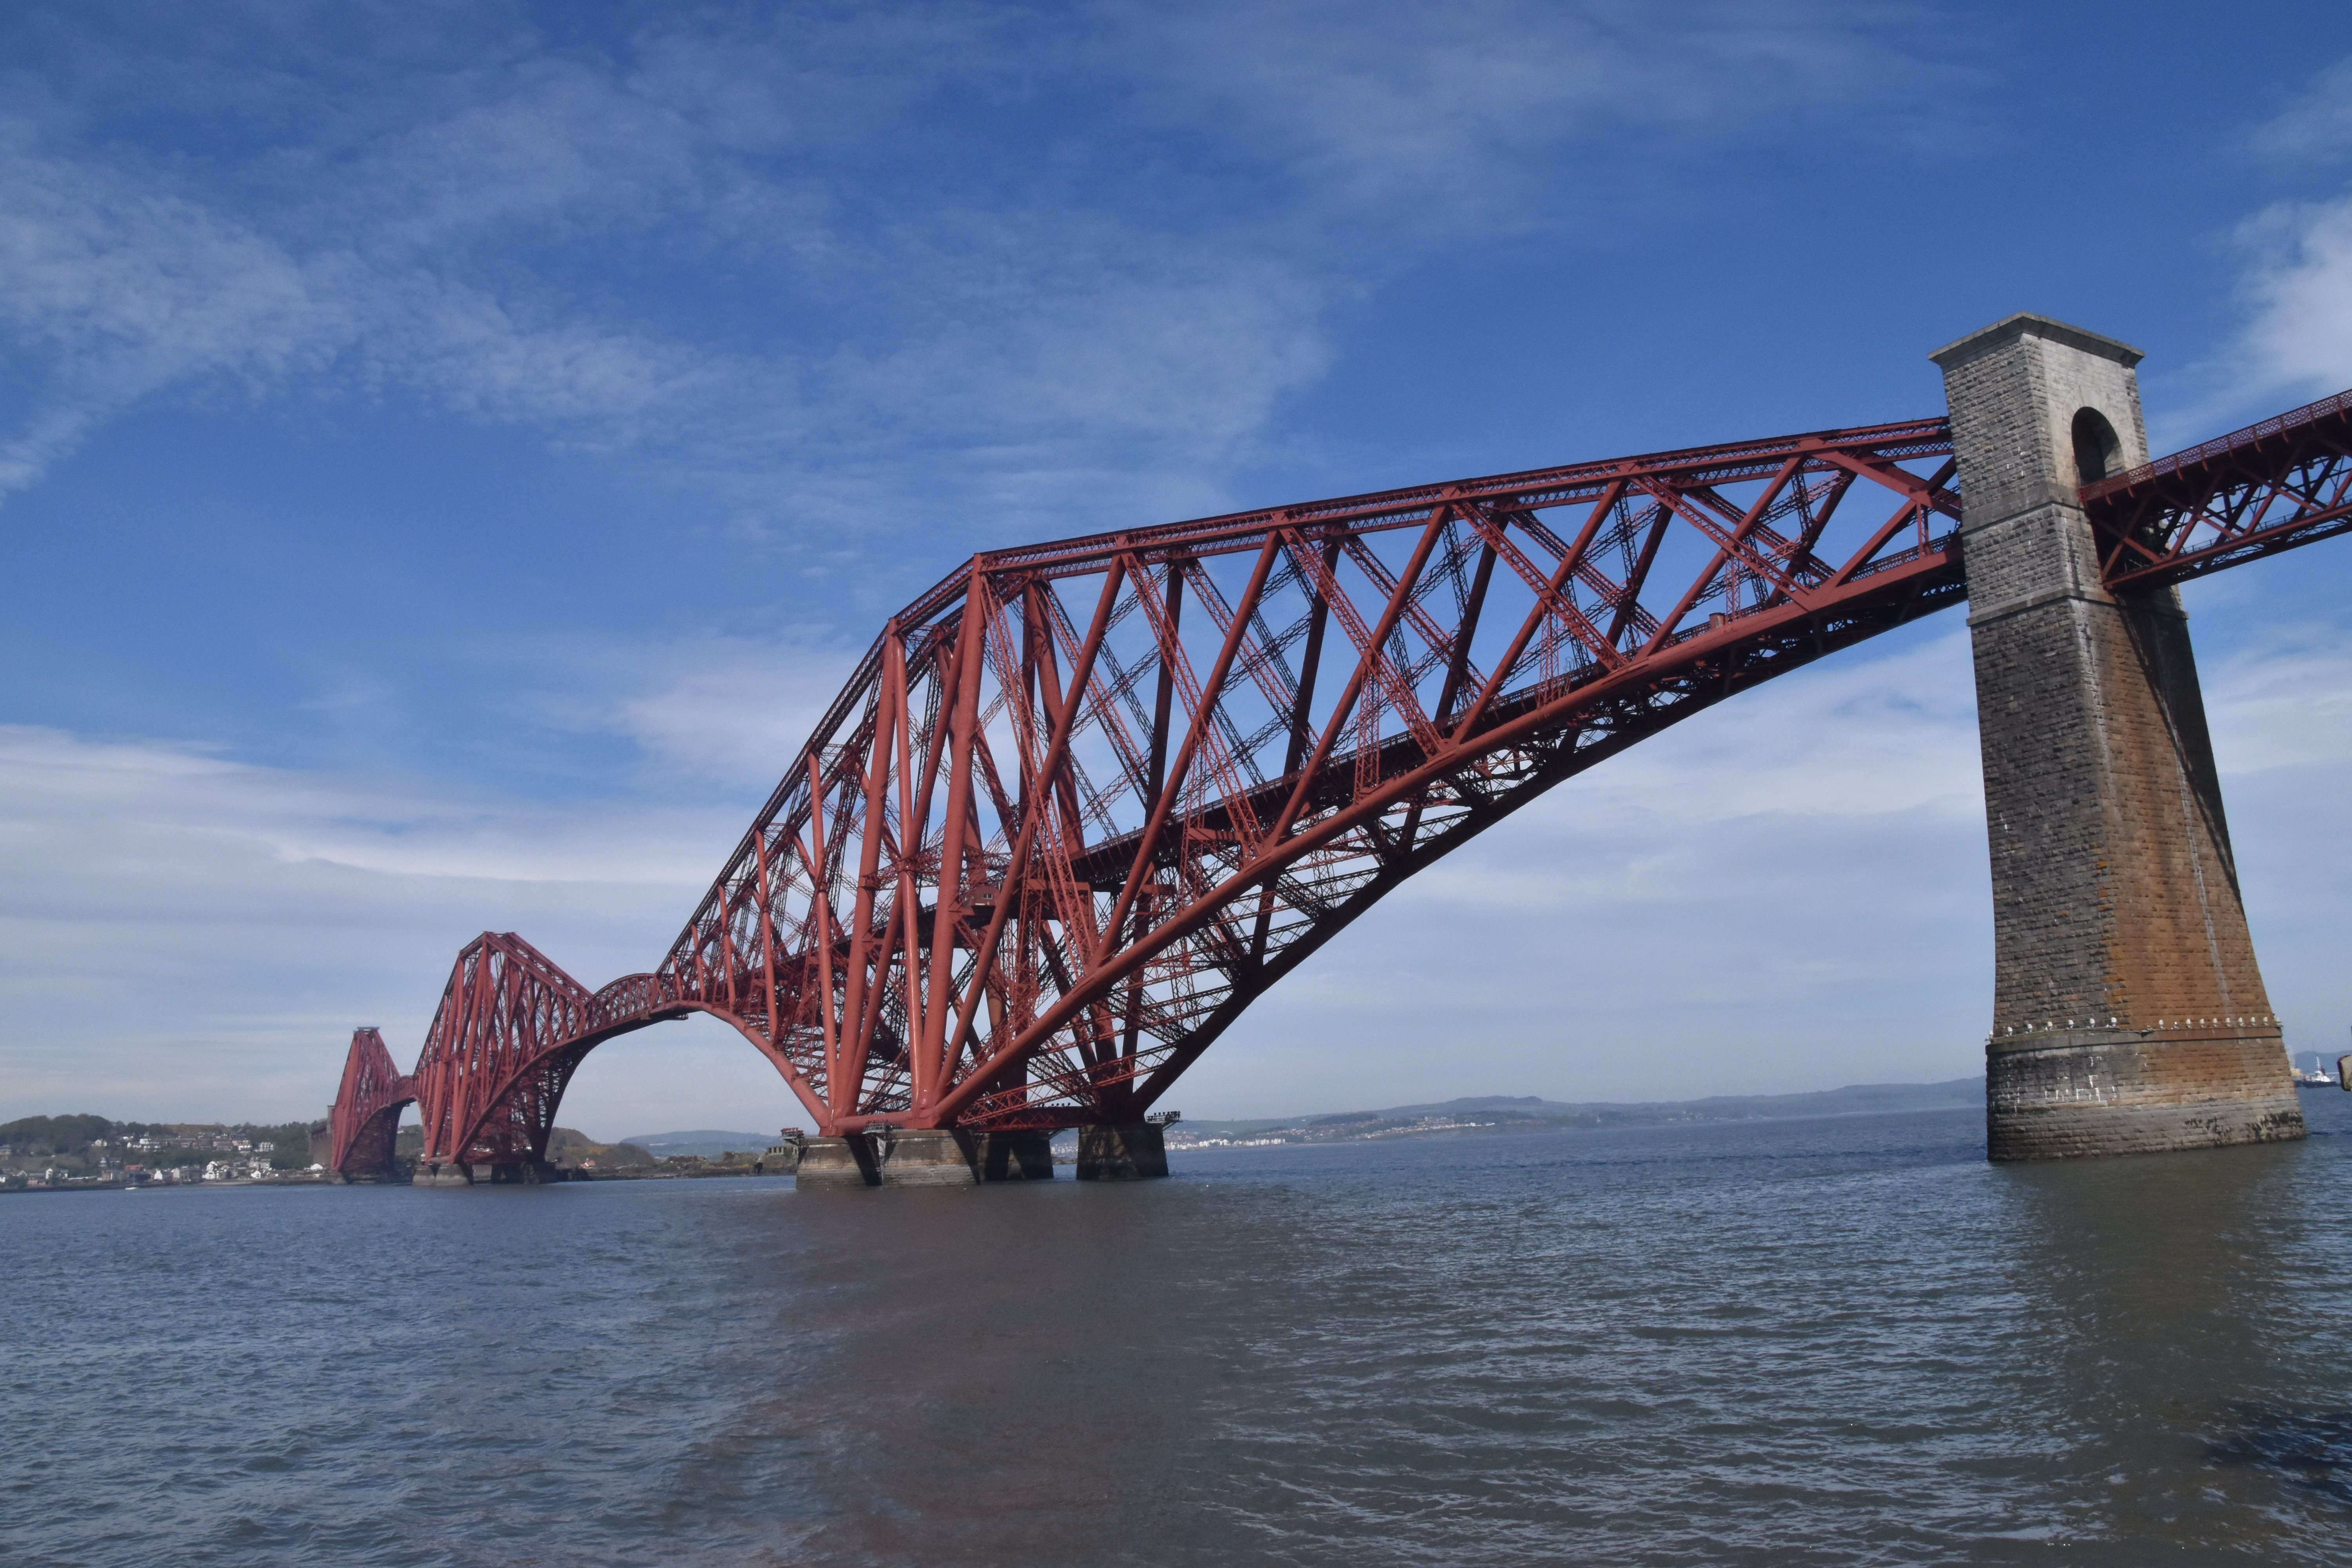
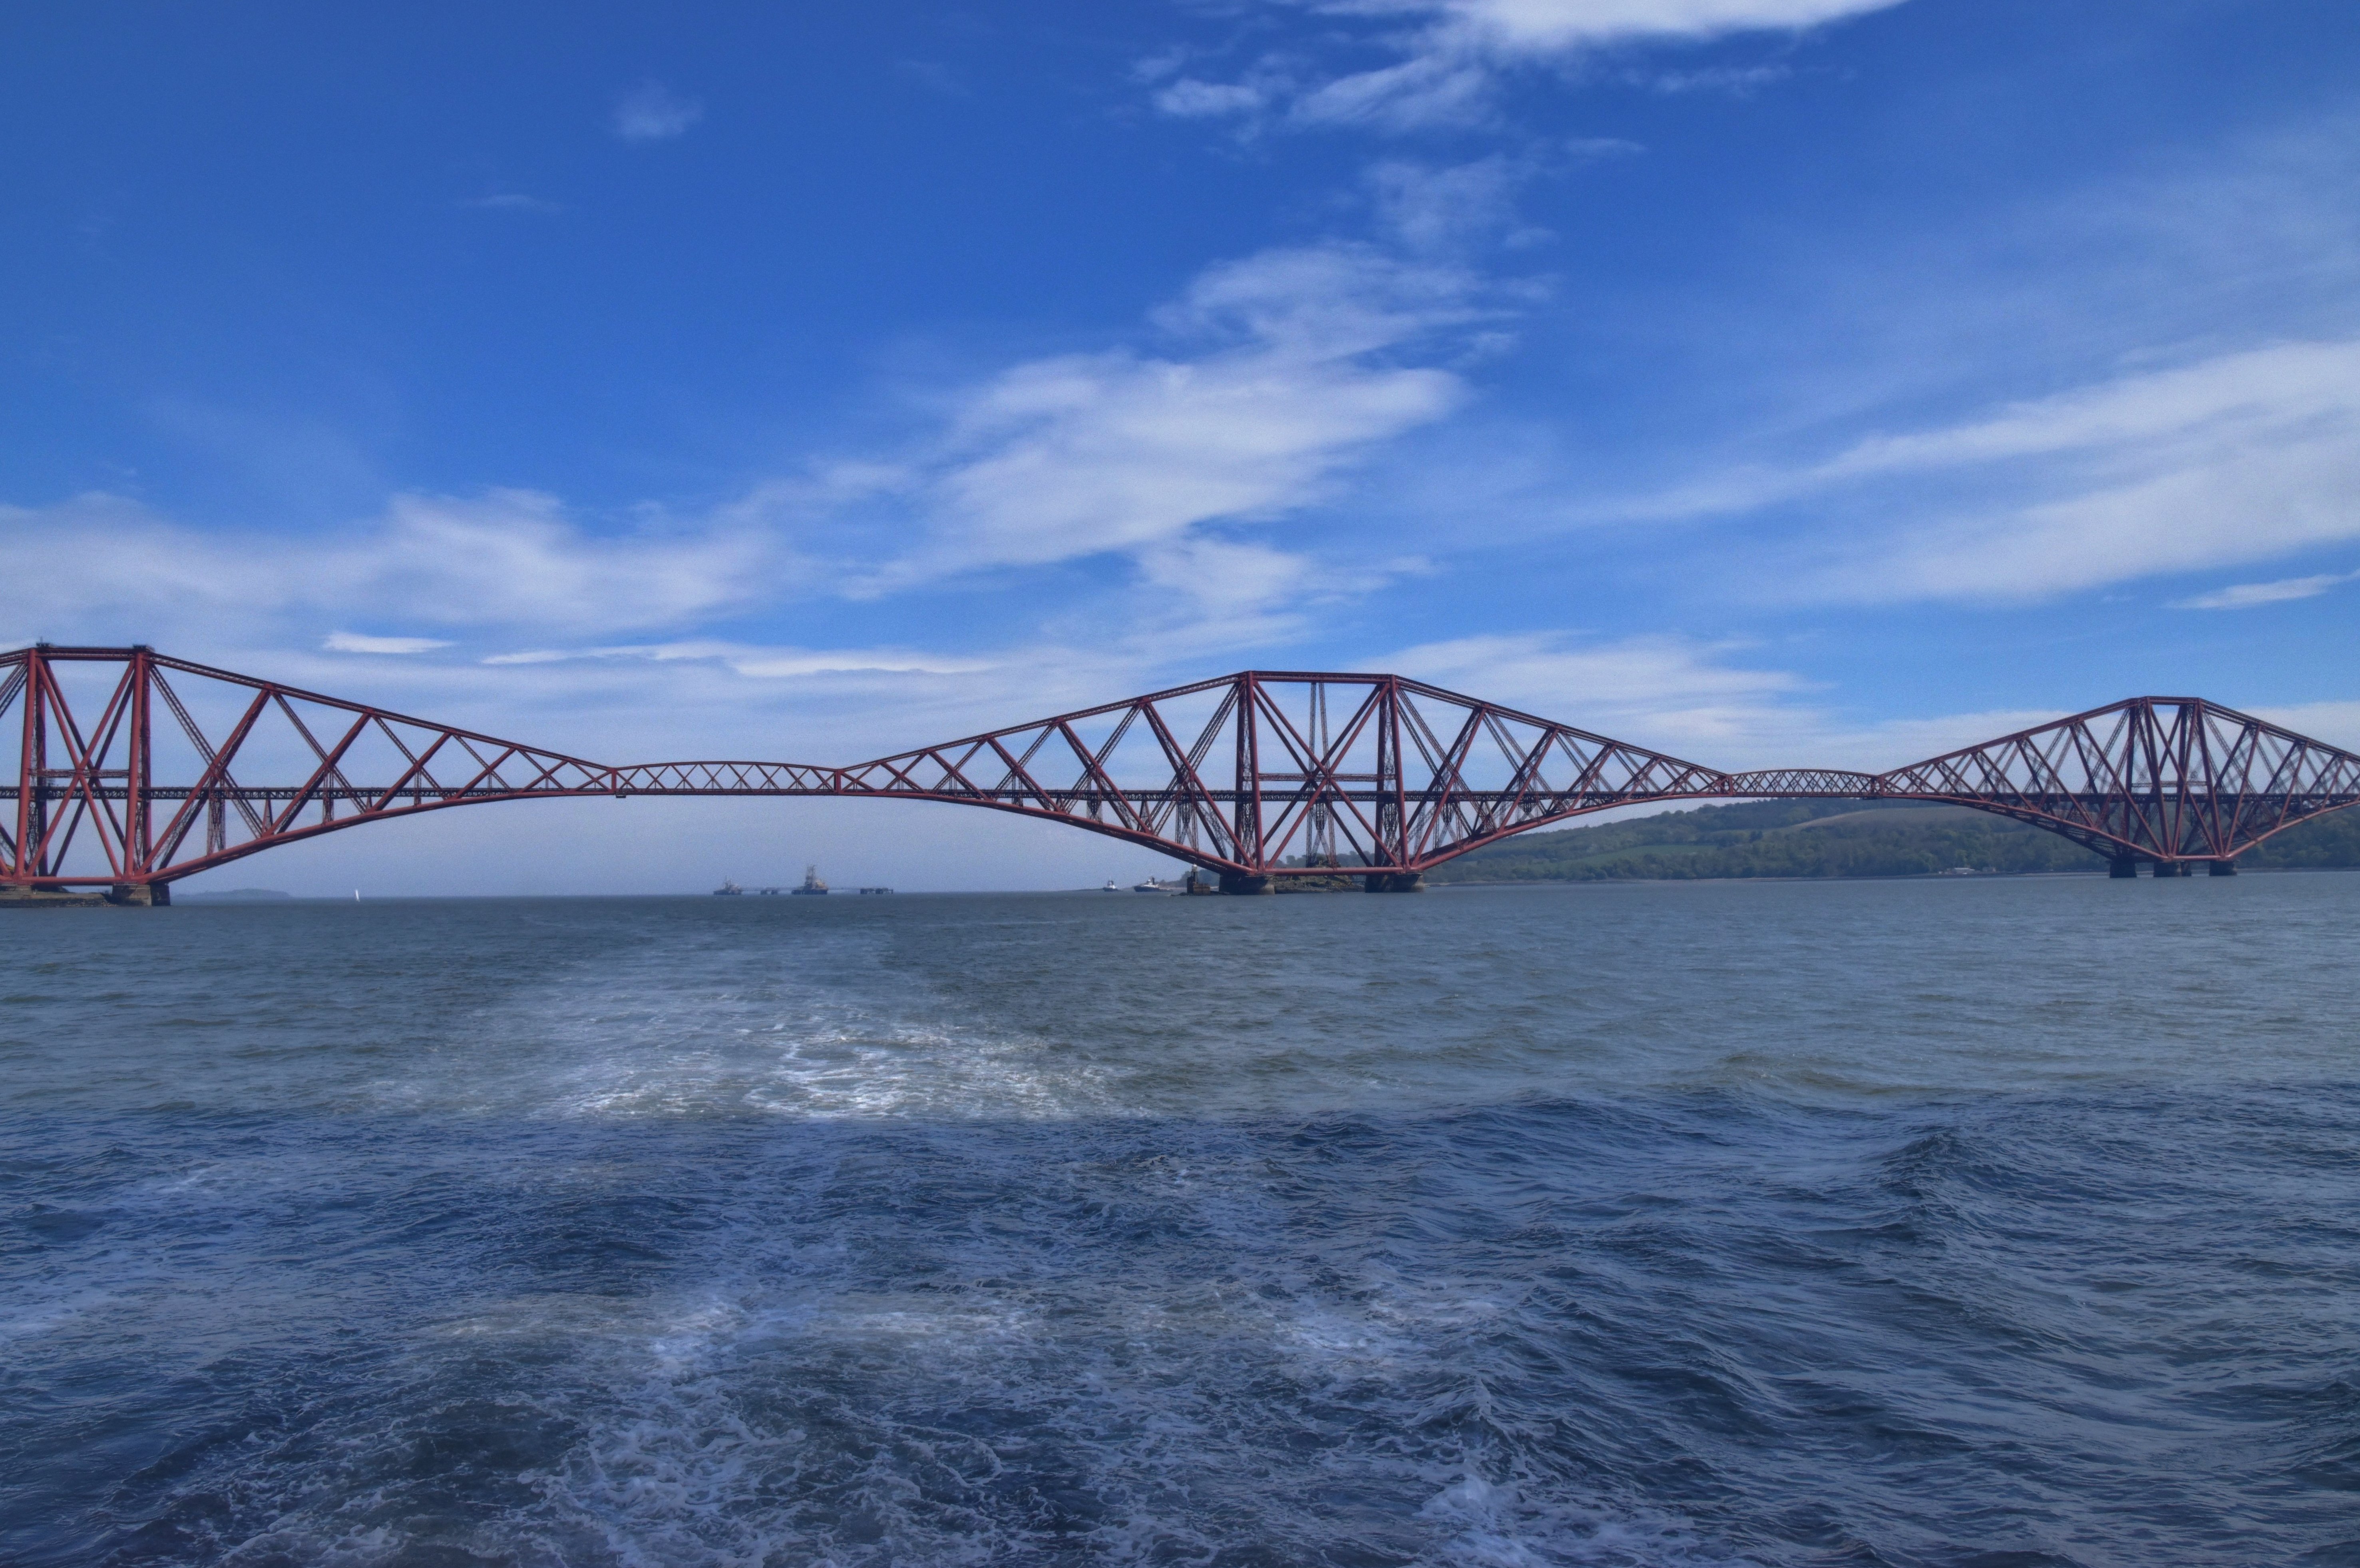
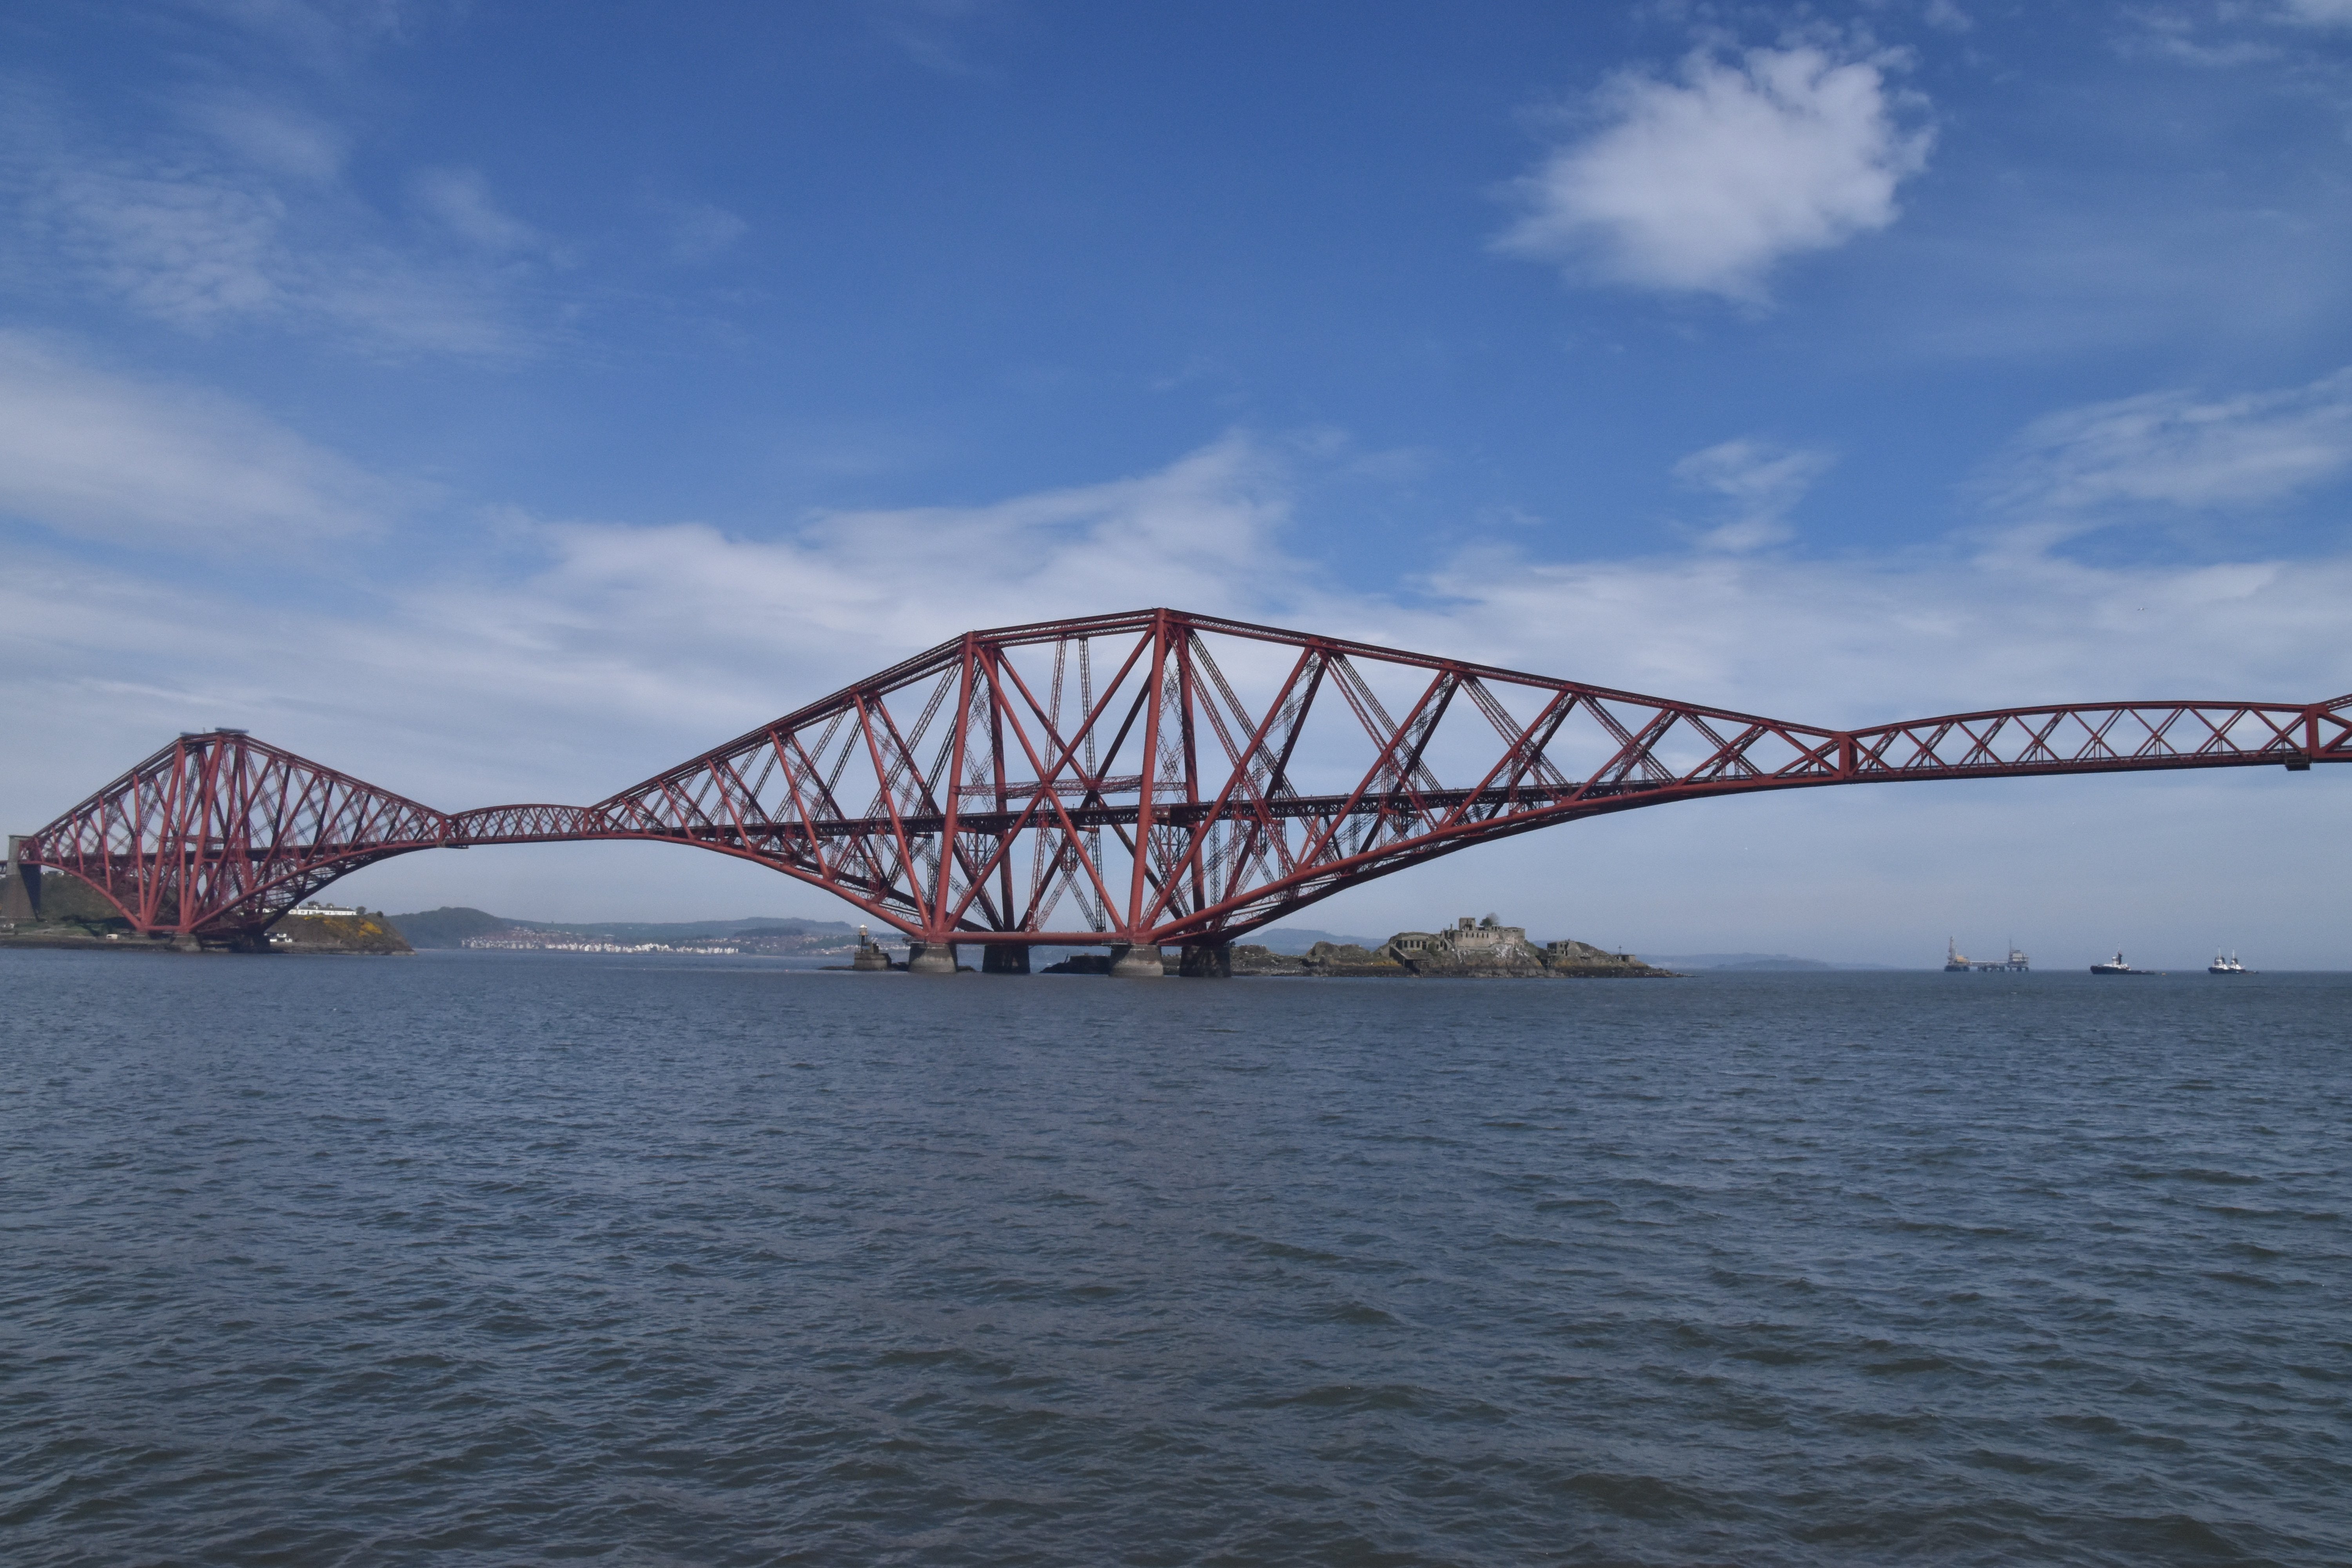
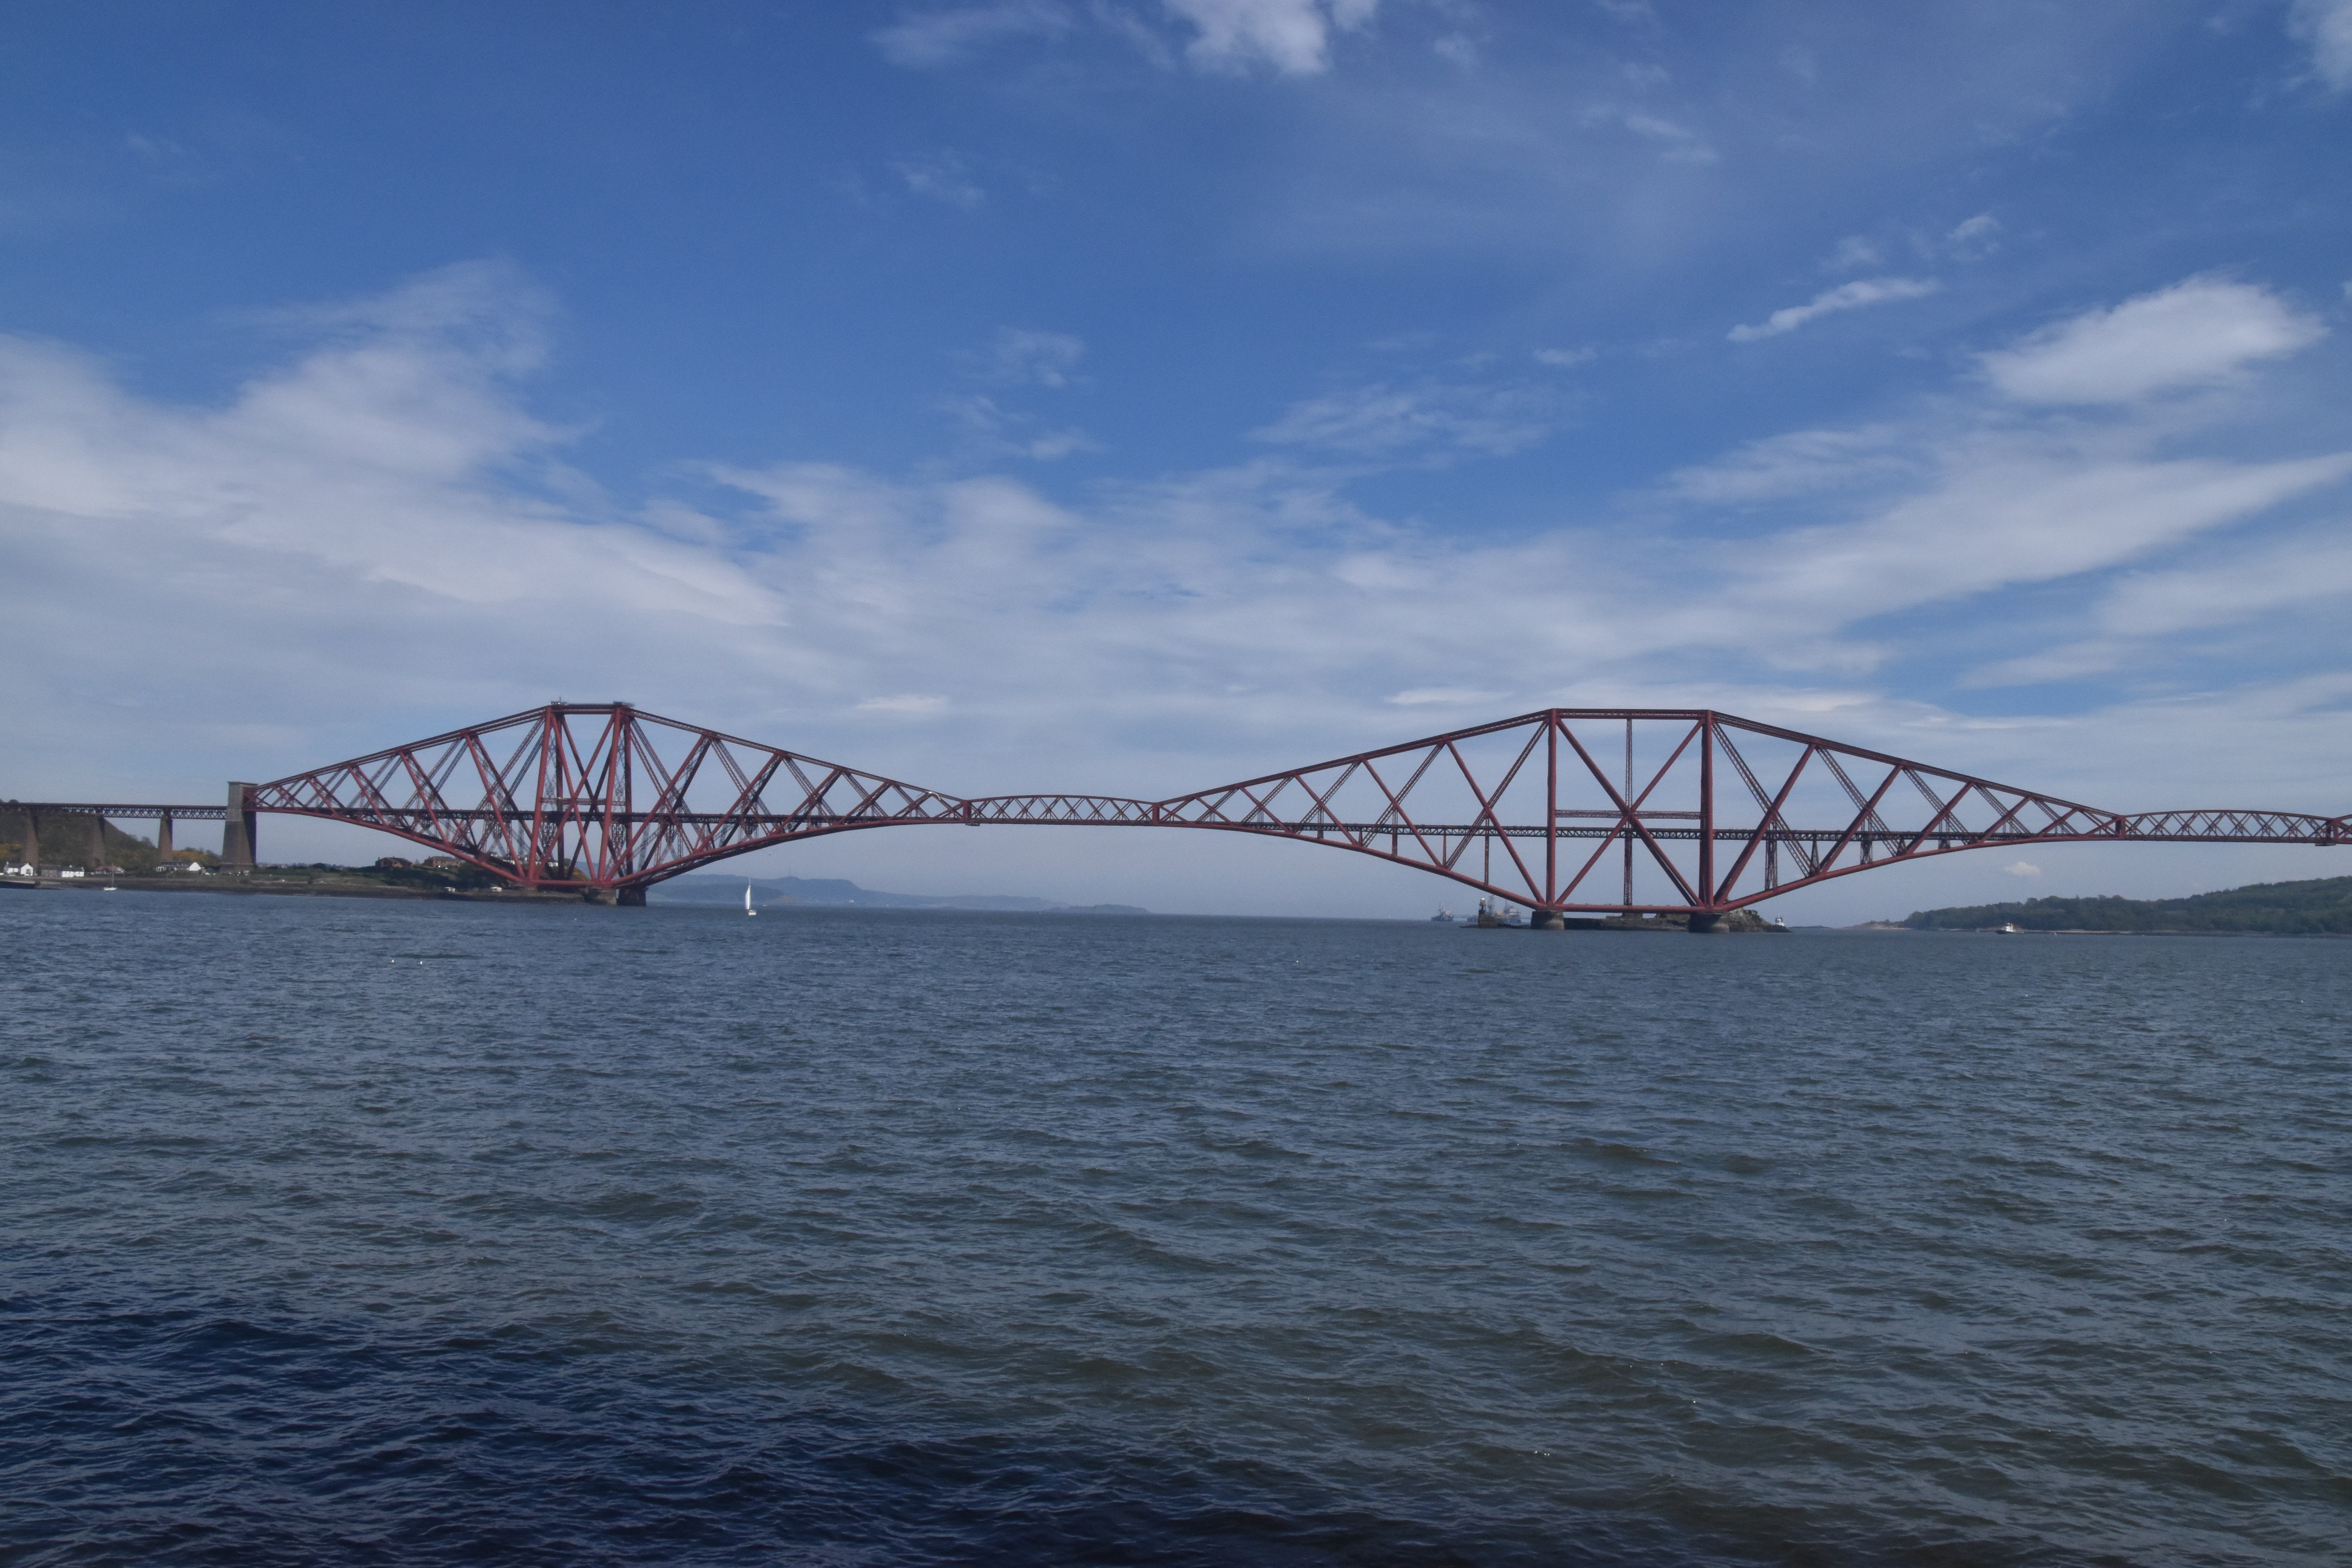
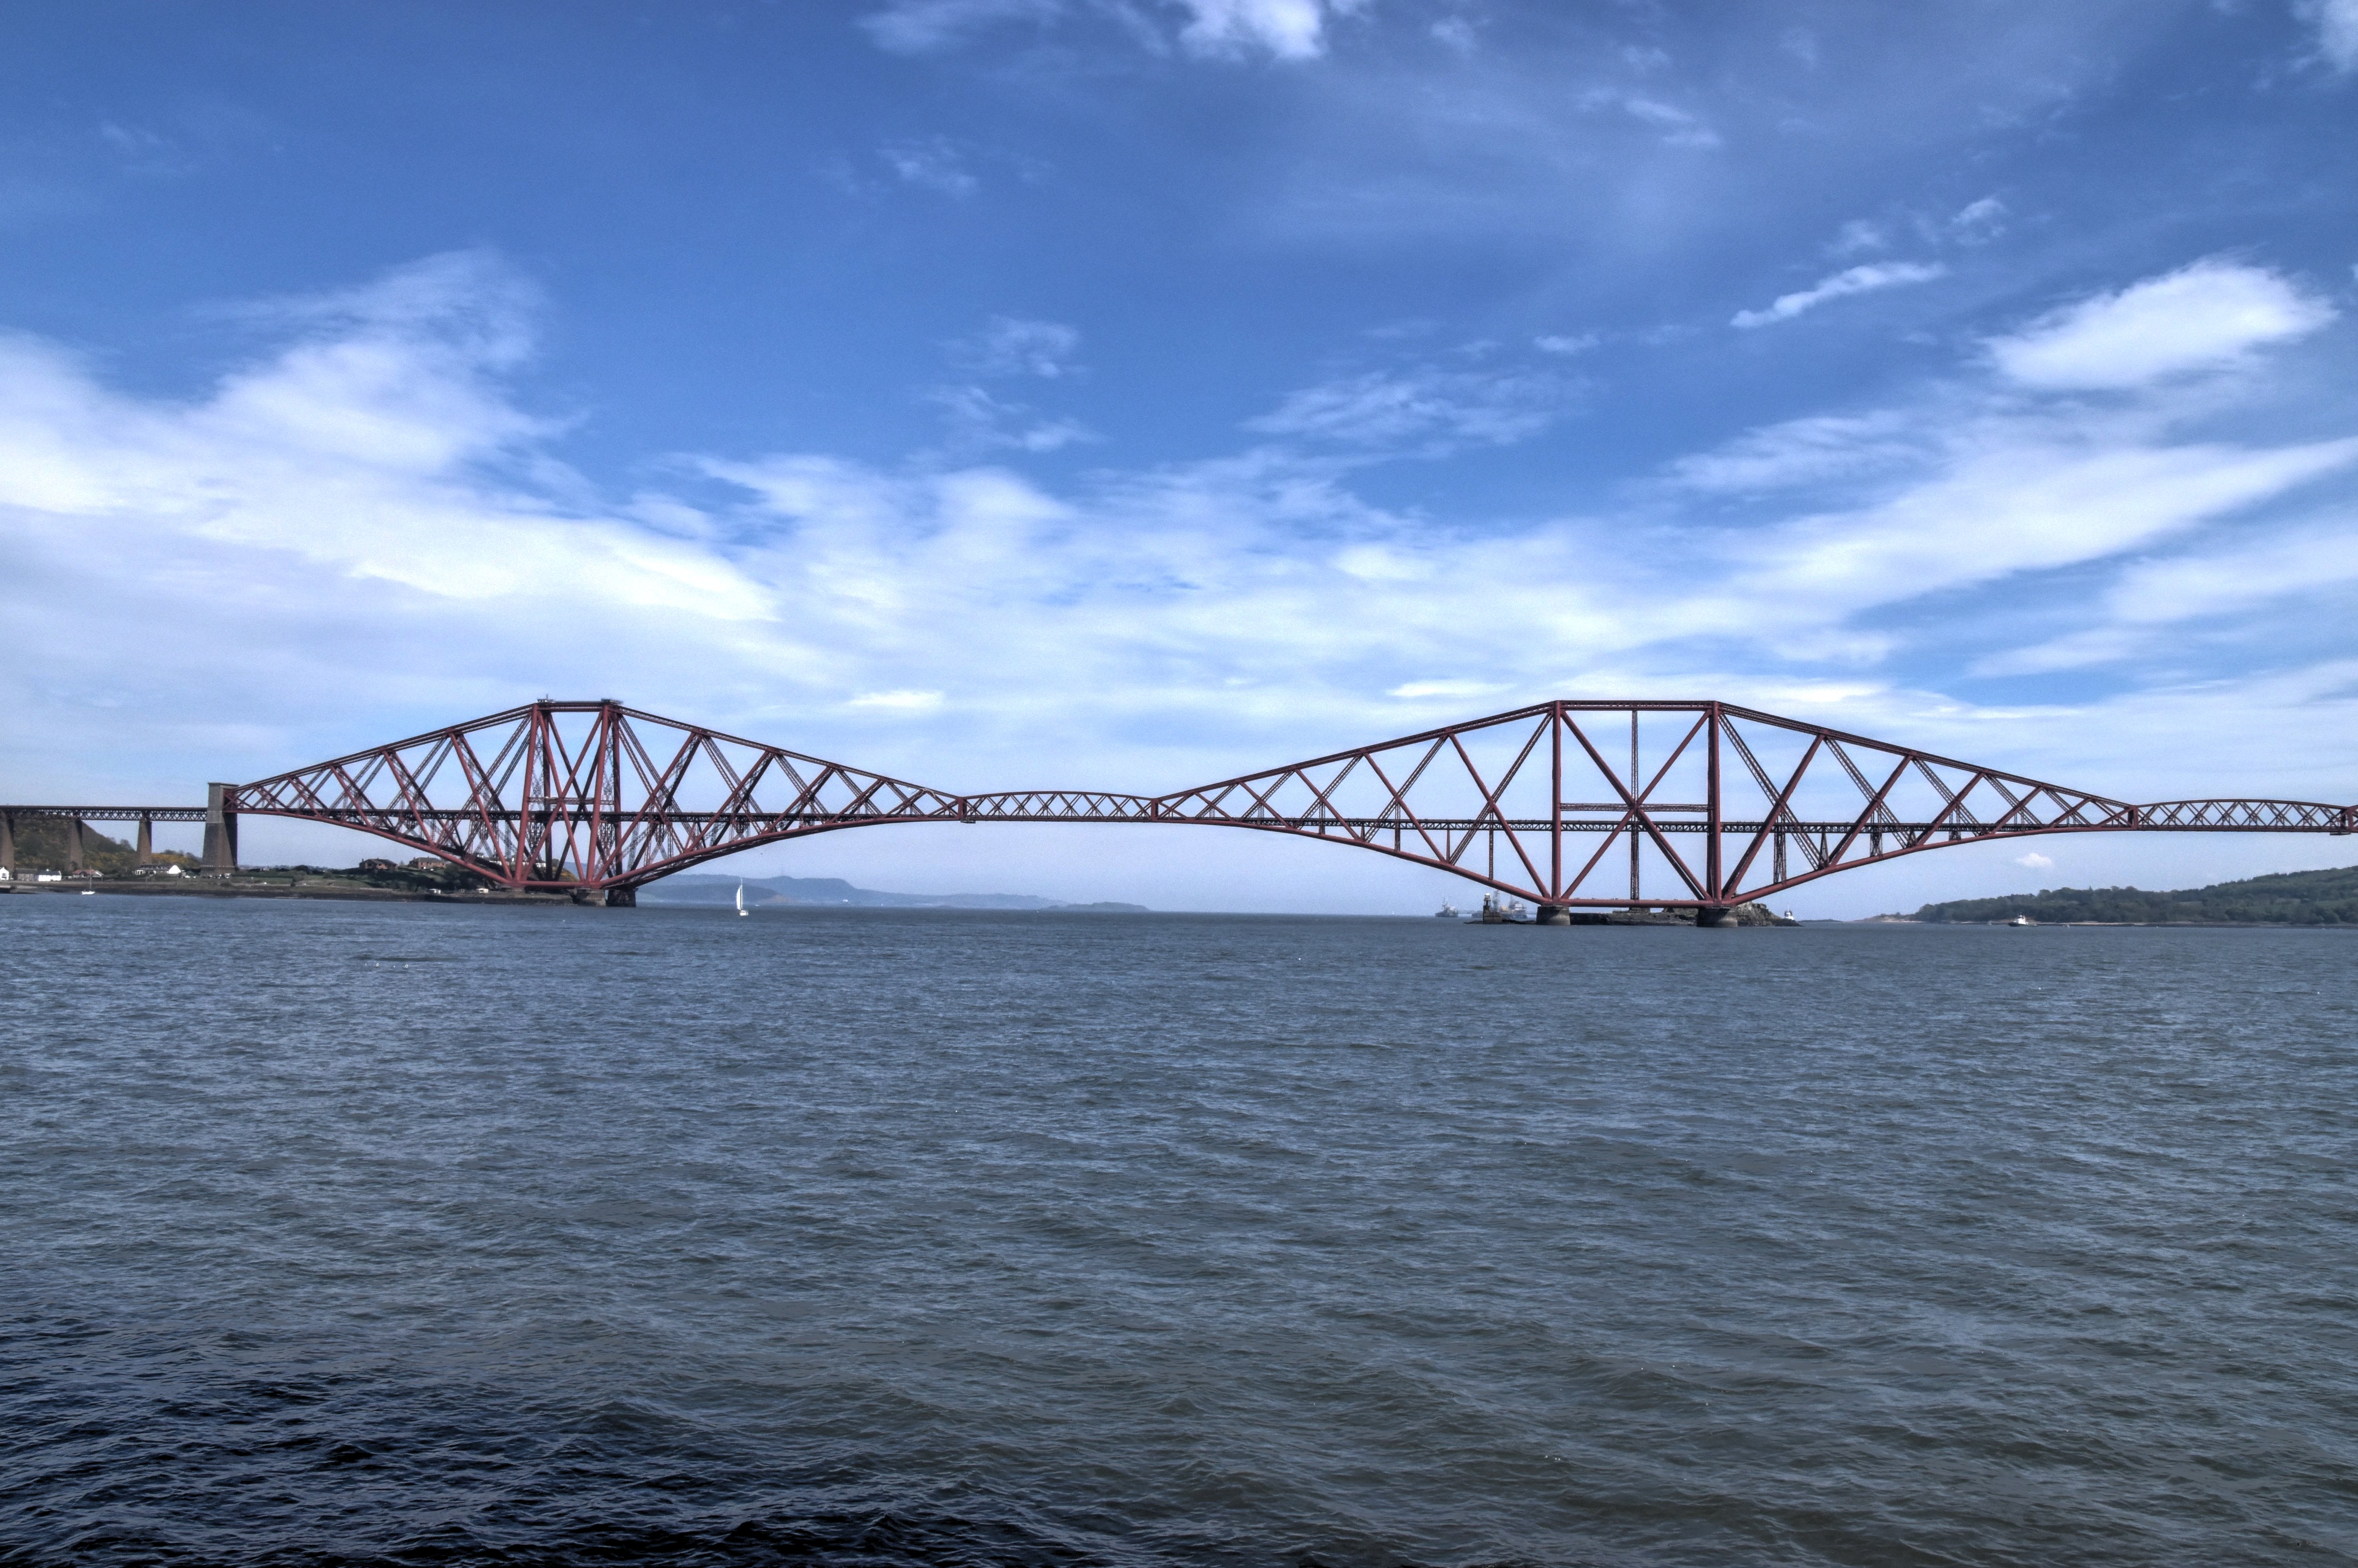
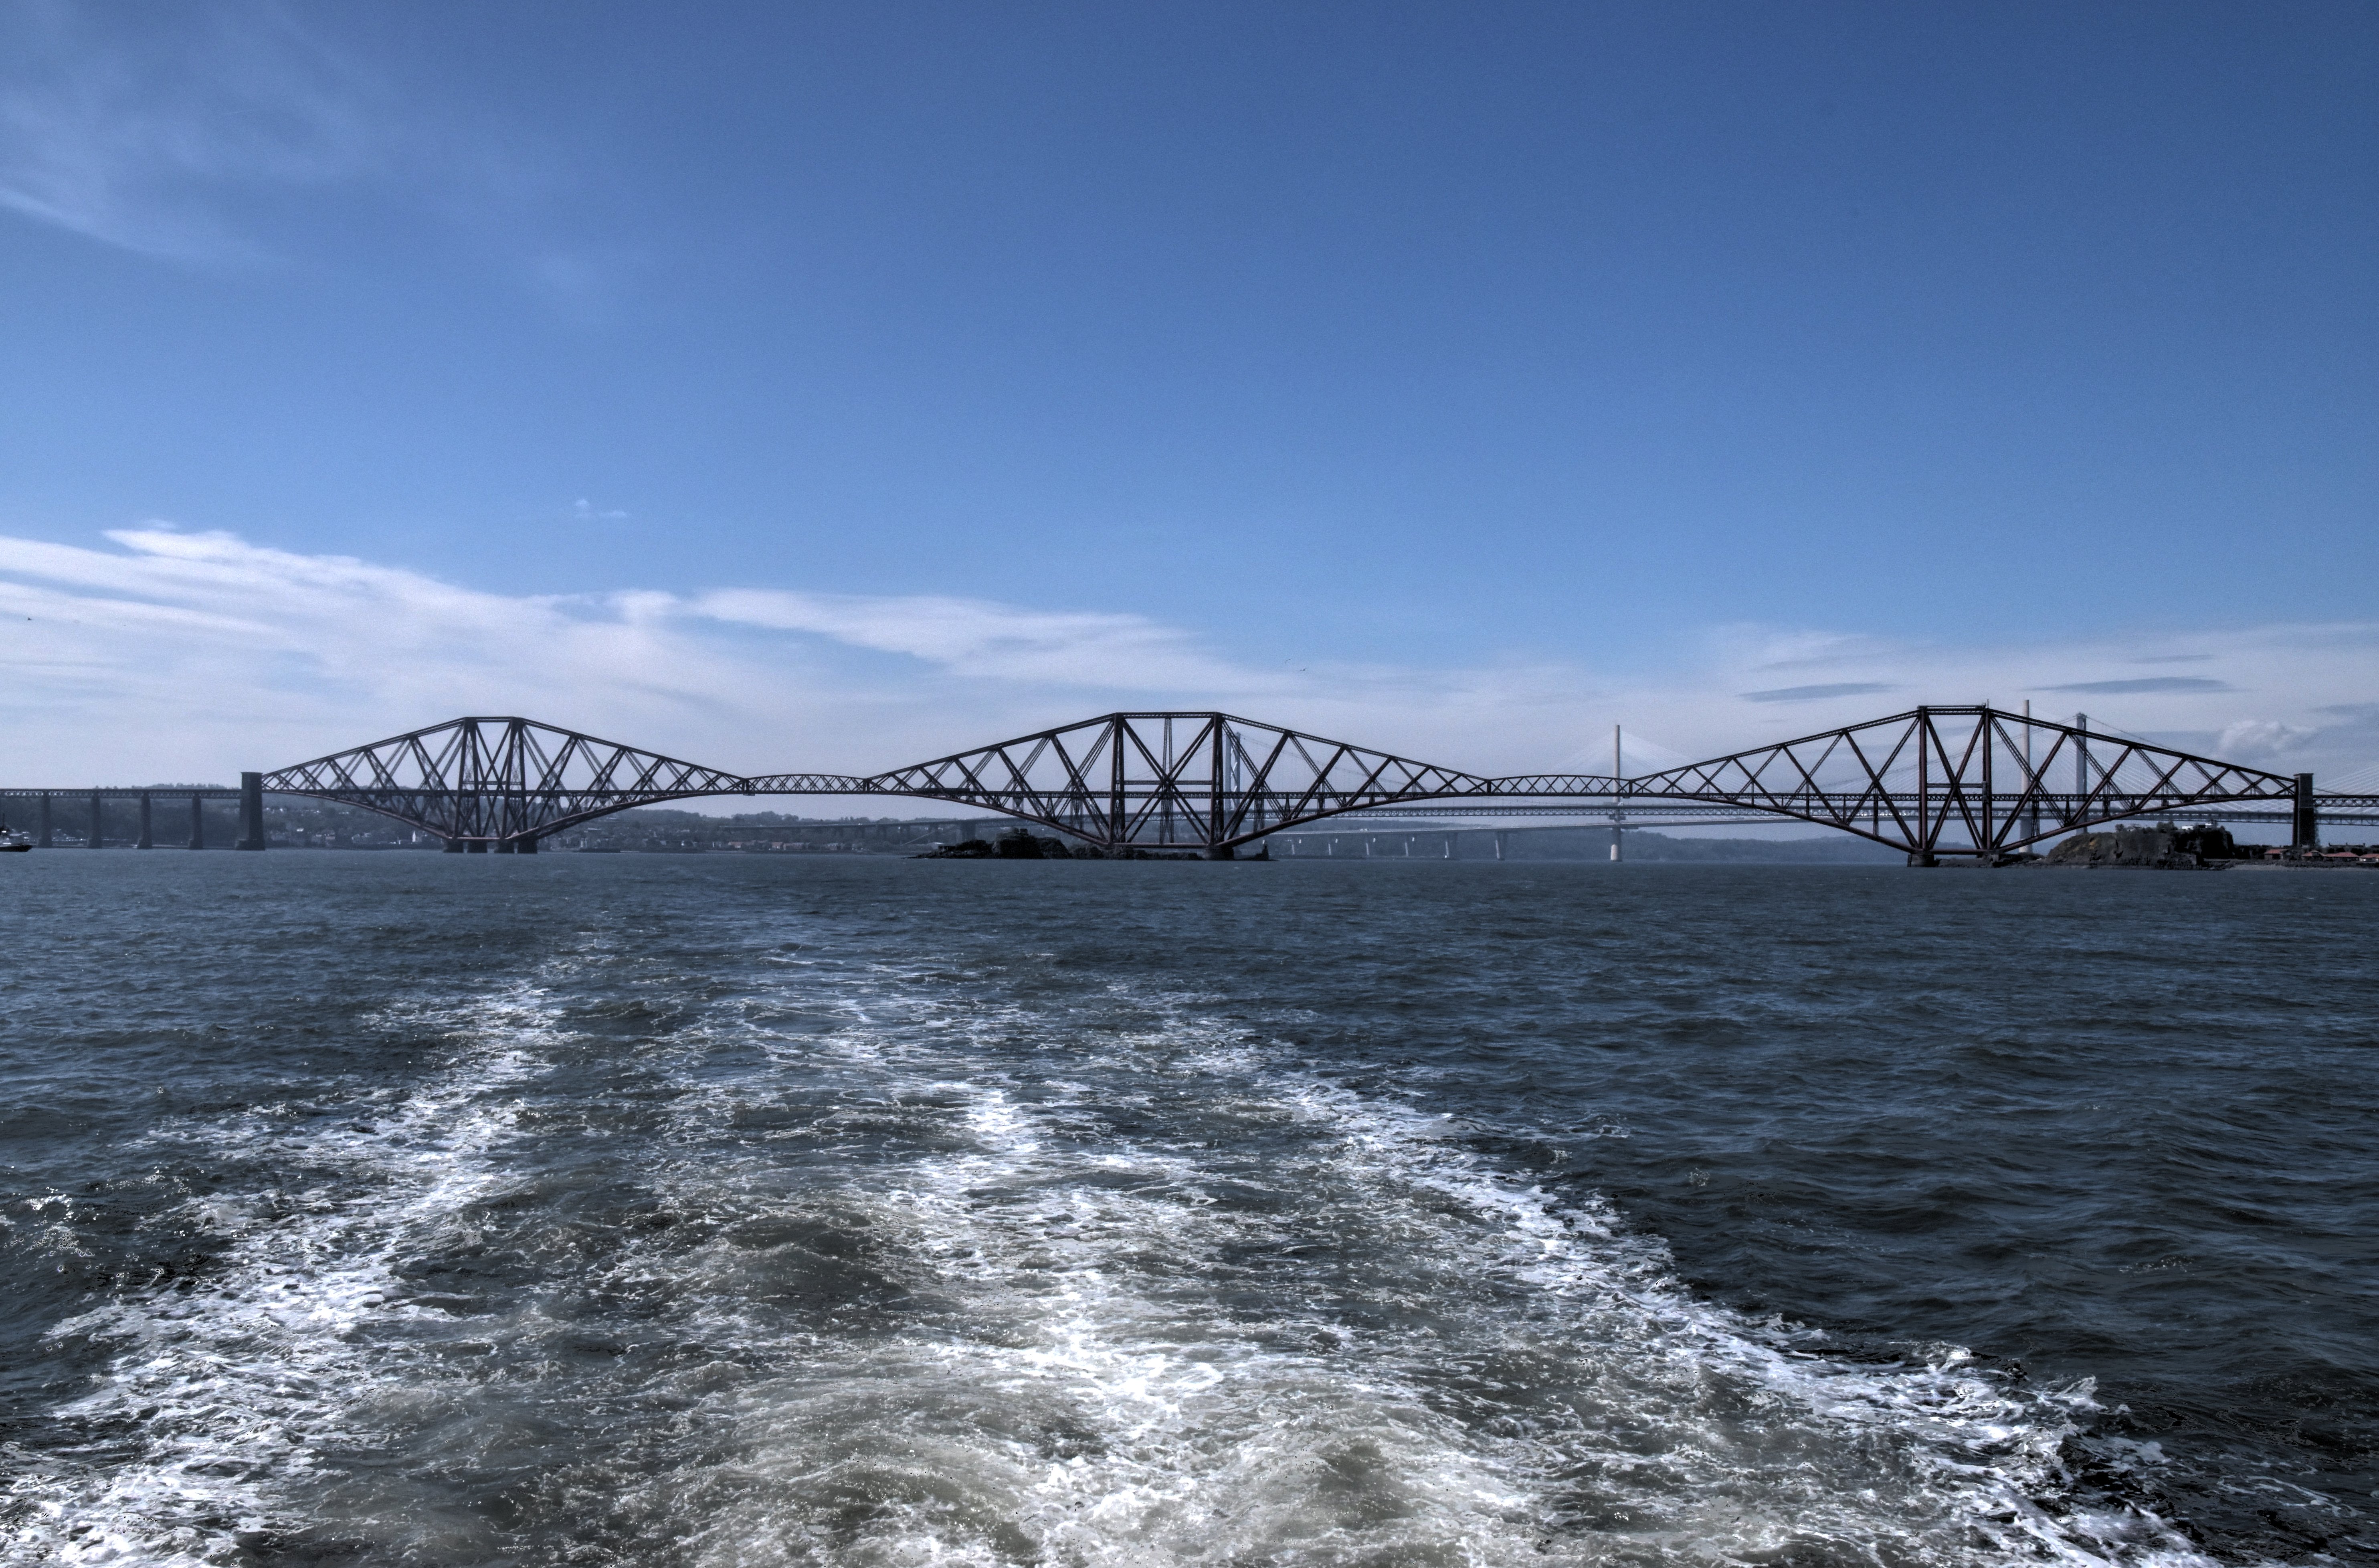
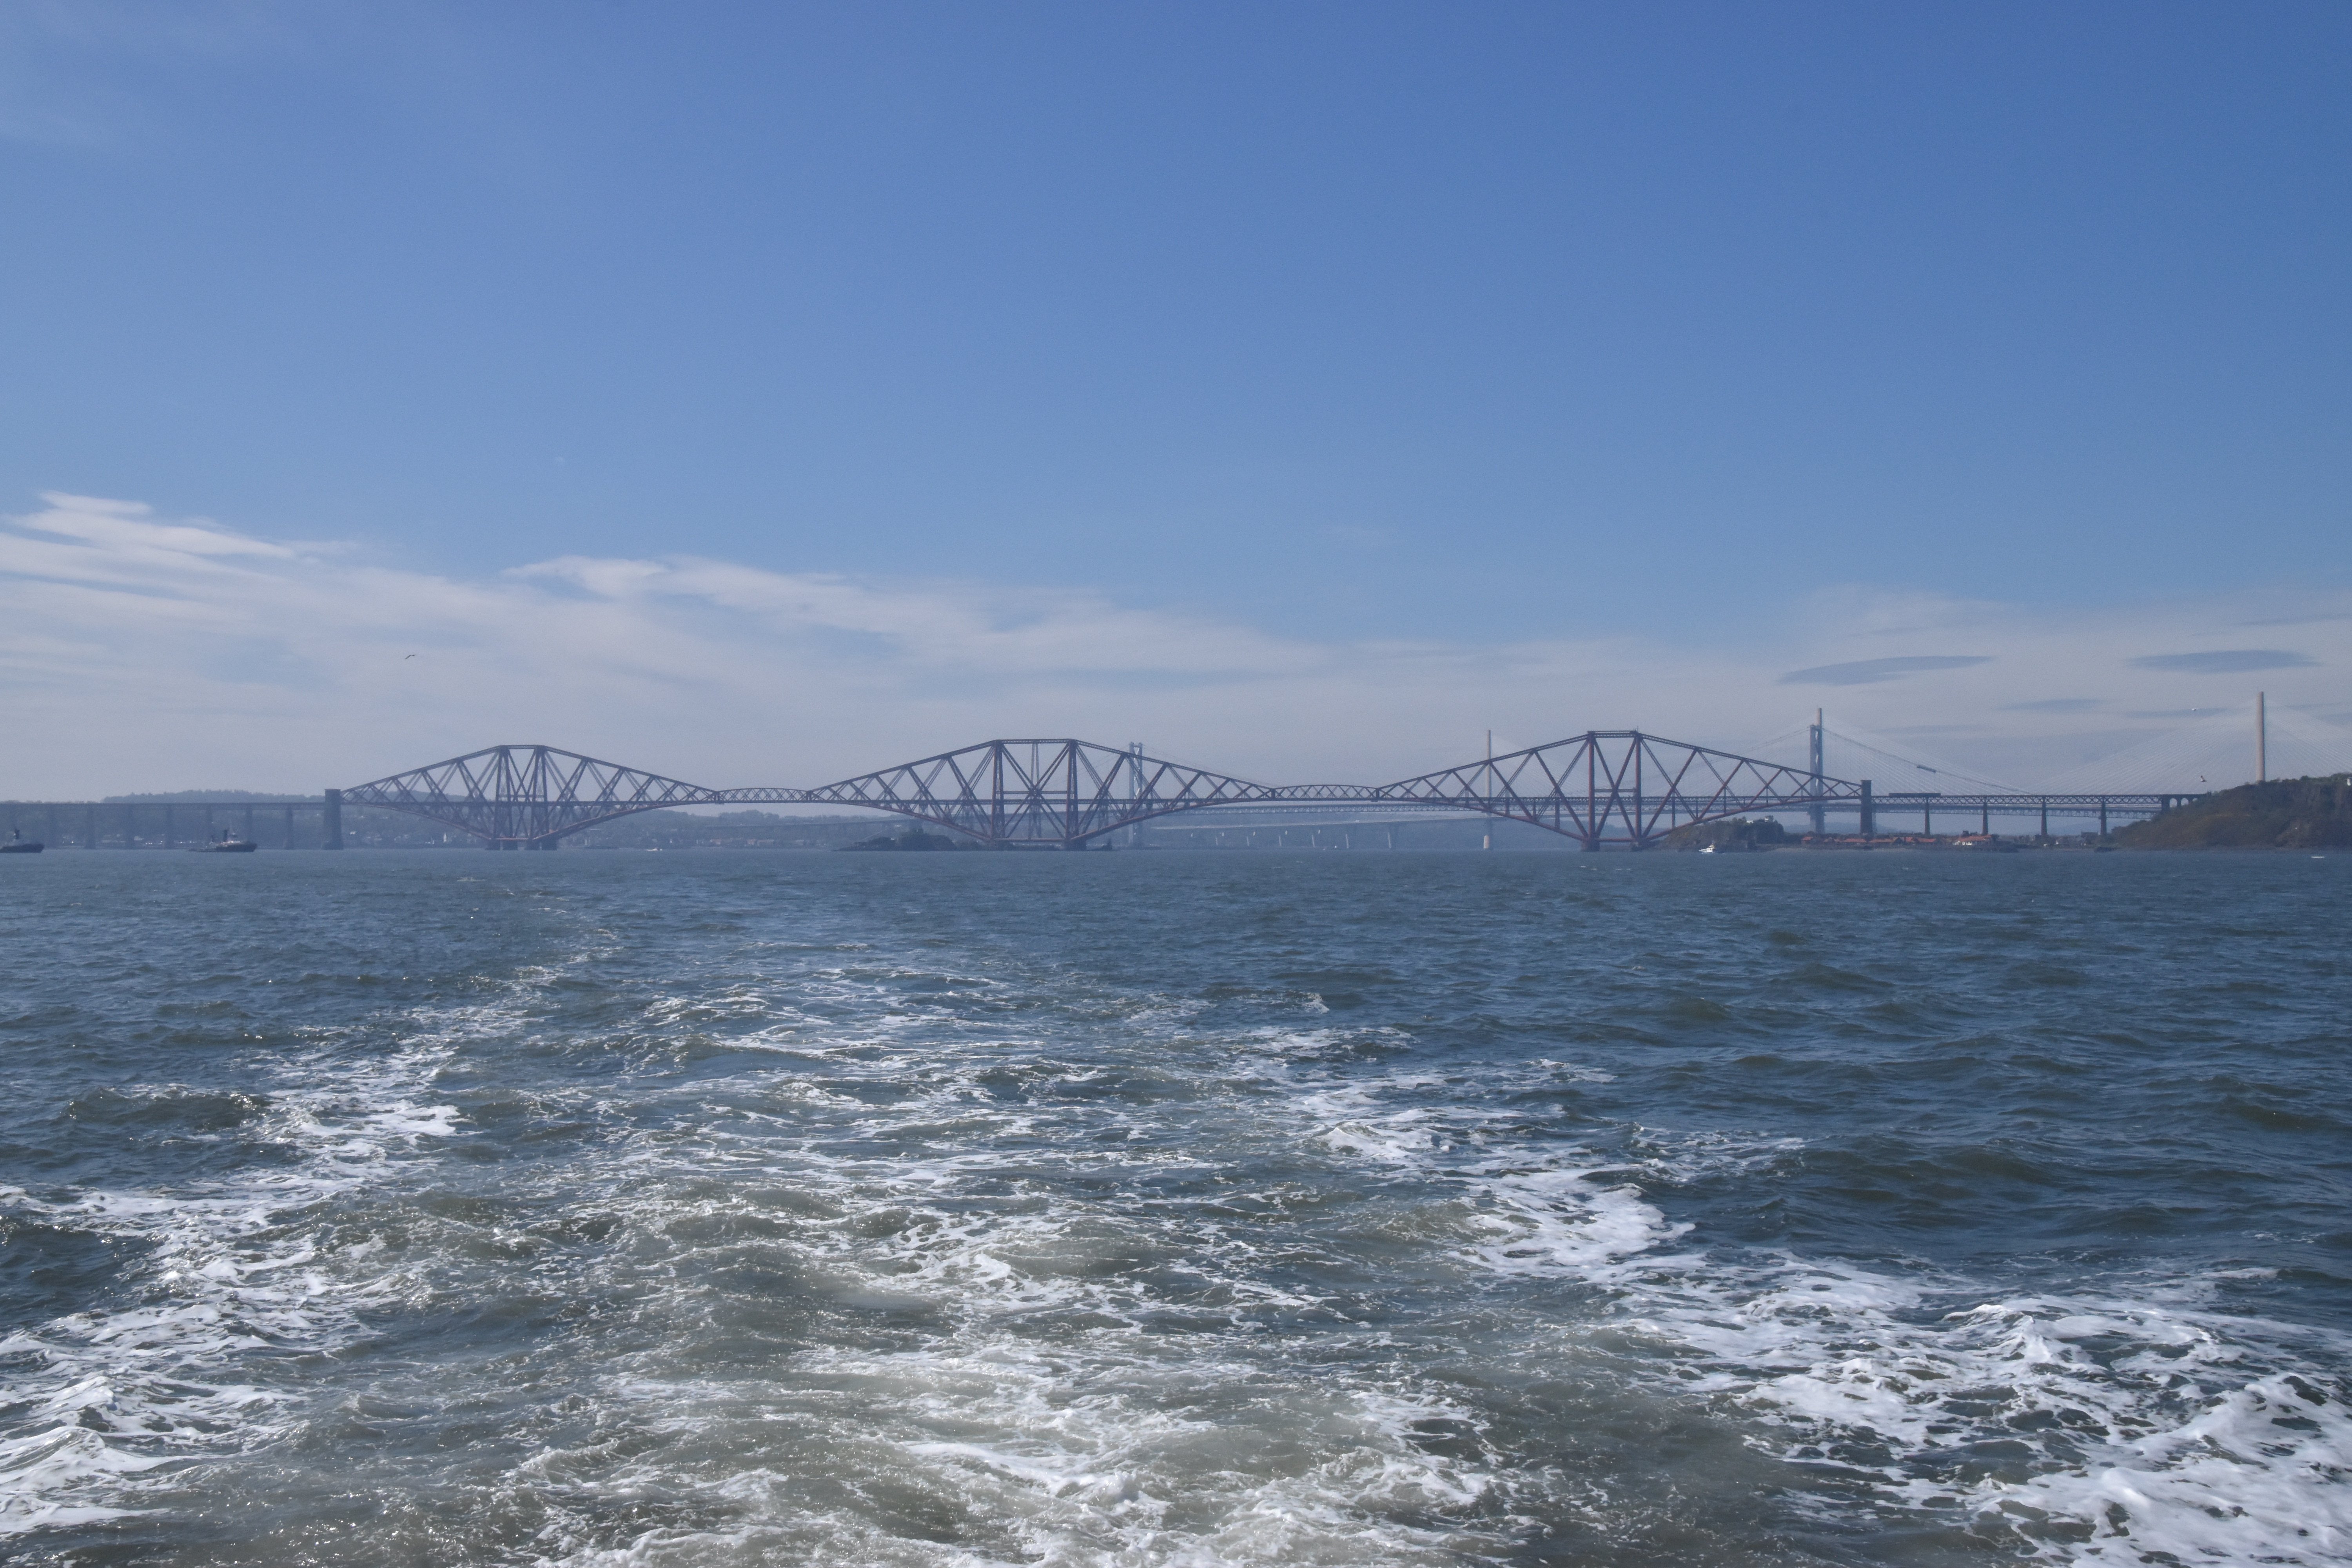
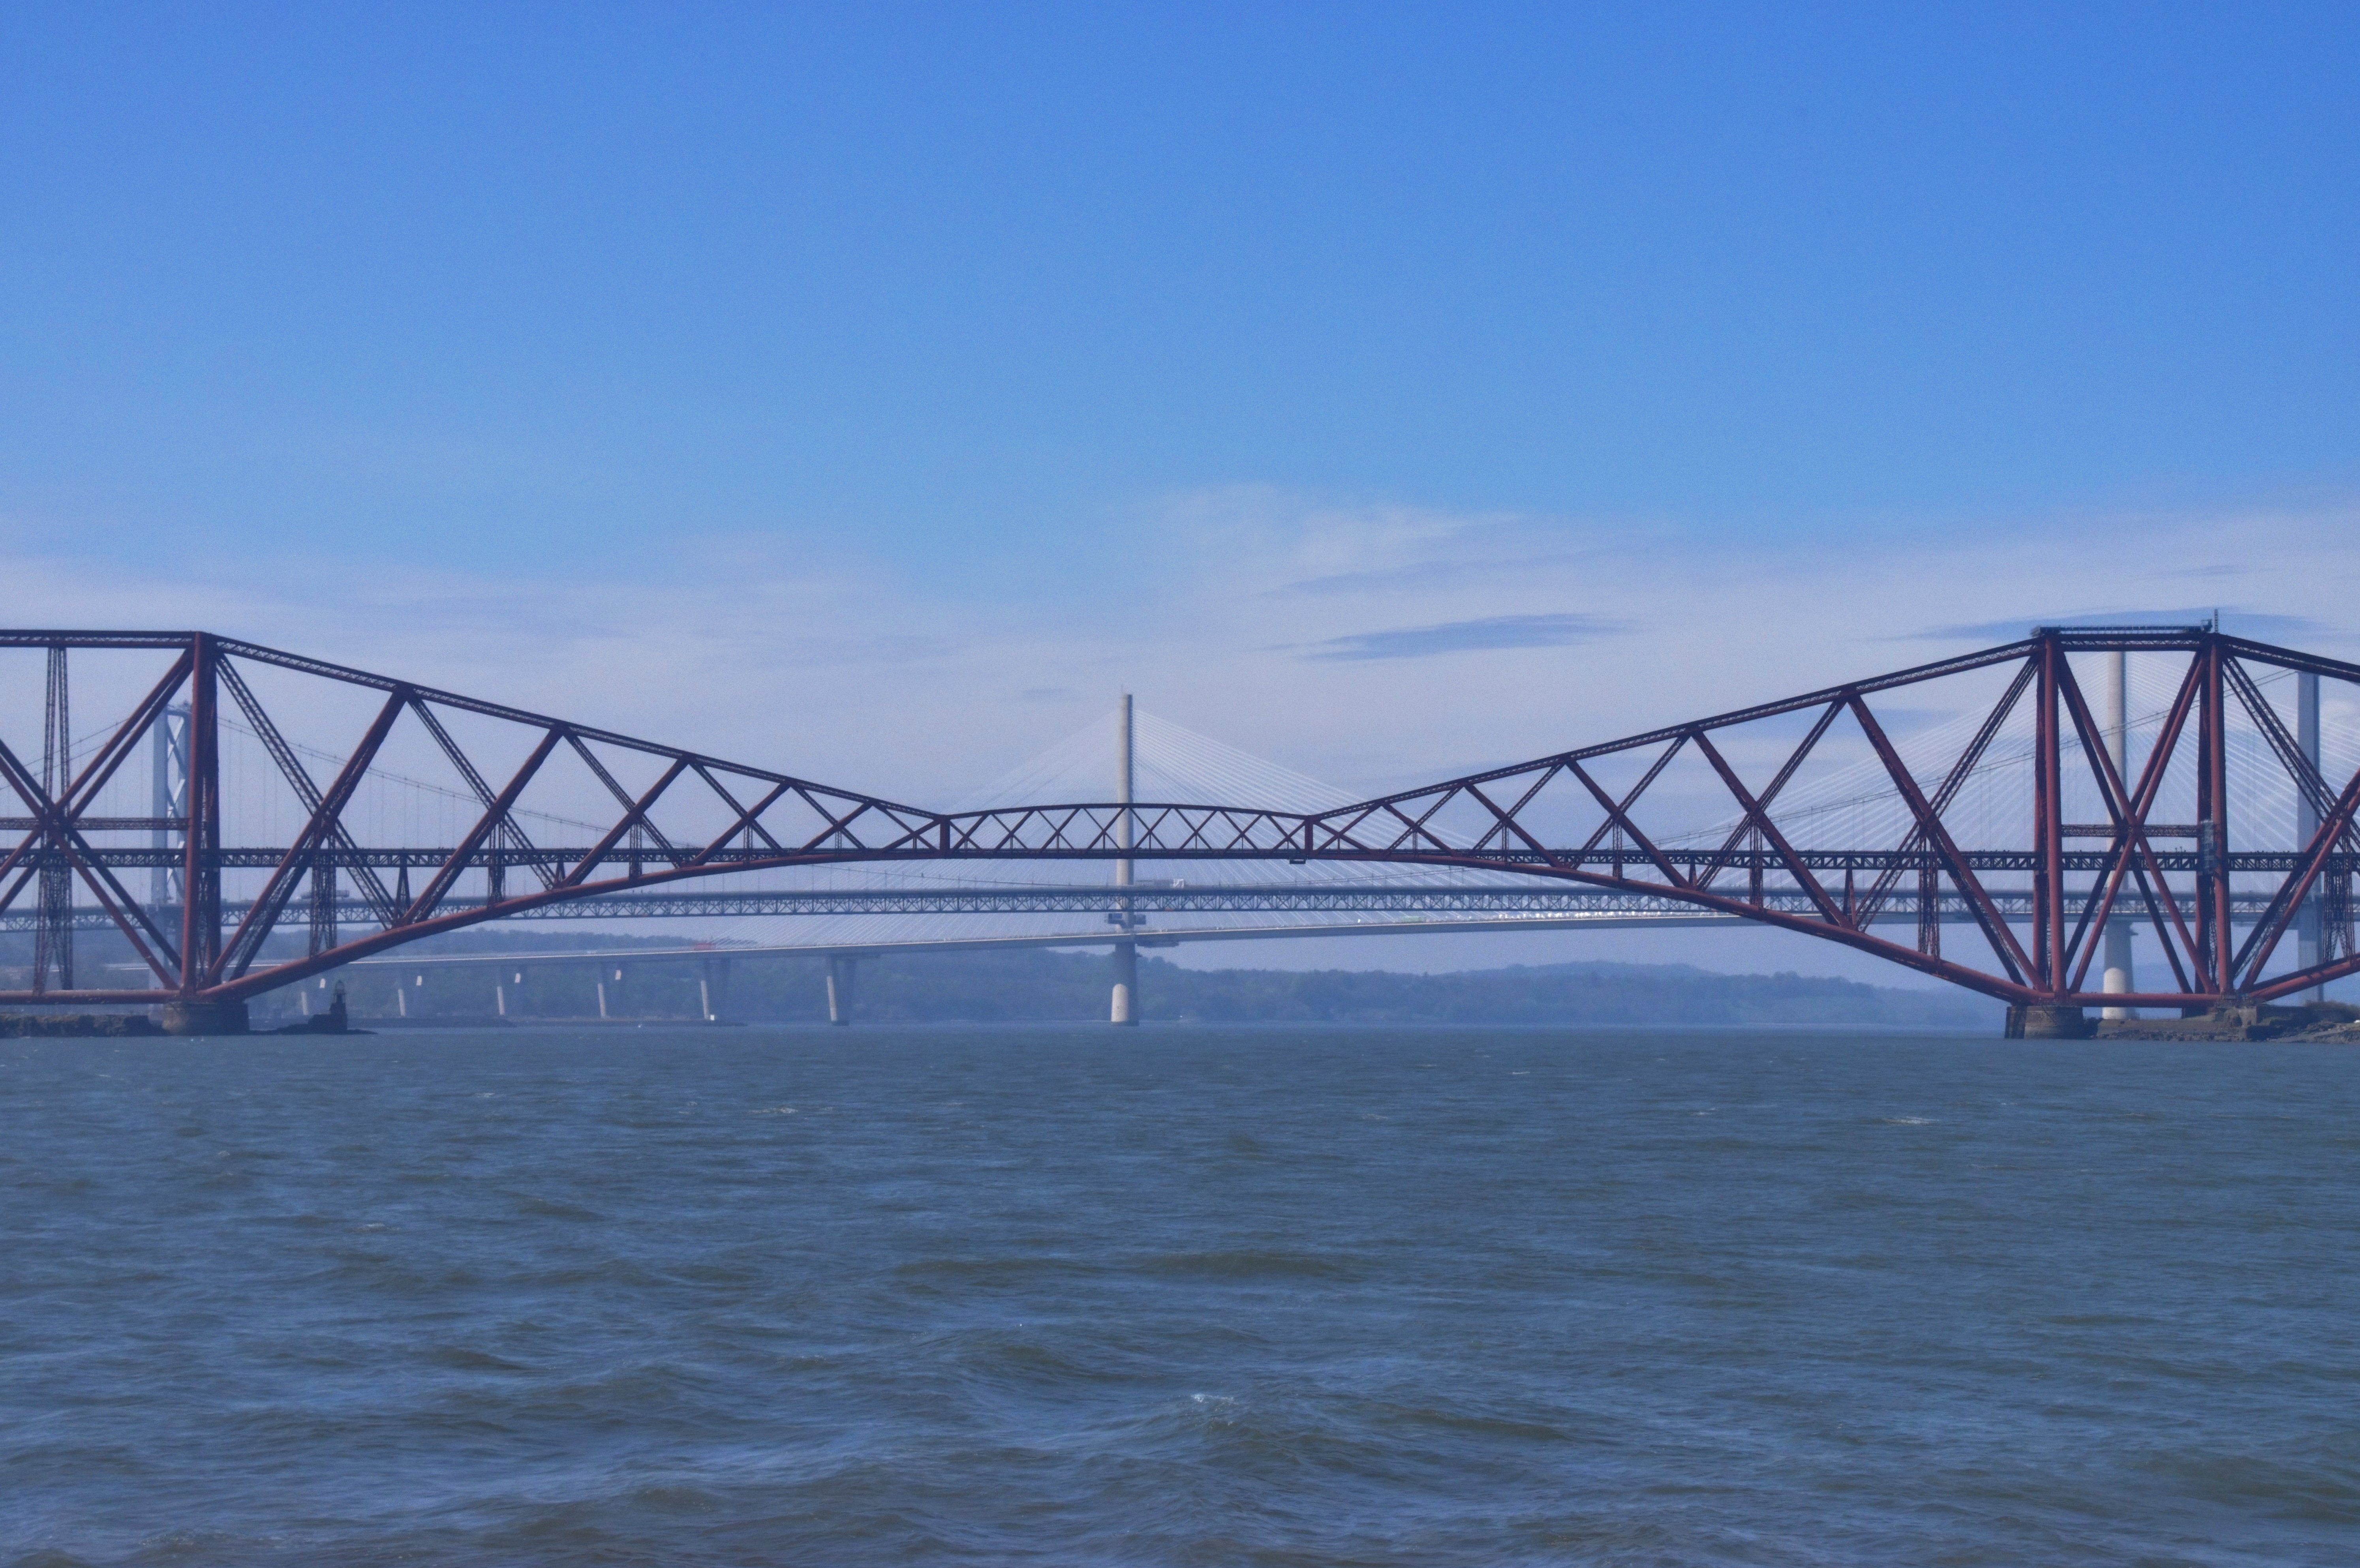
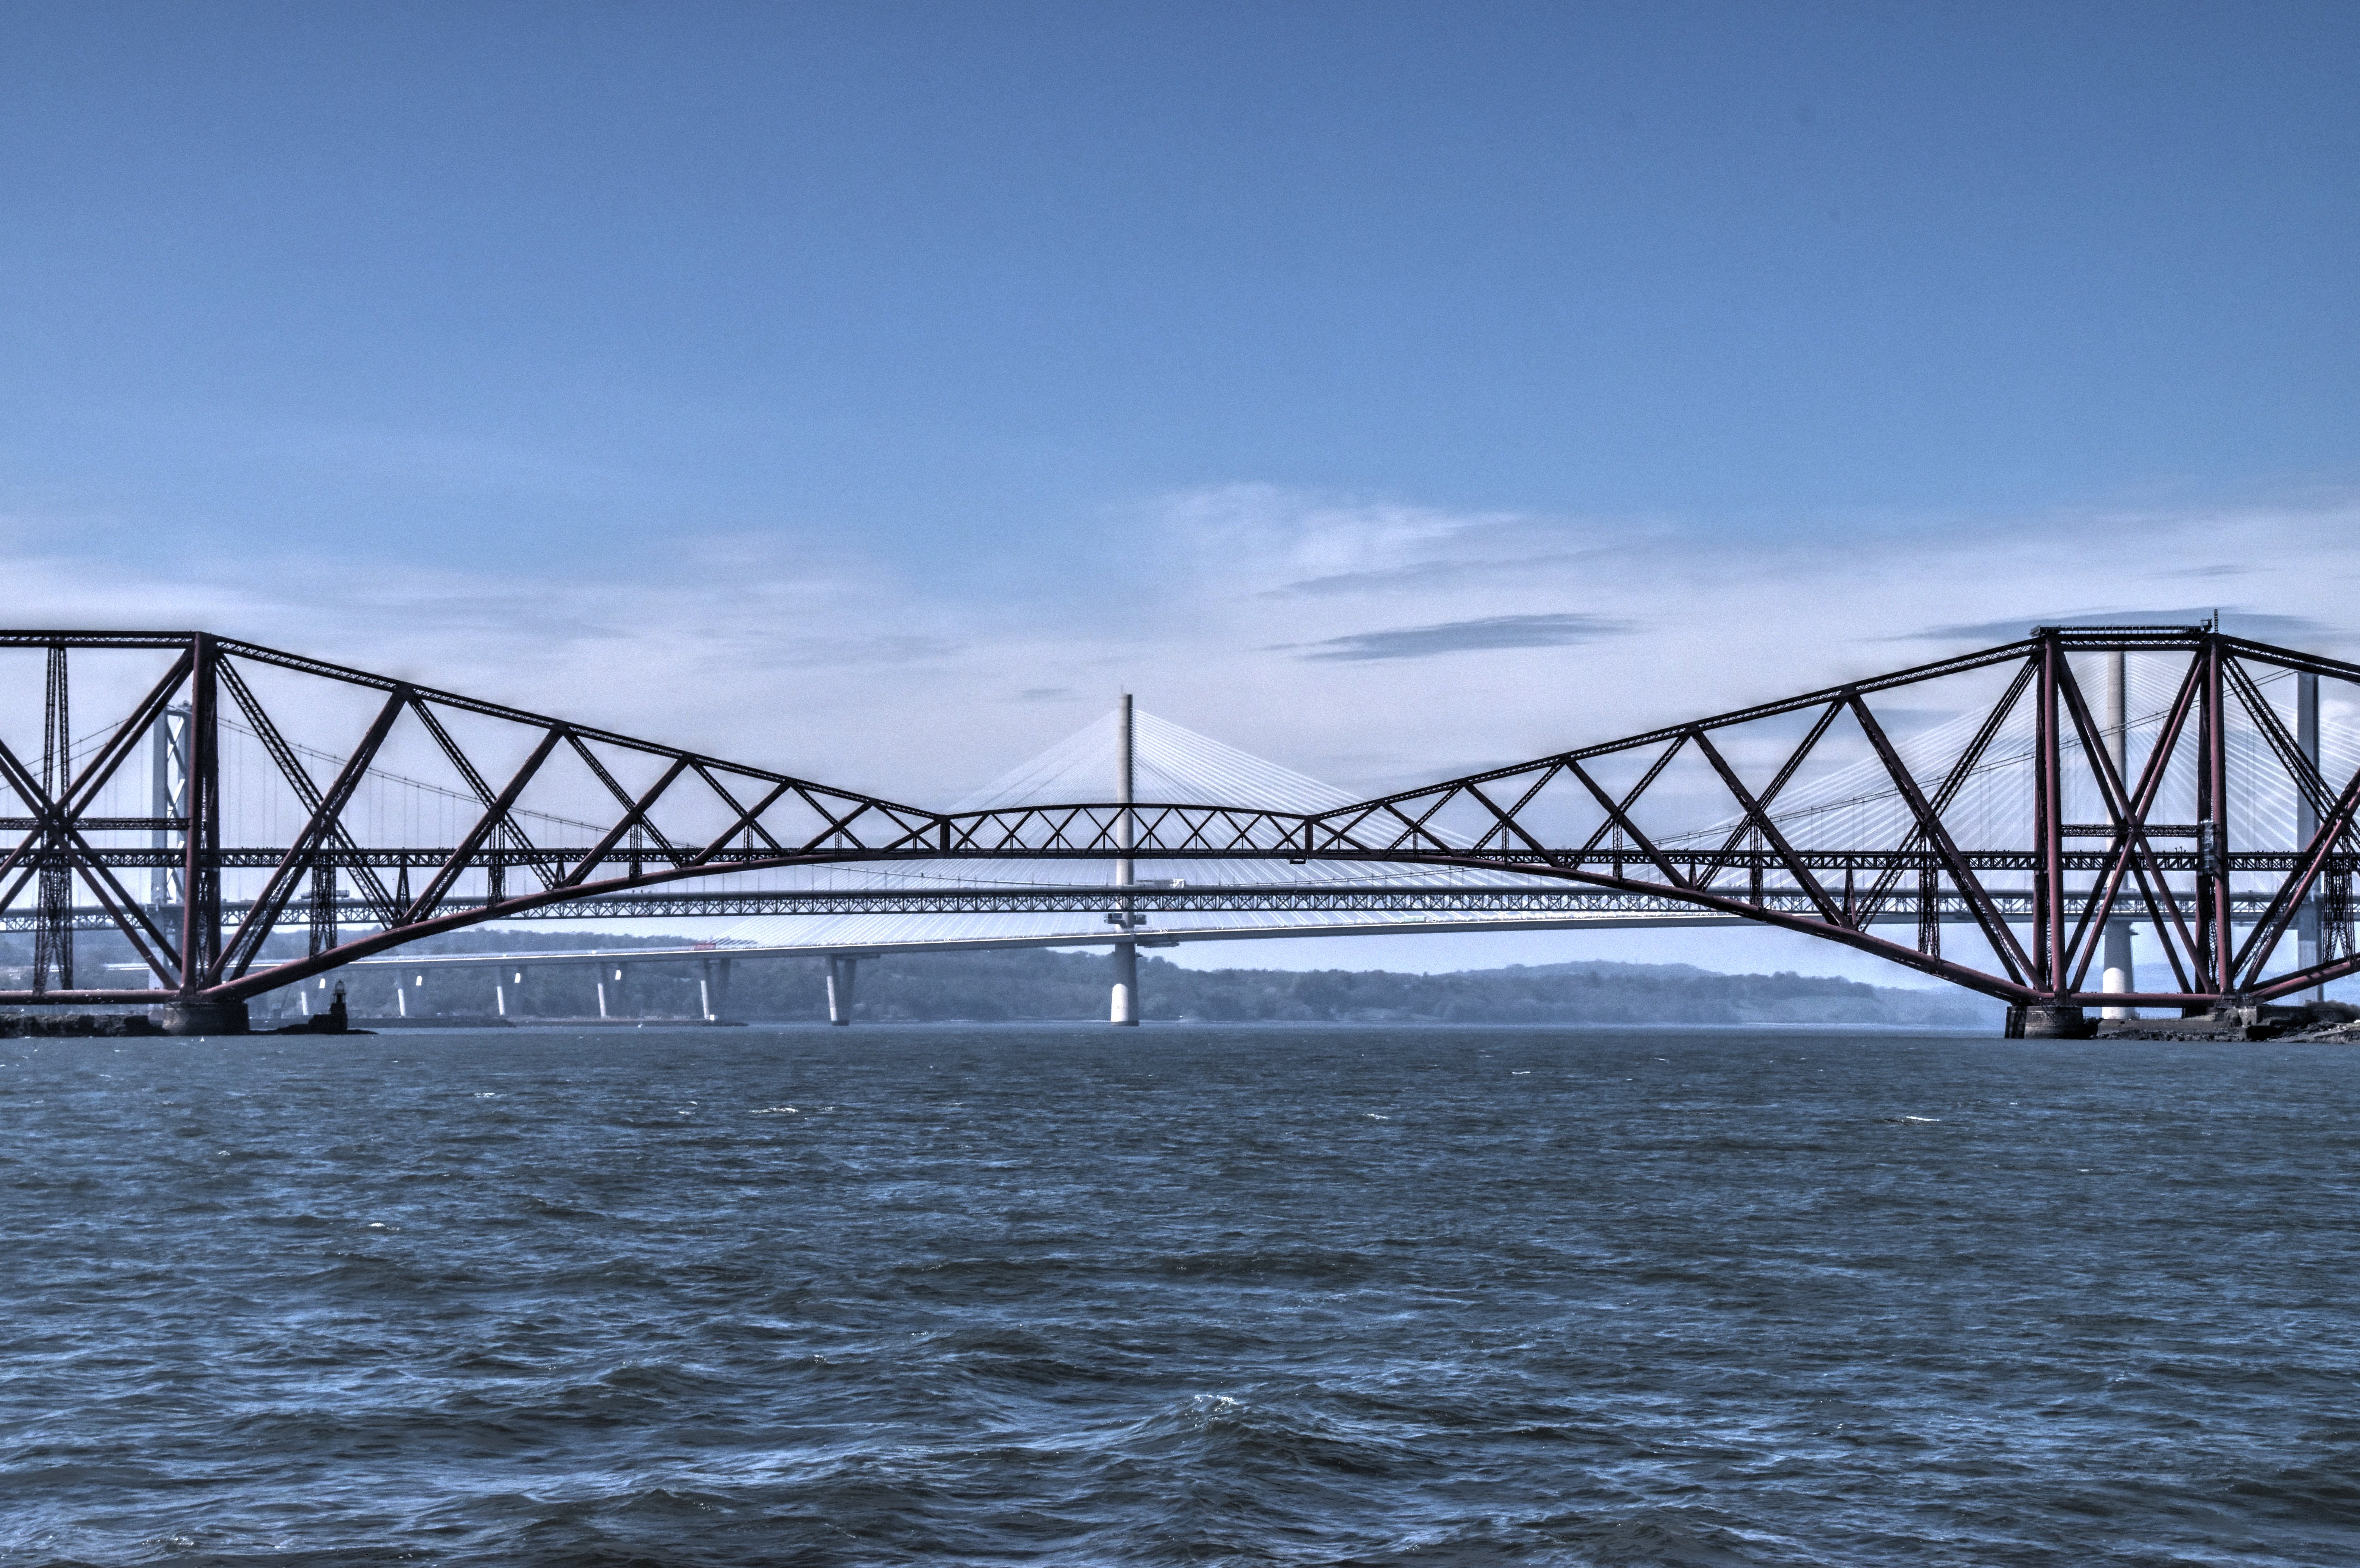
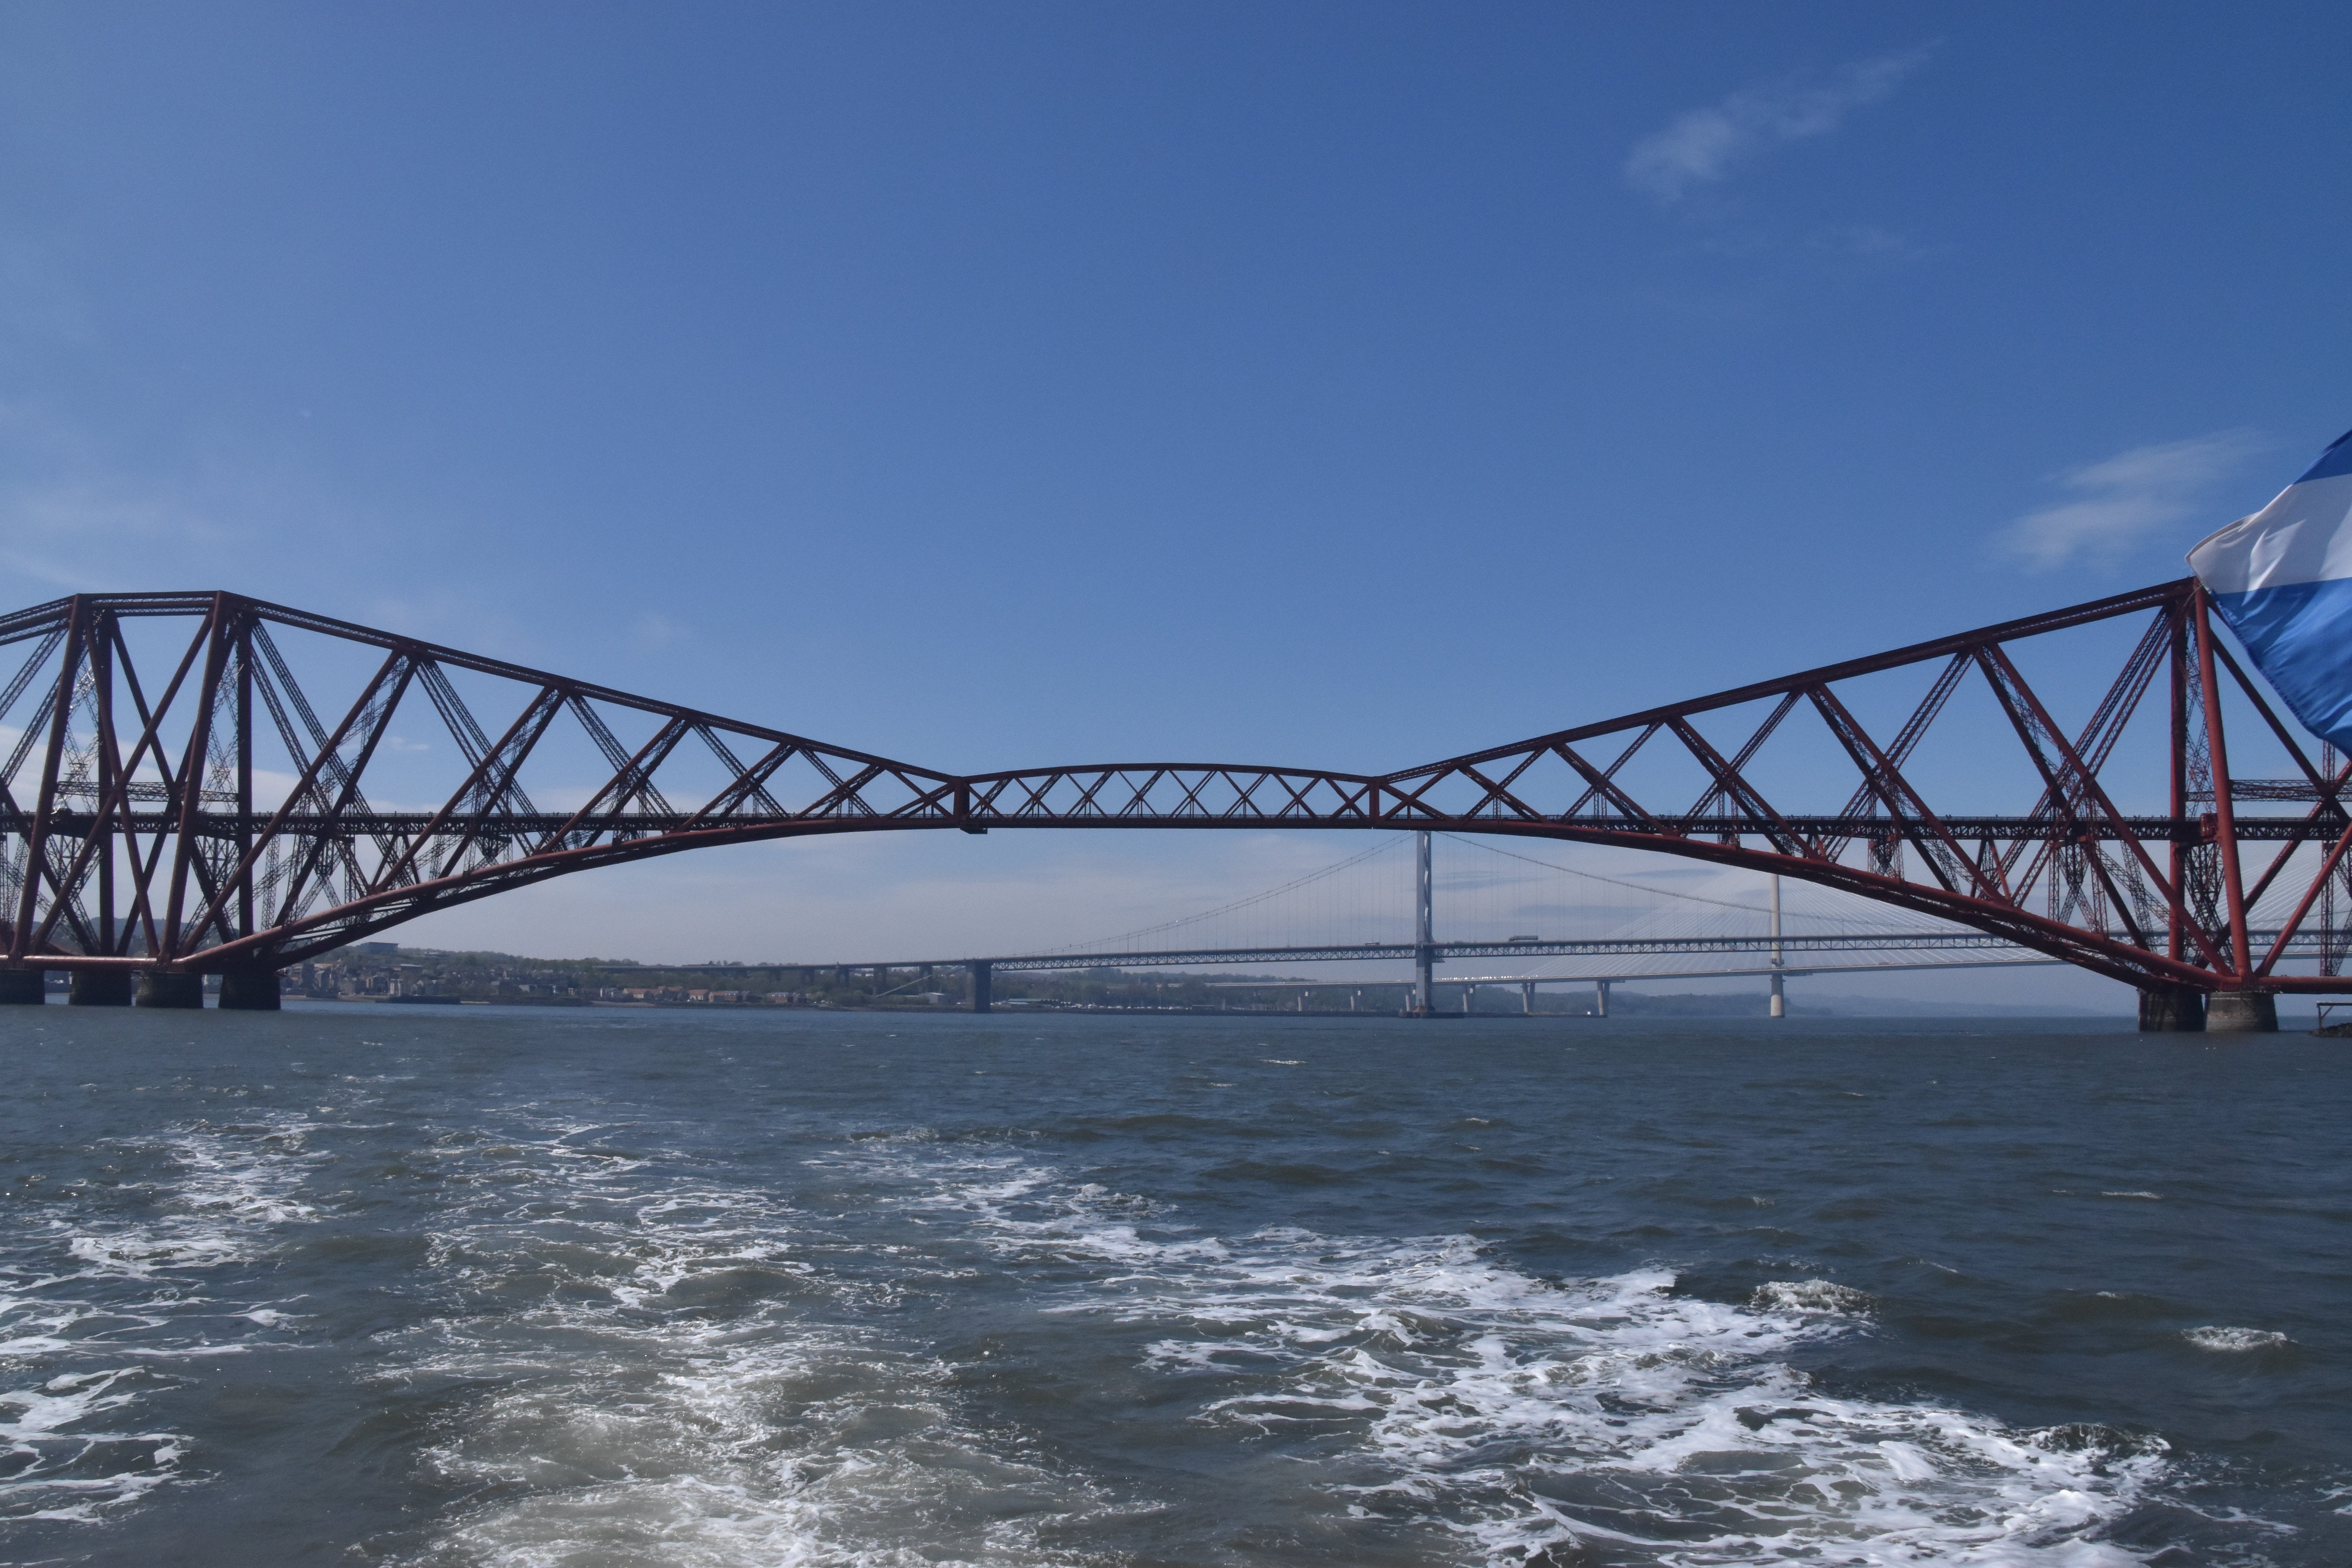
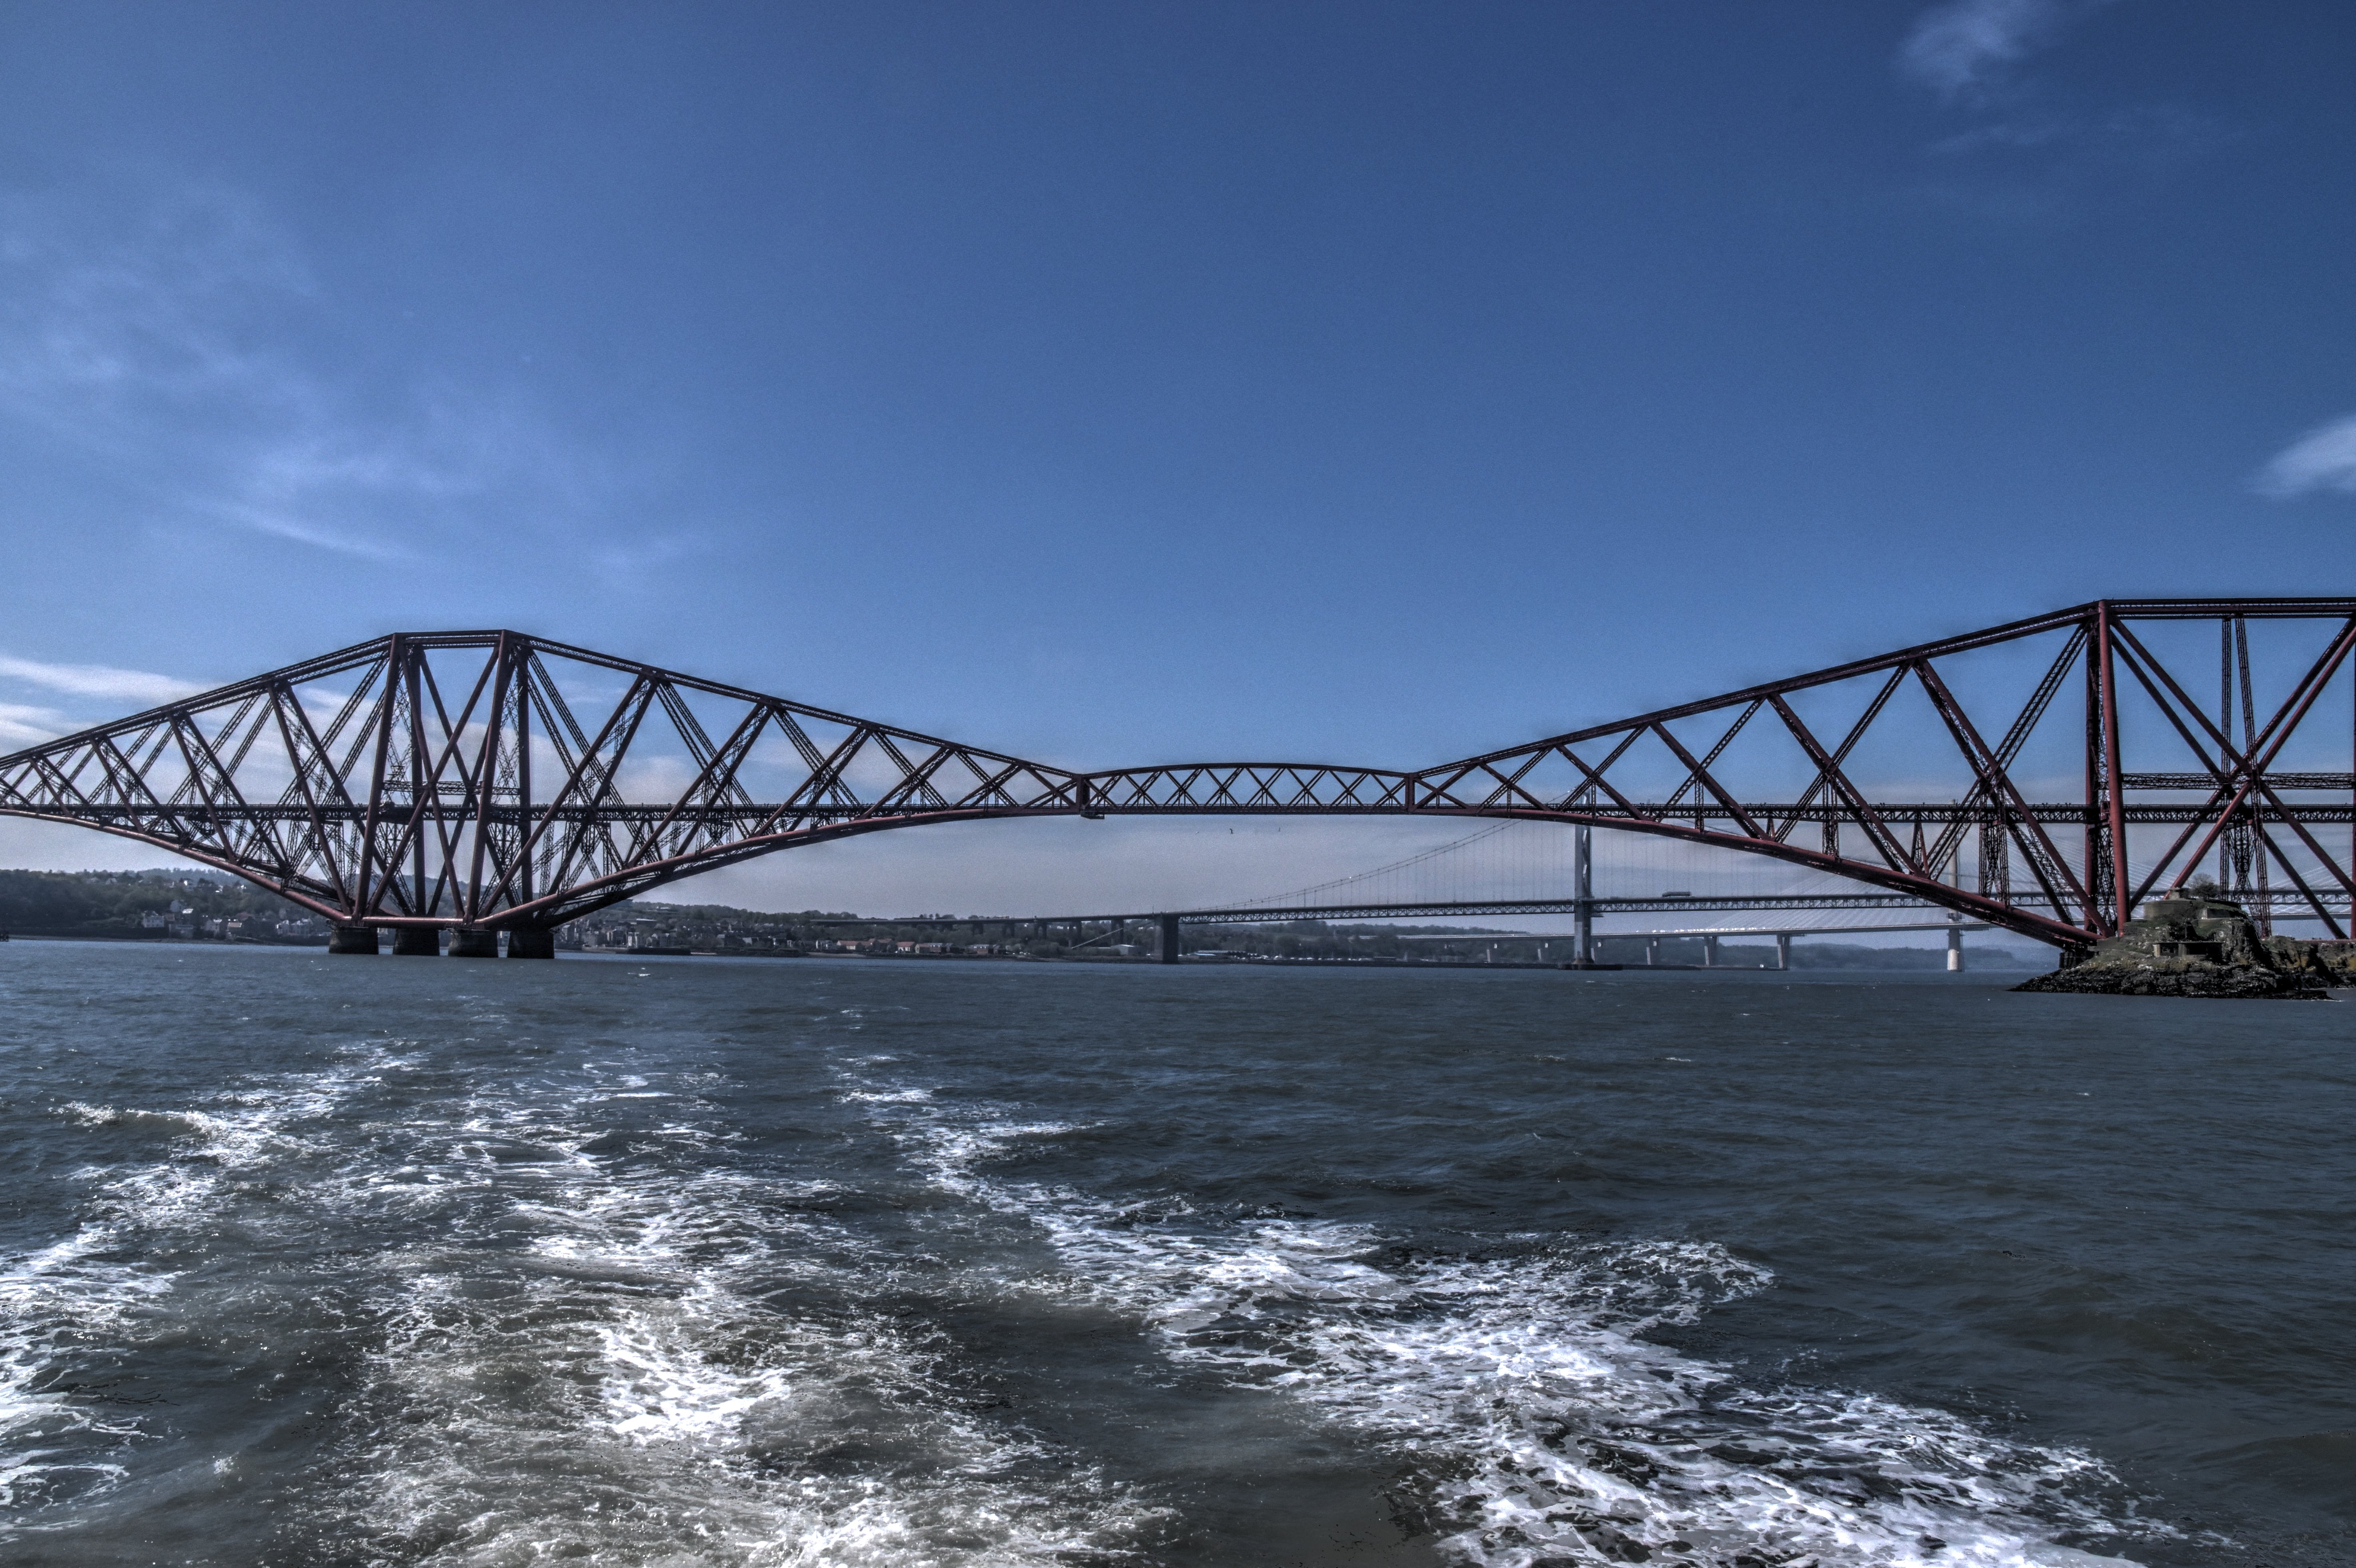
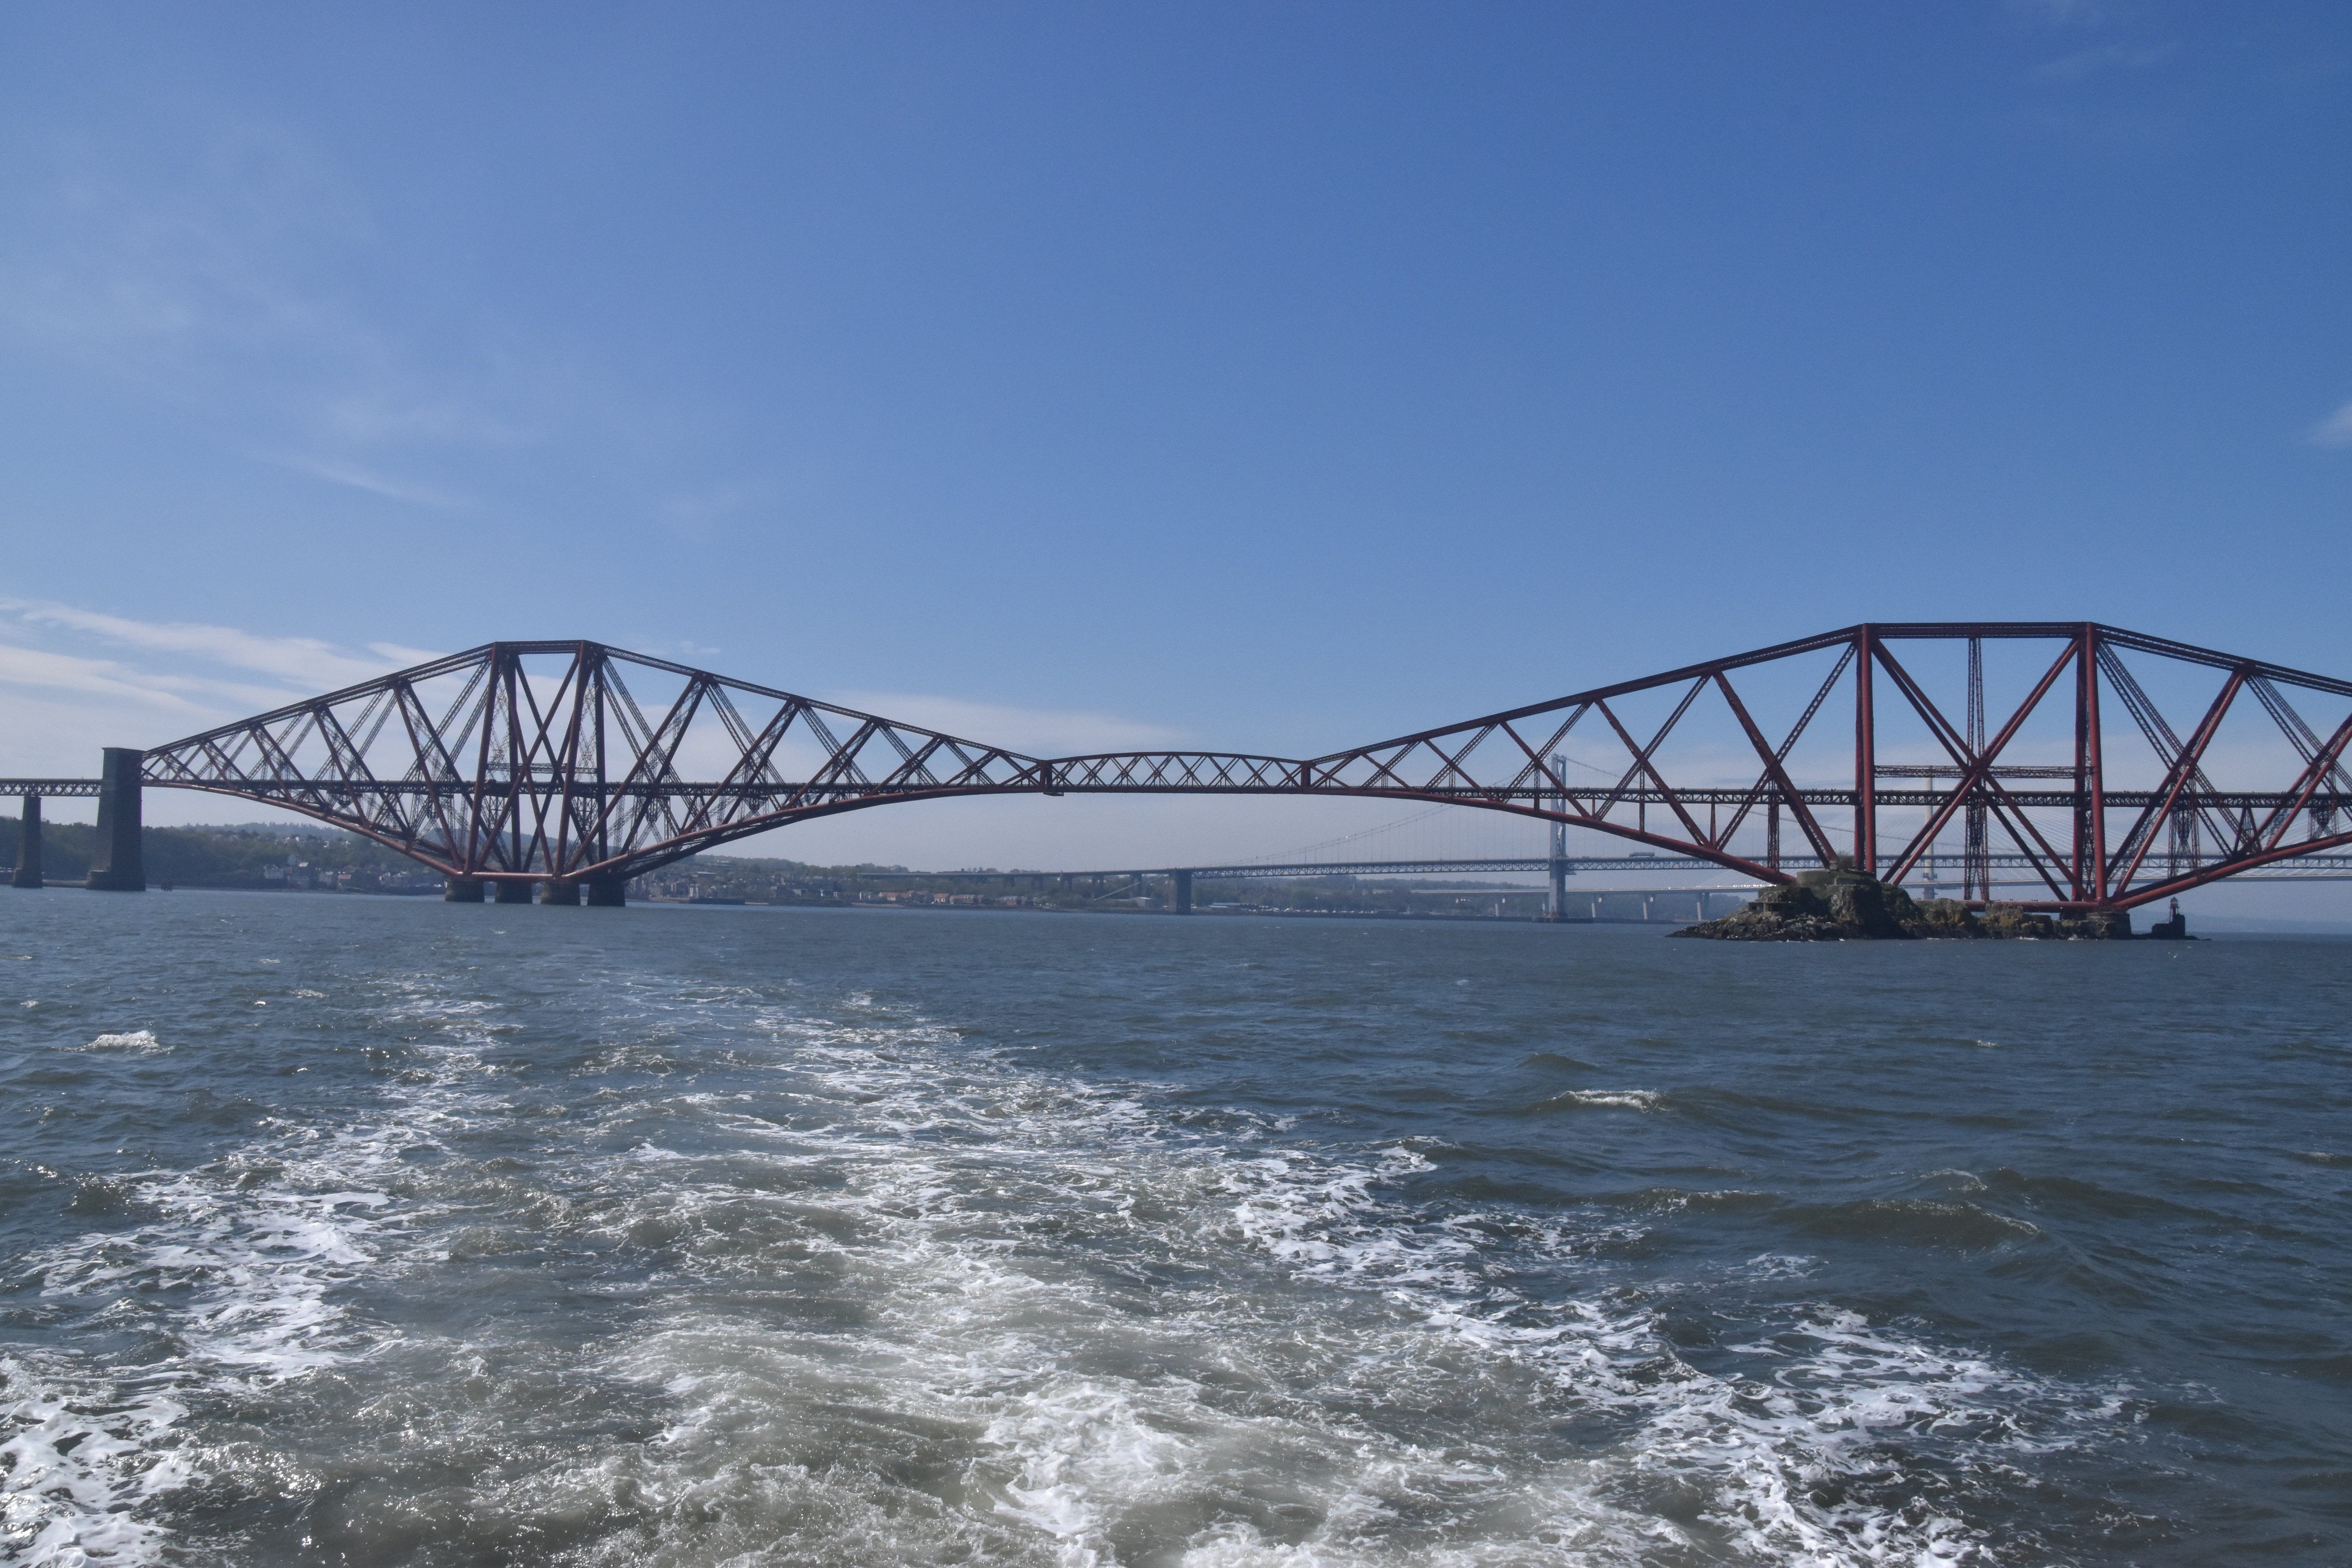
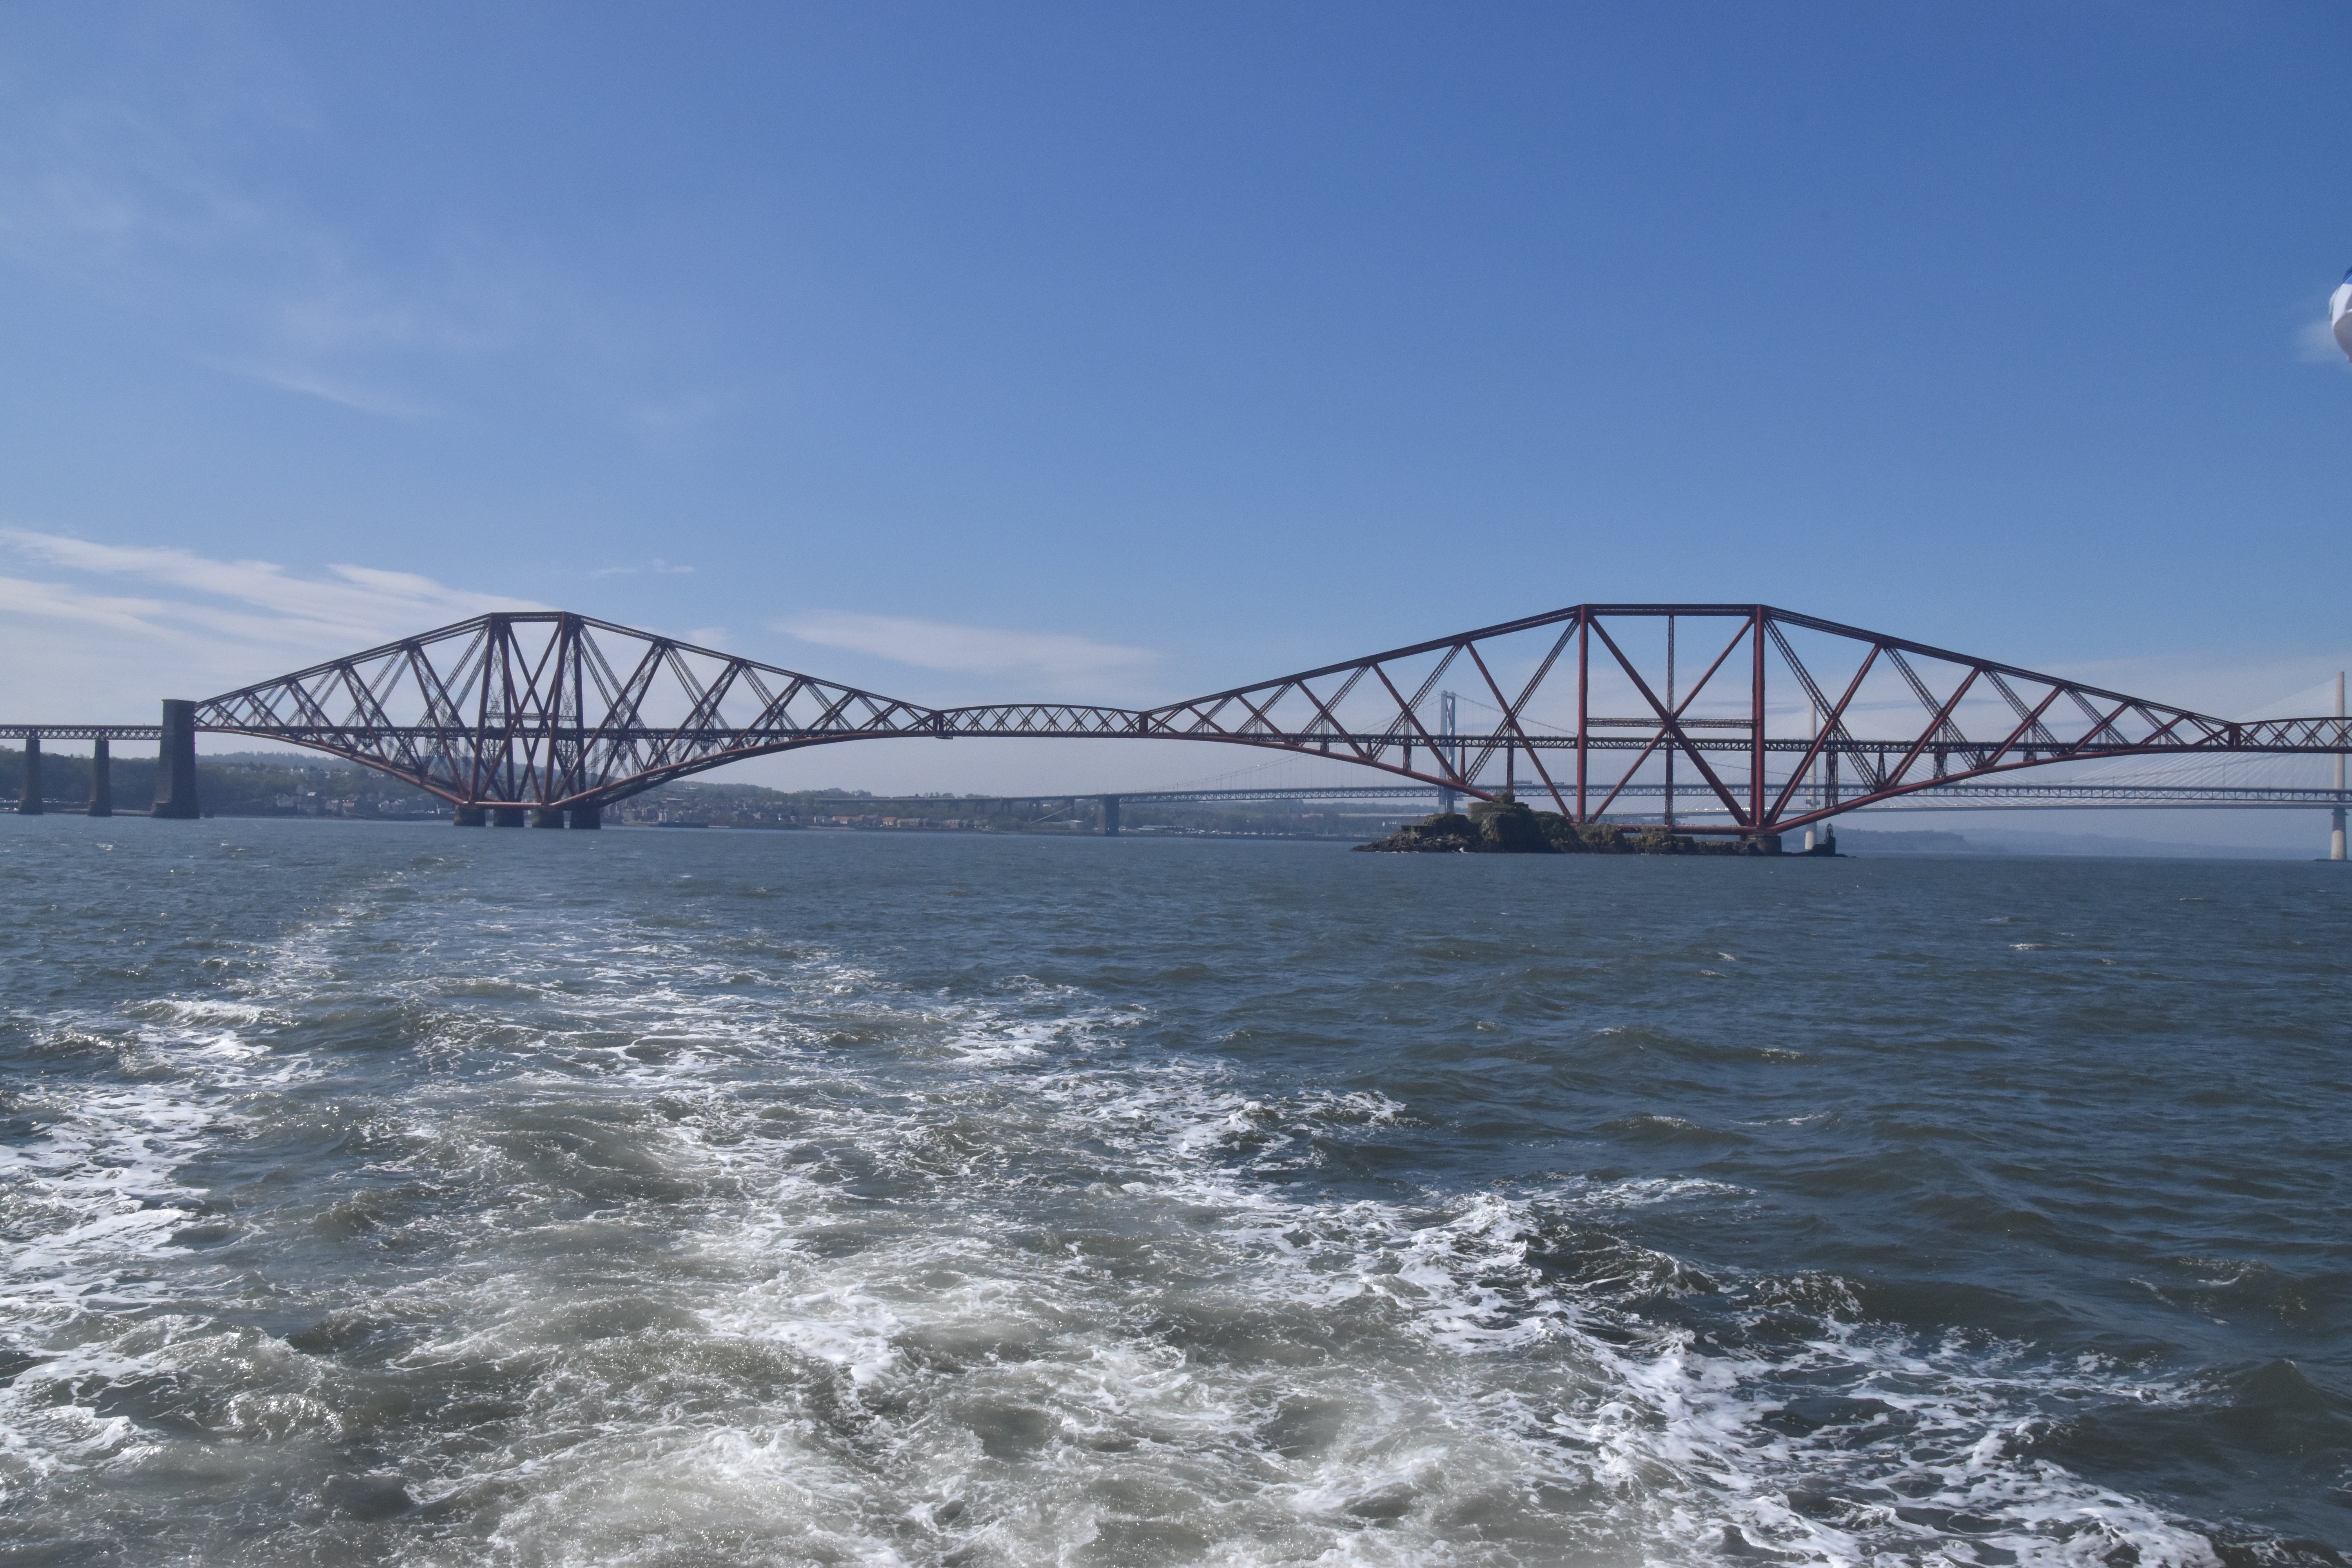
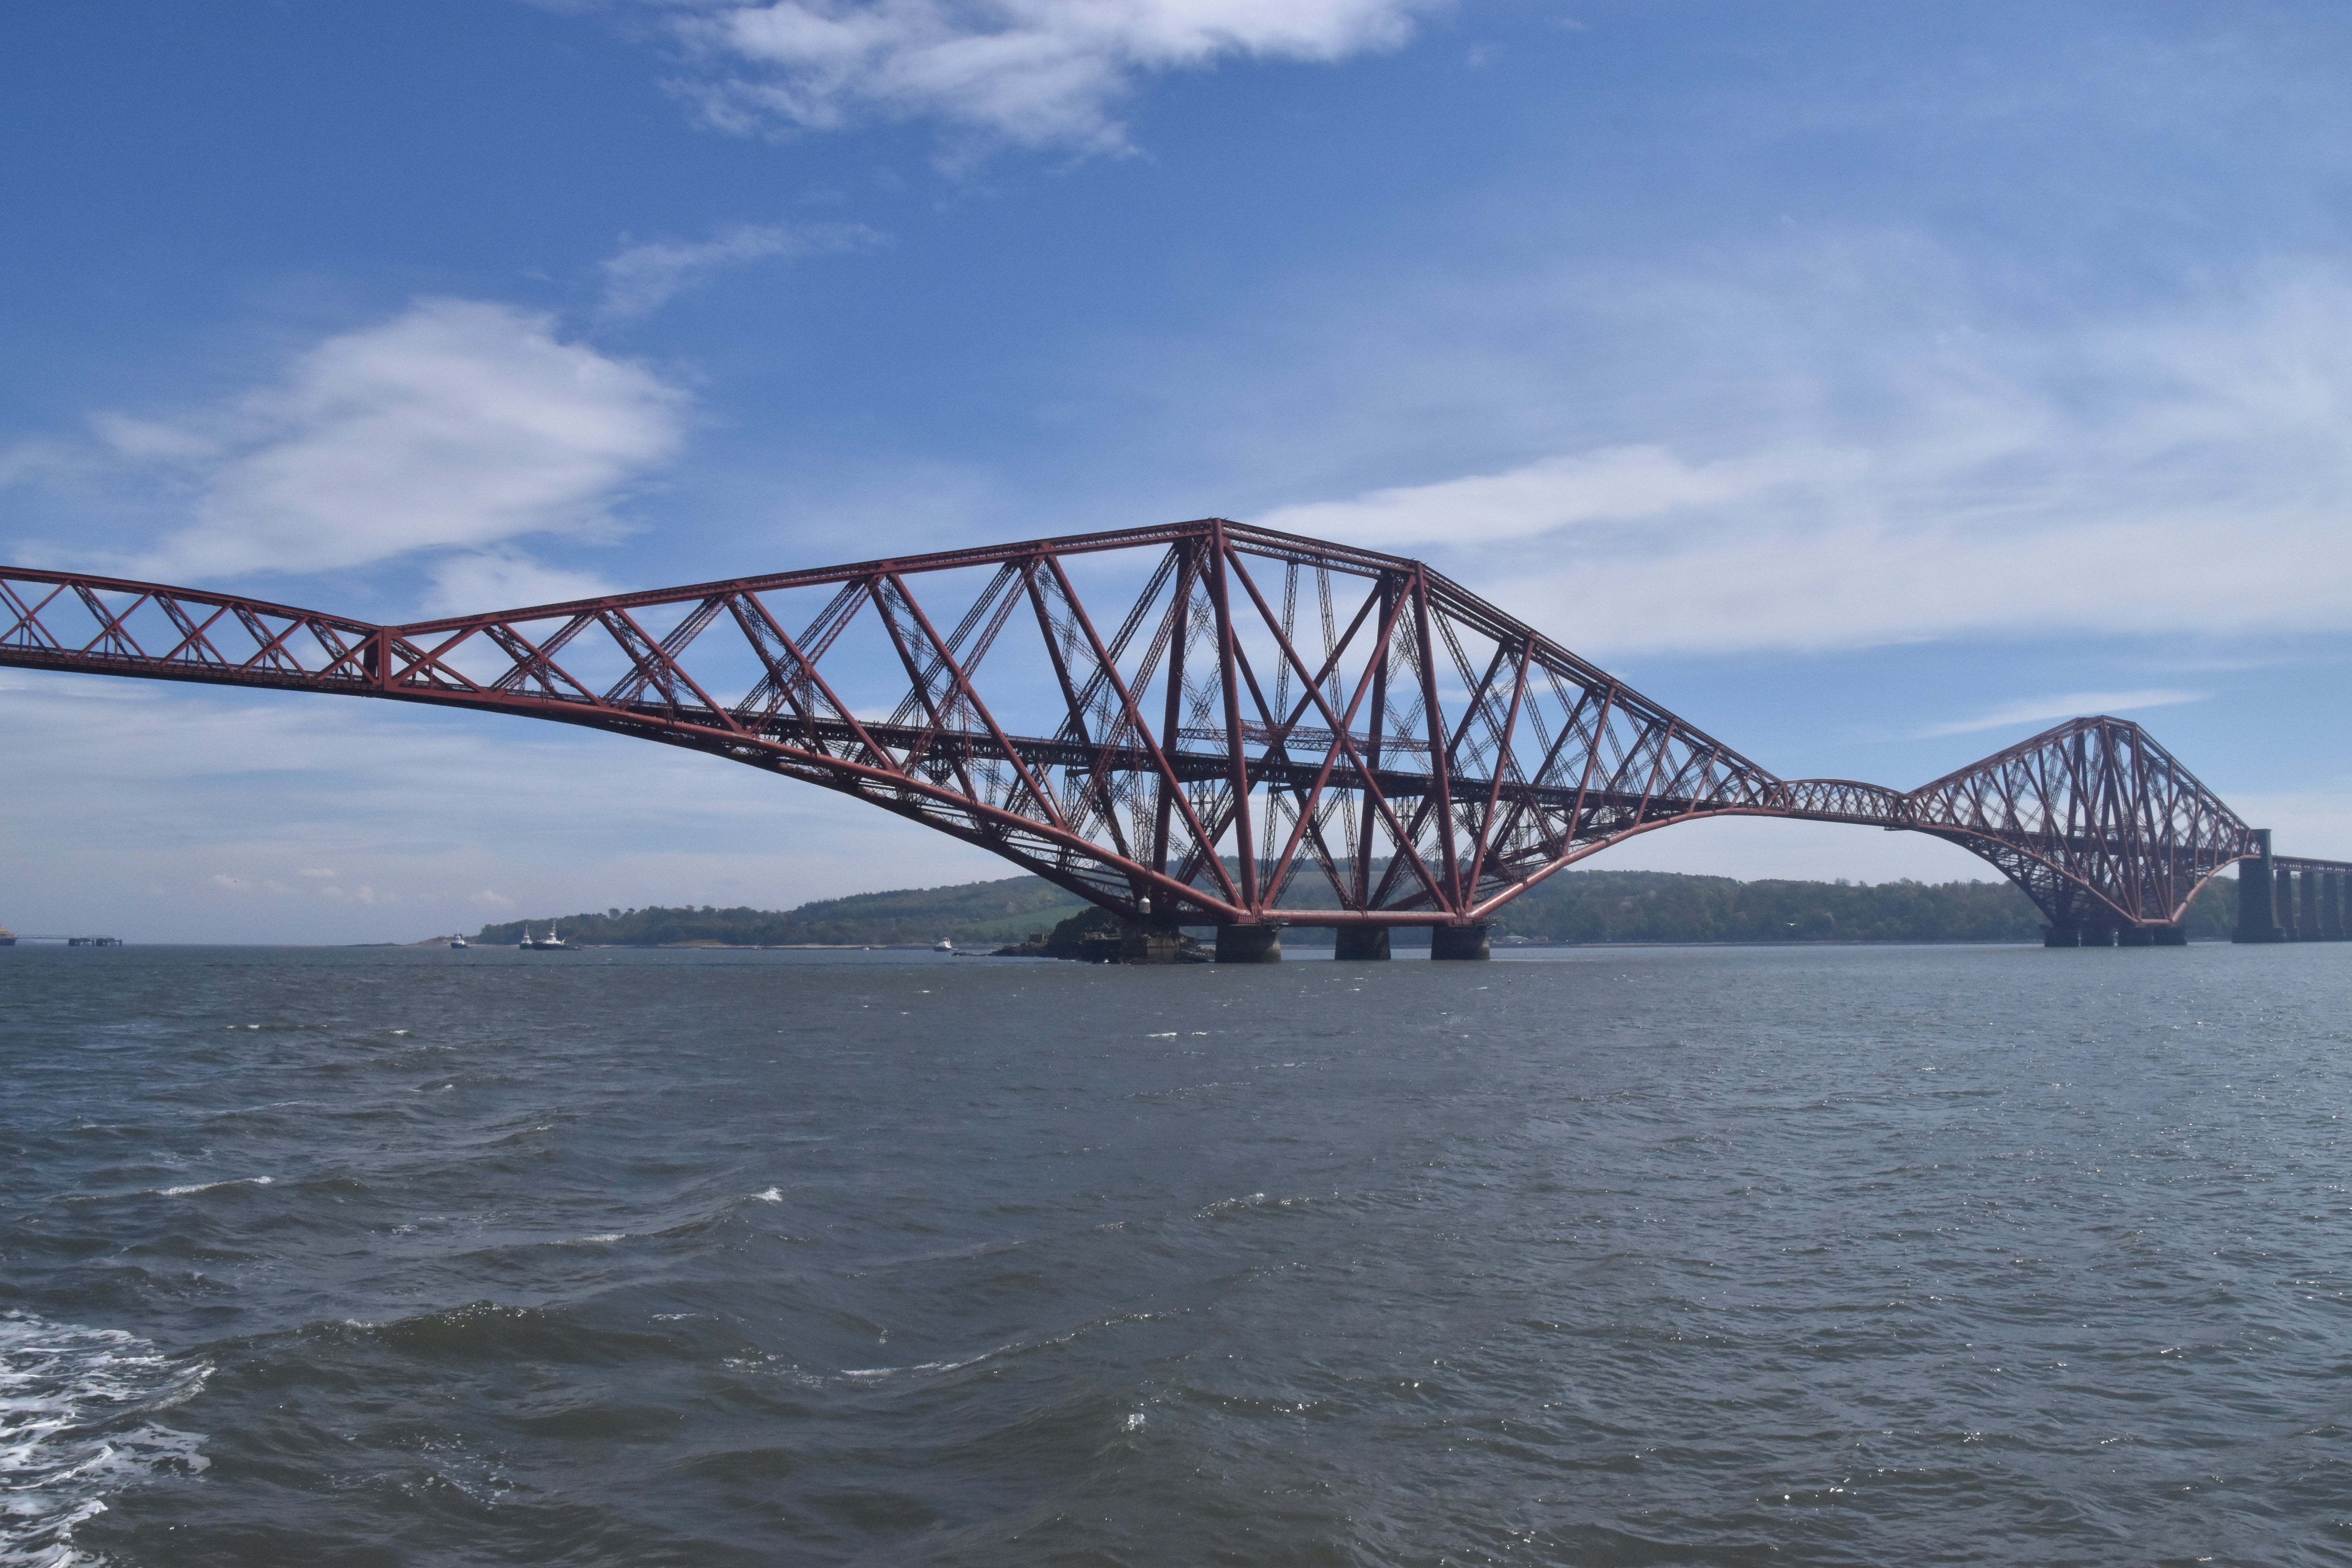
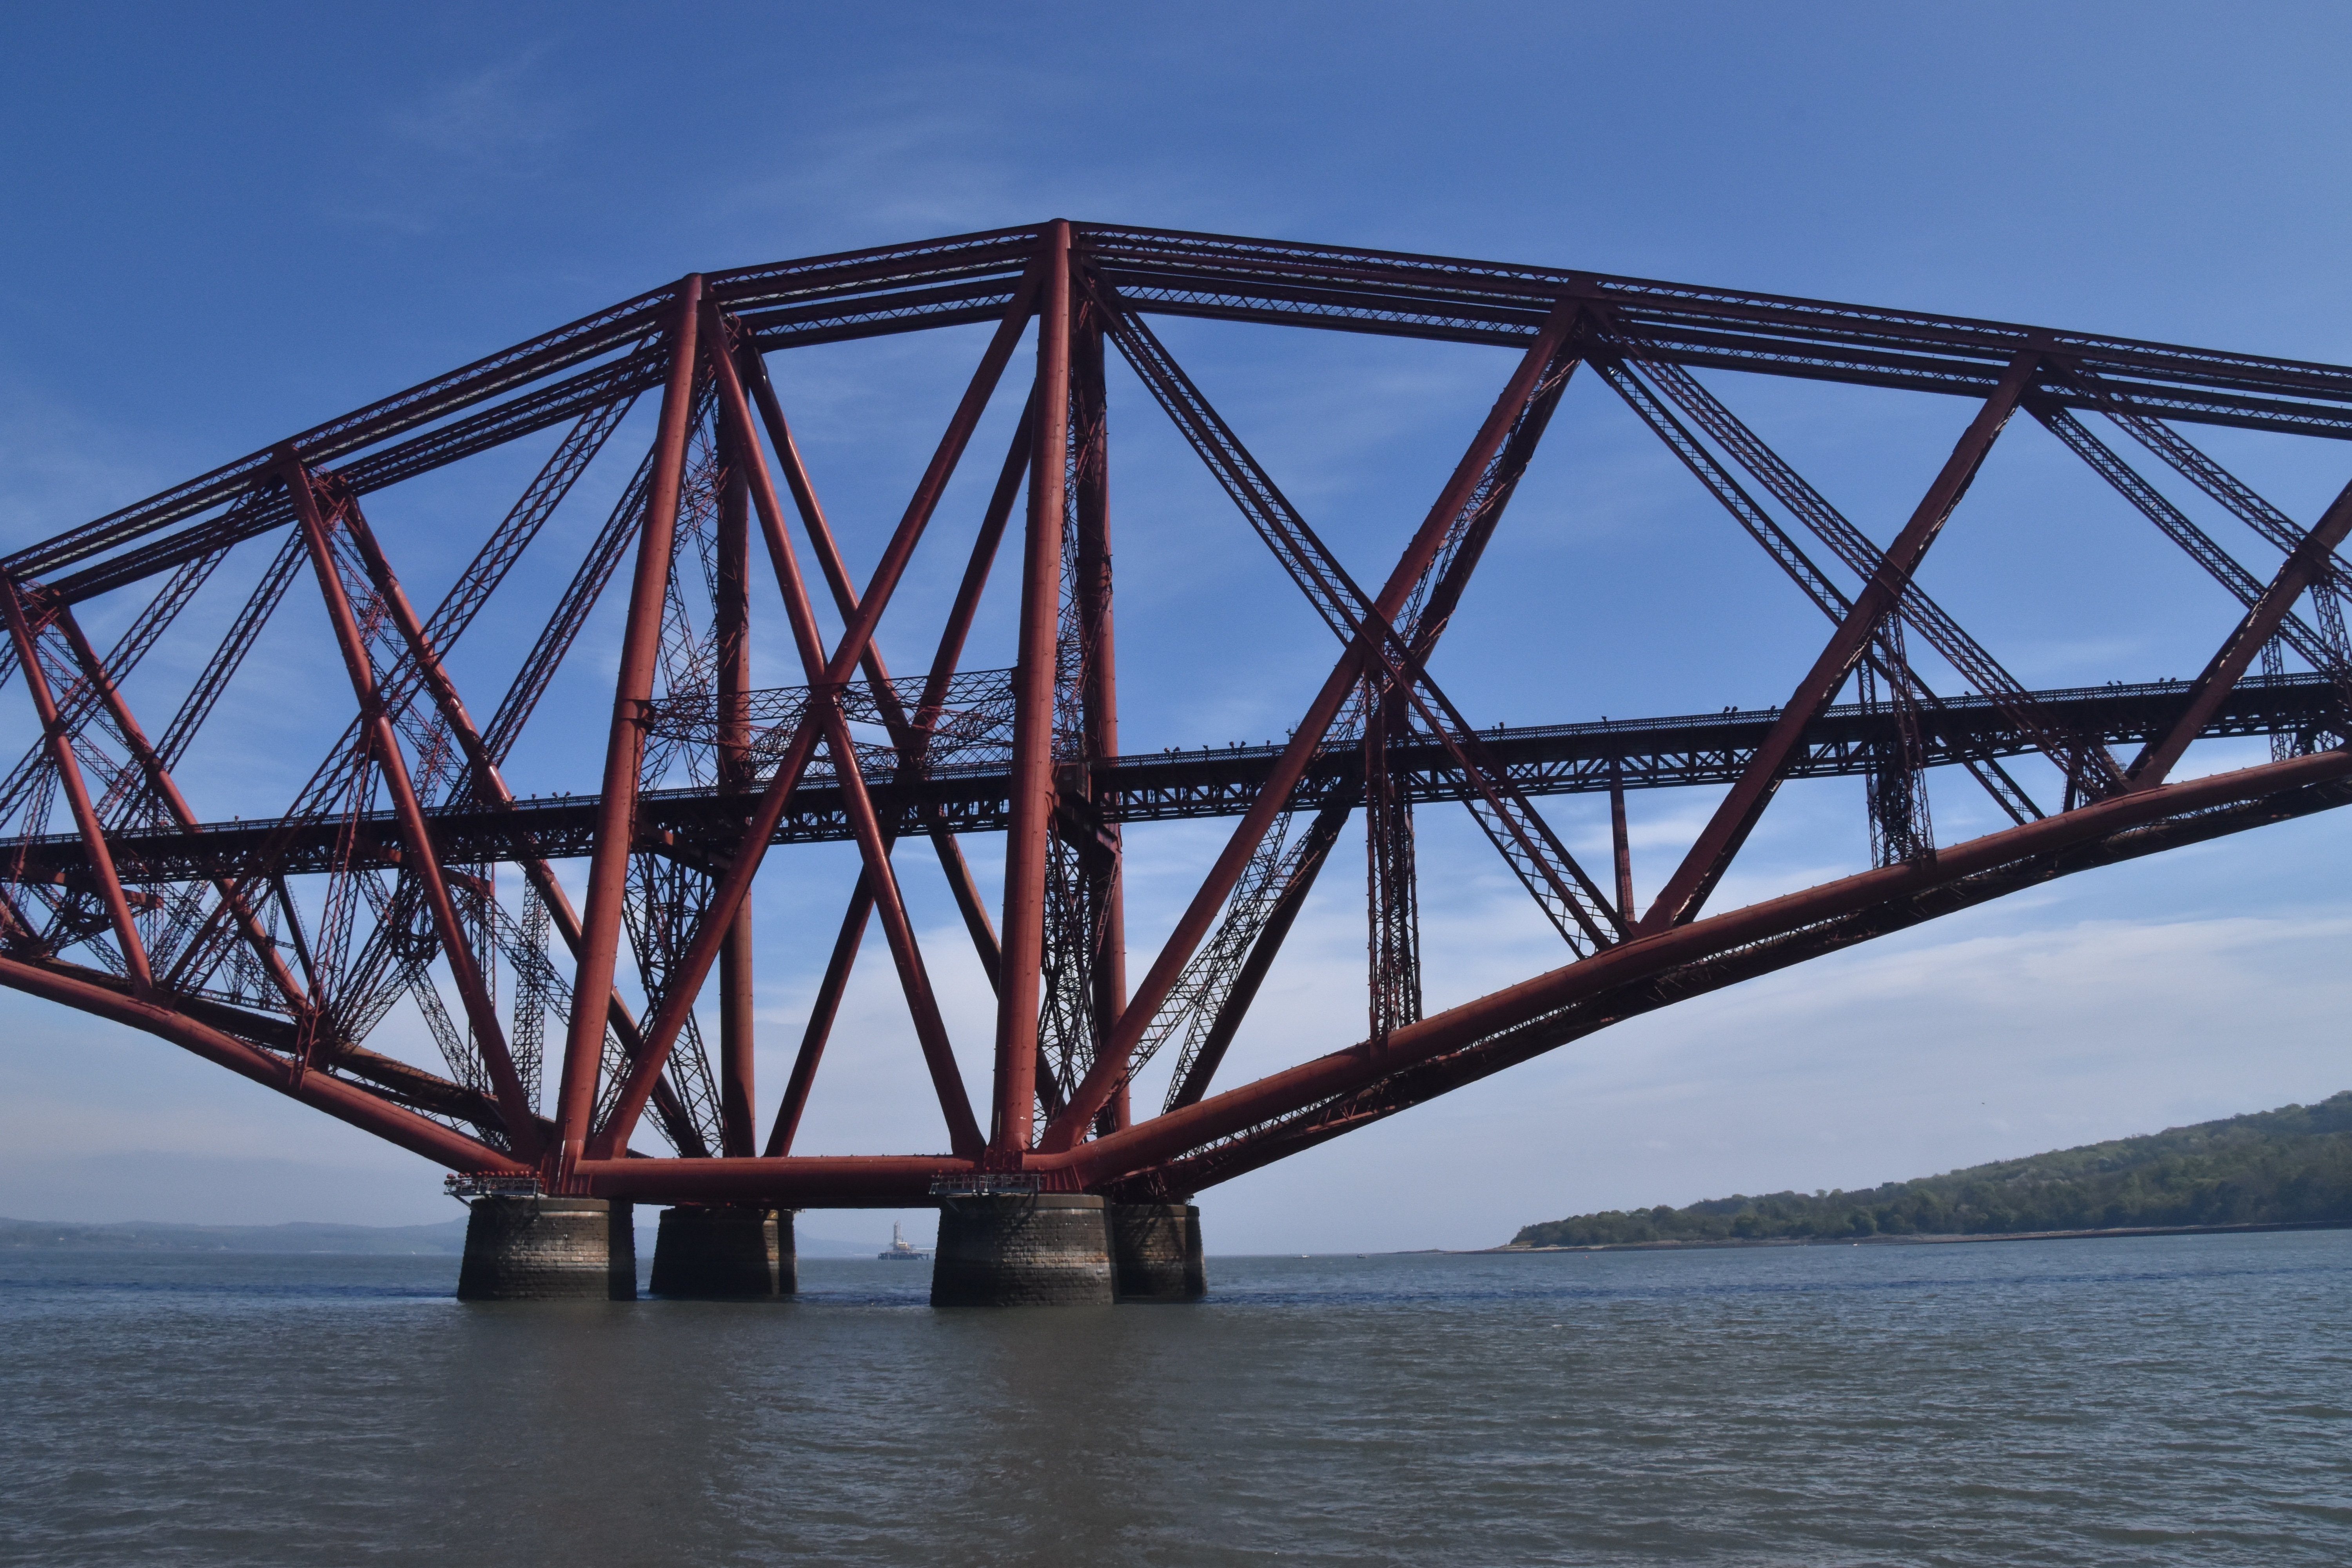
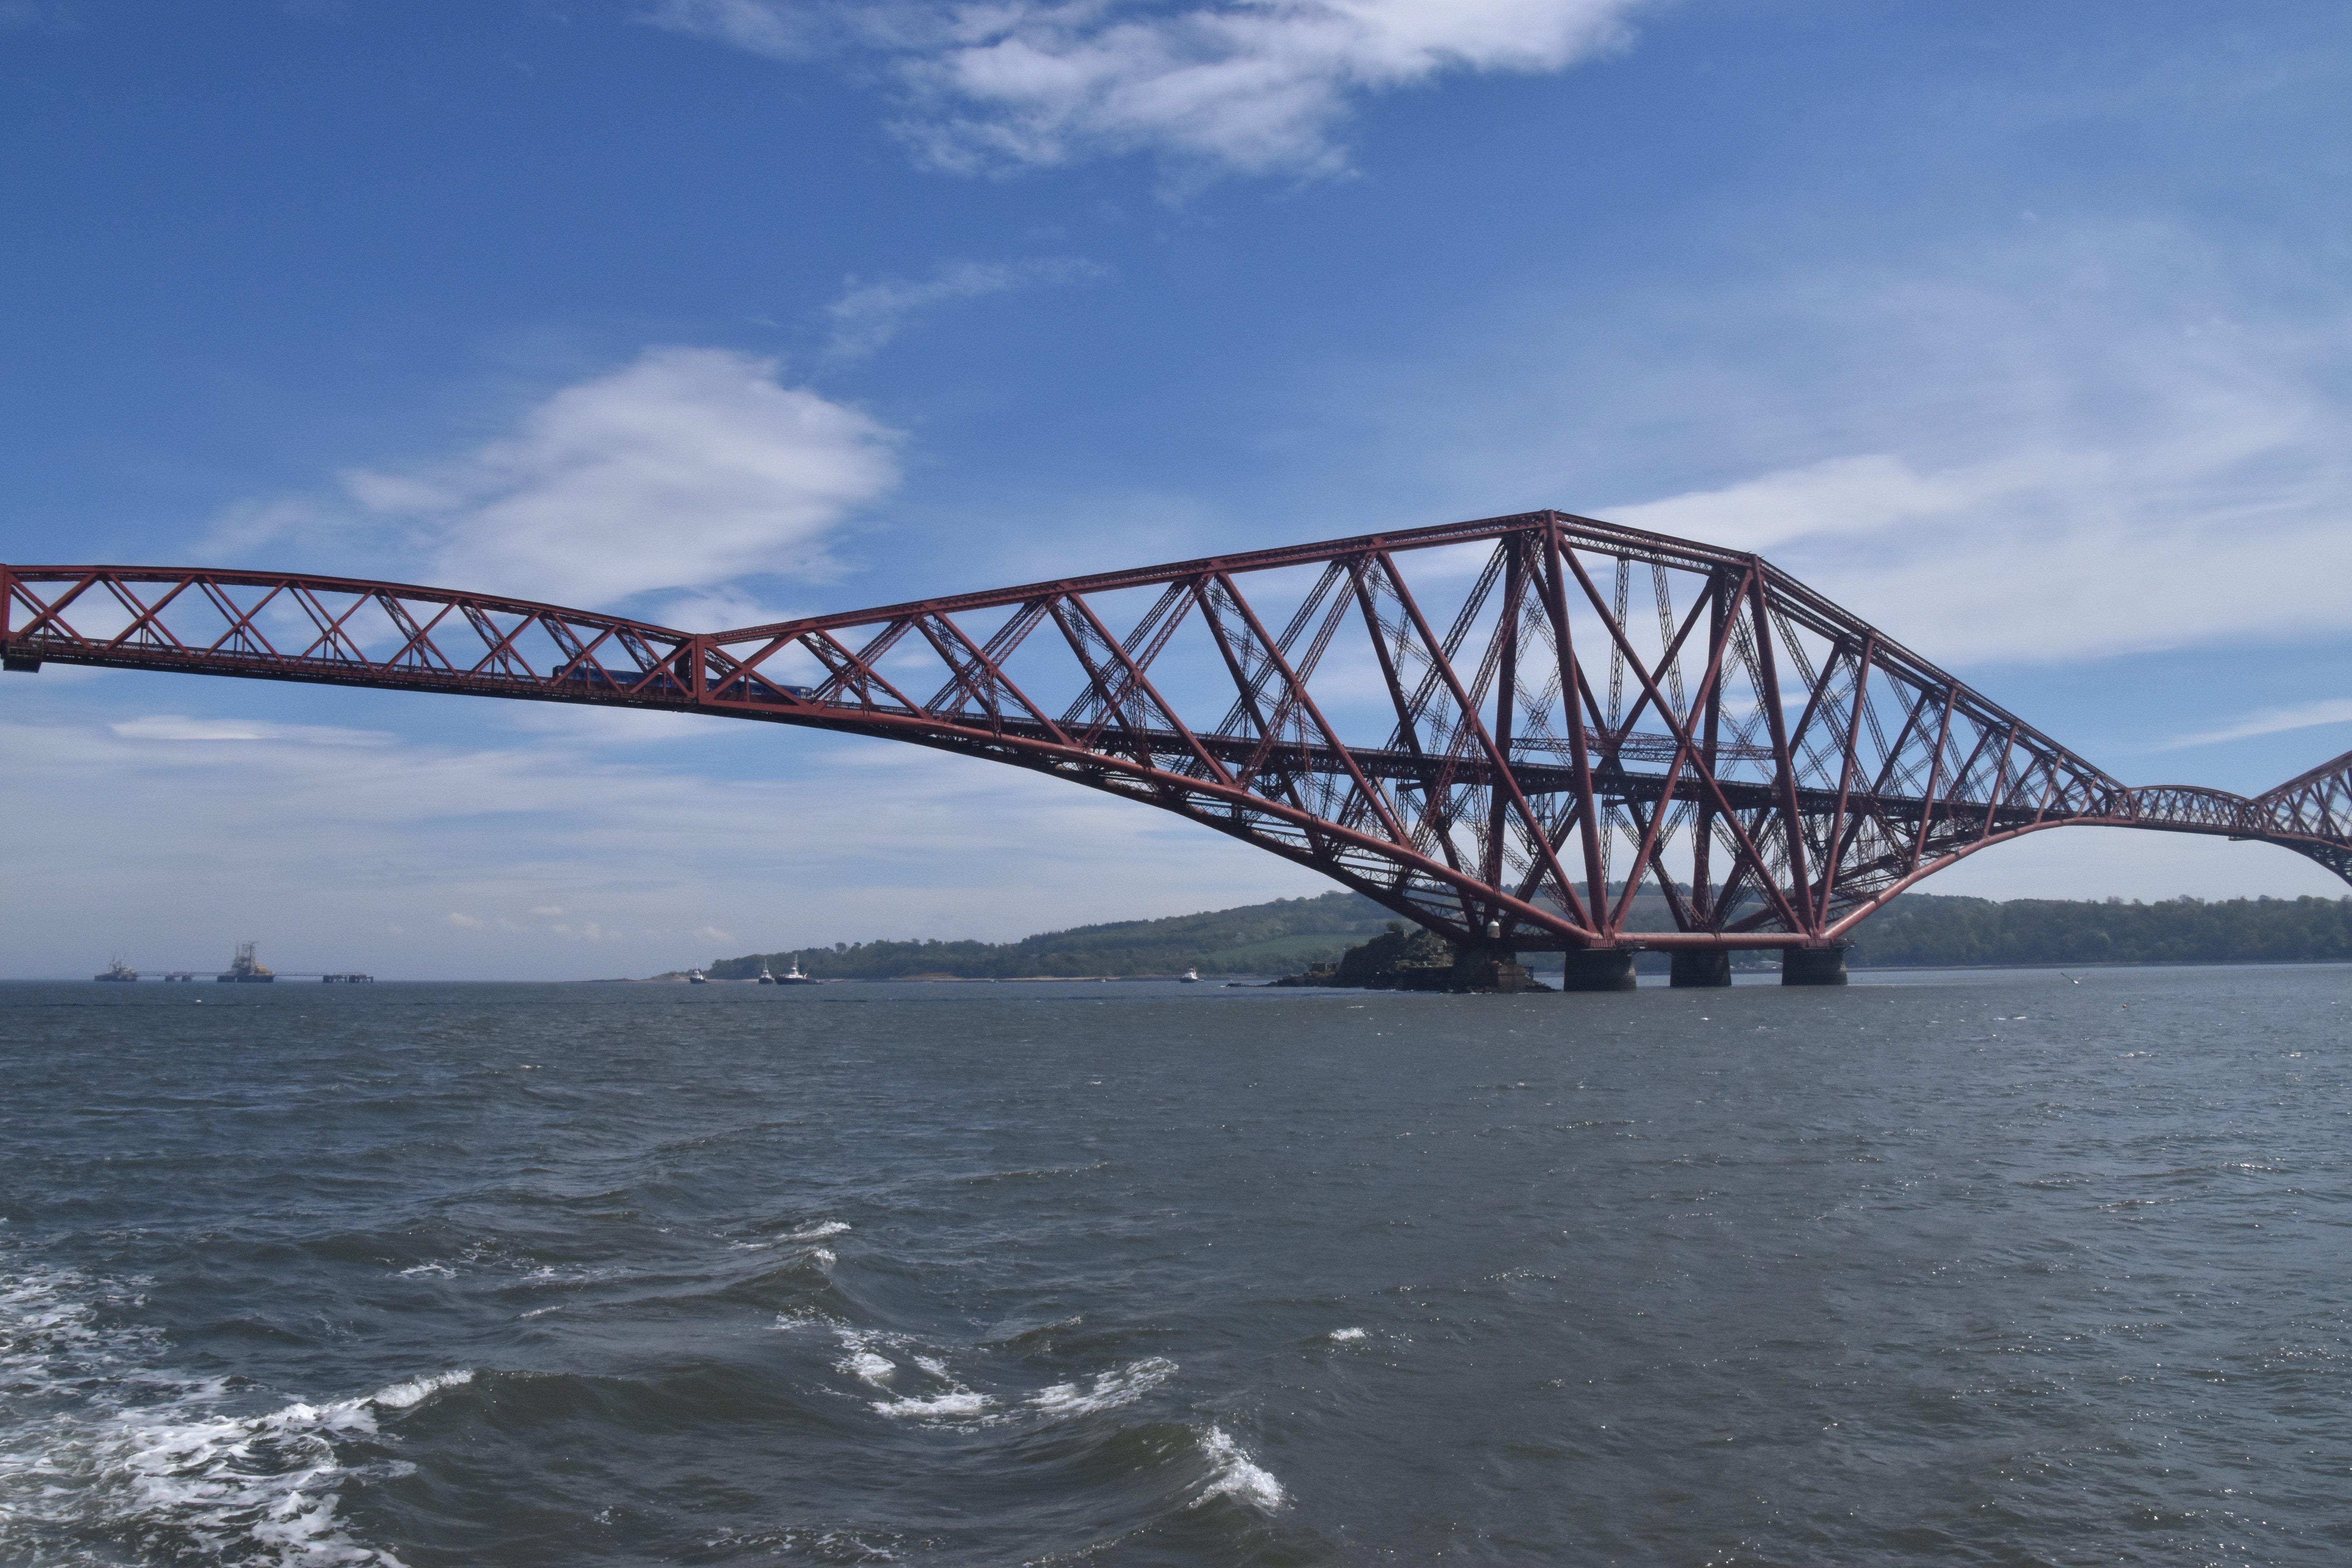
Panoramic west elevation of cantilever spans from boat.
![]()


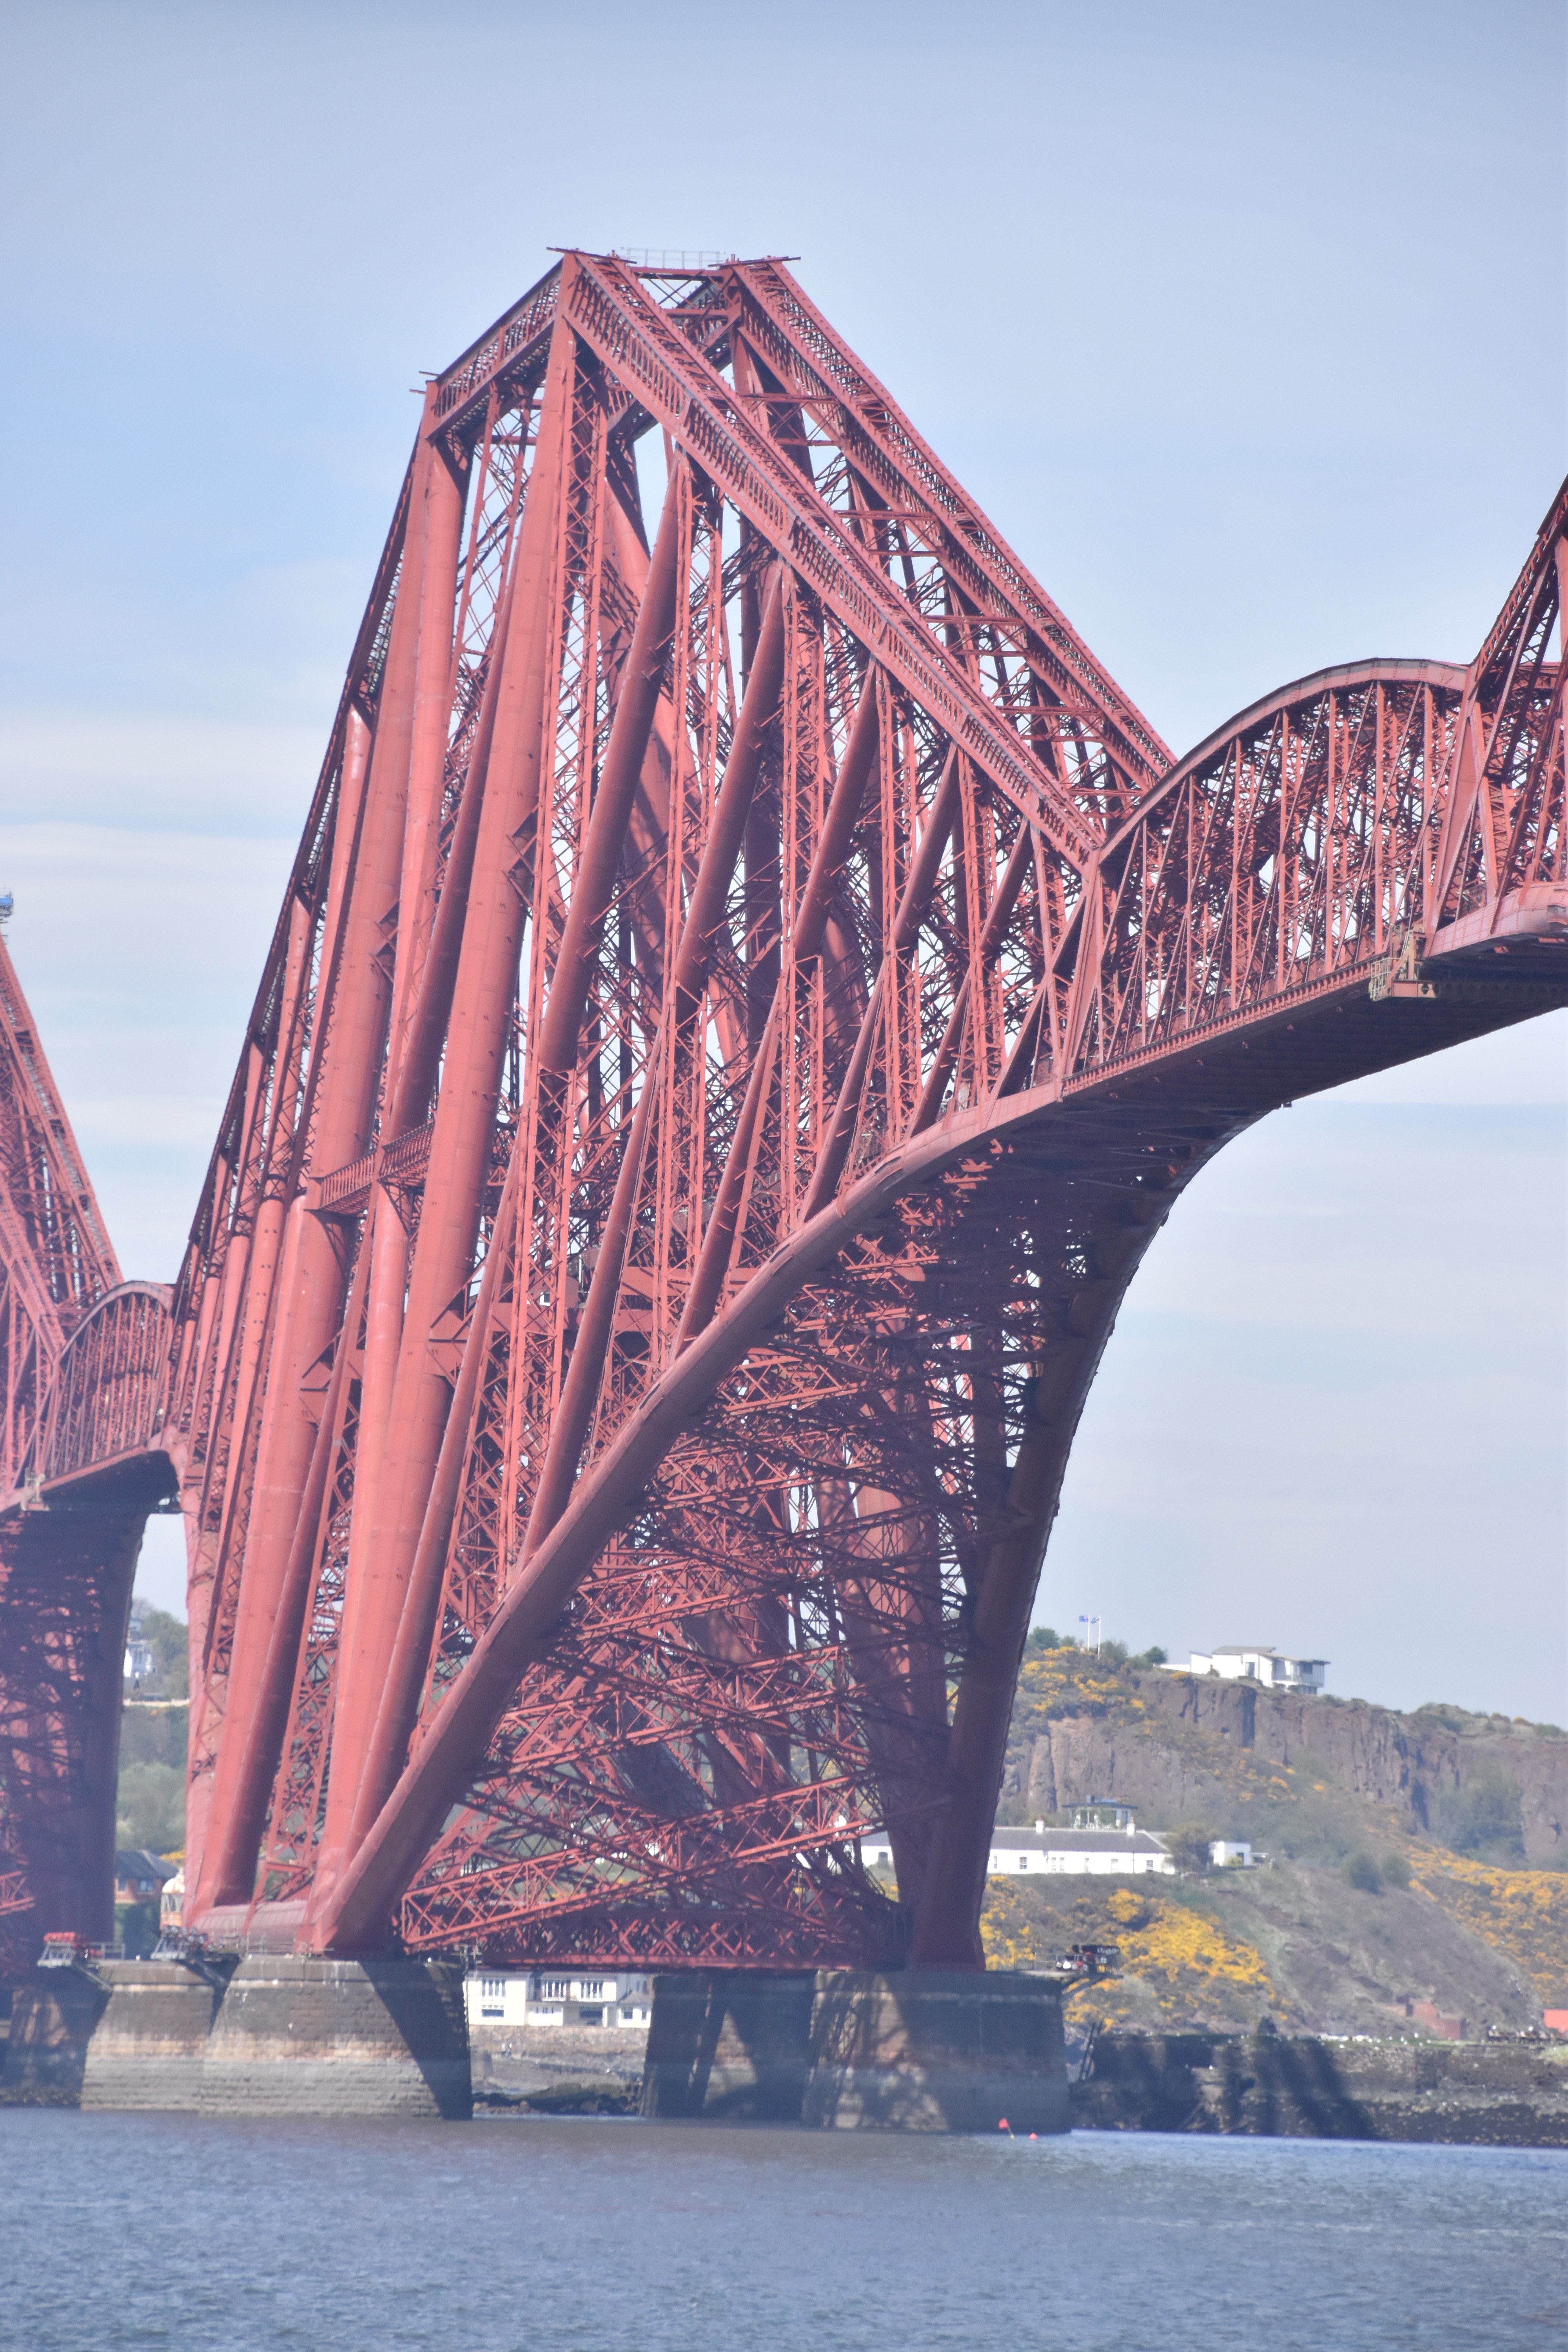
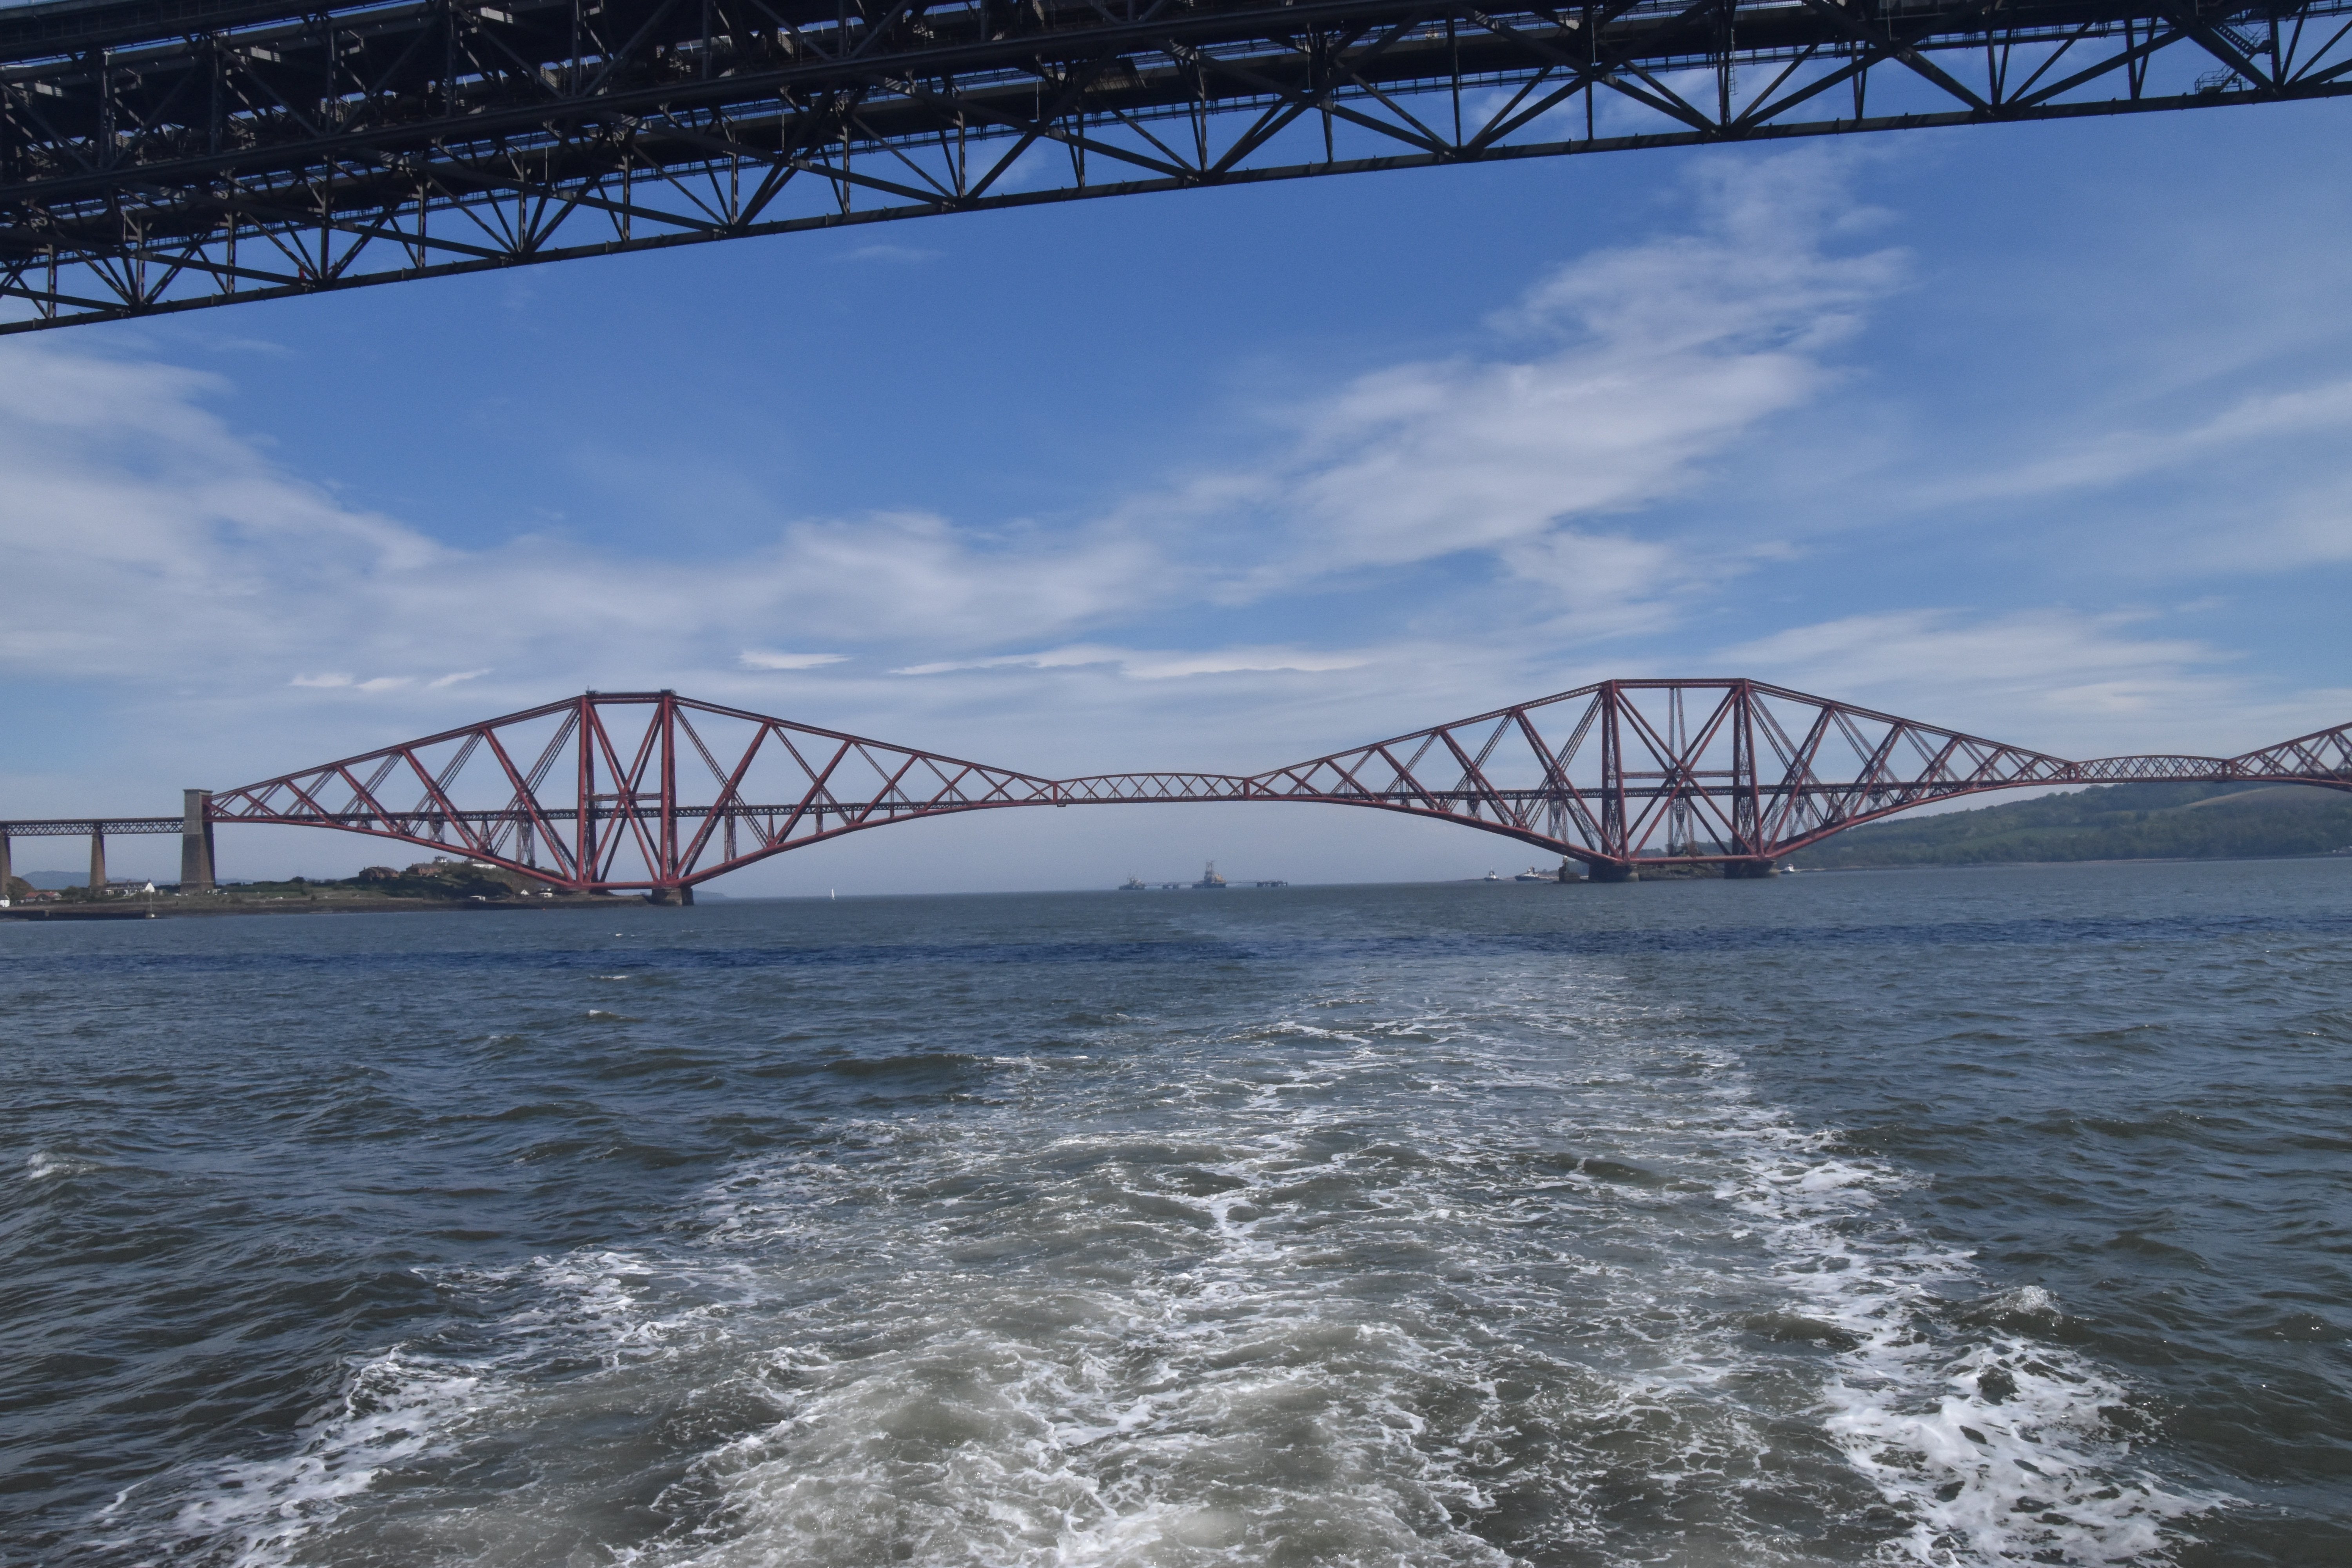
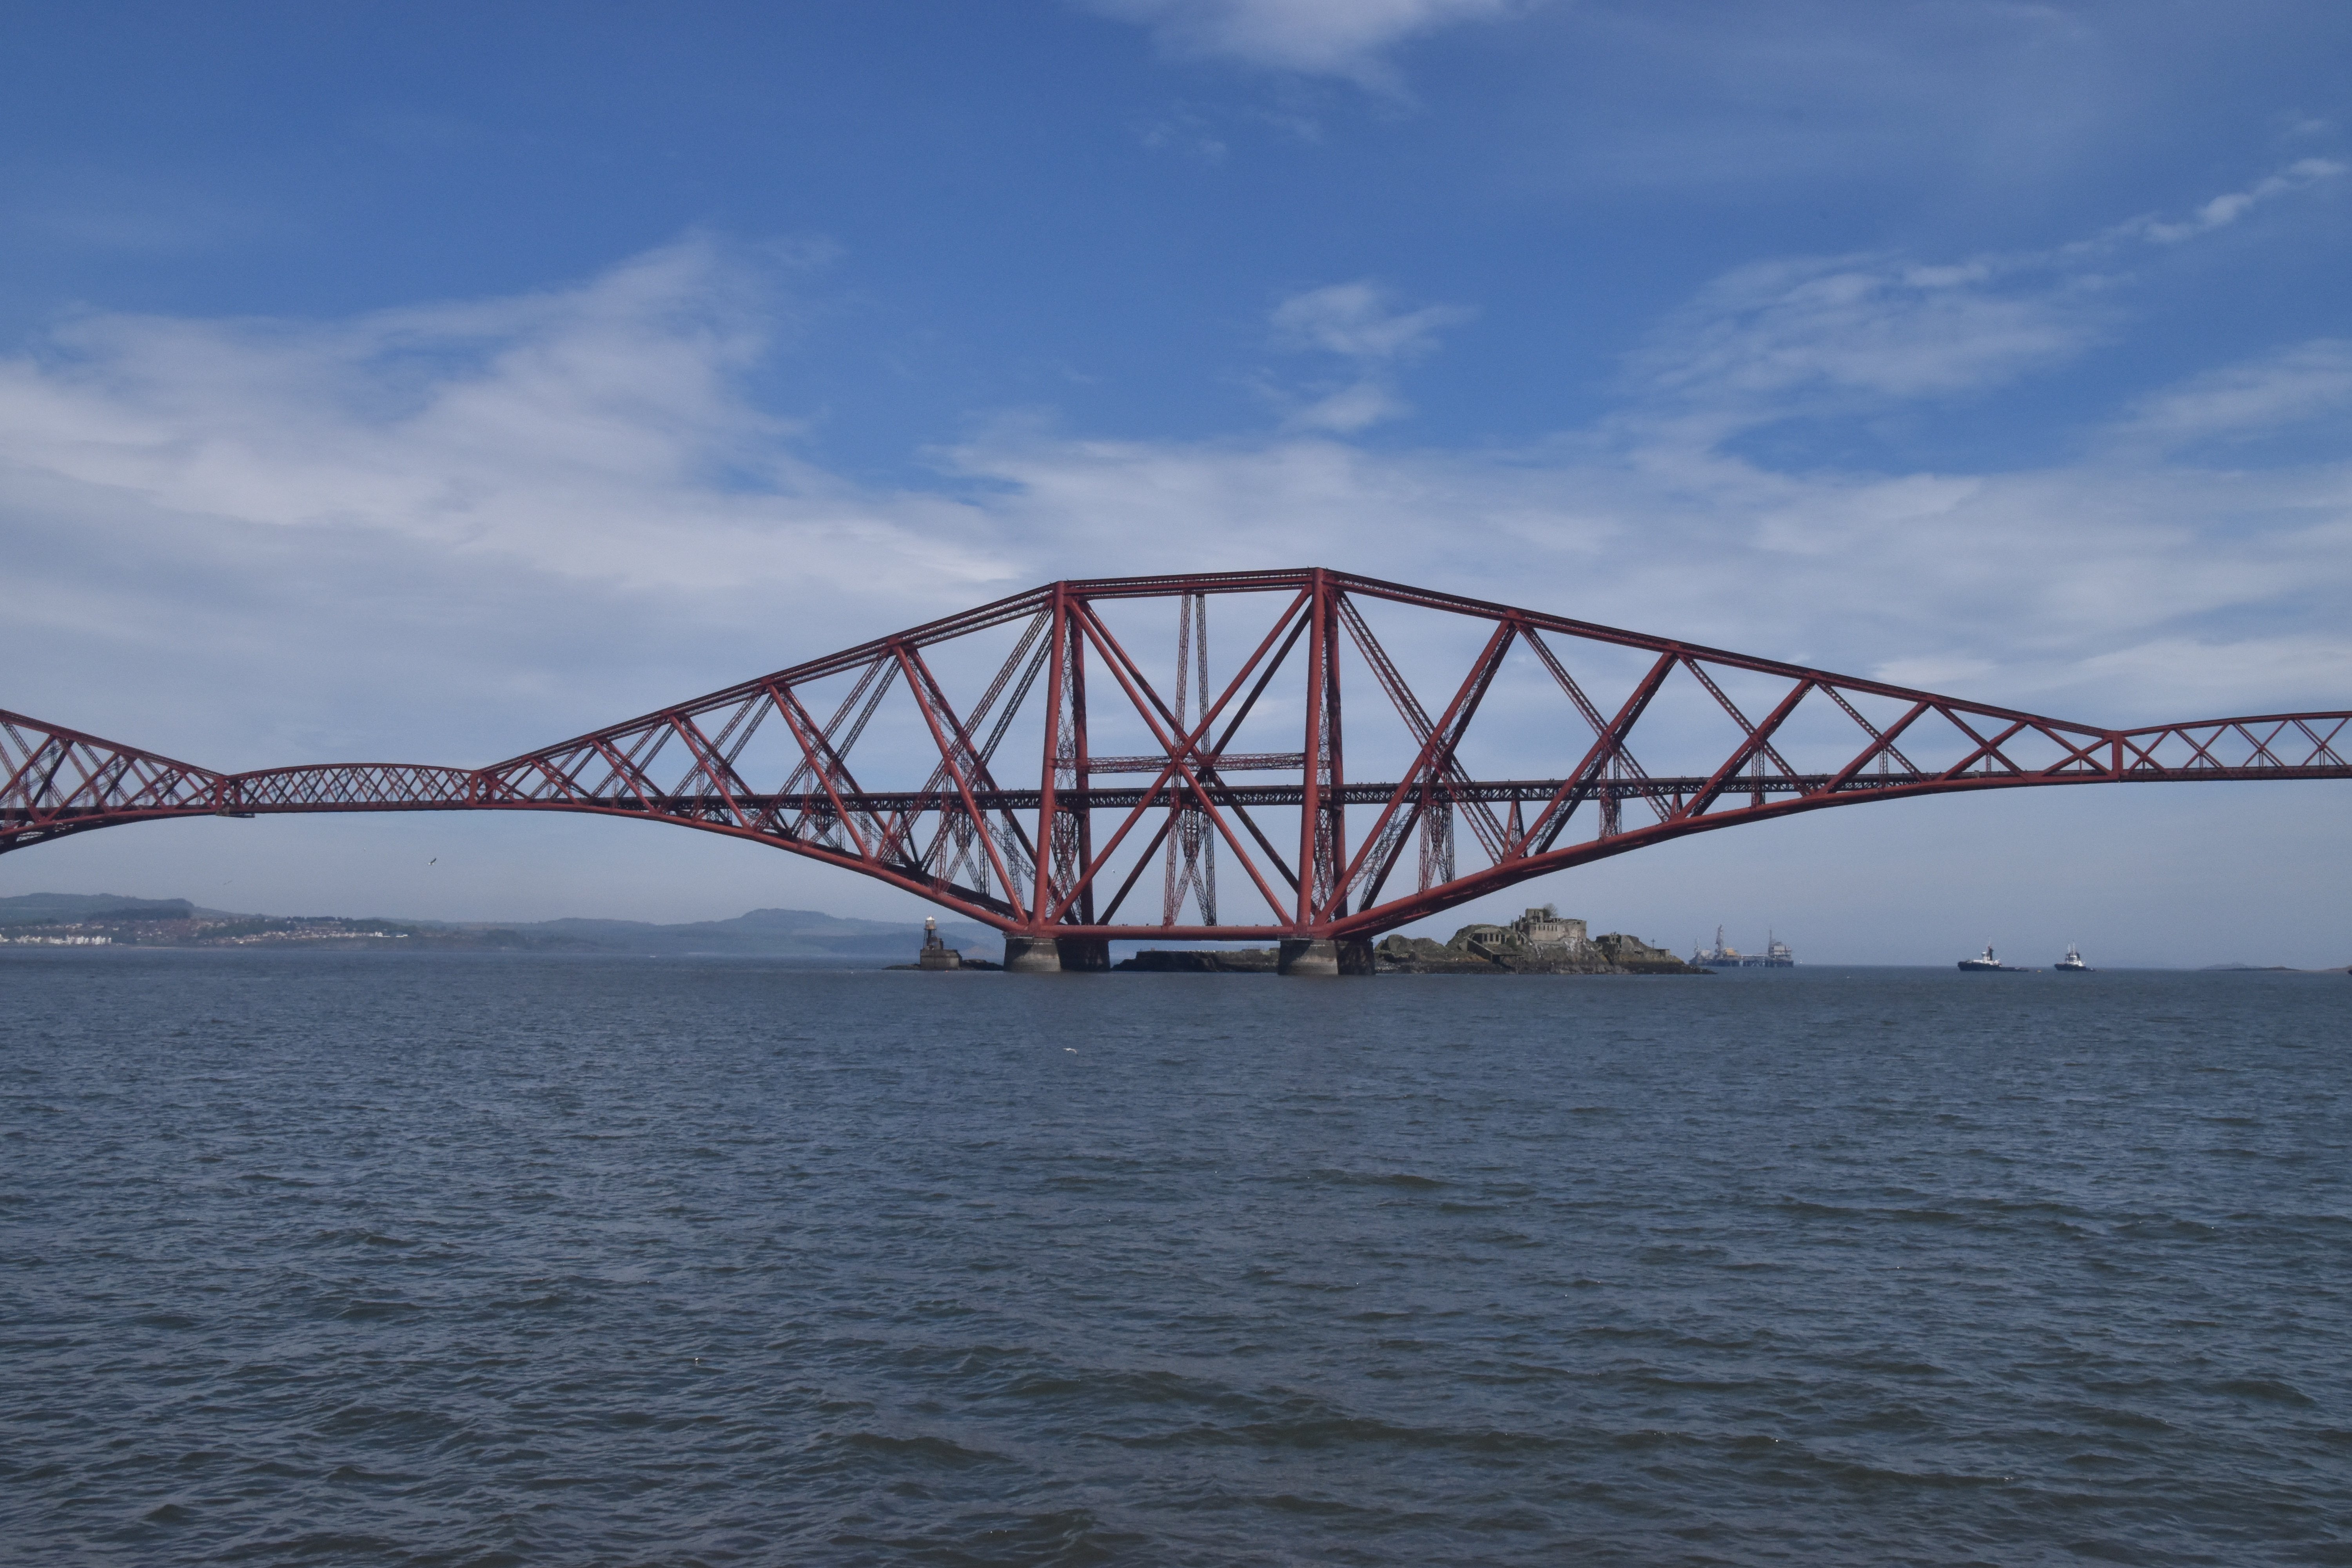
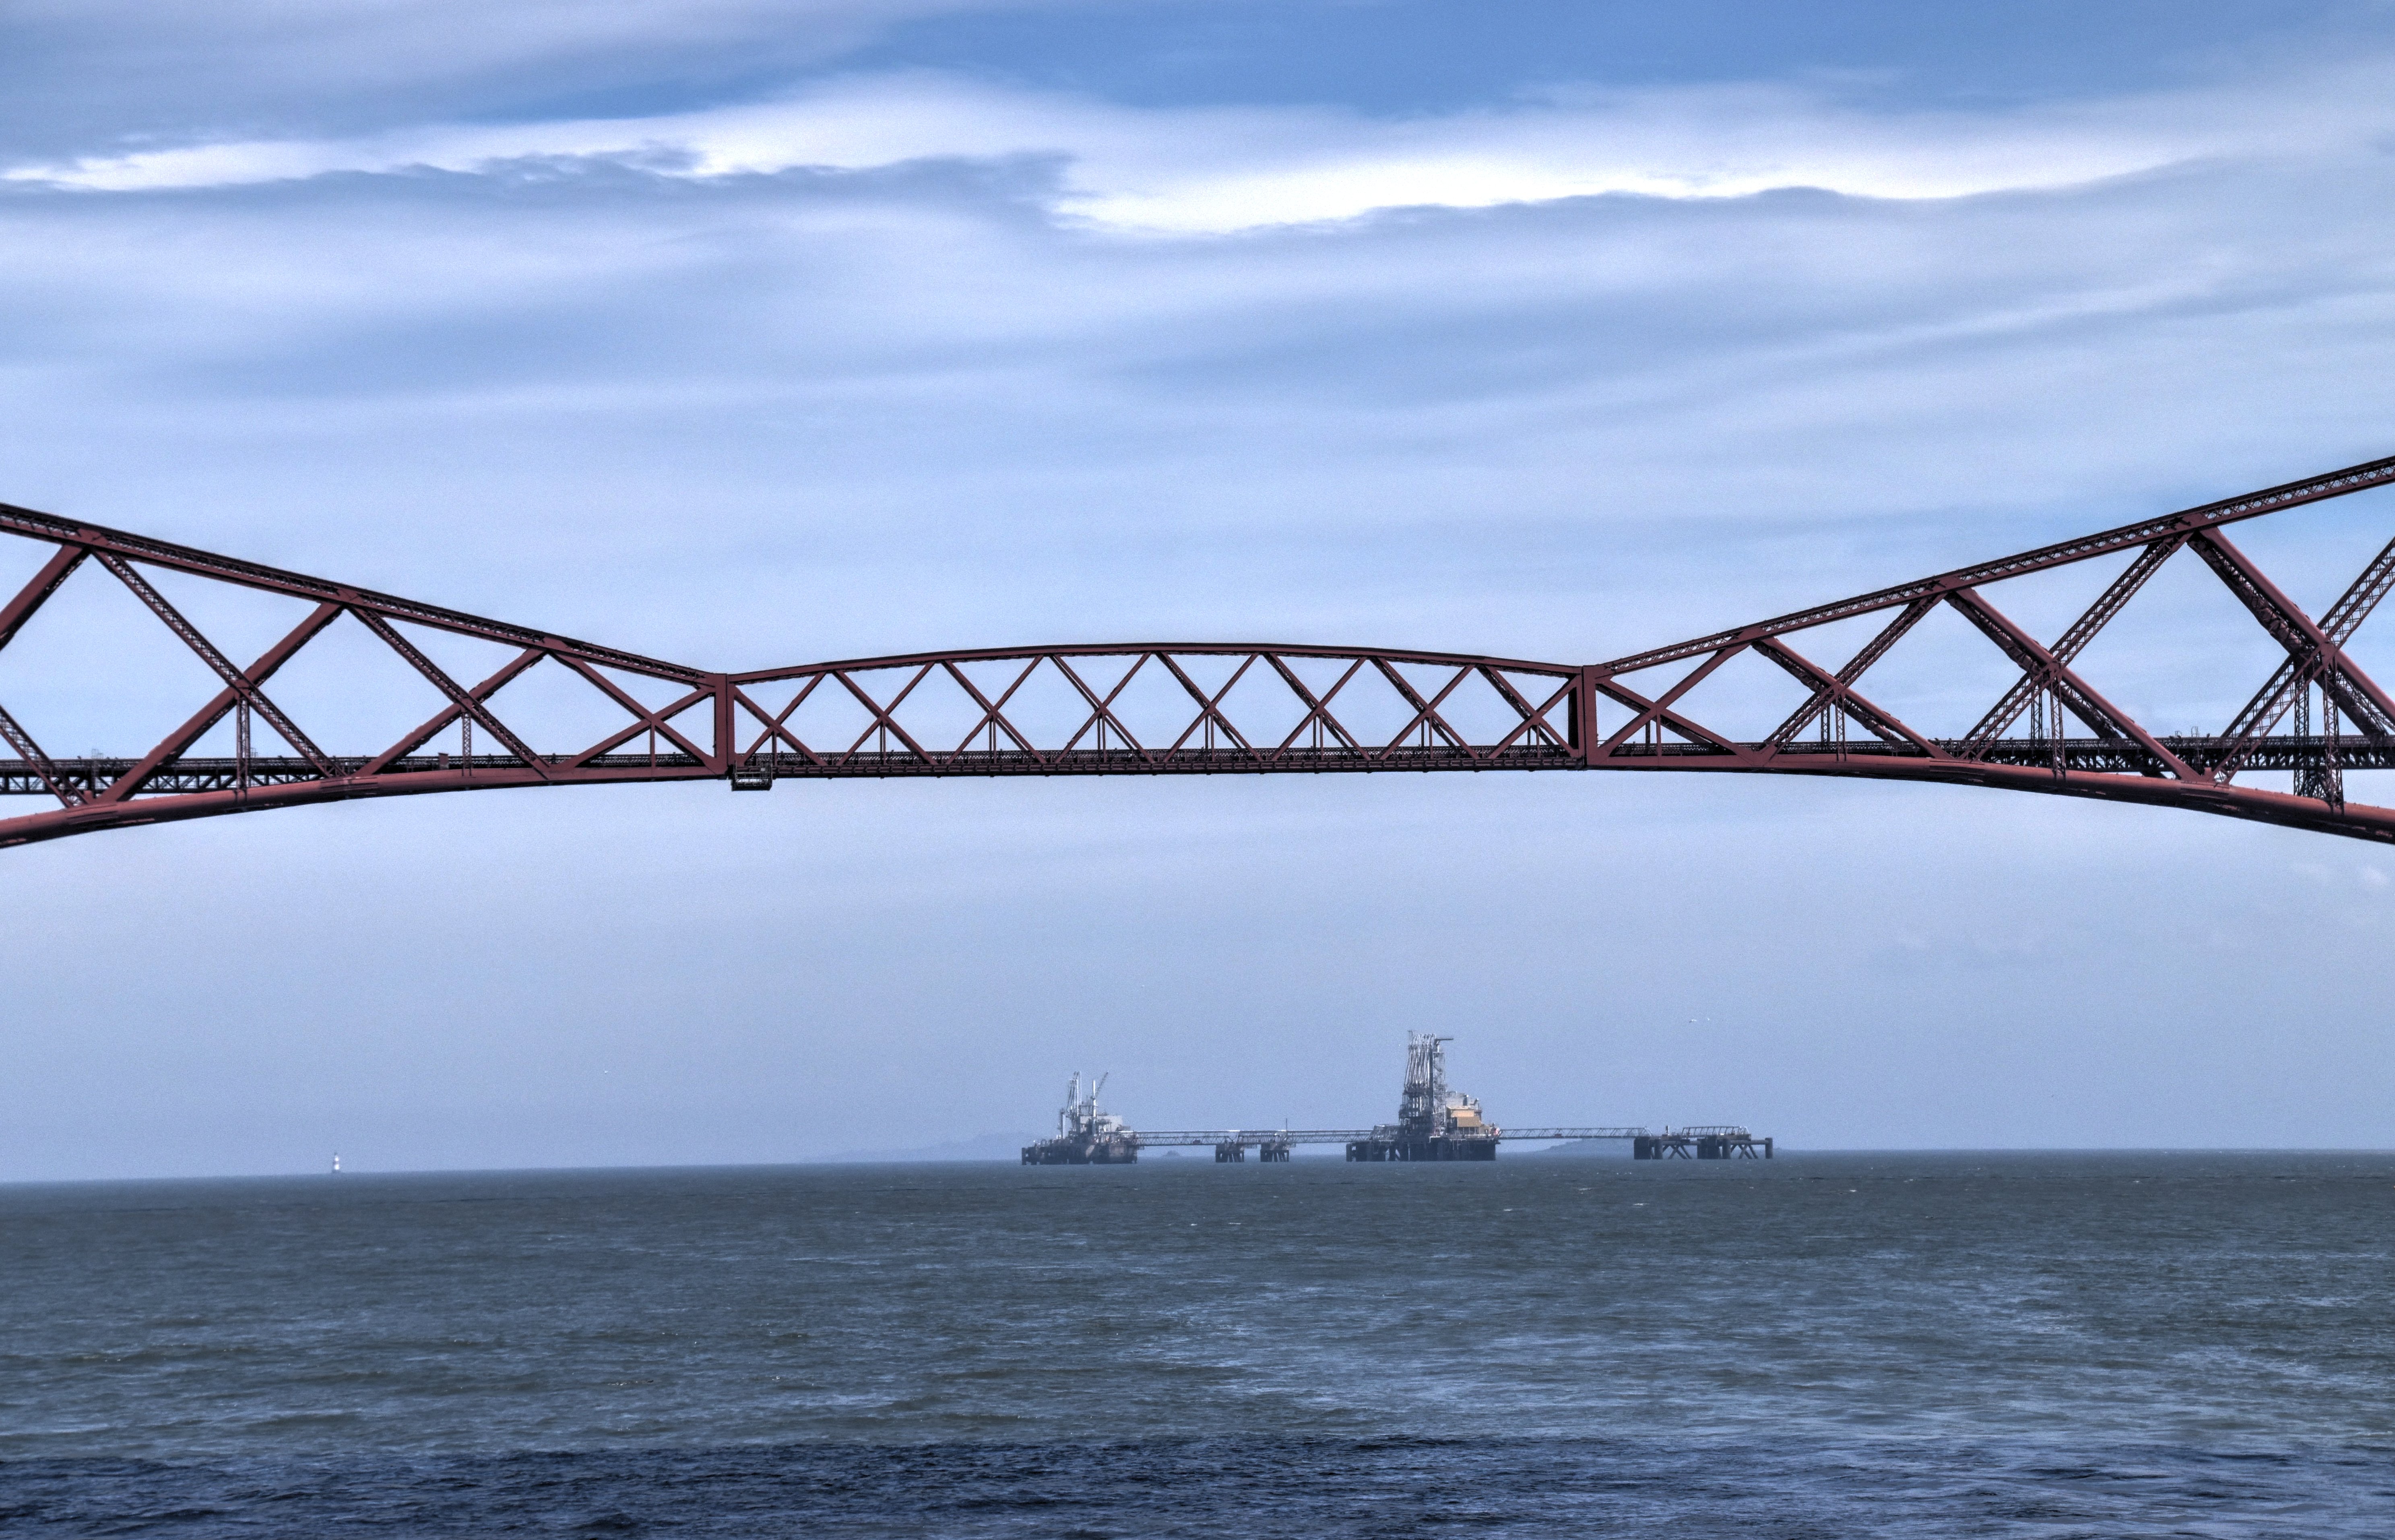
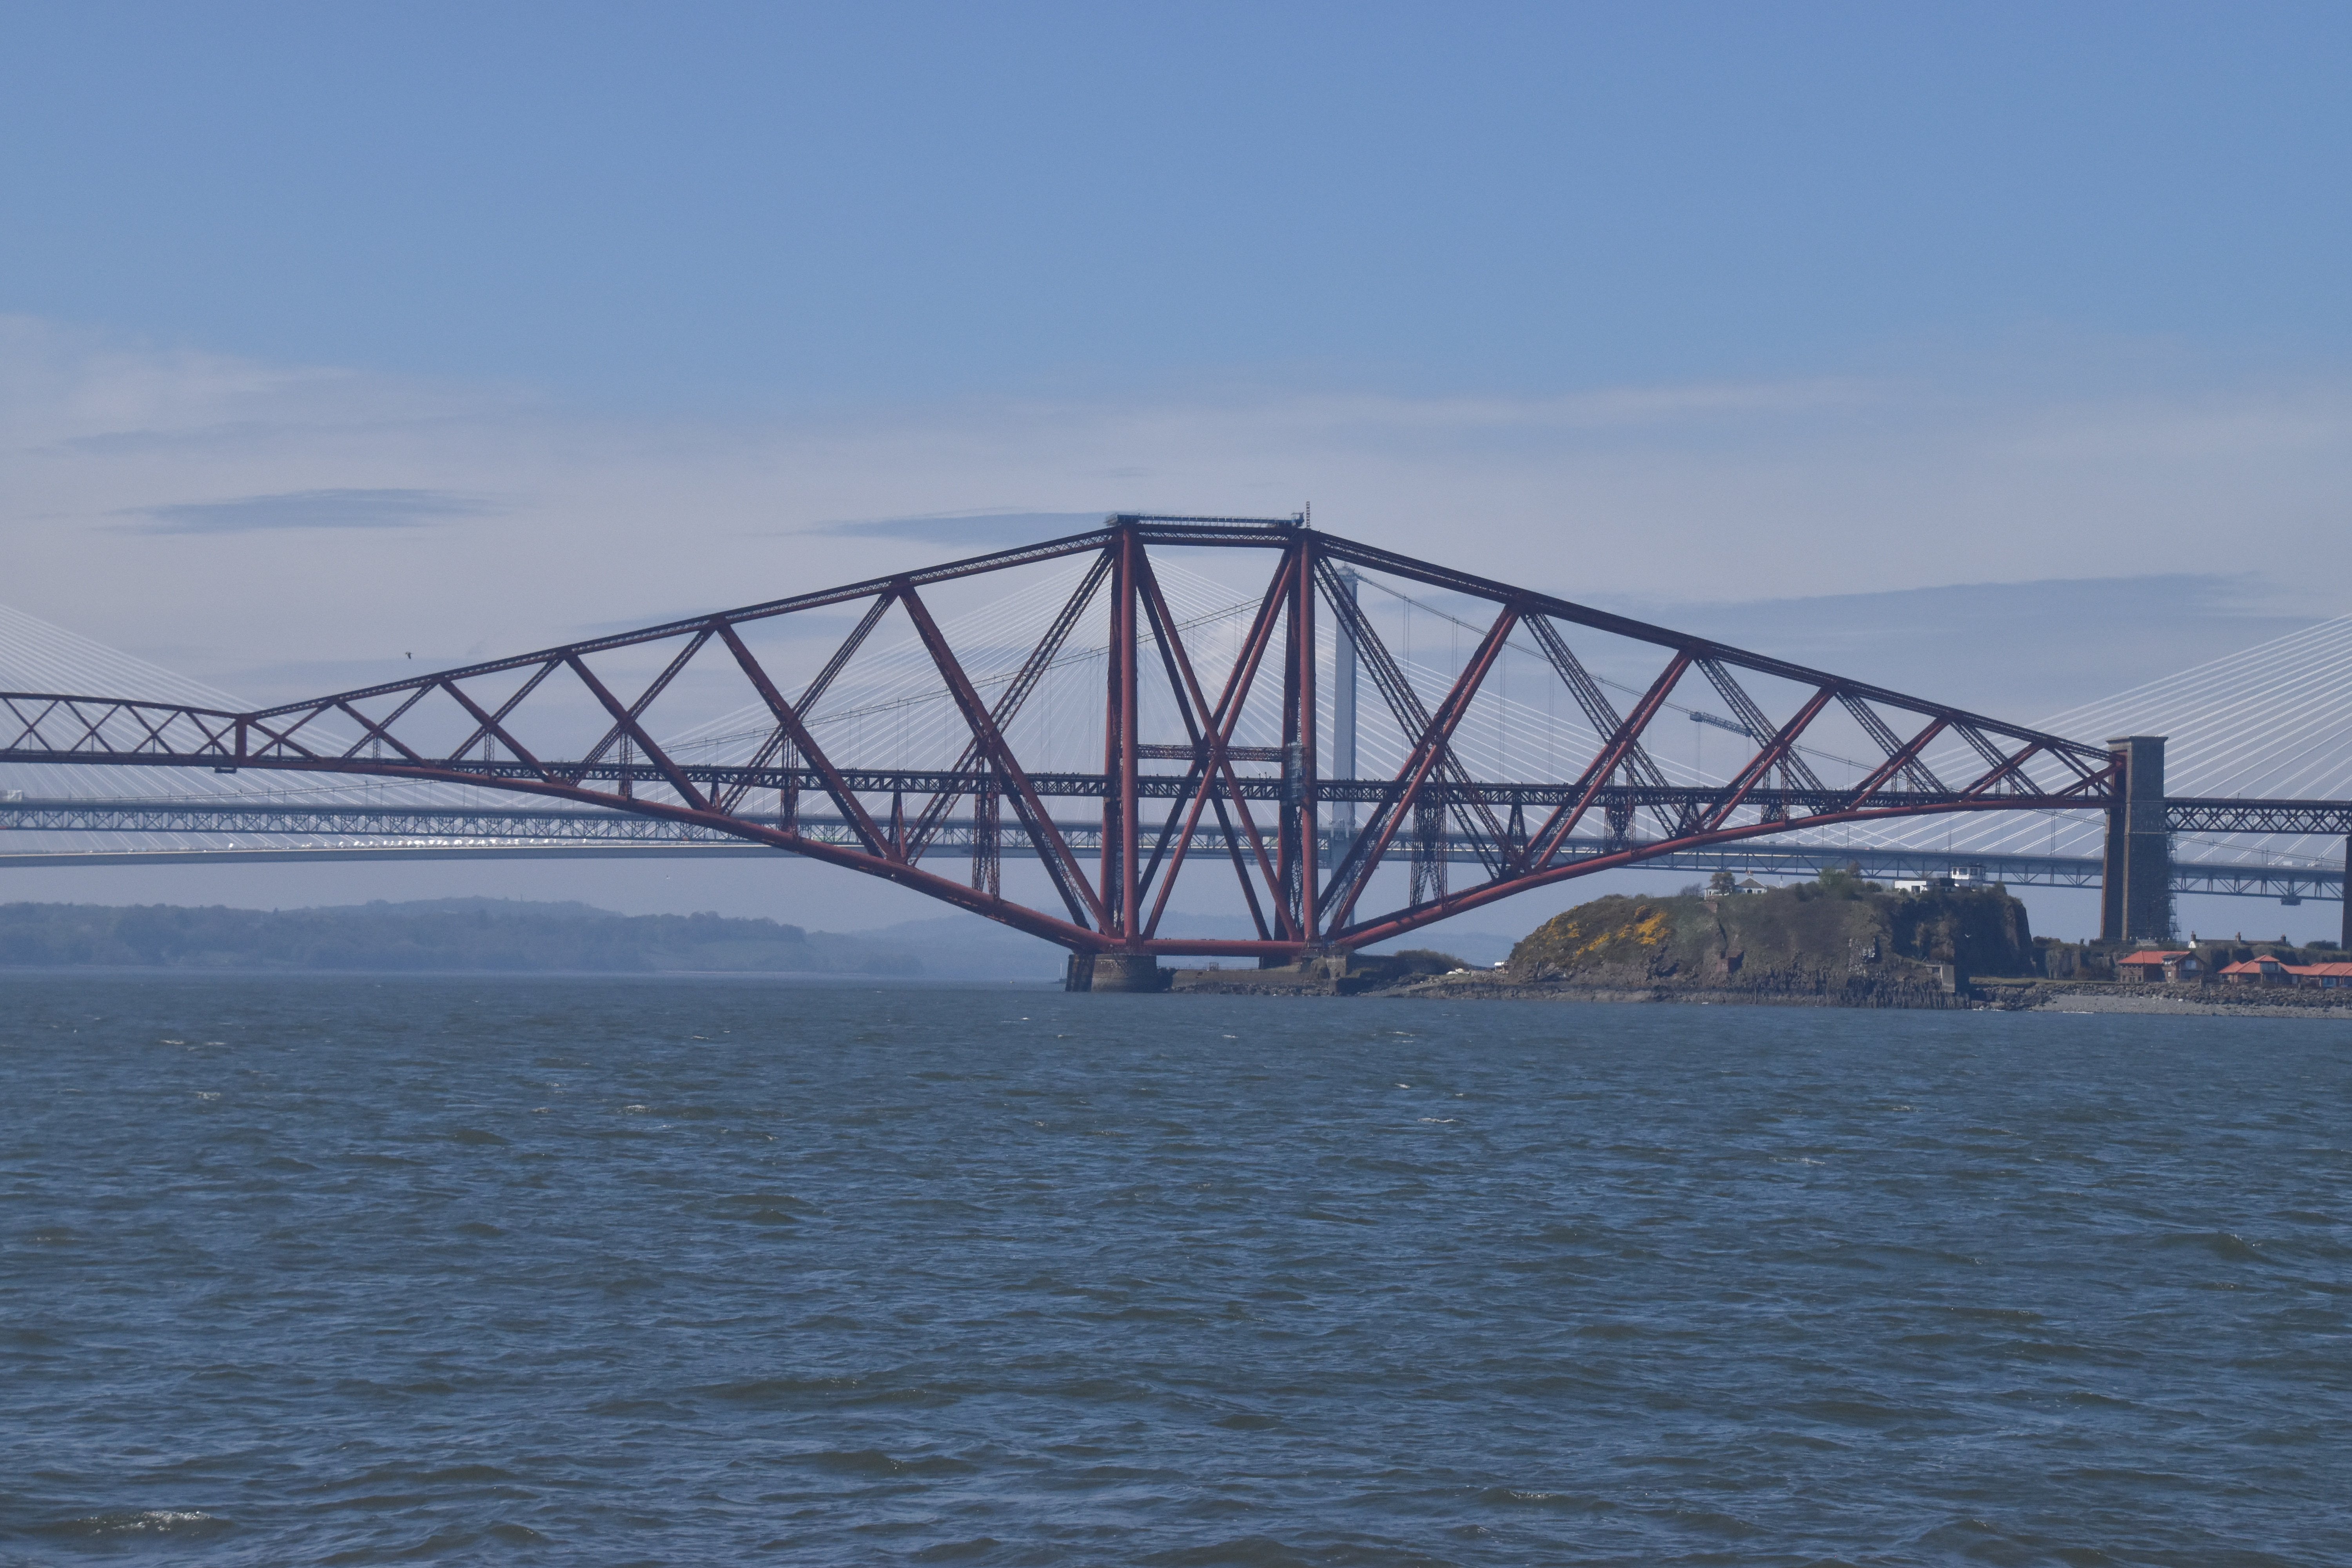
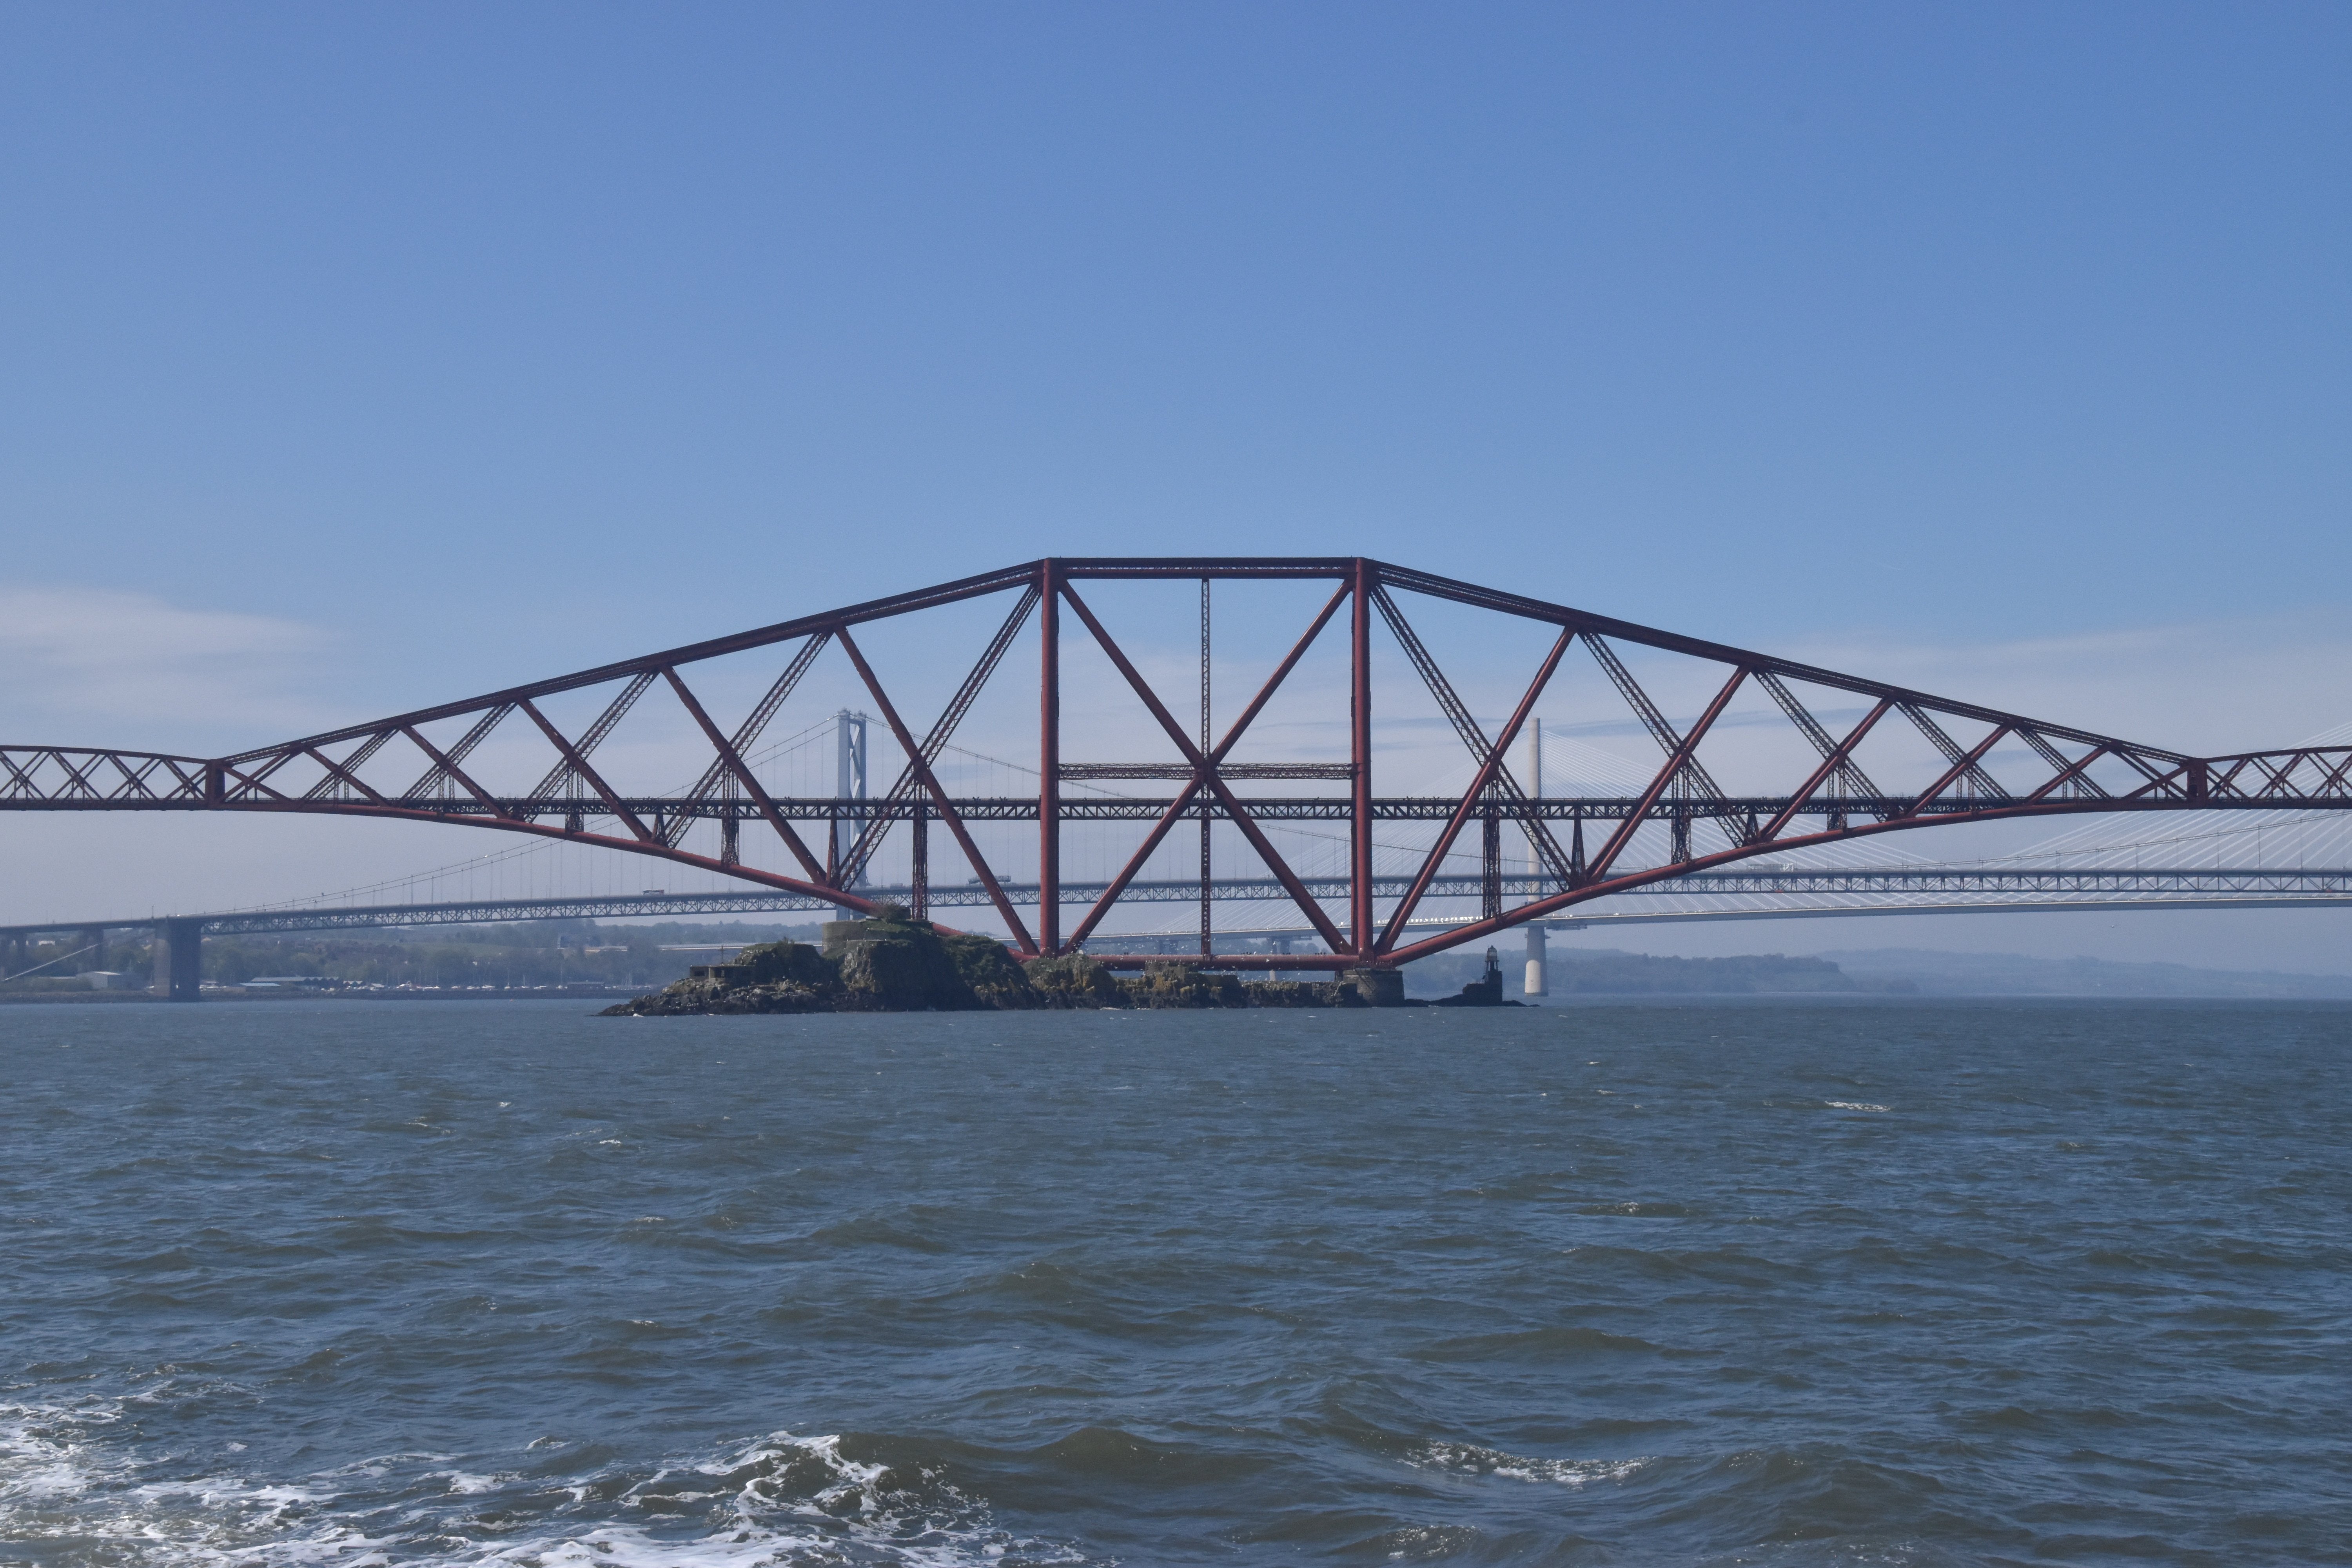
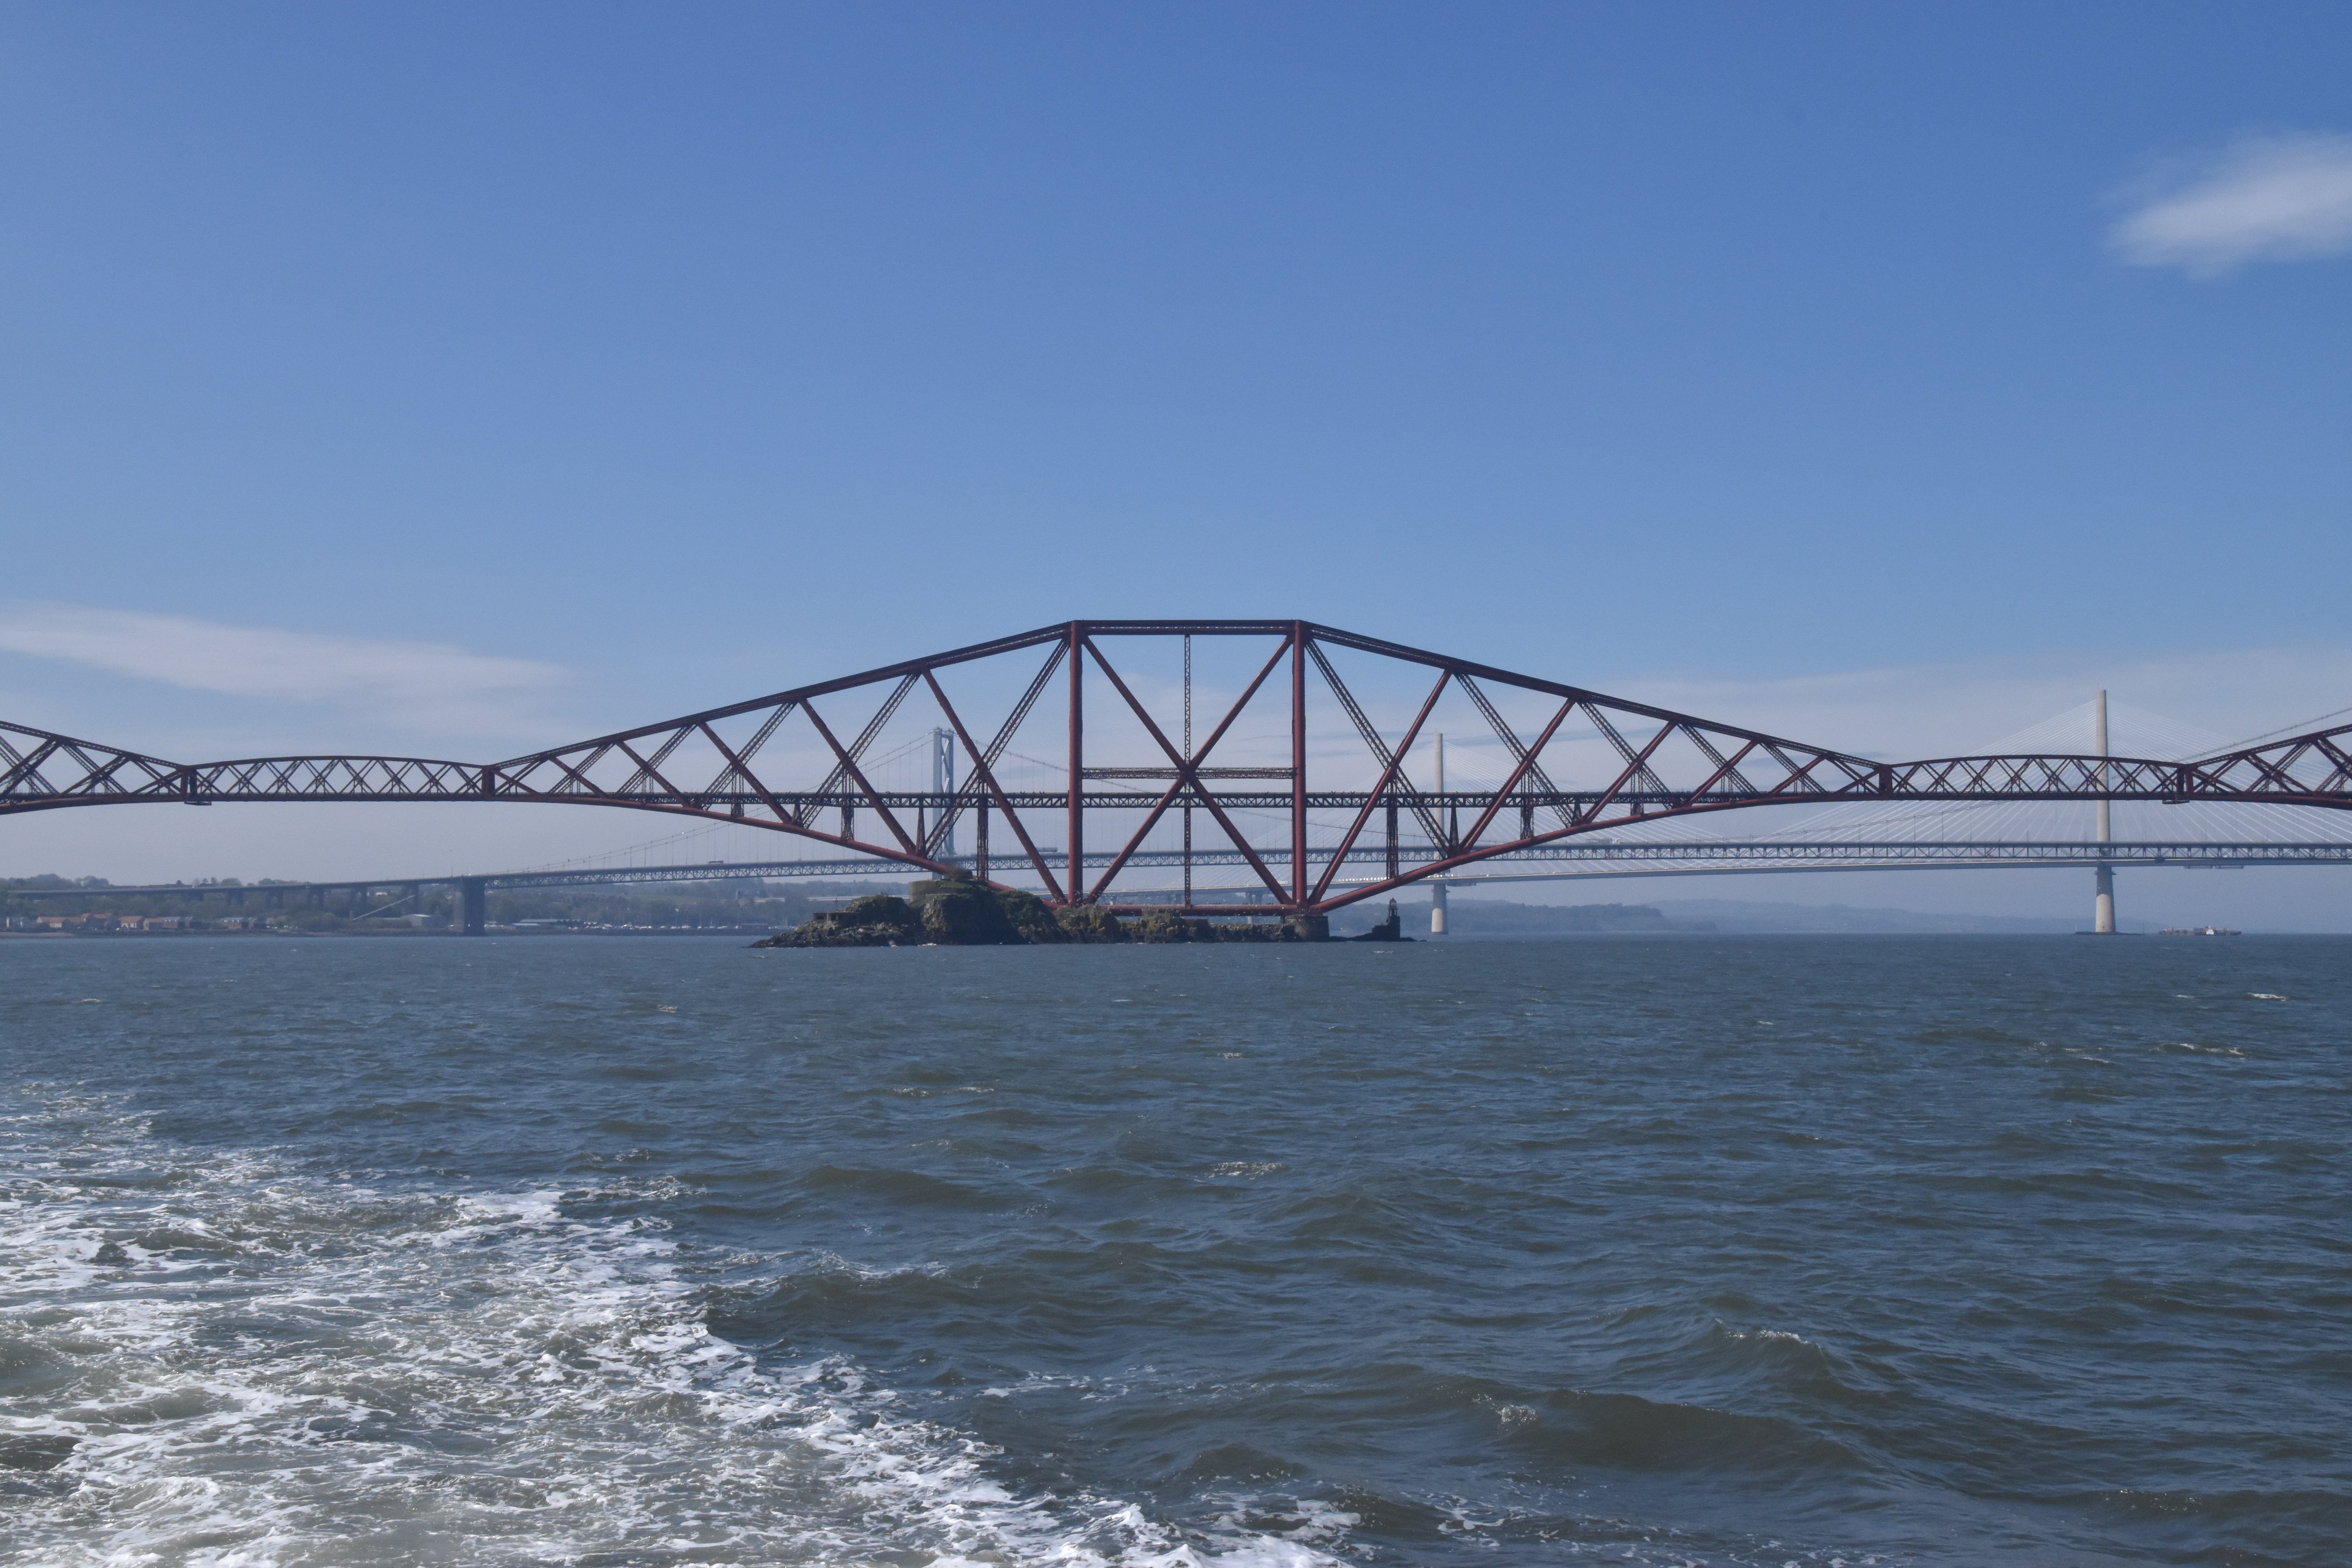
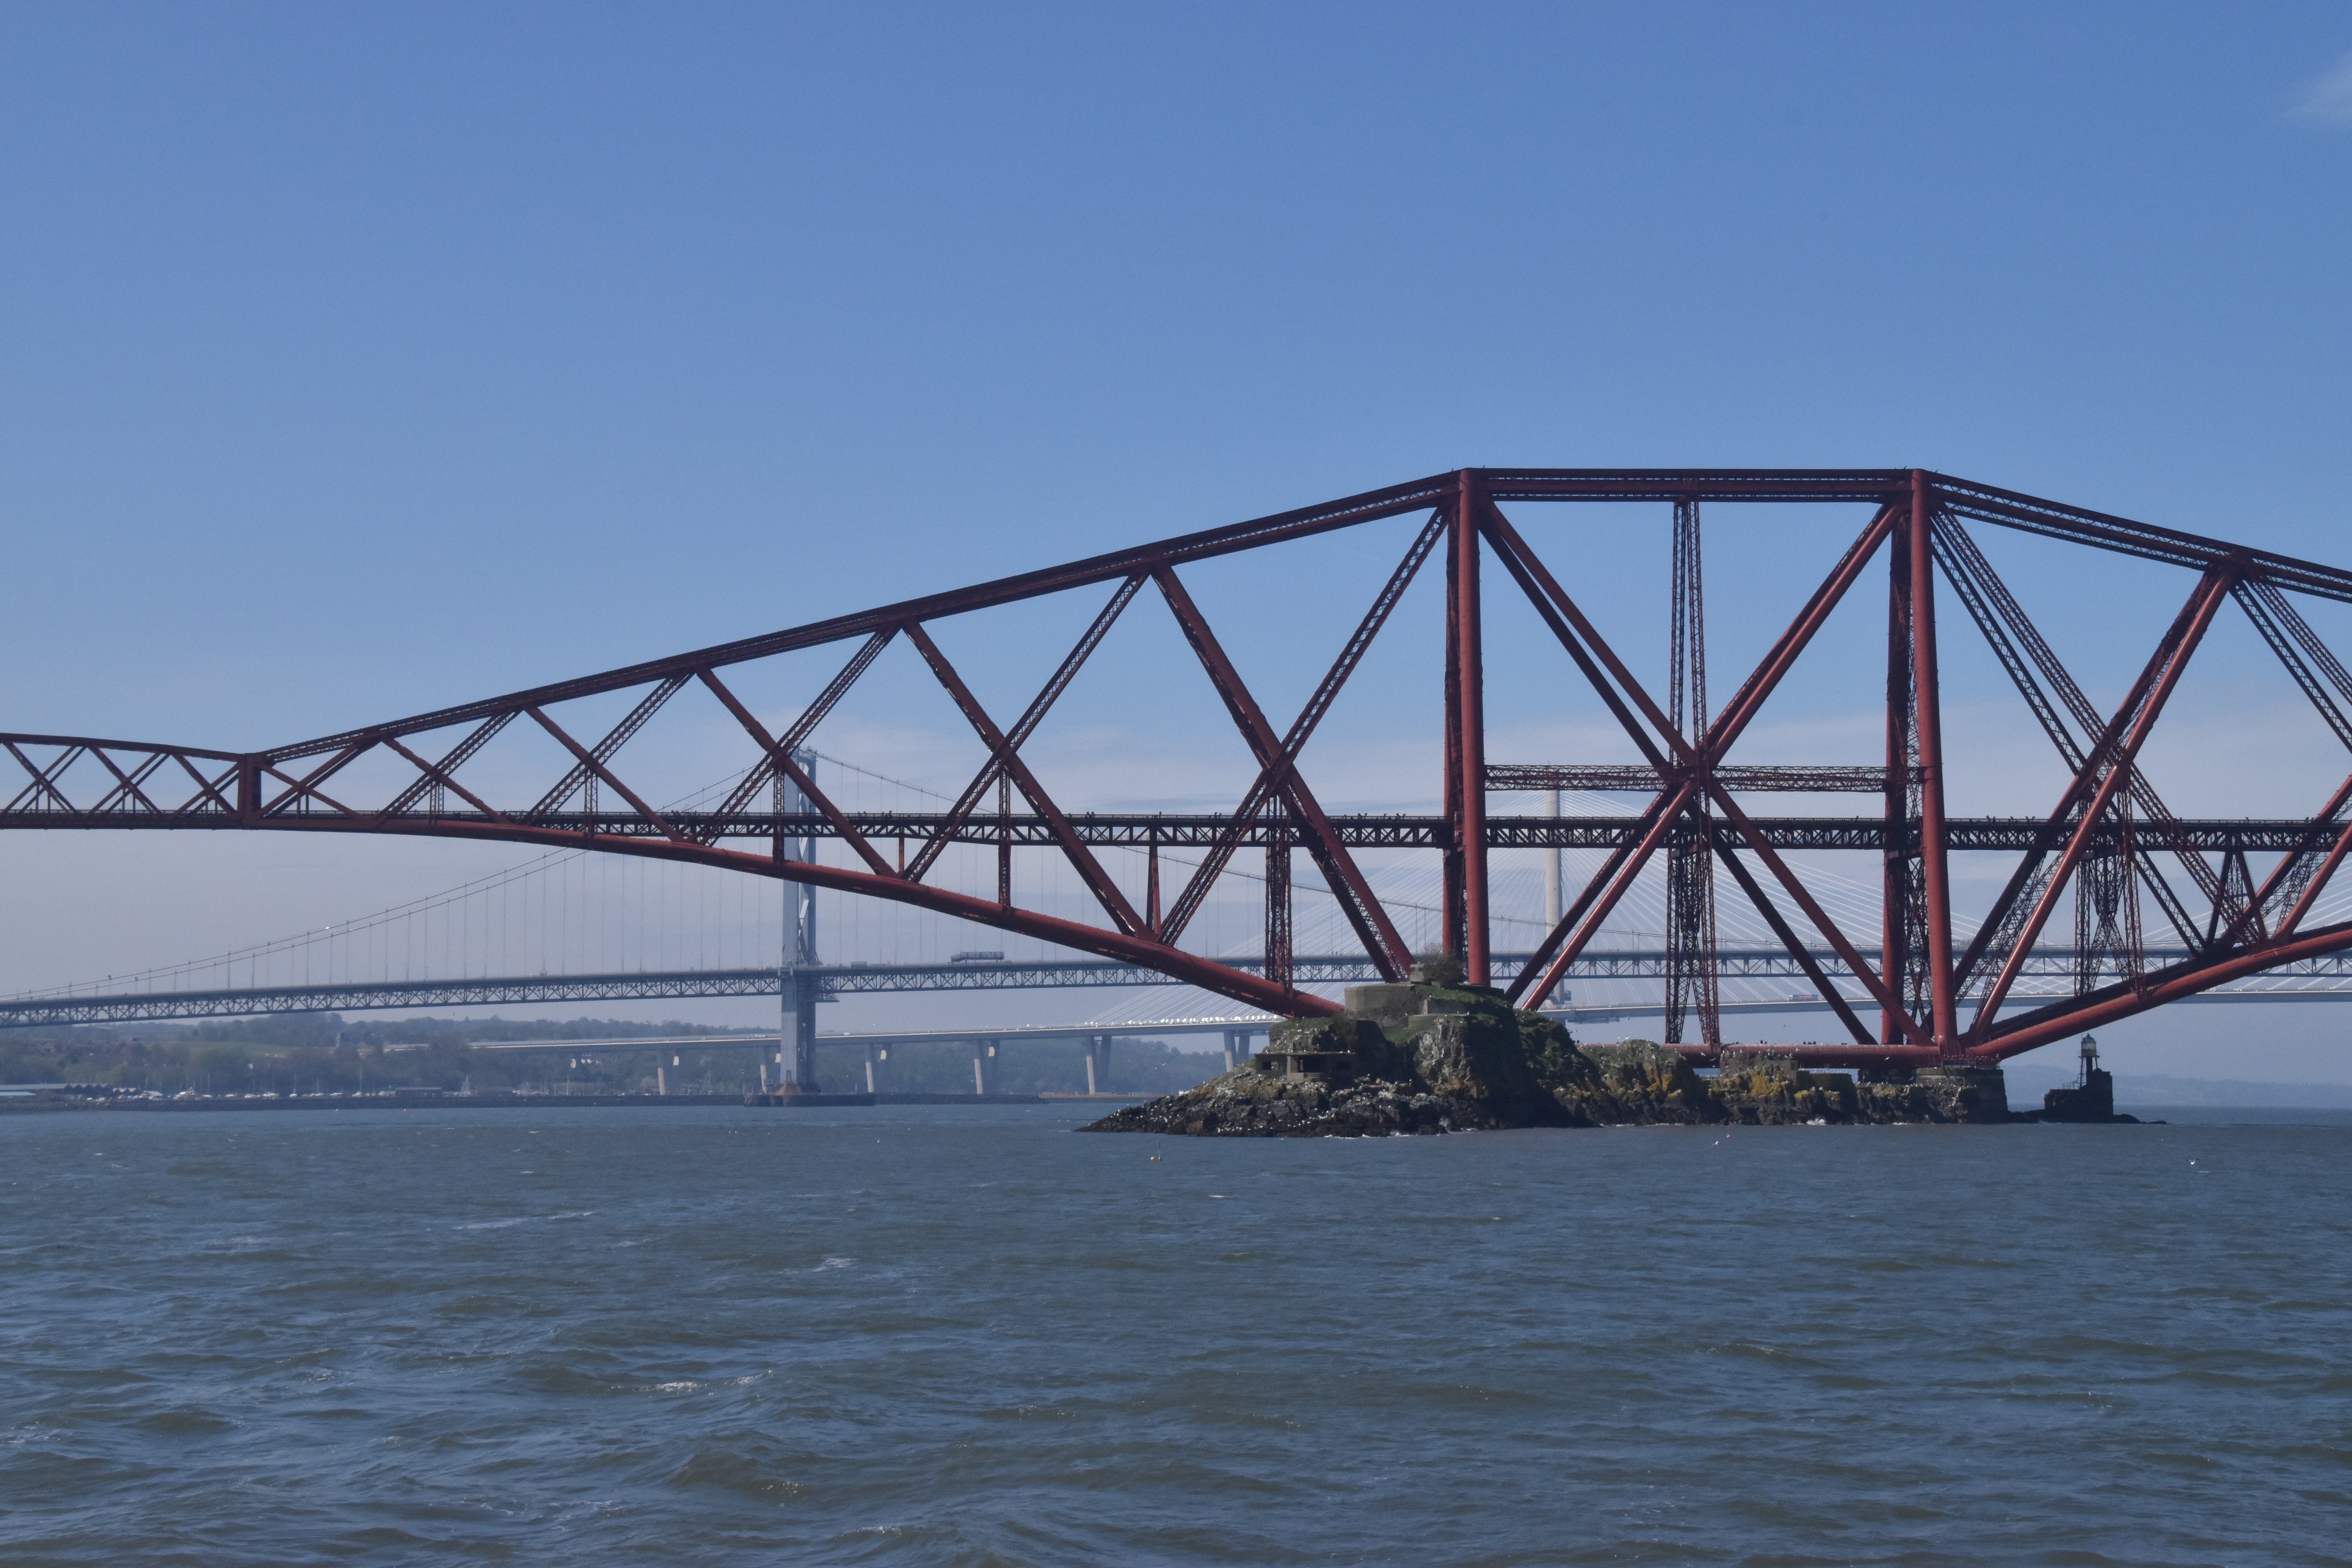
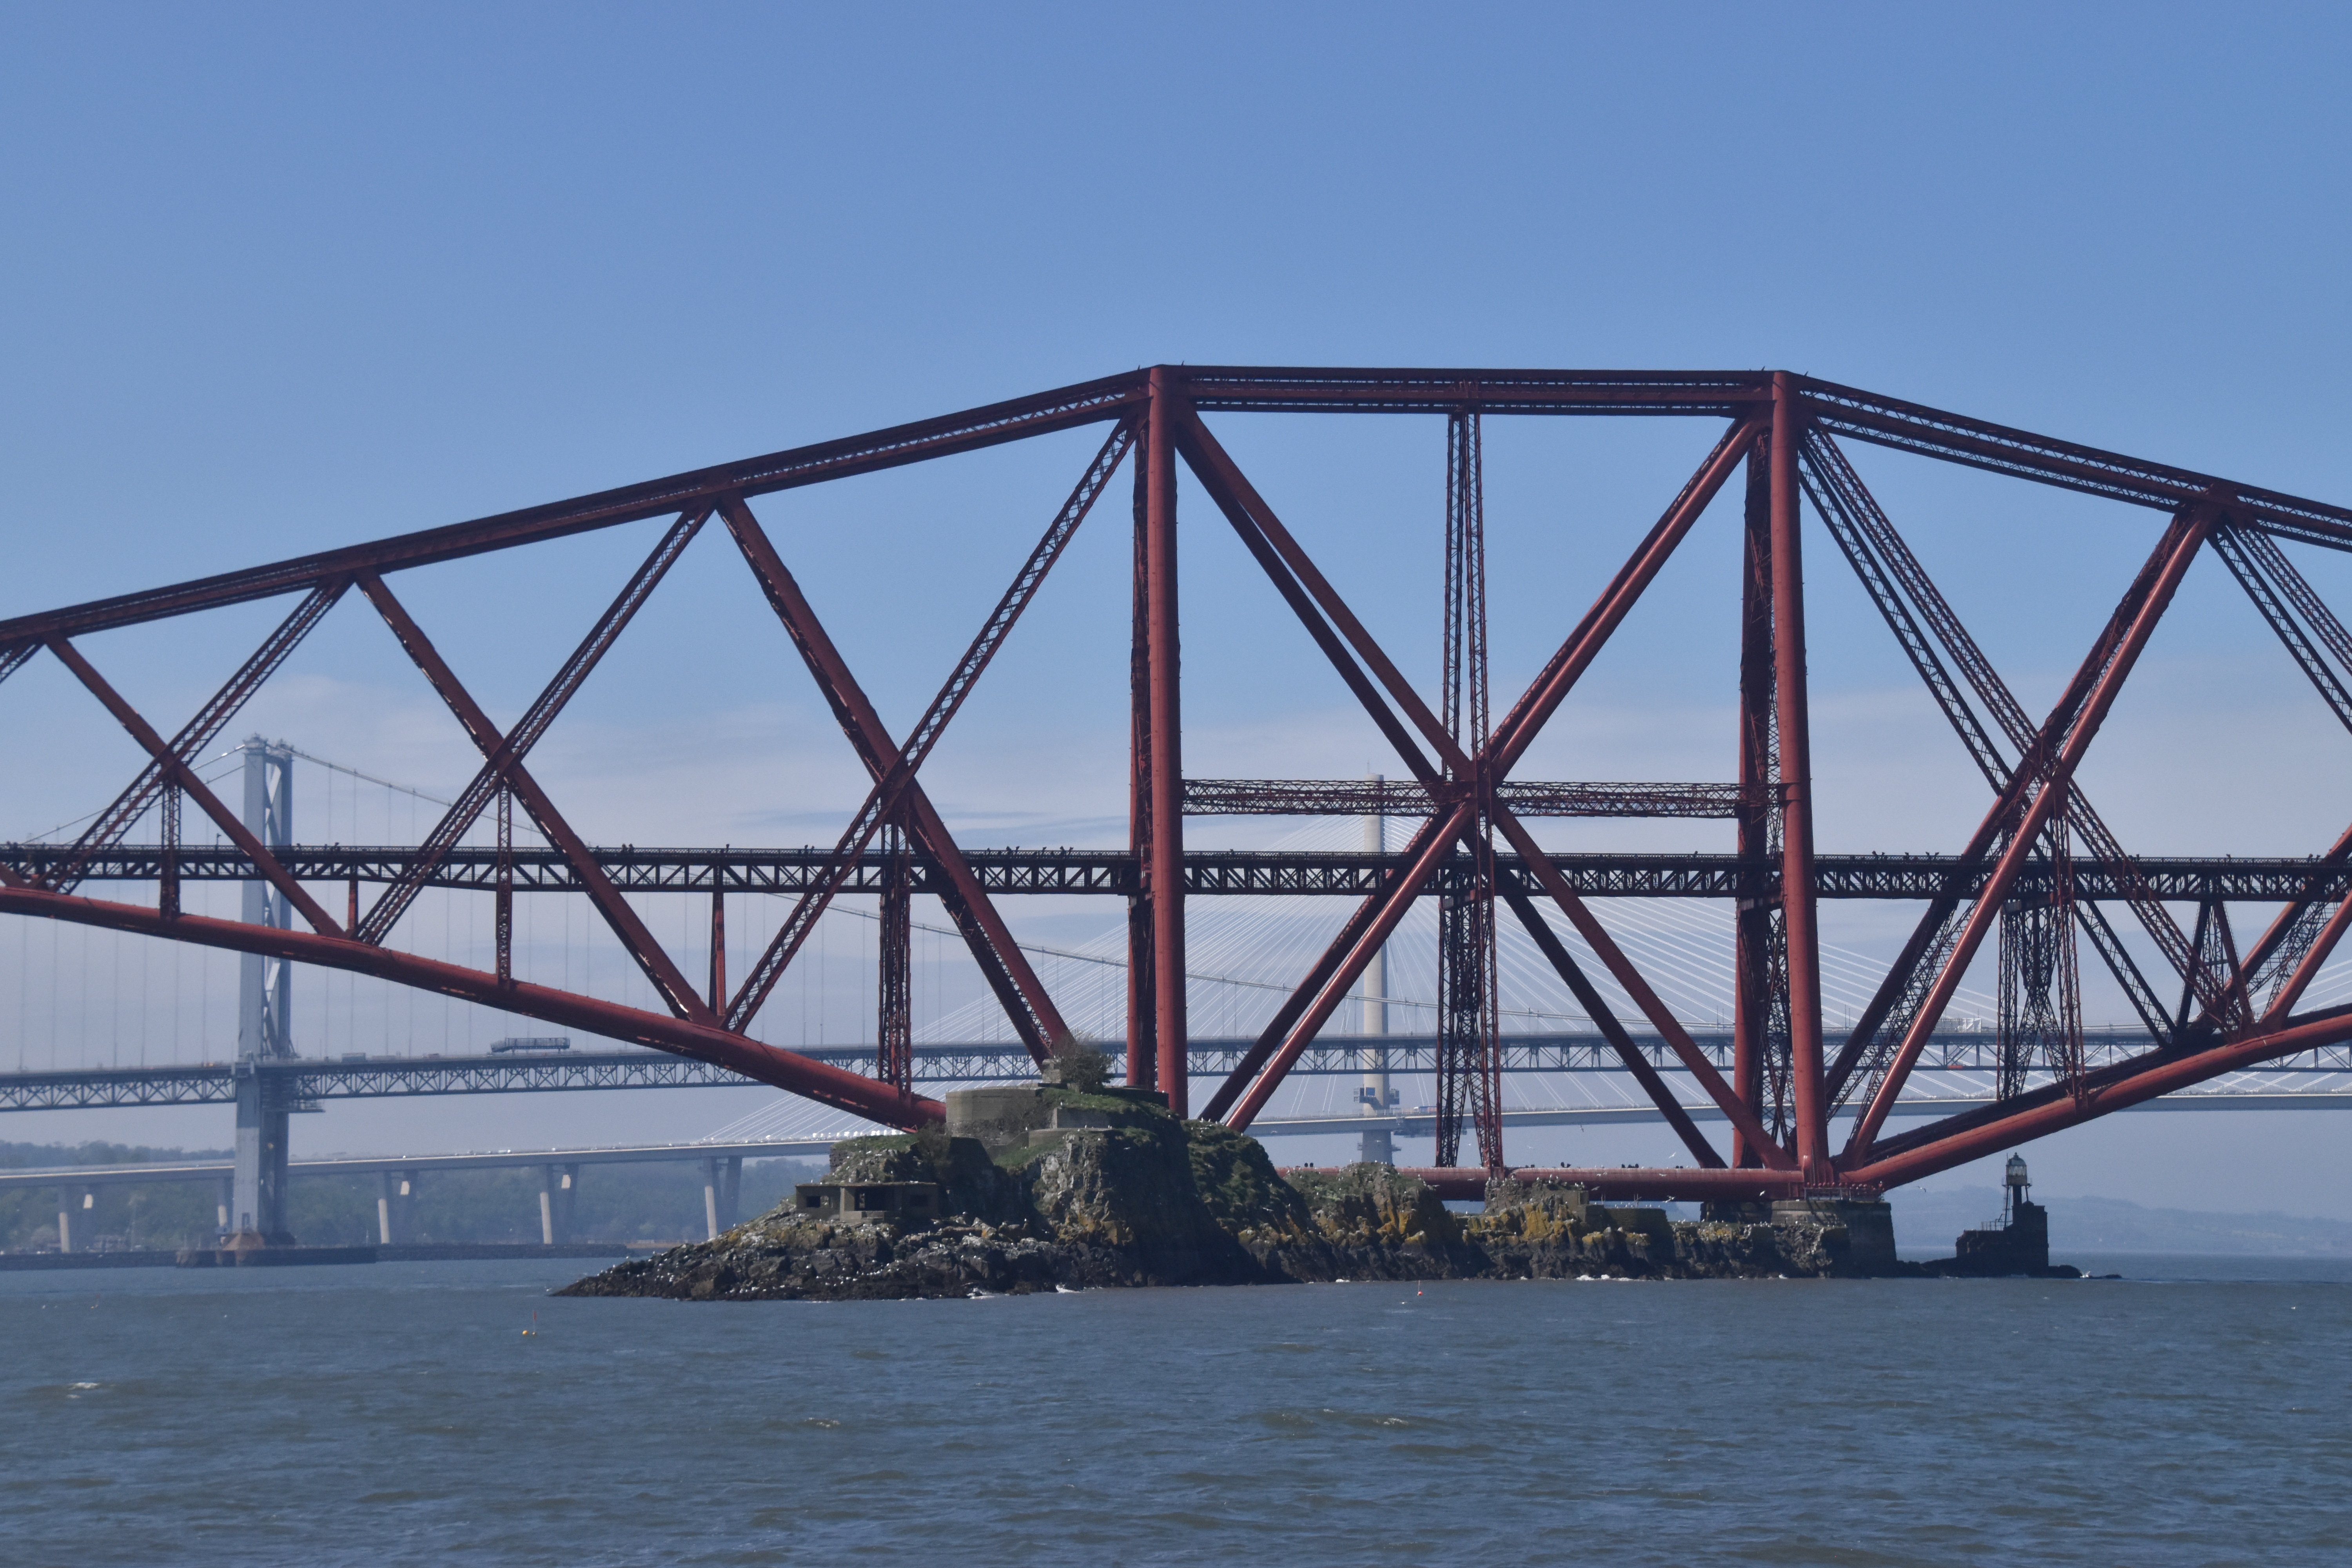
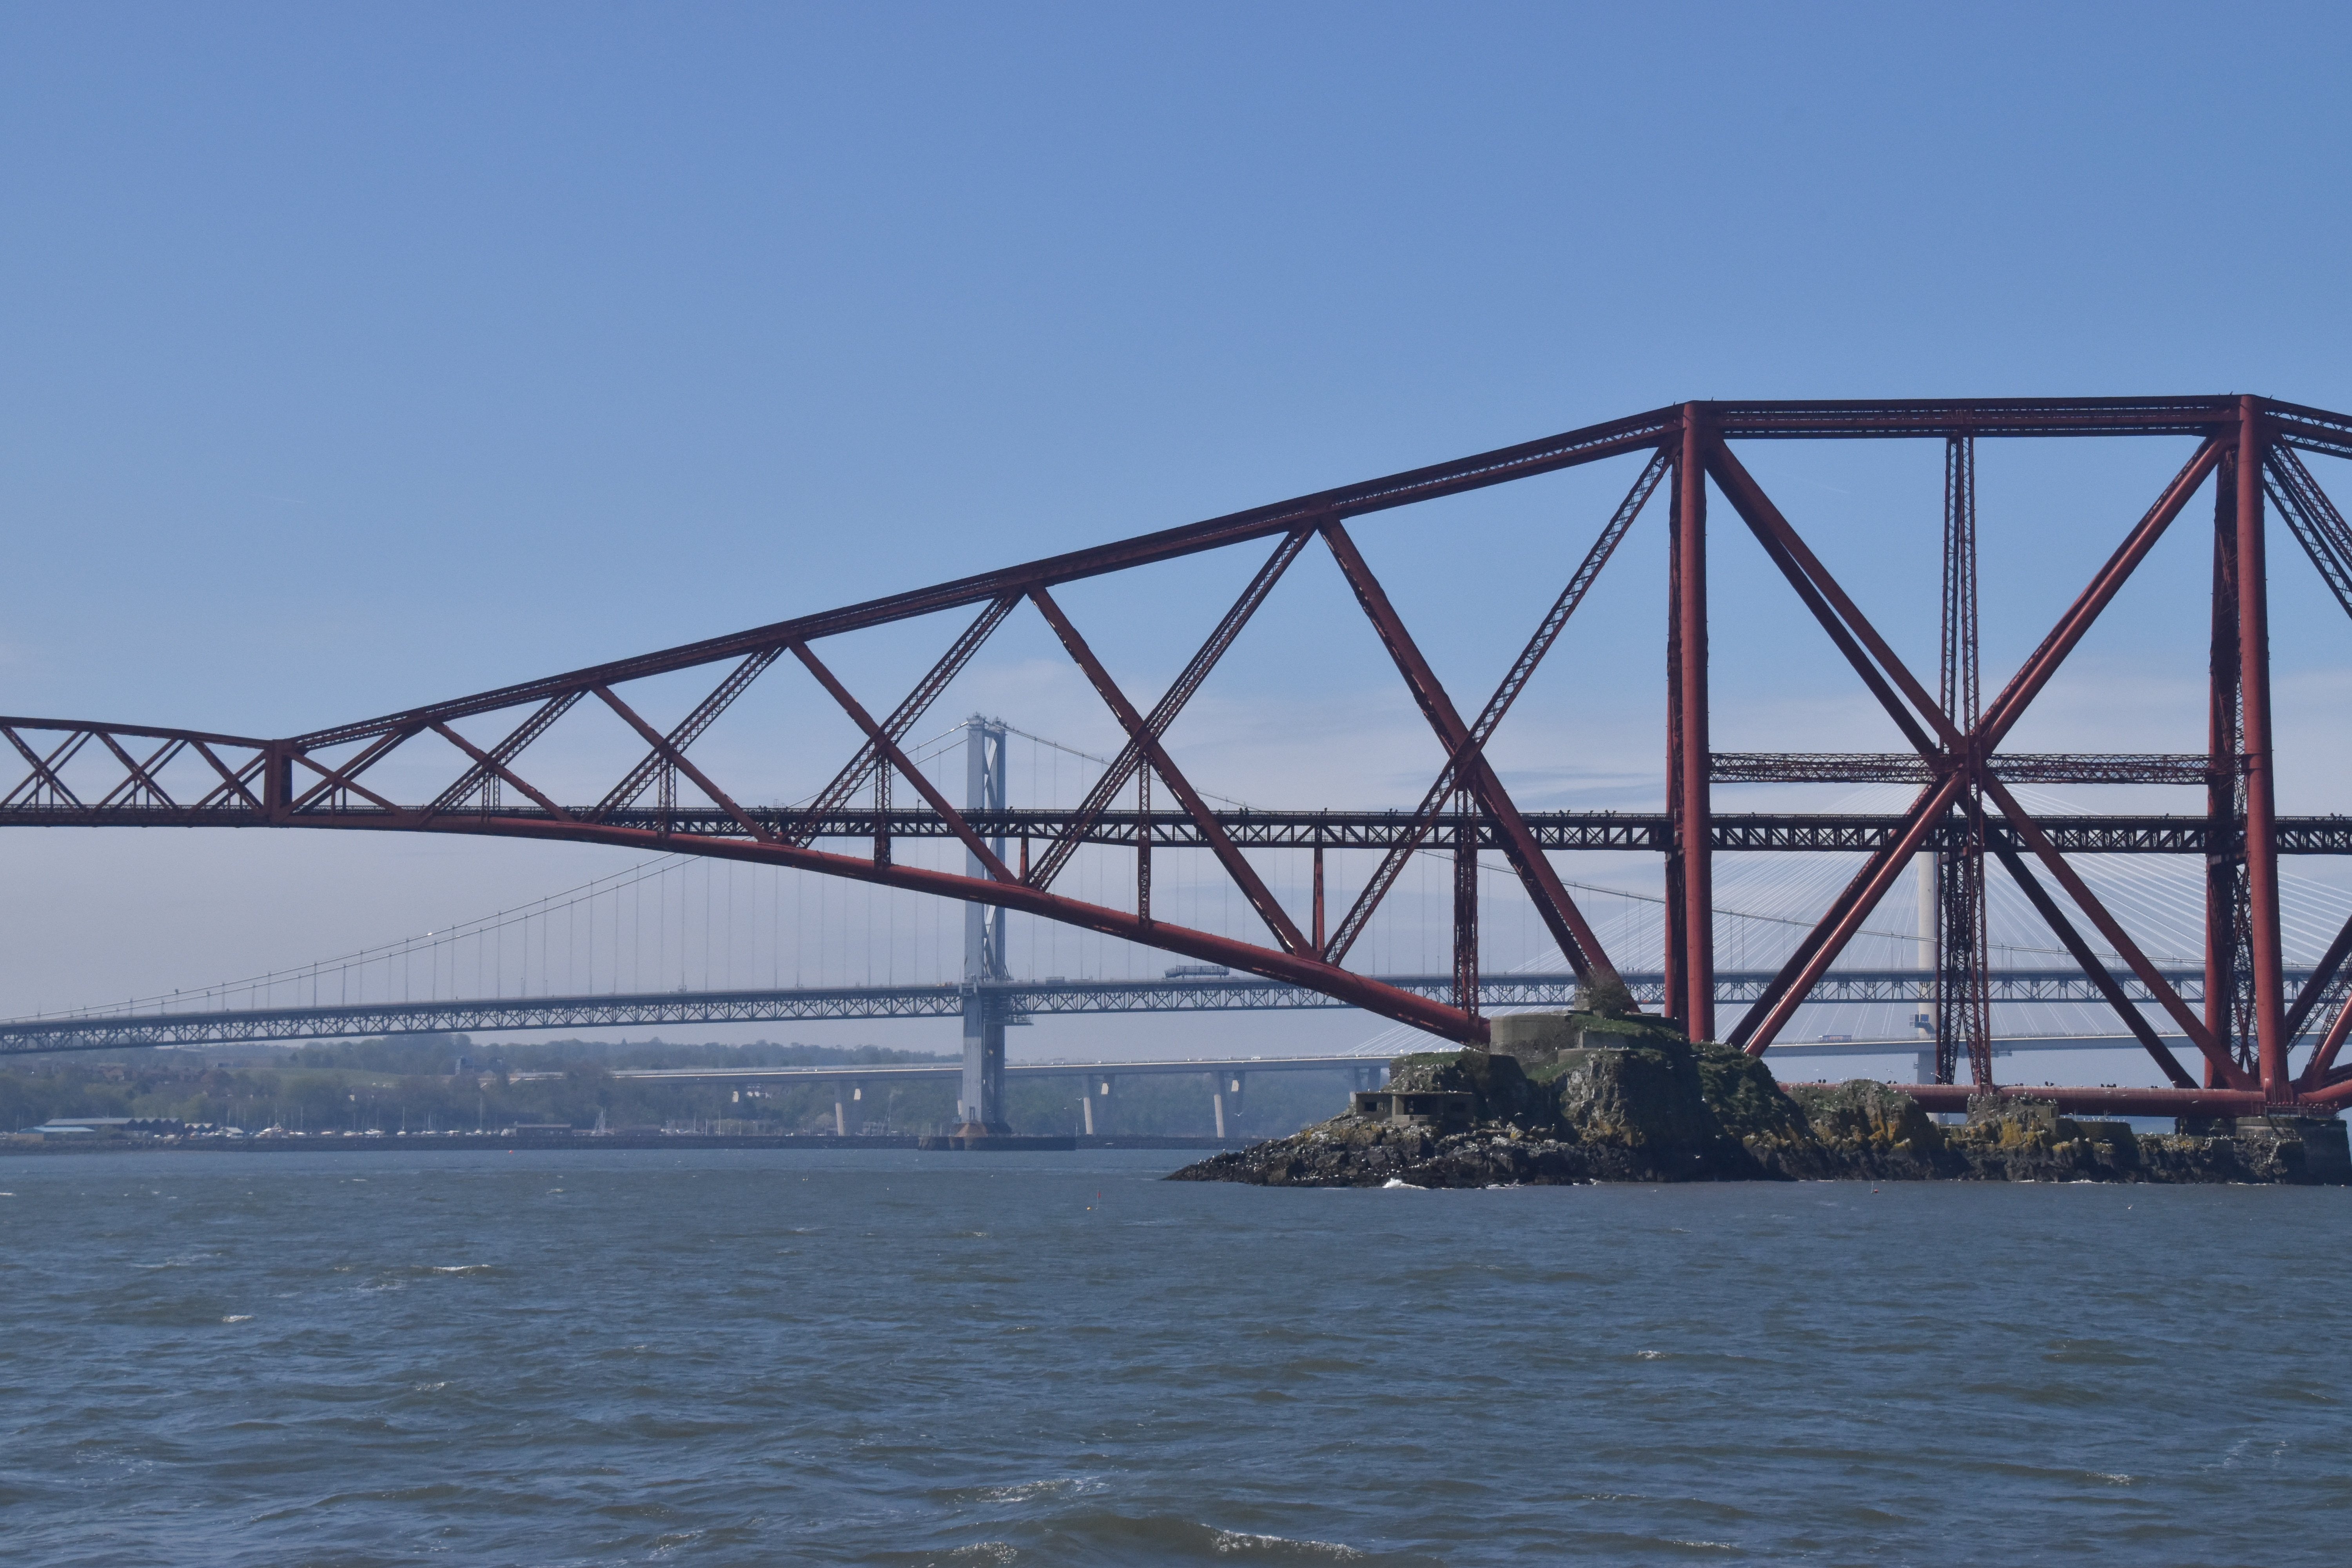
Partial west elevation views of cantilever spans from boat showing a single span.
![]()
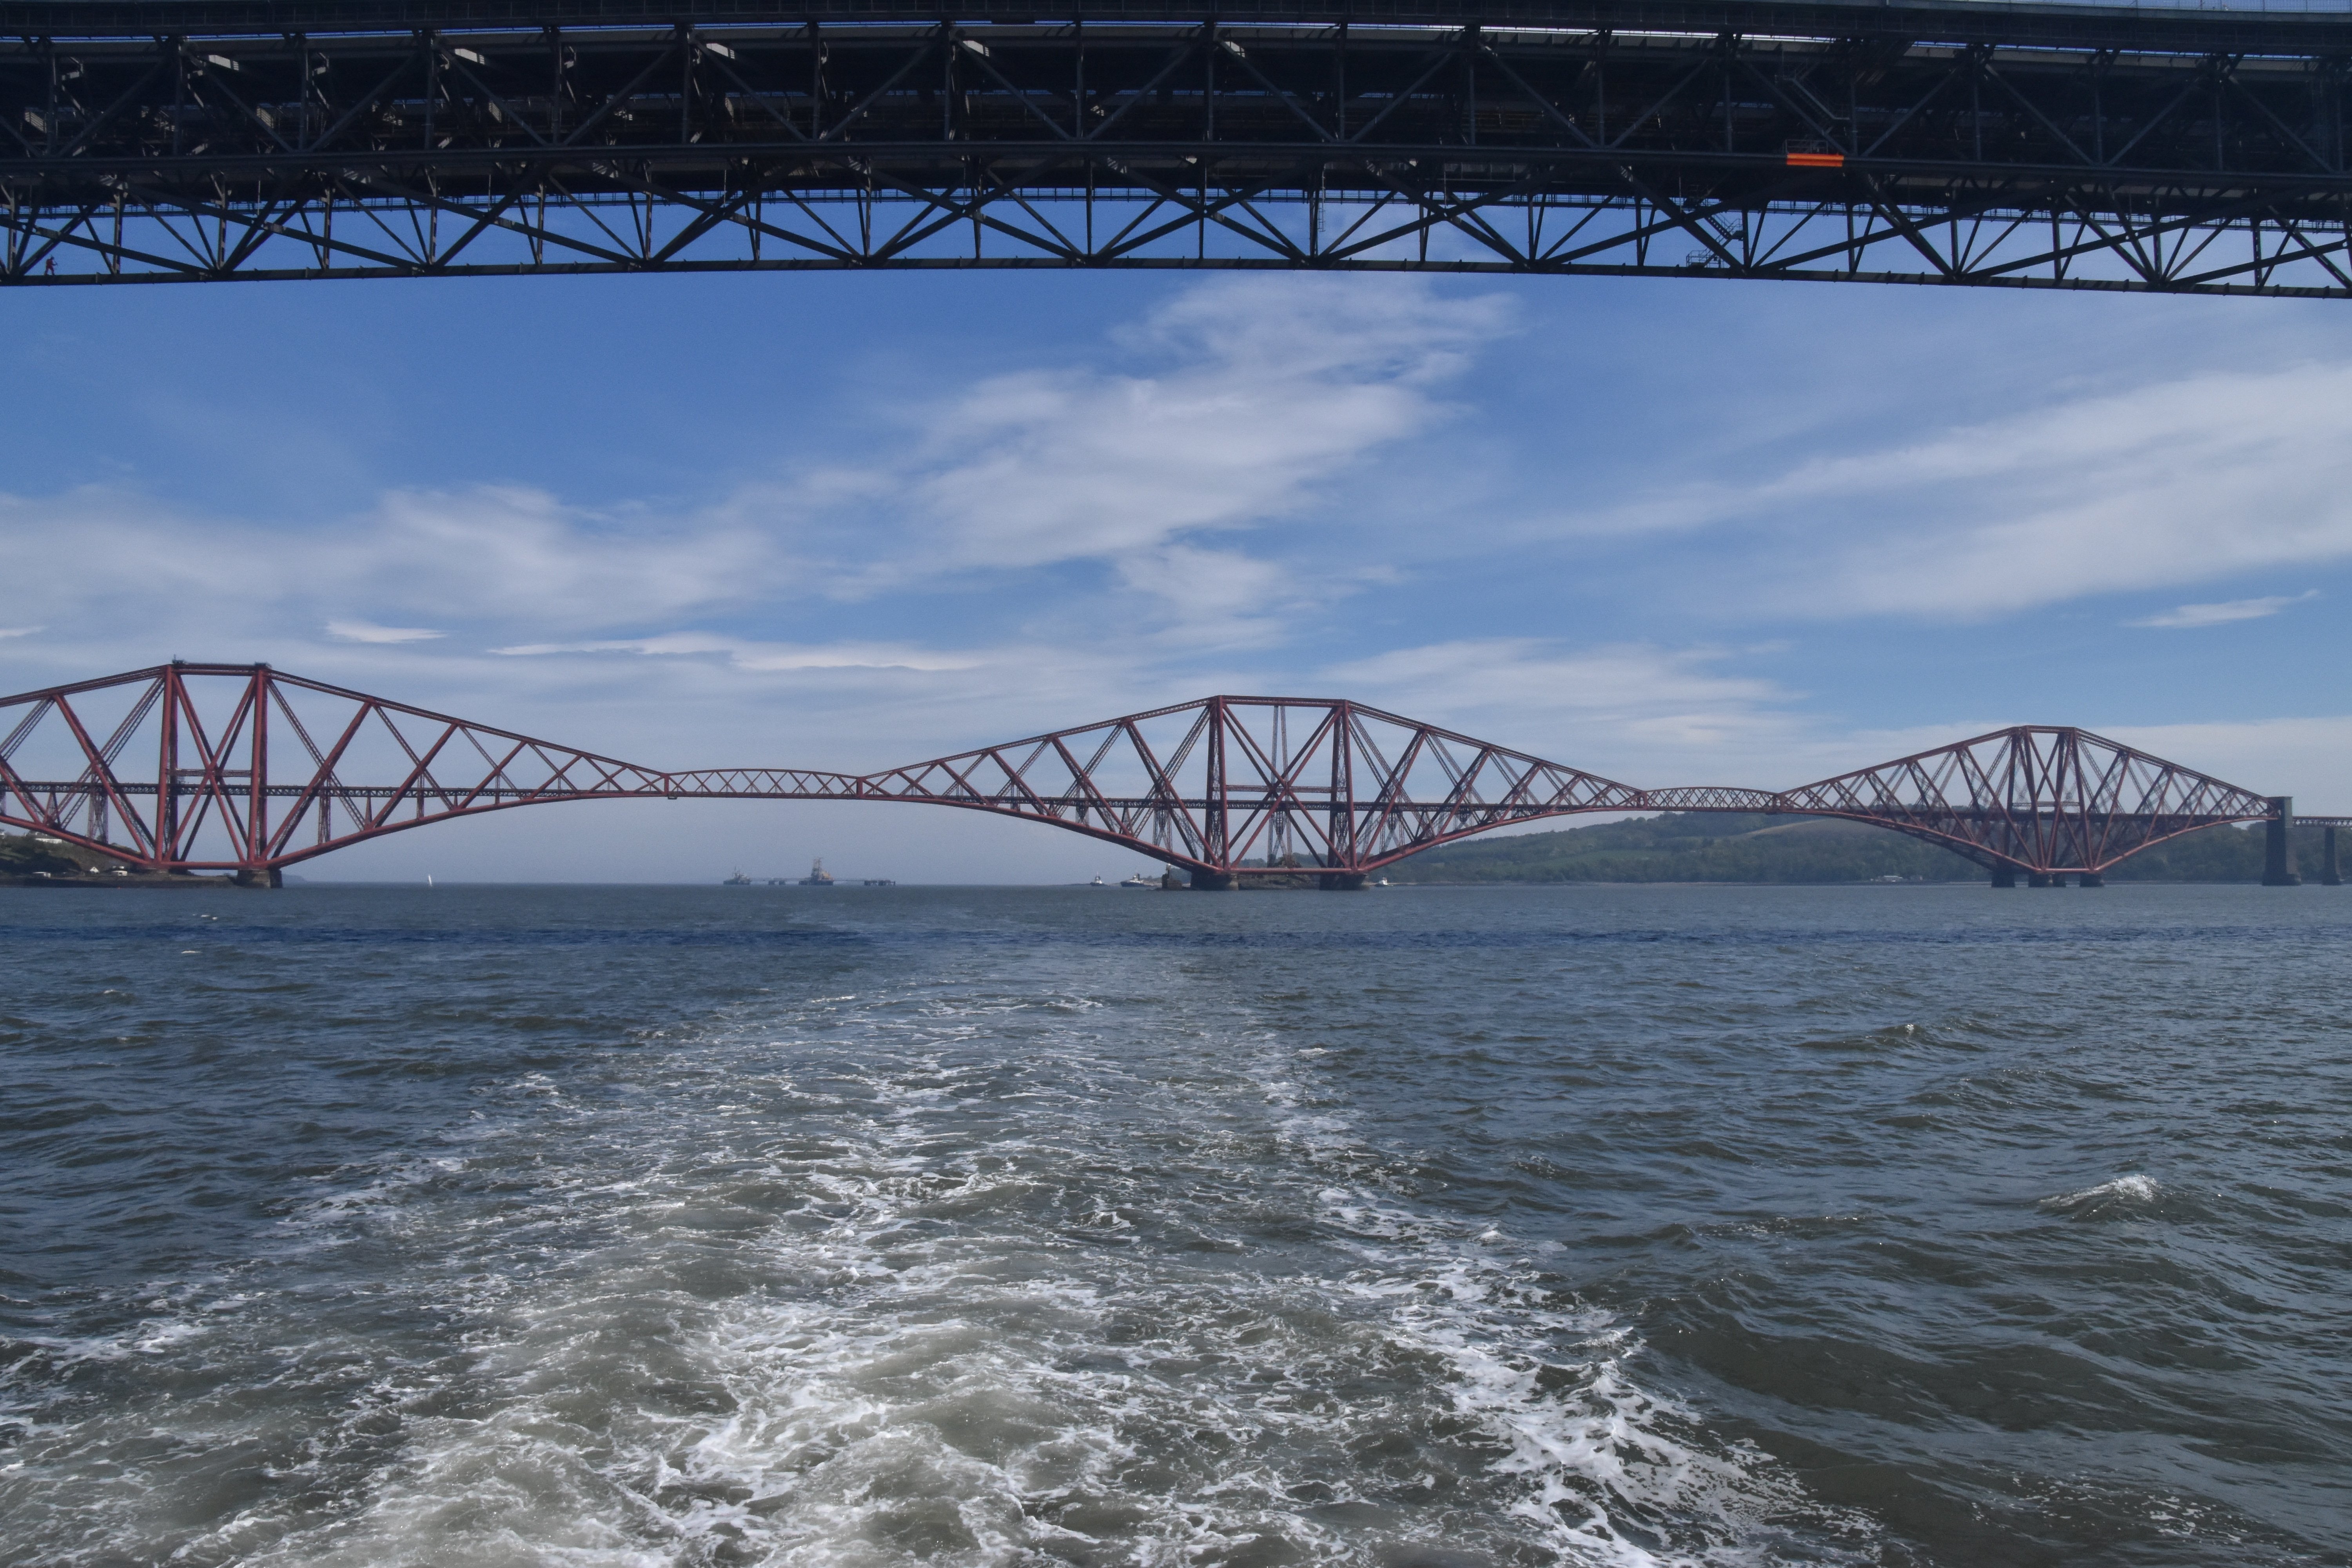


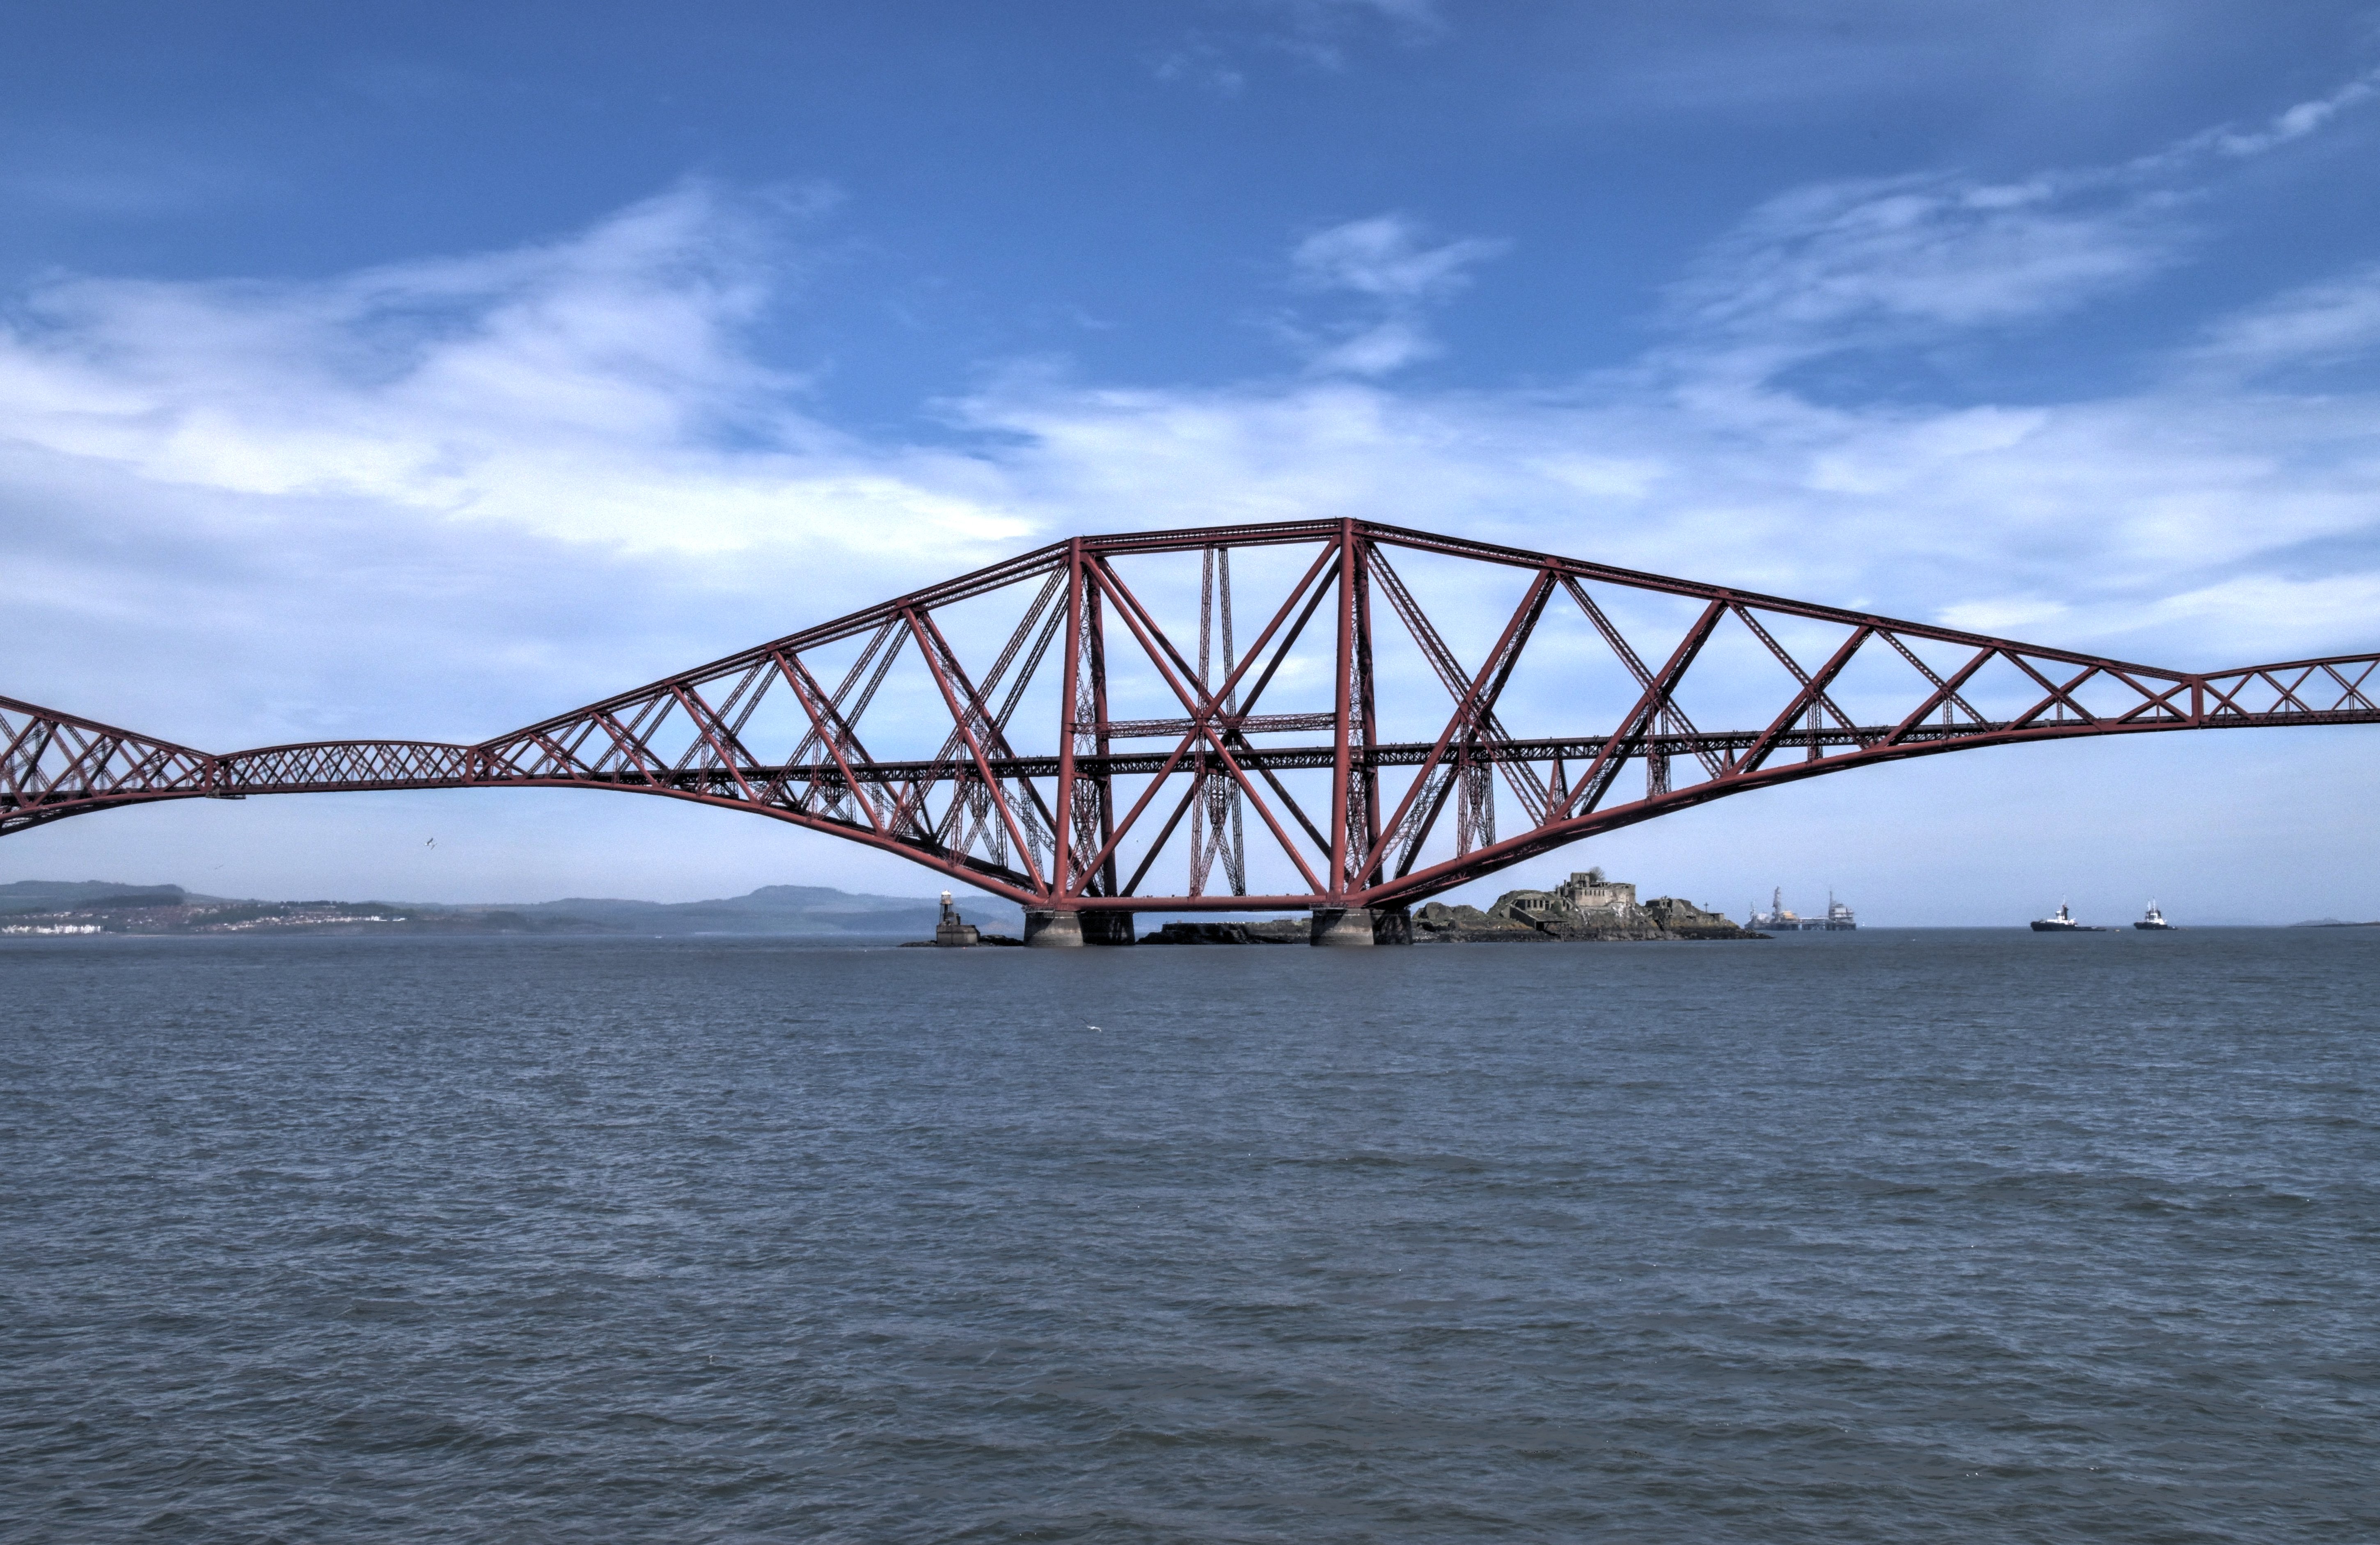


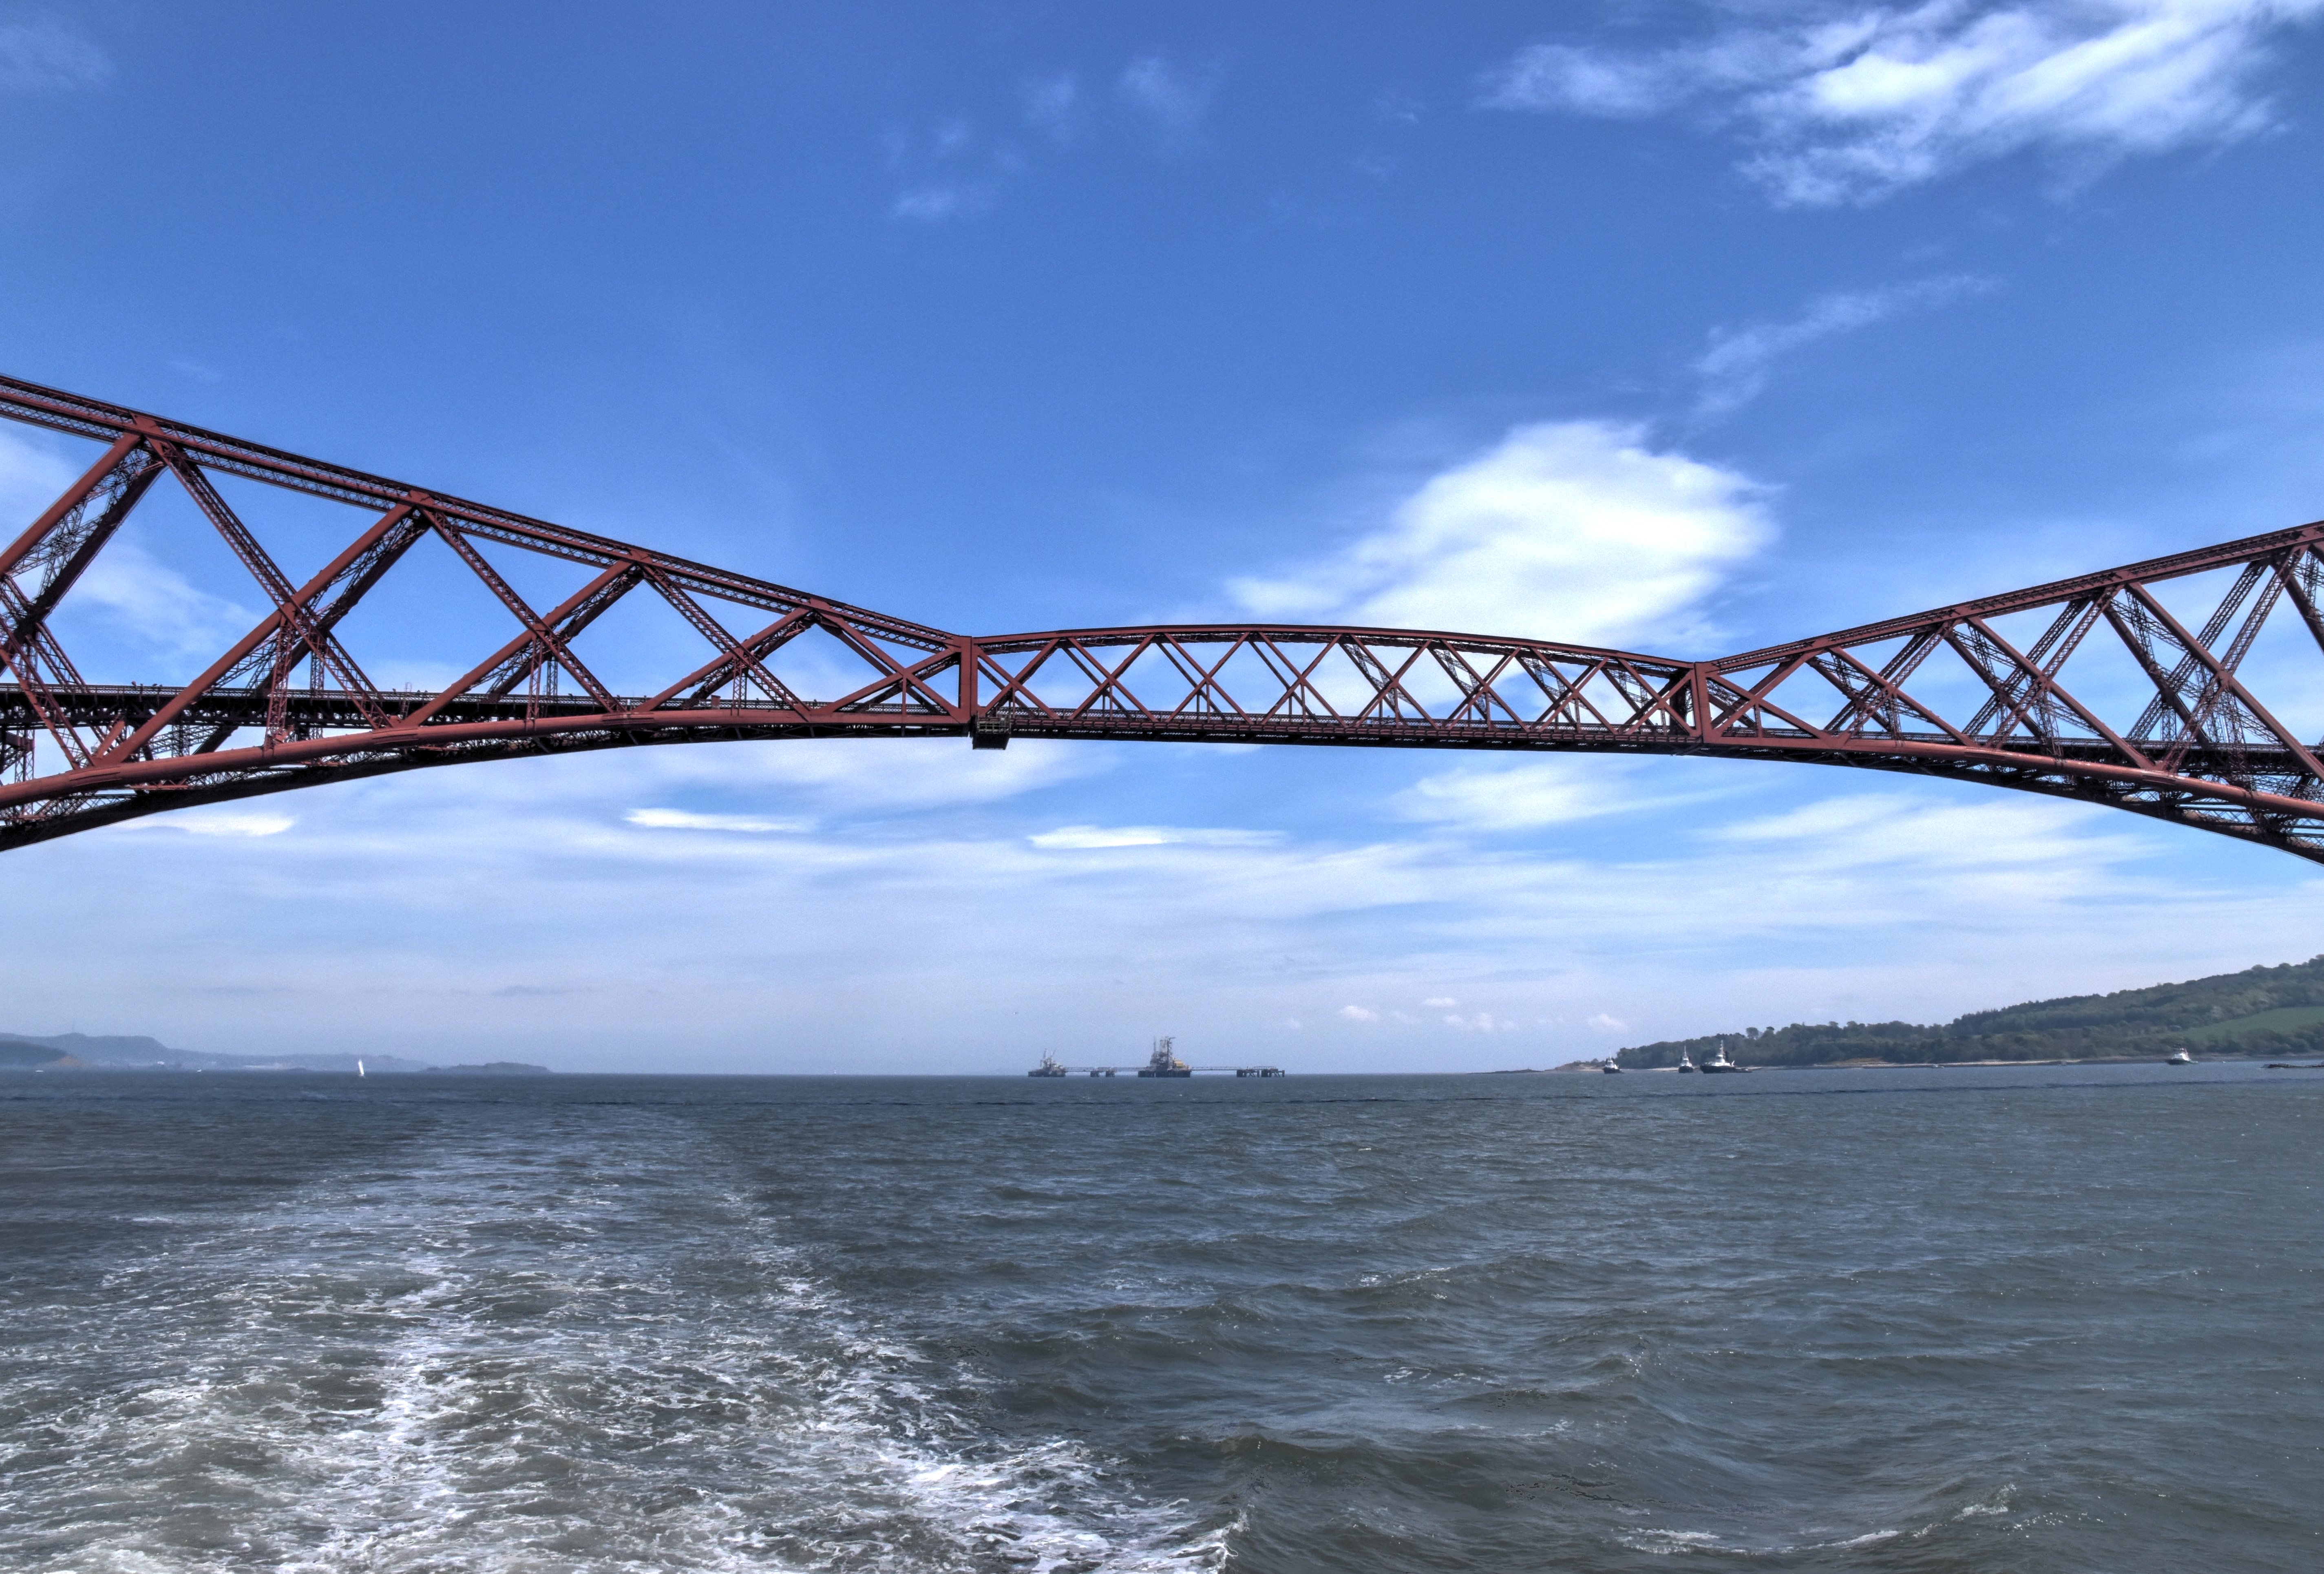
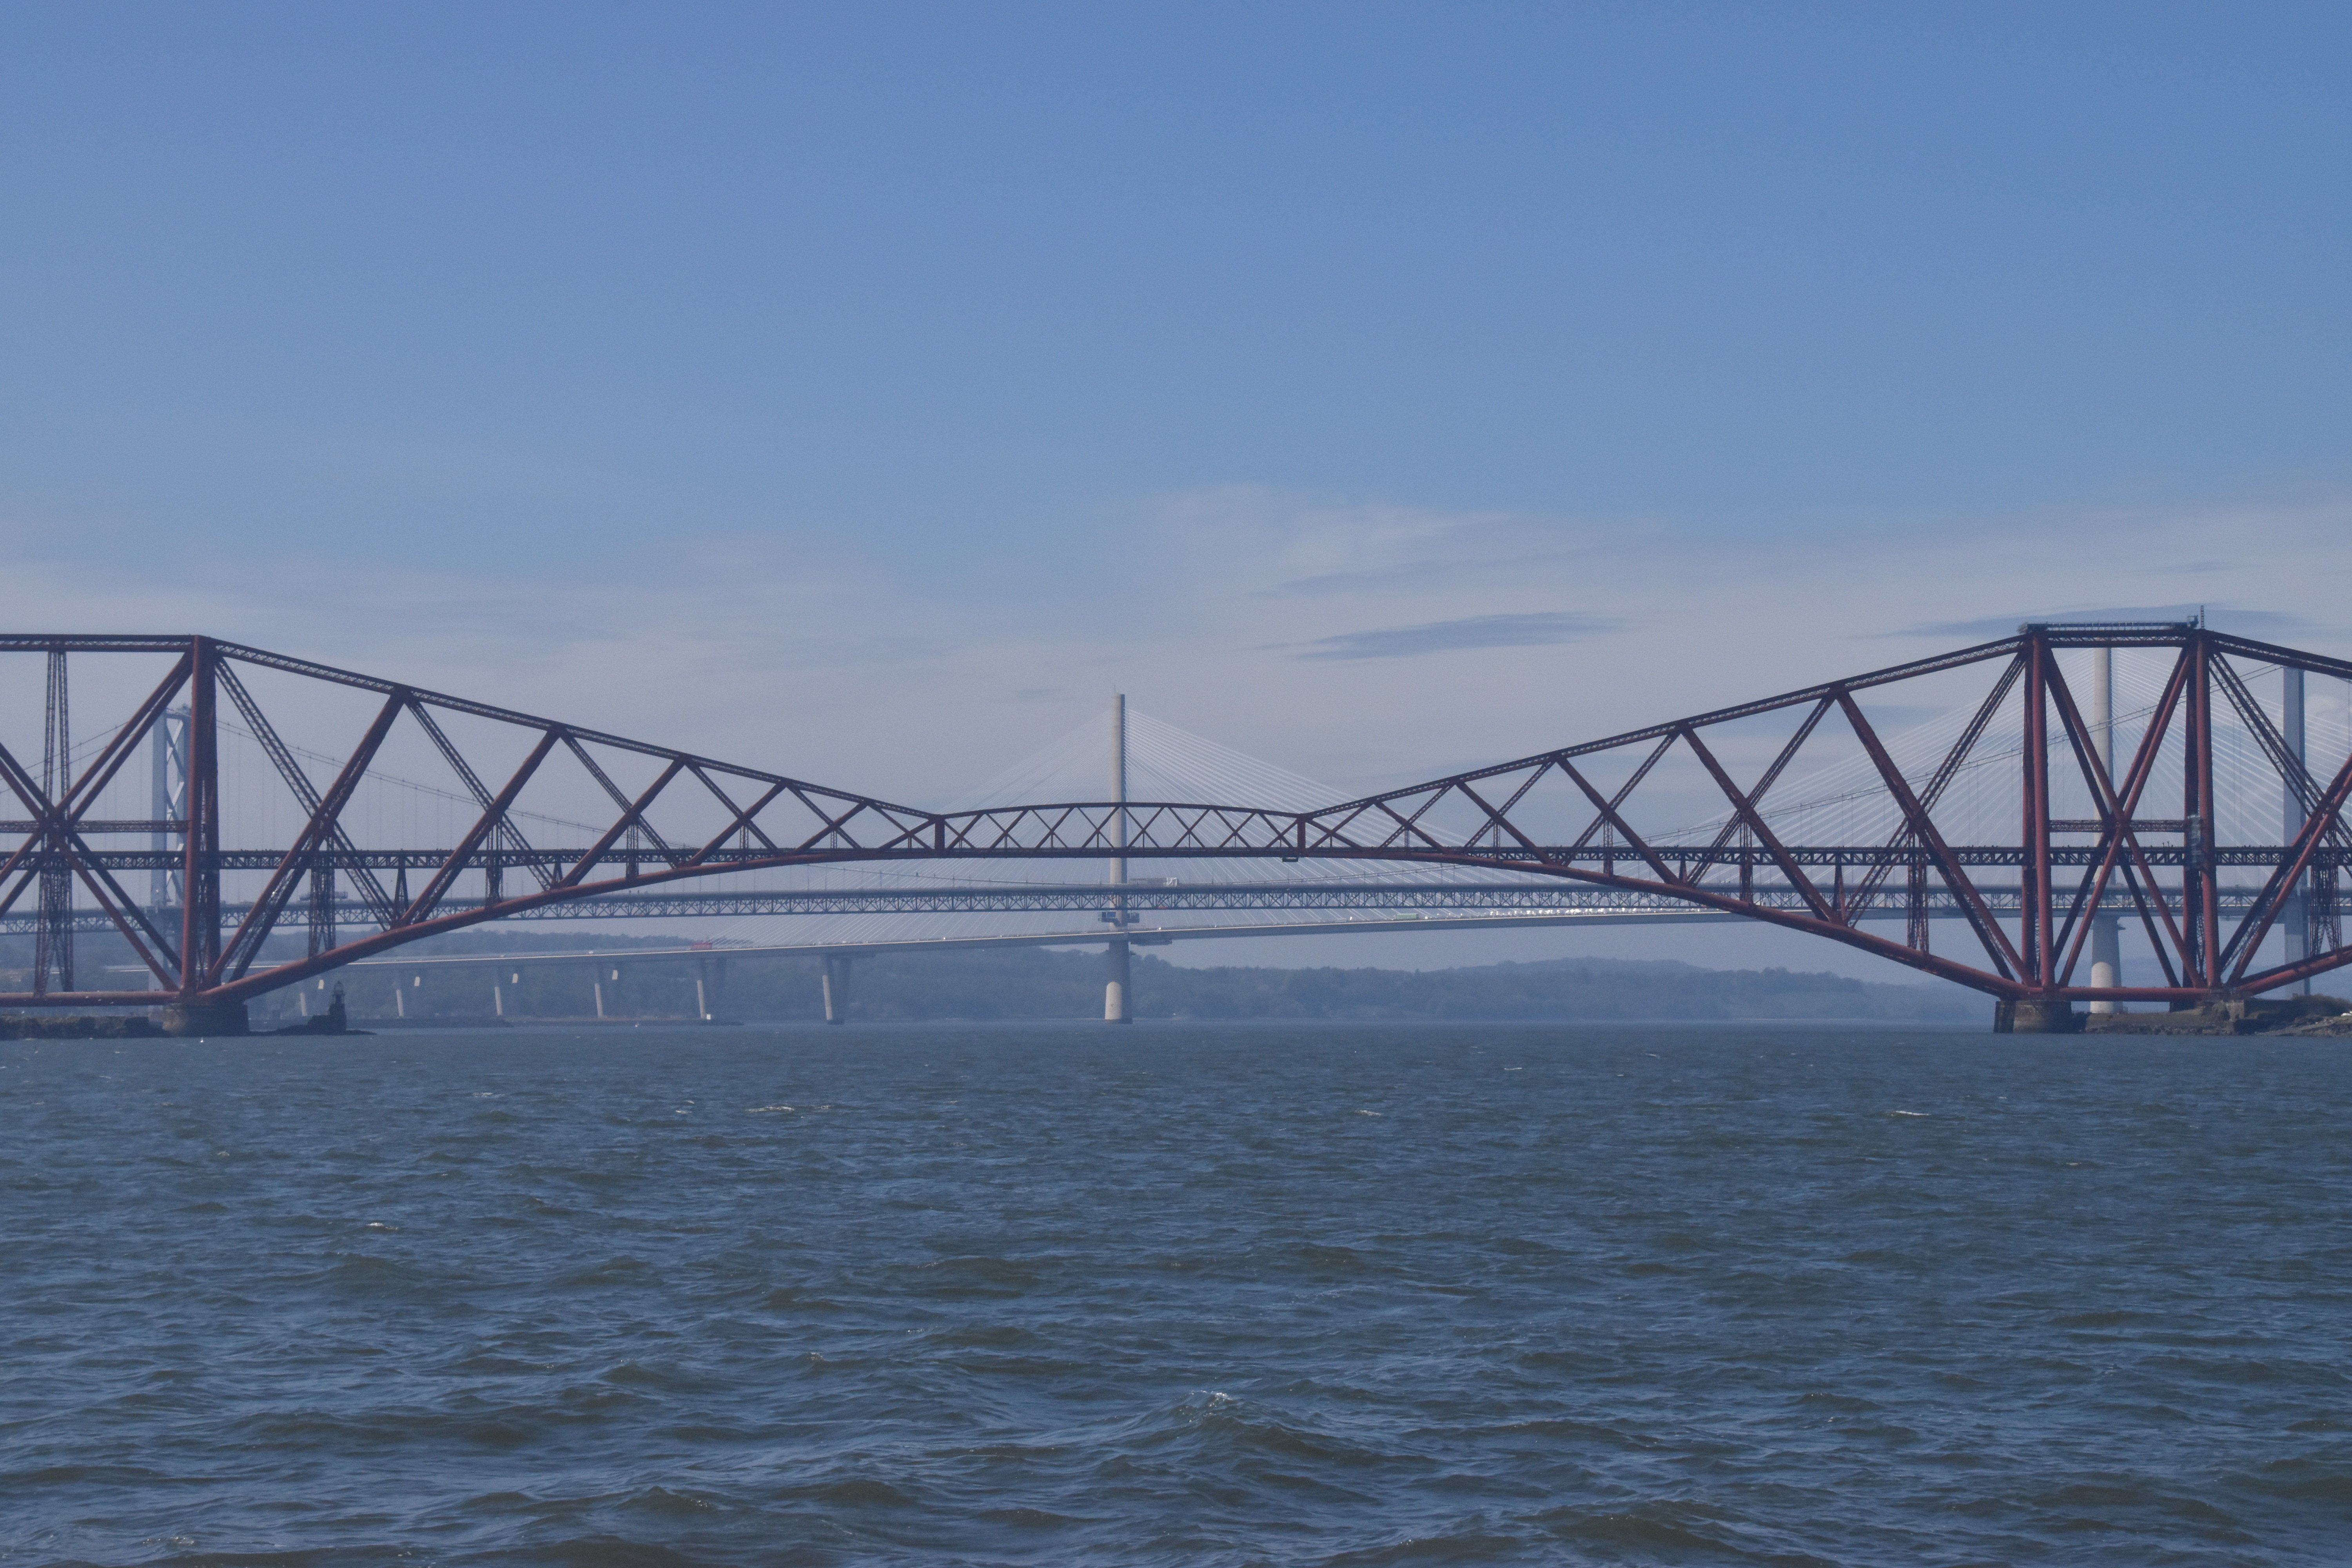
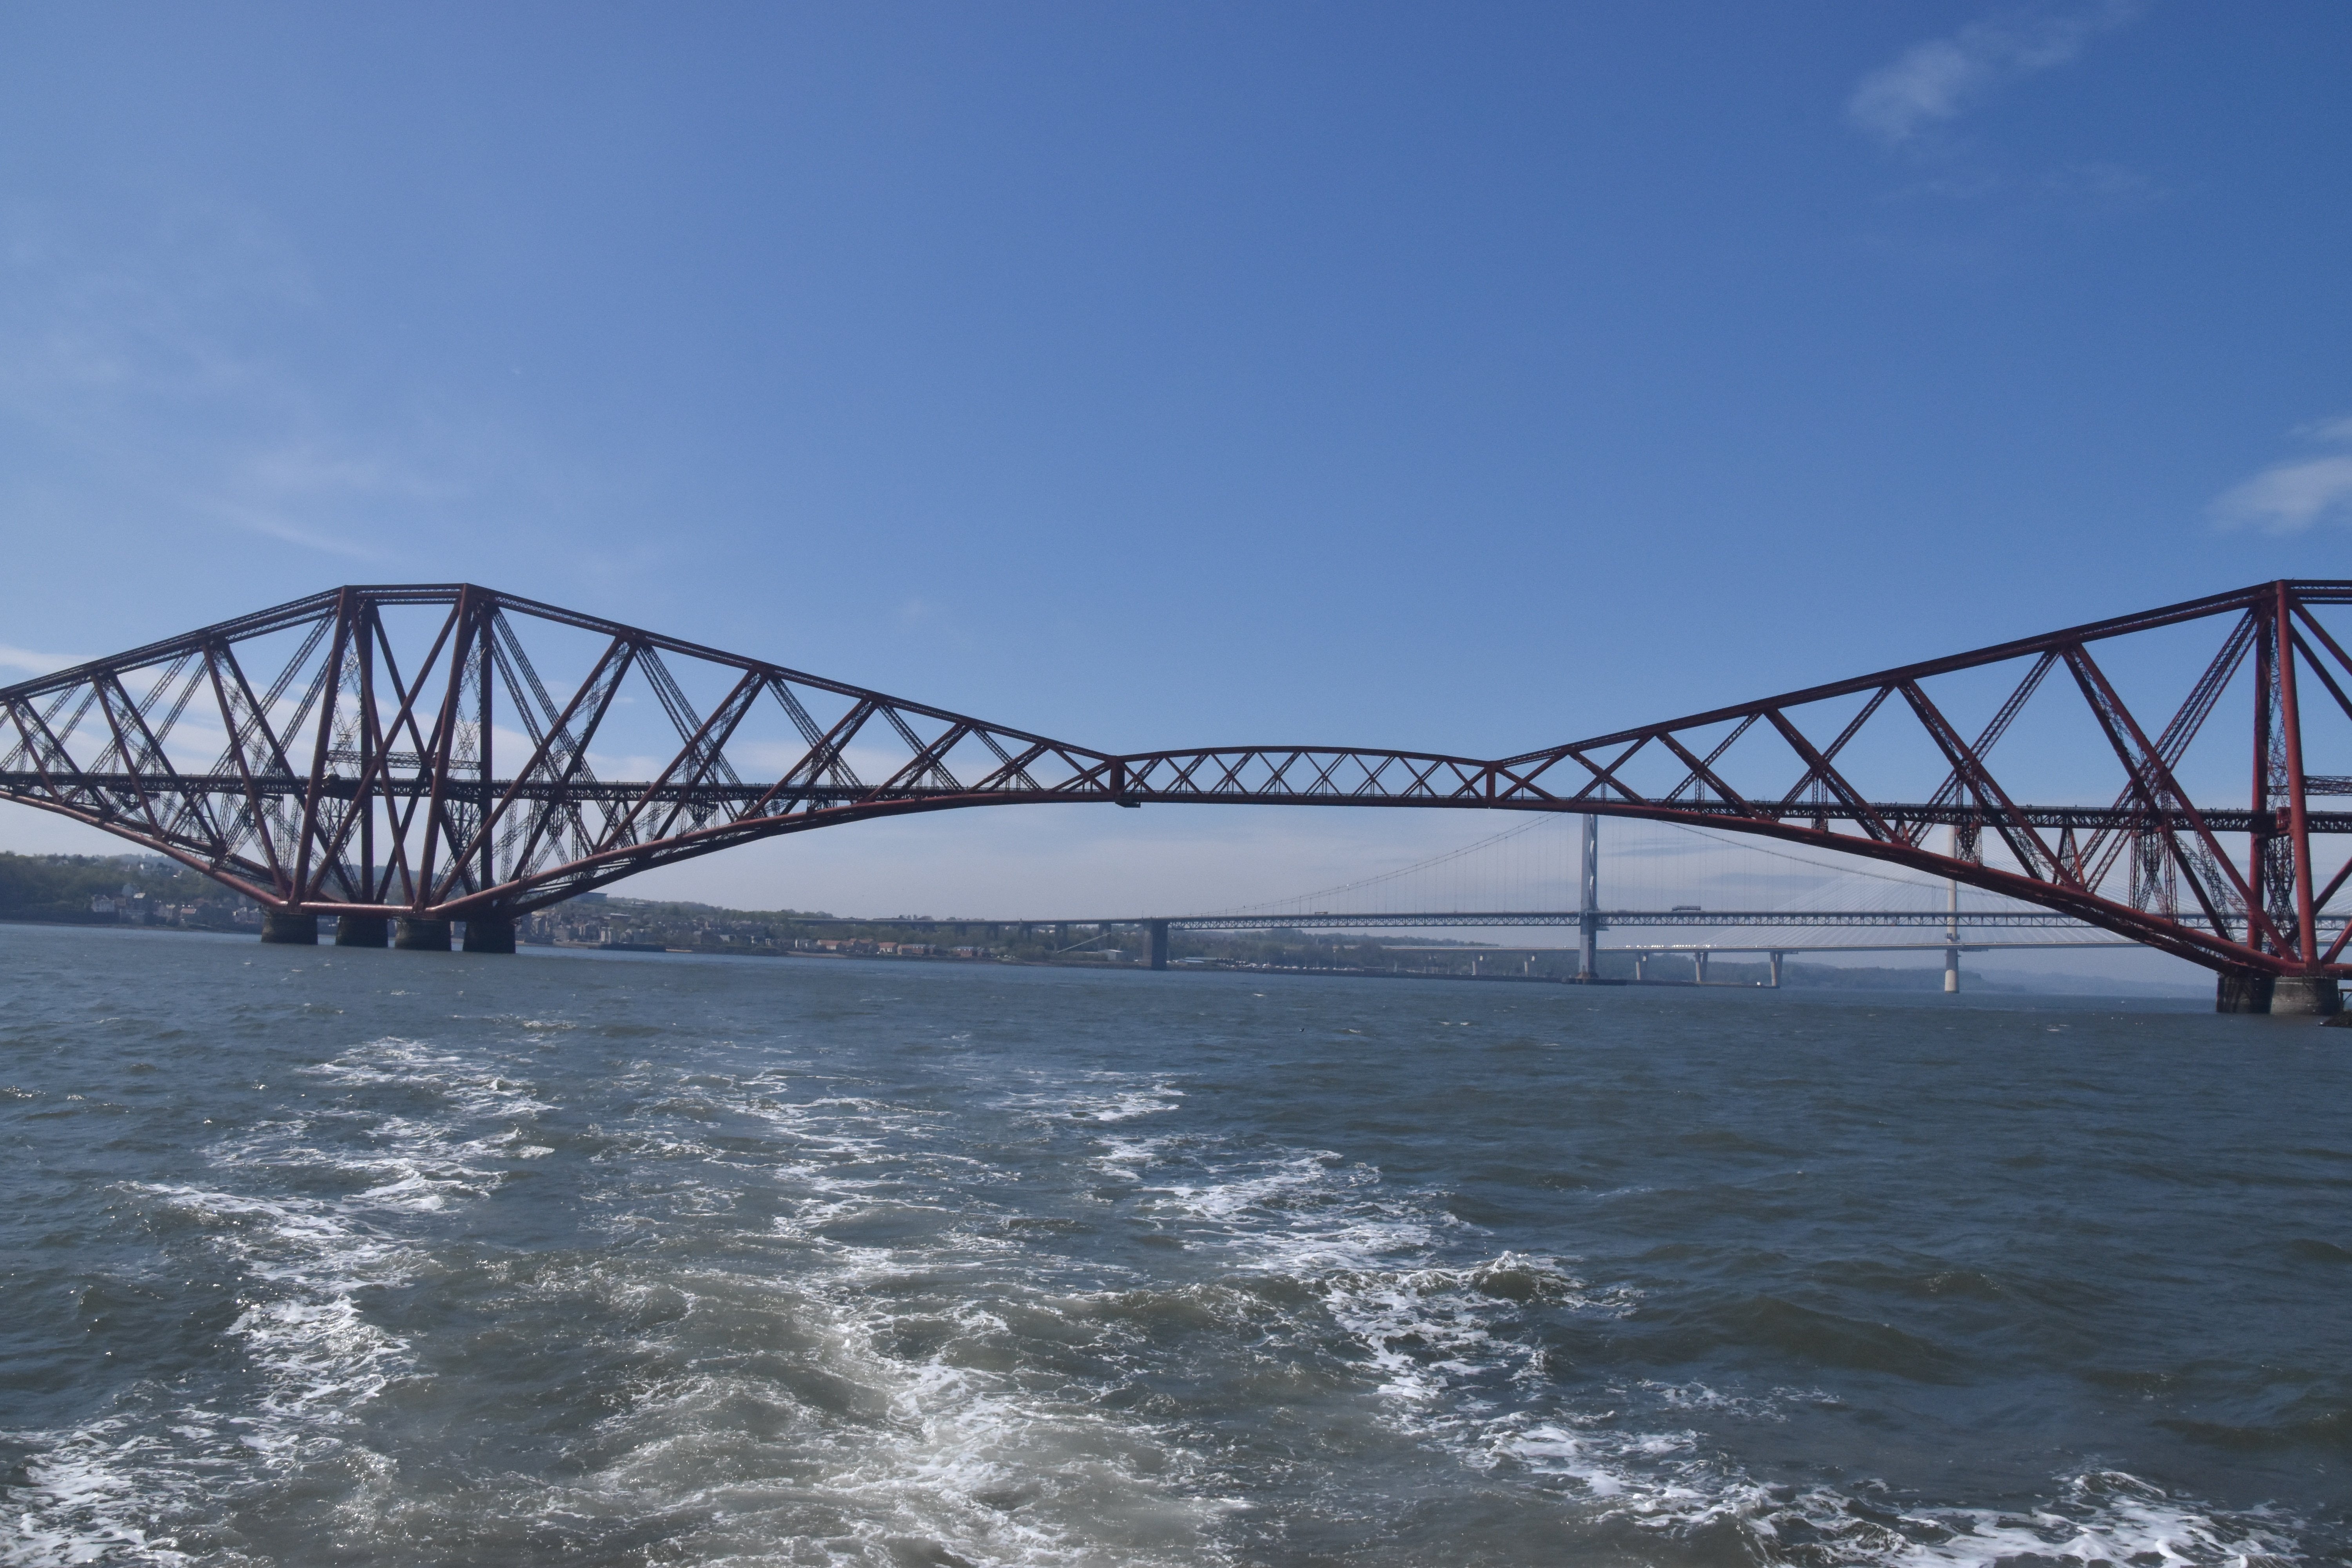
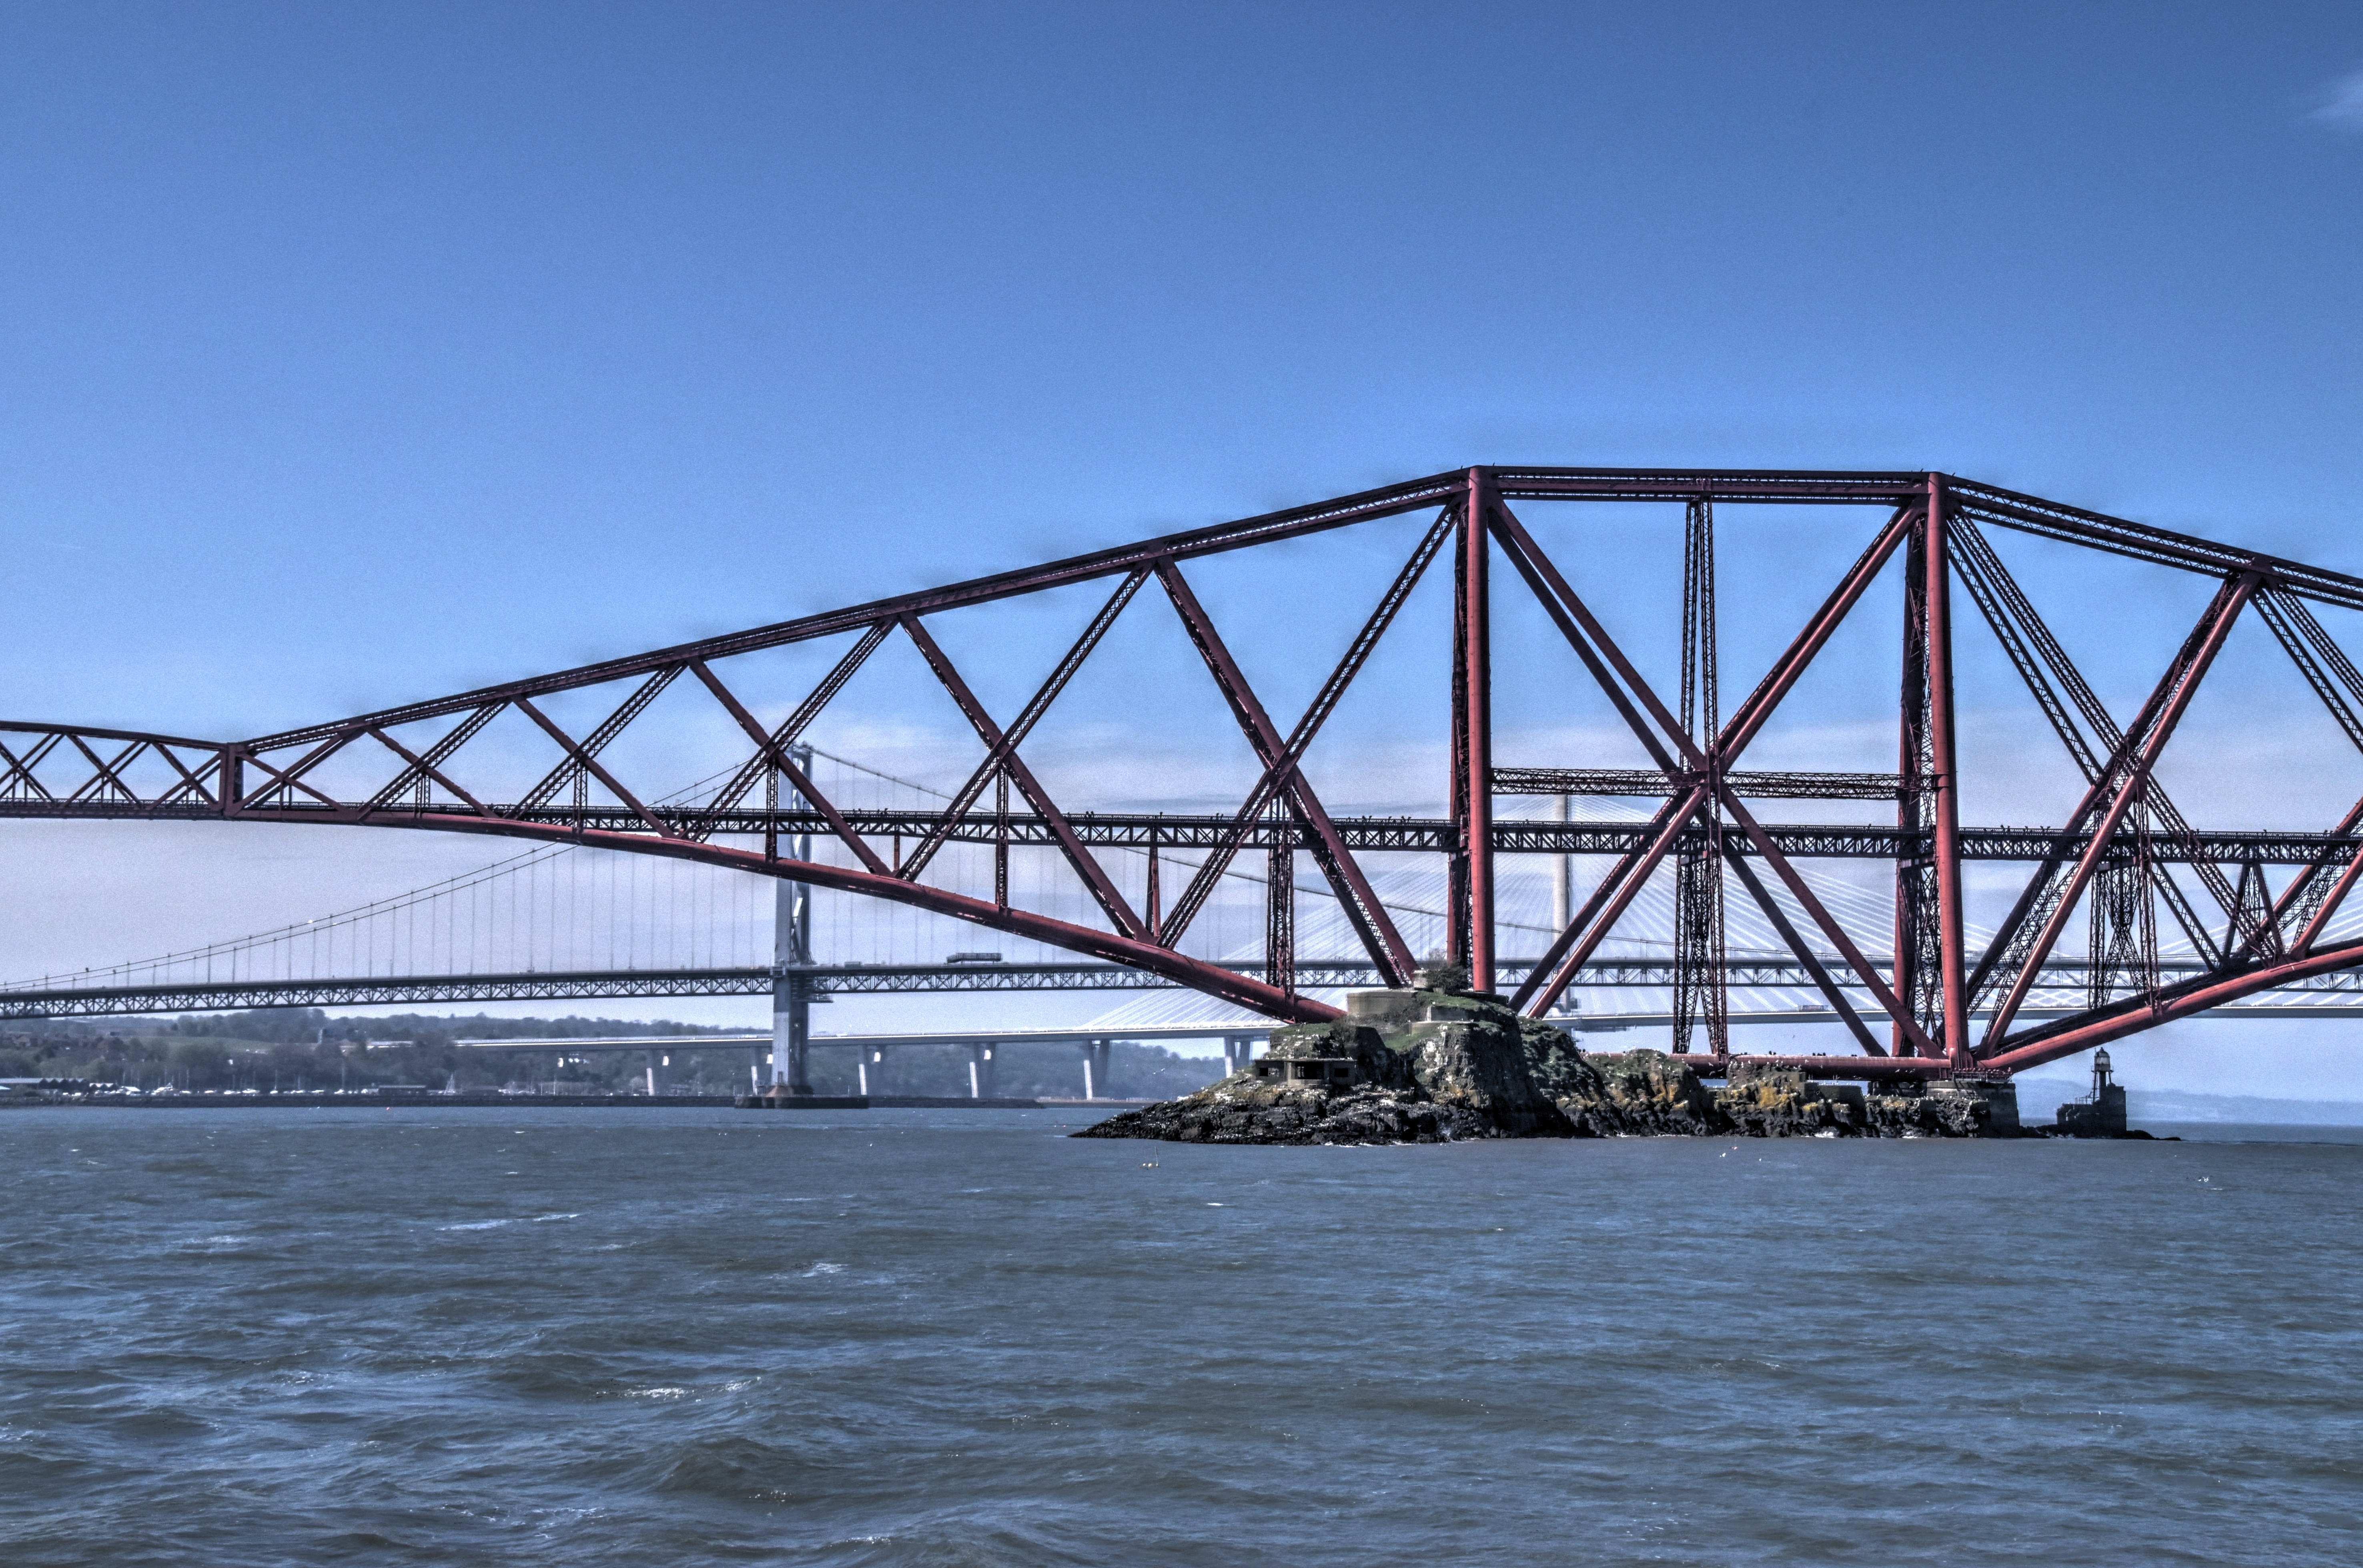
Partial west elevation views of cantilever spans from boat.
![]()


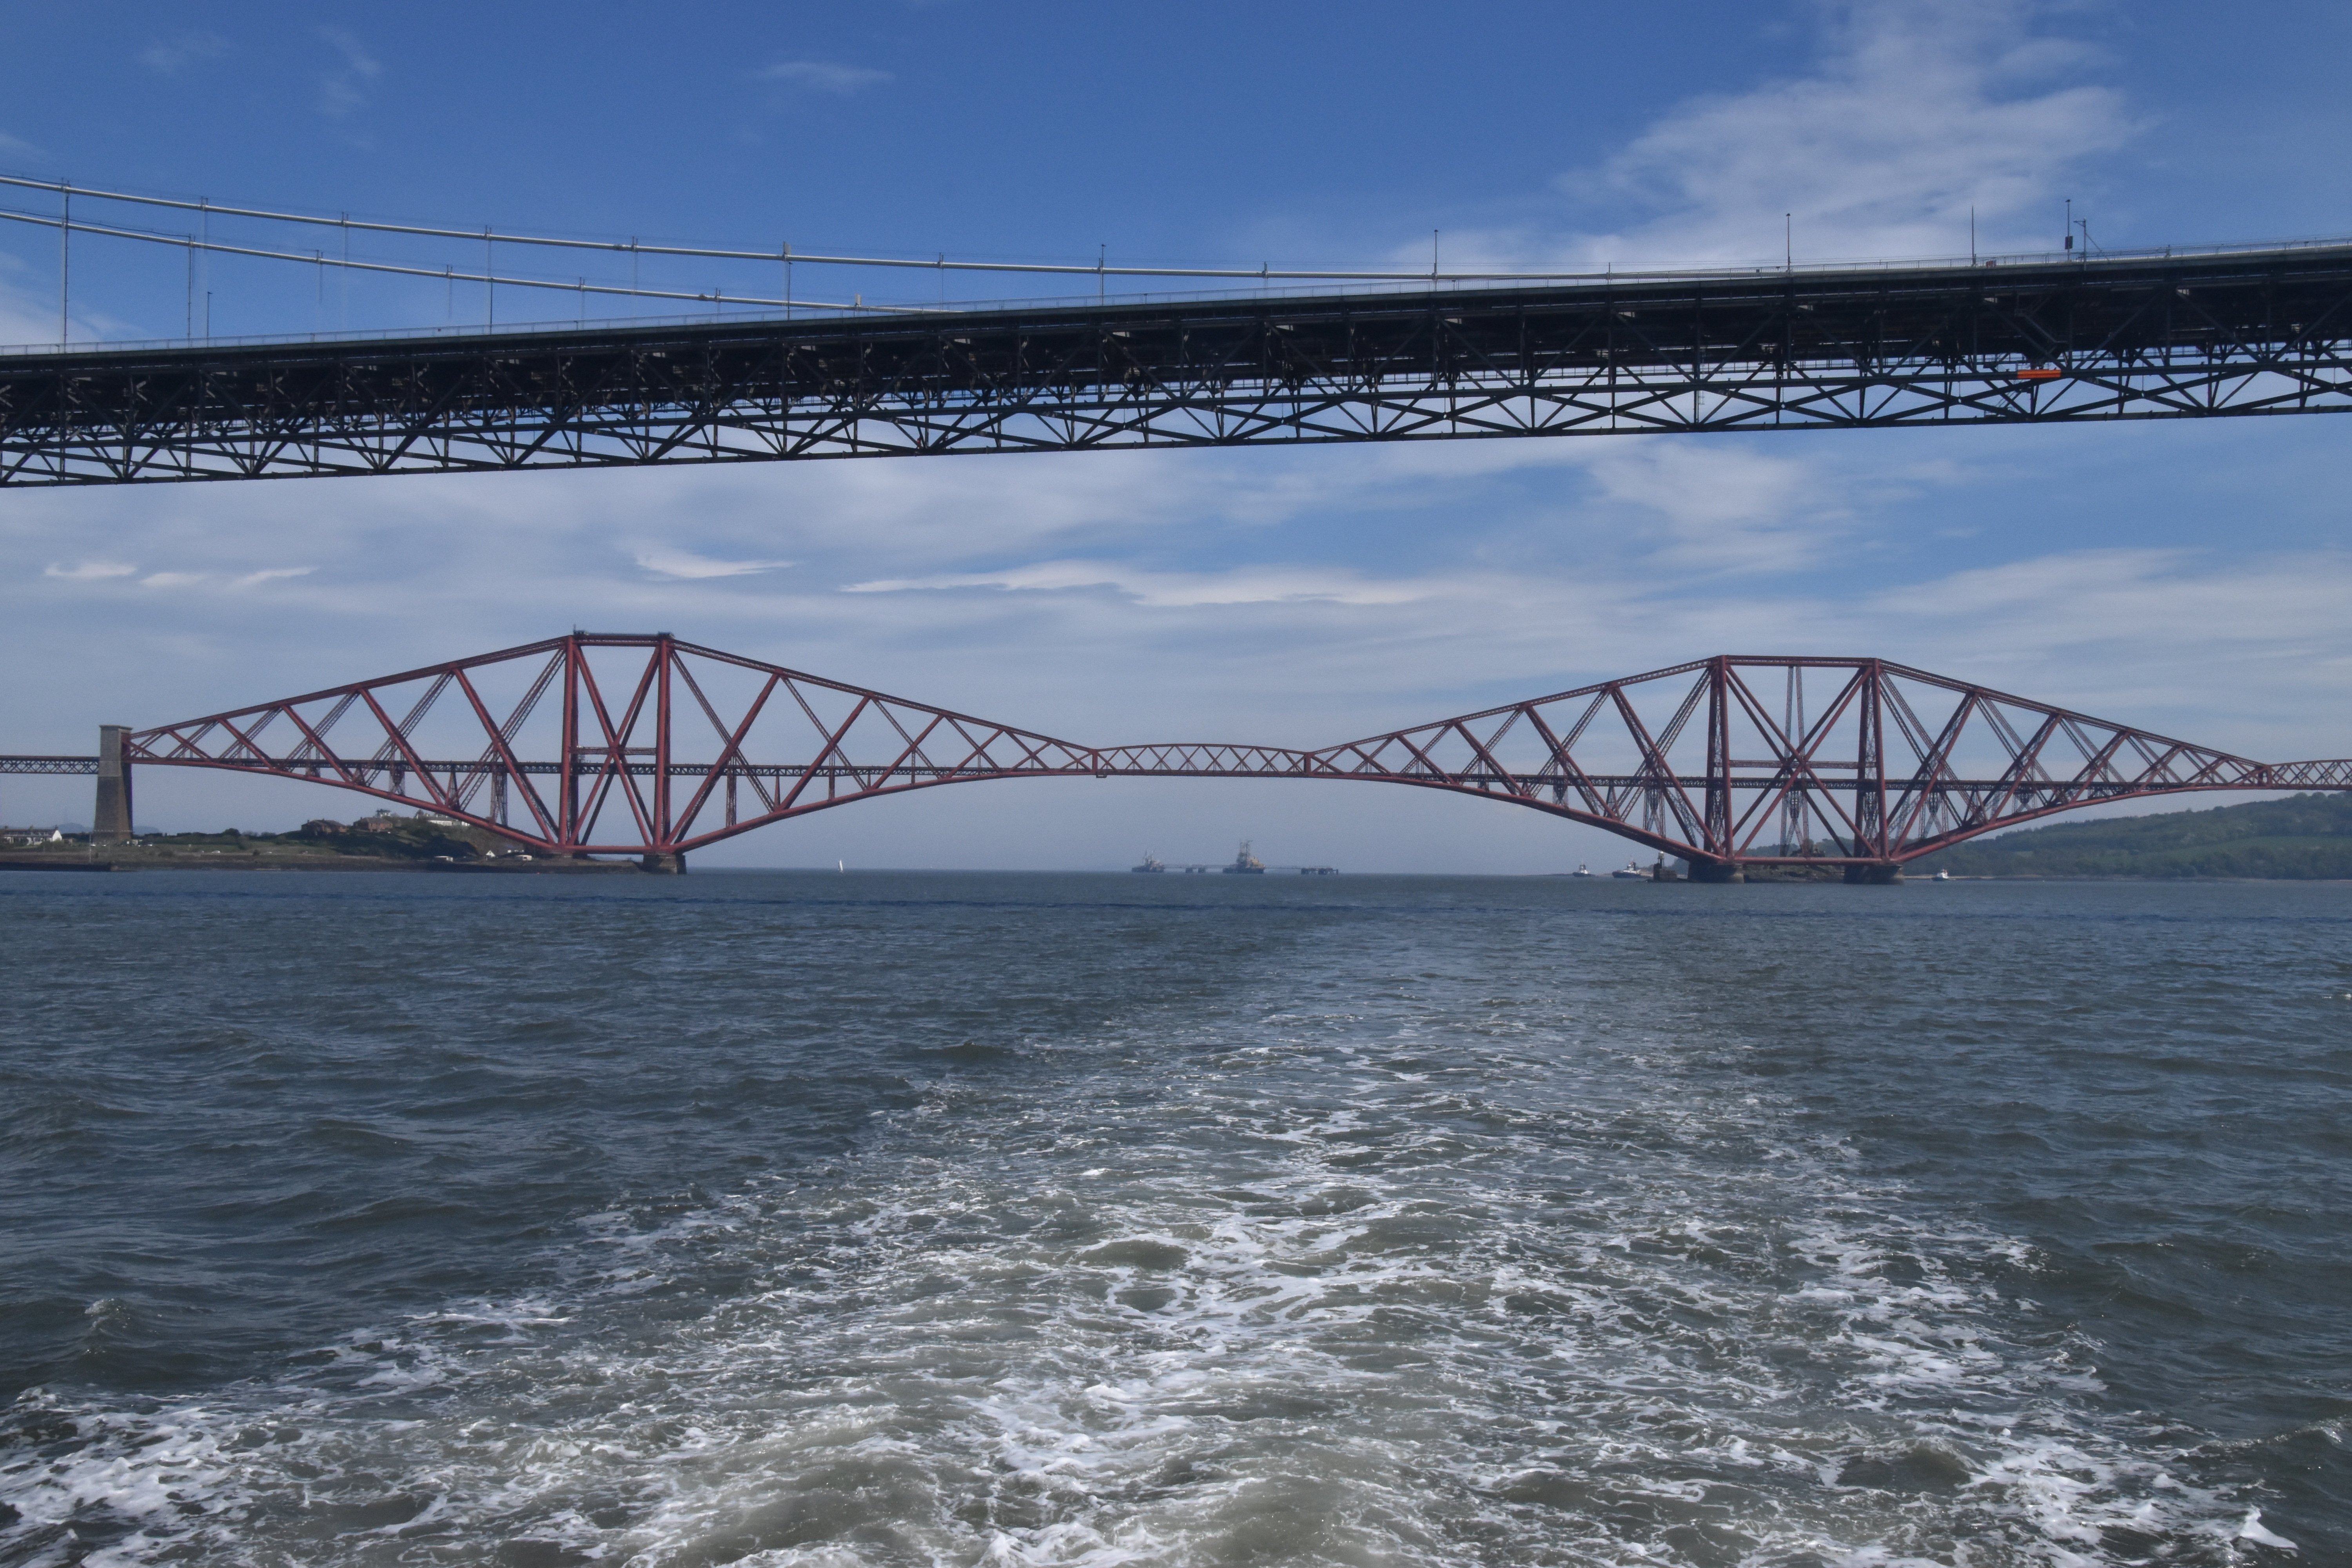
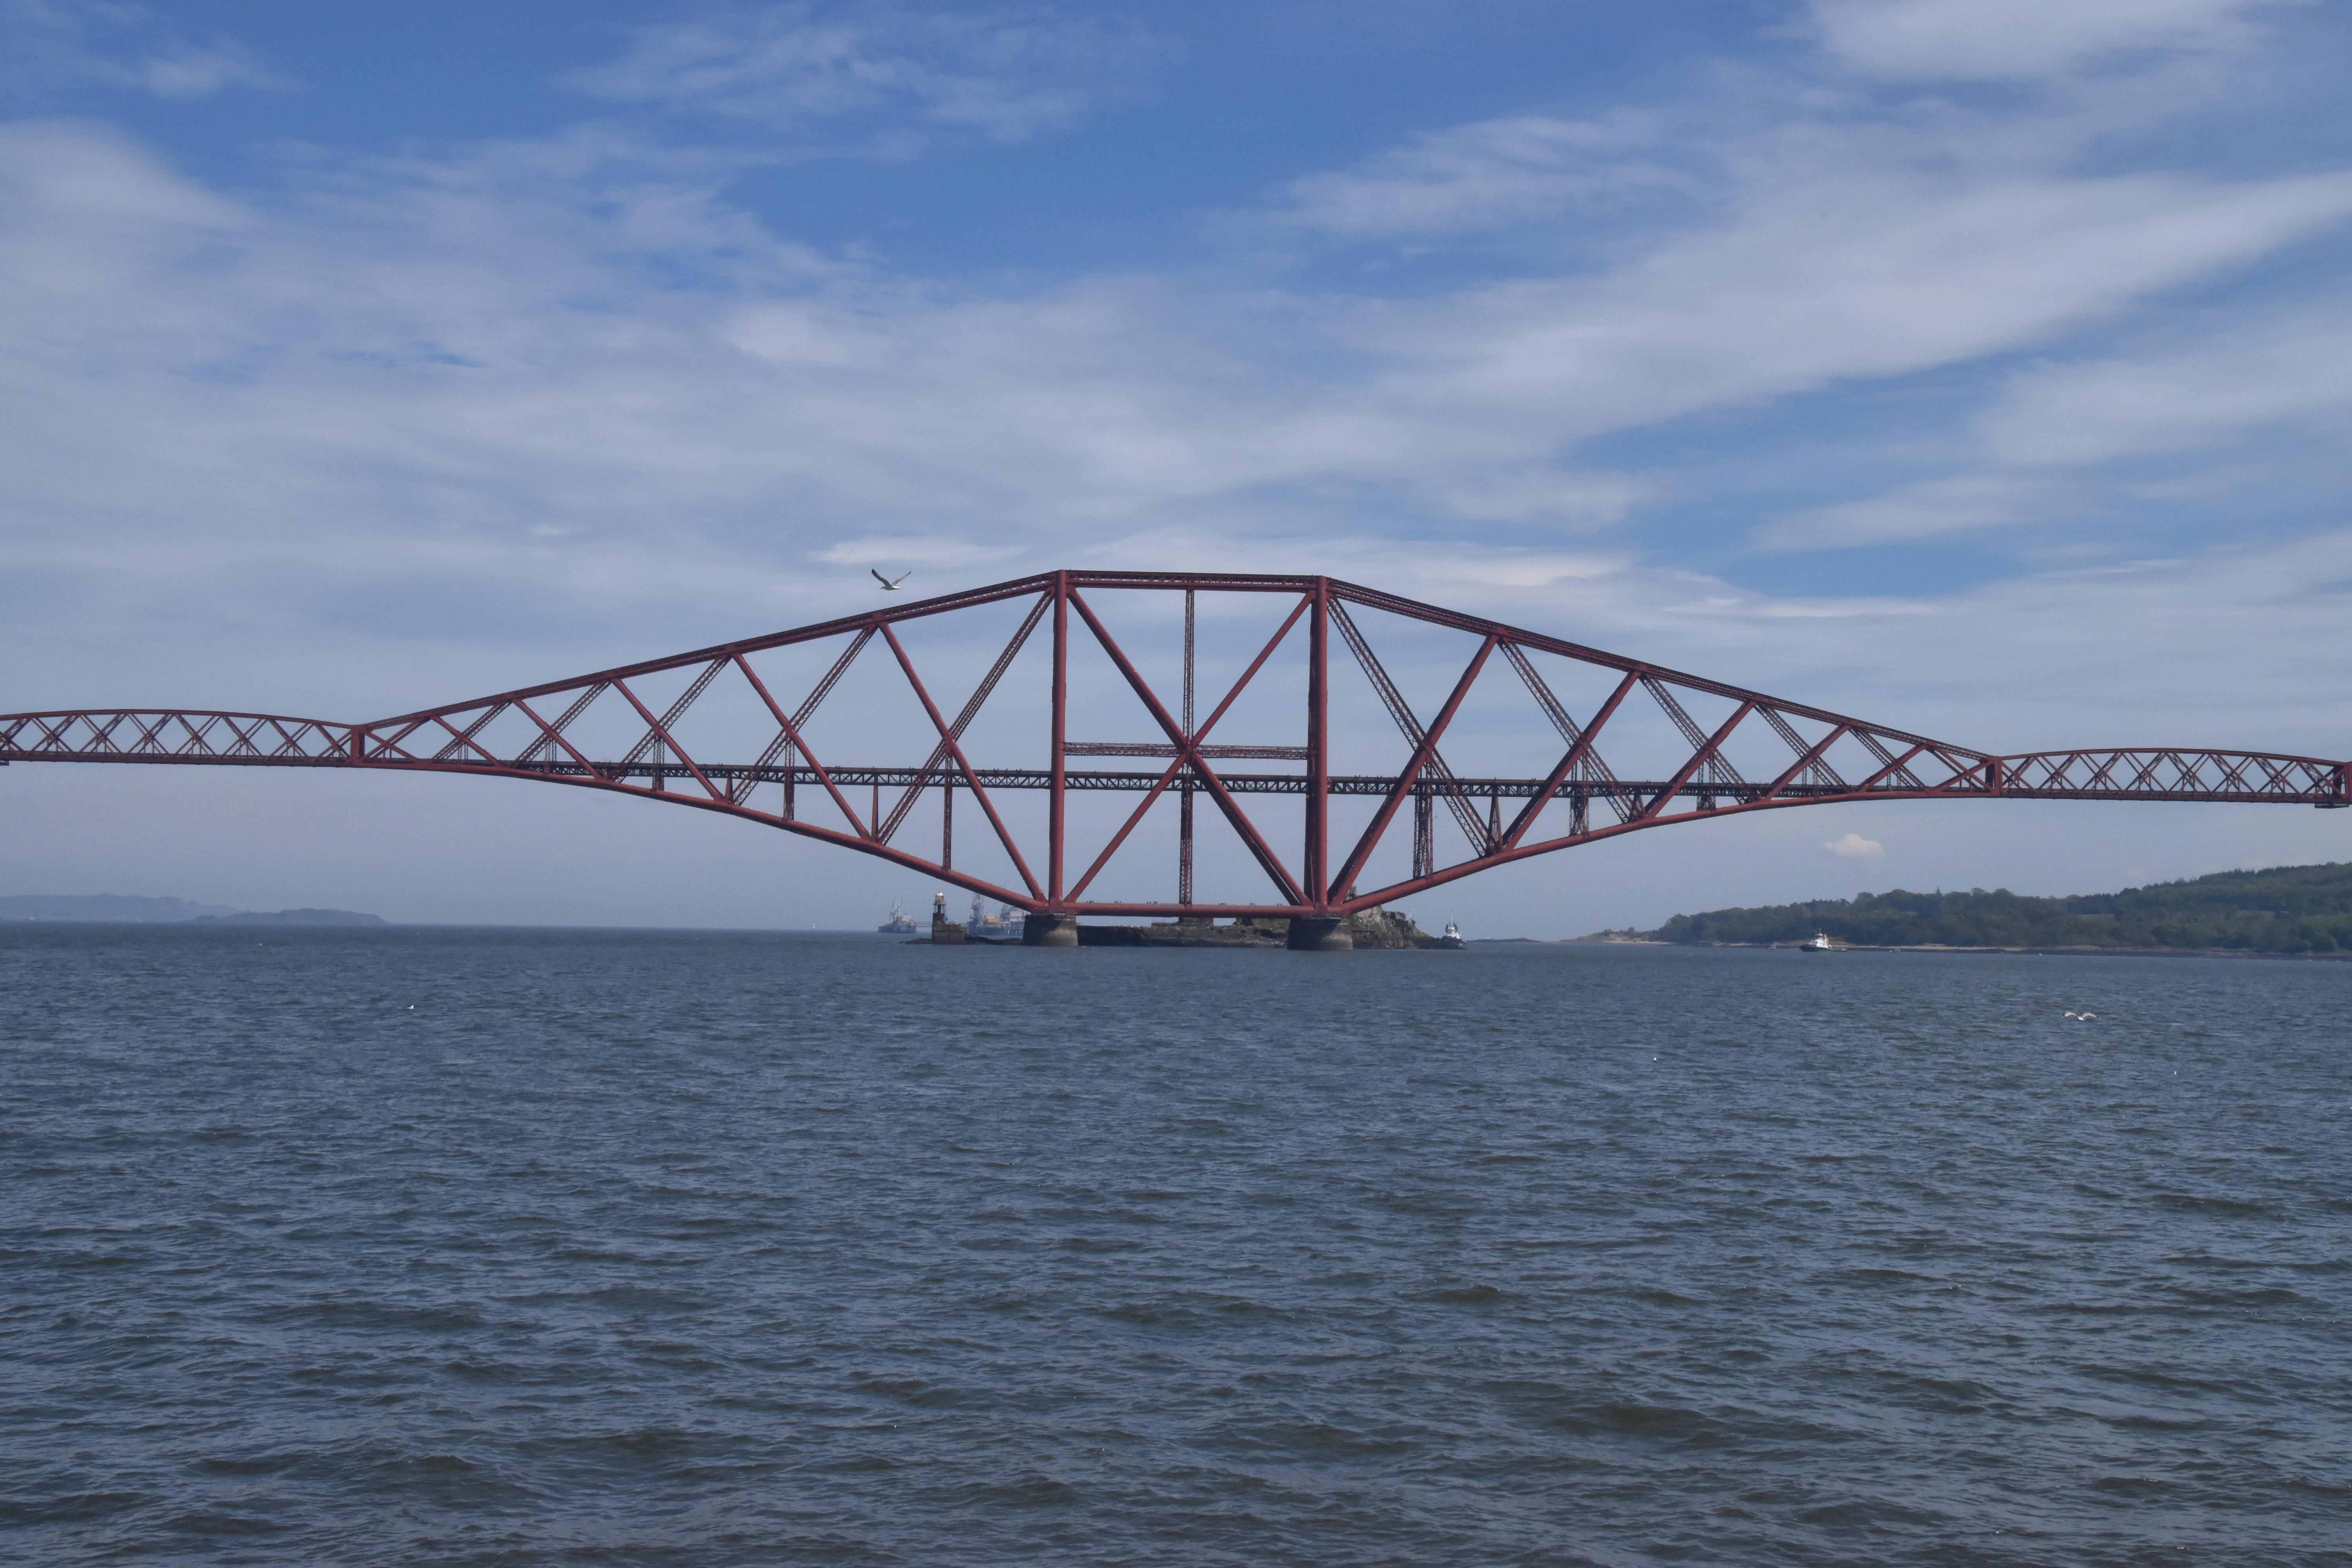
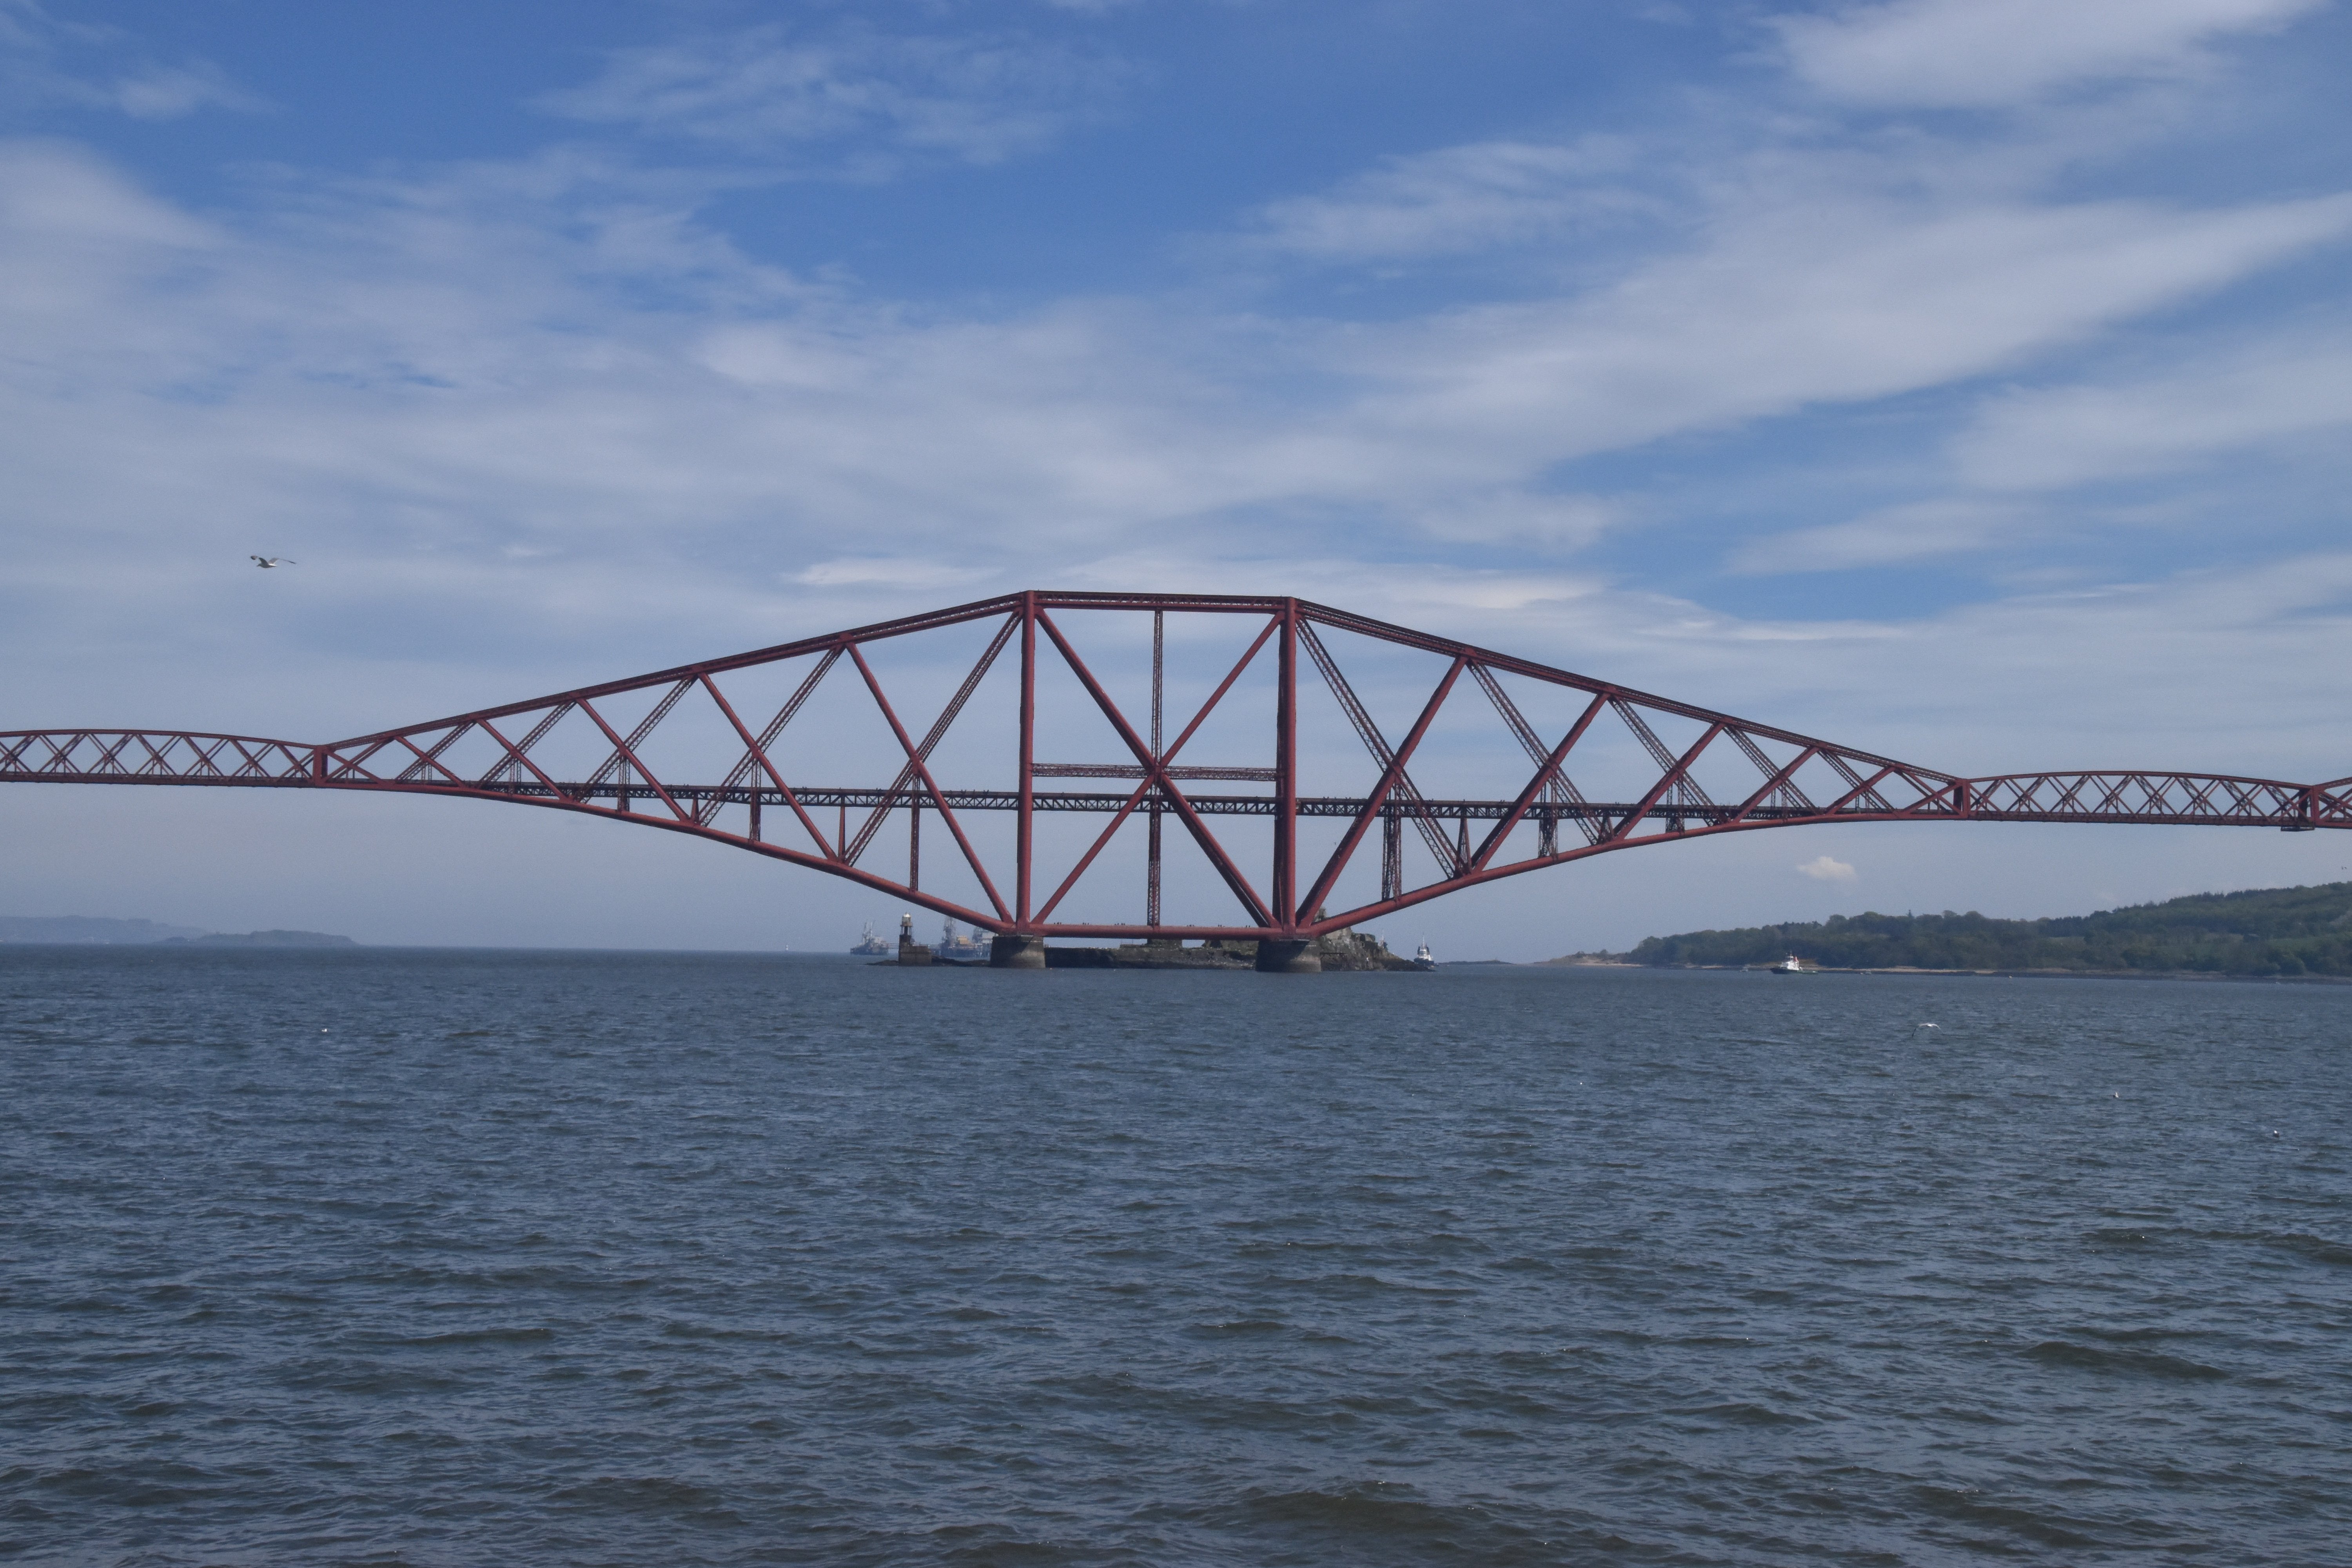
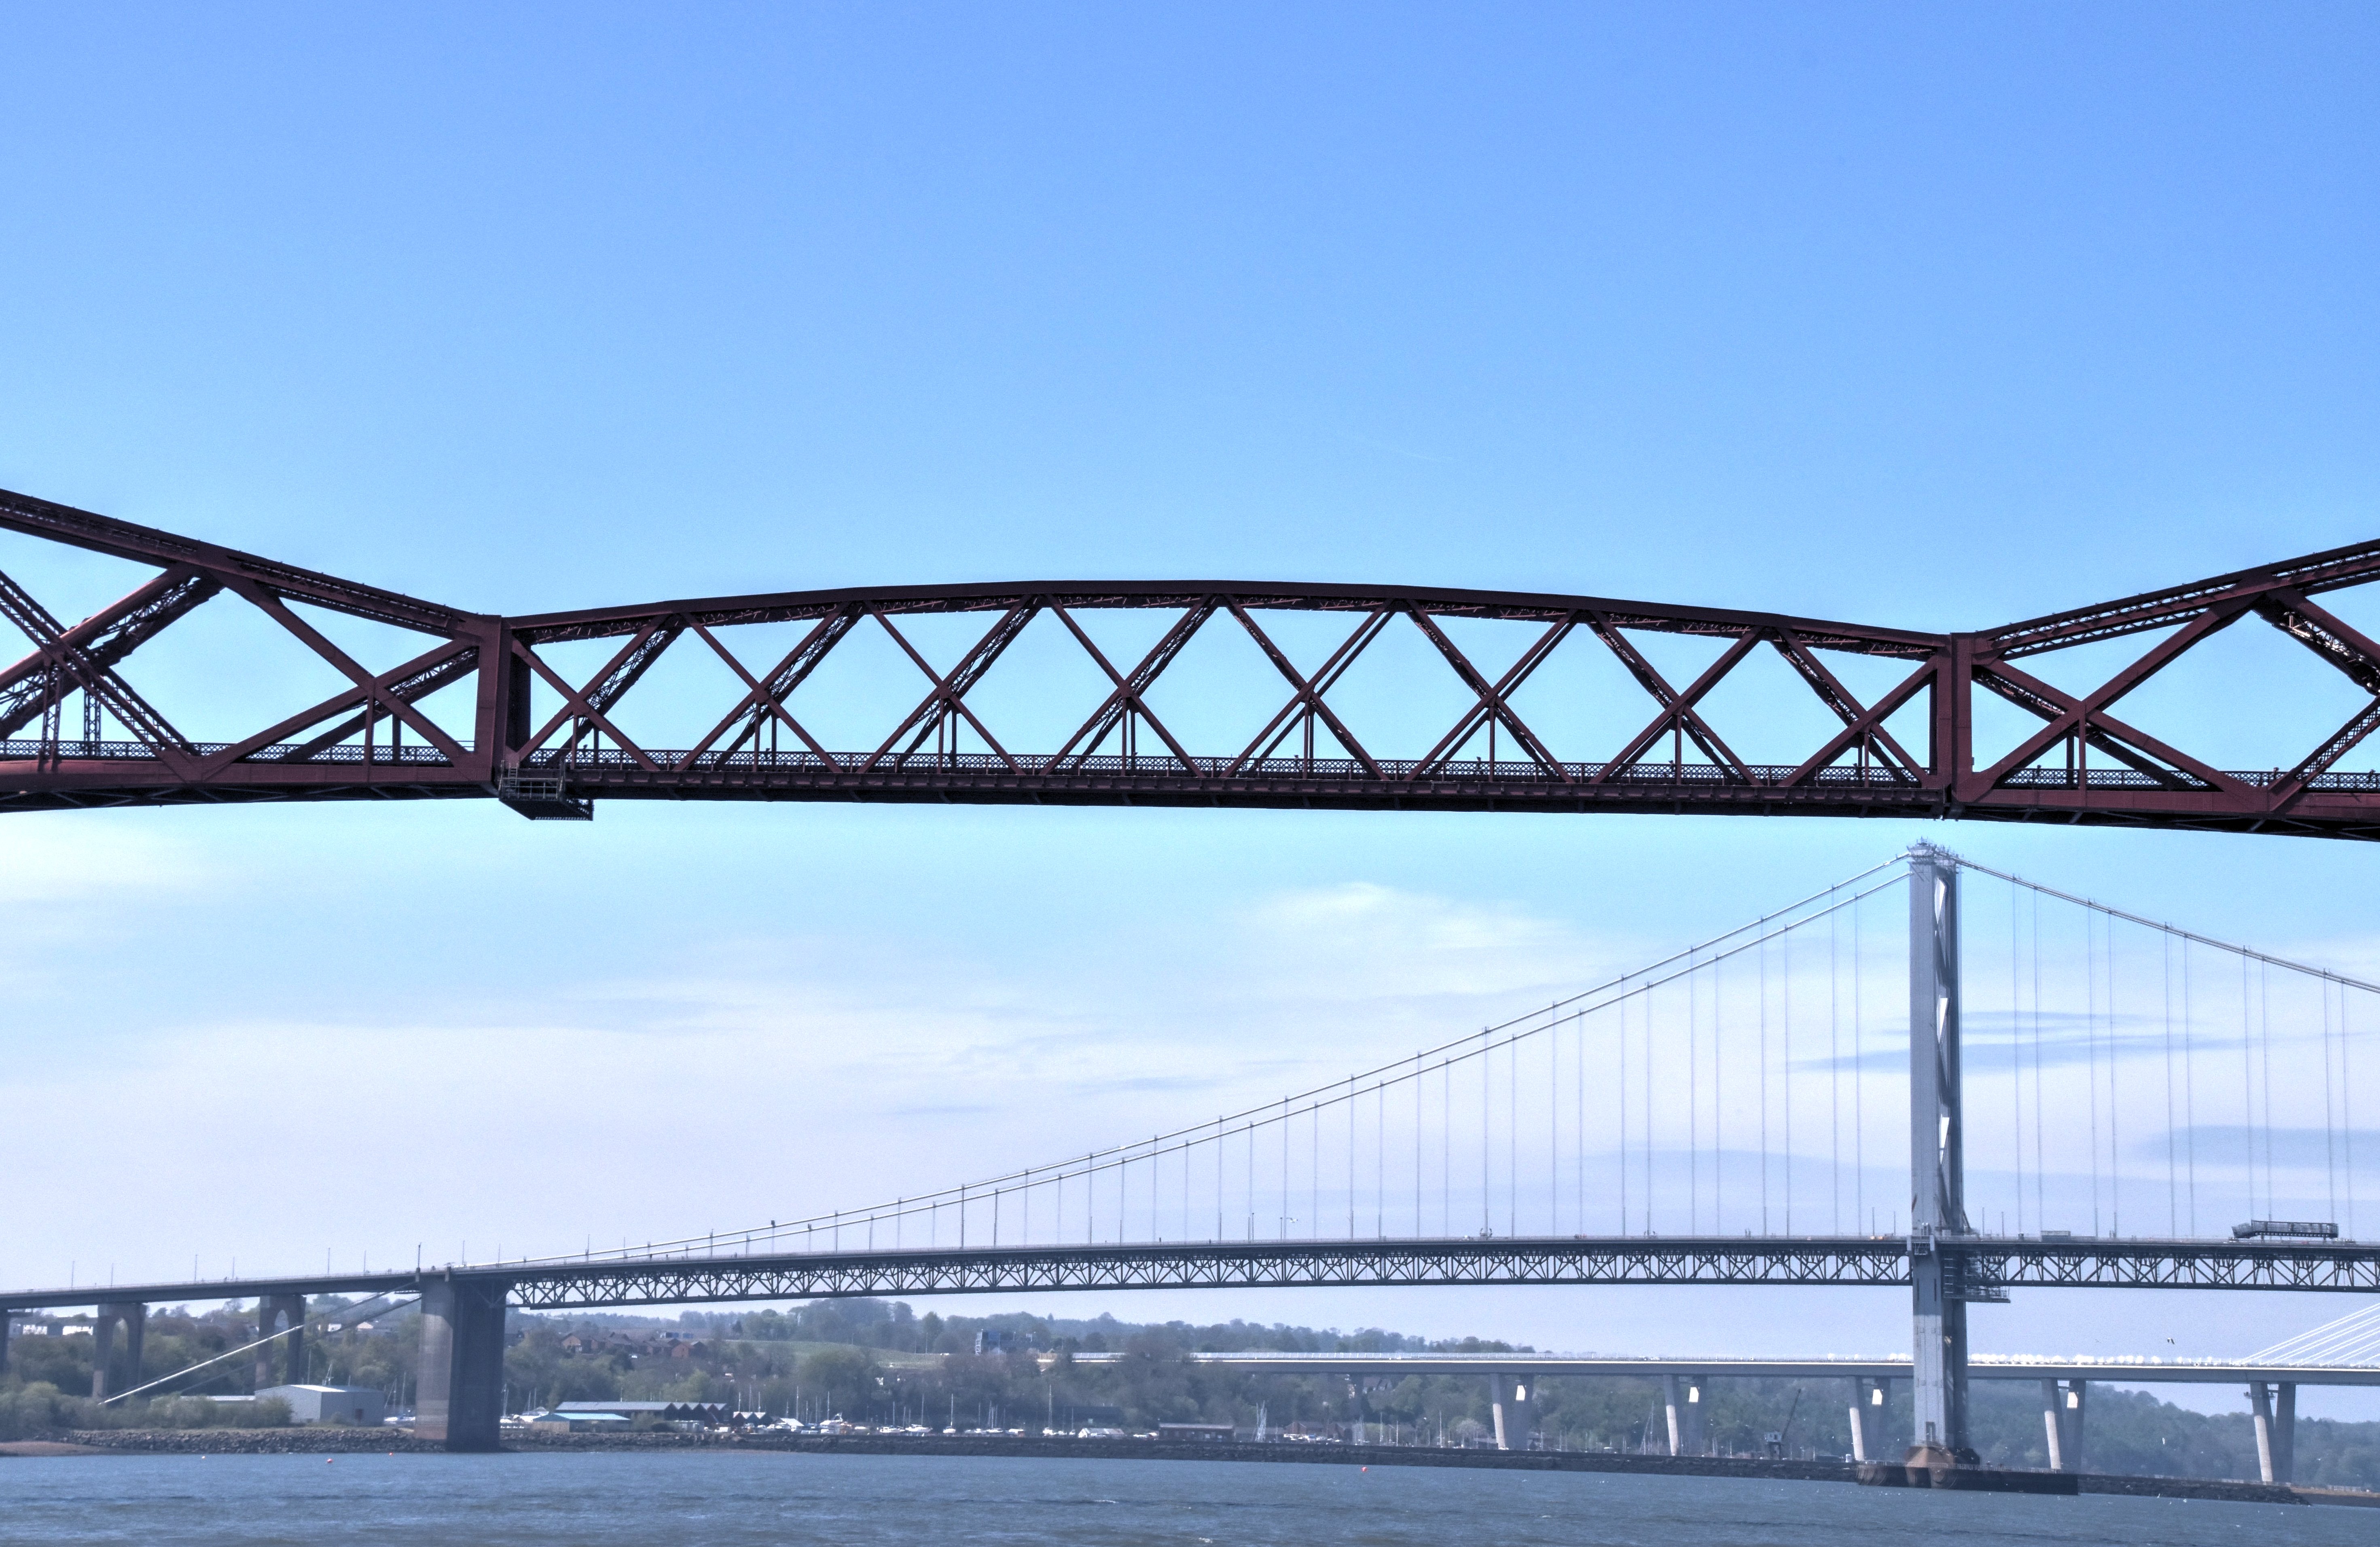
West elevation of suspended span from boat.
![]()
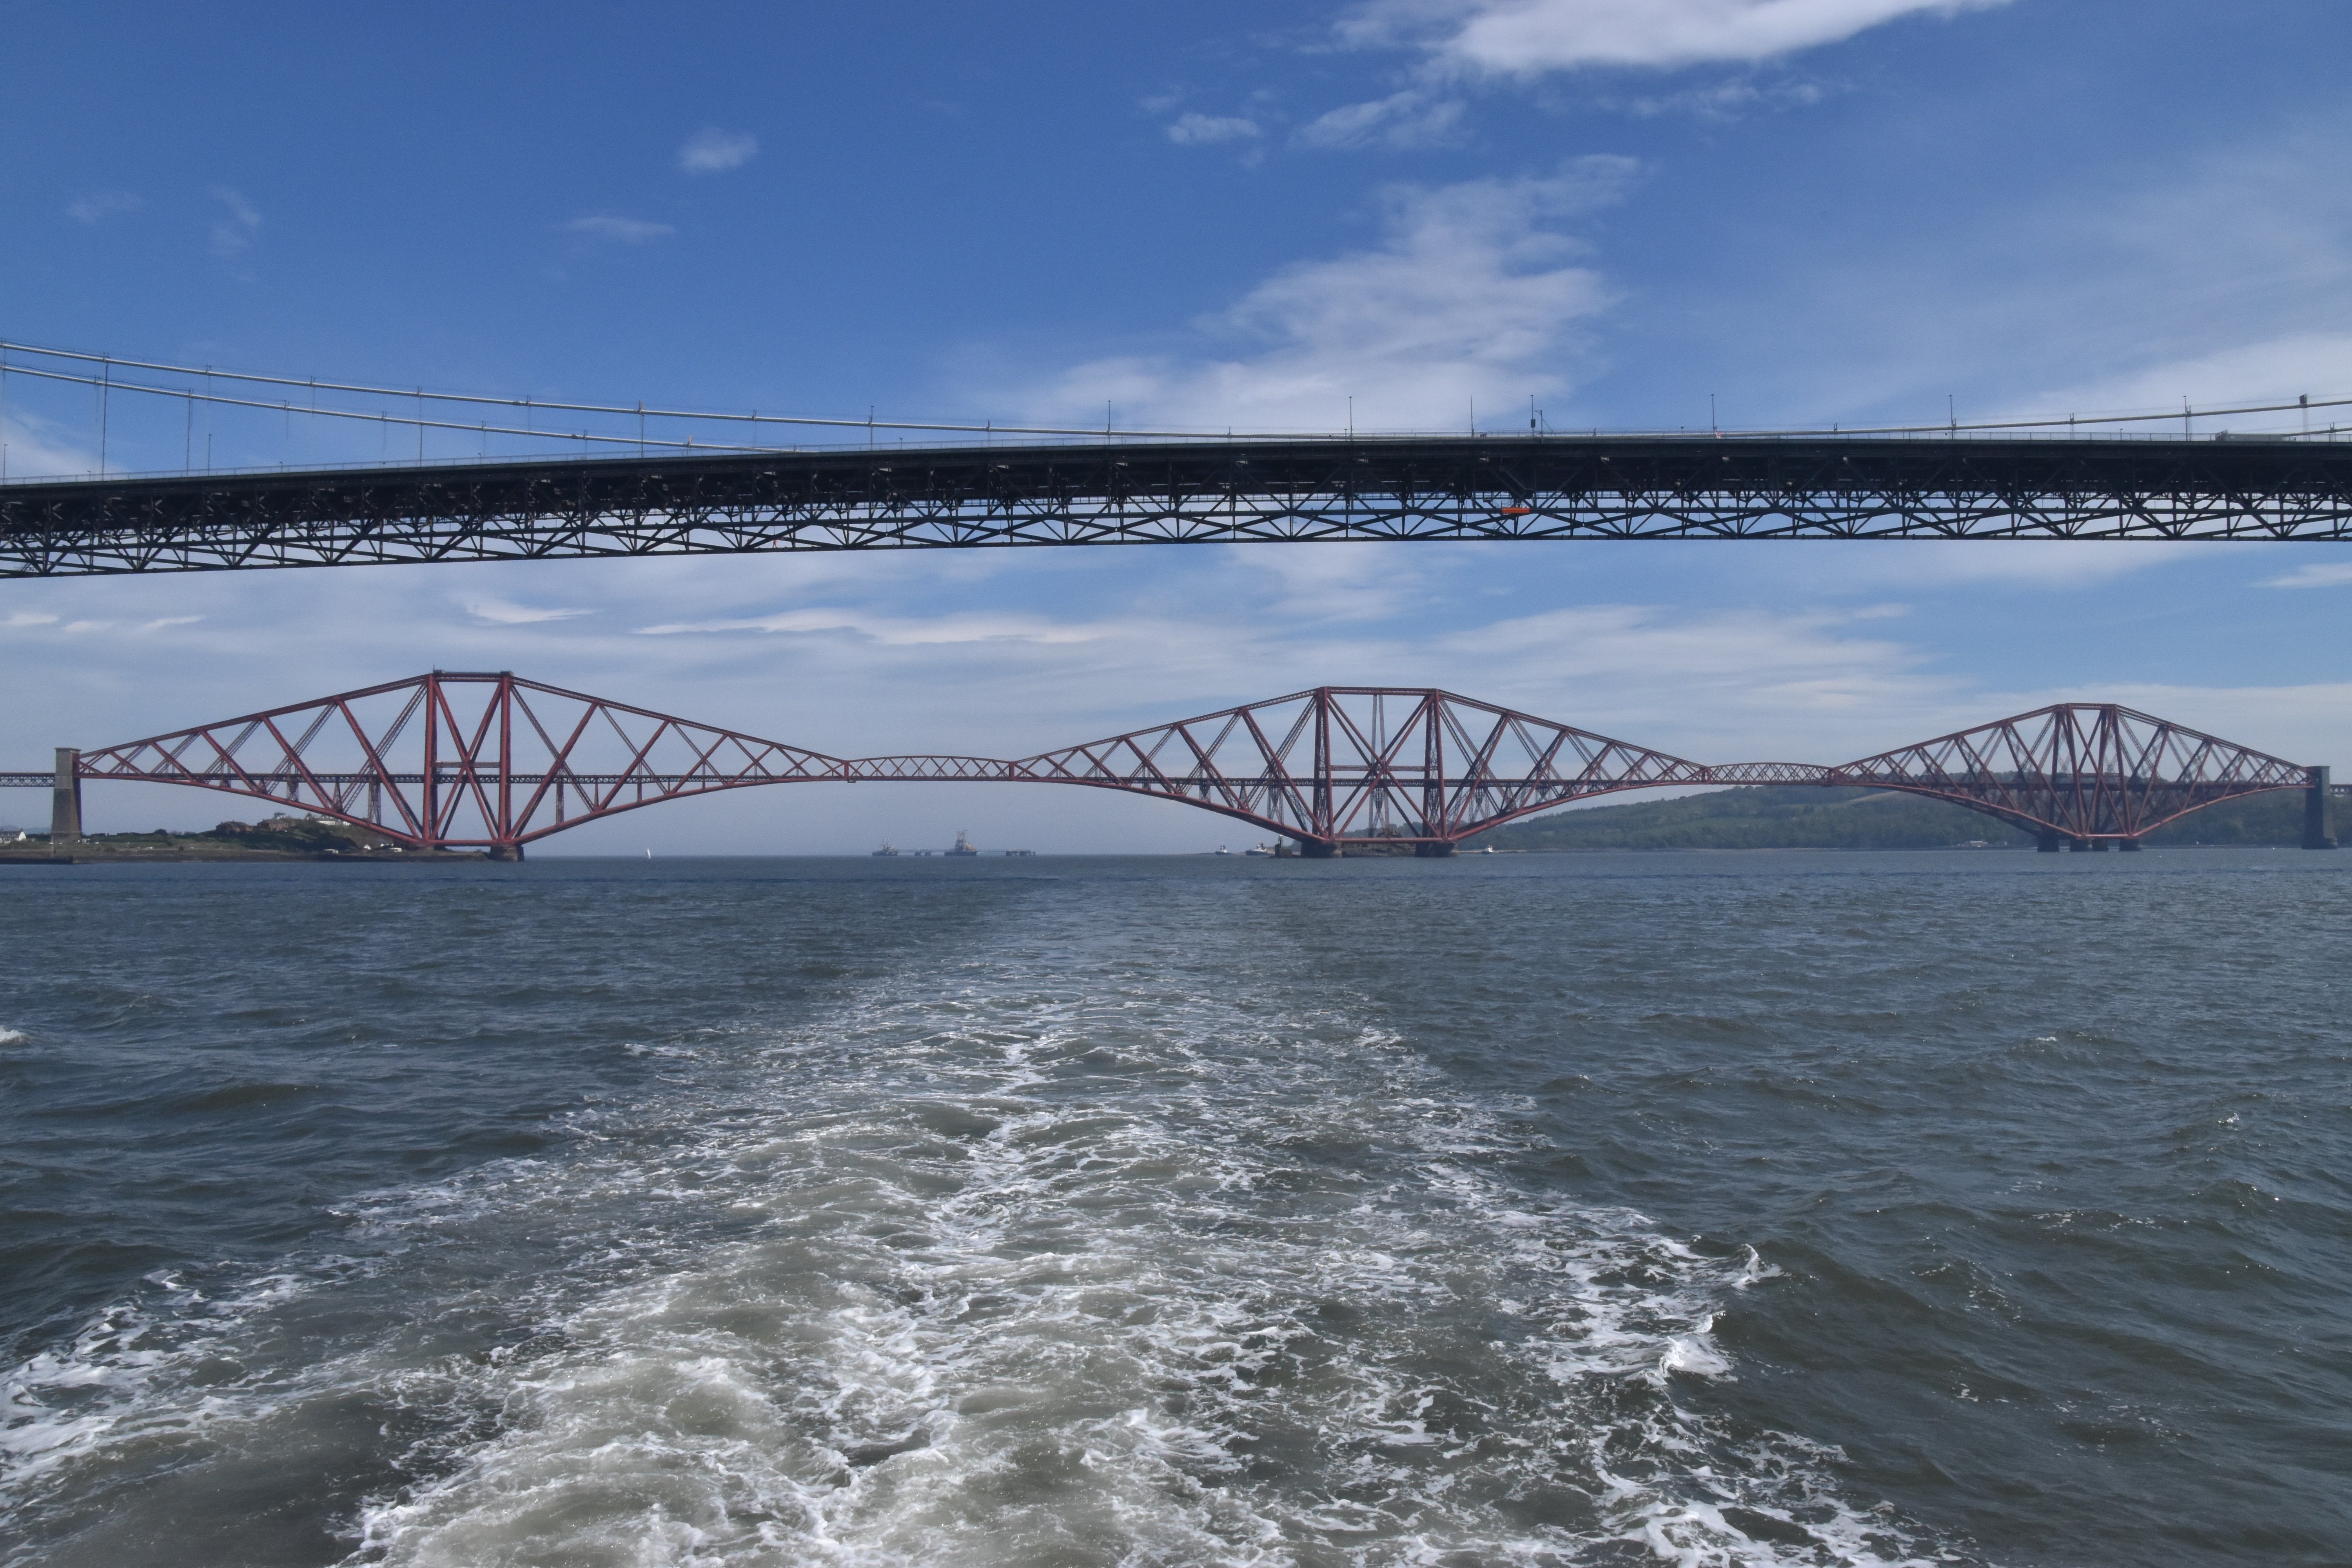


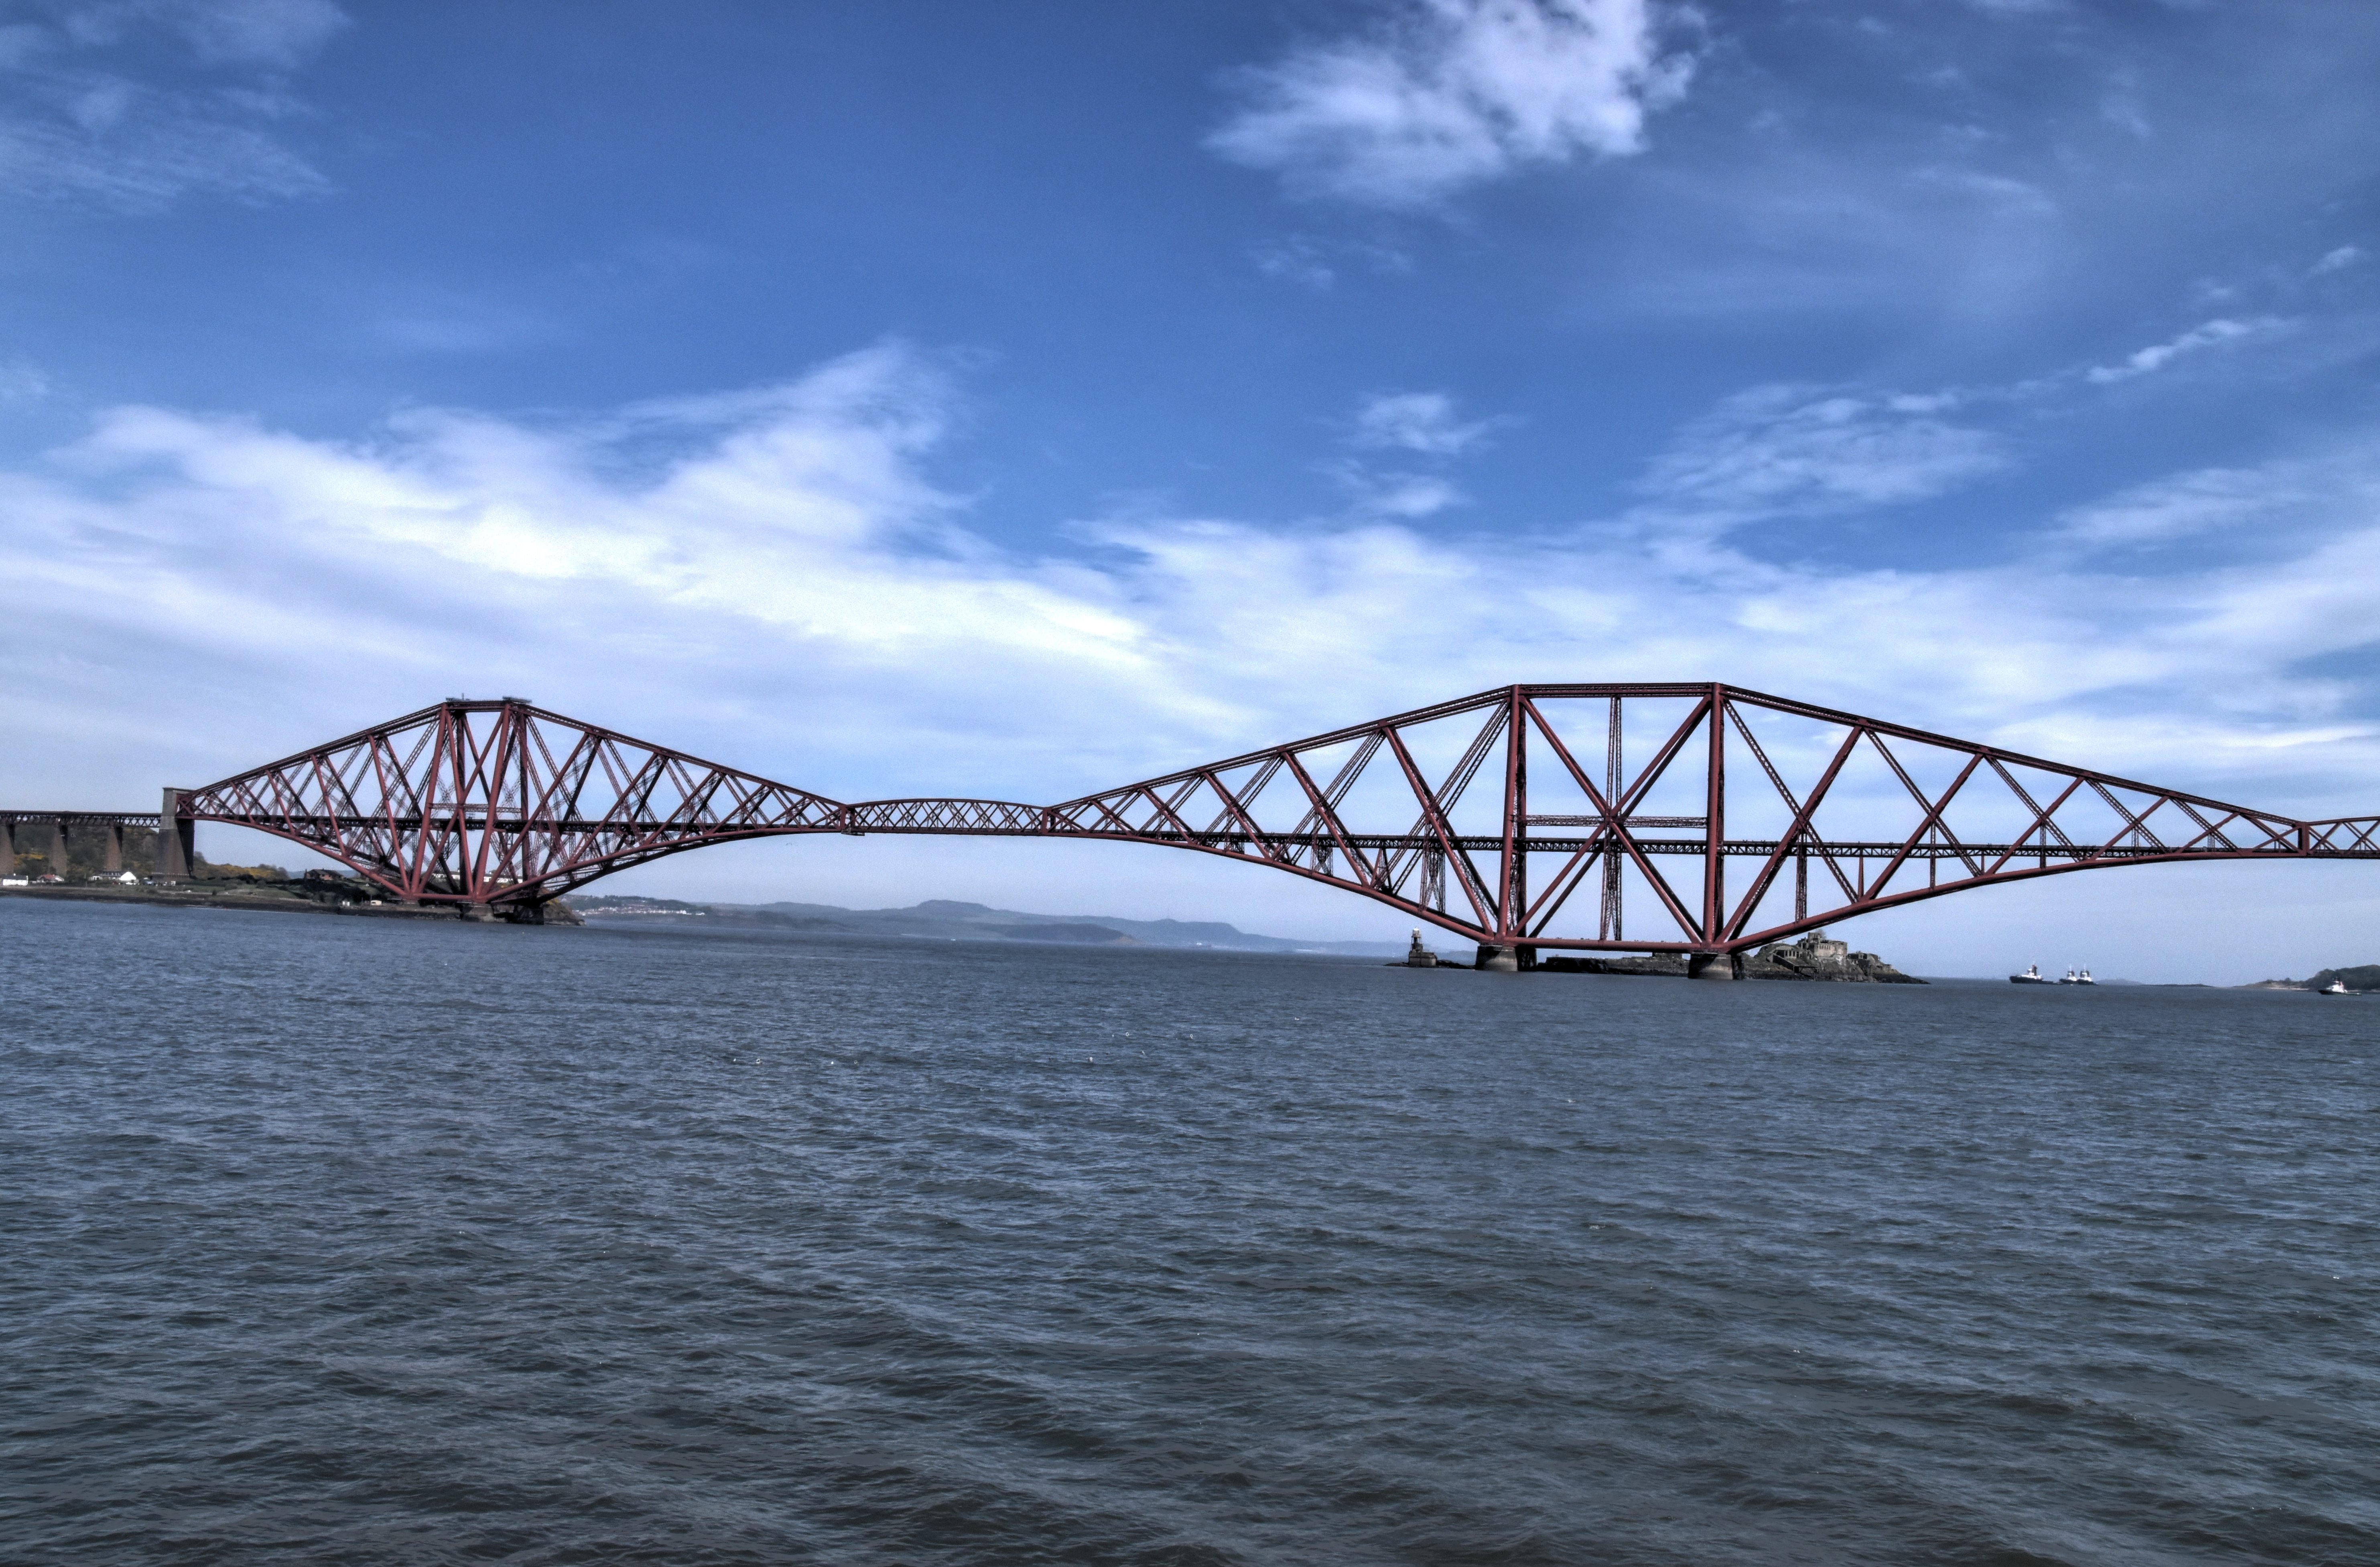
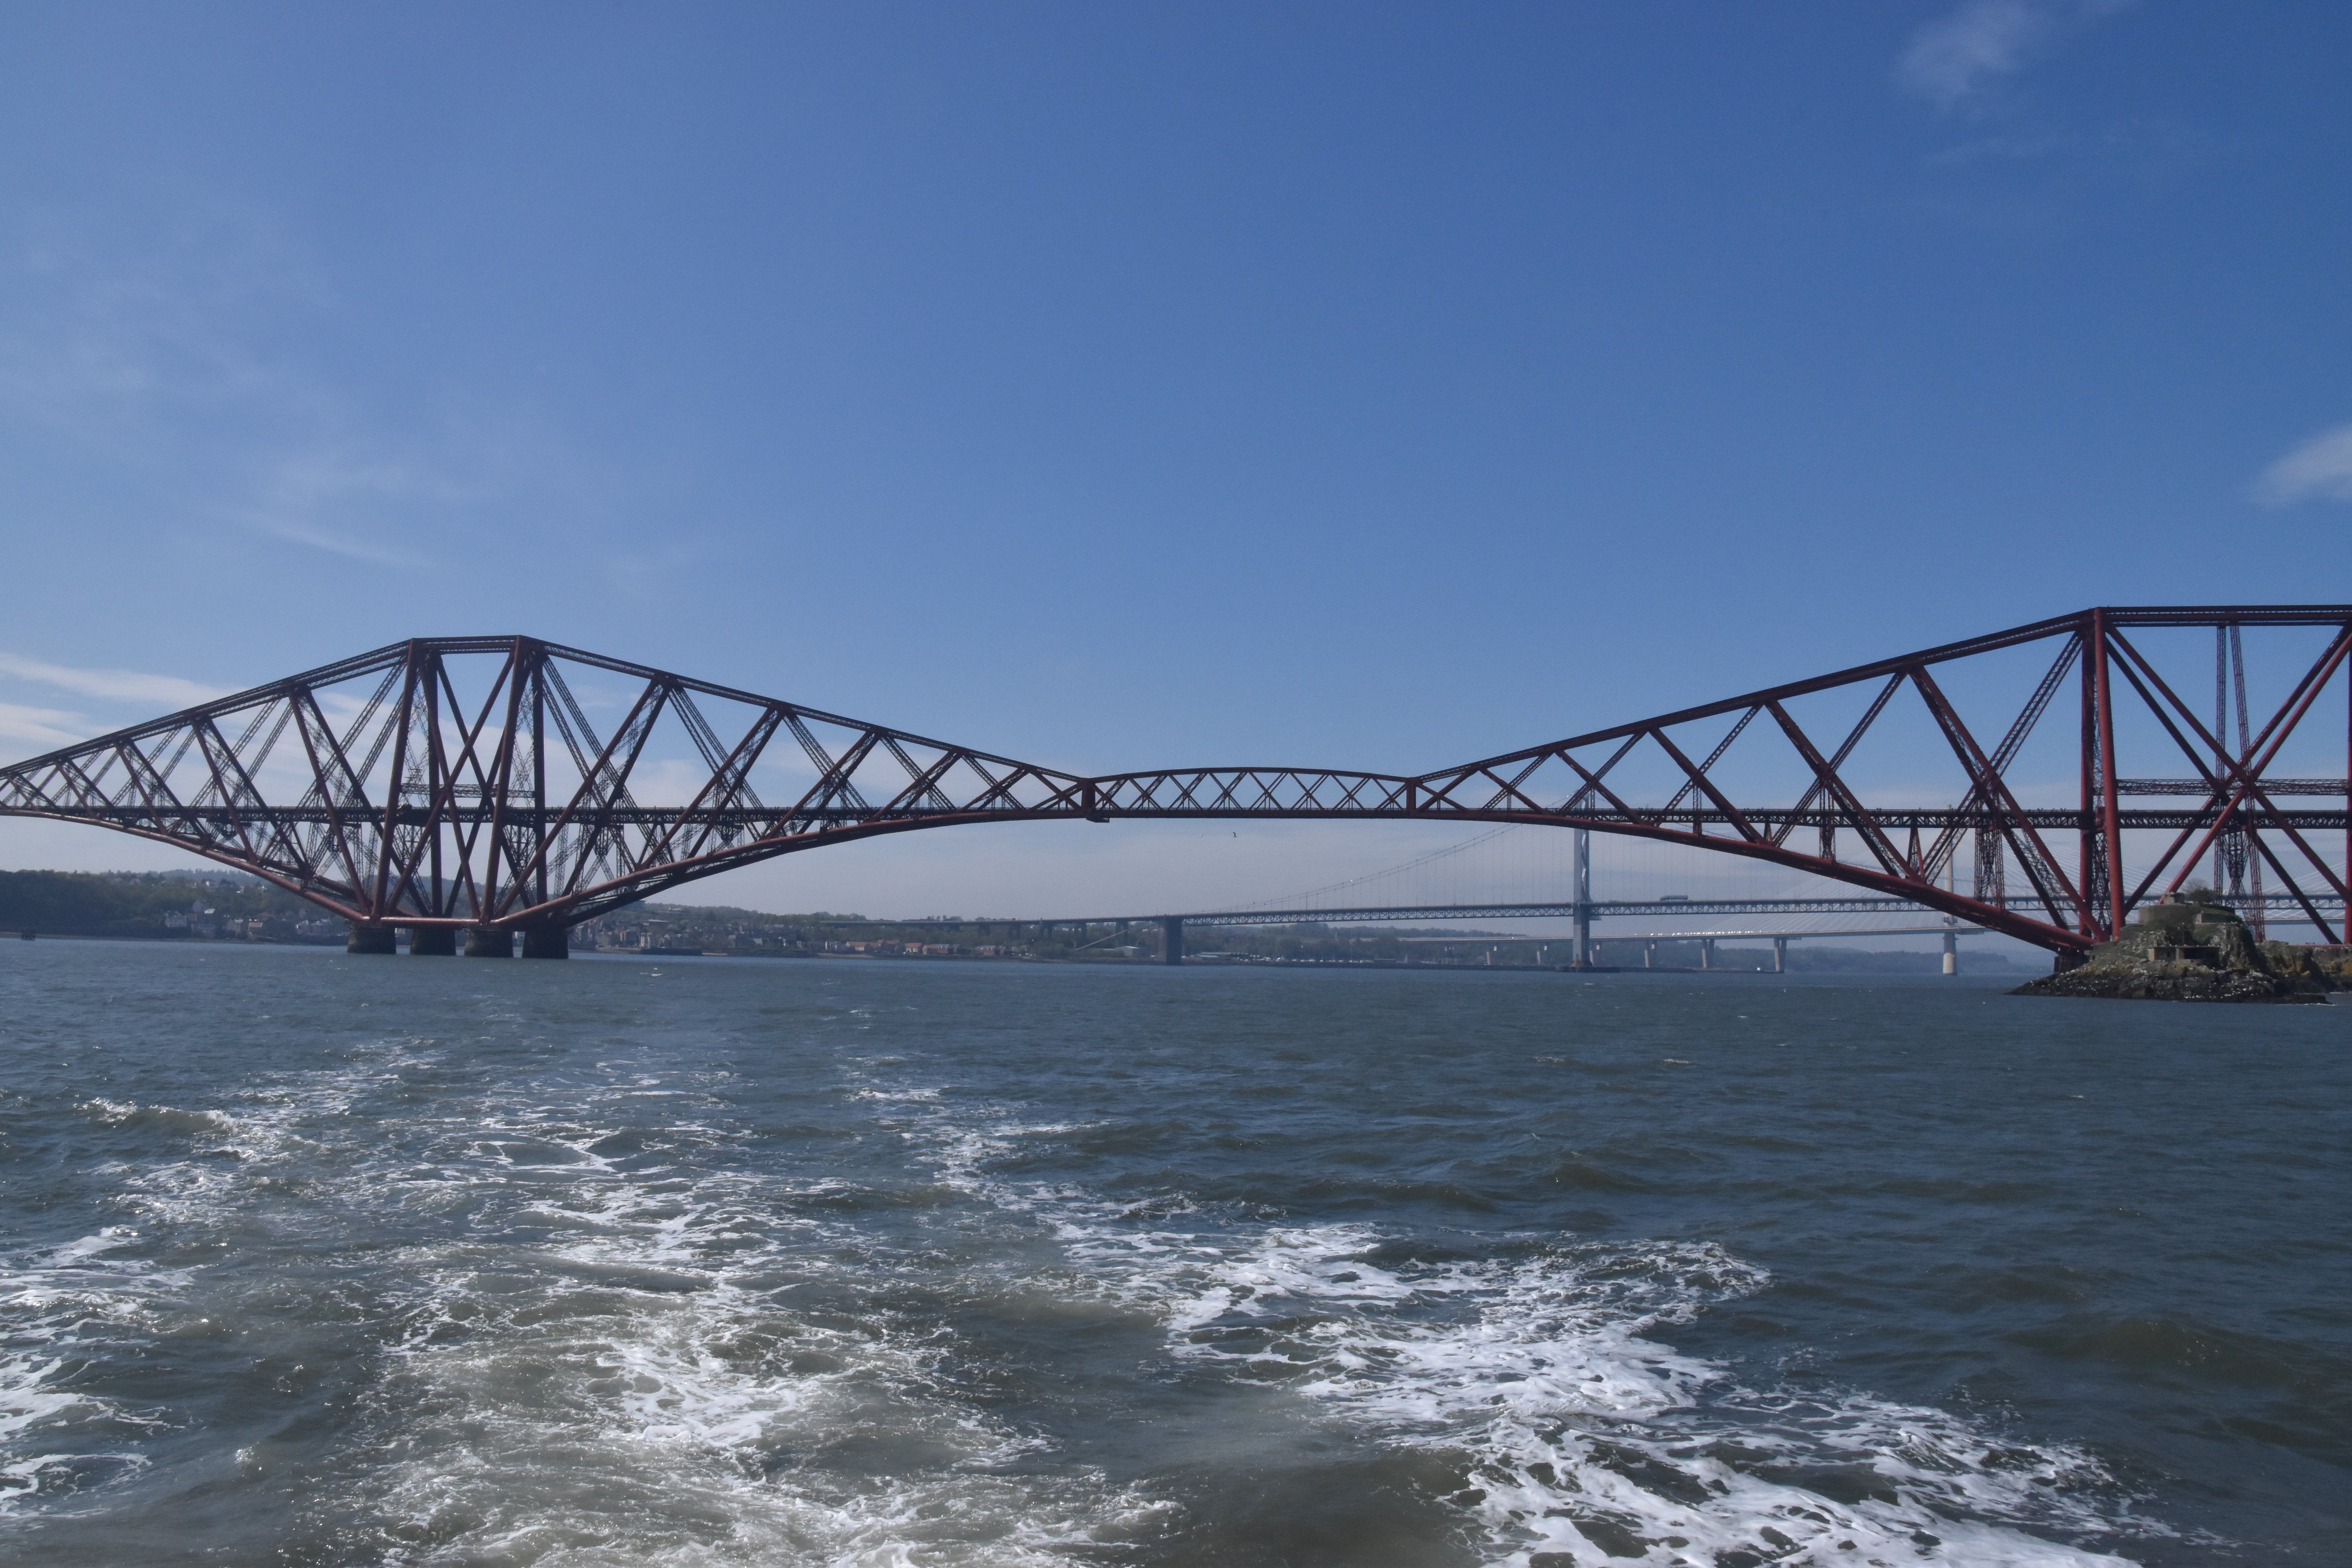
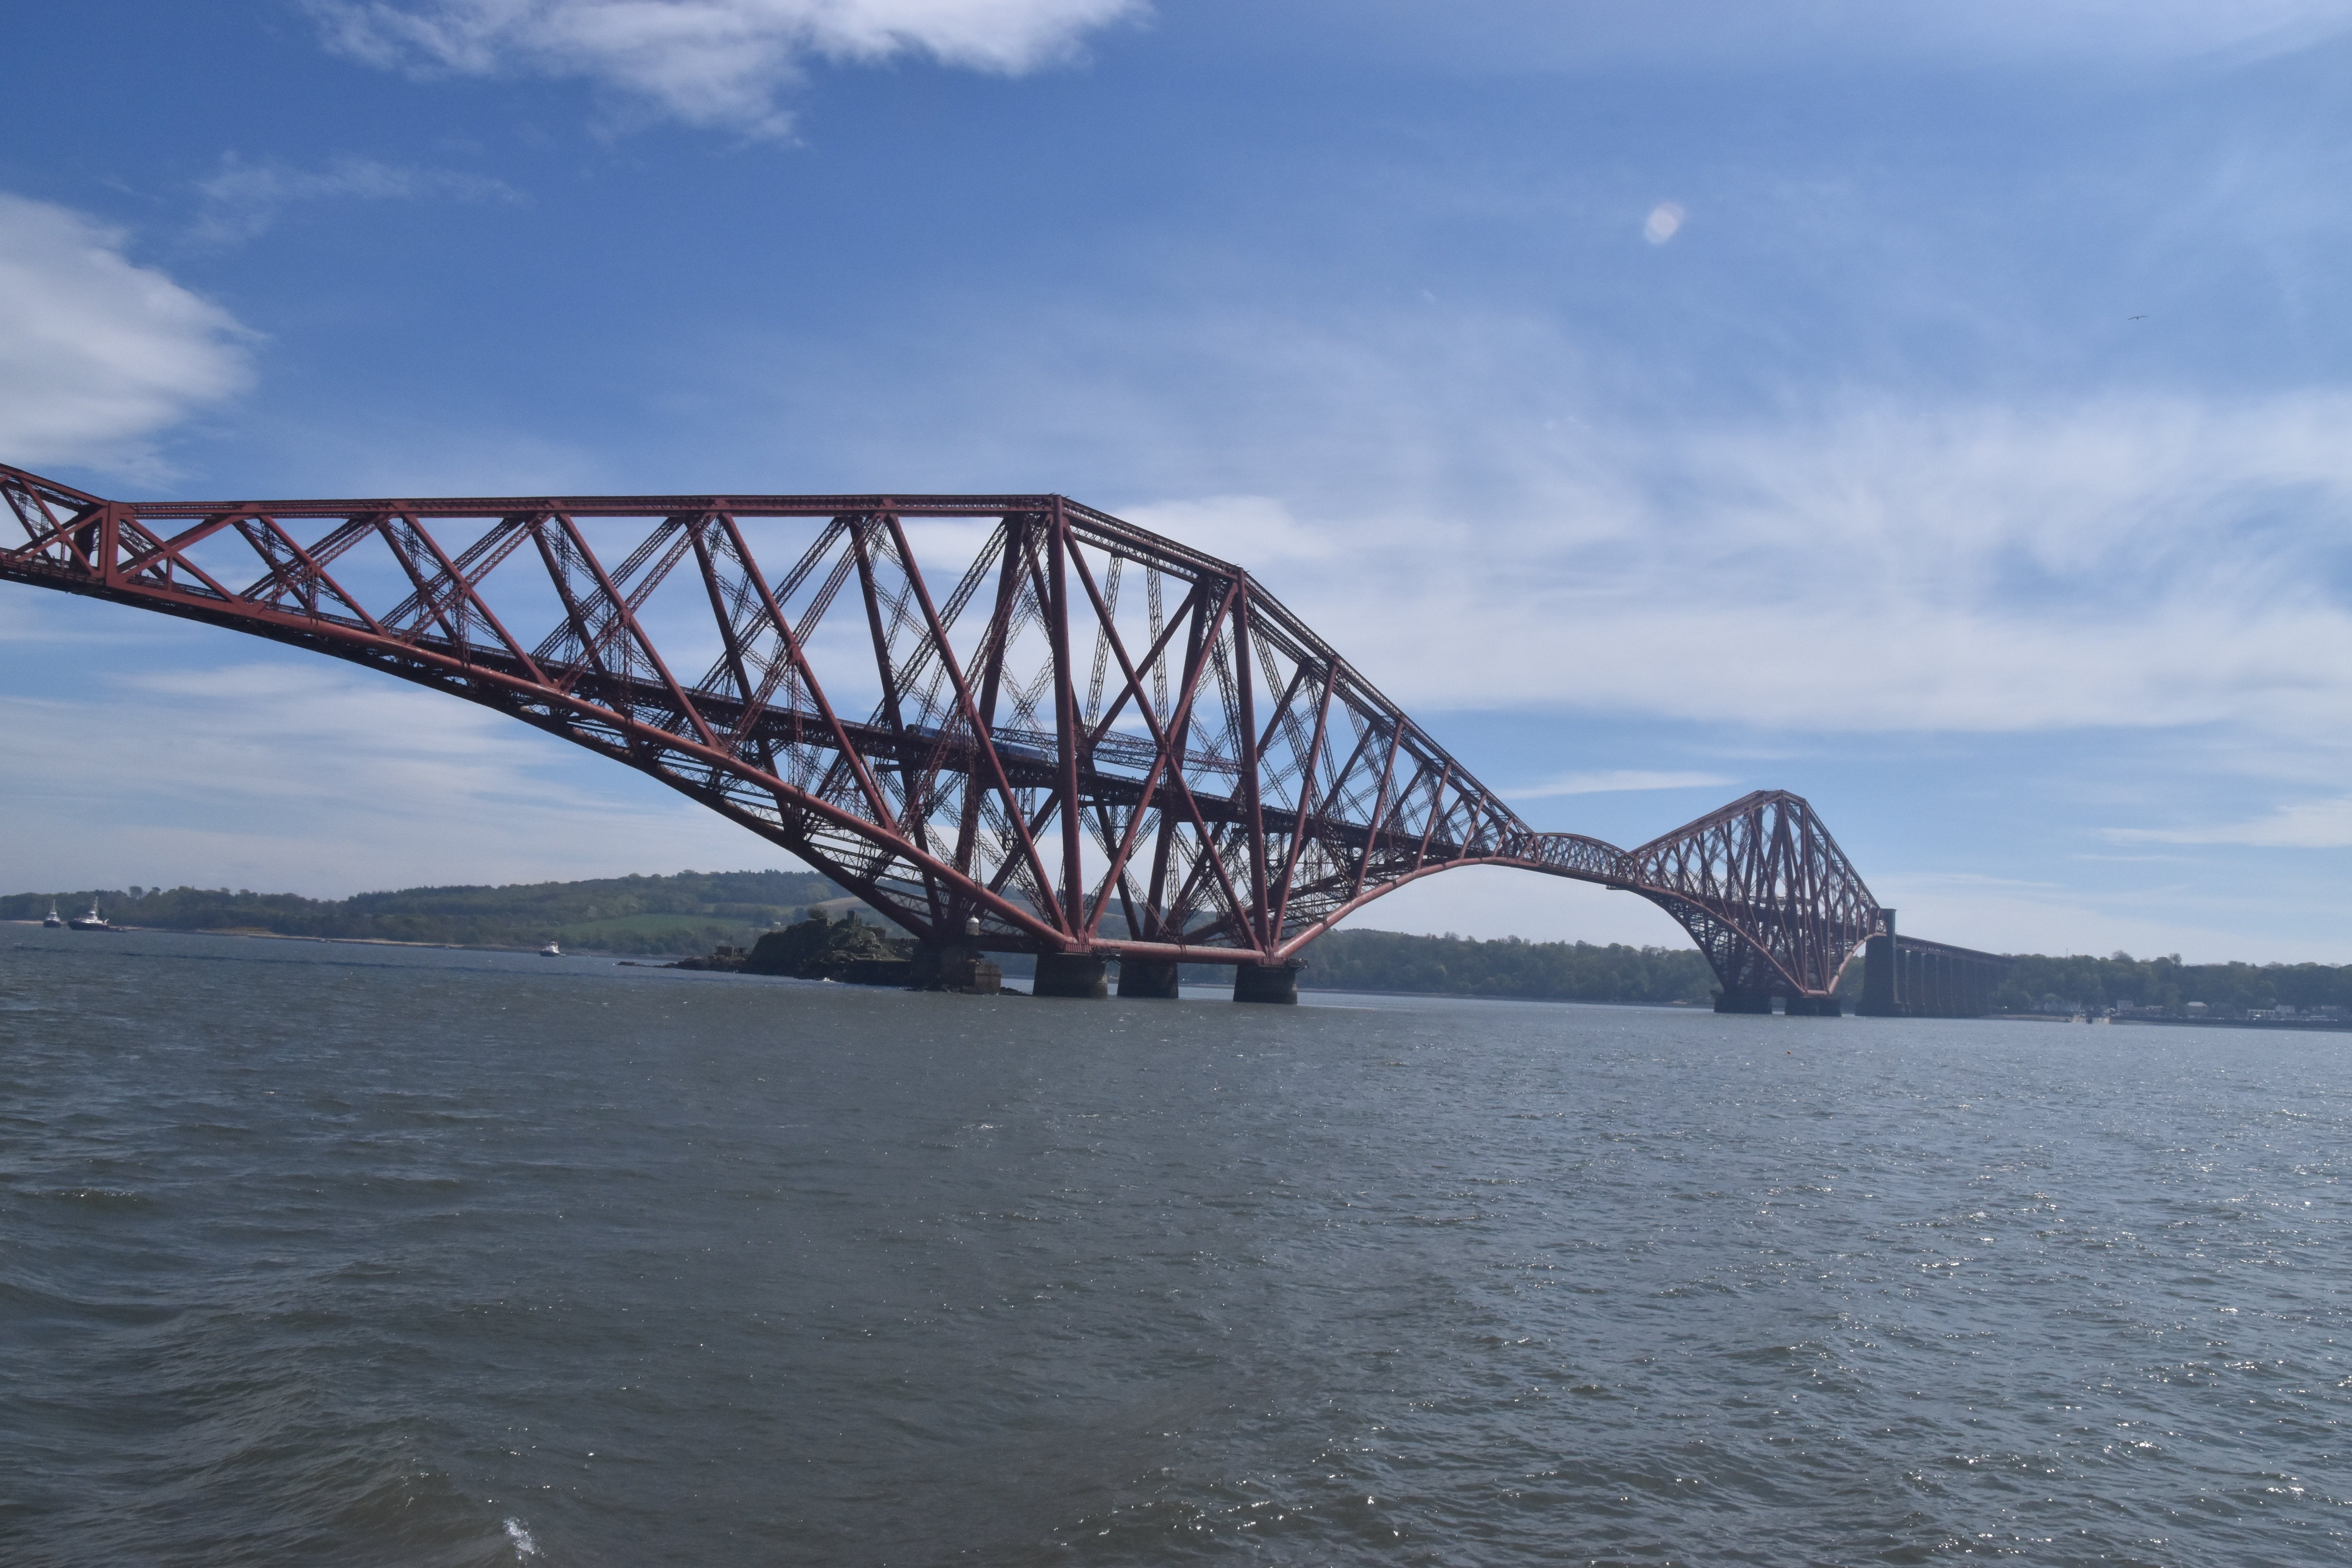
West elevation of cantilever spans from boat.
![]()
![]()
![]()
![]()
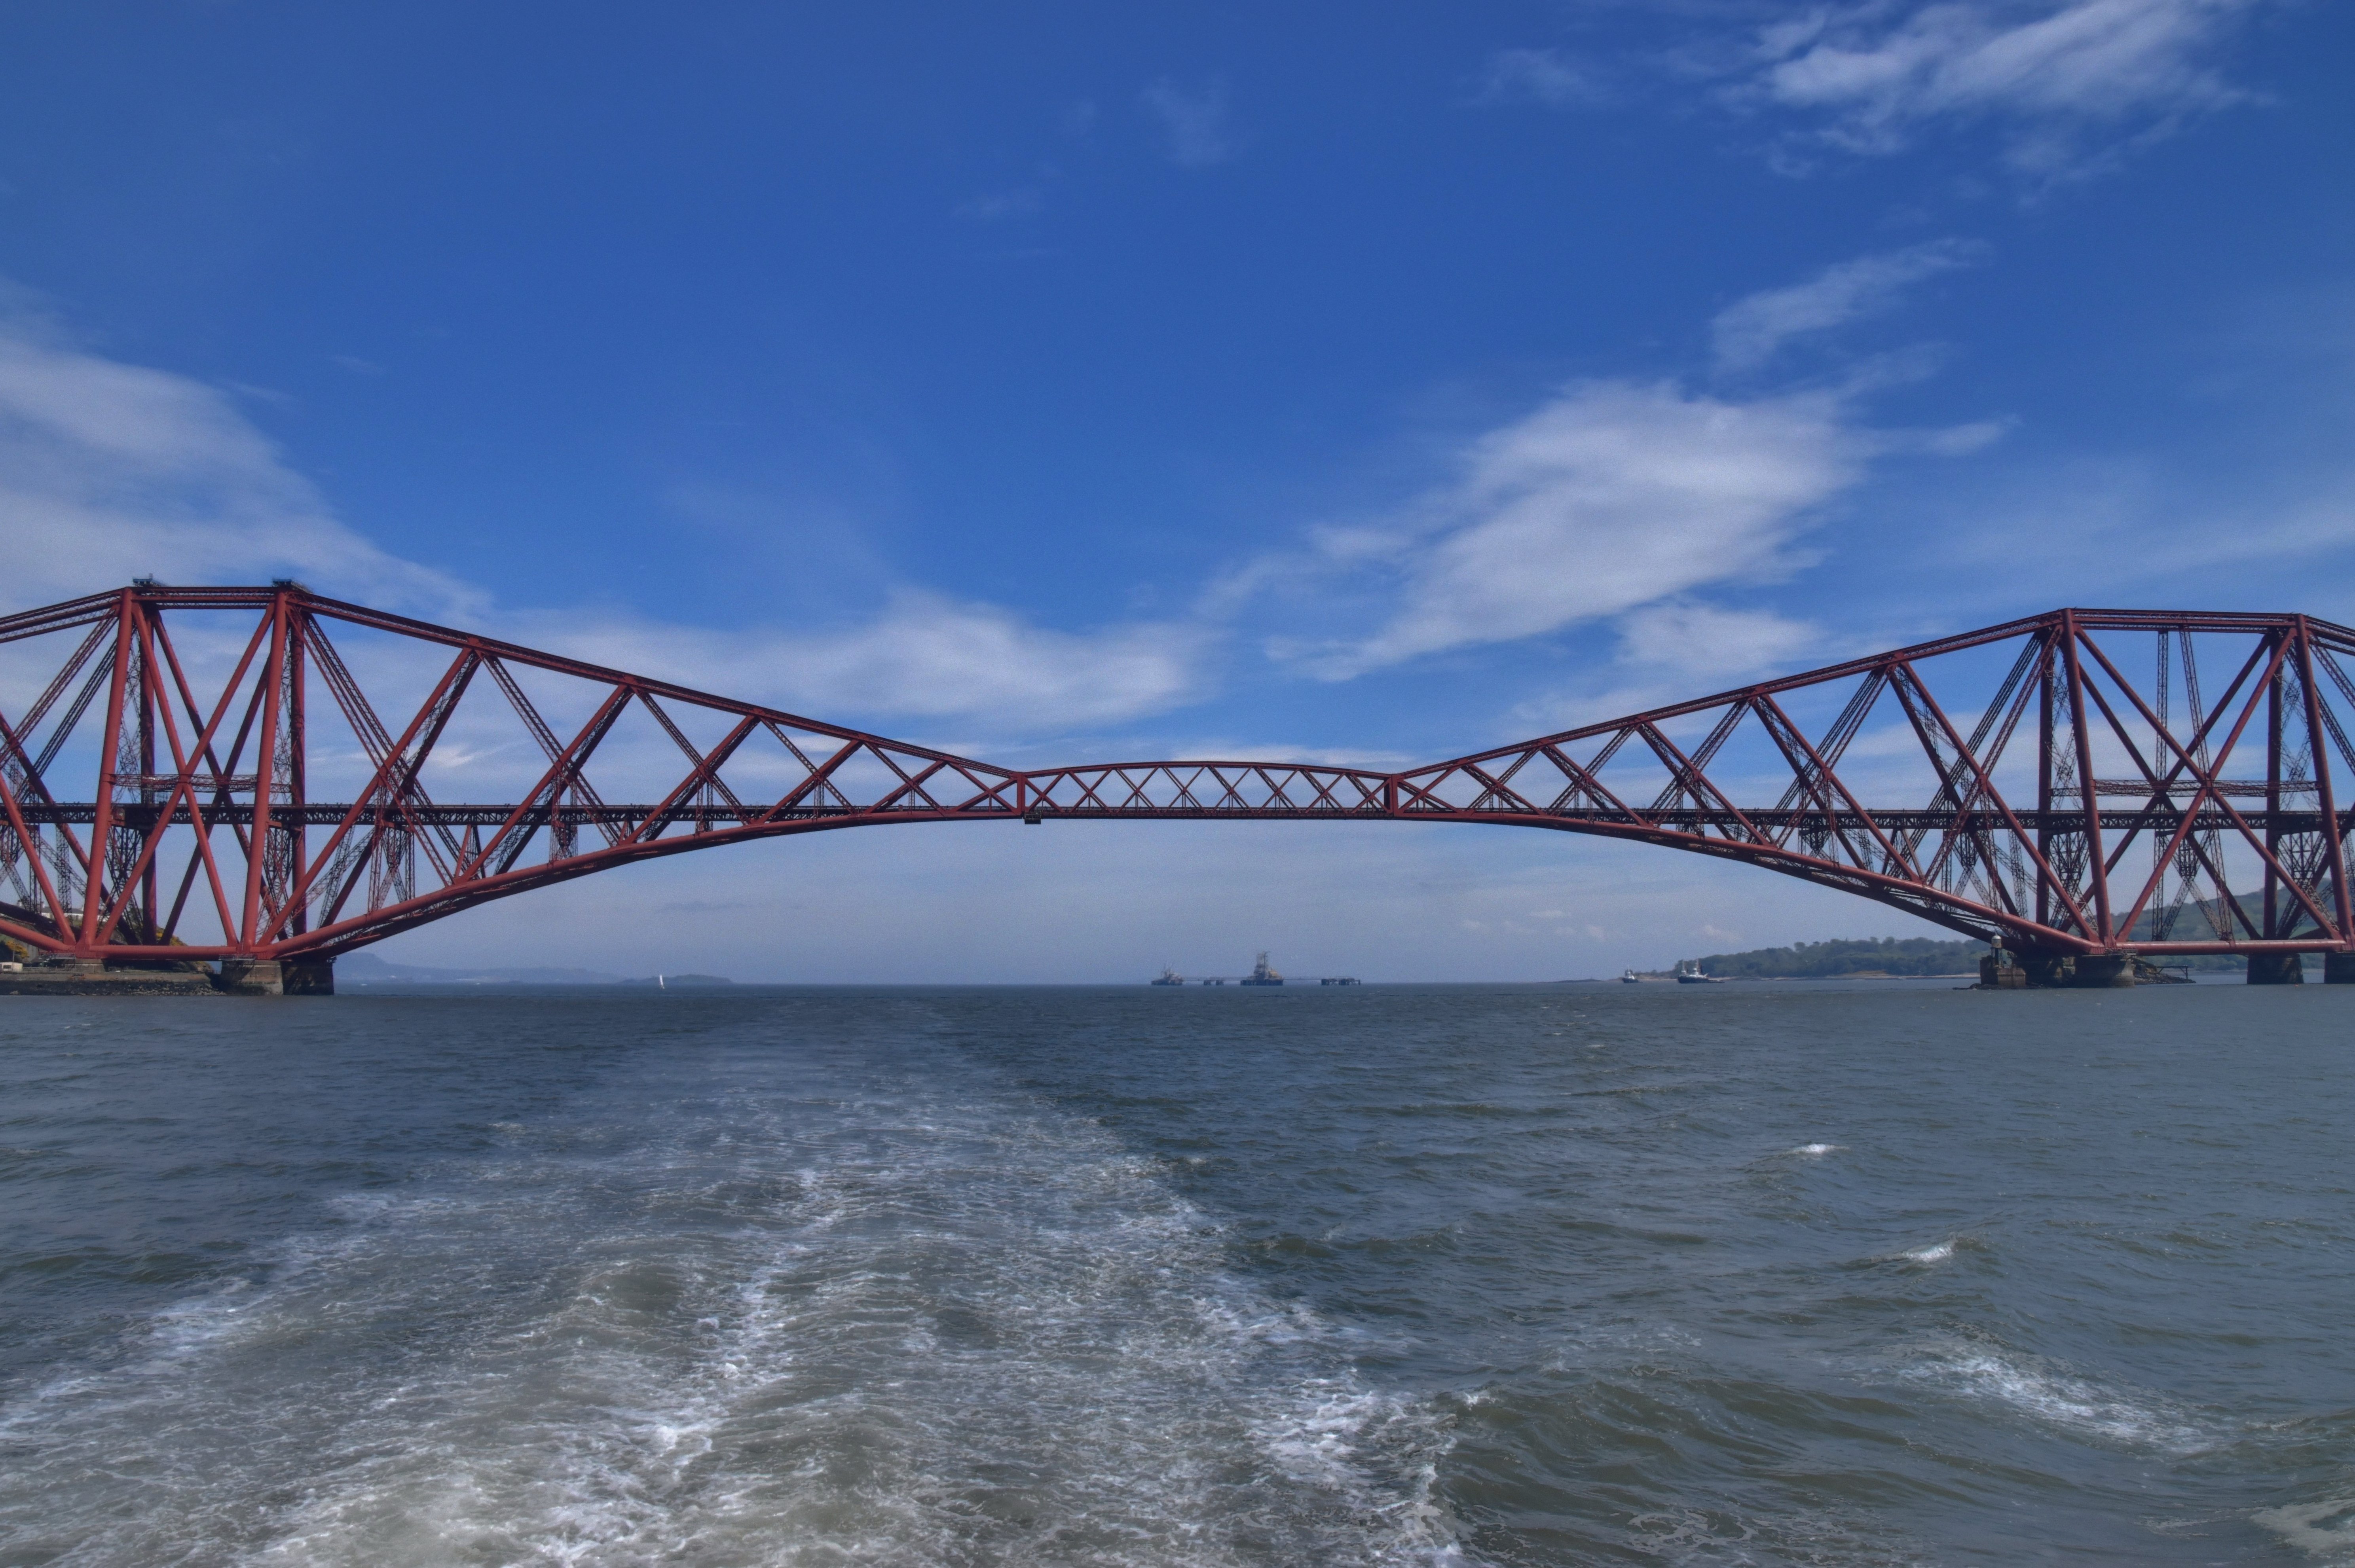
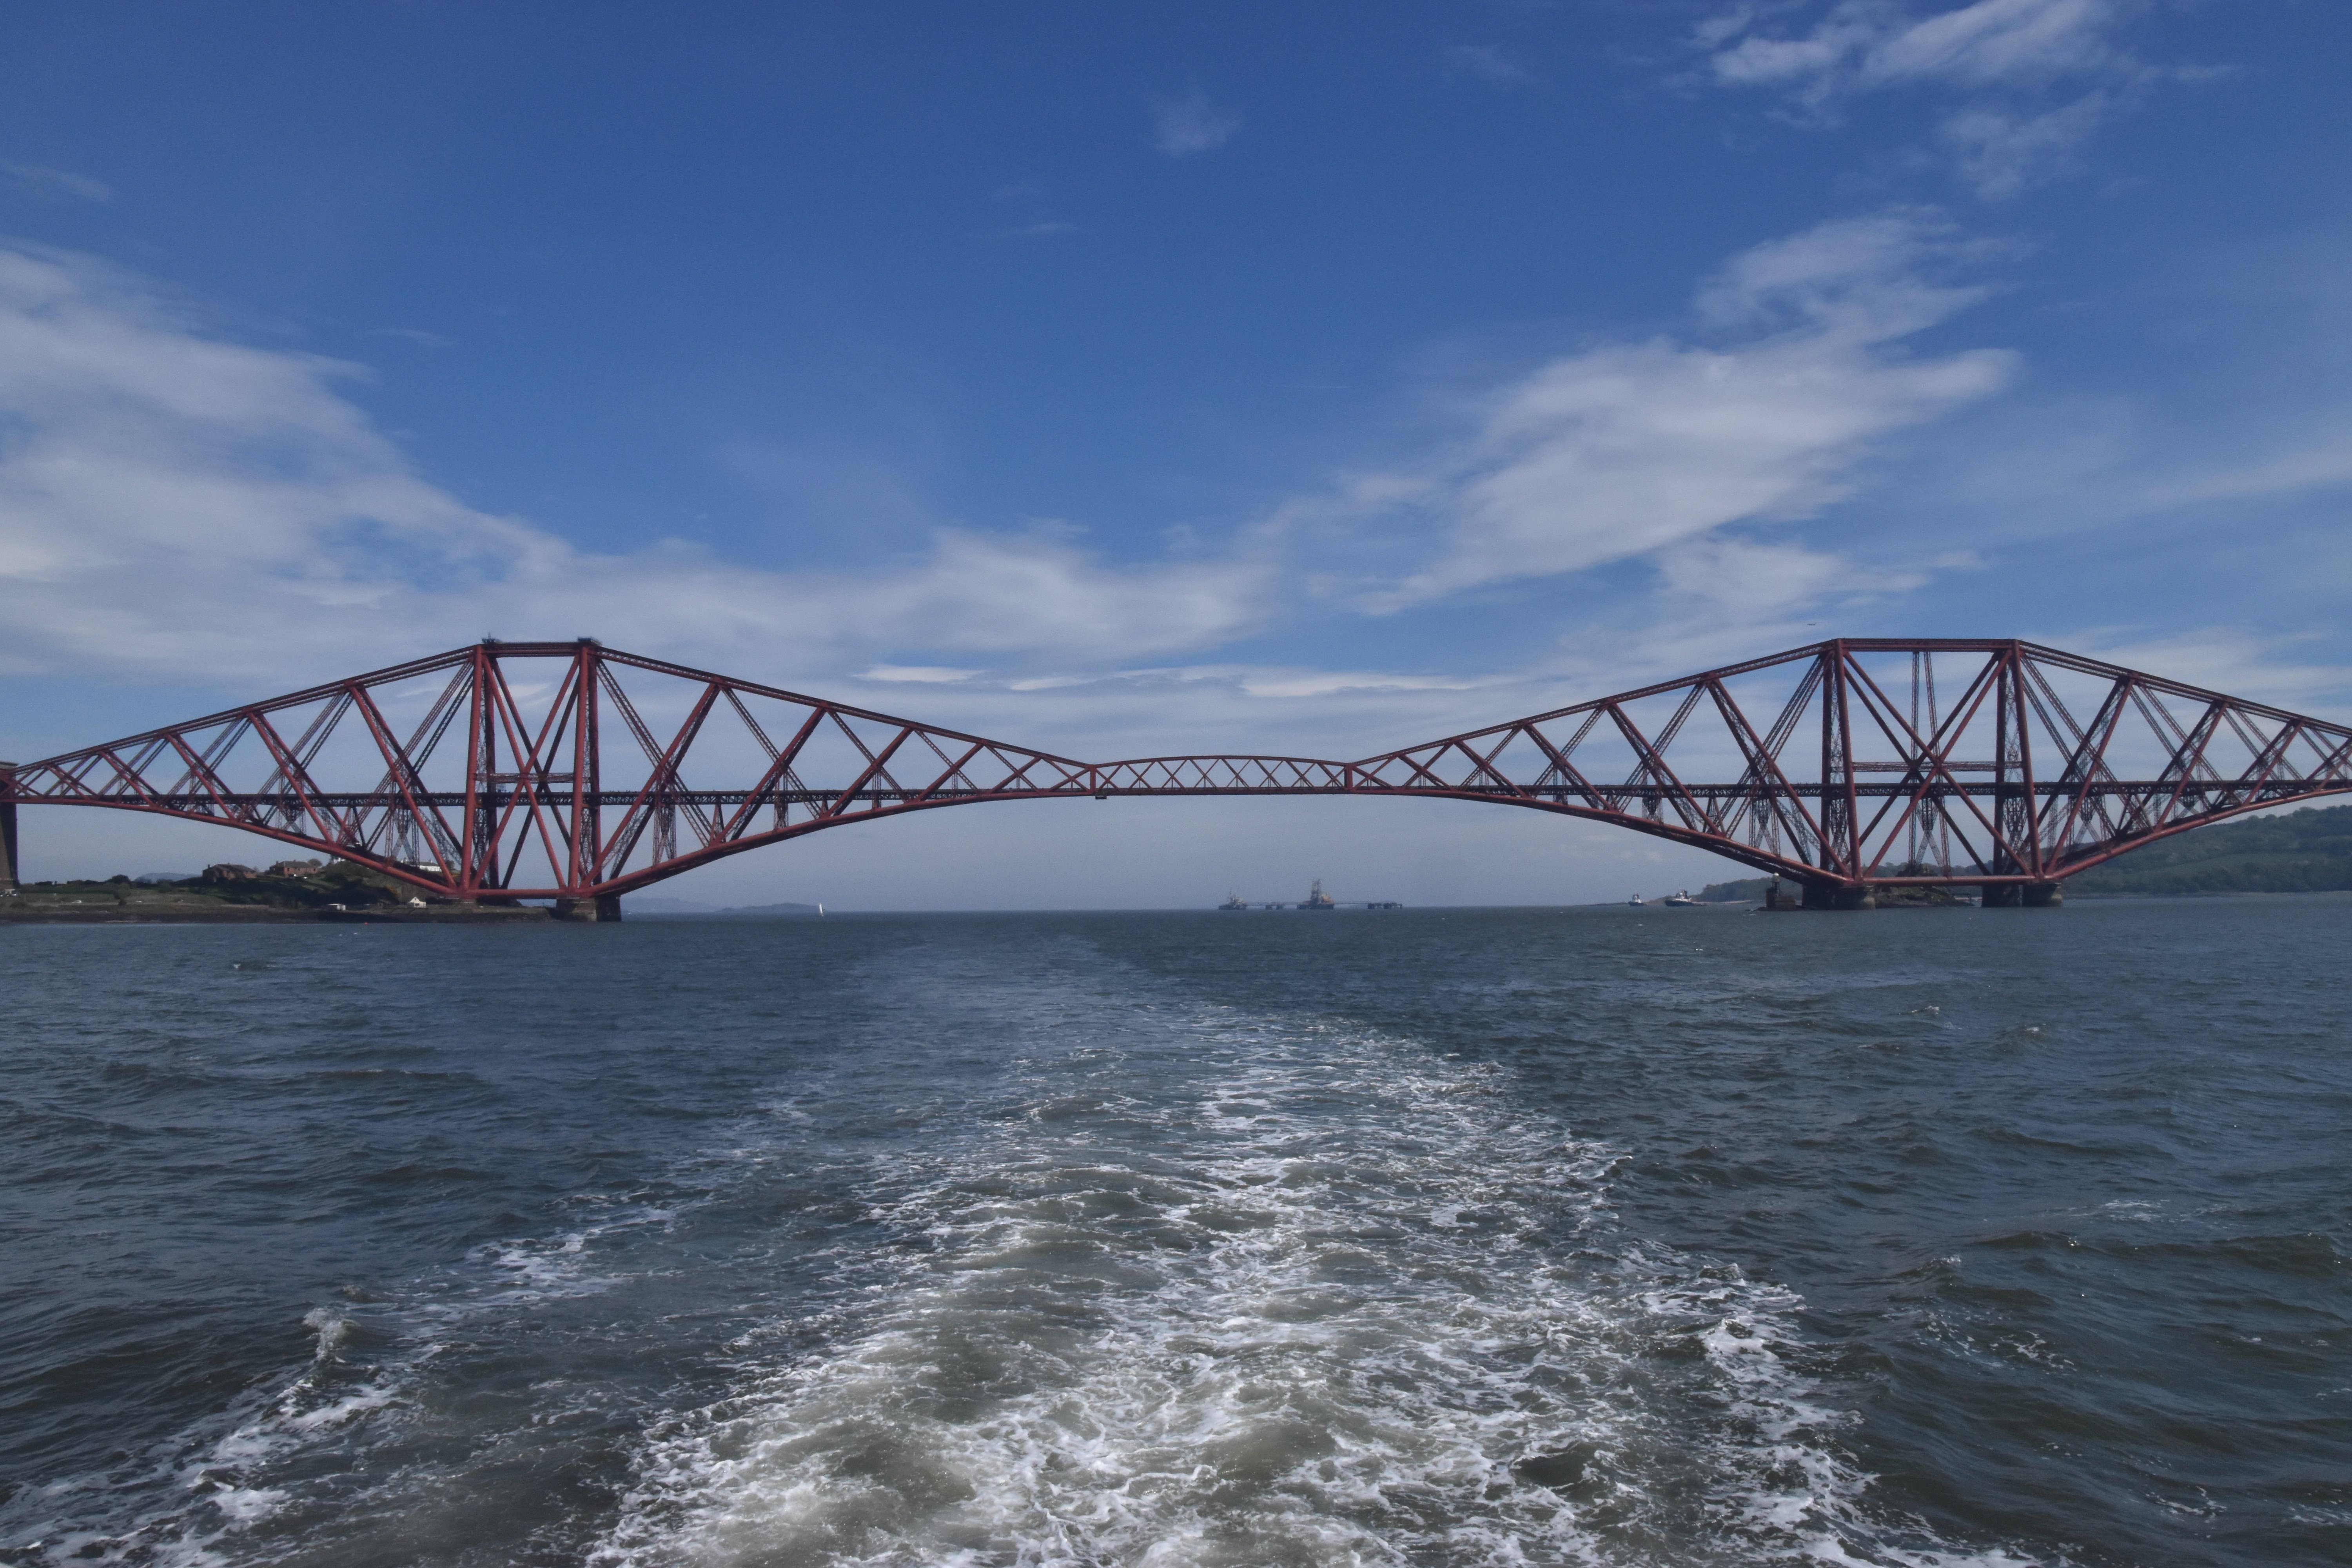
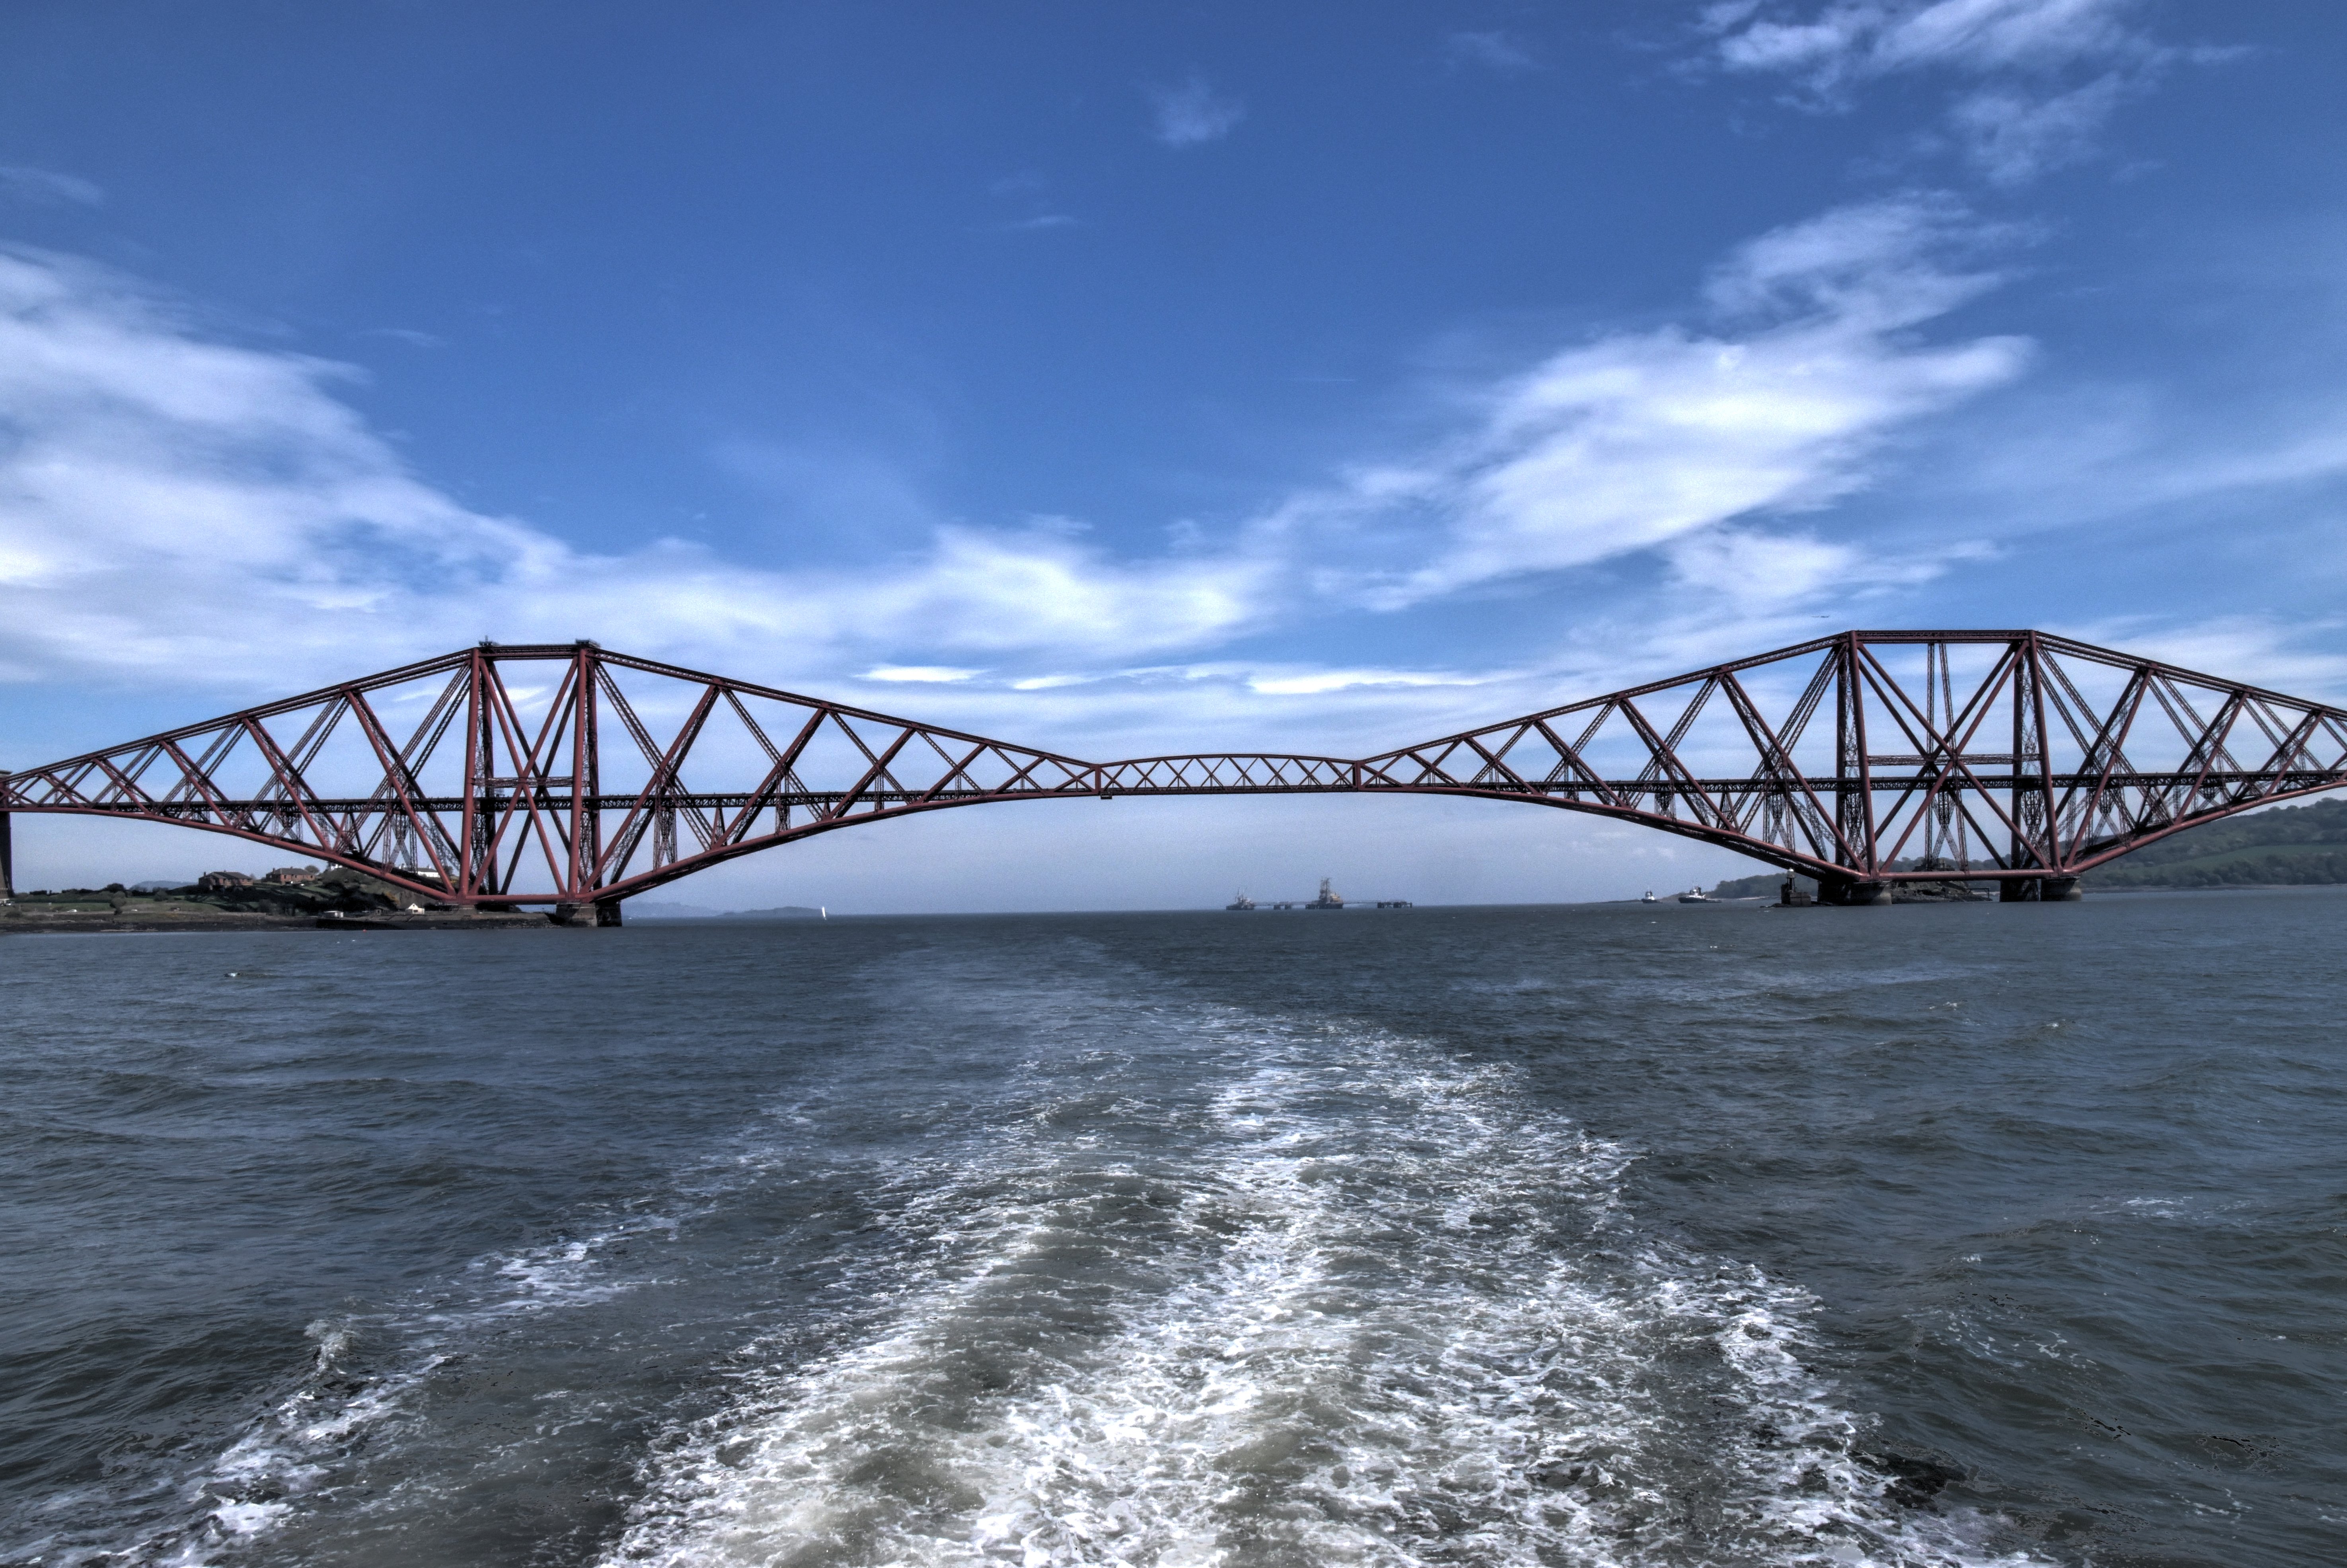
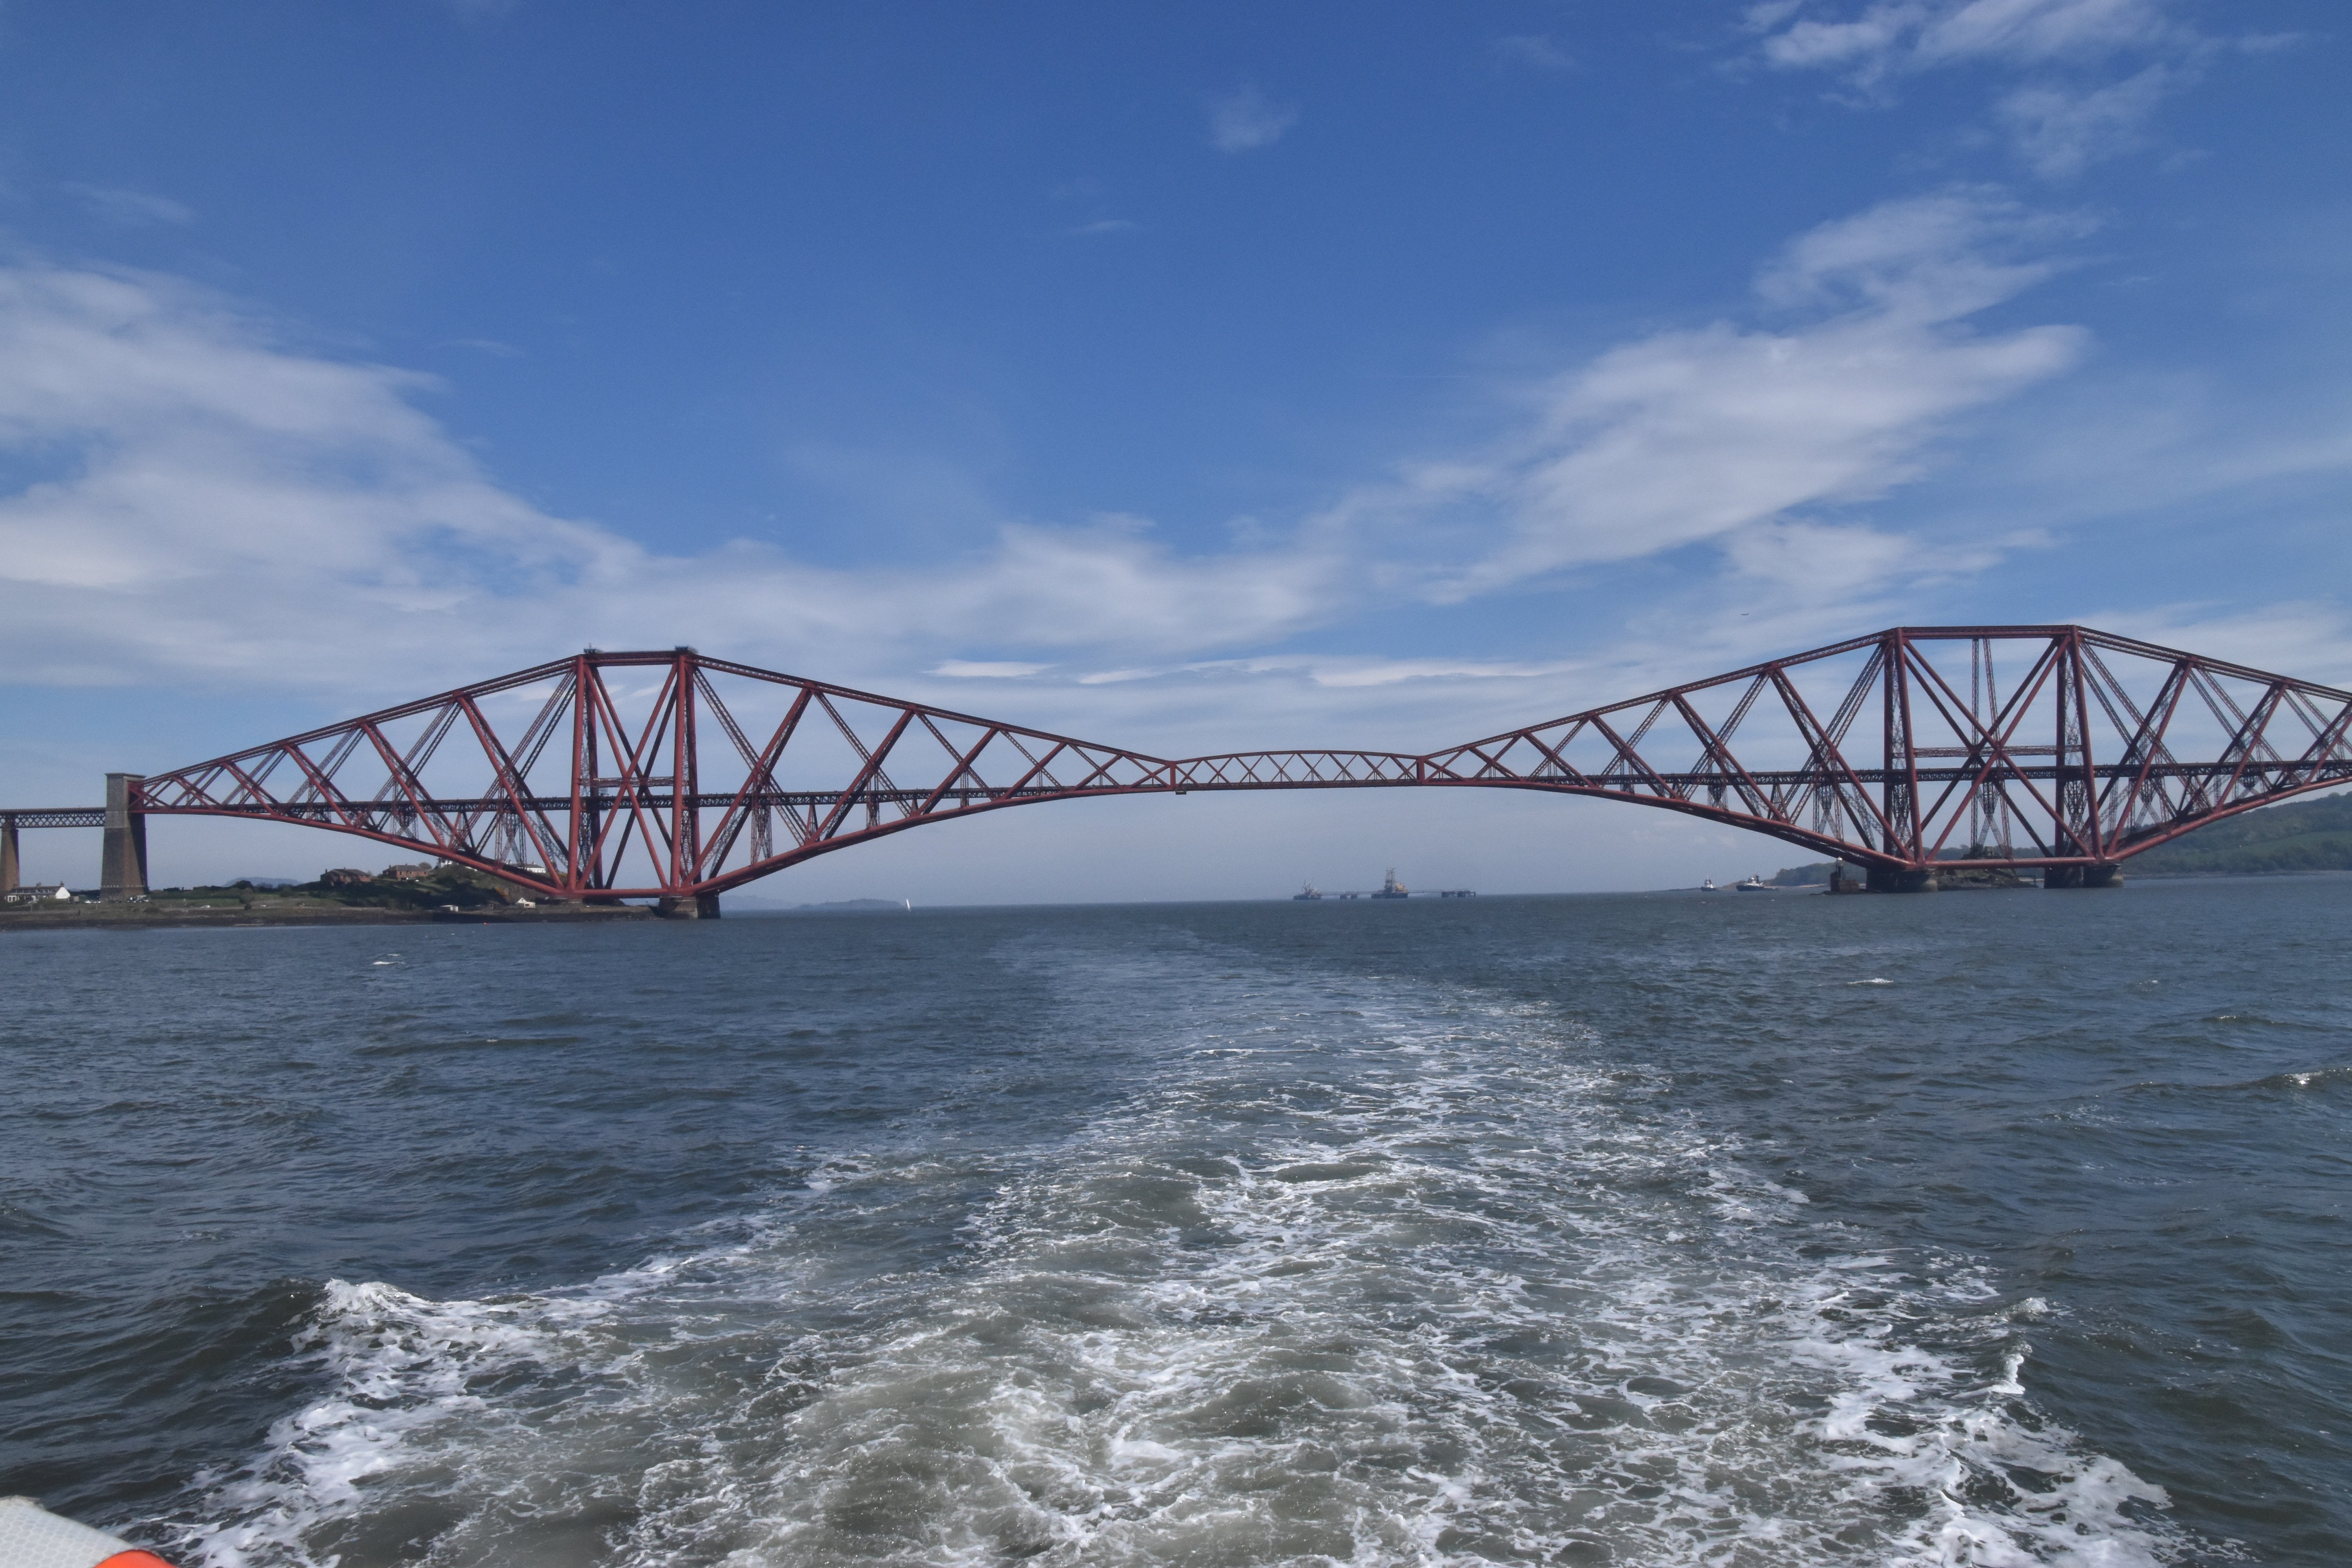
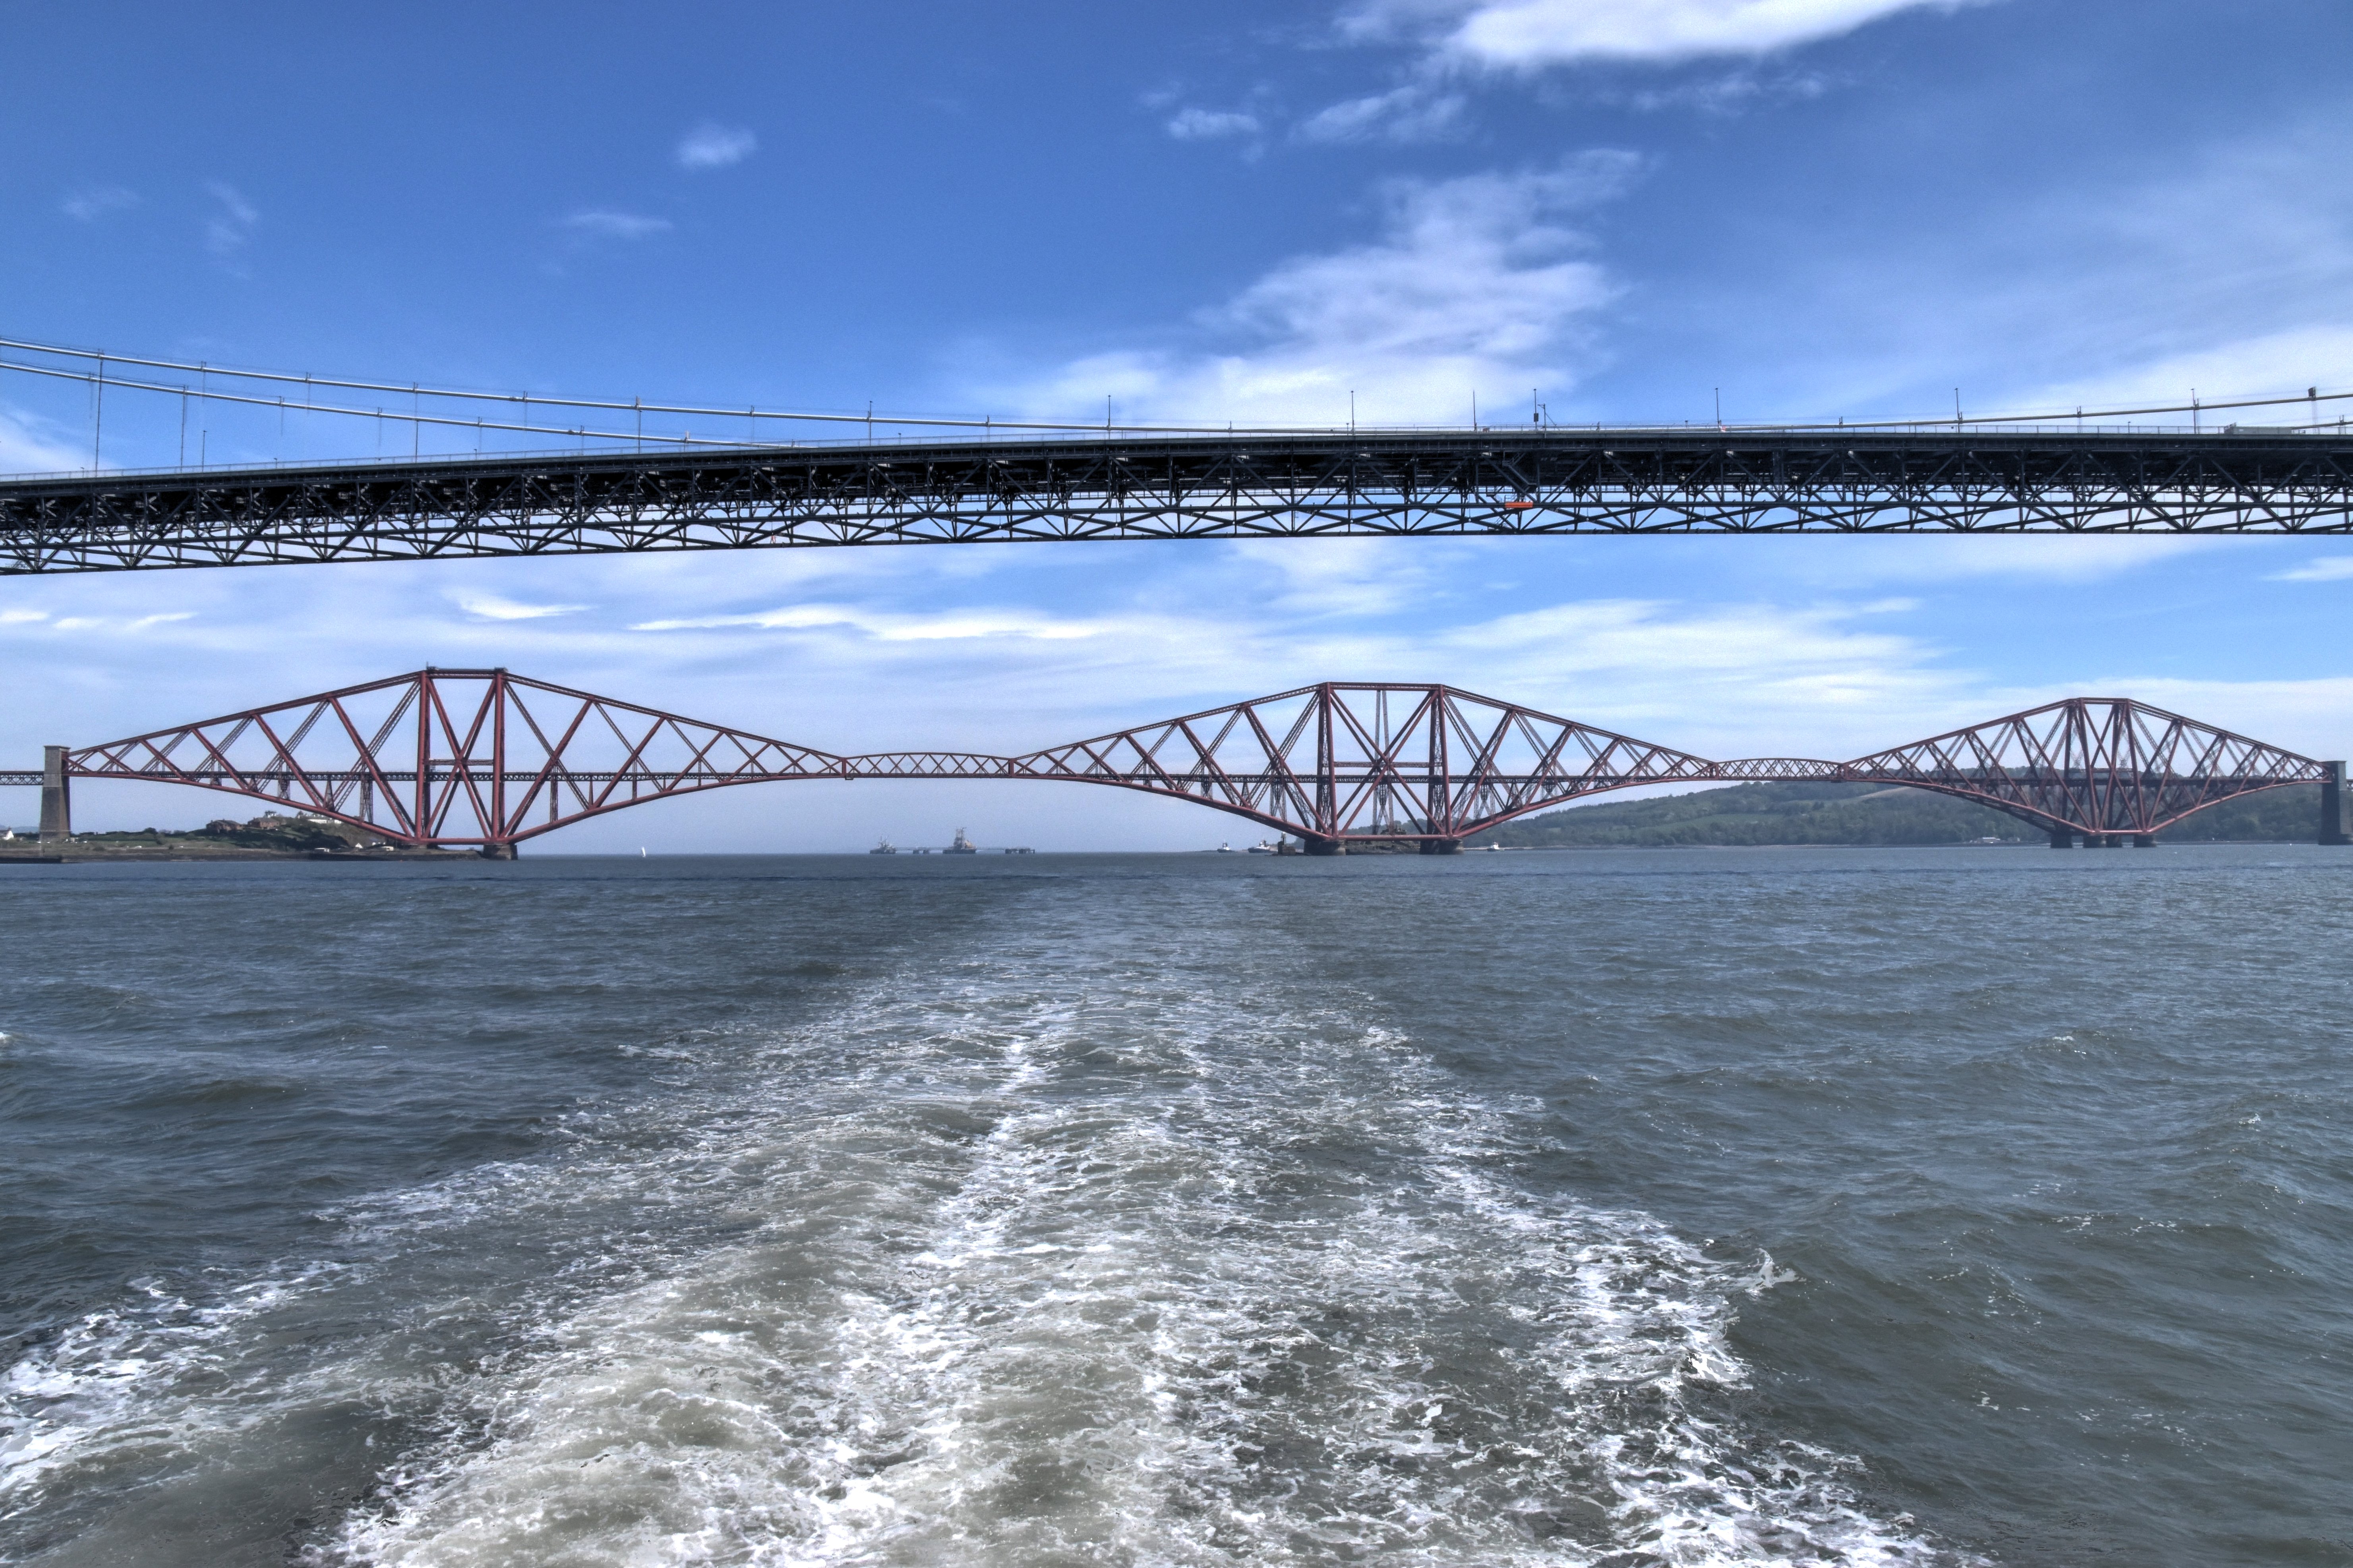
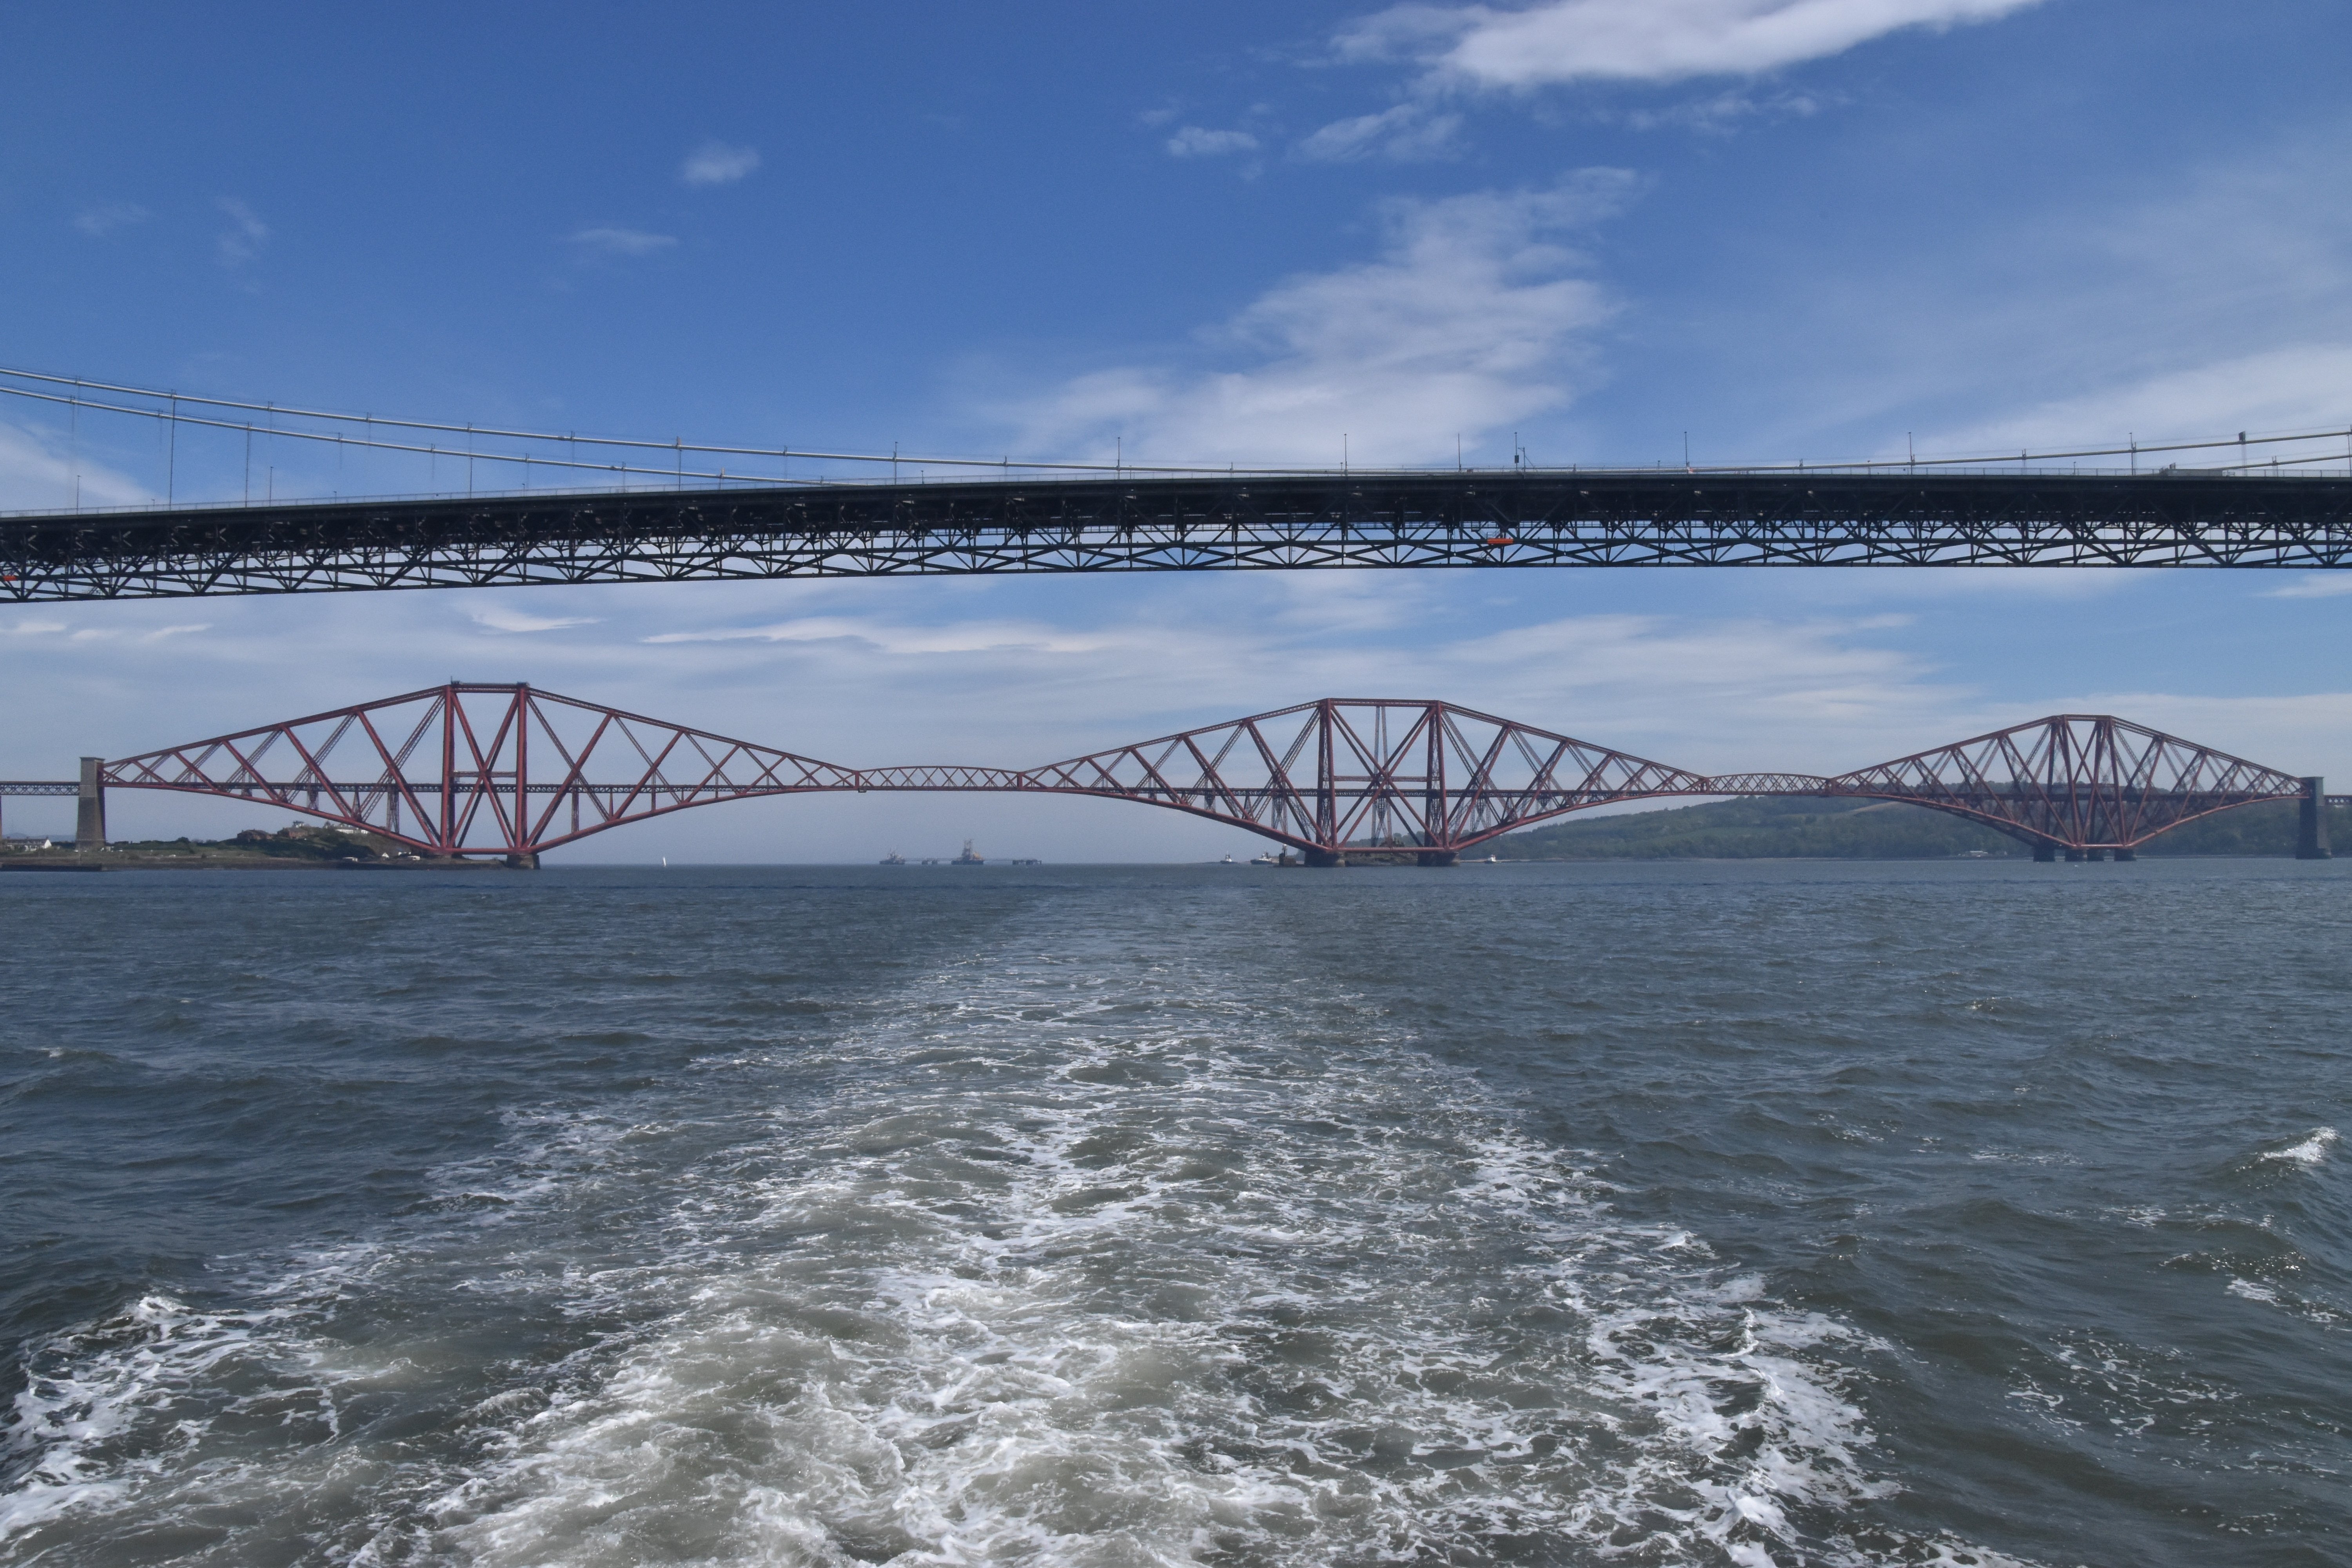
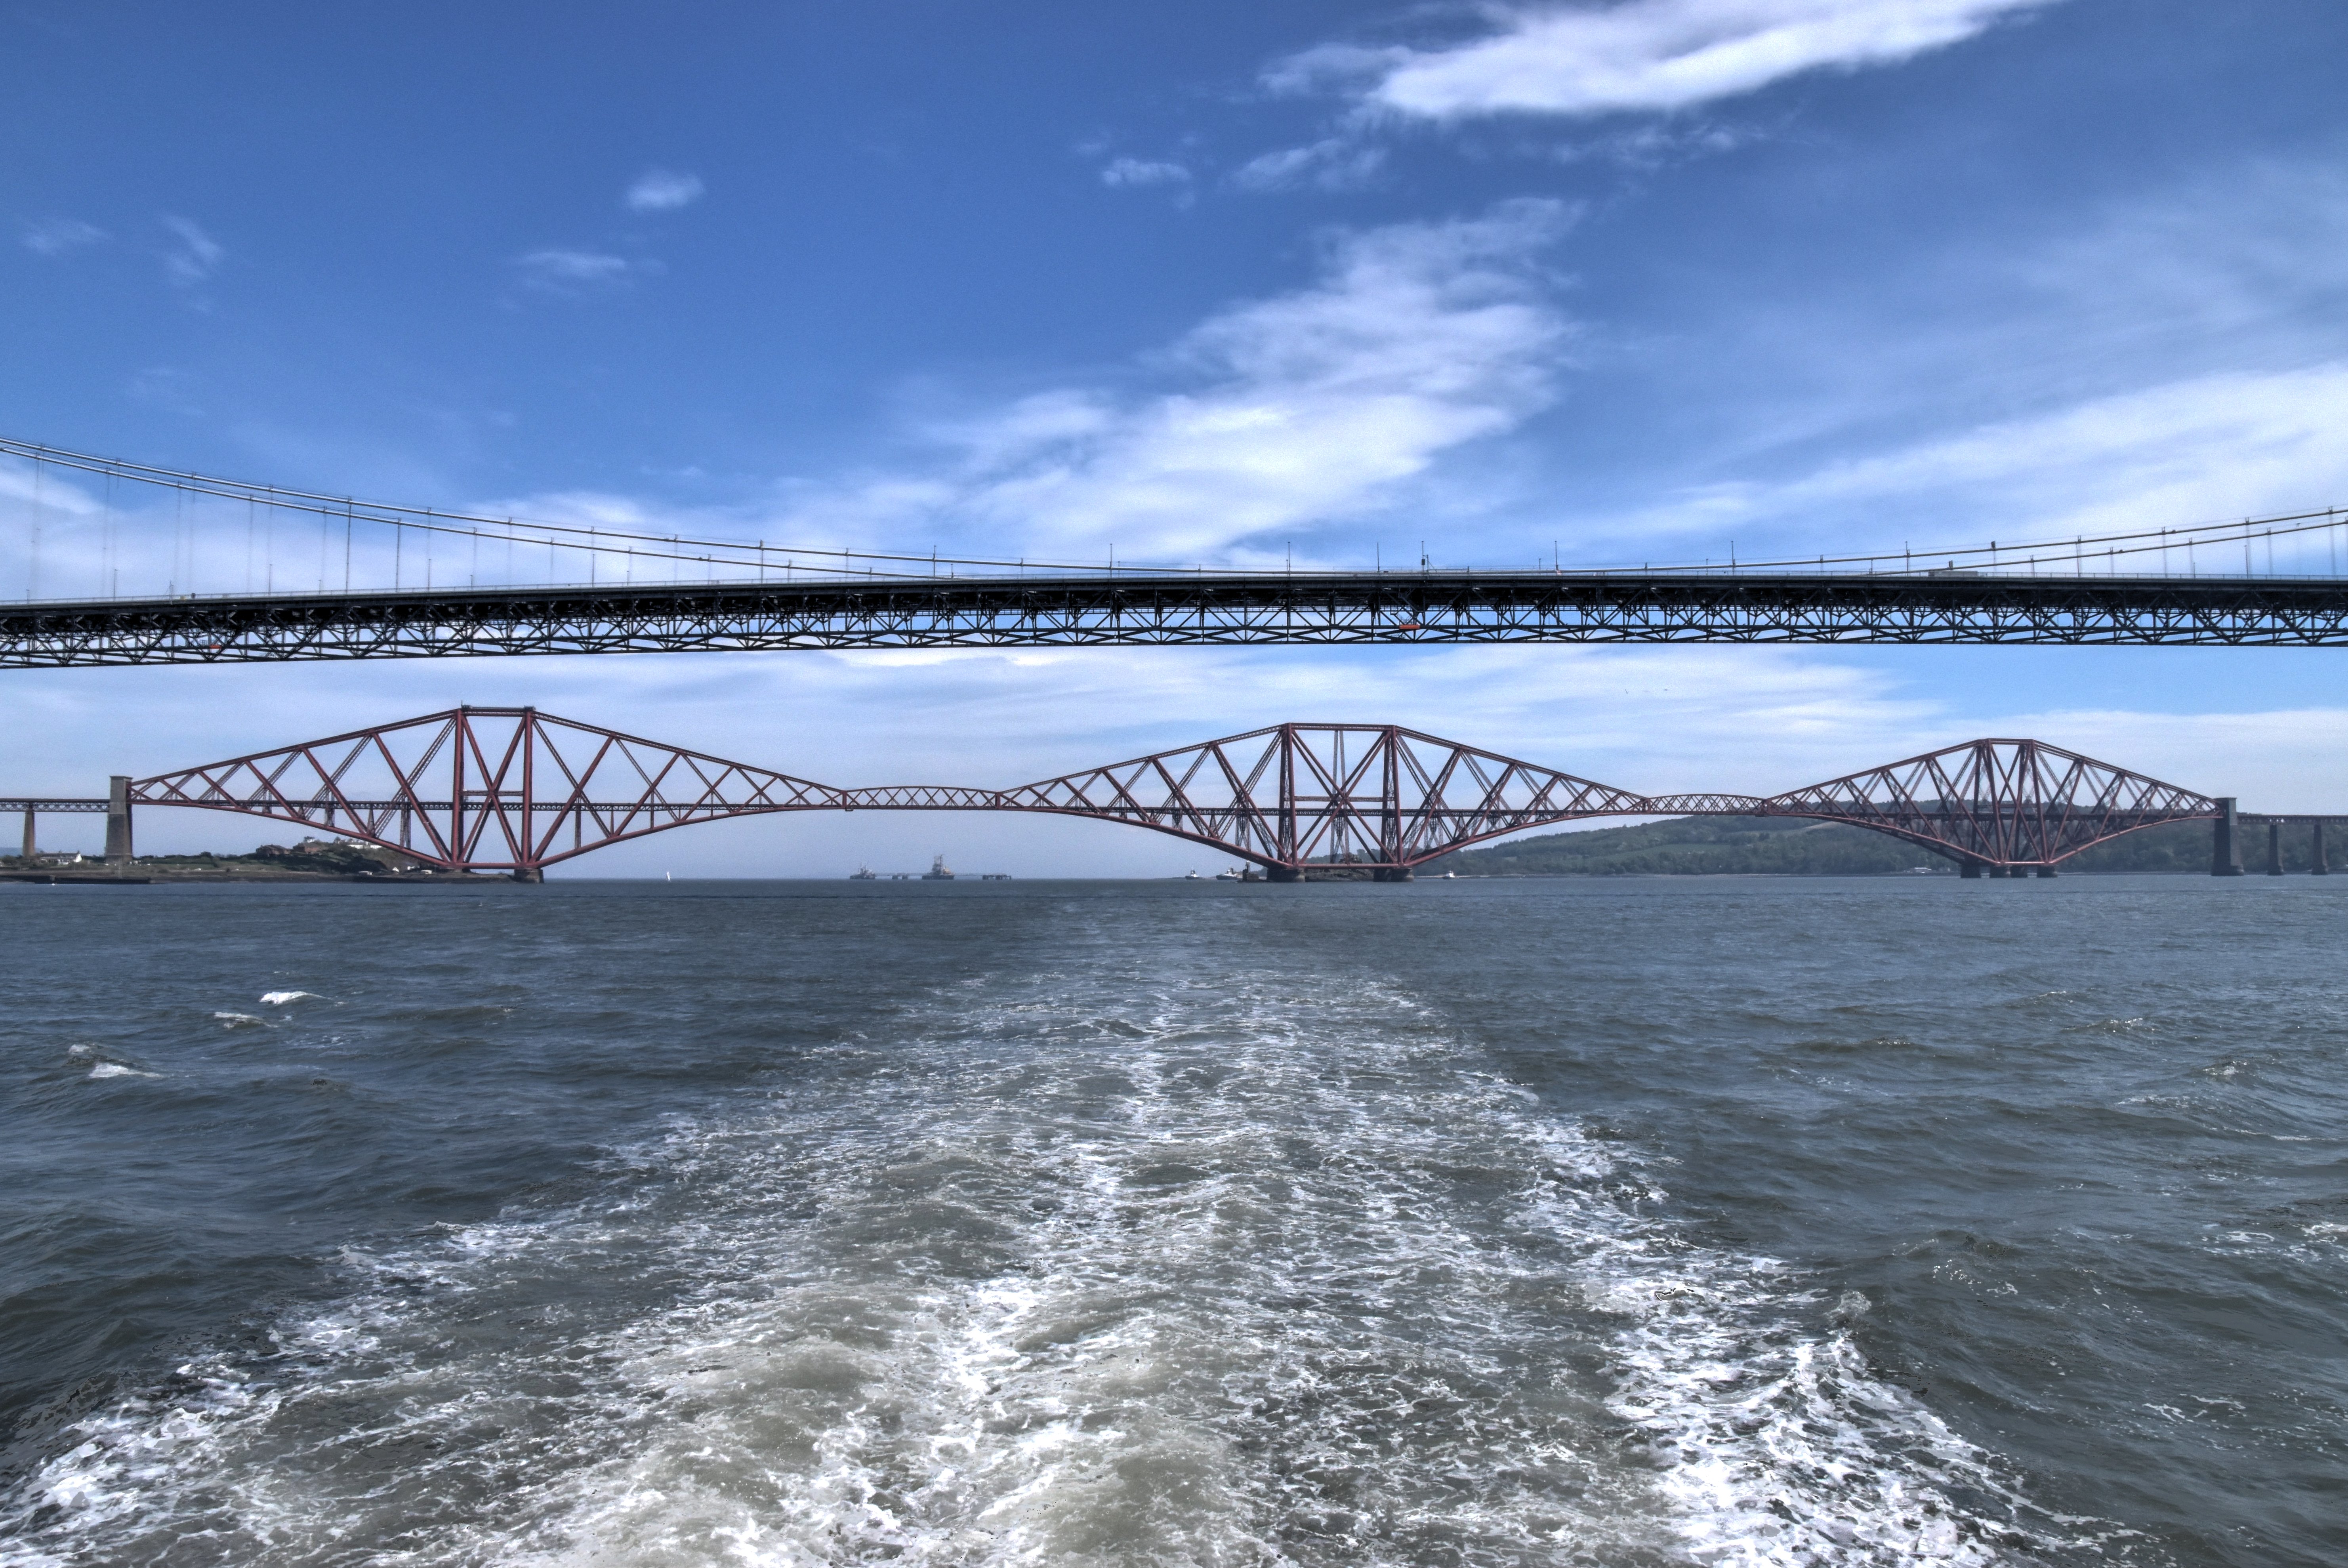
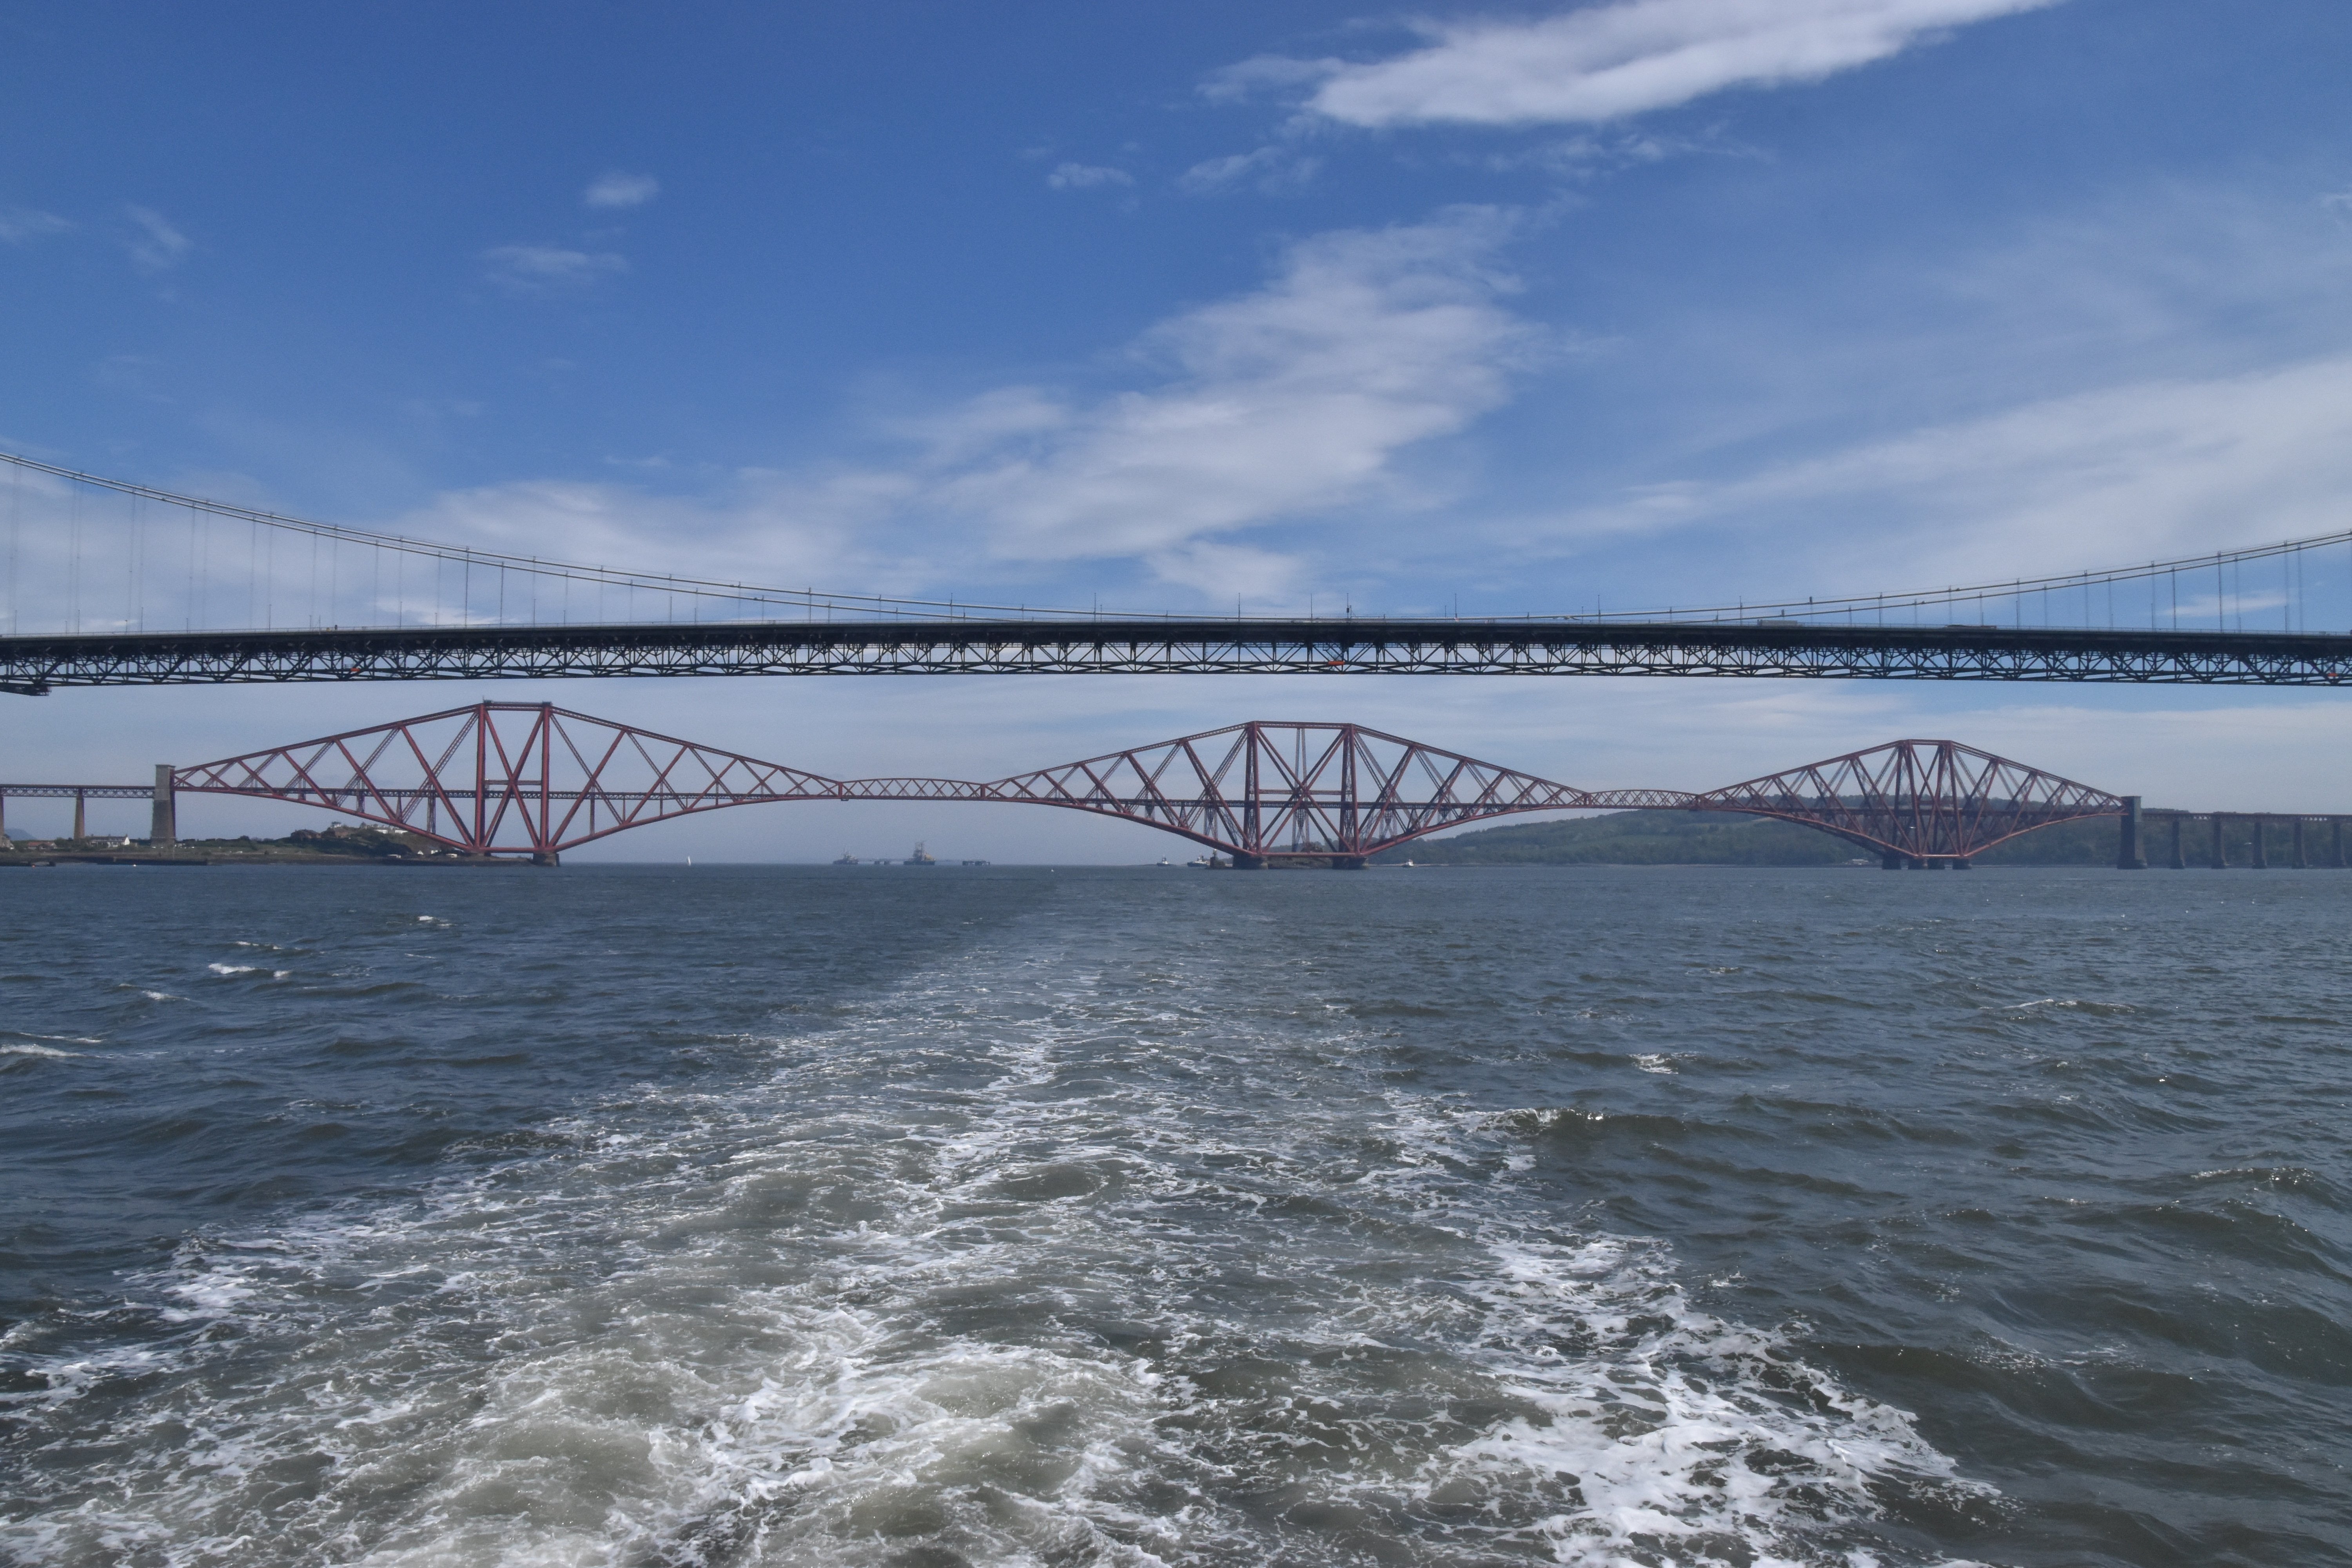
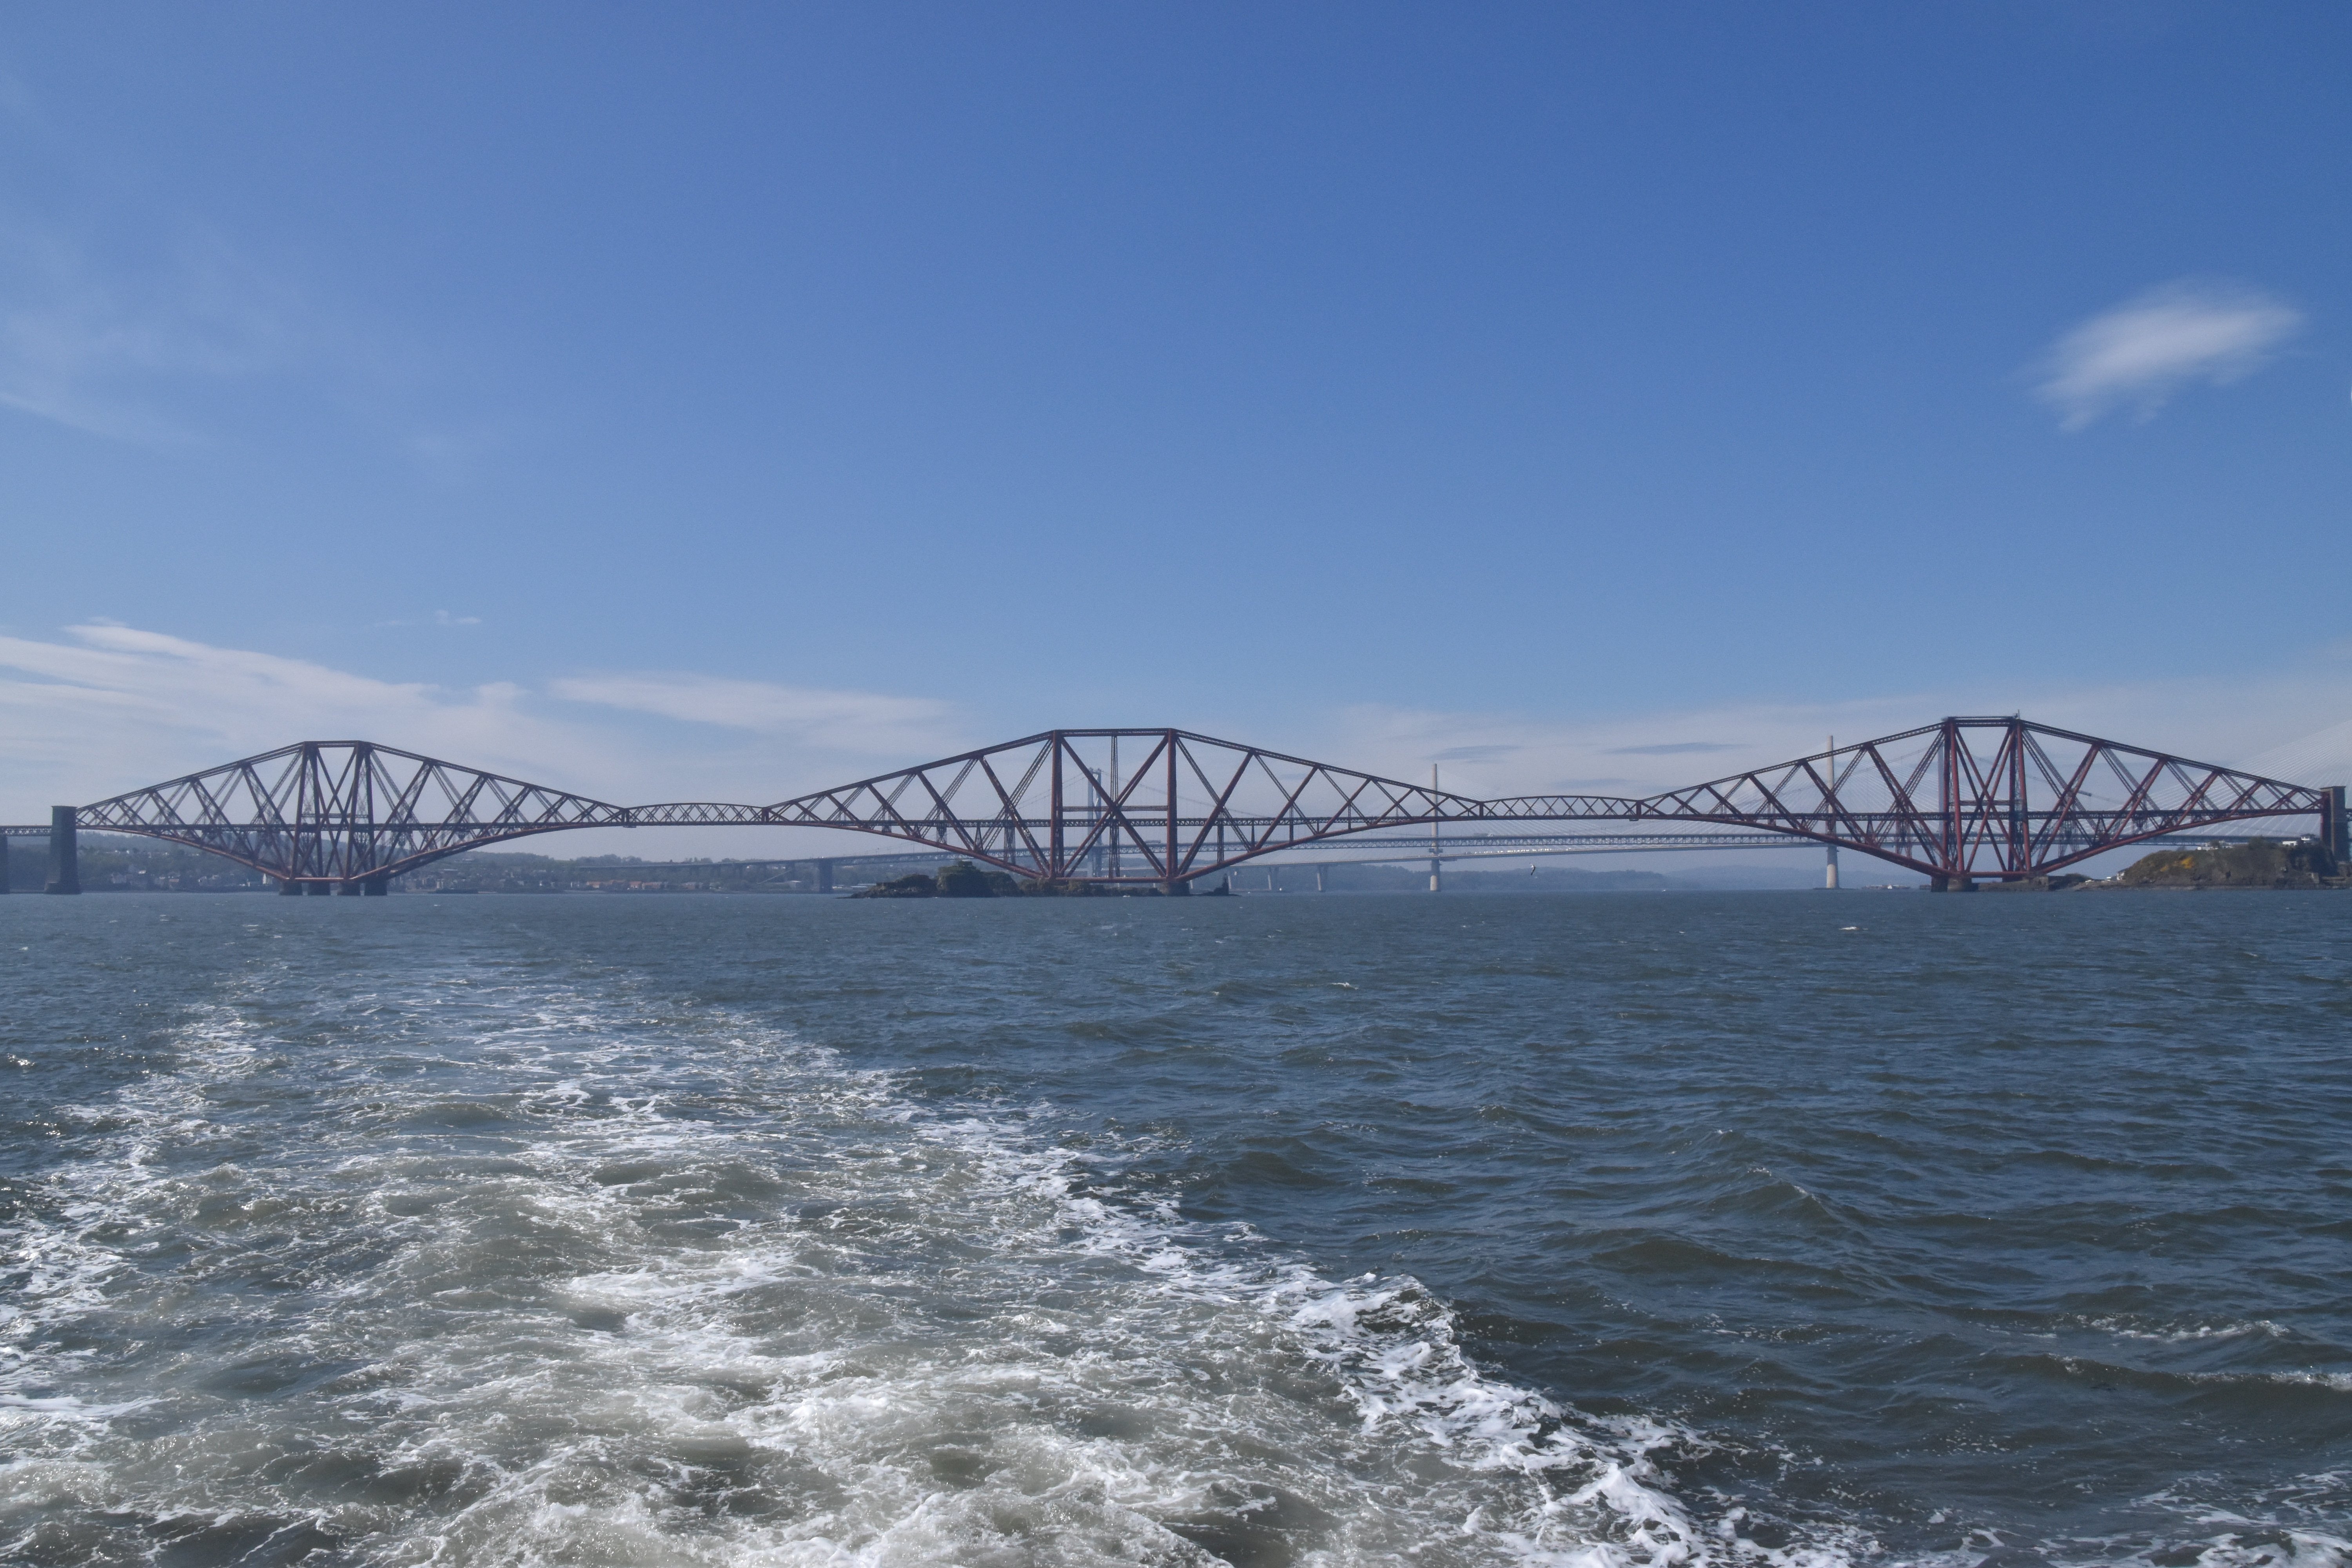
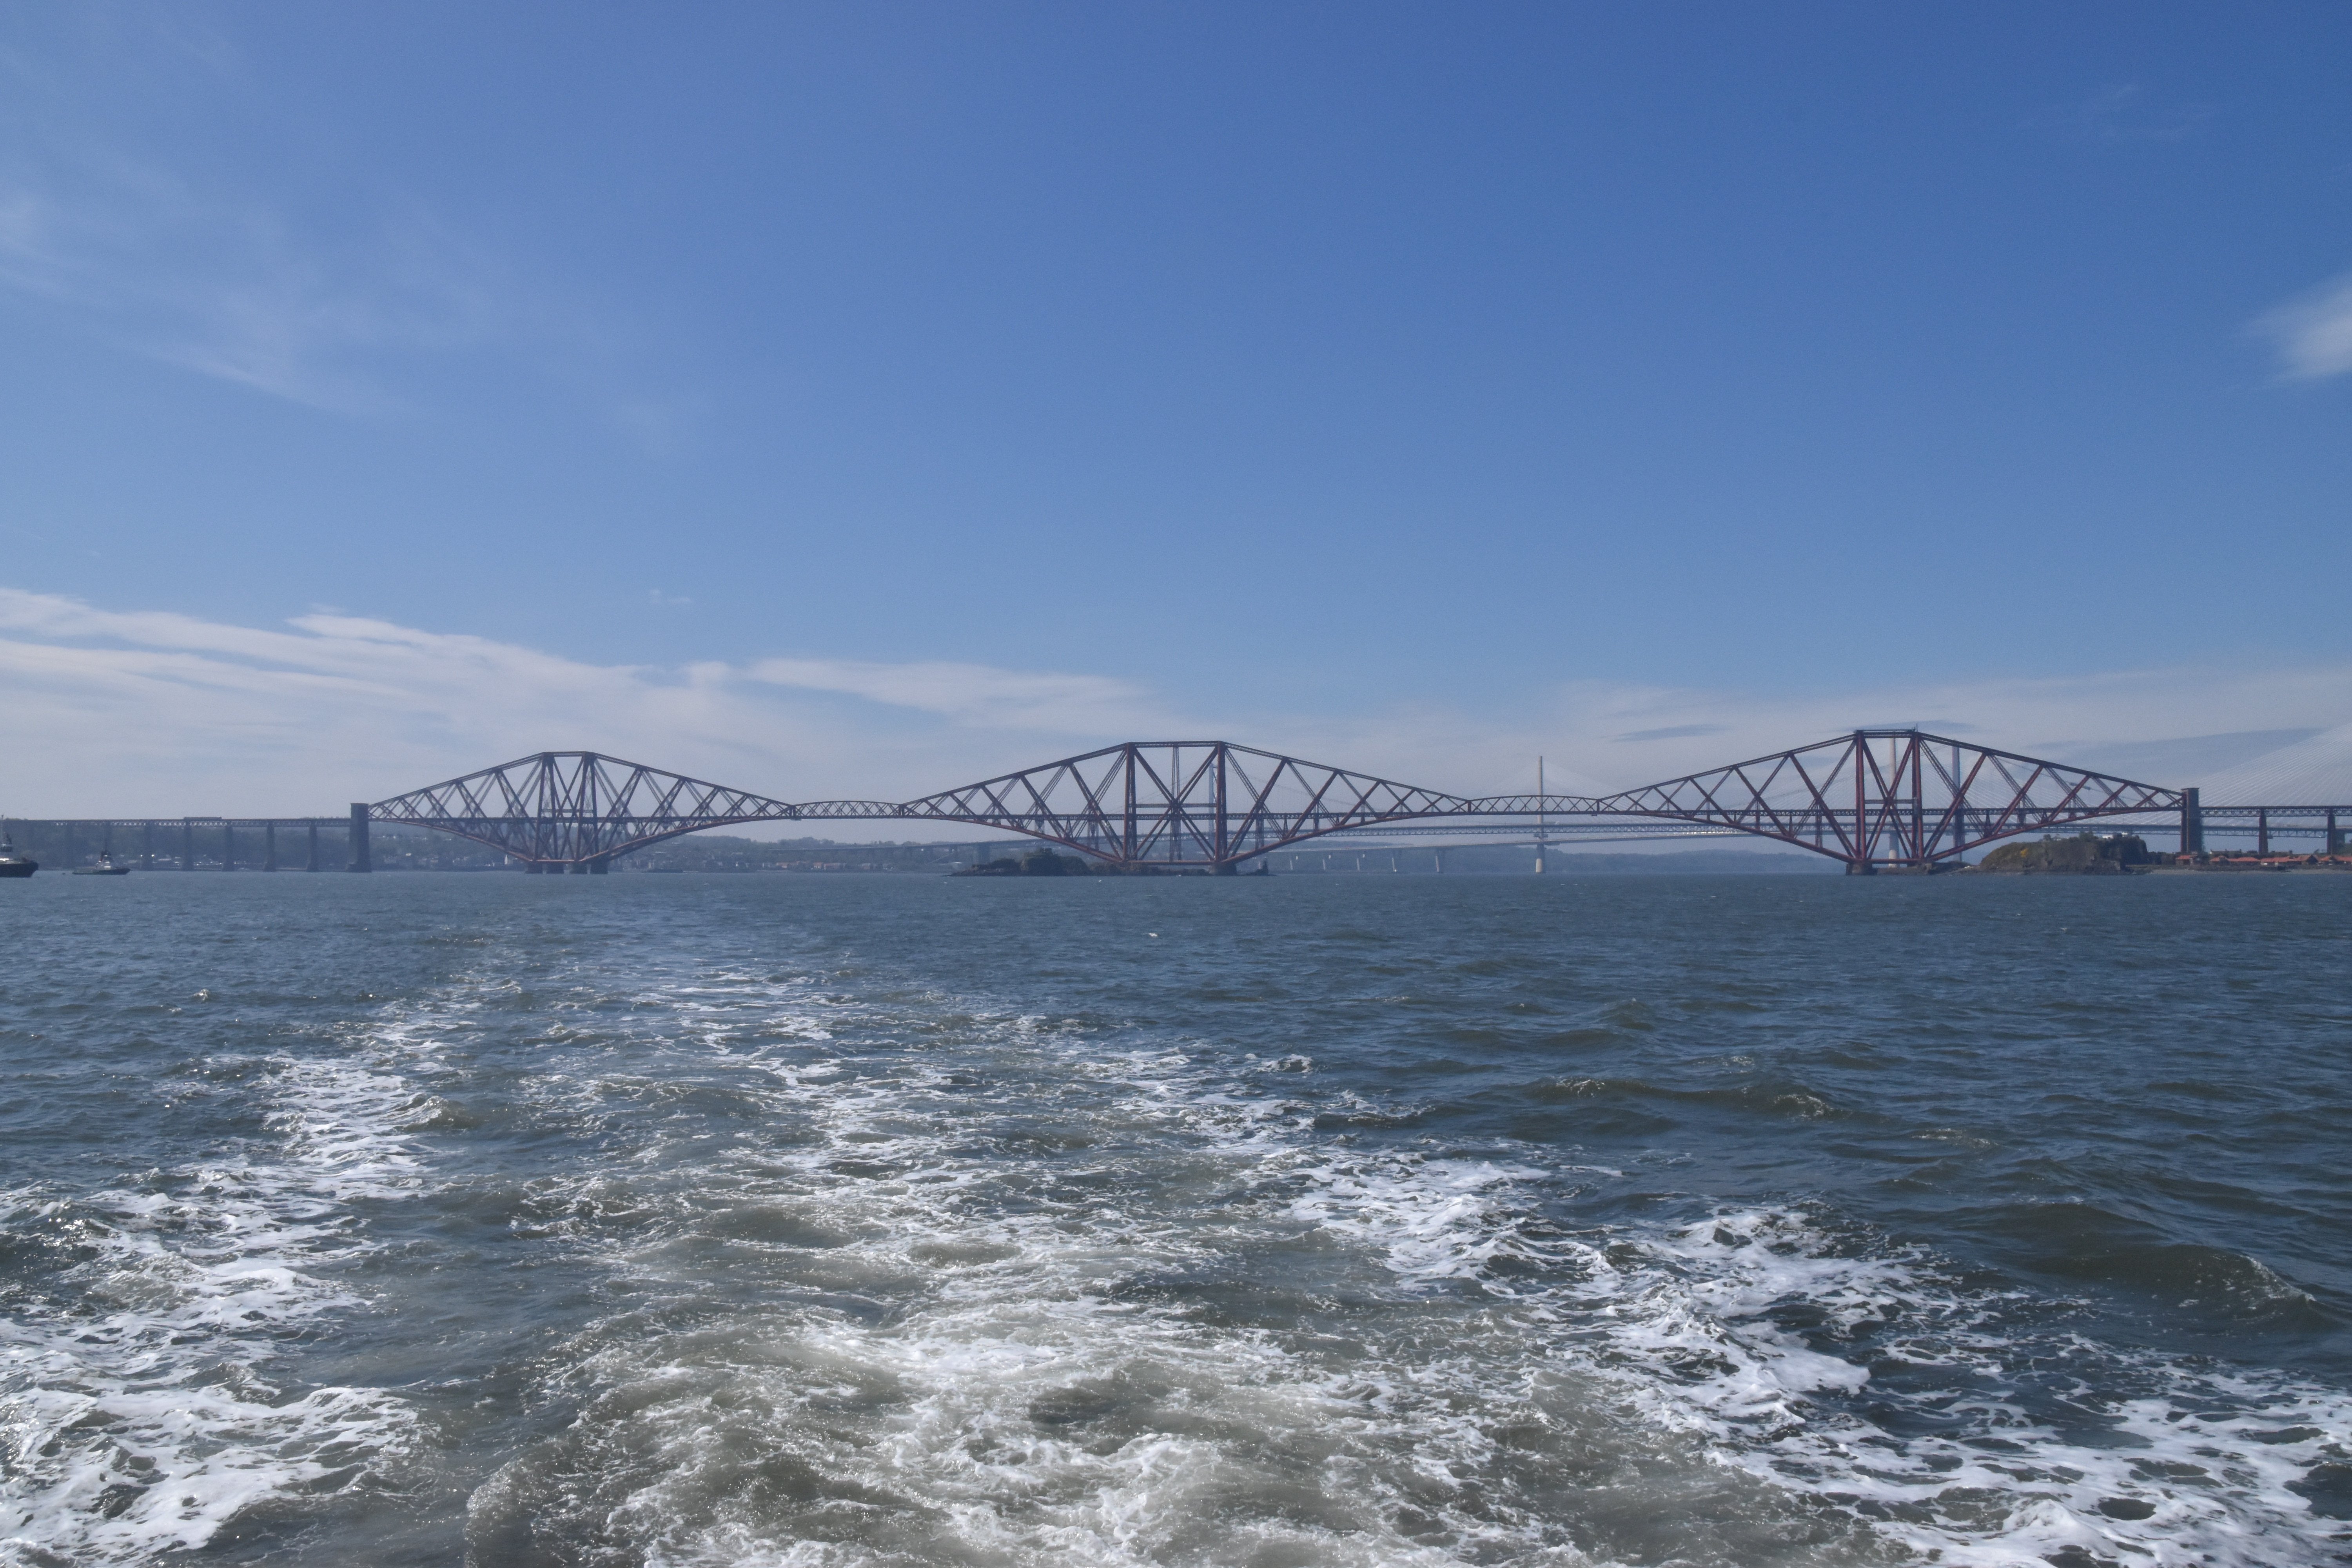
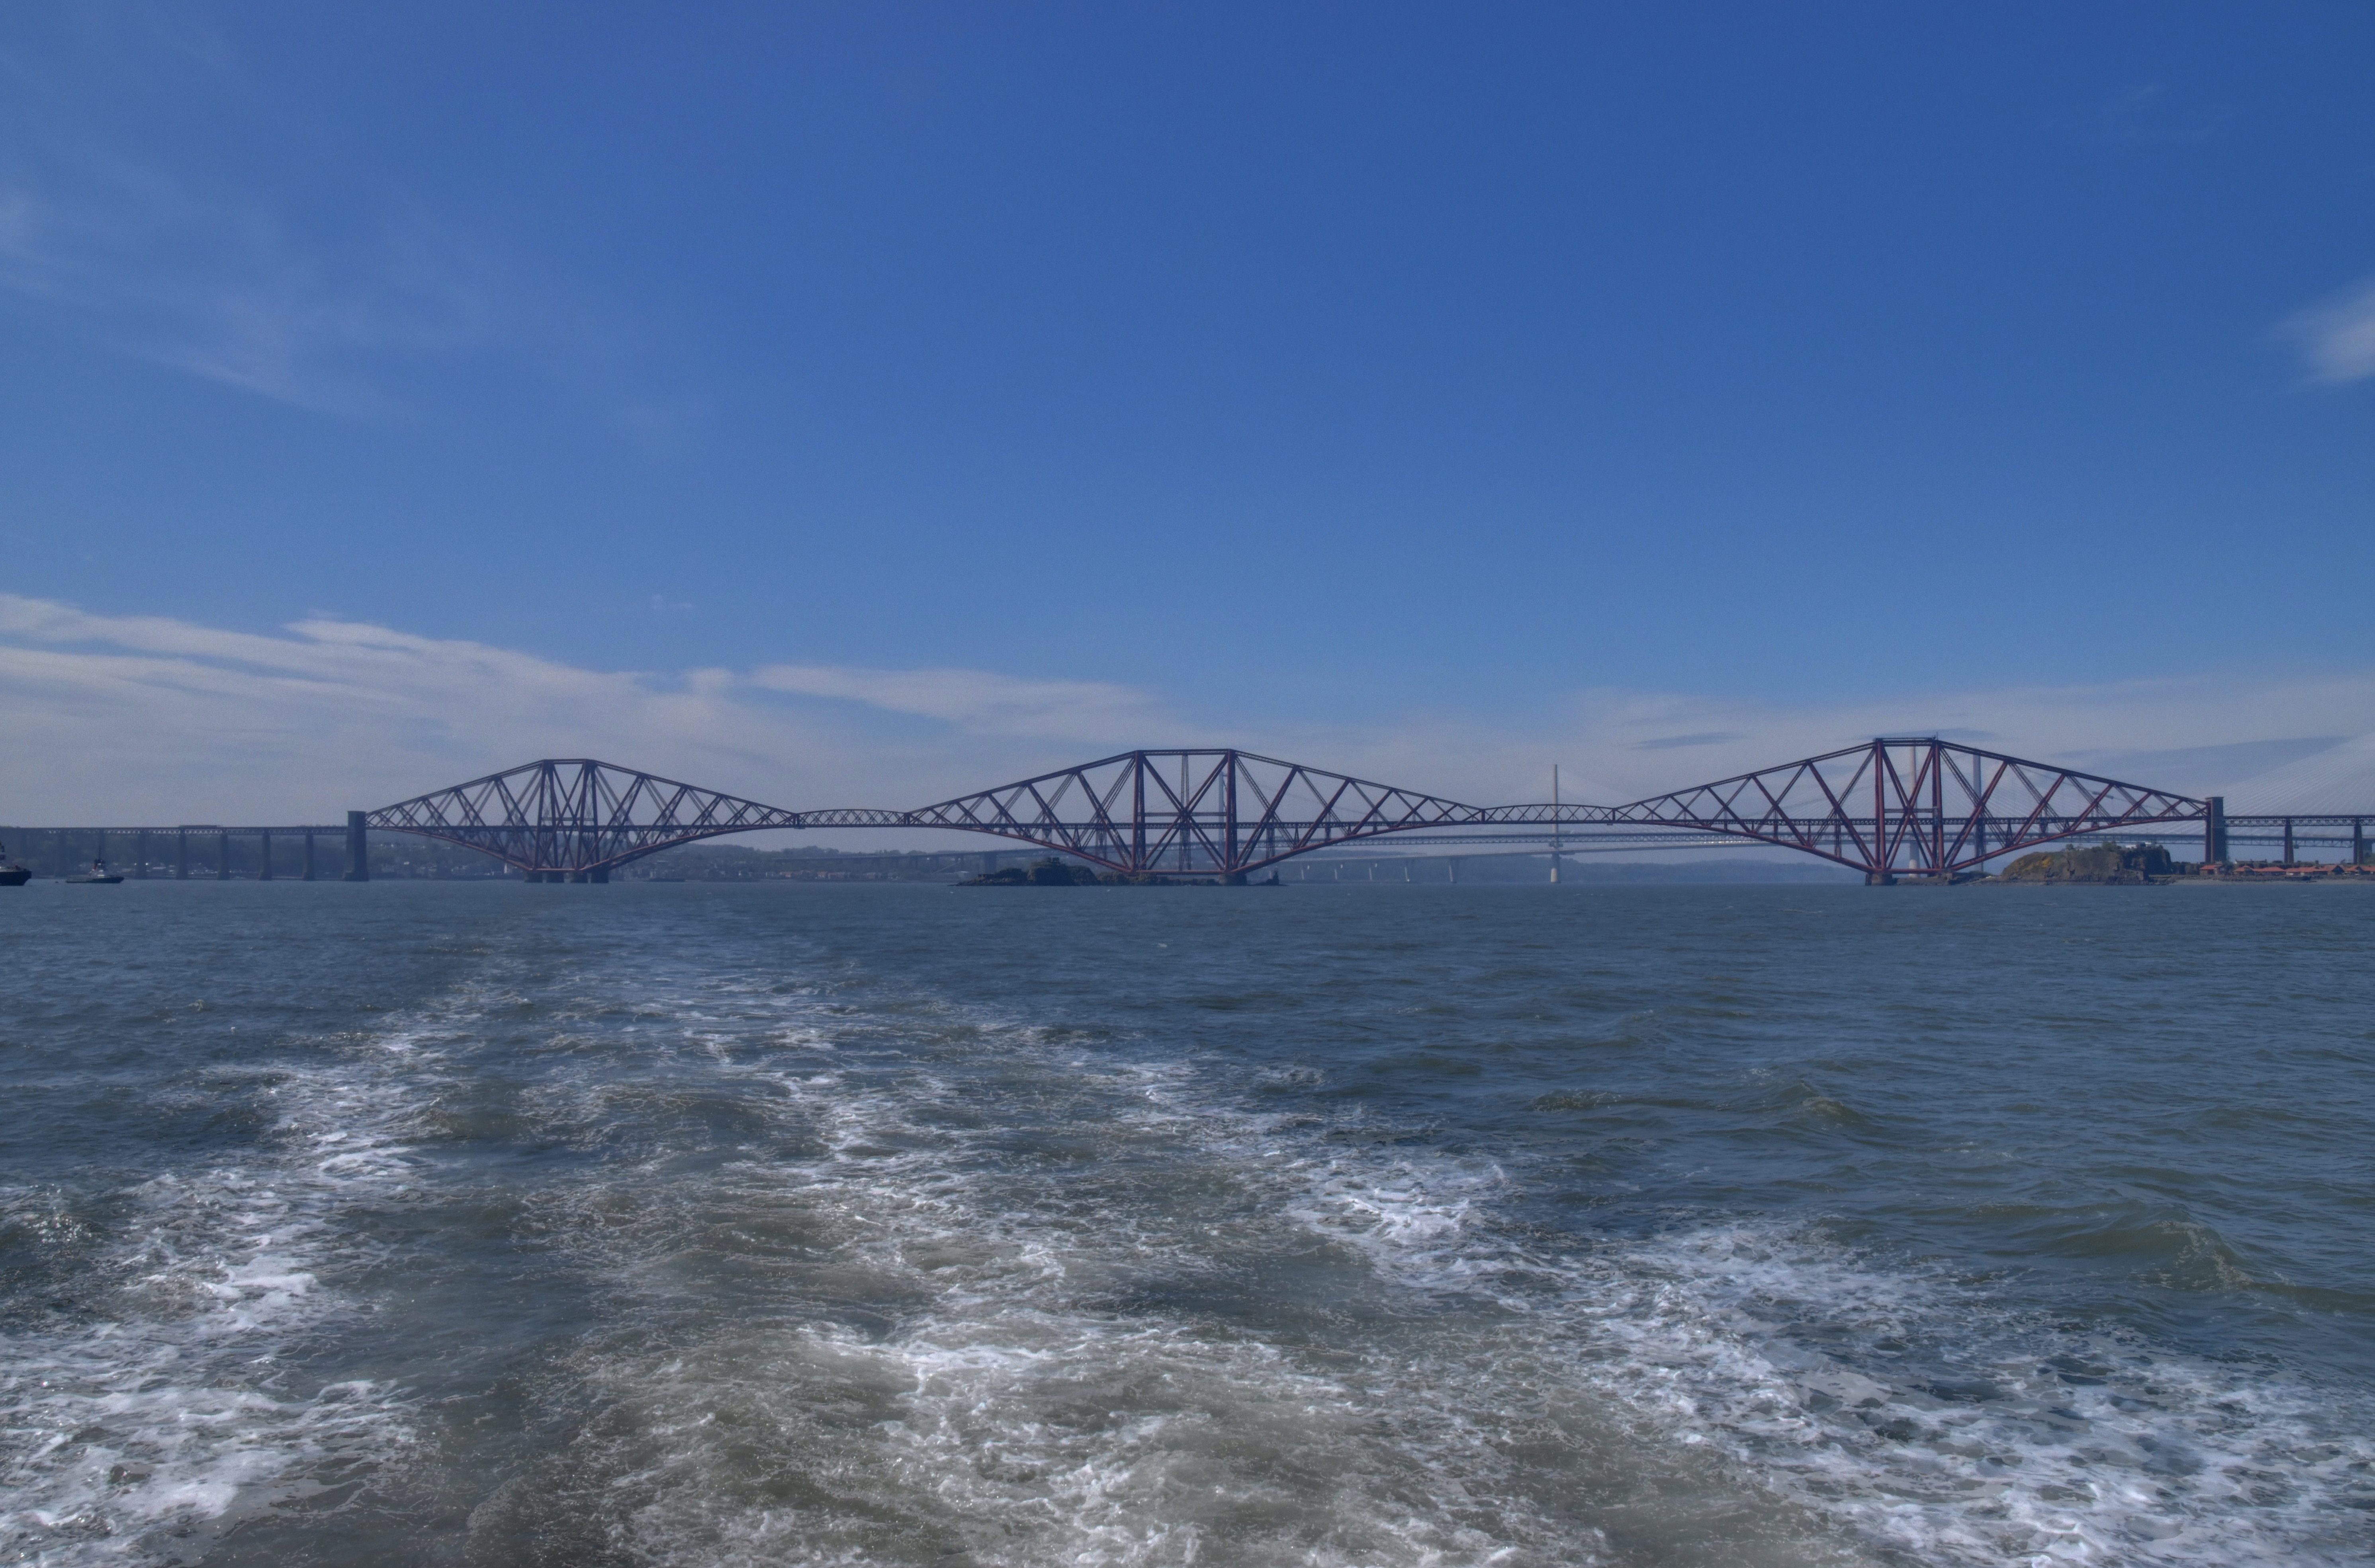
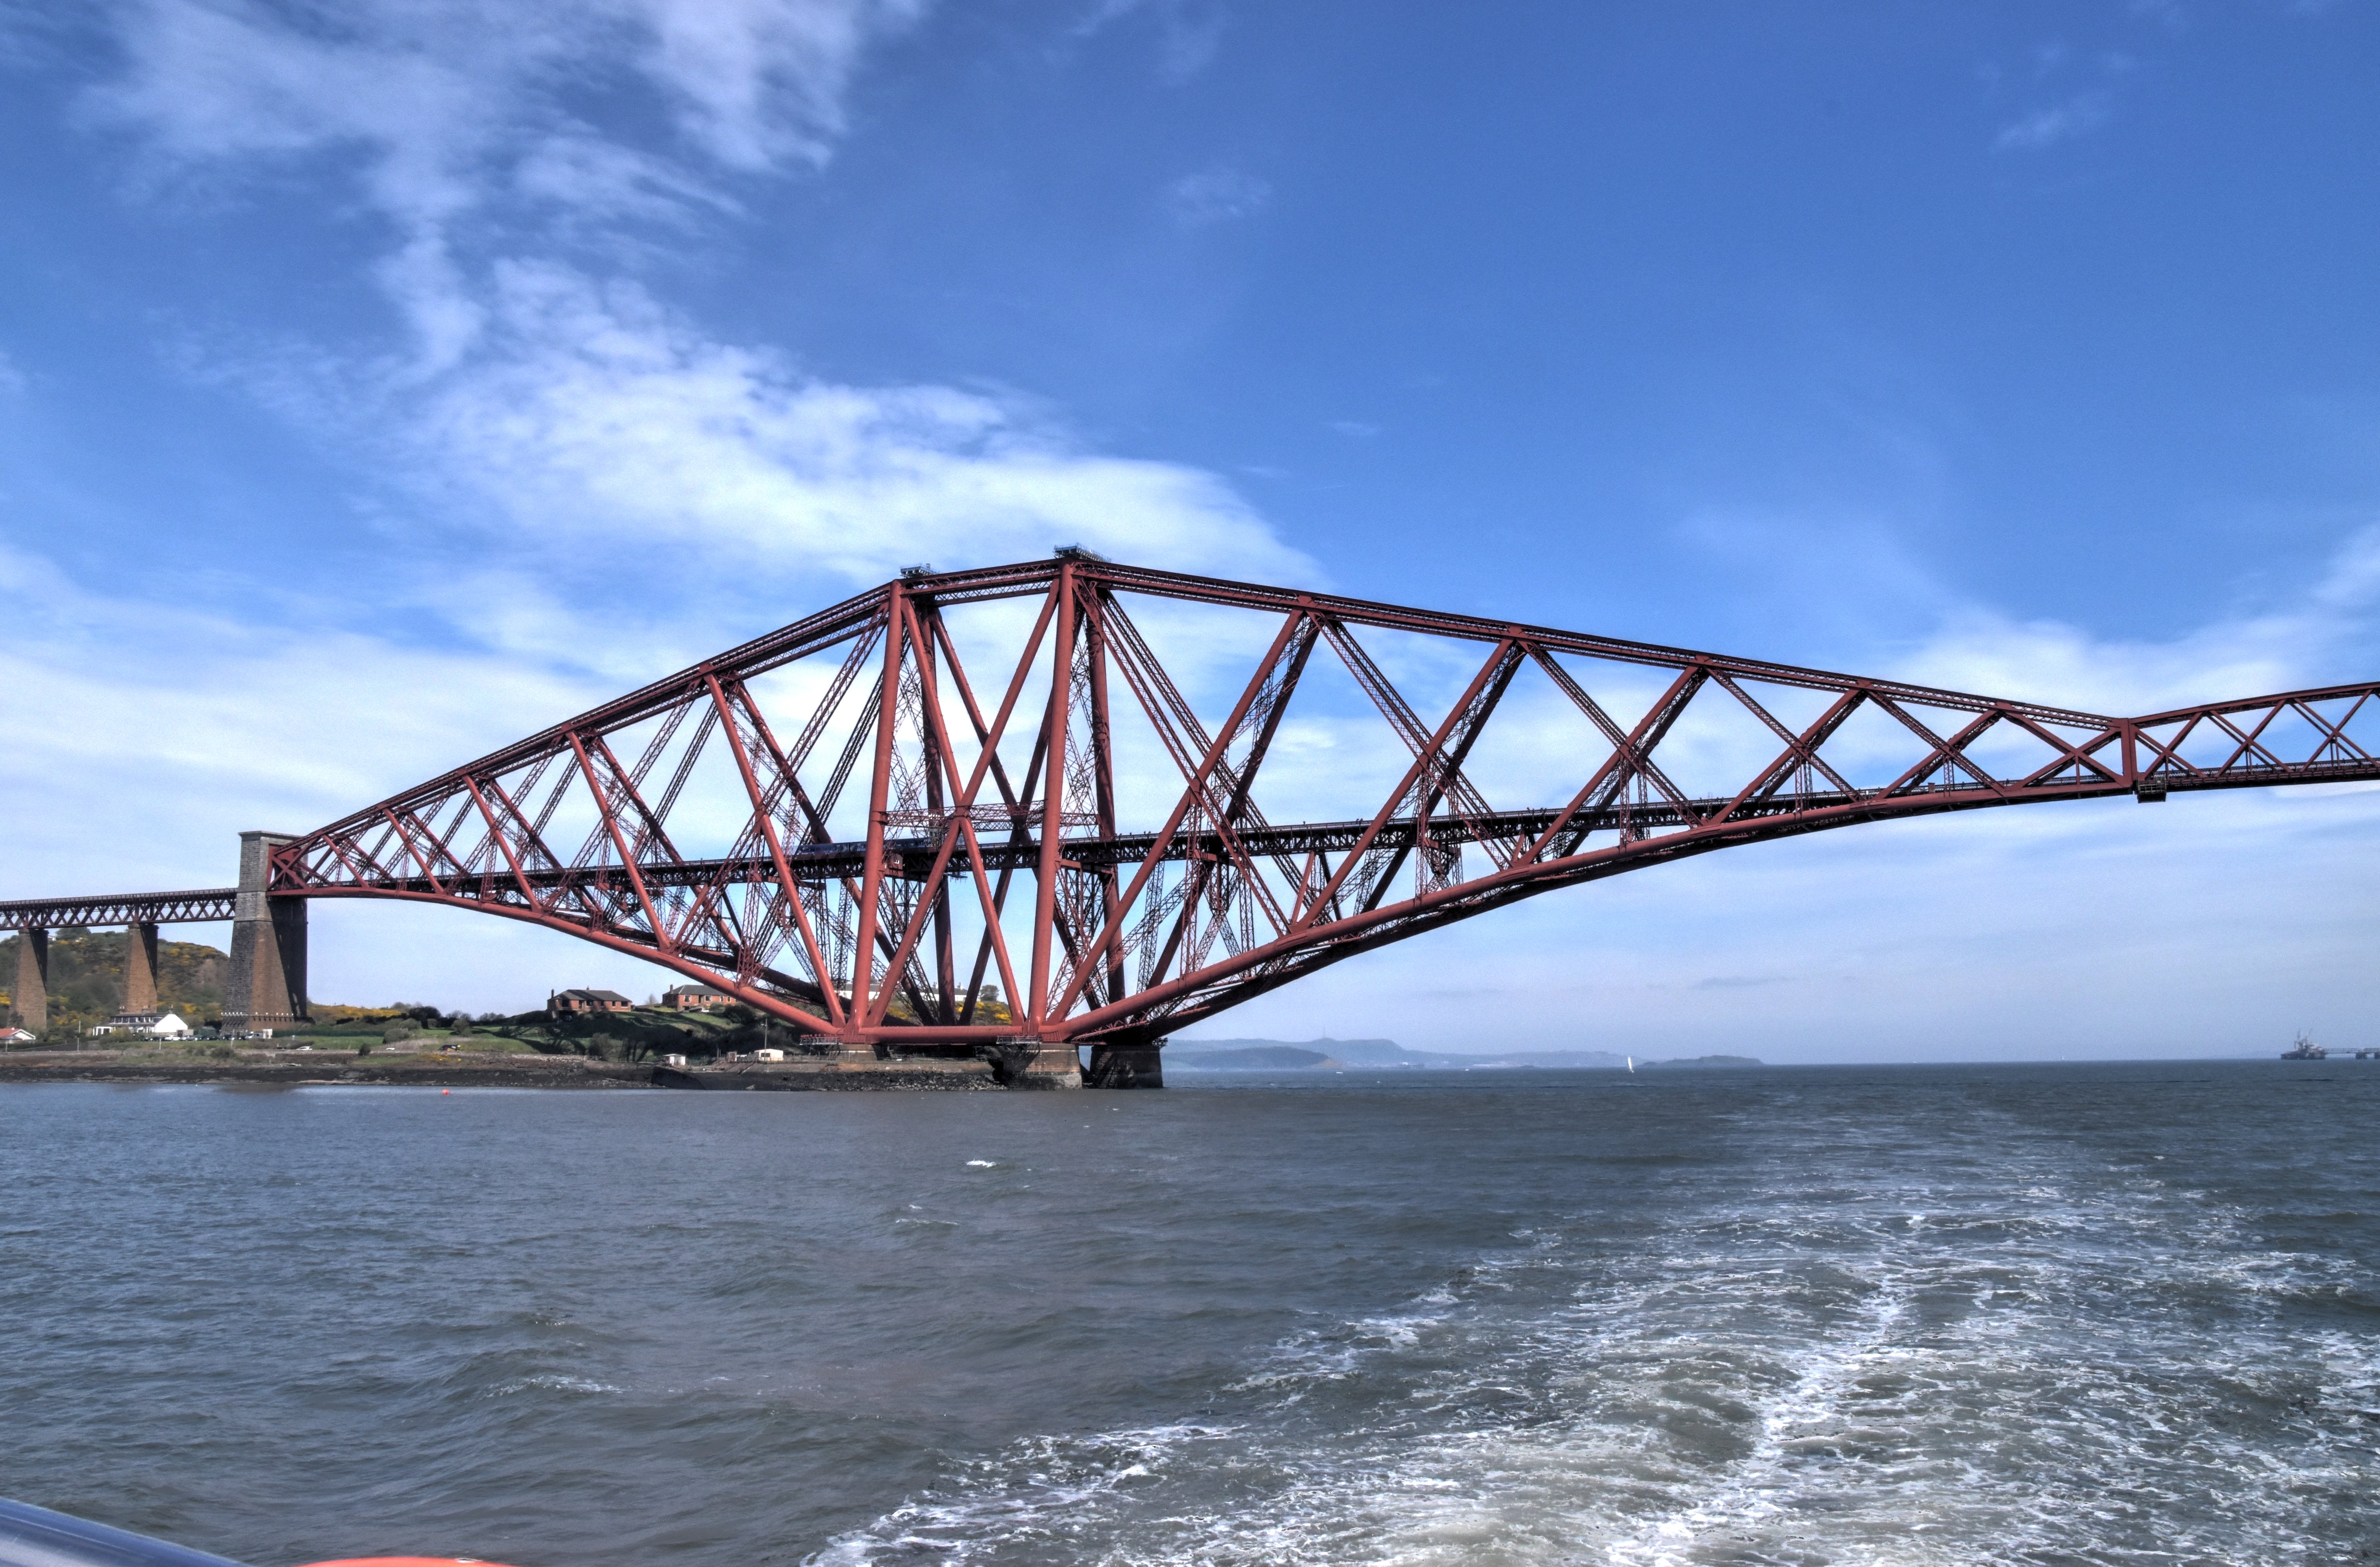
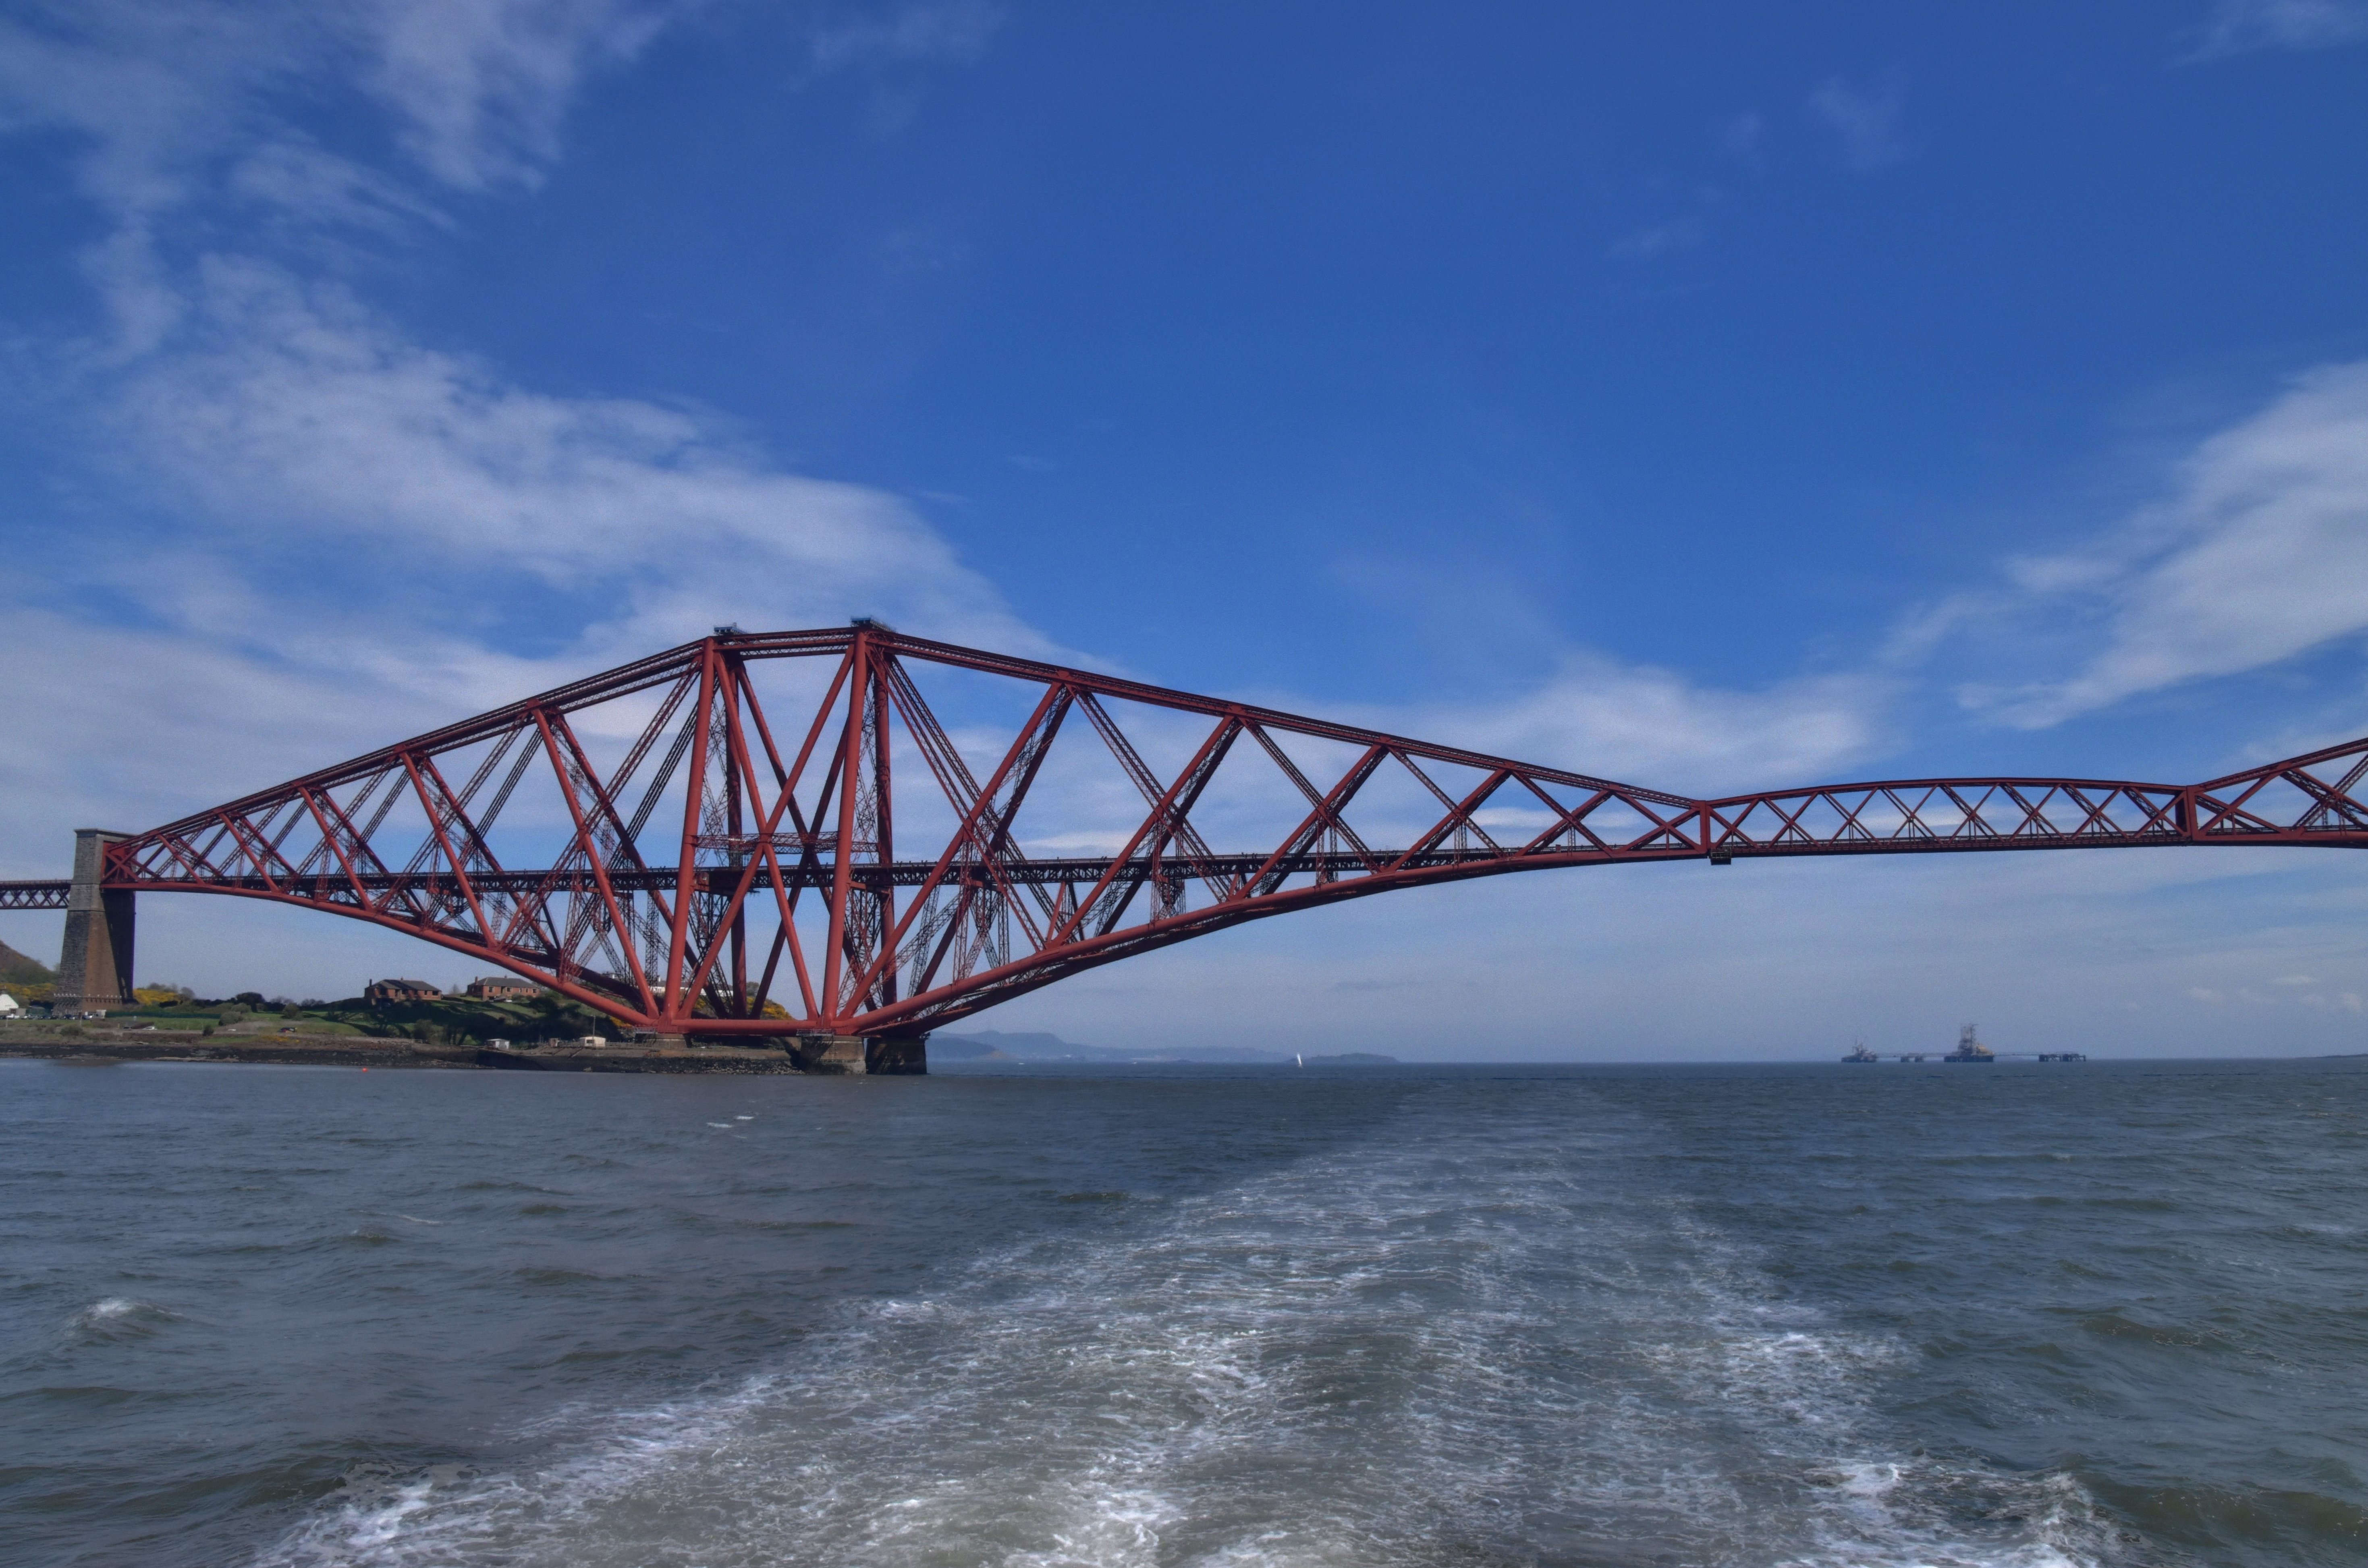
Panoramic east elevation of cantilever spans from boat.
![]()


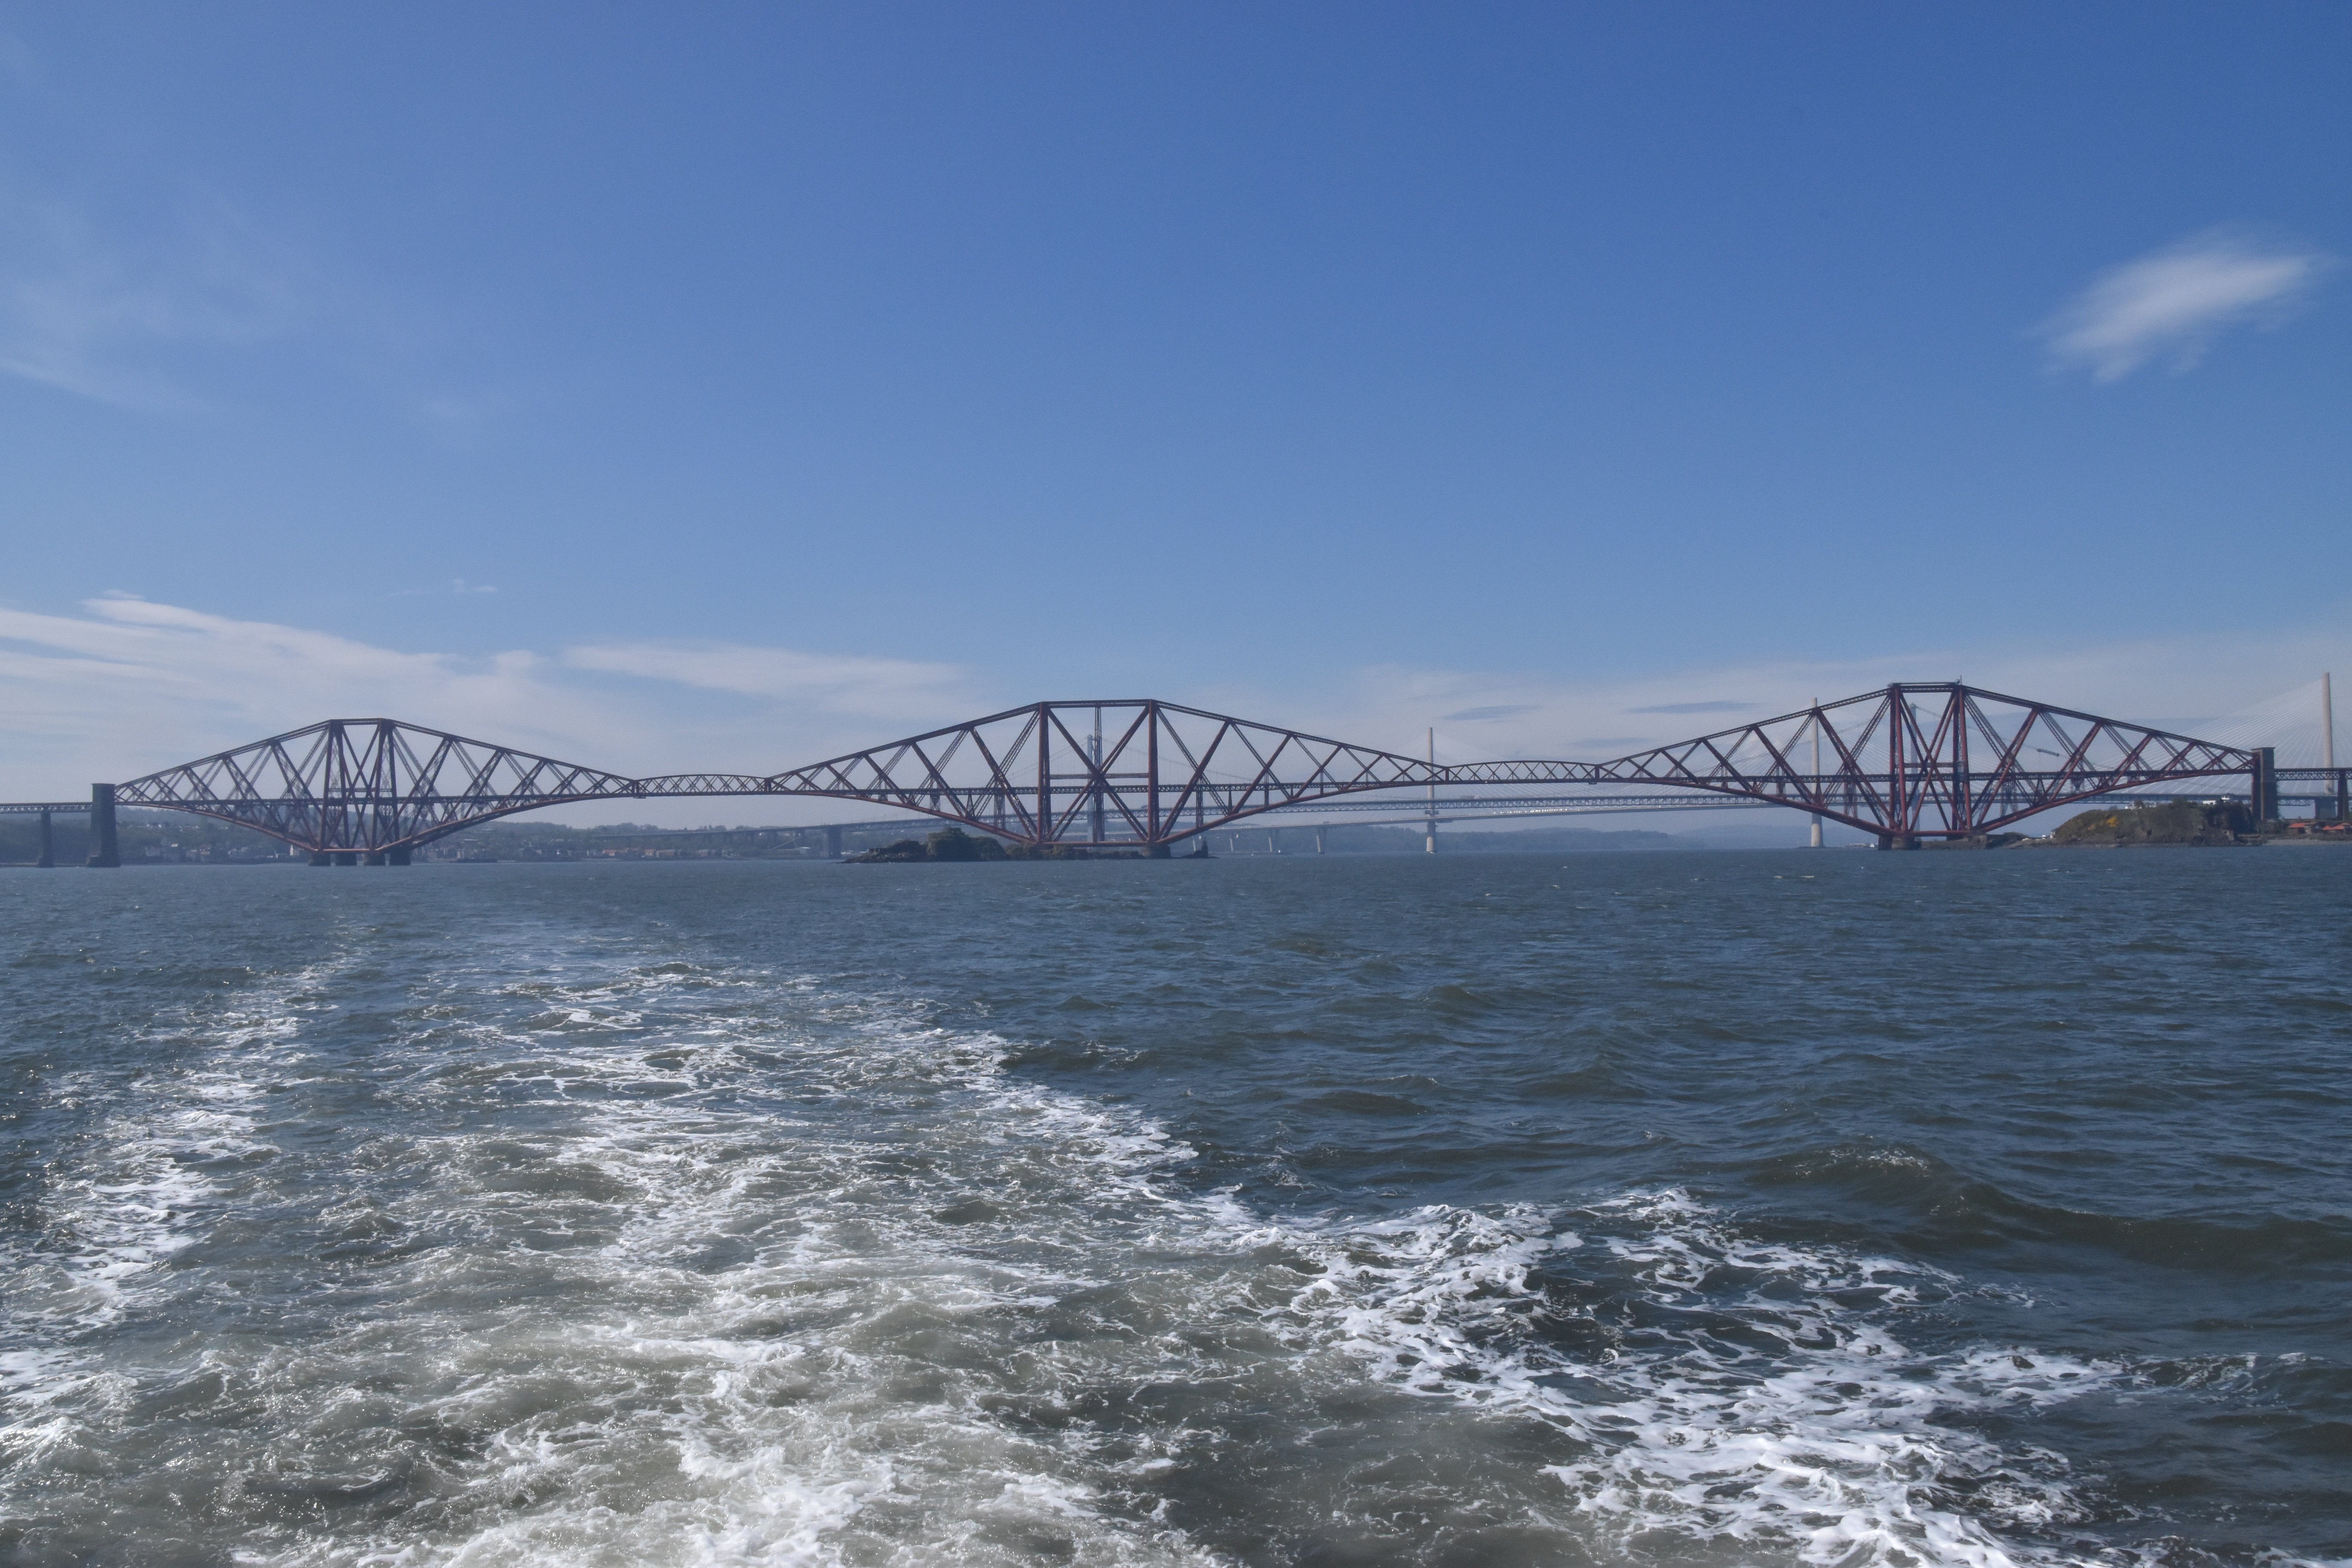

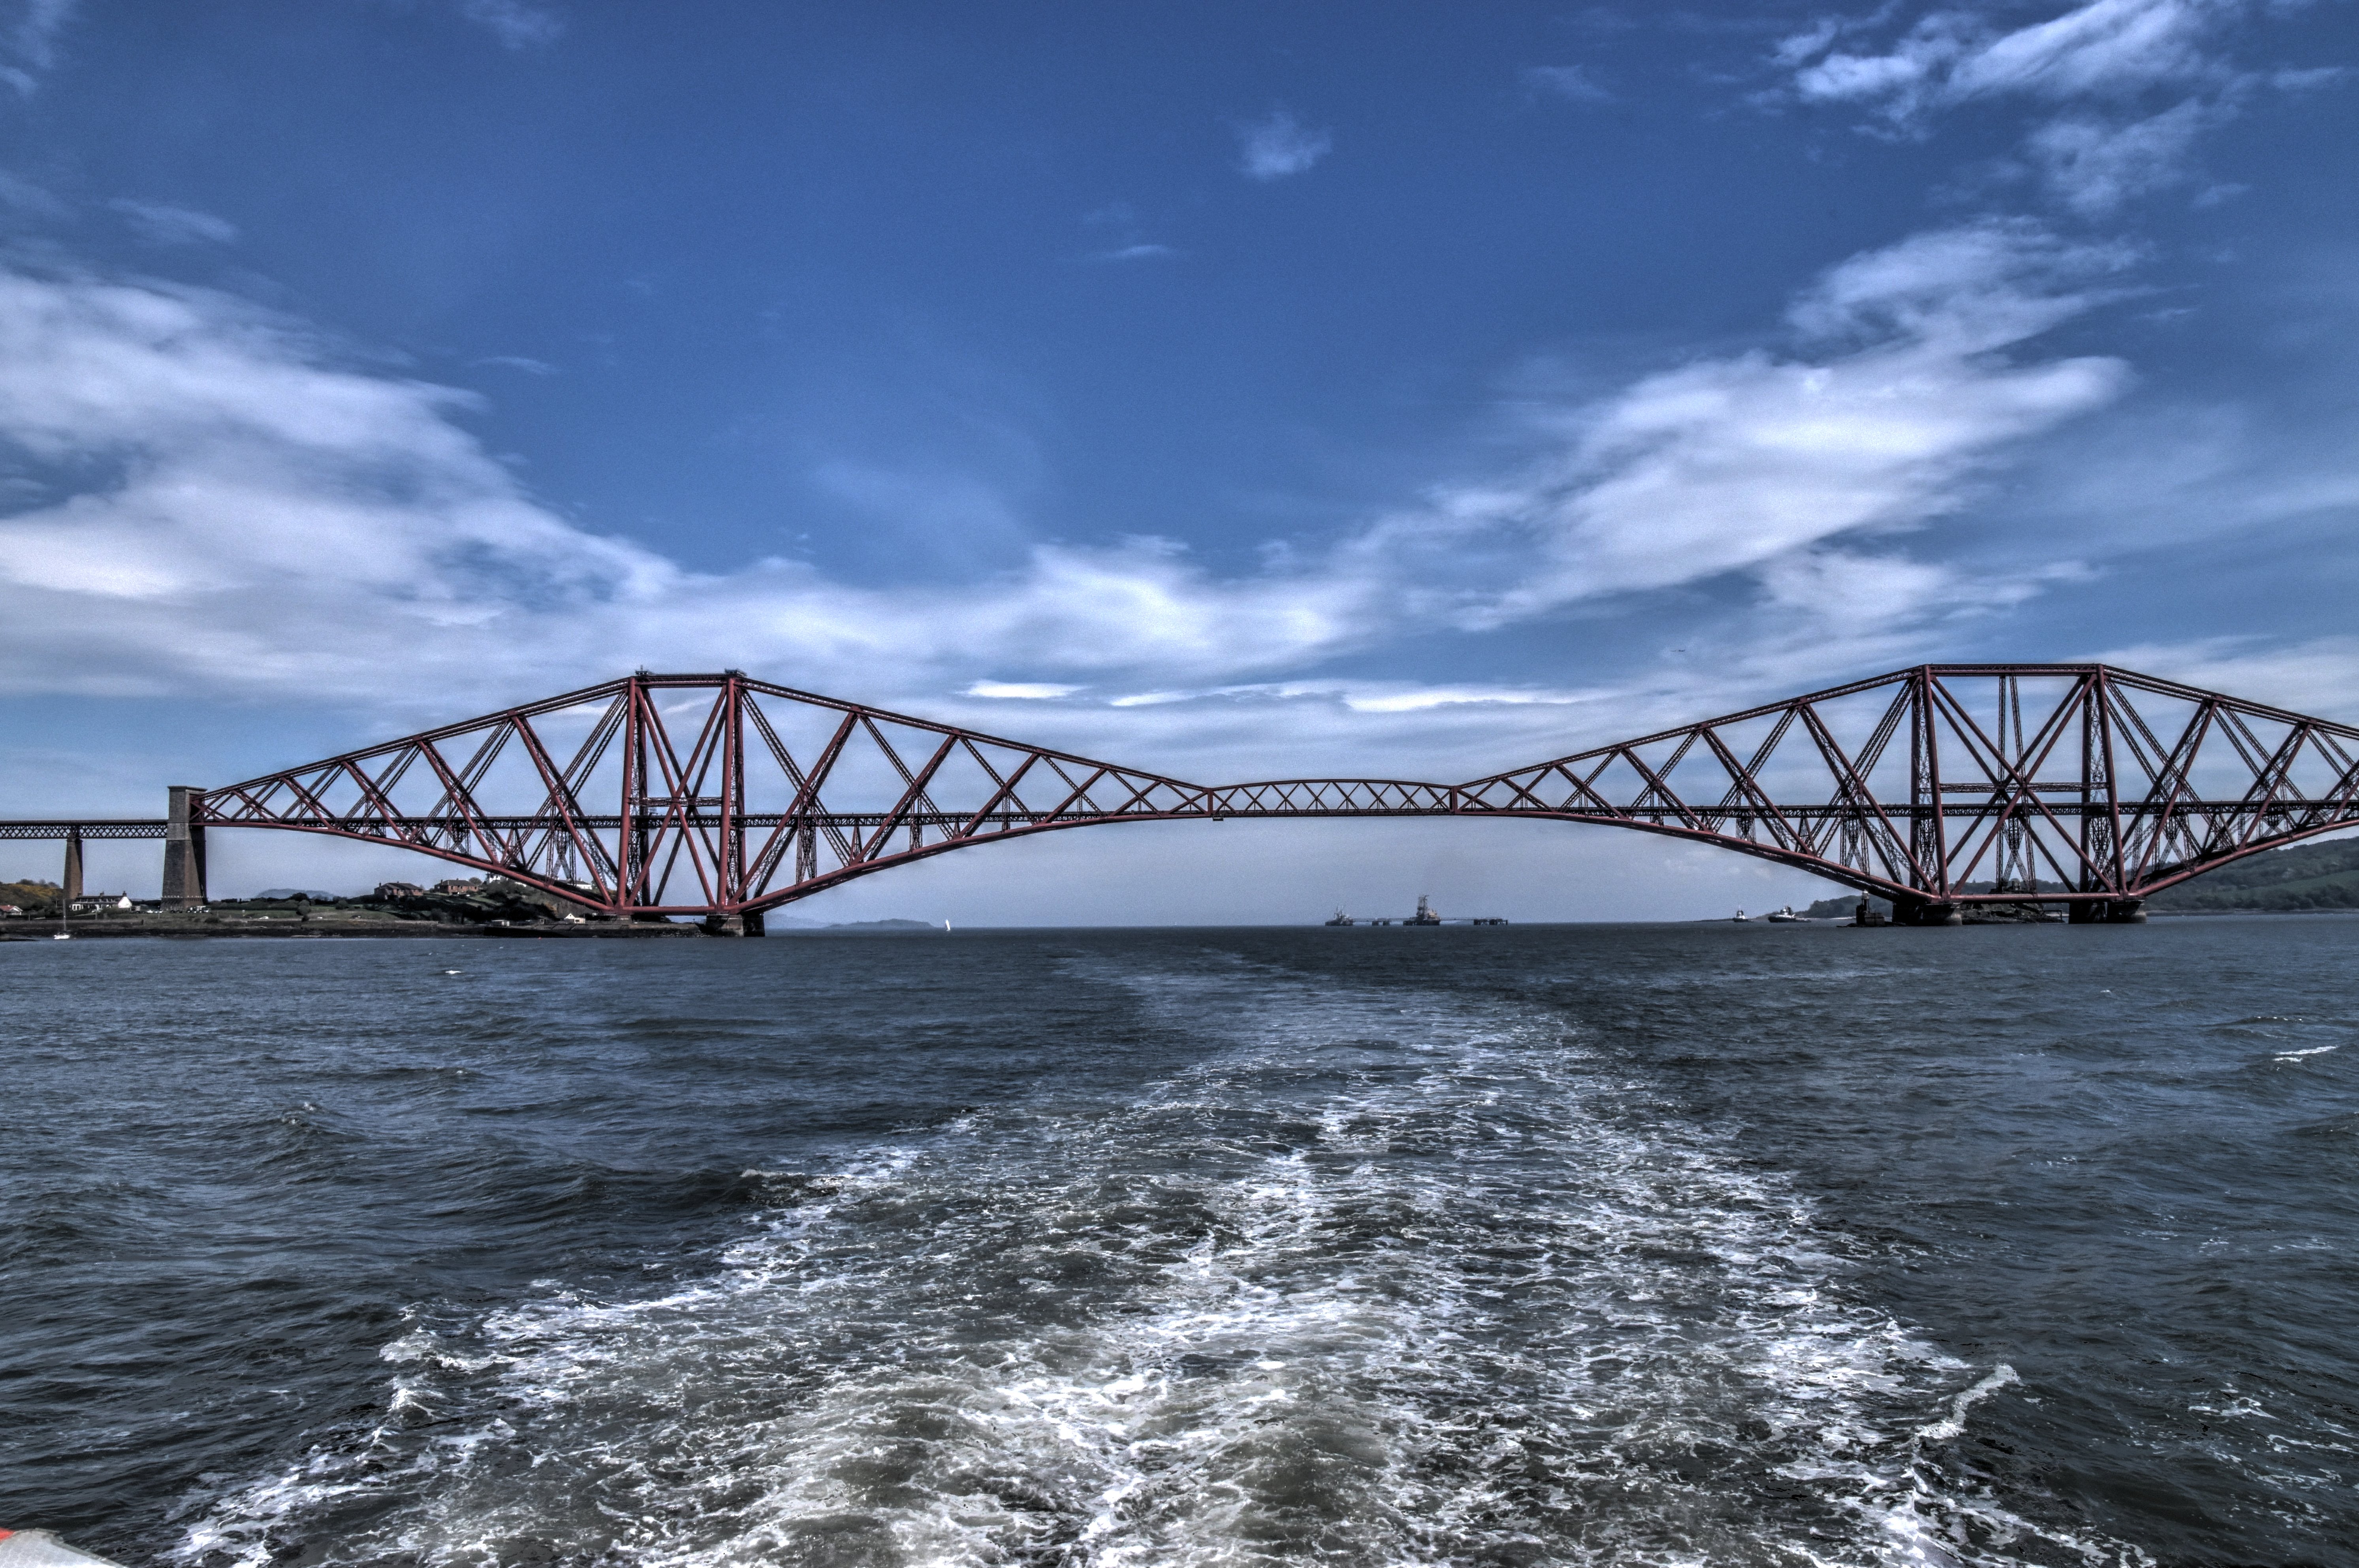
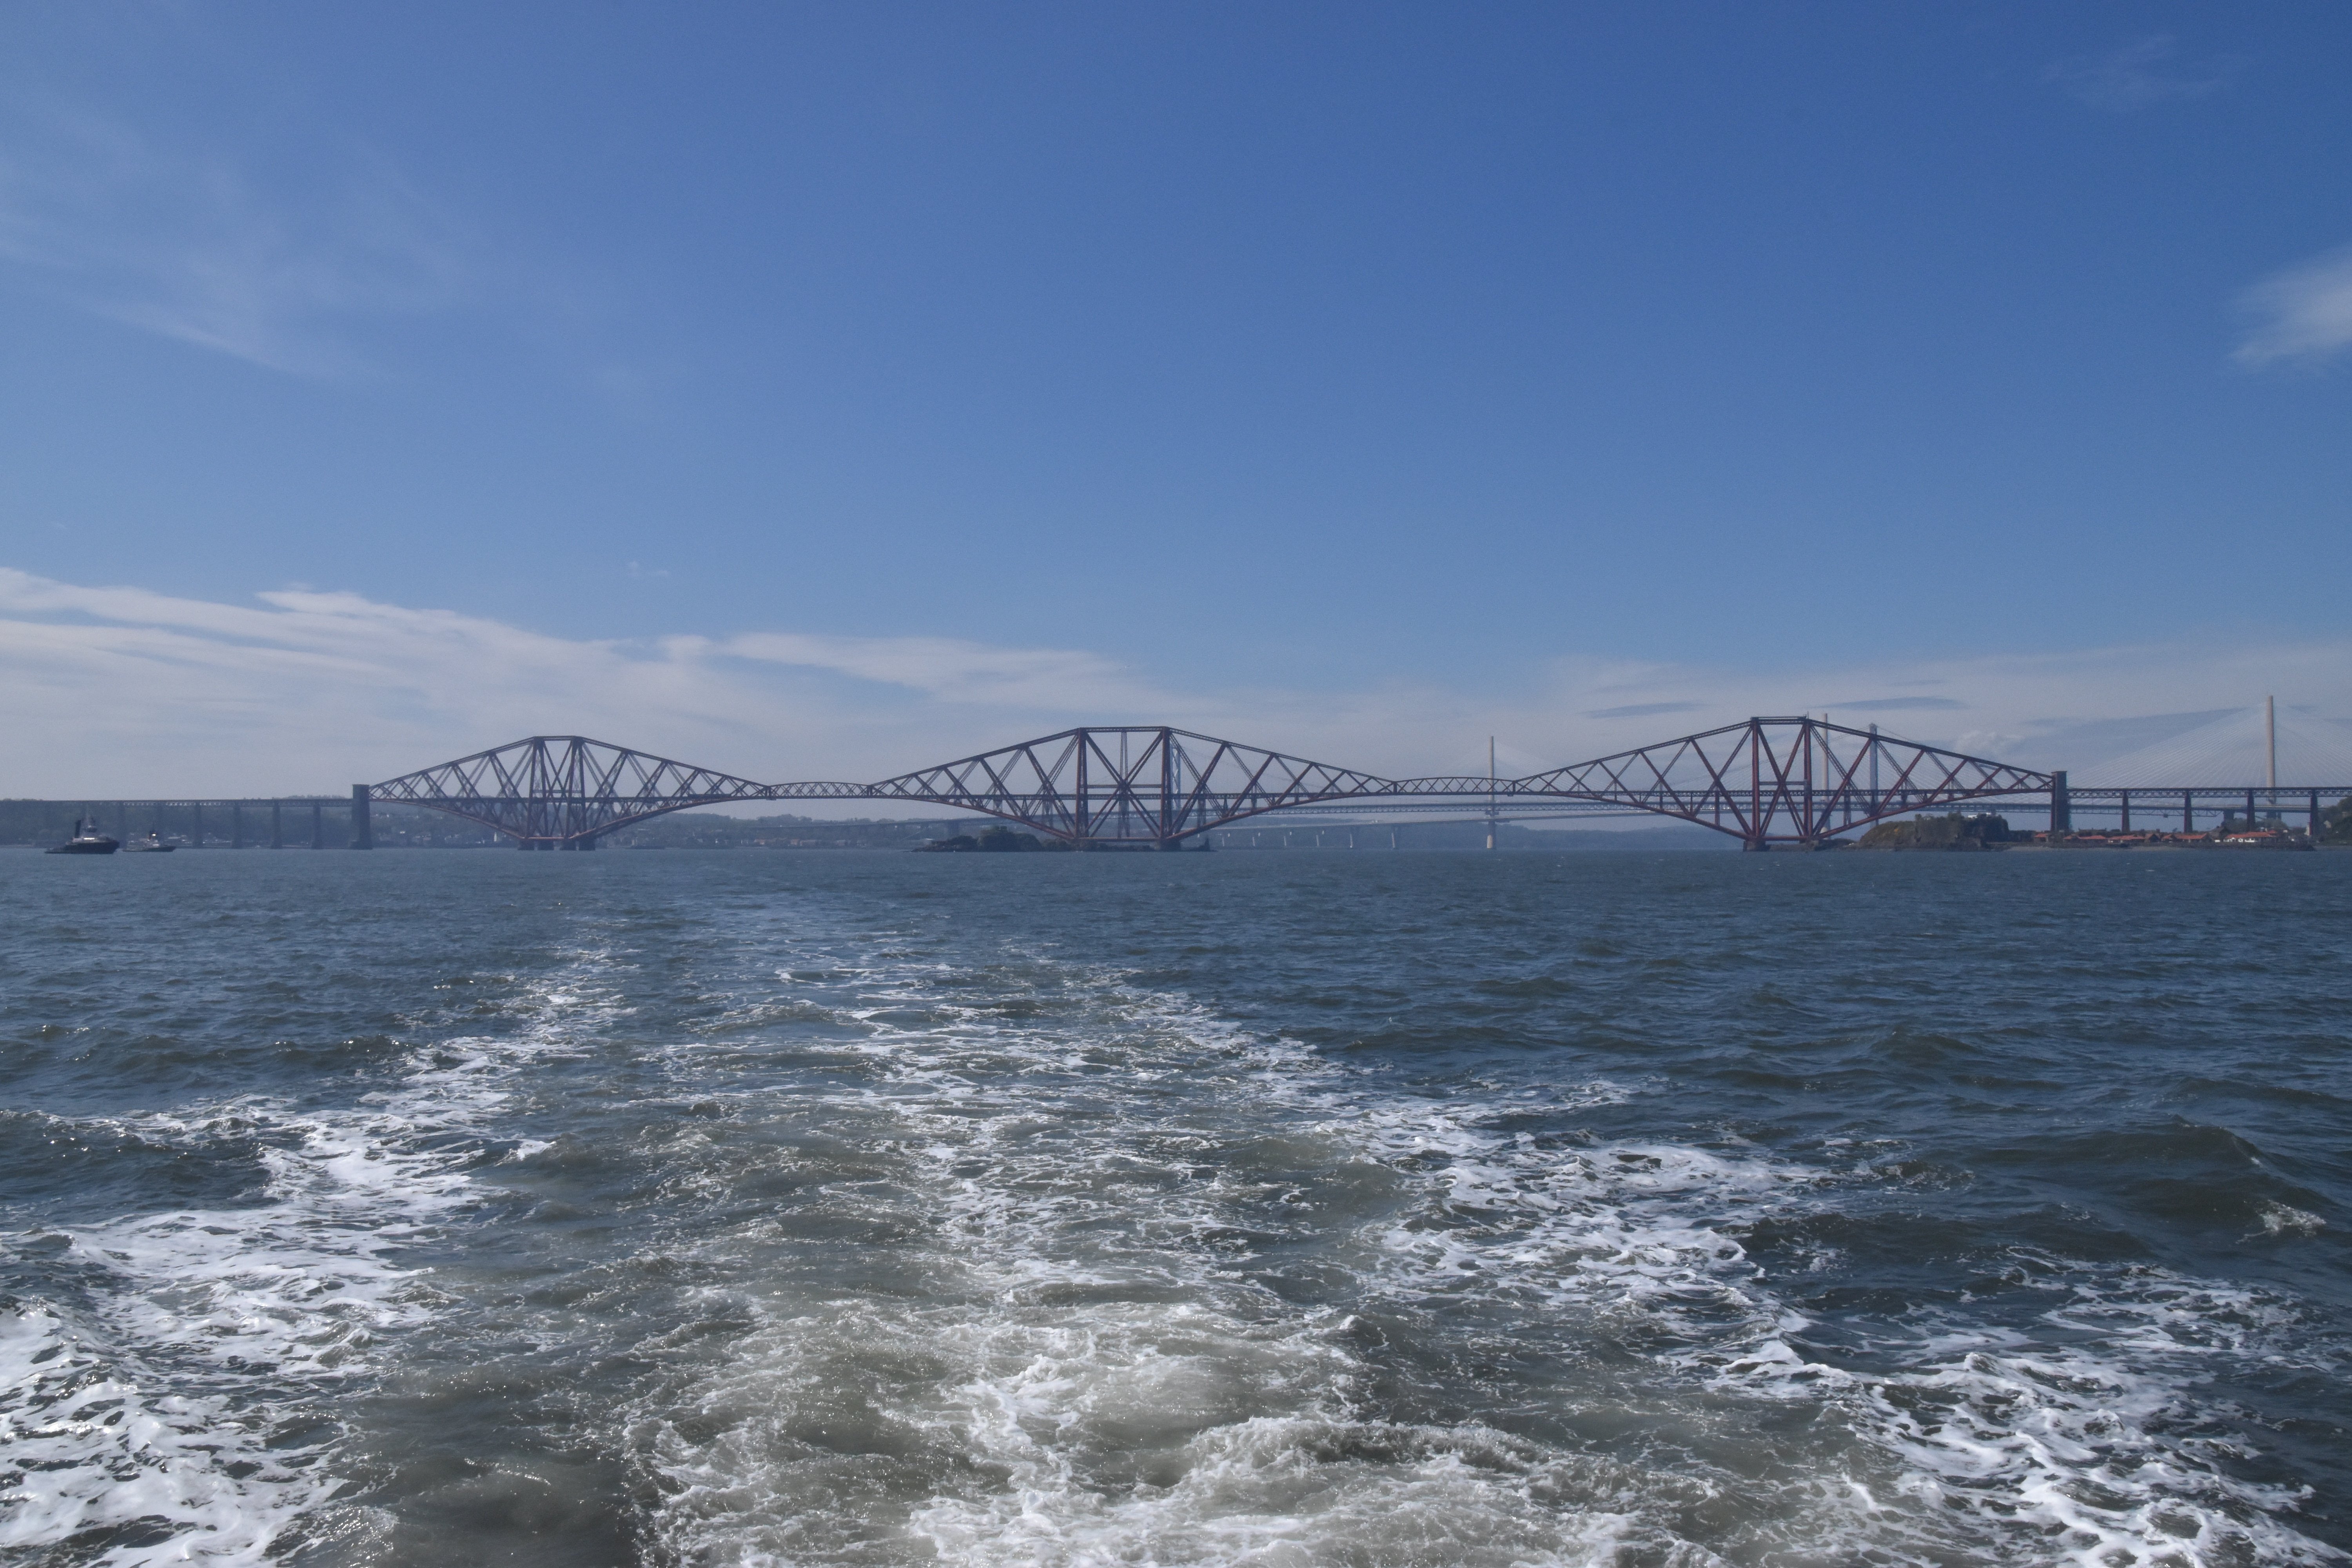
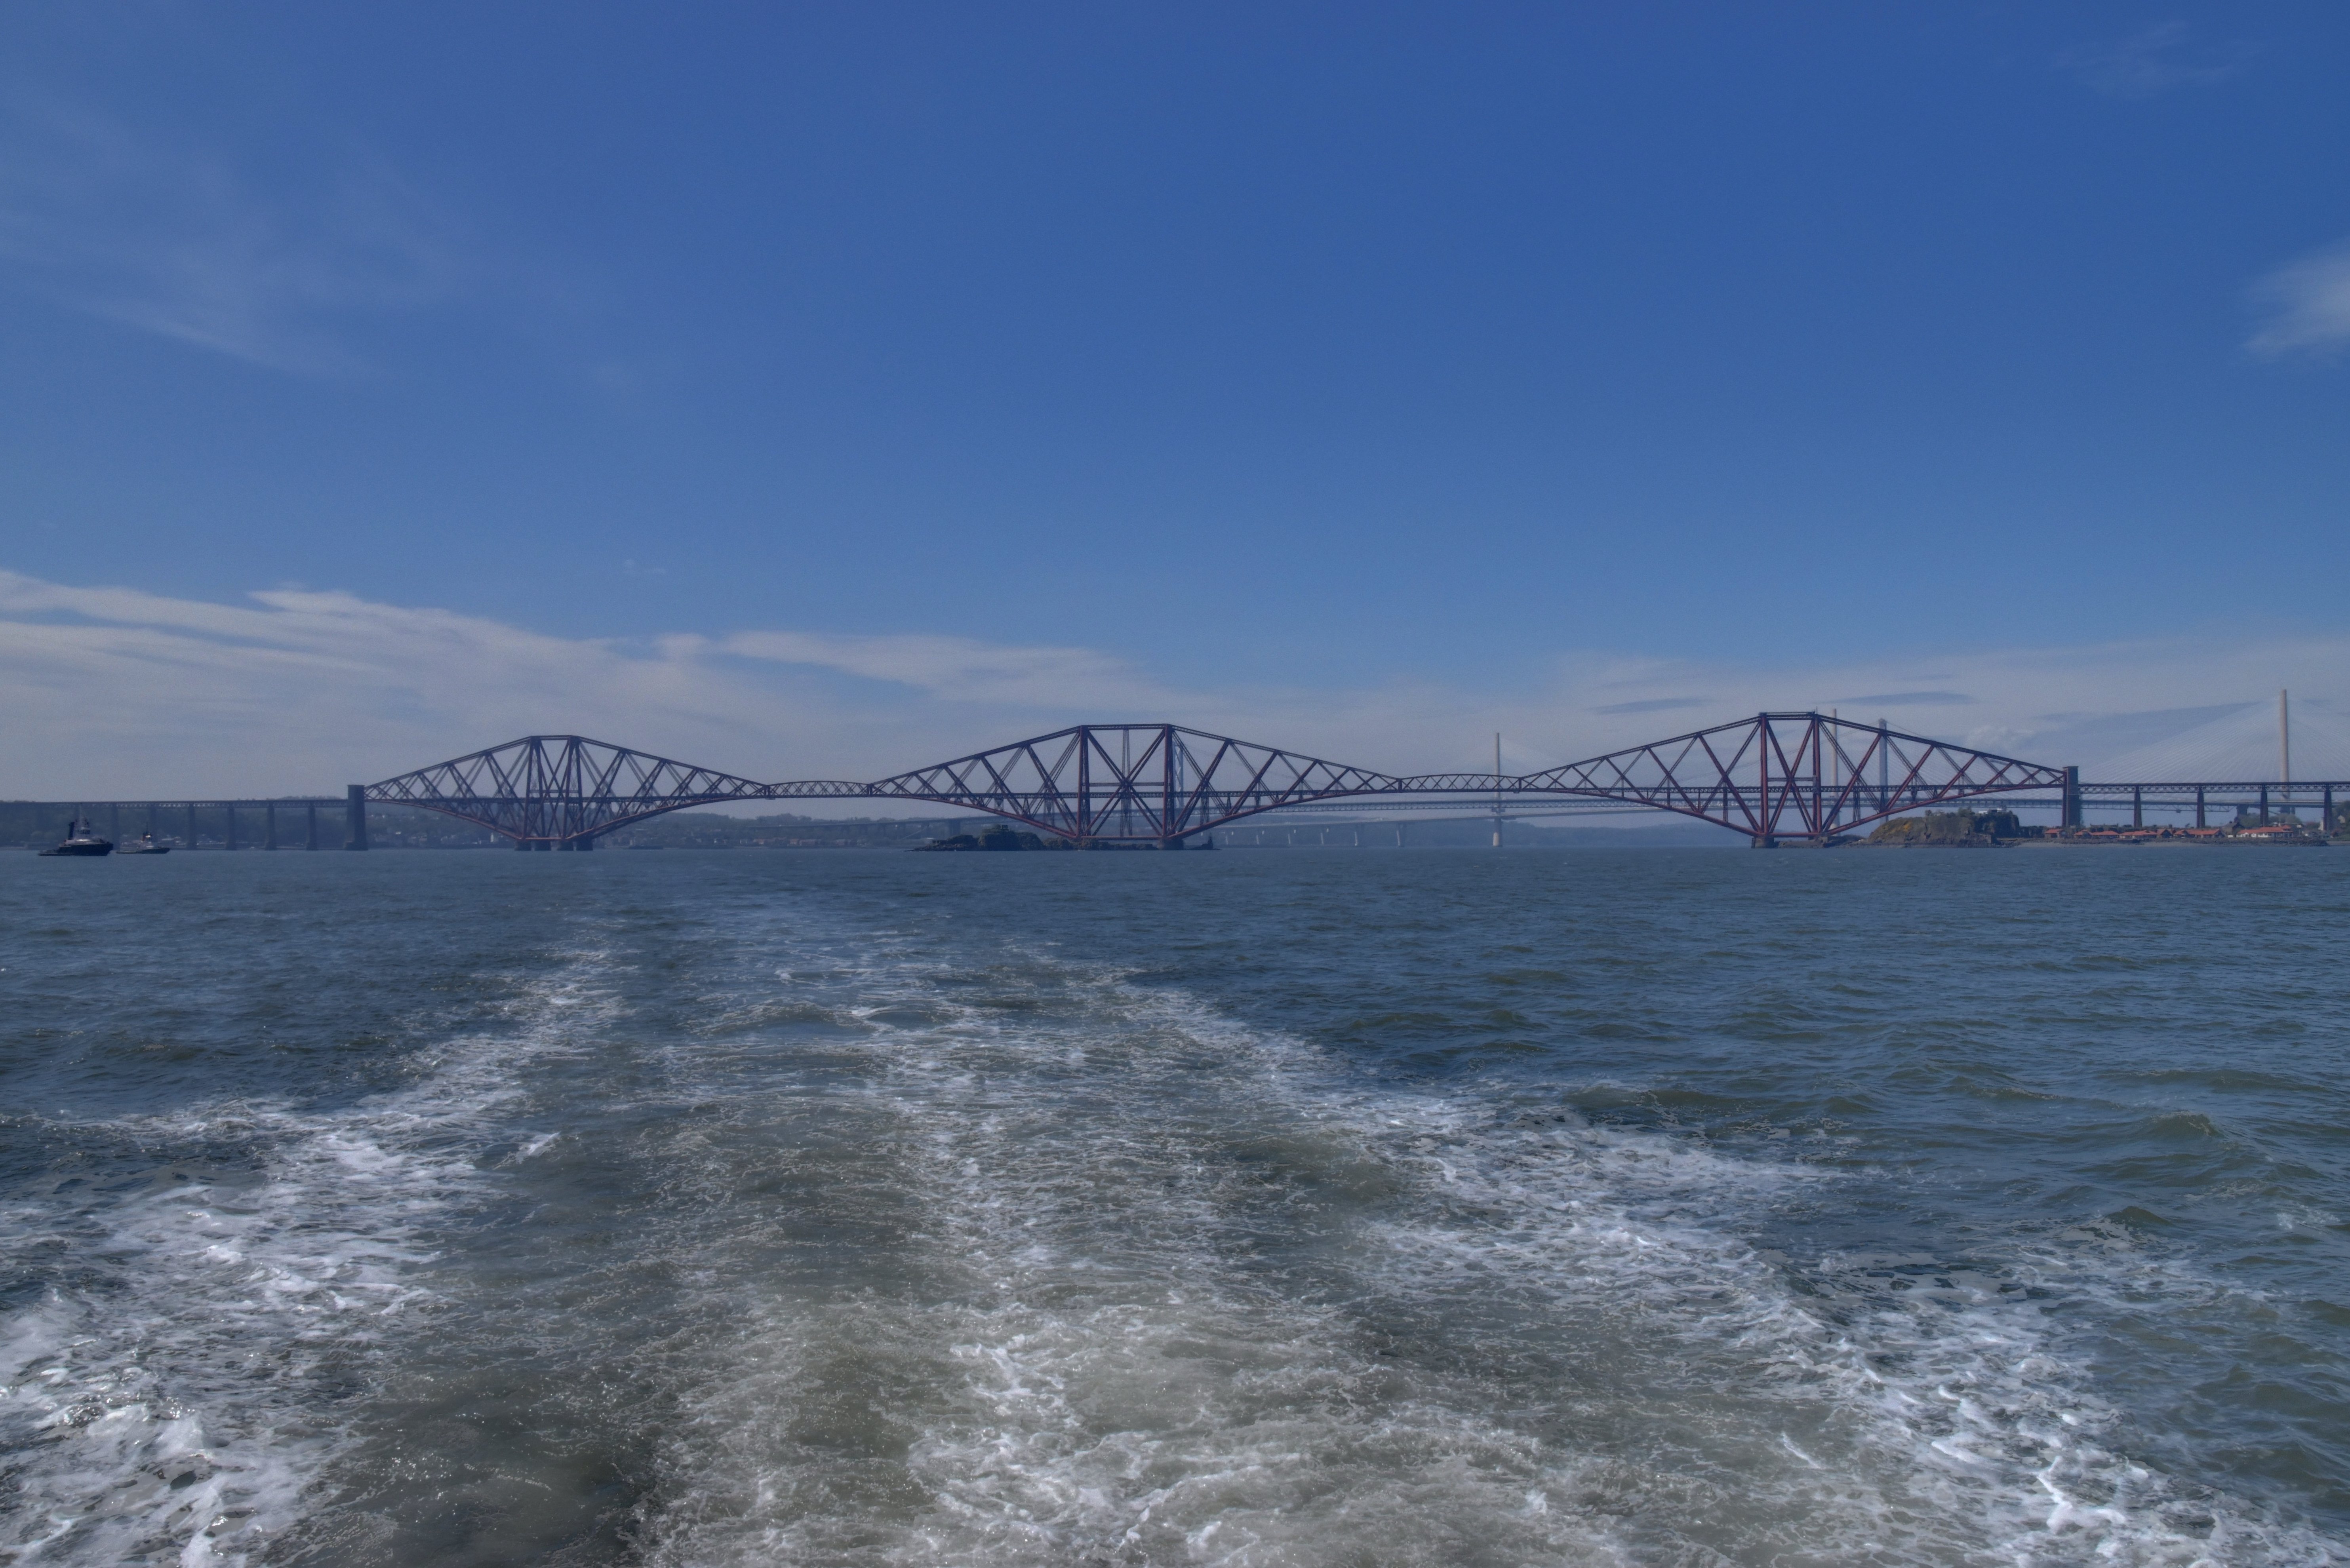
East elevation of cantilever spans from boat.
![]()


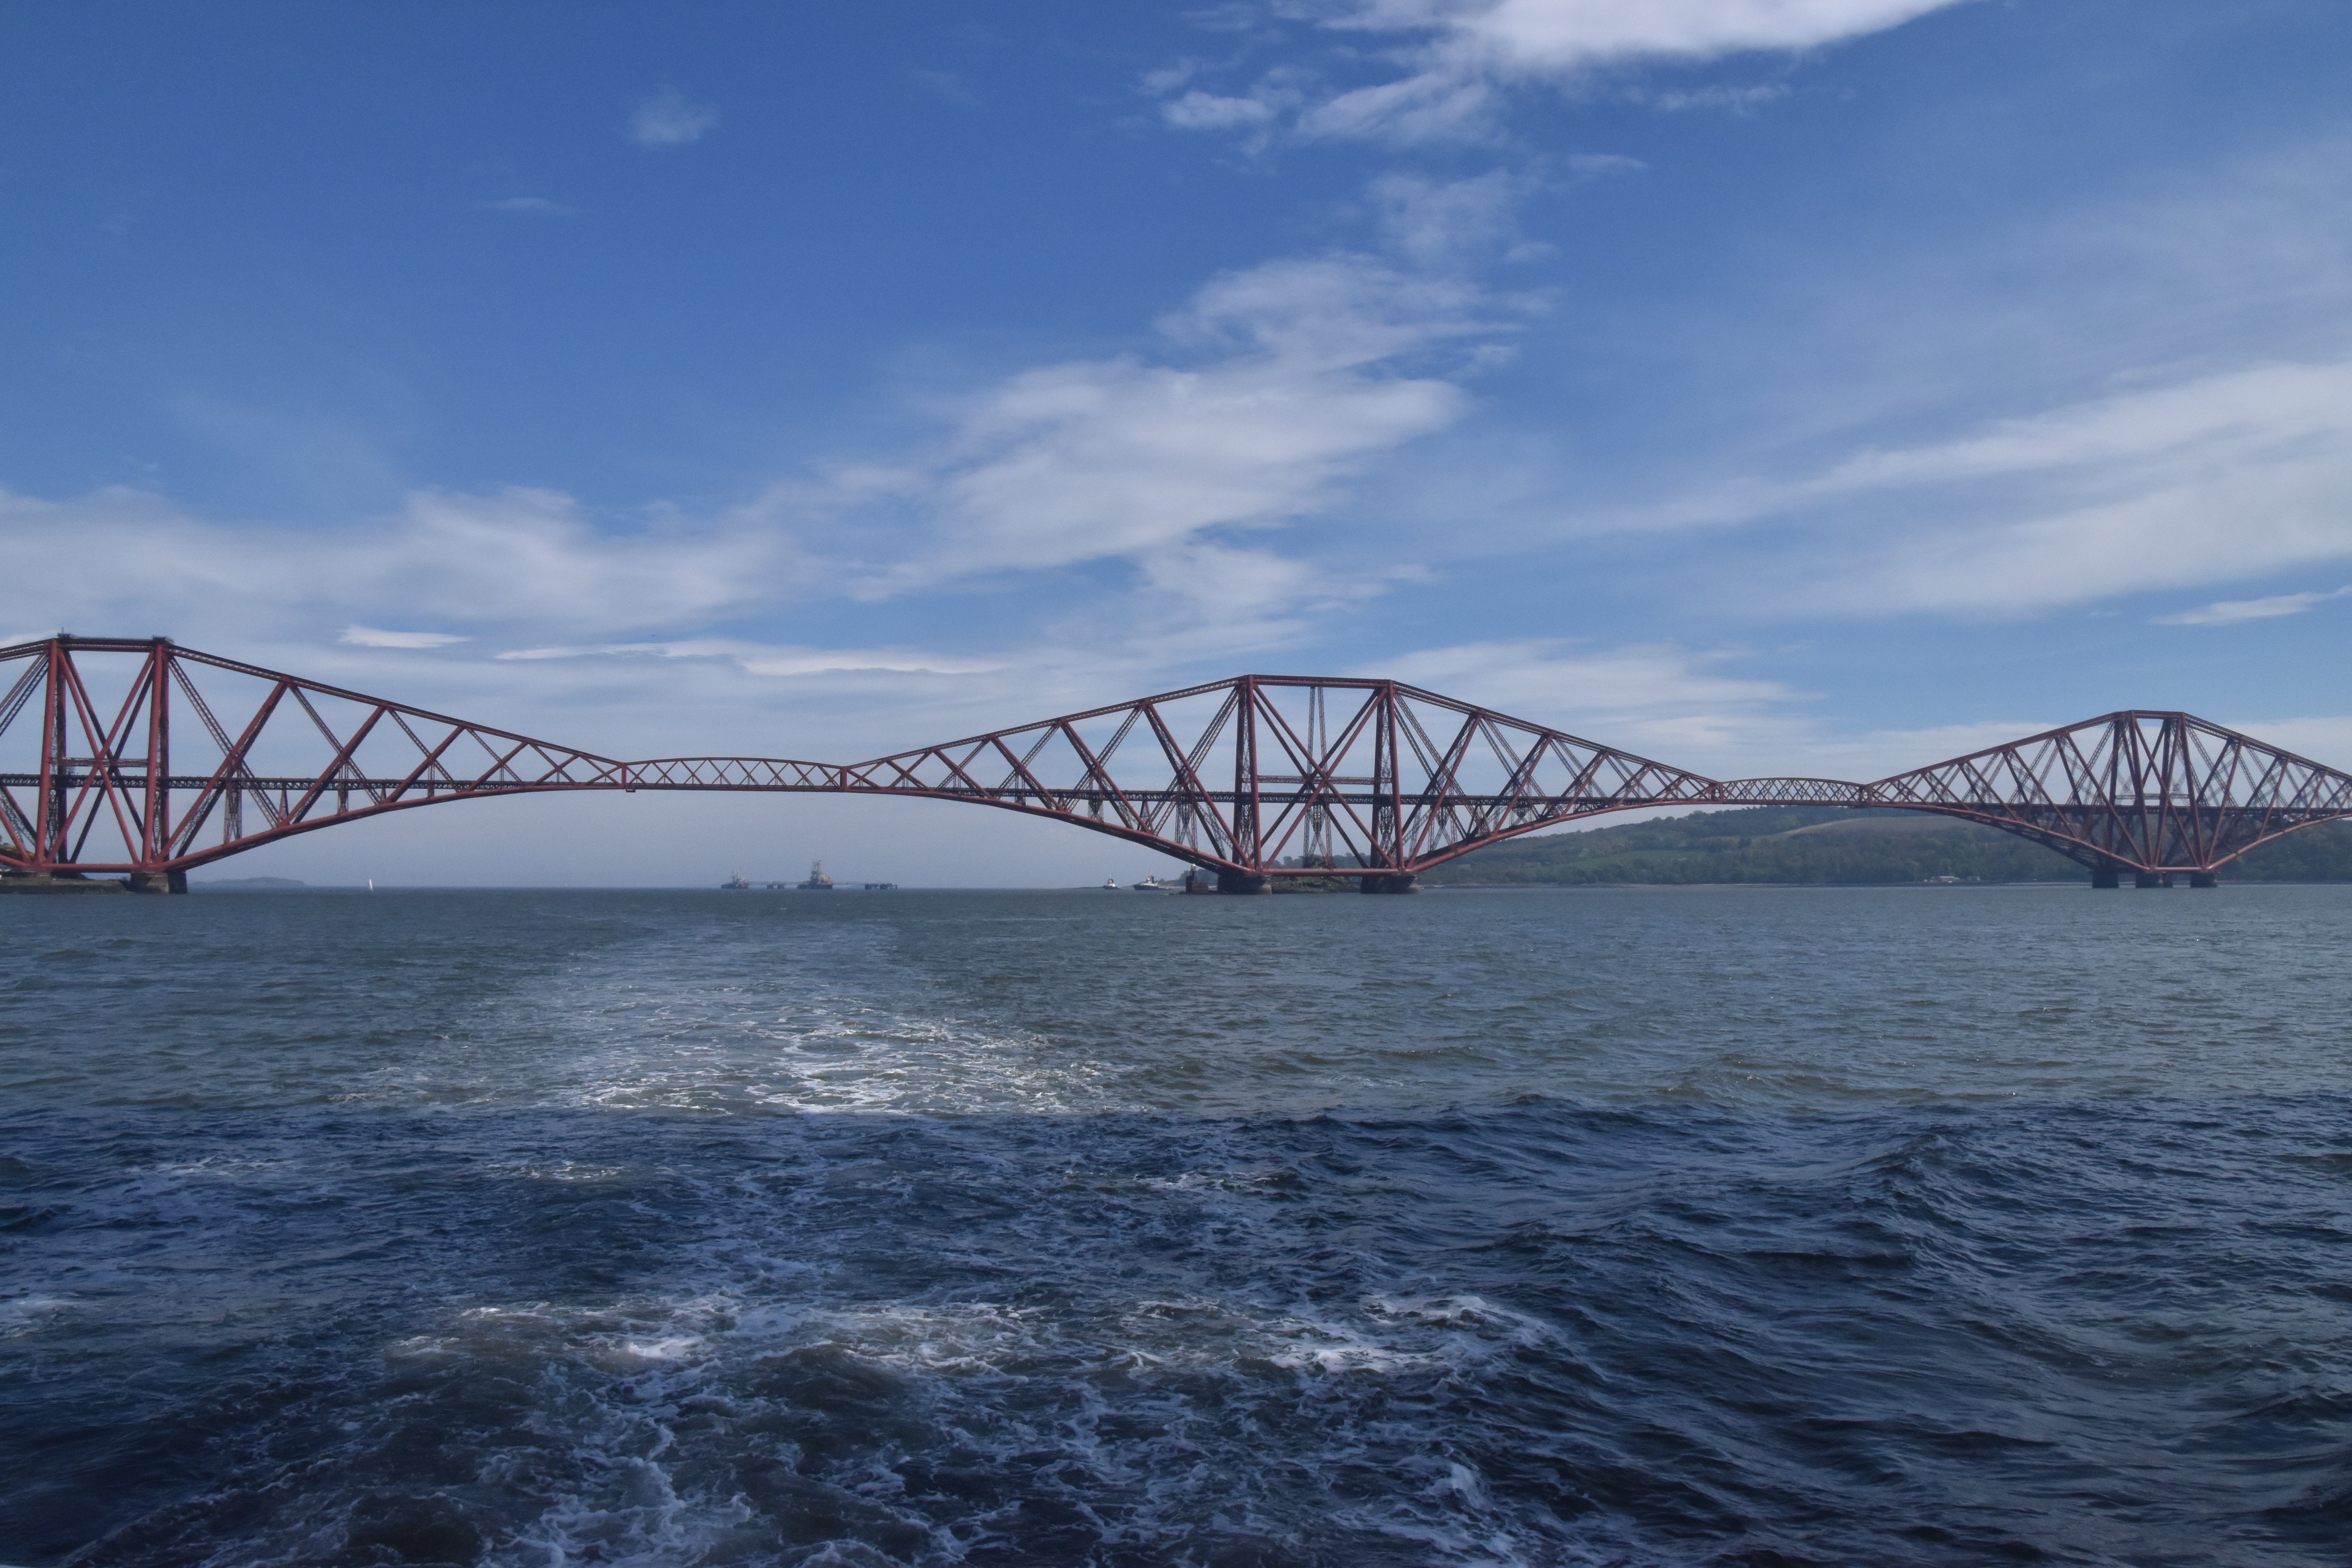
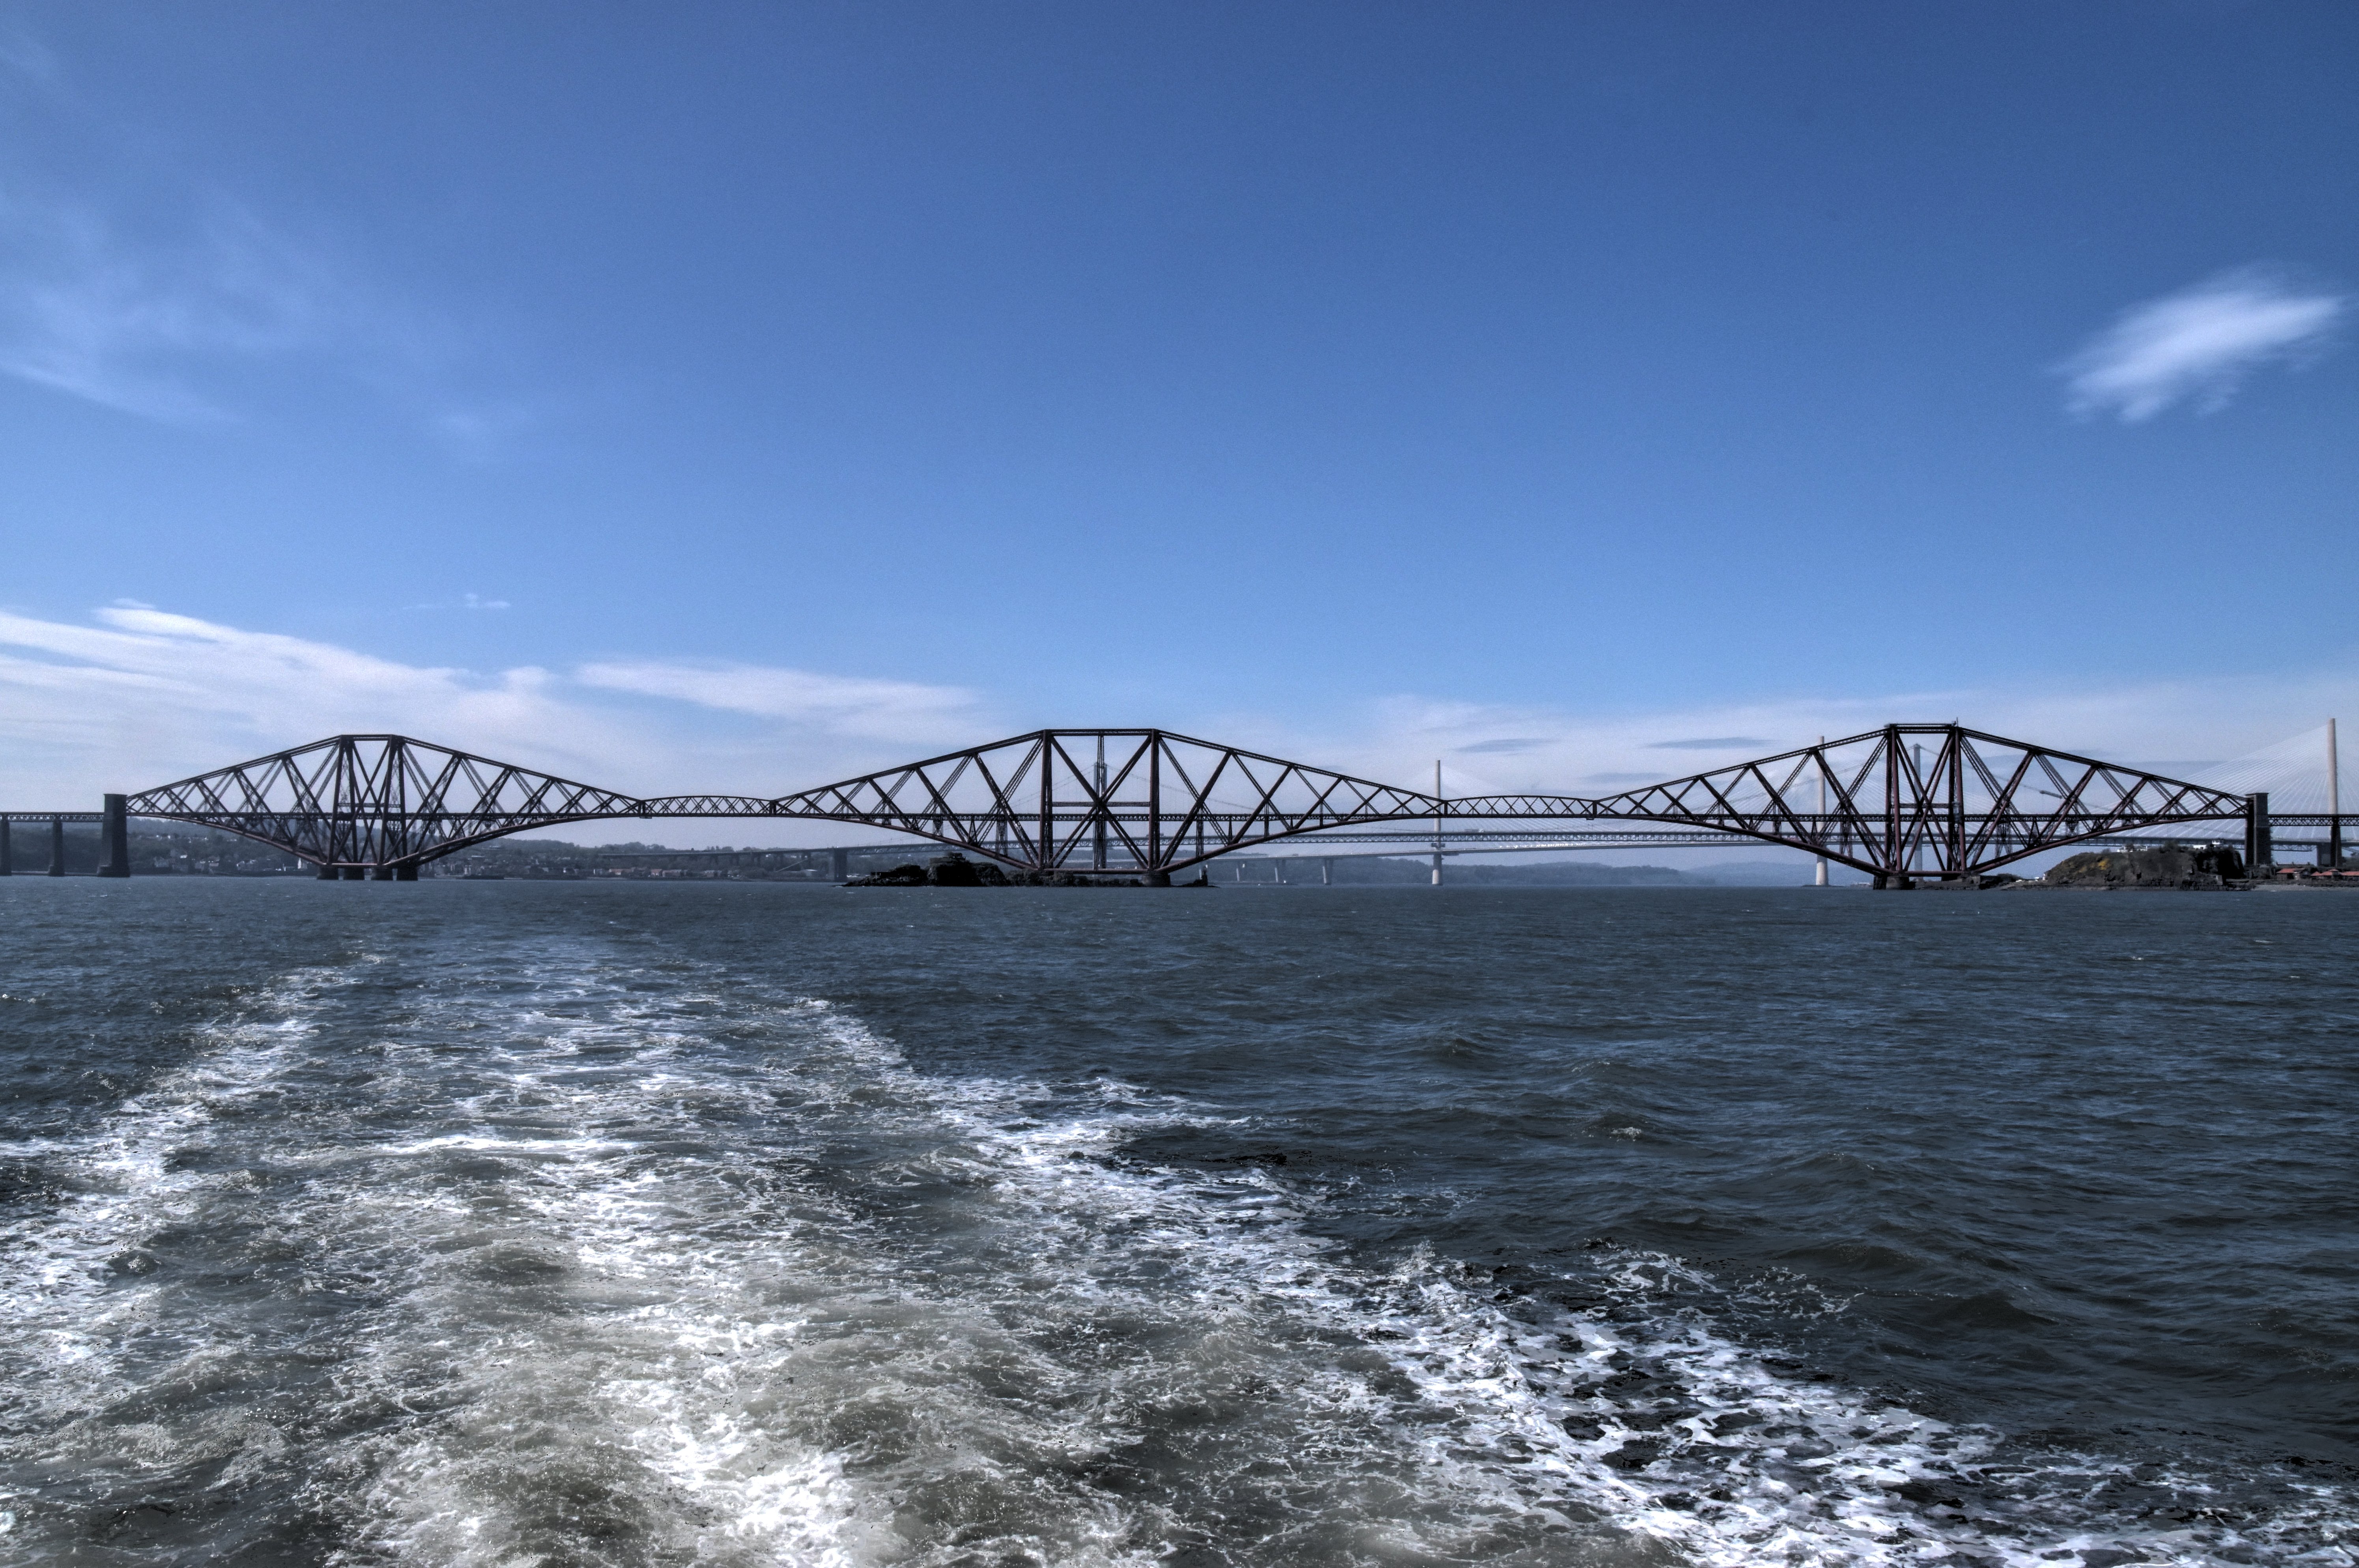
Distant east elevation of cantilever spans from boat.
![]()


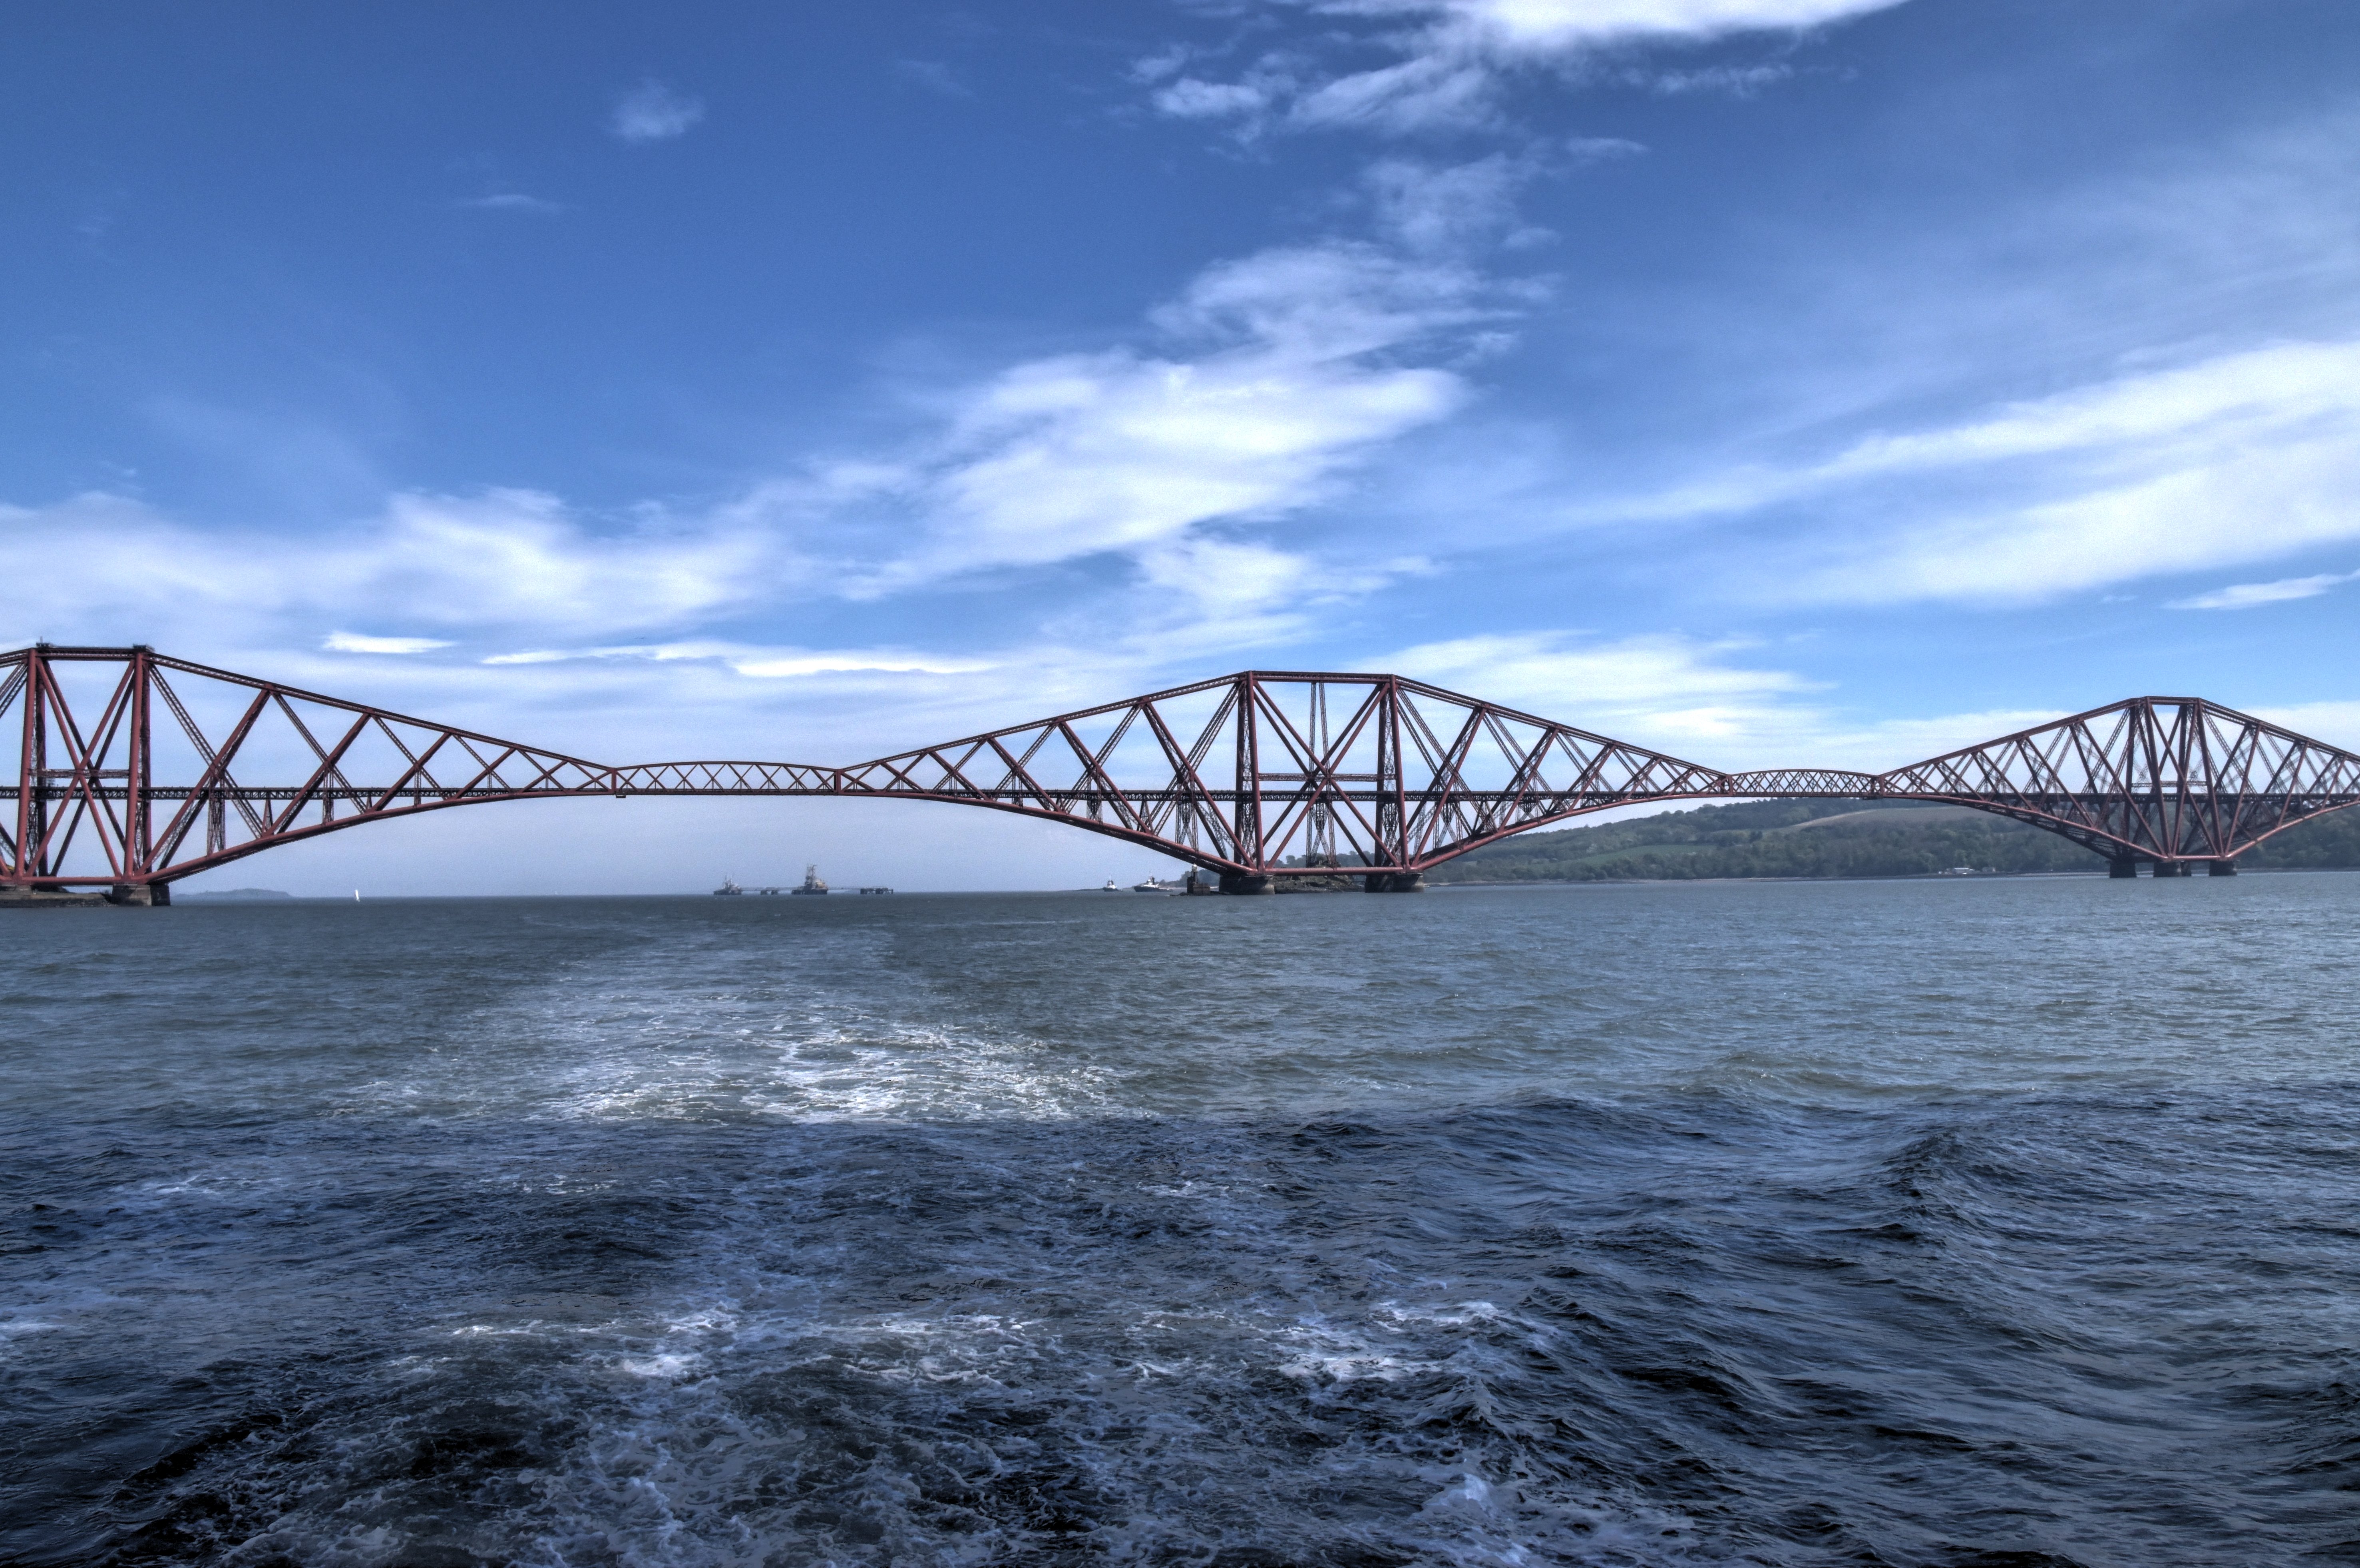
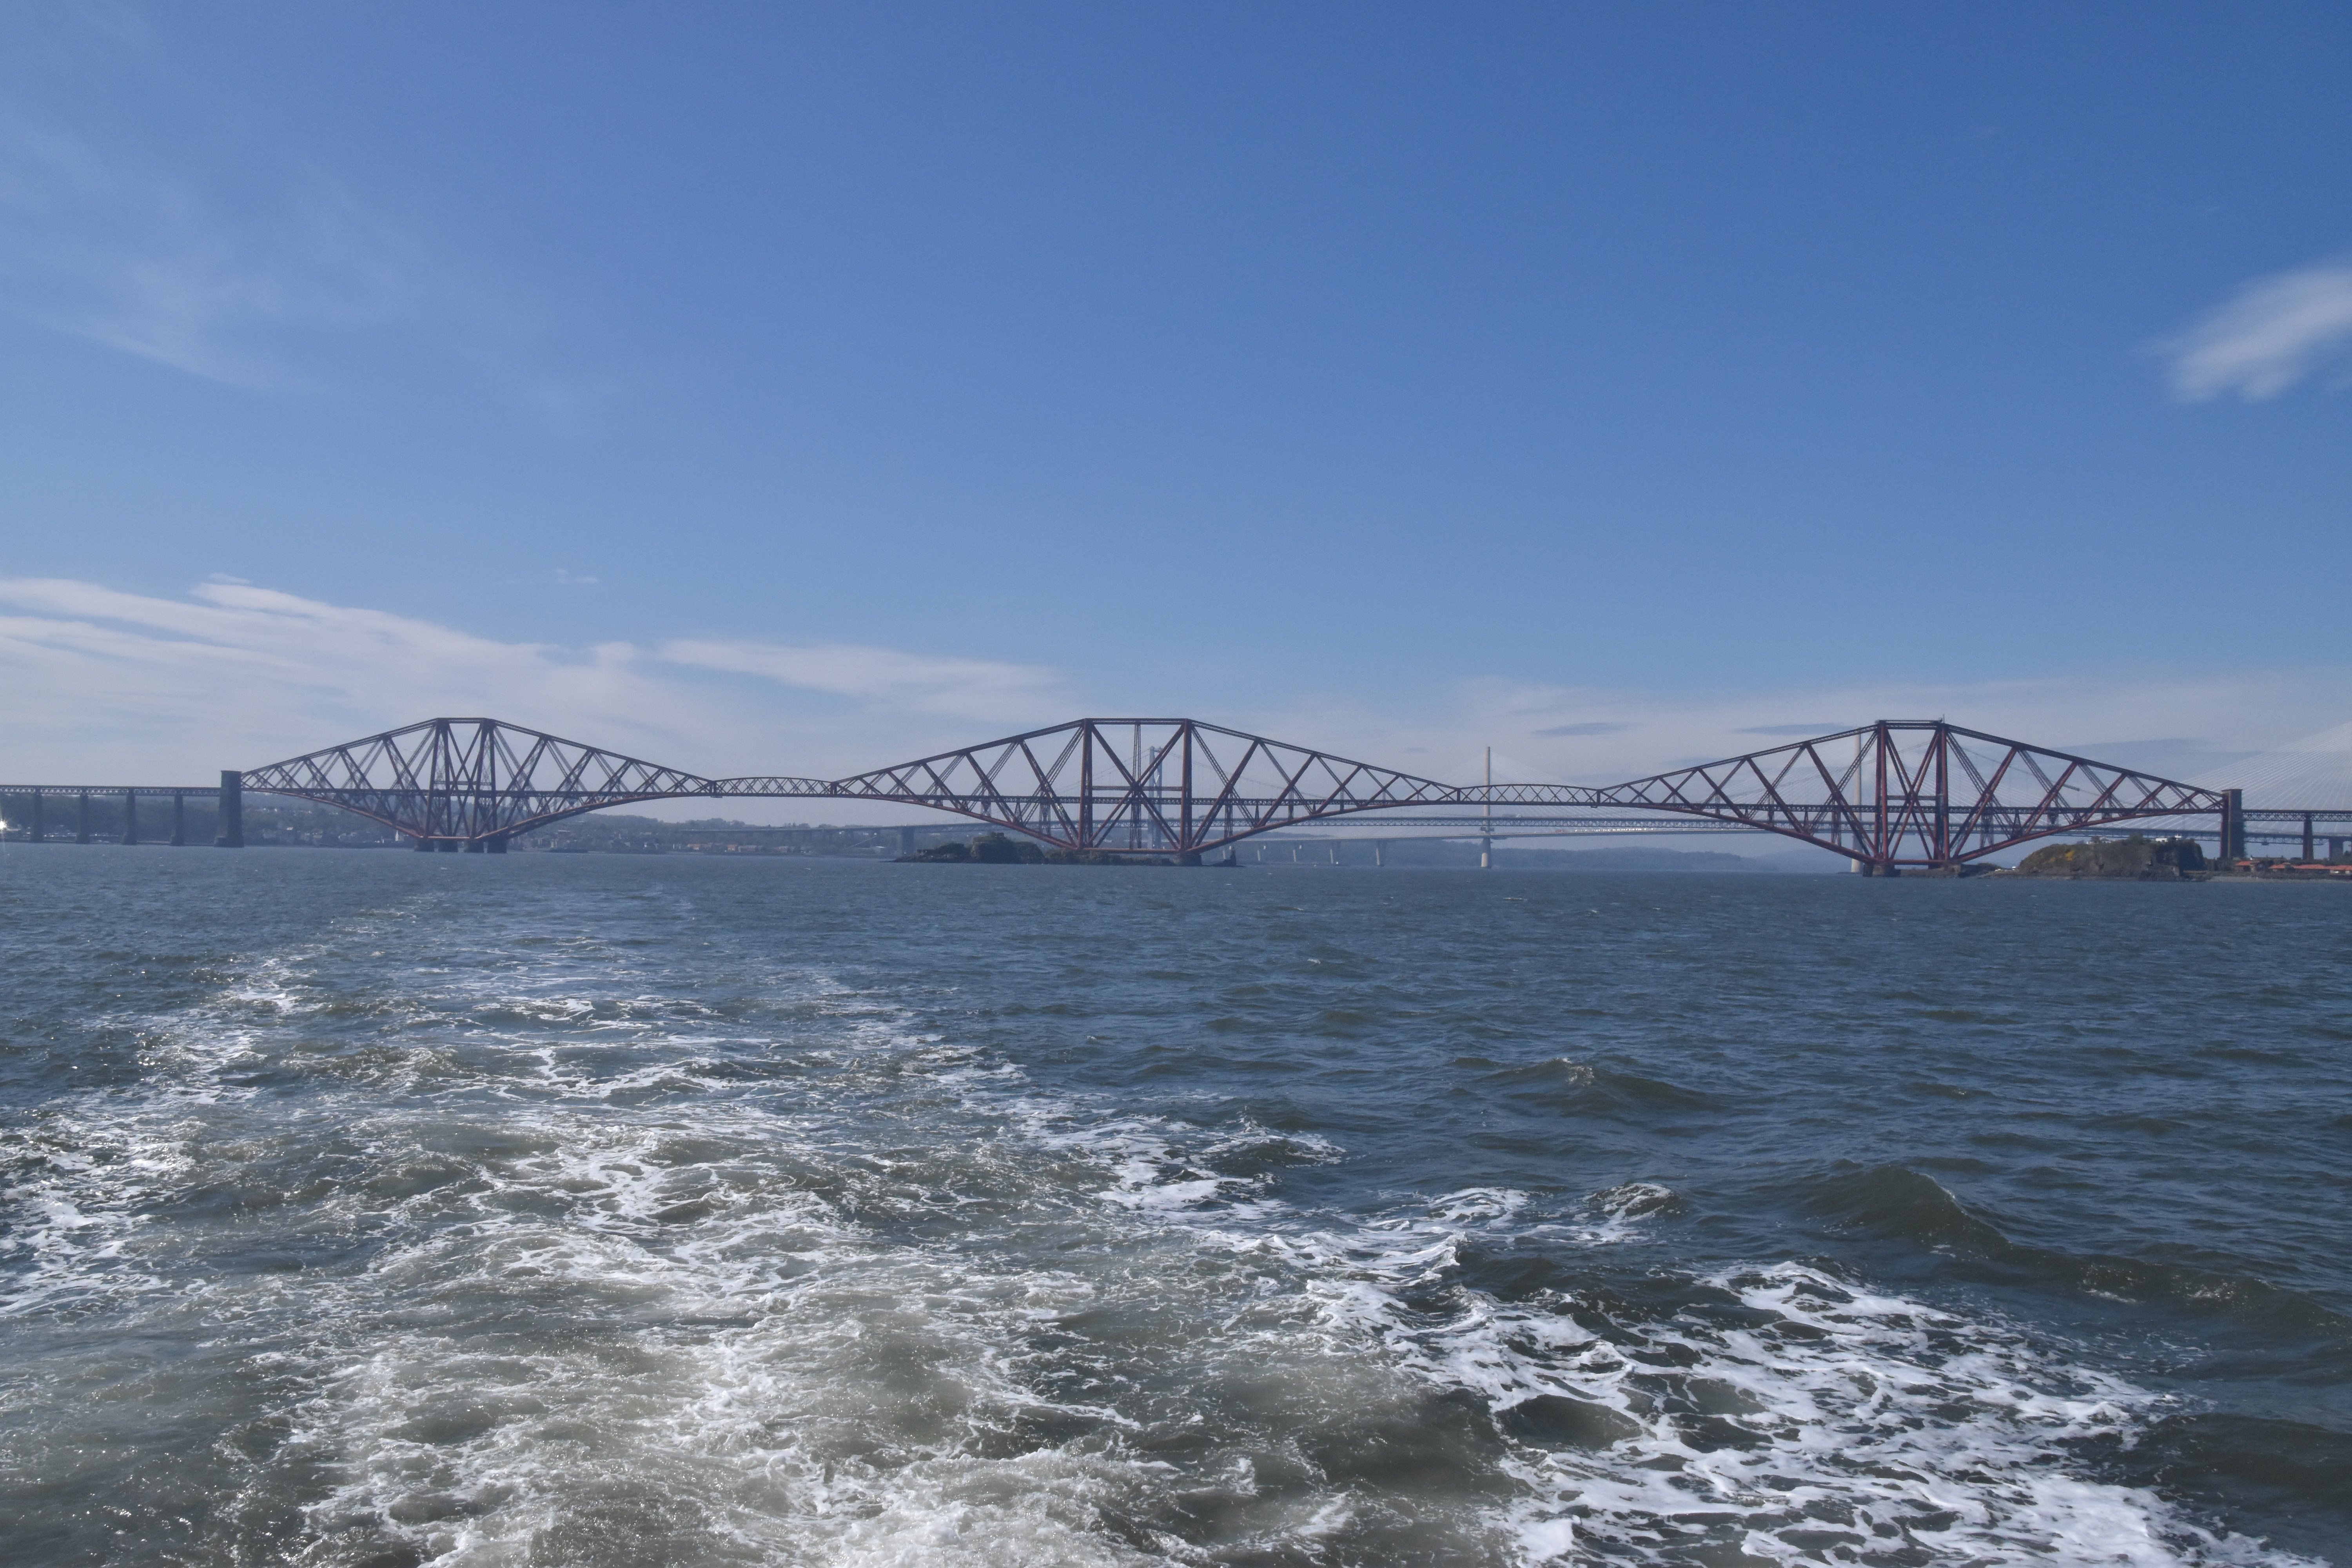
Partial east elevation views of cantilever spans from boat.
![]()


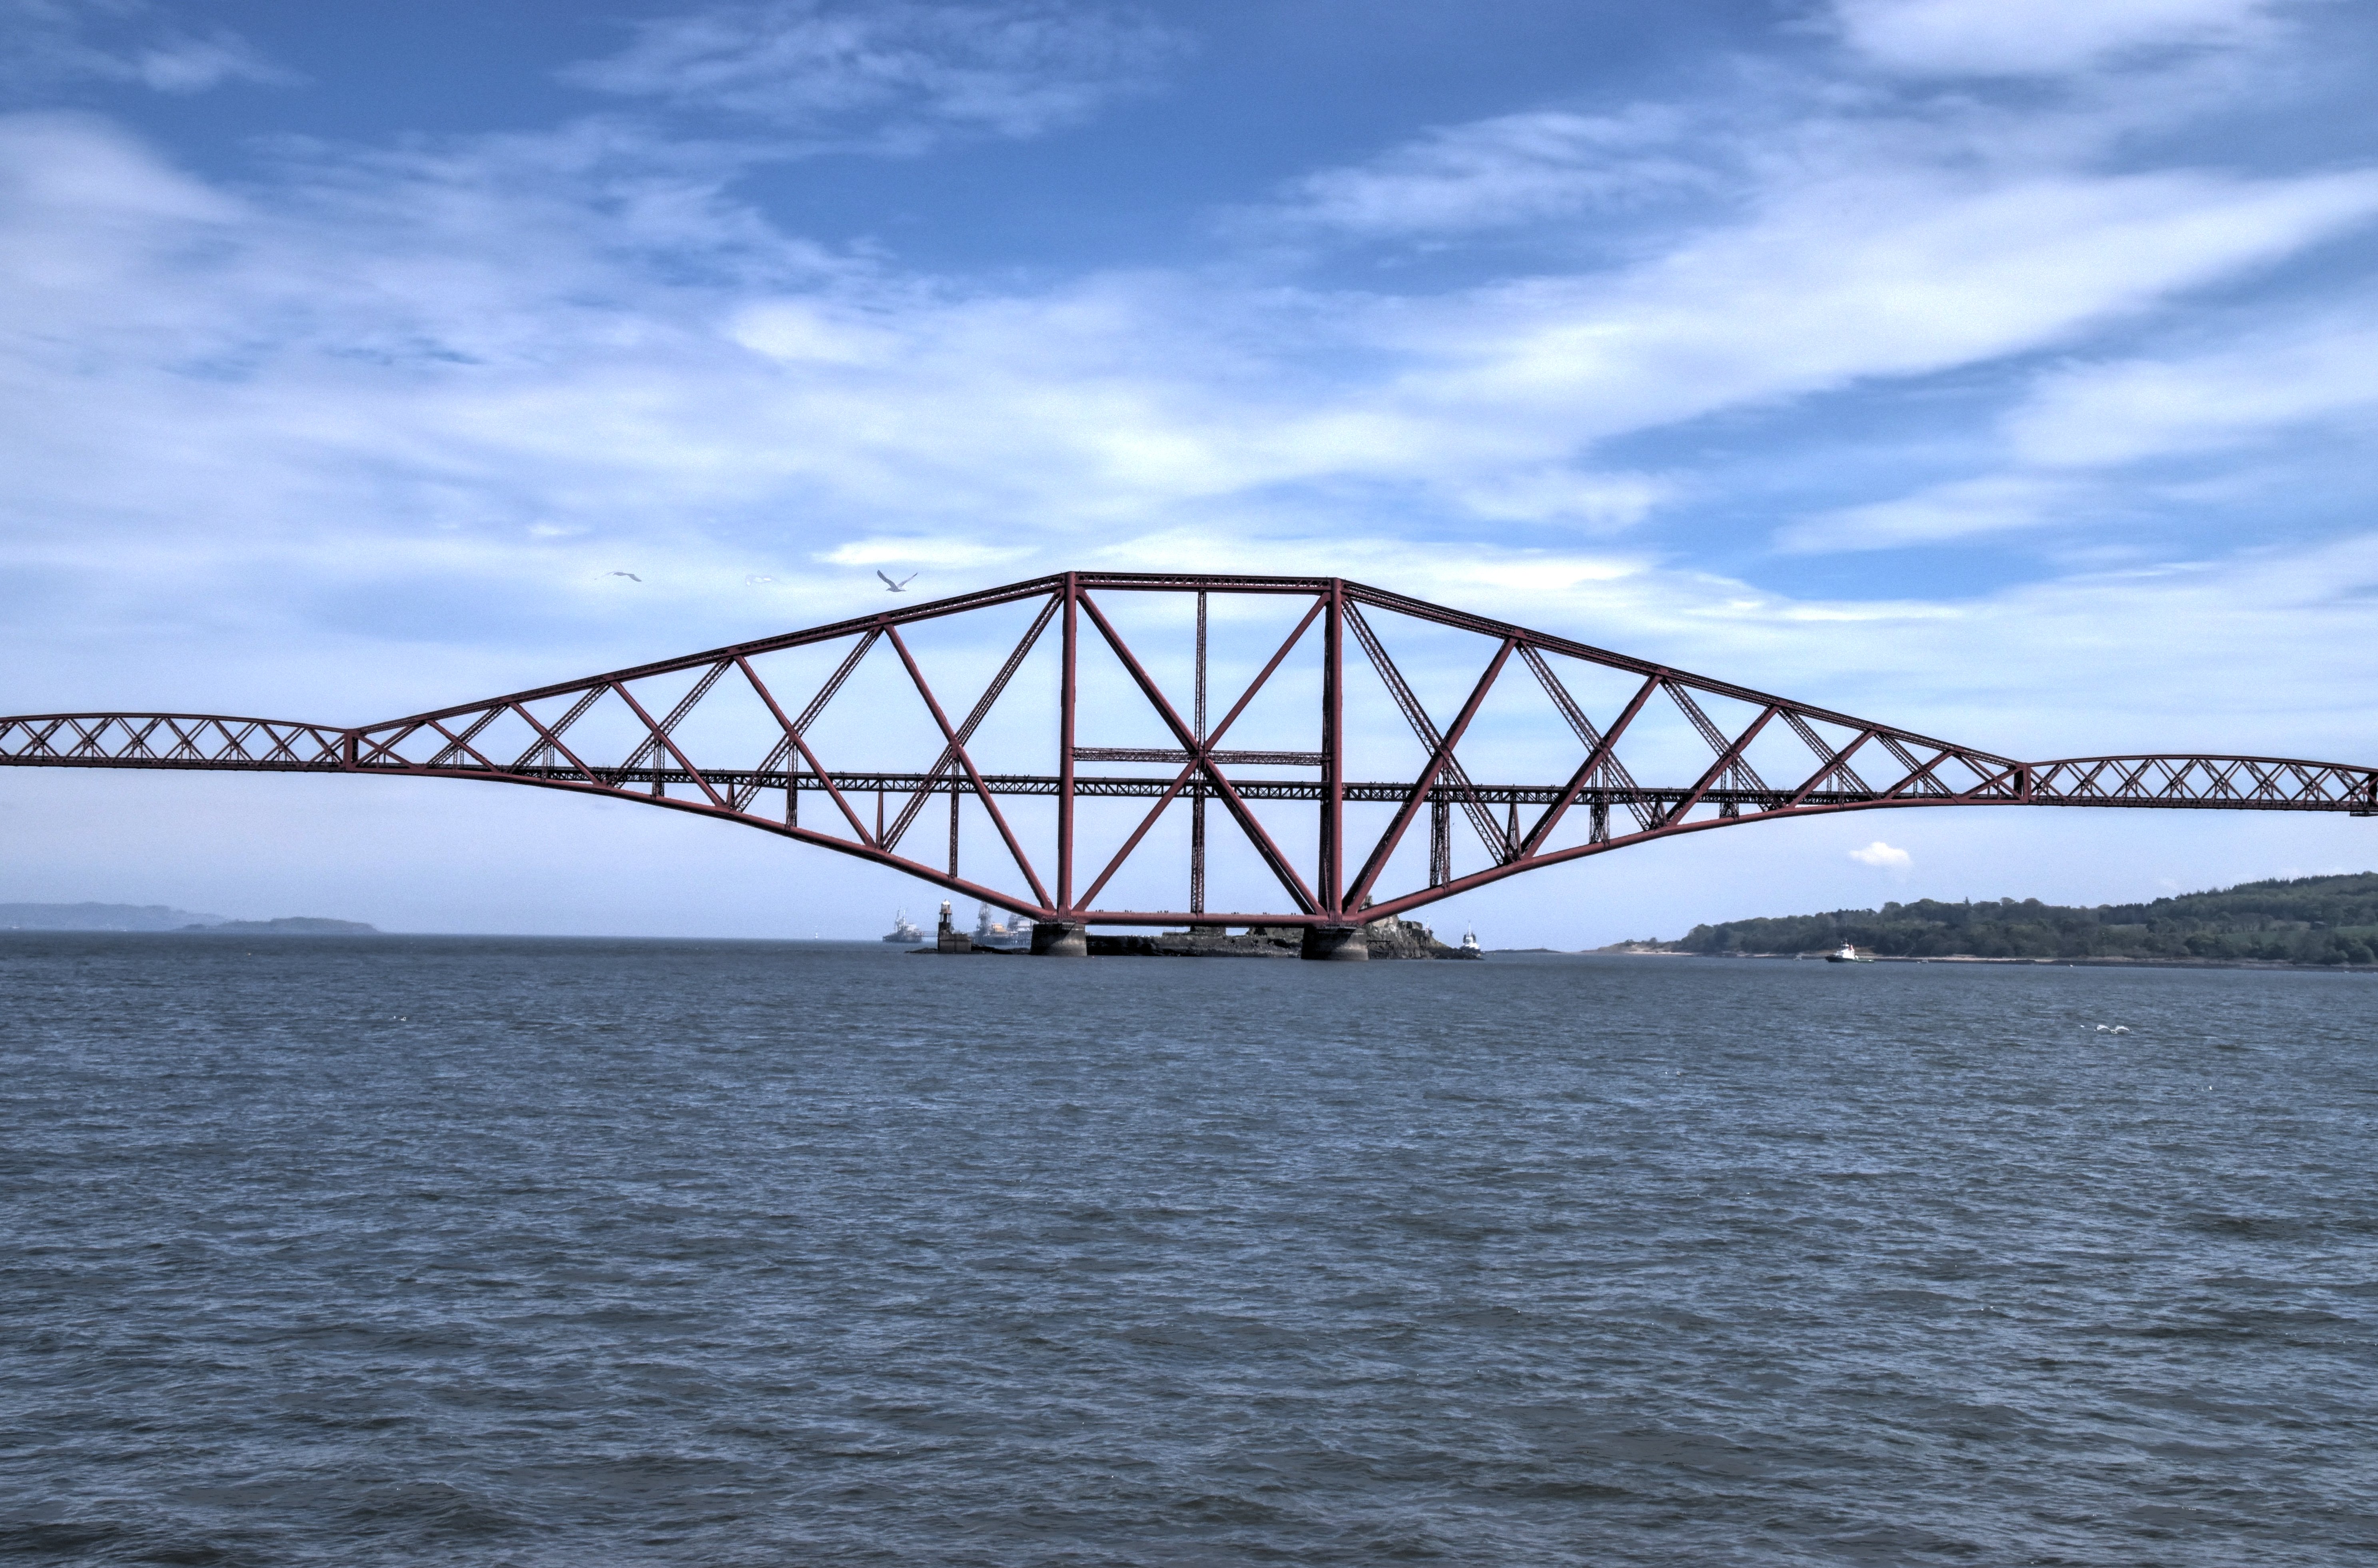
East elevation of suspended span from boat.
![]()


Views beside bridge from boat looking south.
![]()


Northern approach spans as seen from boat.
![]()


Views beside northern approach spans, view facing northbound.
![]()


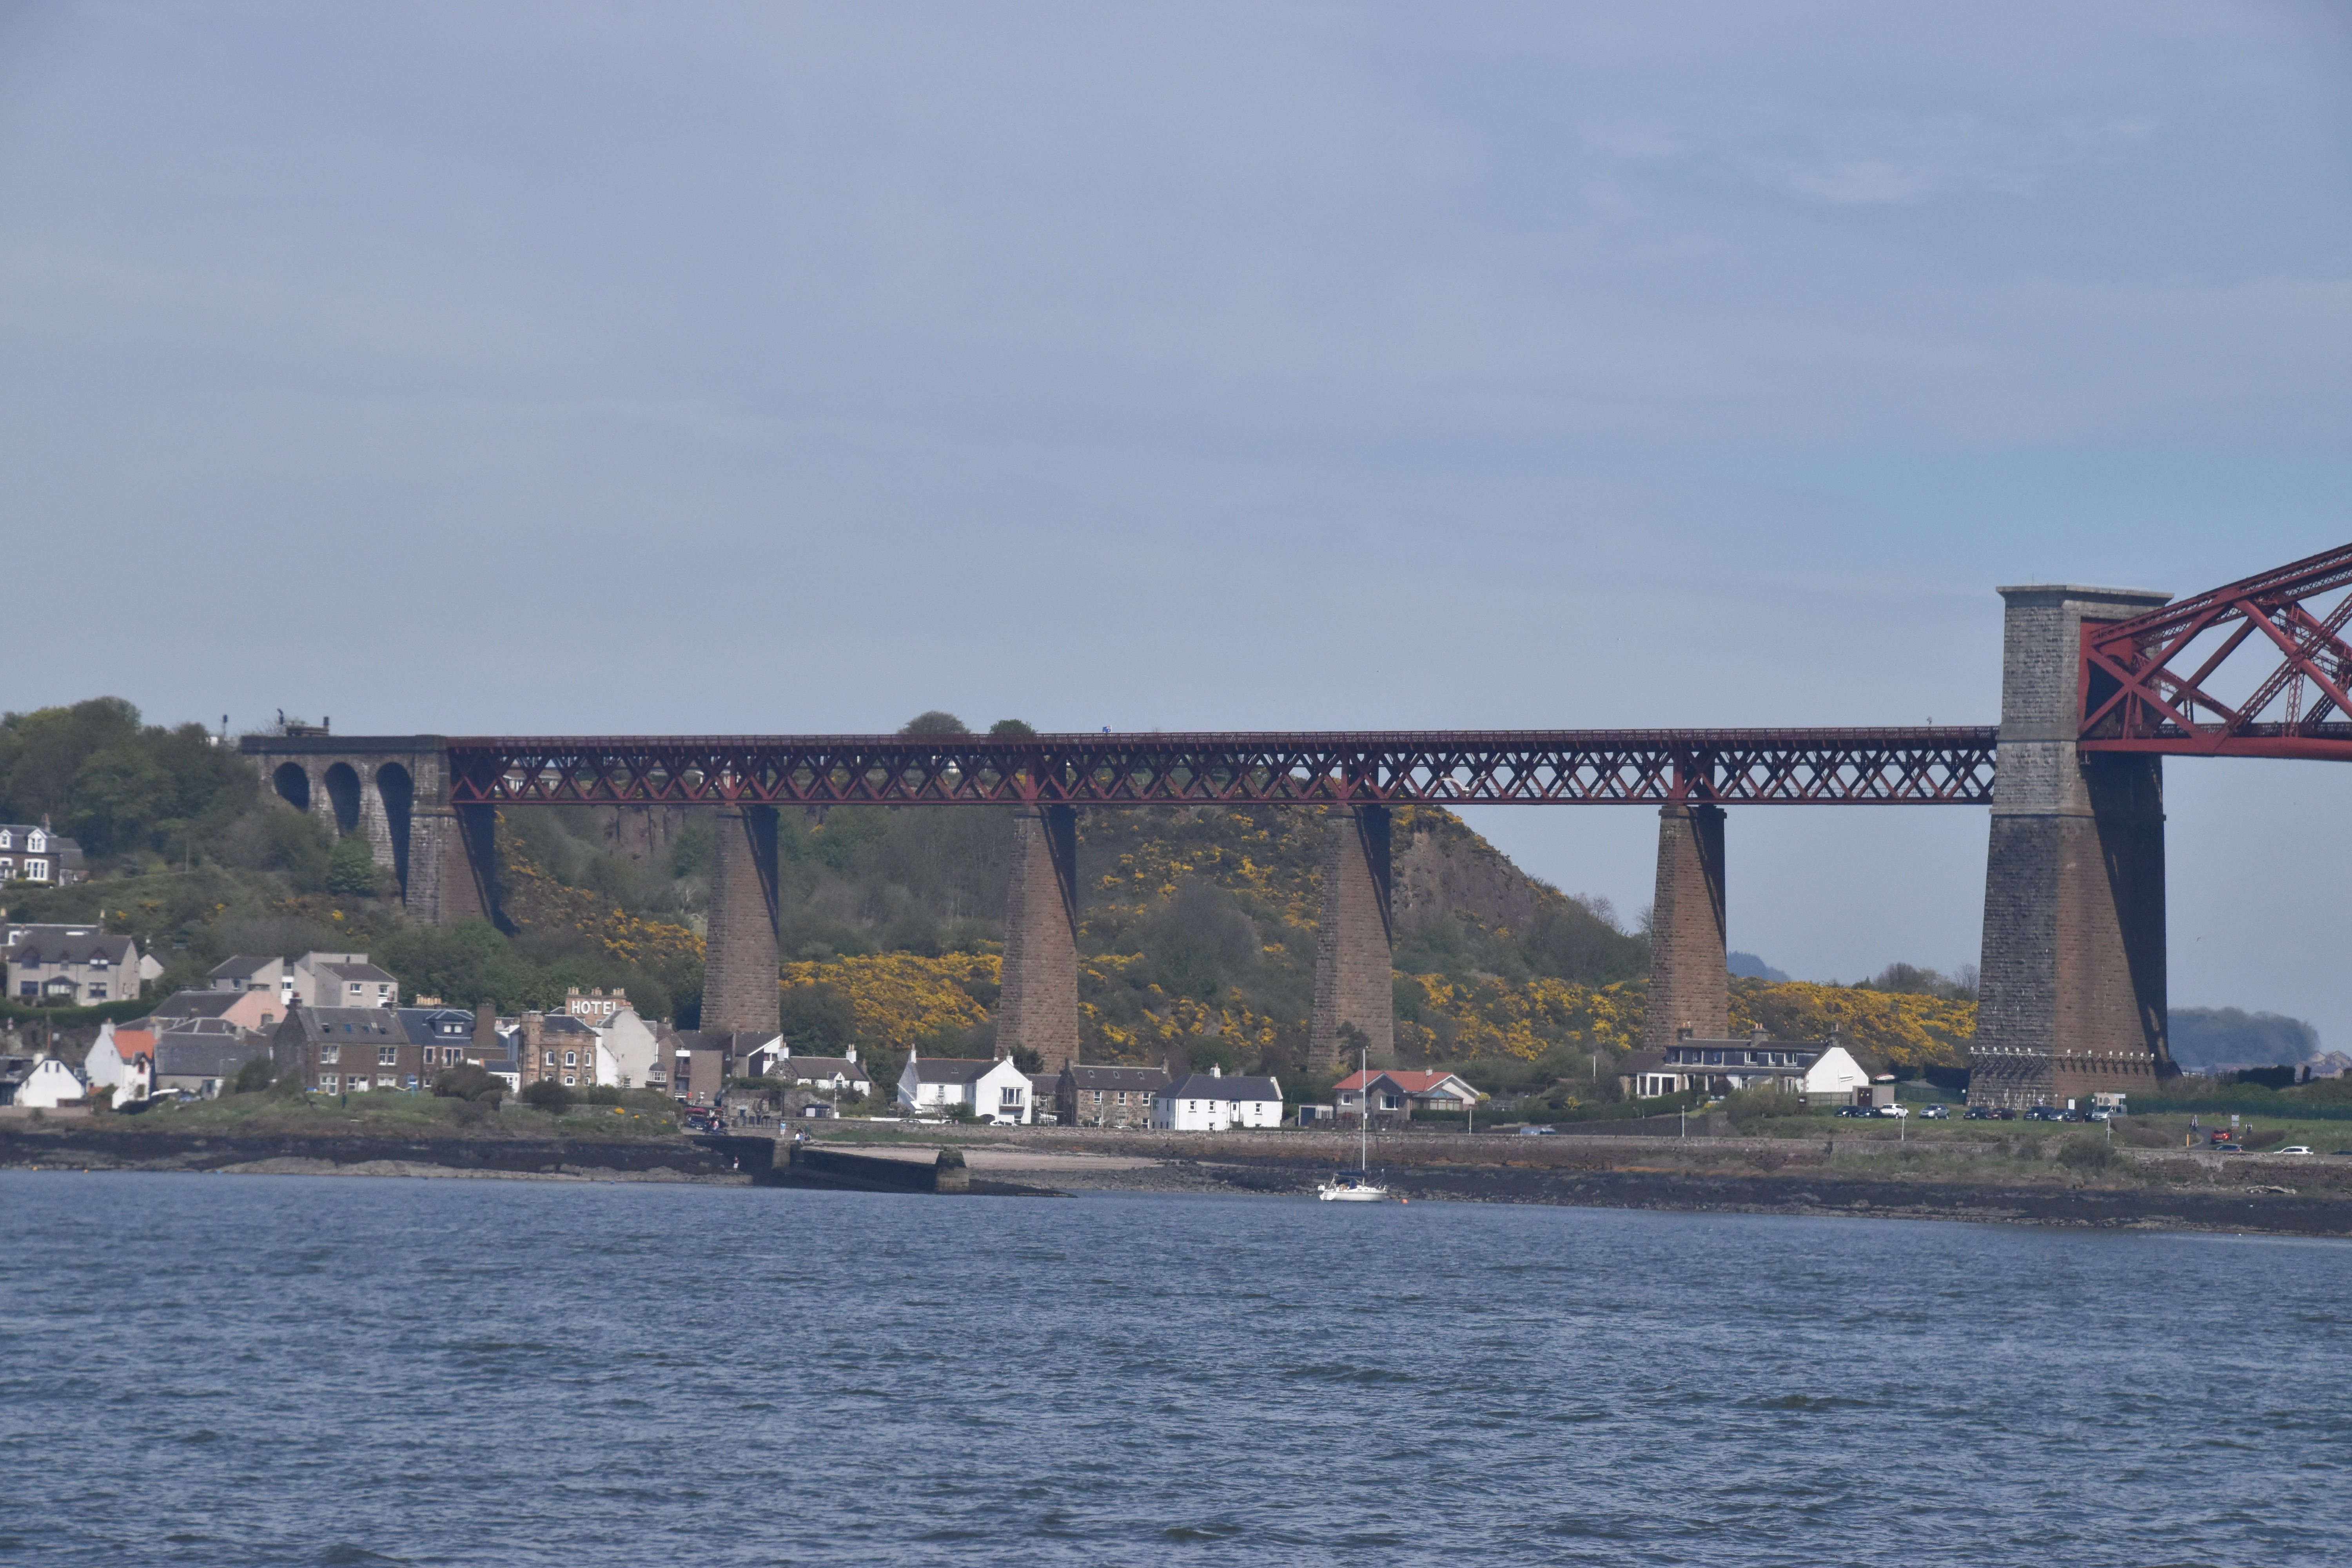
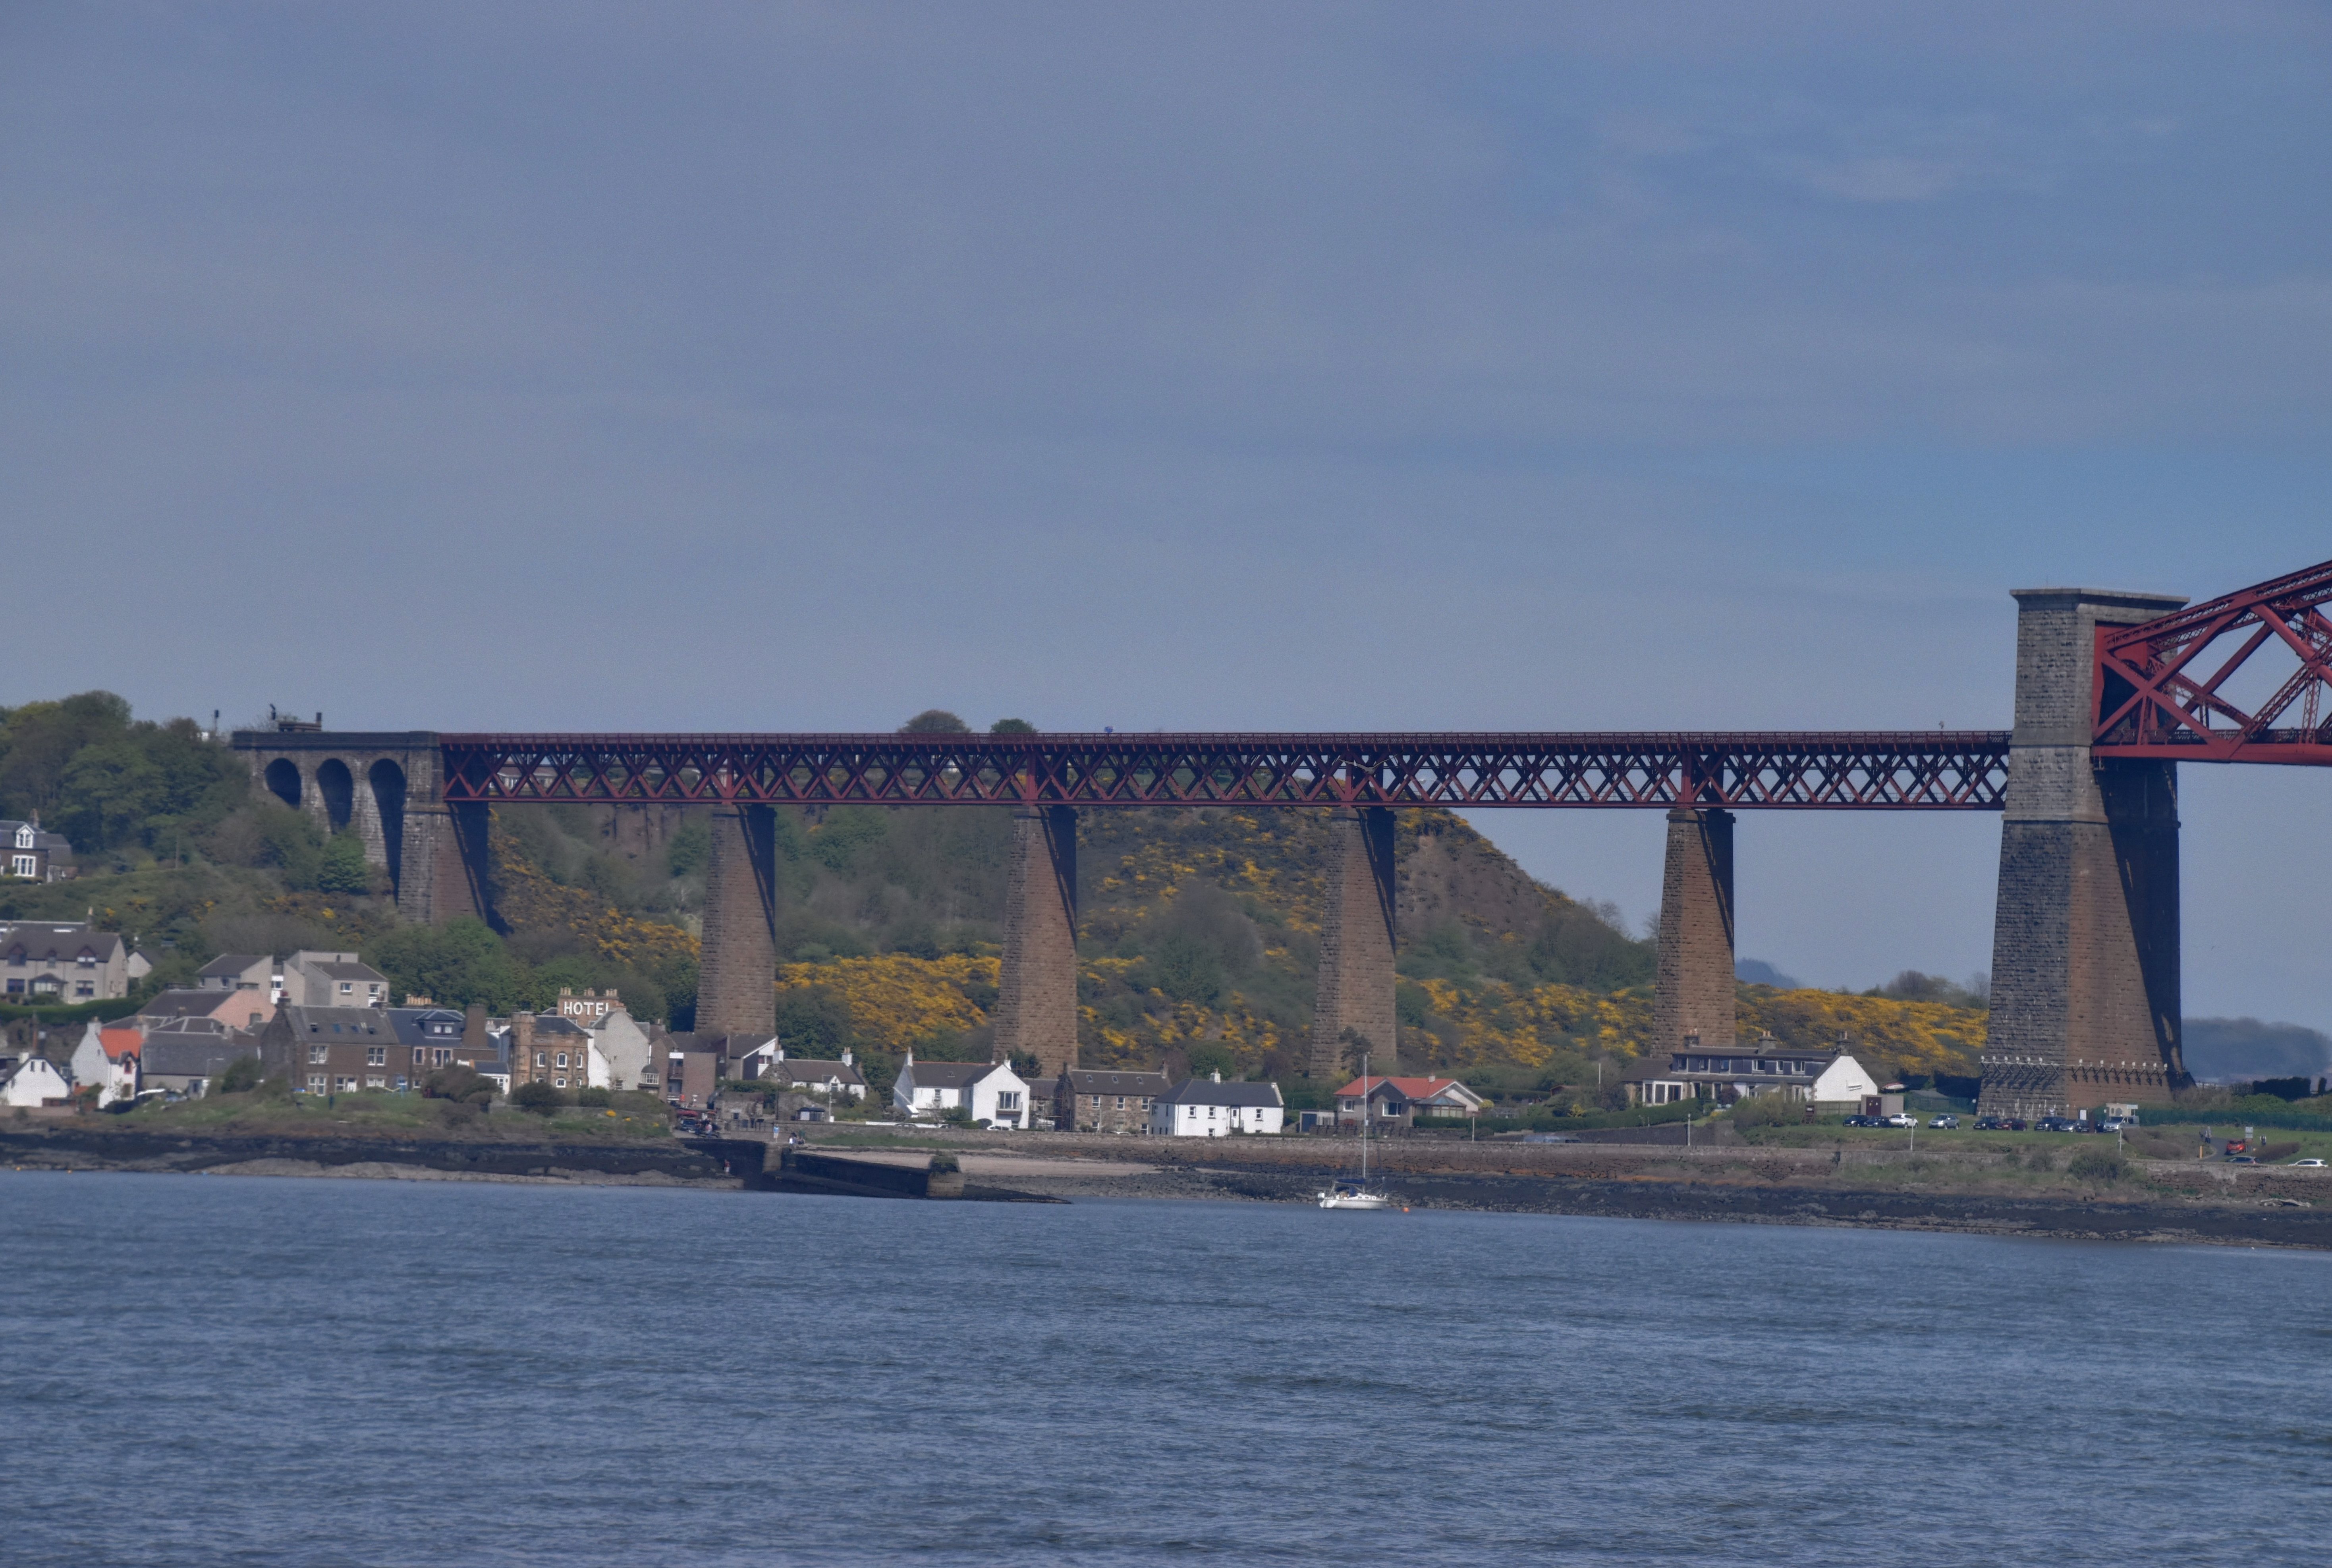
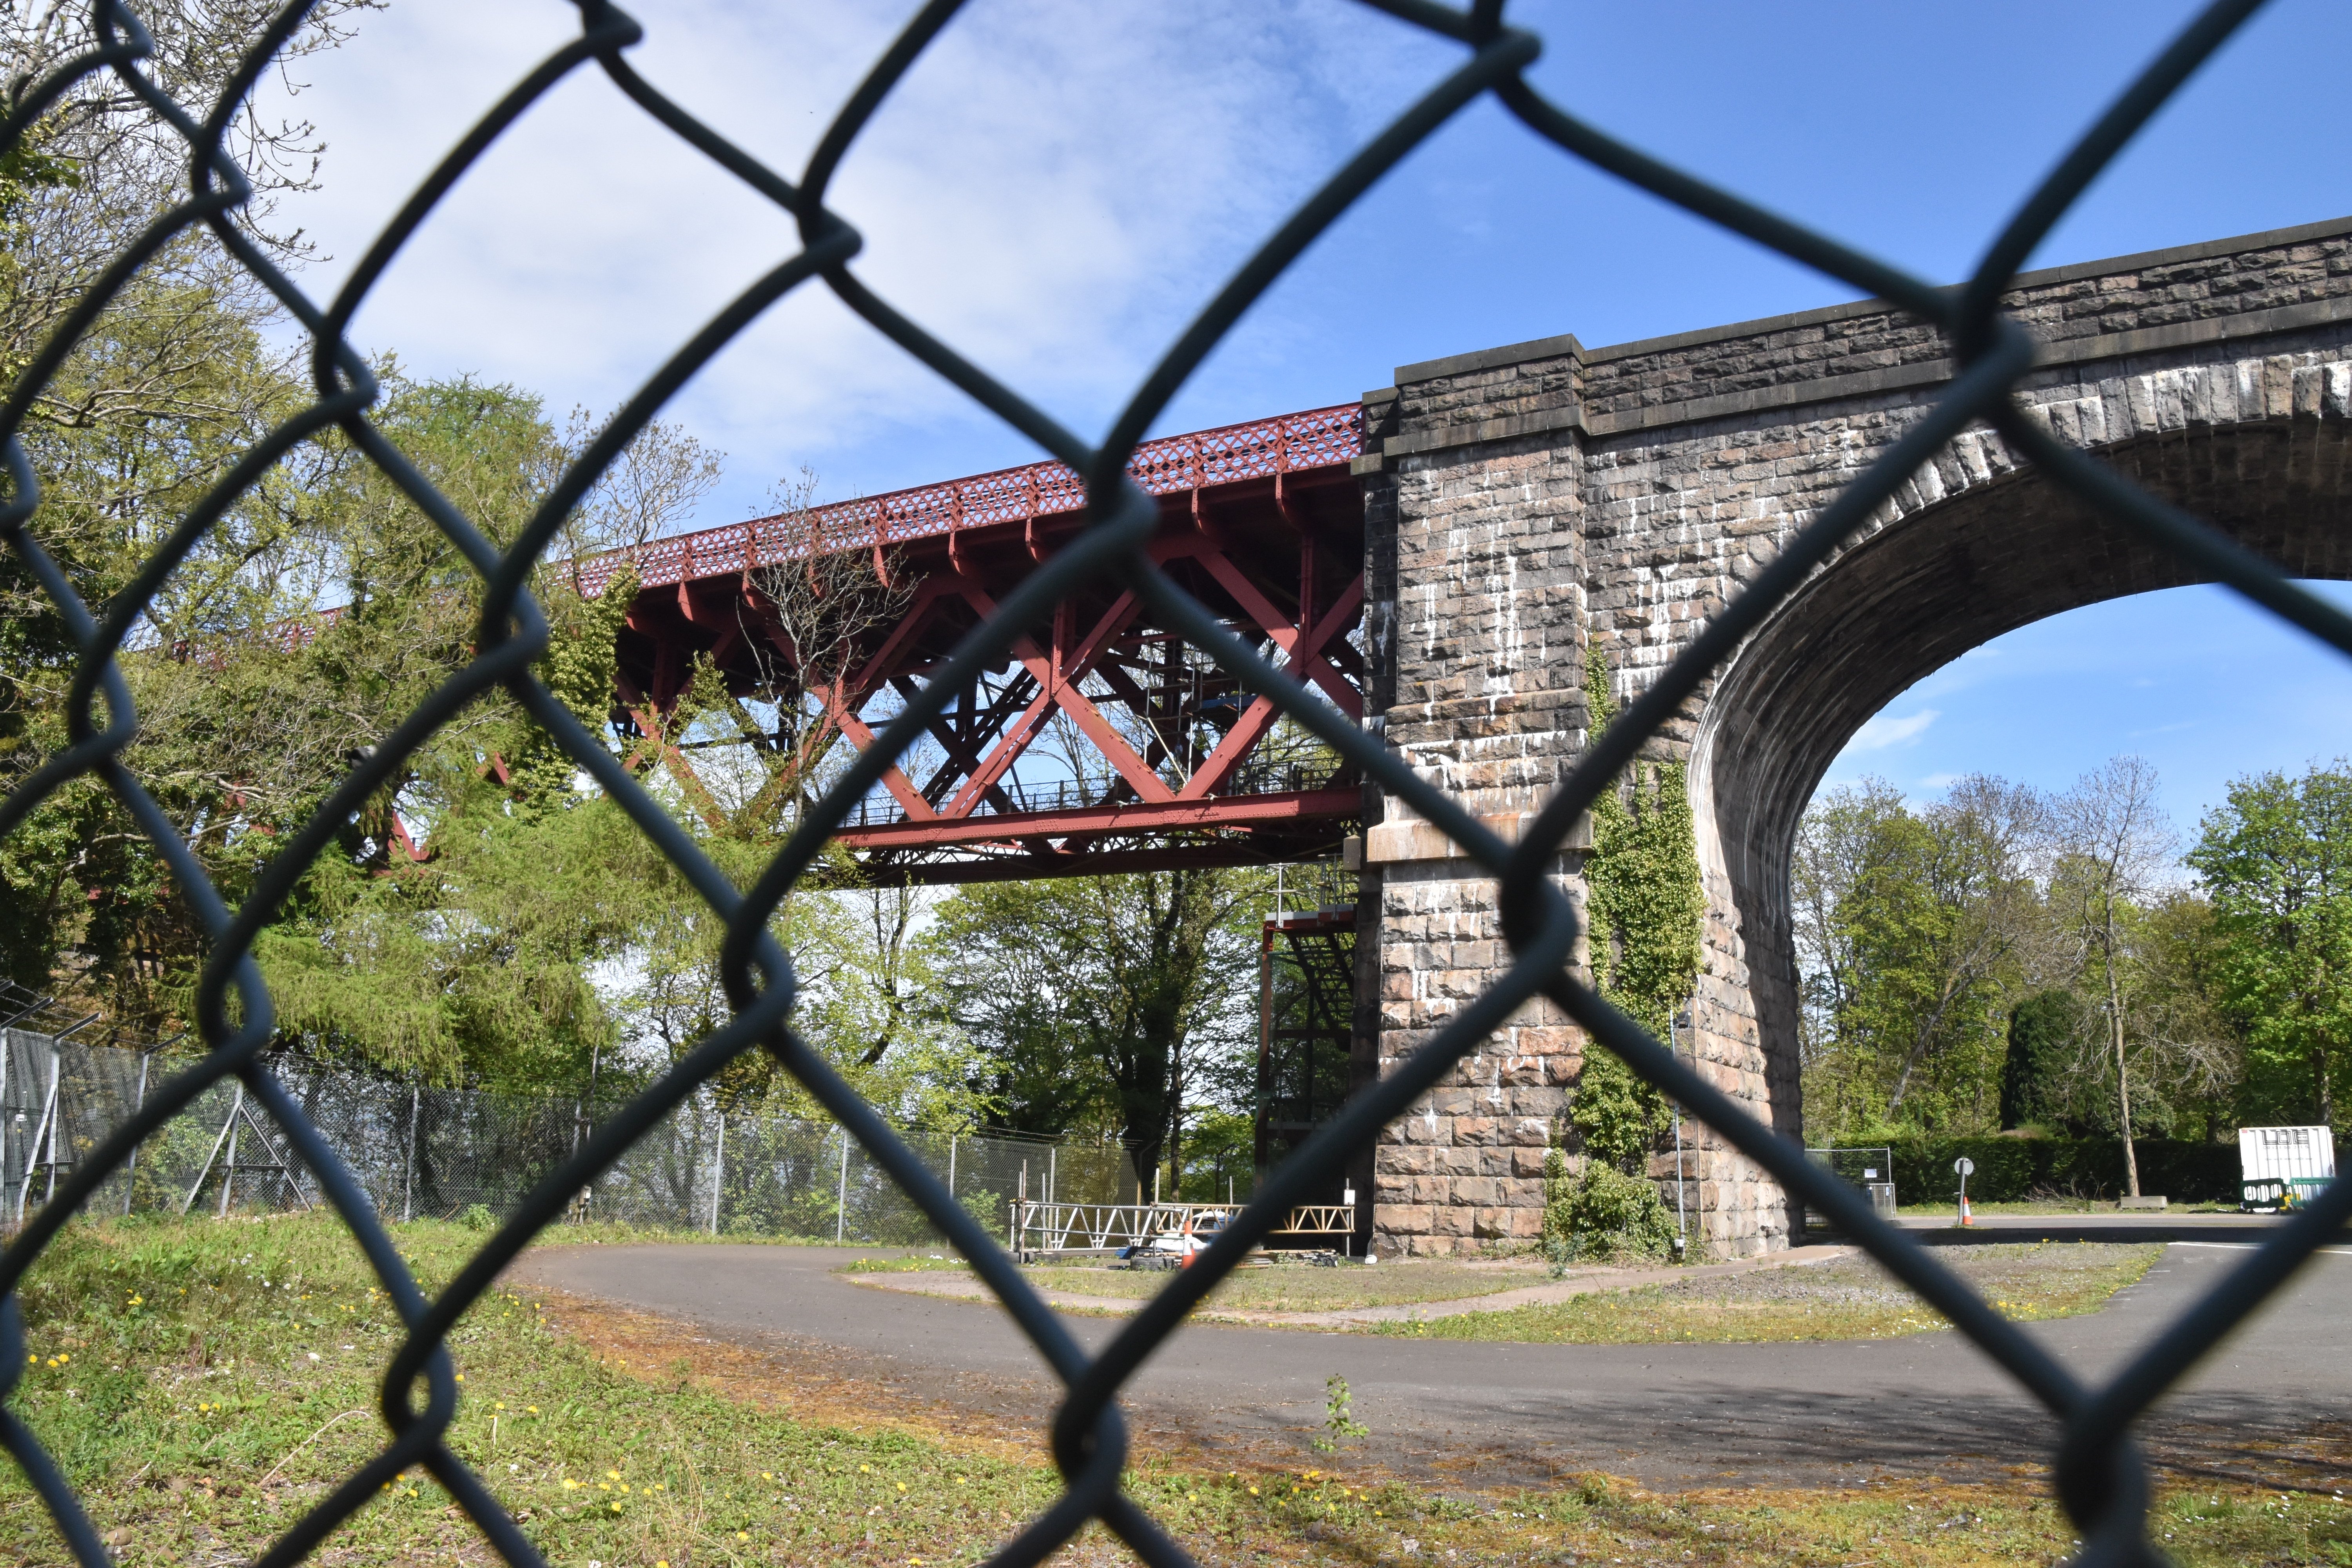
West elevation of southern approach spans.
![]()


East elevation of southern approach spans.
![]()


Southern end of deck truss approach spans.
![]()


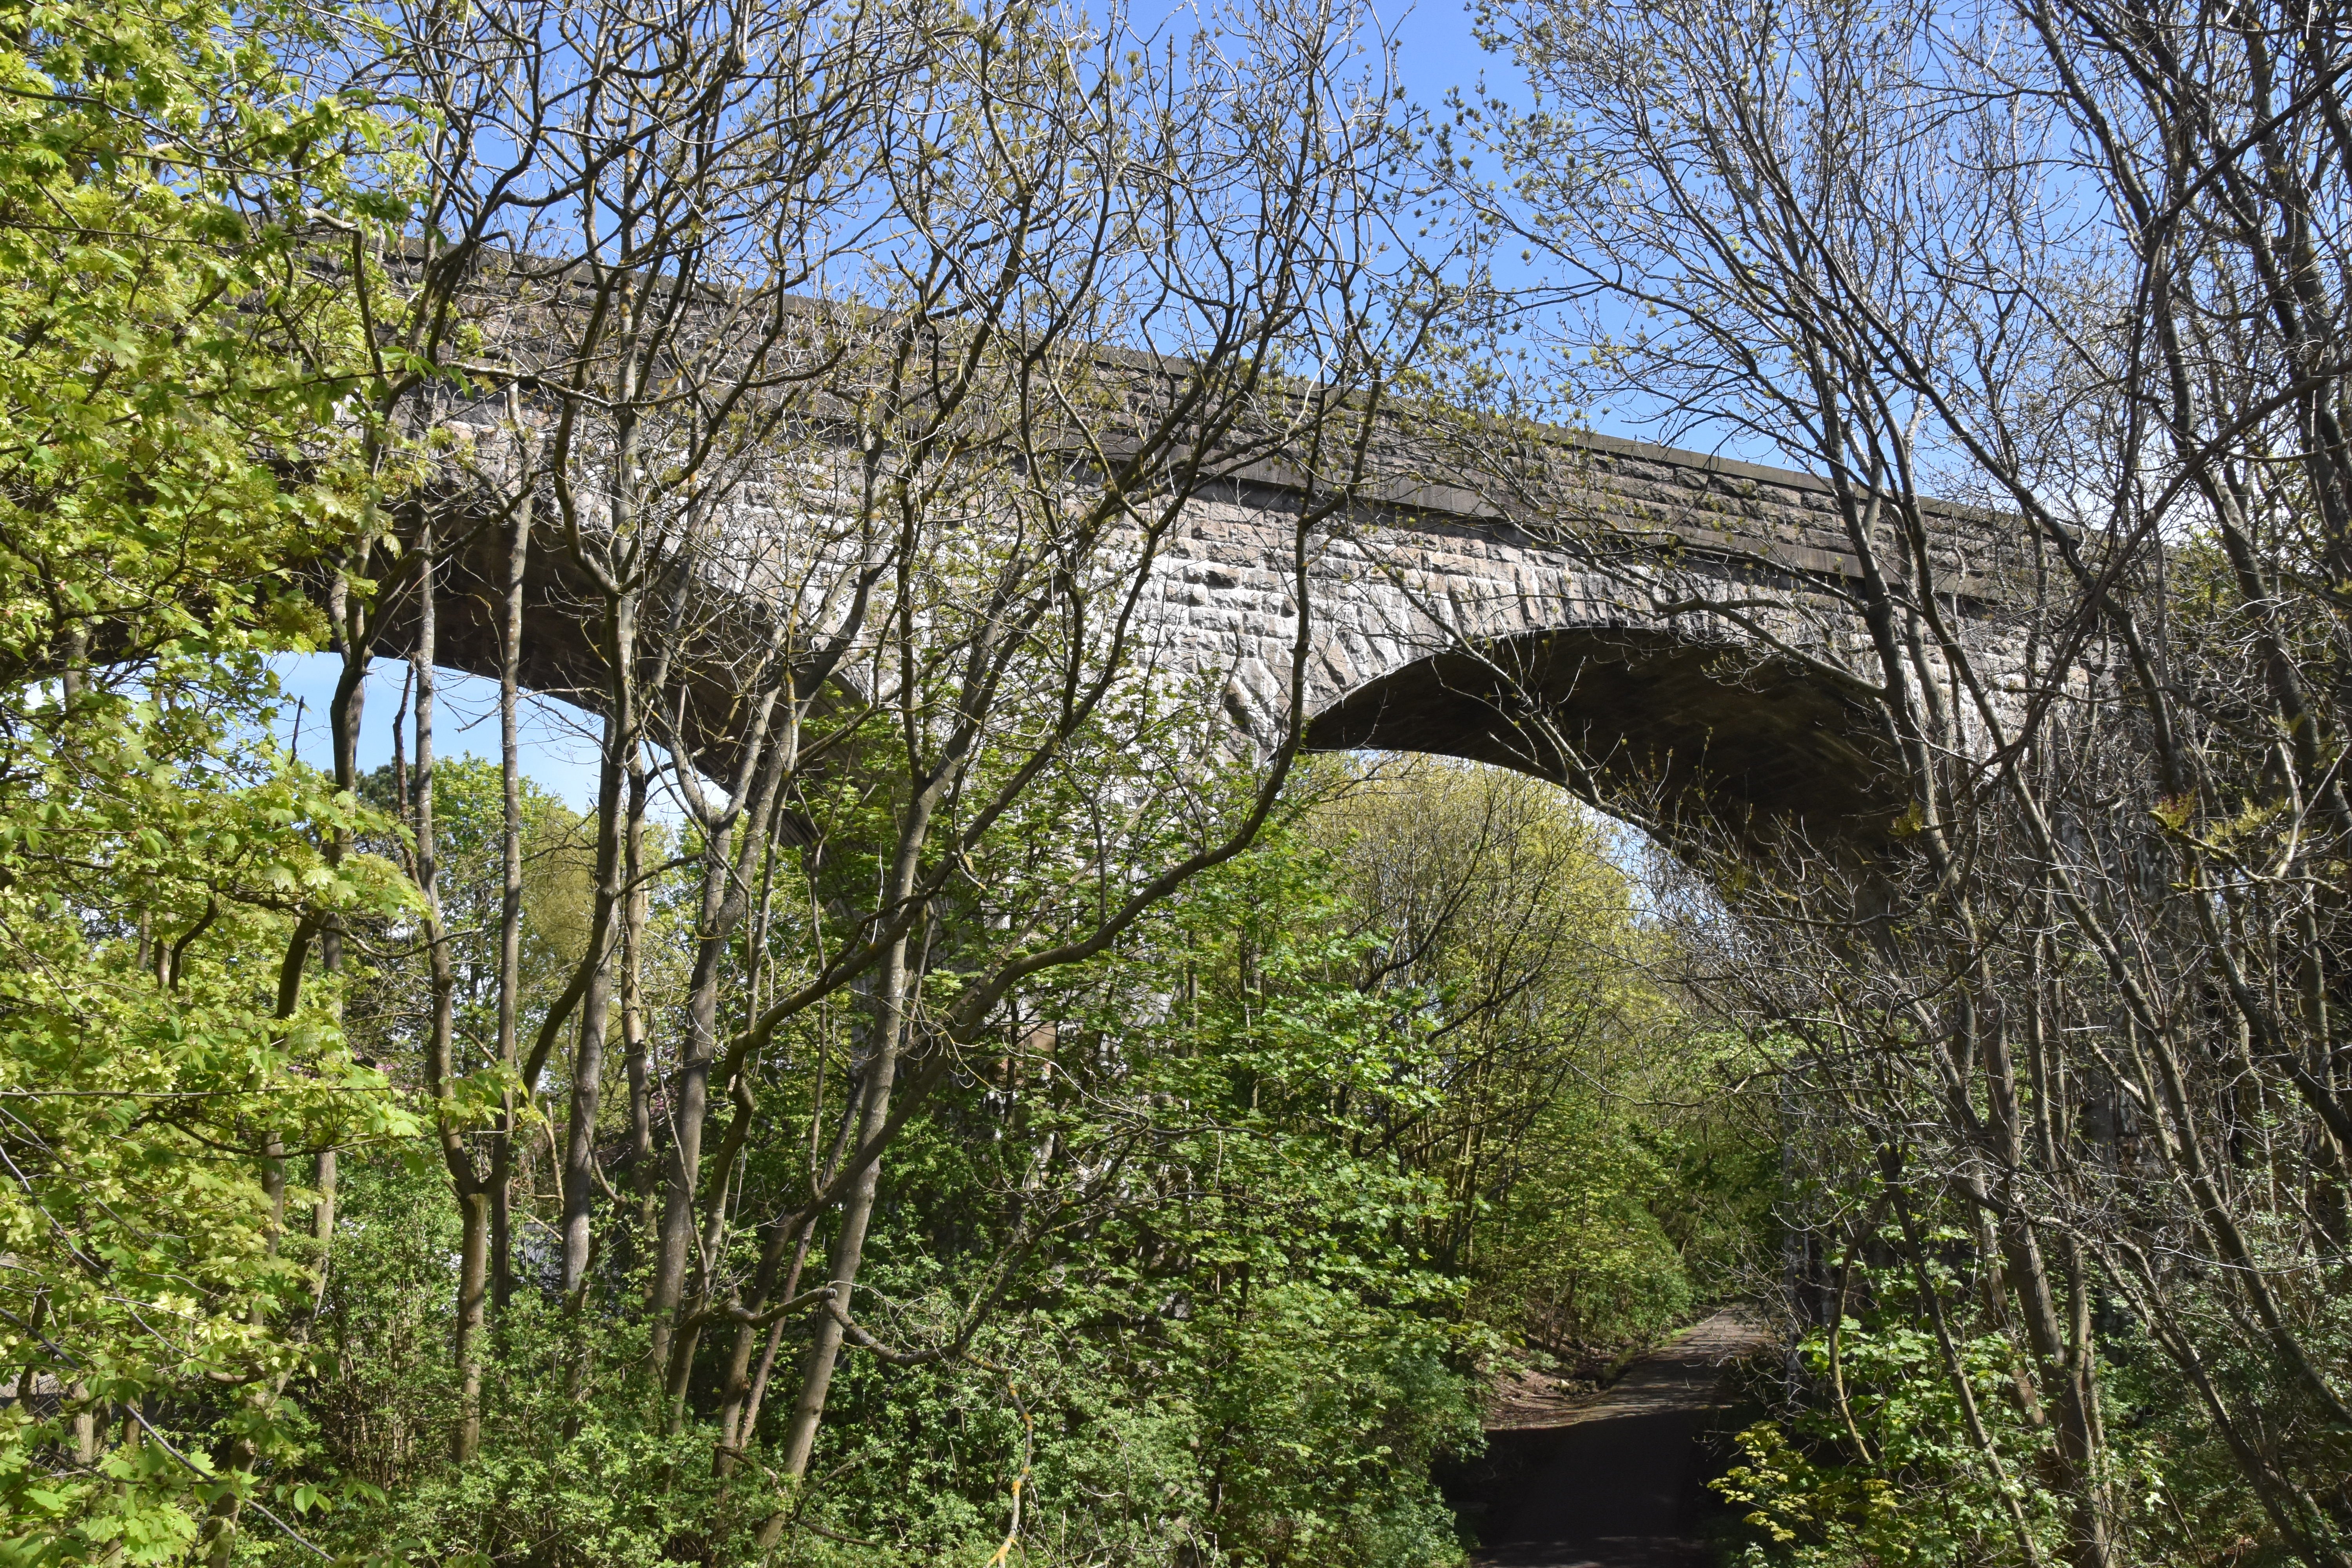
Southern stone arch approach spans.
![]()

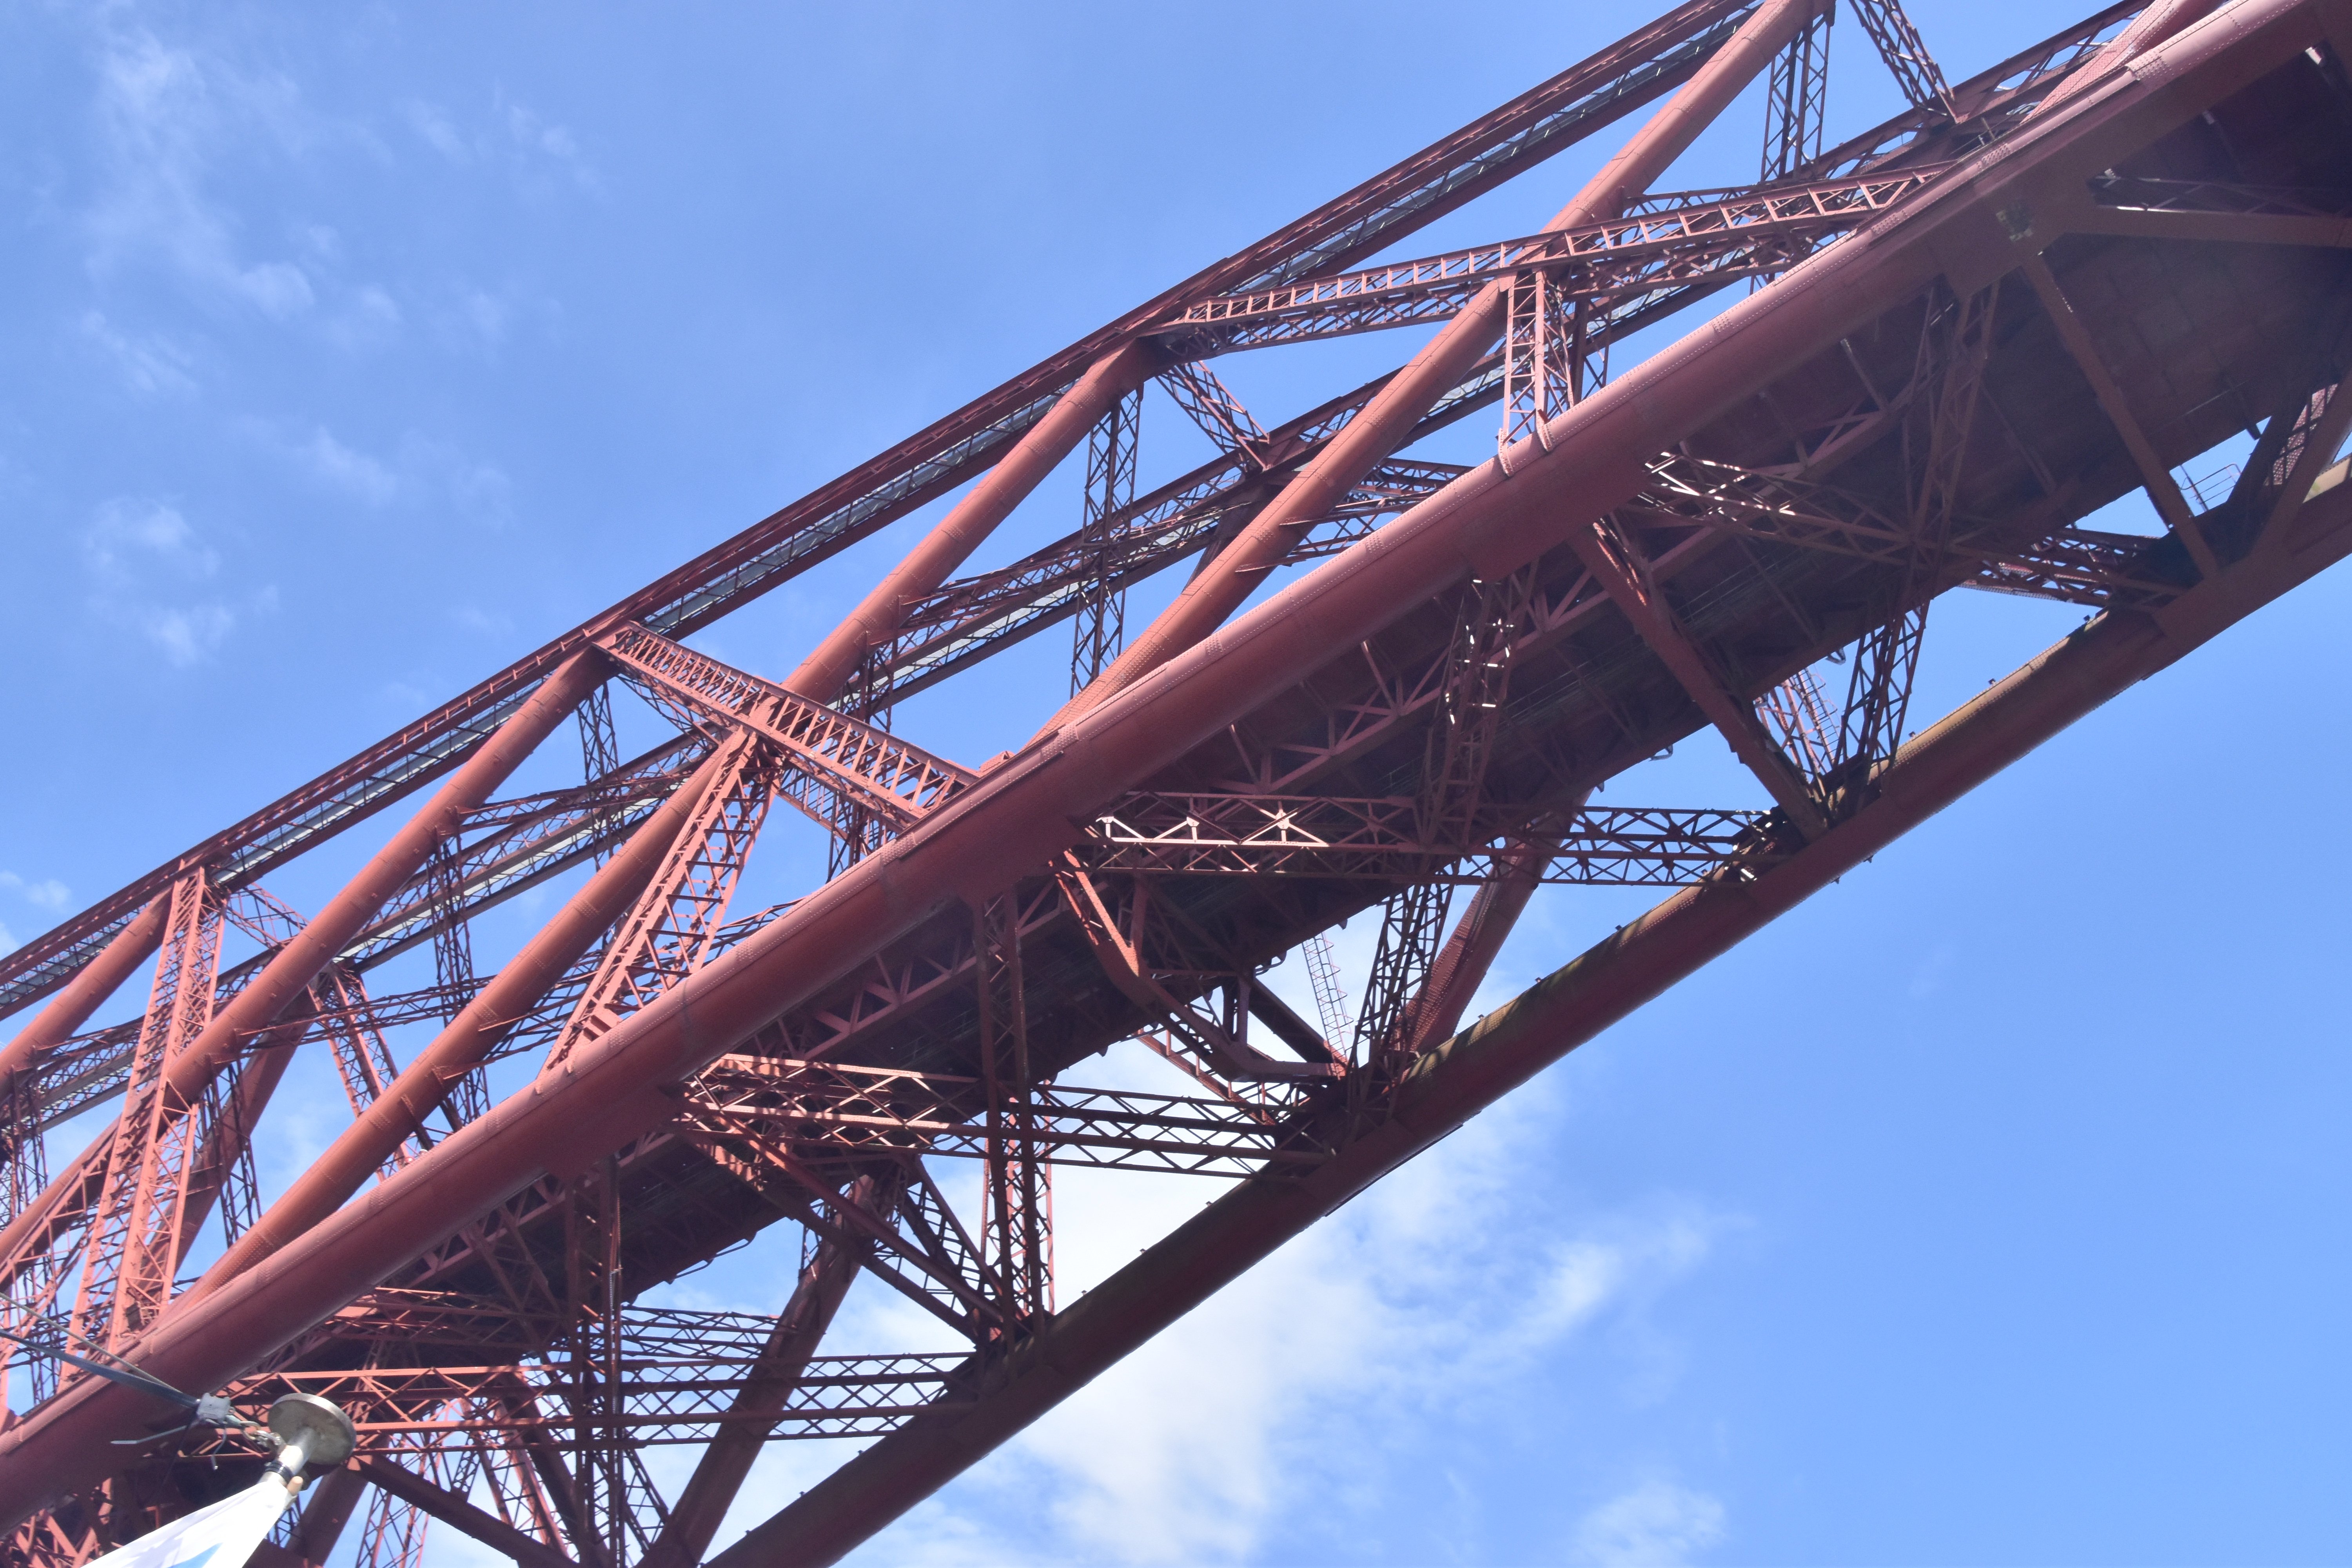


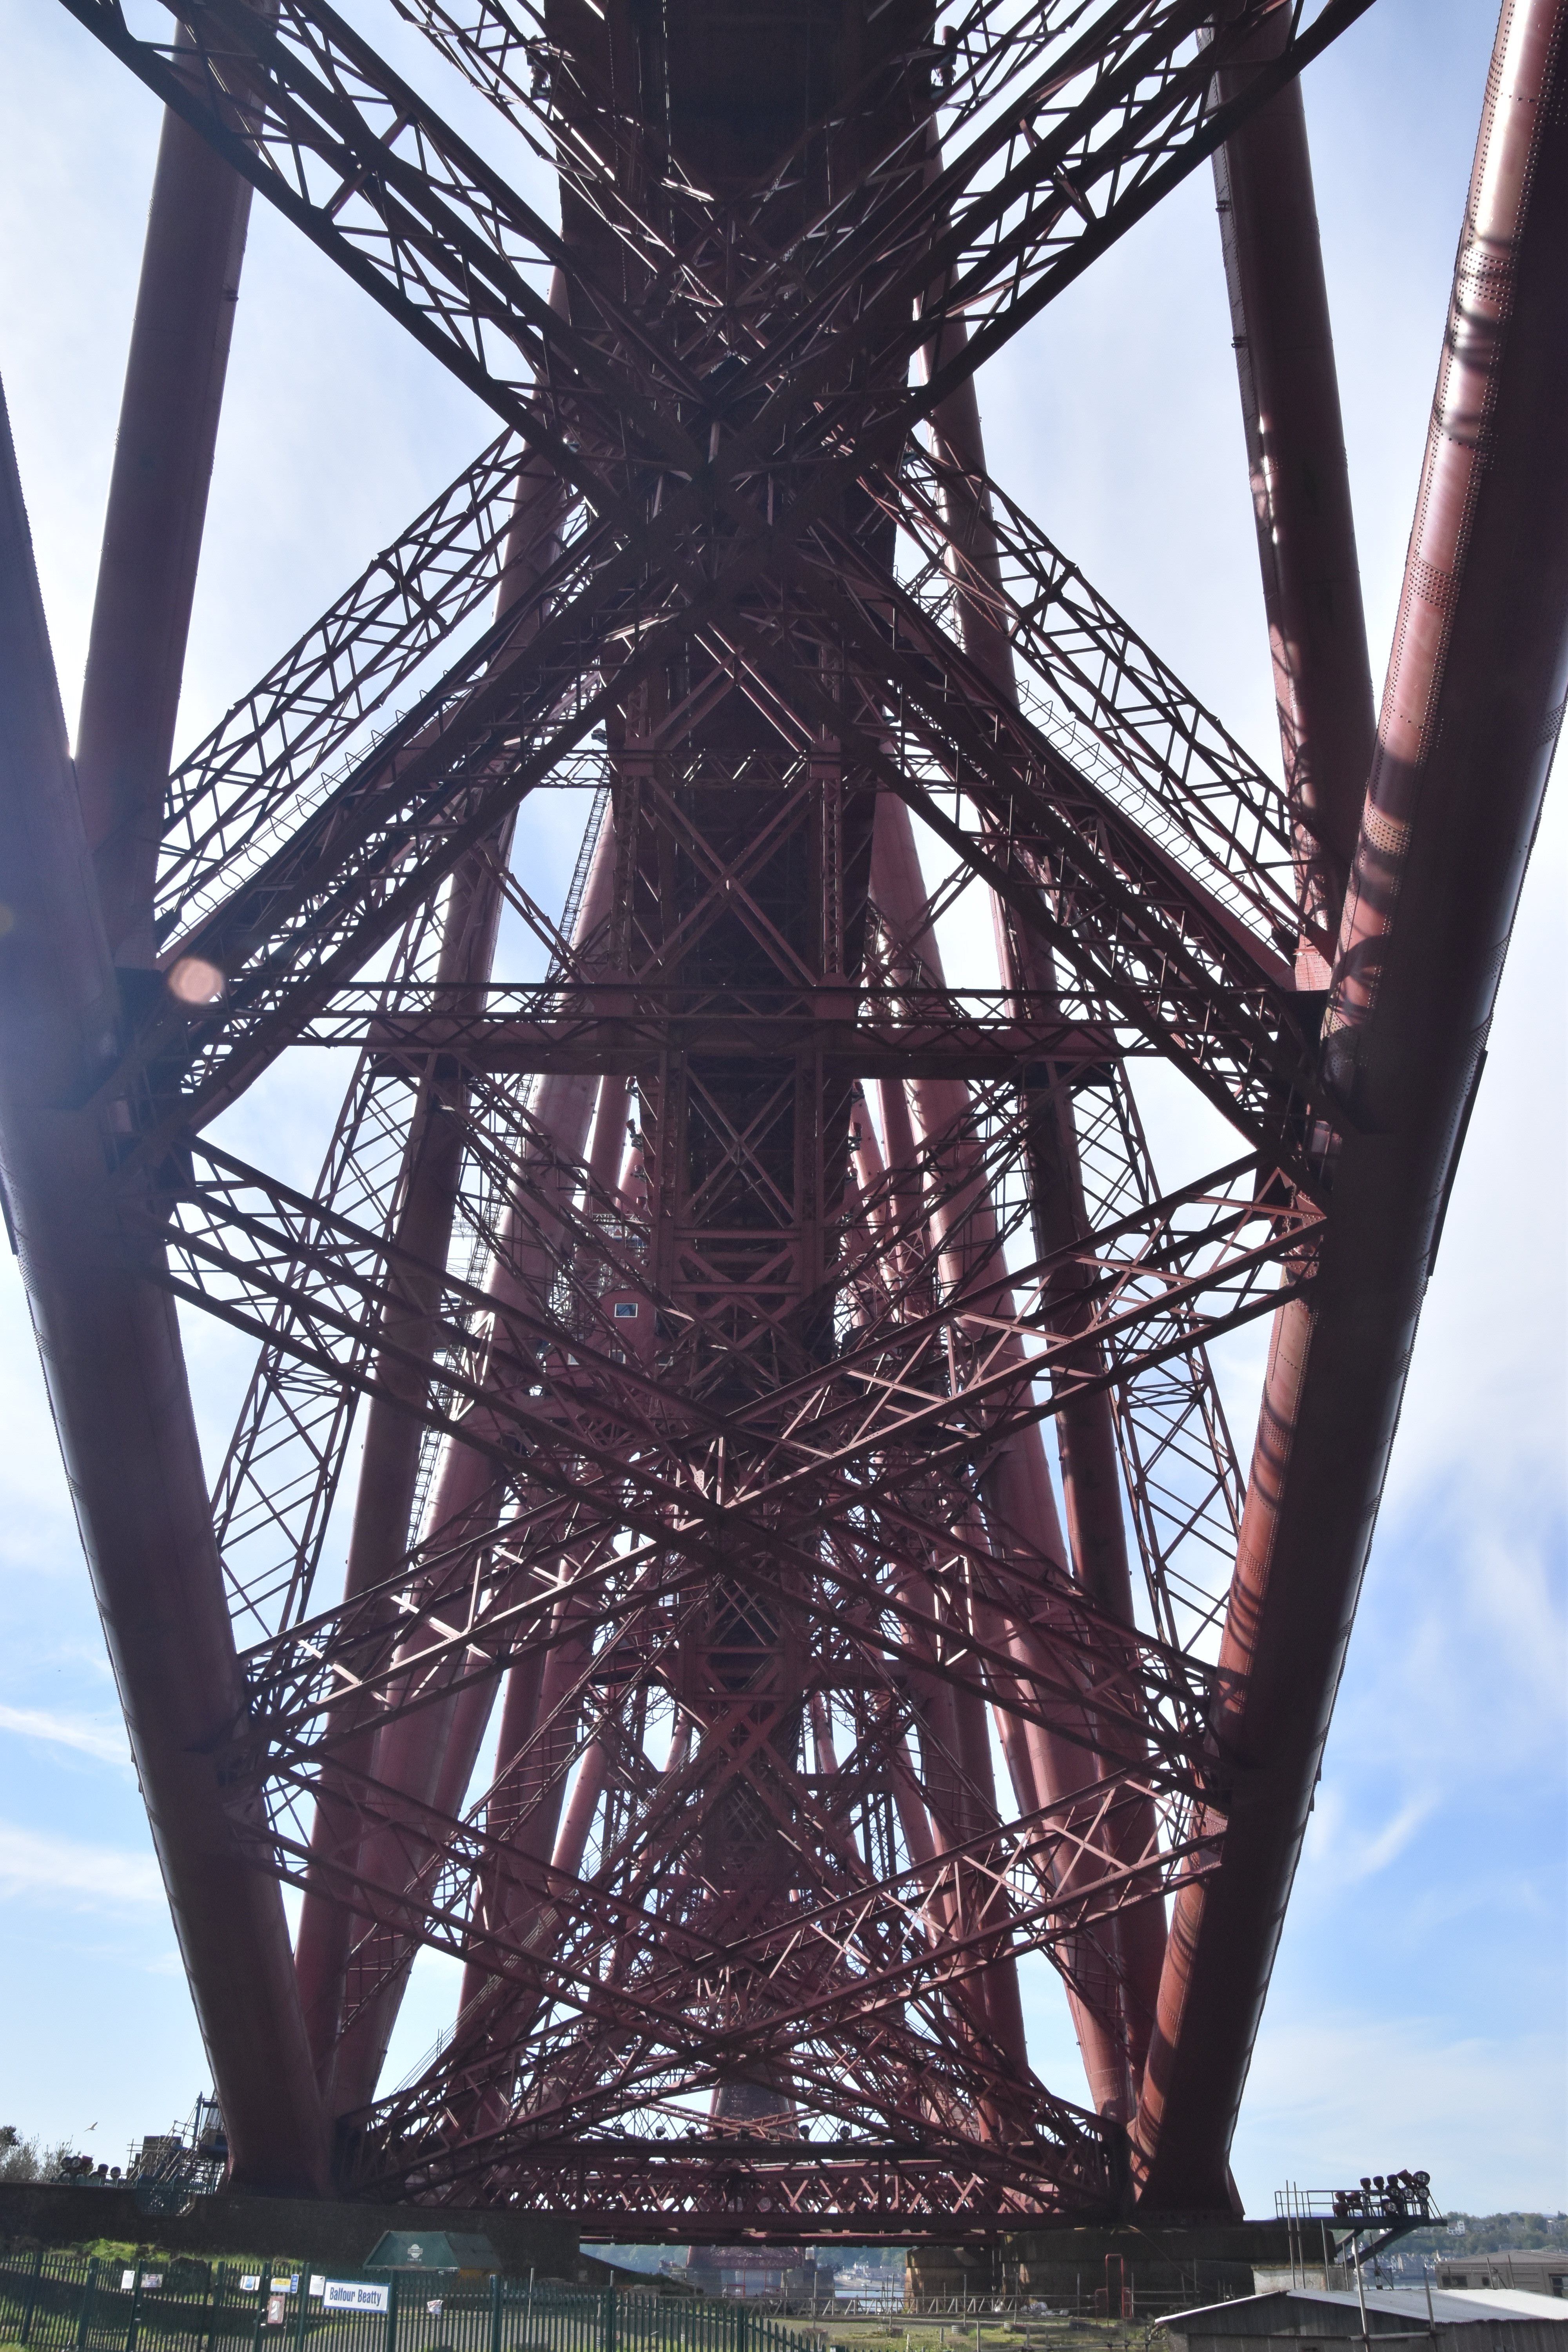
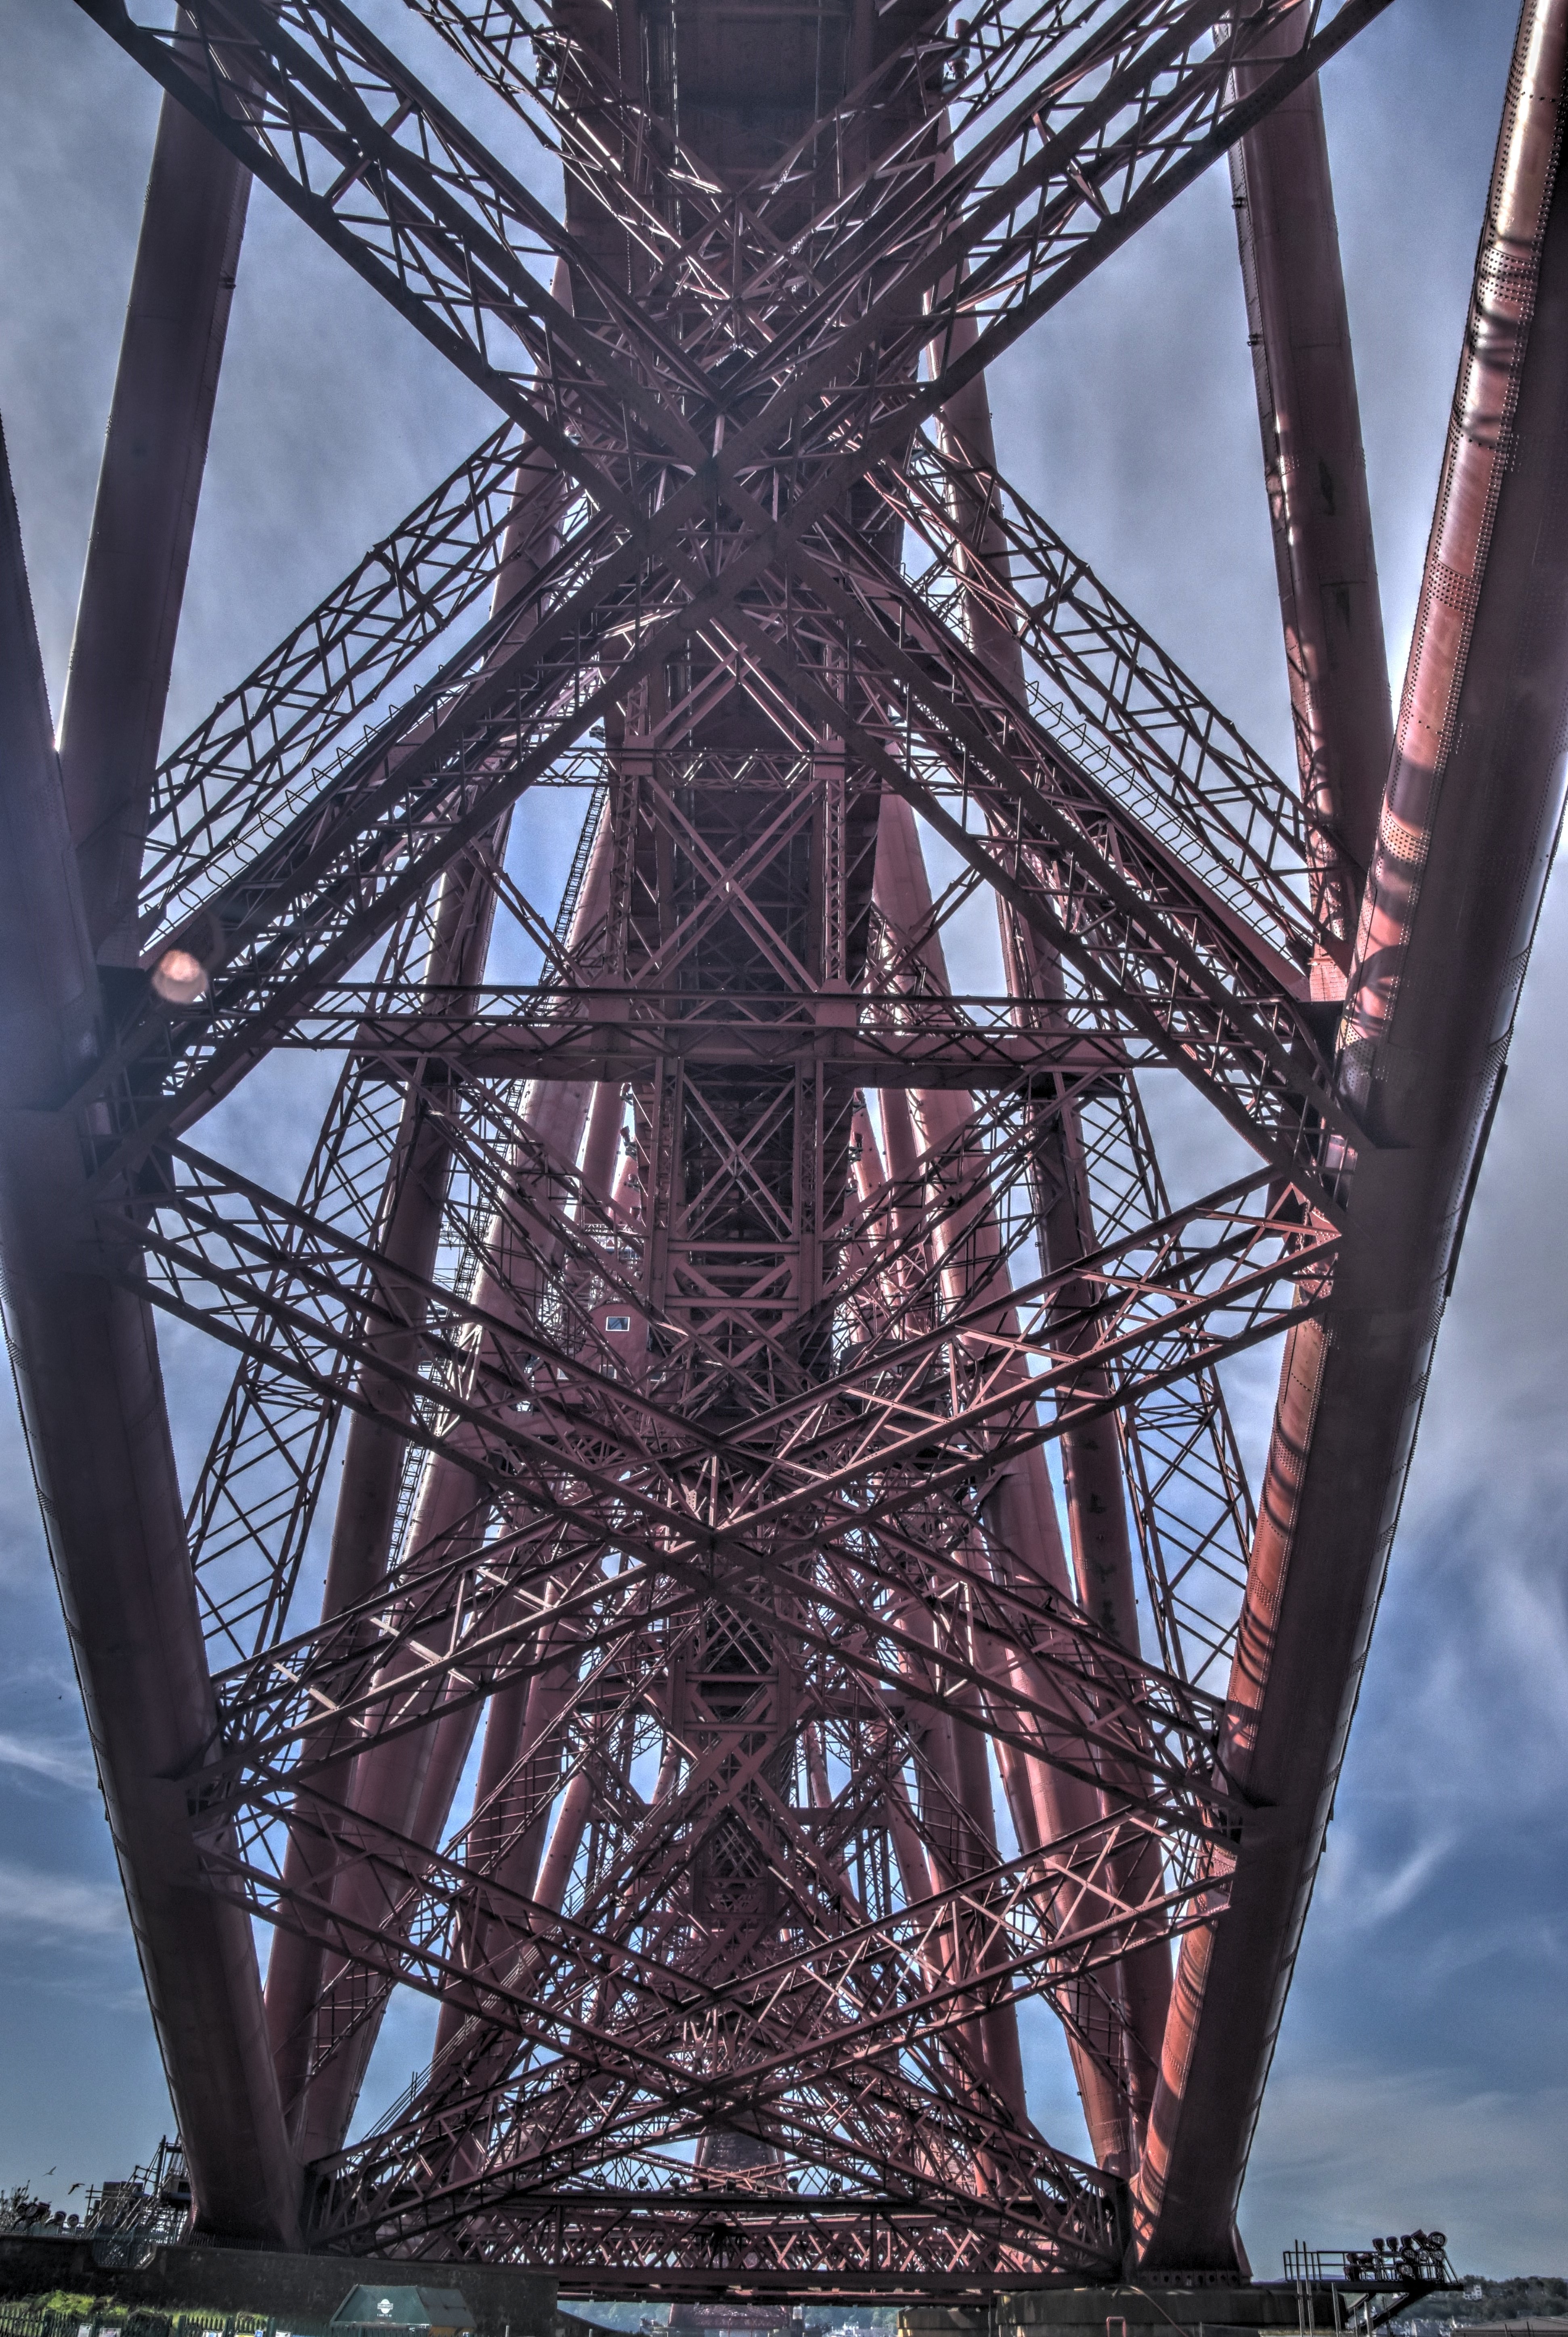


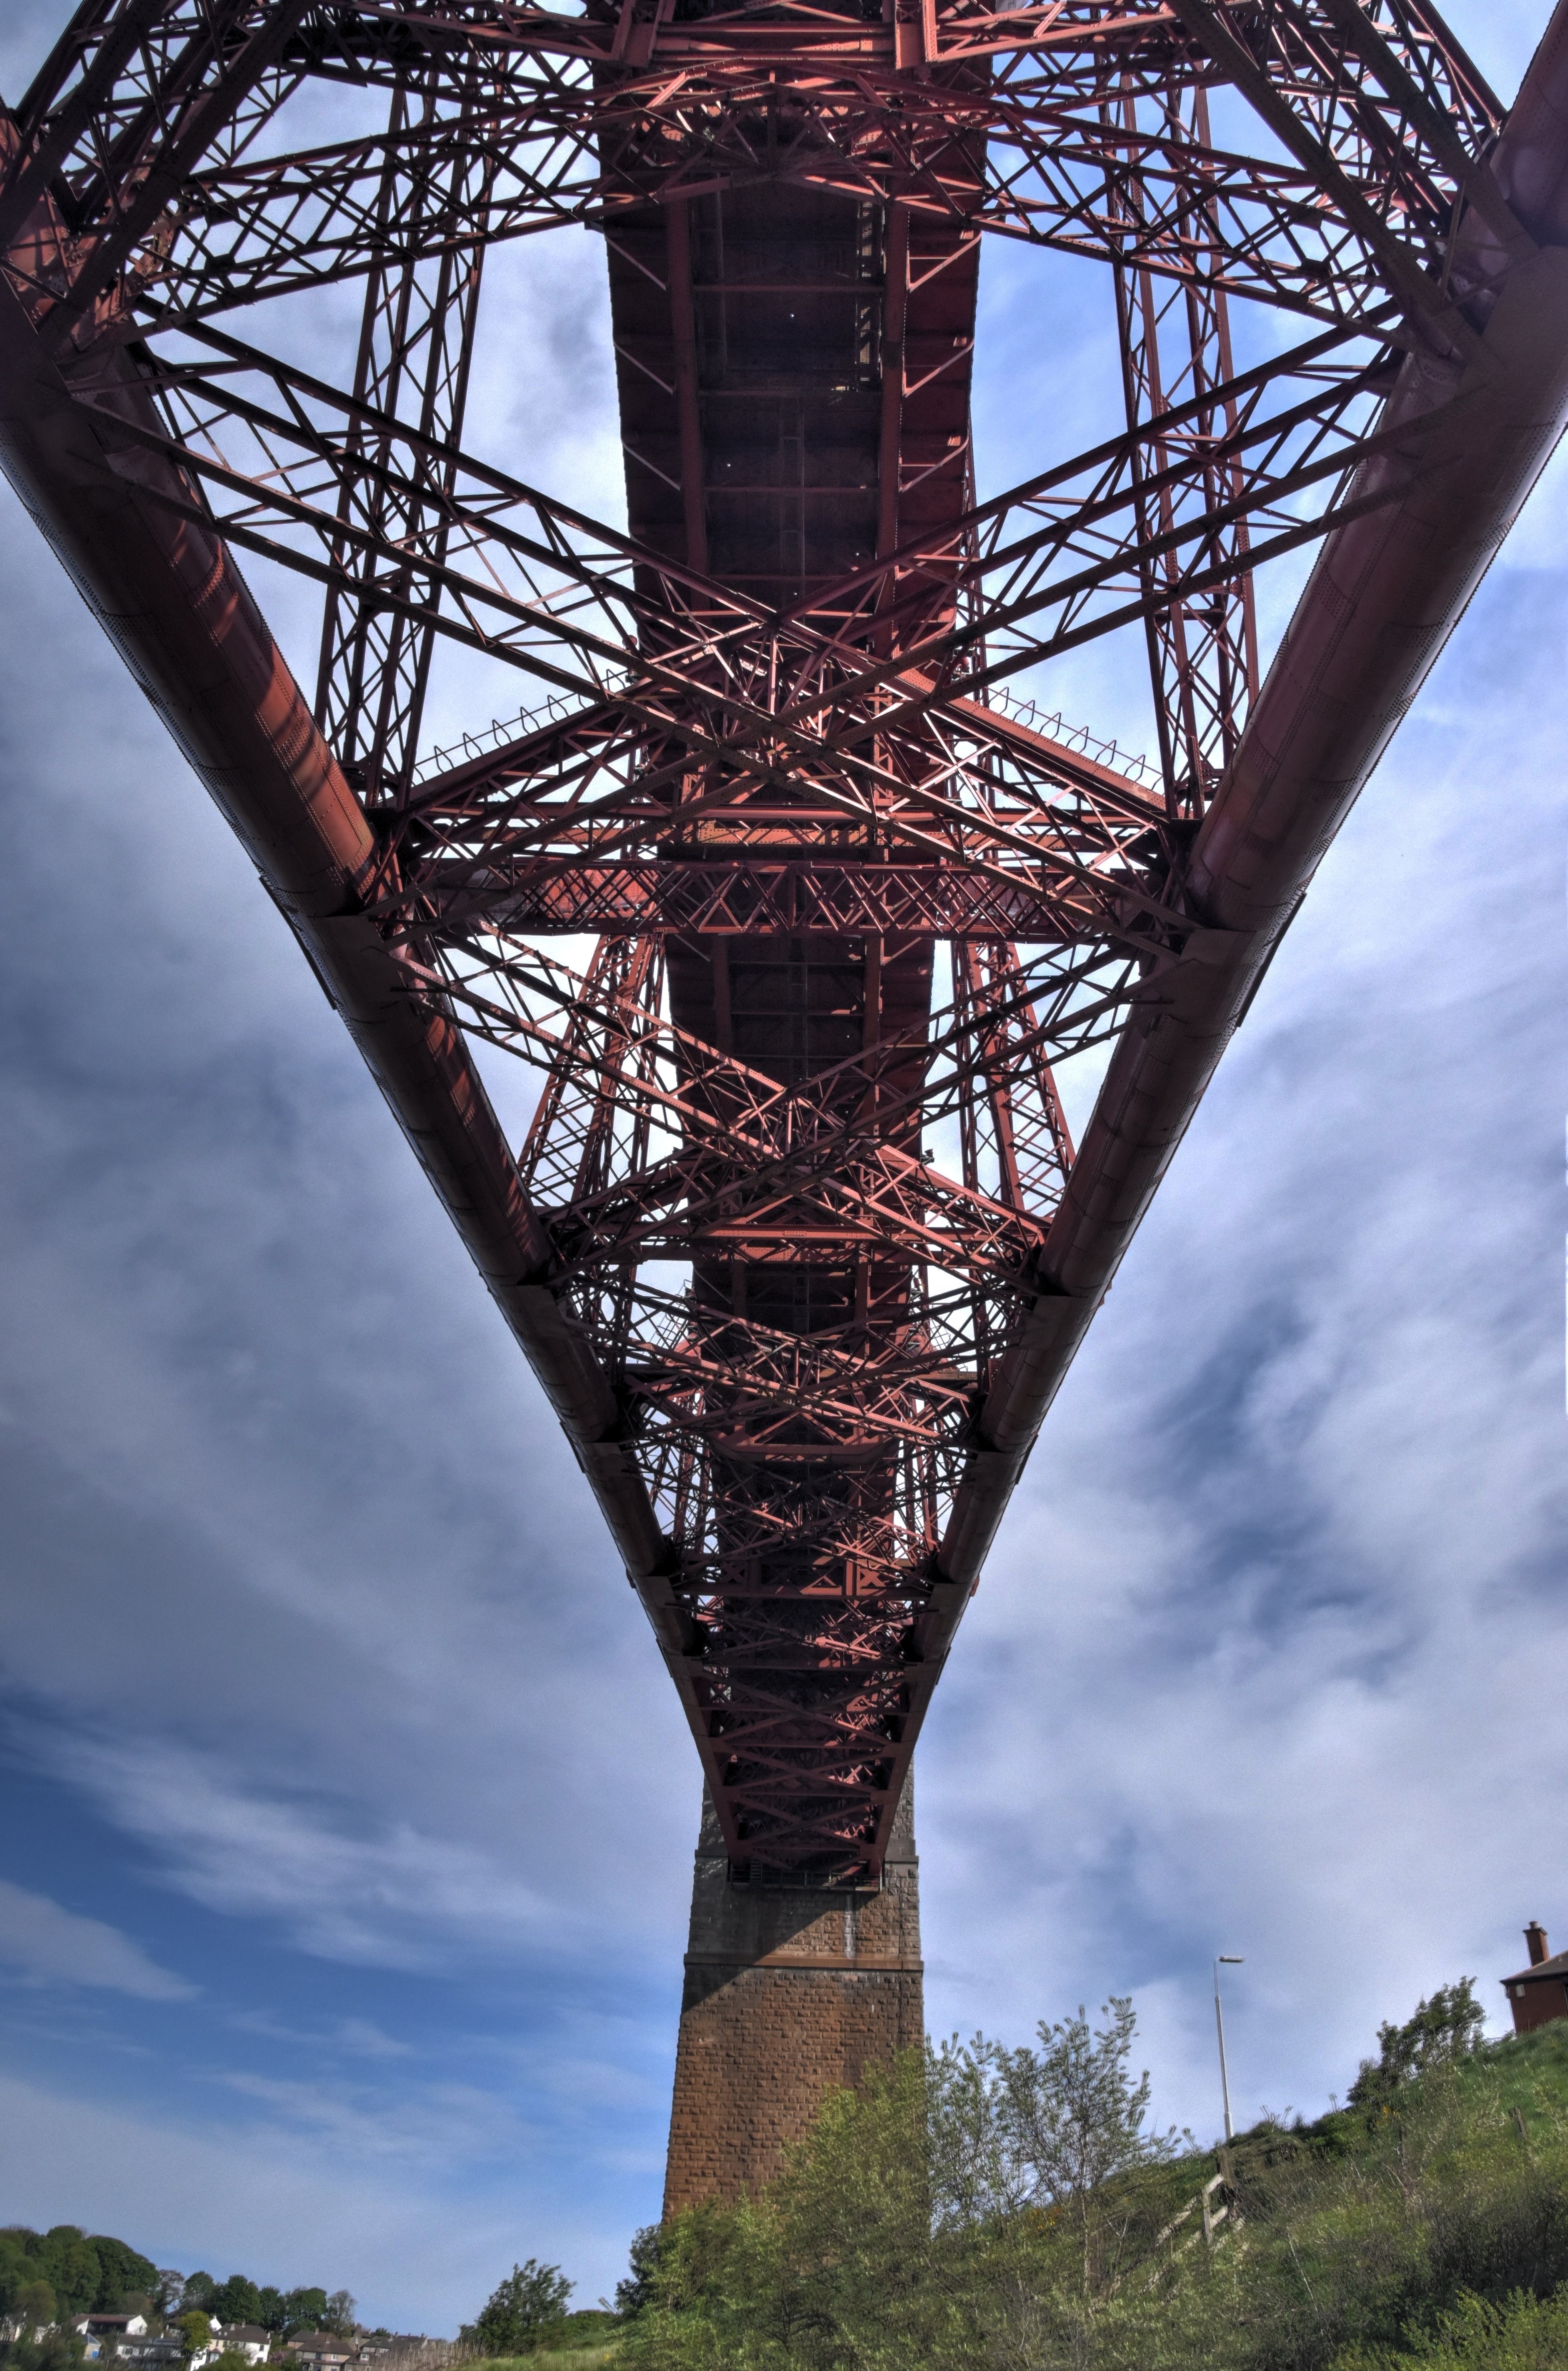


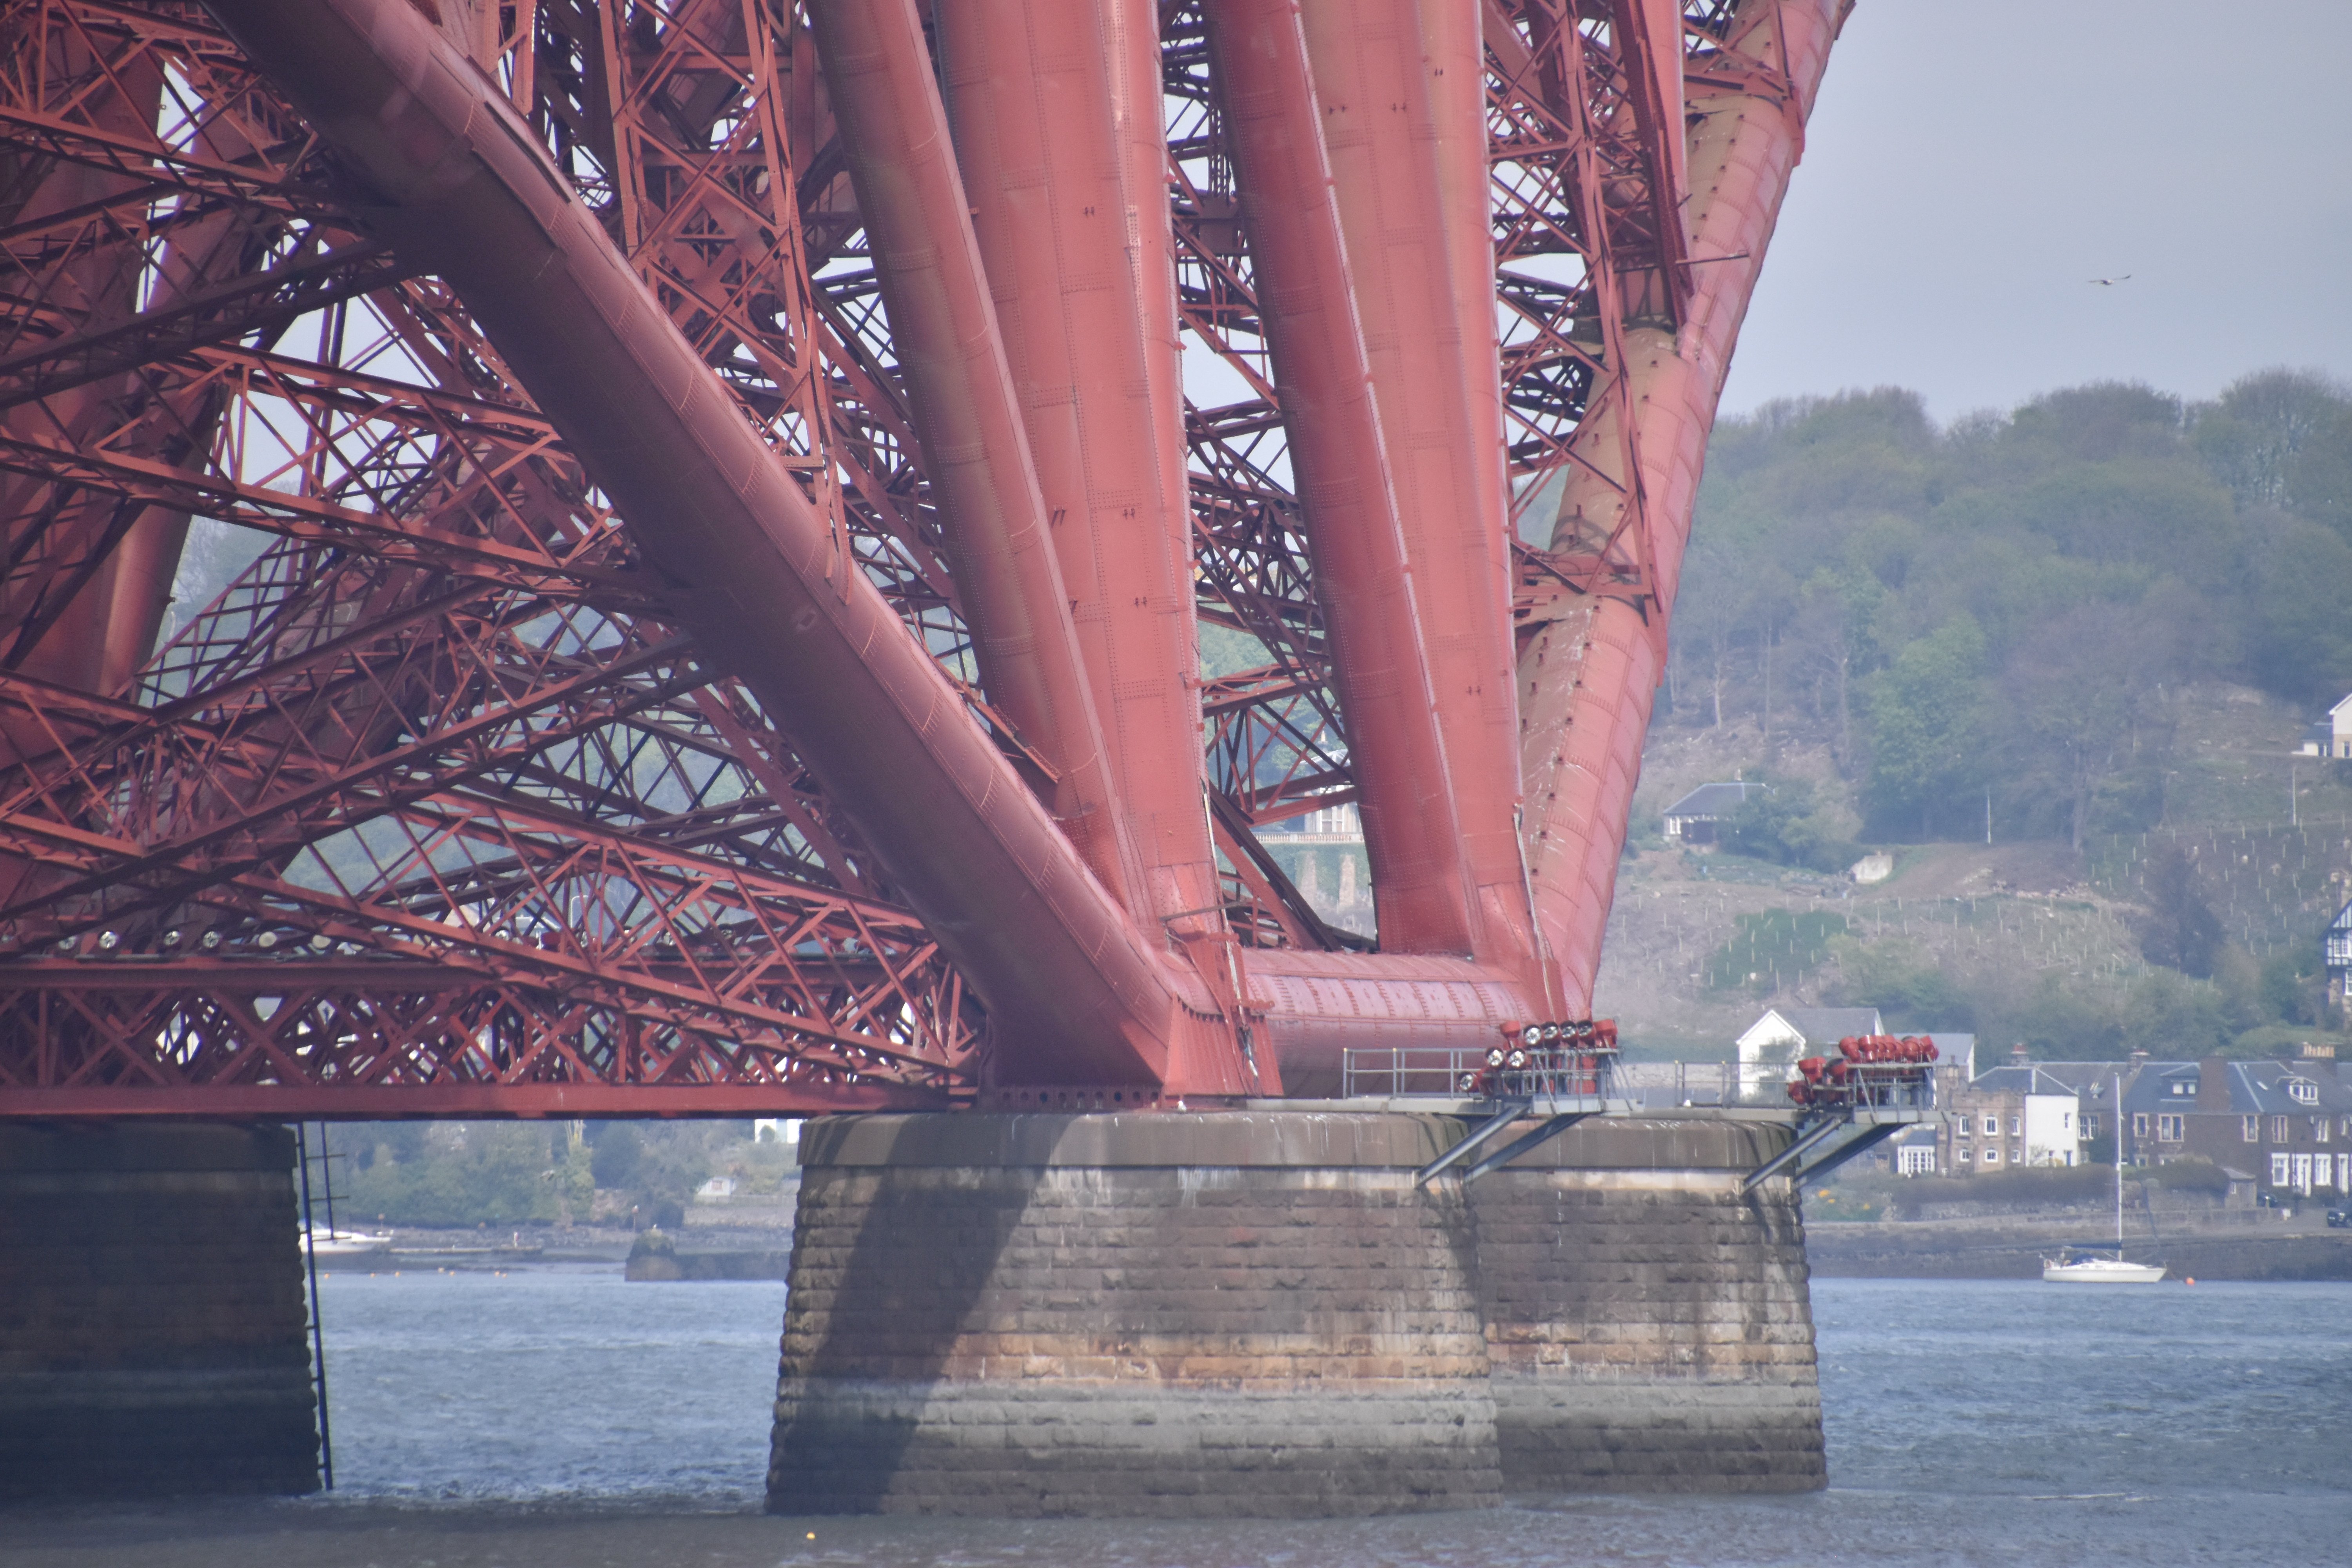
Views under cantilever truss.
![]()
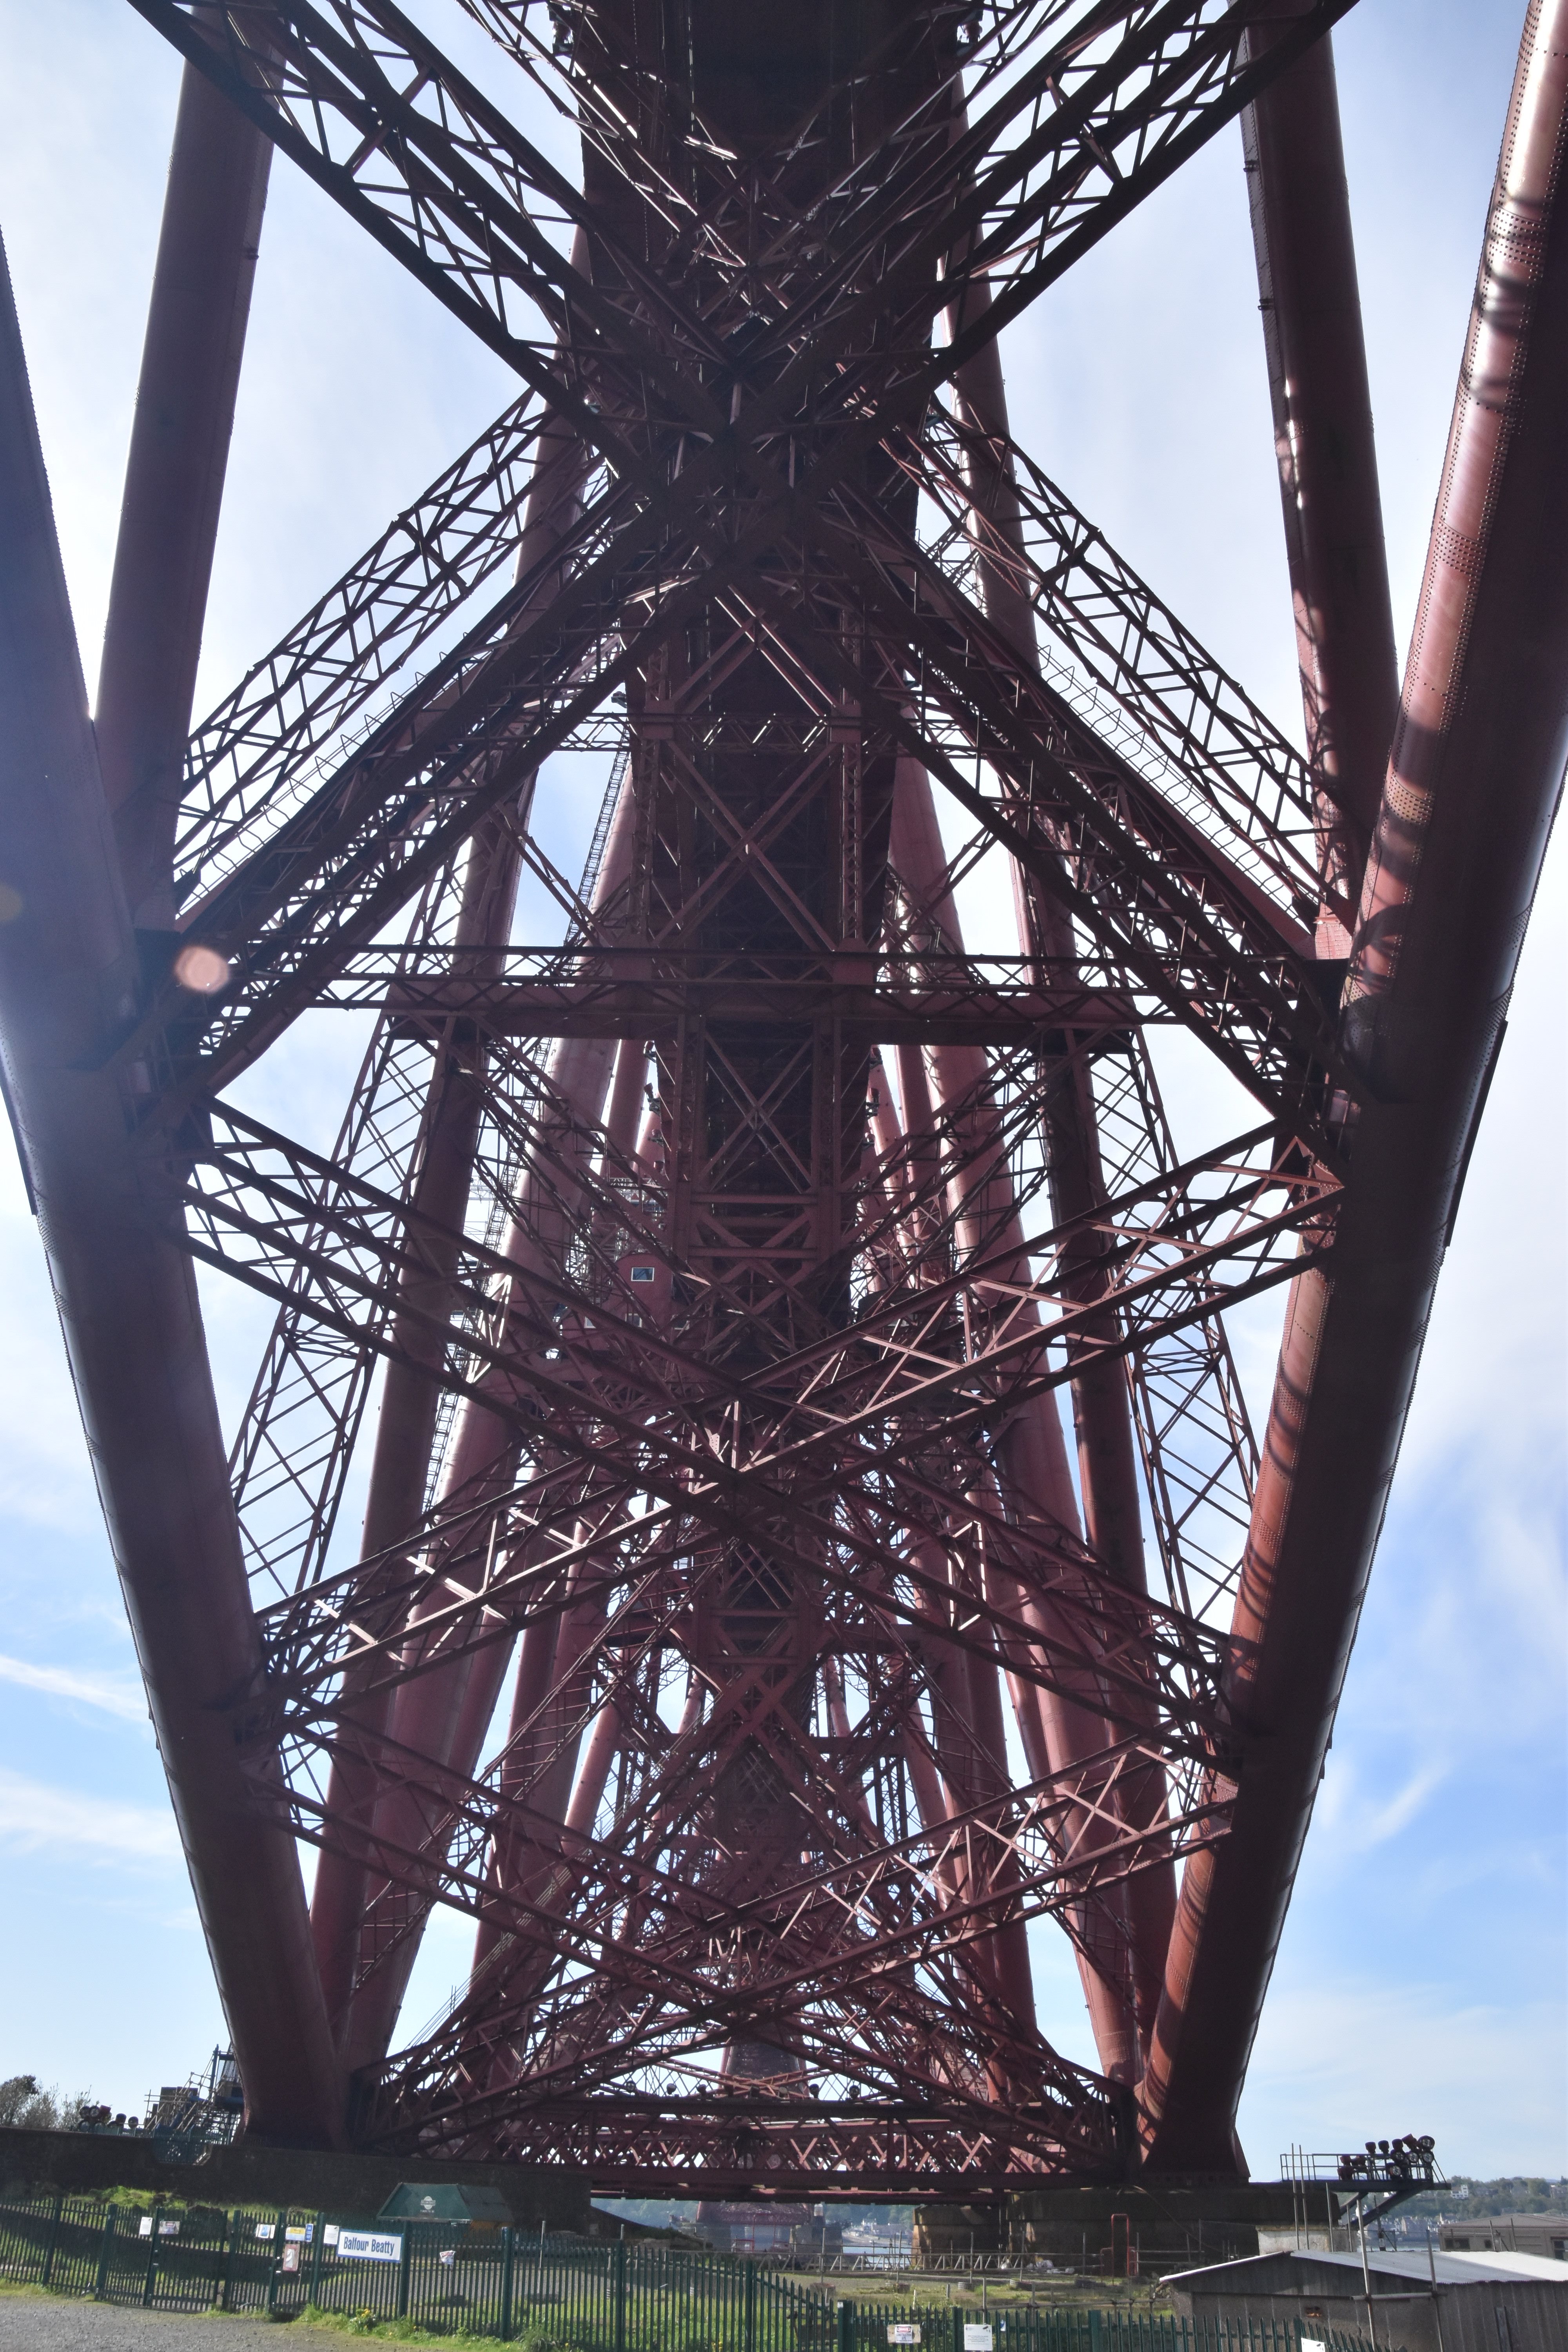
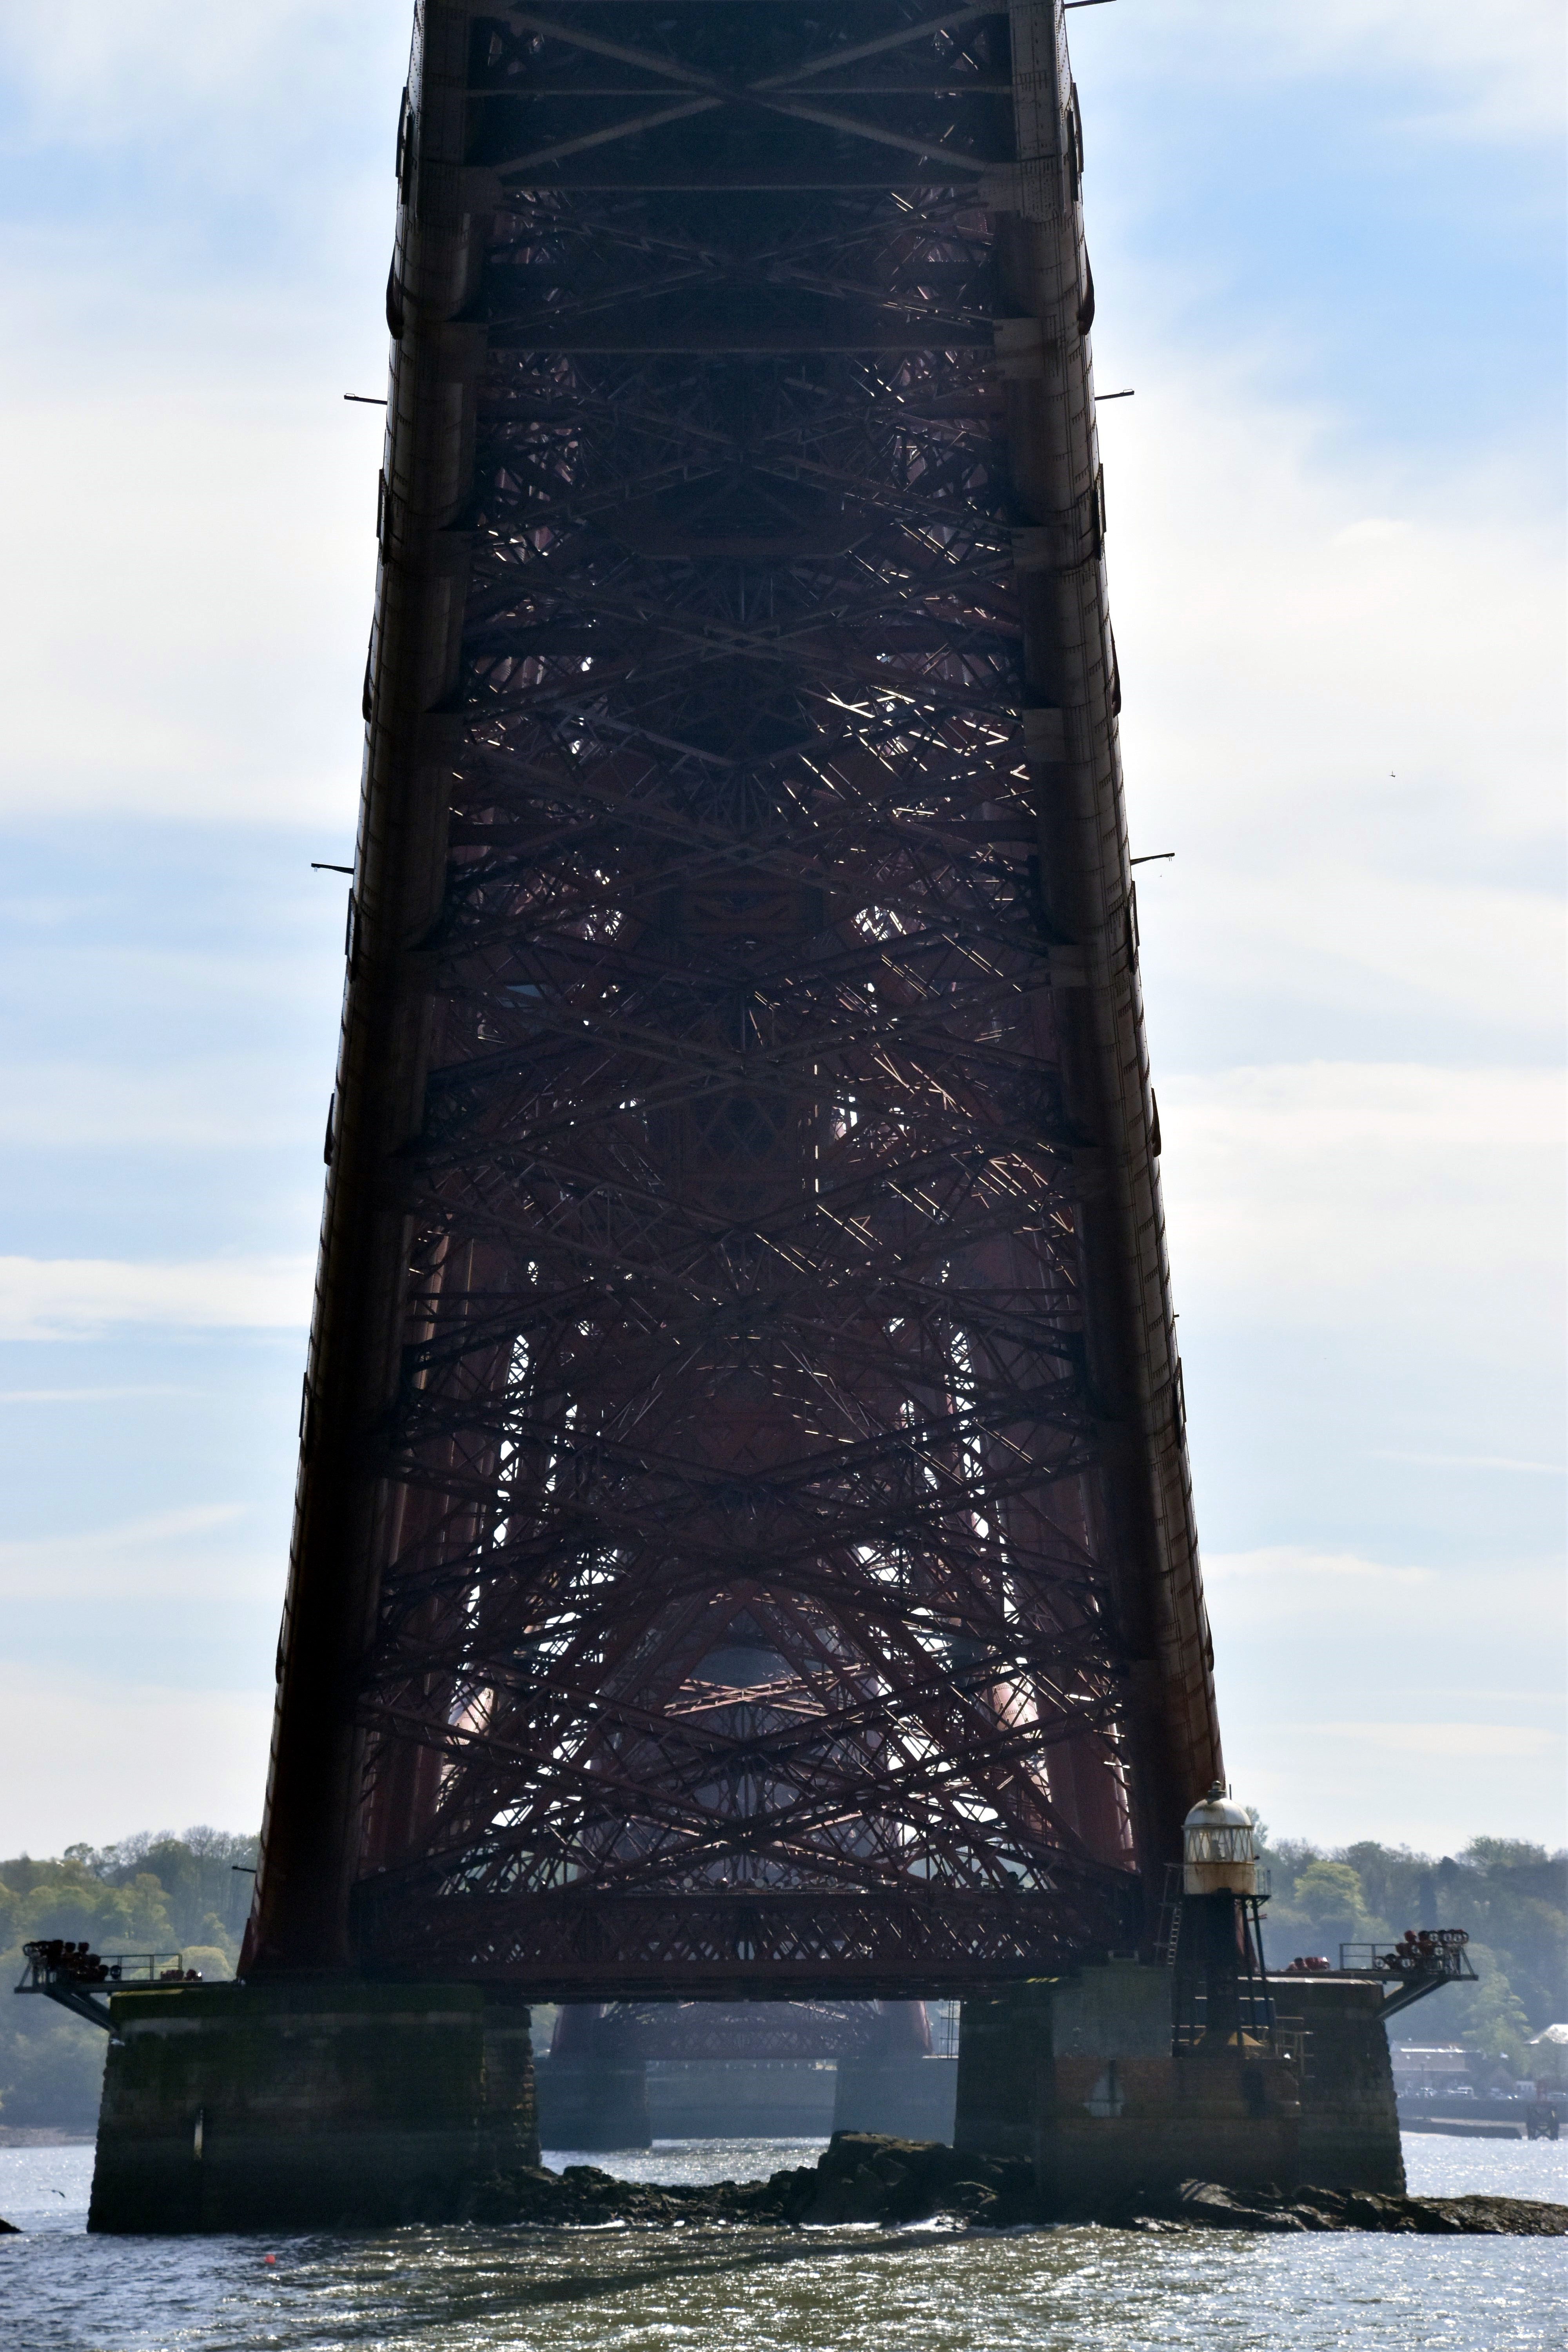
View of anchor arm pier with surrounding truss spans.
![]()


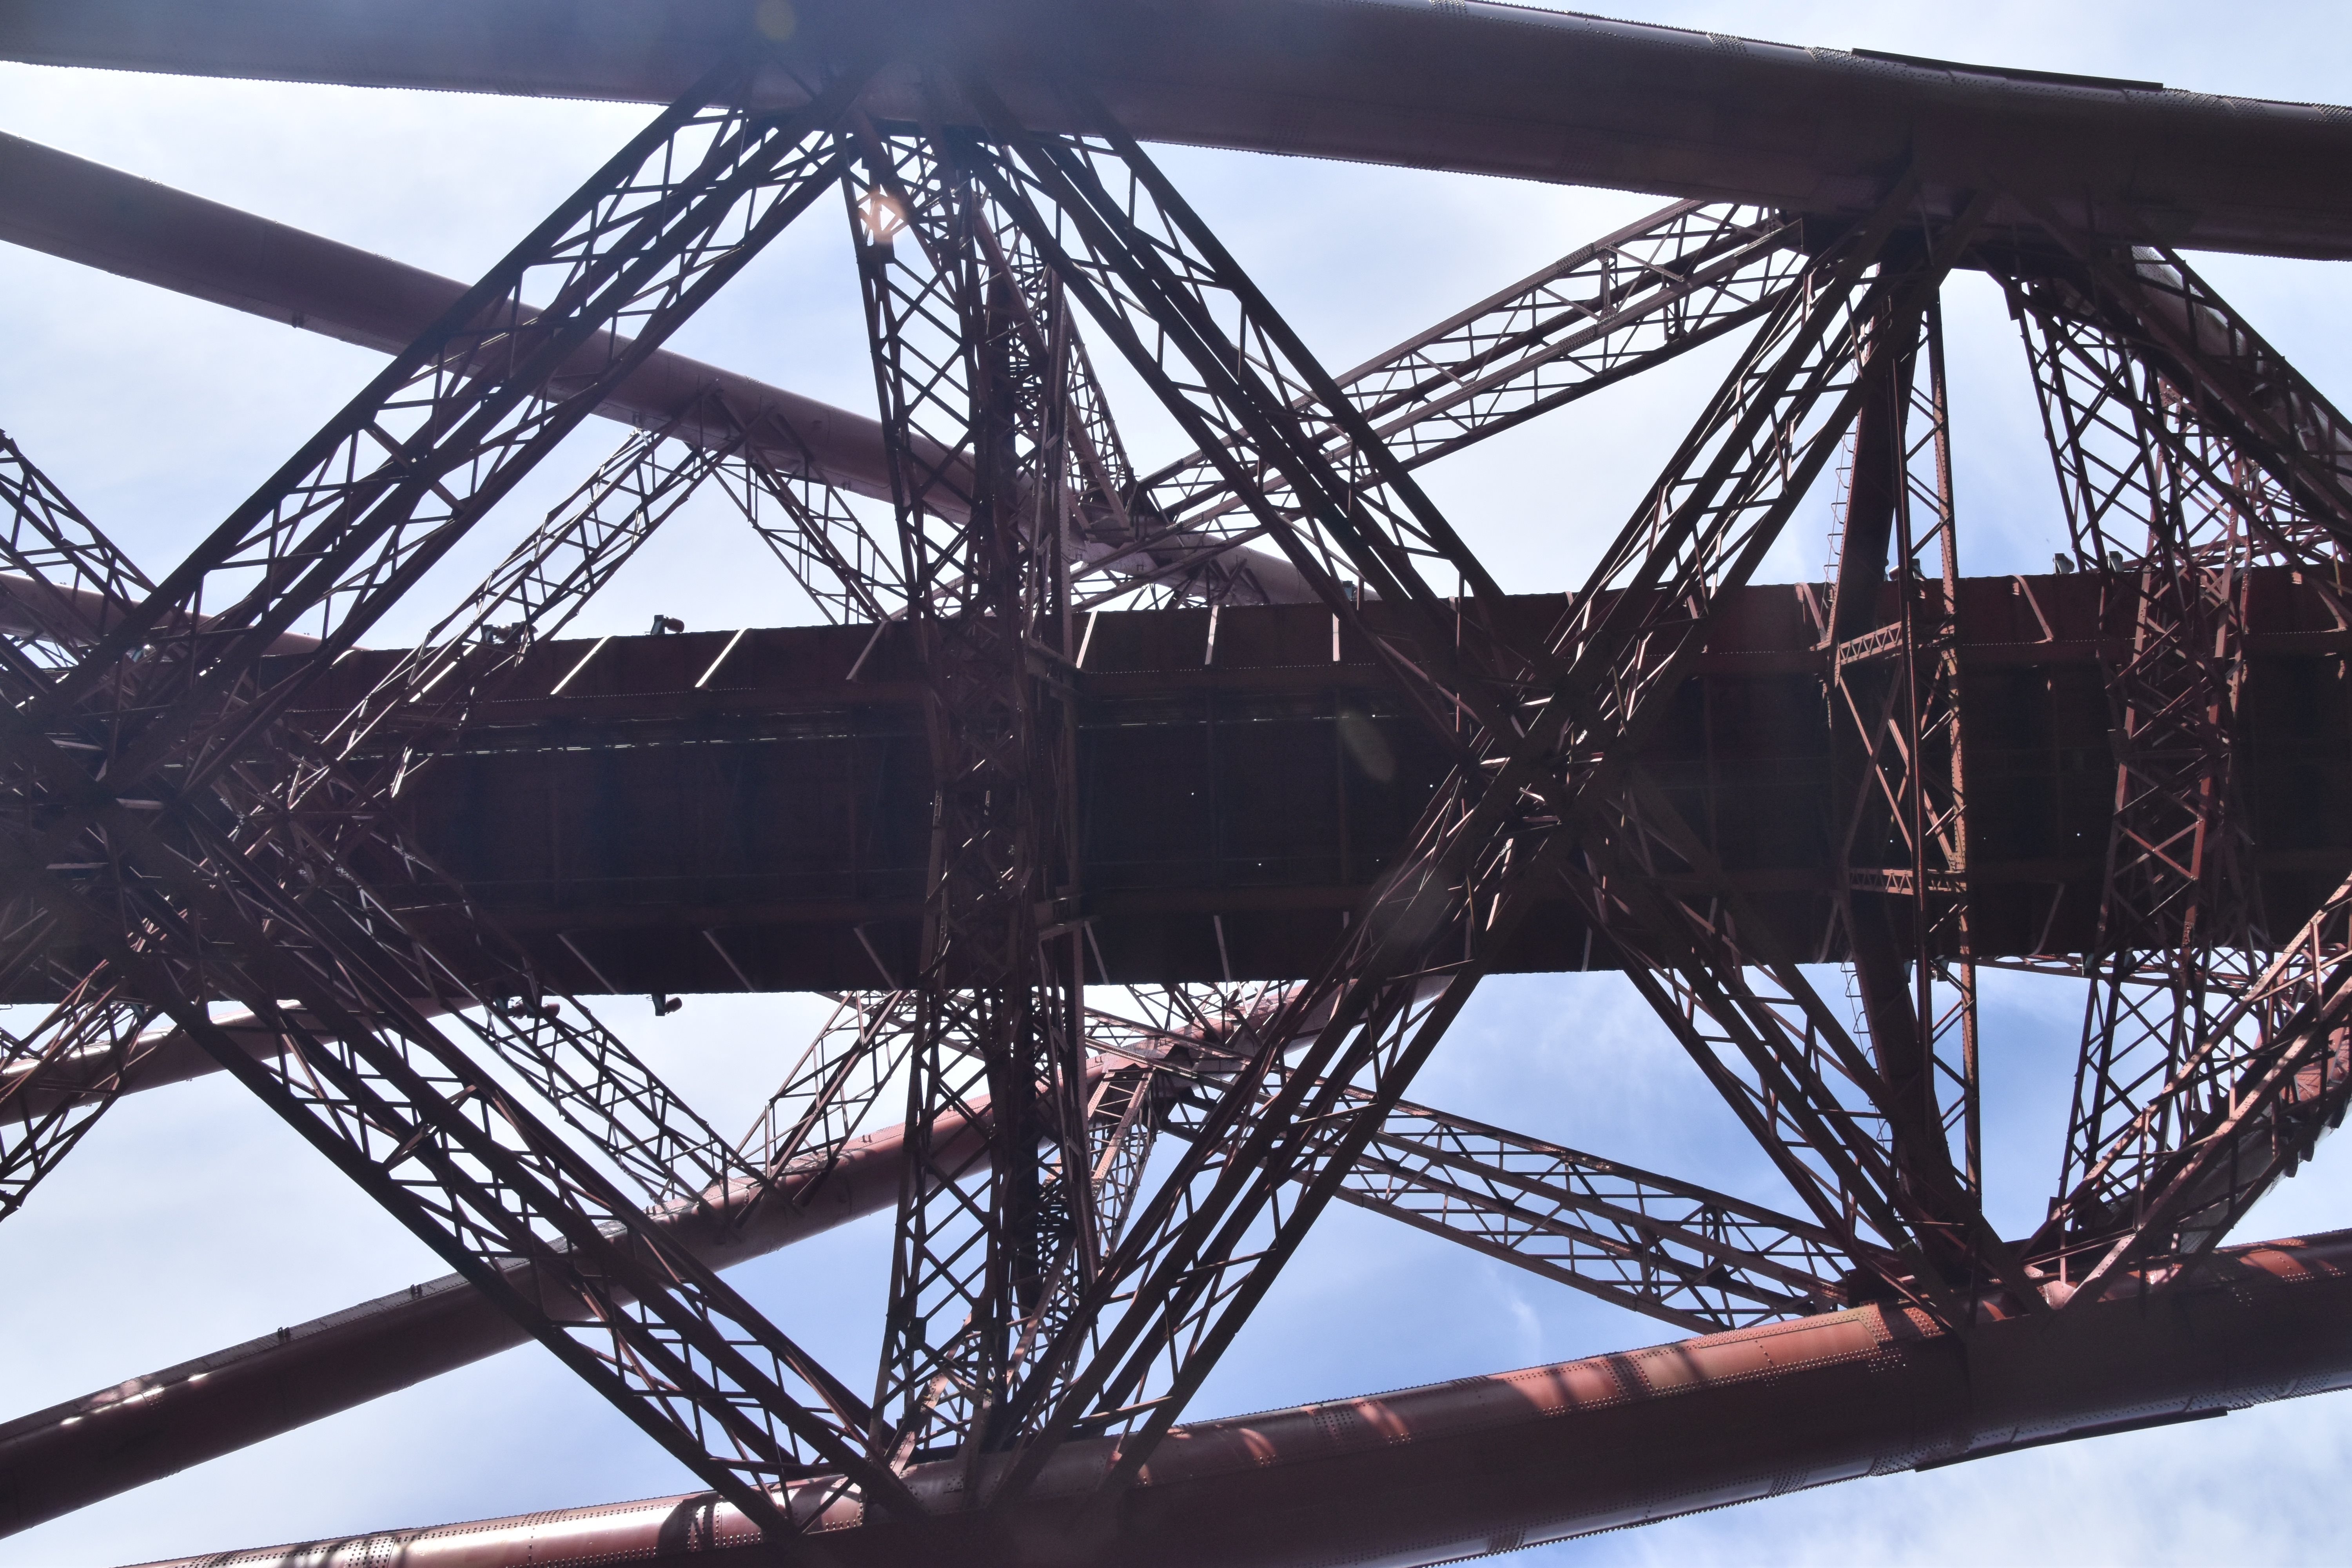
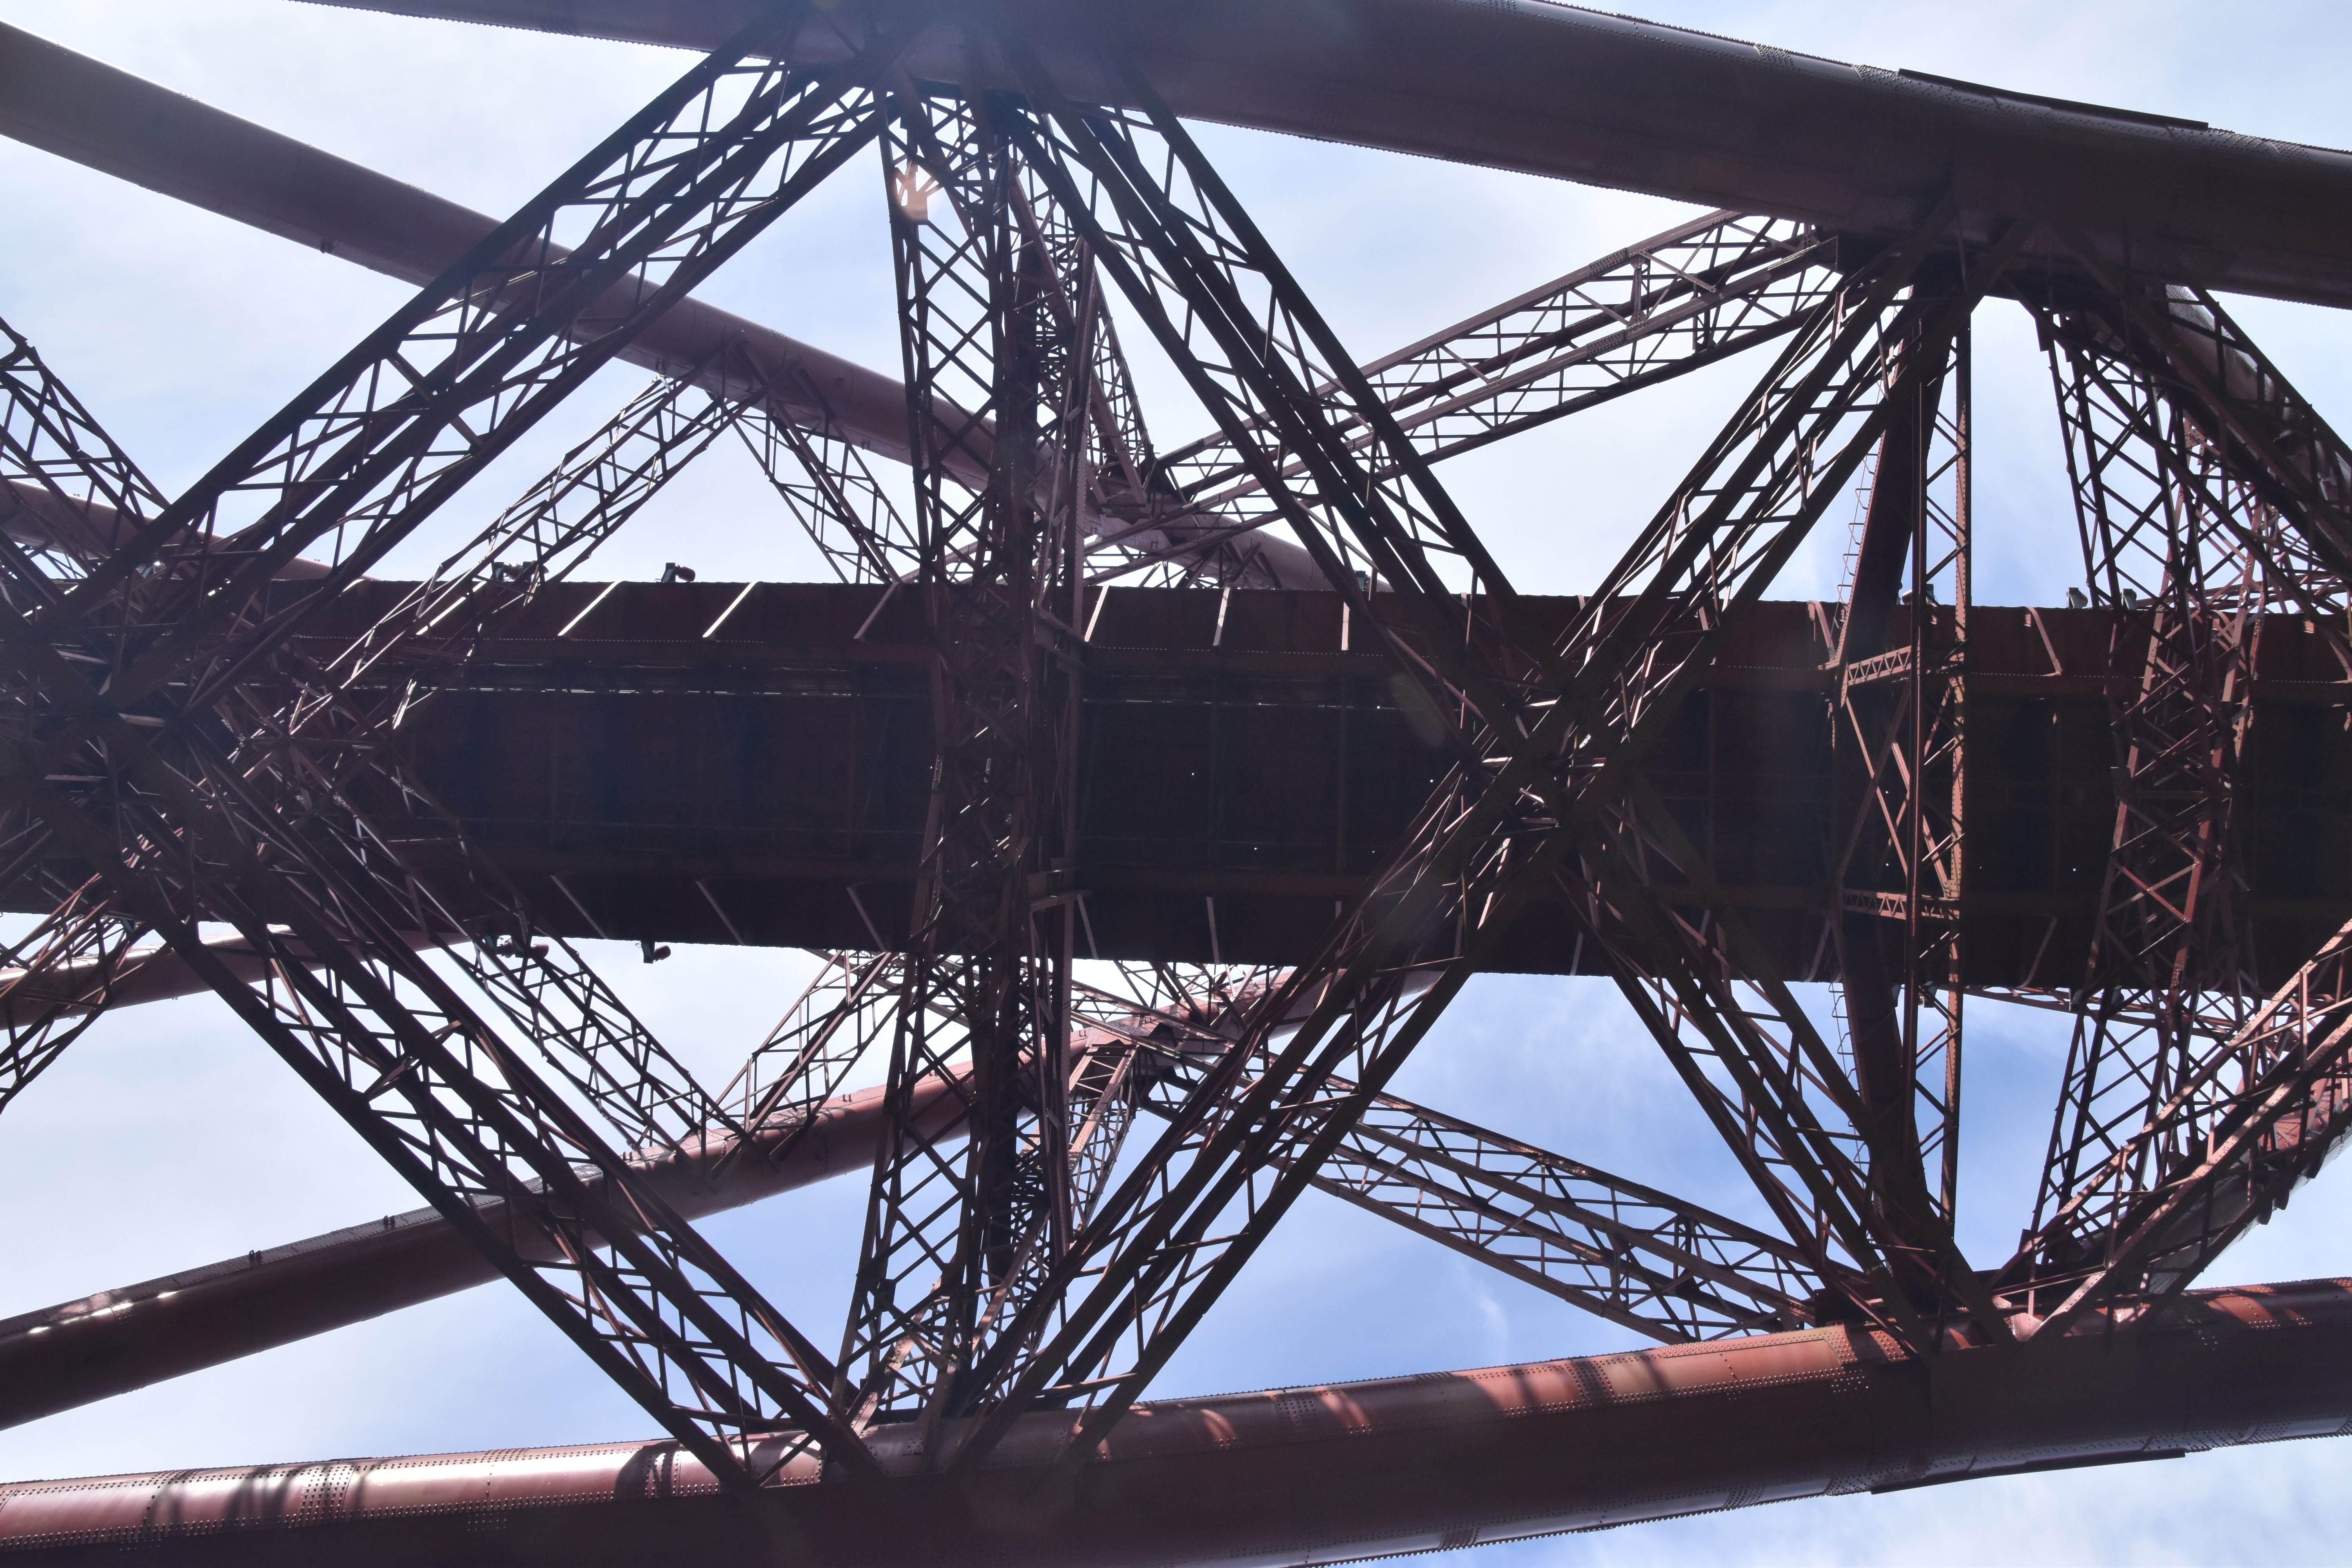
Views of truss web.
![]()
Zoomed views of the trusses from beside the bridge.
![]()

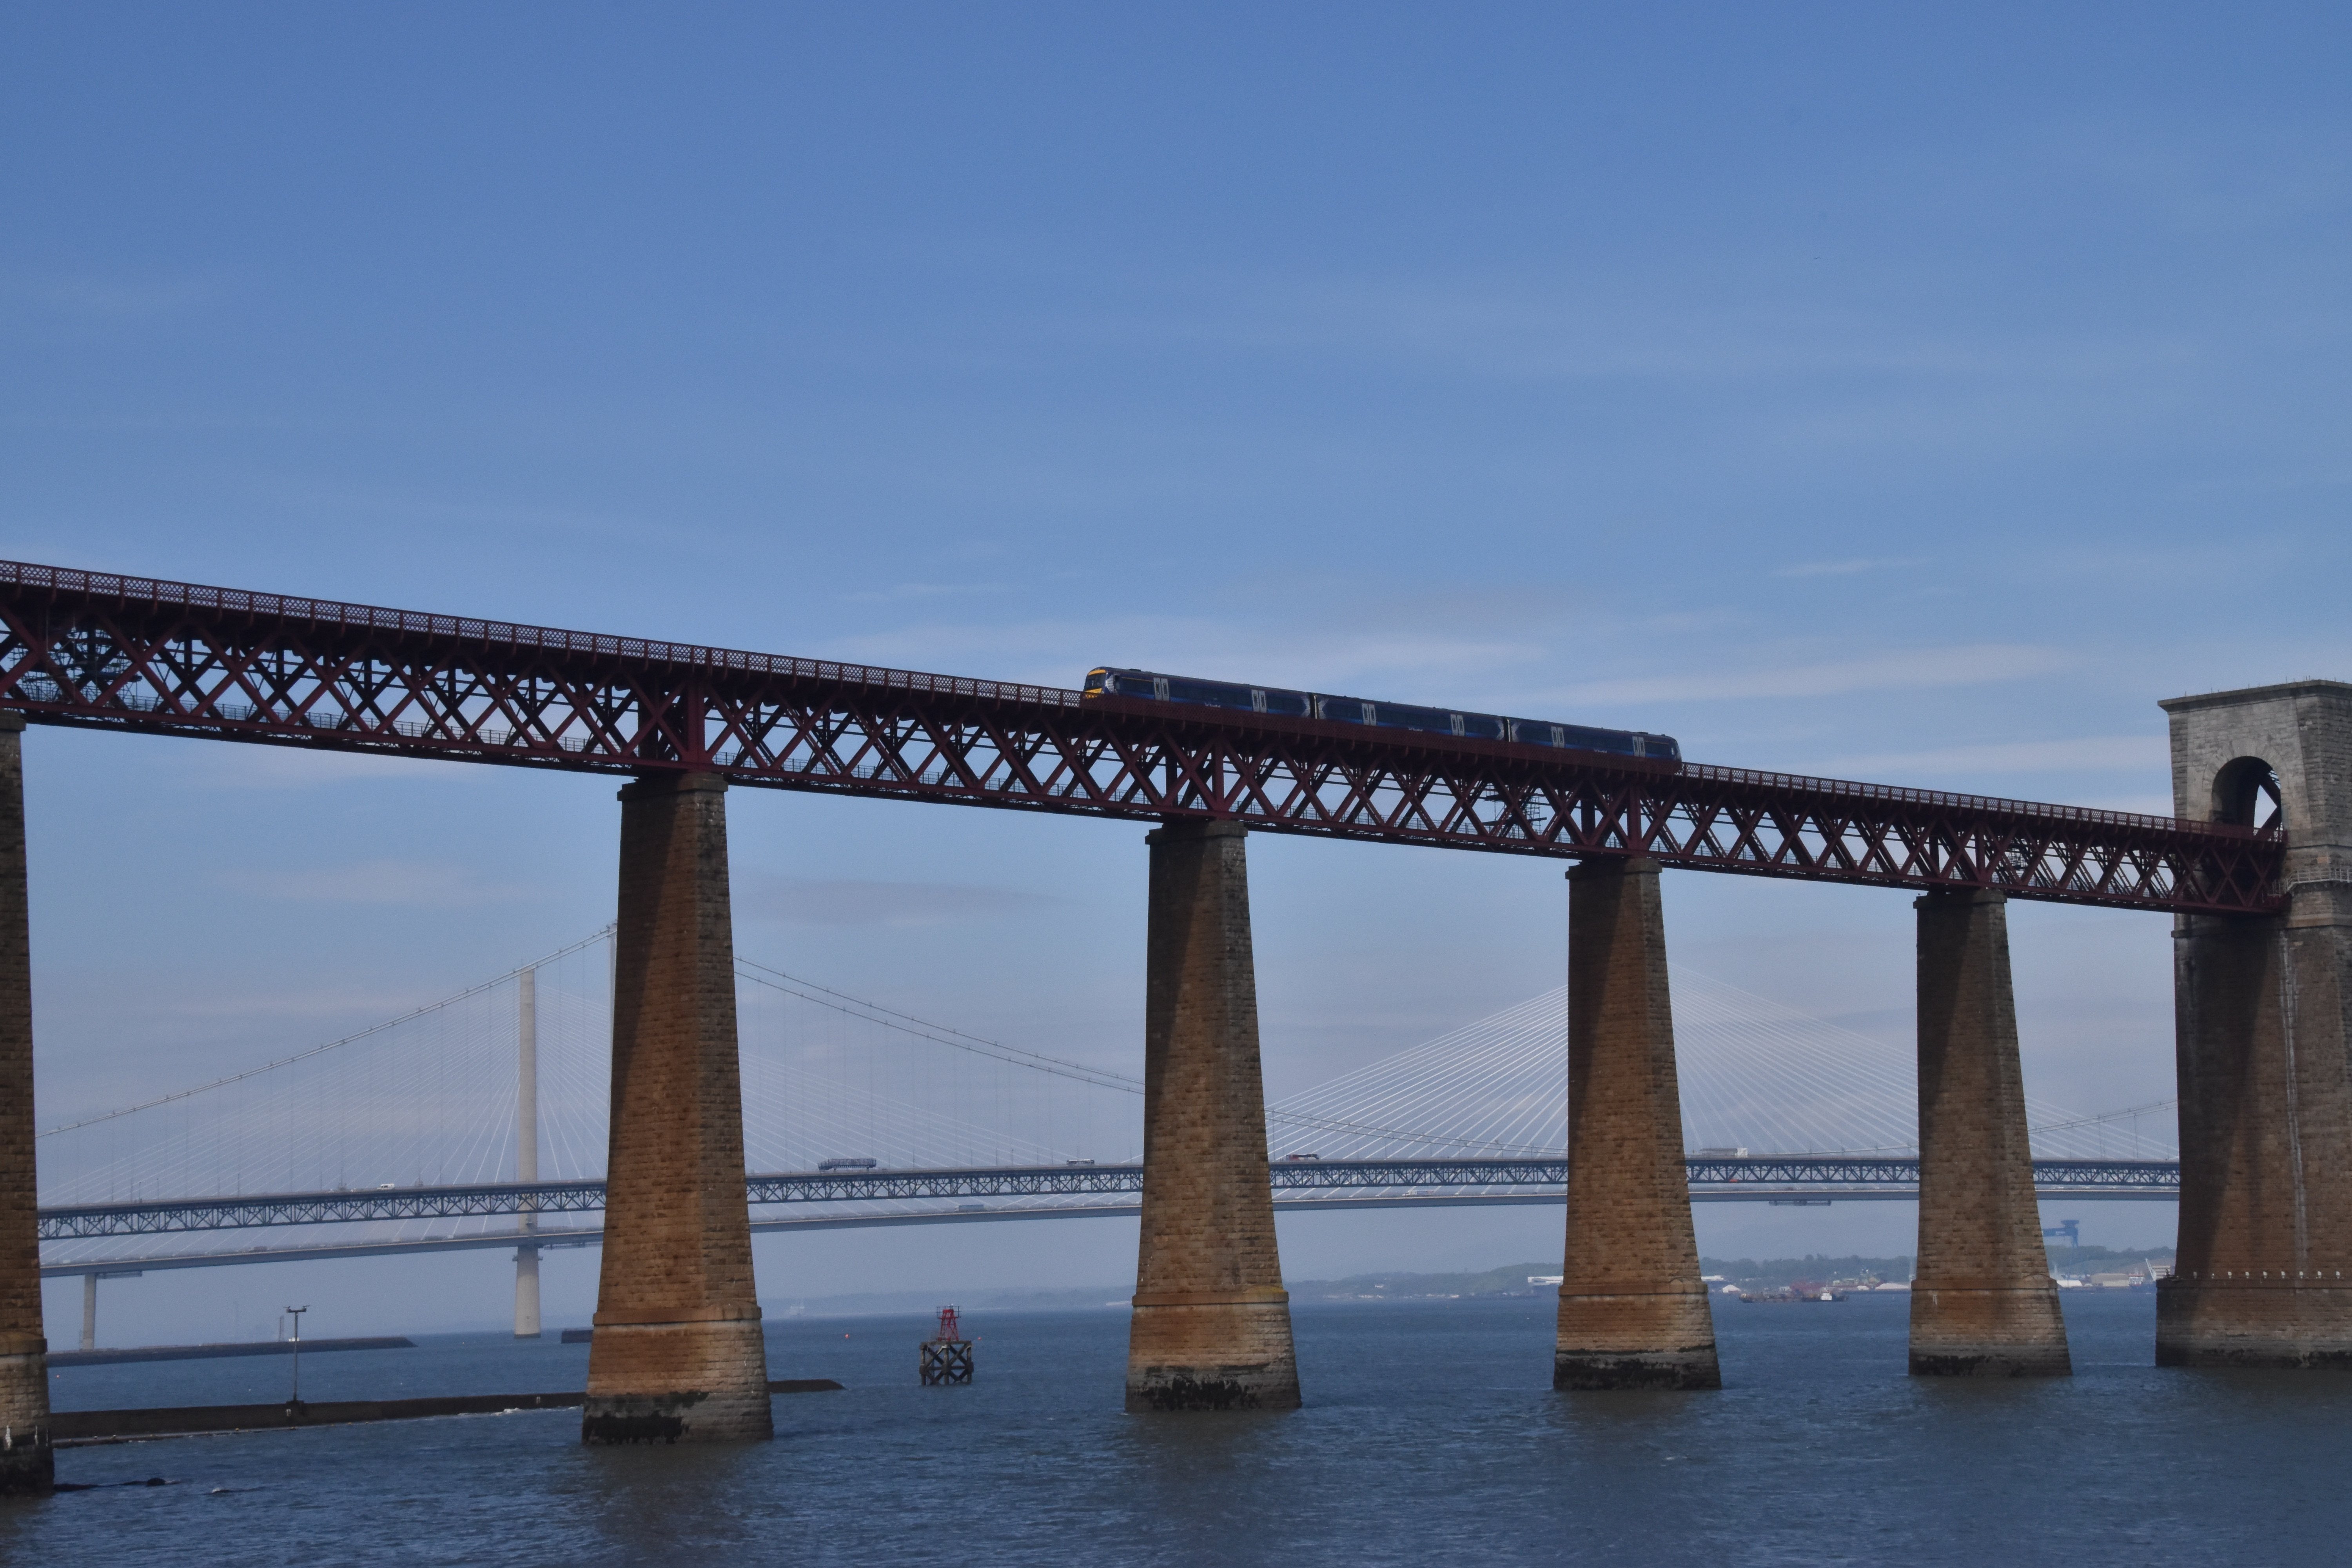


Trains on bridge.
![]()


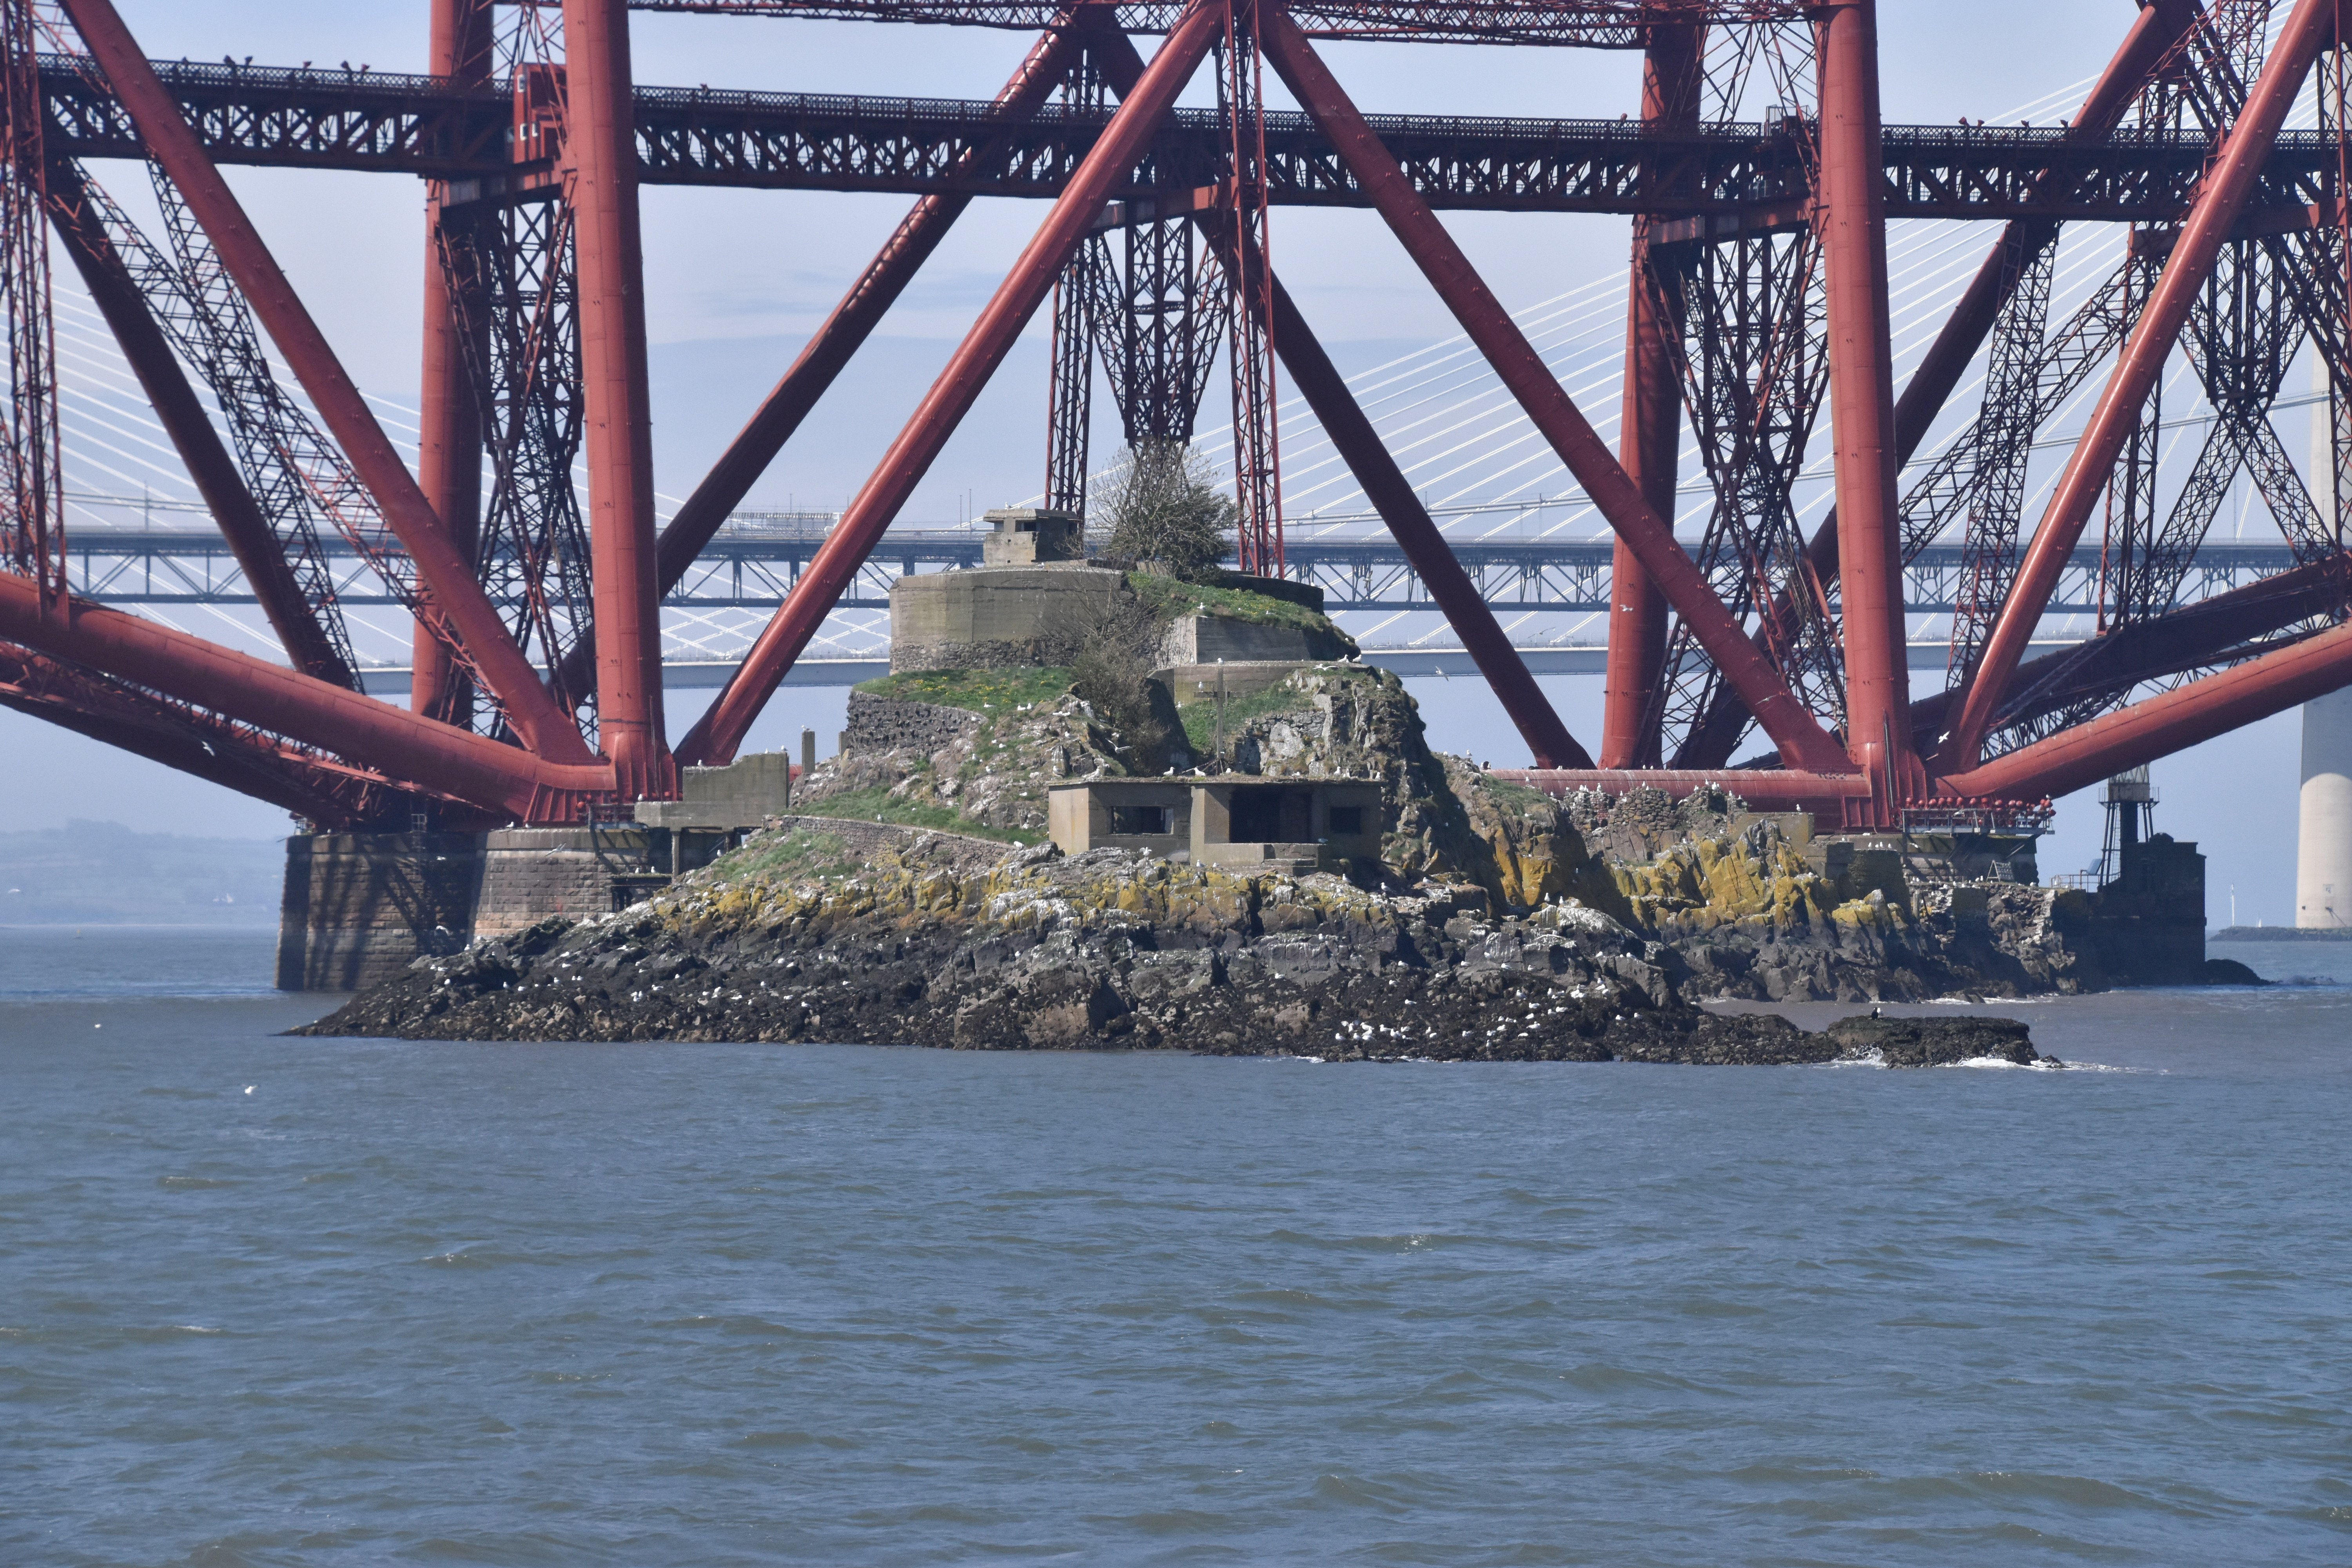
The remains of the first failed attempt to build a bridge at this location are located at this pier.
![]()


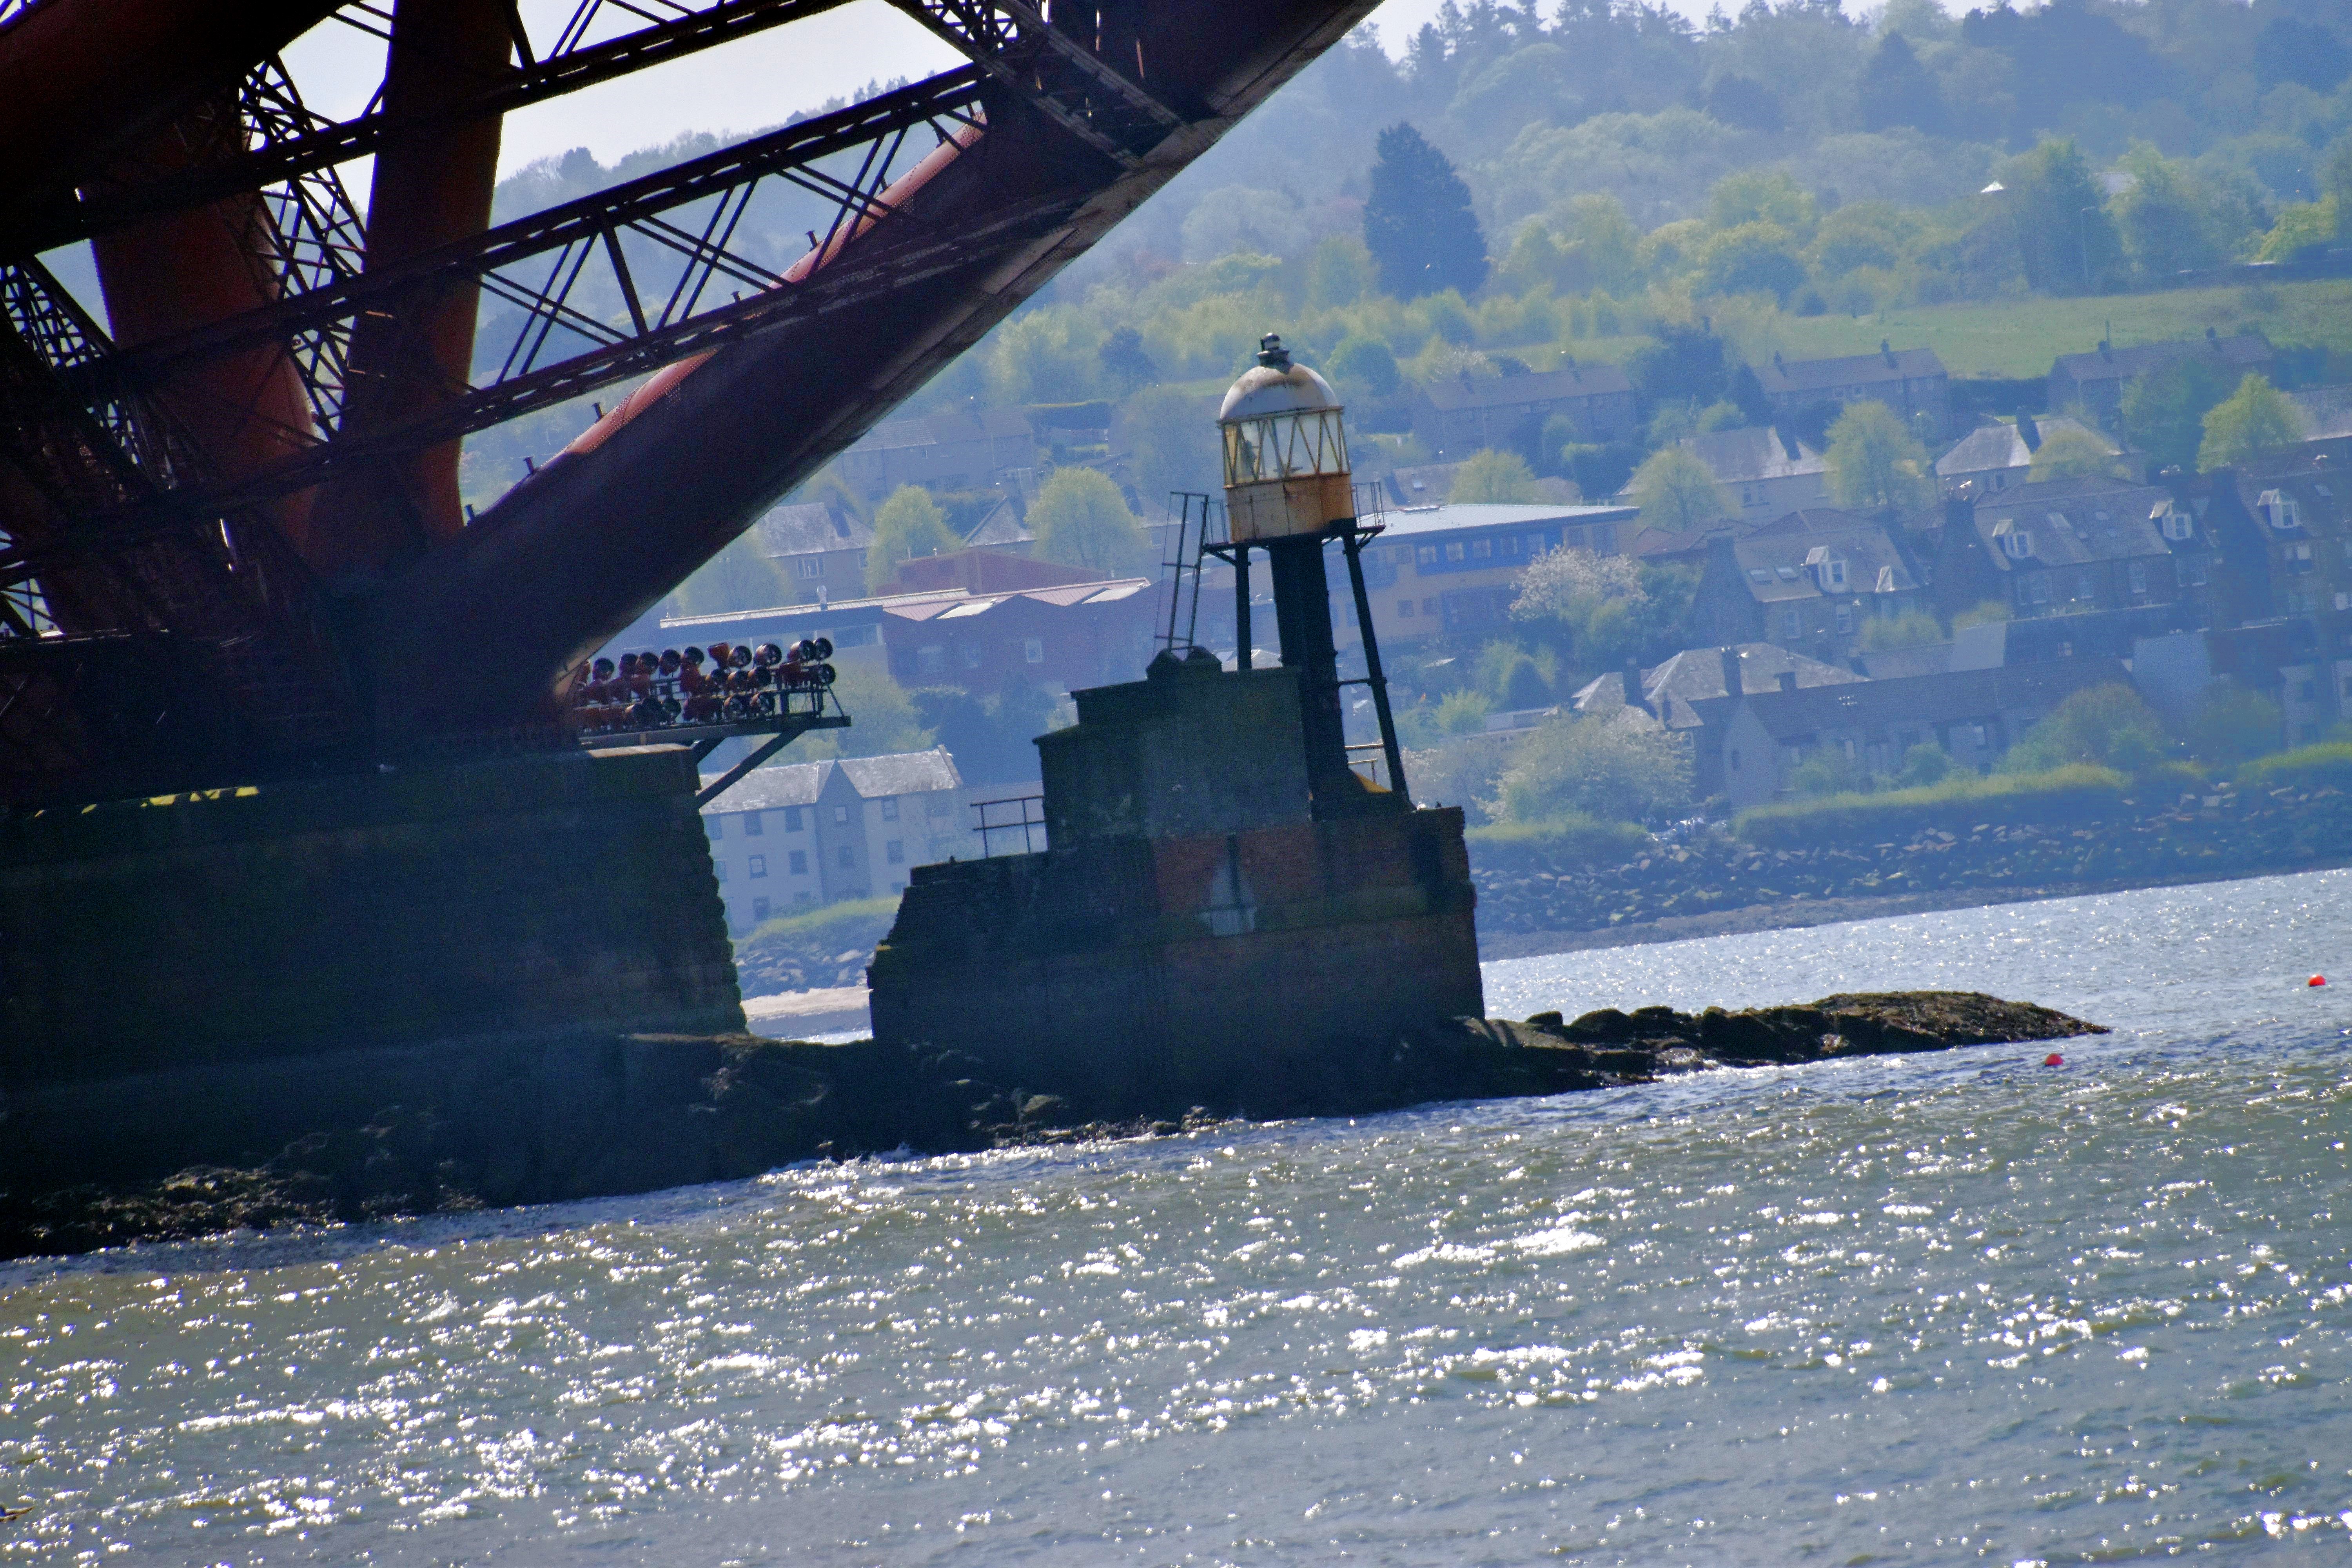
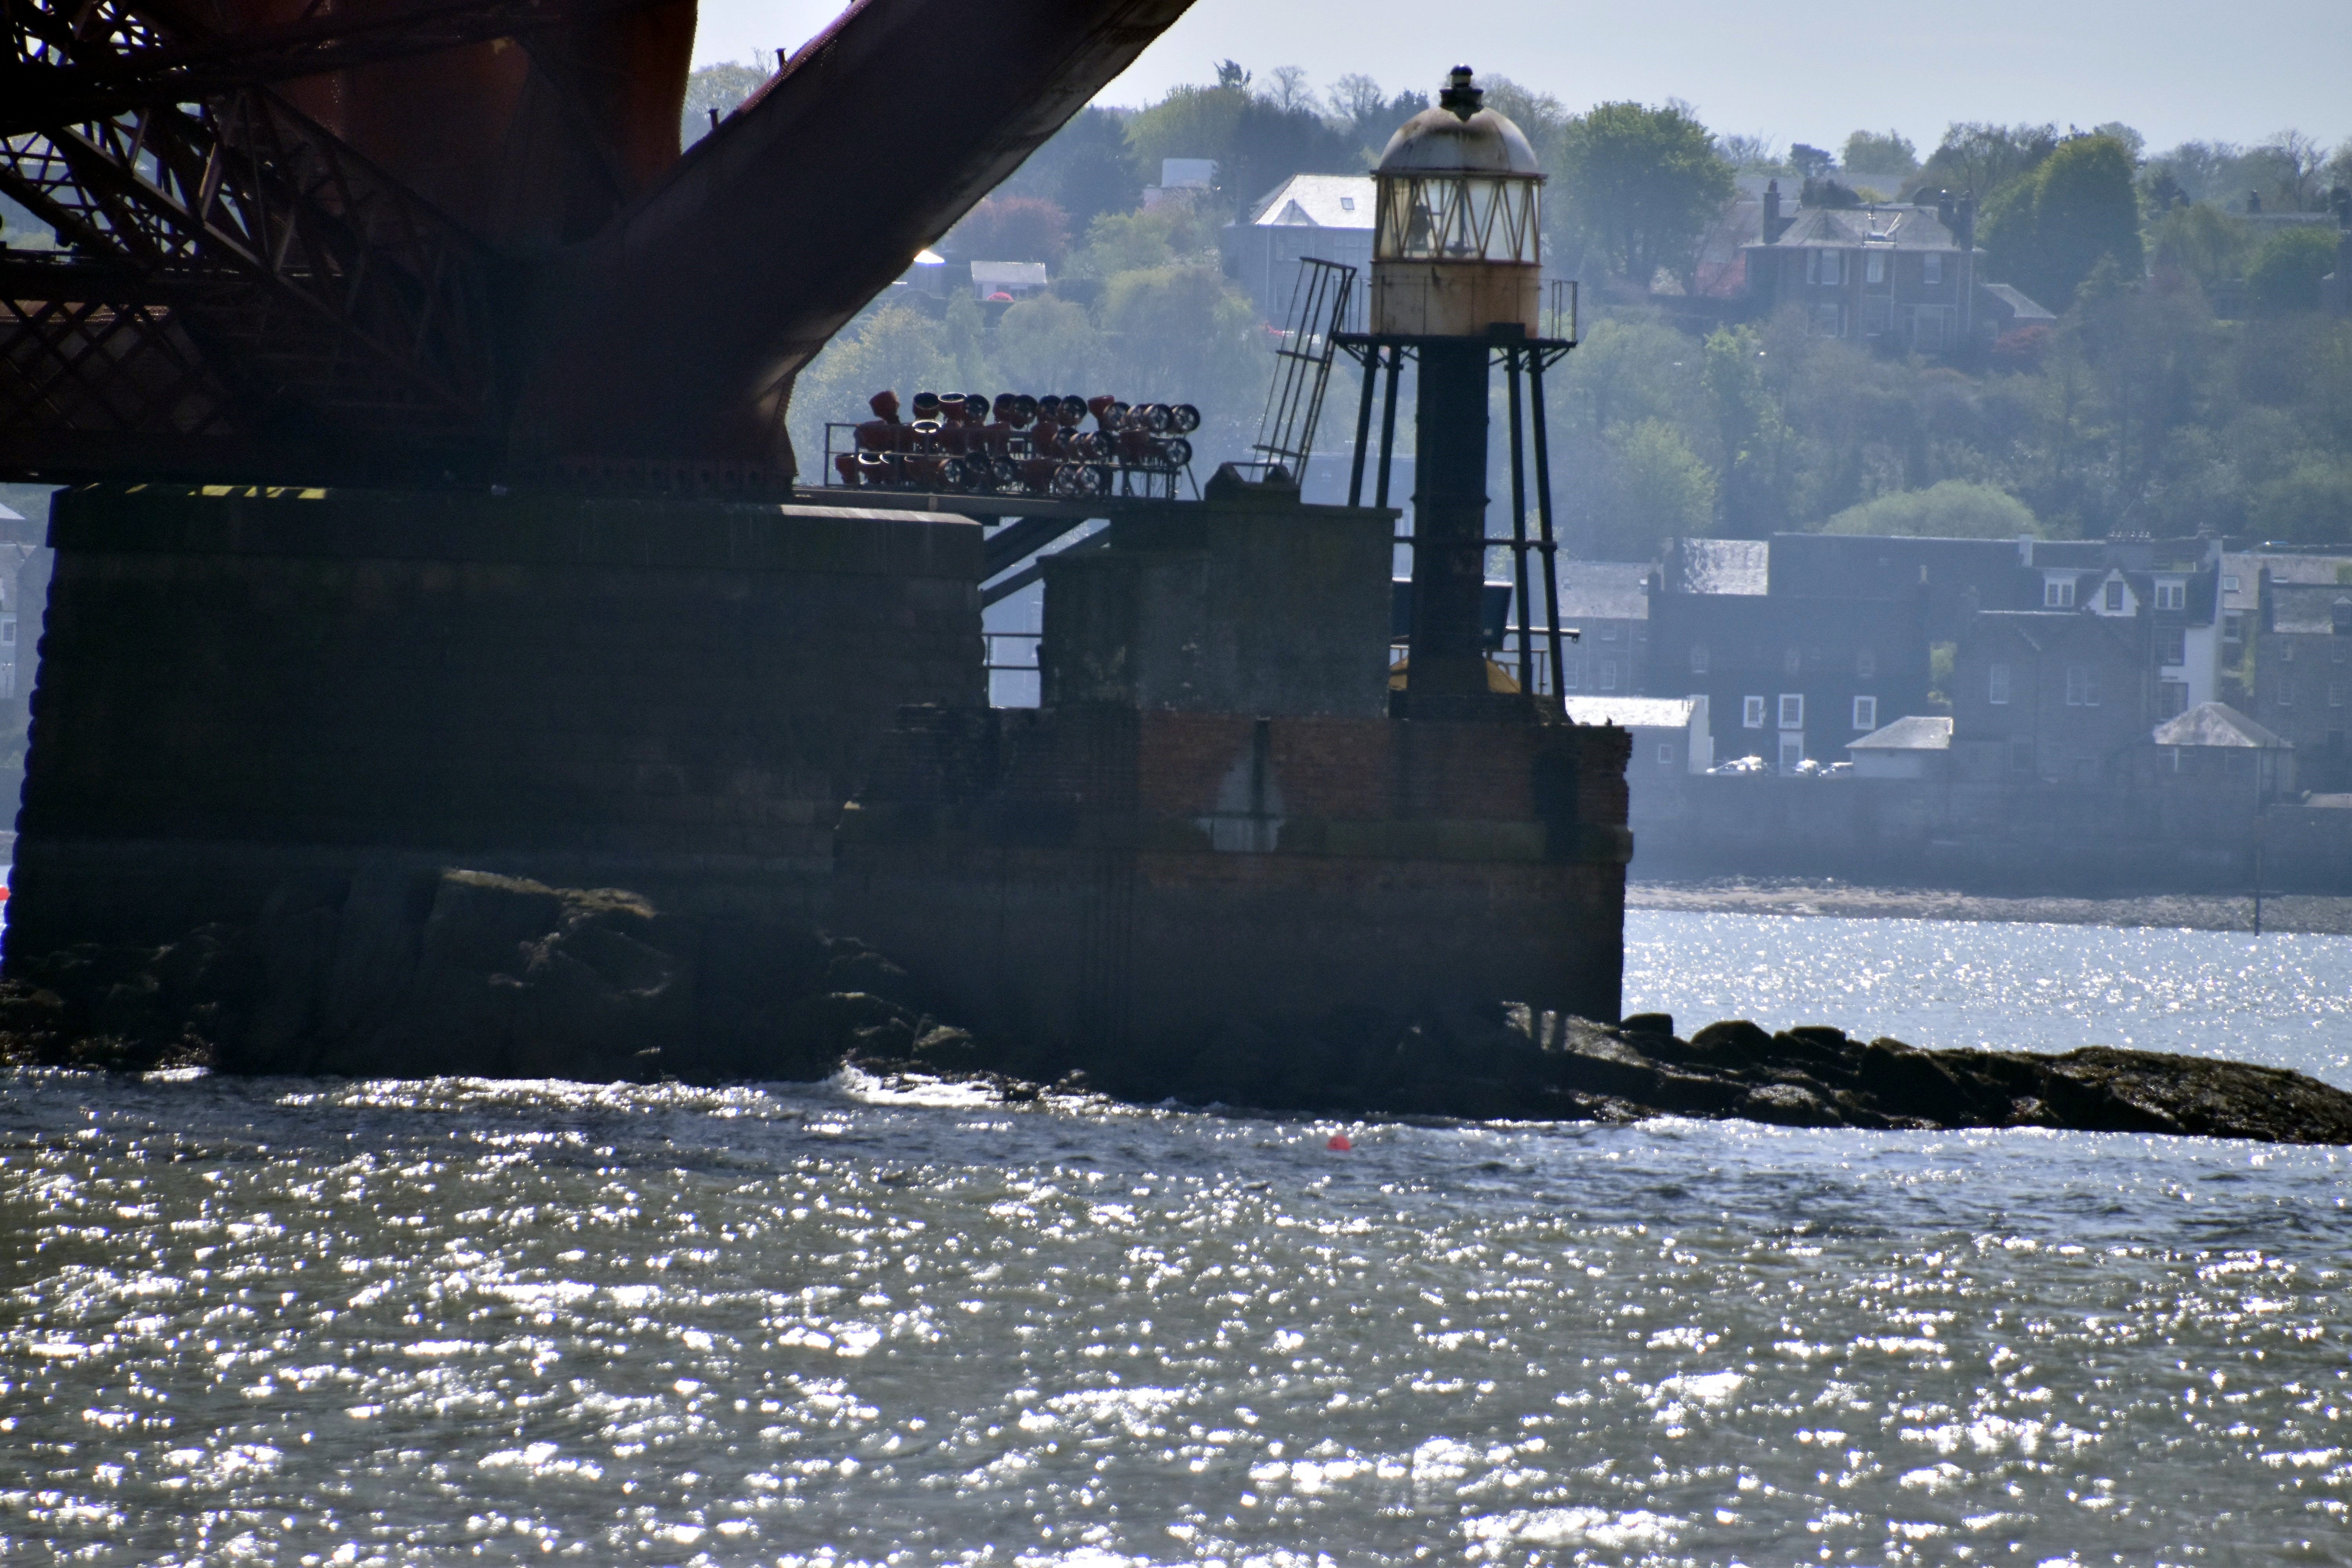
Landmarks around piers.
![]()
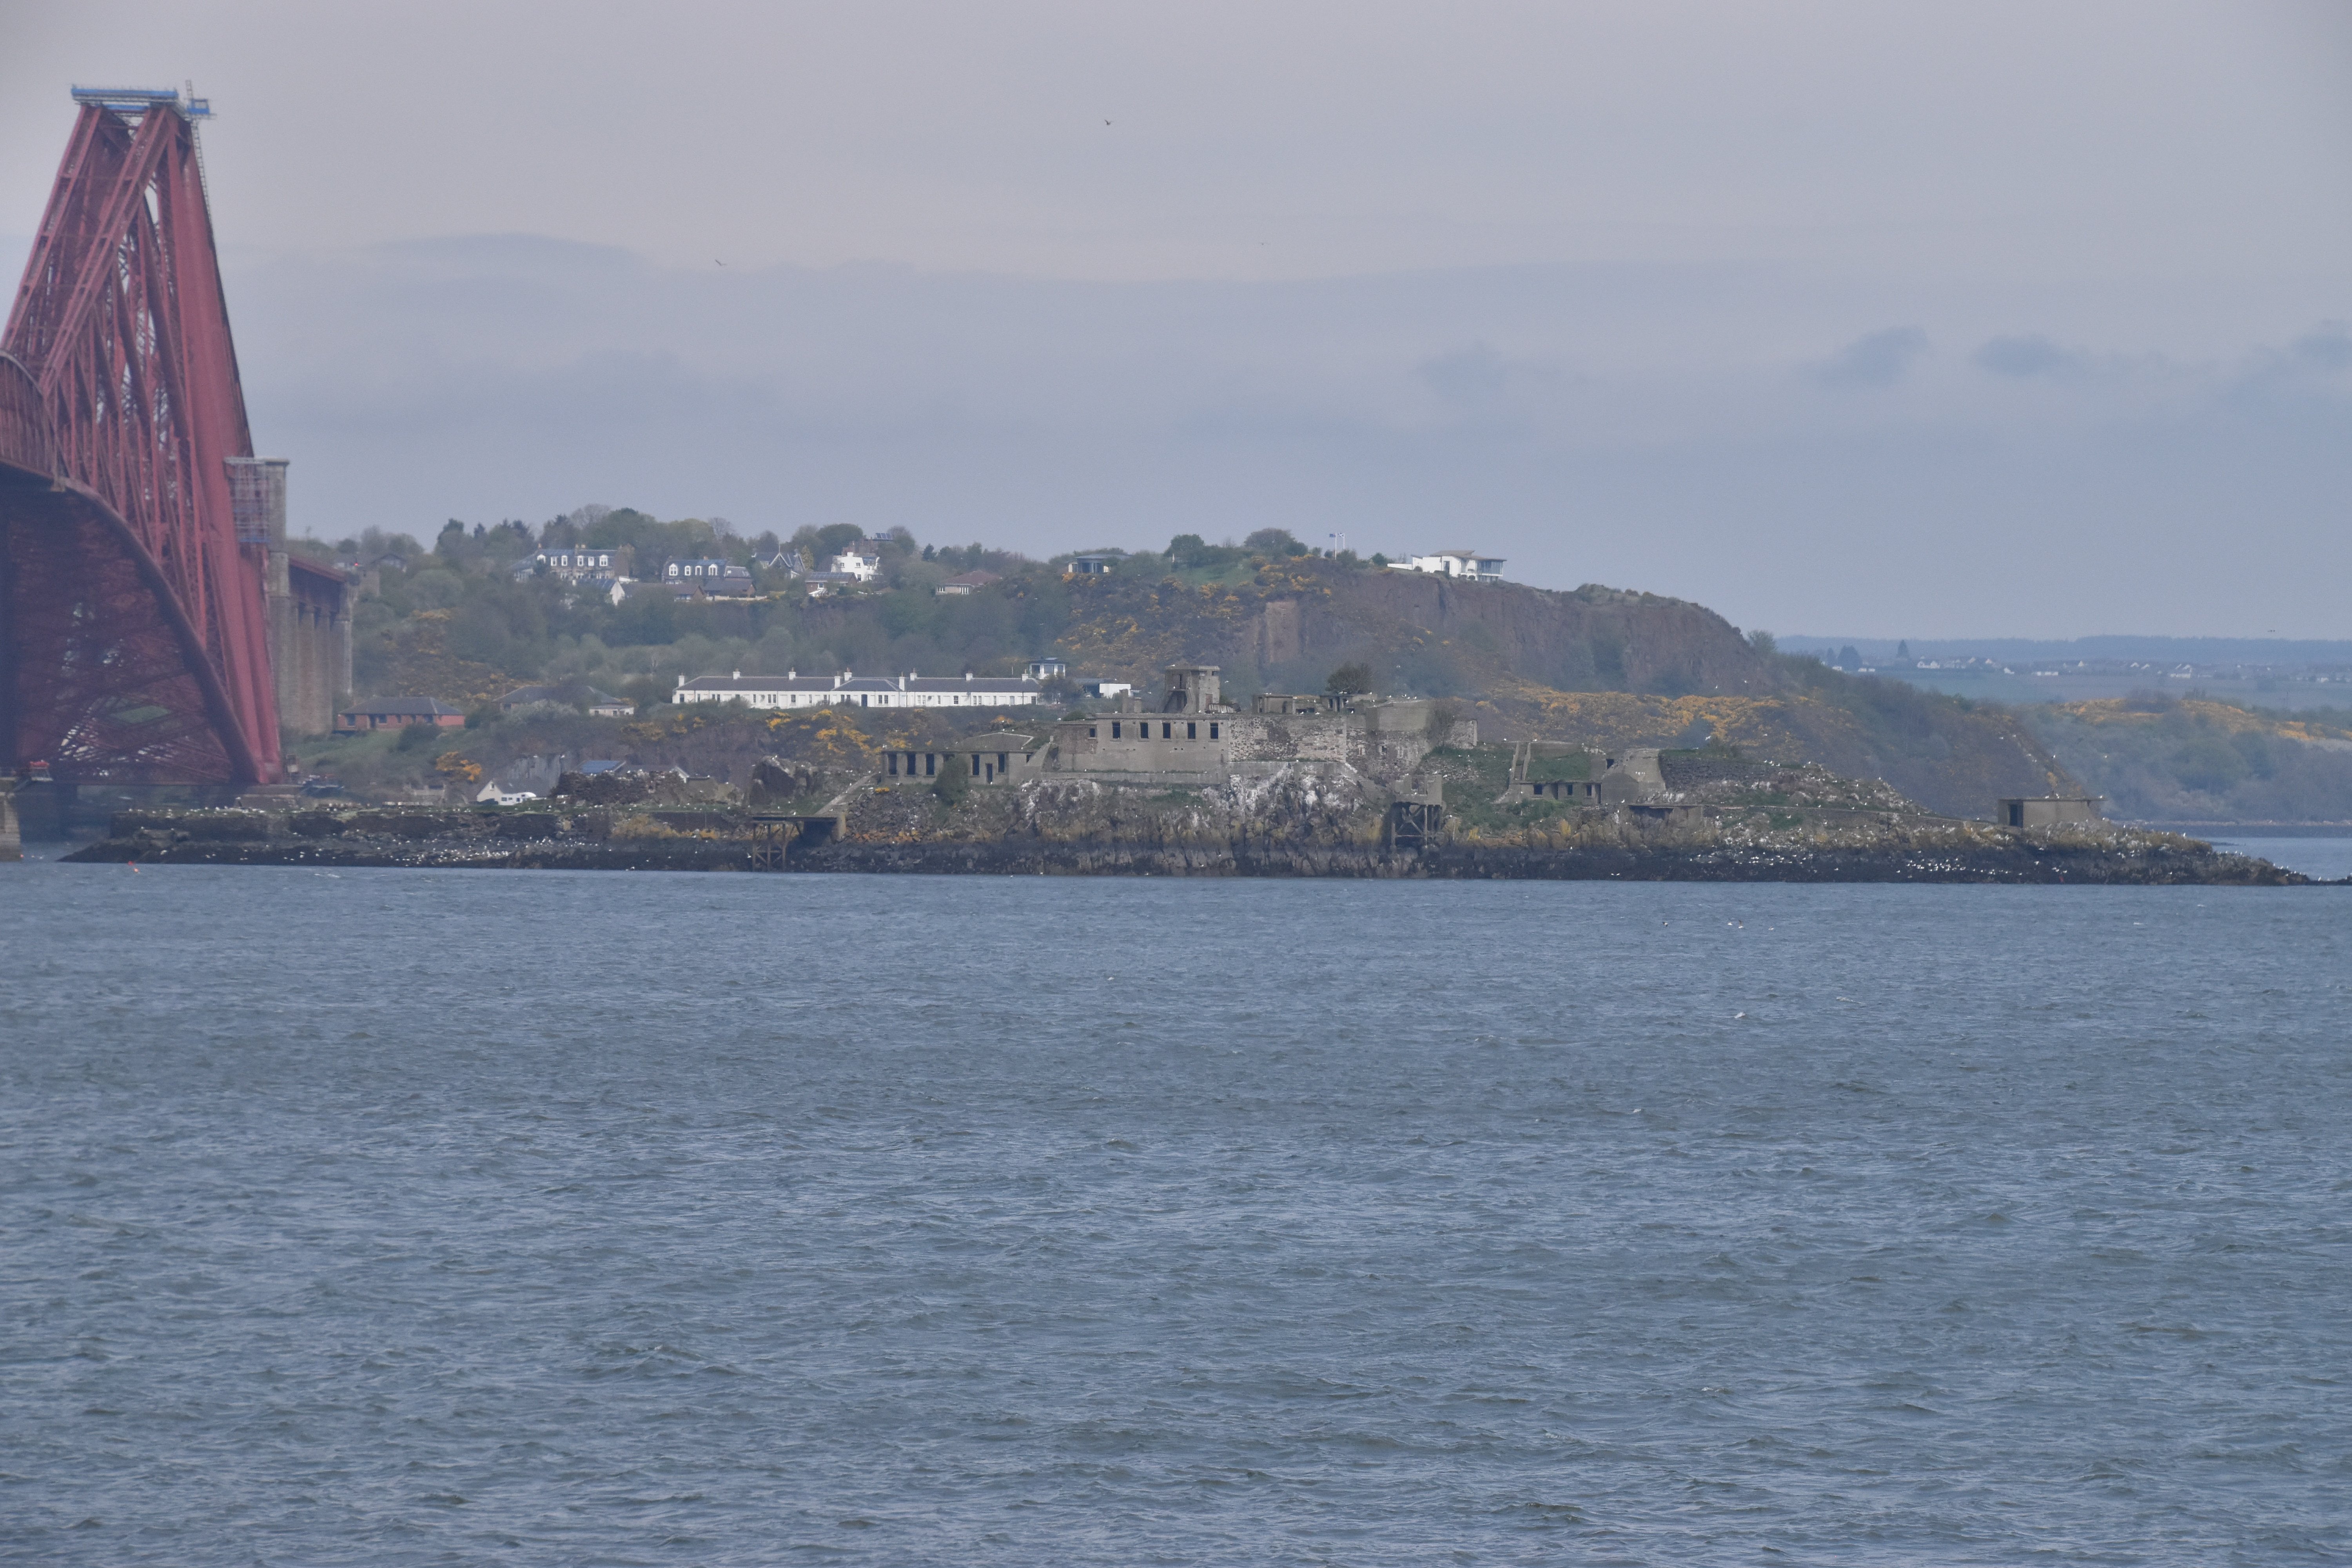
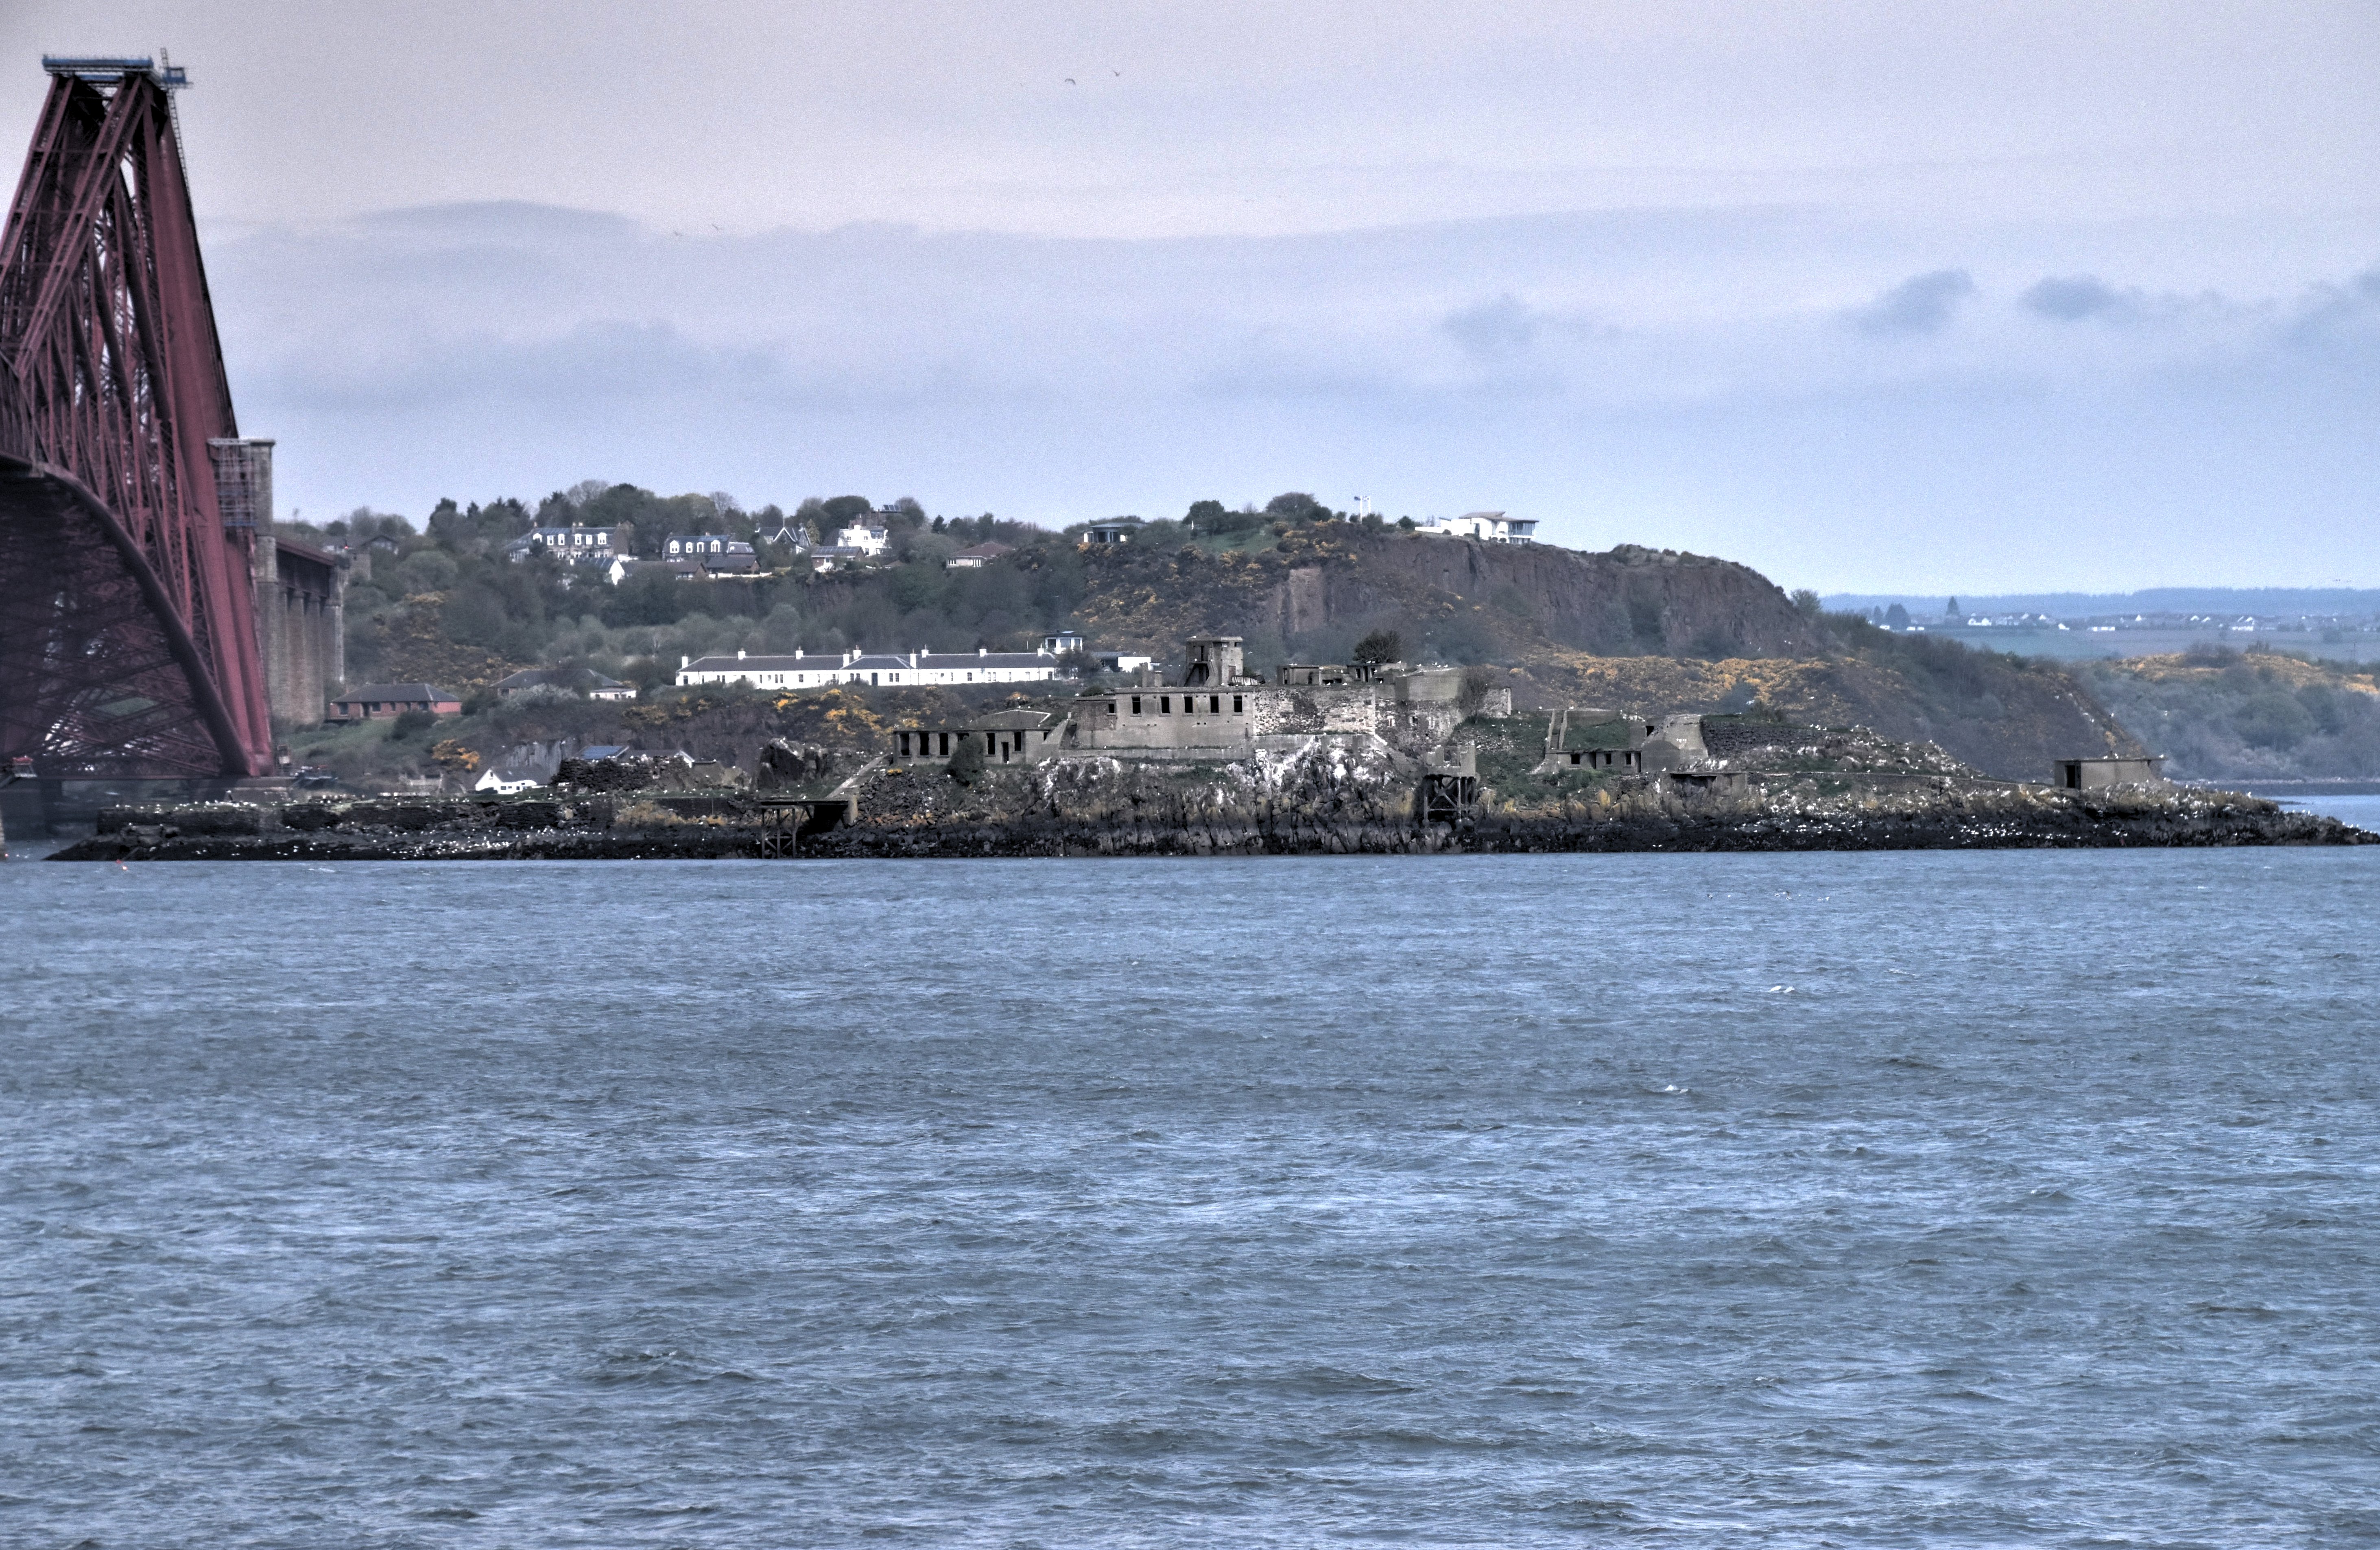
Scenery around bridge.
![]()
![]()

![]()